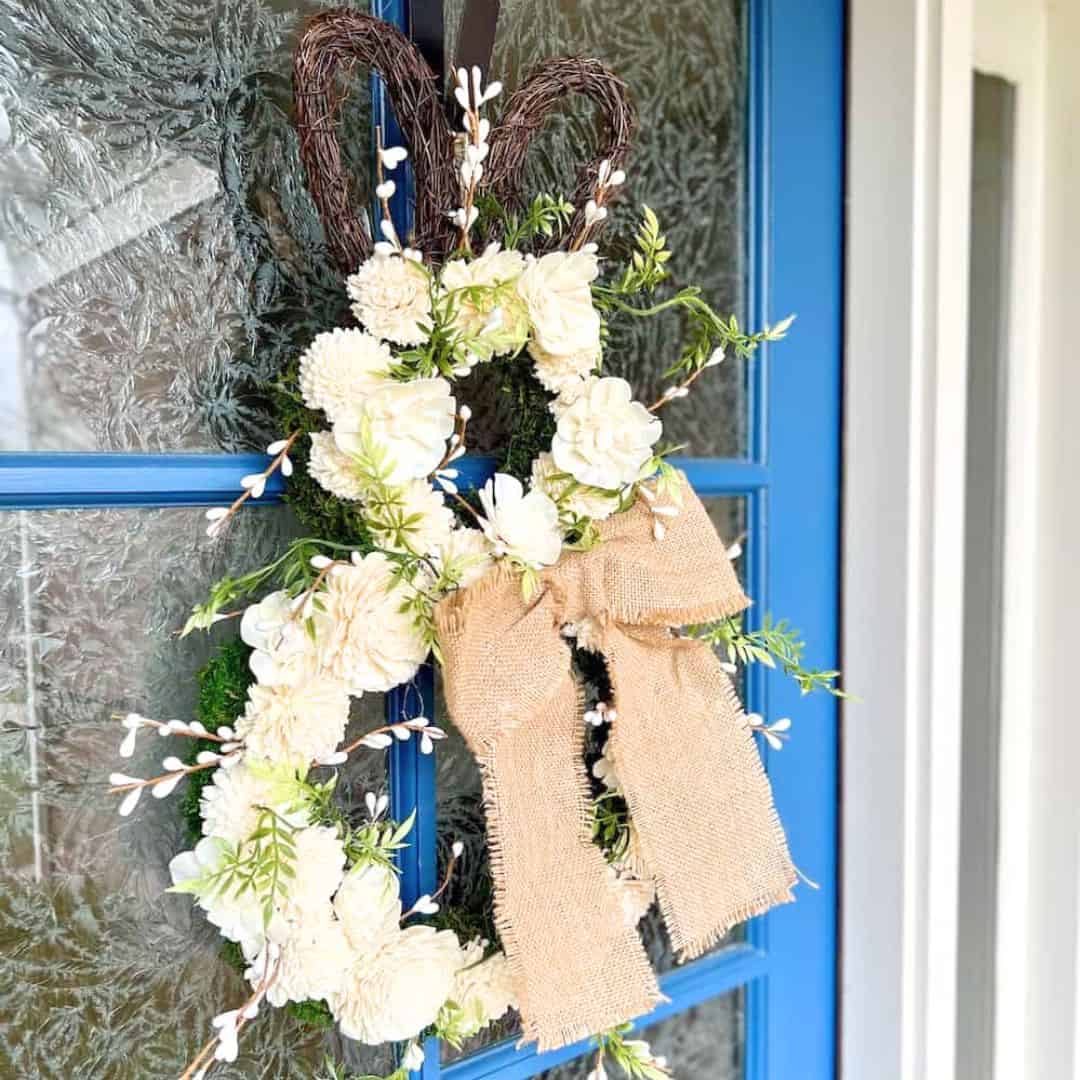
How to make an Easy Easter DIY Carrot Wreath
If you love inexpensive crafts, You will enjoy this DIY carrot wreath tutorial to add a playful splash of color to your front door this season.
On my blog WM Design House, I may sometimes use affiliate links, which means a small commission is earned if you purchase via the link. The price will be the same whether you use the affiliate link or go directly to the vendor’s website using a non-affiliate link. Read my full disclosure policy here.
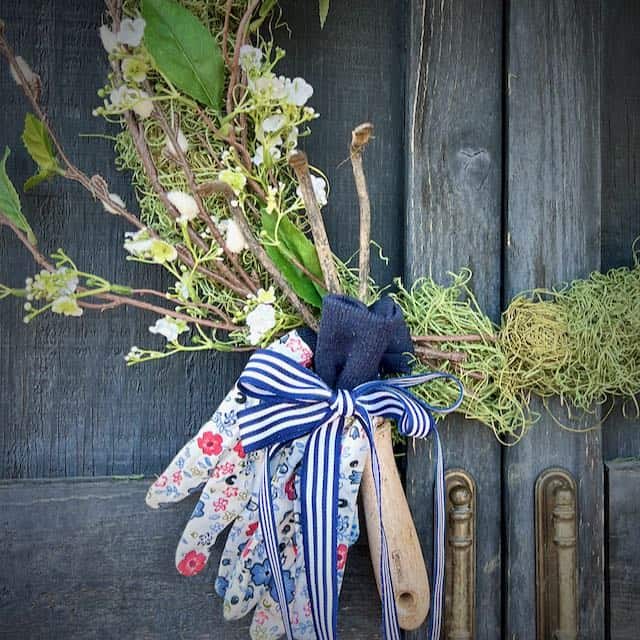
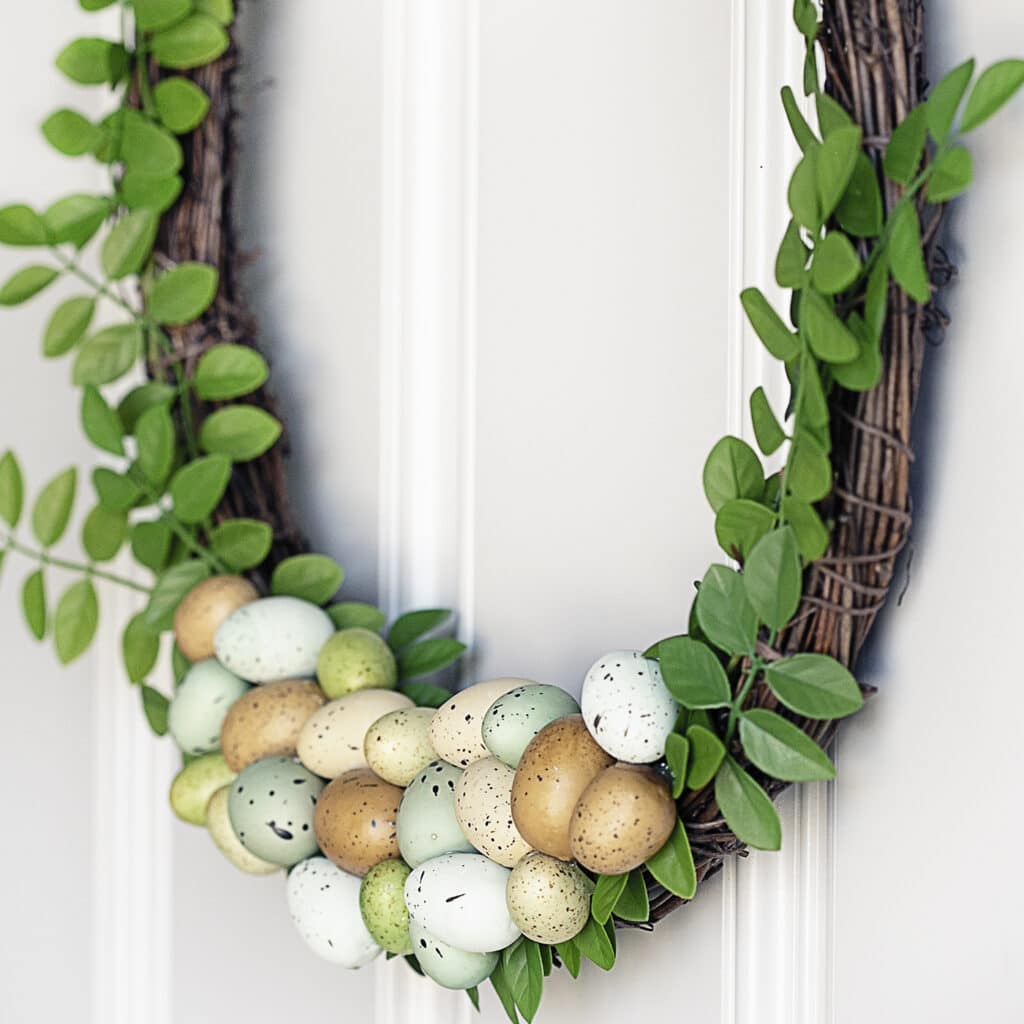
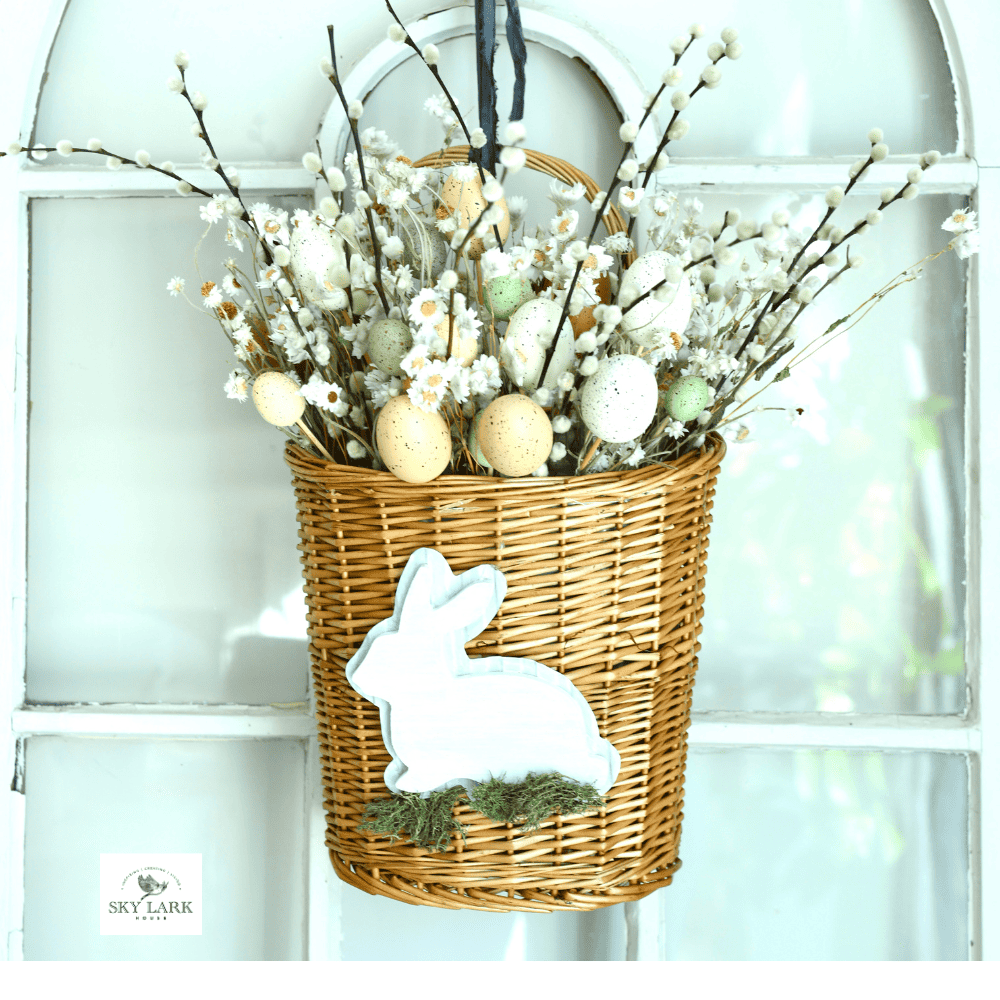
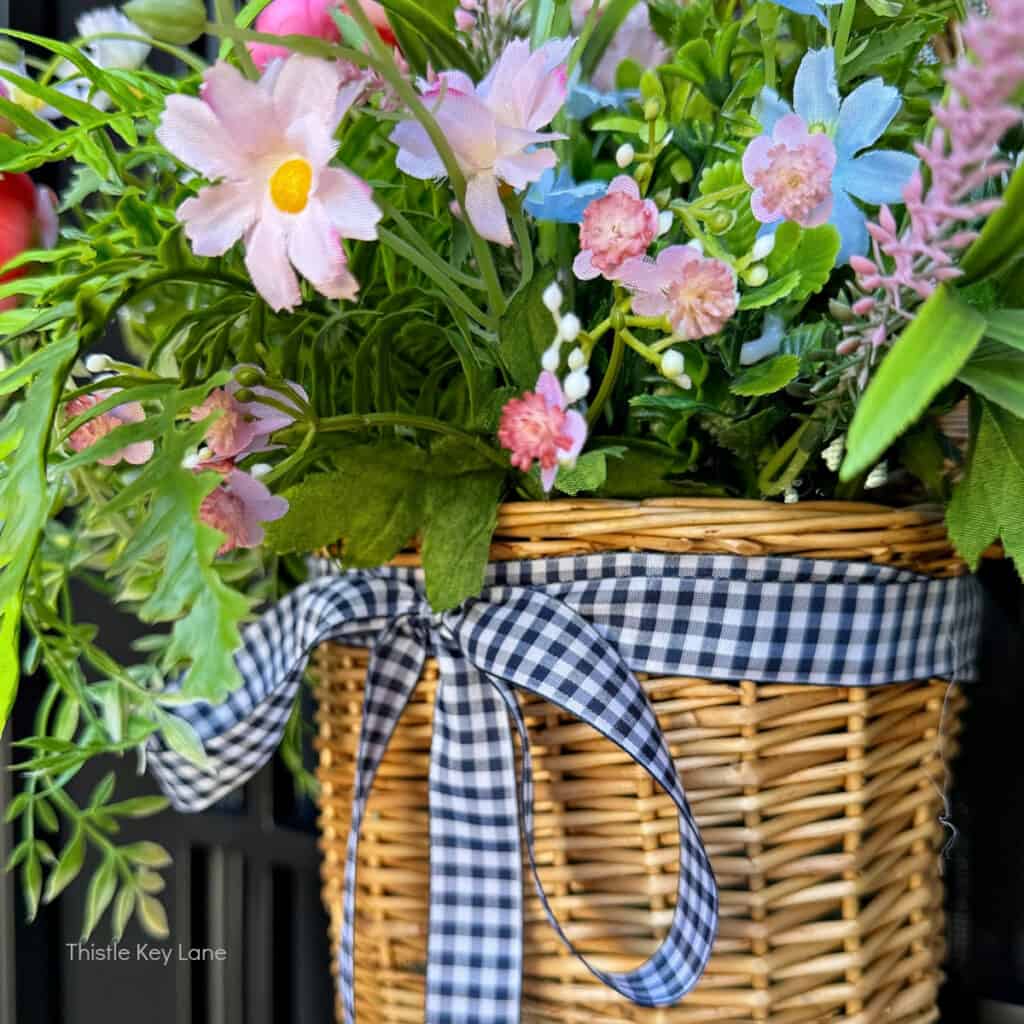
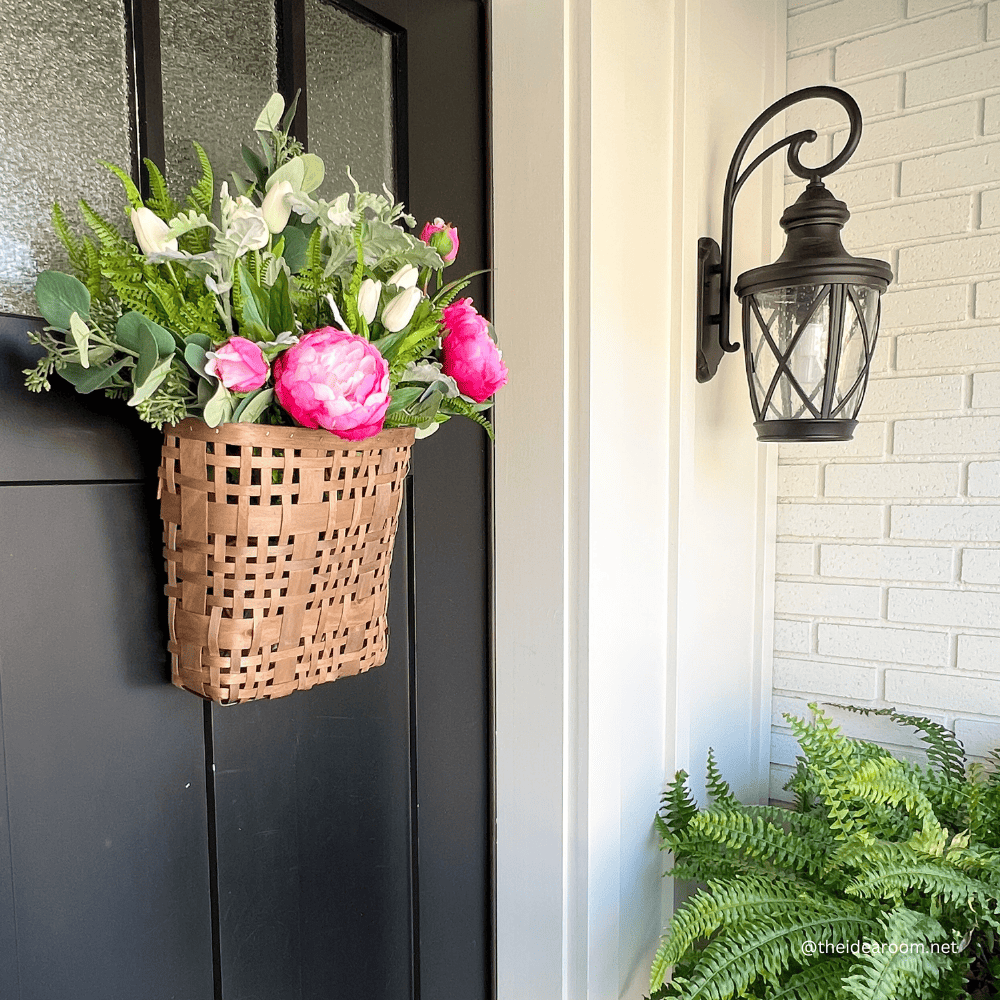
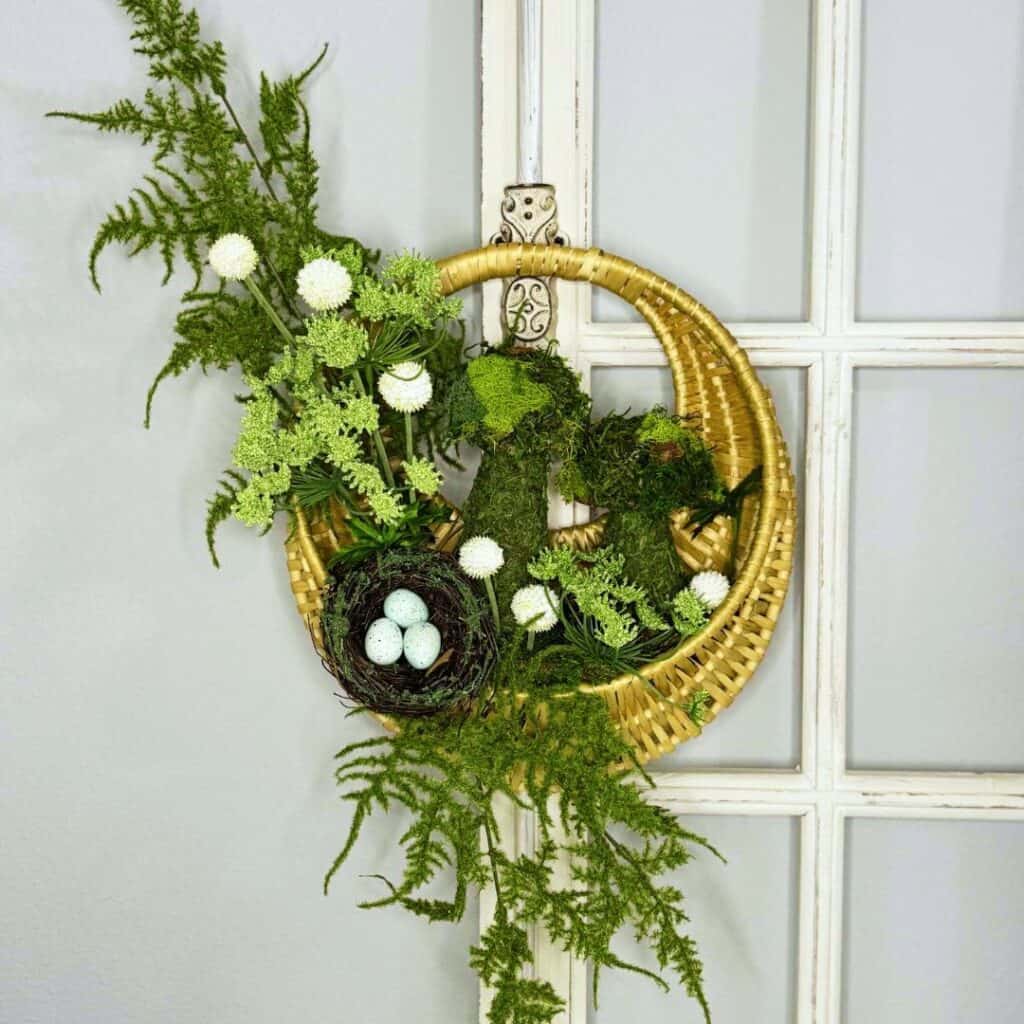
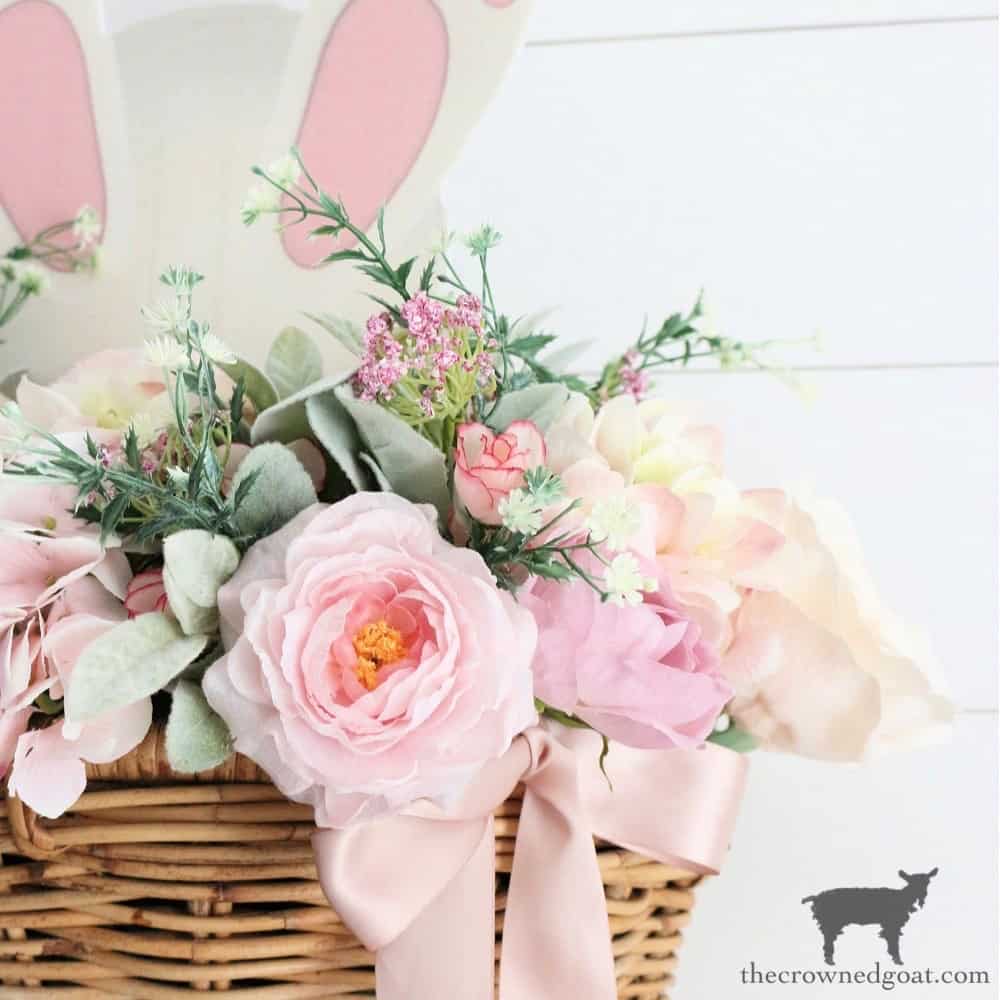
Today is our Handcrafted Society Post, where we bloggers share our love for making elevated crafts. Today, we are sharing different ways to adorn your front door. Be sure to see all of the other bloggers’ links and images at the end of this post.

Adorning my front door with Spring wreaths is a must for me. The arrival of warmer weather fills me with eagerness to step outside and display a new, exciting wreath. Whether opting for a subdued look or infusing your front porch with vibrant colors, the choice is yours.
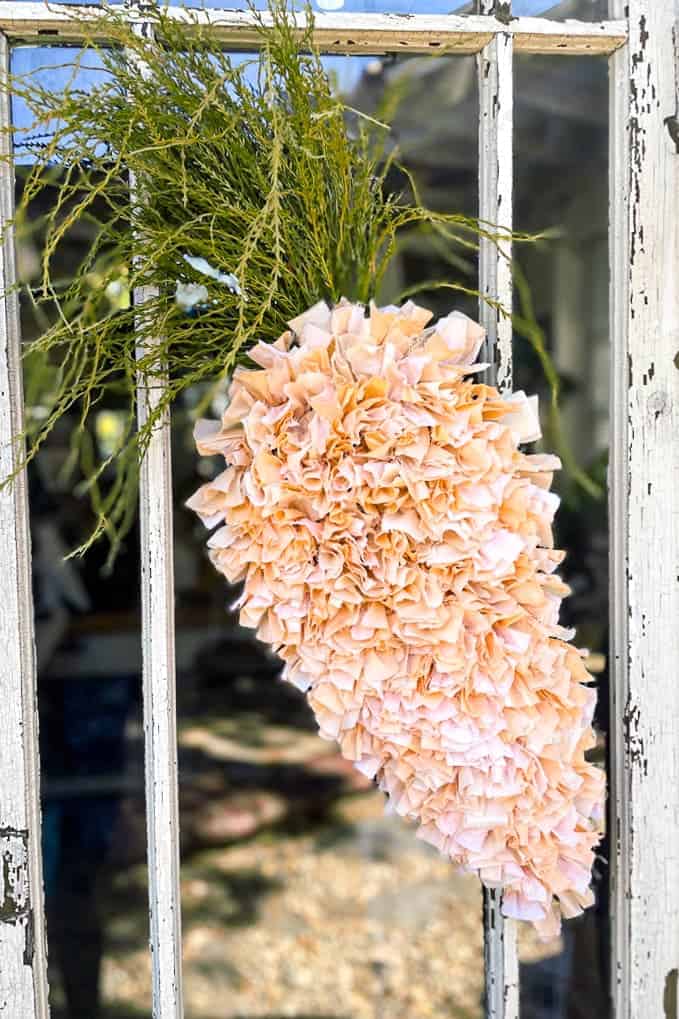
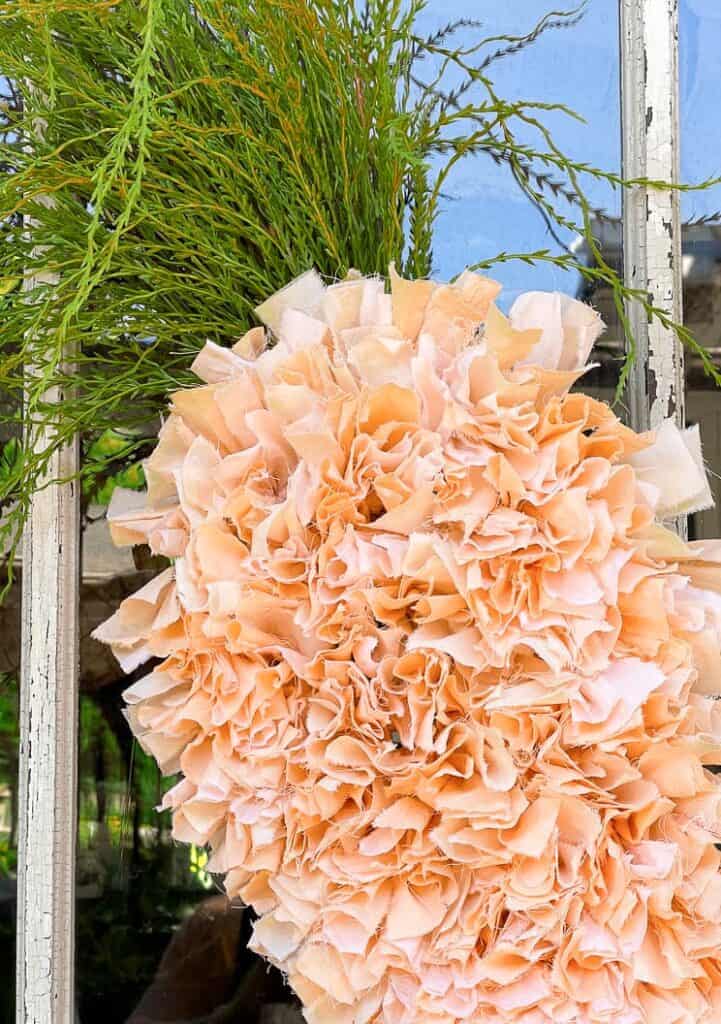
This season, I set out to create a wreath in the shape of a carrot, aiming to bring a unique twist to an idea I hadn’t encountered before. I had seen various carrot wreaths made from burlap ribbon, rolls of mesh ribbon, nautical rope, twine carrots, and even tulip stems, but I had never seen Easter carrots made of carrot-dyed fabric.
Inspired by a Valentine’s Day project where I made a heart-shaped rag wreath with tea-dyed muslin, I wondered if I could do the same process for my Easter craft. That project sparked the idea for my carrot-shaped Easter wreath.
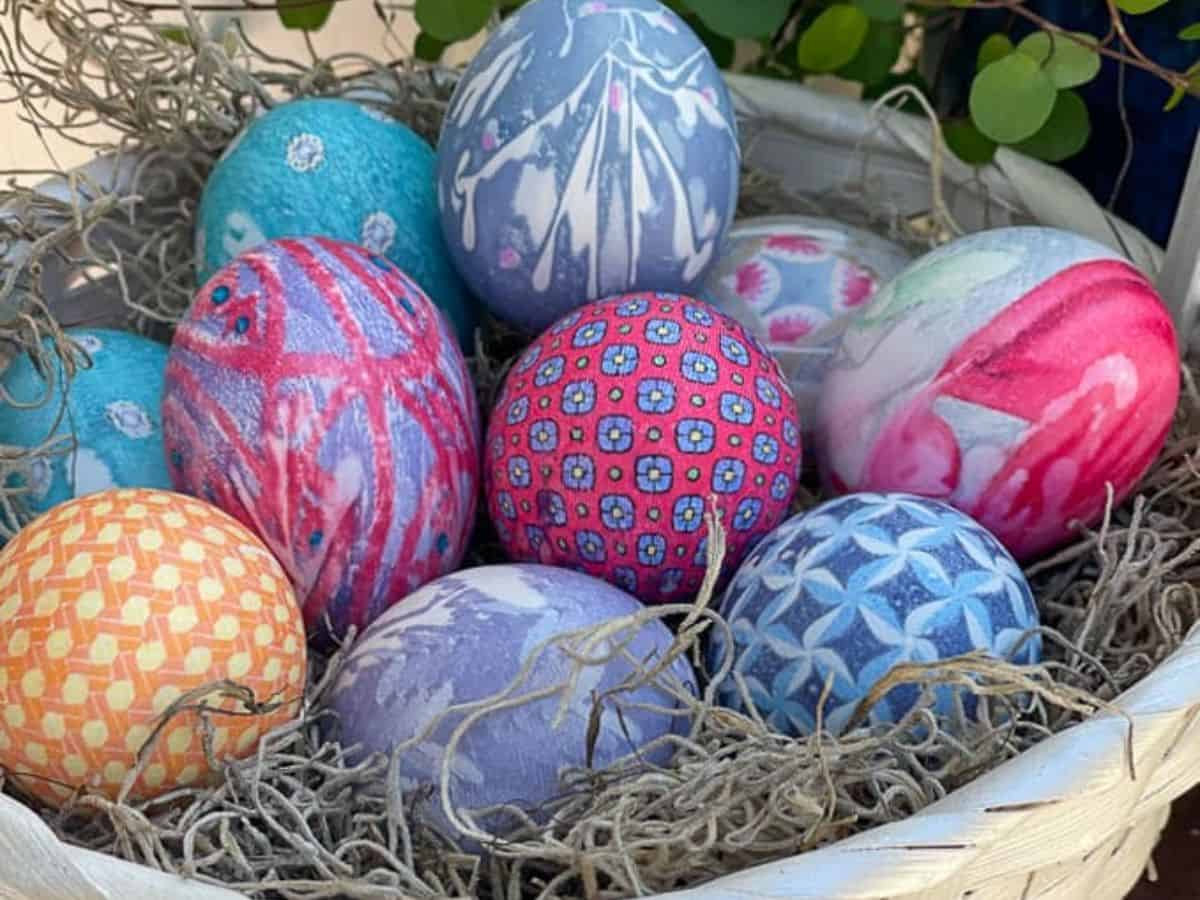
Embarking on experiments with natural dyeing techniques opened up a new world, teaching me numerous methods to dye fabrics and Easter Eggs. My blog post gives you a comprehensive guide to creating natural dyes.
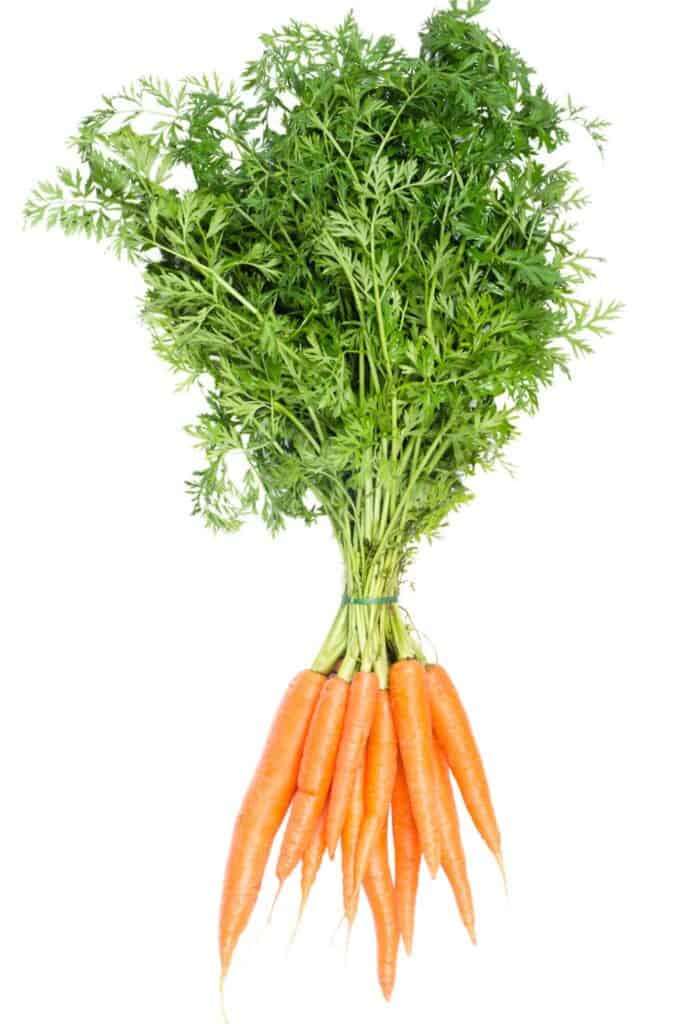
My newfound fascination with carrots became the centerpiece of my project, serving as the dye for the muslin fabric for my spring wreath.
Supplies to Make a DIY Carrot Wreath
- Two pounds of fresh carrots grated
- One and a half yards of bleached white muslin
- One yard of natural muslin
- Grater
- Boiling water
- Disposable pan to dye the fabric
- Two candy cane wreath forms or one carrot-shaped wire wreath form from the Dollar Store.
- Wire cutters
- Burlap-covered wire
- Sharp scissors
- Faux greenery for the carrot top
- Hot glue gun
- Pipe cleaner or zip ties to make a wreath hanger
How to Make a DIY Carrot Wreath
Equipment
- Sharp scissors
- Wire cutters
Materials
- Two pounds of fresh carrots grated
- One and a half yards of bleached white muslin
- One yard of natural muslin
- Grater
- Boiling water
- Disposable pan to dye the fabric
- Two candy cane wreath forms or one carrot-shaped wire wreath form from the Dollar Store.
- Burlap-covered wire
- Faux greenery for the carrot top
- Pipe cleaner or zip ties to make a wreath hanger
Instructions
- Directions to Make a Carrot Wreath
Before assembling your Easter carrot wreath, dye the fabric. This initial step is crucial; the fabric must be completely dry before creating your wreath.How to Dye Fabric with Carrots - I prefer to use muslin for my rag wreaths because I like how the fabric dyes and tears so easily. I purchase white and off-white muslin, so I have a variety of colors to choose from. Typically, it takes around 2-2.5 yards per wreath.
- If you want to soak your fabric in a mordant like Alum, it will help to set the dye in the fabric and keep the wreath looking fabulous for next year.
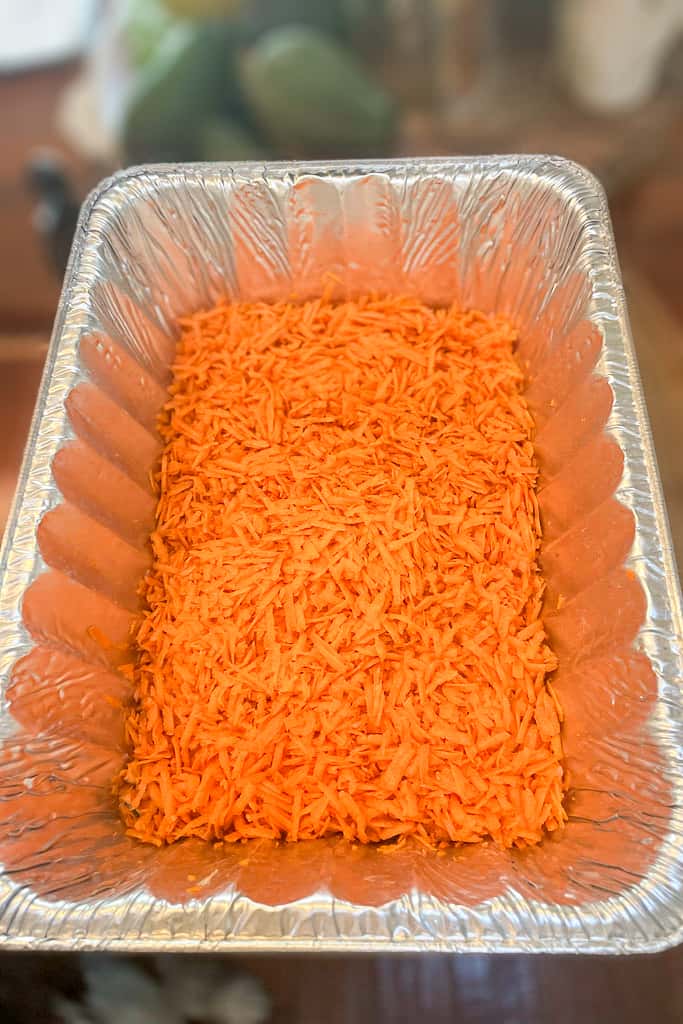
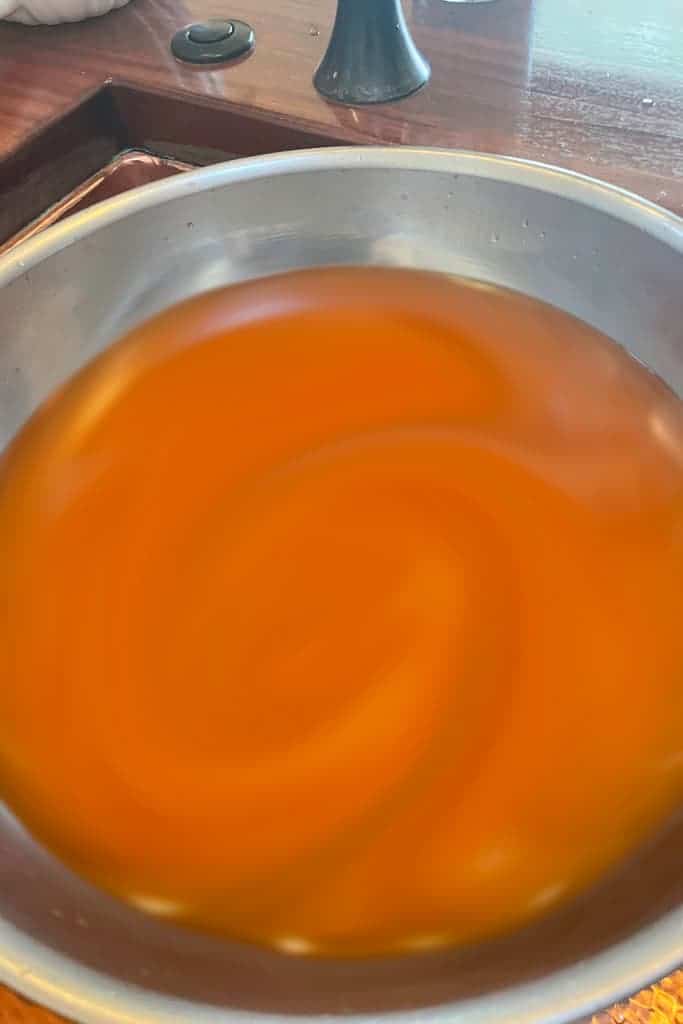
- Shred two pounds of carrots into a deep pan. (I like to use the disposable roasting pans) and allow the carrots to steep in the water for about an hour.
- Add enough boiling water to cover the carrots, and allow them to steep for about an hour.
- Strain the water so you no longer have the carrots in your dye.
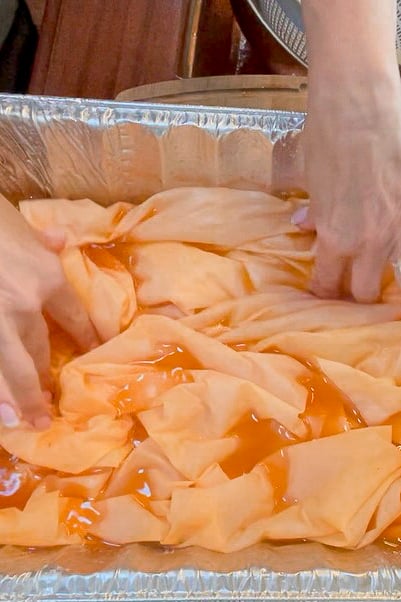
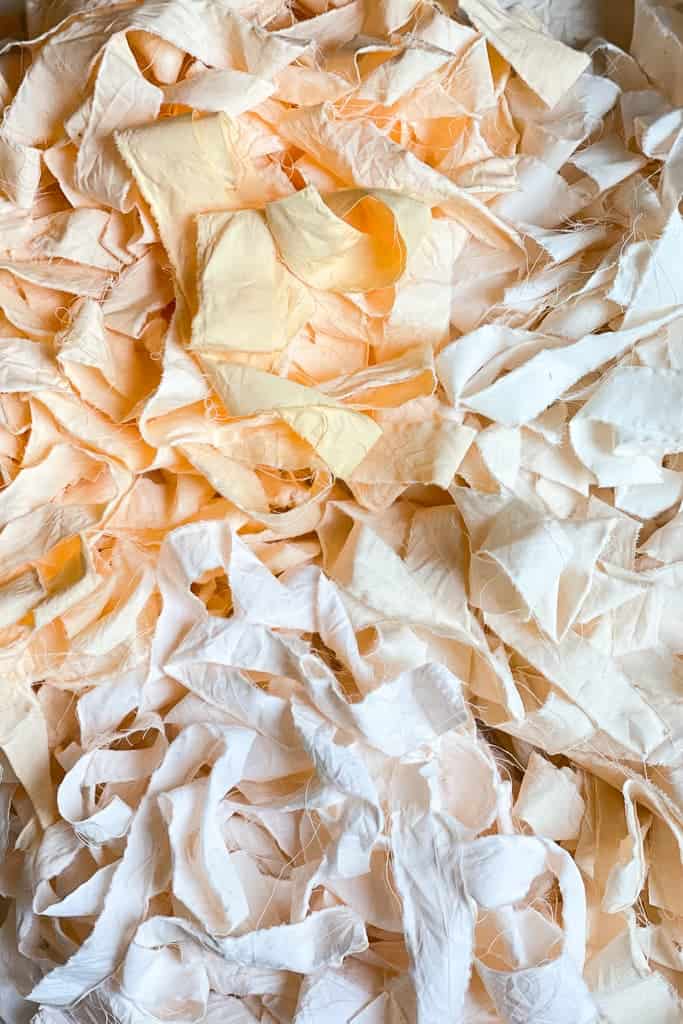
- Submerge your fabric in the carrot dye and let it sit for 30-60 minutes. The longer it sits, the darker the fabric will become. Using different colors of muslin will give you various shades of orange fabric.
- This will yield mostly shades of light orange fabric. Add a drop or two of Rit orange dye if you want a deeper orange color.
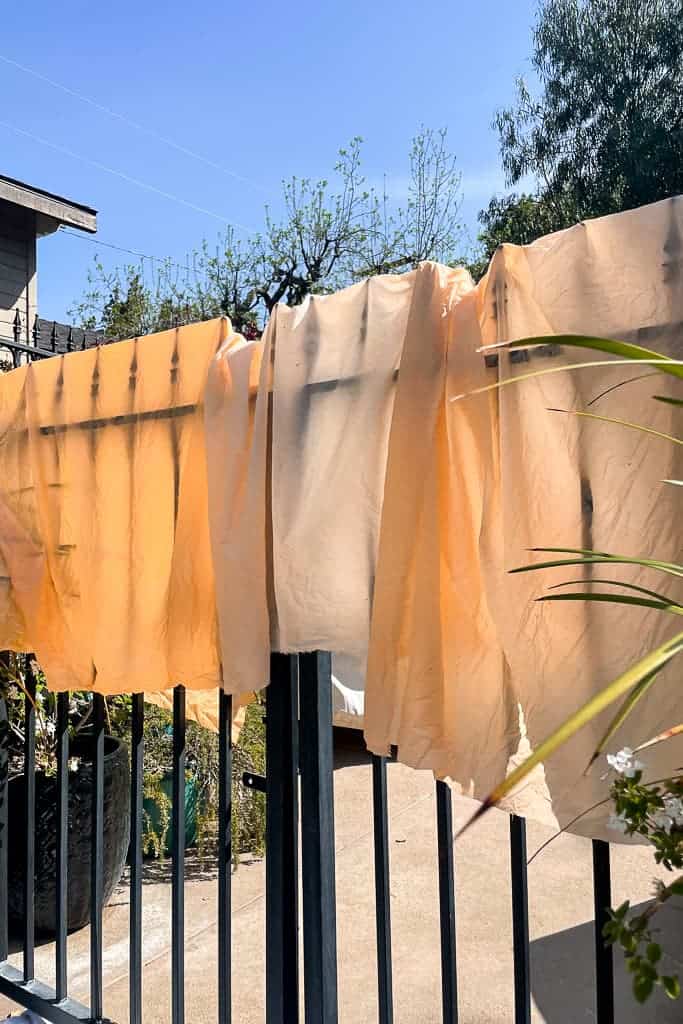
- Hang your fabric outside to dry. (Be sure to put a towel underneath the fabric to catch the drips).
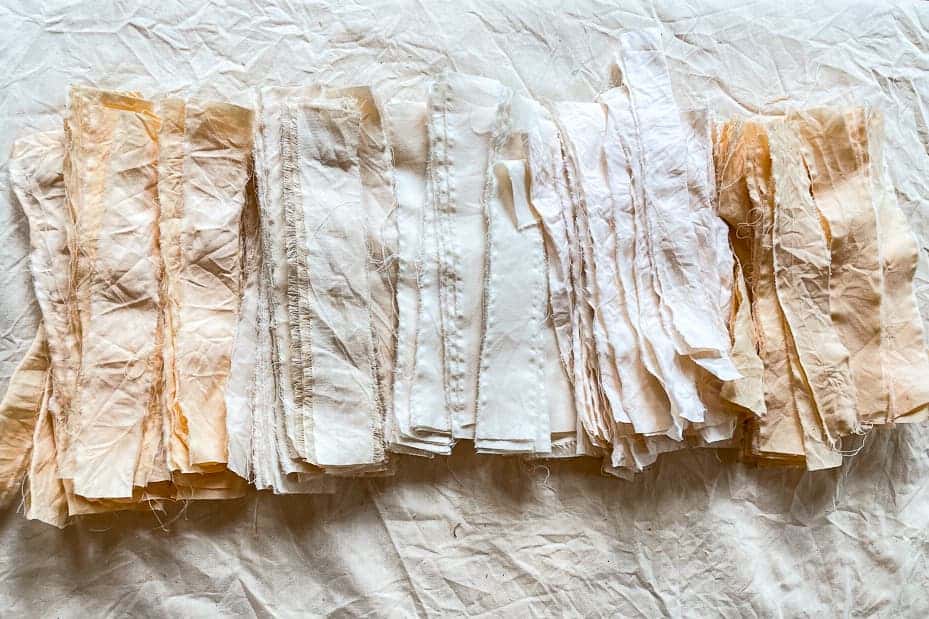
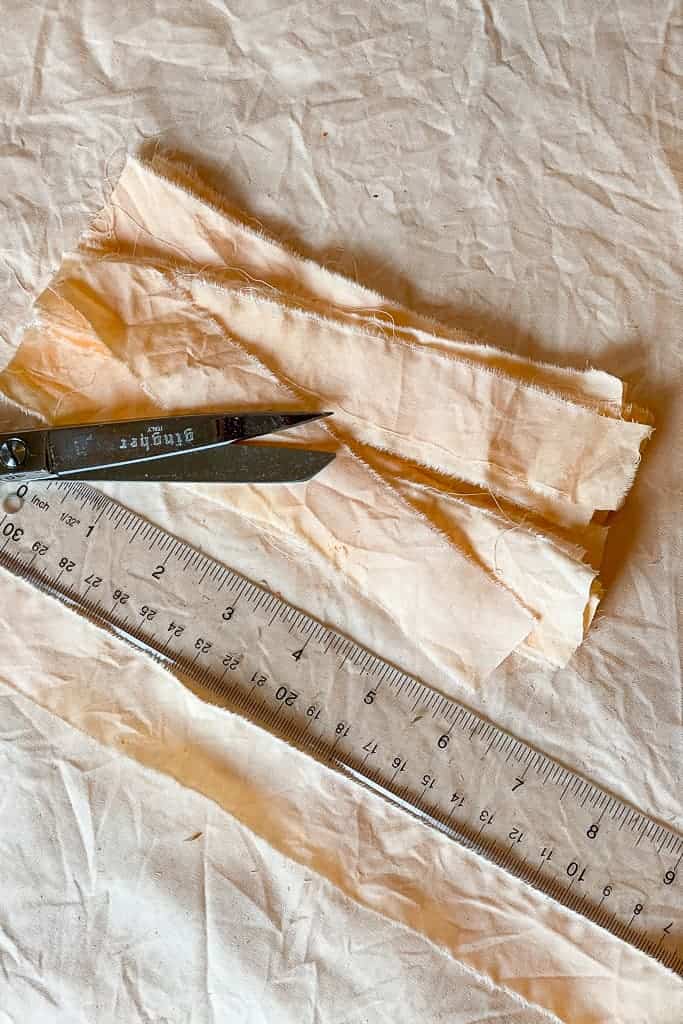
- Once the fabric is dry, tear it into one-inch-wide strips and cut them into 7" long strips.
- Stack the strips in similar color piles.
- Assembling the DIY Carrot Wreath
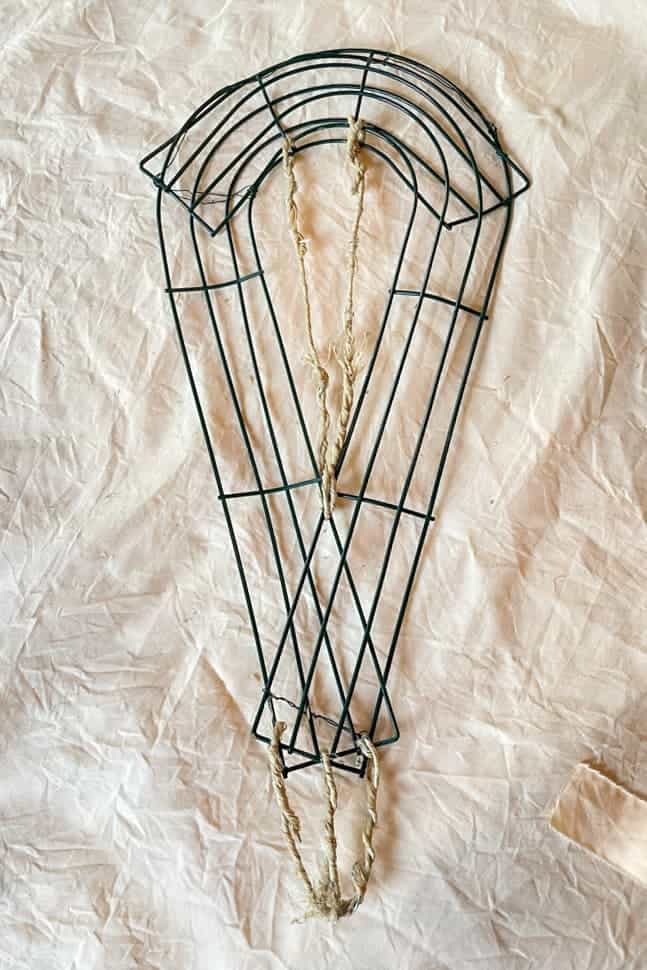
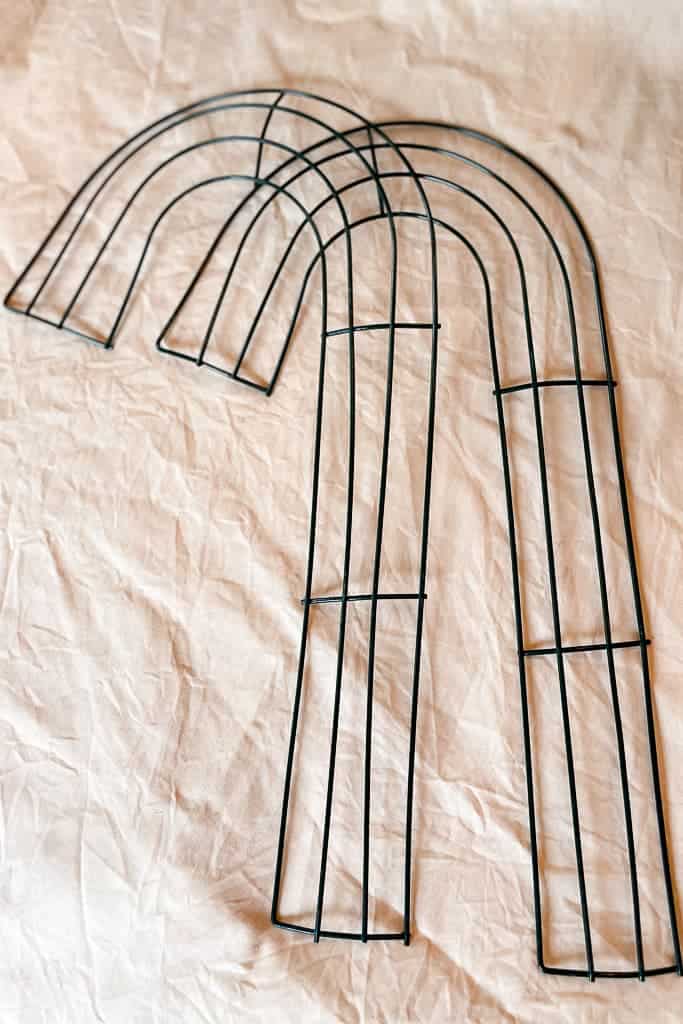
- I first made this wreath before Dollar Tree sold the carrot-shaped wreath forms, so I used two candy cane forms and then created the tip of the frame with jute-coated wire.
- You can use the carrot wreath form, but I suggest adding some wire strands going North and South to add more fabric, or your wreath will not be as complete as mine.
- If you are using the candy cane forms, wire them together.
- Create a V shape at the bottom of the frames using a heavier-coated floral wire.
- Add a wireline in the middle of the V so you have an extra wire to attach your fabric.
- In addition, I added two strands of wire to the center hole of the frame, going north and south, for the same reason.
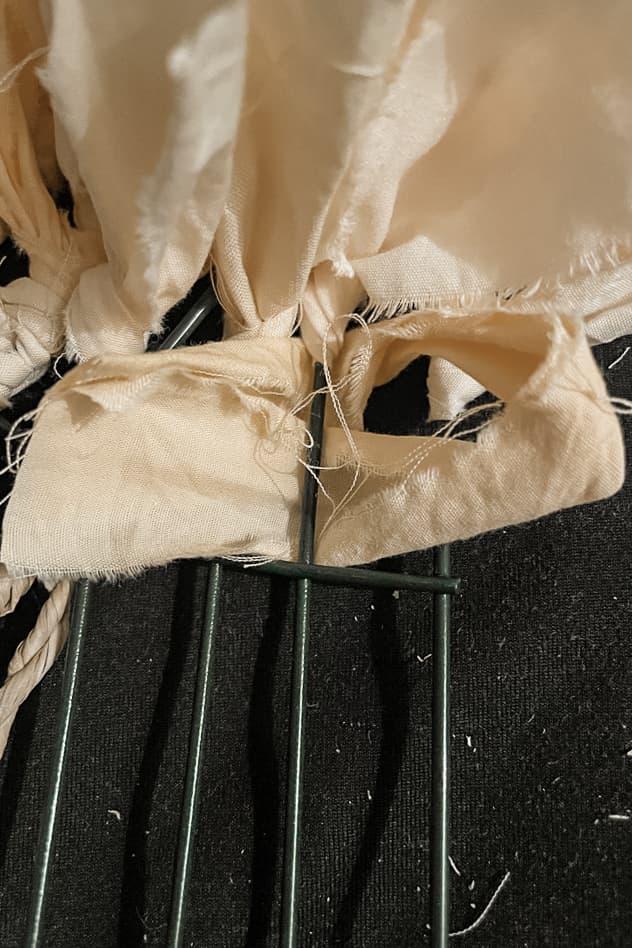
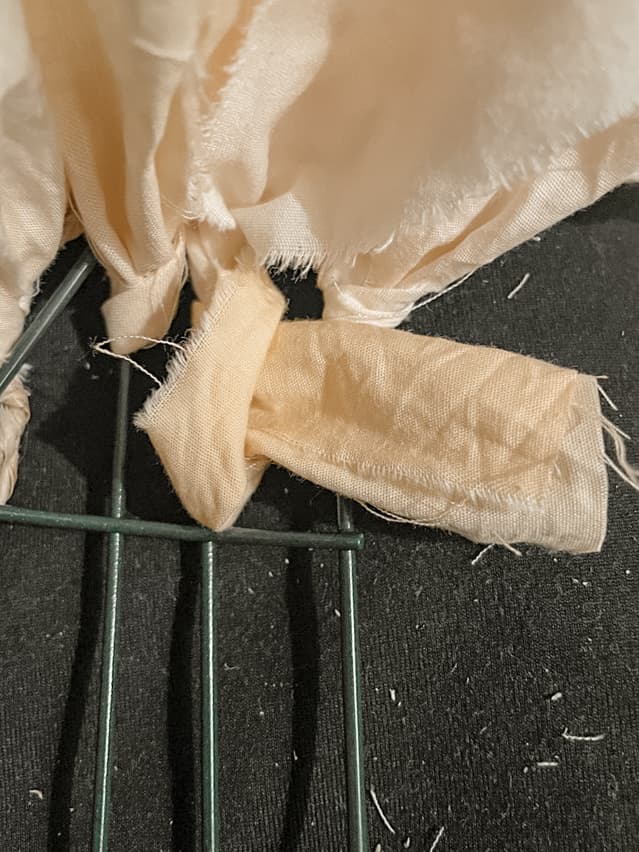
- Attaching your Fabric to the Carrot Wreath Wire Frame
- I started attaching the fabric at the bottom of the wireframe, but you can start anywhere you want.
- Fold one of the strips in half and slide the loop end under the wire and up.
- Insert the two ends of the fabric strip through the loop and pull tight.
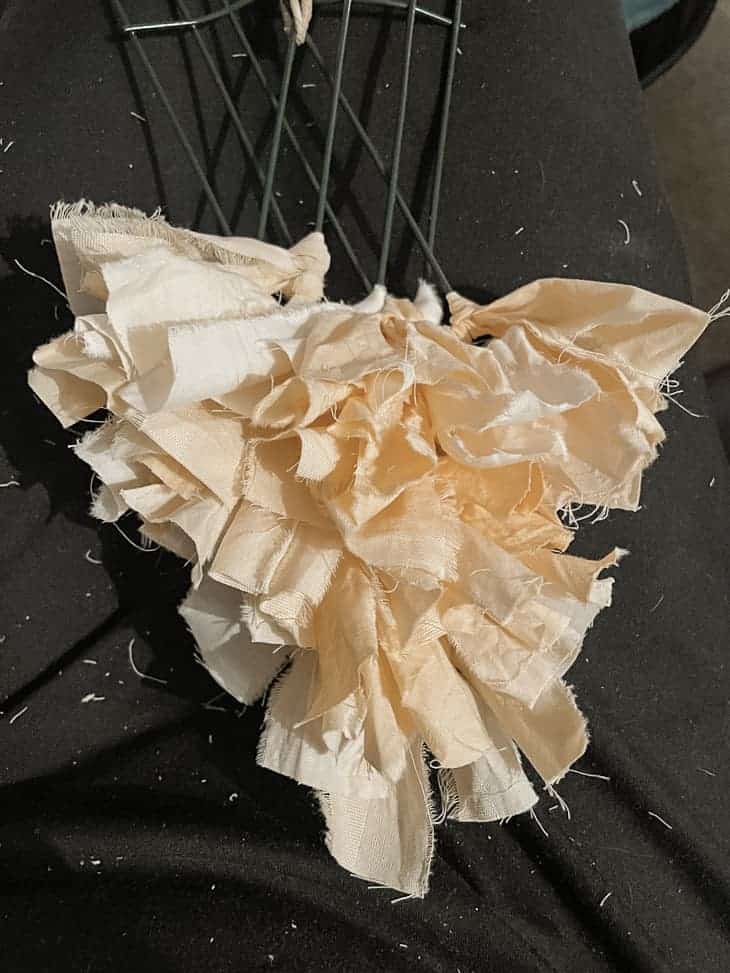
- Alternate your colors until you have covered the entire carrot with fabric strips.
- Push the strips of fabric together so they are tight on the frame to create the carrot shape.
- Trim any ends that are sticking out or too long.
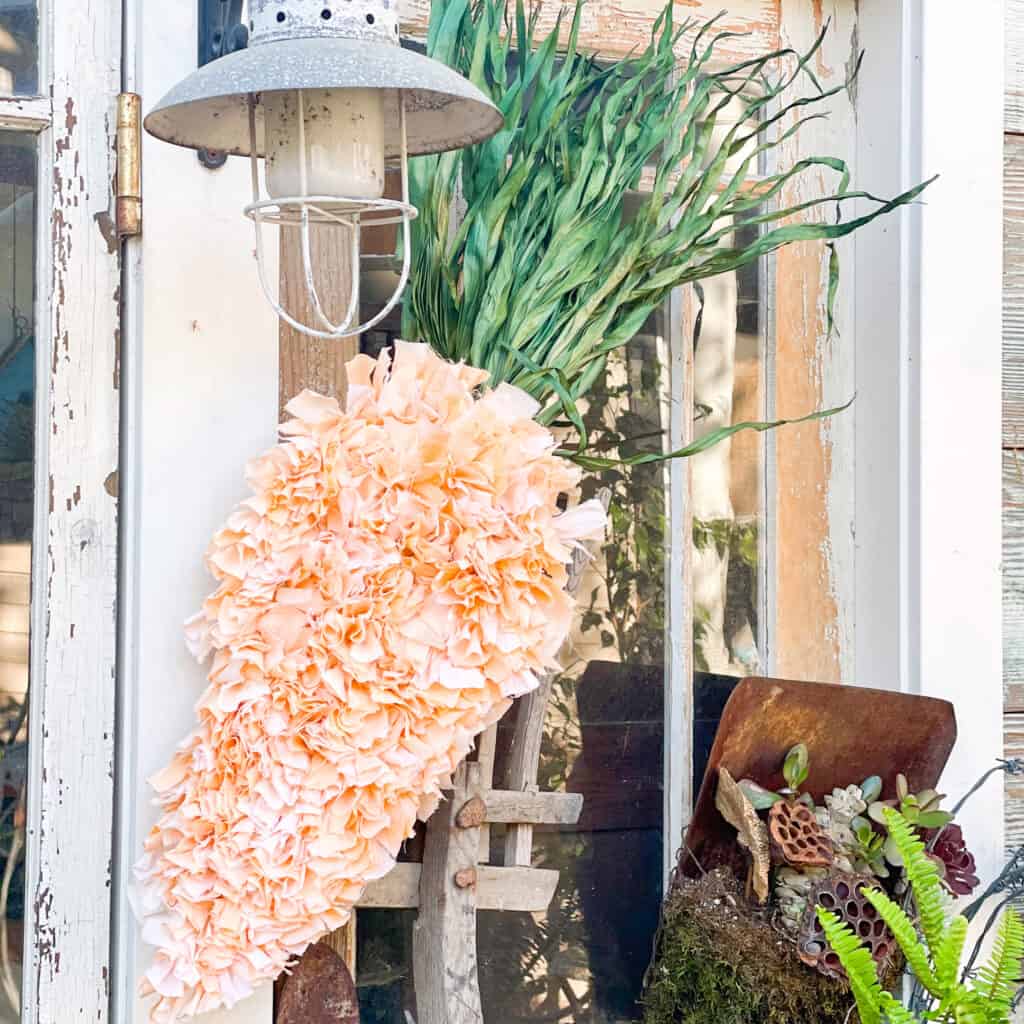
- Adding a Carrot Top
- I purchased a small bush of greenery that looked like carrot tops and stuck the stem into the wireframe on top of the carrot.
- Make a loop with a pipe cleaner and attach it to the back of the wireframe at the top of the carrot.
Directions to Make a Carrot Wreath
Before assembling your Easter carrot wreath, dye the fabric. This initial step is crucial; the fabric must be completely dry before creating your wreath.
How to Dye Fabric with Carrots
I prefer to use muslin for my rag wreaths because I like how the fabric dyes and tears so easily. I purchase white and off-white muslin, so I have a variety of colors to choose from. Typically, it takes around 2-2.5 yards per wreath.
If you want to soak your fabric in a mordant like Alum, it will help to set the dye in the fabric and keep the wreath looking fabulous for next year.
Tip from wendy’s craft room:
Use fresh, whole carrots and shred them yourself. You do not want to buy shredded carrots in the bag.
- Shred two pounds of carrots into a deep pan. (I like to use the disposable roasting pans) and allow the carrots to steep in the water for about an hour.
- Add enough boiling water to cover the carrots, and allow them to steep for about an hour.
- Strain the water so you no longer have the carrots in your dye.
- Submerge your fabric in the carrot dye and let it sit for 30-60 minutes. The longer it sits, the darker the fabric will become. Using different colors of muslin will give you various shades of orange fabric.
- This will yield mostly shades of light orange fabric. Add a drop or two of Rit orange dye if you want a deeper orange color.
- Hang your fabric outside to dry. (Be sure to put a towel underneath the fabric to catch the drips).
- Once the fabric is dry, tear it into one-inch-wide strips and cut them into 7″ long strips.
- Stack the strips in similar color piles.
Assembling the DIY Carrot Wreath
I first made this wreath before Dollar Tree sold the carrot-shaped wreath forms, so I used two candy cane forms and then created the tip of the frame with jute-coated wire.
You can use the carrot wreath form, but I suggest adding some wire strands going North and South to add more fabric, or your wreath will not be as full as mine.
- If you are using the candy cane forms, wire them together.
- Create a V shape at the bottom of the frames using a heavier coated floral wire.
- Add a wireline in the middle of the V so you have an extra wire to attach your fabric.
- In addition, I added two strands of wire to the center hole of the frame, going north and south for the same reason.
Tip from wendy’s craft room:
I prefer using the candy cane wireframes as they have more room to add fabric than the carrot wreath frame, which results in a fuller carrot.
Attaching your Fabric to the Carrot Wreath Wire Frame
I started attaching the fabric at the bottom of the wireframe, but you can start anywhere you want.
- Fold one of the strips in half and slide the loop end under the wire and up.
- Insert the two ends of the fabric strip through the loop and pull tight.
- Alternate your colors and continue until you have covered the entire carrot with fabric strips.
- Push the strips of fabric together so they are tight on the frame to create the carrot shape.
- Trim any ends that are sticking out or too long,
Adding a Carrot Top
I purchased a small bush of greenery that looked like carrot tops and stuck the stem into the wireframe on top of the carrot.
Make a loop with a pipe cleaner and attach it to the back of the wireframe at the top of the carrot.
Easy Ways to Style Your Cute Carrot Wreath
- Hang your carrot-shaped wreath on the front door to signify spring and Easter festivities. It immediately adds a pop of color and intrigue, catching the eye of visitors and passersby.
- Beyond the door, a carrot-shaped wreath can add a festive touch to any room when hung on a wall or above the mantle. Pair it with other Easter or spring decorations, like garlands or framed seasonal art, for a complete look.
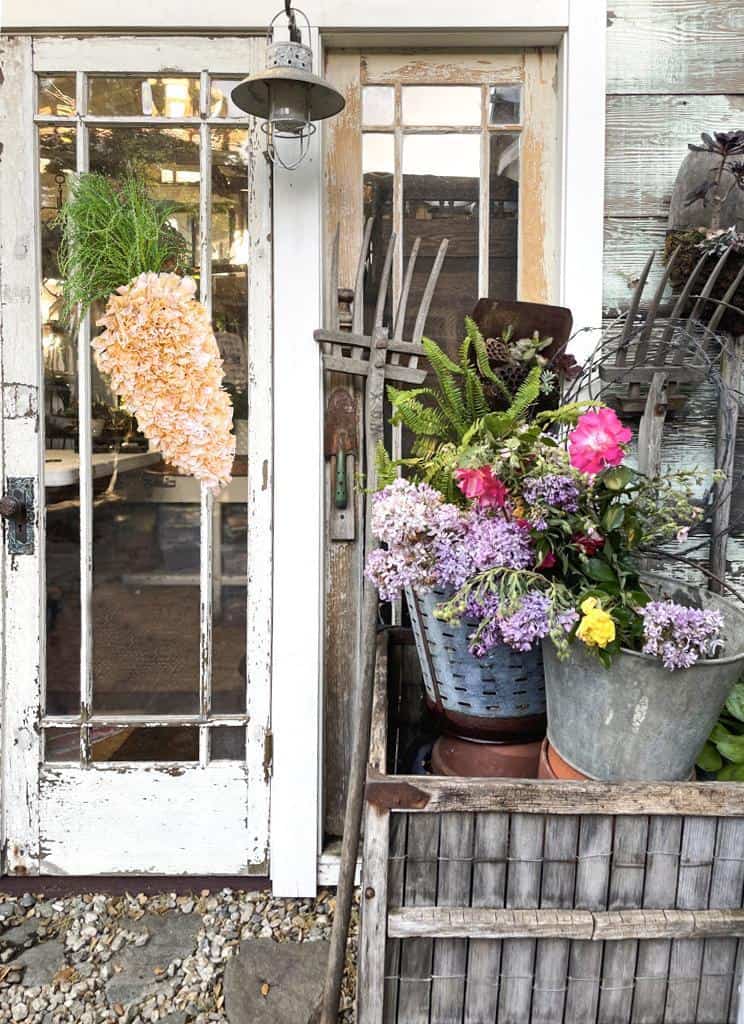
Incorporating a carrot-shaped wreath into your holiday decor is a nod to the season and a whimsical touch that brings charm to any space. Whether adorning your front door, enhancing your table setting, or creating a festive vignette, this unique decoration invites creativity and celebrates the rejuvenating spirit of Spring. Let it inspire your seasonal decorating, making your home a welcoming and joyful place for family and friends to gather and enjoy the beauty of this vibrant time of year.
Happy Spring!
Explore the captivating images and links below to discover beautiful door decor ideas from our talented group of bloggers.
Other Posts to Enjoy

-
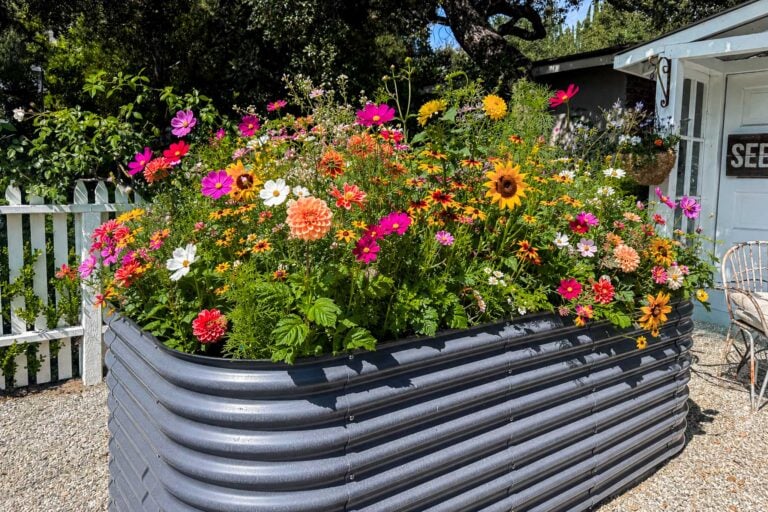
10 Best Cut Flowers to Grow for Beautiful Homegrown Bouquets
Grow the 10 best cut flowers for stunning bouquets all season long. Discover easy-to-grow favorites like dahlias, zinnias, roses, and cosmos.
-
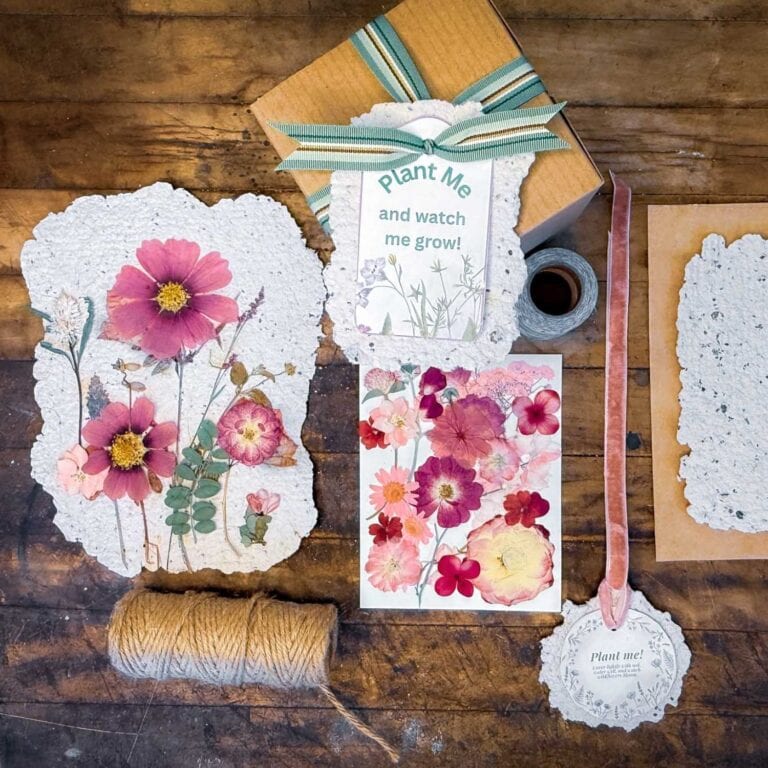
How to Make DIY Seed Paper for Handmade Cards and Stationery
Learn how to make DIY seed paper at home with this easy step-by-step tutorial. Perfect for Mother’s Day gifts, and botanical stationery.
-
Preparing Your Garden for Spring: 14 Easy Tips
Get your garden ready with these 14 easy tips for preparing your garden for spring — soil prep, tools, planting, and more!


Oh, Wendy, this Carrot Wreath is GORGEOUS and the carrot dye is BRILLIANT! Thanks for sharing!
Thank you! I am so happy with how this wreath turned out. I’m glad you adore it as much as I do!
Hi Wendy. Your carrot wreath is just lovely! I appreciate your tutorial.
Visiting today from SSPS 302 #54,55&56
Thank you, Paula
This has worked so well, what a fun spring project. This will be a feature over at Handmade Monday this coming week.
Thank you so much, Julie. I appreciate it!
Wendy this is precious!!! I love how you thought to dye the fabric, so creative! Pinned this too 🙂
Thank you, Nicolle!
You are on a roll dying with vegetables Wendy. I love the hues one can get with organic dyes. It has been a while since I have dyed anything, but it can be so much fun. Your carrot turned out too cute. Have a great week.
Thank you, Cara. It was really so much fun to dye this wreath and I’m so happy with how it turned out!
My late mother always complained that I didn’t chop carrots for the coleslaw small enough! It was tough chewing with her ill-fitting dentures. SOO I learned to “grate” my carrots in the blender which is a great way to speed up your process. If I grated things by hand, I wouldn’t have an unbloodied knuckle! Loved your project.
I don’t blame you one bit! What a great time saving tip. Thank you for taking time to say “hi”. I’m so glad you enjoyed this project. I had so much fun making it. Happy Easter!
This carrot is the cutest Wendy! I love it for spring ?
Thank you Cindy. Happy spring to you!
Wendy – I love that you used carrots to dye the cloth orange! Super creative. Also, I love the suggestion of using 2 candy cane wreath forms to make the carrot. The end result is fabulous and is wonderful way to usher in the spring season.
Thank you Anna. I’m so glad you love it as much as I do. Happy spring and Happy Easter!
Wendy, this is the cutest idea for an Easter wreath!! I love the subtle orange color the carrot dye creates!! Beautiful!
Thank you Kim. I can’t believe it’s almost here. I hope you have a happy Easter!
Wendy, this is so cute and creative!
Wendy, this is the cutest idea! You’re so creative! The wreath adds the perfect touch to your door!
Thank you so much Kim!
WOW! The first thing that came to mind was, “Now that’s commitment.” Ha ha. You were certainly committed to this project, from dying the fabric in carrot juice to hanging it outdoors to dry and tearing all the strips. However, it turned out adorable! Thanks so much for sharing.
Thank you, Kelly. You are right; it was a big commitment, and tying each strip onto the wire took some time, but hopefully I can enjoy the carrot for years to come.
Your carrot wreath is the cutest thing ever! I can’t believe you used real carrots to dye the fabric. That’s so fun! Pinning now!
Thank you, Donna. It was a fun experiment!
Wendy, your carrot wreath is so adorable! I love how fluffy it looks, and the greenery is pure genius!
Thank you so much, Michelle; it was a very fun project, but it did take quite a bit of time. One of these days, I will learn to do a simple craft. LOL
I love this carrot!! So fresh and different — and even better that it’s actually carrot dyed. You always amaze me.
Thank you, sweet Diane!
Love the way this fun and festive carrot wreath came together, Wendy! I had no idea you could dye fabric with shredded carrots – that is so cool. Hugs, CoCo
Thank you, CoCo; I did a lot of vegetable dying last year and learned so much. It is pretty amazing the colors you can get from the
different vegetables.
Gosh, Wendy!! Another incredible idea!! I had no idea you could dye fabric with carrots!! Your wreath looks so adorable on the door, perfect for Easter!!
Thank you, Rachel. I had fun experimenting with dying the fabric; who knew, right?
This is such an adorable wreath for spring! You got just the right shade for the carrot…such amazing texture! Great handcrafted project!
Genius! I would have never thought to put two wired cane candy forms together for the carrot shape. What a great project, Wendy!
Thank you, my friend! I am glad you enjoyed it.
This is absolutely adorable Wendy! I love this idea.
Thank you so much Kim, it truly is one of our favorite spots in the yard.
Wendy, I love this adorable carrot wreath! You’re so clever and creative!
Thank you Kristy, you are so kind. Hello from Austin!
The carrots create such a beautiful shade of orange on the fabric! Beautiful wreath, Wendy!
Thank you Missy! We are sure missing you in Texas.Next time you must come!