How to Make Easy DIY Fabric Wall Art for Your Home
Adding a pop of color to your walls is a breeze with this easy DIY fabric wall art project.

On my blog WM Design House, I may sometimes use affiliate links, which means a small commission is earned if you purchase via the link. The price will be the same whether you use the affiliate link or go directly to the vendor’s website using a non-affiliate link.
Welcome to the Hand Crafted Society
I’m so excited to be back with the Handcrafted Society! It’s always a joy to kick off another monthly blog hop and share inspiring creativity from some of my talented blogging friends from across the country.
This month, we’re focusing on ideas to make art with fabric, and let me tell you—the projects are nothing short of amazing! The creativity in this group never ceases to inspire. I can’t wait for you to see what everyone has crafted.
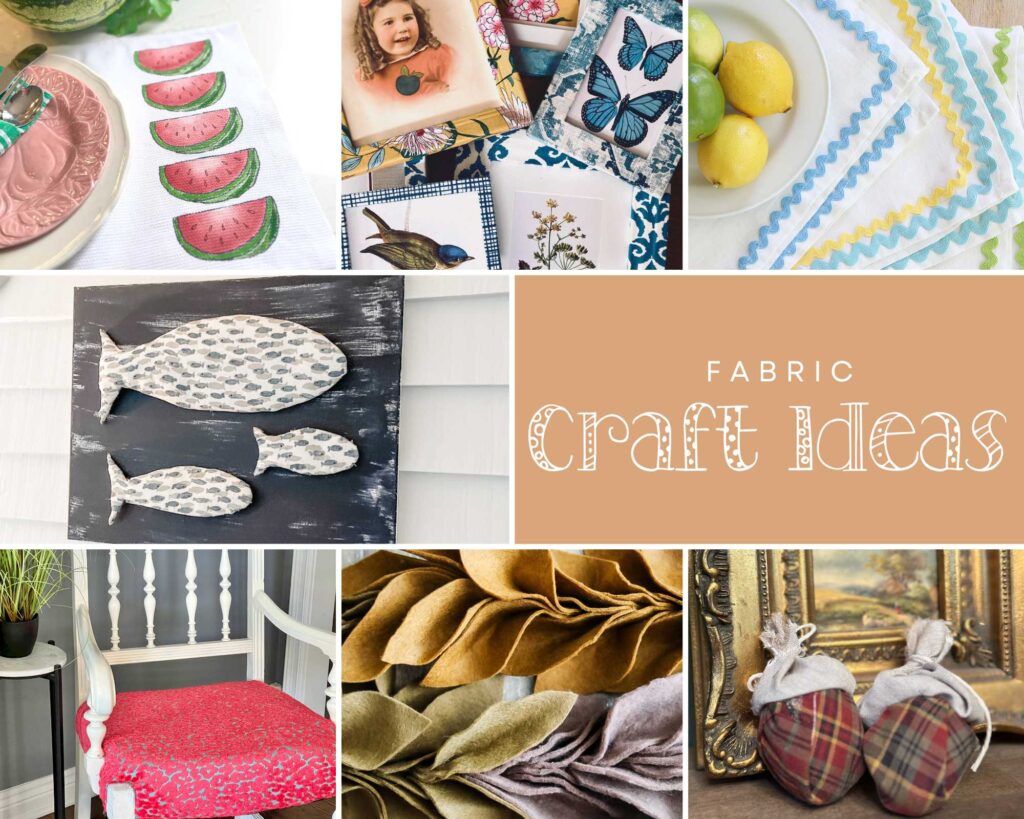
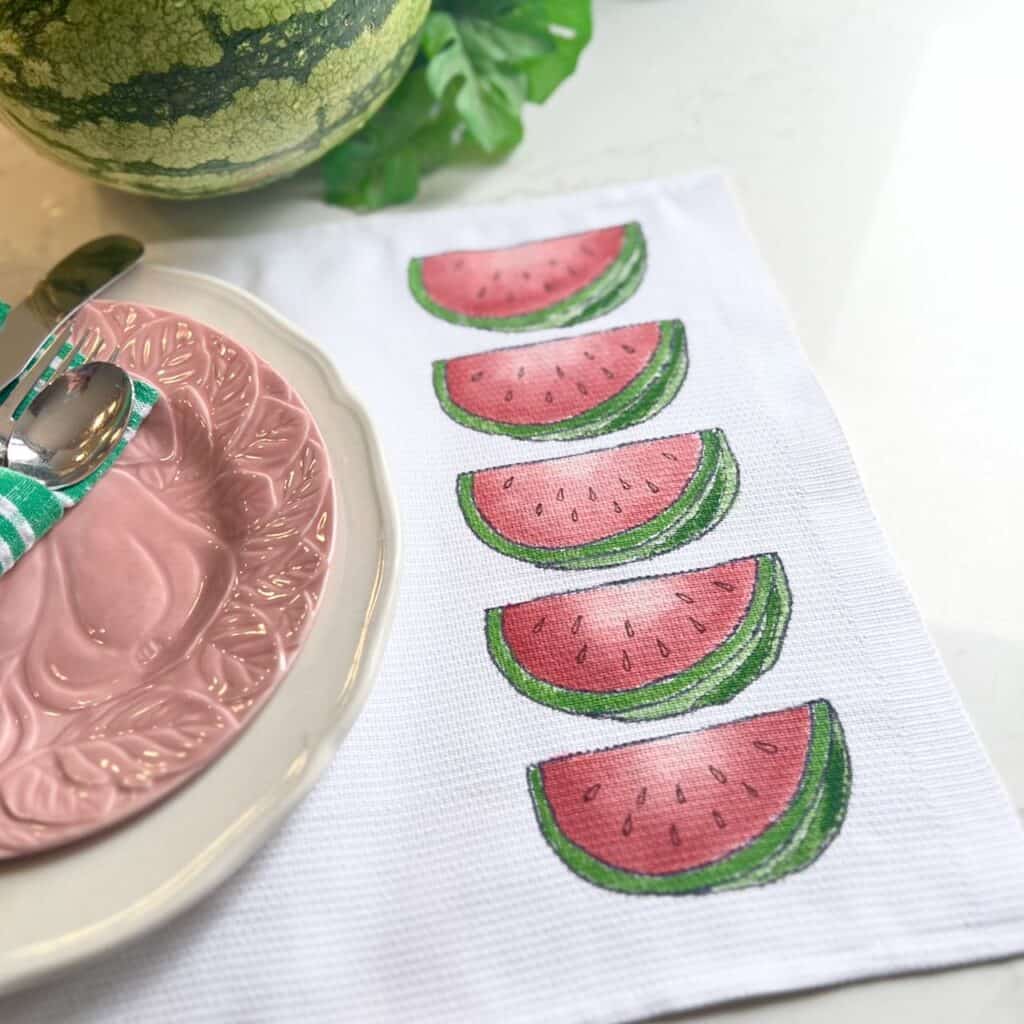
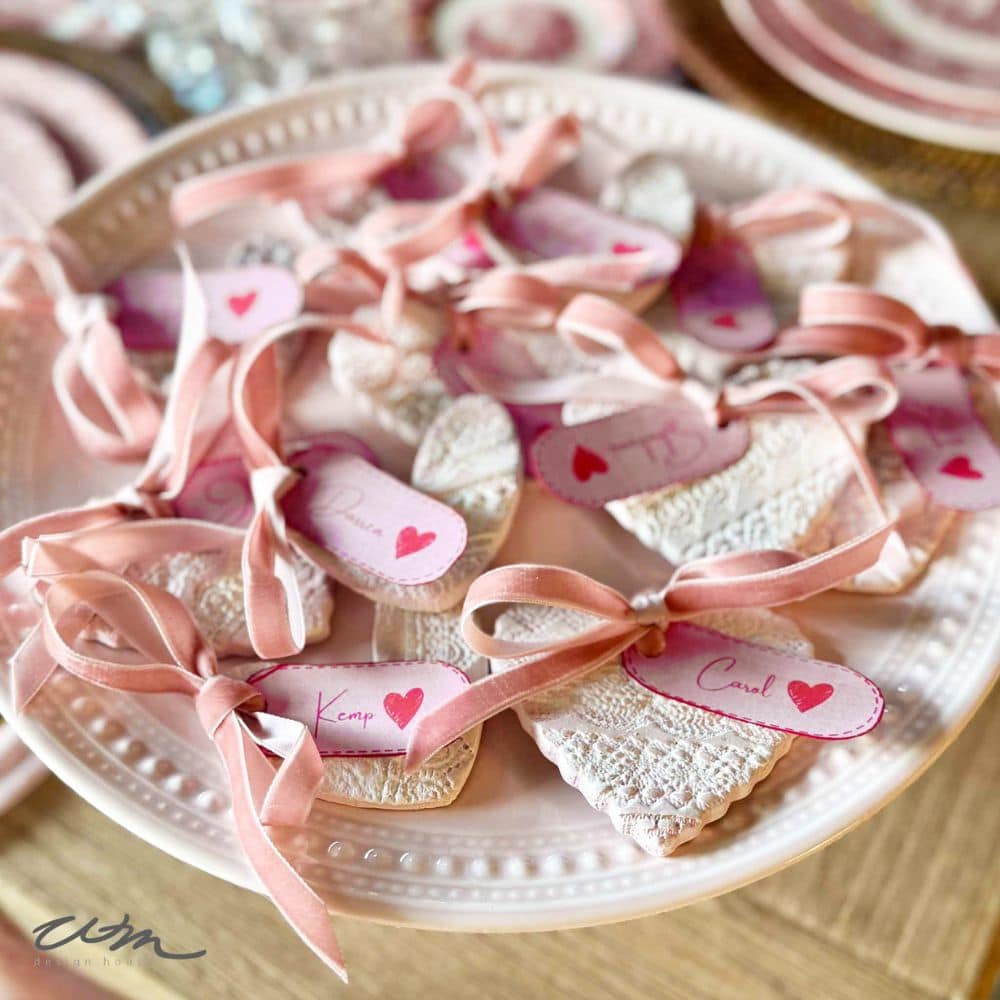
You can see all of this month’s crafts at the end of this post.
So grab a cup of coffee, get comfy, and join us as we showcase our latest DIYs. You’re sure to walk away with fresh inspiration for your next upcycling project!

Why You’ll Love This Wall Art Project
Did you know you can use fabric as wall art? Yep! It’s true. If you’re looking for an easy and budget-friendly way to refresh your walls, fabric wall art is a simple, stylish solution that adds color, texture, and personality to any space—without spending a fortune!
In this post, I’ll show you how I transformed a plain wall into a beautiful gallery display with some easy fabric art using cloth and old picture frames. It’s a quick and creative project that lets you customize your decor with patterns and colors you love.
Whether you want to brighten up a living room, add charm to a bedroom, or bring personality to a dorm or office, DIY wall art with fabric is a versatile way to make any space feel more like home. So Let’s get started!
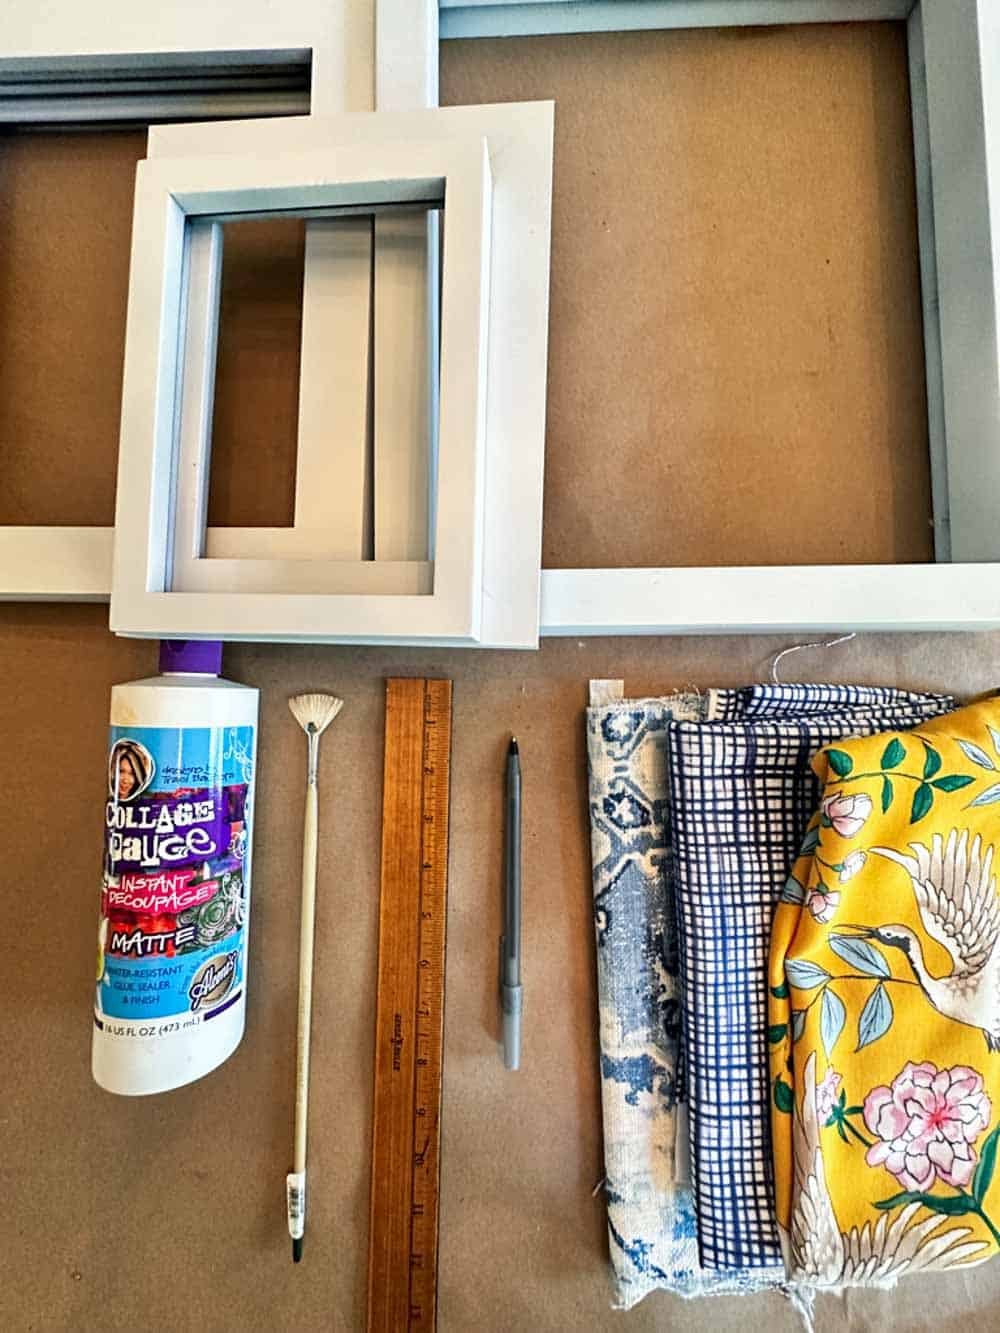
Tools and Supplies Needed to Make DIY Framed Fabric Wall Art
- Assortment of old picture frames
- Cotton fabric (I recommend using quilting cotton as it does not stretch and has a tight weave)
- White spray paint (optional)
- Mod Podge or collage glue
- Paint brush
- Fabric scissors
- Ruler
- Pen
- Wall hanging hooks
Tip from wendy’s craft room:
How do you know which frames to choose for your wall art? The key is to keep it simple! Look for flat frames without intricate details so the fabric can take center stage. Mixing different shapes and sizes will add interest and make your gallery wall feel more dynamic and unique!
How to Make DIY Fabric Art for Your Walls
Step 1: Choose Your Fabric
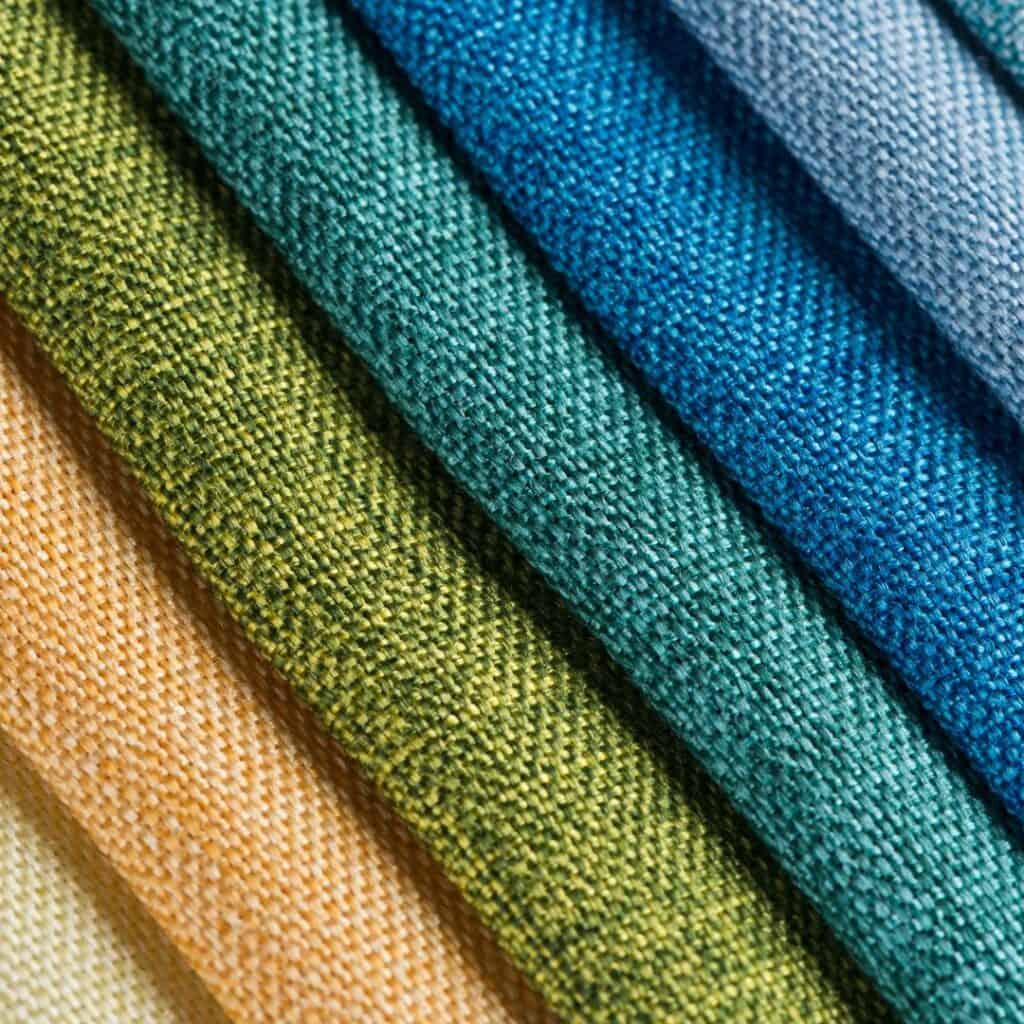
First things first, let’s choose the perfect fabric for your DIY wall art. This is a great way to use leftover fabric from other projects or pick out something new that complements your home. Whether you go for linen, upholstery fabric, or a textured white fabric for a neutral look, the choice is all yours.
To create a cohesive design for your DIY fabric decor, choose a color scheme and mix different patterns that work well together. This will give your 3d fabric wall art a polished and curated feel while still showcasing your personal style.
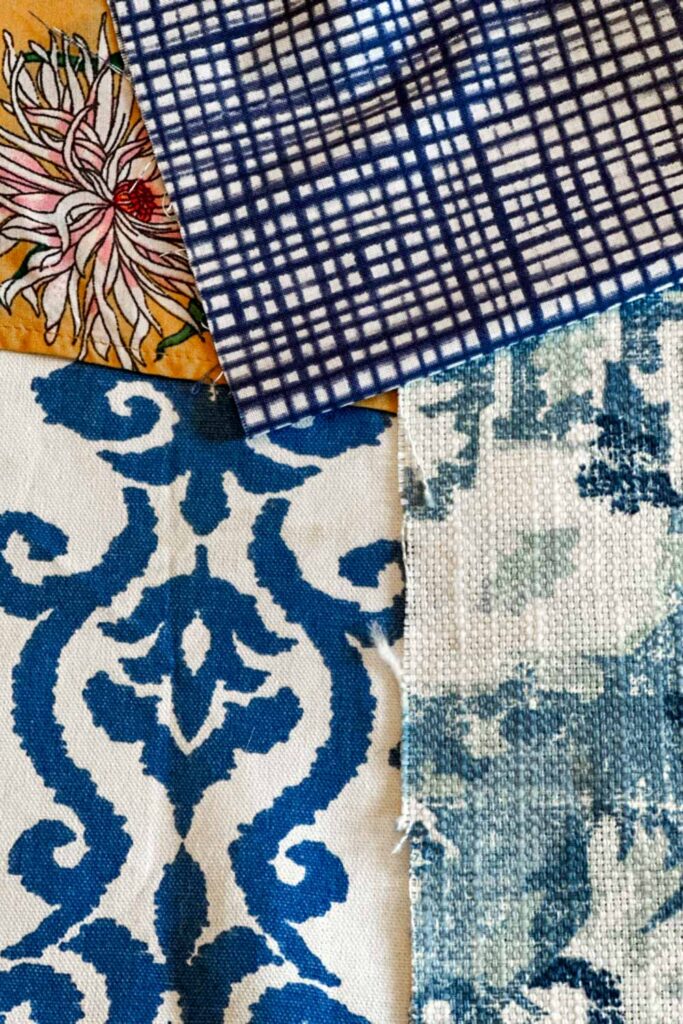

I used some some extra fabric I had on hand, and I found a great dress at the thrift shop with the perfect color and print.
I also like to purchase a fat quarter (the new fabric that comes in a bundle with companion patterns) from a local fabric store. However, thrift stores are an easy way to find fabric pieces at a low cost, and I love the hunt.
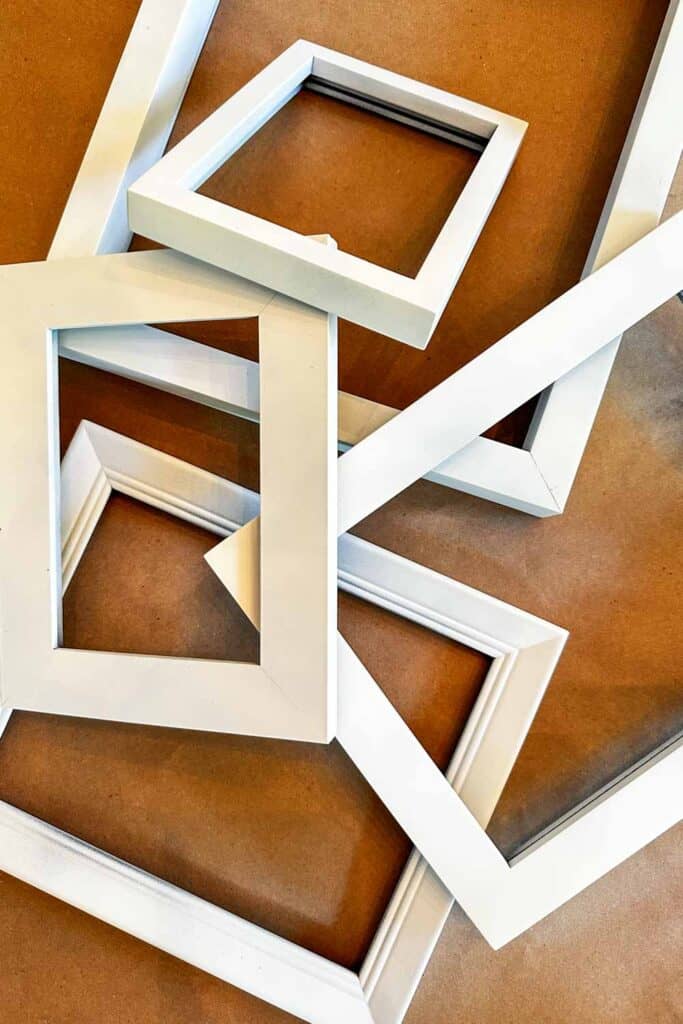
Step 2: Paint Your Picture Frames (Optional)
If your frames are dark like mine, you’ll want to give them a fresh coat of white spray paint to ensure no color shows through the fabric.

Before you start painting, make sure to work outdoors or in a well-ventilated area to avoid inhaling fumes.
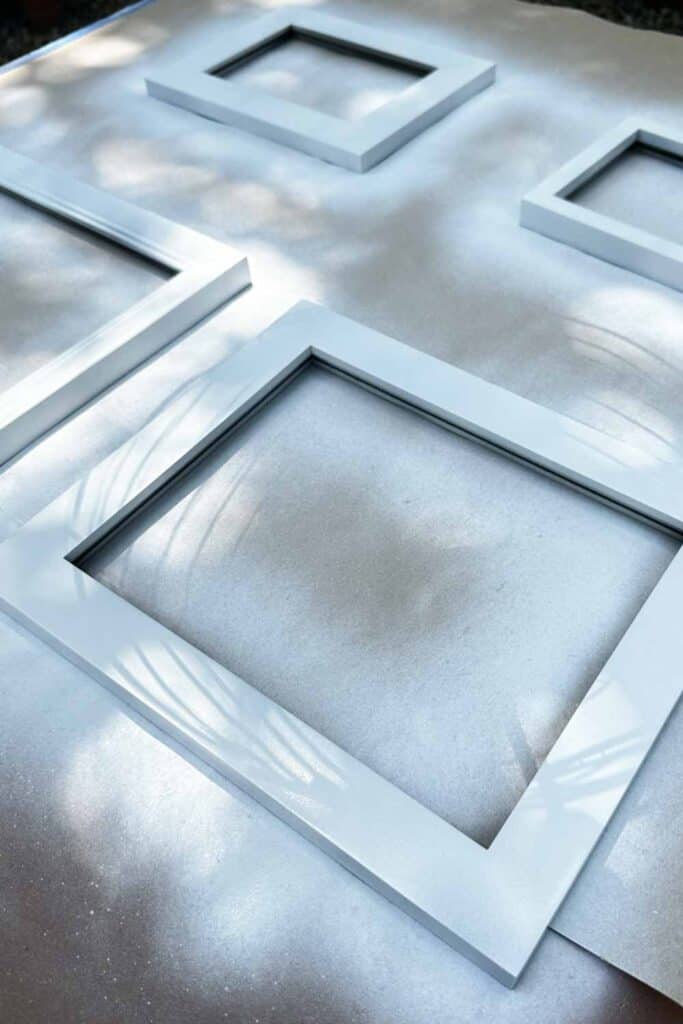
Place your frames on a protective surface like a drop cloth or cardboard, then apply a light, even coat of spray paint. Let the first coat dry completely before adding additional layers.
Repeat this process until the frames are fully covered and the original color is no longer visible. Taking the time to build up thin, even coats will give you the best results with a smooth and professional-looking finish.
Step 2: Cut Fabric for Your Frames
After your frames are prepped, lay each picture frame face down on the backside of a piece of fabric.
Cut the fabric to be 4-5 inches larger than the frame on all sides.
Step 3: Measure Your Frame Thickness and Prep Your Material
Next, use a ruler to measure the thickness of each of your frames frame. Then, draw a square with the exact dimensions on each corner of your frame.

For example, if the frame is 1″ thick, draw a 1″ x 1″ square on each corner. The square should touch the outside corner of the frame.
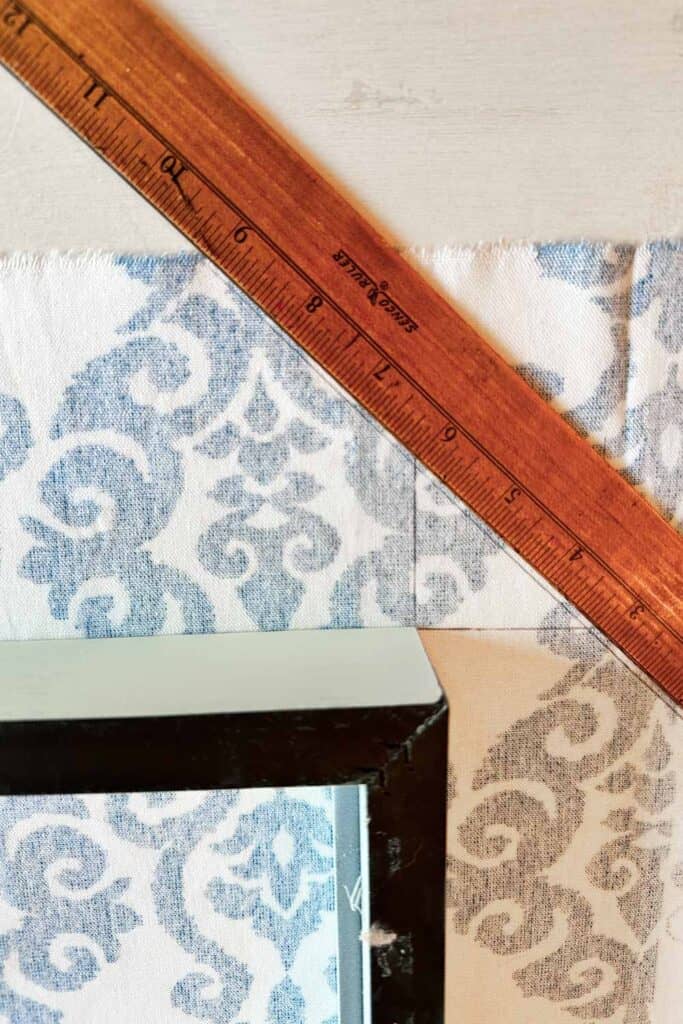

Then draw a diagonal line through the square that extends several inches on either side.

Repeat the process on all four sides of the picture frame. Then, cut along the lines you drew and around the squares
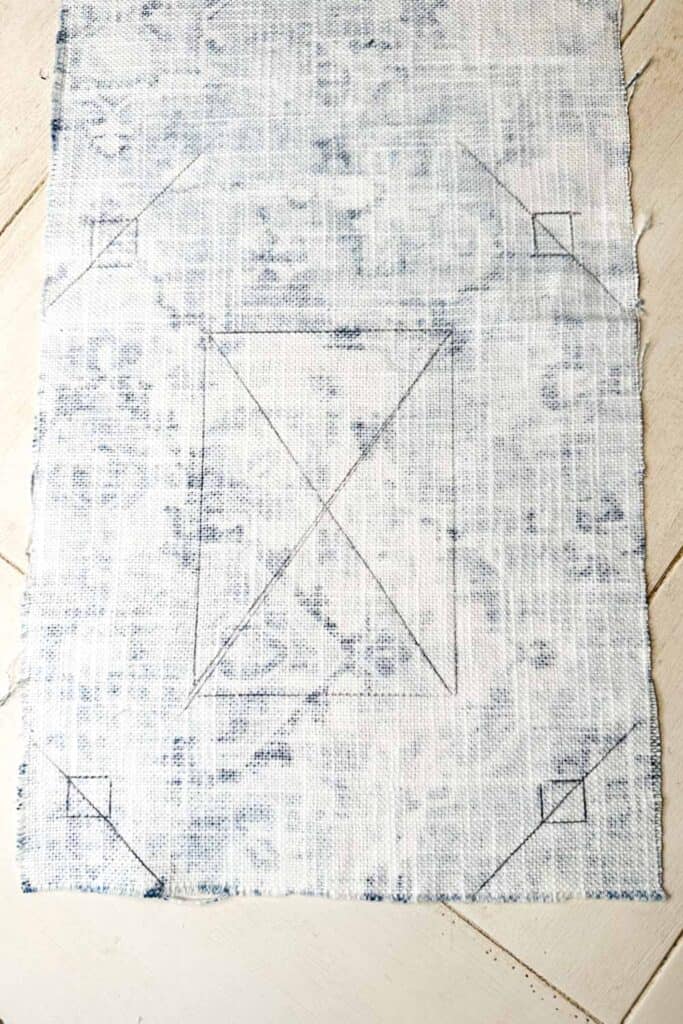
Draw a line around the interior of your frame on the back side of the fabric.
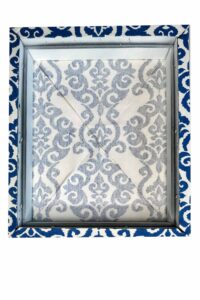
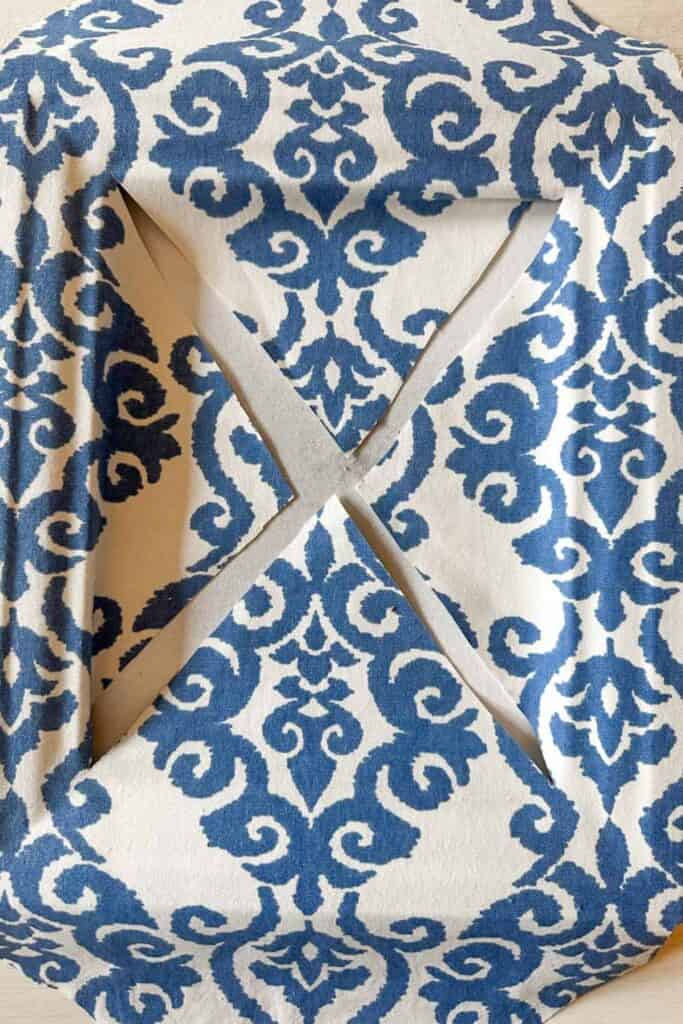
Then remove the frame and draw a large “X” in the box you just drew for the frame’s interior. When your done your piece of fabric should look like the picture above.
Step 4: Glue Your Fabric Corners to Your Frame
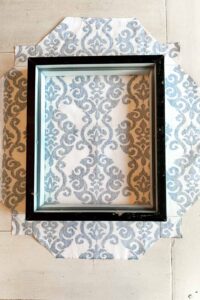
Brush a thin layer of collage glue or Mod Podge onto the face of your frame and place it on the fabric lining up the corners and the “X” in the center of the frame.

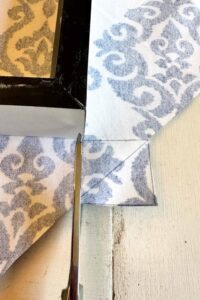
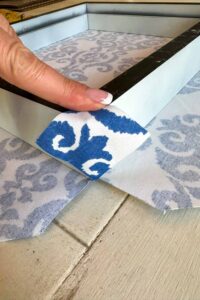
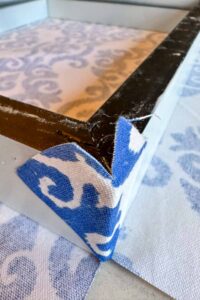

Turn your frame and fabric over, smoothing out the fabric to ensure it lays flat. Then, place the frame face down again. Next, make two small cuts along the inside face of each corner square, cutting close to the edge but not all the way through. This will create a small tab that helps conceal the corners of the frame for a clean finish.
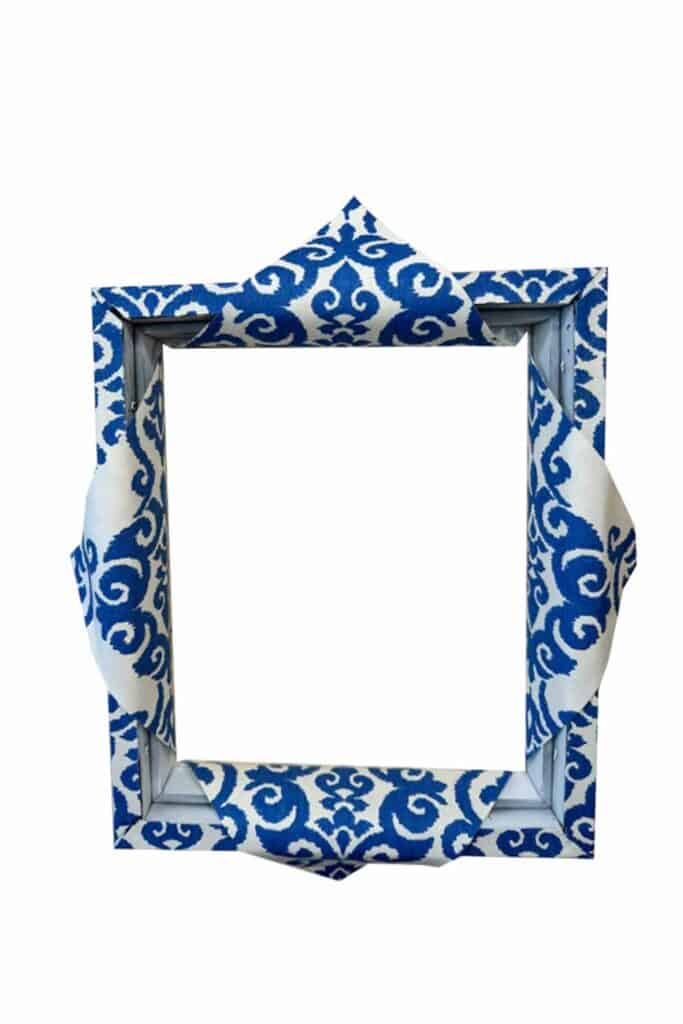
Apply a small amount of glue to one corner of the frame and secure the small tab in place. Then, make a small slit in the fabric that extends above the frame and glue these two tabs down on the back of the frame. Repeat this process on all four corners, making sure everything is secure and neatly tucked for a polished look.
Step 5: Glue Your Fabric Sides to Your Frame
Glue the sides to the back of the frame, starting at the bottom.
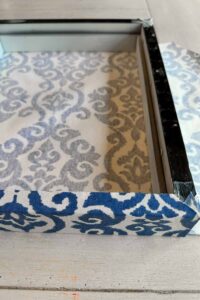
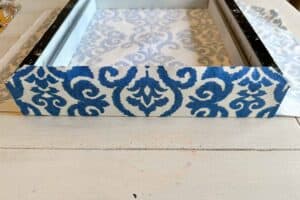
Place a small amount of glue onto the edge and back of the picture frame.
Pull your fabric up and rub any wrinkles or bubbles with your hand and trim off any excess fabric.
Repeat this process on the opposite and both sides and let the picture frame dry for a few hours.
Step 6: Wrap the Inside of the Frame
To finish your DIY fabric frame wall art, cut along the lines of the “X” on the frame’s interior.
Then working one side at a time, place a thin layer of glue along the inside edge and fold your fabric over. (You may want to trim your fabric first to avoid excess fabric).
Repeat this process on all four sides and allow to dry for several hours before adding your art to finish your fabric wall hanging.
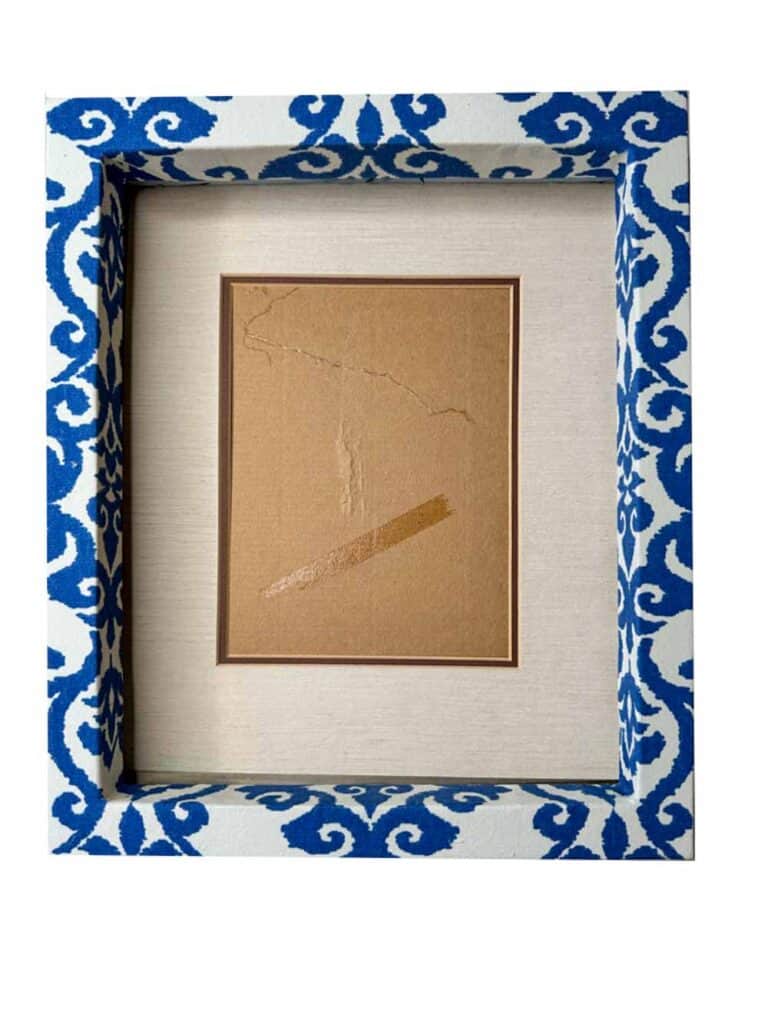
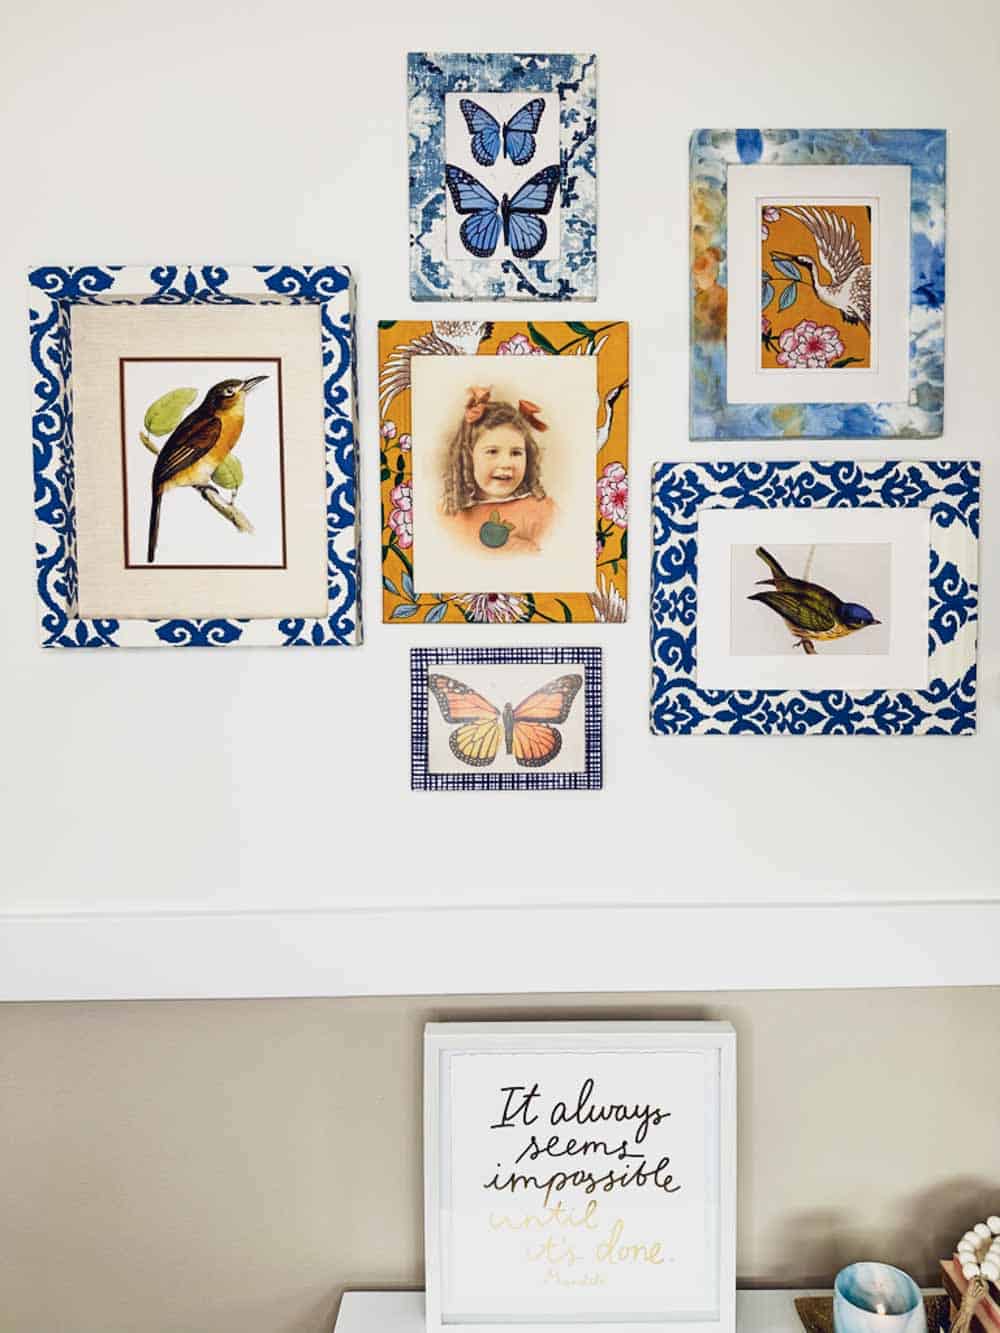
Fabric Wall Decor Ideas: Adding Artwork to Your Frames
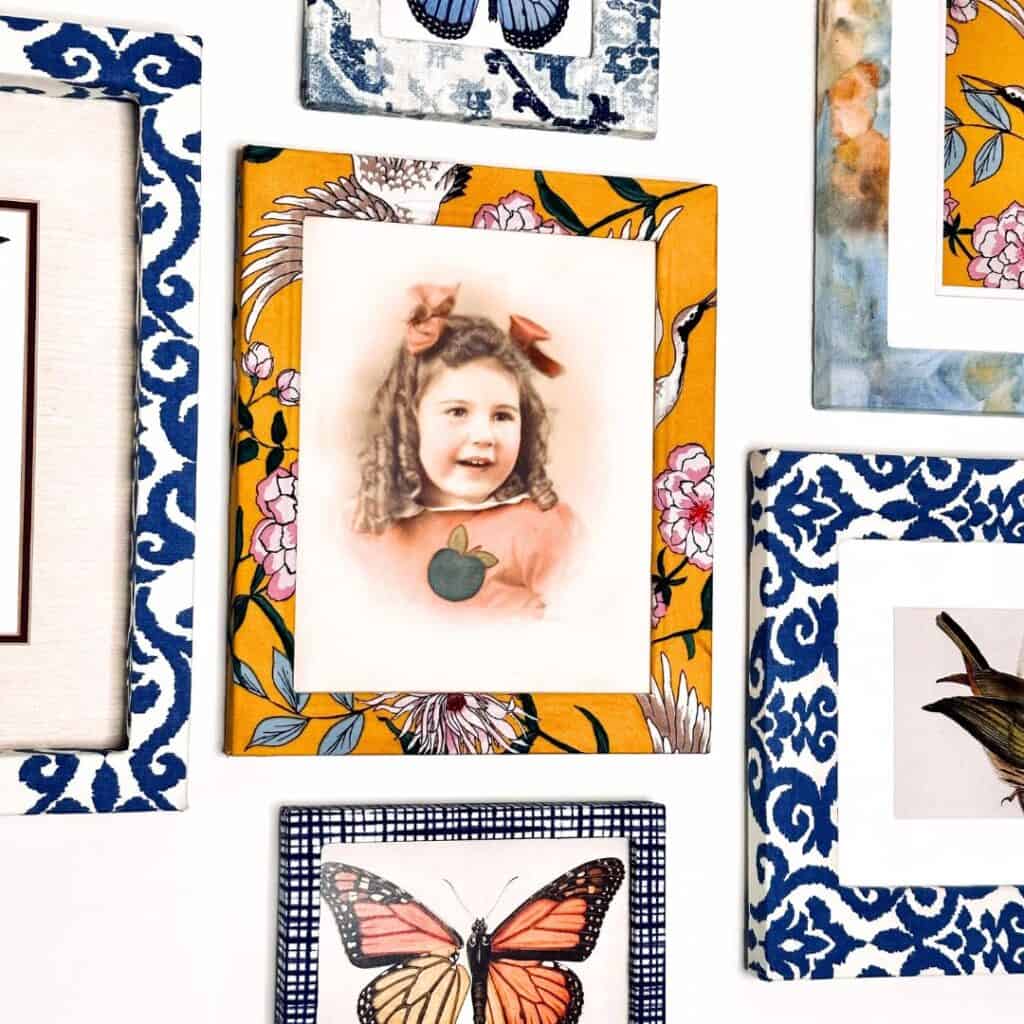
Now that your beautiful covered frames are complete, you can create your personal touch by adding photos, fabric, or printable artwork to your frames. Get creative and make your wall art the perfect fit for your home.
I chose to mix things up and use all three types of art in my frames.
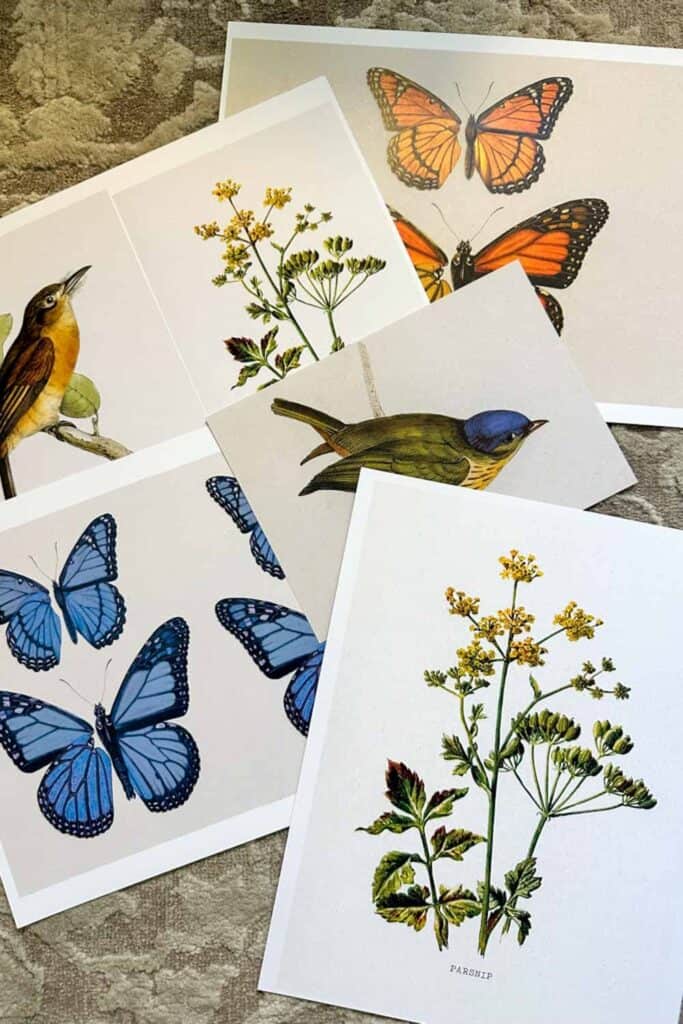
You can use a mat or leave the image alone in the frame without a mat. The choice is yours!
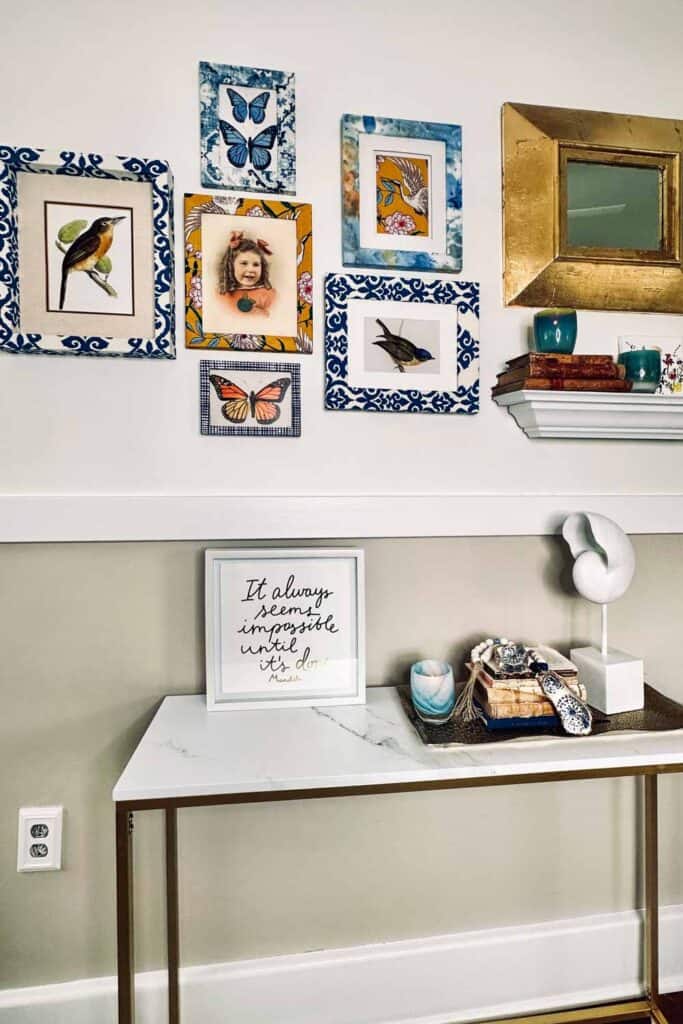
How Do You Display Your Fabric Frames on the Wall?
There are many different ways to place a group of picture frames of different sizes and shapes on a wall to create a wall gallery. Here are a few suggestions:
- Arrange the frames in a grid. This is a classic way to arrange a gallery wall and a great way to create a sense of order and balance. To create a grid, measure the wall and divide it into equal sections. Then, place the frames in the center of each section. My friends Anne and AnnMarie at simply2moms have a great blog post on how to do this.
- Arrange the frames in a cluster. This is a more informal way to arrange a gallery wall and a great way to create a sense of intimacy. Group a few frames of different sizes and shapes to create a cluster. You can place the cluster in the center of the wall, or you can place it in a corner.
- Arrange the frames in a random pattern. This is the most creative way to arrange a gallery wall and a great way to express your style. Place the frames wherever you like on the wall to create a random pattern. There are no rules!
No matter how you arrange your frames, take the time to measure and plan your placement carefully, and remember that there is no right or wrong way to arrange a gallery wall. The best way to find the right arrangement is to experiment with different possibilities.
This will help you to create a gallery wall that is both visually appealing and functional.

DIY Fabric Wall Art
Equipment
- 1 pair of scissors
- 1 Bottle of Mod Podge or Collage glue
- 1 Fan styled paint brush
- 1 Ruler
- 1 Pen
Materials
- 4-7 Picture frames
- 4-7 Pieces cotton fabric
- 4-7 Pictures or artwork
Instructions
- Lay your picture frame on the backside of the fabric face down.
- Cut the fabric to be 4-5 inches larger than the frame on all sides.
- Draw a square with the exact dimensions on each frame corner. For example, if the frame is 1" thick, draw a 1" x 1" square on each corner. The square should touch the outside corner of the frame.
- Draw a diagonal line through the square that extends several inches on either side.
- Repeat the process on all four sides of the picture frame.
- Cut along the lines you drew and around the squares.
- Draw a line around the interior of your frame on the back side of the fabric.
- Remove the frame and draw a large X in the box you just drew for the frame's interior.
- Brush a thin layer of glue onto the face of your frame and place it on the fabric lining up the corners and the X in the center of the frame.
- Turn your frame over and smooth out the fabric.
- Place the frame face down again. Make two minor cuts along the inside face of each corner square. You want to cut very close to the edge but not all the way through. This will create a tab that will help hide the corners of the frame.
- Apply a small amount of glue onto one corner of the frame and glue the small tab onto the corner.
- Repeat this process on each corner.
- Glue the sides to the back of the frame, starting at the bottom.
- Place a small amount of glue onto the edge and back of the picture frame.
- Pull your fabric up and rub any wrinkles or bubbles with your hand.
- Trim off any excess fabric.
- Repeat this process on the opposite end and both sides, and let the picture frame dry for a few hours.
- Cut along the lines of the "X" on the frame's interior.
- Then working one side at a time, place a thin layer of glue along the inside edge and fold your fabric over. (You may want to trim your fabric first to avoid excess fabric).
- Repeat this process on all four sides.
Other DIY Tutorials from WM Design House
If you love this DIY Wall art, you might also enjoy some of my other favorite DIY projects:
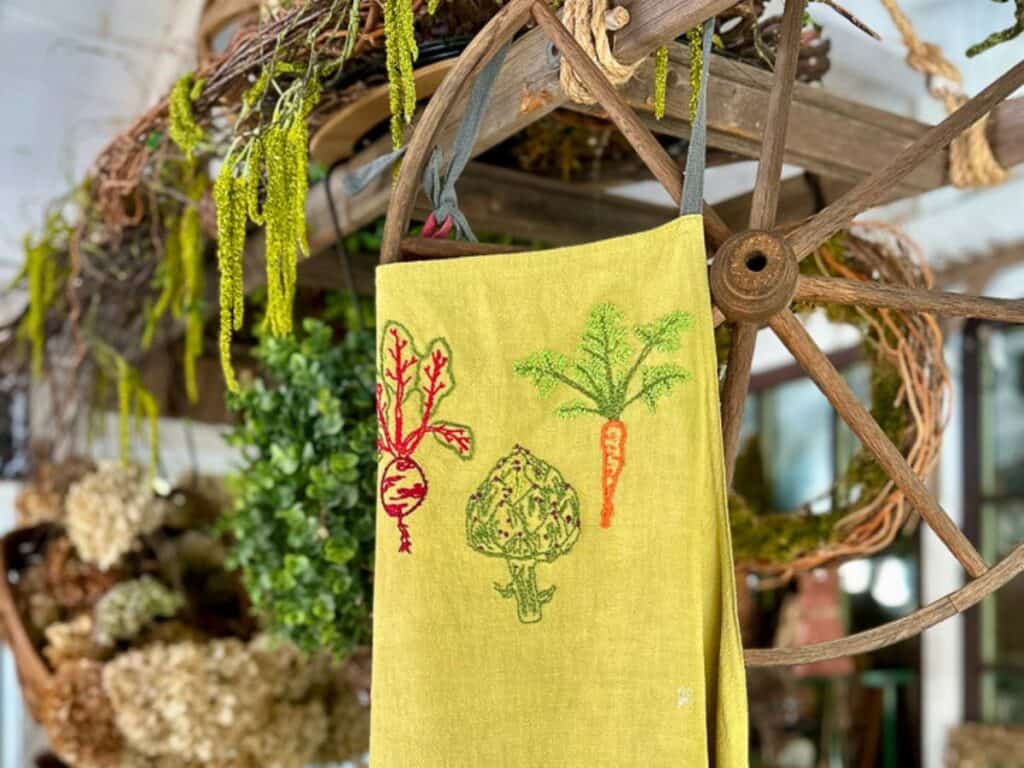
How to Make a DIY Embroidered Apron
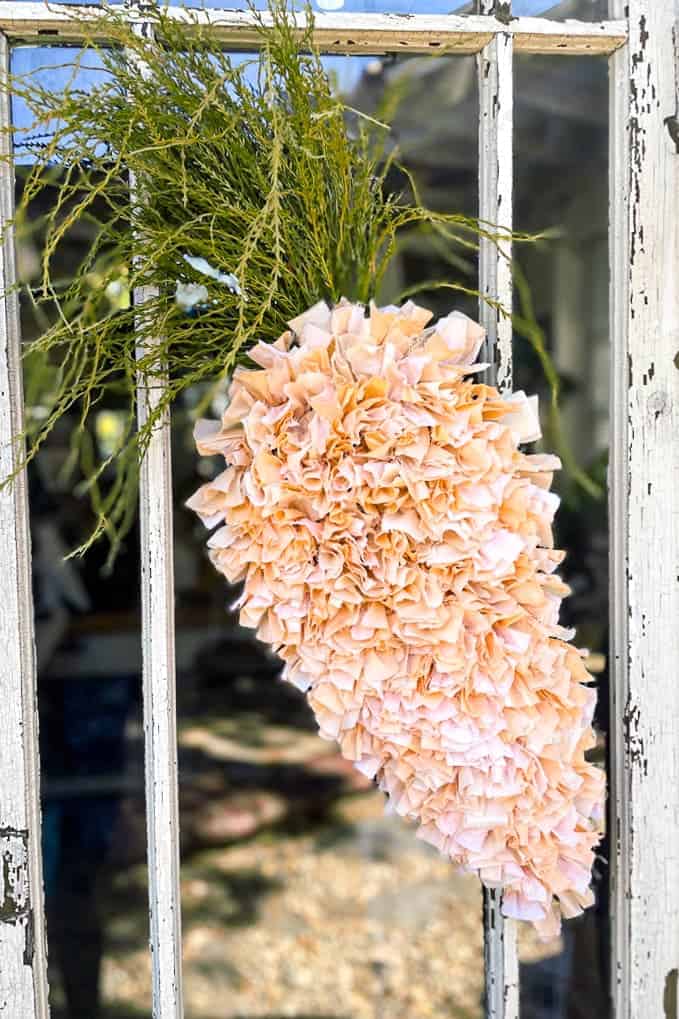
How to Make an Easy Easter DIY Carrot Wreath

DIY Dollar Tree Easter Wreath
Wrapping Up
DIY fabric wall art is such a fun and easy way to add personality to your home without spending a fortune. Whether you want to bring in a pop of color, a bit of pattern, or a unique personal touch, this project is a simple way to refresh your space.
Plus, it’s a great way to repurpose fabric you already have and create something totally custom for your walls. I hope you feel inspired to give it a try and make something that reflects your style!
Happy crafting!


Did you make this craft?
We would love to see what you have created, so mention us @wmdesignhouse or tag us using #wmdesignhouse so we can see your creations!


More about me!

Hello, I’m Wendy – a dedicated homemaker with a deep passion for decorating, gardening, cooking, and crafting. I find joy in harmonizing beautiful elements to fashion a space that is both comfortable and inspiring. I will help you create a beautiful home, one project at a time.

Wow. These are so pretty. This concept is not actually new to me but your choices and art make it so fresh and current.
Thank you so much Pam!
Such a cool idea, Wendy!! The fabric you chose to use is so pretty and those bird prints are amazing. What a neat project to use old frames for!
Your corner trick is blowing my mind! I am saving this for my next project! Thank you for sharing!
Also, I hunt thrifted clothing for projects all the time too. It’s so much fun!
Thank you Amy. The corner trick is life-changing…. :)))
Wendy!!! That is Masterclass level (the best, clearest tutorial) for how to cover a frame with fabric for professional results.
Your fabric choices are so gutsy and perfect!! Love it all!
Thank you Diane. I wanted to step out of the box a little bit and jazz up my office wall.
wow, what a great tutorial! Love the fabric designs and combinations. Pinned!
Thank you, Debra. I need to go back and make a few adjustments to the post. It was a whirlwind when I was writing it. I am sure you know how that goes.
Super cute idea. I love the fabrics that you chose.
Clever use of fabric! I’m sure you are still recovering from Haven…hope it was a good trip!
Yes, I am. It always seems to take a few days to get back in the groove.
Wendy,
I am in awe of your creativity! Every time I visit your blog I find something new to make. I am not a crafty but I think I can do this project!
Thank you for the detailed instructions!
Thank you so much, Elizabeth. You are so kind. These frames are really easy to make and add so much to a plain wall space. I hope you give them a try.
Wendy, you write the most amazing posts. You leave nothing for us to have figure out on our own. So complete. I love that it’s a picture of your mom and that you used a dress for the material. Clever and beautiful and usual. Great job.
Thank you, Regina. It started out as one frame and morphed into an entire collection.
I love all of the different fabrics that you used for this clever project. And the photo of your mother is just the best! Thanks for another great Handcrafted Society month! (and thank you for sharing my tablecloth wall art project!) Can’t wait for next month!
I’m in love with your fabric covered frames, and what a statement they make when turned into a gallery art display. Great tips on how to make them look so professional Wendy! Pinning!
Thank you Michelle. It was a fun project that started out small and grew, LOL. One on the wall was not going to cut it. Thank you for pinning it.
I love this idea Wendy! When we were clearing out my husband’s parents’ home, he mentioned he recalled his father wearing a plaid leisure suit from the 70’s (not the typical colors of the 70’s which I was happy about). I grabbed it since I wanted to do something with it and give it to him as a gift. I am thinking black and white’s, and perhaps using your idea here would be the perfect marriage of items. Thank you for sharing! I love when I can reuse something we already have, plus I am so sentimental that I love to use items with meaning to us around our home.
Hi Cara, I must first tell you how much I appreciate your comments. You are ALWAYS so sincere, and your messages are indeed from your heart.
This could be the perfect answer to creating a gift for your husband. The picture in my frame is of my mother when she was young.
I think this is the perfect answer. I found the frames easy to cover and a fun way to add some pizazz to my wall. I can’t wait to see what you
create. Let me know if you have any questions. My husband said the directions were a bit complicated. But he is a man, LOL.
Thank you Wendy! I cannot be anyone but myself, it typically gets me into trouble, but oh well! You look just like your mother! I thought it may have been a photo of you enhanced with a vintage look. I have been sifting through all sorts of photos from the past recently while getting my grandmother’s house ready to sell. So many memories have flooded through my mind, since so much of my childhood was spent visiting with them. I have wanted to create a gallery wall since we purchased our home at the top of the steps, but I cannot seem to find the time to devote to figuring out placement, collecting frames, deciding which photos to hang, it’s a lot of work and thought that goes into it. I am hoping life will slow down a bit so I can take the time to make it happen. I cannot remember if I took the jacket only, or if I threw in the pants too. I would think the pants would be perfect for cutting to go around the frame, but maybe not now that I work through it in my mind, lol! Have a wonderful week!
Just so know, being yourself is the best way to be. Your true personality shines through your words, and I love reading every one of them.
We were in San Jose for a few days helping some friends get some painting done, so I am late at replying to comments. Sometimes, you just need to step away and be in the moment with those that you love. I hope you can find some time to get your gallery wall done, I know you would be so happy once you do it. Start with just a few frames, like 3 or five and then you can add to them. That way, it does not feel to over whelming.
Wendy I adore this project! The fabrics you chose are all so pretty. I want to try this now:)
Thank you, Missy. It started out with just a picture of my mom, and the project morphed. LOL
Thank you, Kelly. They are super easy to make and add great color to a blank wall. Thanks for stopping by.