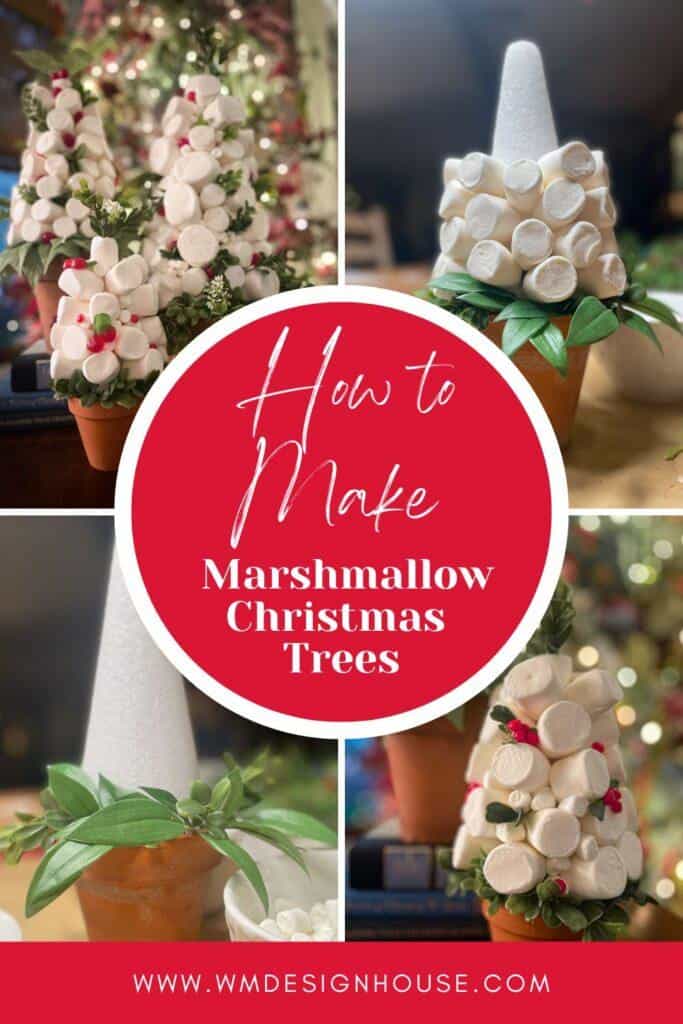
How to Make Marshmallow Christmas Trees for Decor
Learn how to make these adorable marshmallow Christmas trees for your next holiday party!
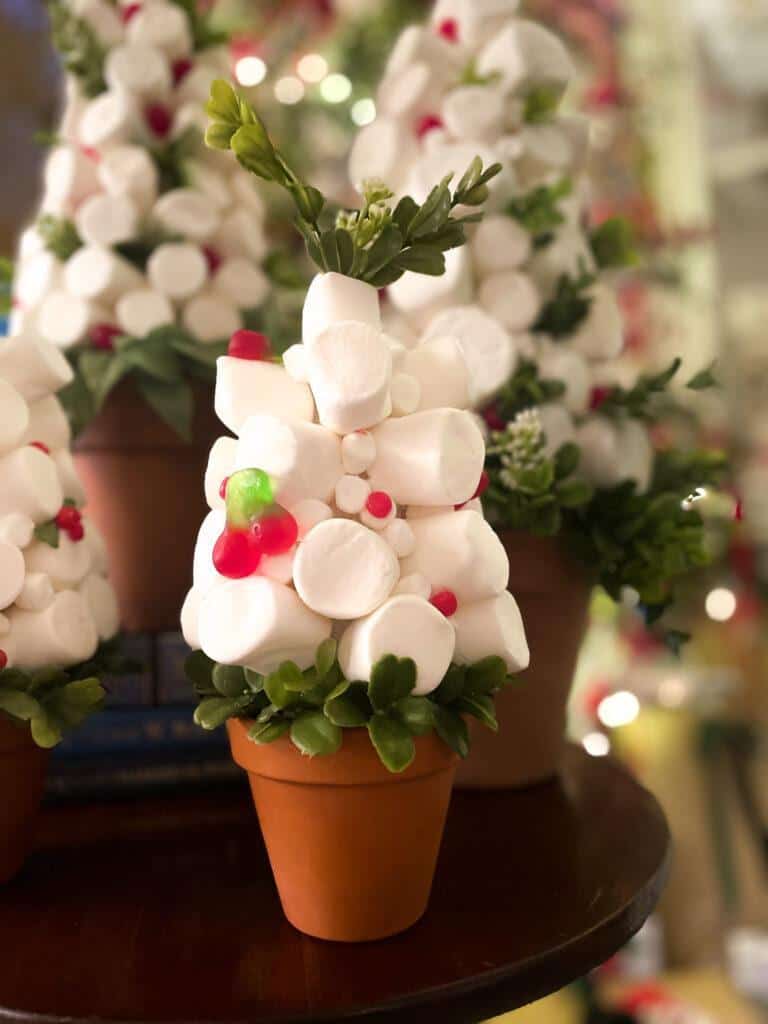
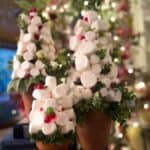
I hope you’re all ready to sprinkle some festive magic into your homes because today, I am sharing a delightful DIY project that’s is fun to make and so adorable – Marshmallow Christmas Trees!
Whether you’re looking to add a charming touch to your holiday decorations or searching for a sweet and thoughtful gift idea, these little trees are the perfect solution. They dry just as they are and look great year after year.
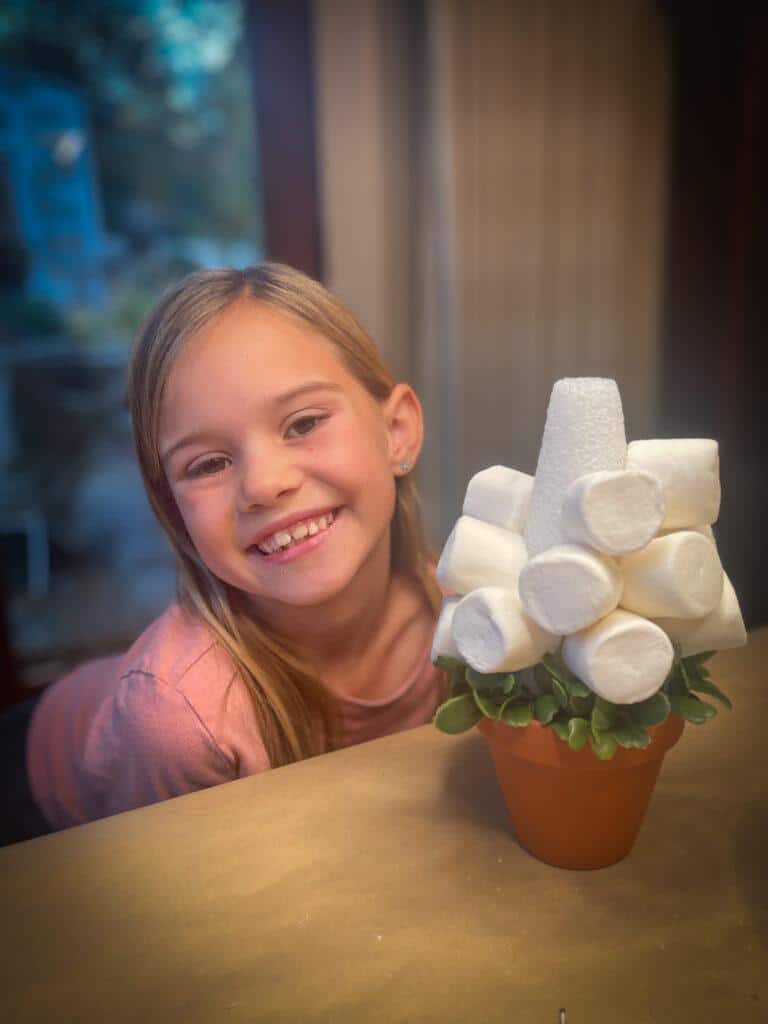
What makes them even more special? They’re super easy to whip up! So easy, in fact, that my seven-year-old granddaughter crafted one all on her own. Talk about a festive family bonding activity! Join me as I guide you through a step-by-step tutorial, unlocking the secrets to creating these irresistible marshmallow masterpieces.

What are Marshmallow Christmas Trees?
Edible decorations can be created with marshmallow Christmas trees by using entirely food-safe ingredients.
I enjoy showcasing these miniature Christmas trees annually! So, I attach the marshmallows to a Styrofoam cone using hot glue, rendering them non-food-safe.
If you would prefer to make these marshmallow trees as an edible holiday treat, scroll down for the instructions below. You can ditch the glue gun and use melted white chocolate as glue instead! Attach the marshmallows to cone-shaped rice Krispie treats or even a small sugar cone. No matter which version you try, you’ll have so much fun!
Supplies Needed
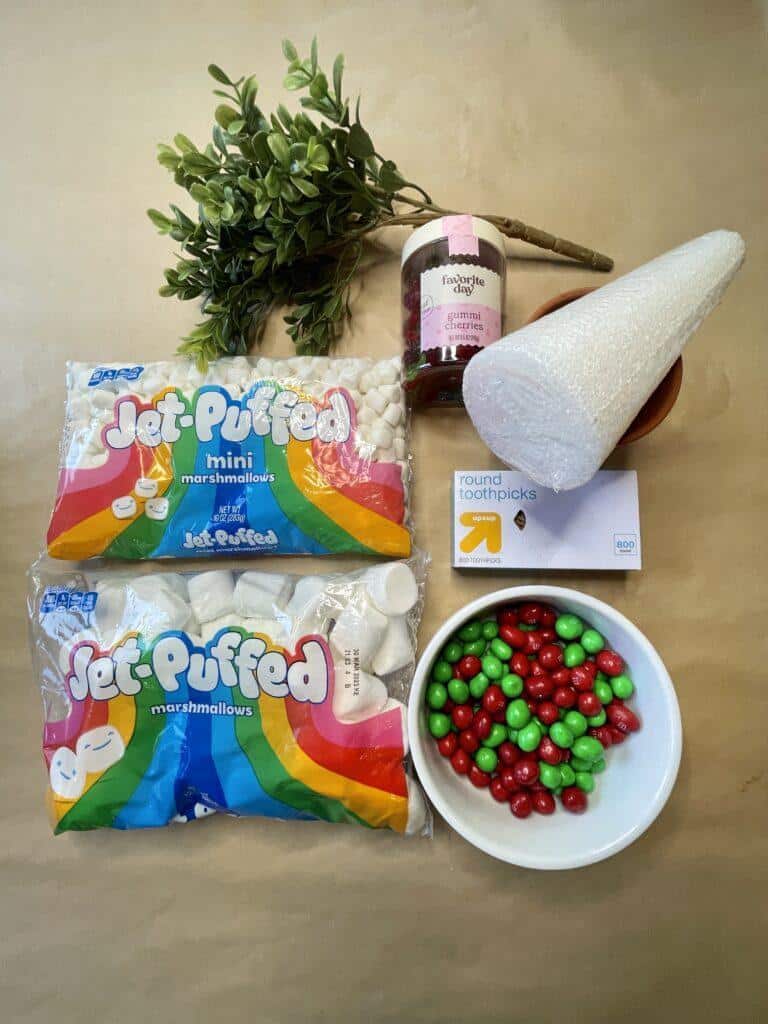
To make your own marshmallow Christmas trees, you’ll need a few common DIY supplies and a couple of items from the grocery store:
Supplies for a Decorative Marshmallow Tree
- Extra large, large and mini marshmallows
- Toothpicks
- Glue gun and glue sticks
- A container for your tree. I used a clay pot, but you can choose any container you would like to use.
- One Styrofoam cone to fit into your container.
- Faux small greenery
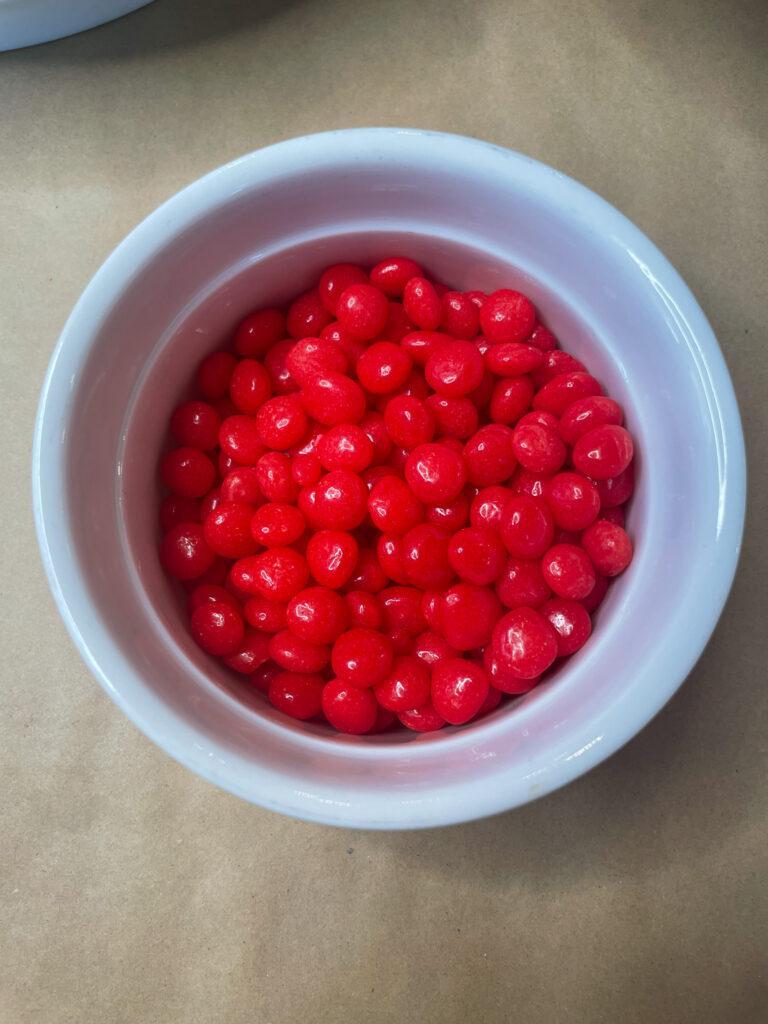
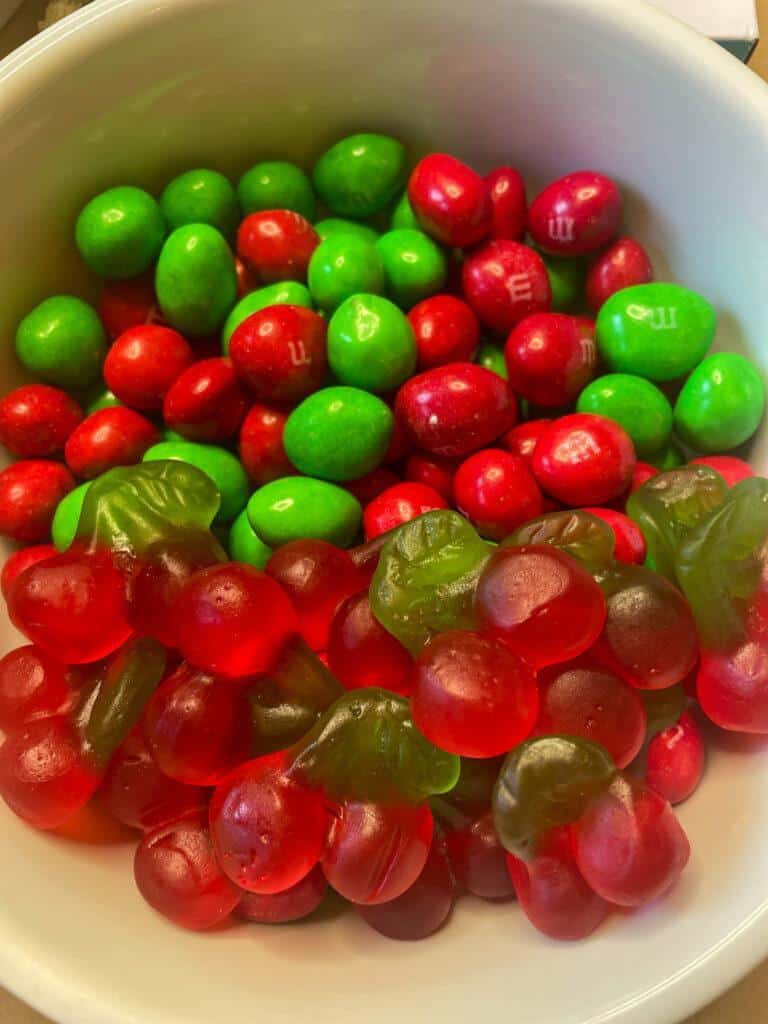
- An assortment of candy: Red hots, cherry round candy, mini m&m candies, mini candy canes, star sprinkles, or some faux berries.
Supplies for an Editable Marshmallow Tree
- Extra Large and regular size marshmallows
- Toothpicks
- Melting chocolate
- A container for your tree. I used a clay pot, but you can choose any container you would like to use.
- One sugar ice cream cone or make a rice Krispie treat Christmas tree. You can also use a styrofoam tree and cover it with foil or saran wrap before attaching the marshmallows.
- Fresh greenery
- An assortment of candy: Red hots, cherry round candy, mini m&m candies, mini candy canes, star sprinkles.
Directions to Make a (Decorative) Marshmallow Tree
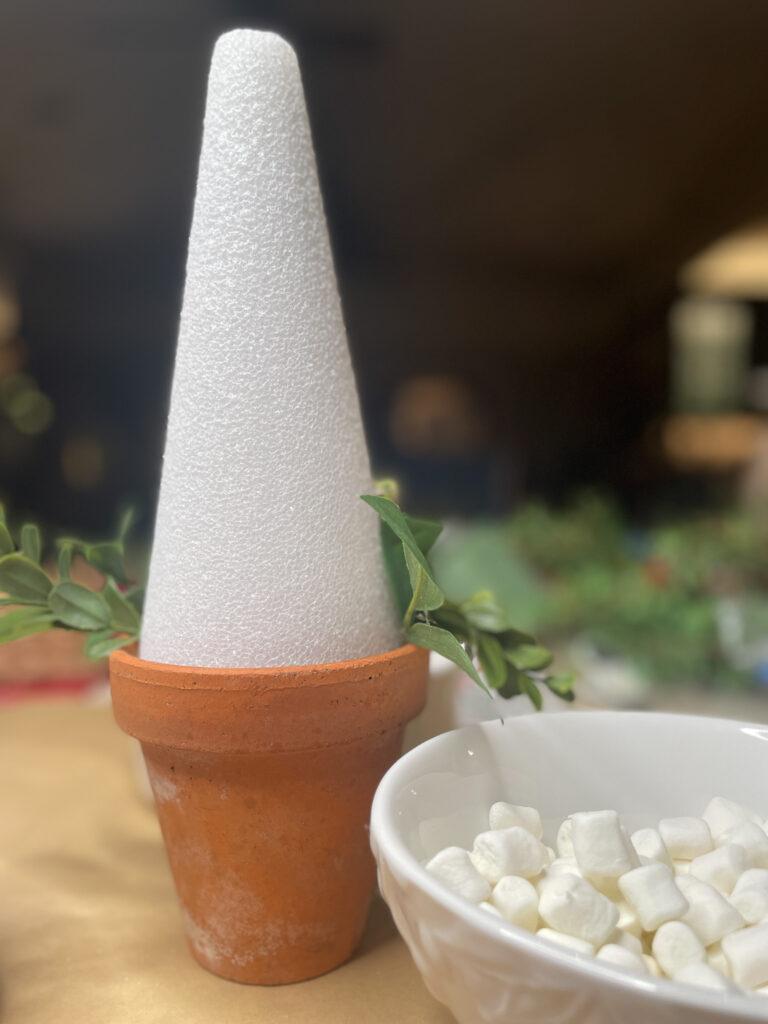
1. Glue the Styrofoam cone into the pot (or whatever container you choose). Make sure the cone sits inside your container a little bit, but you want most of it exposed.
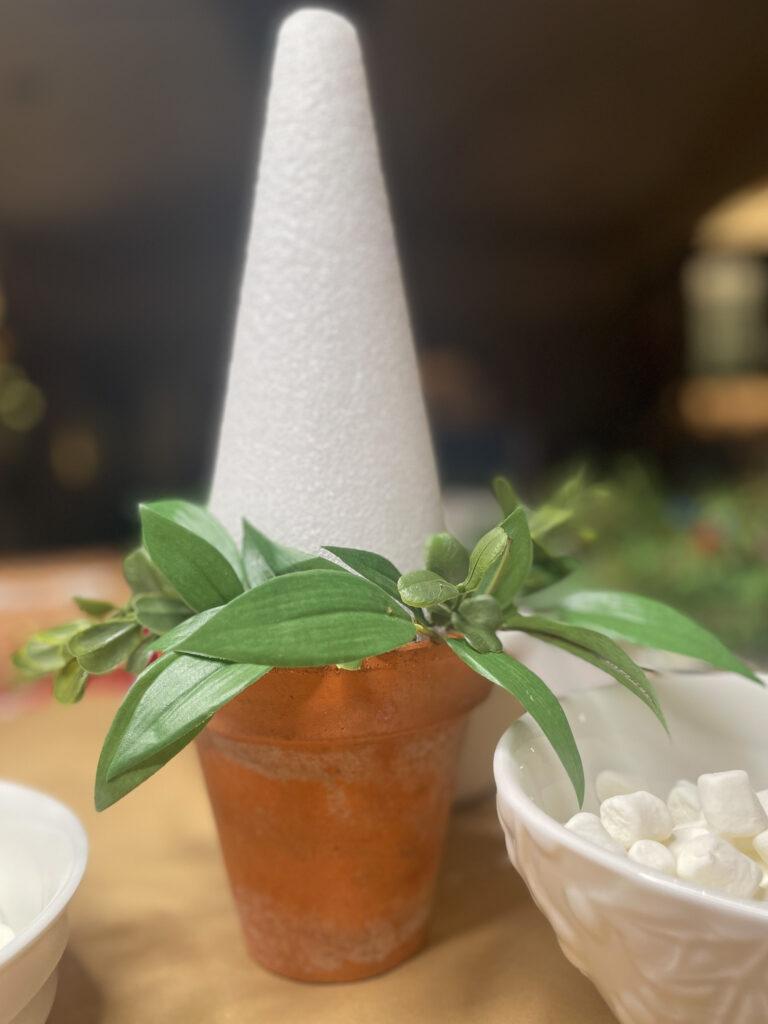
2. Arrange greenery around the base of the cone where it meets the pot. Then, add a little bit of hot glue so the foliage will stay in place where it pokes into the Styrofoam.
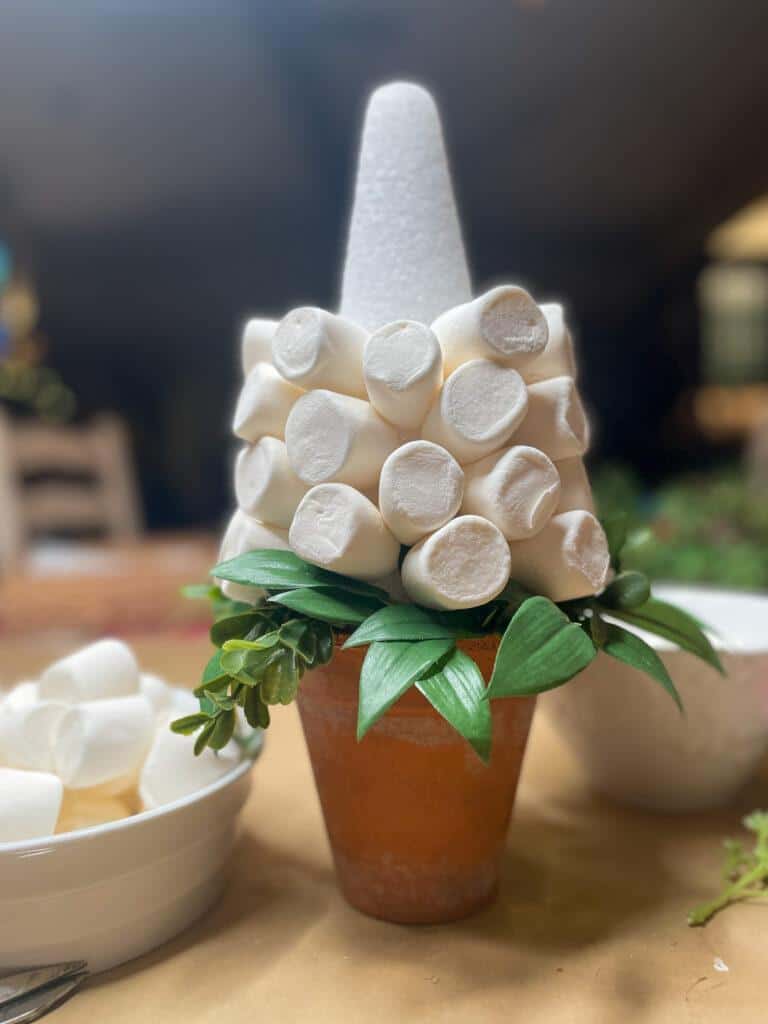
3. Trim your toothpicks to about 3/4 of their length. (I find that full-sized toothpicks are too long for decorating these small trees). Poke one end of the toothpick into the Styrofoam at the base of the pot and leave the other end sticking out far enough to attach a marshmallow.
4. Put a small dab of hot glue onto the end of a marshmallow and slide it onto the toothpick until it meets the Styrofoam cone. Hold it in place for a minute until it stays firmly in place.

5. Continue working your way around the little tree, working from the bottom to the top of the cone. It’s OK if you have small gaps where the Styrofoam shows, as you can go back and add tiny marshmallows and other decorations in those spaces. Be sure to add a marshmallow to the top of the tree.
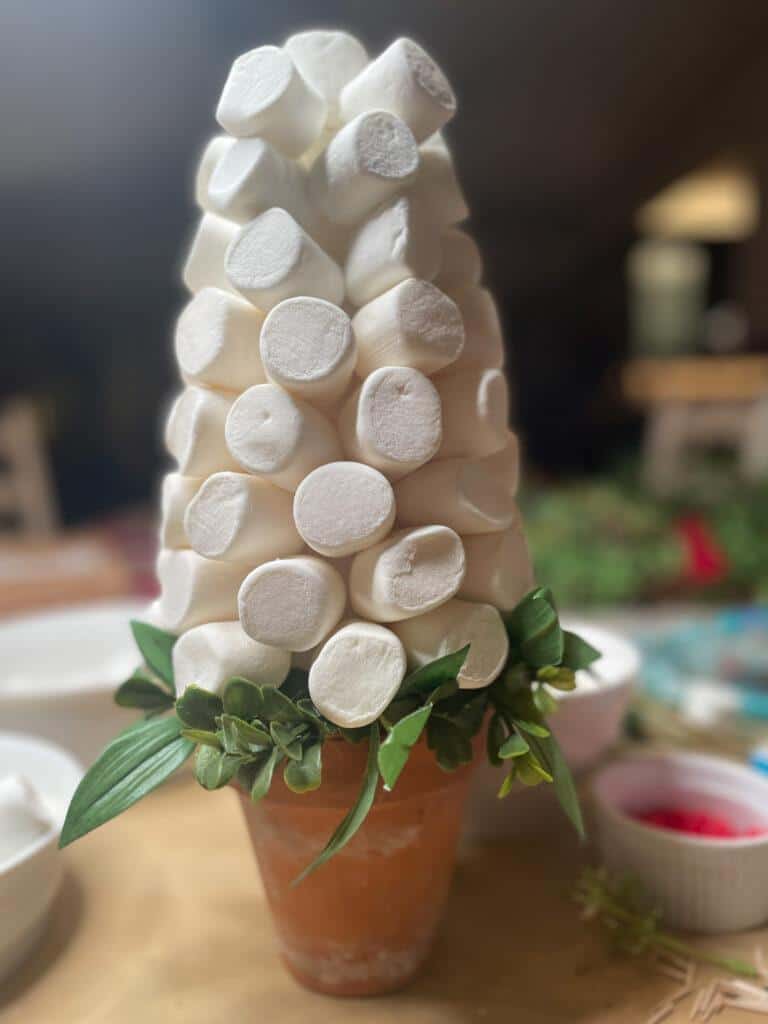
6. Once your tree is completely covered, it’s time for the finishing touches. You can add a few pieces of small greenery between the marshmallows and fill in any remaining gaps with mini marshmallows.
7. Lastly, attach your “berries” using the candy of your choice.
Print the How to Card
How to Make Marshmallow Trees for Decoration
Equipment
- Hot glue gun
- Wire cutters
Materials
- Extra large and regular-size marshmallows
- Toothpicks
- A container for your tree. I used a clay pot but you can choose any container you would like to use.
- One Styrofoam cone to fit into your container.
- Faux small greenery
- An assortment of candy: Red hots cherry round candy, mini M&M candies, mini candy canes, star sprinkles, or some faux berries
Instructions
- Glue the Styrofoam cone into the pot (or whatever container you use). Make sure the cone sits inside your container a little bit, but you want most of it exposed.
- Arrange greenery around the base of the cone where it meets the pot. Then, add a little bit of hot glue so the foliage will stay in place where it pokes into the Styrofoam.
- Trim your toothpicks to about 3/4 of their length. (I find that full-sized toothpicks are too long for decorating these small trees). Poke one end of the toothpick into the Styrofoam at the base of the pot and leave the other end sticking out far enough to attach a marshmallow.
- Put a small dab of hot glue onto the end of a marshmallow and slide it onto the toothpick until it meets the Styrofoam cone. Hold it in place for a minute until it stays firmly in place.
- Continue working your way around the little tree, working from the bottom to the top of the cone. It's OK if you have small gaps where the Styrofoam shows, as you can go back and add tiny marshmallows and other decorations in those spaces. Be sure to add a marshmallow to the top of the tree.
- Once your tree is completely covered, it's time for the finishing touches. You can add a few pieces of small greenery between the marshmallows and fill in any remaining gaps with mini marshmallows.
- Lastly, attach your "berries" using the candy of your choice.
Making Edible Marshmallow Christmas Trees
If you’d prefer an edible tree, you’ll need to make a few changes! First, skip the hot glue. Instead, use melted white chocolate or candy melts. The rest of the instructions are pretty similar, I also suggest using real greenery as well.
- Select a material for the tree’s body, such as Rice Krispie treats or ice cream cones. If you make Rice Krispie treats, allow them to come to room temperature for firmness. Alternatively, cover a styrofoam tree with foil or plastic wrap before attaching the marshmallows.
- Then, attach the marshmallows to your tree using melted chocolate. It can help to use a large piping bag.
- Let the chocolate solidify then add your favorite candies and decorations.
These are so much fun for small children, and they’d make a great project for a class party. They’re such a great way to spread a little holiday cheer!
How to Store Marshmallow Christmas Trees (for decor)
Remember that these homemade trees are not intended as a festive holiday treat; they are home decor!
Since the trees have real food on them, it’s really important to let them dry properly. I don’t recommend covering them. Instead, store them loosely in a cupboard in your kitchen or another room of your home. I also do not suggest storing them outside as the critters may find them.
For longer storage, you can even spray them with a matte polyurethane spray. This will keep them from looking too shiny and will help preserve them for long-term use.
Decorating With Marshmallow Christmas Trees
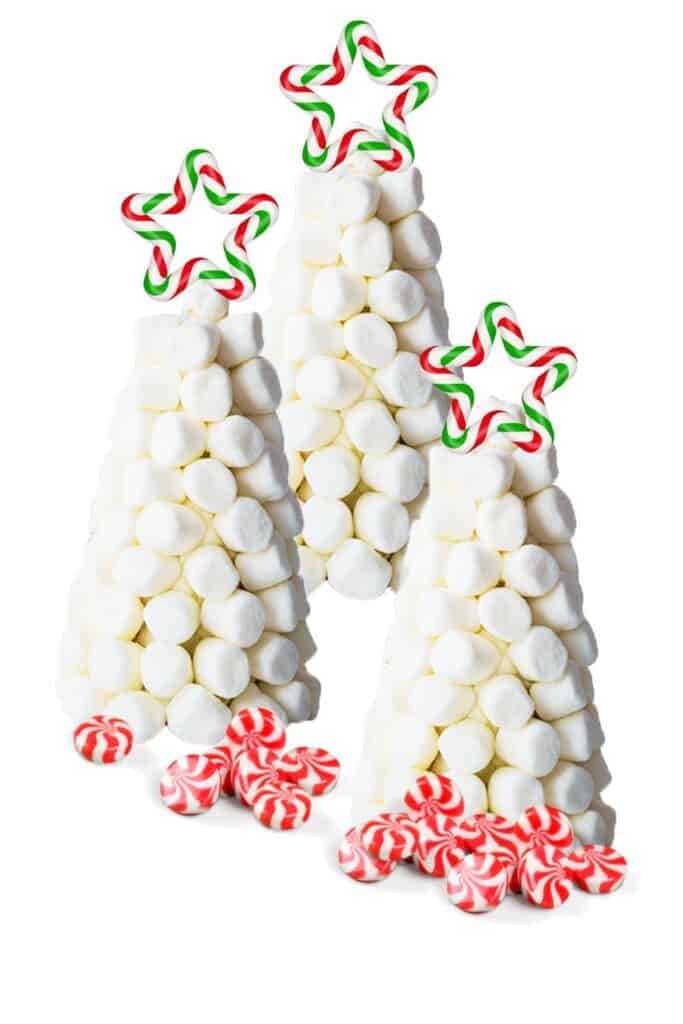
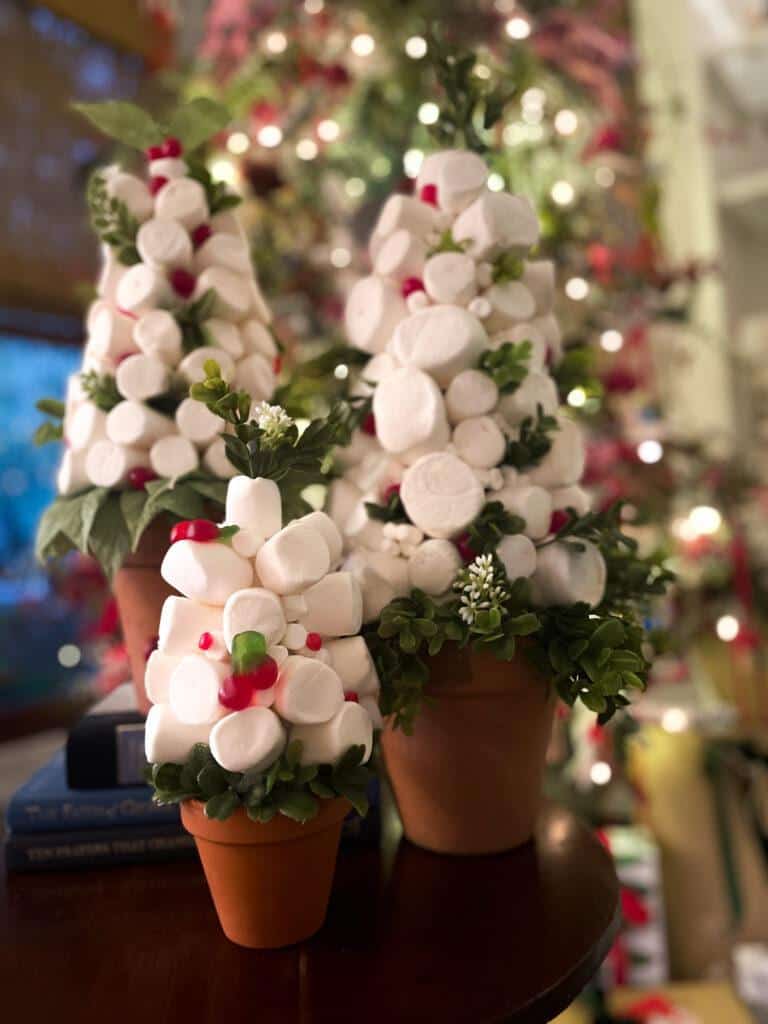
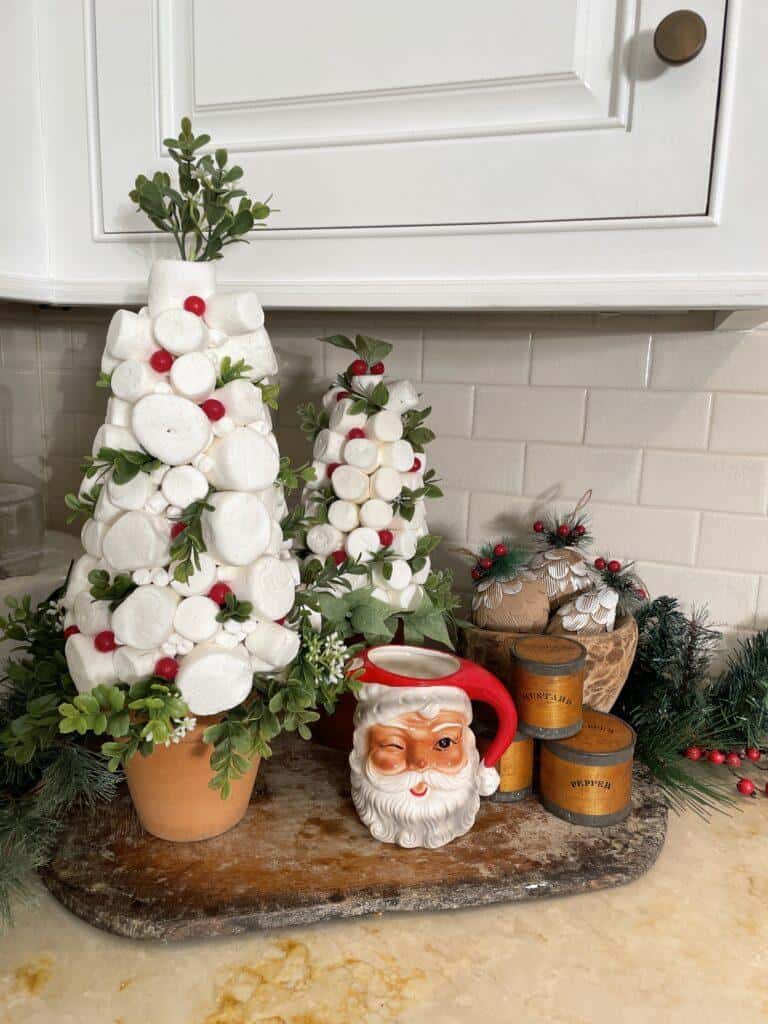
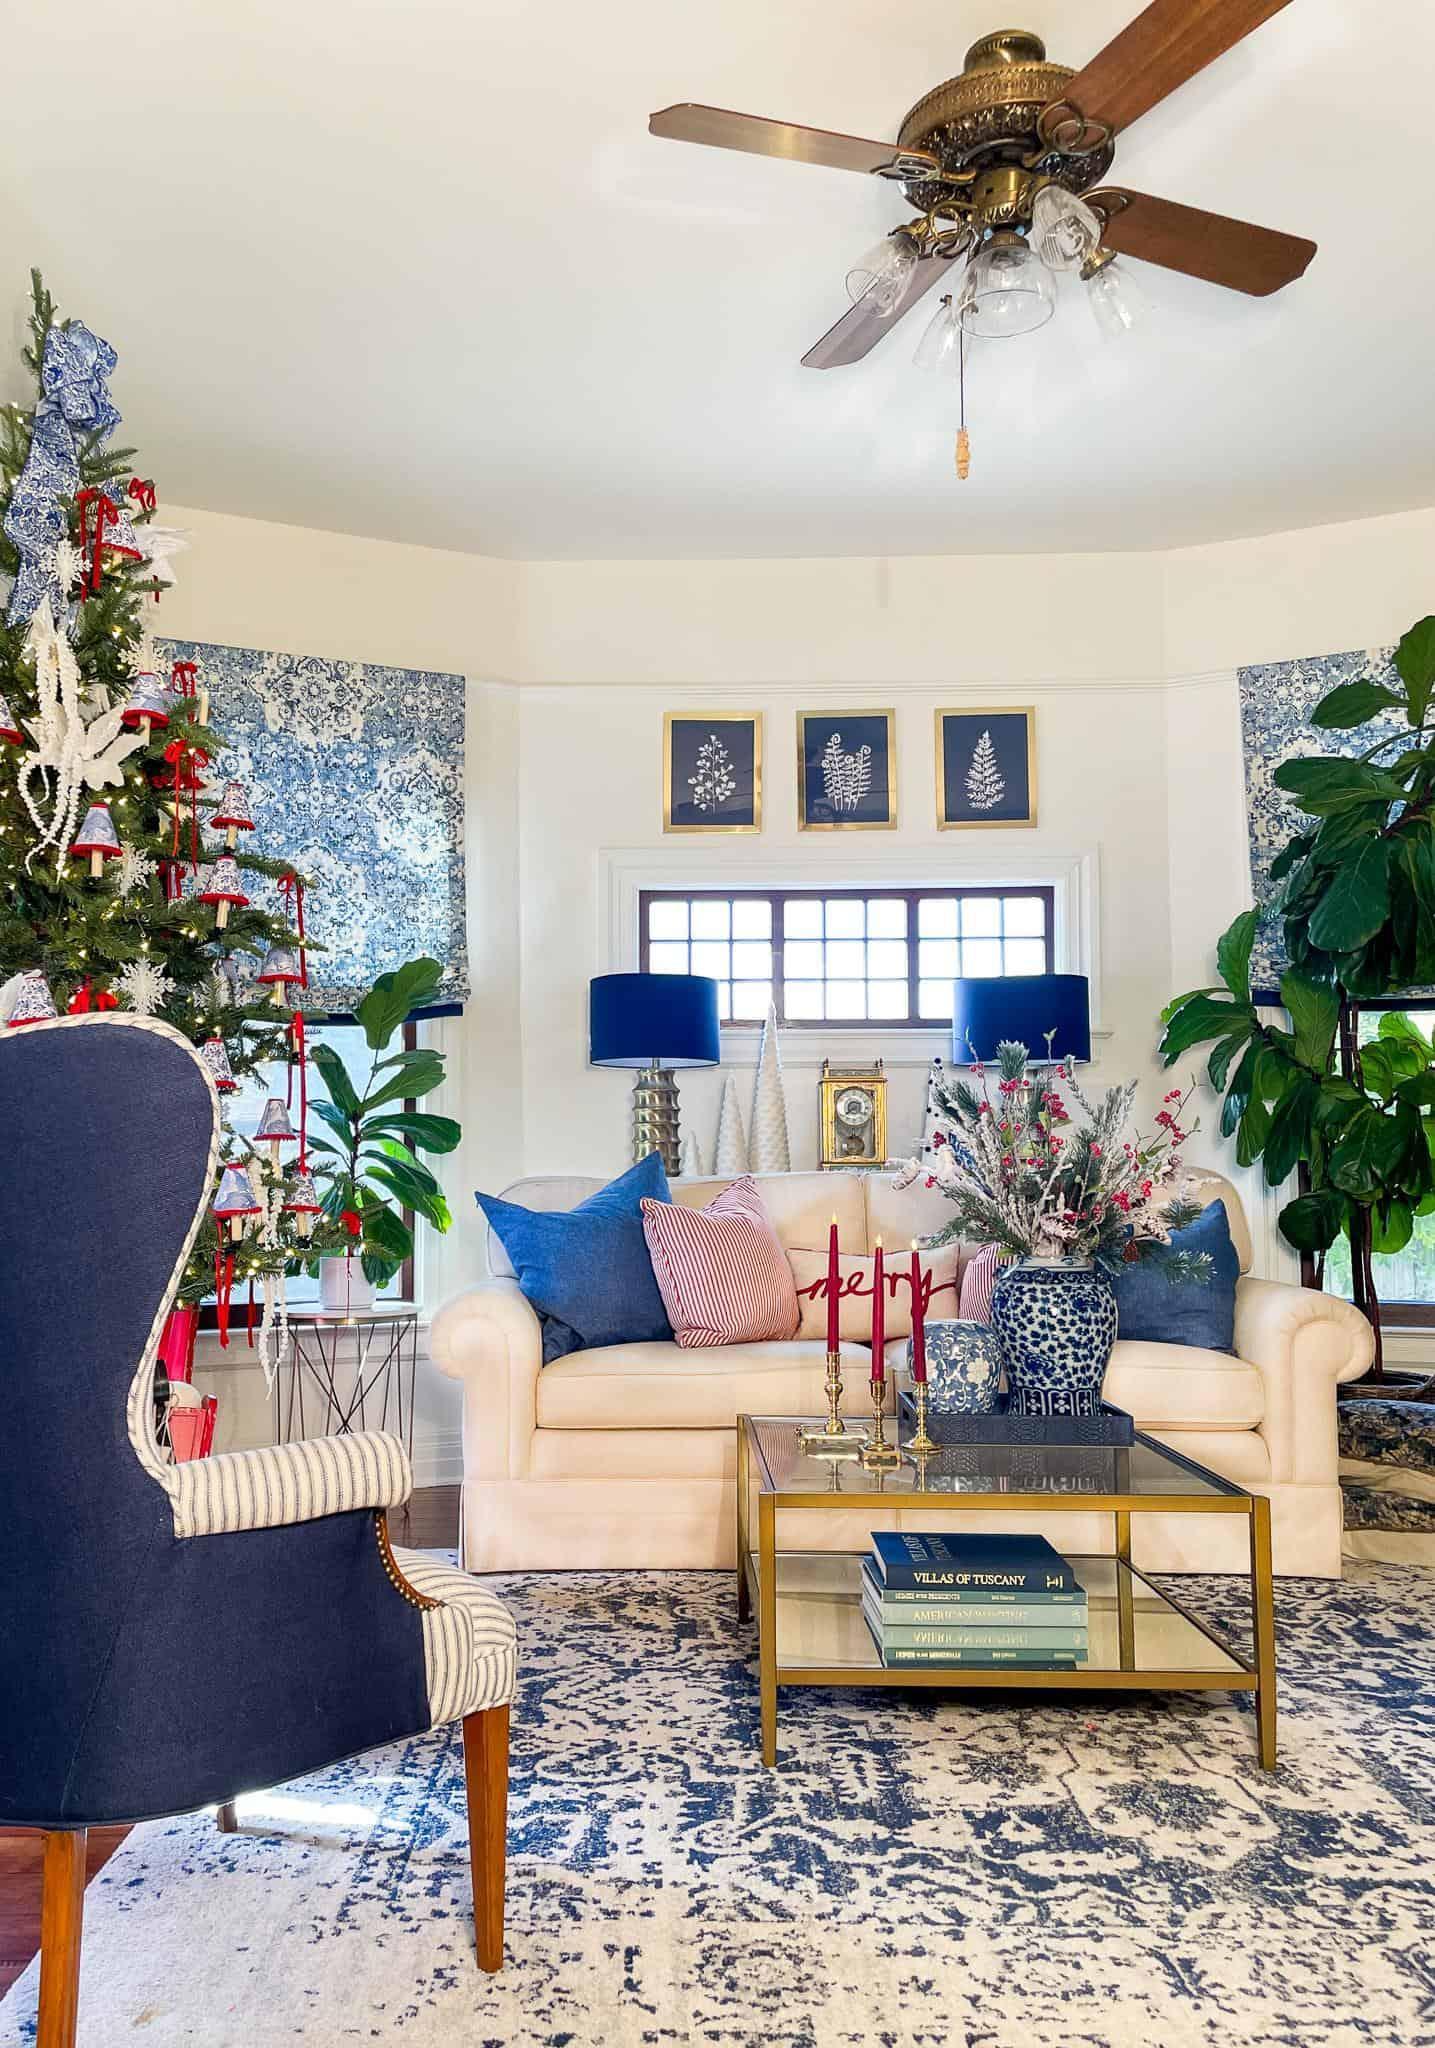
My favorite spot to put these darling trees is in the kitchen. I have made several over the years and keep adding to my collection. They’re the perfect decoration for the kitchen since they’re made with food! Whether using a single tree as an accent, or creating a whole forest of marshmallow Christmas trees, they are a sweet addition to your holiday decor.
The other fun part of this Christmas DIY is that you can change up the design to make each tree unique. Marshmallows come in different colors, sizes, and shapes, so have fun with it and get creative! For example, I used jumbo marshmallows in the tree next to my stove. If you are giving them as gifts, you can use the recipient’s favorite colors or candy to personalize it for them.
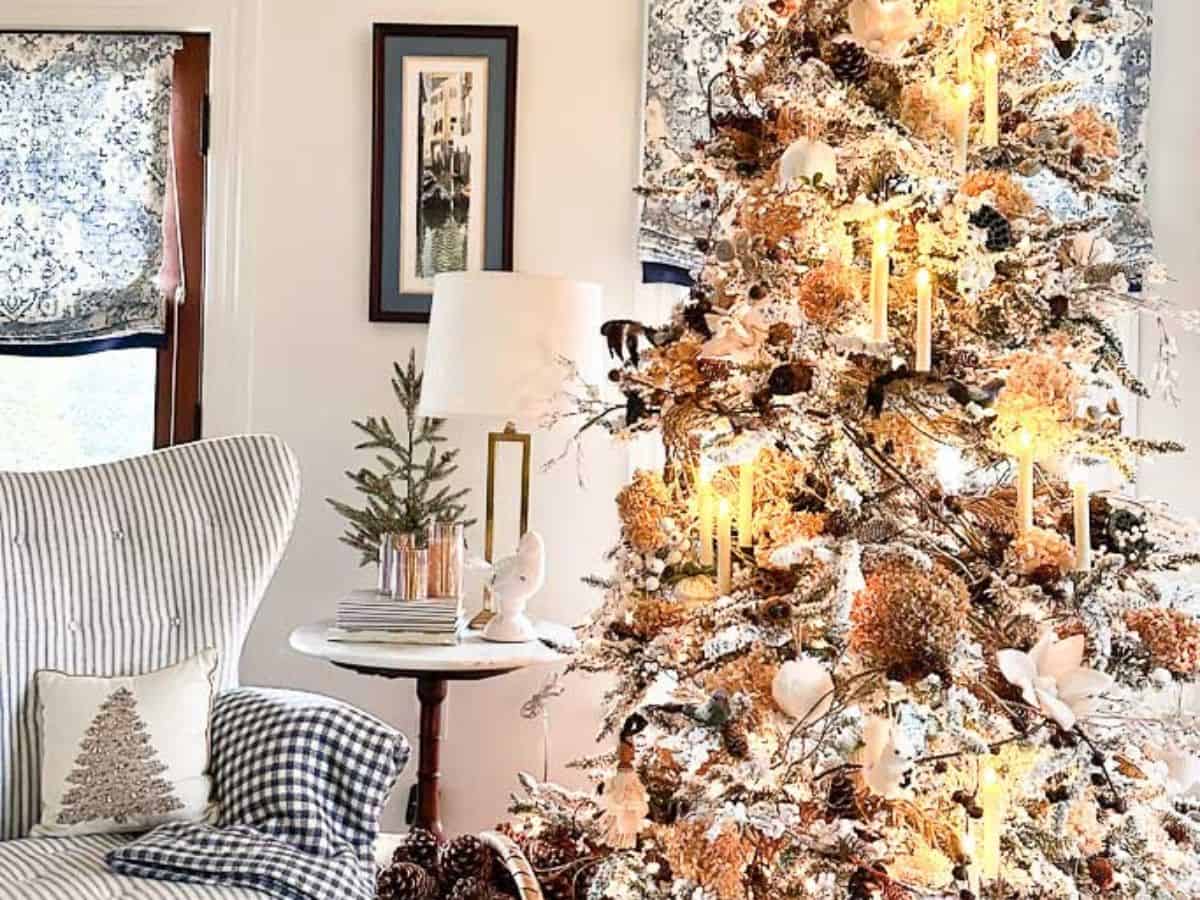
You can see the entire tour of my home this Christmas, including these marshmallow Christmas trees here.
So, there you have it, a super easy and impressive holiday gift bound to please anyone on your list!
Be sure to check out my blog for more inspiration – I am always sharing new recipes and DIY projects! And if you try this marshmallow Christmas tree idea, be sure to snap a photo and tag me on social media so I can see your beautiful handiwork!

More handmade holiday gifts
If you love to craft and create beautiful holiday projects, you will enjoy the following posts.
- How to Make Scented Wax Sachets with Essential Oils
- DIY Air Dry Clay Ornaments – Christmas Gingerbread
- How to make a finger-knitted blanket in just a few hours
- How to make Himalayan sea salt soap
- The best cinnamon popcorn in town
- My award-winning Christmas Granola
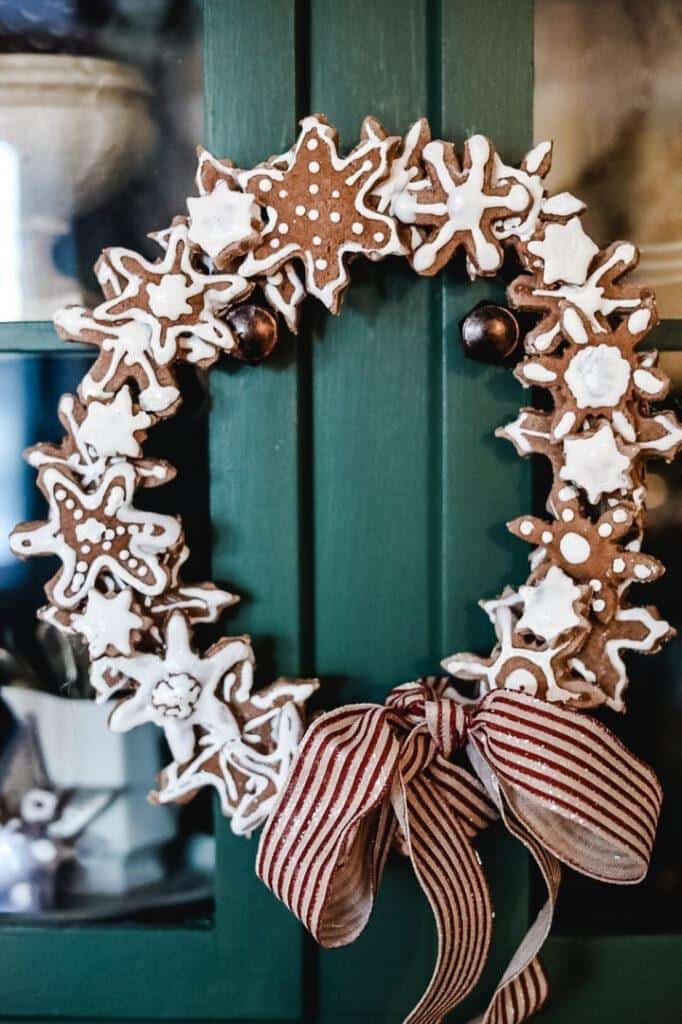
Jennifer @cottageonbunkerhill shares this darling snowflake wreath. Wouldn’t you love to receive this as a gift?
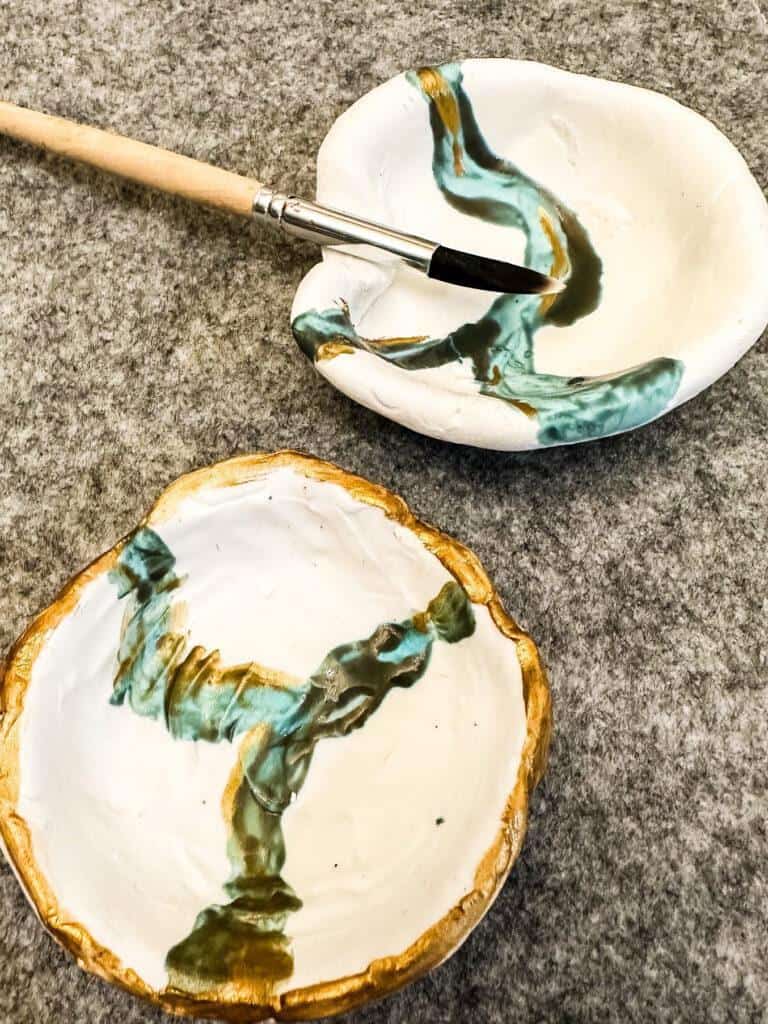
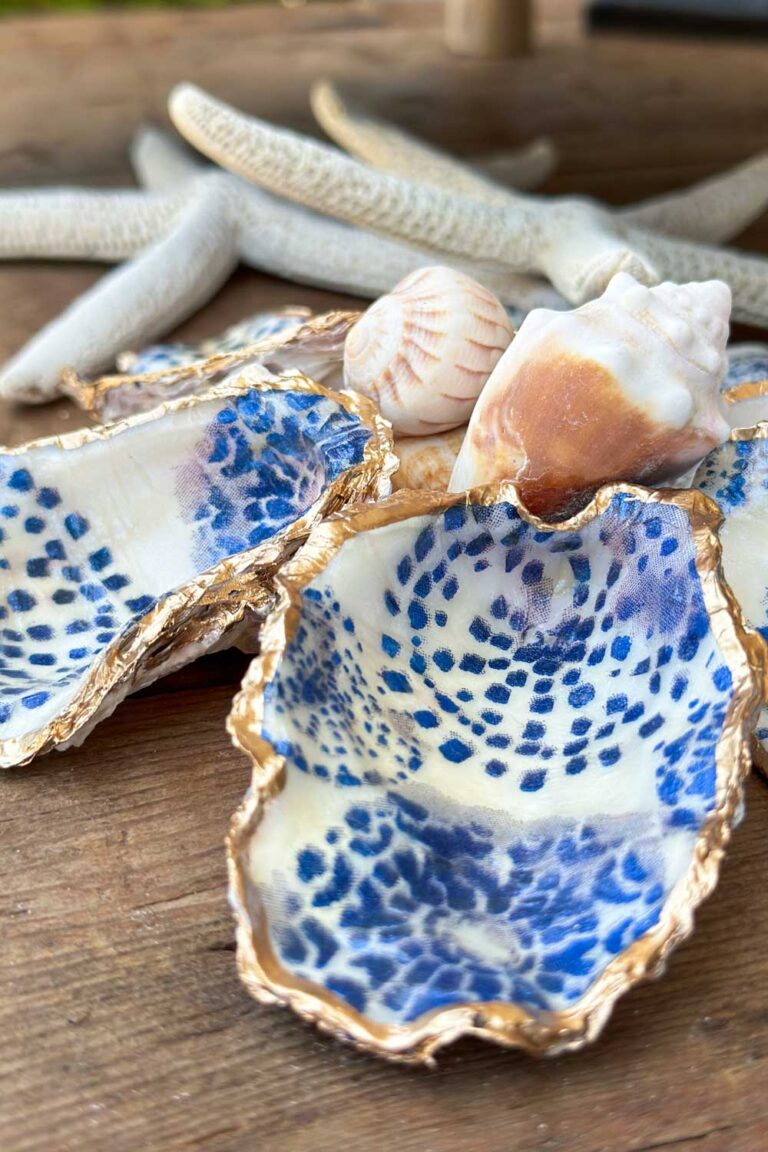
Amy from @amysadlerdesigns shares how to make these homemade clay bowls. The perfect homemade gift for almost anyone on your list.
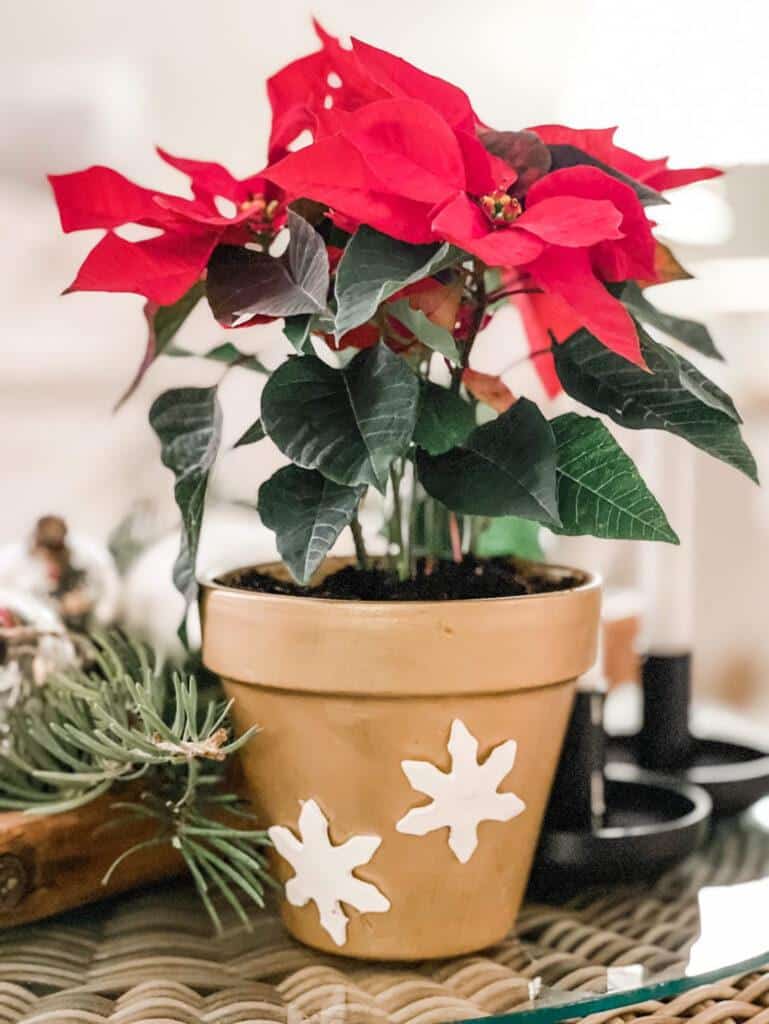
If you need a hostess gift, Regina has you covered. Regina shows you how to take an ordinary clay pot and add a special touch.
-
How to Make a Beautiful Oyster Shell Garland with Wood Beads
56 shares Facebook Pinterest Save Threads Looking for an easy way to add a touch of coastal charm to your decor? Learn how to make an oyster shell garland using wooden beads, decoupaged oyster shells, and jute twine. This DIY project is a beautiful way to add natural texture and coastal style to your home….
-
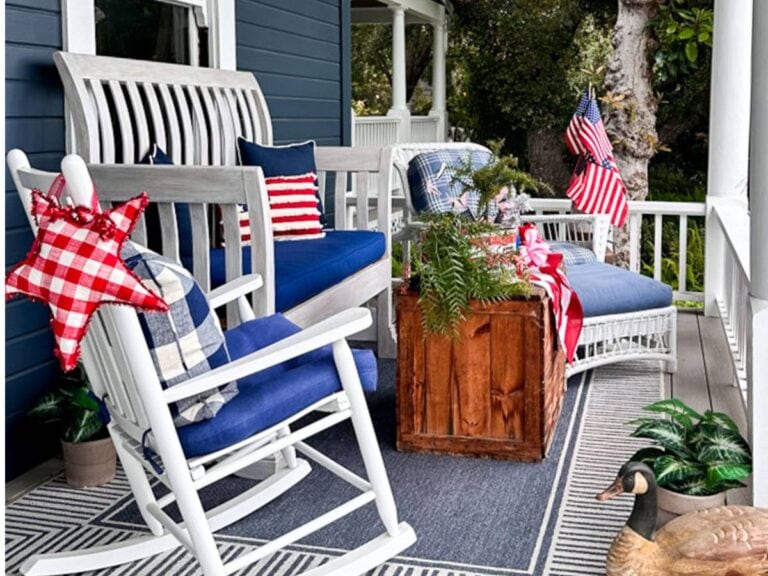
Easy 4th of July Front Porch Decorations for a Patriotic Welcome
Summer is here, and nothing welcomes the season like 4th of July front porch decorations in classic red, white, and blue.
-
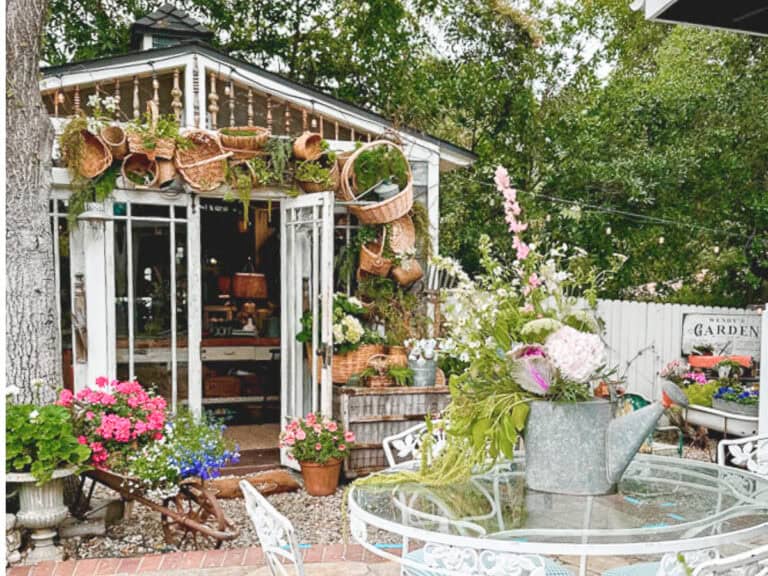
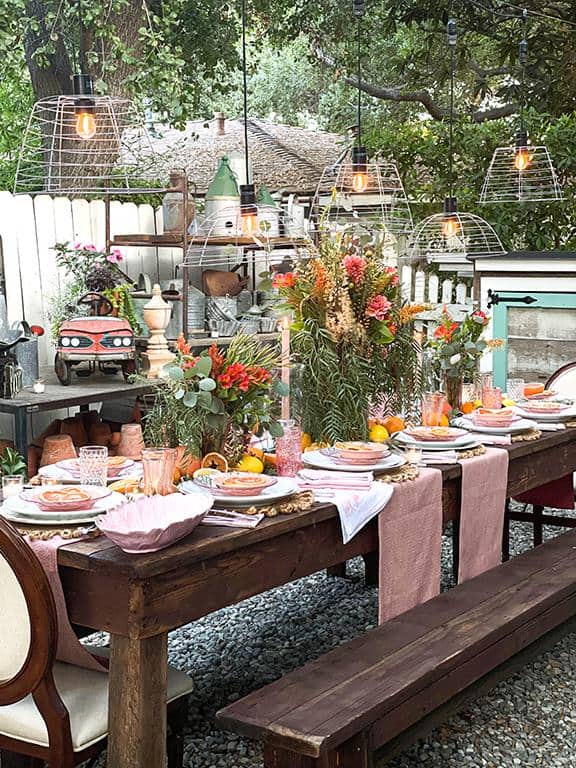
Beautiful Arch Basket Decor for a Summer-Ready She Shed
Learn how to make a charming DIY basket arch for your she shed using thrifted baskets and faux greenery, an easy summer decor project.


I always love your ideas Wendy. I especially like that I can make them for decor and for dessert, what a wonderful idea. I can see these lined up on the dining room table and adding name cards so they can be a take home after Christmas dinner! See, you are so clever. Hope you have a Merry Christmas!
Wendy
I love these.
Super cute and adorable! It must be magical at your home during the holidays. Love it! Happy Christmas. pinned
Thank you, Cindy, they are so fun and easy to make. Merry Christmas.
These are ADORABLE, Wendy!! What a fun way to spend time with your grand-daughter, too! So festive for the season and what a great decor piece to display on a coffee table or end table!
Thank you, Rachel. They are very easy to make and I love that they last for years to come.
These trees are adorably cute!!
Thank you, Susan. It was so easy to make. It’s a great activity for the kids.
They are so lovely and how fun they would be to make. I’m pinning.
Happy New Year Linda. I apologize for the late reply. I was updating my site, and comments were not available. I am s0oo happy to hear you like my little trees.
Thanks so much for hosting, Wendy! Merry Christmas to you and your family!
This is one of the cutest ideas I have seen this year Wendy! Love your marshmallow trees!
Thank you so much Michelle. The kids had a ball and loved giving them to their teachers.
These marshmallow trees are so fun! I can’t wait for my grands to get a little older so we can make them together! You are so clever Wendy!
Wendy,
These trees are just adorable.
Thank you so much, Rachel.
These are adorbs!!!! Merry Christmas Wendy!!
Wendy, Is anyone else having trouble “pinning” to Pinterest from your blog??
Wendy, these marshmallow trees would be perfect for a hot cocoa bar too, or while making s’mores by the fire. So cute and your granddaughter is just adorable. Happy Holidays!
Thank you Mary! yes indeed, they are just perfect for a Hot Coca bar. Wishing you a very Merry Christmas.
How fun!!!! Love these!
Thank you, Stacy. They are quick and easy and will last for several years.