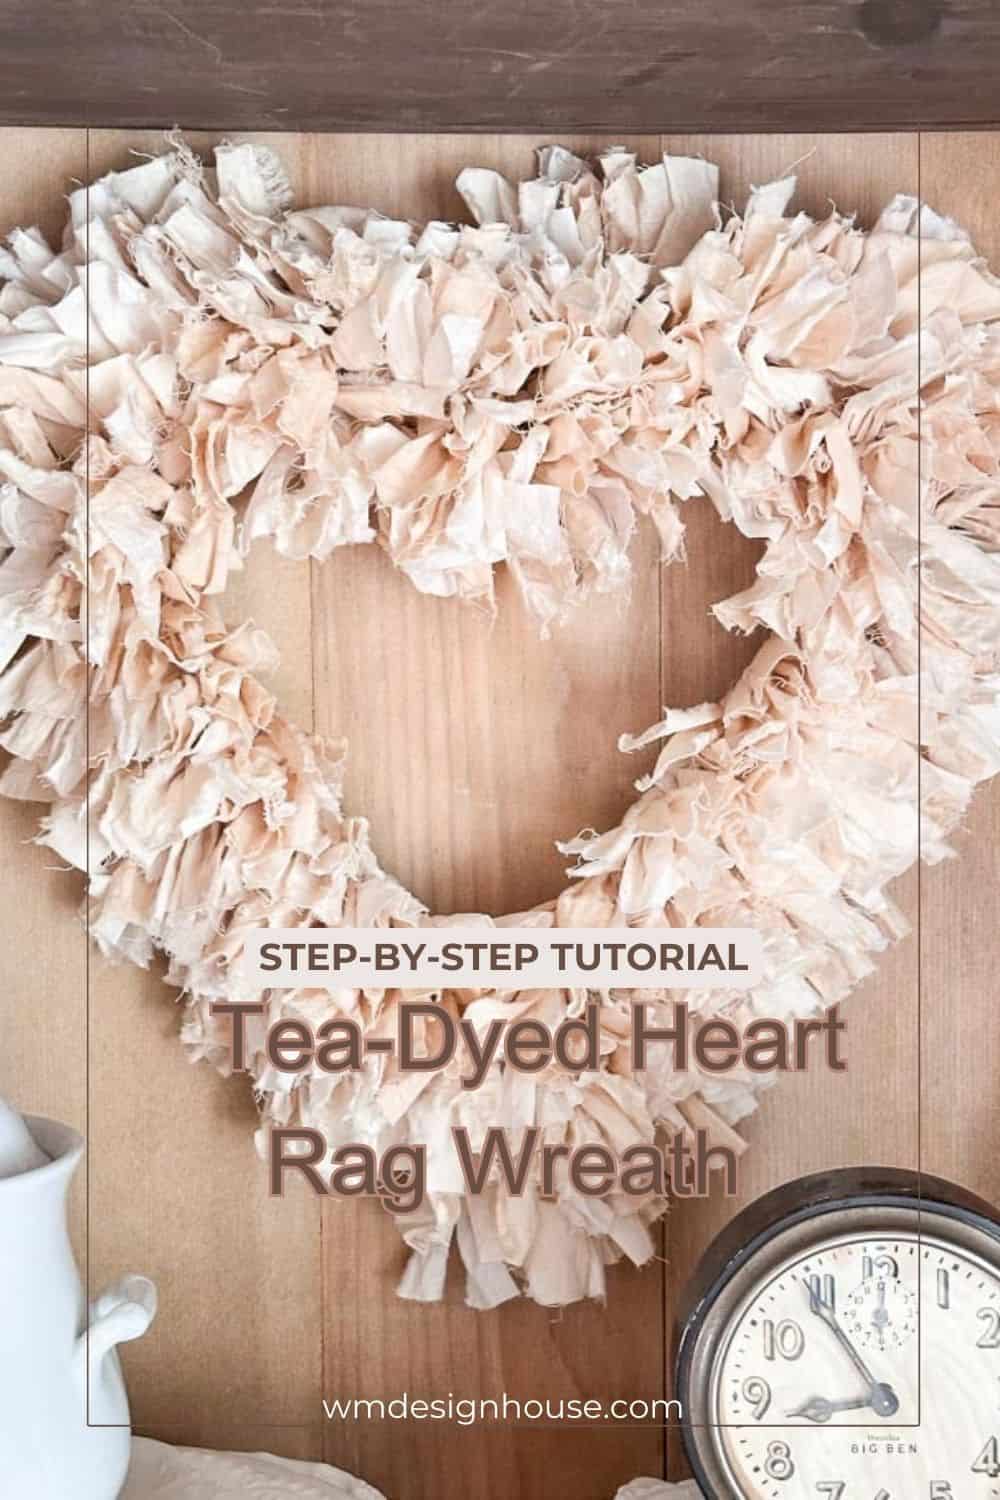
Easy DIY Rag Wreath: How to Make a Neutral Heart
Follow along with this easy step-by-step tutorial and learn how to make your own DIY rag wreath with tea-dyed fabric for Valentine’s Day using soft fabric strips. This heart-shaped rag wreath is perfect for Valentine’s Day, but the neutral, vintage colors make it something you can hang and enjoy all year long. It’s simple to make, budget-friendly, and such a cozy way to add handmade charm to your home using fabric scraps and a few basic supplies.
On my blog WM Design House, I may sometimes use affiliate links, which means a small commission is earned if you purchase via the link. The price will be the same whether you use the affiliate link or go directly to the vendor’s website using a non-affiliate link.
DIY Rag Wreath (Tea‑Dyed Fabric)
Valentine’s Day is almost here, and I’ve been having so much fun working on a few seasonal projects to get ready for the celebration. We’ll have all five granddaughters here and will be having a fun Valentine’s Day party, so there’s been lots of crafting happening around here lately. I’ve always loved using simple, old-fashioned techniques like tea-dyeing, whether it’s for fabric, paper doilies, or even the coffee-dyed paper garland I make every fall.
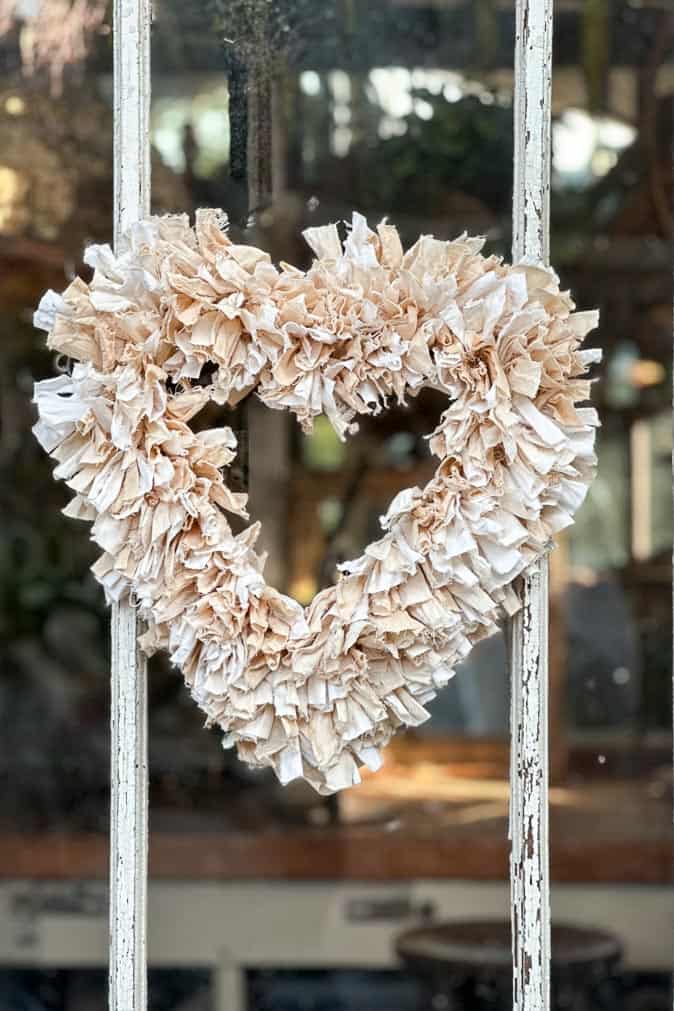
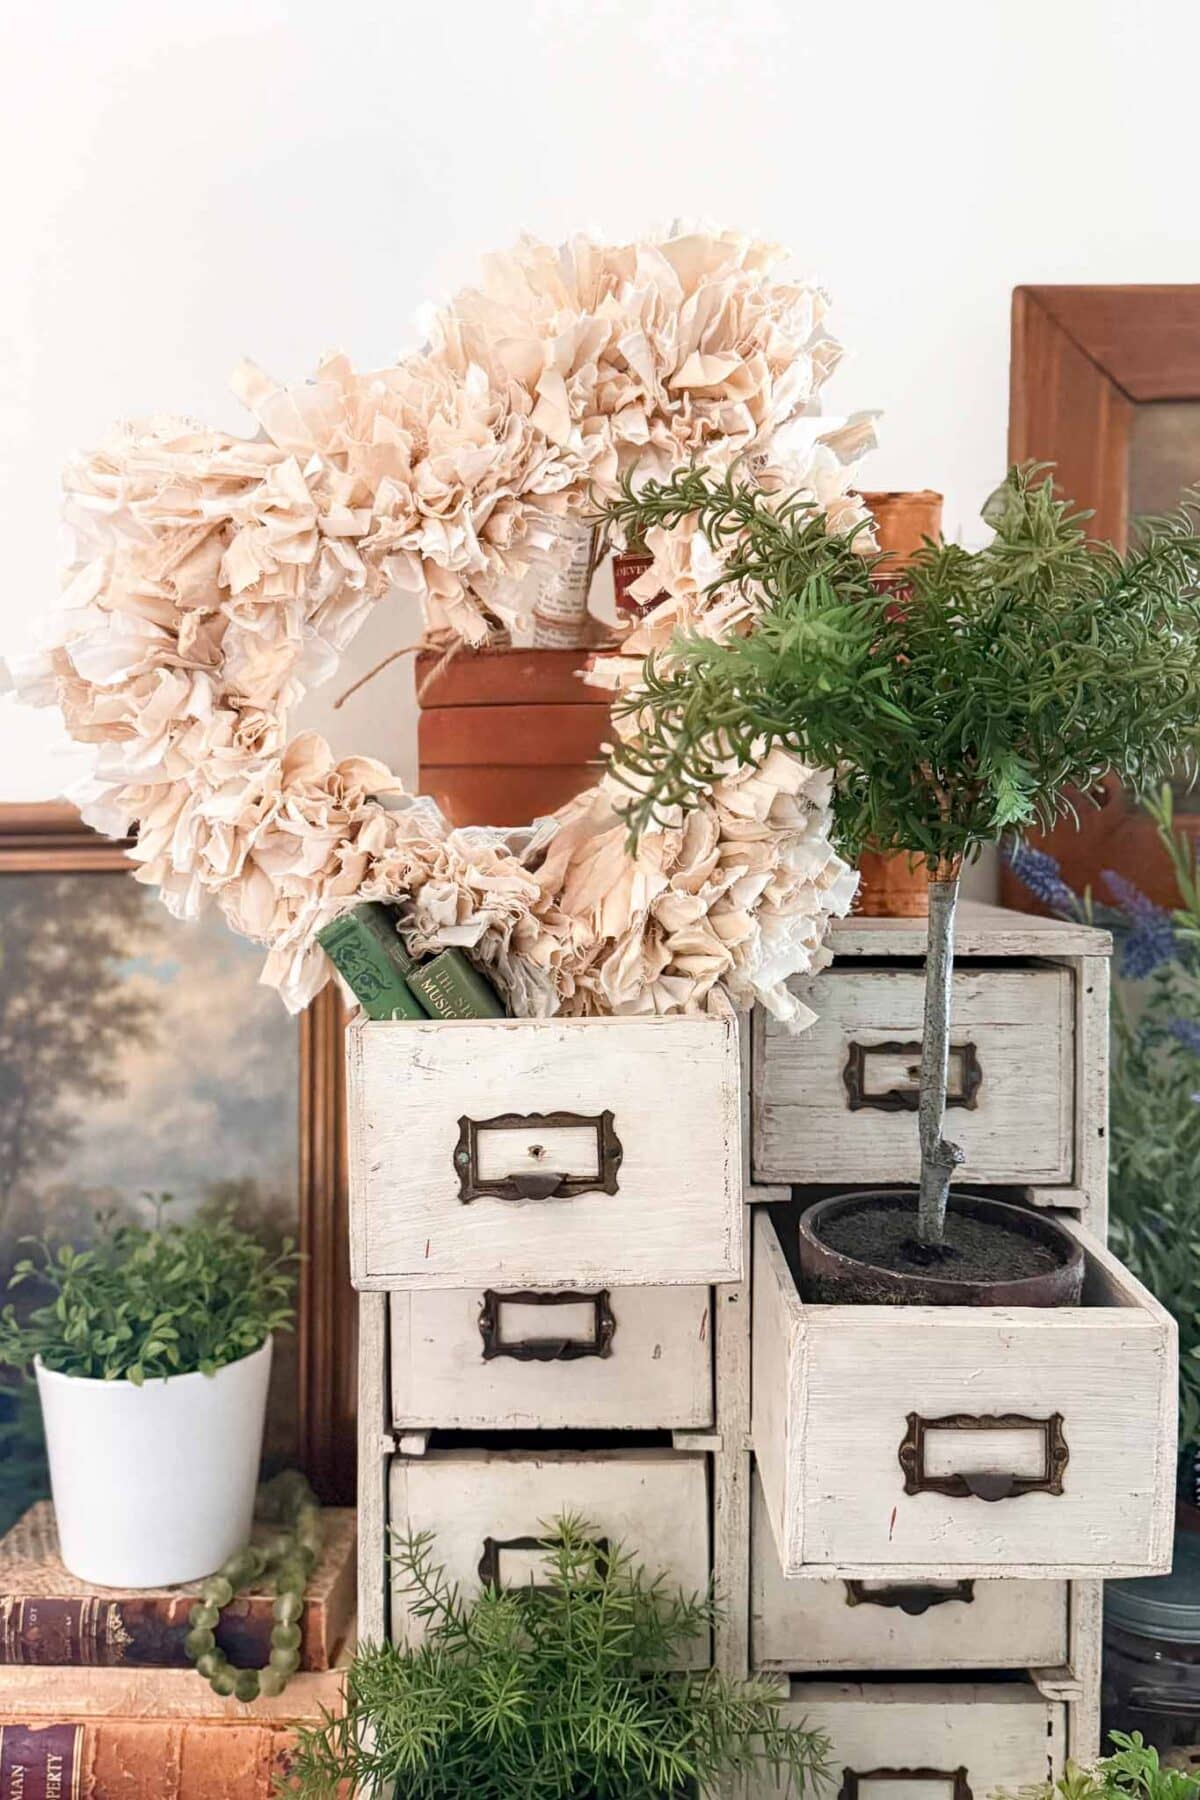
One idea I couldn’t wait to try was making a heart-shaped rag wreath DIY for the shed. I wanted something a little more unique, something that didn’t follow the usual red and pink theme of Valentine’s Day. So, I decided to make a neutral DIY rag wreath using tea-dyed fabric scraps.
It’s such an easy project, very affordable, and turned out exactly how I imagined. Simple and beautiful.
Why You’ll Love This Valentine’s Day Rag Wreath
- Budget‑friendly and beginner‑friendly
- Uses simple supplies (and fabric scraps if you have them)
- Naturally dyed with tea for a soft, vintage look
- Neutral enough to use year‑round
- Easy to customize with different colors or holidays
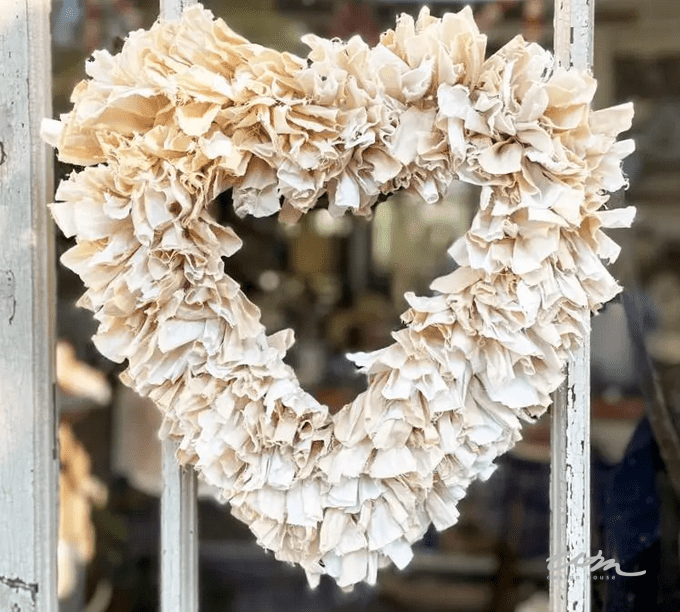
This is one of those crafts that doesn’t have to be perfect to be beautiful. The slightly frayed edges and uneven tones are what make it feel special and handmade.
Tools and Supplies Needed to Make a Rag Wreath
- 3 yards total of cotton muslin fabric (1.5 yards white and 1.5 yards ivory).
- Lipton Tea Bags (I used the Extra-Large size Lipton tea bags for iced tea.)
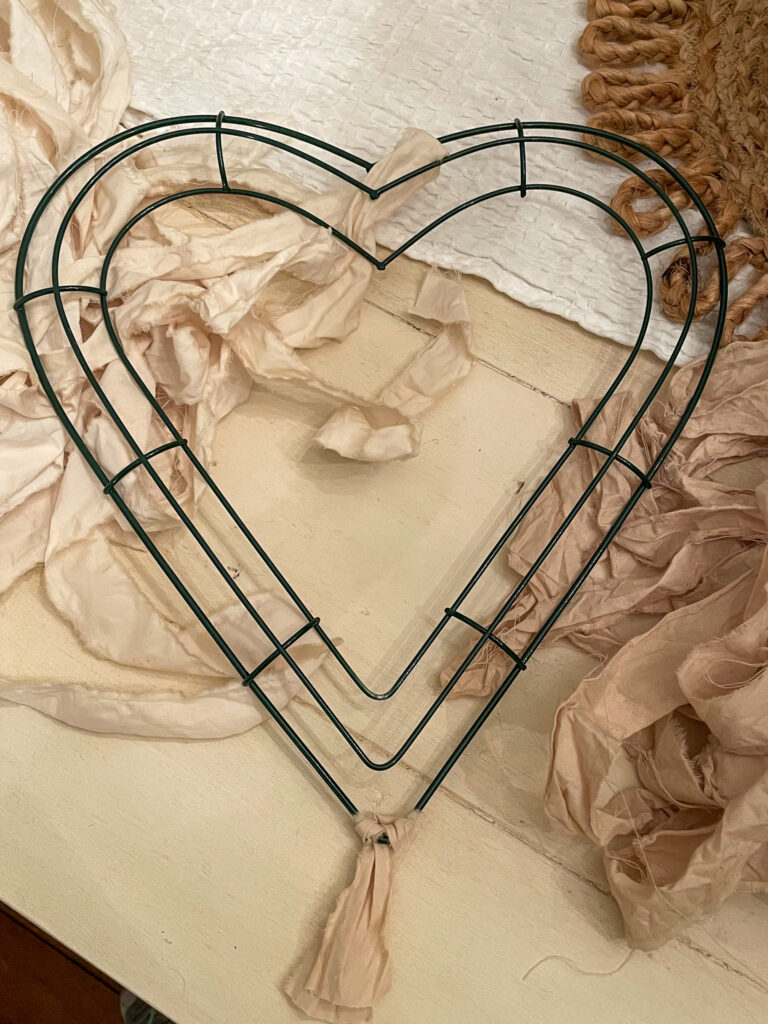
- Heart-Shaped Wire Wreath Form
- Containers for dying and storing fabric strips
- Tongs
- Strainer
- Scissors
- Ruler
- Pencil
- Rotary cutter (optional)
Tip from wendy’s craft room:
Shop my quick Amazon links above to purchase materials.
How to Make a Fabric Rag Wreath with Tea‑Dyed Fabric
Tea‑dyeing fabric is one of my favorite tricks. It’s natural, inexpensive, and gives plain cotton the prettiest aged look. Plus, if you already made iced tea, you can reuse the bags — nothing wasted.
Even though I used neutral muslin for this wreath, you can absolutely swap in colorful fabrics, patterned cotton, or even ribbon if you’d like a brighter style.

How to Make a DIY Rag Wreath (Quick Instructions)
Materials
- 3 yards cotton muslin fabric 1.5 yds of each white and ivory
- Lipton tea bags extra‑large iced tea size works great
- Heart‑shaped wire wreath form
- Containers for dyeing fabric
- Tongs
- Strainer
- Scissors
- Ruler
- Pencil
- Rotary cutter optional
Instructions
- Tear fabric into 1″ wide strips.
- Brew strong tea using tea bags.
- Soak fabric strips until desired color forms.
- Remove and air dry completely.
- Cut strips into 6″ pieces.
- Tie strips onto wire frame using loop‑through method.
- Fluff and trim as needed.
Step-by-Step Tea-Dyed Fabric Wreath Tutorial
Step 1: Cut Your Fabric Strips
Tear or cut your muslin into long strips about 1 inch wide.
I like tearing instead of cutting because the raw edges add so much texture and charm. A rotary cutter works too if you prefer cleaner lines.
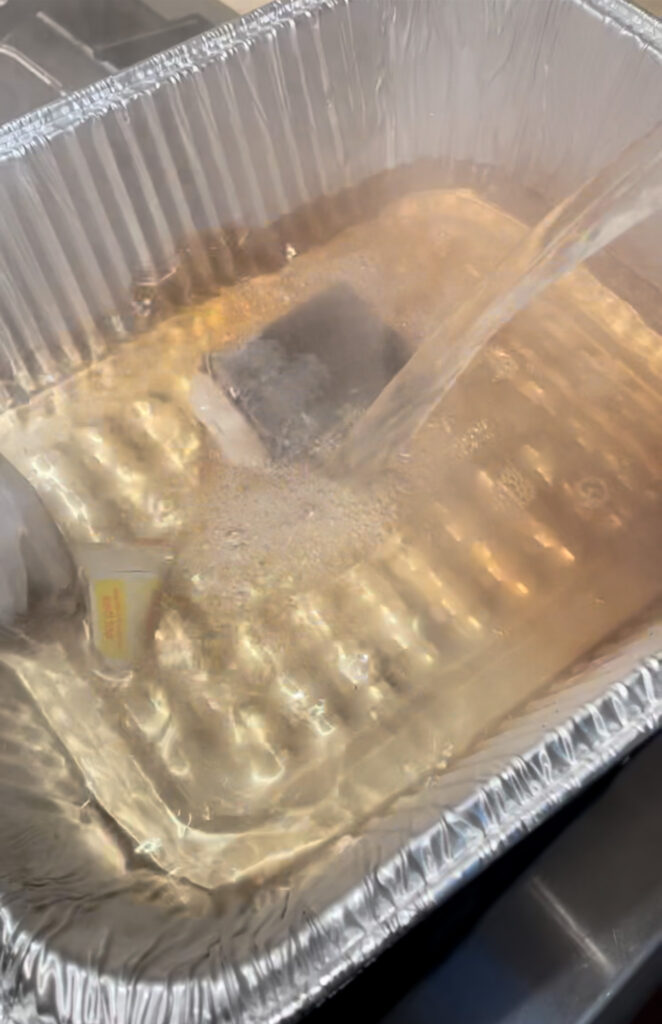
Step 2: Brew the Tea
Boil water and steep your tea bags for several minutes.
Different teas create different shades, so feel free to experiment. I wanted a soft, neutral color, and classic Lipton tea gave me exactly what I was after.
I even brewed iced tea first, then reused the bags to dye my fabric — double duty and zero waste.
Tip from wendy’s craft room:
Did you know tea is rich in tannins? That means the color from the tea bonds well with natural fibers, so it doesn’t require a mordant (a substance used to bind the dye to the fabric).
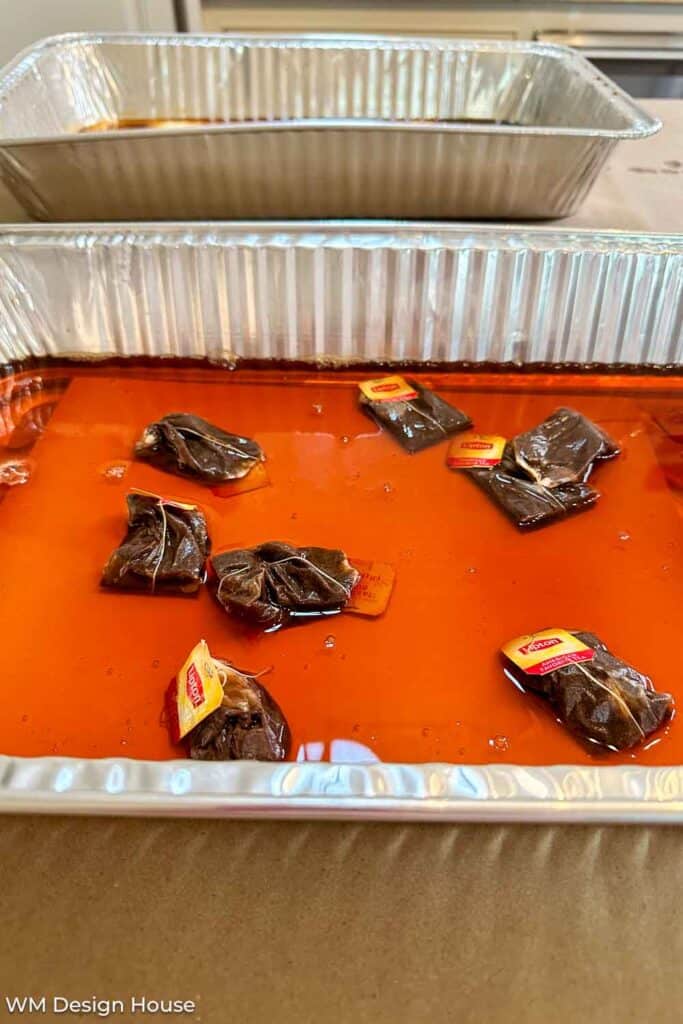
Step 3: Dye the Fabric
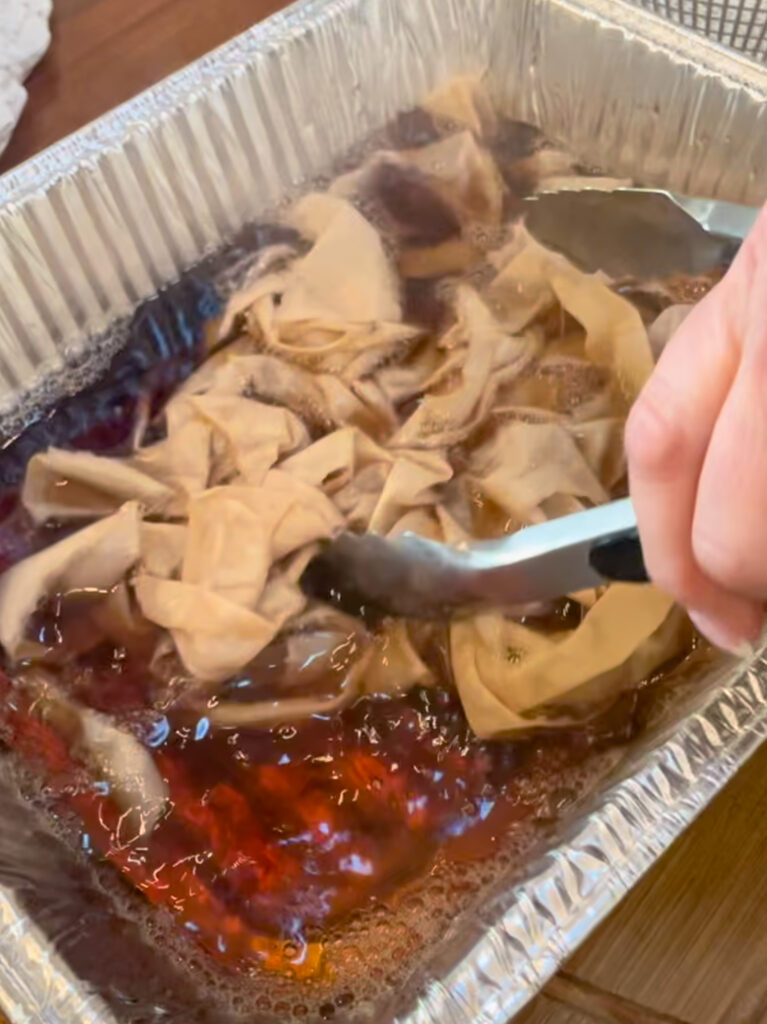
Place a few fabric strips into the tea bath and let them soak until you like the color.
- Short soak = lighter shade
- Longer soak = deeper, warmer tone
Keep in mind the fabric dries a little lighter than it looks when wet. I dyed several batches for subtle color variation, which adds so much depth to the finished wreath.
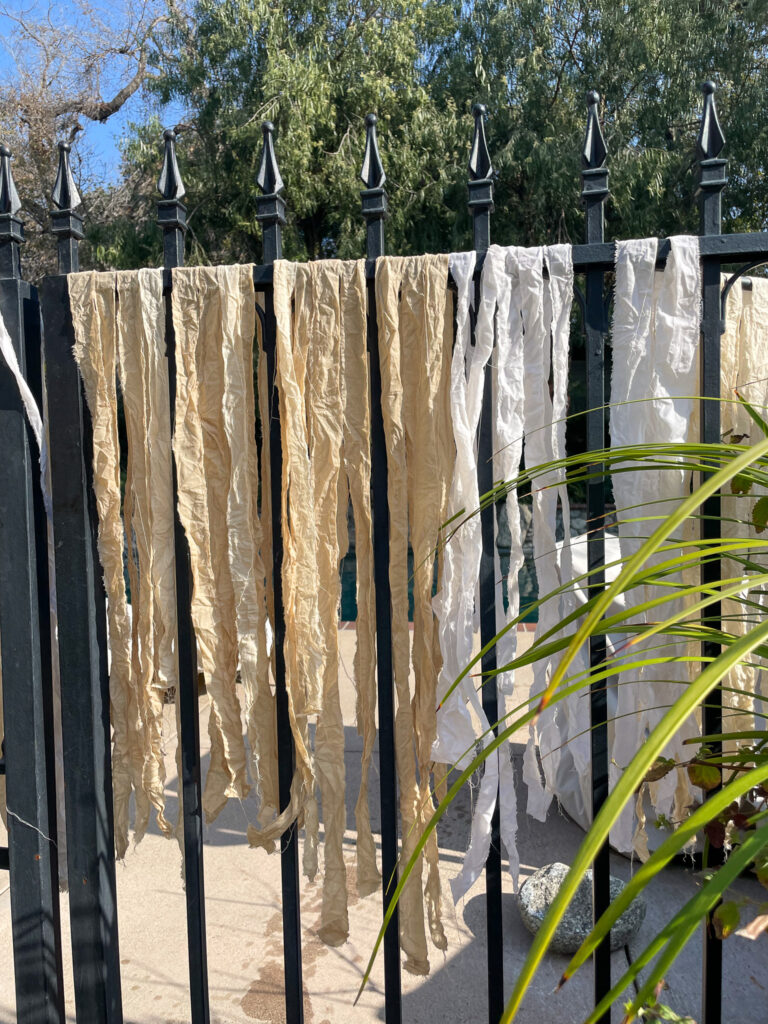
Step 4: Dry the Fabric
Carefully remove the strips using tongs and a strainer (the tea may still be hot).
Hang the fabric outside or lay it flat to dry. I draped mine over a gate in the sunshine, and it worked perfectly.
Step 5: Trim for Assembly
Once dry, cut the strips into 6‑inch pieces.
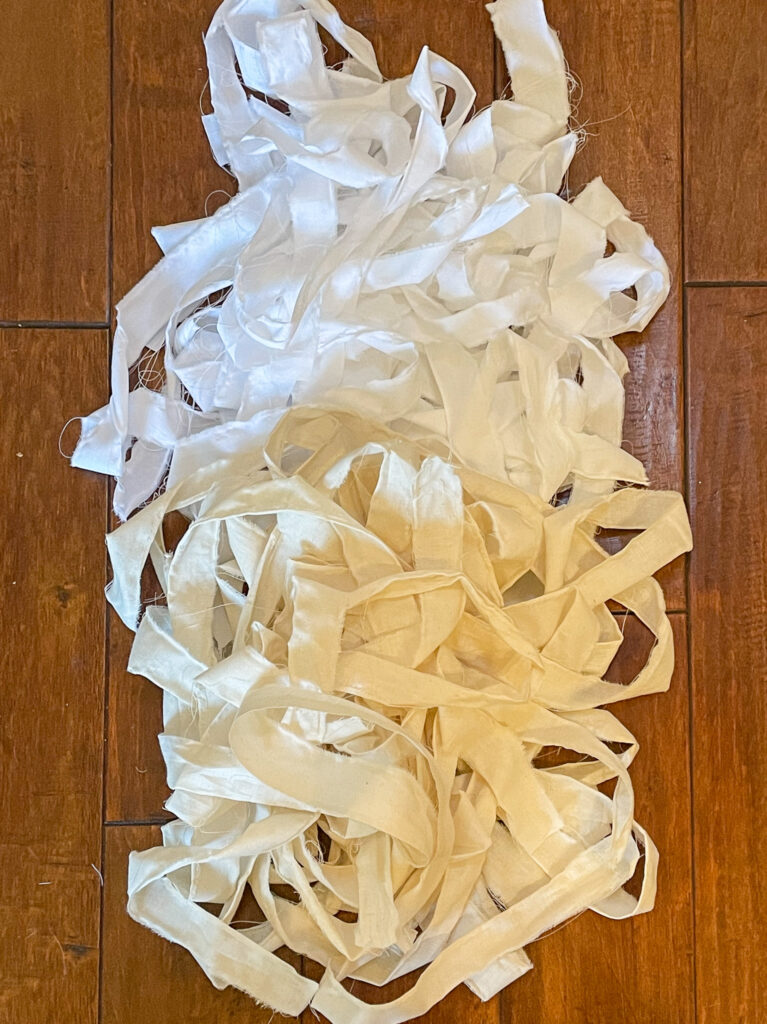
Separate them by shade so you can alternate colors as you work — this helps the wreath look balanced and soft instead of flat.
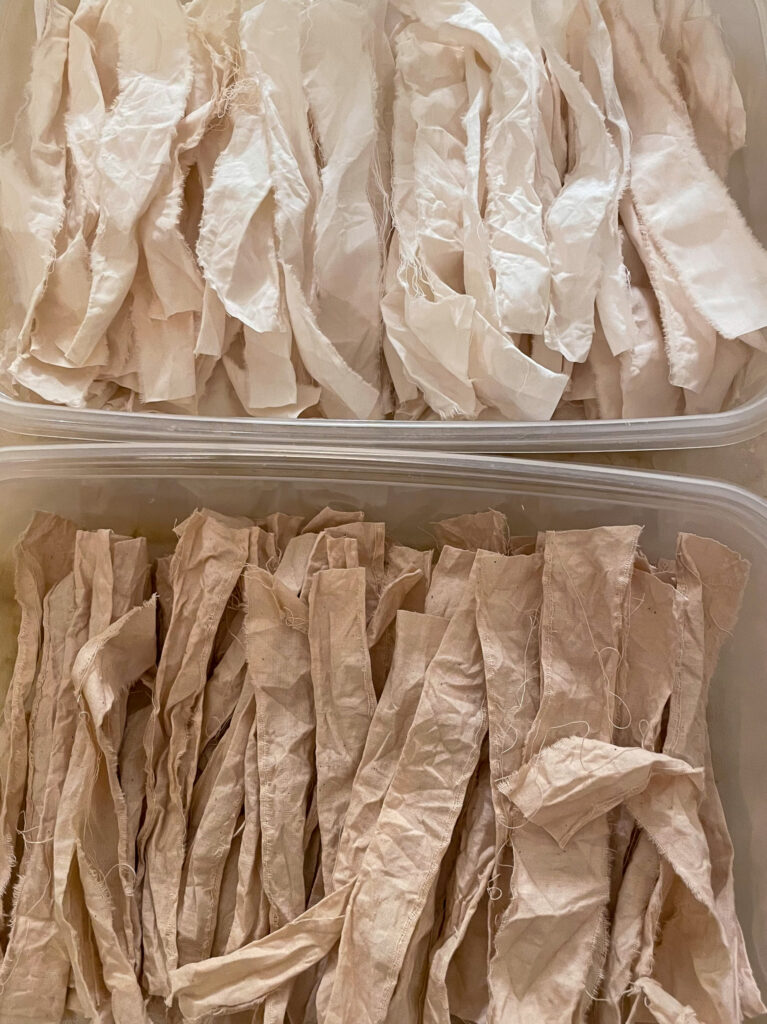
Here you can see the pretty color variations I got by using two types of muslin, white and ivory, and dyeing the strips in different batches. It was so fun to see how each one turned out!
Step 6: Tie the Fabric to the Wreath Frame
Start with the inner ring of the wire heart frame.
- Fold one fabric strip in half.
- Slide the loop under the wire.
- Pull the two loose ends through the loop.
- Tighten gently.
This knot holds securely and is faster than double‑knotting each strip.
Continue working around the frame, alternating colors and filling in gaps. Trim longer pieces if needed when you’re finished.
DIY Rag Wreath FAQs
How long does tea-dyed fabric last?
Tea-dyed fabric holds its color very well when used for indoor decor like wreaths. Over time, it may soften slightly in tone, which actually adds to the vintage look.
Can I wash tea-dyed fabric?
Yes, but wash gently in cold water and let it air dry. Keep in mind that some color may fade slightly, which is normal with natural dyes.
Can I use fabric other than cotton muslin?
You can, but natural fabrics like cotton and linen work best because they absorb the tea dye more evenly. Synthetic fabrics won’t take the color as well.
Can I make this DIY rag wreath without dyeing the fabric?
Absolutely. You can skip the tea-dyeing step and use colored or patterned fabric strips for any season or holiday.
Where to Hang Your DIY Rag Wreath
This wreath works just about anywhere:
- Front door or entryway
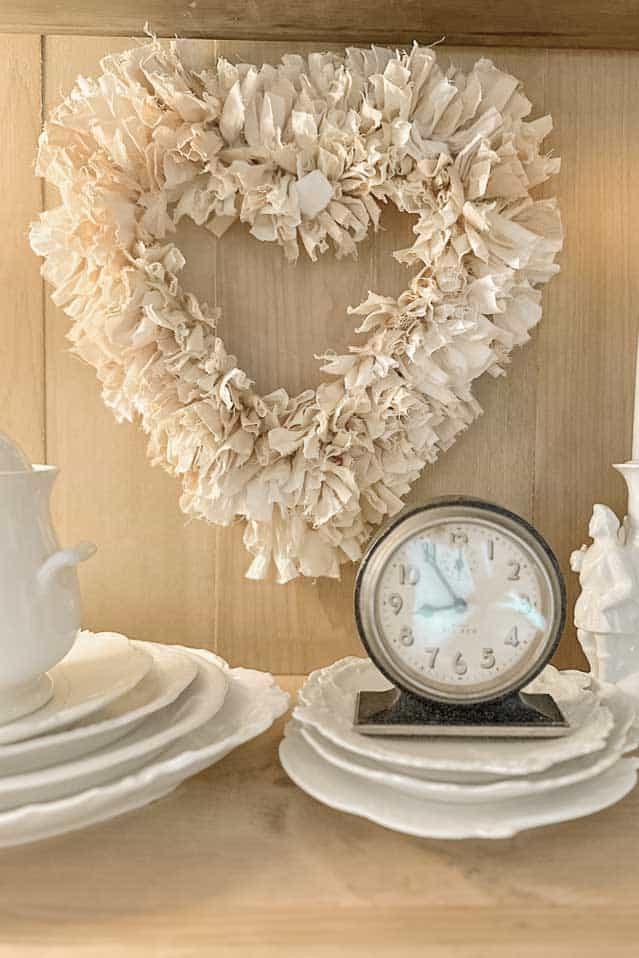
- Mantel or shelf styling
- Over a mirror or window
- Guest bedroom or above a bed
- As part of a Valentine’s table centerpiece
It’s one of those pieces that quietly makes a space feel more thoughtful and pulled together.

Rag Wreath Ideas for Other Holidays

All‑white wreath for winter
Pumpkin or witch‑hat frame for Halloween
Red and green fabrics for Christmas
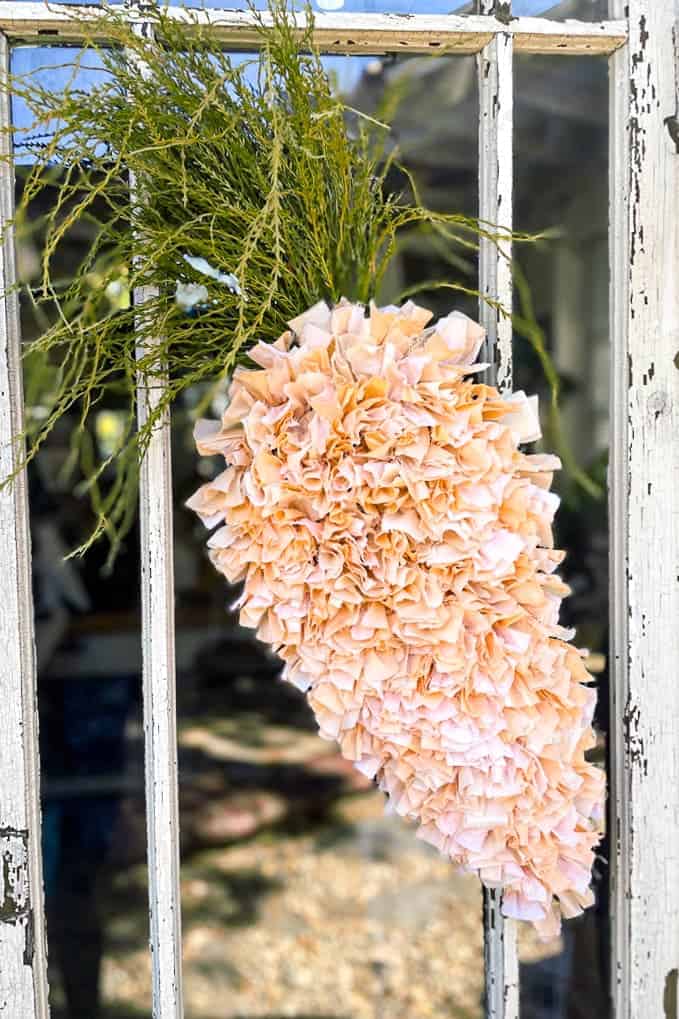
A carrot rag wreath for Easter
Mini wreaths as place card holders
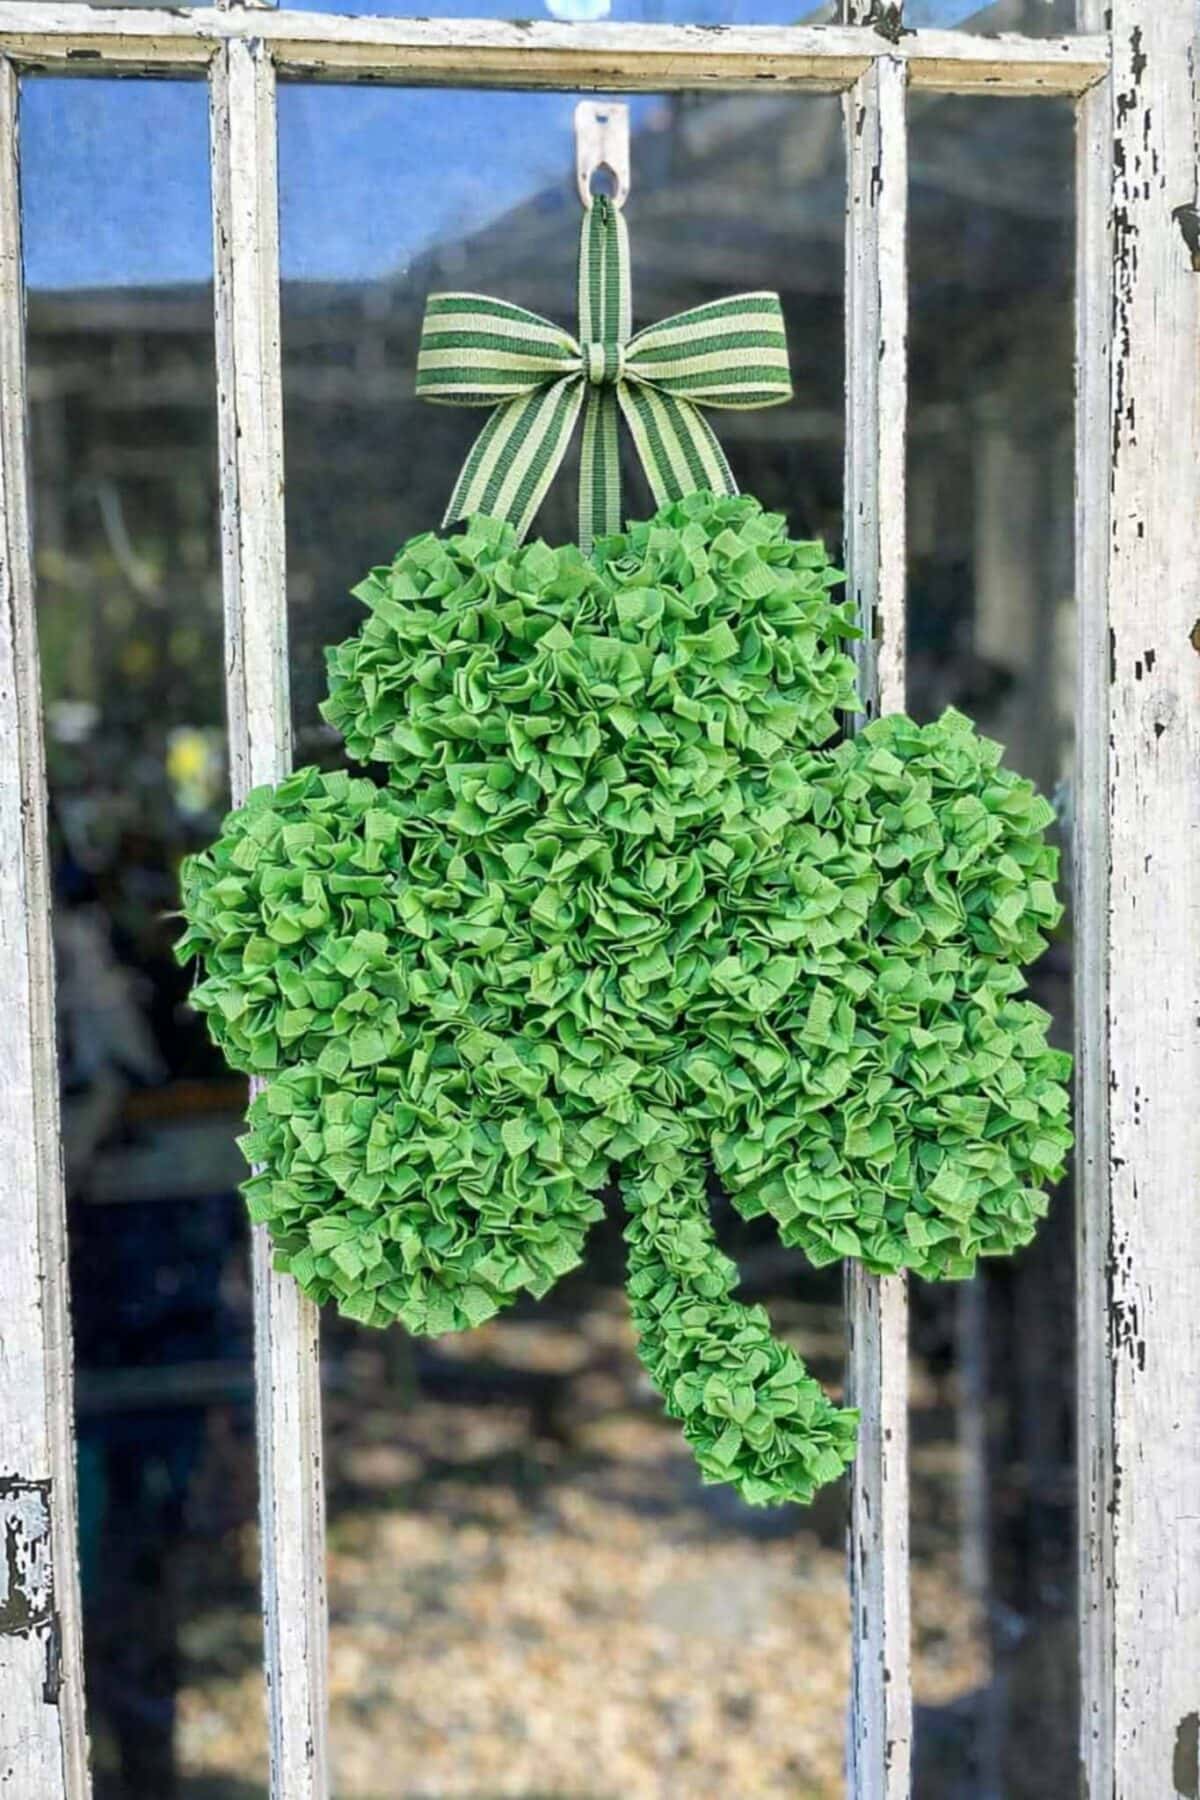
Shamrock frame for St. Patrick’s Day
More Valentine’s Day DIY Ideas from WM Design House
If you enjoyed this project, you might also love:
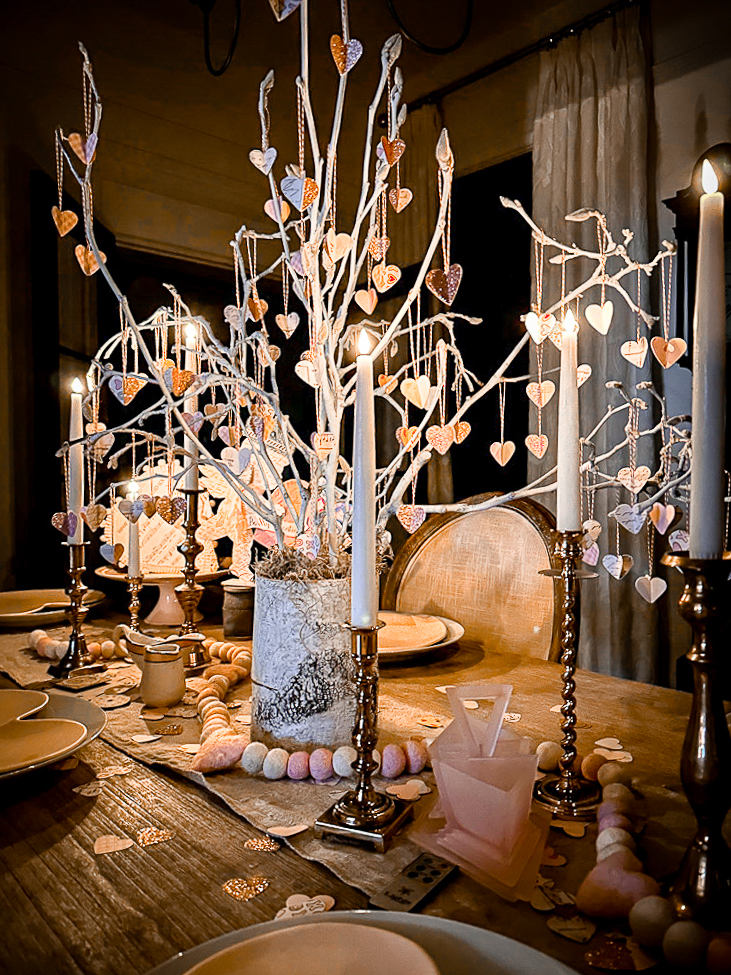
Simple DIY Valentine’s Day Tree
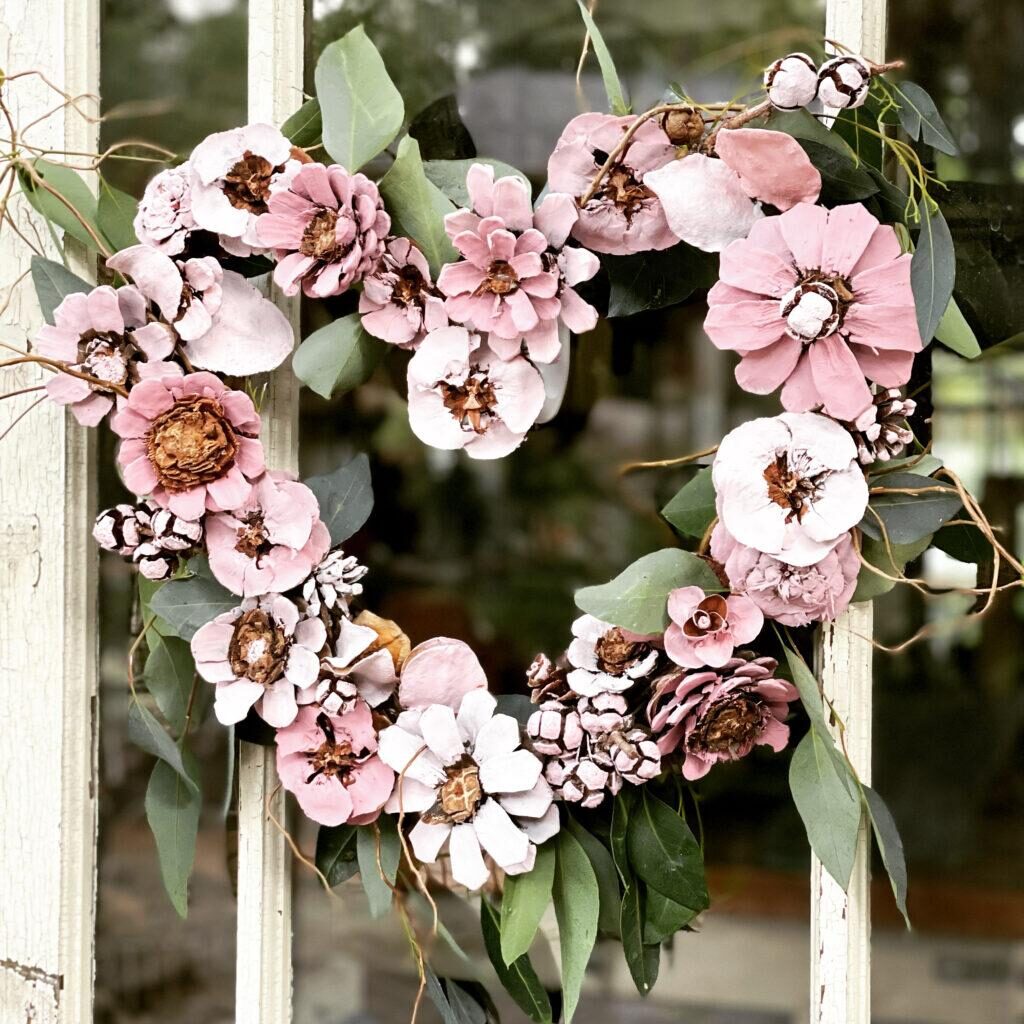
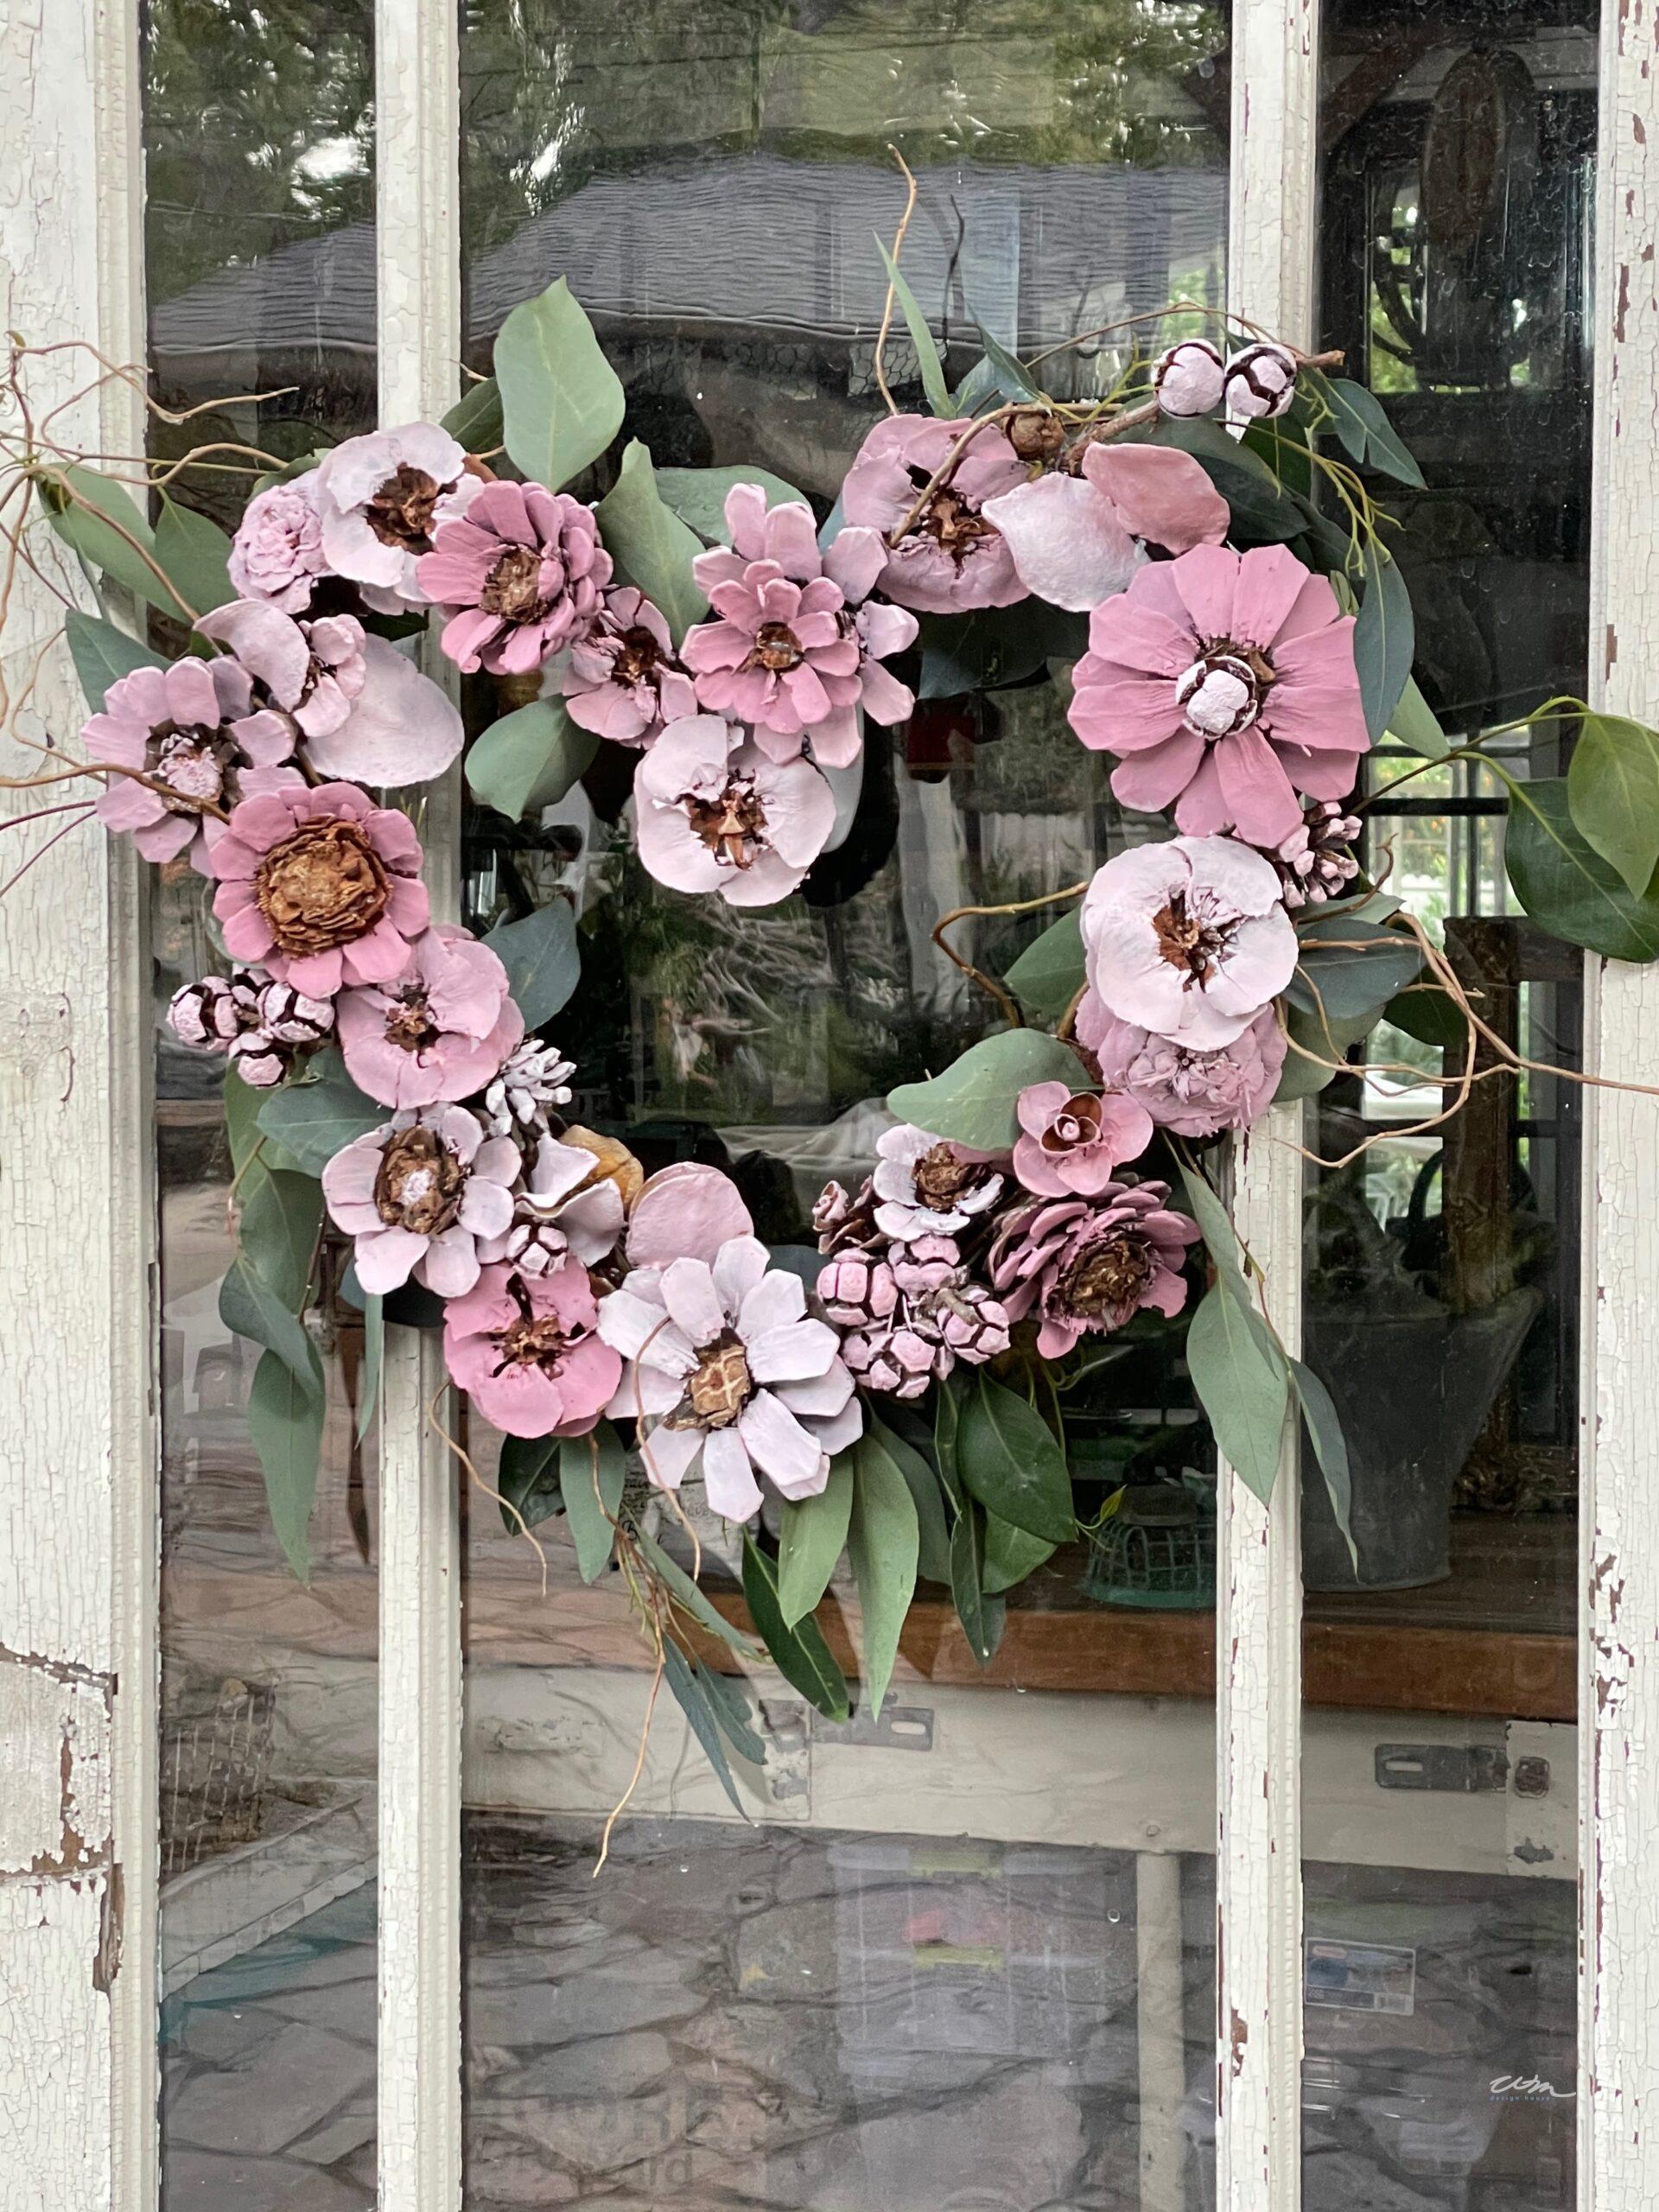
DIY Pink Heart Pinecone Wreath
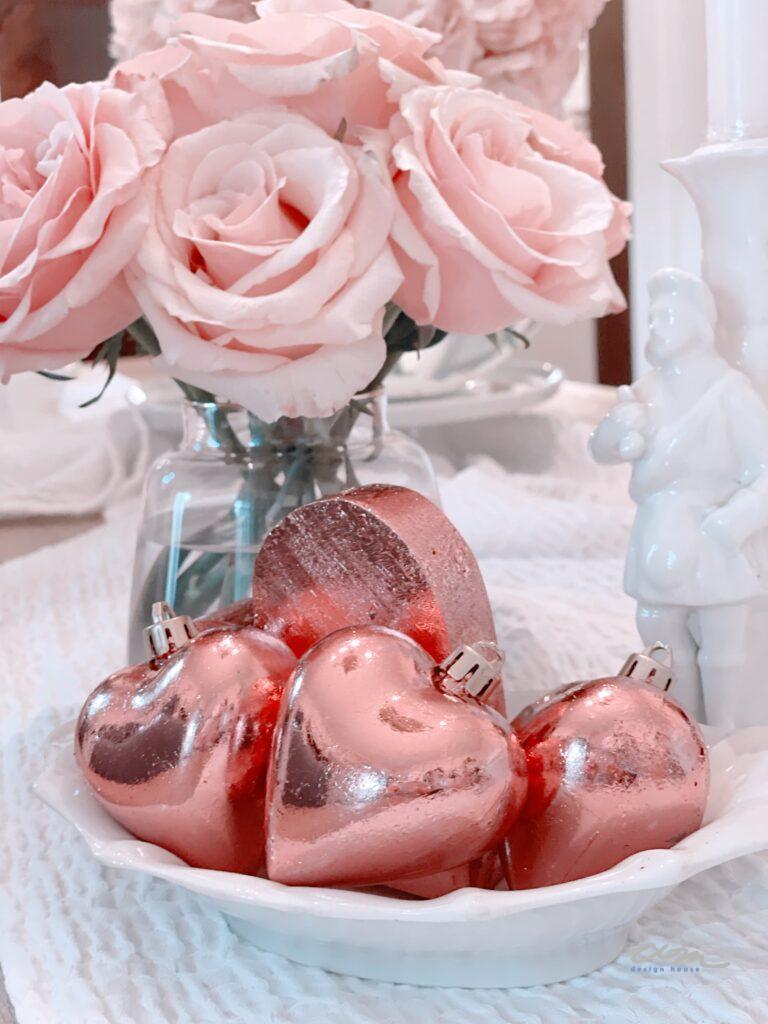
Beautiful DIY Pink and Gold Foil Hearts

Wrapping Up
This tea‑dyed DIY rag wreath is one of those projects that feels relaxing to make and rewarding to hang. It doesn’t need fancy supplies or perfect technique — just a little time, a cup of tea, and some fabric.
If you try it, I’d love to see how yours turns out.
Happy crafting!


Did you make this craft?
We would love to see what you have created, so mention us @wmdesignhouse on social media, or send me a few pictures to [email protected]. We would love to see your creations!
More about me!

Hello, I’m Wendy – a dedicated “So Cal Gal” with a deep passion for decorating, gardening, cooking, and crafting. I find joy in harmonizing beautiful elements to create a space that is both comfortable and inspiring. I will help you create a beautiful home and garden, one project at a time.


Wendy you make everything looks and sound easy! This is so sweet.
This is so beautiful, Wendy! I am excited to feature your post at Tuesday Turn About. Thank you so much for sharing!
Thank you so much, Lynne! I appreciate the feature. This heart was a fun project, and I love the neutral look.
Gorgeous rag wreath idea for Valentine’s Day.
I found you at The Cottage Market.
Hi Kippi, Thank you so much. I am so happy you found me. I hope you enjoy my content.
I love how this wreath turned out. The neutral colors are such a nice change for Valentine’s Day. Plus my grandmother used to love Lipton tea. Thanks for the clear instructions.
Thank you Anna, i’s a fun and rather easy project to make.
Your heart turned out beautiful Wendy. Many years ago I decided to tea stain my bedding for that vintage lived in feel. I have to say, the comforter turned out great, but the pillow shams were a shade off. I am guessing they were not from the same dye lot, but I went with it because that’s what I do. You may get a kick out of this, but in my 20’s I decided I needed red carpet in the bedroom, and so I dyed my carpet. It was RED, but I loved it. Now I have an itch to dye again, but I should go with something on a smaller scale than a whole room. You always have so many wonderful ideas to share with us! Hope you are doing well.
Oh my goodness, I cannot believe you dyed your entire carpet, Cara; what did you use? That must have been
a very big project. And how long did it take you? Send me a picture if you have one; I would love to see it.
You maze me, girl! And the dye never bled onto your feet or shoes? I am in awe!
I really enjoyed your tutorial; very easy to follow! I had to smile when you said you recycled used tea bags. As a dollhouse accessory maker, I use the used tea leaves as “dirt” to top off my little potted artificial plants! Any remainder goes out to the compost heap! I have been using an instant coffee solution to stain wooden pieces for projects, too! I can make things a darker brown than tea.
Thank you, Kathy! I try to recycle when I can. And hey, I also get a pot of Iced tea out of it.
I can imagine all the darling things you must make as a dollhouse accessory maker. Do you have a website?
Using the tea leaves for dirt is brilliant.
This is adorably cute! I’m not very crafty, but I may try this one!
This is an easy one, Susan; however, it does take a bit of time to tie the fabric onto the frame.
This is SO COOL, Wendy!! I adore neutral decor for Valentine’s Day and this is so perfect!! What a cool idea to use tea. Pinned!
Thank you, Rachel! This wreath was a very fun project to make!
I love tea stain! It’s the perfect vintage color! This is so sweet!
Thank you, Amy; there are so many fun things you can stain with tea.