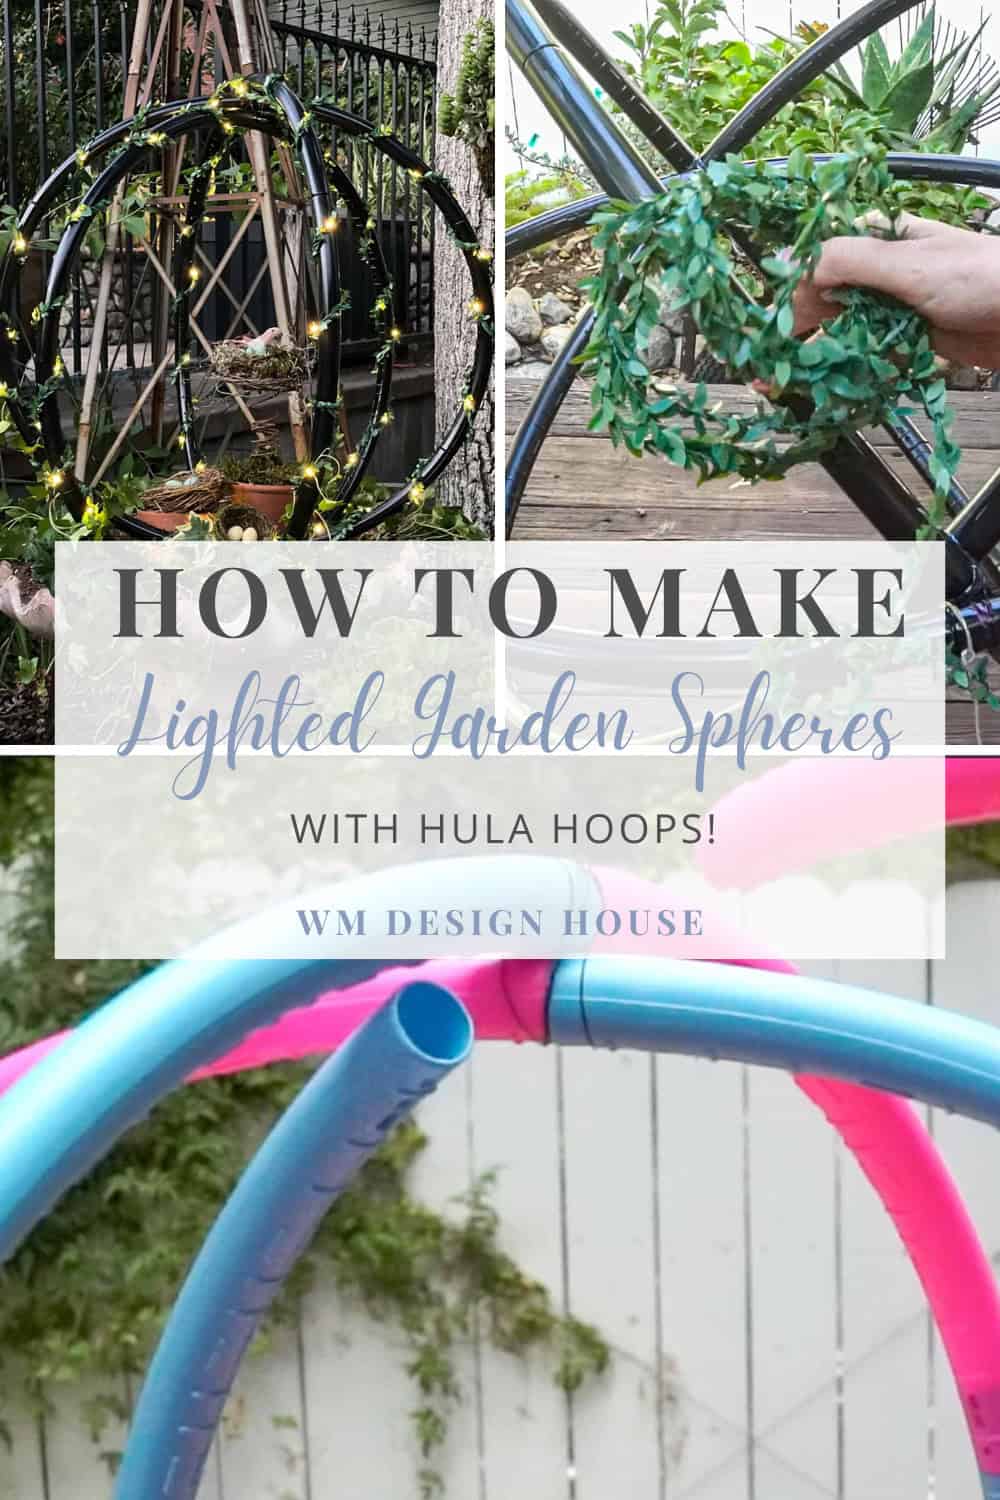
How to Make Lighted Garden Spheres Out of Hula Hoops
Learn how to beautify your outdoor space with this step-by-step tutorial on how to create lighted garden spheres from hula hoops.
On my blog WM Design House, I may sometimes use affiliate links, which means a small commission is earned if you purchase via the link. The price will be the same whether you use the affiliate link or go directly to the vendor’s website using a non-affiliate link. Read my full disclosure policy here.
A DIY Guide to Creating Beautiful Lighted Garden Spheres
Imagine sitting out in your garden on a dark summer night—it is so peaceful. Now picture it lit up with beautiful lights; it is even better, right?
If you want to add some magical ambiance to your garden, you can easily make your own lighted garden spheres using hula hoops.
And I am going to show you how to make your own lighted garden decor!
What Are Lighted Garden Spheres?
You might have seen lighted garden spheres, at home and garden stores.
Often called garden globes or orbs, these eye-catching pieces come in a variety of sizes from small to extra large, and are a unique garden lighting idea that can transform your backyard landscape.
Lighted garden orbs make beautiful additions to any garden design, but did you know you can save money by creating your own custom DIY garden decor?
If you are looking for some garden lighting inspiration, these lighted spheres offer a fun alternative to standard outdoor solar lights.
Incorporating lighted decor into your outdoor garden adds a touch of charm after the sun sets. I love this DIY lighted sphere project because it not only enhances my garden decor during the day but also creates a magical ambiance at night!
This is a fantastic DIY garden project that brings both beauty and inspiration to any backyard garden. It’s perfect for anyone looking for small garden ideas or DIY garden decorations that make a big impact.
Here is everything you will need to make your own lighted gardens spheres.
Materials You’ll Need to Make Lighted Garden Spheres
How to Make Lighted Garden Spheres
Step 1: Purchase Your Hula Hoops
To make your own lighted garden spheres you’ll need three hula hoops. I love these ones from Amazon, but don’t be surprised when they arrive!
The hoops come disassembled so you can easily connect them together, which actually makes them perfect for this DIY lighted garden spheres project.
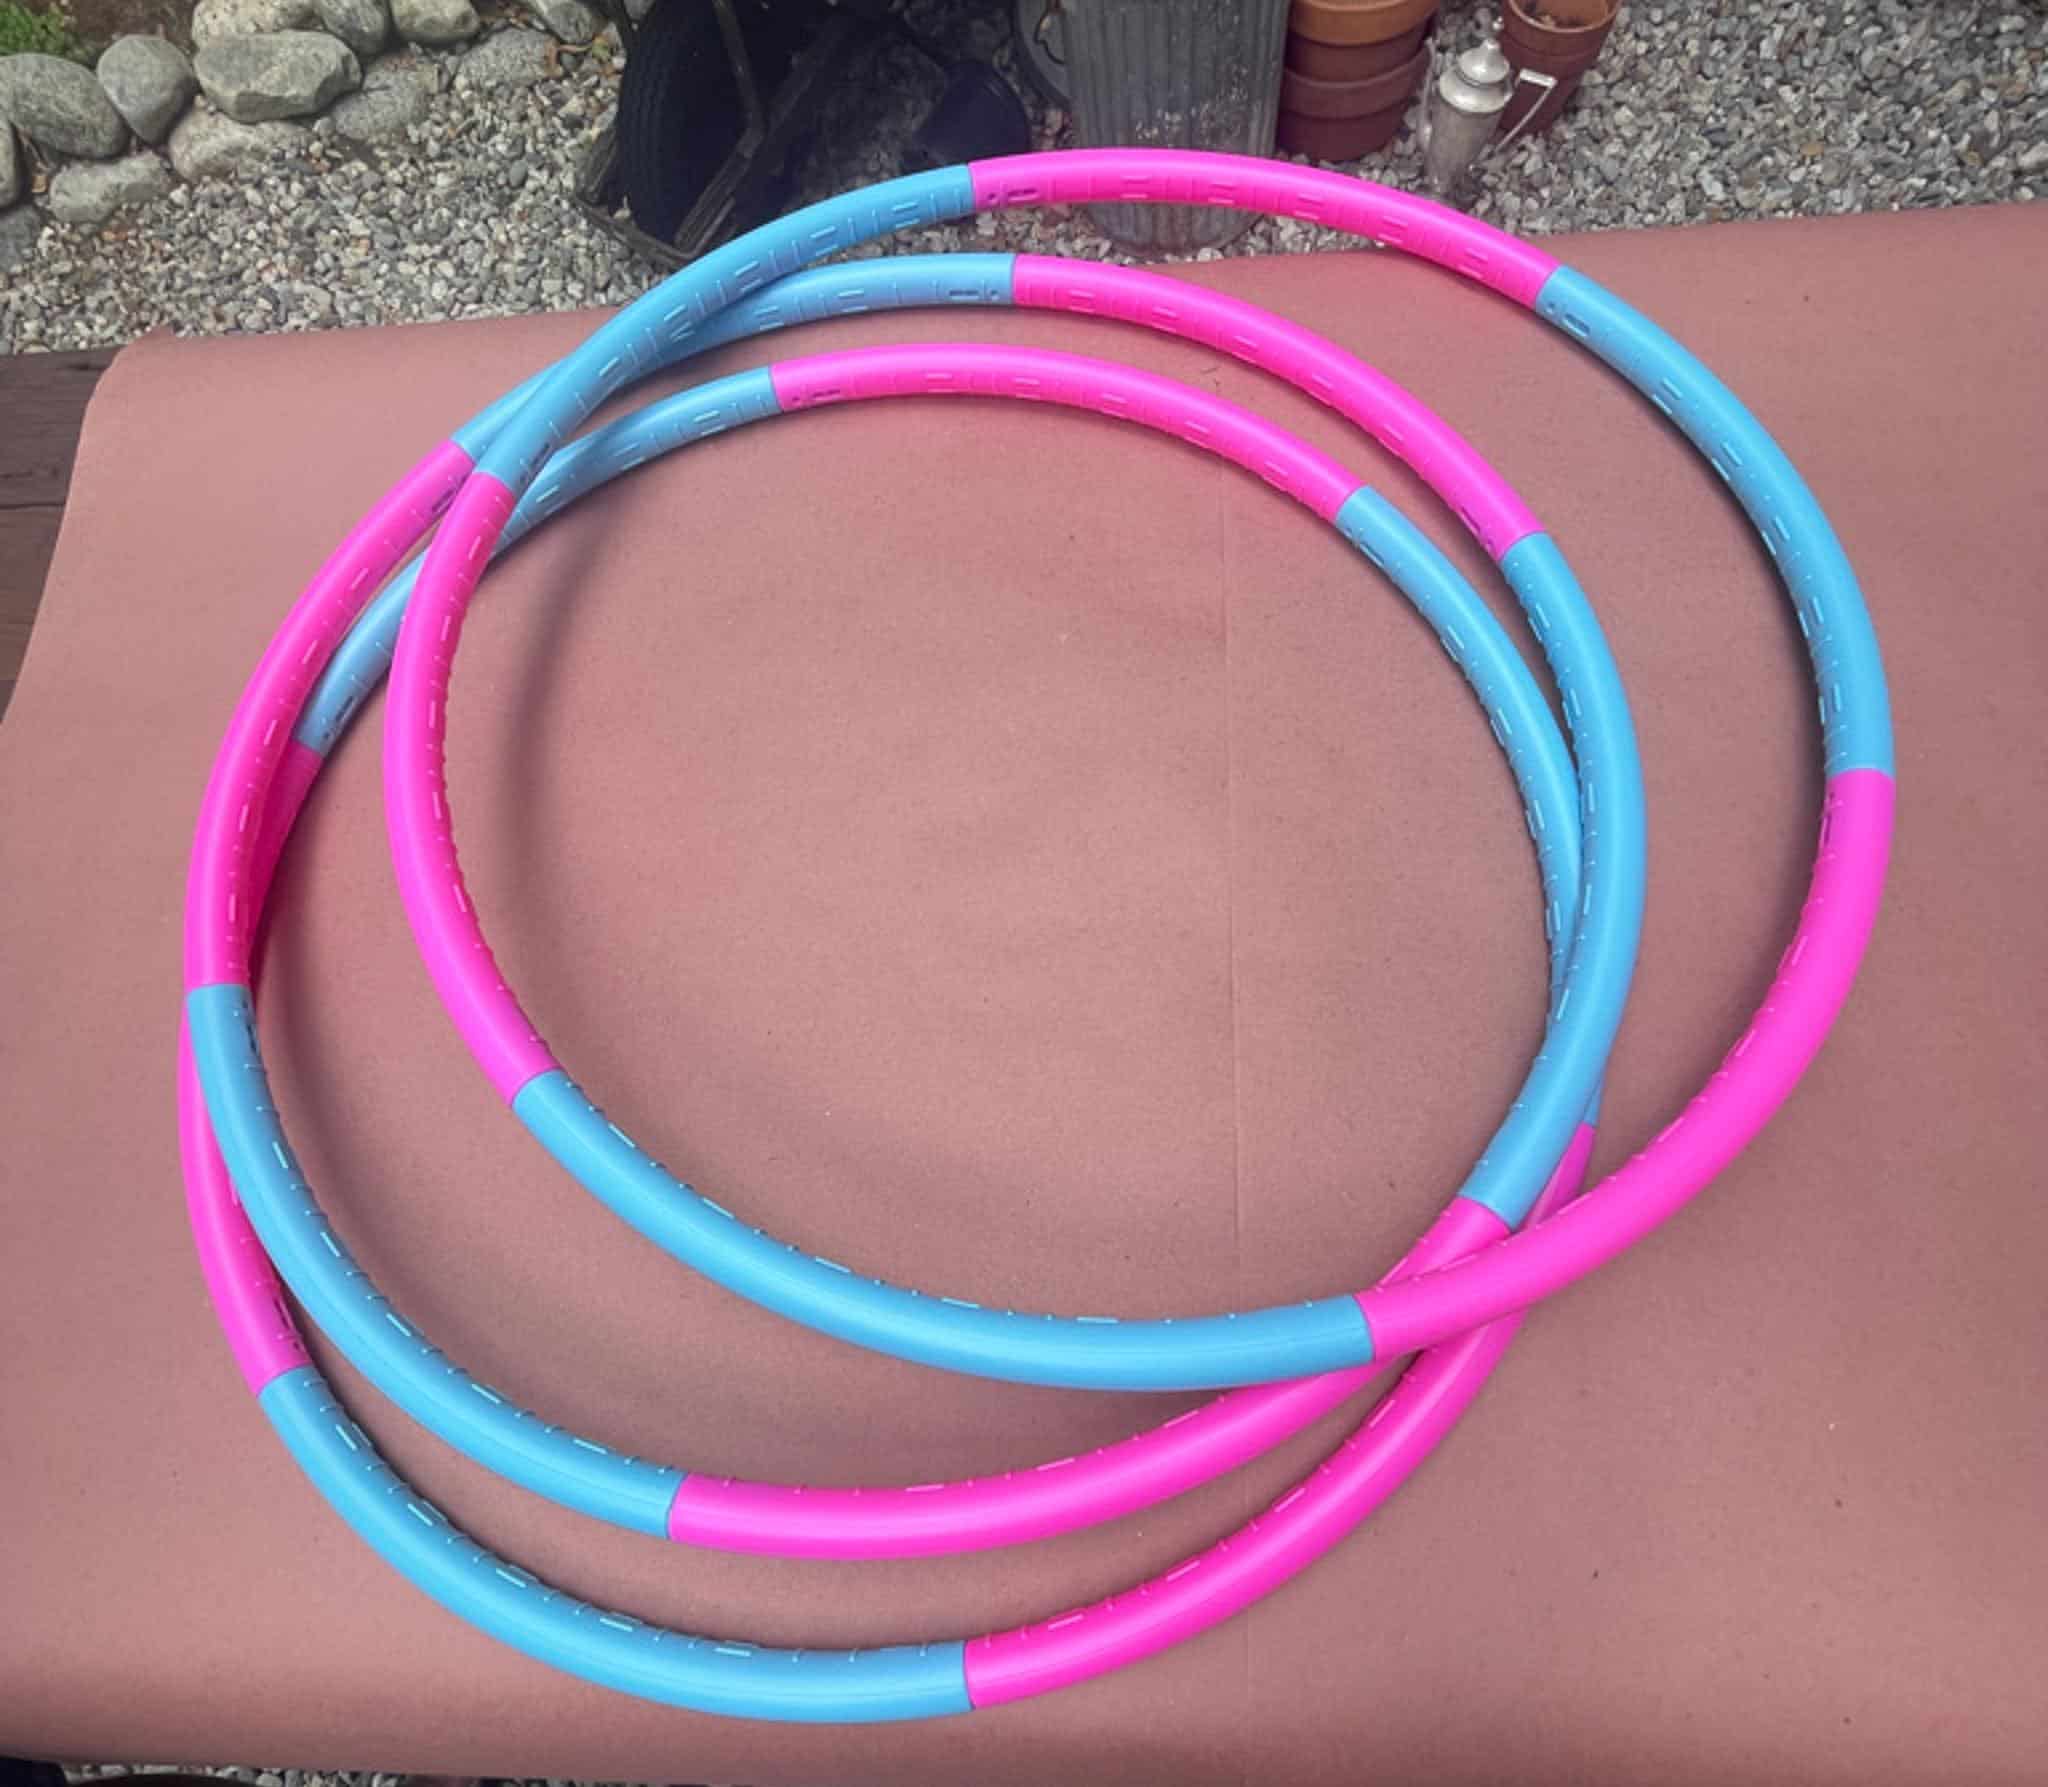
The hoop size can also be adjusted so you can make your lighted sphere as large (or as small) as you want. Or you can make several lighted garden spheres in different sizes!
Tip from wendy’s craft room:
Using hula hoops that come apart into sections makes it much easier to build your lighted garden spheres. You can easily adjust the size of your spheres by adding or removing sections of the hoops, so they are just right for your garden space.
Step 2: Connect Two Hula Hoops
Next , grab two of the hula hoops to start making your sphere.
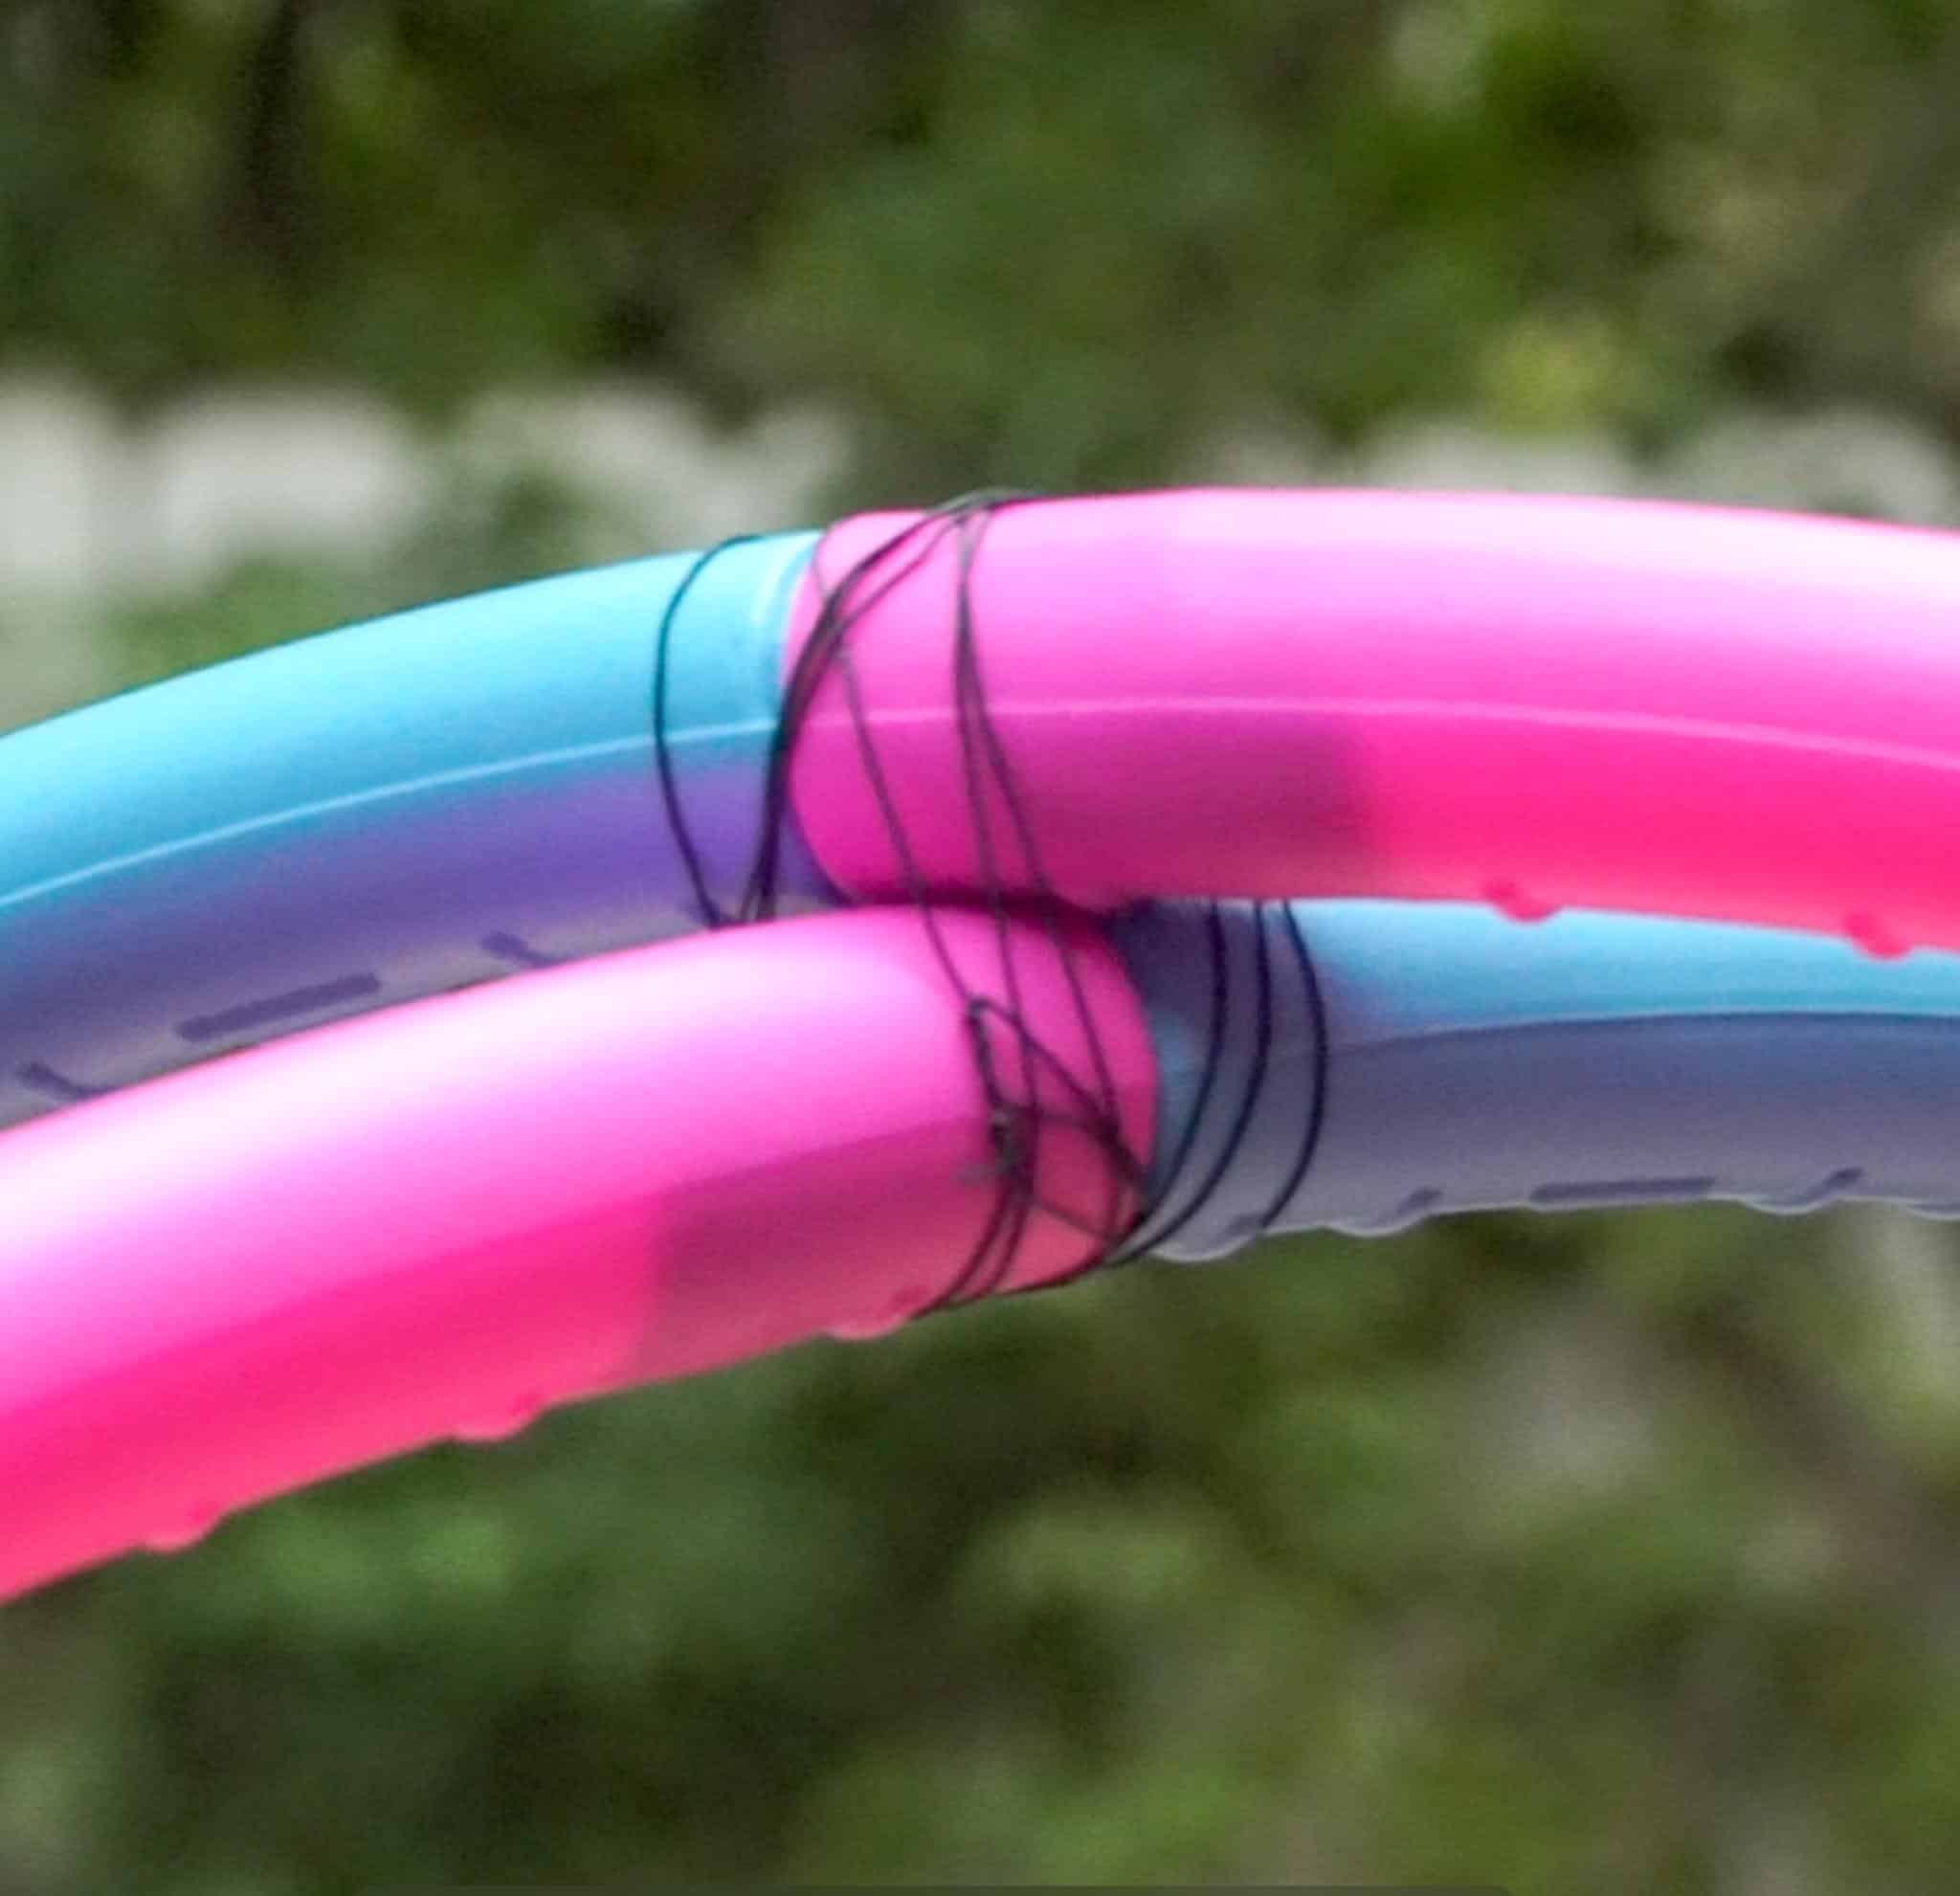
Insert one hula hoop inside of the other one at an angle.
Once the hoops are in place, use some paddle wire to bind the two hula hoops together as you can see in the photo above.
Tip from wendy’s craft room:
When wiring the hoops together to form your lighted garden spheres, having an extra set of hands can be a BIG help! Working with someone else makes it easier to hold the hoops in place while you secure them, ensuring everything stays aligned and speeds up the crafting process.
Step 3: Add the Third Hula Hoop
Now it’s time to add the third hula hoop.
Visually divide the space into thirds, then slide your third hula hoop in between the other two.
*Note: You’ll need to remove a section of the third hoop for it to fit into the sphere. Once the hoop is in place, connect the final piece to close the gap.
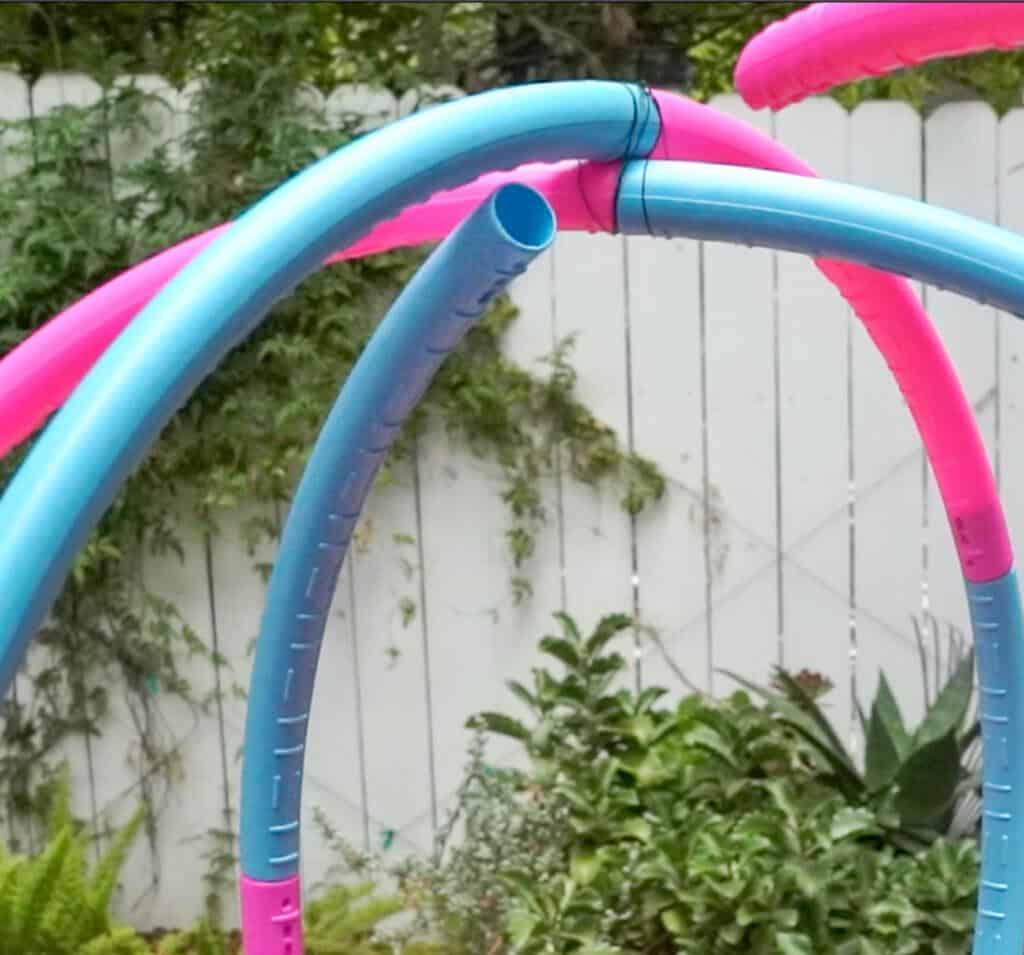
Next, attach the third hula hoop on top of the other two with more paddle wire.

For extra security, I wired the three hula hoops together on both ends.
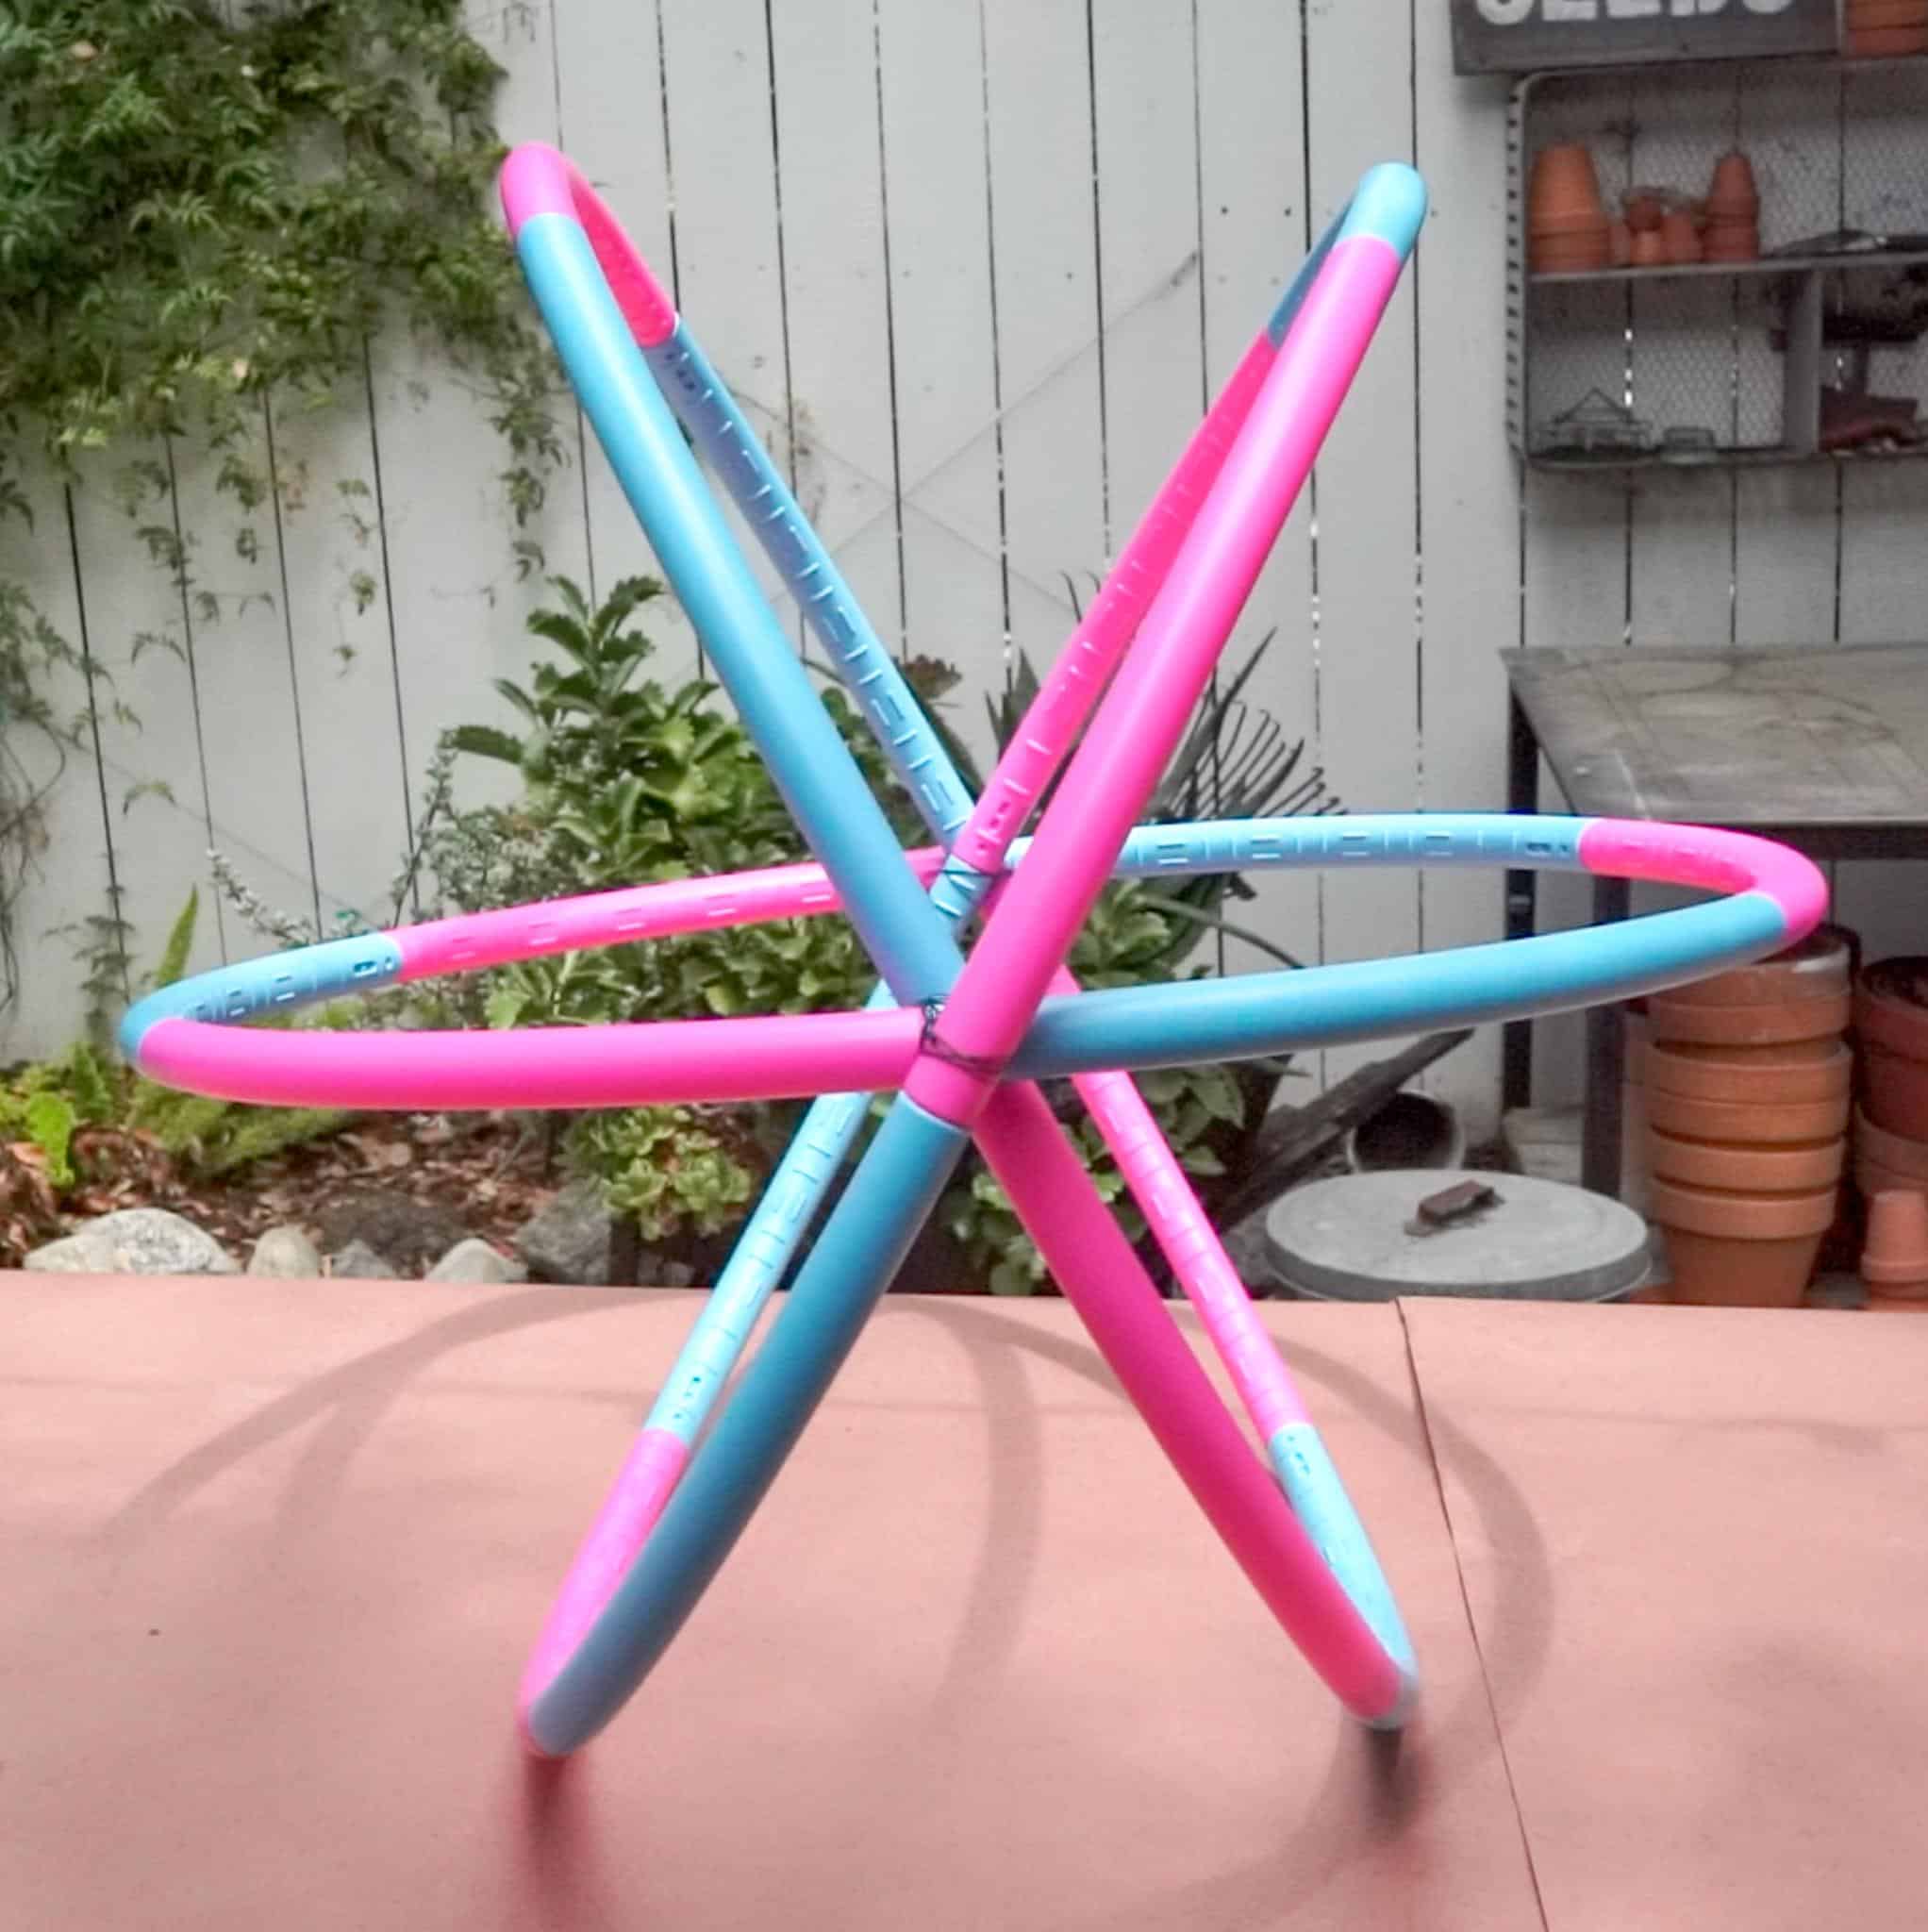
Here is what your hula hoops should look like once they are assembled to create the complete shape of your lighted garden spheres.
Tip from wendy’s craft room:
The more the merrier! Make several lighted garden spheres to add some fun and unique touches to your garden. Not only do they serve as beautiful art pieces, but they also make perfect decor for outdoor events like a summer garden party.
Step 4: Paint Your Lighted Garden Spheres
After your garden sphere is wired together, you are ready to paint! To match my lighted spheres with my rustic garden planters and vintage garden decor, I sprayed the bright hoops with some matte black Rustoleum paint.

Use light even strokes to spray your hula hoops, go slow and take your time! Paint one side of your sphere, let it dry, then turn it over and spray the other side.
Once you have put your last coat of paint on, let your garden sphere dry for 24 hours or until it is not tacky to the touch.
Tip from wendy’s craft room:
When using spray paint on plastic, like your hula hoops, it’s important to get a smooth finish without drips. Shake the can well before use, and hold it about 6 to 8 inches away from the surface. Apply the paint in thin, even layers, allowing each layer to dry quickly before applying the next. This technique helps prevent drips and ensures the paint dries faster, giving you a neat and professional-looking finish.
Step 5: Add Some Twinkle Lights
Once the base for your lighted garden spheres is dry you can add wrap it with a few strands of twinkle lights.
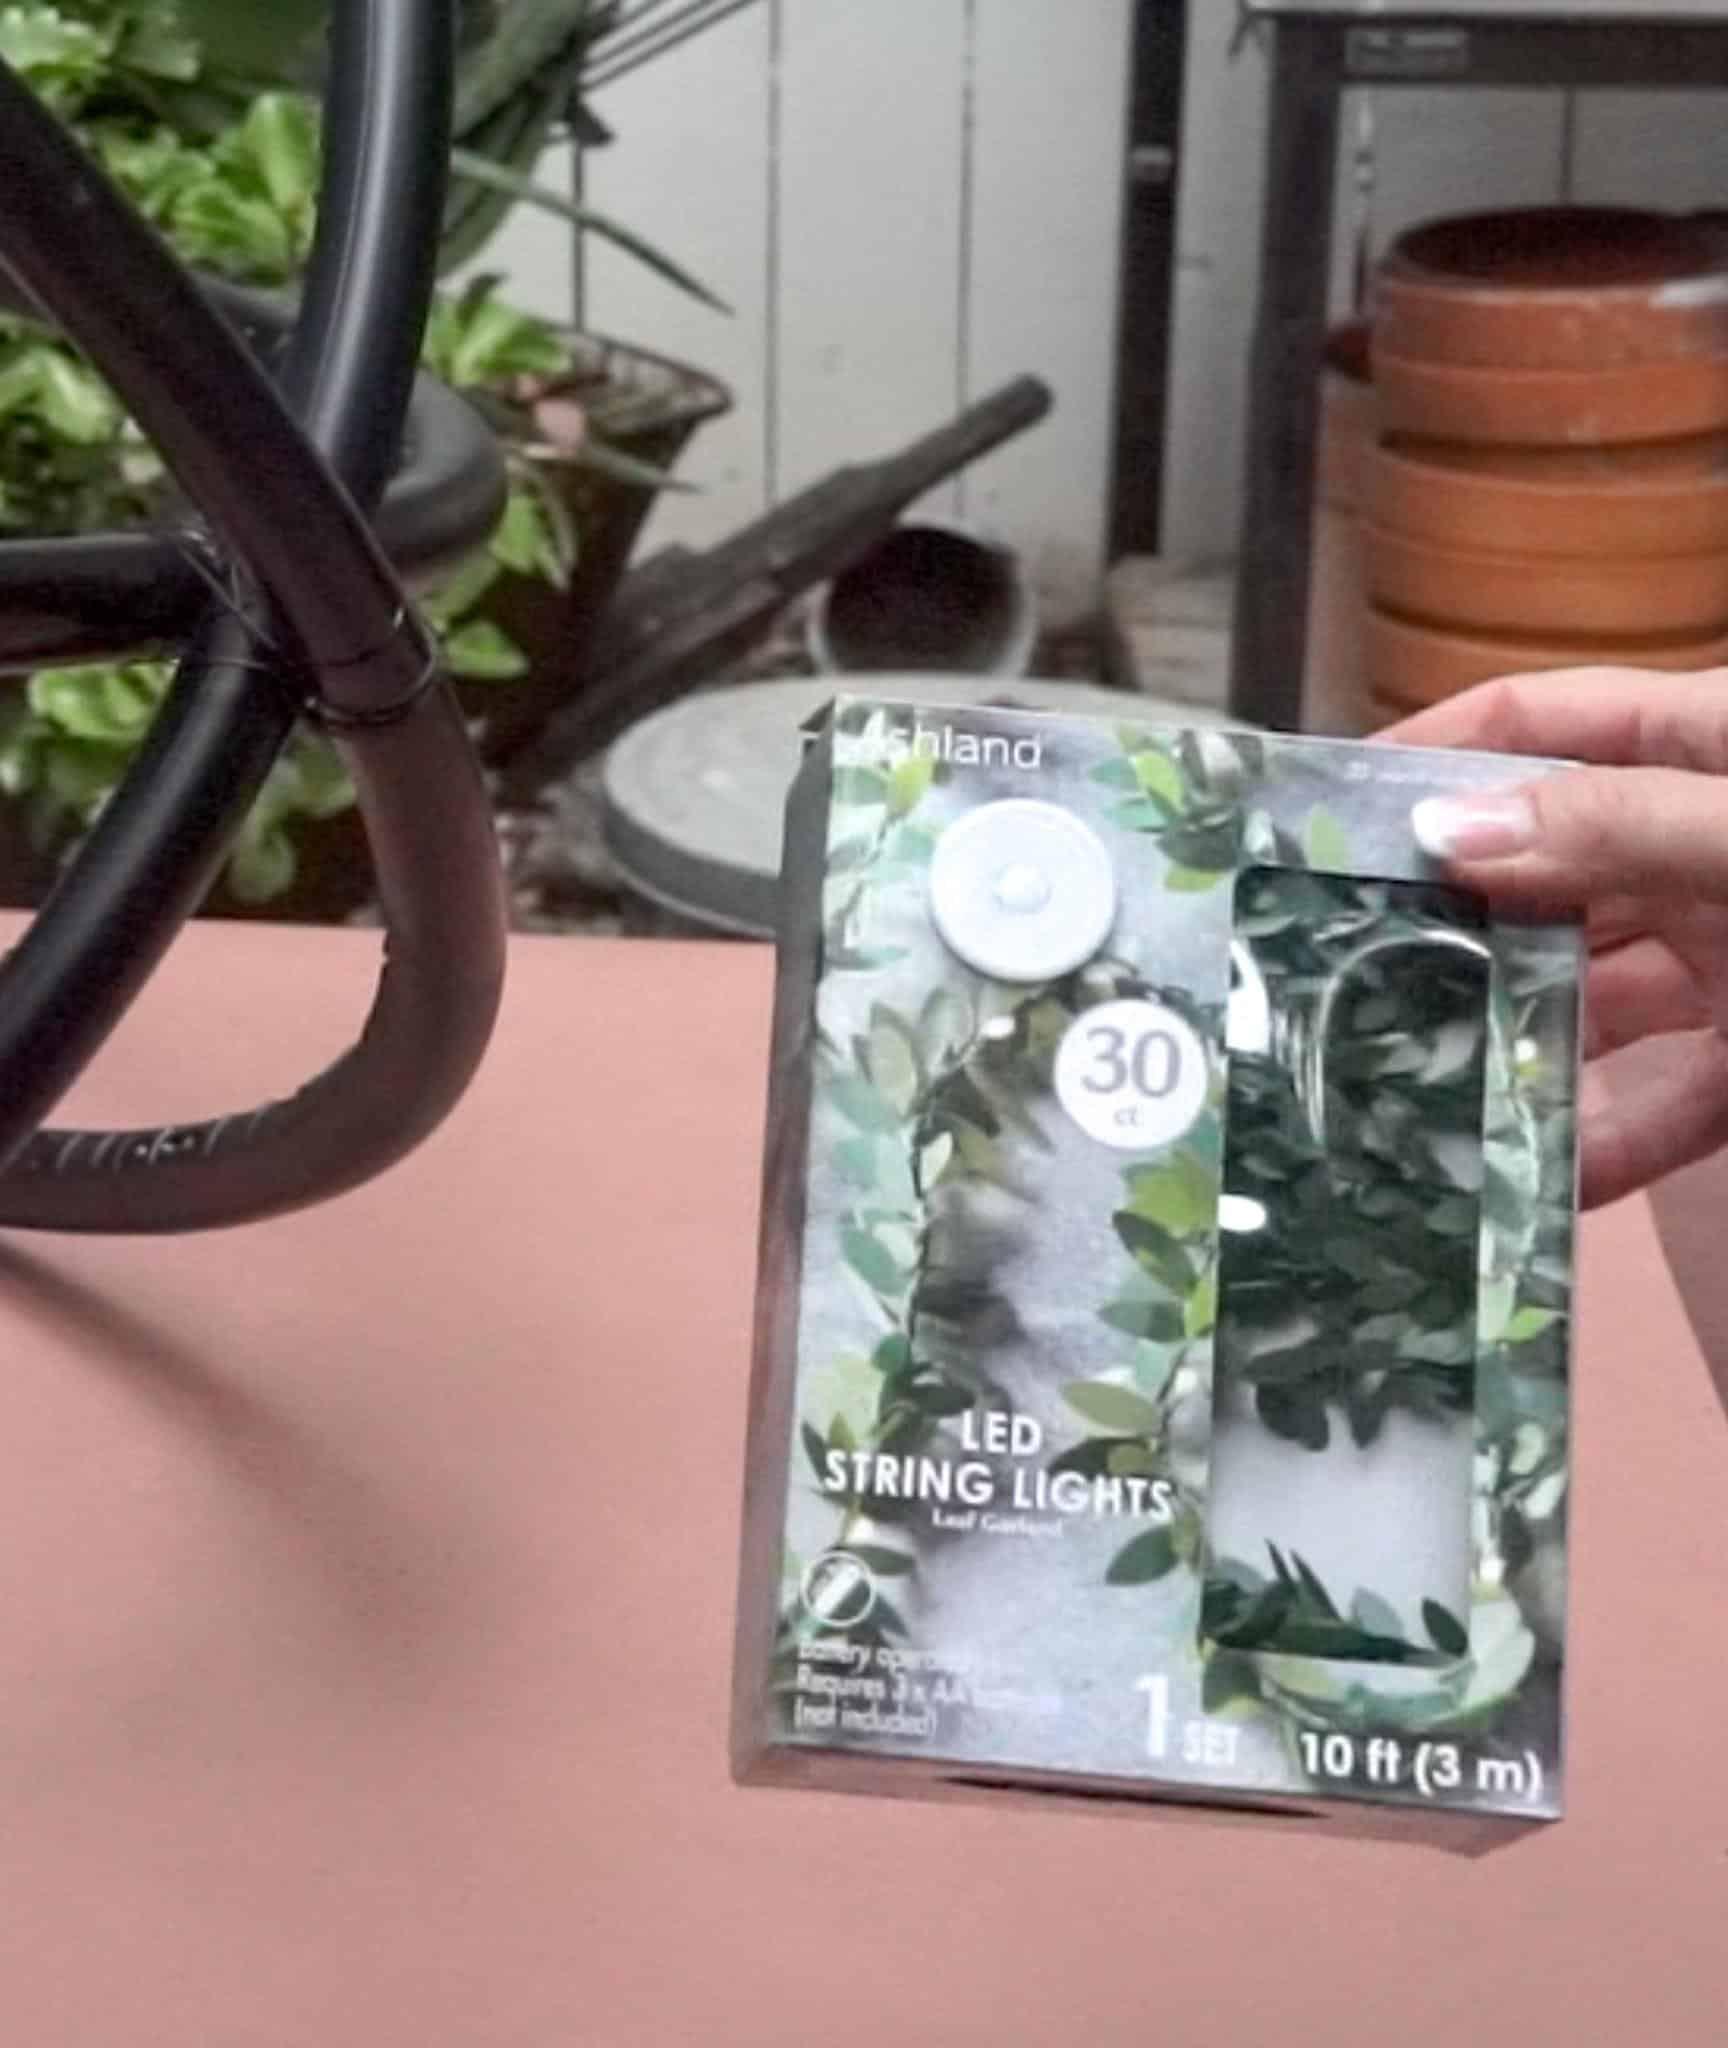
I used three light strands of these 10′ leaf string lights to completely cover all sections of my hula hoops.
If you make smaller lighted garden spheres you will need fewer lights.
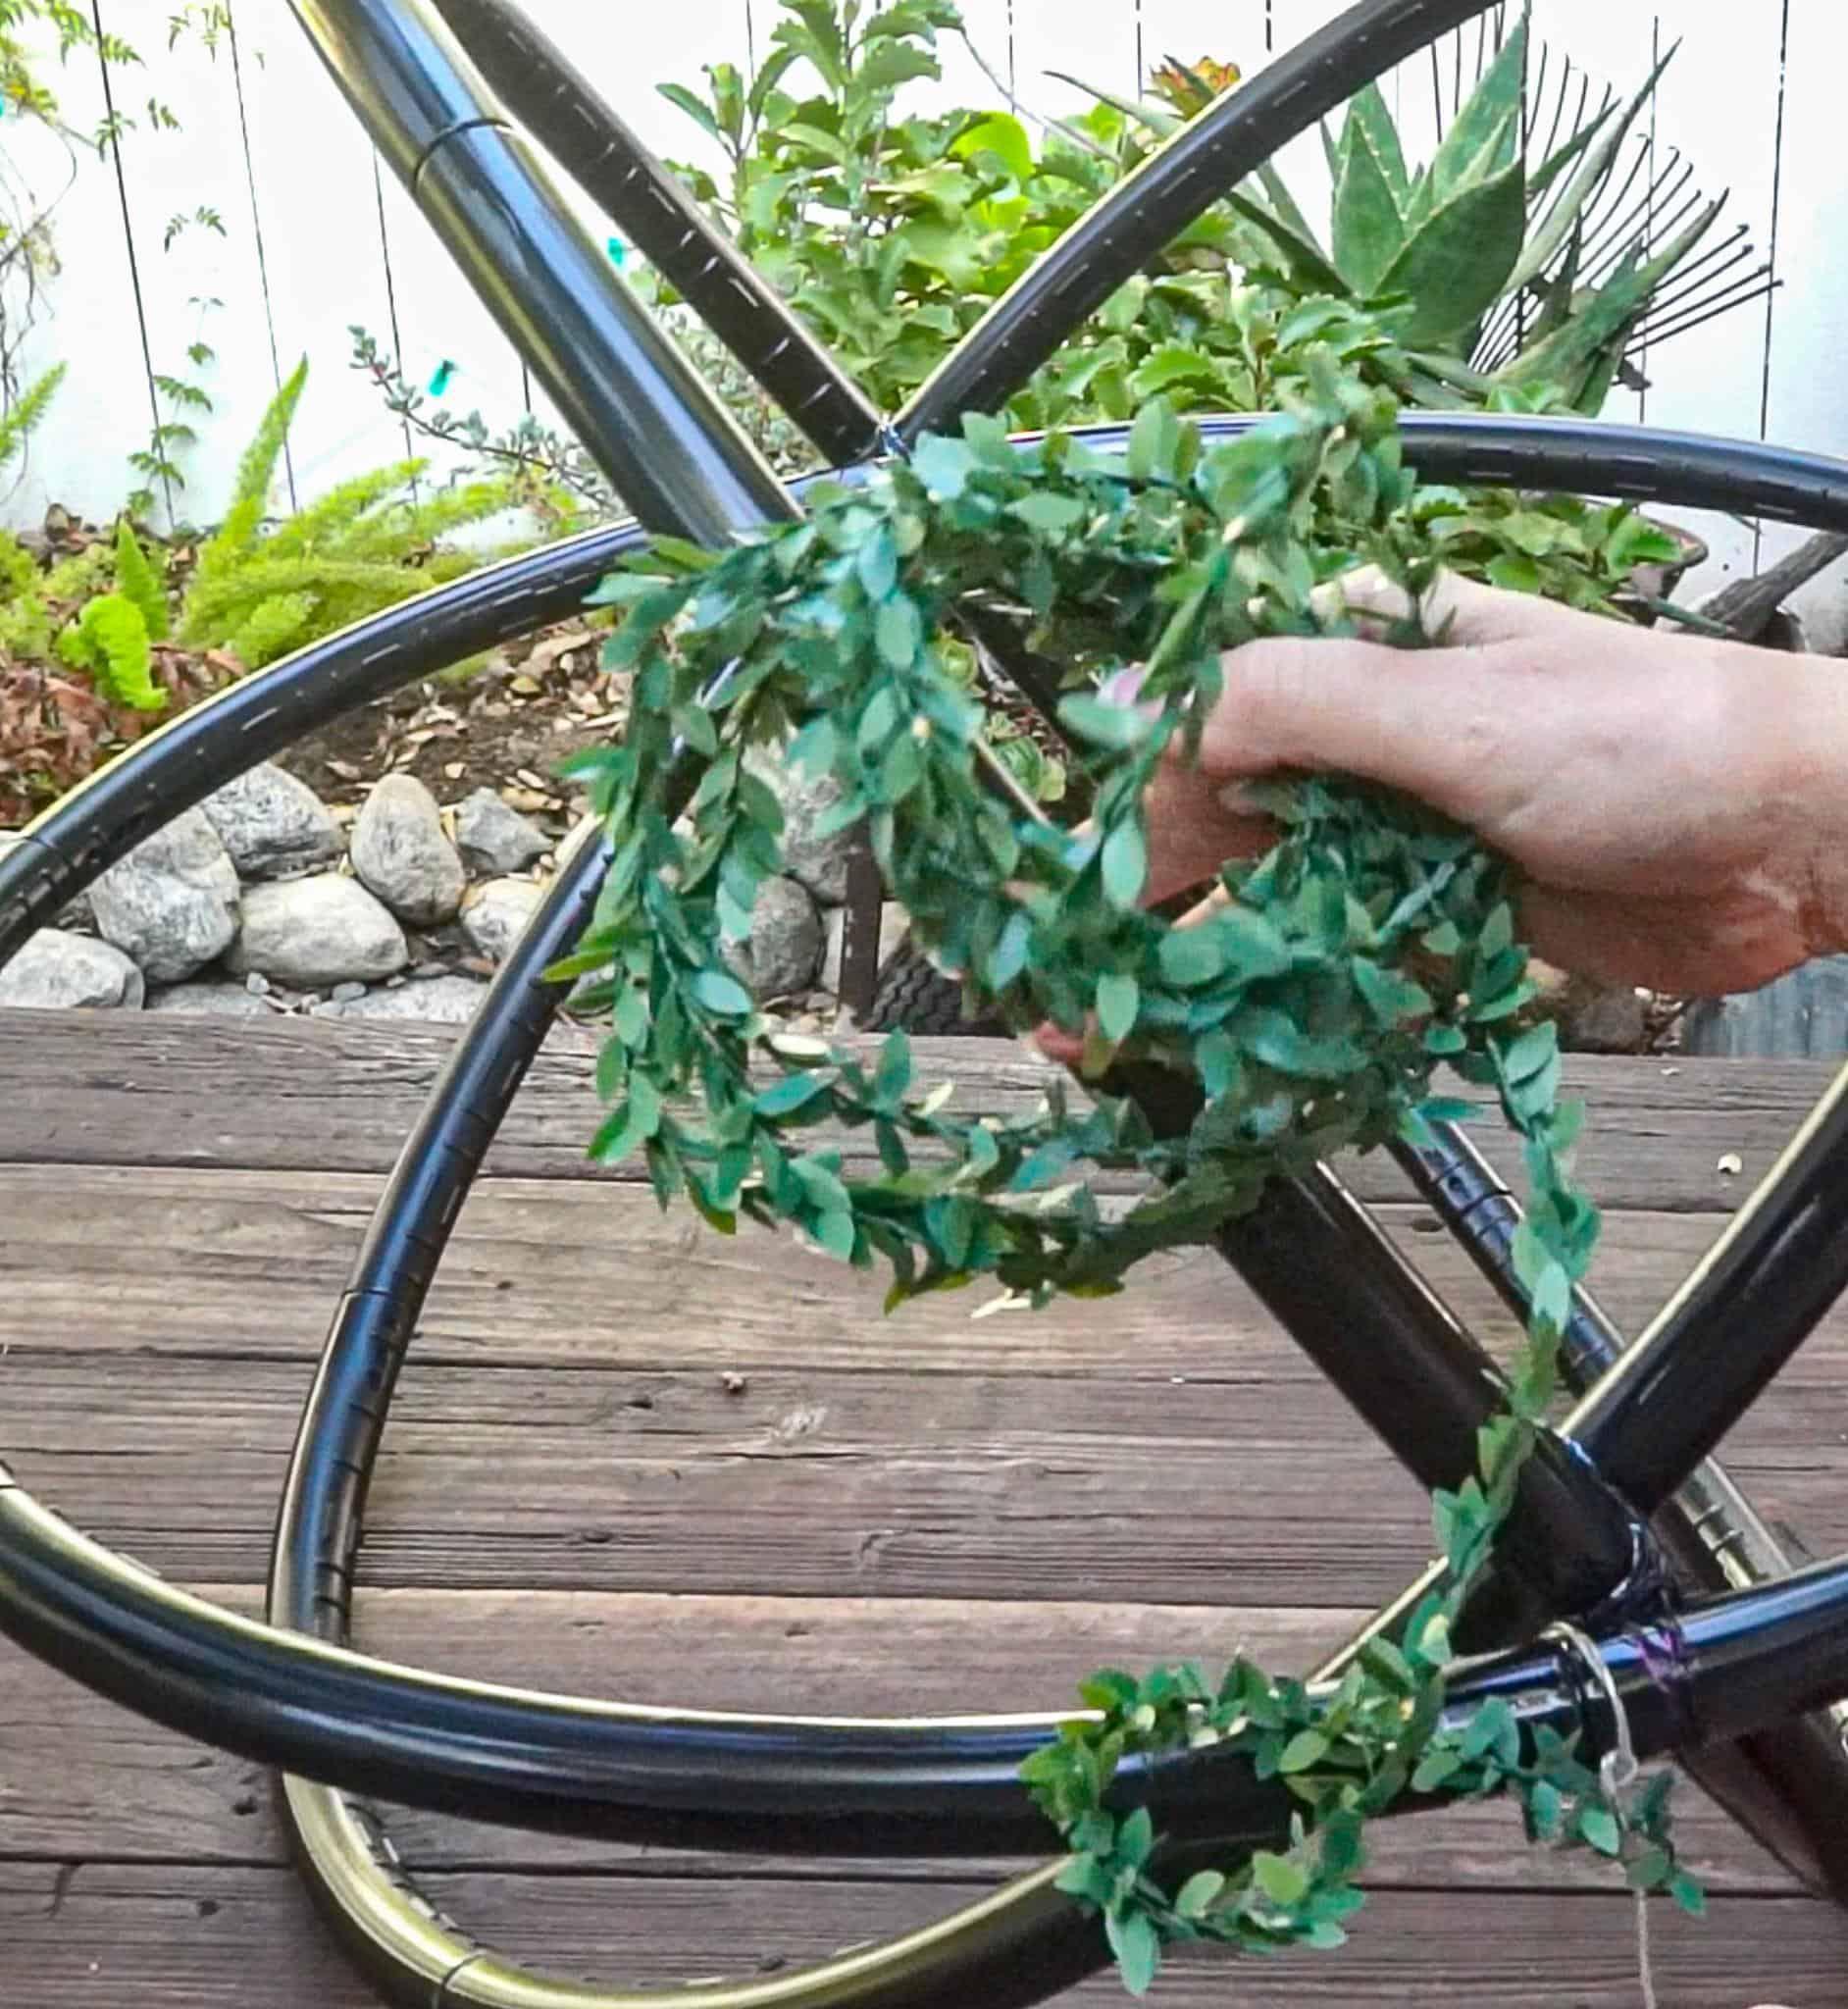
To add your twinkle lights, start at the bottom, where the three hula hoops are wired together.
As you tie on the first strand of lights and be sure to leave some leeway for the controller. (You will be setting the controller in a flowerpot when you install your garden sphere.)
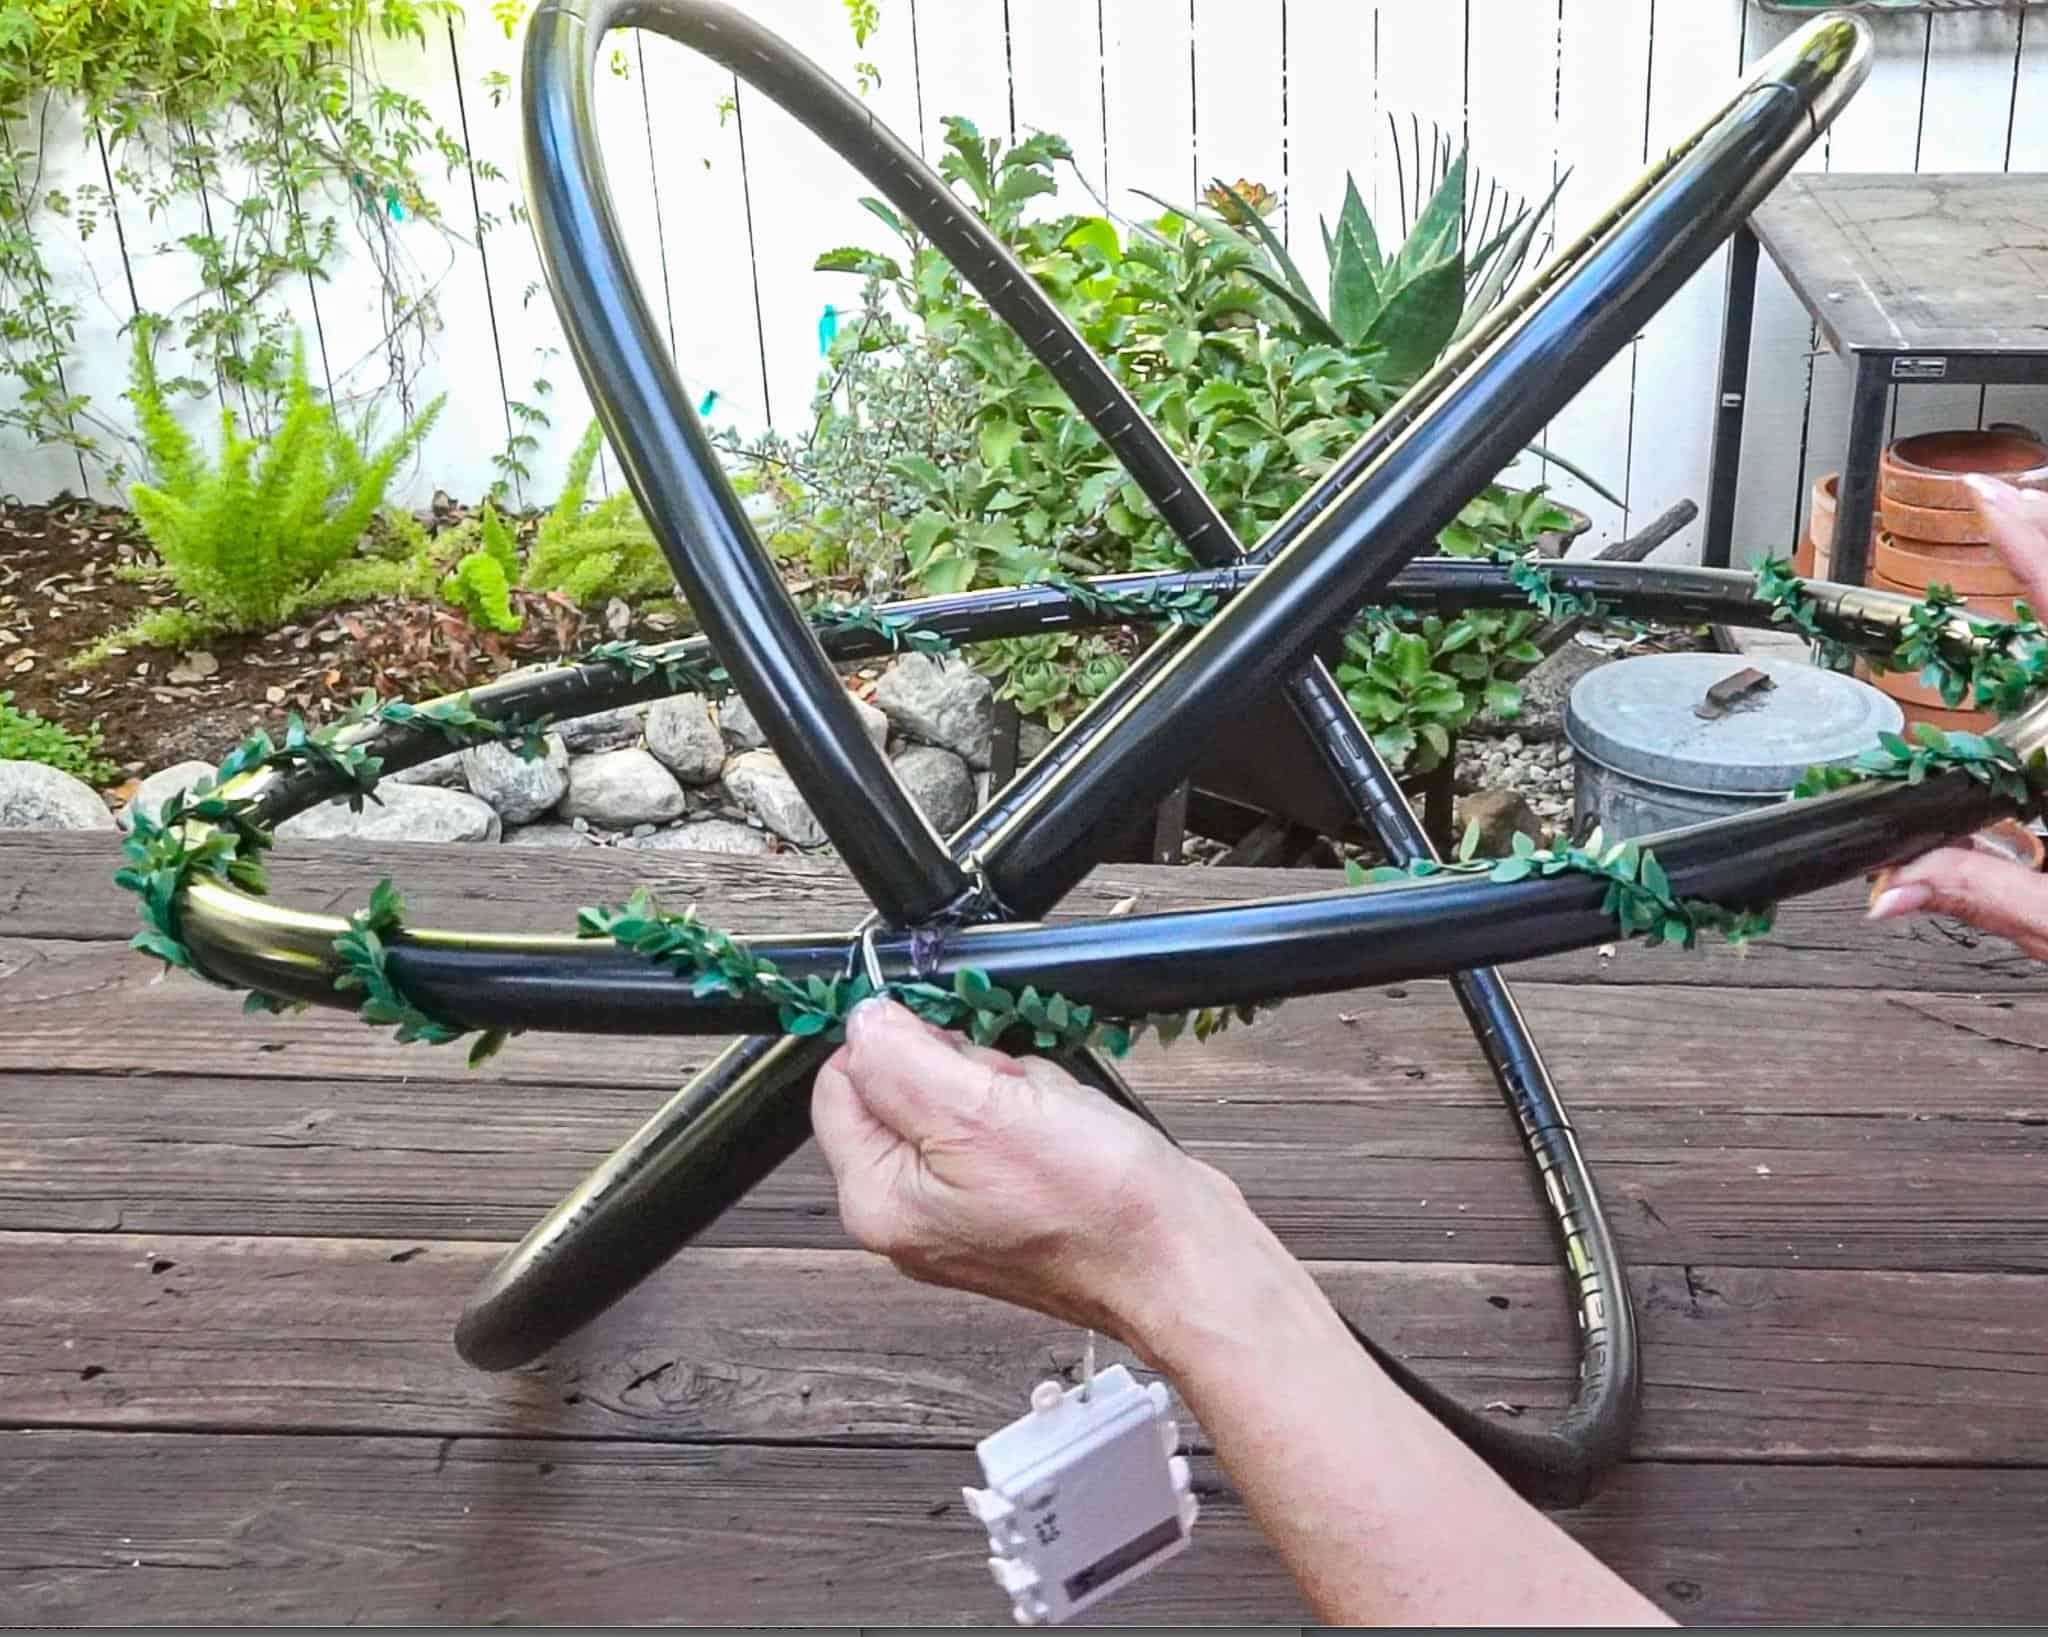
Start to wind the lights around the hula hoop until you have come to an end. Then, repeat this same process with the rest of your lights.
Tip from wendy’s craft room:
For powering twinkle lights it is best to use rechargeable AA or AAA batteries. These types of batteries are not only cost-effective in the long run but also eco-friendly!

Finding the Perfect Spot For your Lighted Garden Spheres
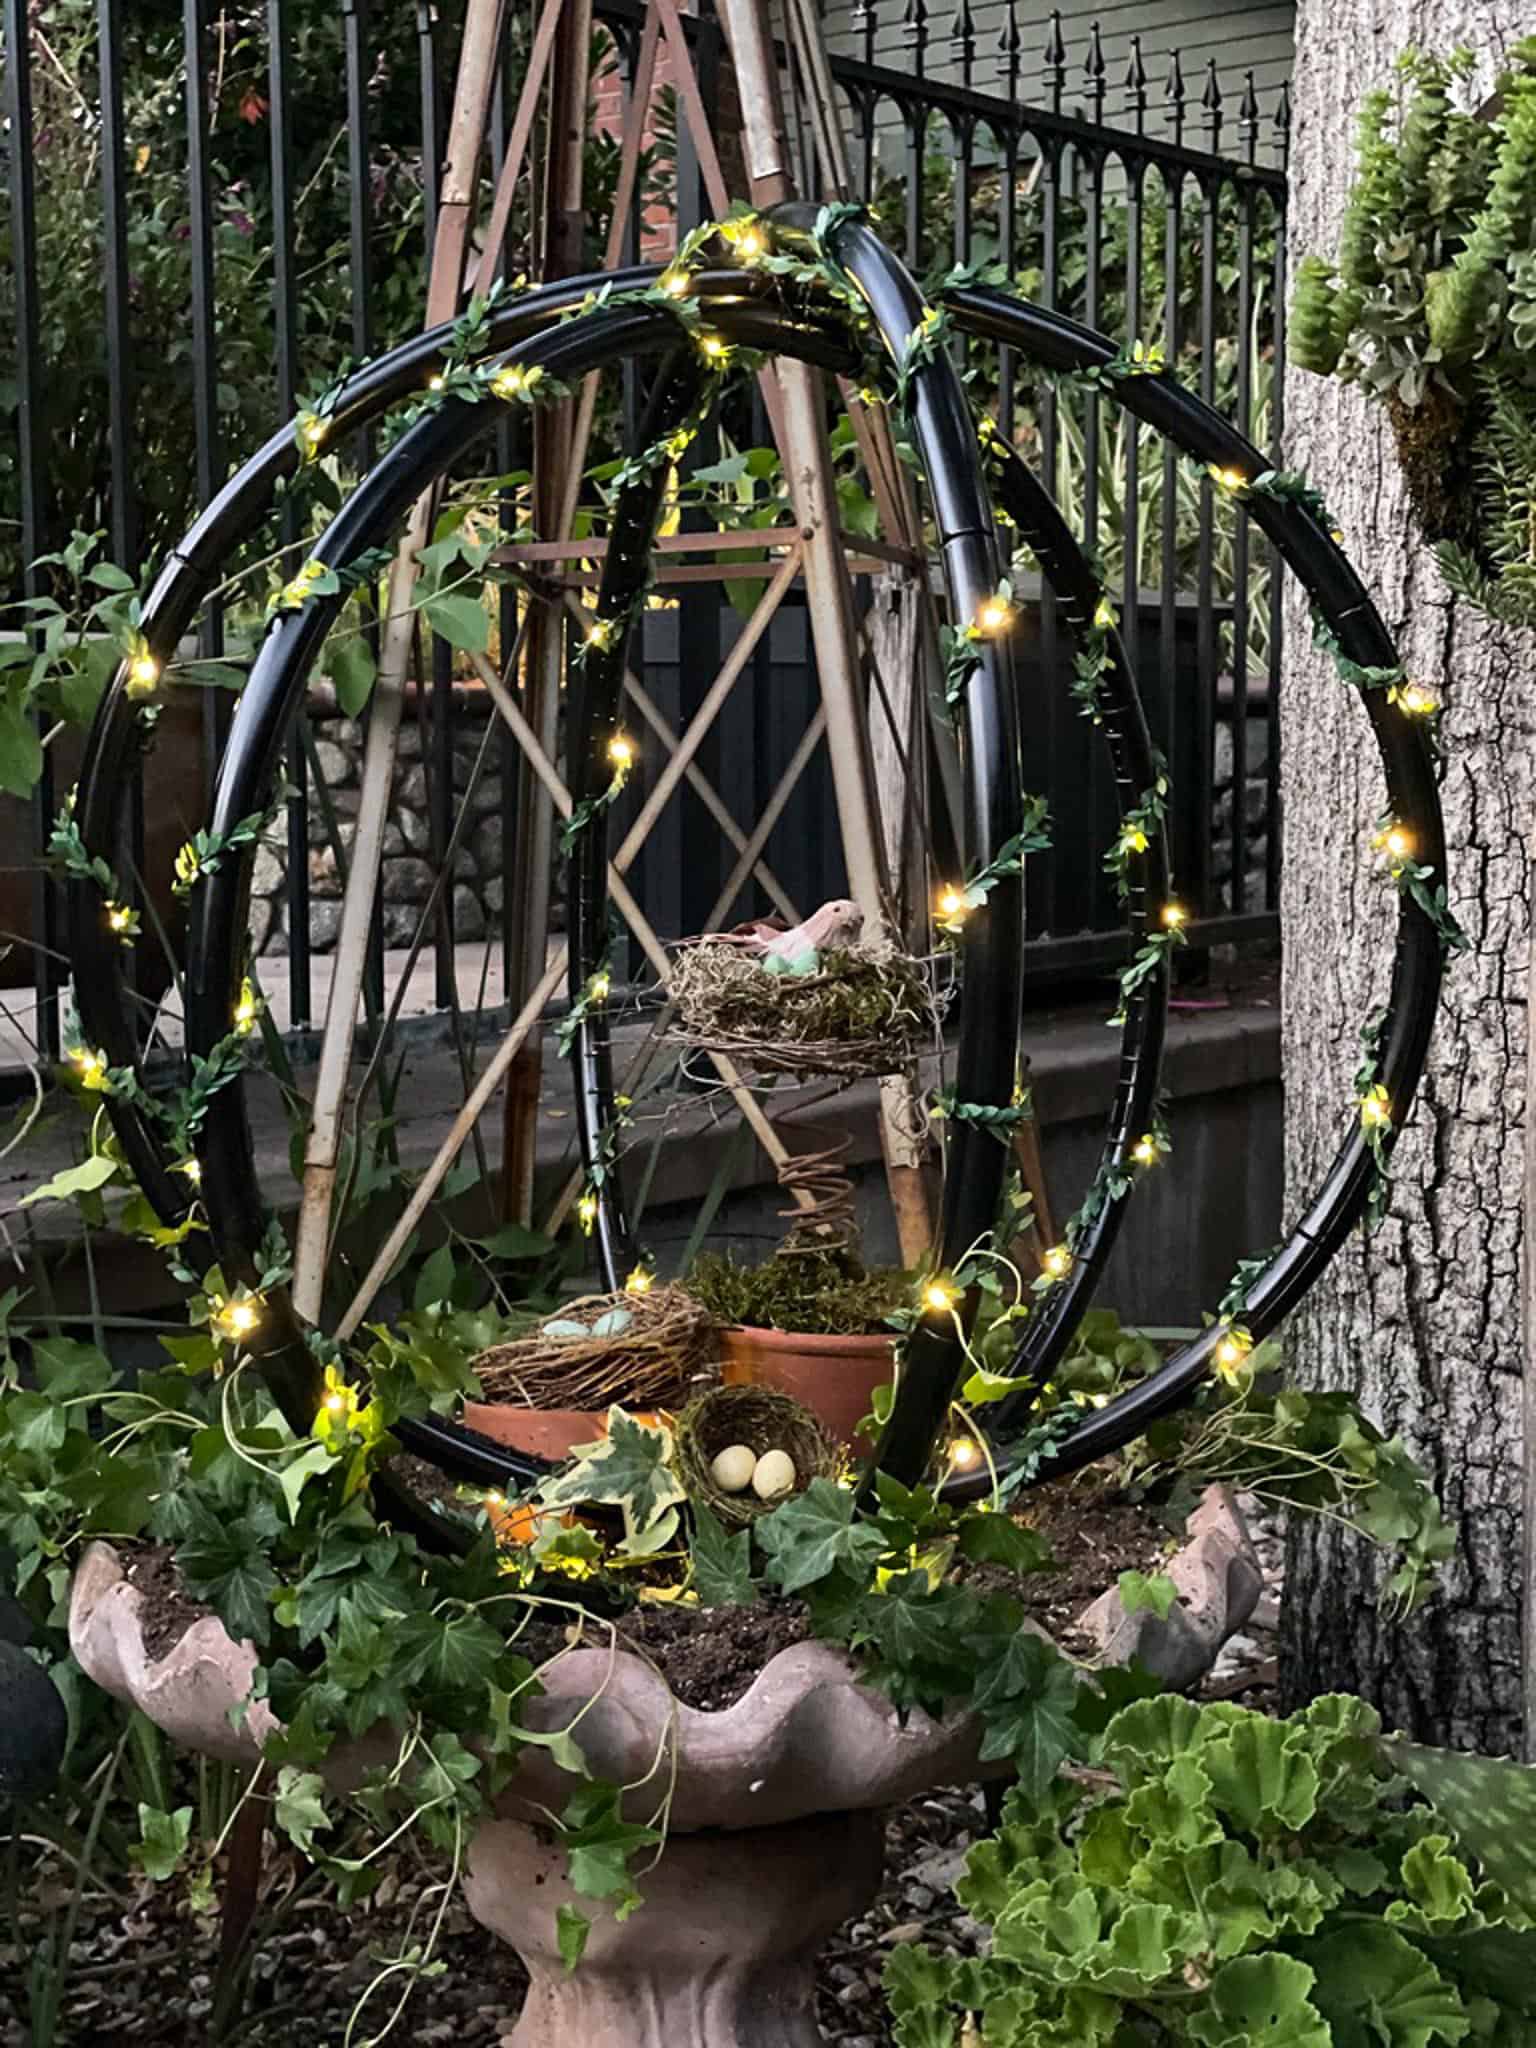
For the longest time, I had an empty bird bath. I couldn’t grow anything but ivy in it, so it was the perfect home for my lighted garden spheres.
And as a bonus, I can now see the twinkling lights at night out my window.
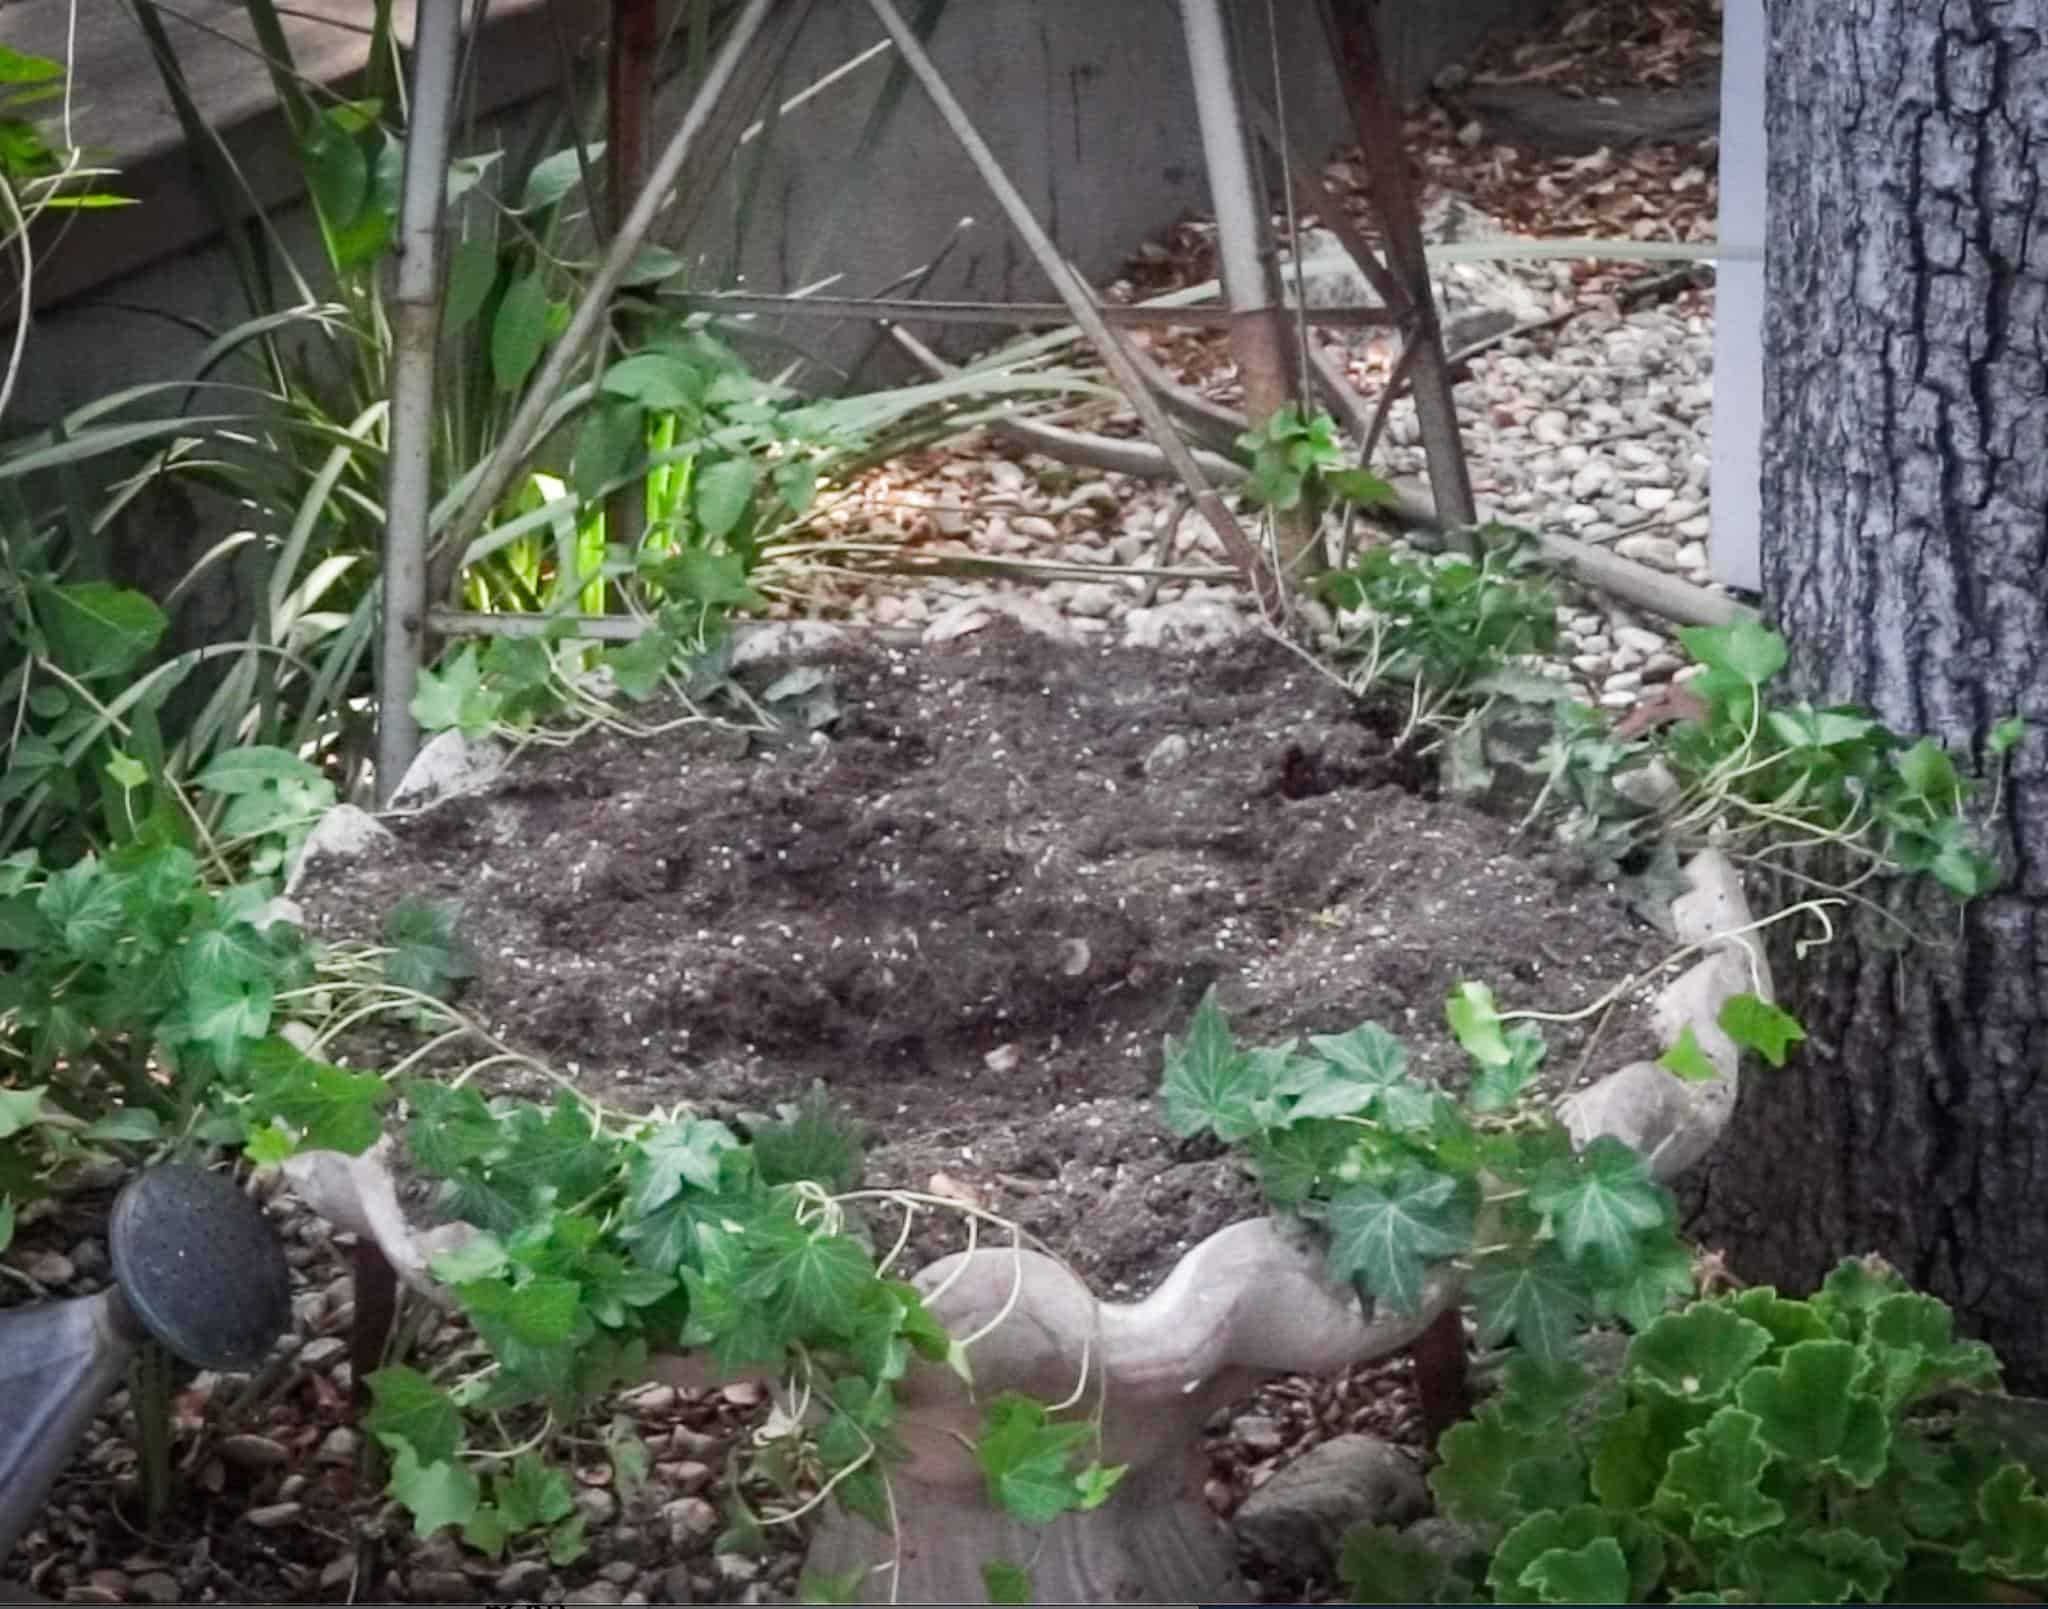
To display my garden sphere, first I gently centered it in the middle of the bird bath.
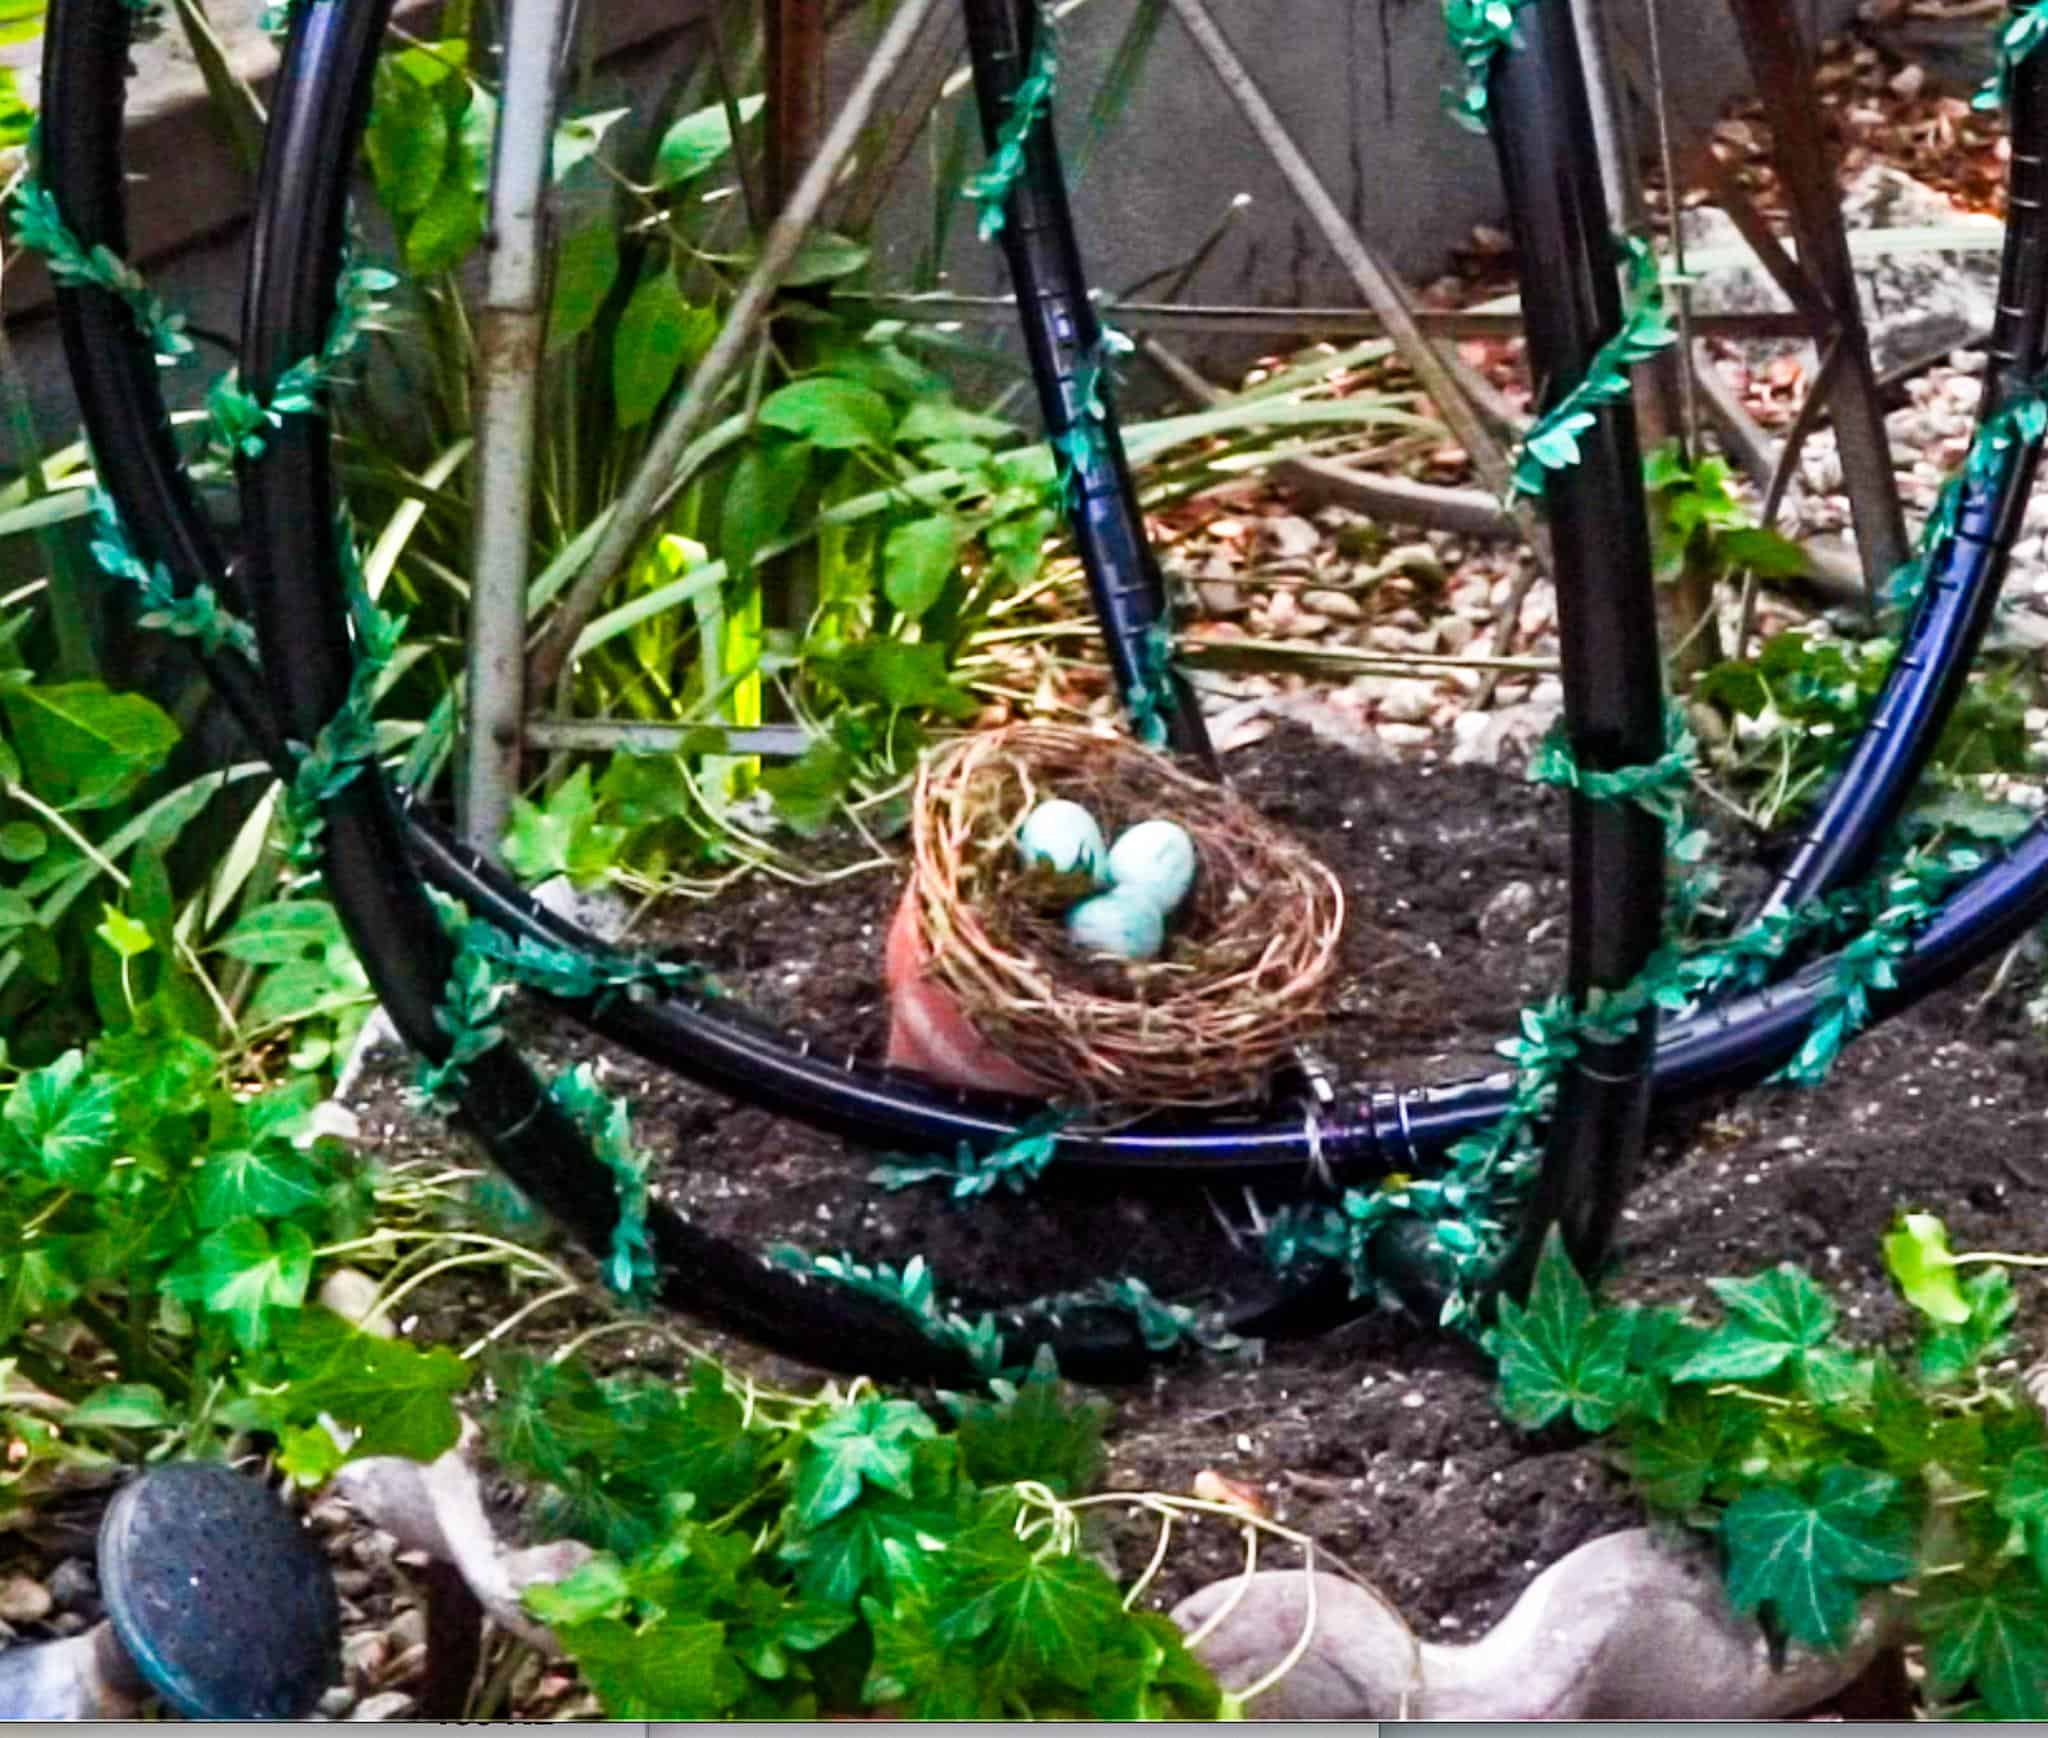
Next, I hid the twinkle light controllers in an aged terra cotta flowerpot. This not only keeps the battery packs safe from weather, but also ensures they don’t take away from the look of your lighted garden spheres.
Then I covered the controllers with some moss and a decorative bird’s nest.
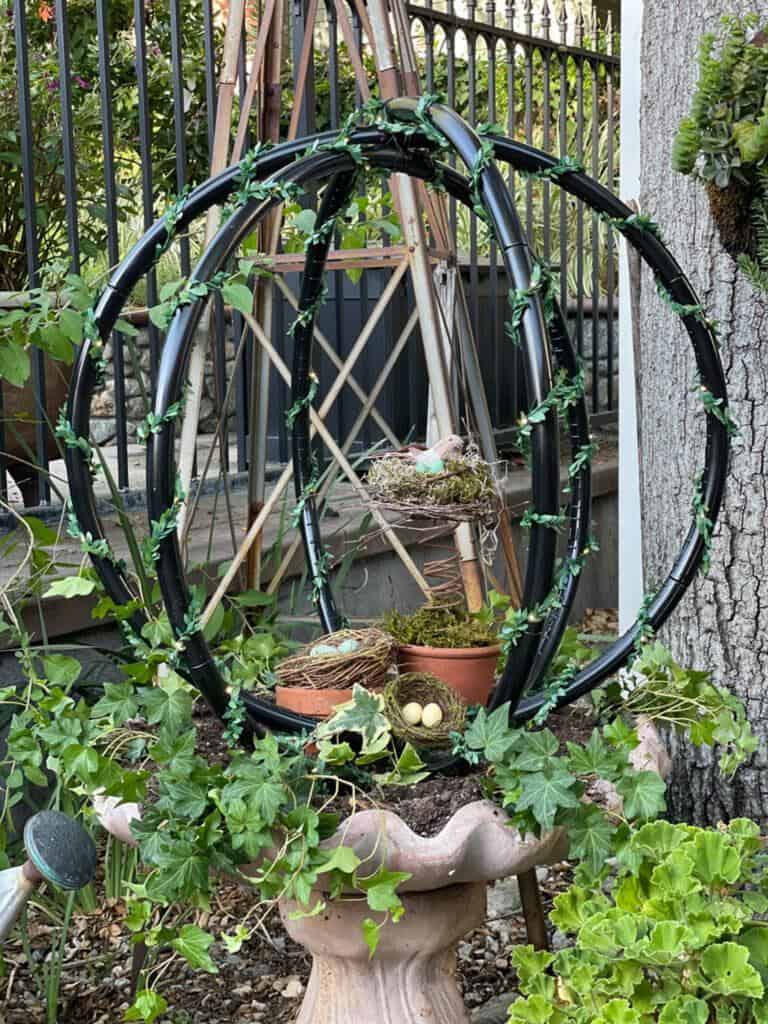
To add a rustic touch, I put another flower pot in the middle of the sphere and made a bird’s nest out of old, rusty bed springs.
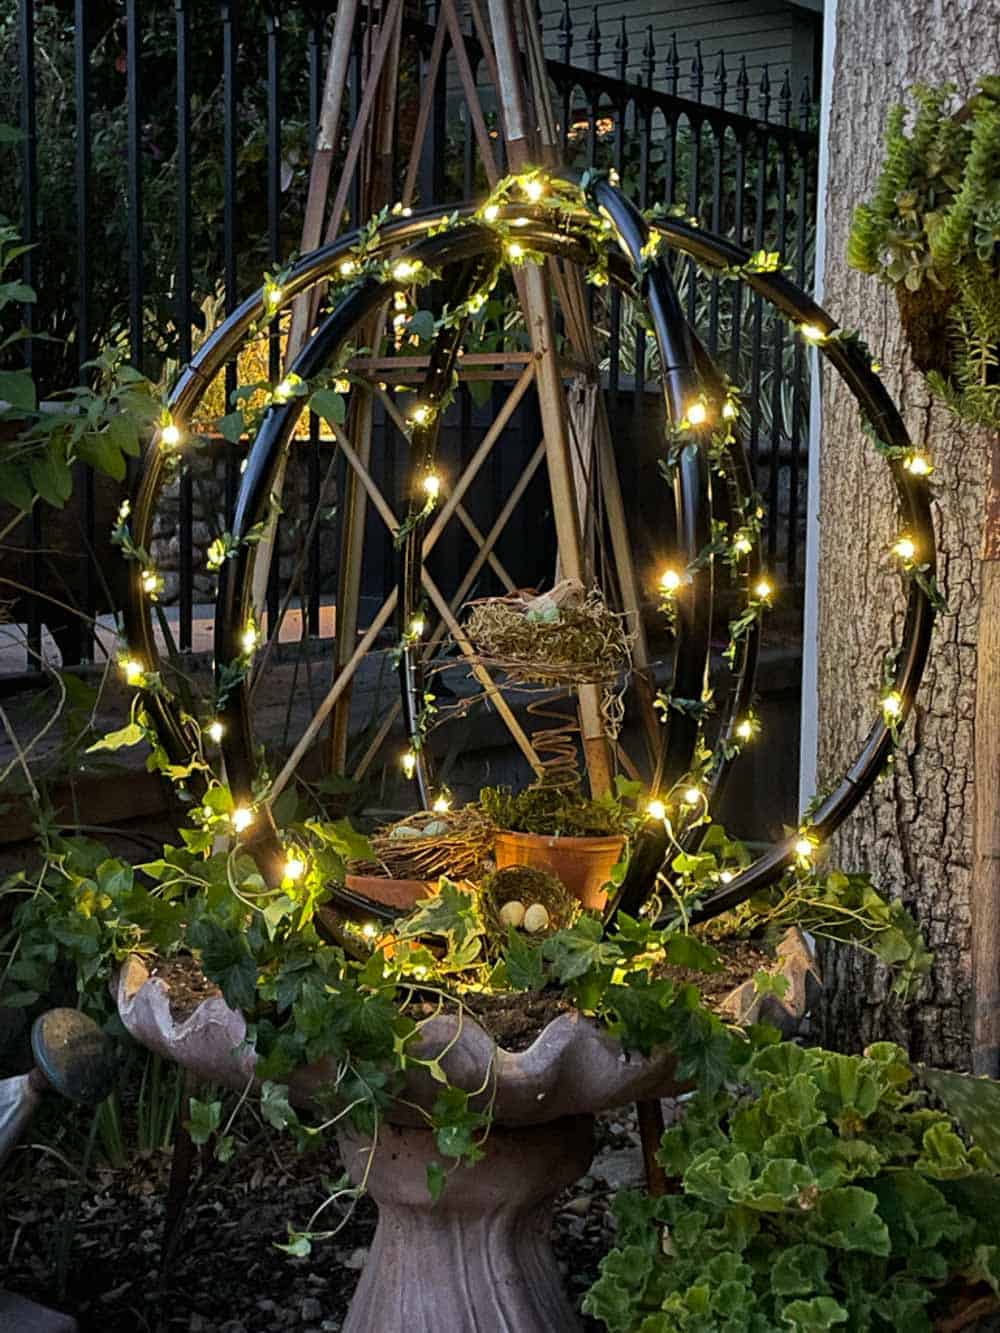
Here is my sphere all lit up at night! Isn’t it beautiful?
You could also place your lighted garden spheres in a large flowerpot, lay them on the ground in your flower garden, or hang it from a tree.
Can you imagine three or four of these lighted spheres hanging from your tree? Absolutely dreamy! Just make sure to use lights that come with a remote. This way, you can easily turn them on and off without any hassle.
Watch the Quick Tutorial Here
Watch the quick tutorial for these lighted garden spheres below, and subscribe to my YouTube channel for more easy garden DIY and craft ideas!
Other DIY Garden Craft Tutorials from WM Design House
If you love these lighted garden spheres you might also enjoy some of my other favorite garden craft projects
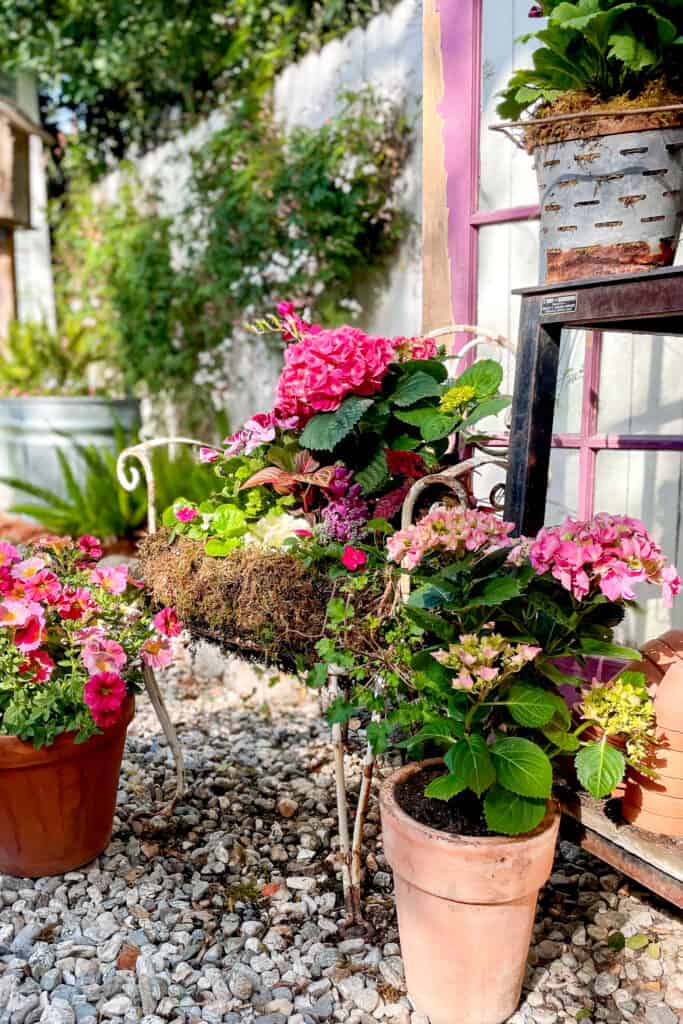
How to Make A DIY Vintage Chair Planter for the Garden
Get creative in the garden this year and plant an old chair
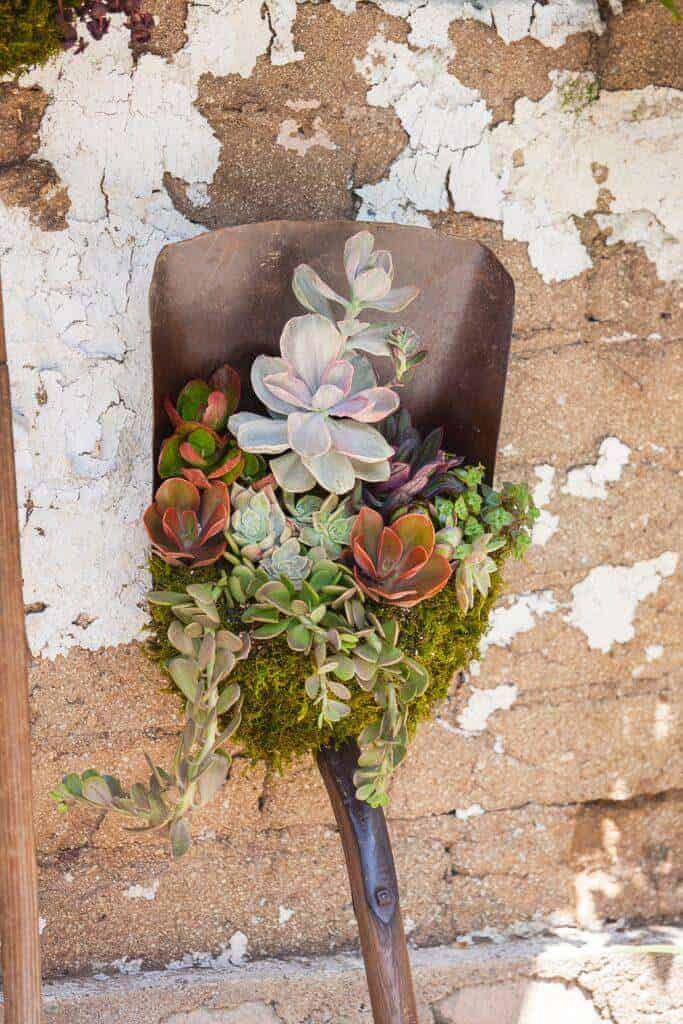
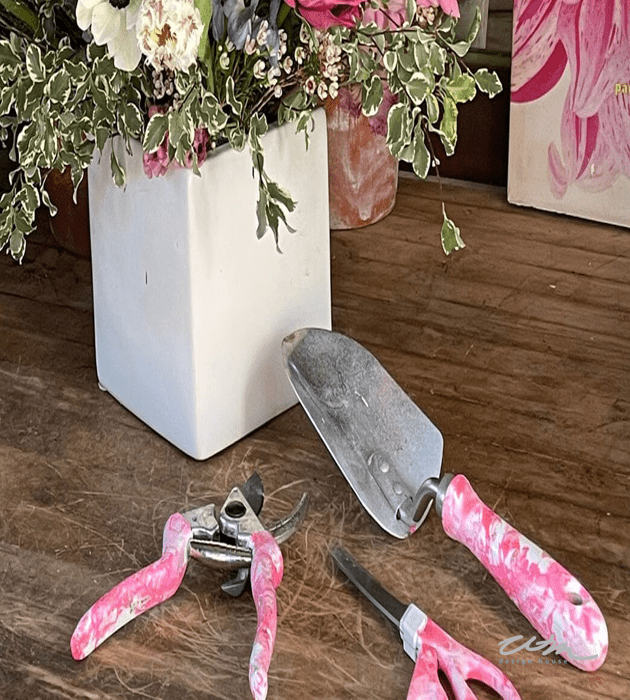
How to Repurpose Old Tools into Succulent Planters
Learn how to turn old garden tools into the most beautiful planters
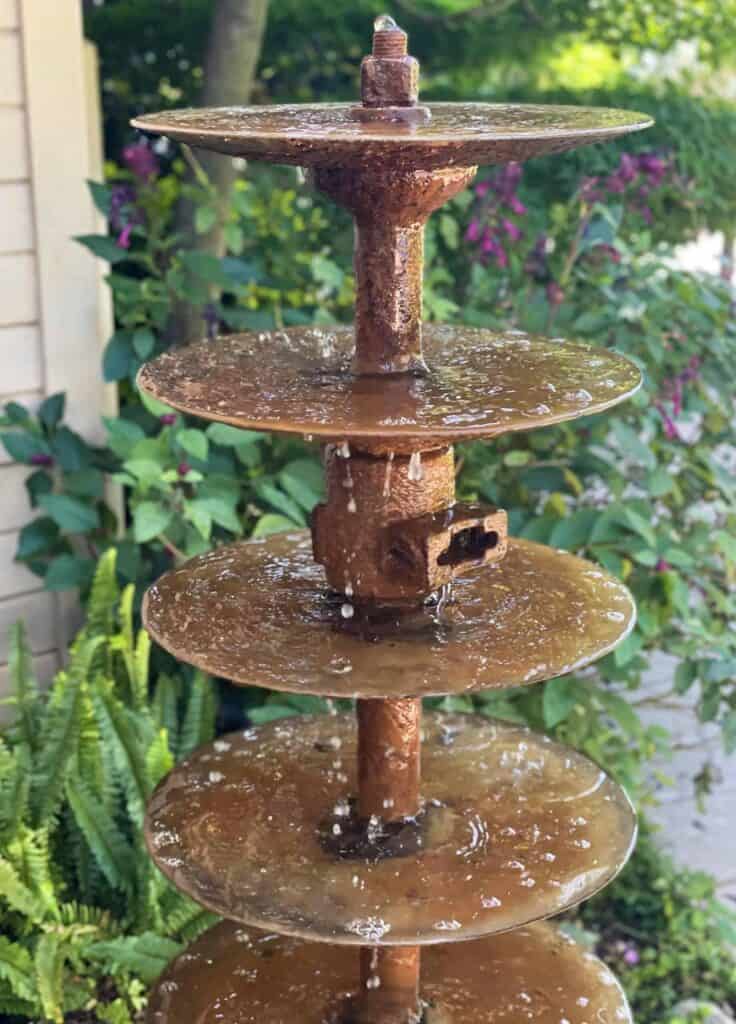
How to Make an Outdoor Fountain from Tractor Disks
You can learn all about Dahlias and whether you need to dig them up in the winter.
If you loved this post, be sure to subscribe, so you never miss a new garden project!
I’d also love to hear from you in the comments below – what kind of projects would you like to see next?


Did you make this craft?
We would love to see what you have created, so mention us @wmdesignhouse or tag us using #wmdesignhouse so we can see your creations!
More about me!

Hello, I’m Wendy – a dedicated homemaker with a deep passion for decorating, gardening, cooking, and crafting. I find joy in harmonizing beautiful elements to fashion a space that is both comfortable and inspiring. I will help you create a beautiful home, one project at a time.
Connect with Wendy

What a beautiful idea Wendy! Your ideas always inspire me to get outside and do the things. In fact, I have been working outside and changing things up on our patio this past week. Something I have not done since I got sick, so thank you for your inspirations. I just hope what I envision actually looks as I see it in my mind. I love the idea of using hula hoops, such an economical way to get the look. You always surprise me with your creativity, not sure why after all this time, your projects are always so spot on. Have a lovely long weekend!
Thank you so much, Cara. I’m happy to hear you were able to get out and enjoy the weather. I hope you are feeling much better!
Amazing, this is an awesome idea.
I visited you via Inspire me Monday. My entries are numbered #14+15
Please join SSPS: M-S, https://esmesalon.com/tag/seniorsalonpitstop/
Thank you, Esme. I love the magical glow the sphere adds to the garden at night.
Always so creative my friend. It looks fabulous. XO- MaryJo
Thank you, MaryJo!
What a cool project! No one would ever guess that those were hula hoops! I love it!
Thanks Susan. Paint is magical, isn’t it? The transformation is so fun!
Amazing, Wendy!!! I LOVE This!! I totally want to make one for my patio now. So neat and looks beautiful at night!
Thank you, Rachel. I hope you do. They are really so easy to make. Be sure to share if you make one. I’d love to see!
Great idea♥️
Thank you Mary, we certainly enjoy this sphere in the garden.
This is so cute! What a great idea! Fairy lights in the garden are the best :))
Thank you Kim. I agree, they add so much to the garden outside
This is such a fun idea! I’m going to have to find some hula hoops!
Make sure to hula hoop for a while before you make this sphere :))) I tried and it fell right to the ground, LOL
What a cute DIY Wendy! I love it!!!
Thank you Stacy!
I love the project but also love how you styled it! Well done, my friend!
Thank you Missy, it was a fun project, I would love to have a few hanging form the tree.