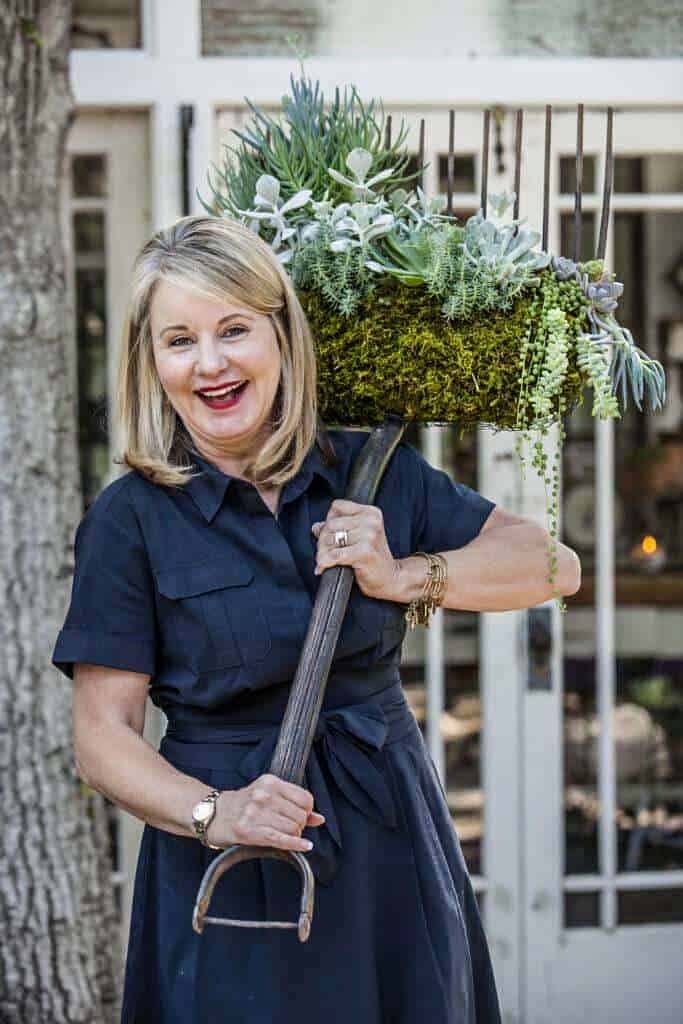
How to Repurpose Old Tools into Succulent Planters
It’s no secret that I have a love of all things vintage. It’s also no secret that I have a love of gardening. So, unsurprisingly, I adore finding ways to merge these two passions.
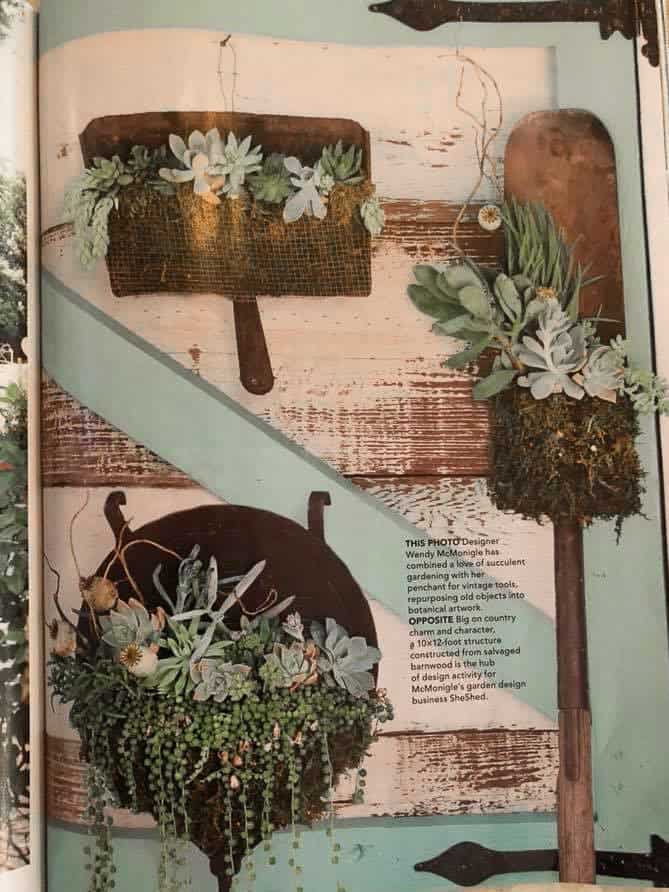
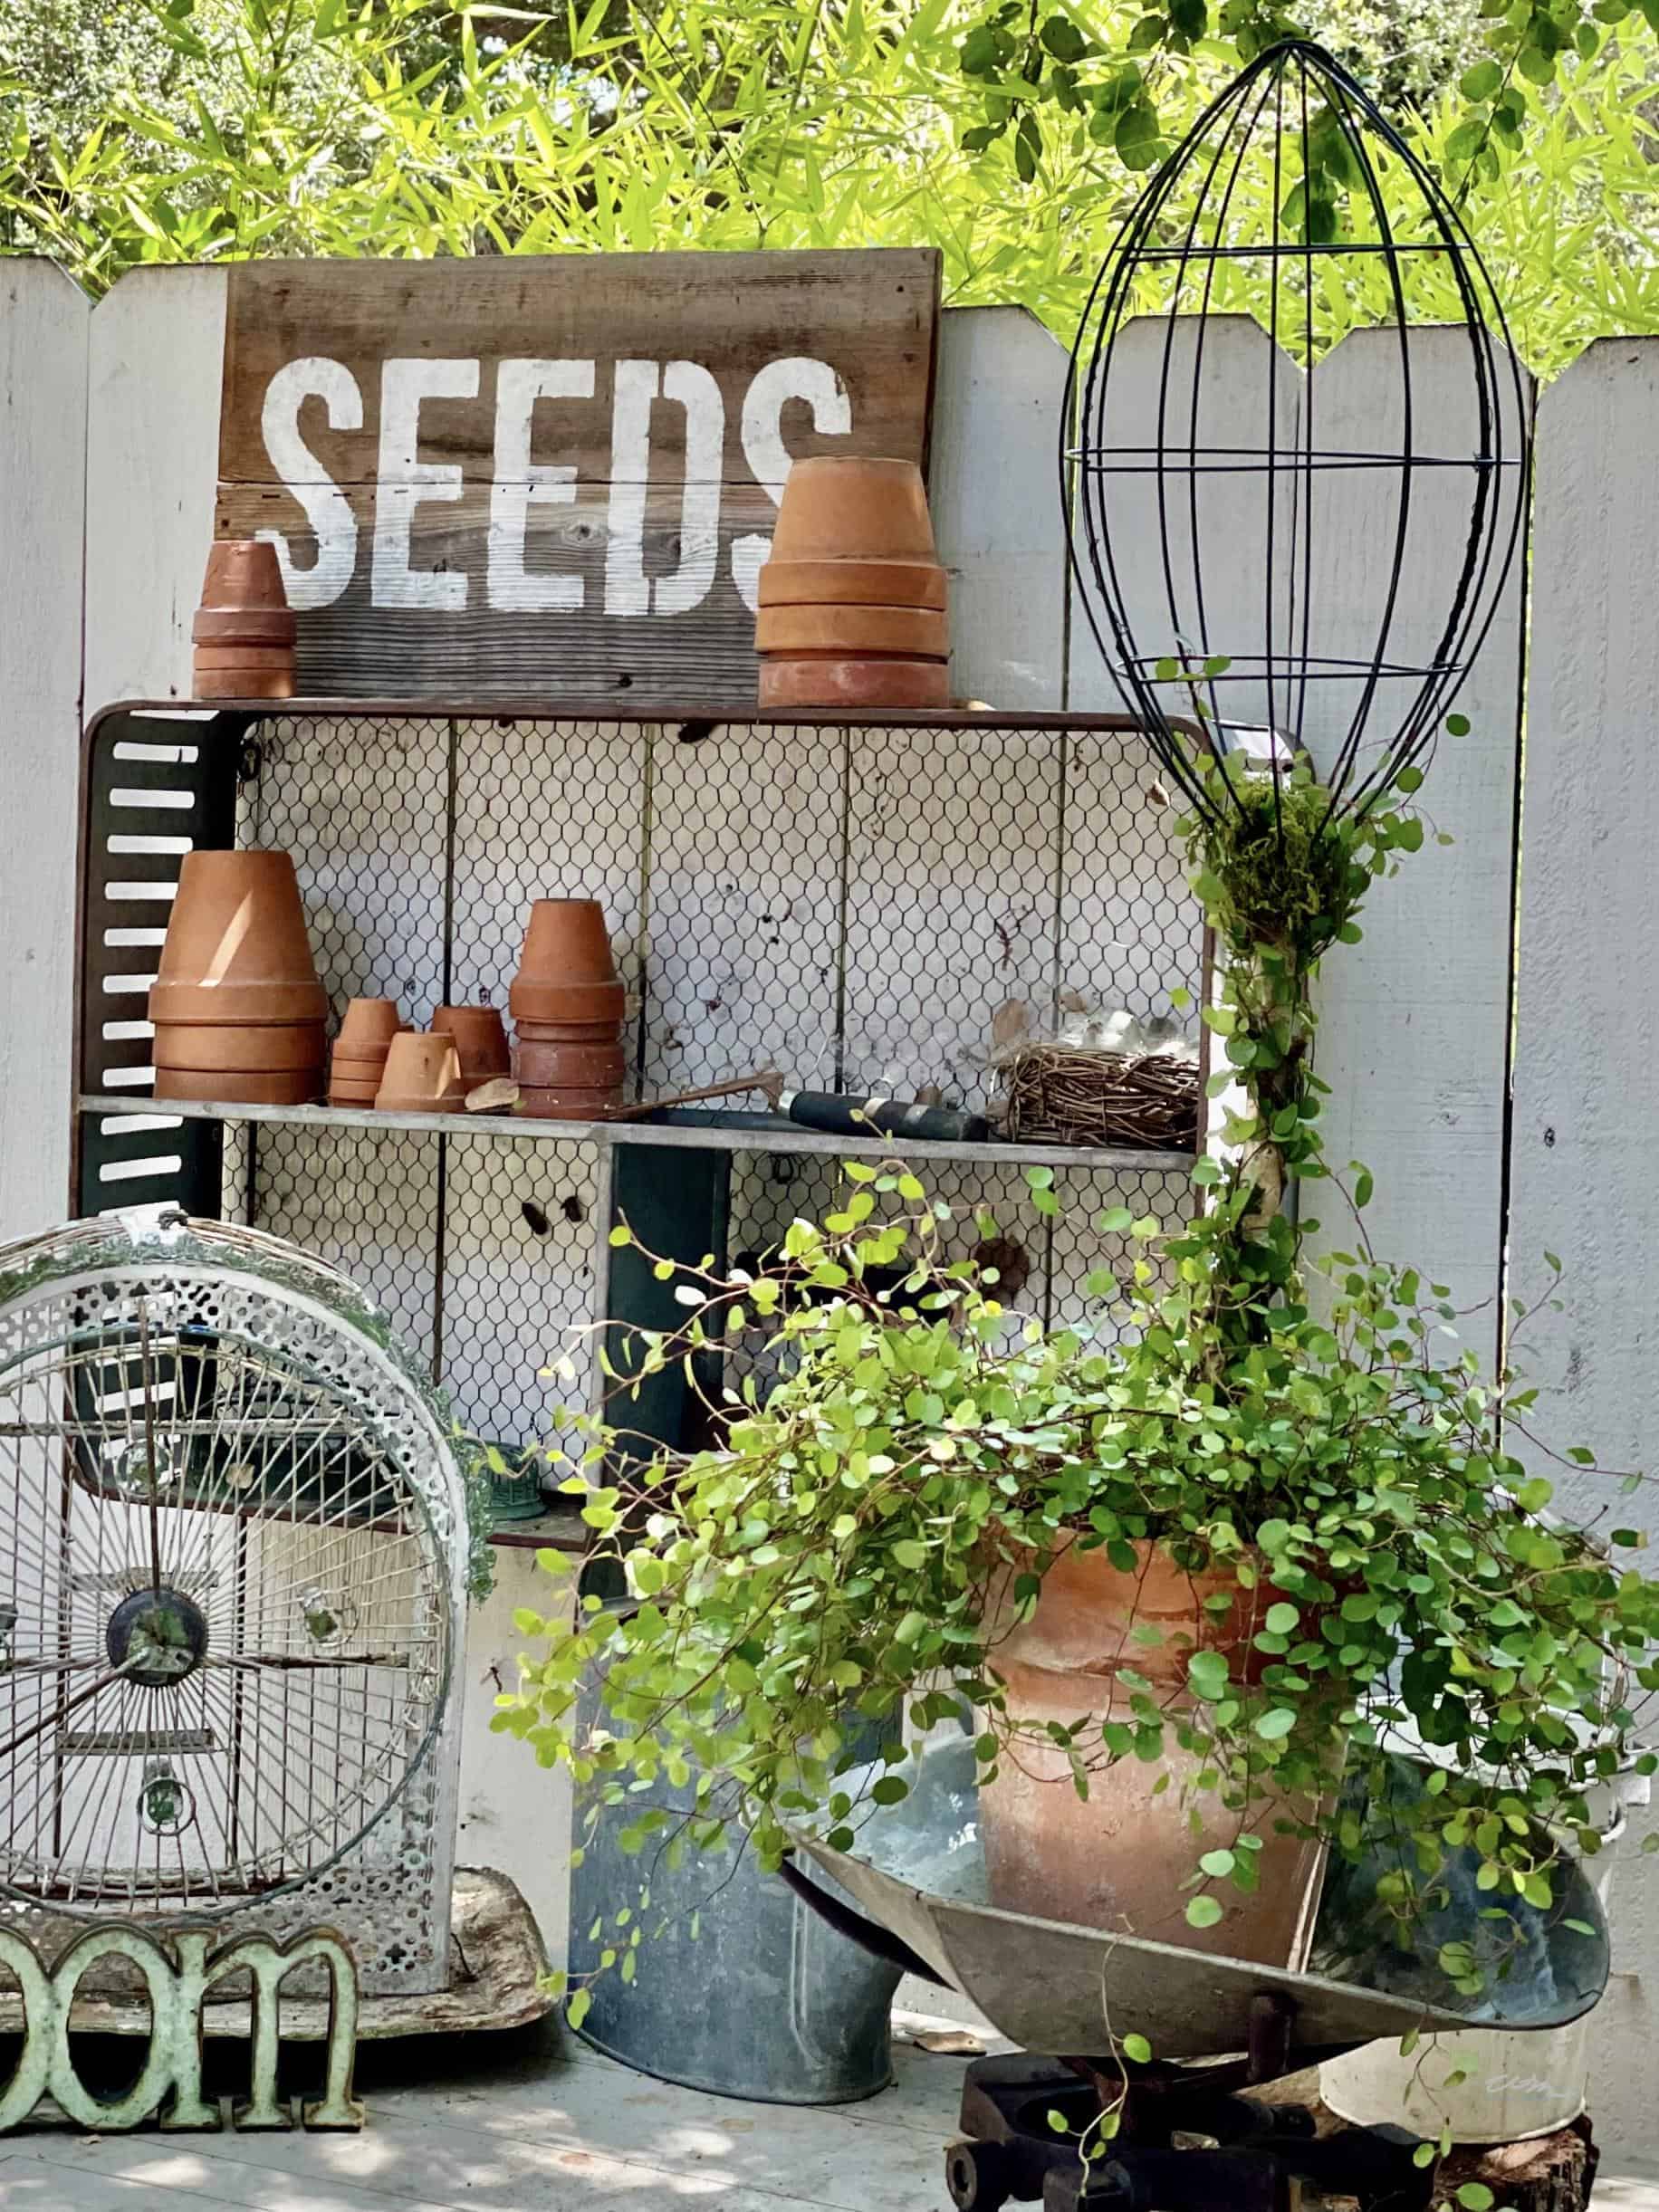
Most people see rusted spades, hoes, shovels, and old rakes and dismiss them as trash. But I see treasures in these vintage garden tools waiting for a second life.
You can easily pick them up at flea markets, estate sales, or garage sales.
On my blog WM Design House, I may sometimes use affiliate links, which means a small commission is earned if you purchase via the link. The price will be the same whether you use the affiliate link or go directly to the vendor’s website using a non-affiliate link. Read my full disclosure policy here.
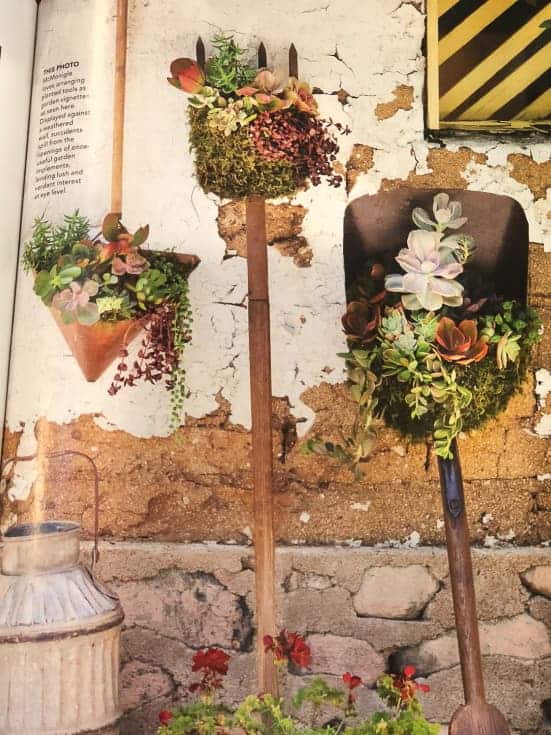
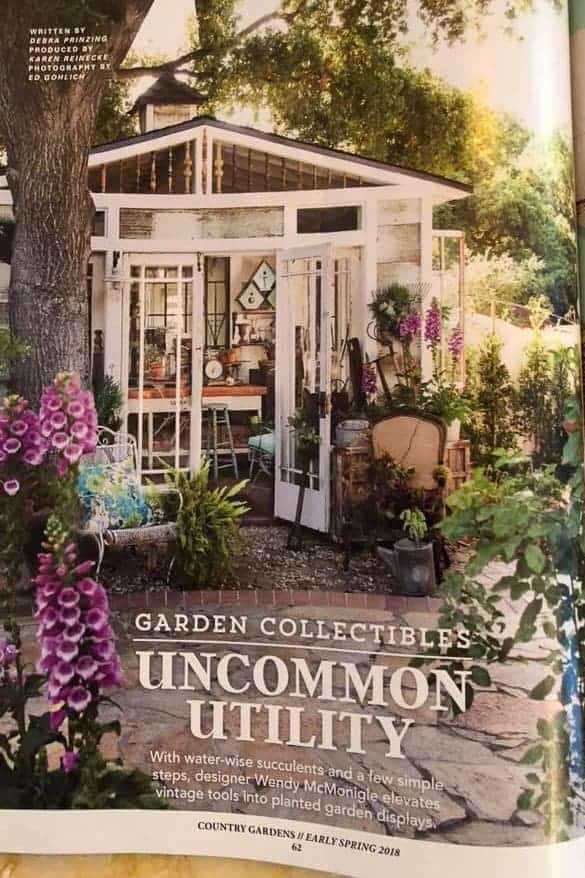
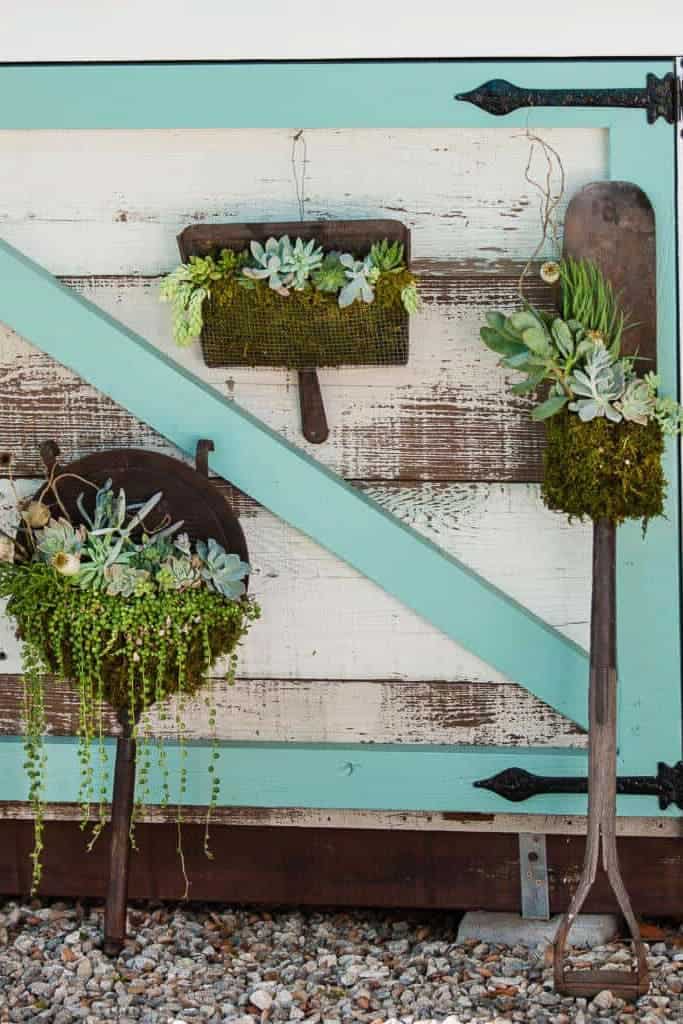
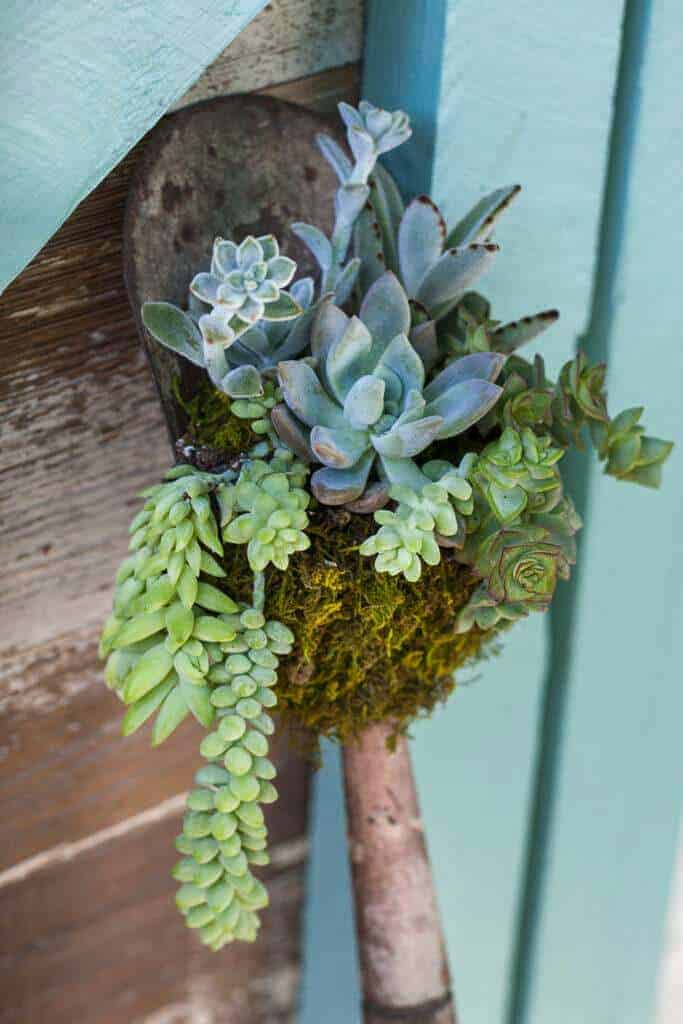
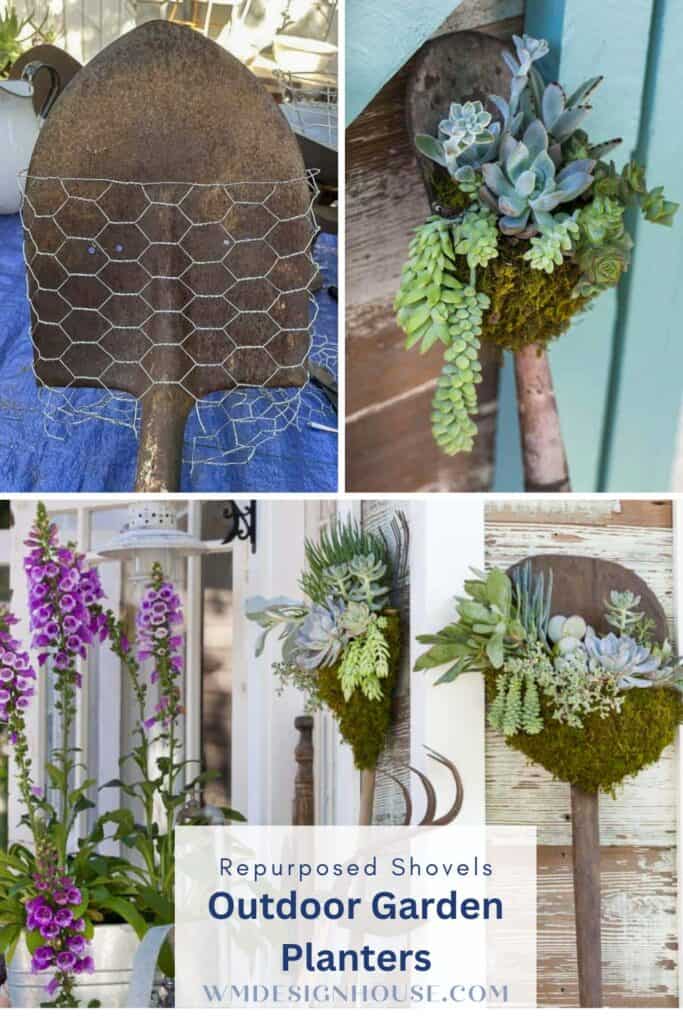
Today, I have a new idea to share with you. I created this project a few years ago, and it was featured in Better Homes and Gardens. In it, I repurposed old garden tools into succulent planters. These DIY succulent planters come together easily, making them beautiful and original for your garden or outdoor spaces.
This is a great way to keep those old rusty tools out of the recycling bin and give them new life as garden decor.
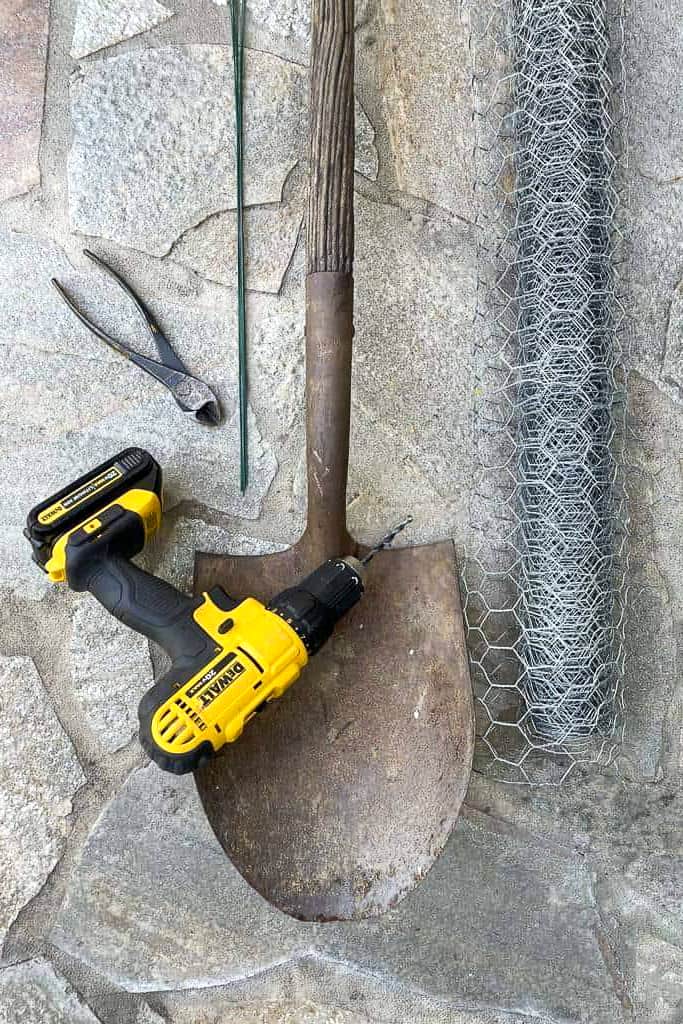
Materials Needed
- Old garden tools (shovels, rakes, dustpans, strainers, or pitchforks)
- A few succulent plants or faux succulents
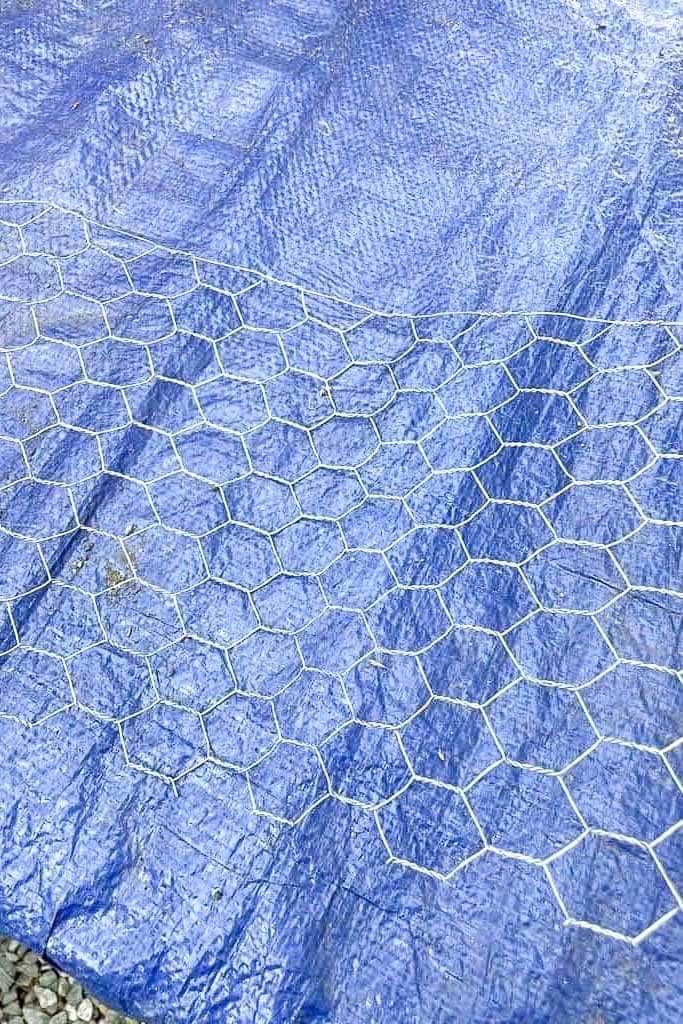
- Chicken wire
- Wire
- Wire cutters
- Drill
- Potting Soil for succulents
- Green moss
How to Repurpose Old Tools into Succulent Planters
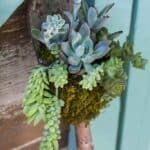
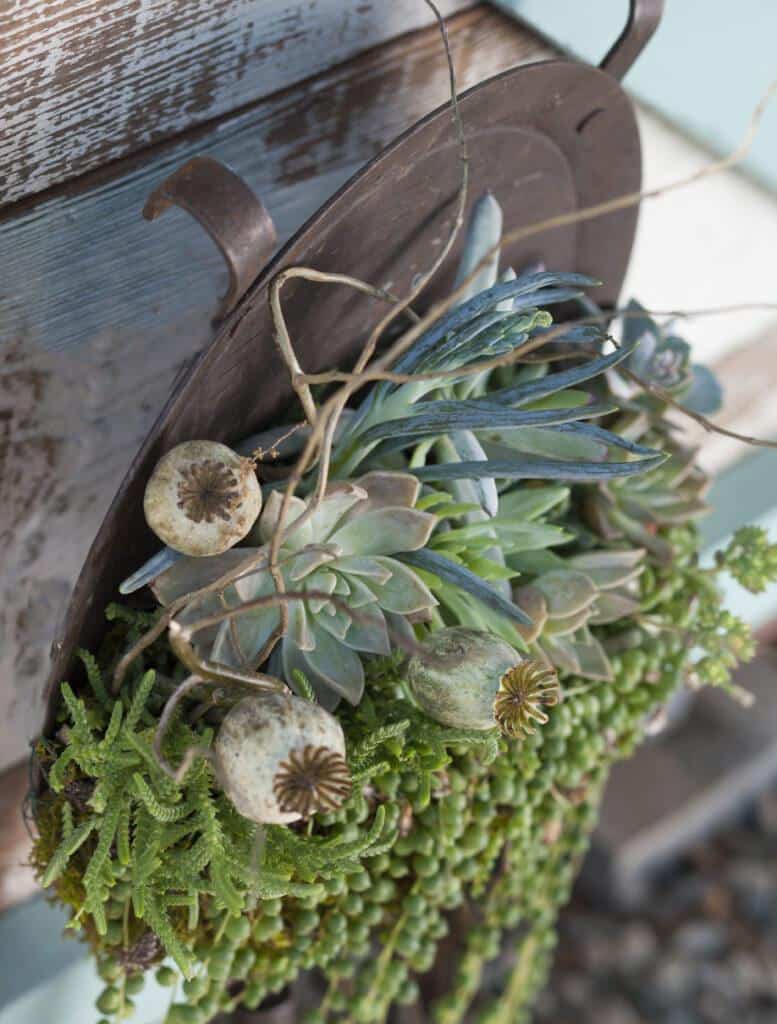
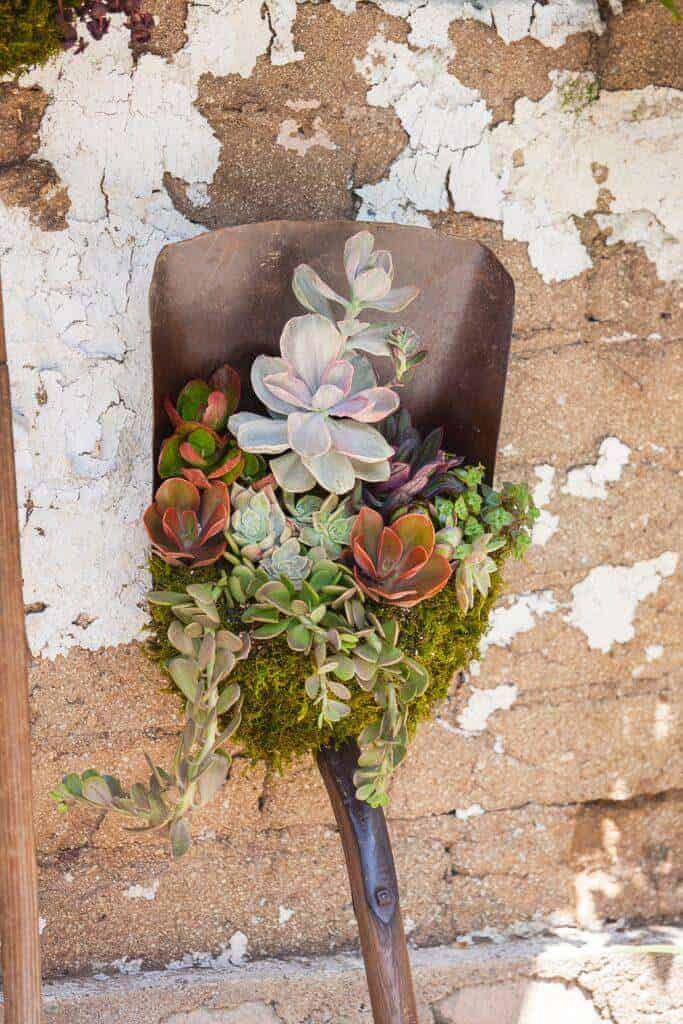
For this step-by-step tutorial, I use an old shovel as an example. However, this project can be easily modified to work with other old garden tools. The images show that I have used old containers such as a dustpan, a strainer, and a pitchfork.
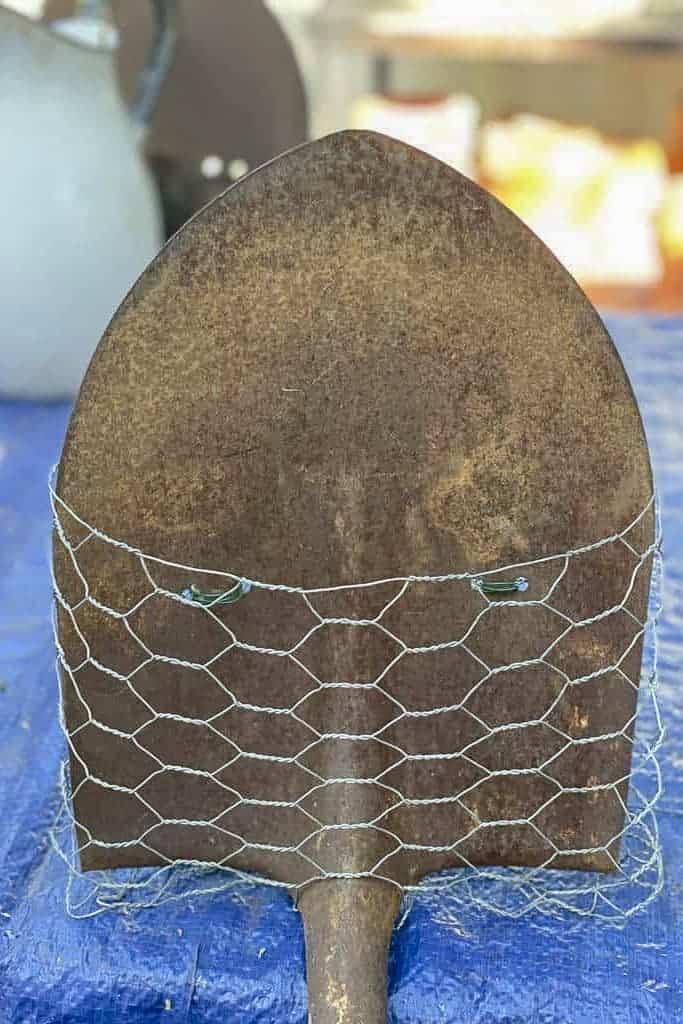
Create a wire cage around your tool to serve as a planting basket
- Cut a piece of chicken wire wide enough to create a basket around your tool. This piece will likely be no more than about 8” wide. I like to cut the chicken wire lengthwise so you will have a smooth edge at the top of your basket.
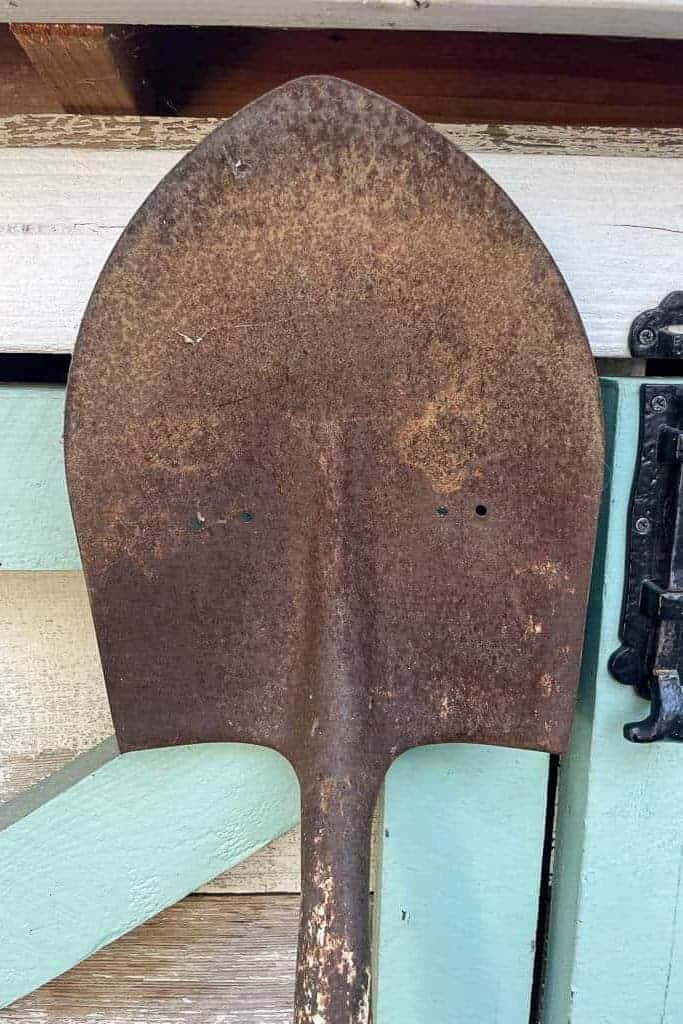
- Drill 4 small holes in the shovel, approximately 6” from the top. Make two holes on each side about 1” apart.
- Wrap the piece of cut chicken wire around the tool and trim off any excess you may have.
- Now ,twist the ends of the chicken wire together on the shovel back to connect them.
- Wrap the bottom of the wire on the front under the edge and around the back. Twist the wire together to secure it.
- Next, you will need secure the chicken wire to the back of shovel. To do this, thread a piece of wire through the two holes on the front of the shovel, one end into each hole, behind the chicken wire. Twist the two ends together at the back side of the shovel to secure.
- Repeat #6 on the other side of the shovel, as shown above.

.
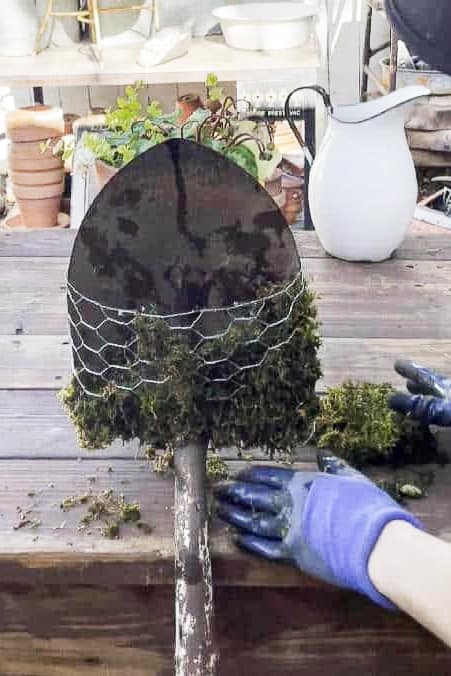
Prepare for Planting
- Soak the moss in water for a couple of minutes to hydrate it. It is much easier to work with when it’s moist.
- Line the inside of the planting basket with moss. You may need to poke some extra moss through the openings of the chicken wire mesh to cover the entire cage and wrap around the edges.
- Add a few scoops of succulent soil into the moss basket and add a small amount of water.
Plant your succulents
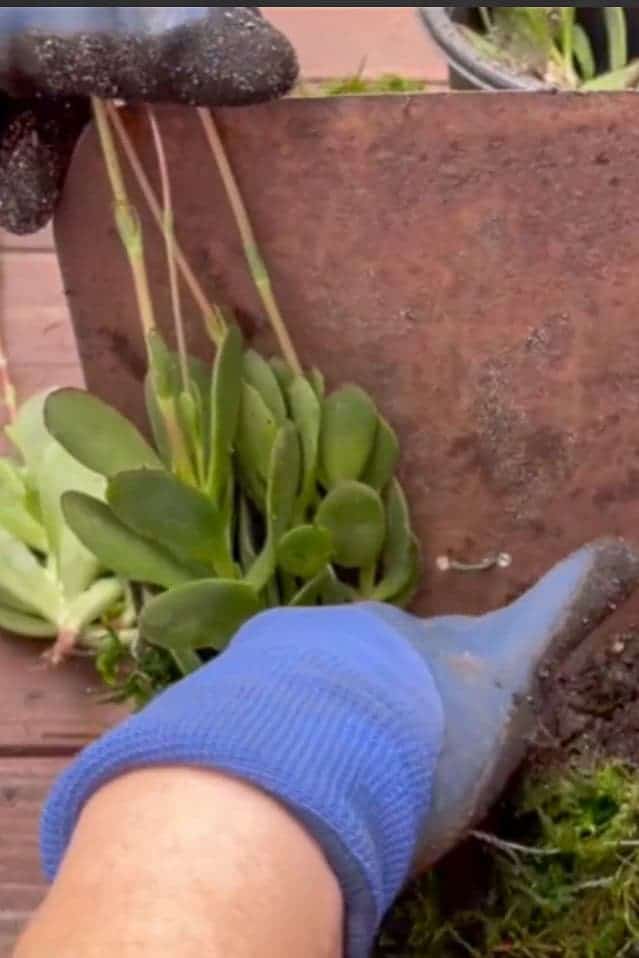
Now, the fun part! You can go ahead and plant your succulents into the soil.
Here are a few tips for arranging succulents to maximize space and create a one-of-a-kind piece.
- Think about color and form as you select your plants.
- Give your design dimension by creating height on one side of the arrangement and hanging something on the other.
- Start with a large focal point plant and place smaller succulents around and above it.
- Remove excess soil from the root ball to fit more succulents in your planter.
- Insert succulent cuttings into smaller spaces.
- Add moss on top of the remaining soil to keep the dirt in the planter.
How to Repurpose Old Tools into Succulent Planters
Equipment
- Wire cutters
- Drill
Materials
- Old garden tools shovels, rakes, dustpans, strainers, or pitchforks
- A few succulent plants or faux succulents
- Chicken wire
- Wire
- Potting Soil for succulents
- Green moss
Instructions
- Cut a piece of chicken wire wide enough to create a basket around your tool. This piece will likely be no more than about 8†wide. I like to cut the chicken wire lengthwise so you will have a smooth edge at the top of your basket.
- Drill four small holes in the shovel, approximately 6 inches from the top. Make two holes on each side about 1 inch apart.
- Wrap the cut chicken wire around the tool and trim off any excess you may have.
- Twist the ends of the chicken wire together on the shovel back to connect them.
- Wrap the bottom of the wire on the front, under the edge, and around the back. Twist the wire together to secure it.
- Next, secure the chicken wire to the back of a shovel. To do this, thread a piece of wire through the two holes on the front of the shovel, one end into each hole behind the chicken wire. Twist the two ends together at the back side of the shovel to secure.
- Repeat #6 on the other side of the shovel, as shown above.
- Prepare for Planting
- Soak the moss in water for a couple of minutes to hydrate it. It is much easier to work with when it is moist.
- Line the inside of the planting basket with moss. You may need to poke some extra moss through the openings of the chicken wire mesh to cover the entire cage and wrap it around the edges.
- Add a few scoops of succulent soil and a small amount of water into the moss basket.
- Now, the fun part! You can go ahead and plant your succulents into the soil.
Here are a few tips for arranging succulents to maximize space and create a one-of-a-kind piece. - Think about color and form as you select your plants.
- Give your design dimension by creating height on one side of the arrangement and hanging something on the other.
- Start with a large focal point plant and place smaller succulents around and above it.
- Remove excess soil from the root ball to fit more succulents in your planter.
- Insert succulent cuttings into smaller spaces.
- Add moss to the remaining soil to keep the dirt in the planter.
Caring for Succulent Plants
Now that you’ve learned how to repurpose old garden tools into succulent planters, you may wonder how to care for them.
Caring for succulents is relatively easy, thanks to their hardy nature and low maintenance requirements. Here are some of the easiest ways to keep your succulents thriving:
Proper Lighting
- Succulents prefer bright, indirect sunlight. Place them near a window where they can get plenty of light but avoid direct, harsh sunlight that can cause sunburn.
Correct Watering
- The “soak and dry” method is effective. Water the soil thoroughly, then dry it out completely before watering again. Overwatering is a common mistake; succulents can go longer without water than other plants.
Suitable Soil
- Use a well-draining potting mix. A cactus or succulent potting mix is ideal because it prevents water from pooling at the roots, which can cause rot.
Adequate Airflow
- Ensure your succulents are in a well-ventilated area. Good airflow helps prevent pests and diseases.
Appropriate Pots
- When Planting in a shovel with moss, the water will naturally escape through the moss.
- If you are planting in Pots, they will need a drainage hole. These allow excess water to escape and help prevent root rot. Terracotta pots are a good option because they’re porous and allow the soil to dry out more efficiently.
Fertilizing
- Succulents require minimal fertilization. Feeding them with a diluted, balanced, water-soluble fertilizer once per season in spring or summer is sufficient.
Pest Management
- Keep an eye out for common pests such as mealybugs and aphids. You can usually manage these with a gentle spray of water or by applying isopropyl alcohol with a cotton swab.
Pruning and Grooming
- Occasionally, you might need to prune dead or dying leaves to promote healthy growth and maintain the plant’s appearance.
Acclimatization
- When bringing new succulents home or moving them to a new location, gradually acclimate them to their new lighting conditions to prevent shock.
Observation
- Regularly check your succulents for signs of stress, such as discoloration or drooping. Early detection of problems makes them easier to address.
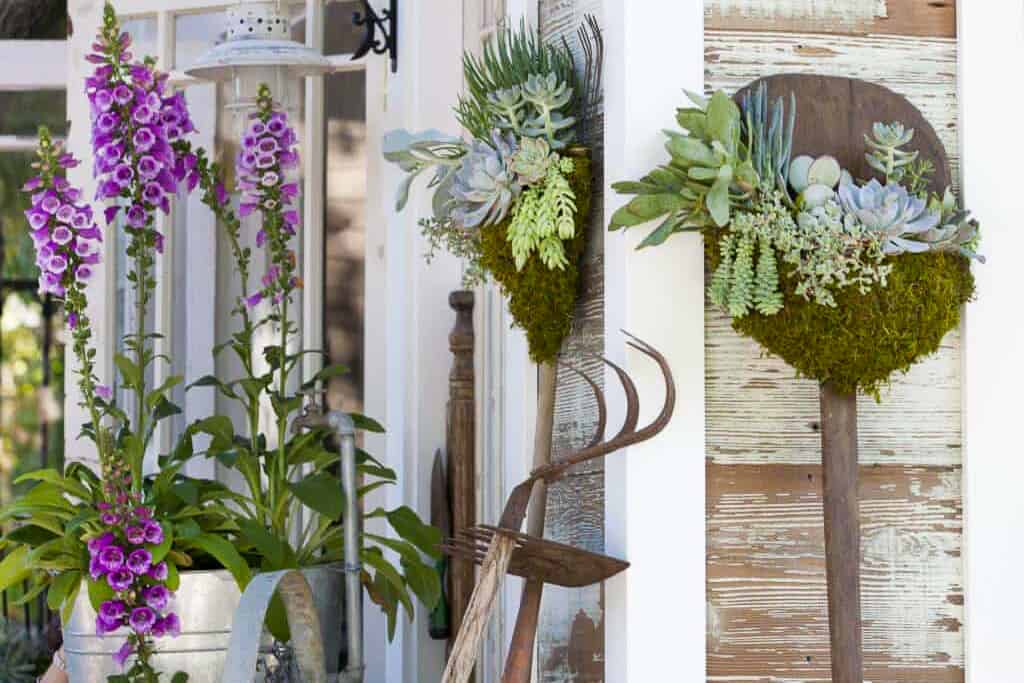
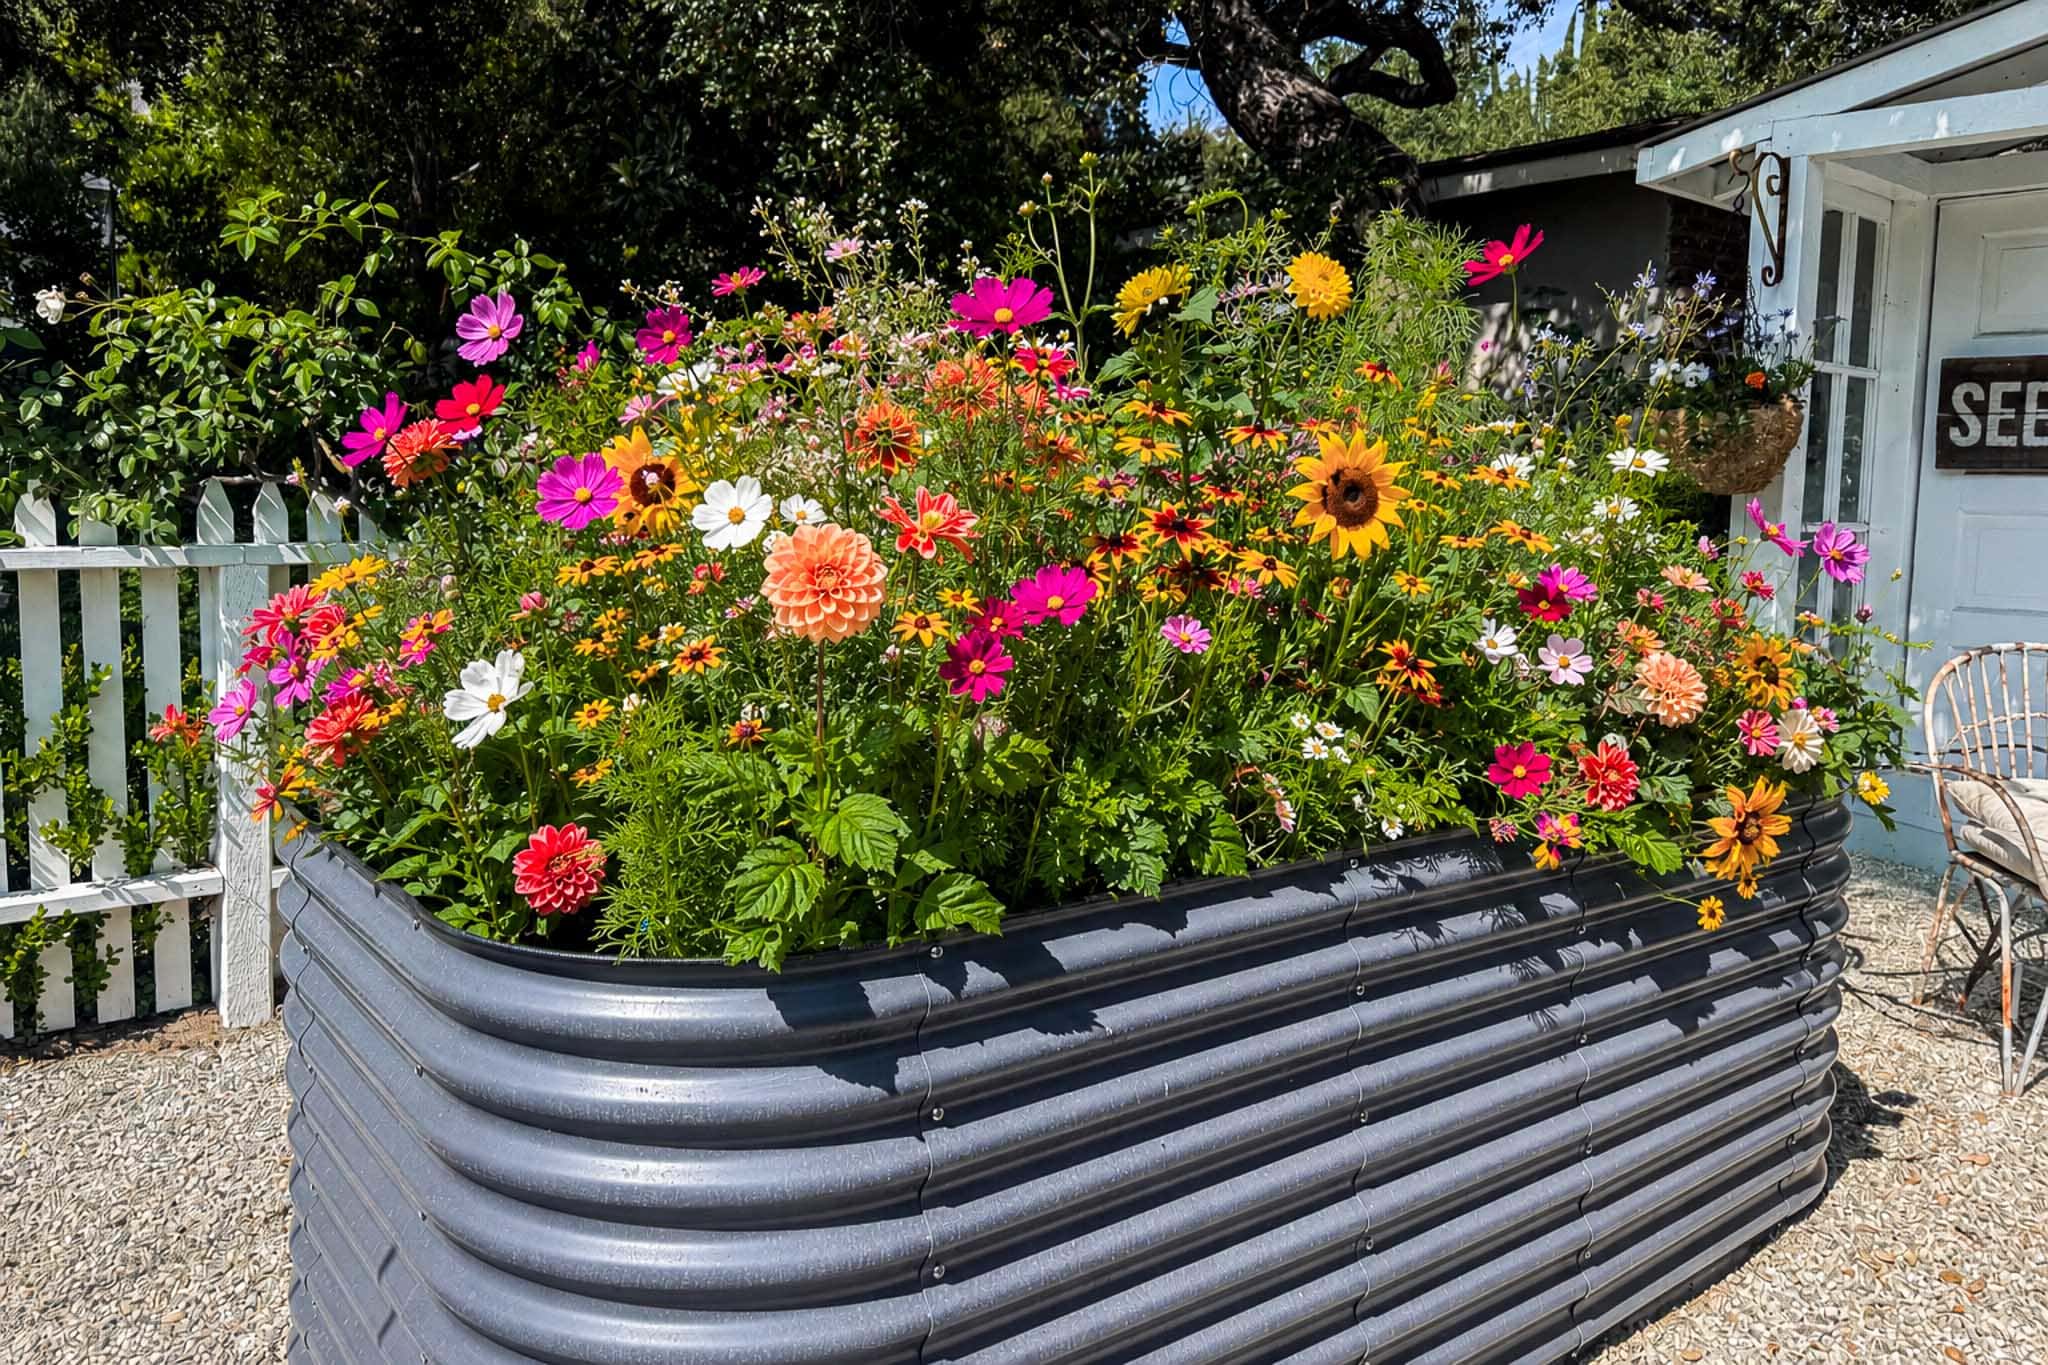
Easy Ways to Display Garden Tool Planters
When deciding on a spot for your succulent planter, choose a well-lit area that avoids direct sunlight to ensure it’s thriving.
Long-handled tools like shovels, rakes, and pitchforks can be creatively used to build a vertical garden, such as propping them against a tree or a garden gate or sticking them into the ground.
Hang smaller tools from a fence, gate, or shed wall to save space and add interest.
By thoughtfully grouping planted tools, you embark on a great project that introduces a distinctive and attractive element to your outdoor space, making gardening easy and enjoyable.
Other Great Repurposed Planter Ideas
If this idea appeals to you, I’ve got various repurposed planter ideas perfect for your succulent garden. You can also explore your thrift store finds for potential planters waiting to be brought to life.
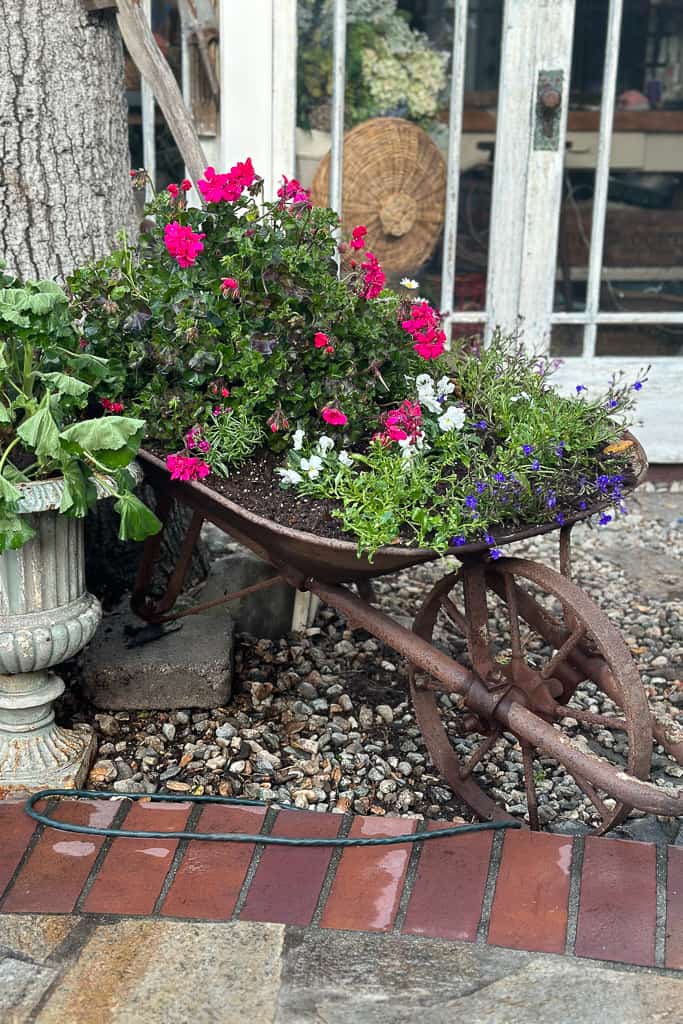
- You can plant flowers in an old wheelbarrow. Before planting, be sure to drill holes and add rocks for drainage.
- Plant an old vintage kitchen sink with some small succulents, and you will have a planter for life.
- Plant an old chair for the garden. They make great decorative items in the yard.
- Gather some old planters and give them a fresh coat of paint.


Wrapping it Up
This easy DIY project to repurpose old tools into succulent planters has combined my loves of succulent gardening and vintage tools to create beautiful and original artwork.
I love how this simple upcycle elevates vintage tools into planted garden displays to serve a whole new purpose.
What are some of your favorite ways to repurpose old tools in your garden? I would love for you to share with me.


-
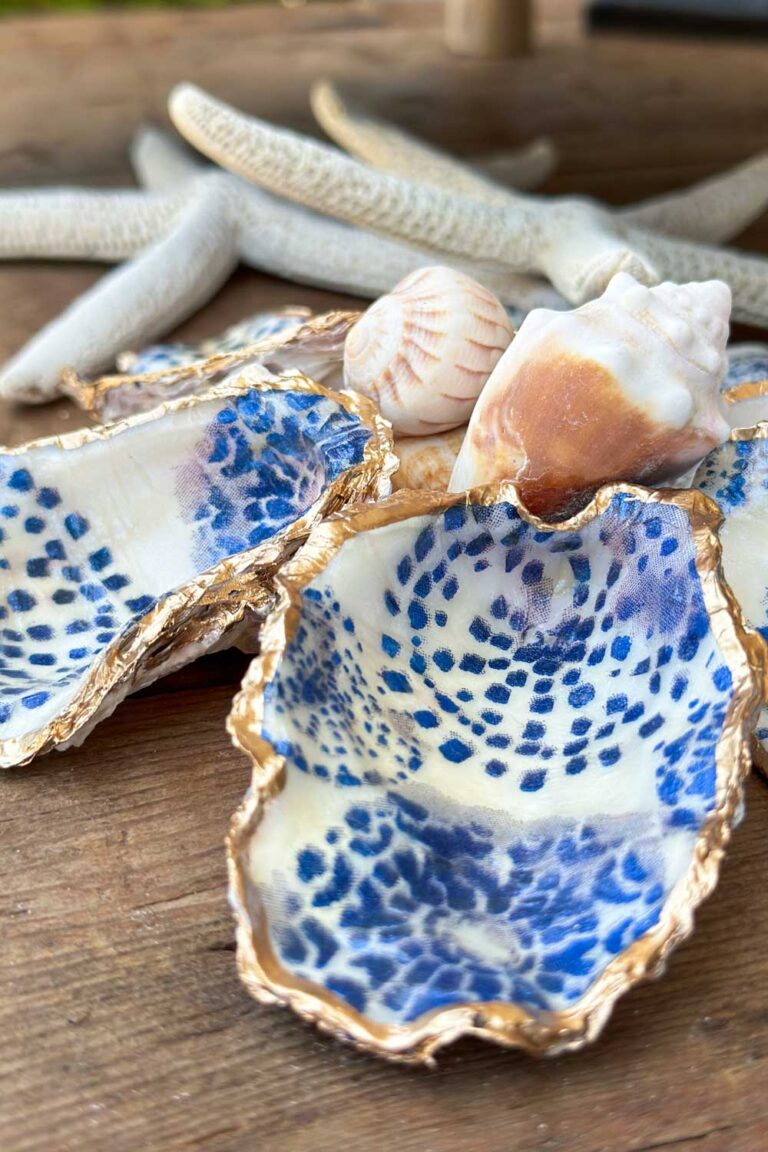
How to Make a Beautiful Oyster Shell Garland with Wood Beads
3.5K shares Facebook Pinterest Save Threads Looking for an easy way to add a touch of coastal charm to your decor? Learn how to make an oyster shell garland using wooden beads, decoupaged oyster shells, and jute twine. This DIY project is a beautiful way to add natural texture and coastal style to your home….
-
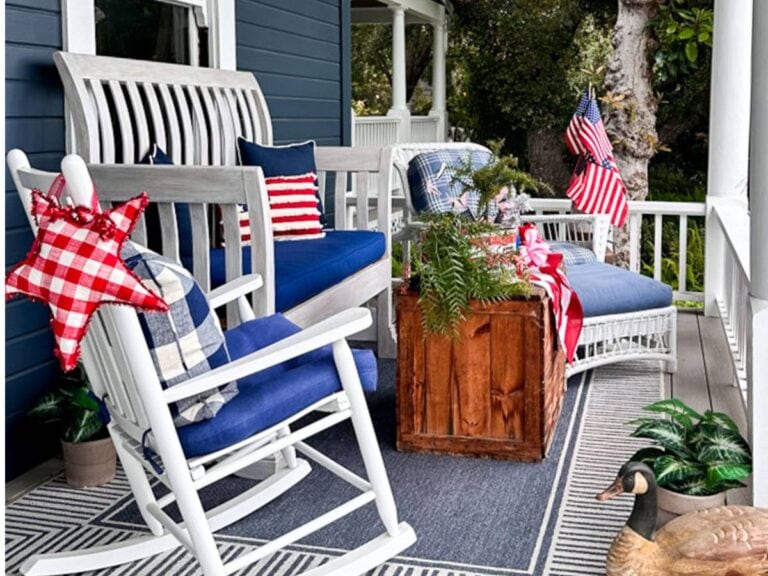
Easy 4th of July Front Porch Decorations for a Patriotic Welcome
Summer is here, and nothing welcomes the season like 4th of July front porch decorations in classic red, white, and blue.
-
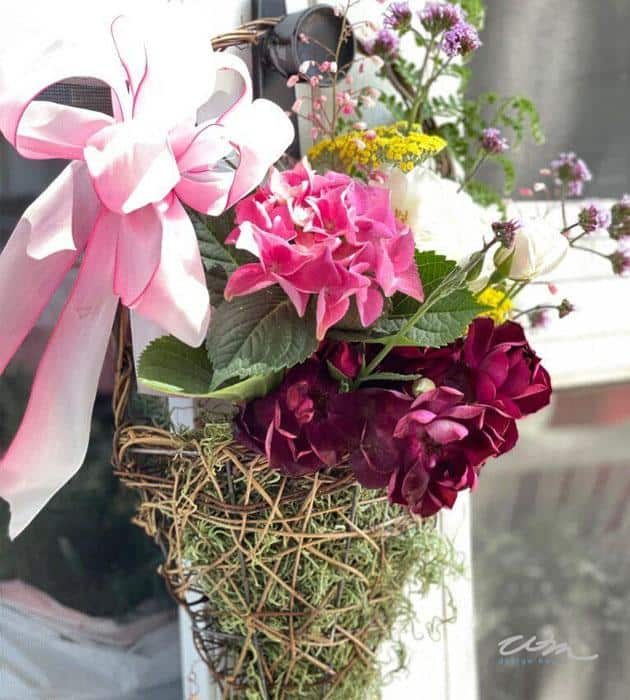
Beautiful Arch Basket Decor for a Summer-Ready She Shed
Learn how to make a charming DIY basket arch for your she shed using thrifted baskets and faux greenery, an easy summer decor project.
-
10 Easy Summer Decorating Ideas to Refresh Your Home
Transition from spring to summer with 10 easy summer decorating ideas to refresh your home with light, breezy and budget-friendly style.
-
How To Make The Best Topiary: Step By Step
Learn how to easily make a beautiful diy topiary for your garden or porch with this step-by-step guide.
-
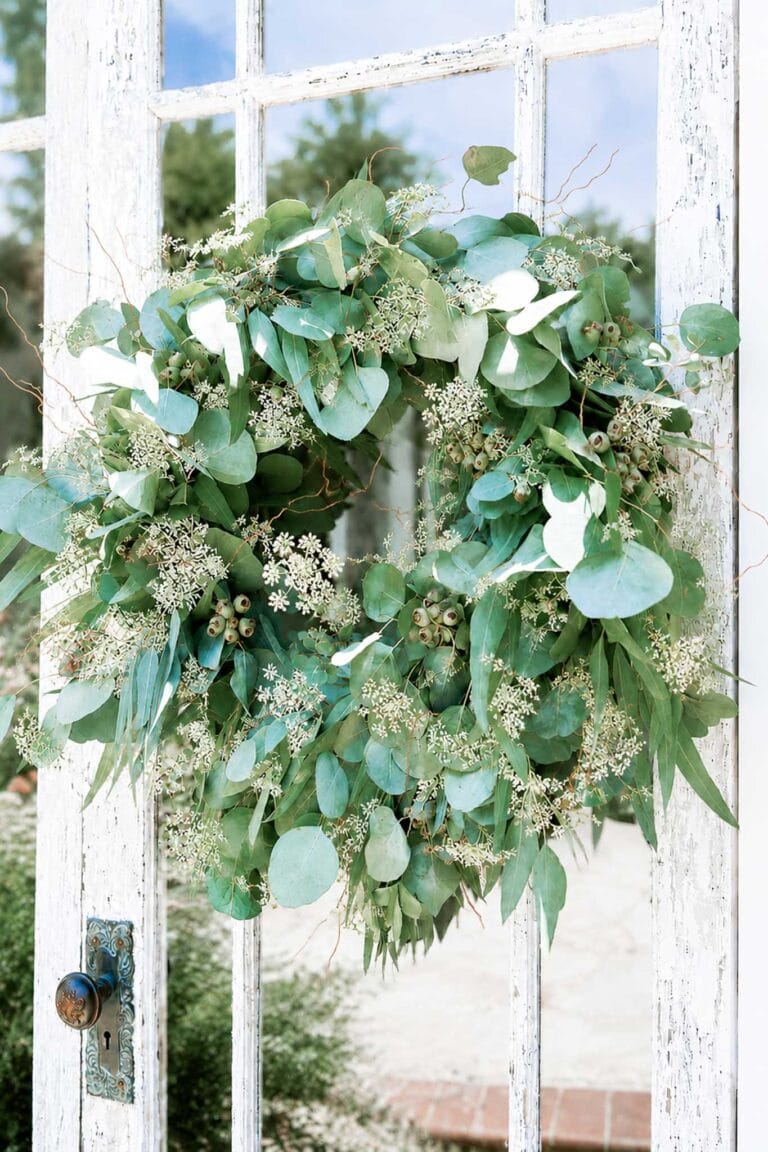
How to Make a Eucalyptus Wreath You Can Restyle for Every Season
If you have ever wondered how to make a fresh eucalyptus wreath you can use all year, this is the tutorial for you. With a grapevine base, two kinds of foraged eucalyptus, and a quiet afternoon, you can create one wreath that carries your front door through every season. There is something so calming about…


SHOP MY GARDEN

Wendy, you have the most creative posts! Love this idea and what a great way to use old rusted tools. I am sure I have many that are sitting in a storage shed right now! This post is chock a block full of information. Well done!
Thank you, Mary!
I knew there was a reason I dug an old fishing net on a long pole out of the neighbor’s trash!!! ?
Yes, I cannot wait to see it planted. Have to love the neighbors trash.
So charming and such a great way to showcase vintage tools!
Thank you so much Missy!
Adorable, Wendy!! Such a pretty addition to any outdoor space….these would actually be so cute, since they stand vertically, on a small balcony or patio where there isn’t a lot of floor space.
I always love seeing your creativity come to life!
Thank you, Rachel. I am glad you liked this fun idea of a vertical garden.
You are so right. They would be perfect on a balcony or porch.
You always amaze me with your ideas and planting projects Wendy. That gene skipped me, but I admire those who can grow beautiful things. Now, let’s talk succulents, would you believe me if I told you I think they are as beautiful as roses? My mom gave me several in pots a few years ago, she calls them hens and chicks. If it were not for the fact they can survive on their own, I am sure there would be another plant fatality on my street. I will just admire your gardens and envision them in my yard this spring and summer since all I can grow is weeds!
Cara thank you for your kind words. I learned so much about gardening and flower arranging from my own mom. Gardening is definitely a labor of love and takes some trial and error. I’m glad you love succulents too and have some beautiful posts full from your mom.
These are beautiful! I’m pinning this to try later!
Thank you Susan. They are so fun to make. I can’t wait to see how your planters turn out.
Wendy,
I love your succulent shovel idea. I’m sharing on my Sunday Dirt Road adventures this week. Such a clever and original idea.
So glad you shared this with us on Farmhouse Friday! I’m featuring it tomorrow! Thank you and hope you link up again soon. pinned
Thank you Cindy, so sweet of you to share. I will link up again soon.
Wendy
Wendy, what a wonderful idea!! The succulents paired with the garden tools make such pretty arrangements! Simply gorgeous and so creative! Thank you for sharing. I’m definitely pinning this idea!
Hi Kim, I am so glad you enjoyed my post. These are really fun to make and they look great in the garden.
Have a wonderful weekend.
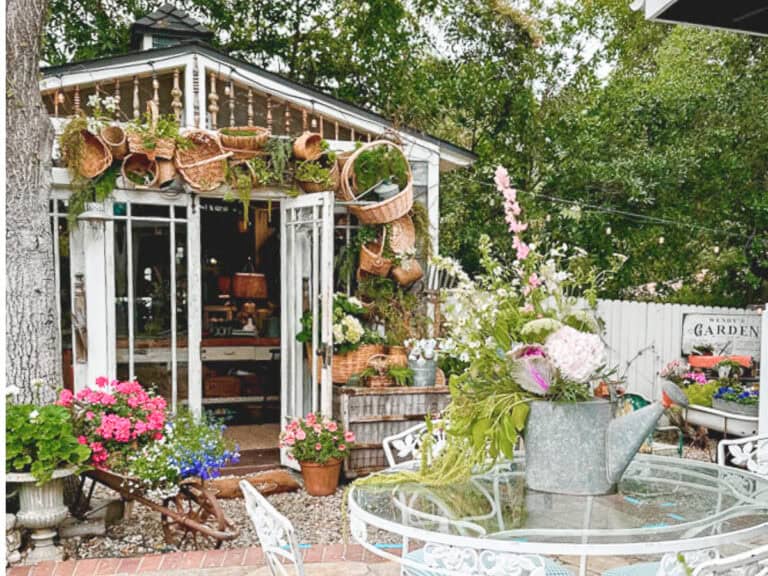
Love these. I dream of walking around your garden and taking it all in, then moving into your she shed. You are one creative lady.
Thank you so much Regina, I would live in the garden if I could, LOL
I am always amazed by your creativity! Such fun projects, Wendy!
Thank you Missy, I appreciate you taking the time to read my blog post. I have not had a chance to ready your latest one yet, I will get there, I promise. We were out of town for several days, always hard to catch up. XO