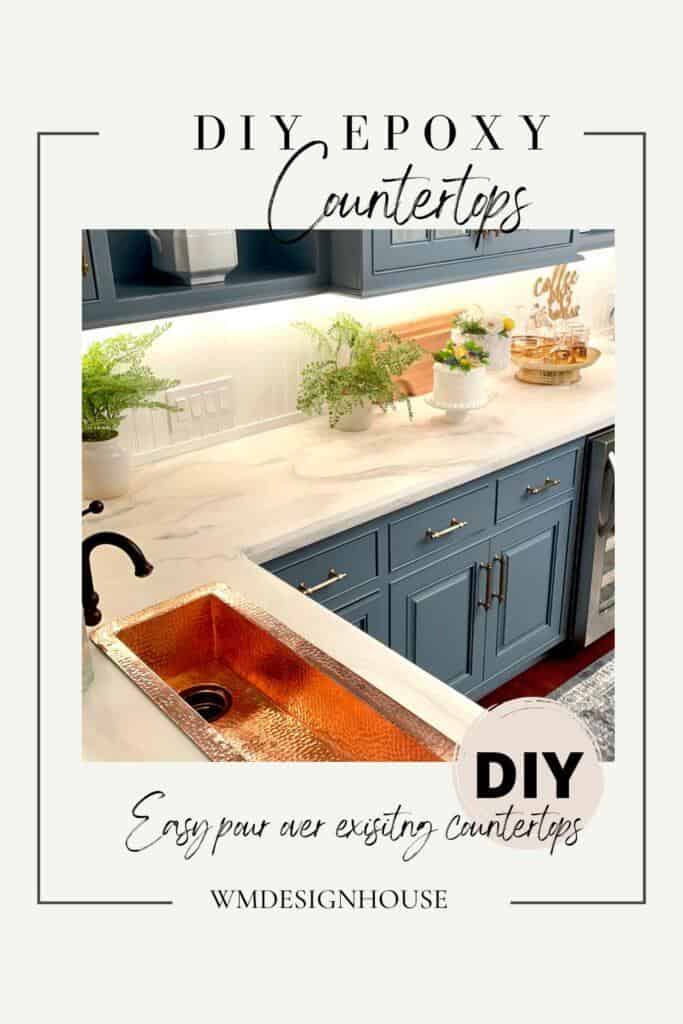
How To Pour Epoxy Countertops
Step-by-step instructions on how to pour epoxy countertops right over your existing countertops.
Have you ever seen epoxy resin countertops? Where do you pour the epoxy right over the existing surfaces?
Countertop epoxy has become a rising trend for most homeowners. Pouring epoxy over your existing kitchen countertops has many advantages.
Why choose epoxy countertops?
You do not have to remove the existing worn countertops.
It is much less expensive than replacing your old countertop.
The entire epoxy surface is food safe, has heat resistance, and is scratch-resistant.
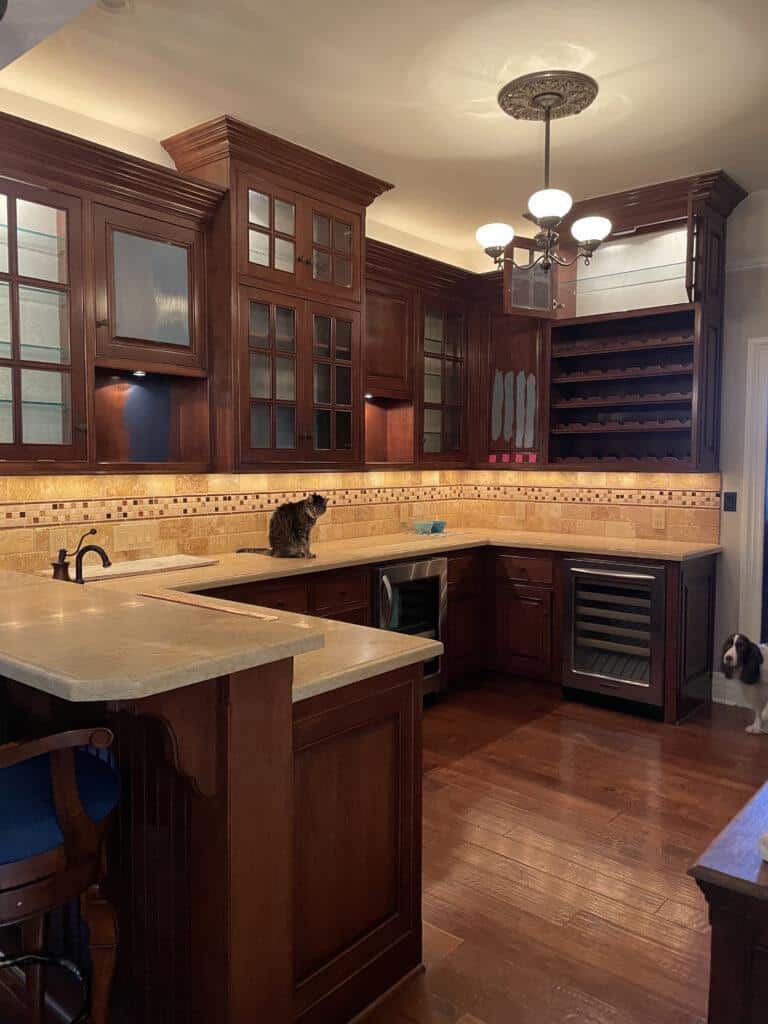
You are in for a treat because that is what I did. DIY epoxy countertops using Total Boat Epoxy over my existing natural stone countertops. I know many of you are shivering in your boots, but honestly, I would do it again in a heartbeat. You can use resin-based countertop materials on almost any surface. Pour epoxy over quartz countertops, laminate, granite, natural stone, wood, and most countertop materials.
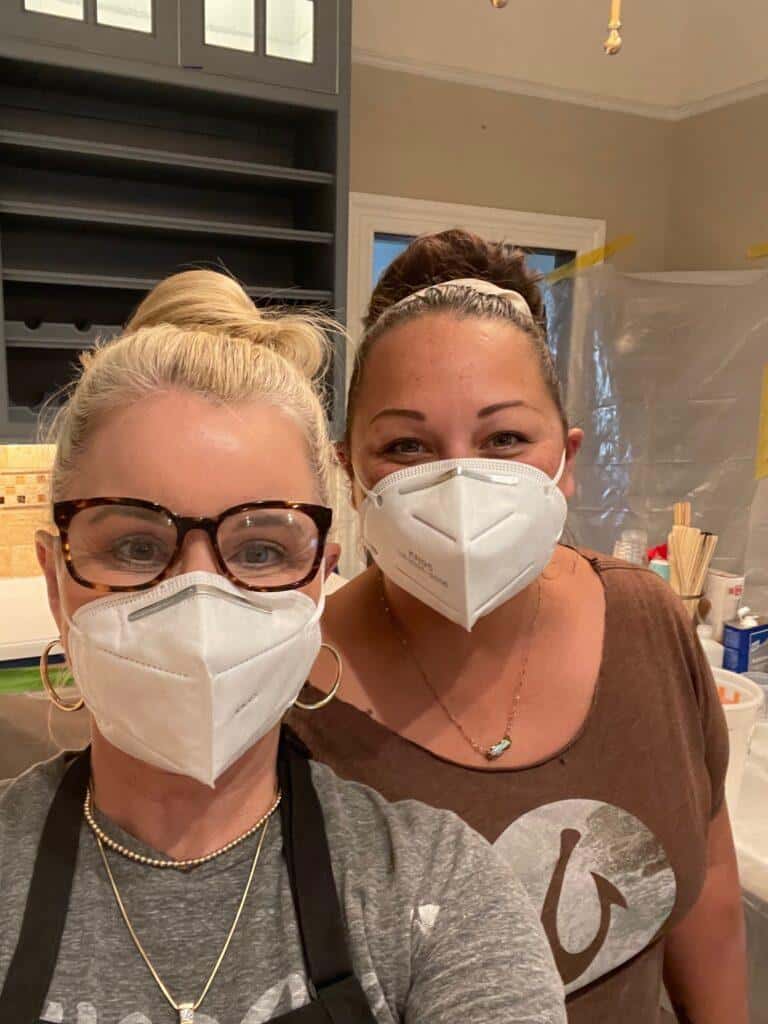
You will not believe how easy and fun this epoxy application was. However, I suggest you practice and watch many U-tube tutorial videos before diving in. Thankfully I had the help of a young lady Vanessa from @ilsandgirlwear, who came to assist me, or should I say, I helped her:)))), and between the two of us, we got the job done. Just keep in mind it is a time-consuming project.
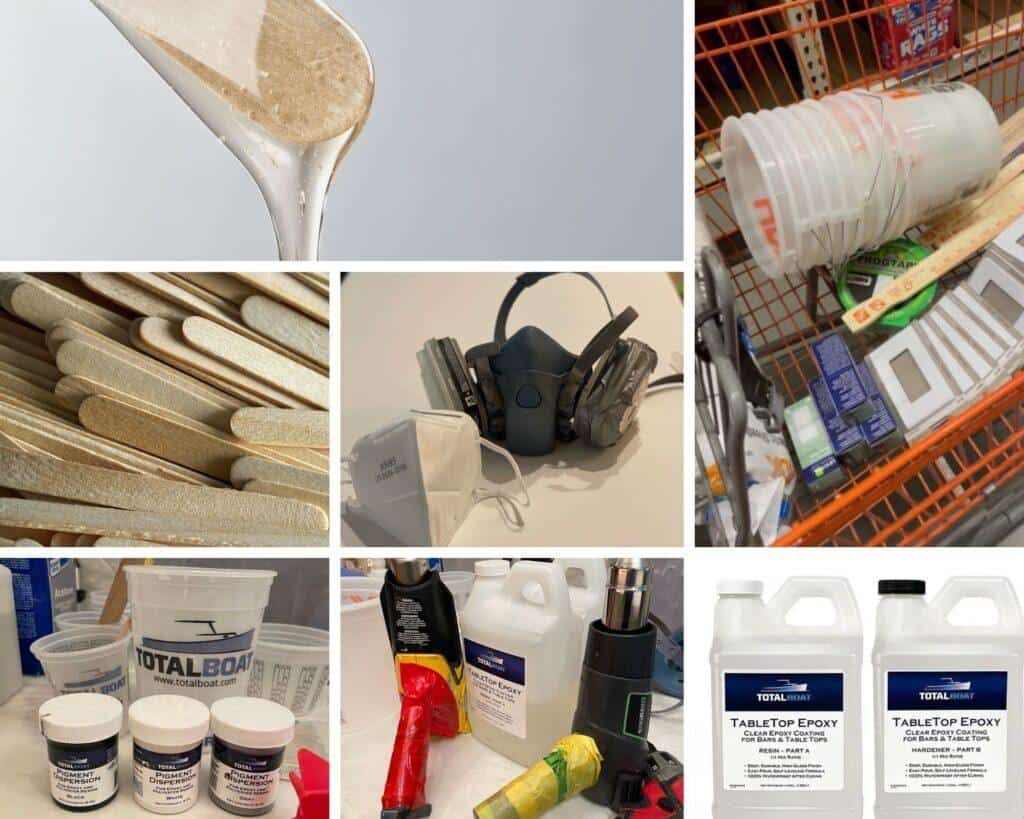
It is essential to get organized ahead of time when using mixed epoxy. Make sure all of your supplies are easy to access.
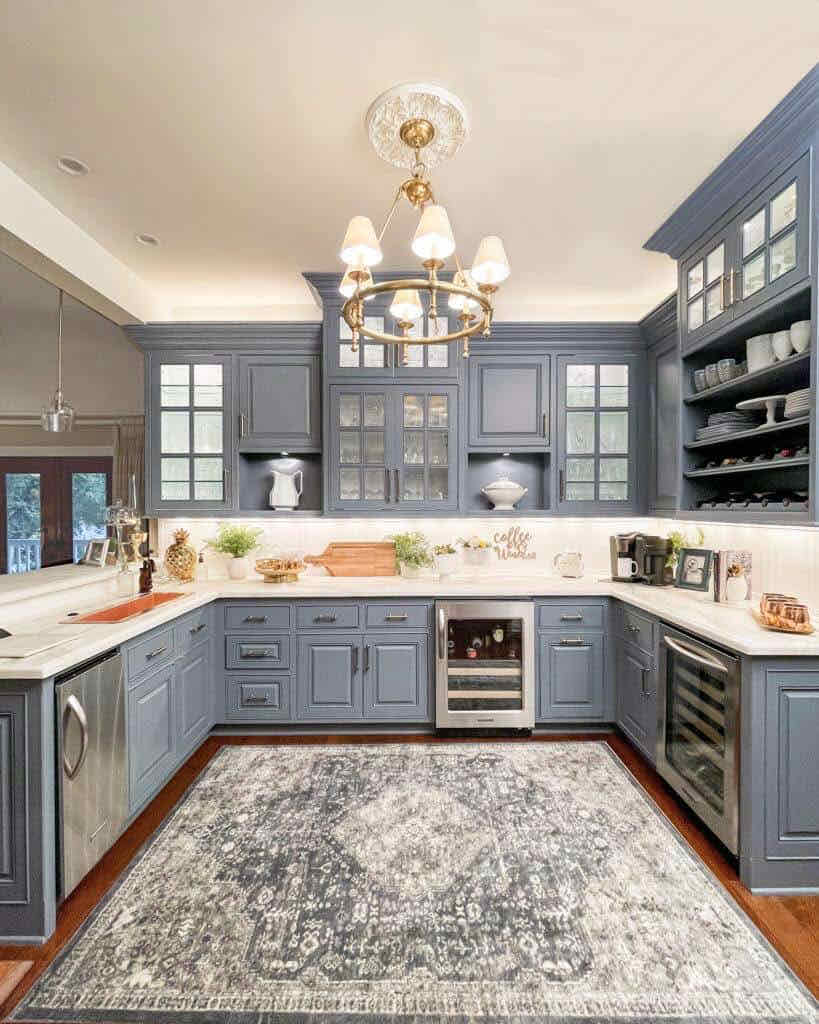
My countertop project is a bar area that we have remodeled. It has 60 square feet of countertops.
Tips for buying and using epoxy for countertops
One of many topics arising from purchasing epoxy involves the quantity that depends considerably upon each coat of epoxy you will need to cover your solid surface countertop. Total Boat provides a calculator to calculate the amount of epoxy product you will need to purchase. Usually, people apply a thin layer and skim coats to get an average thickness of 1/8″. Epoxy resins are typically available as two separate parts – resins and hardeners. If not mixed, it can be stored for at least one year without damaging the environment.
You may ask, what is epoxy?
Epoxy is the family of essential components or cured end products of epoxy resins.
Epoxy resins, also known as polyepoxides, are a class of reactive prepolymers and polymers containing epoxy groups.
I was fortunate to be sponsored by the “Total Boat” Tabletop Epoxy brand.
Total Boat’s goal is simple: provide the best tools and inspiration for every artisan to succeed. That’s it. Getting there is a different story. One that’s been evolving for over 35 years and will continue to grow. As DIY-ers, we know that having the right tools can differentiate between making something fabulous or something OK. We err on the side of great because just OK is never OK.
Total Boat makes several different types of epoxy. For this project, we are using TableTop Epoxy.
TableTop epoxy resin is a pourable, self-leveling two-part crystal transparent resin system that protects and preserves table tops, bar tops, and counters. It cures blush-free to a clear, glassy, 100% waterproof finish, heat resistant with excellent scratch, stain, and yellowing resistance.
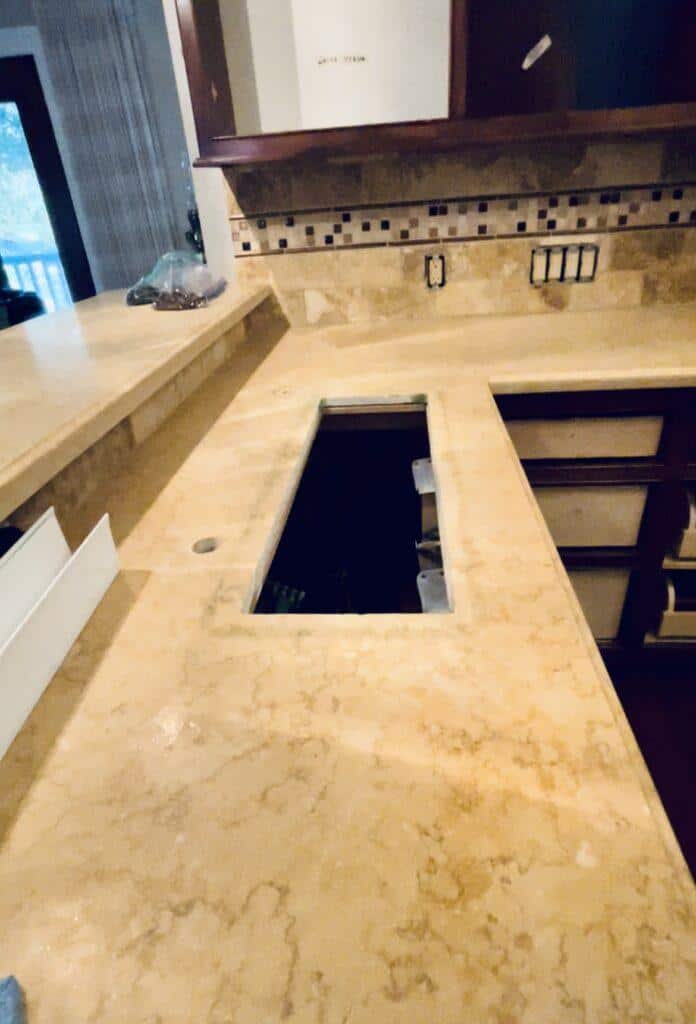
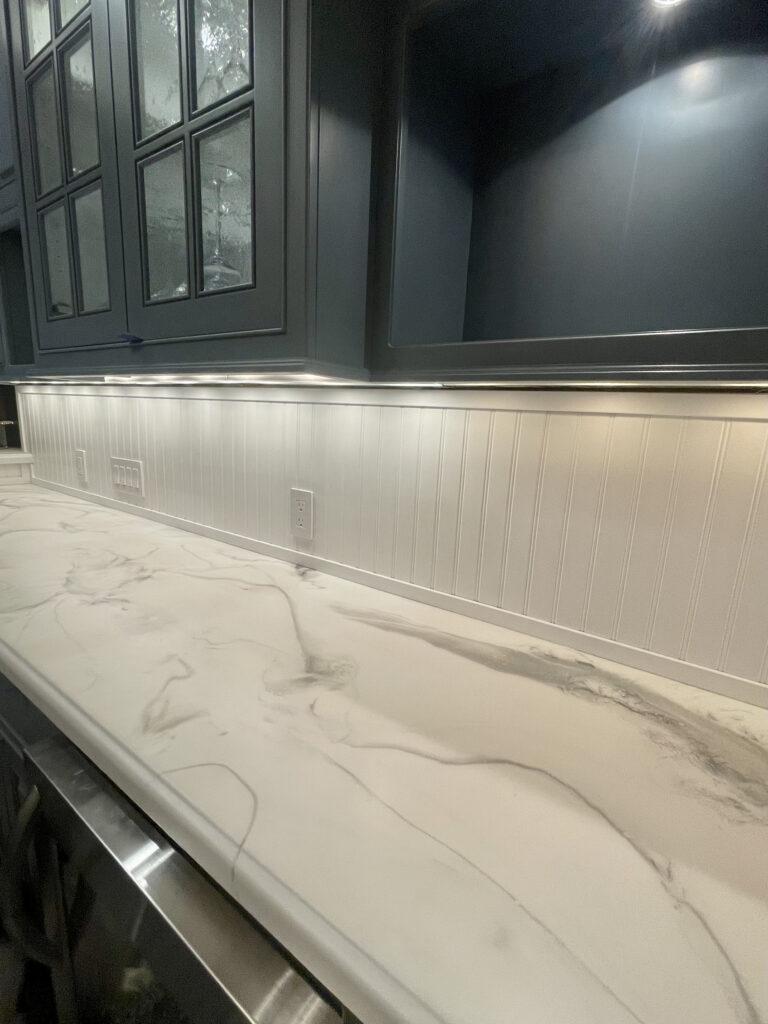
Here you can see the existing limestone kitchen countertop close up and how we have removed the sink before we pour the epoxy countertop, which is a very durable surface.
How long do epoxy countertops last?
These resin finishes are durable. Epoxy hardens to create an extremely durable surface and looks very attractive. In addition, the emulsifier provides long-lasting, glossy shine.
Outdoor kitchens: Can Epoxy Countertops Be Used Outdoors?
Epoxy countertops are growing in popularity. Many DIY enthusiasts choose epoxy over stone or their counterparts. It’s not a big surprise because it’s a cost-effective and creative way to upgrade kitchens and bathrooms. They are just as easy to use outside; however, you must ensure UV protection is in your epoxy products.
Countertop materials you will need.
Here is an essential list that I used. Of course, this will vary depending on how large your countertop projects are.
You will need to calculate how much epoxy you need. You can find that right here.
Then you can order your epoxy here.
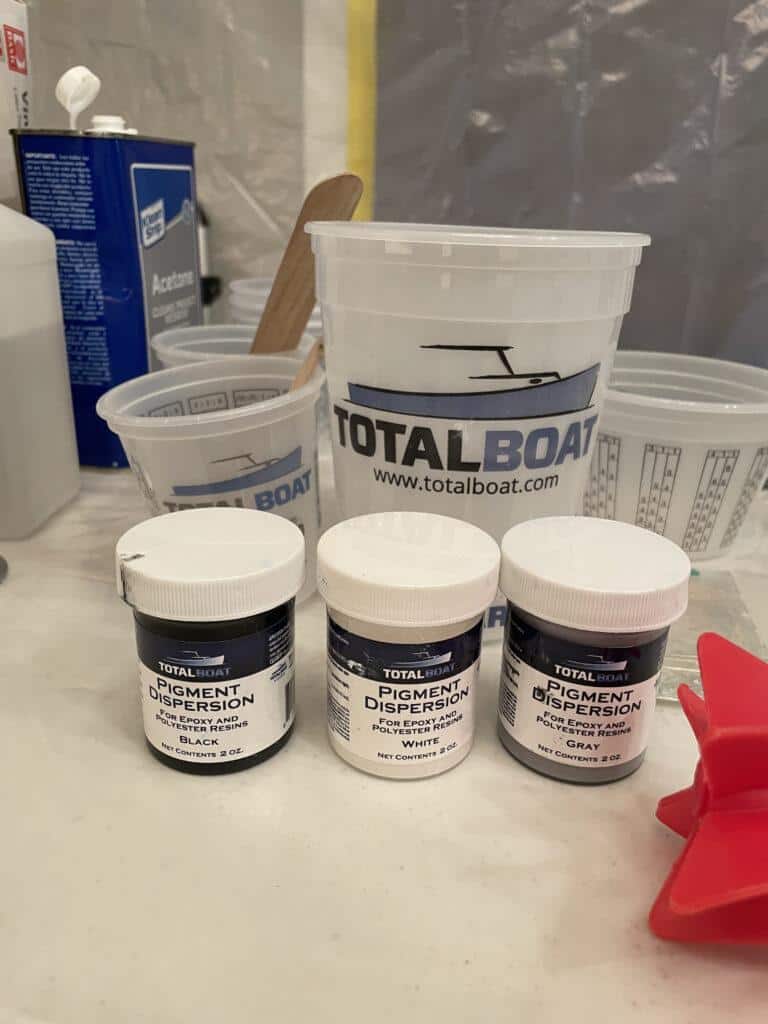
For your project, pigment dispersions from Total Boat: I used black, white, and grey for my countertops.
I also used a little black diamond pigment packet in silver pearl.
You will need lots of disposable cups and a few five qt buckets
Paint Thinner
Paper towel
You can also purchase pre-made epoxy countertops. Most of the preform countertops on the market today contain some epoxy.
Preparing your countertops to pour epoxy resin
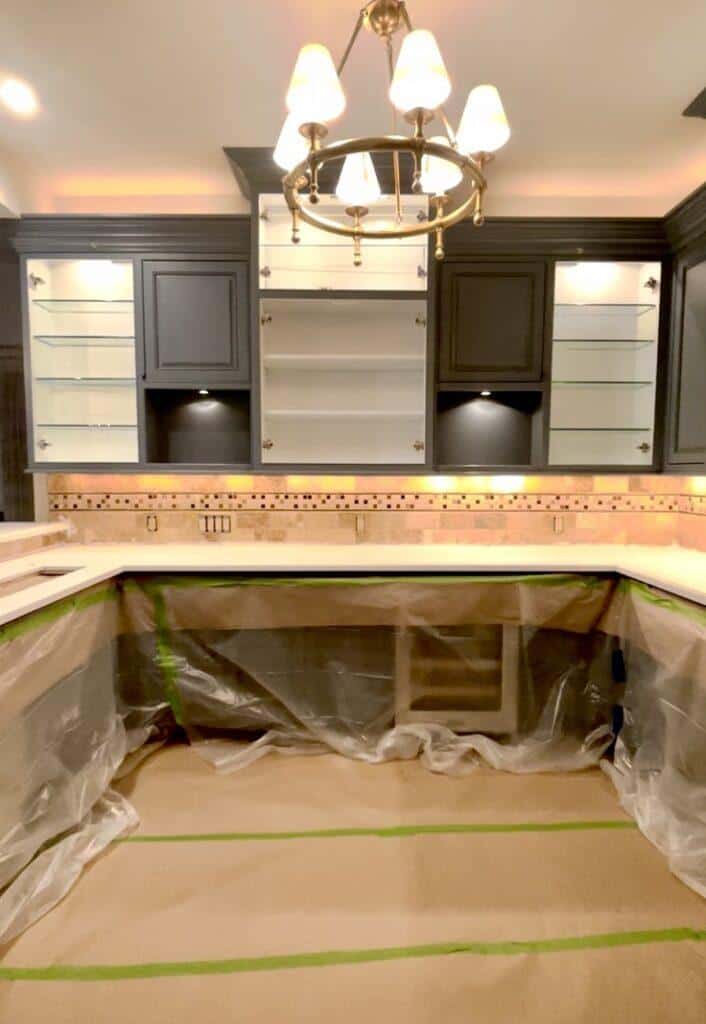
Epoxy can be messy, so cover all your floors and cabinets with plastic sheeting before you start.
The first thing you need to do is clean your countertops well. I used a product called TSP to wash my countertops. You can find the link above in the supply list.
Next, I lightly sanded the old countertops with my sander and 220 grit sandpaper.
Clean the entire surface generously with water and a lint-free cloth.
Clean again with alcohol or paint thinner on a clean, lint-free rag to prepare for the undercoat.
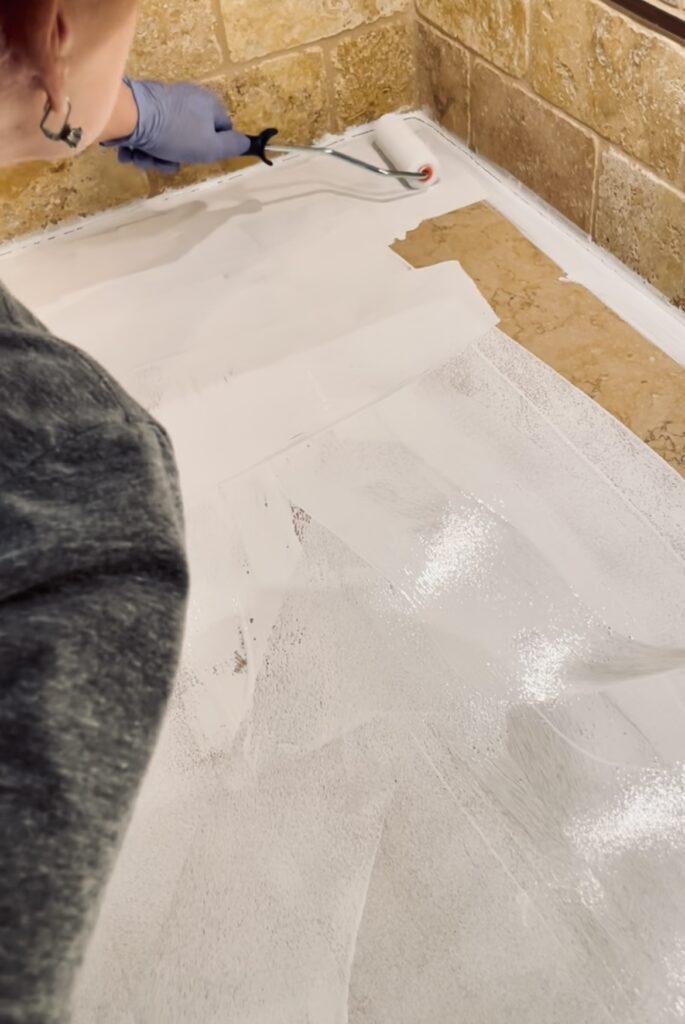
Next, I rolled on a coat of Kilz primer.
I used a simple foam roller. Let this dry and then sand lightly and put a second coat on.
Once this is dry, sand lightly and clean well again with water and a clean, lint-free rag—no need to use any cleaning products.
Now wipe down the kitchen counter with a clean lint-free rag with alcohol to ensure you have all the lint and dust off the countertops.
Now you are ready to prepare the epoxy countertop material and get pouring your epoxy.
You want to ensure all your buckets and tools have been appropriately cleaned with alcohol to start.
You will follow the instructions on the epoxy, but we mixed in small batches that were approx. Three qts each.
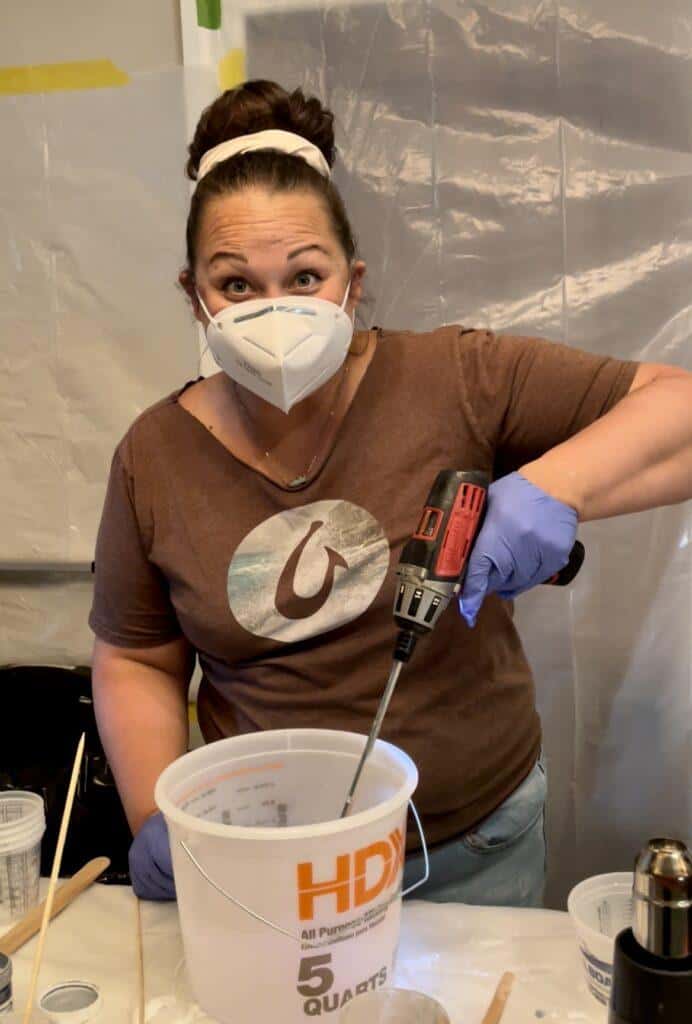
You mix equal parts A and B together in a bucket with the paddle mixer on a cordless drill. See links above and below.
Most epoxies require to be mixed extremely well. It is imperative you mix until the mixture is streak-free, approx. 5 minutes. Stop often and look for streaks in the epoxy. Take your time.
Once the epoxy was ready, we separated some clear epoxy into smaller cups to add the pigment dispersion and the metallic powders.
We prepared one large bucket of white epoxy, one small cup ( 6 oz. ) of grey epoxy, one small cup of silver pearl metallic powder ( 6 oz.), and a very tiny cup of black epoxy.
When adding your color additives:
Add the clear epoxy into a smaller cup, and then using a popsicle stick, add a small amount of the color additives to the clear. It does not take much pigment at all. So use it sparingly.
When making your colored epoxy, add the clear epoxy into a smaller cup, and then using a popsicle stick, add a small amount of the pigment to the clear. It does not take much pigment at all. So use it sparingly.
You have approximately 30 minutes to work with the epoxy, so you must work somewhat quickly.
We started by pouring a white base of epoxy, and you can use your hand or a tool to spread it. The beauty of the epoxy is its self-levels and will drip over the sides like honey. You can wipe the drips underneath the edge for a bit but need to stop if the epoxy starts to set up. Then, of course, you can always come back and sand off the drips.
We then created a dirty pour—using an eight oz. Cup that we layered with the different epoxy colors starting with the white, then some gray, a little bit of clear, then more white, a little more grey, and some the silver pearl.
To see a live demonstration of this process, you can see my Instagram live. Where you can watch this happen.
Once the white coat was on the counter, we came through with the dirty pour and added color.
If you want more veining, you can drizzle some additional colored epoxy with a small popsicle stick.
Now you want to use the heat gun to move the color around and spread the veins. You can see this in the life I did on Instagram here. Remember, you need to work quickly.
It is essential to make sure where your pour ends that you smooth the epoxy so it’s flat. This way, when you start the next our over it, it can level out, and you won’t see where you started and ended.
I enjoyed this part of the process. To watch the color move and create cells was just fascinating to me.
At this point, you need to repeat this process until all of your countertops have been poured. Again, it is crucial to smooth out the epoxy where the two pours will meet when you finish each pour.
Day one is finished, and it is time to let the epoxy dry overnight. The epoxy countertops will dry with a high gloss finish. We will sand down imperfections in the morning and prepare to pour the clear coat.
The clear epoxy resin coat went much quicker as we were not working with any color additives.
There also seemed to be fewer air bubbles. We mixed a total of four pours to cover all of the countertops.
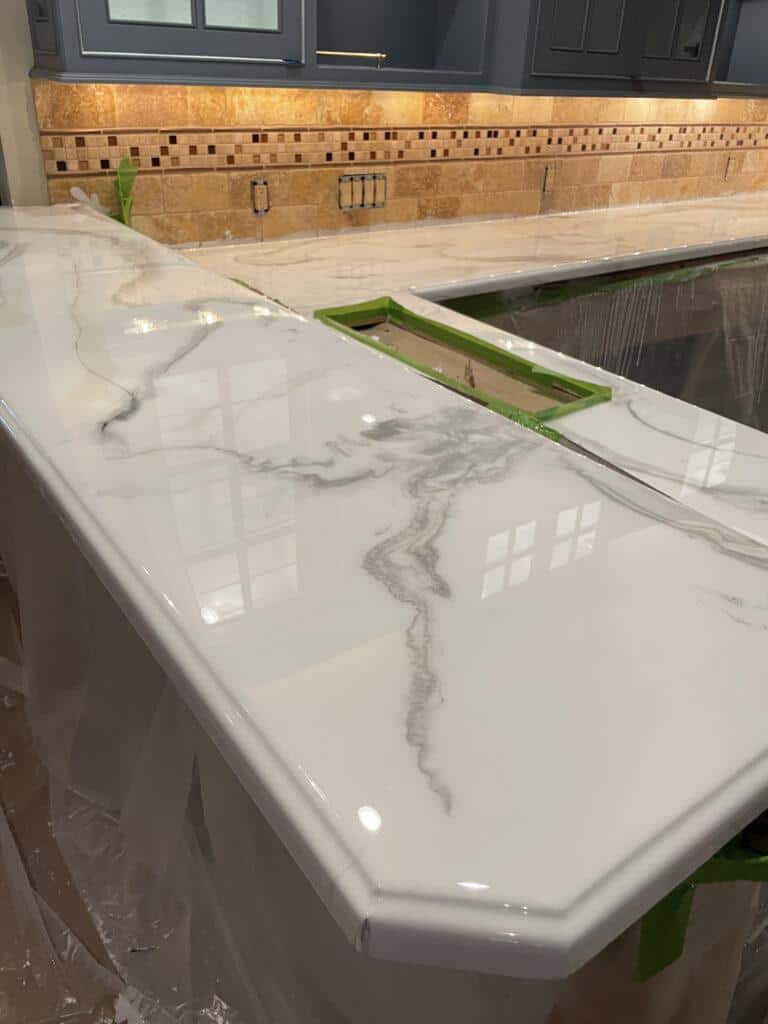
Epoxy will leave a glossy finish when it dries.
You can leave the glossy finish if you like it, or you can sand it when you are finished for a honed finish.

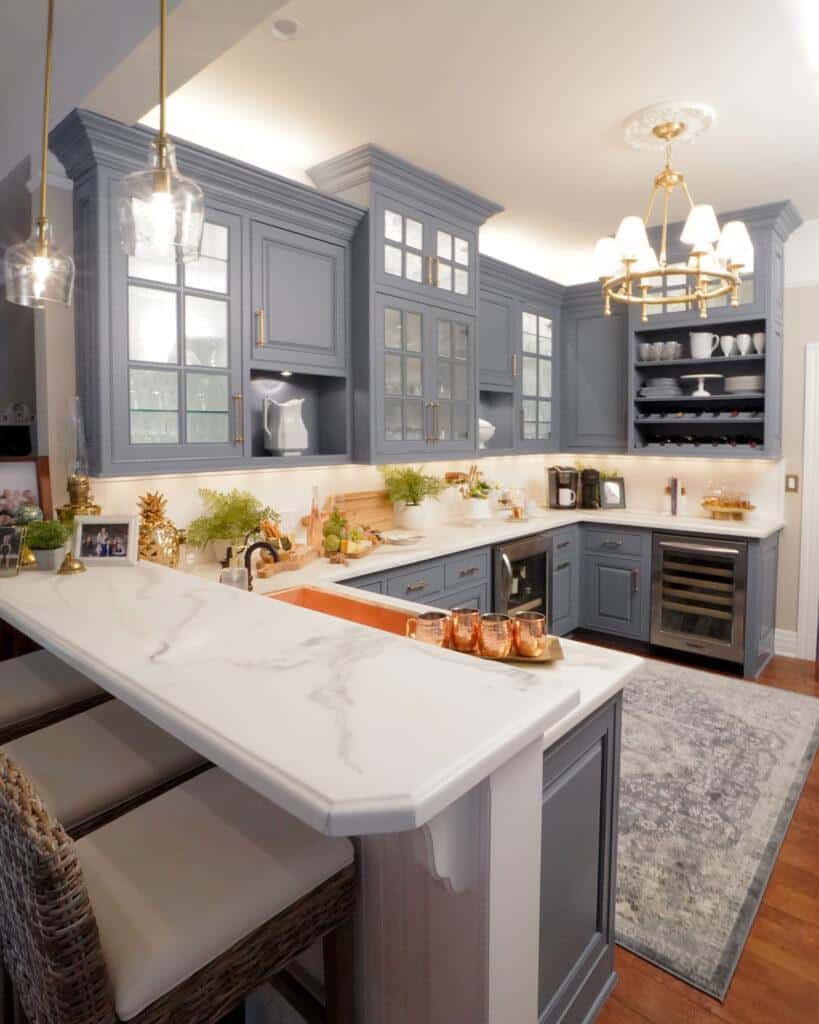
This is what the final matte finish looks like on the countertops.
You can see the entire bar makeover here.
Lastly, you may have some questions, so let me see if I can answer a few. And, of course, you can always contact me via email or my blog. [email protected].
How do epoxy countertops hold up?
When done right, epoxy countertops provide a long-lasting and durable surface. In addition, their non-porous nature means they’re resistant to moisture. The material is also resistant enough to heat, although you still need to use common sense and not place hot pots and pans on it.
How do you care for epoxy countertops?
Do not use abrasive cleaners on the counters such as soft scrubs, cleansers,s, etc..
Use any daily cleaner such as simple green, mild dish soap. Or any non-abrasive cleaner for general cleaning.
In a significant spill, you can use acetone to clean the surface.
I have a dull finish on my countertops. If needed, I could always sand out any issues I may have.
How much do epoxy countertops cost?
The cost will depend on if you are doing them yourself or having a professional do them.
The average cost of hiring a professional is $100-$200 per square foot.
Of course, doing it yourself is a lot less expensive and more fun. I estimate the cost to do my countertops would be around $800.00. Had I re-placed the countertops, it would have cost me $8000.00.
I hope you enjoyed this post and try a small project to start. It is lots of fun.
Everything you need to purchase for your epoxy countertops
I hope you enjoyed this, now give it a try and let me know how it goes.
Everything you need to decorate your bar

If you love this, pin it!