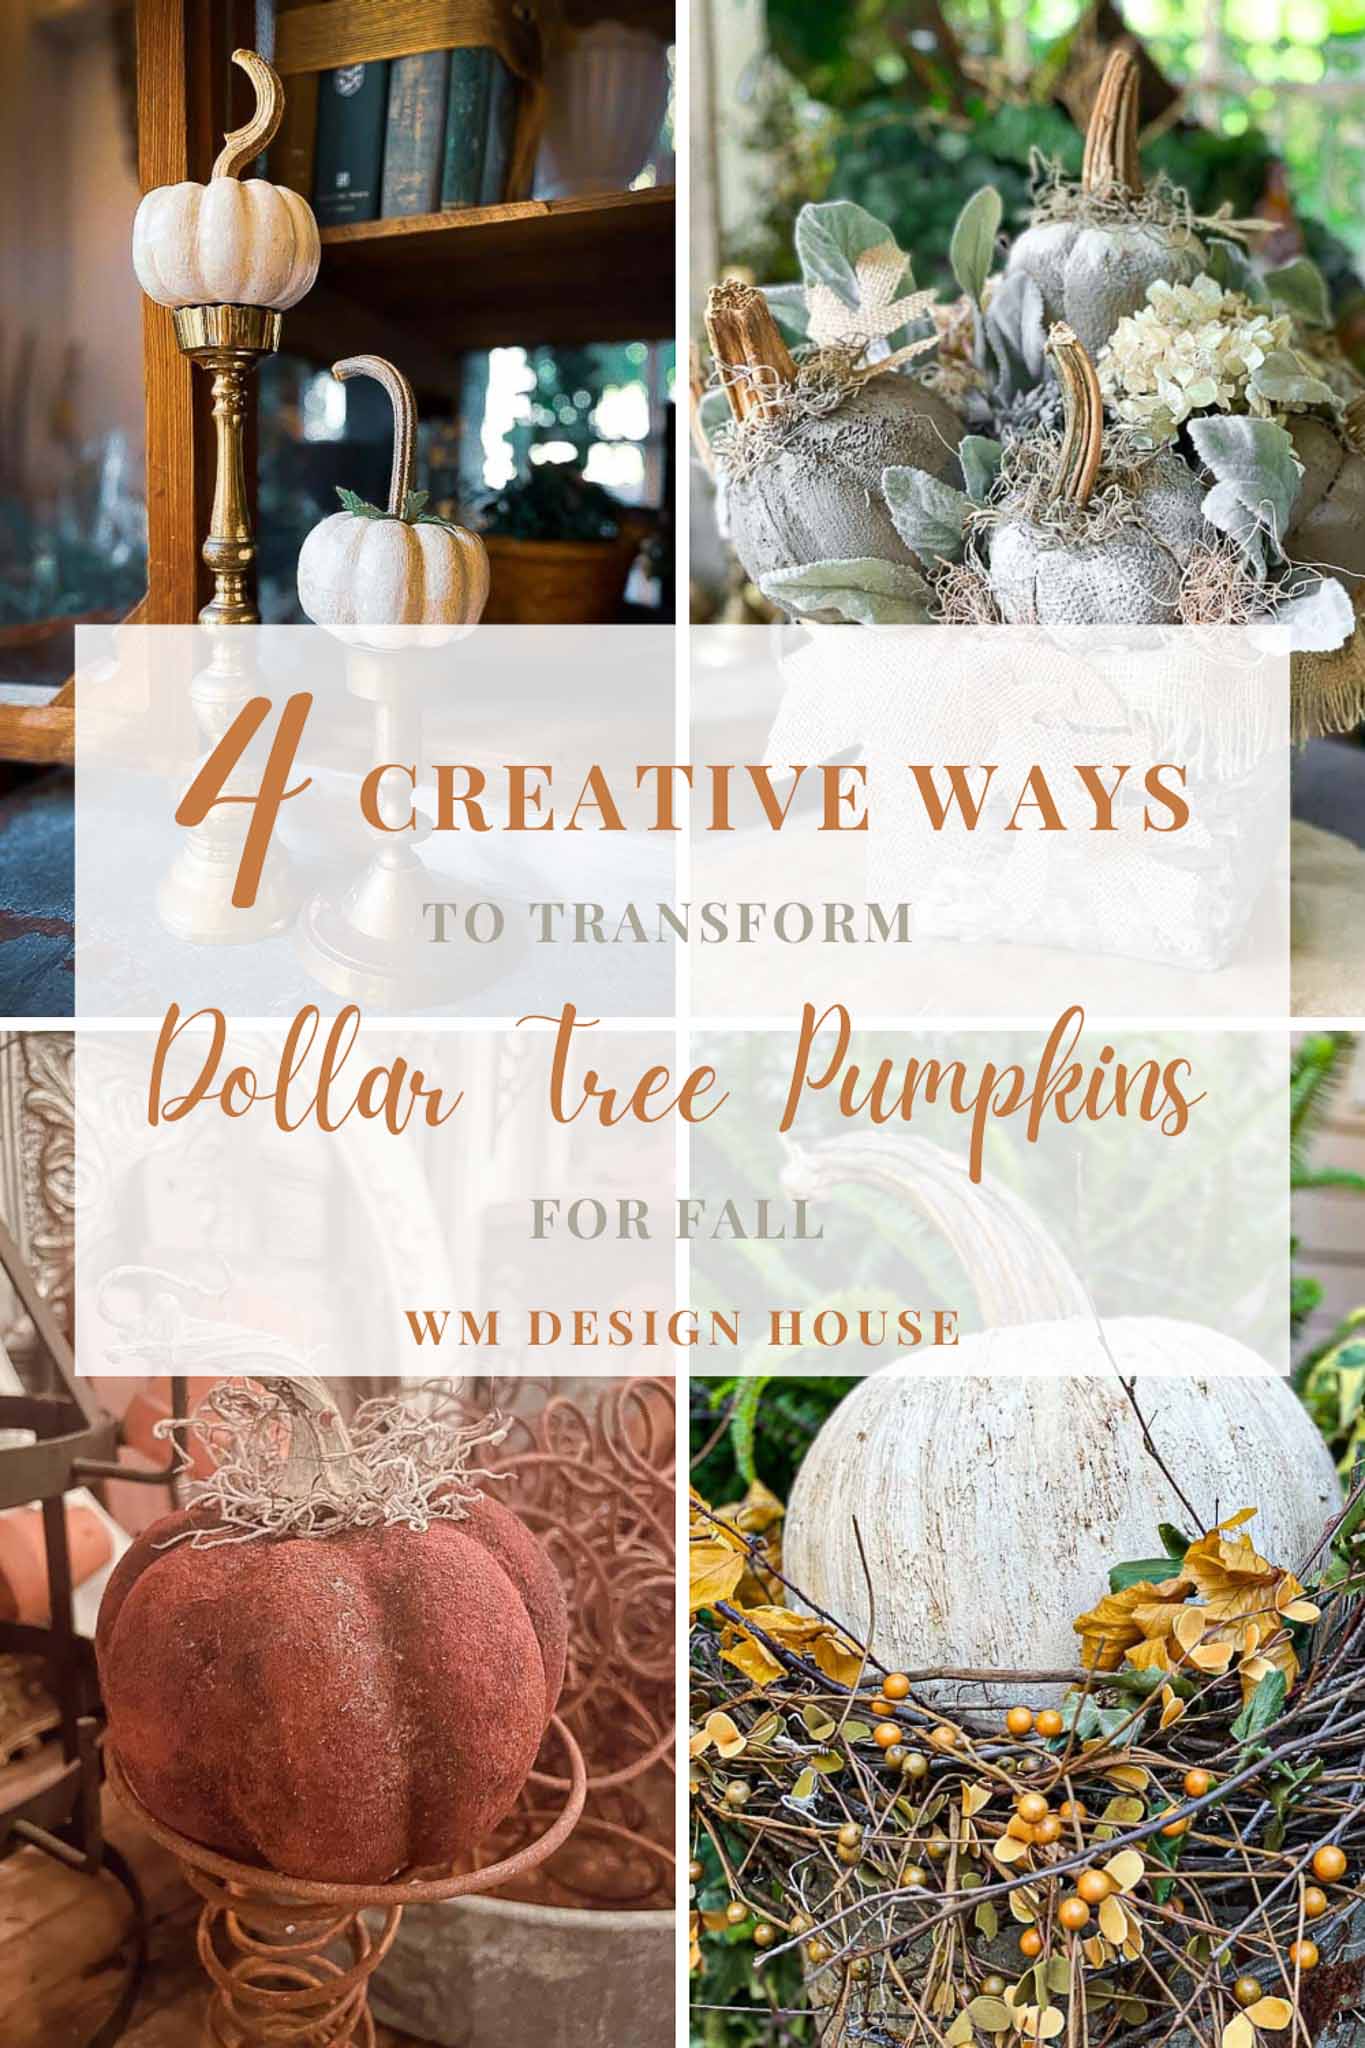
4 Creative Ways to Transform Dollar Tree Pumpkins
Learn how to transform Dollar Tree pumpkins into beautiful home decor with these four fun and simple fall crafts.
On my blog WM Design House, I may sometimes use affiliate links, which means a small commission is earned if you purchase via the link. The price will be the same whether you use the affiliate link or go directly to the vendor’s website using a non-affiliate link. Read my full disclosure policy here.
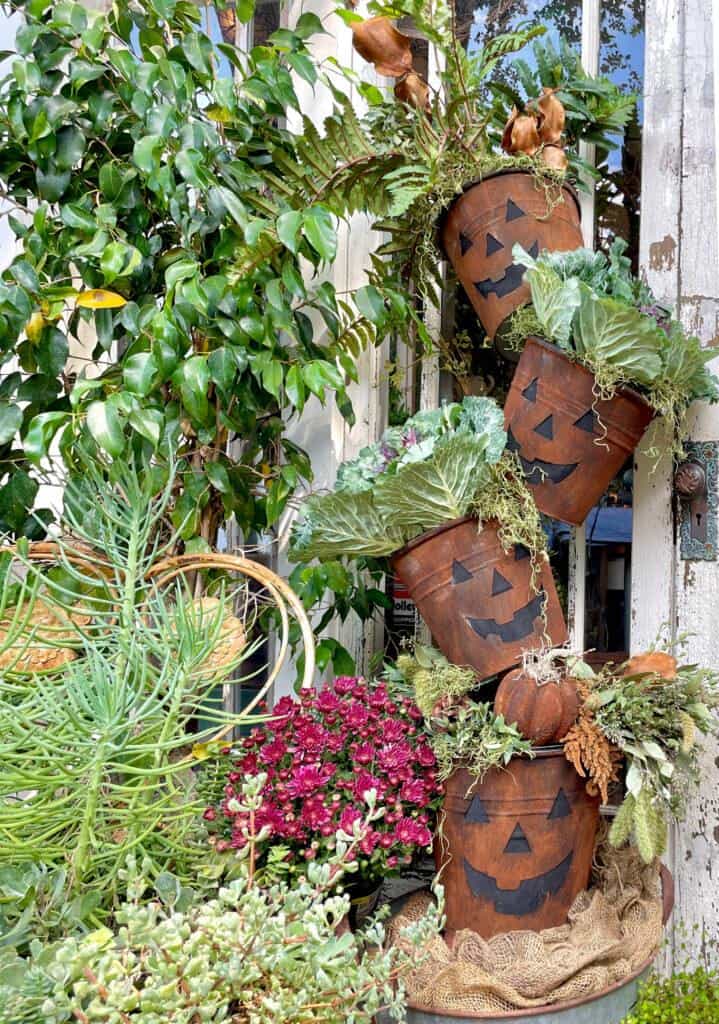
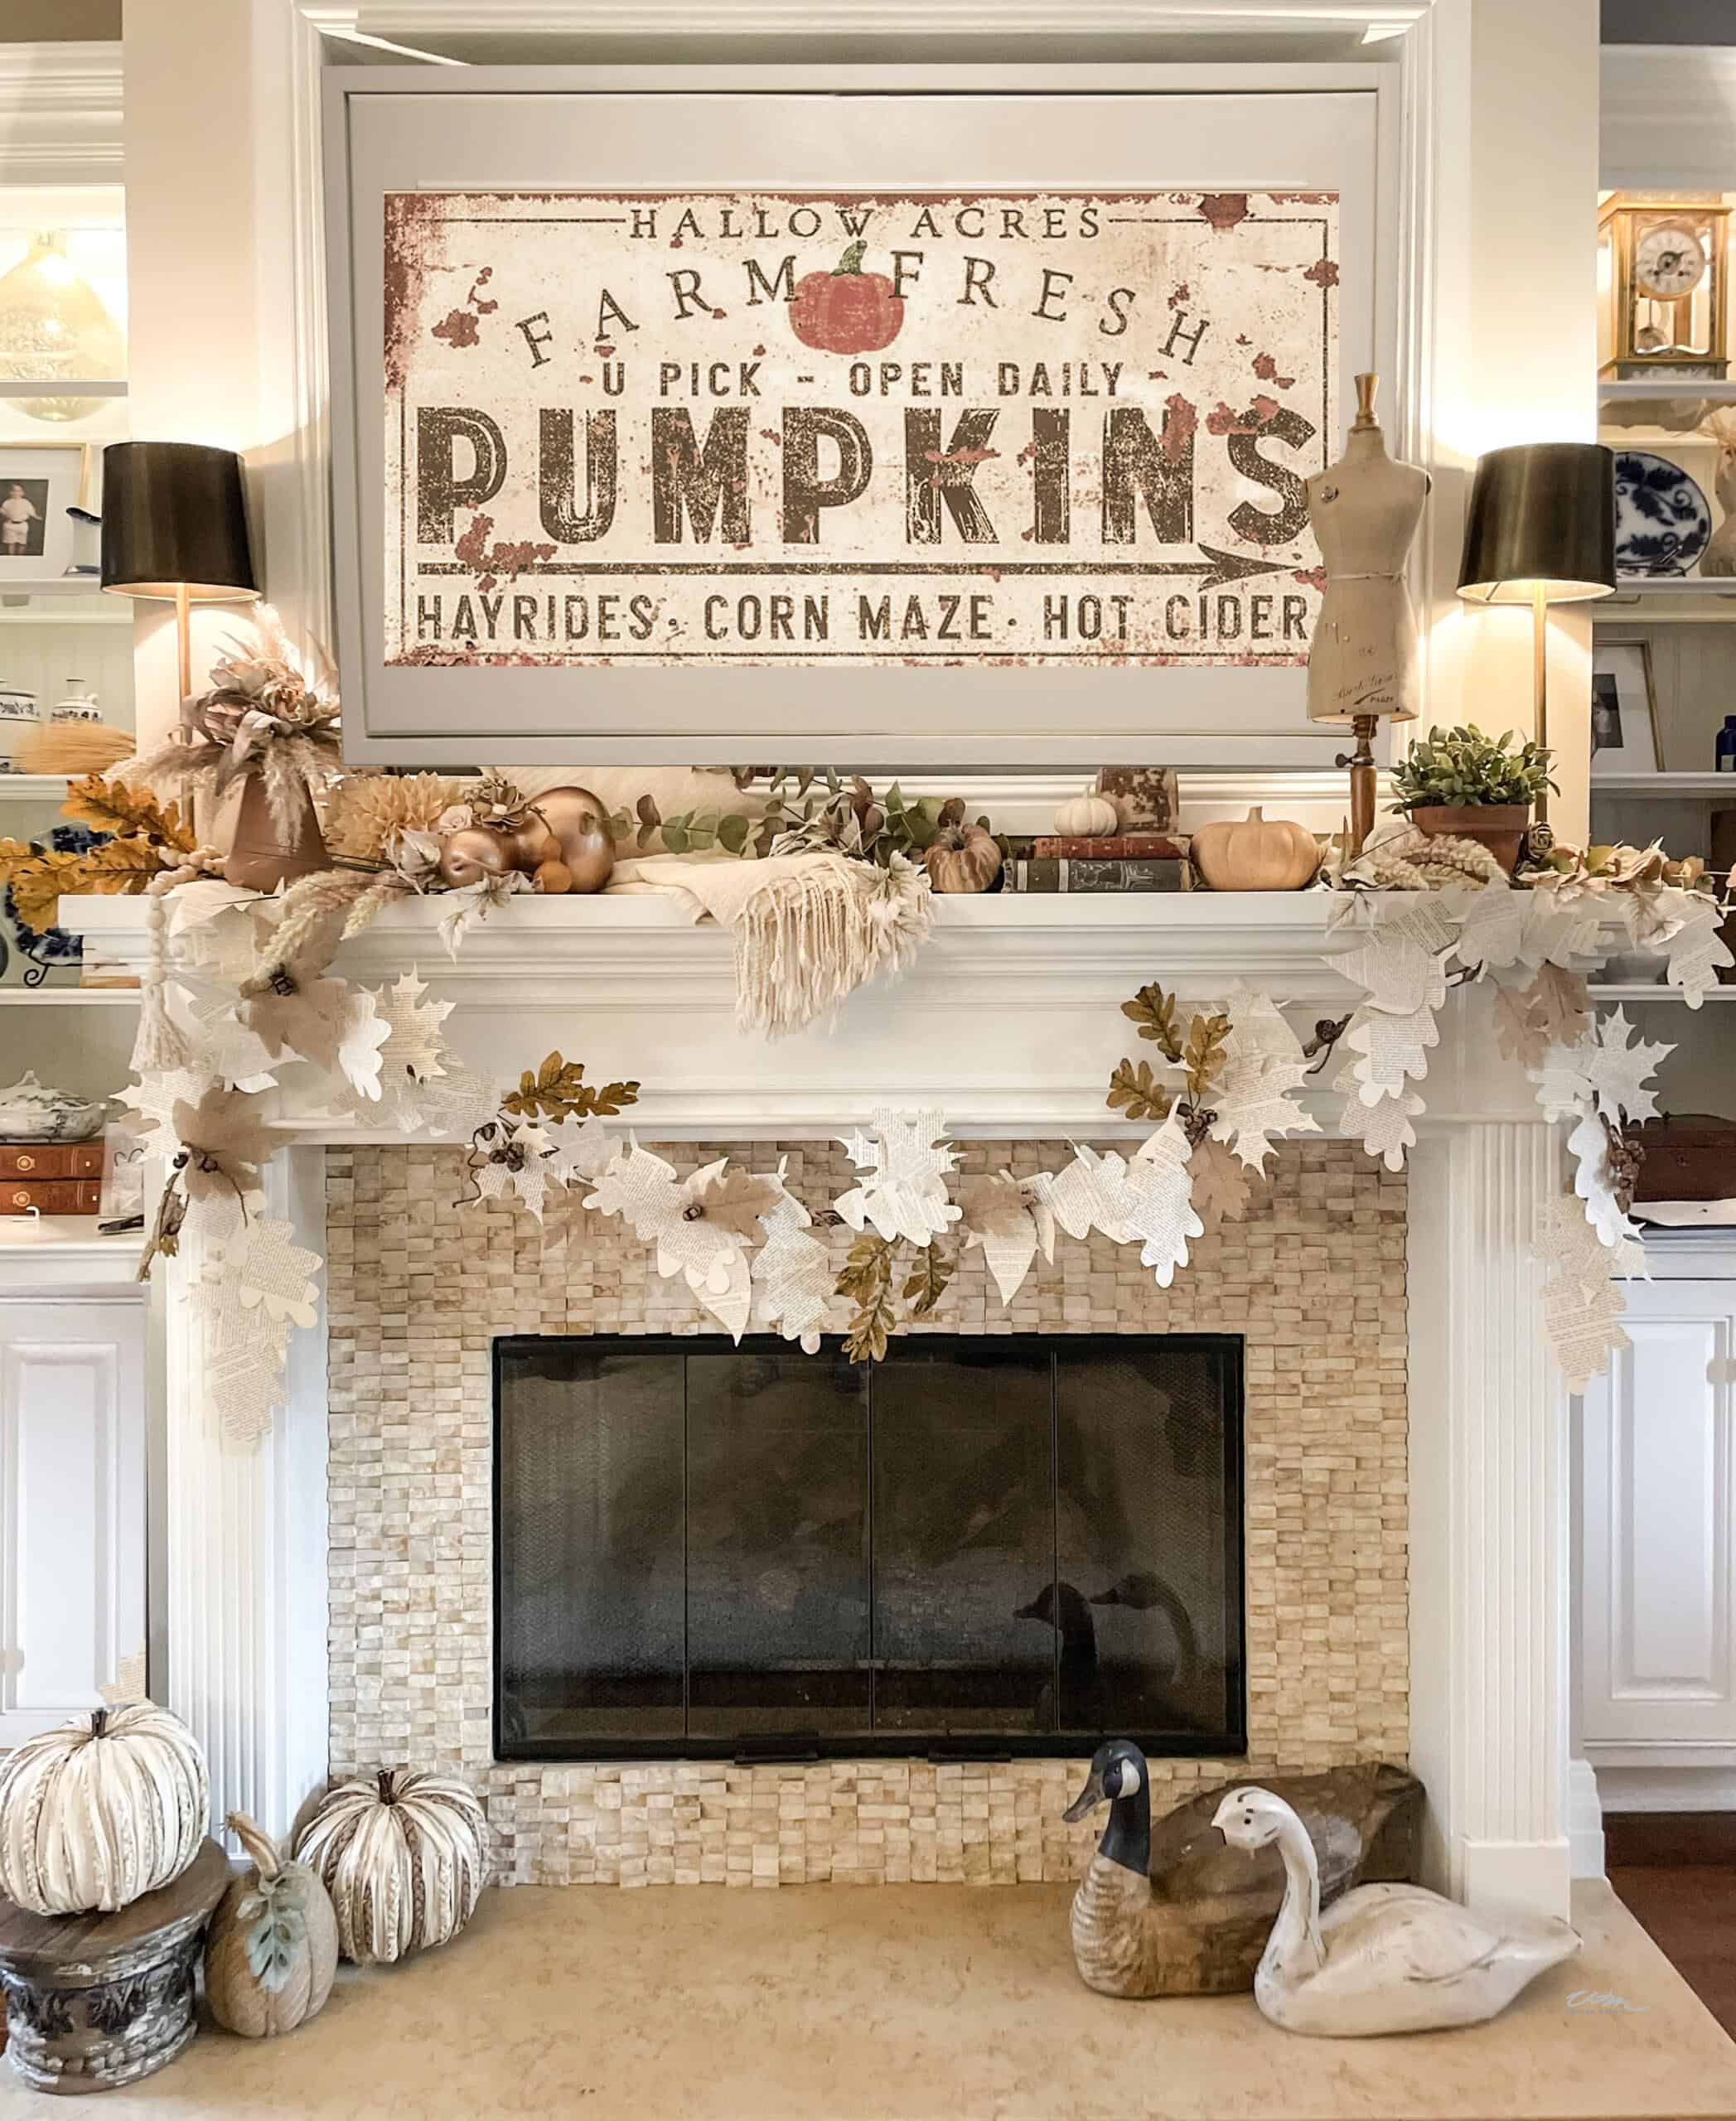
Fall is my absolute favorite season. I love when the weather starts to turn cooler and the days get shorter.
Even though it’s still August, I already have pumpkins on the brain, and can you blame me? Pumpkins are synonymous with fall, capturing the spirit of the season with their warm colors and timeless charm.
If you’re looking for stylish and affordable ways to decorate with pumpkins, I’ve got four simple fall crafts for you. With these ideas, you can easily transform inexpensive dollar store pumpkins from plain to stunning in no time.
Why Choose Dollar Tree Pumpkins?
Pumpkins are a staple of fall decor, but they can sometimes be pricey at many of the most popular home decor and craft stores.
But I have the perfect solution—Dollar Tree pumpkins!
I use several different methods for transforming Dollar Tree pumpkins (more on those fall DIY projects in just a bit), but they all start with your basic foam pumpkin or any faux pumpkin of your choice.
Sometimes you can also find burlap pumpkins which are fun to work with.
The bottom line? Dollar Tree pumpkins are very affordable, and the way to go if you want to keep your fall decorating budget-friendly.
Plus, you can recreate those expensive brand-name pumpkins for a fraction of the cost. It’s a great way to add a personal touch to your home this fall without breaking the bank!
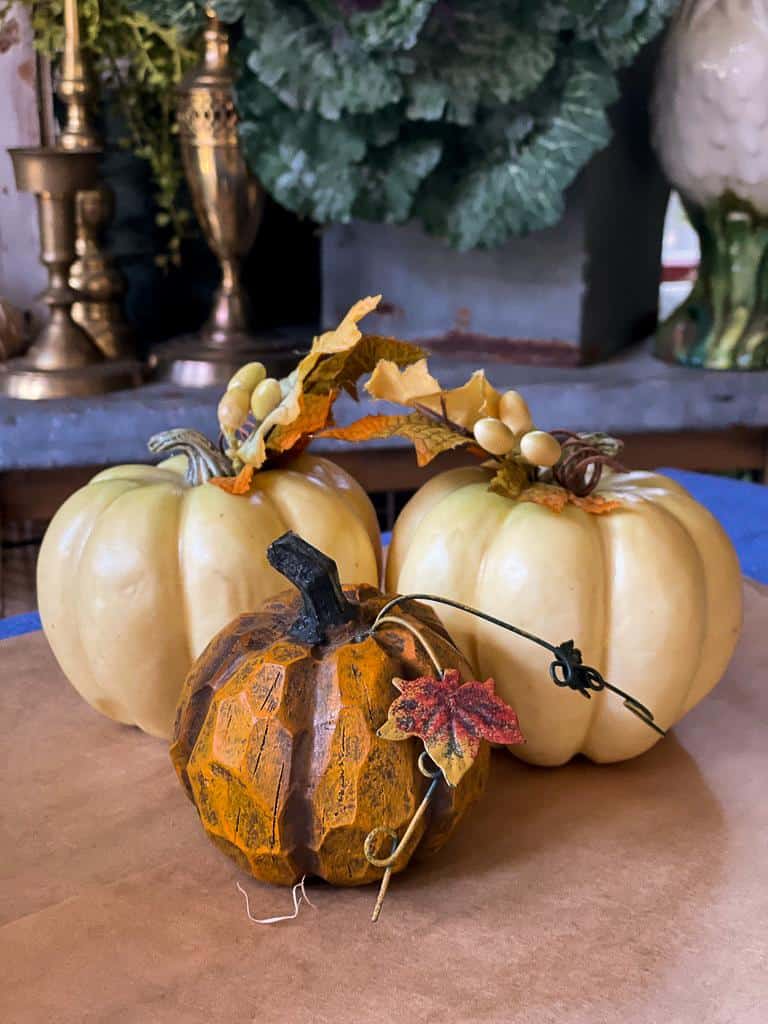
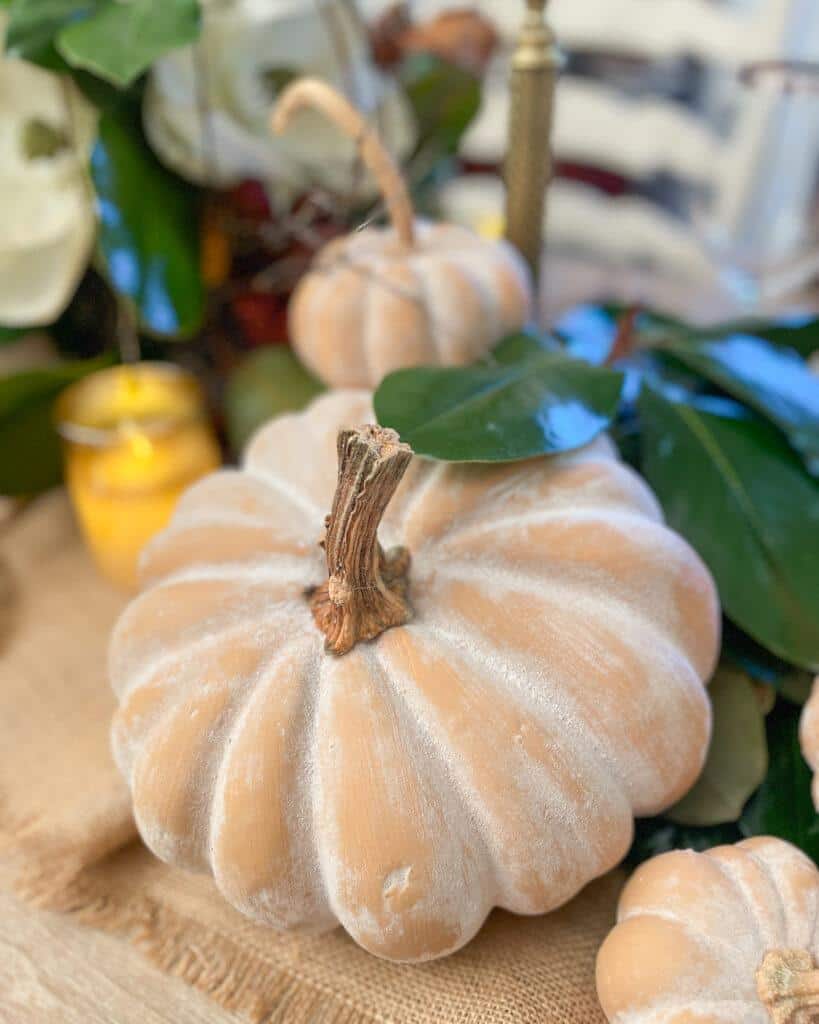
How to Transform Faux Dollar Pumpkin Using Paint and Wax
Materials Needed
Step 1: Remove Fake Pumpkin Stems
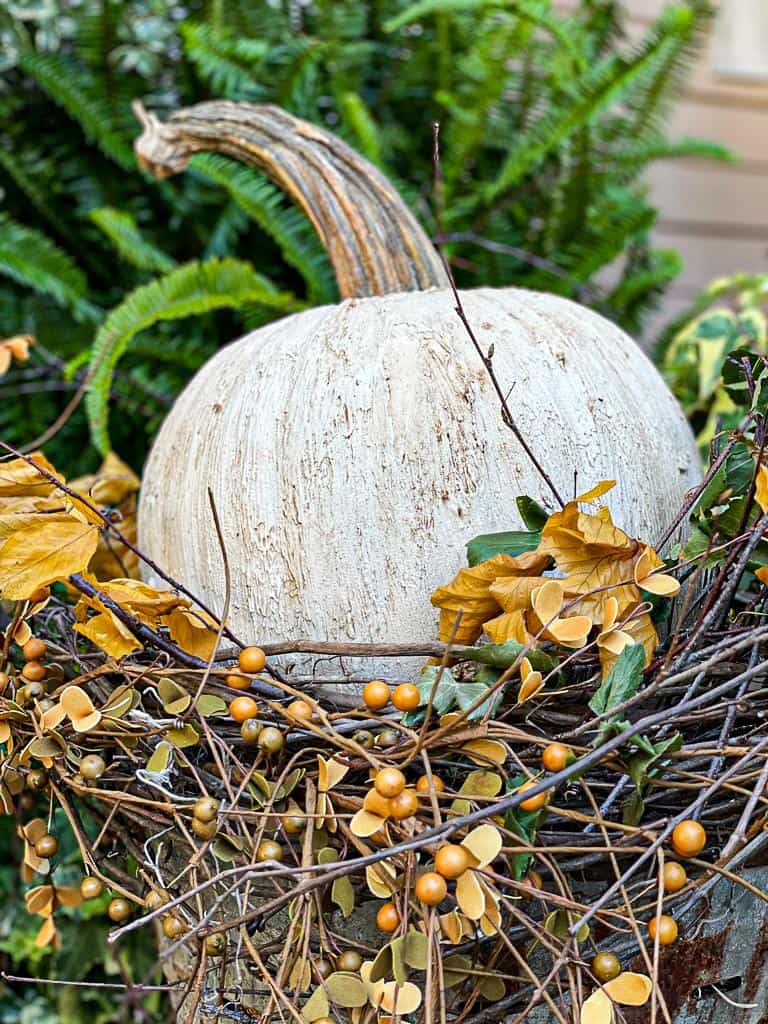
The first step for each one of these pumpkin crafts is to remove the fake, plastic stem of the pumpkin. You can easily do this by gently twisting and pulling it out, leaving you with a smooth surface to work with as you begin your transformation
As an alternative, I love collecting fresh pumpkin stems and hot gluing them on to my Dollar Tree pumpkins for a more realistic look!
You can find stems at pumpkin patches, in bins at the grocery store (be careful you don’t fall in!), or by removing them from your fresh pumpkins at the end of the season. Just let them air dry for a few weeks, and they will be ready to use on your crafting projects the following year!
Step 2: Paint Your Pumpkins
To paint your pumpkins efficiently, carefully insert a wooden skewer into each one. This lets you easily paint all sides without smudging or getting paint all over you or your work surface!
You’ll also need a block of styrofoam to hold the skewer upright while the pumpkins dry.
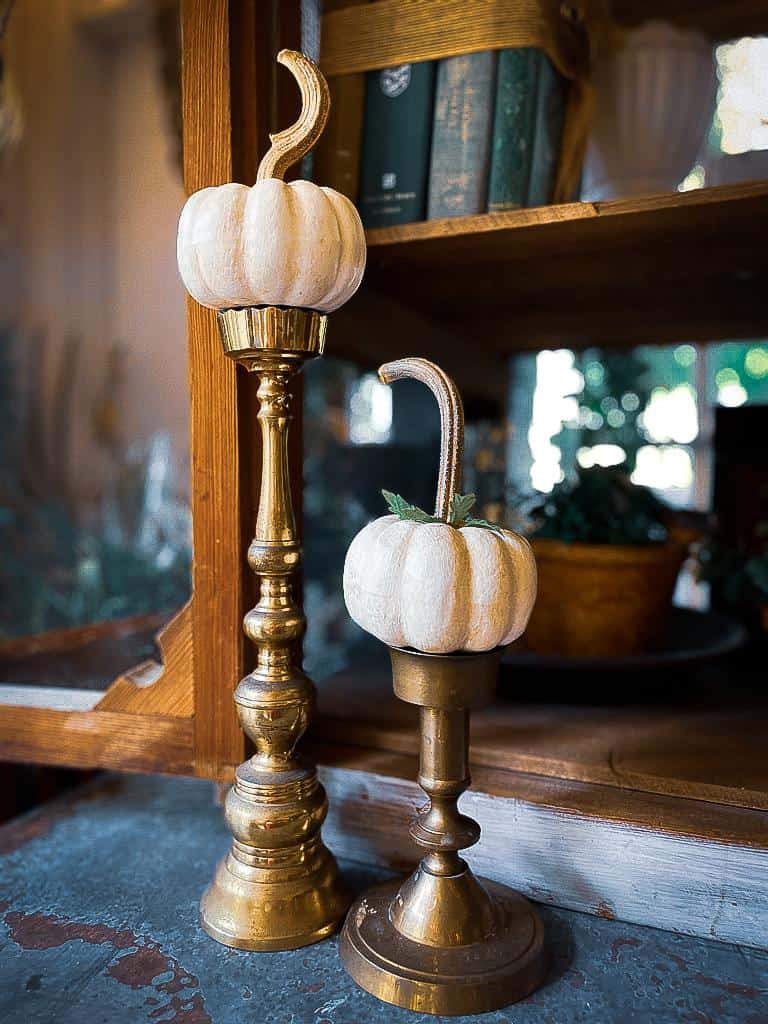
Use white chalk paint to paint over your Dollar Tree pumpkins. Just apply one coat at a time, letting each layer dry thoroughly before adding the next.
Next, use some Annie Sloan’s wax to give your painted pumpkins an antiqued look.
Put a clear coat of wax on first. Then, while the first coast of wax is still wet, mix a little bit of Annie Sloan’s dark wax on your brush and gently brush it onto your pumpkins.
Step 3: Glue on Real Pumpkin Stems
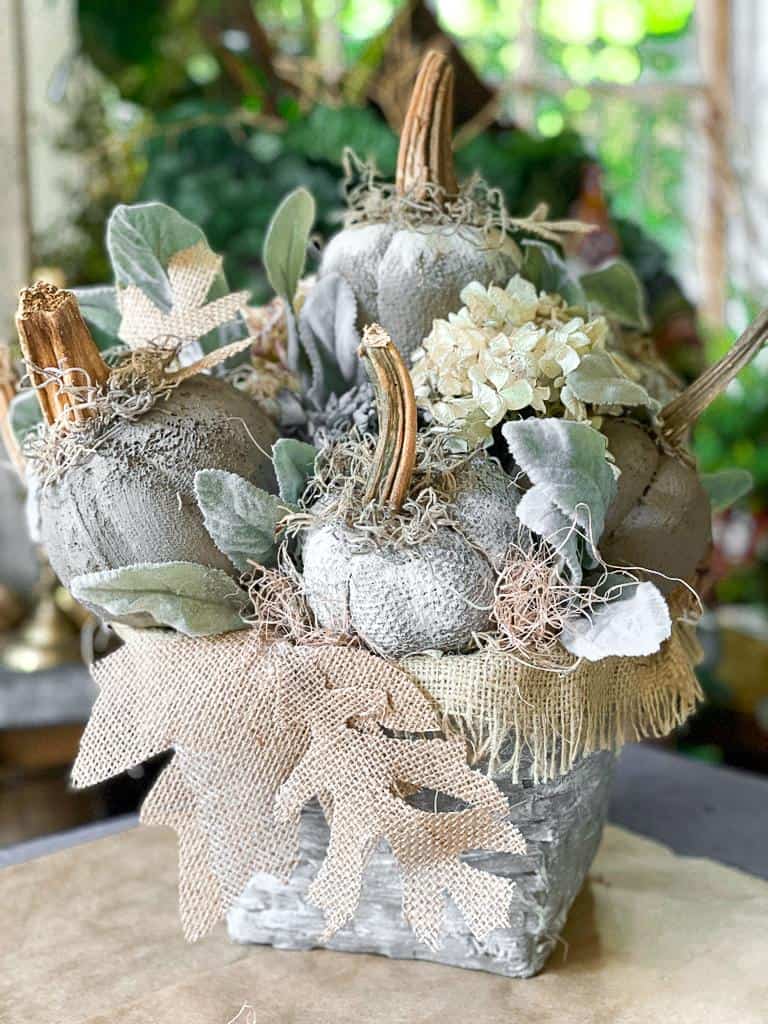
Allow the wax to dully dry for at least 24 hours, then hot glue your real pumpkin stem. You can even add some pretty leaves or moss around the pumpkin’s stem if you like.
They make the cutest harvest decorations for a beautiful fall tablescape, or style your painted dollar pumpkins as part of a fall vignette.
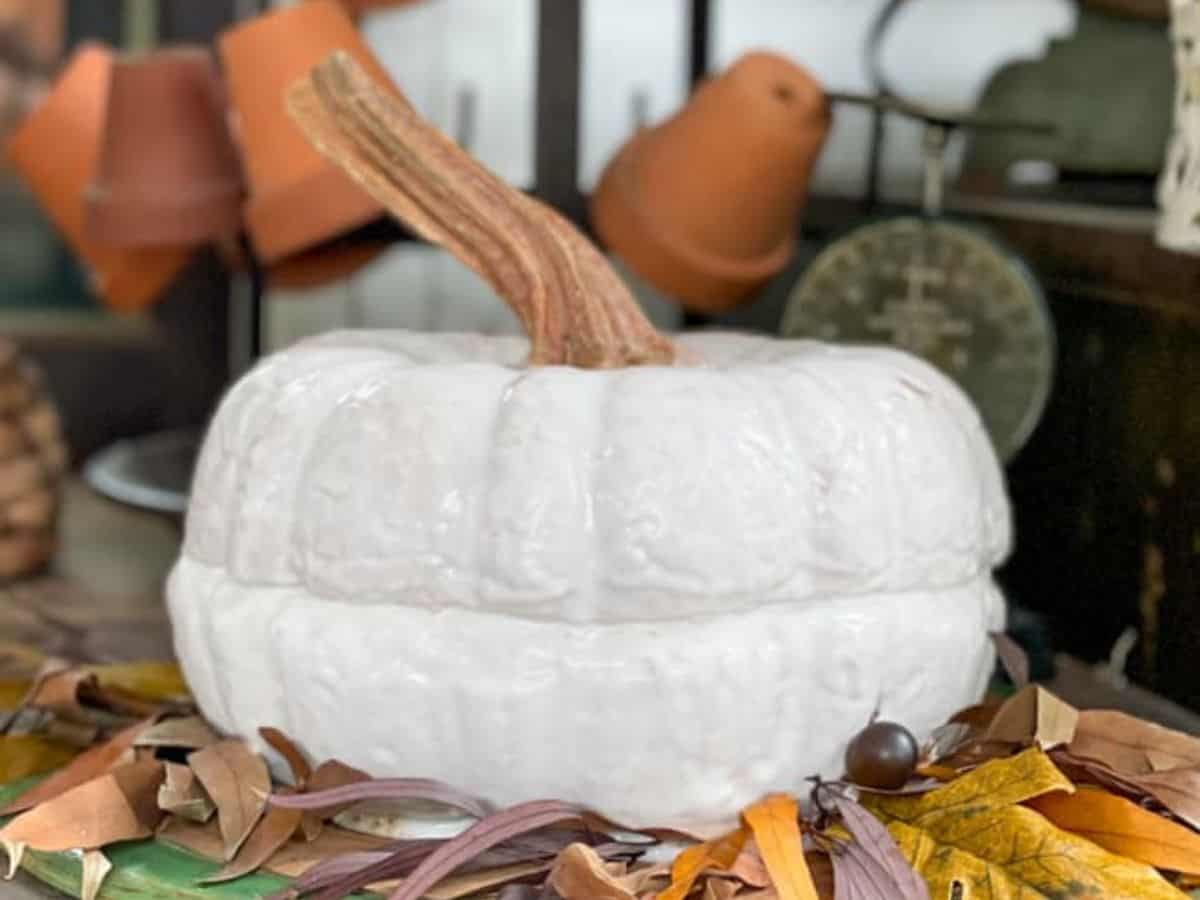
How to Refresh a Dollar Tree Pumpkin with Concrete Compound
Materials Needed
Step 1: Remove Fake Pumpkin Stems
Once again, start by removing the fake, plastic stems from your Dollar Tree pumpkins and toss them in the trash.
Step 2: Coat Pumpkins with Cement Compound
For this transformation, I used Henry’s Feather Finish. If you are not familiar, this product is a a cement-based smoothing compound. Often Henry’s Feather Finish is used in home improvement and construction projects, but I went a bit outside of the box to use it for this pumpkin makeover.
Mix a small amount of Henry’s featherweight in a disposable cup with a bit of water. Once you mix the concrete, you will have about 20-30 minutes to work with it, so be ready to work quickly!
Paint your pumpkins with a disposable brush, and while they are still wet, sprinkle some flour around the top where you will place the stem.
Step 3: Glue on Real Pumpkin Stems
Let your painted pumpkins dry for at least of one hour.
Once the cement compound is completely dry, glue your stems on and add a bit of Spanish moss or leaves for decoration.
And that’s it! You have some beautiful Dollar Tree DIY fall decor!
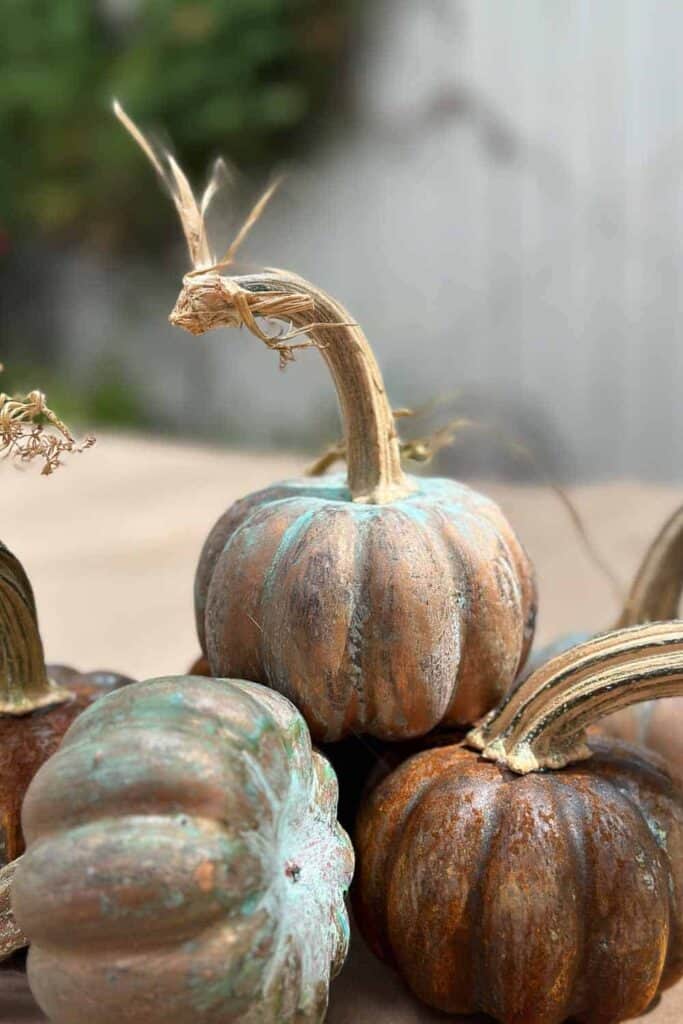
How to Create a Rusty Pumpkin with Cinnamon
Materials Needed
Step 1: Remove Fake Pumpkin Stems
You know the drill! Remove those the fake, plastic stems from your Dollar Tree pumpkins and throw them away.
Step 2: Paint Your Pumpkins
We all know that cinnamon can spice up our favorite recipes and fill the house with a holiday scent, but did you know it can also give new items a vintage look?
By mixing cinnamon with paint, you can make your Dollar Tree pumpkins look like they have been around for years with a charming, old, and ‘rusty’ appearance.

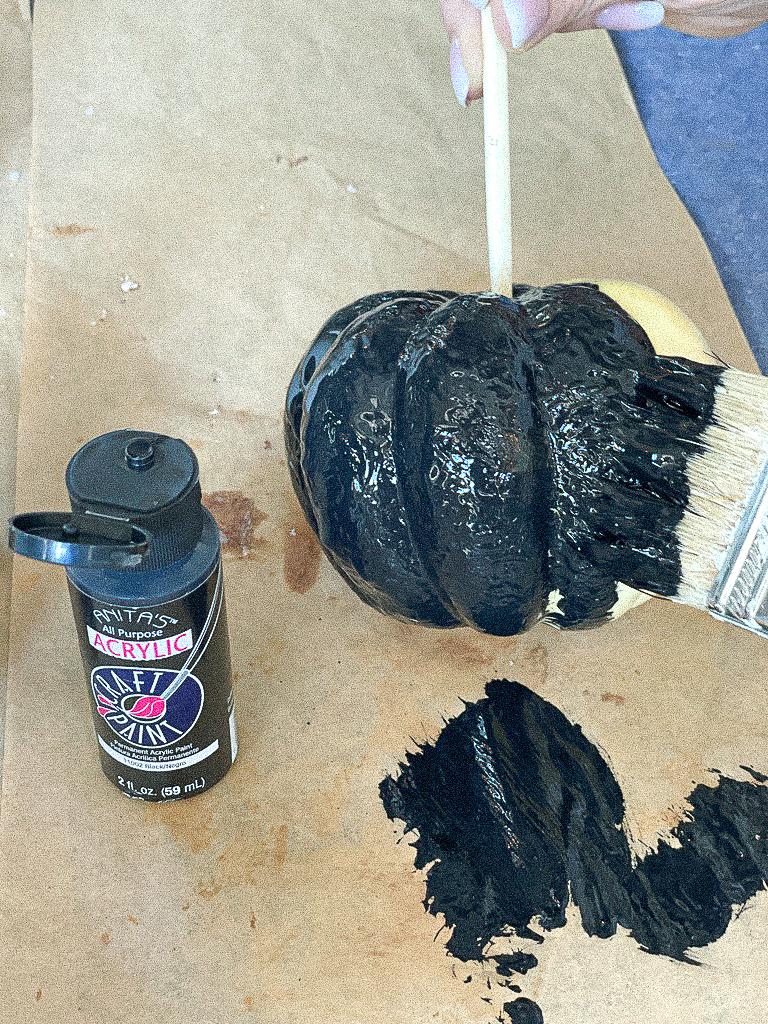
To start, grab a couple colors of acrylic paint (I used black and a rusty brown) and one jar of cinnamon.
Next, coat your pumpkins with one coat of black paint.
Then, while the pumpkins are still wet, paint a coat of brown on top of the black.

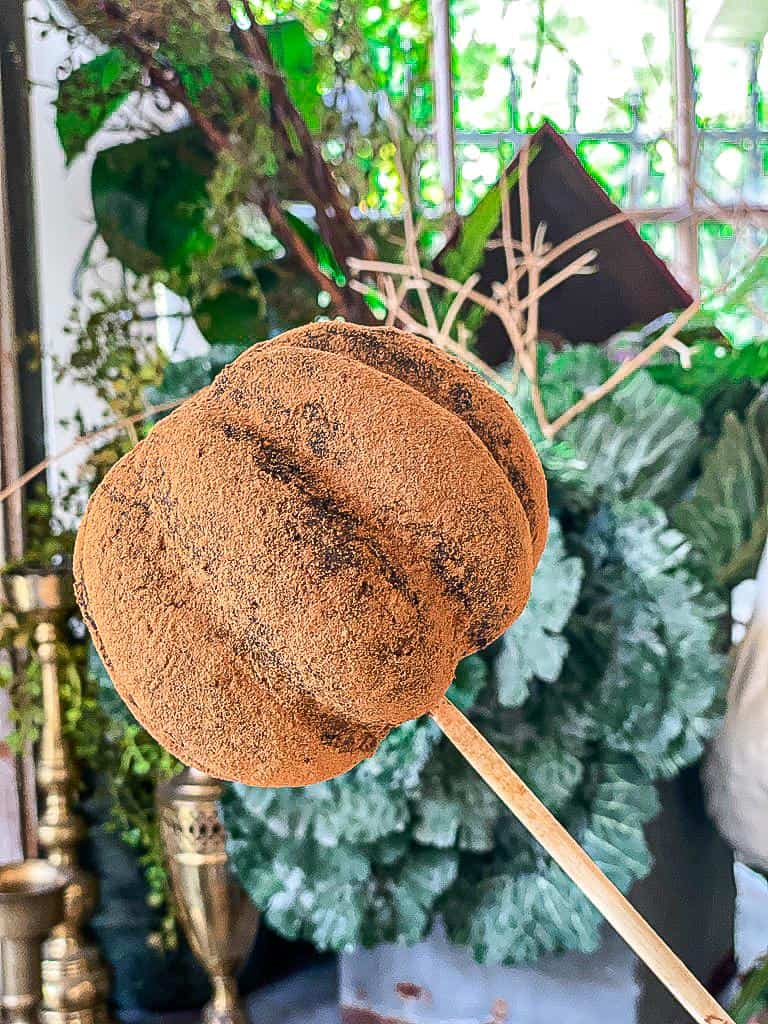
Then, sprinkle some cinnamon over your pumpkins. You can do this over the entire pumpkin or just in certain spots—it is up to you!
To complete the rusty vintage look, gently tap your paintbrush onto the pumpkins to give them a bit of distressed charm.
Step 3: Glue on Real Pumpkin Stems
Let your pumpkins dry overnight, and once the paint is fully cured, paint your rusty cinnamon pumpkins with a clear matte protective spray.
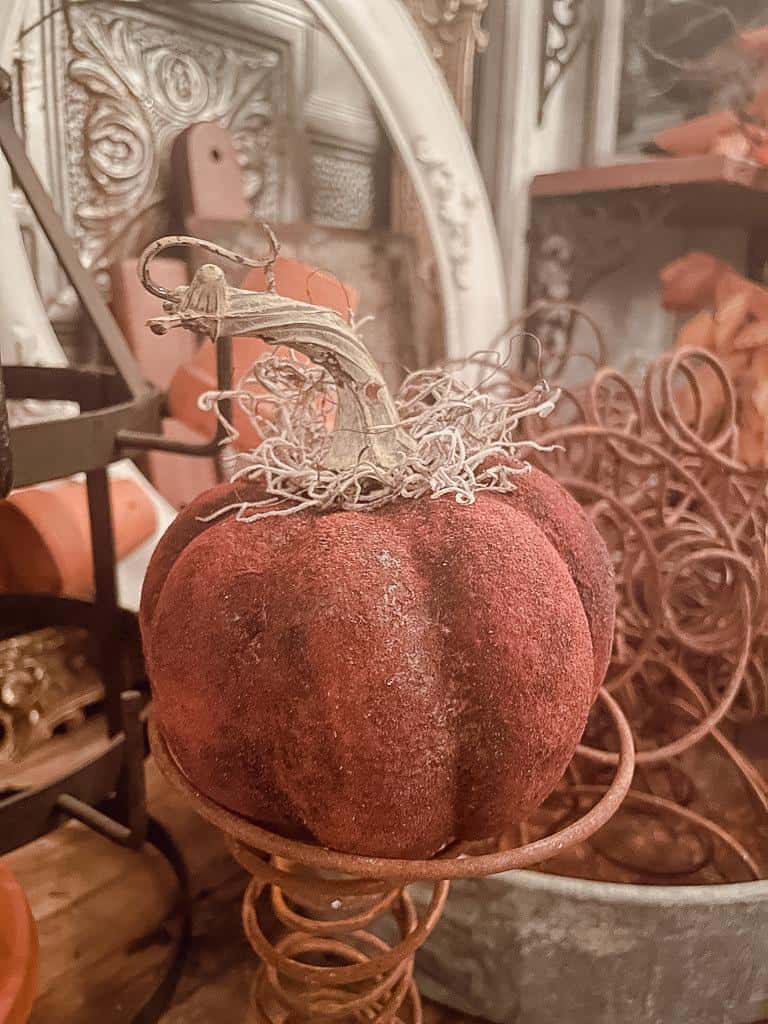
To finish, hot glue your stem on and add leaves or some Spanish moss if you like.
I nestled my rusty Dollar Tree pumpkins on top of some upcycled box springs, but they would look pretty styled in a hurricane vase as part of a fall centerpiece.
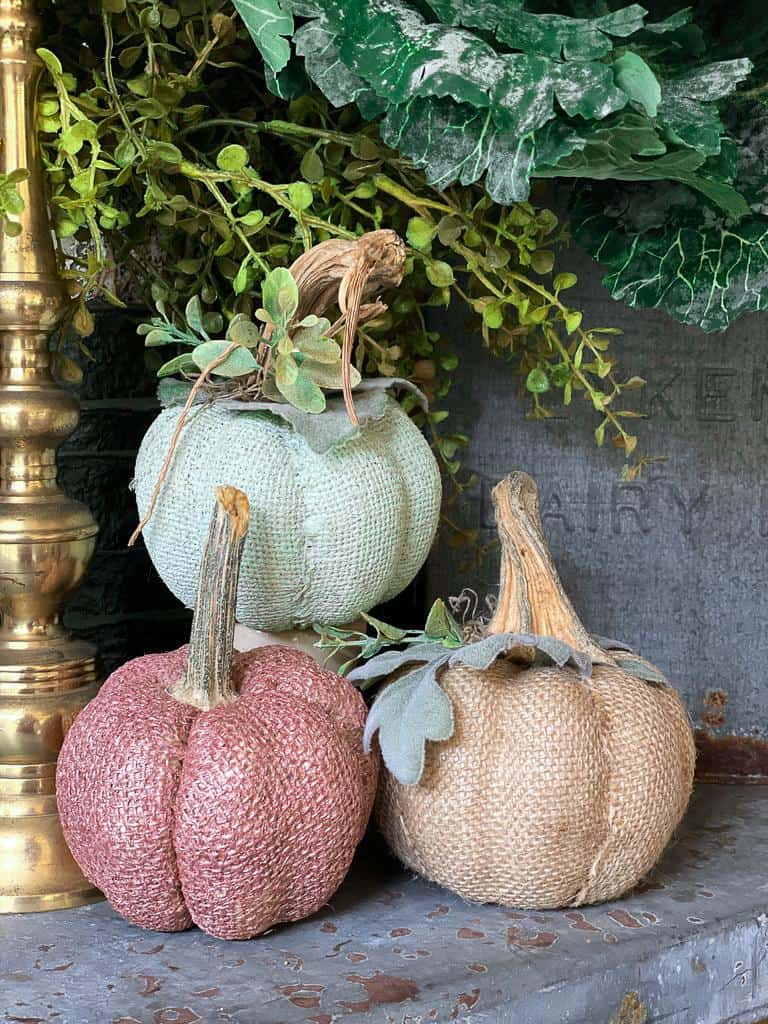
How to Give Dollar Tree Pumpkins Texture with Baking Soda and Paint
Materials Needed
Step 1: Remove Fake Pumpkin Stems
Gently twist those the fake, plastic stems to loosen them from your Dollar Tree pumpkins. Them remove them and throw them away.
Step 2: Paint Your Pumpkins
Star by pouring a small amount of acrylic or chalk paint in a disposable cup.
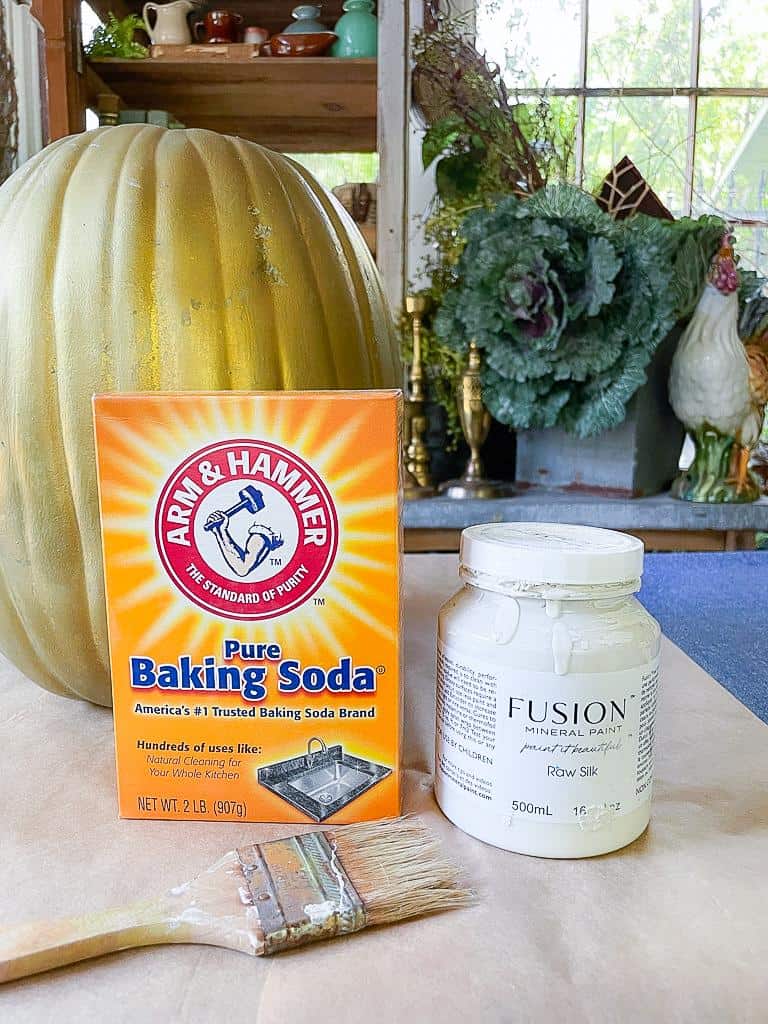

Then sprinkle in some baking soda until you reach a semi-pasty consistency.
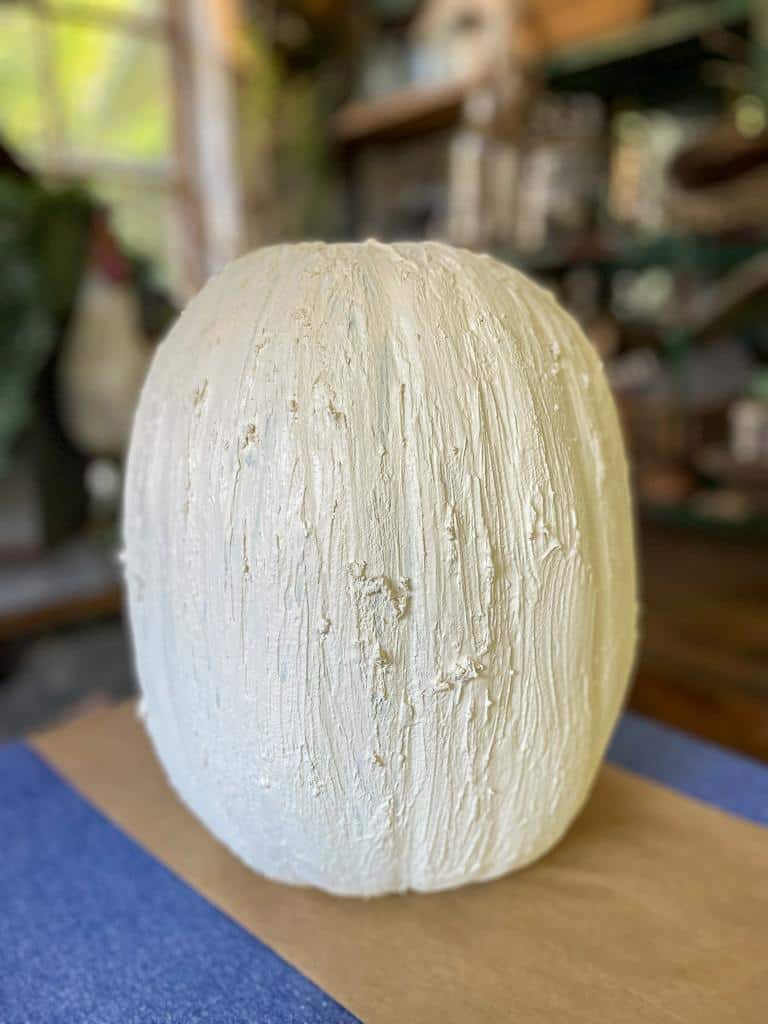
Paint your pumpkins with a cheap chip brush. I like to use a brush that will leave brush marks, so the cheaper, the better!
Allow your pumpkins to dry for a few hours, and then use some Annie Sloan’s clear wax and give pumpkins a coating.
Next, mix a tiny bit of dark wax with the clear wax and rub it onto your Dollar Tree pumpkins while the clear wax is still wet and wipe off the excess.
Step 3: Glue on Real Pumpkin Stems
Let the wax dry and glue on some pumpkin stems. Then you are ready to decorate with your beautiful textured pumpkins!
I placed my pumpkin in a galvanized bucket, wrapped it with some fall grapevine and berry garland, and used it to decorate my decorate my porch for fall.
Other Easy Fall Decorating Crafts from WM Design House
If you love this post, you might also enjoy some of my other favorite fall pumpkin crafts
Wrapping Up
Well, there you have it, four different ways to transform cheap pumpkins into beautiful Dollar Tree pumpkin crafts!
I hope you try one of these transformations… or all of them. I can’t wait to see what you create.
Happy fall!


More about me!

Hello, I’m Wendy – a dedicated homemaker with a deep passion for decorating, gardening, cooking, and crafting. I find joy in harmonizing beautiful elements to fashion a space that is both comfortable and inspiring. I will help you create a beautiful home, one project at a time.

Thank you for sharing this with us on Farmhouse Friday. I love them! I’ll be featuring this post tomorrow. Love all that you post. So creative and cute. pinned
LOVE all of these tutorials, Wendy! Thanks for sharing! Creatively, Beth
I really liked all your pumpkin ideas; your tutorials are so easy to follow. I love mixing different colors and textures of pumpkins a a centerpiece, along a table or in a basket. Your ideas will expand my variety nicely!
So many great tips and ideas! I might have to try the cinnamon pumpkin!
Have a wonderful week Wendy.
I would not have thought to put cinnamon on the pumpkins like you did here. The texture is perfect Wendy, and I really like the coloring. I am not always a fan of bright orange, so the cinnamon is perfect! I want to try the concrete and flour project, I have a pumpkin I need to do a little surgery on… you gave me so many ideas to try. Thank you! By the way, I am with you, I love fall most of all!
The cinnamon is so easy! you will love the concrete and flour too. Just have to work fast as it dries quickly. I also love the baking soda mixed with the
paint, it gives such a great texture.
Thank you so much for the feature!
Such wonderful ideas, and they all look beautiful! I do love pumpkins, and you’ve shown us how to make some gorgeous ones from humble materials.
Thanks so much for joining the Grace at Home party at Imparting Grace. I’m featuring you this week!
Thank you so much Richelle. I am so honored to be featured on your link party.
Hi Susan, what a lovely blog post you write. Thank you so much for the feature. I tried to comment on your post, but was not able to. I will try again later today. Have a blessed day.
Such creative ideas, Wendy! I love the idea of the cinnamon pumpkin! I am excited to feature your post at this week’s Tuesday Turn About link party. Thank you so much for sharing!
Thank you so much Lynne. The Cinnamon pumpkin is one of my favorites too. I just did cinnamon chargers that came out fabulous, I will share soon.
Wendy, these ideas are all making me want to run out to the Dollar Store immediately Great crafty ways to celebrate!
Thank you Maria, they are so easy and a fun way to transform ordinary pumpkins. Thank you for stopping by, I appreciate you.
Love this post filled with so many fabulous ideas, Wendy! Dollar store pumpkins have saved so much time and money over the years. I can’t wait to try these ideas. Hope you have the best week, CoCo
Thank you so much, CoCo, I hope you have fun creating some new pumpkins this year. One can never have to many pumpkins in my book.
So many good ideas, Wendy! I love the real stems! I definitely need to try that.
Thank you Kim, if you ever need a few, I know a gal who has way more then she will ever need, just saying!
I just love all your amazing ideas to transform pumpkins, Wendy. This is also my fave time of year and my brain is on overdrive! I’m sharing this post on All About Home tomorrow evening, and thanks so much for coming by and joining in on the party. We appreciate you being there!
Hi Debra, thank you so much. I just adore pumpkins and love to challenge myself to make them beautiful. Thank you for sharing your post tomorrow. I will look forward to reading your beautiful blog.
Wendy,
These are such cute ideas. You have the best ideas. I’ll share a link on Sunday.
Thank you so much, Rachel, you are so sweet. I just love fall and all of the wonderful things you can create.
So many great ideas! I can’t wait to try a cinnamon pumpkin!
Thank you, Missy, I love the cinnamon. I am also doing pumpkin buckets with the cinnamon. It gives a really great texture and smells so good.
Wendy I love all of your pumpkin ideas! They all look so good!
Thank you, Susan! Fall will be here before we know it.
Pretty amazing pumpkin transformations, Wendy. Saving real stems is a great idea. Love all of these and you’ve got me in the mood for fall! xo
I am so glad to hear that, my friend! Save those stems :)))
So many fabulous pumpkin ideas! They all came out so good.
Thank you so much Meagan. They are so fun to make and change up the look of an inexpensive pumpkin so easily. I appreciate you stopping by.
Wow!!! I’ve never seen many of these techniques used on faux pumpkins before! I LOVE the cinnamon one…how cool is that?! I will try some of these….thanks so much for the inspo!
Thank you so much Rachel, I too love them as they keep year after year. Let me know if you try any of them, I would love to see what you create.
Thank you for stopping by and commenting.
Great ideas, Wendy!! They look so good!!
Thank you Jennifer. I am always looking for a great way to transform pumpkins. Have a wonderful day and thanks for stopping by.
Love these. I save my pumpkin stems too.
I used mine when I painted plastic pumpkins with chalk paint. They look like Heirloom pumpkins.
Cinnamon and spices work for many crafts.
Thank you, Cindy. The natural stems sure make a big difference, don’t they? I love the cinnamon, too, it adds such character to the pumpkins.
LOVE the baking soda/paint technique. Such an interesting texture, I really want to try this!
Thank you, Debra, baking soda really is a fun and easy technique. You will love it. Thanks for stopping by.