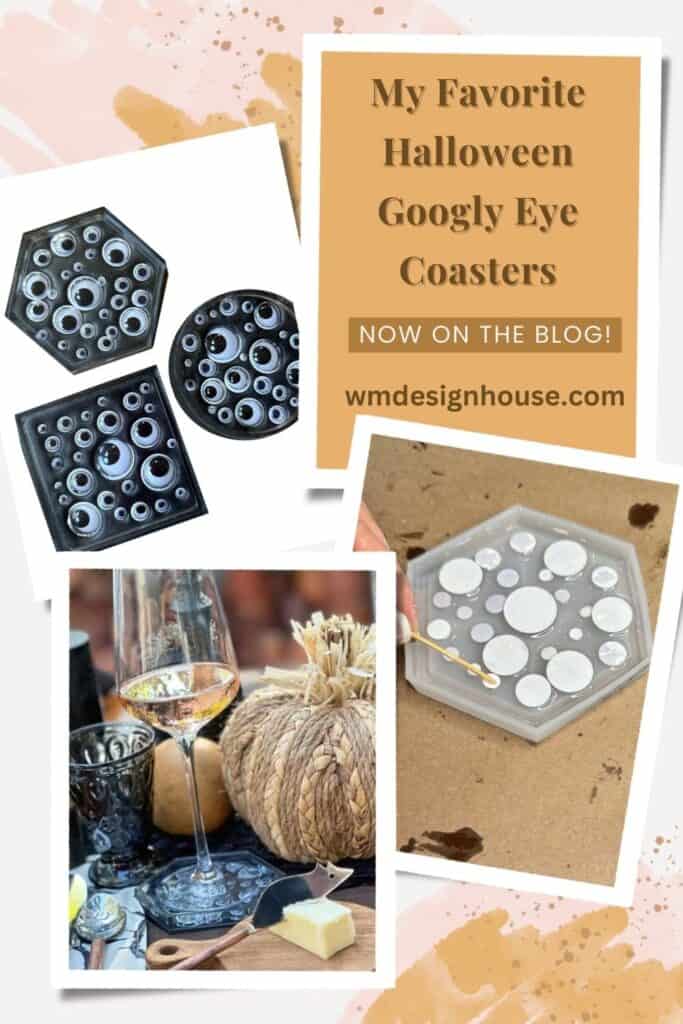
How to Make DIY Resin Coasters with Epoxy for Beginners
Resin coasters have become popular for adding a touch of elegance and creativity to home decor. Whether you’re a beginner or an experienced crafter, making resin coasters is fun and rewarding.
Recently, my friend Kayla @houseofteasdale made some adorable coasters and gave me this great idea.
In this tutorial, I’ll start by sharing some basic information about resin crafts and then guide you through a step-by-step process for making fun DIY resin coasters for Halloween. Let’s get started!


About DIY Epoxy/Resin Coasters
What kind of resin do you use for coasters?
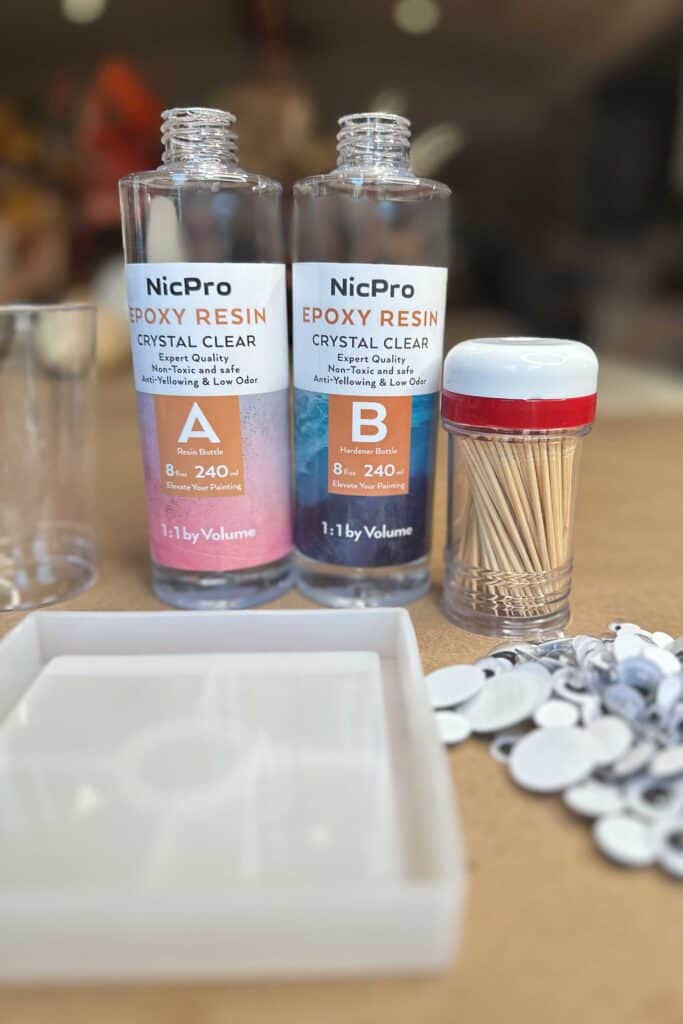
For coasters, I recommend using a high-quality, clear epoxy resin. Brands like IntoResin and Nico offer excellent clarity, fast curing times, and minimal fumes. Their clear resin almost resembles glass and doesn’t turn yellow over time.
You need to remember that there is a working window once you mix the epoxy for approximately 30 minutes. However, every brand will vary a bit.
What are the best resin coaster molds?
Resin coaster molds are typically made from silicone.
Silicone molds are popular in resin projects because they are flexible, durable, and non-stick, making the removal of the cured resin from the mold easy without damaging the final product.
They come in various shapes and sizes, allowing for creative and intricate designs.
Here are some interesting examples you may want to consider when choosing your own mold:
- Geometric Forms: Opt for round coaster molds or geometric shapes like a hexagon silicone mold.
- Geode and Crystals: Explore molds for geode coasters, irregular molds, and wave molds for a unique effect.
- Flowers: Add a touch of nature with a silicone mold with a sunflower or mandala design.
- Novelty Shapes: Get creative with butterfly coasters, compass coasters, or star coaster molds.
How do you make custom epoxy coasters?
Creating custom epoxy coasters involves mixing epoxy resin and hardener, adding colorants or embeds, and pouring the mixture into resin molds.
The possibilities for customization are endless, so let your imagination run wild.
You can add dyes, mica powder, glitter, metallic flakes, and even embed small objects like seashells or dried flowers.
What can I use to decorate my resin coasters?
Resin coasters are like a blank slate just waiting to be transformed into miniature pieces of art.
You can personalize your DIY projects and enhance them with creative ideas, such as adding various colors with resin dyes and embedding objects into your coasters.
Here are some exciting examples of colorants and embeds to inspire you:
- Epoxy dye: This set of epoxy dye comprises of 15 different colors. This is the dye you want to achieve clear, see-through hues.
- Mica powder: Mica pigment will add a pearlescent, opaque shimmer to the resin. The collection includes 15 gorgeous shimmery shades.
- Holographic glitter will add a touch of sparkle to your coaster project.
- Metallic flakes: Gold flakes look elegant and will elevate any design.
- Pressed flowers + dried leaves add a gorgeous botanical touch to your resin creations.
- Seashells: A selection of seashells is perfect to add beach-inspired designs.
On my blog WM Design House, I may sometimes use affiliate links, which means a small commission is earned if you purchase via the link. The price will be the same whether you use the affiliate link or go directly to the vendor’s website using a non-affiliate link.
How much resin do I need to make coasters?
The amount of resin you need depends on the size and number of coasters you make.
Measure your molds volume and calculate the resin needed using the recommended resin-to-hardener ratio on the product packaging.
Always prepare a little extra to account for any spillage or overflow.
How do you seal resin coasters?
Epoxy resin, when mixed and cured properly, creates a durable and waterproof surface for your coasters. There’s usually no need for additional sealing. Make sure your workspace is dust-free, and mix the resin thoroughly to avoid imperfections.
Which heat gun is best for resin art?
When it comes to heat guns for resin art, a standard heat gun will work well. Be sure to look for one with adjustable temperature settings and a nozzle to concentrate heat precisely where needed.
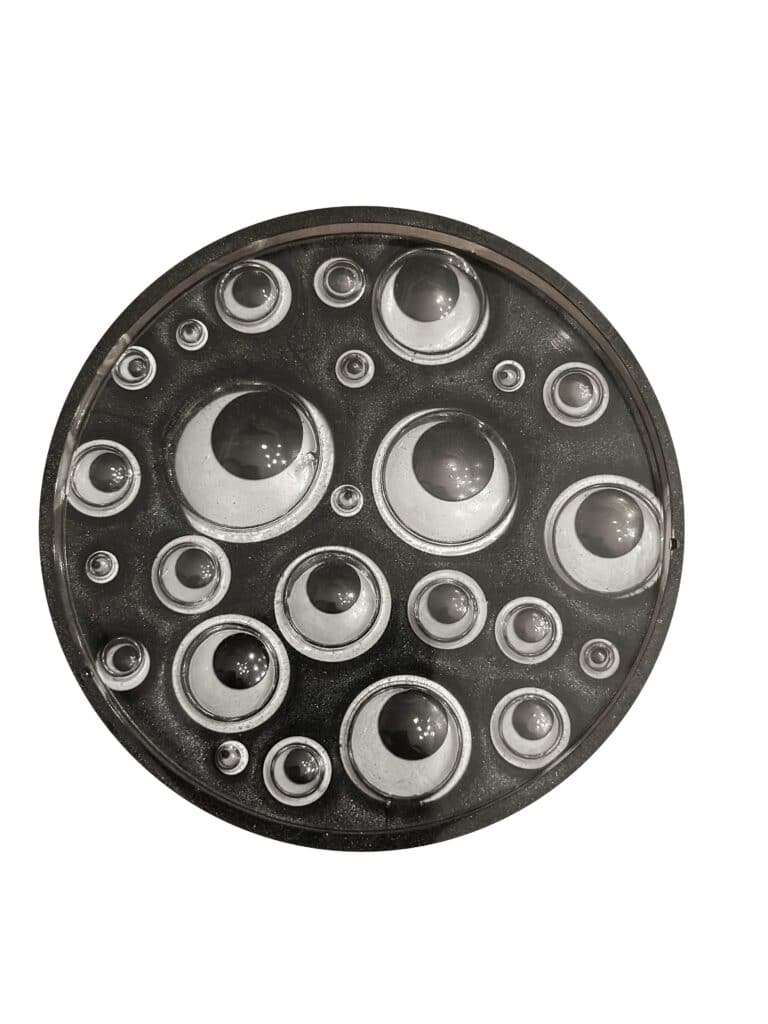
How to Make Googly Eye Resin Coasters for Halloween
Get ready to embark on a fun and quirky crafting journey with our step-by-step how-to card on making Googly Eye Resin Coasters using resin and epoxy.
These unique and eye-catching coasters will add a touch of whimsy to your Halloween decor and make great conversation starters.
Follow these simple instructions to bring creativity to your living space!
Material and Supplies to Make Googly Eye Coasters
- 1 set of coaster molds
- Assorted sizes of googly eyes
- 1 Set of epoxy/resin
- Black mica powder
- Large popsicle stick or stir stick
- Disposable gloves
- Clear disposable plastic cups
- Black Sharpie marker
- Toothpicks
- Heat gun
Instructions
1: Prepare Your Work Area
Before you begin, ensure your workspace is clean and well ventilate. Cover your work surface with protective plastic sheeting to prevent any damage. Put on disposable gloves to protect your hands.
2: Measure and Mix
- Follow your epoxy resin packaging instructions for the mixing ratio.
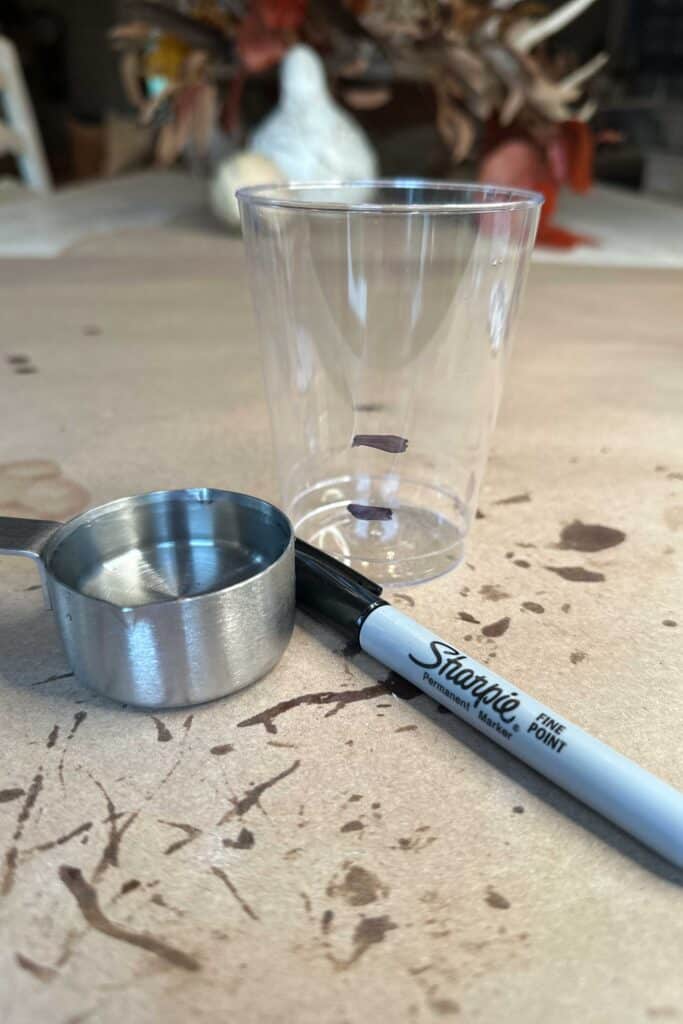
- Typically, you must mix the two components in a 1:1 ratio. I like to use water and mark a clear cup, so I know exactly how much to add.
- Pour 1/2 cup of water into a clear plastic cup and mark a line with a black Sharpie marker.
- Now add a second 1/2 cup of water and mark again. This will now tell you where to fill the cup with each epoxy part.
3: Mix the Resin
- For the next step, mix the two epoxy parts together in the clear cup using a wooden stick.
- You want to mix for 3-4 minutes, until the epoxy is clear and free of any streaks
4: Add Googly Eyes
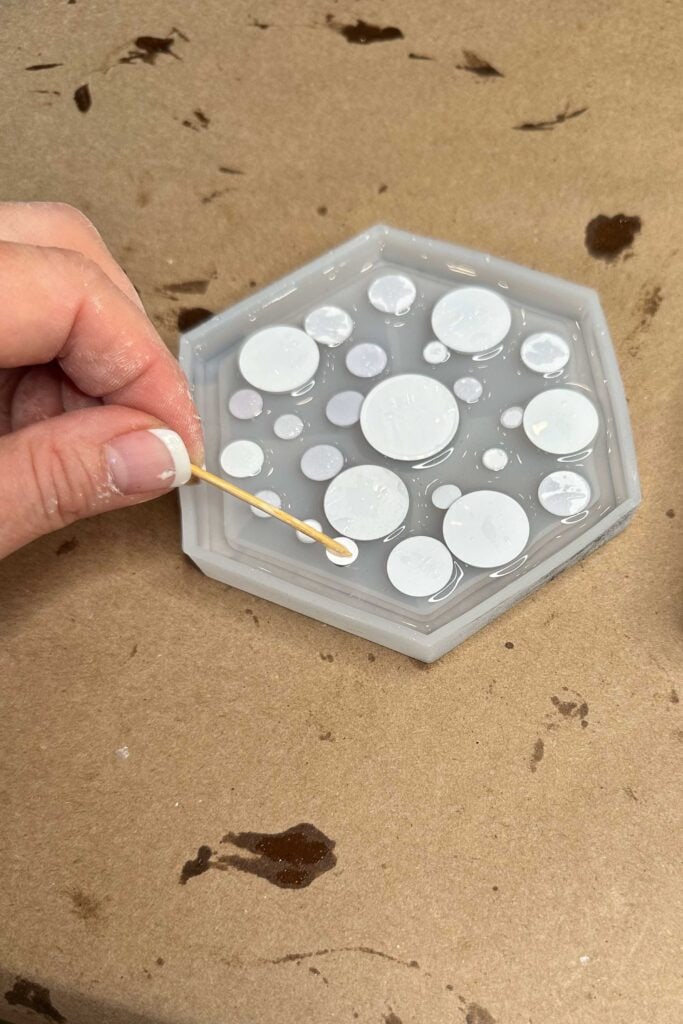
- Place your silicone coaster molds on a flat surface.
- Carefully pour a small amount of resin mixture into the mold, filling it only 1/3 full.
- If you add too much epoxy, the eyes will float around, so be very careful when adding the clear epoxy.
- You can always add more, but you can’t take it out.
- While the resin is still wet, drop in your googly eyes right side down.
- Arrange them in a fun and random pattern to create unique designs.
- If you apply a small amount of epoxy to the tip of the toothpick, it becomes easier to pick up and place the eyes precisely where you want them.
- For better control over the placement of the googly eyes, you can use tweezers or a toothpick. If you need to reposition the eyes, gently nudge them with the toothpick. If you have added to much epoxy you may have to do this several times until it starts to set up.
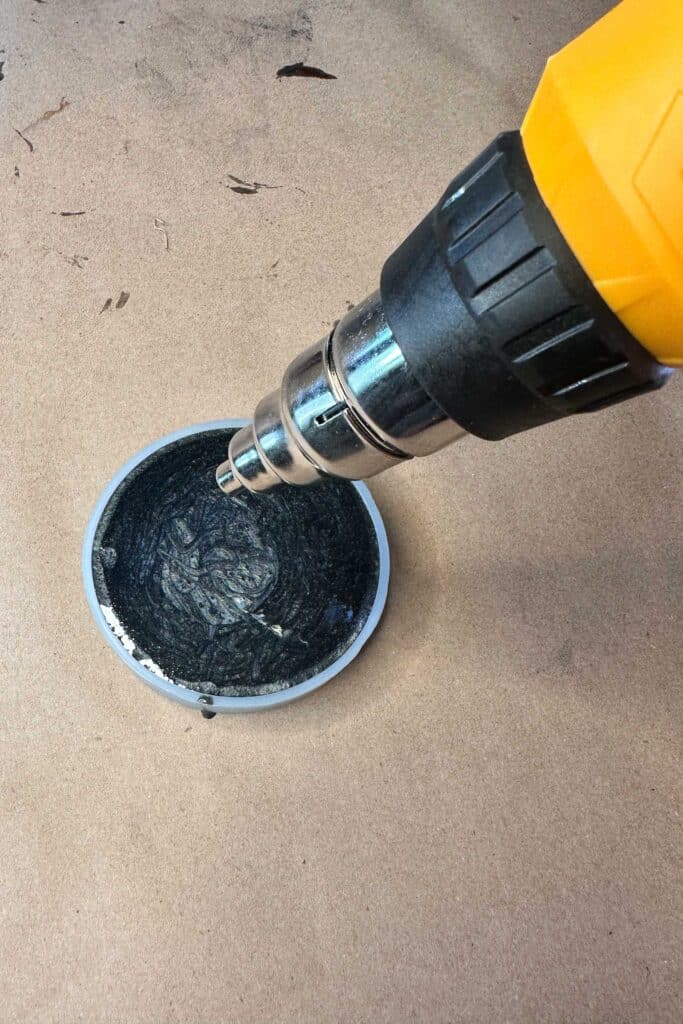
5: remove Air Bubbles
- You can gently pass a heat gun over the resin surface 6-8″ above the resin to remove any trapped air bubbles.
- Be careful not to overheat and scorch the resin.
- You can also try to poke them with a toothpick if they are stubborn bubbles.
6: Let Epoxy/Resin Cure
- Follow the curing time shown on your epoxy resin packaging.
- Typically, it takes 24-48 hours for the resin to harden and cure thoroughly.
- Make sure your coasters remain undisturbed during this time.
7: Mix the Black Epoxy/REsin
- In a separate cup, add equal parts of each epoxy part (about 1/4 cup of each).
- Then, add one small scoop of black pigment and mix for 3-4 minutes.

8: Pour the Black Epoxy
Slowly pour the black epoxy over the googly eyes until you reach the mold’s top.

9: Eliminate Air Bubbles
- Refer to step number 5 to remove any air bubbles.
10: Allow to cure
- Follow the curing time indicated on your epoxy resin packaging.
- Typically, it takes 24-48 hours for the resin to harden and cure thoroughly.
- Make sure your coasters remain undisturbed during this time. Our
11: Removing from the mold
- Once the resin has fully cured, carefully remove the coasters from the silicone molds.
- Trim any excess resin or imperfections using fine-grit sandpaper if desired.
12: Display and Enjoy
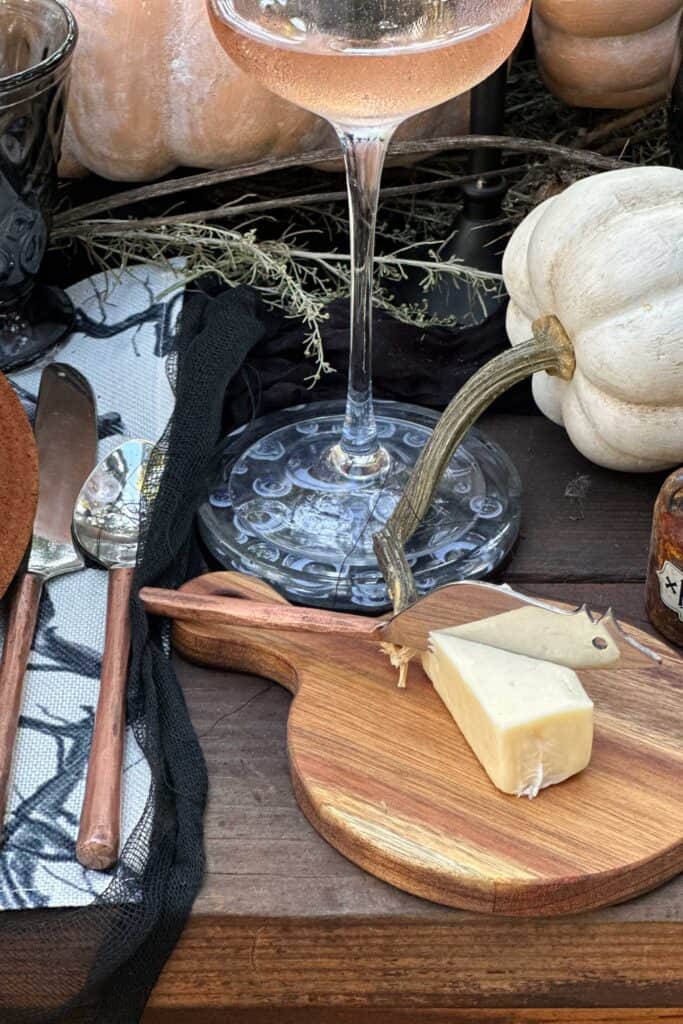
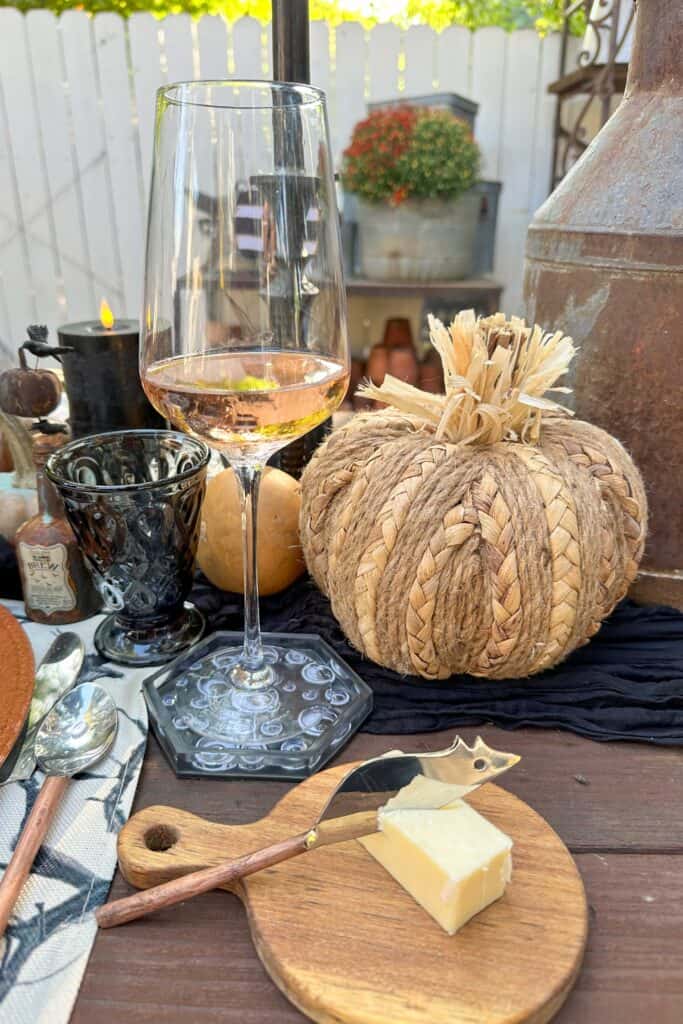
Creating “Googly Eye” Resin Coasters using epoxy resin is a fun way to infuse creativity into your Halloween home decor. These one-of-a-kind coasters are not only functional but also a reflection of your playful and imaginative spirit. Have fun crafting and let your creativity shine through with this enjoyable DIY resin coaster project!
Place your Googly Eye Resin Coasters on your coffee table, dining table, or wherever you want to add a touch of whimsy and some fun Halloween decorations. These coasters are sure to catch the eyes of your guests and provide a fun and unique conversation piece.


How to Make DIY Resin Coasters with Epoxy For Beginners
Equipment
- Heat gun
- measuring cup
Materials
- 1 set of coaster molds
- Assorted sizes of googly eyes
- 1 Set of Epoxy/Resin
- Black mica powder
- Large tongue depressors or stir sticks
- Disposable Gloves
- Disposable clear cups
- Black Sharpie marker
- Toothpicks
Instructions
- Prepare Your Workspace
Before you begin, ensure you have a clean and well-ventilated area to work. Cover your workspace with a protective sheet or plastic to prevent any mess. Put on your disposable gloves to protect your hands. - Measure and Mix
You can follow your epoxy resin packaging instructions to measure the appropriate amounts of resin and hardener. Typically, you must mix the two components in a 1:1 ratio. I like to use water and mark a clear cup, so I know exactly how much to add. Pour 1/2 cup of water into a clear plastic cup and mark a line with a black Sharpie marker. Now add a second 1/2 cup of water and mark again. This will now tell you where to fill the cup with each epoxy part. - Mixing the resin
Mix the two epoxy parts together in the clear cup using a tongue depressor. You want to mix for 3-4 minutes, and the epoxy is clear and free of any streaks. - Add Googly Eyes
Place your silicone coaster molds on a flat surface. Carefully pour a small amount of the mixed resin into the mold, filling it only 1/3 full. While the resin is still wet, drop in your googly eyes. Arrange them in a fun and random pattern to create unique designs. If you add too much epoxy, they float around, so be very careful when adding the clear epoxy. You can always add more, but you can't take it out. - For better control over the placement of the googly eyes, you can use a toothpick. If you need to reposition the eyes, gently nudge them with the toothpick. Additionally, if you apply a small amount of epoxy to the tip of the toothpick, it becomes easier to pick up and place the eyes precisely where you want them.
- Eliminate Air Bubbles
You can use a heat gun to pass over the resin surface gently. This will help remove any trapped air bubbles. Be careful not to overheat and scorch the resin. - Allow to Cure
Follow the curing time indicated on your epoxy resin packaging. Typically, it takes 24-48 hours for the resin to harden and cure thoroughly. Make sure your coasters remain undisturbed during this time. - Mixing the black epoxy
- I am using a new clear cup. Add a small amount ( about 1/4 cup) of each epoxy part. Add one small scoop of black pigment and mix for 3-4 minutes.
- Pouring black epoxy
- Slowly pour the black epoxy over the googly eyes until you reach the mold's top.
- Eliminate Air Bubbles Again
You can use a heat gun to pass over the resin surface gently. This will help remove any trapped air bubbles. Be careful not to overheat and scorch the resin. - Allow to Cure
Please follow the curing time shown on your epoxy resin packaging. Typically, it takes 24-48 hours for the resin to harden and cure thoroughly. Make sure your coasters remain undisturbed during this time. - Demold and Finish
Carefully remove the coasters from the silicone molds once the resin has fully cured. Trim any excess resin or imperfections if necessary. Clean the edges with fine-grit sandpaper if desired. - Display and Enjoy
Place your Googly Eye Resin Coasters on your coffee table, dining table, or wherever you want to add a touch of whimsy. These coasters are sure to catch the eyes of your guests and provide a fun and unique conversation piece
Now that you have the knowledge and inspiration, it’s time to create your own beautiful coasters. Whether making them for personal use or as thoughtful gifts, these unique pieces are a great way to add a touch of artistry to any space.


Other related posts
-
How To Make The Best Topiary: Step By Step
Learn how to easily make a beautiful diy topiary for your garden or porch with this step-by-step guide.
-
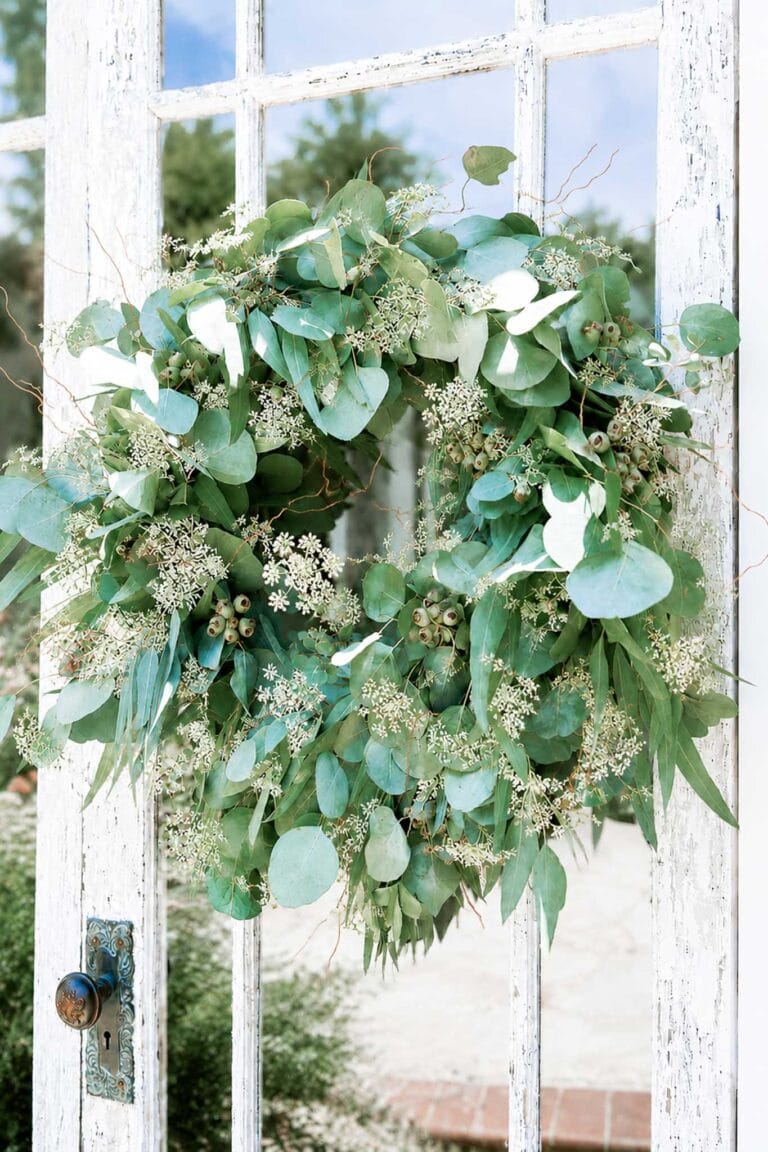
How to Make a Eucalyptus Wreath You Can Restyle for Every Season
3.2K shares Facebook Pinterest Save Threads If you have ever wondered how to make a fresh eucalyptus wreath you can use all year, this is the tutorial for you. With a grapevine base, two kinds of foraged eucalyptus, and a quiet afternoon, you can create one wreath that carries your front door through every season….
-
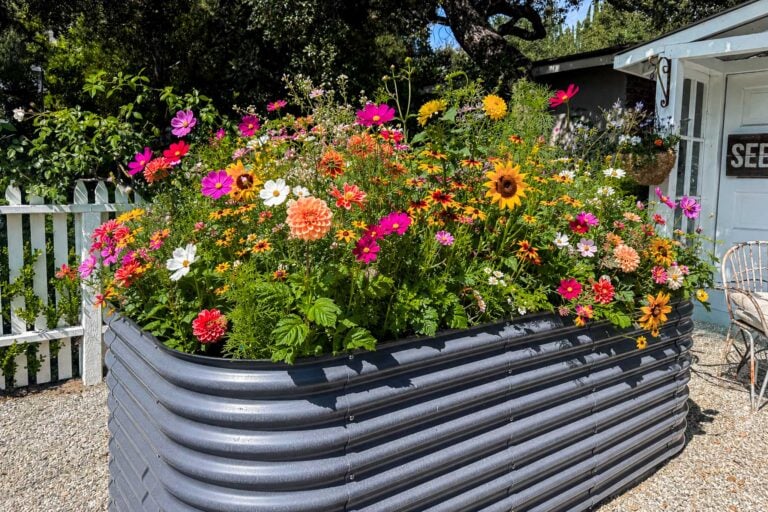
10 Best Cut Flowers to Grow for Beautiful Homegrown Bouquets
Grow the 10 best cut flowers for stunning bouquets all season long. Discover easy-to-grow favorites like dahlias, zinnias, roses, and cosmos.


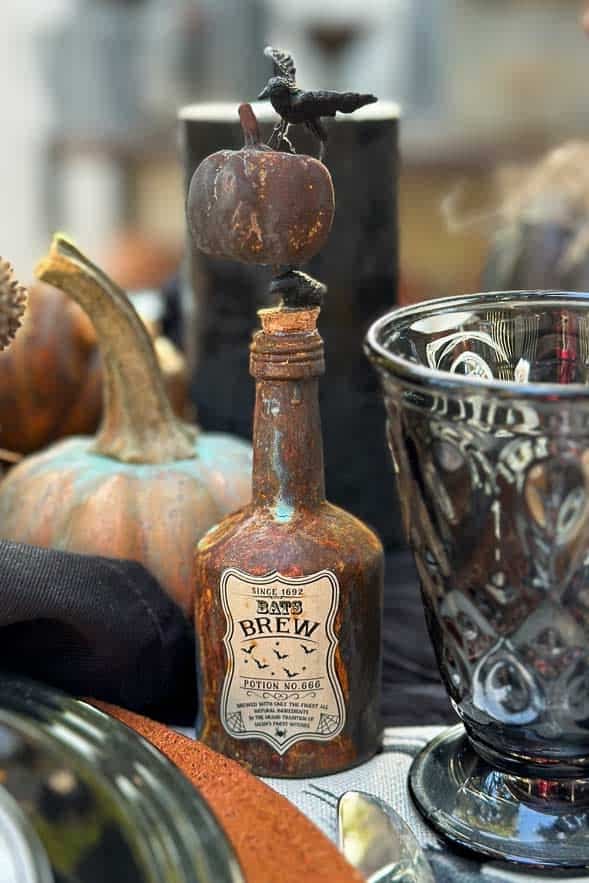
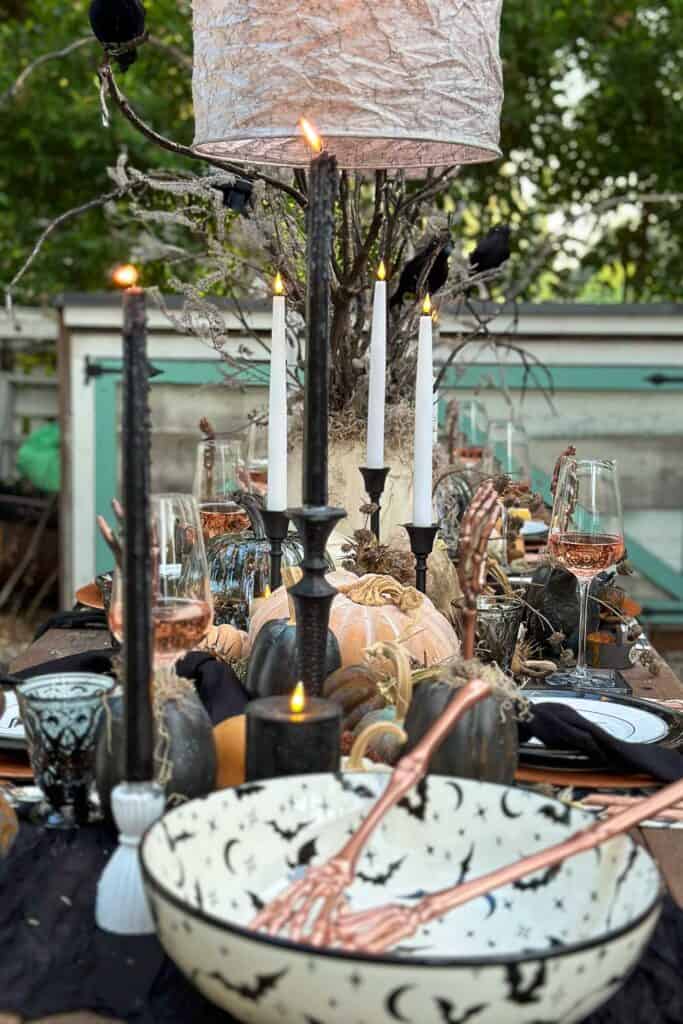
Oh my dear, these are the cutest spooky coasters ever! I really need to use the resin I picked up, I keep putting it off, but wow, the possibilities! You always amaze me with your clever crafts. Wendy, your table looks stunning too, I had to do a double take on your cheese knife, it is adorable and made me chuckle.
Thank you, Cara. Resin is fun to work with, and I hope you try it. Let me know what you decide to do. There are so many possibilities.
We are in the mountains for the weekend, enjoying the chilly weather. I hope you are having a good weekend and have gotten the majority of the work done at your
grandmothers house.
How clever of you!!
Love it.
Thank you, Diane!
Super cute, Wendy, xo
Thank you Julet, Have a wonderful weekend.