
An elegant Halloween tablescape is all about balance. You want enough spooky to feel like Halloween and enough style to feel like a real dinner party. I’m sharing exactly how I set a classy, candlelit table for our outdoor Halloween gathering, plus five easy DIY projects you can make at home.
On my blog WM Design House, I may sometimes use affiliate links, which means a small commission is earned if you purchase via the link. The price will be the same whether you use the affiliate link or go directly to the vendor’s website using a non-affiliate link.
Welcome to Halloween enchantment, where the eerie meets the elegant and the crows gather around a table set for both tricks and treats.
How to Style an Elegant Halloween Tablescape
If you take one thing from this post, let it be this: a classy Halloween table comes down to three things.
- A simple, dark color palette (I used black, copper, rust, and a hint of white)
- Lots of candlelight at different heights
- One natural element that carries the theme (for me, charred branches and crows)
Everything else is detail. Below I’ll walk you through choosing your location and theme, then the linens, centerpiece, place settings, lighting, and decorations that pull it all together.
Choose Your Dining Location
The first thing to decide is where you will host your Halloween dinner party. Indoors or outdoors? Your location will help you decide the theme and colors for your Halloween tablescape.
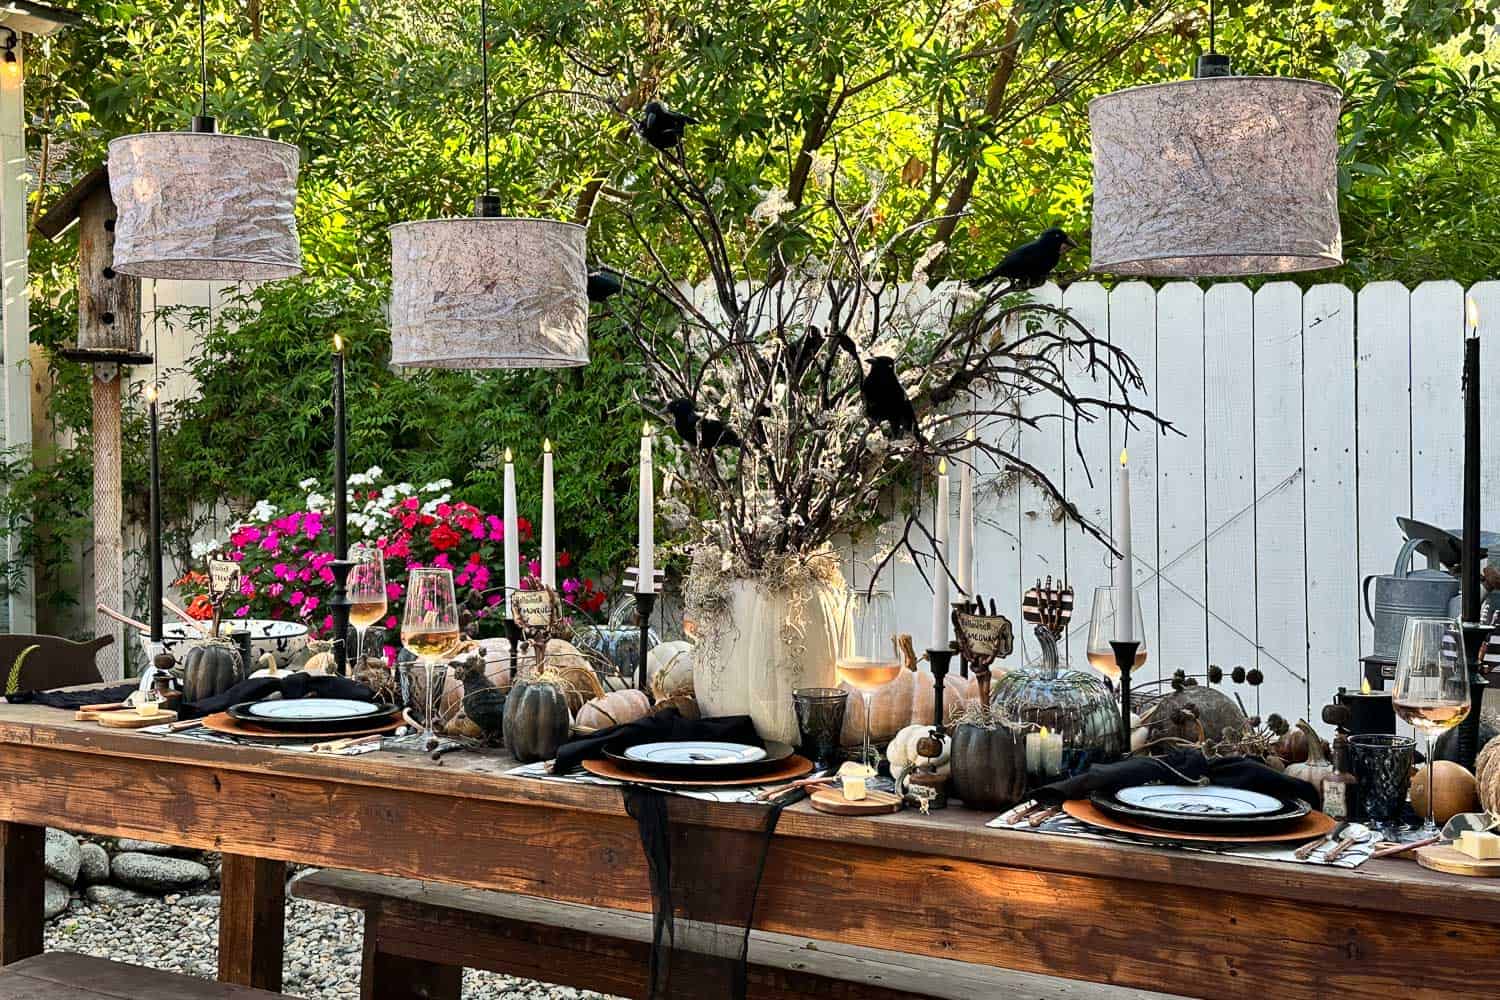
The style of your dining table will also set the tone. A formal dining room calls for a tablecloth and your good china. A farm table can handle something more relaxed.
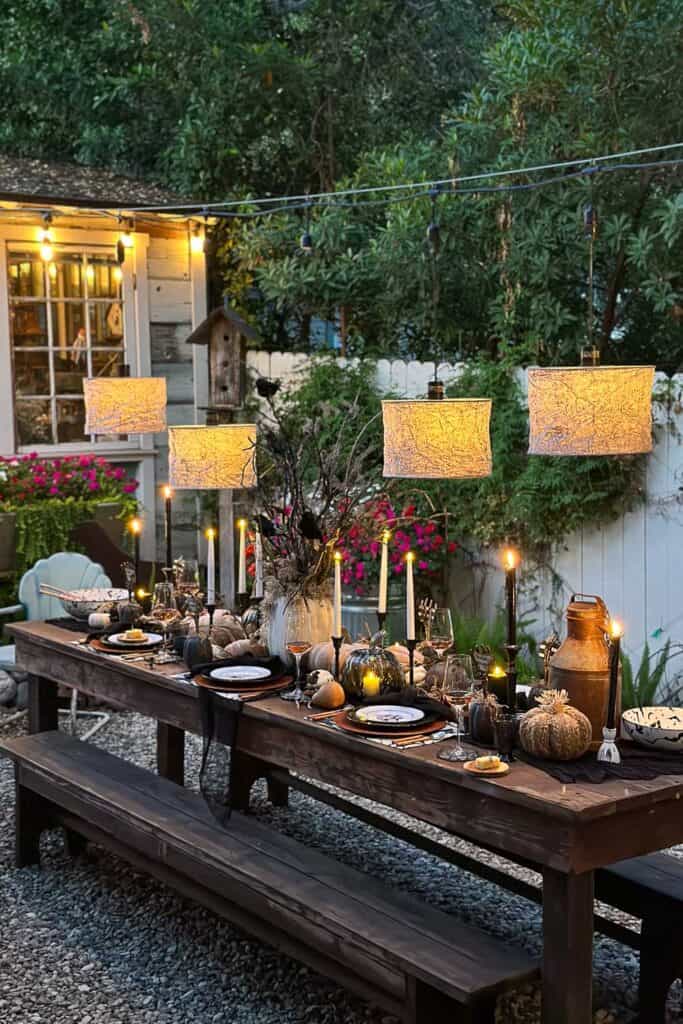
Our long rustic farmhouse table, right next to our gardens and my She Shed, is the perfect spot. The wood adds a natural, cozy feel, and the decorations bring in a spooky touch that still feels elegant.t.
Choose a Theme for your Halloween Tablescape
Halloween is when you get to be creative and step outside the box. You want the table to be fun, spark conversation, and set the tone for the evening.
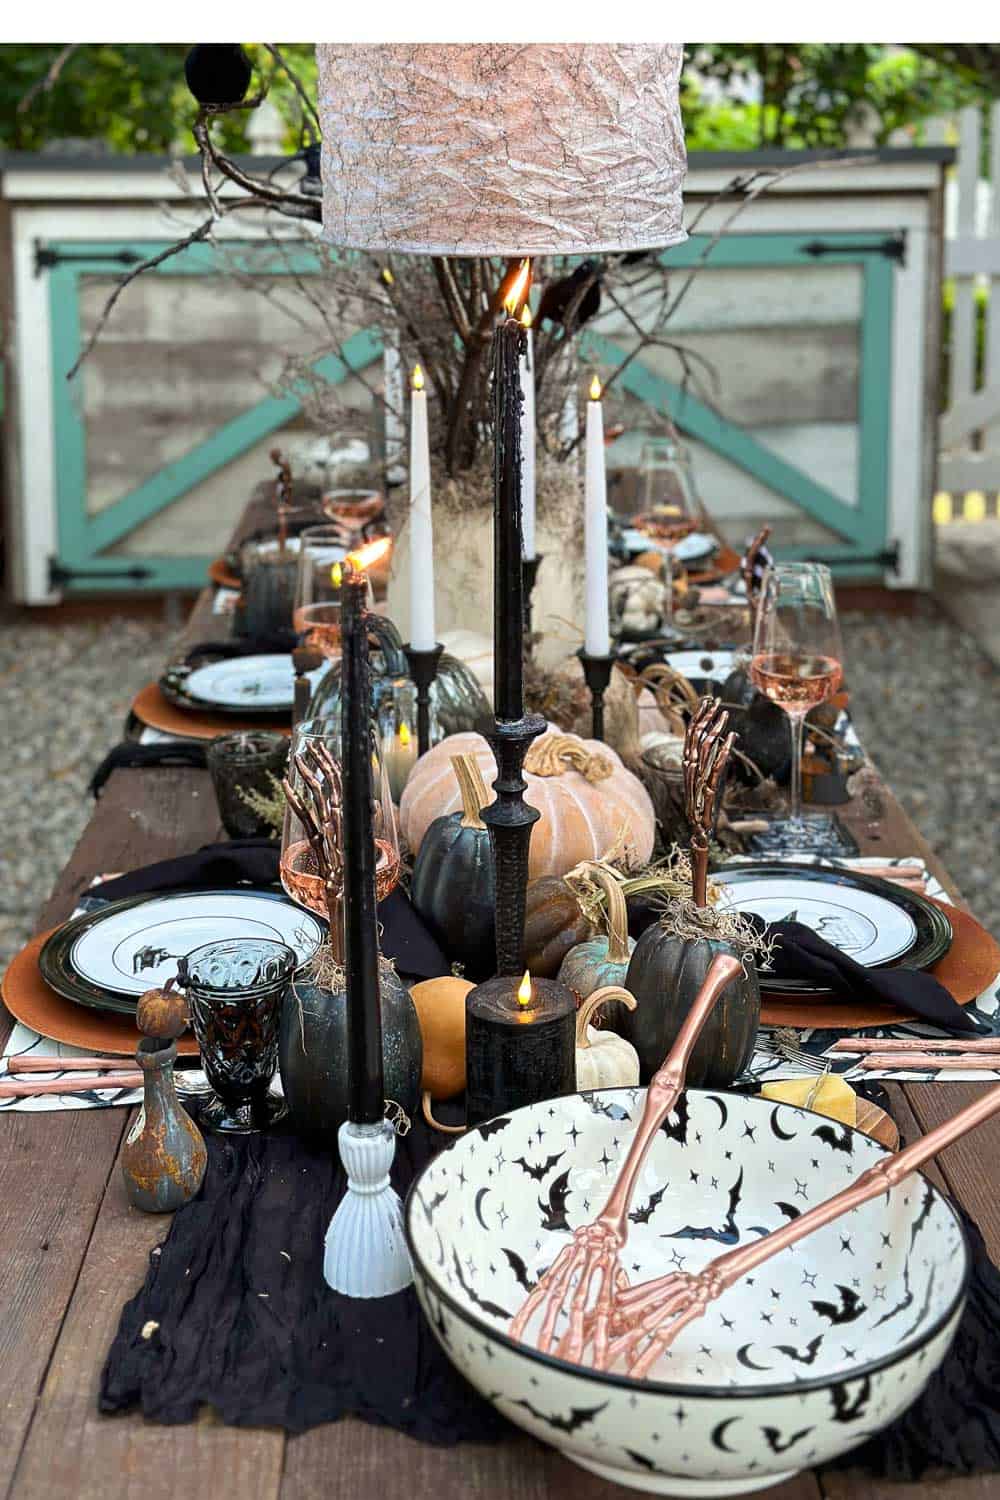
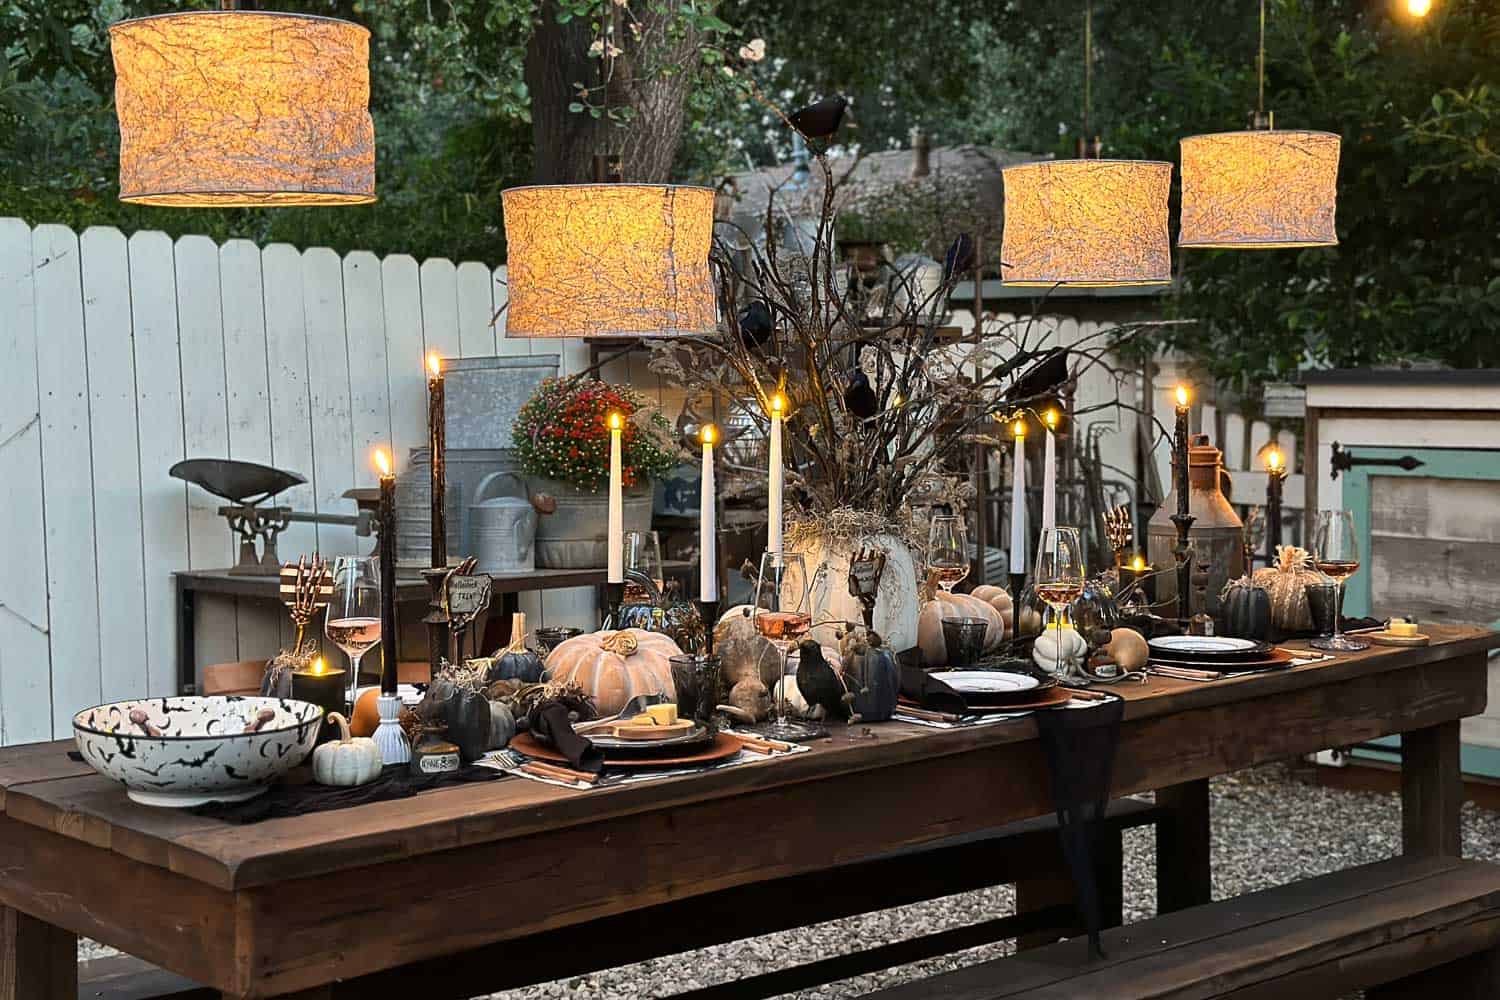
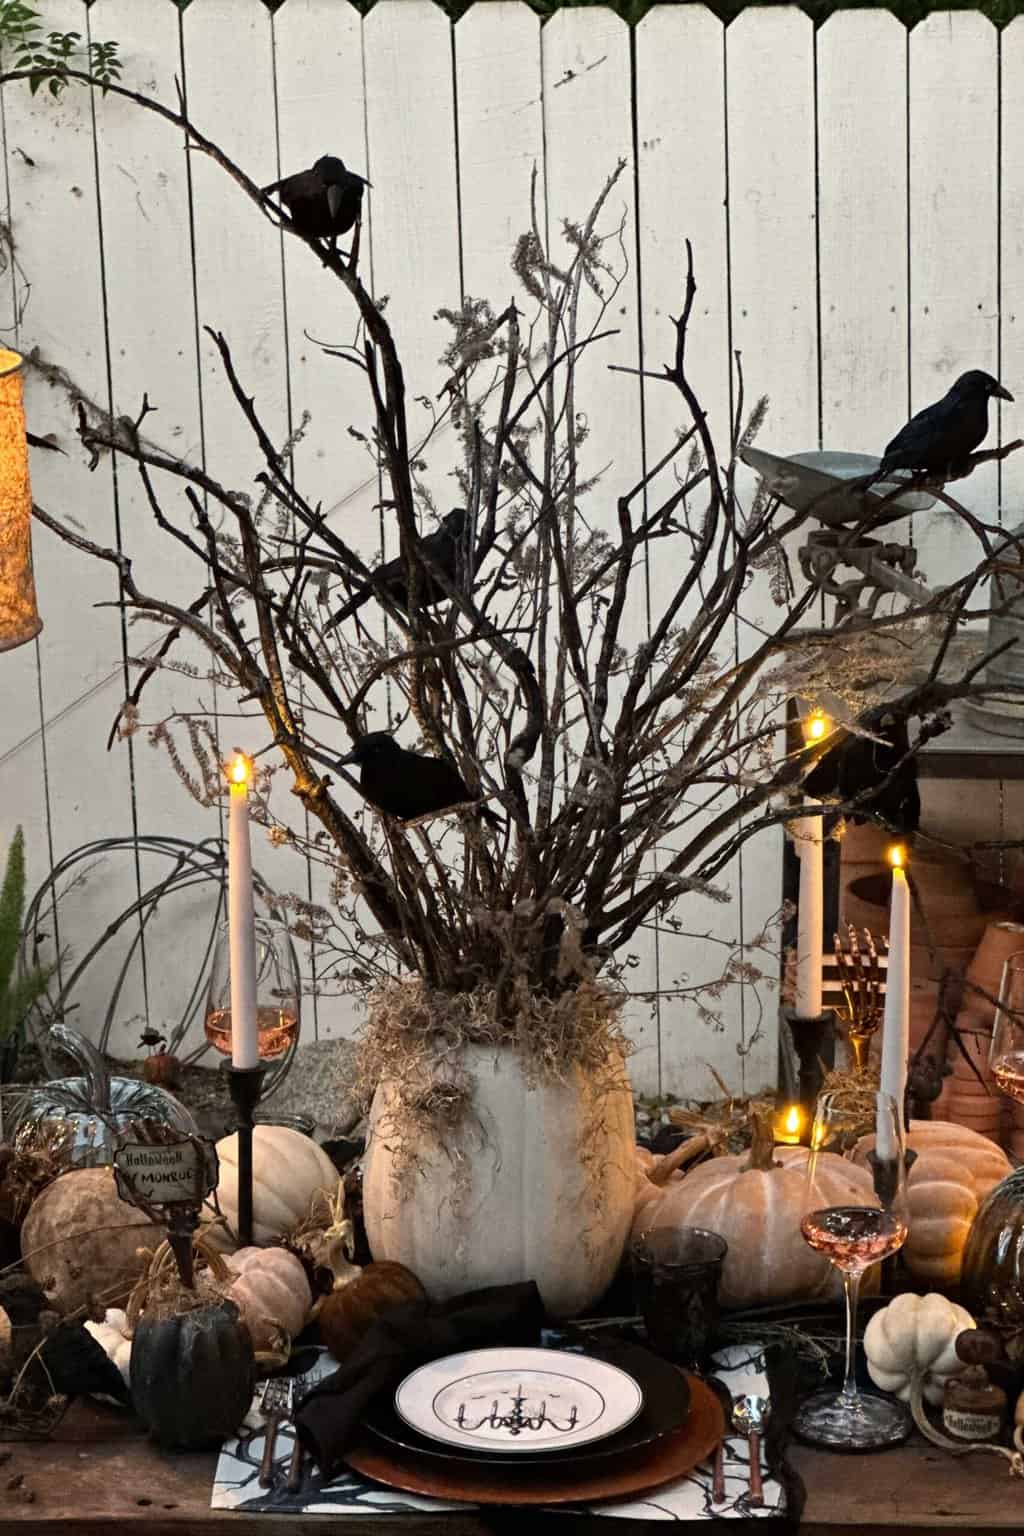
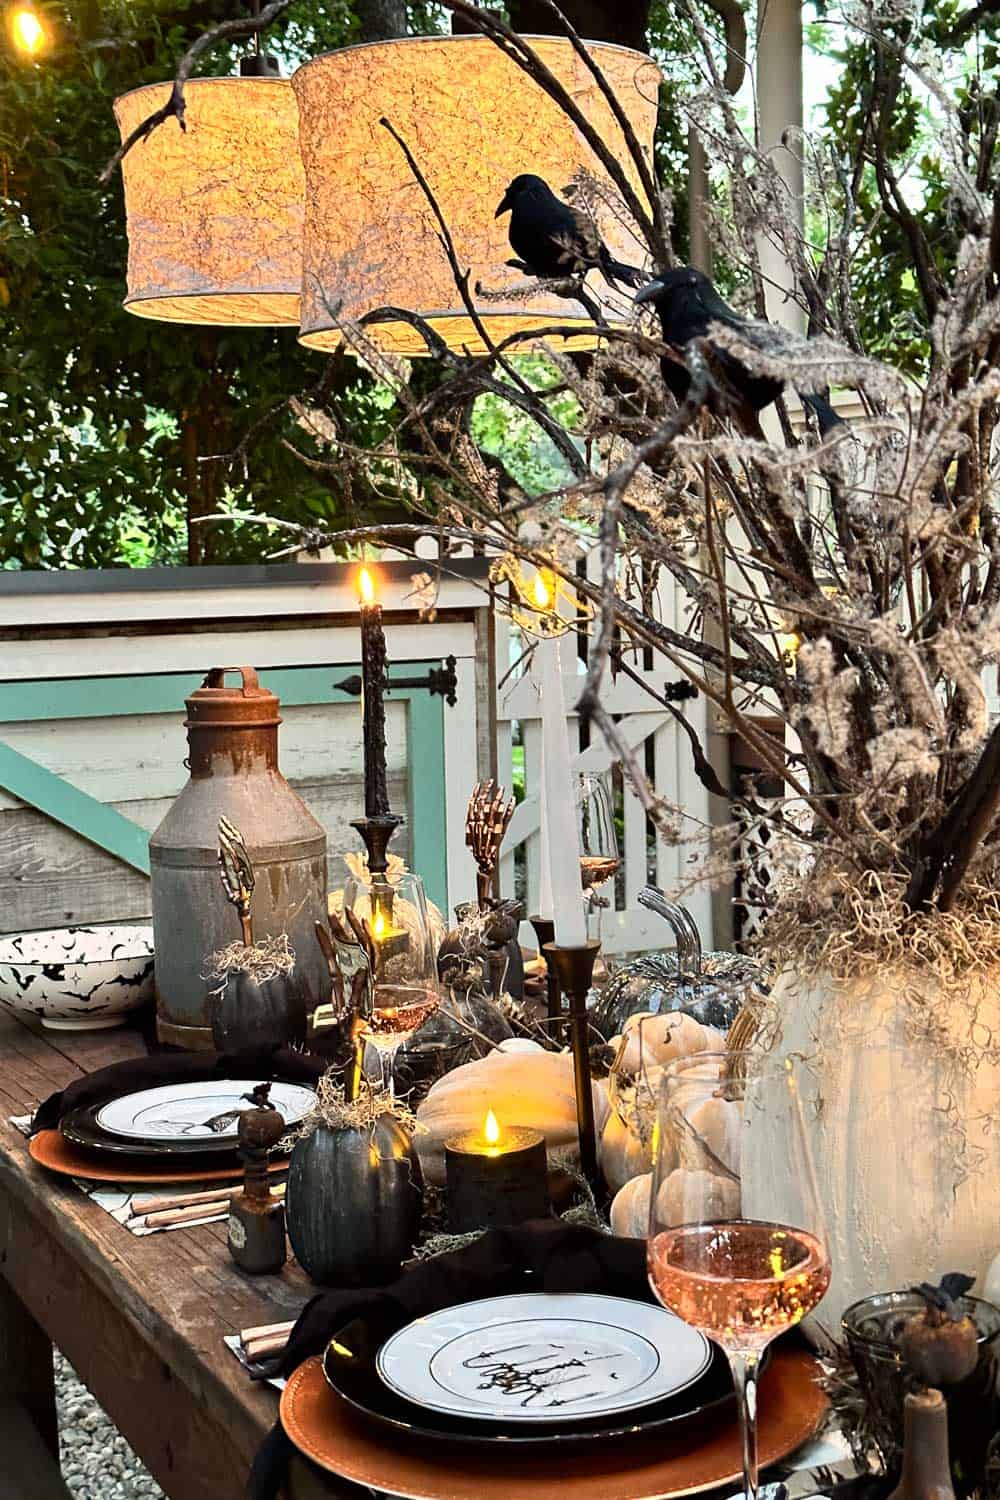
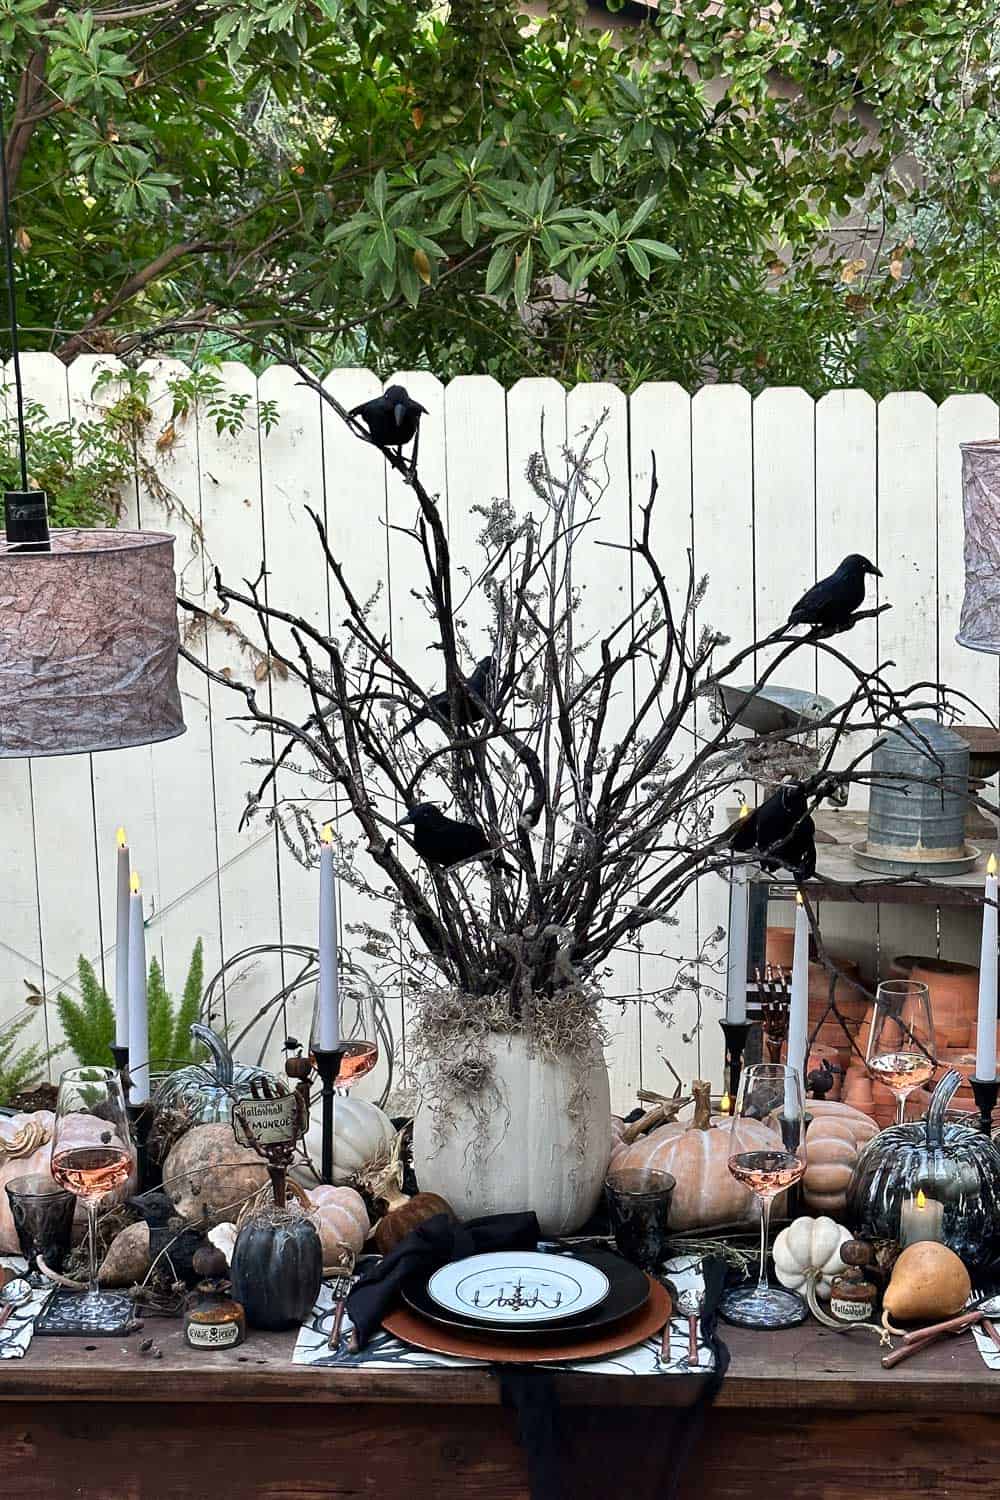
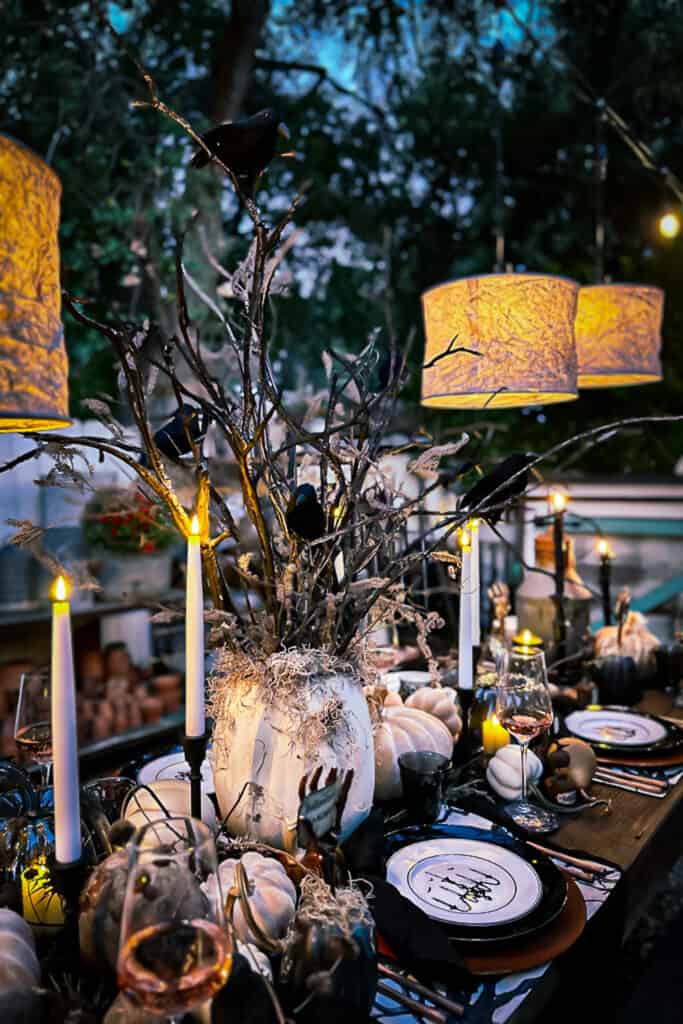
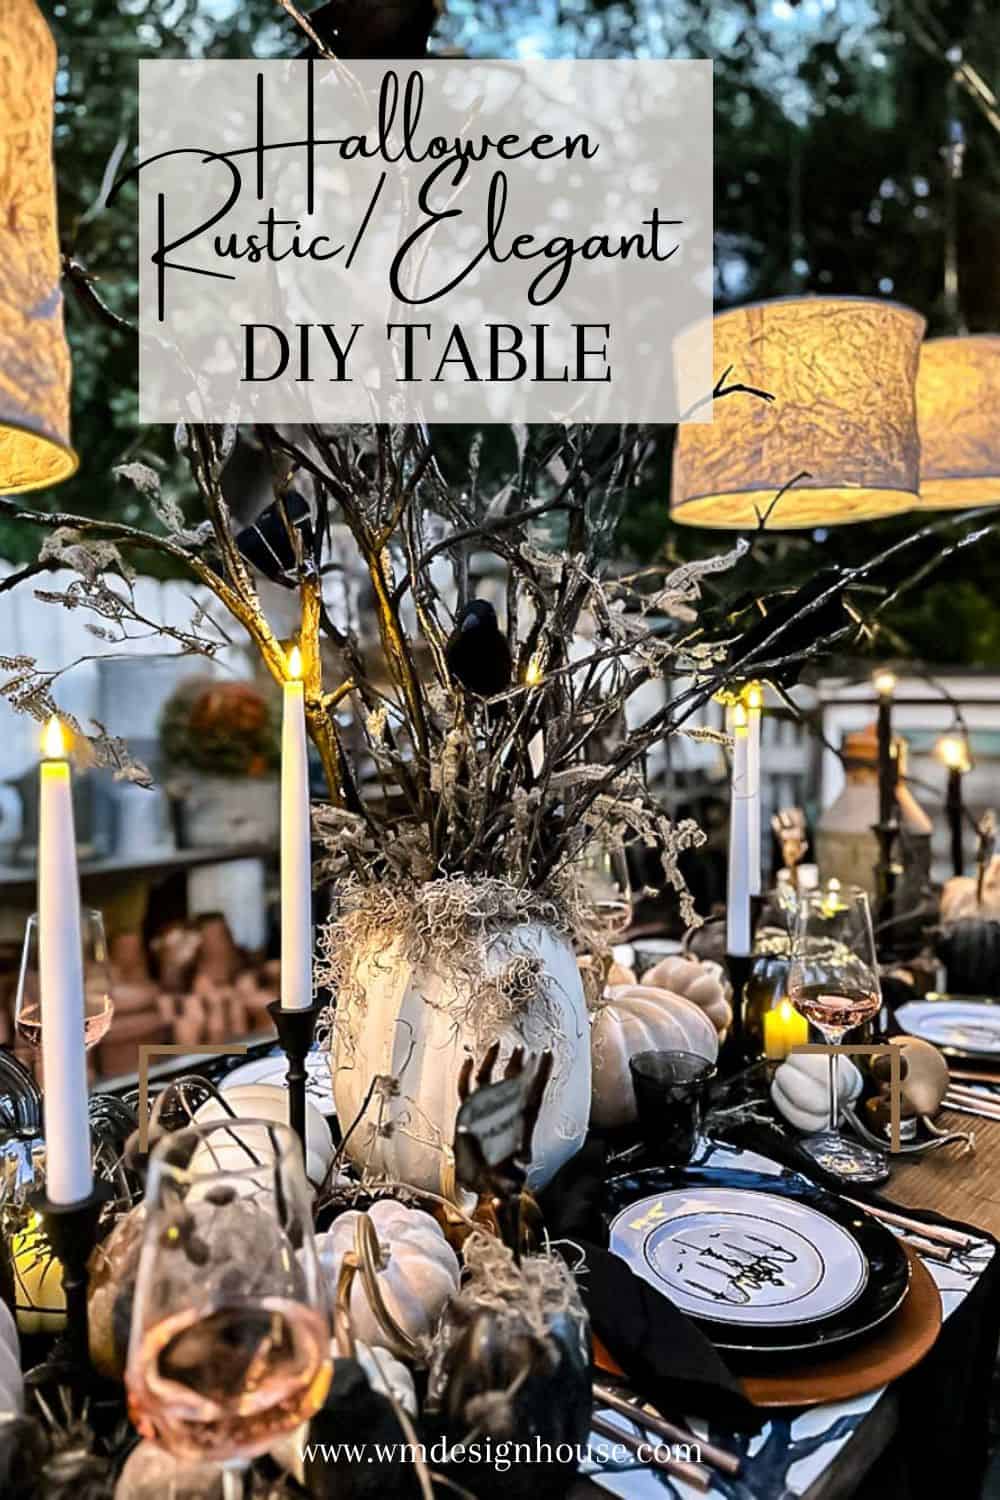
I wanted a rustic, elegant table with a bit of spooky, but not too much, so I chose a “Candlelit Crow Crossing” theme. It is set against a backdrop of black, copper, rust, and a hint of white. Flickering black and white candles sit among life-like crows perched on charred branches, surrounded by mini pumpkins and gourds.
A few other elegant Halloween themes to consider:
- Day of the Dead: vibrant, colorful decorations celebrating the Mexican holiday.
- Stranger Things: Christmas lights, ’80s decor, and guests dressed as characters from the show.
- White Pumpkins: an all-white table with ghosts and white pumpkins.
- Haunted Forest: tree branches, moss, and woodland creatures.
- Vintage Halloween: a nostalgic nod to early 1900s Halloween with a retro feel.
- Classic Monsters: Dracula, Frankenstein, and the Mummy.
- Haunted Mansion: cobwebs, candelabras, and ghostly apparitions.
- Black Cats: an all-black table with a cat theme.
Halloween Tablescape Essentials
Every great table is built from the same five pieces: linens, a centerpiece, place settings, lighting, and decorations. Here is how I handled each one.
Linens
Indoors, I like a formal tablecloth to set the mood. Outdoors, I keep things casual but still festive.
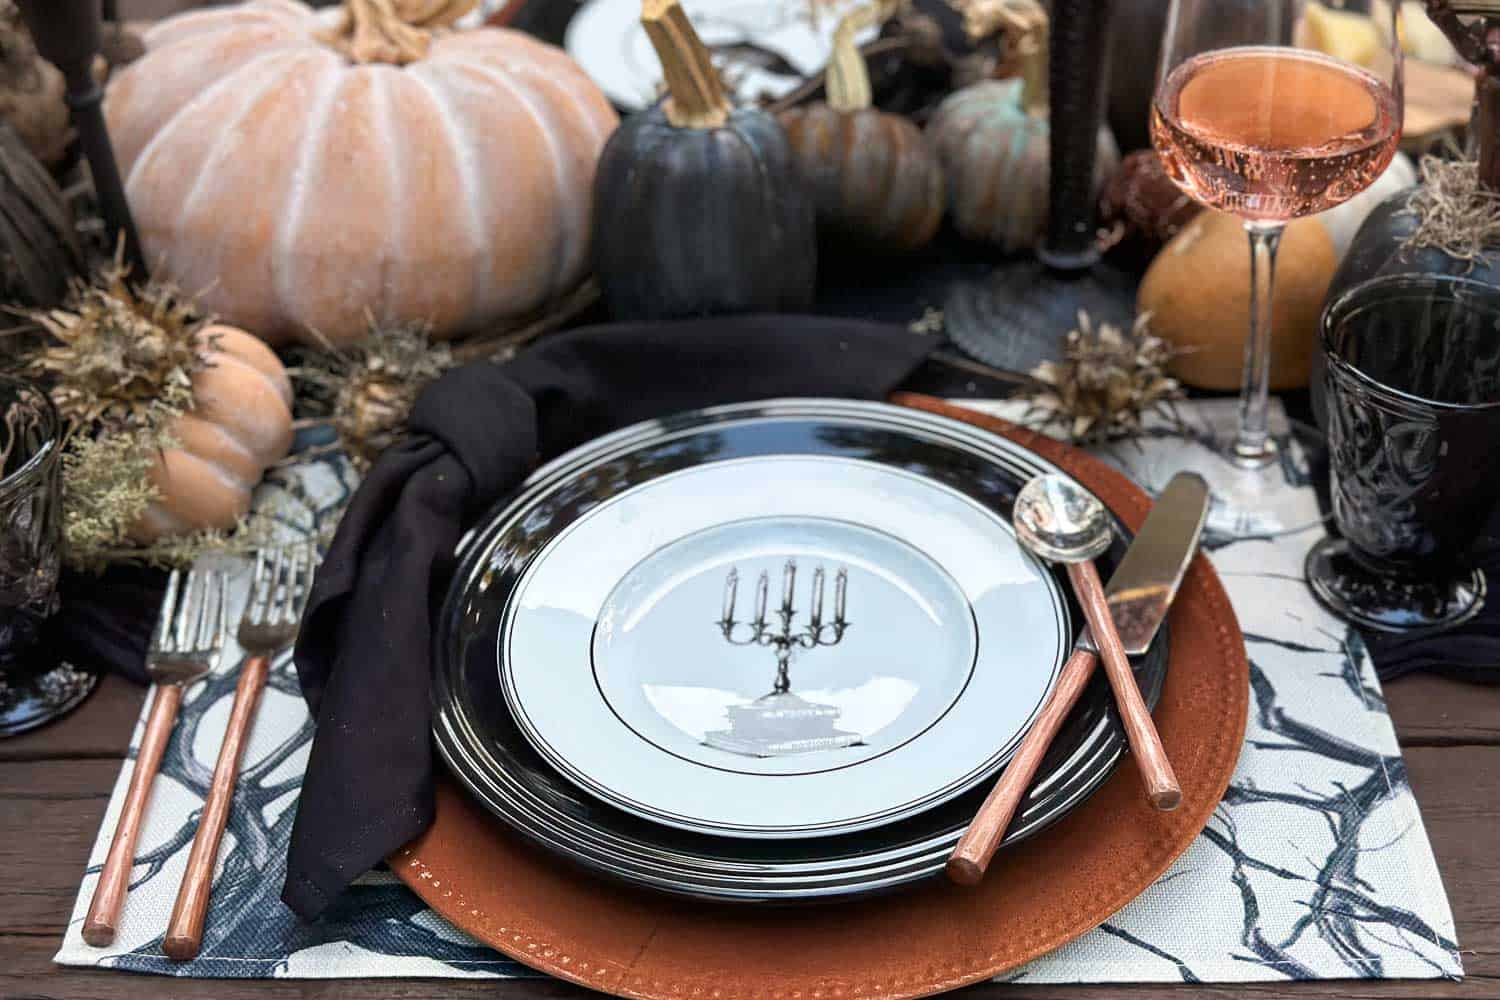
Instead of a traditional runner, I used black cheesecloth. Its loose, gauzy texture is perfect for a hauntingly beautiful Halloween table, and it costs next to nothing.
I always use cloth napkins for a more polished look. This time I chose solid black napkins tied in a simple knot.
To coordinate with the centerpiece, I used off-white placemats with crows in a tree. My DIY pumpkin placemats would also be a fun option.
Centerpiece
Decide on your centerpiece first, then work everything else around it.
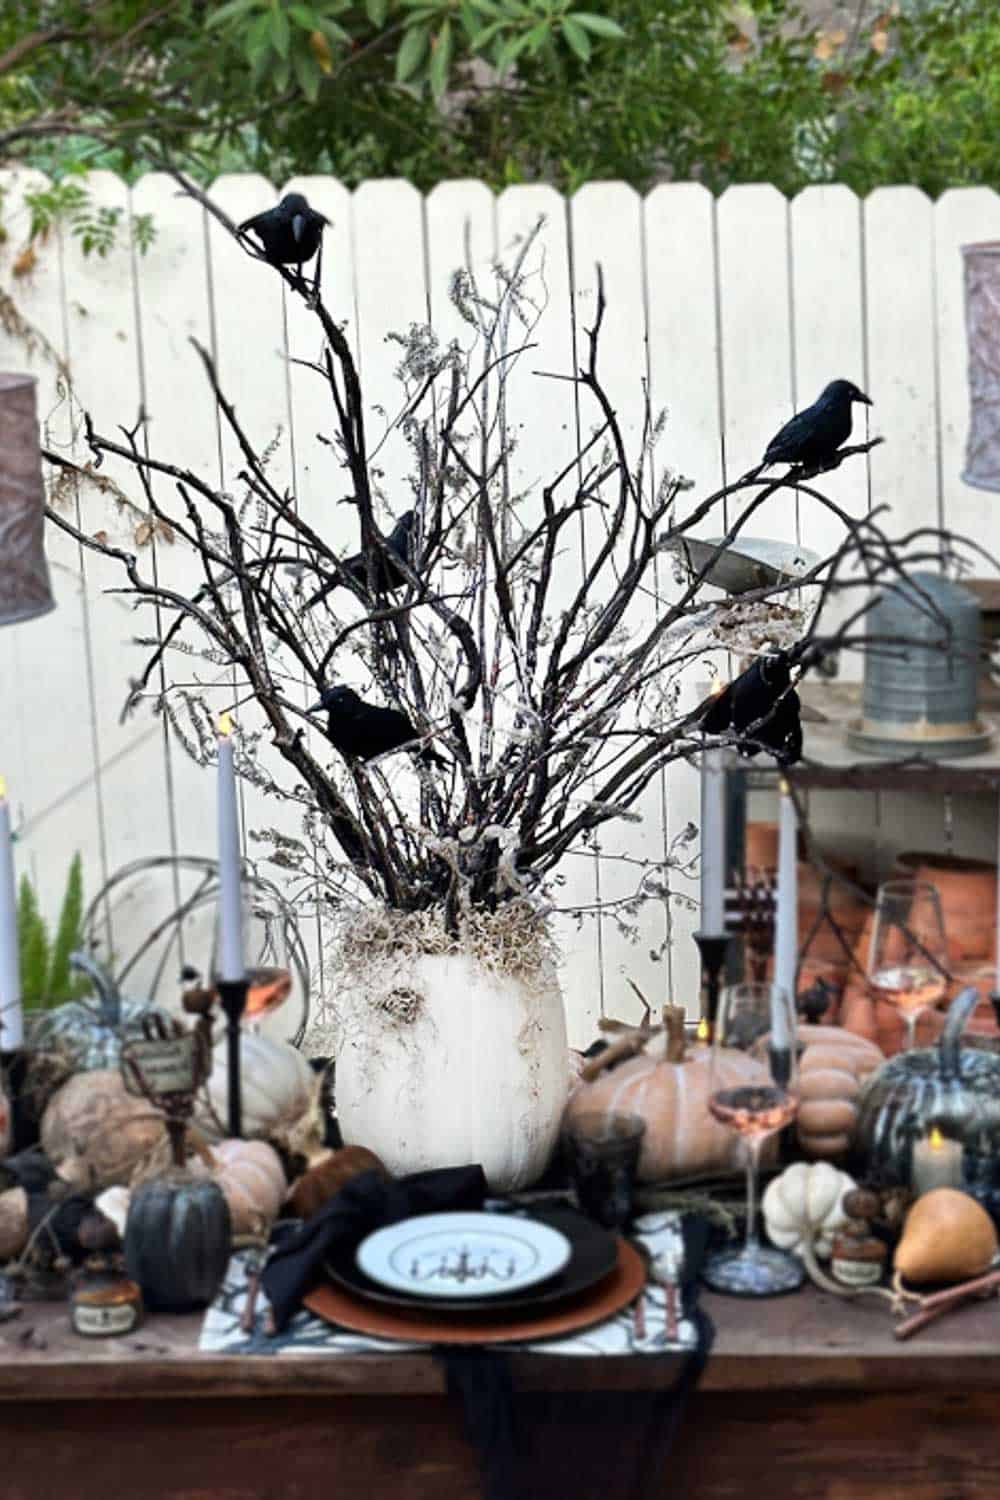
Design a centerpiece that tells a story. It could be a haunted house diorama or a collection of vintage Halloween figurines.
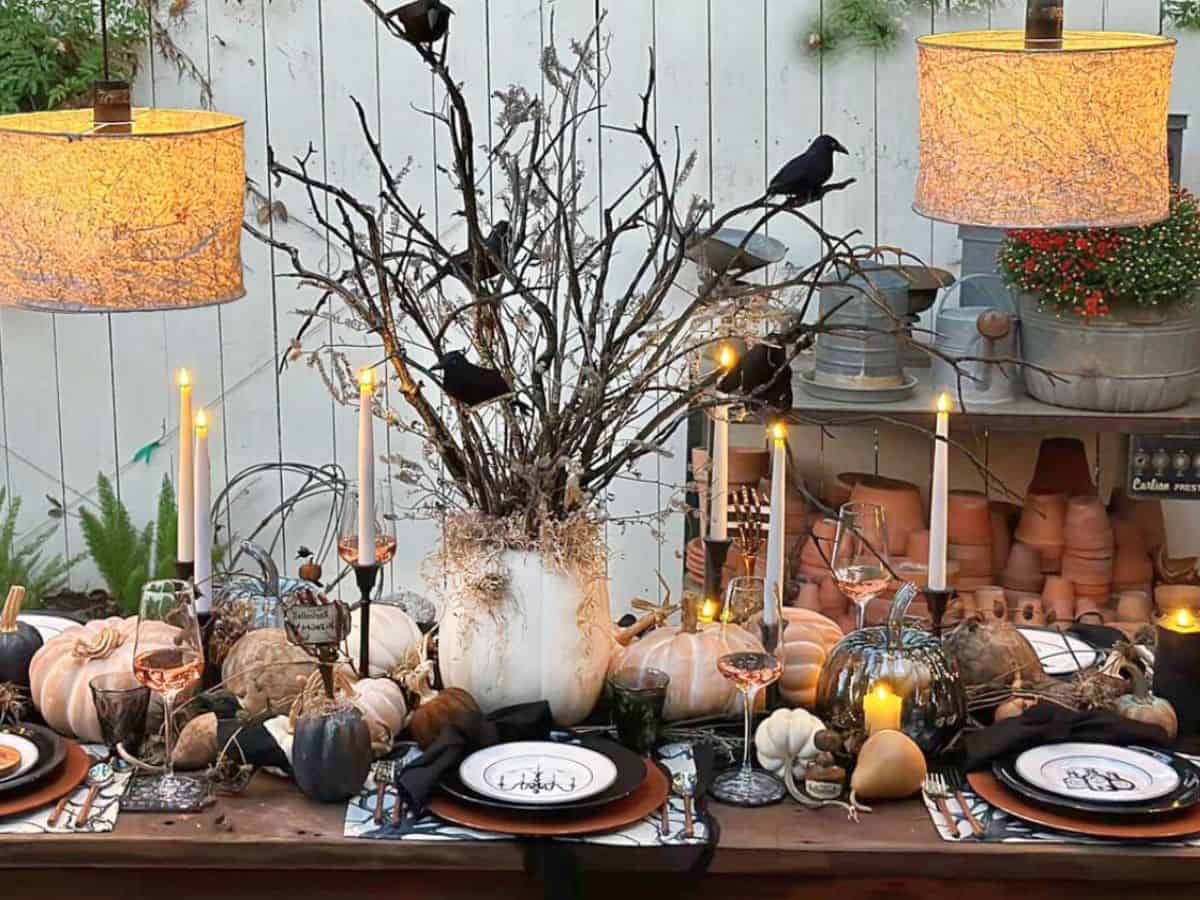
Being the forager that I am, I came across some burnt branches on a recent hike. I knew the minute I saw them that they would make the perfect DIY Halloween tree for the middle of my table. The char was exactly the eerie touch I wanted. All it needed was a black crow or two perched in the limbs.
Place Settings
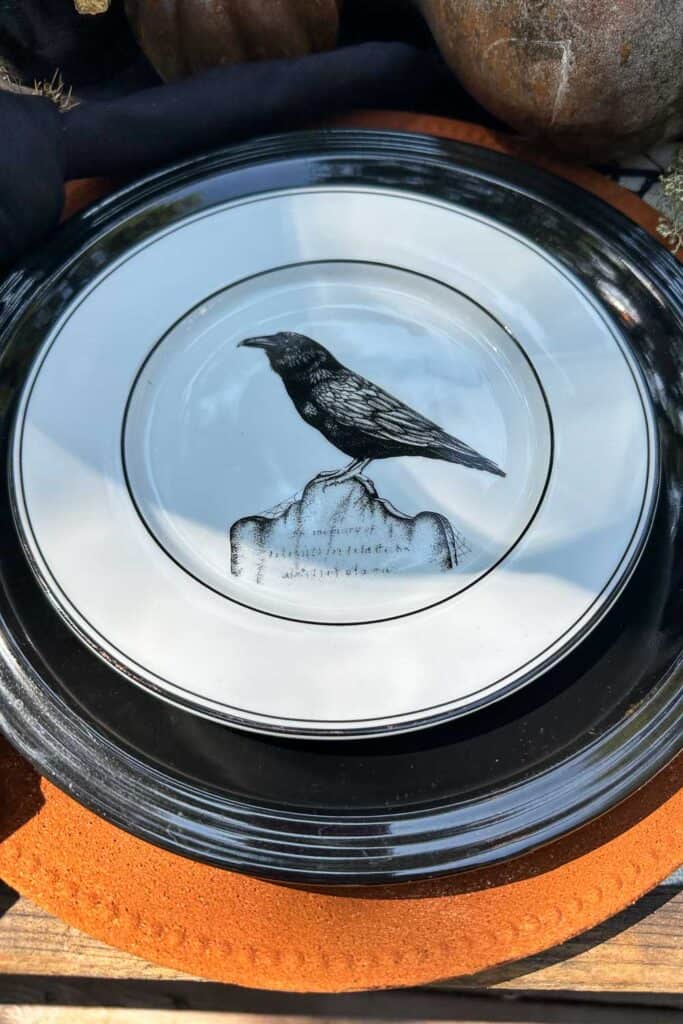
I started with rose gold charger plates from Hobby Lobby. Their shine was too much for this table, so I gave them a rustic finish by coating them with cinnamon. It takes minutes and smells wonderful.
For the dinner plates, I wanted all black but owned none. I found these at the Dollar Store for $1.25 each. It is the best place to find pieces for a one-night event without spending much.
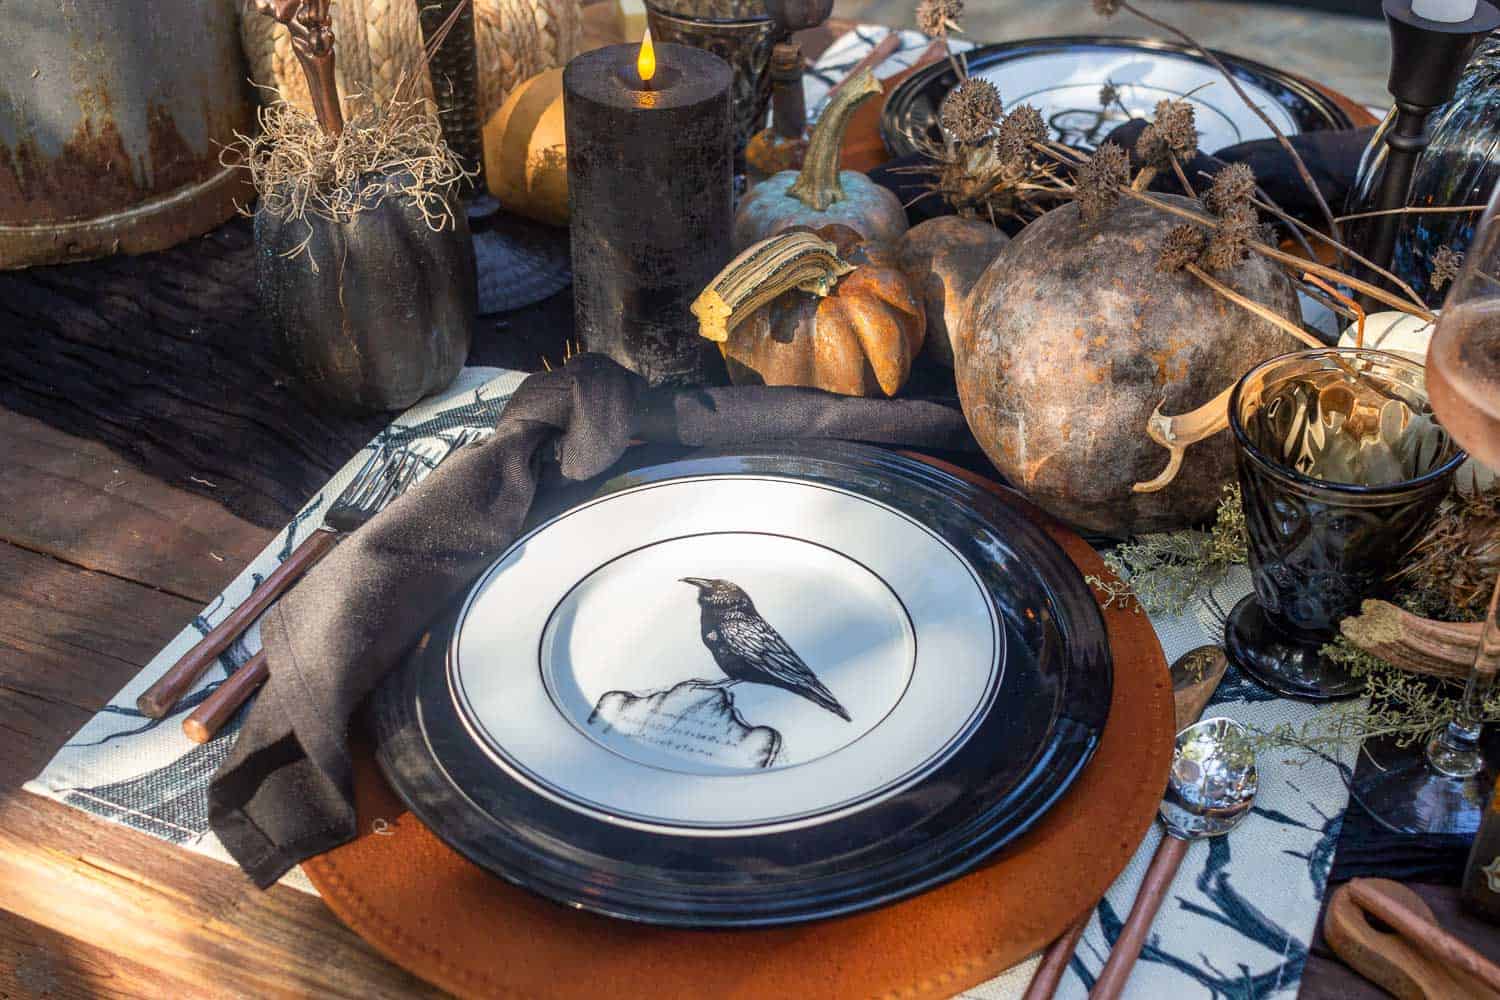
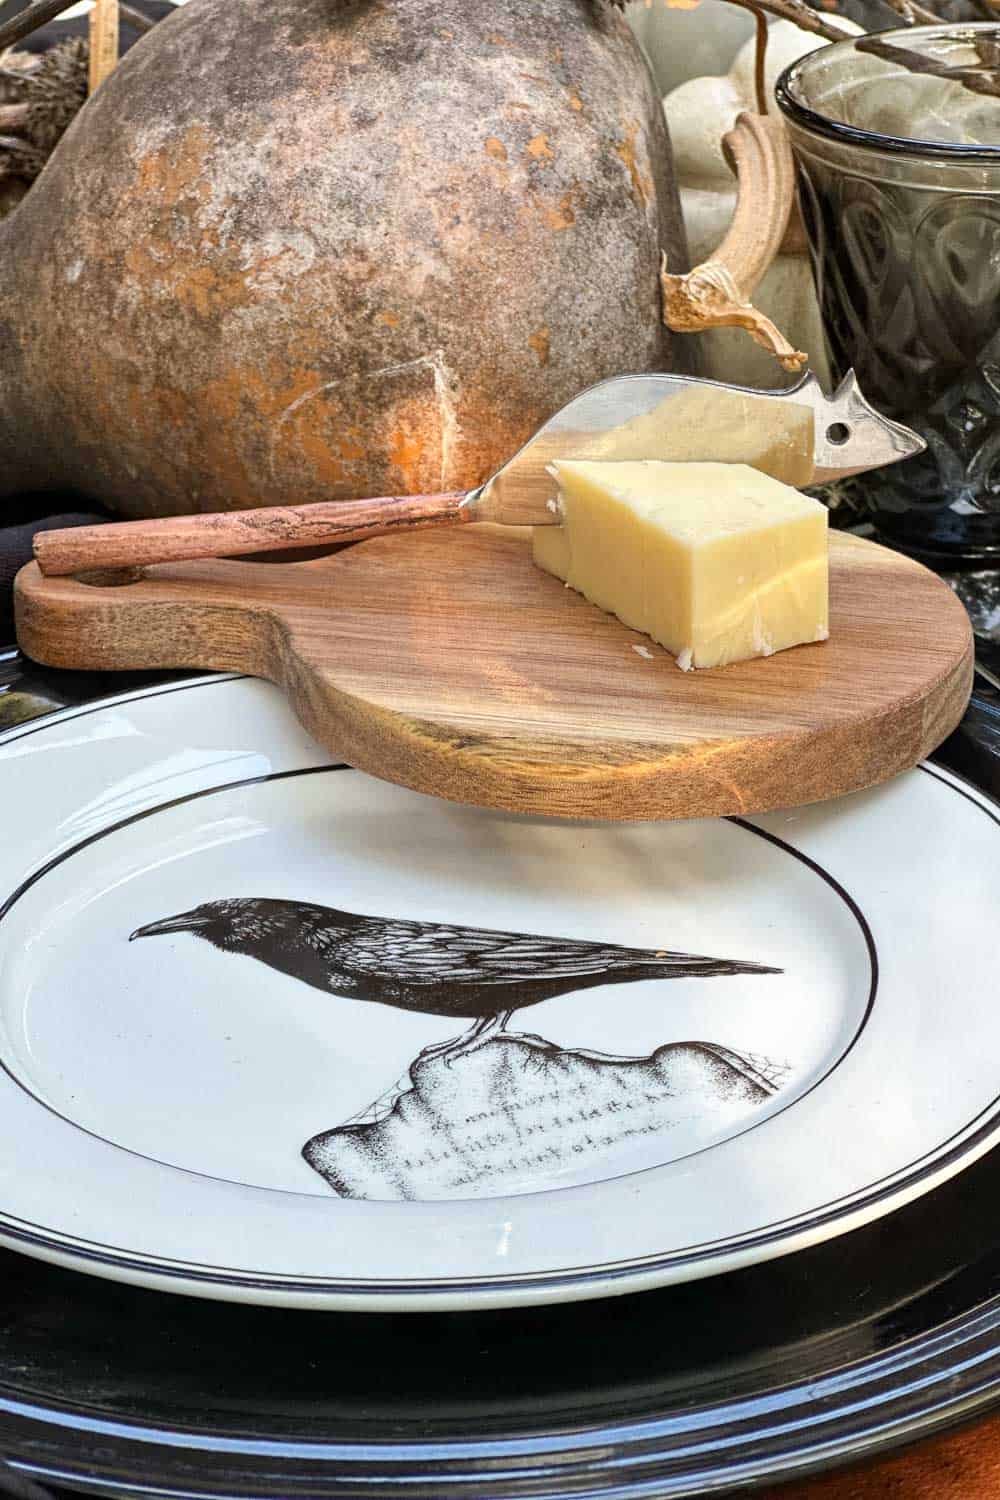
The salad plates are the icing on the cake. This is where you can have some fun. These Halloween plates from Lenox add a charming vintage look to each place setting.
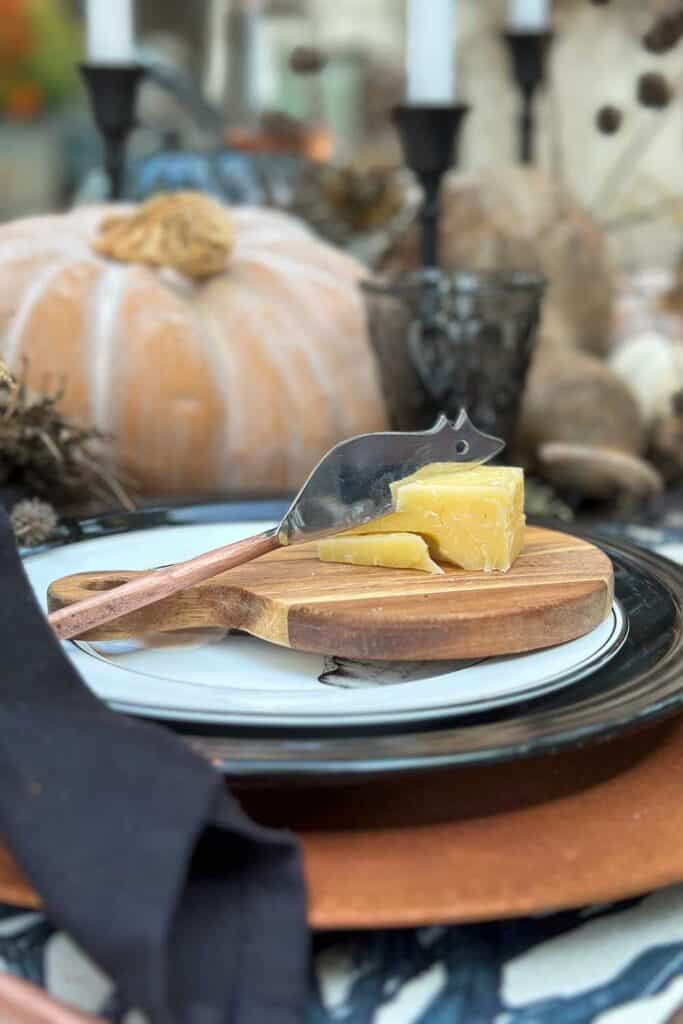
Silverware is an easy way to elevate the whole table. I used my utensils with copper handles, which added just the right touch of elegance. I even used the cutest mouse cheese knives.
For glassware, colored drinking glasses or acrylic glasses are a beautiful option if you have them. If not, use what you have.
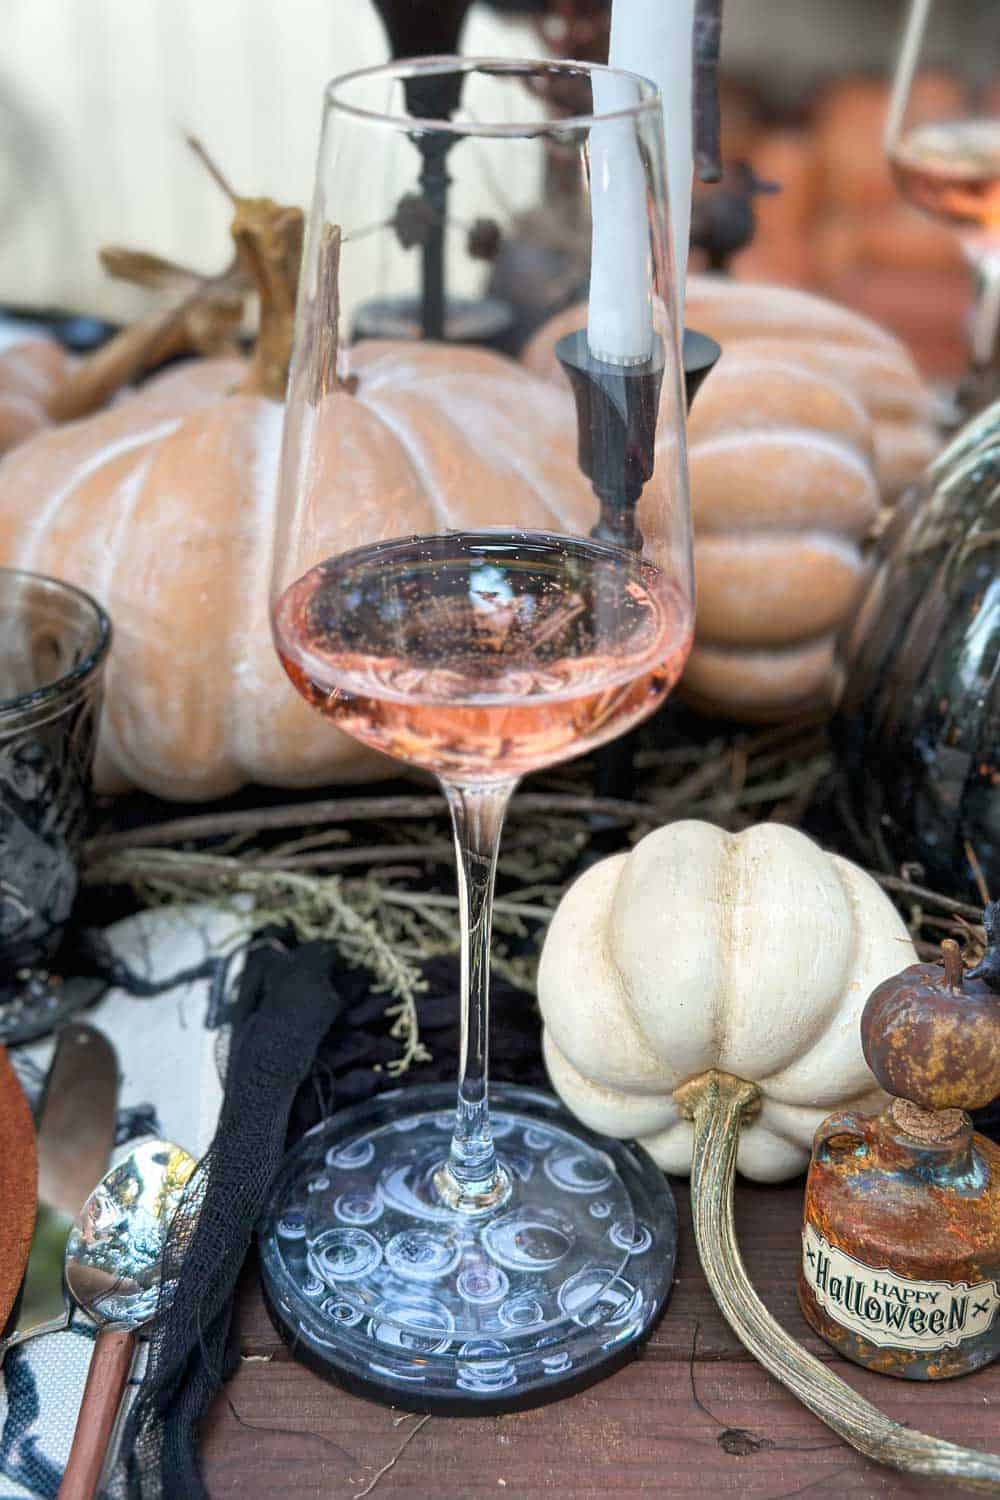
For an extra festive touch, I made these DIY Halloween coasters with googly eyes that wiggle. They double as a party favor for your guests.
SHOP THE LOOK
Lighting
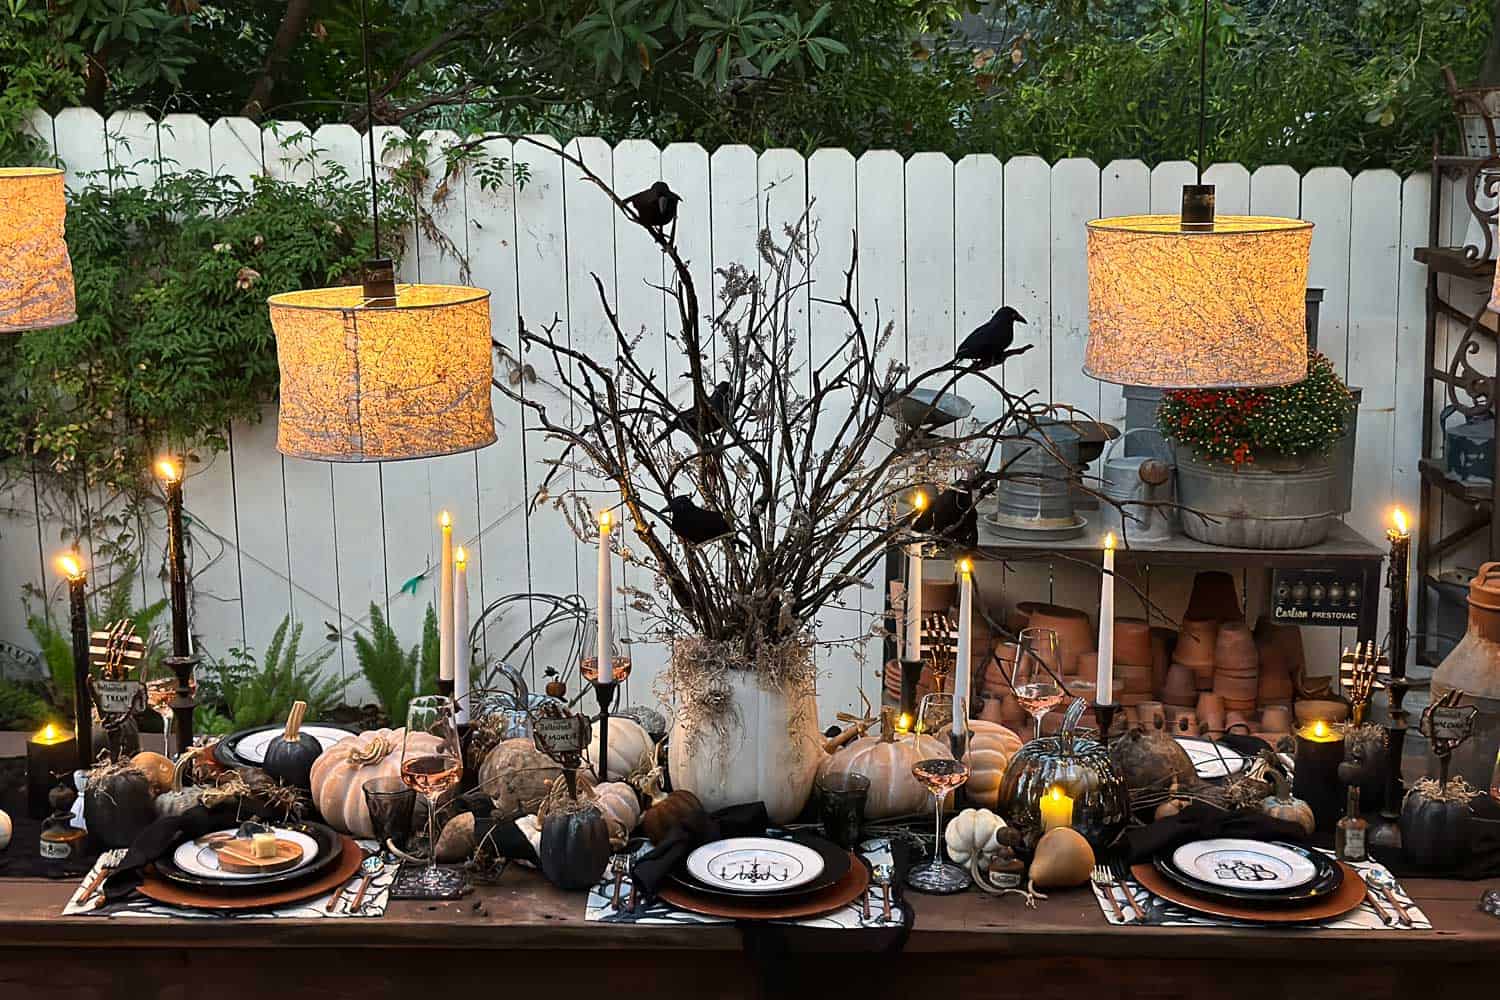
Lighting is what makes a Halloween table feel spooky instead of just dark. My rule: more candles than you think you need, at more heights than you think you need.
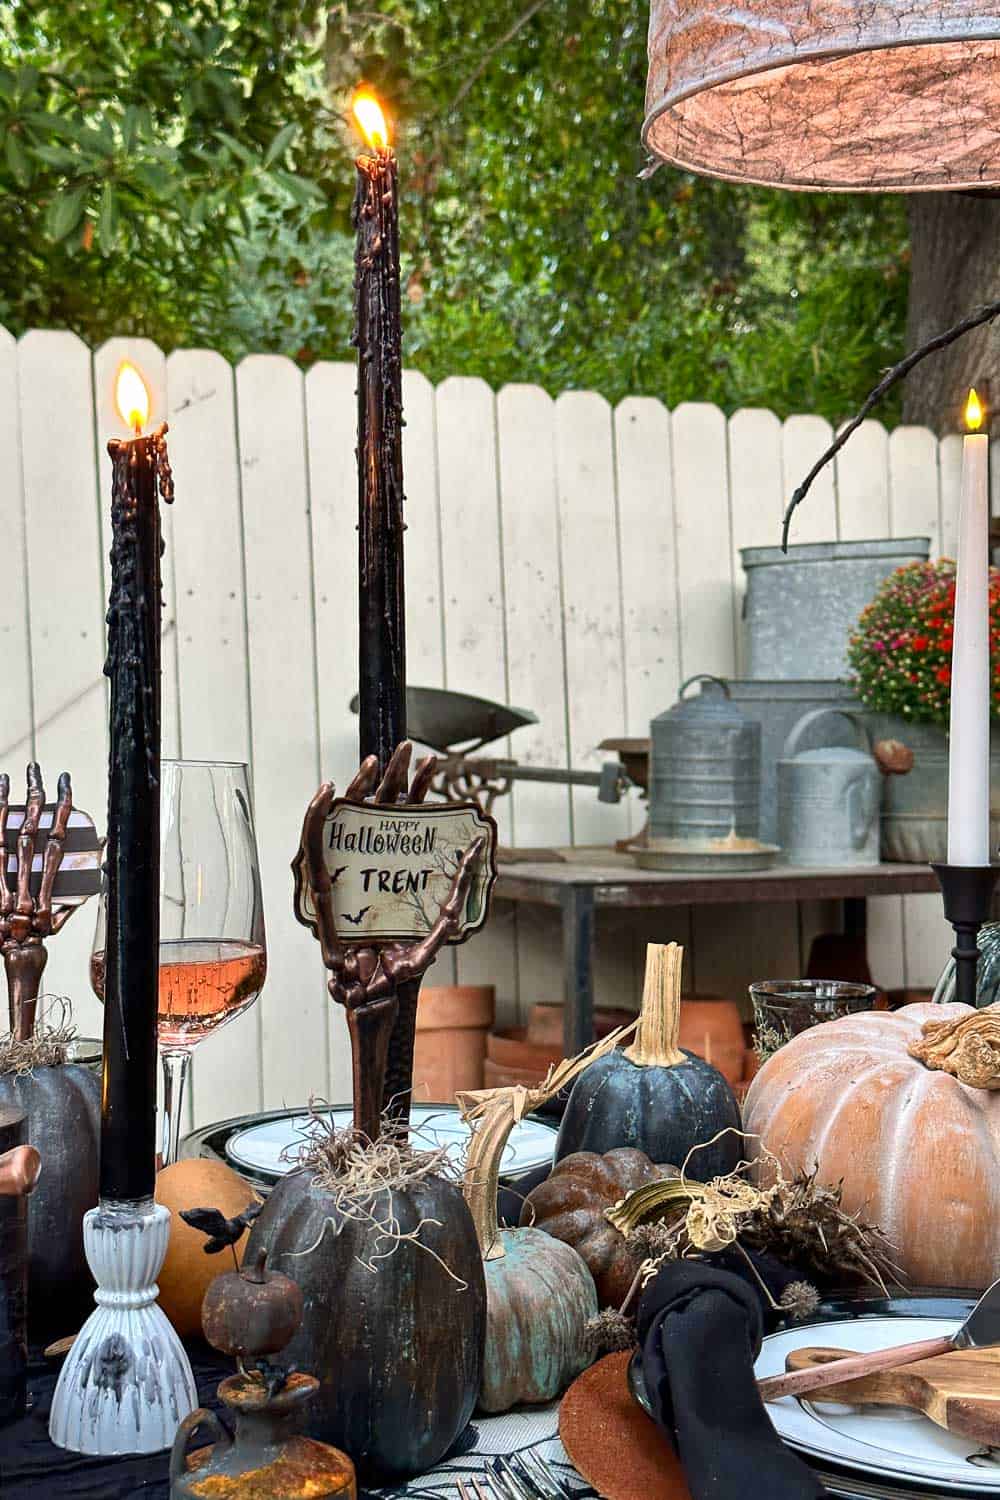
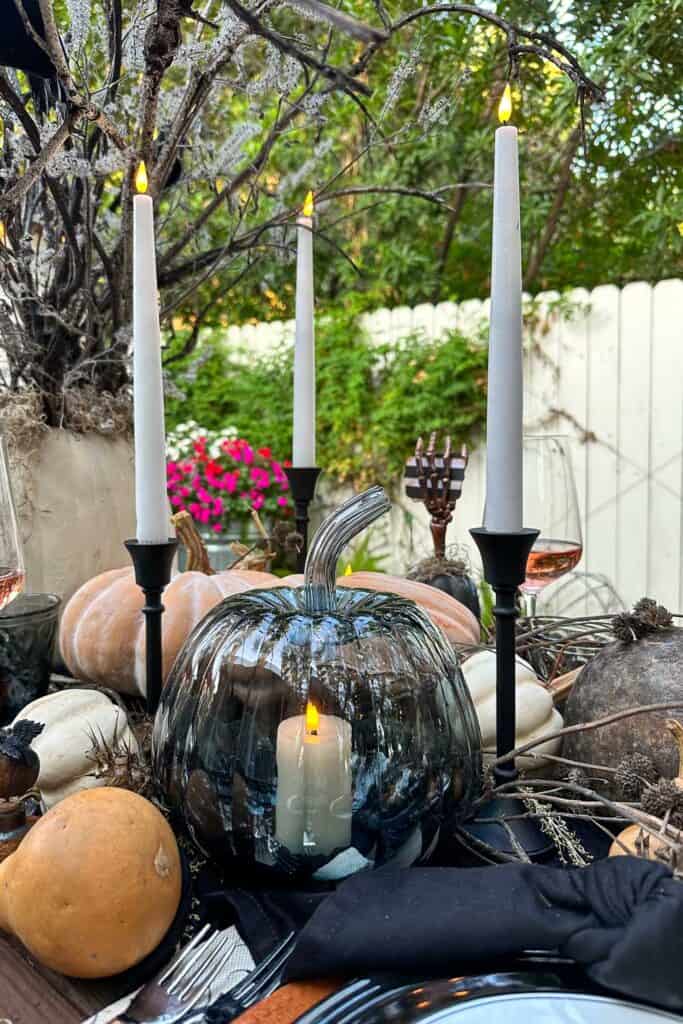
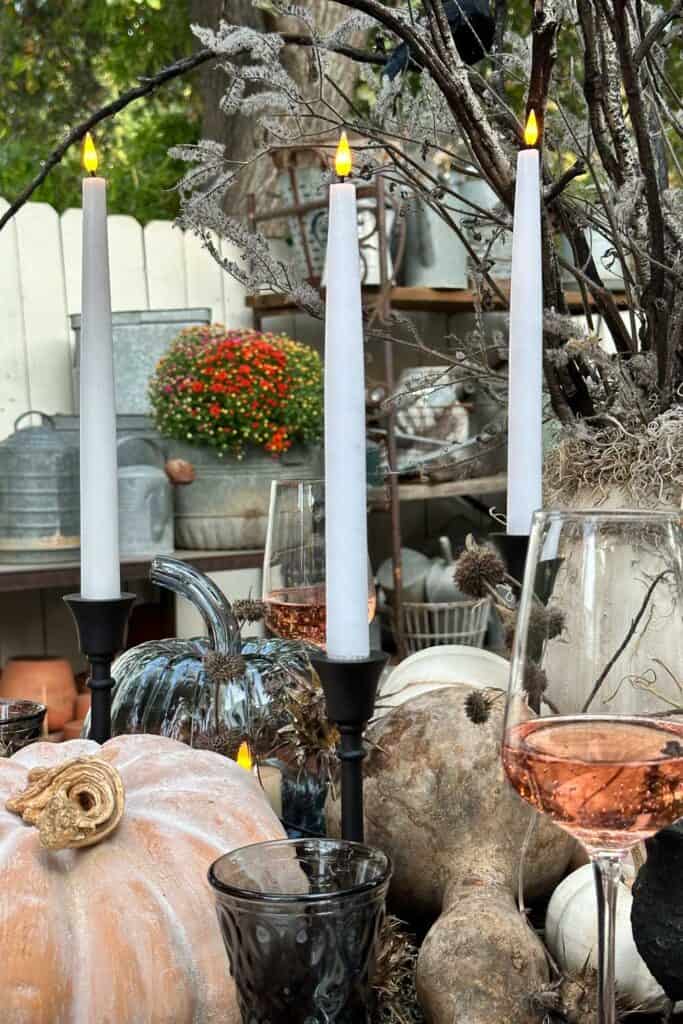
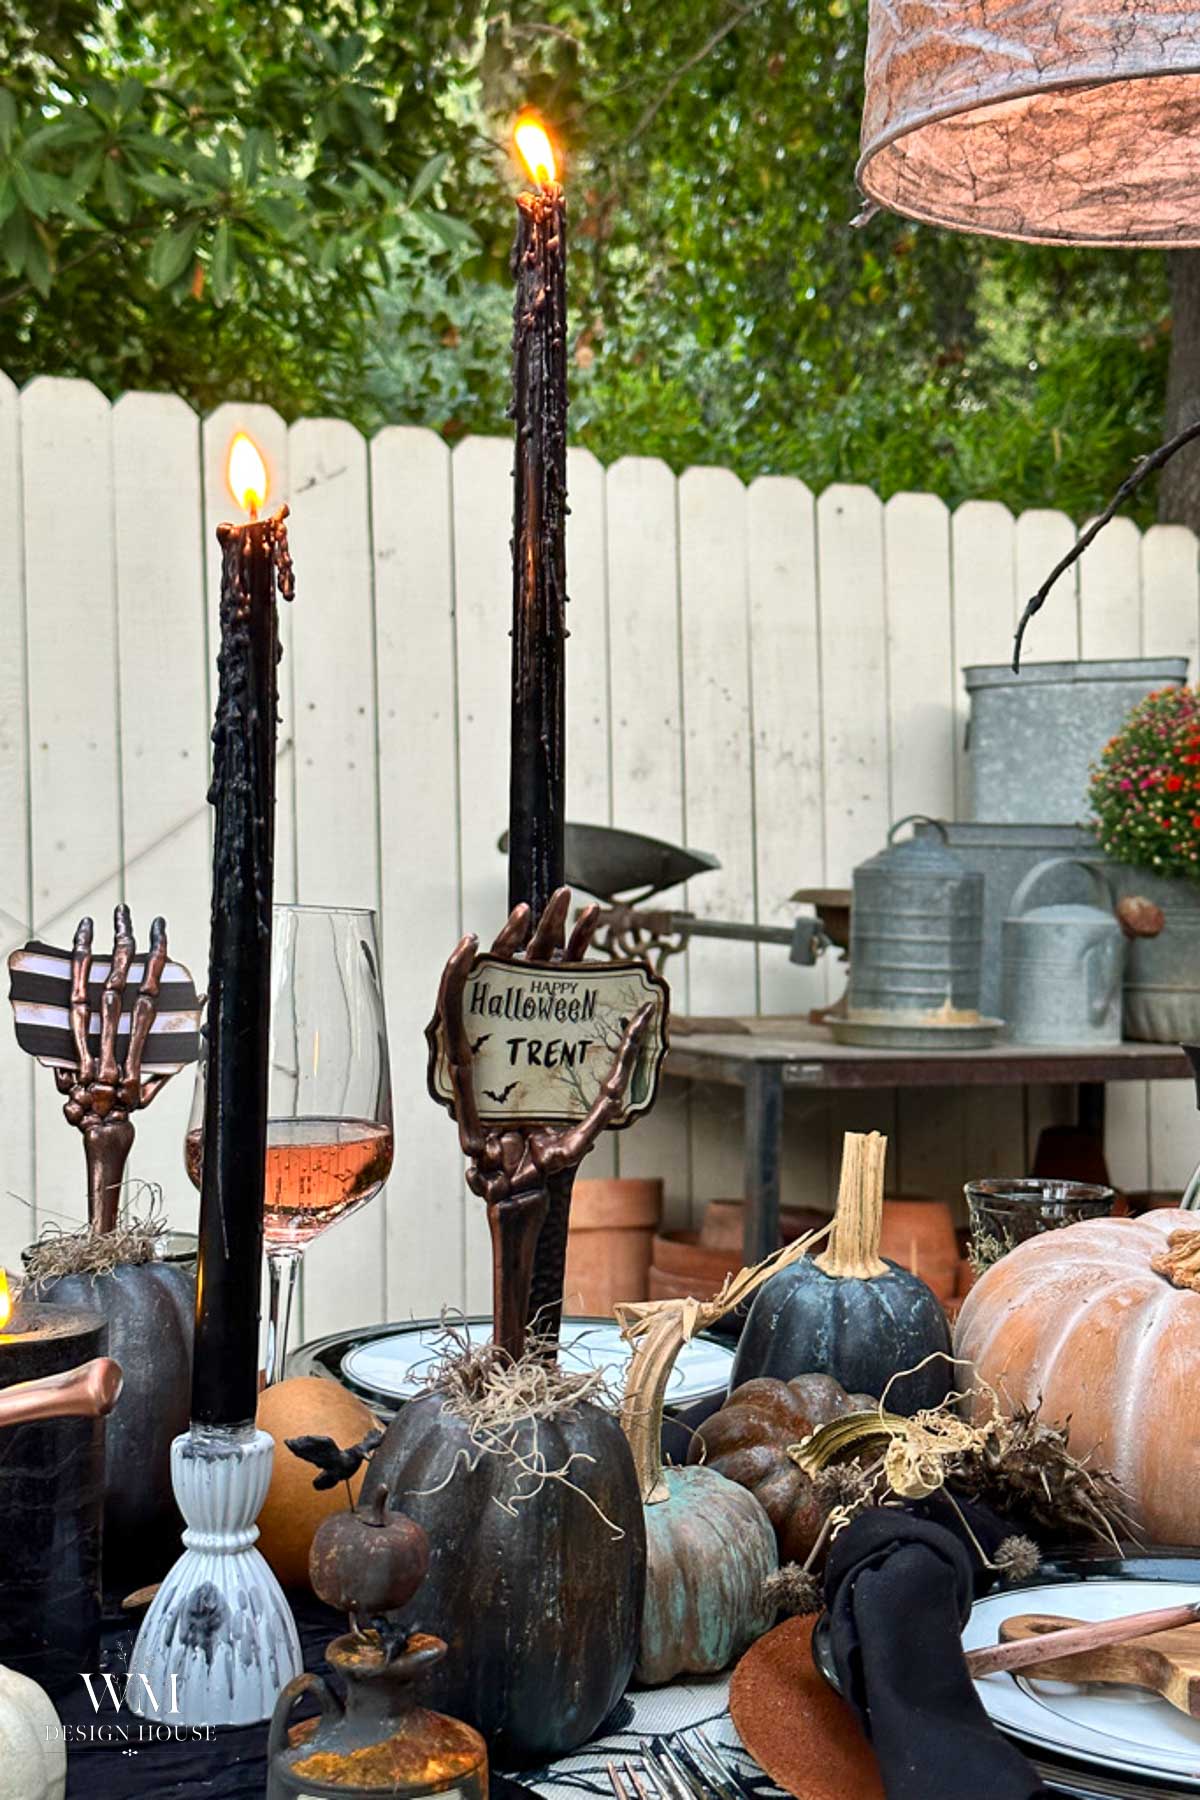
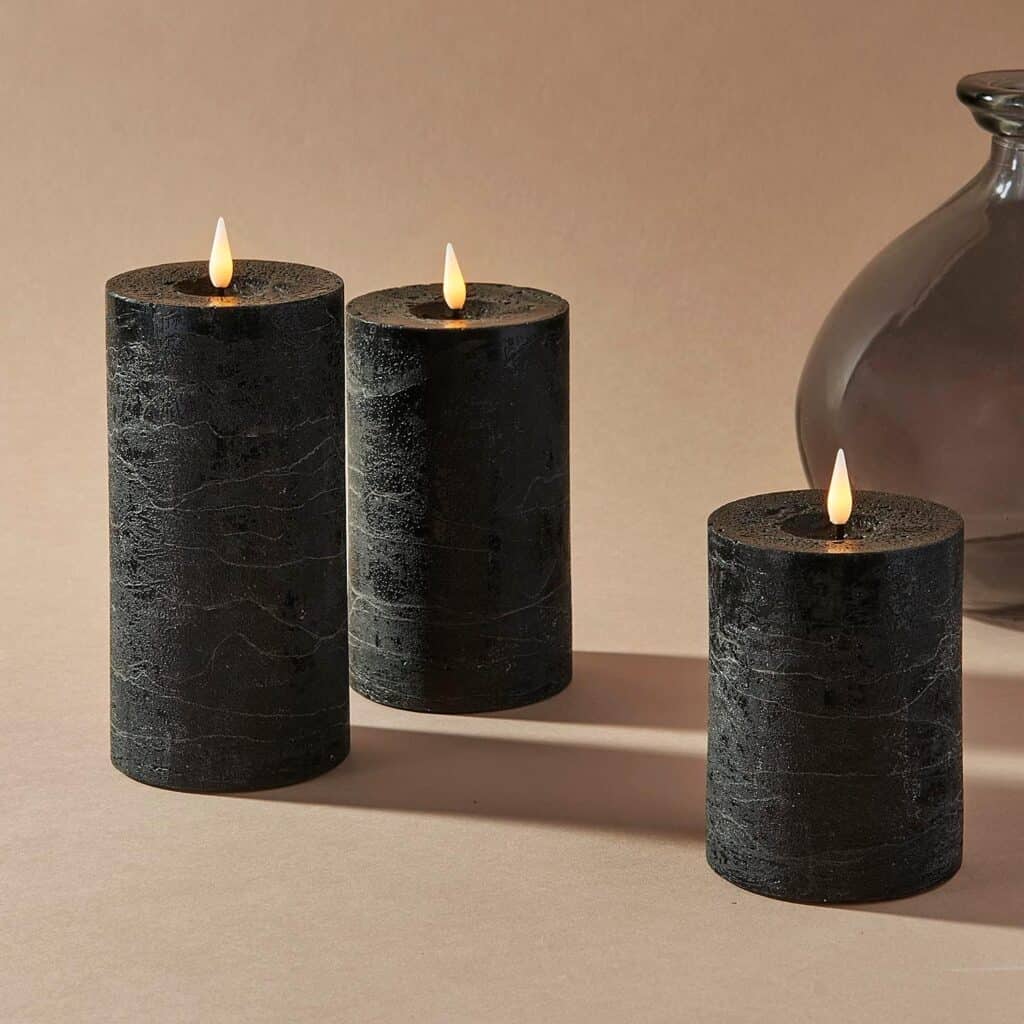
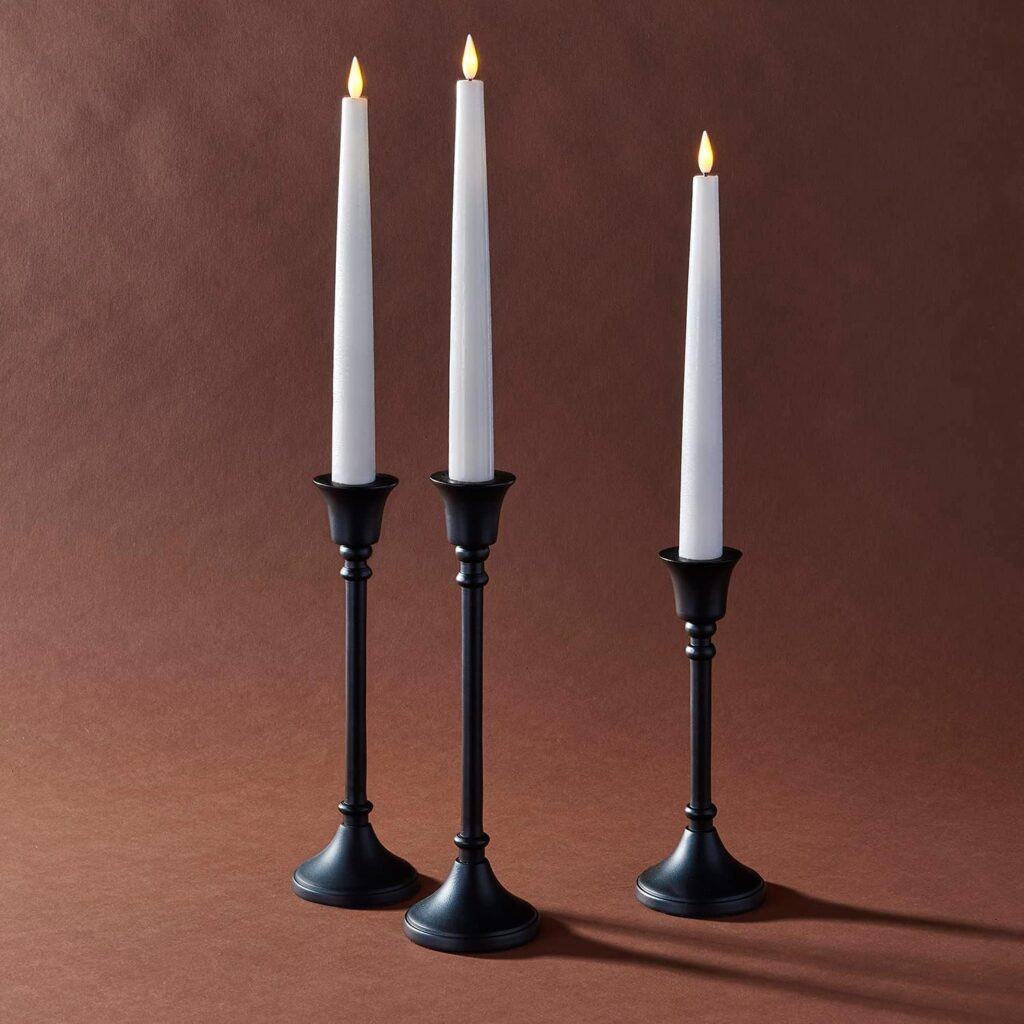
I used battery-operated wax candles with an infinity wick that mimics a real flame. They come in taper and pillar styles, and I placed them in black candleholders at varying heights. I mixed in a few real black taper candles for that drippy, messy look. Fair warning, they do get messy.
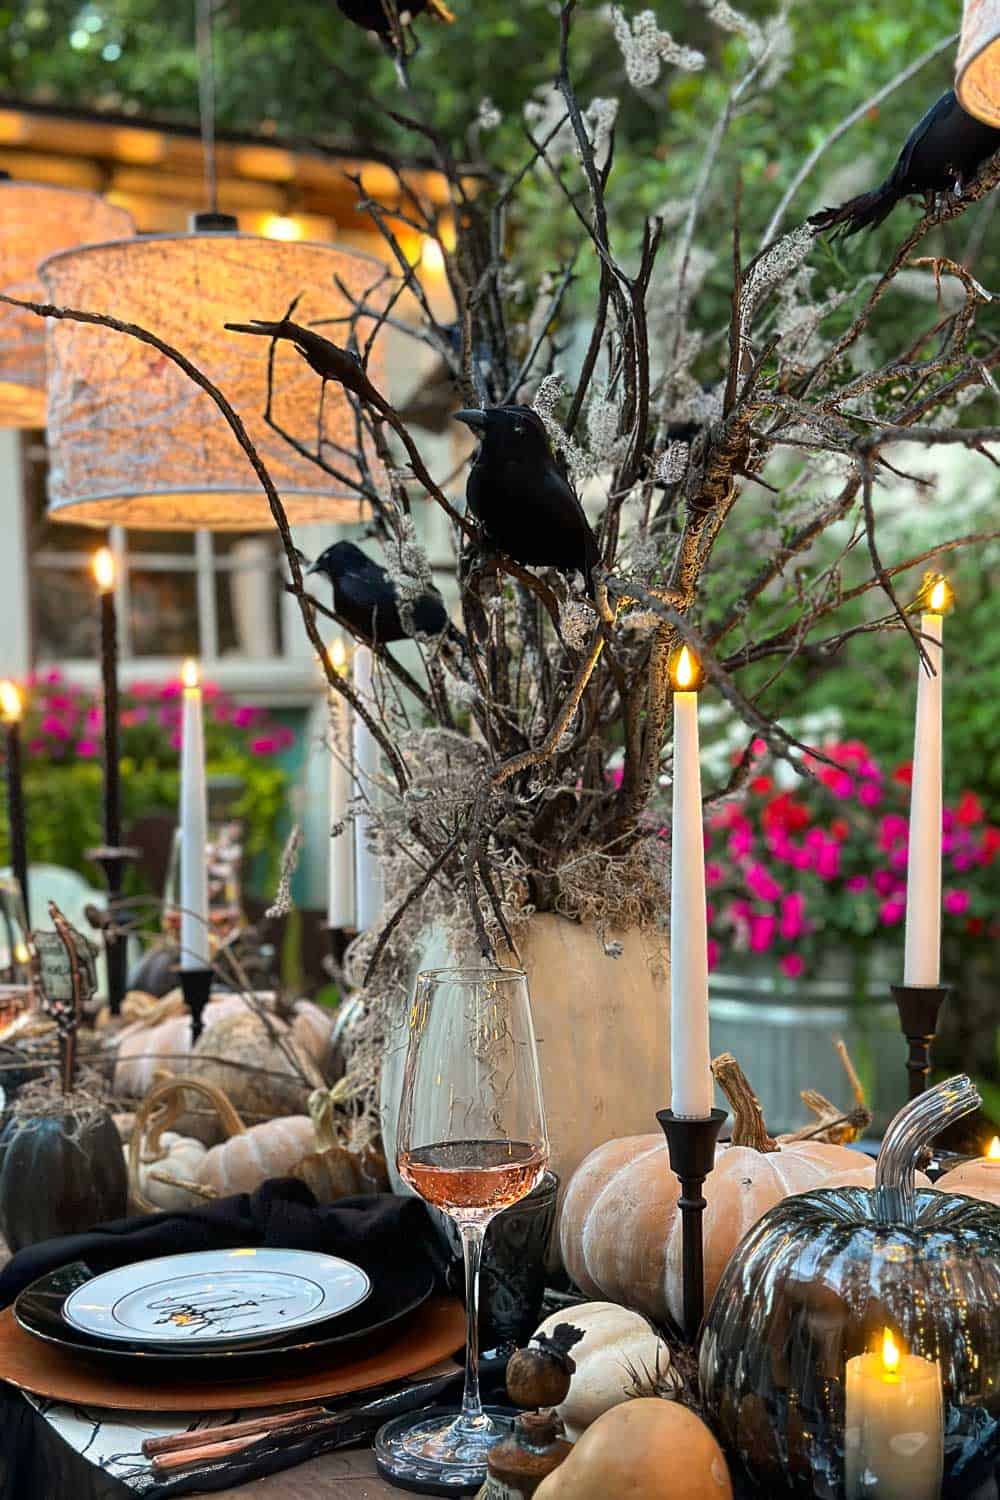
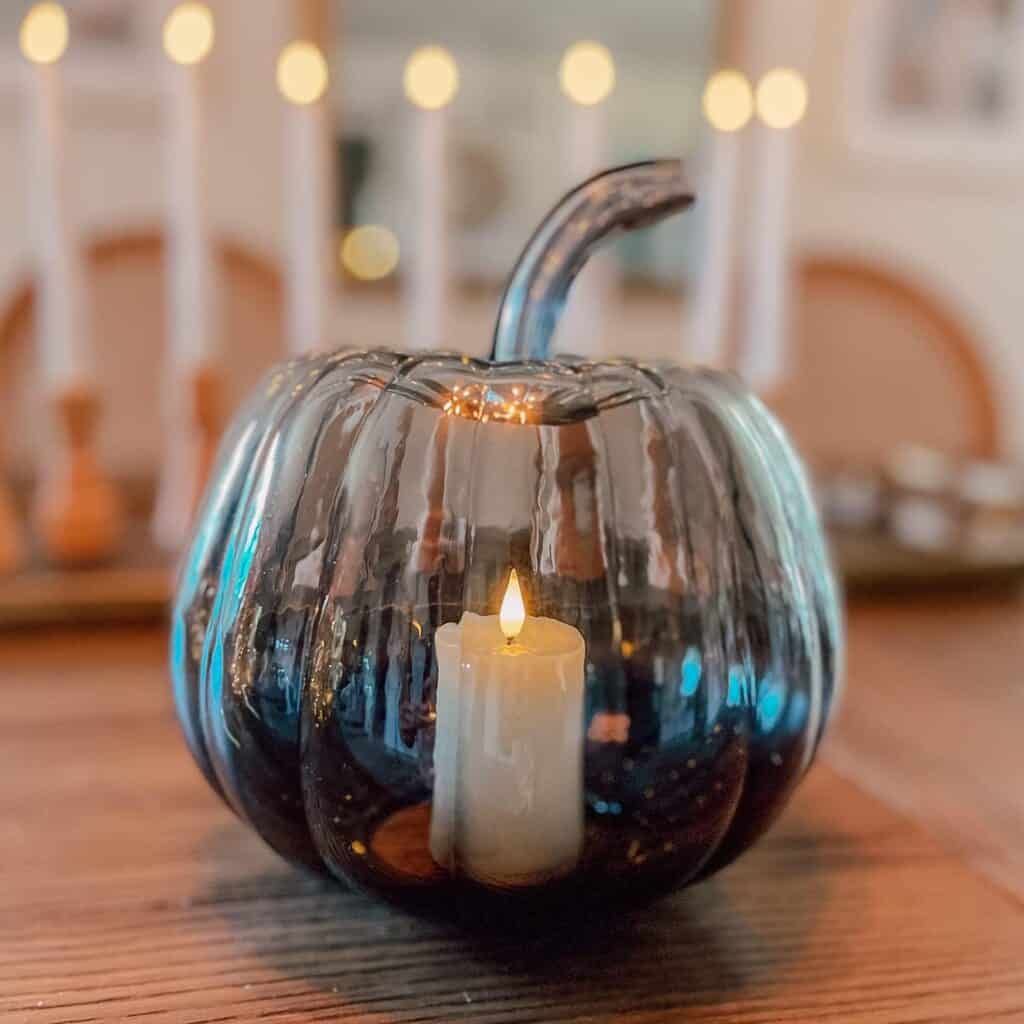
Black glass pumpkins with battery-operated candles inside give off the perfect amount of spooky glow. I also hung string lights above the table for overhead light.
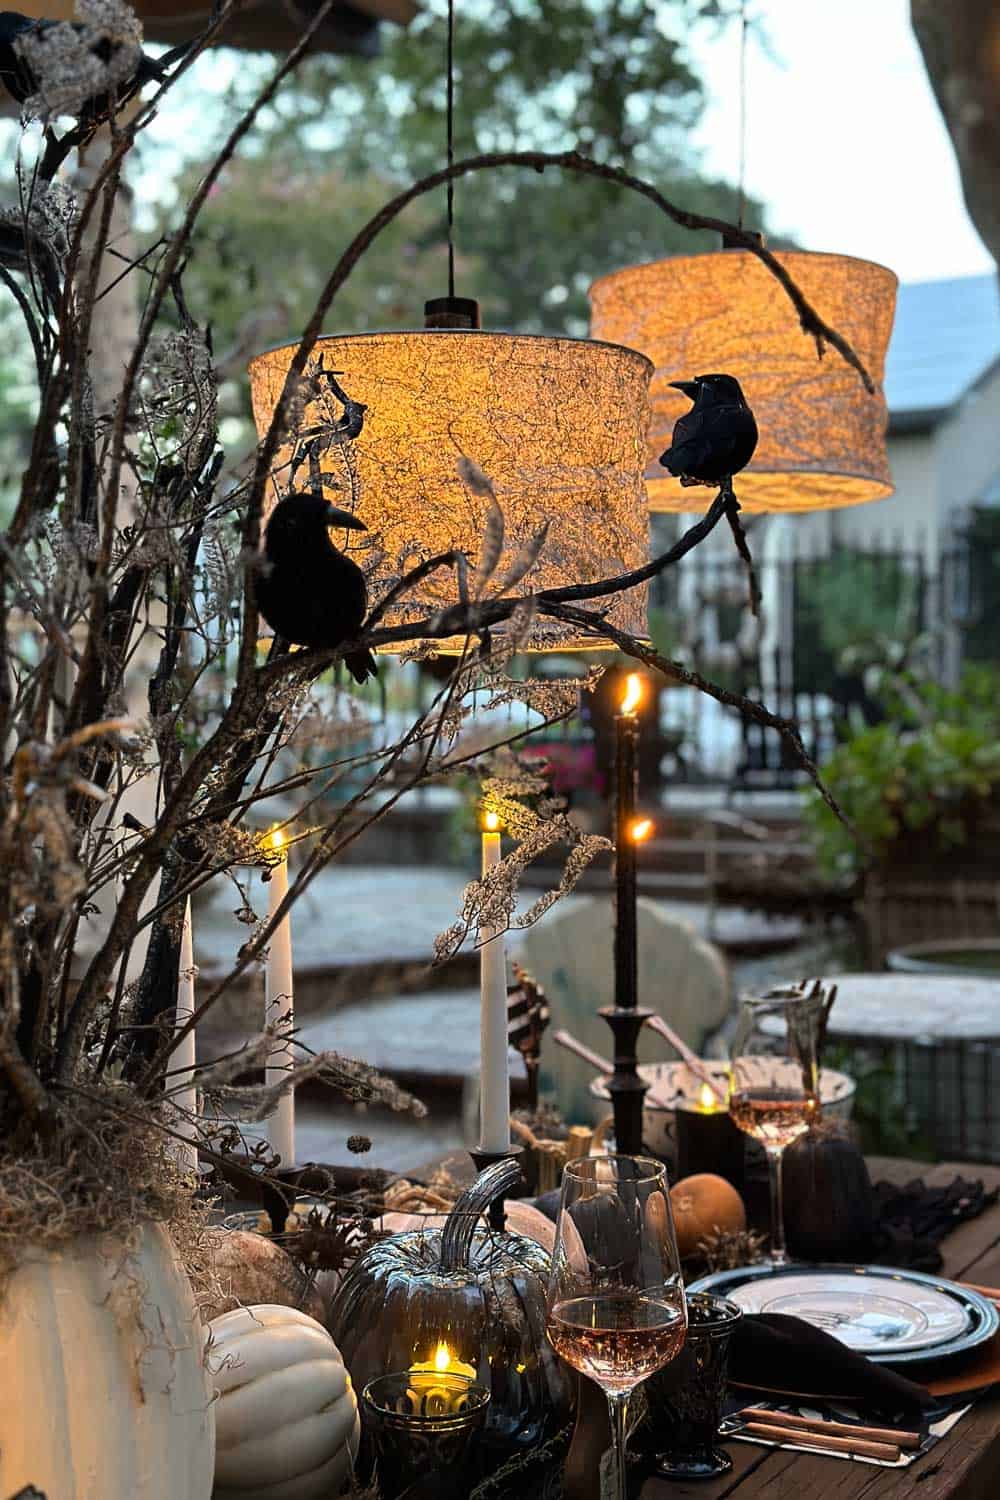
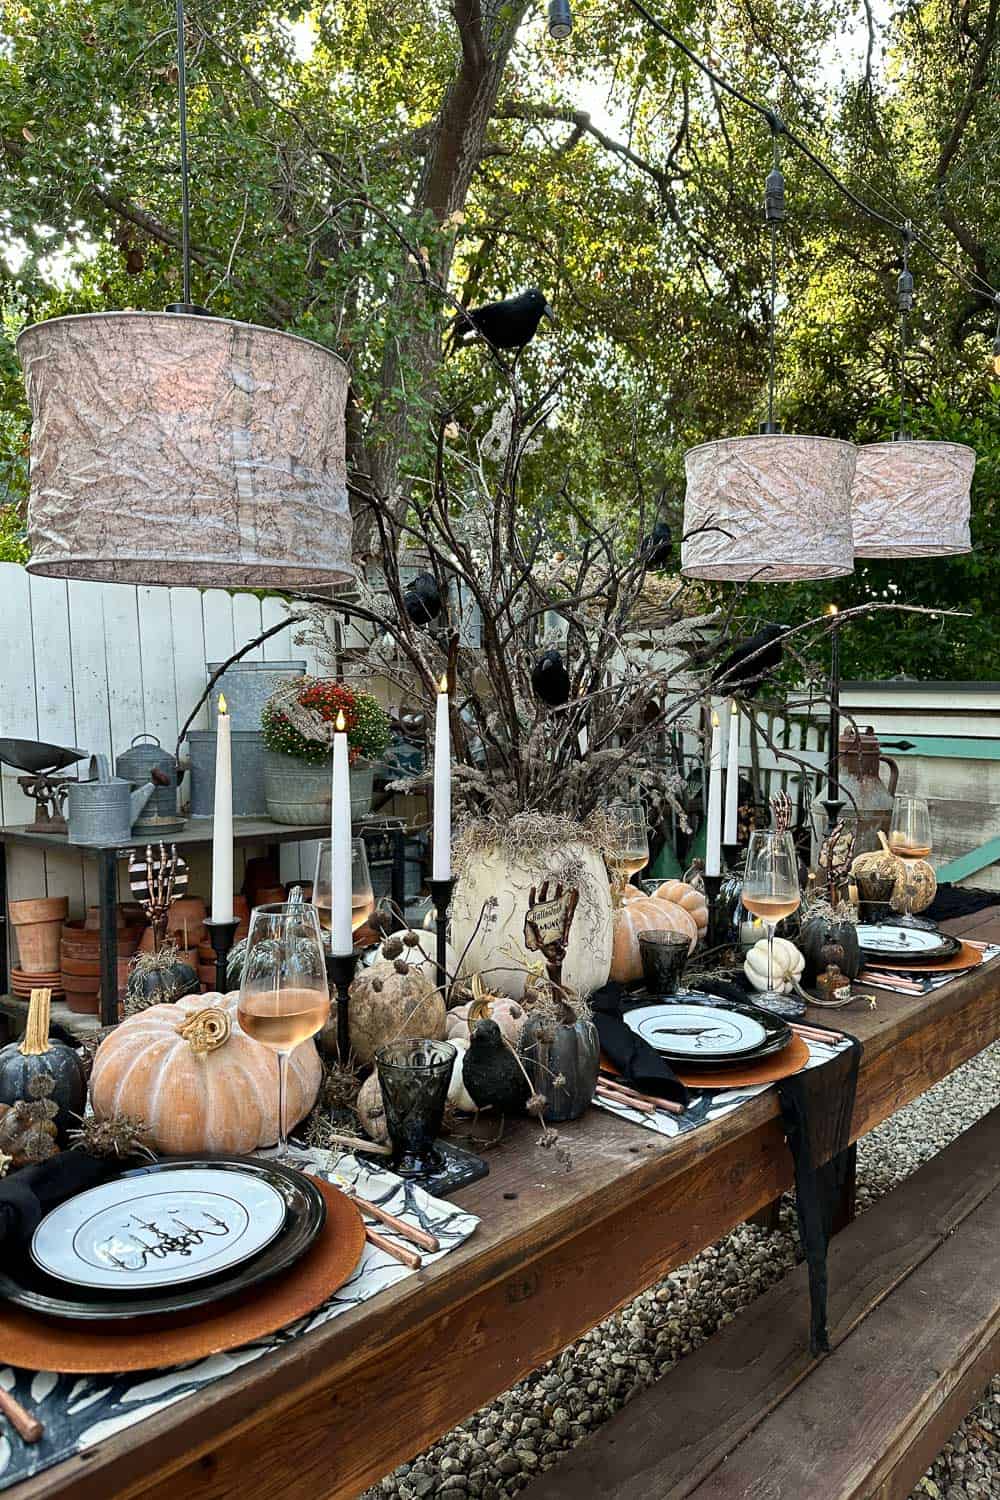
A few years ago I made light fixtures out of garden baskets. For this table, I added an IKEA paper shade with a crinkle paper treatment that gives it a gray, eerie look.
Decorative lanterns with a Gothic or vintage feel cast wonderful shadows. I filled mine with LED candles to keep things safe outdoors.
Finally, tiny fairy lights add a bit of whimsy. Wrap them around the centerpiece or tuck them into jars and cloches.
Halloween Table Decorations
With the big pieces in place, the decorations are what make the table yours. Here are the DIY Halloween table decor ideas I used to bring the Crow Crossing theme to life.
I started with black candleholders and layered in a mix of battery-operated wax candles, black taper candles, and battery-operated pillar candles to create that eerie glow.
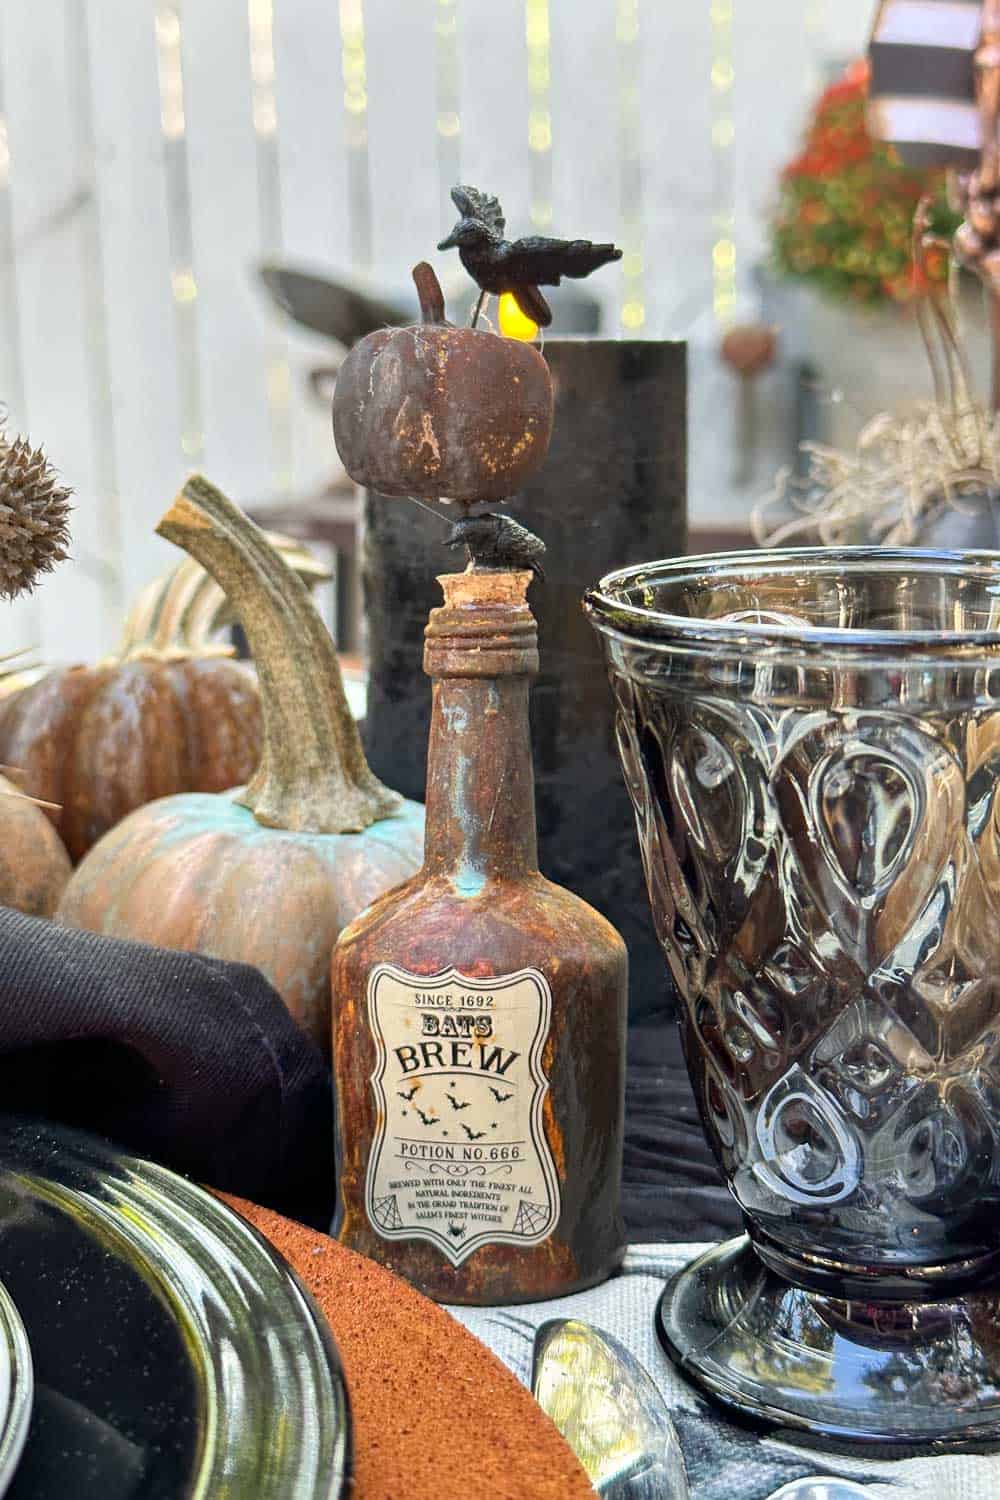
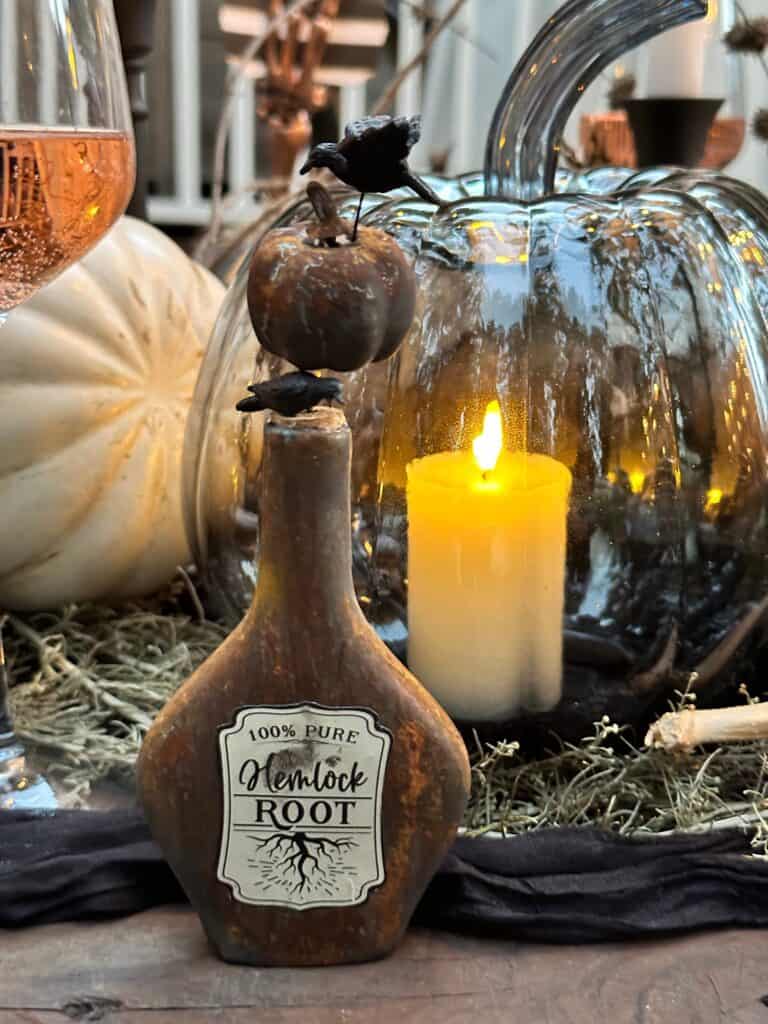
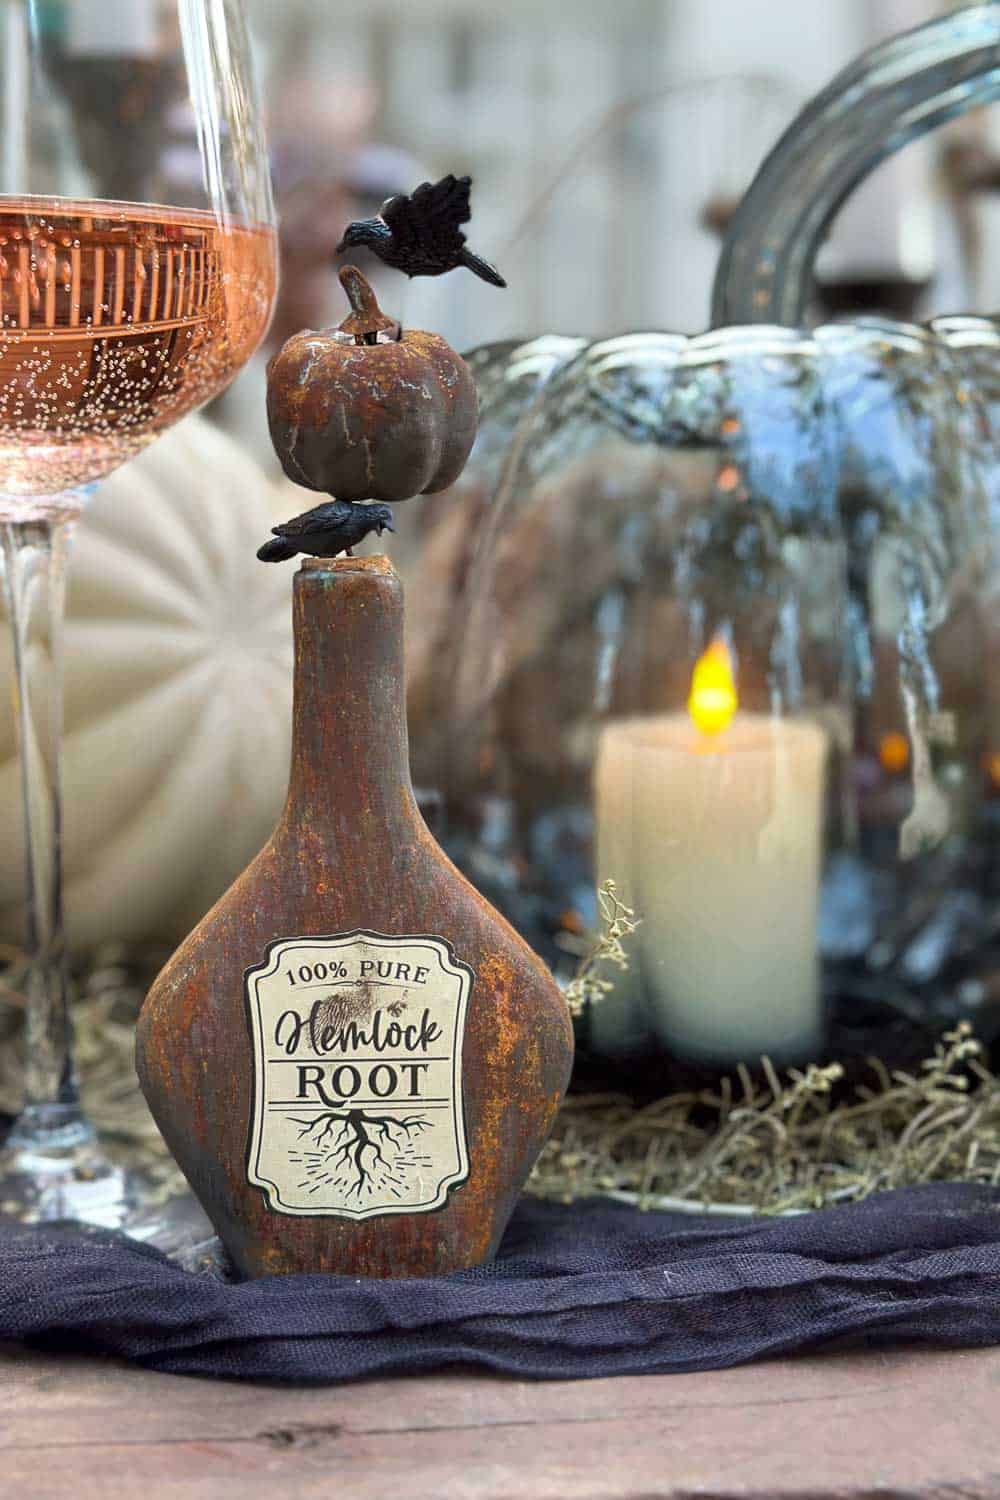
These DIY Halloween apothecary bottles are one of my favorite projects. They are old mini liquor bottles with a rusty patina and apothecary labels, and they give the table a spooky, vintage feel. They also make great favors.
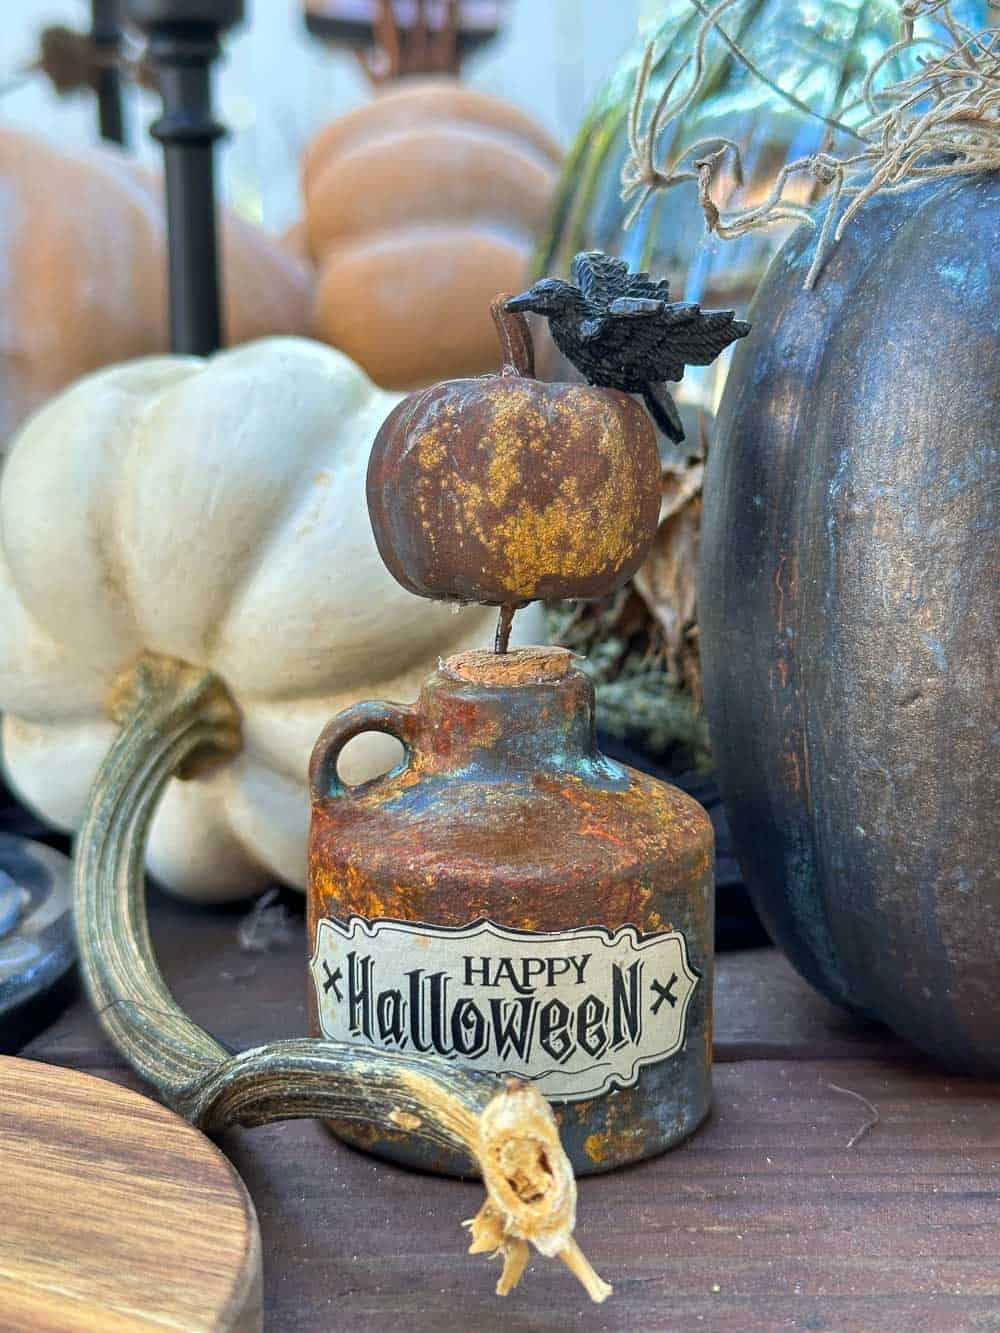
To tie it all together, I nestled DIY terra cotta pumpkins and gourds among dried greenery and thistles, along with a few velvet pumpkins for a cozy touch.
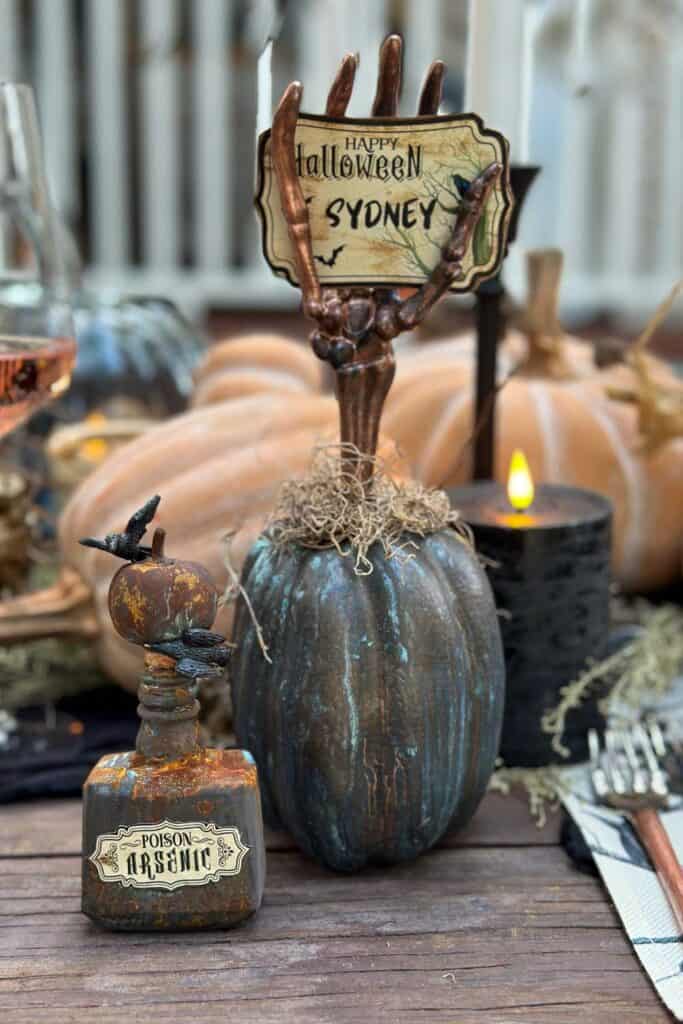
I added some painted patina pumpkins for a bit of aged charm, and hung the DIY crinkle paper lampshades over the table to finish the look.
A few more elegant Halloween decorations to consider:
- Plain fresh pumpkins
- Mini cauldrons
- Stacks of vintage books
- Fresh flowers
- A dried fall flower arrangement
- Black candelabras
- Spiders, spider webs, and skulls if you want to push the creepy factor
SHOP THE LOOK
Personalize your Spooky Halloween Tablescape
Personal touches are what guests remember. They show you put thought into the evening..
My name card holders were another fun DIY: little patina pumpkins topped with a skeleton hand. Whimsical, a little creepy, and easy to make.
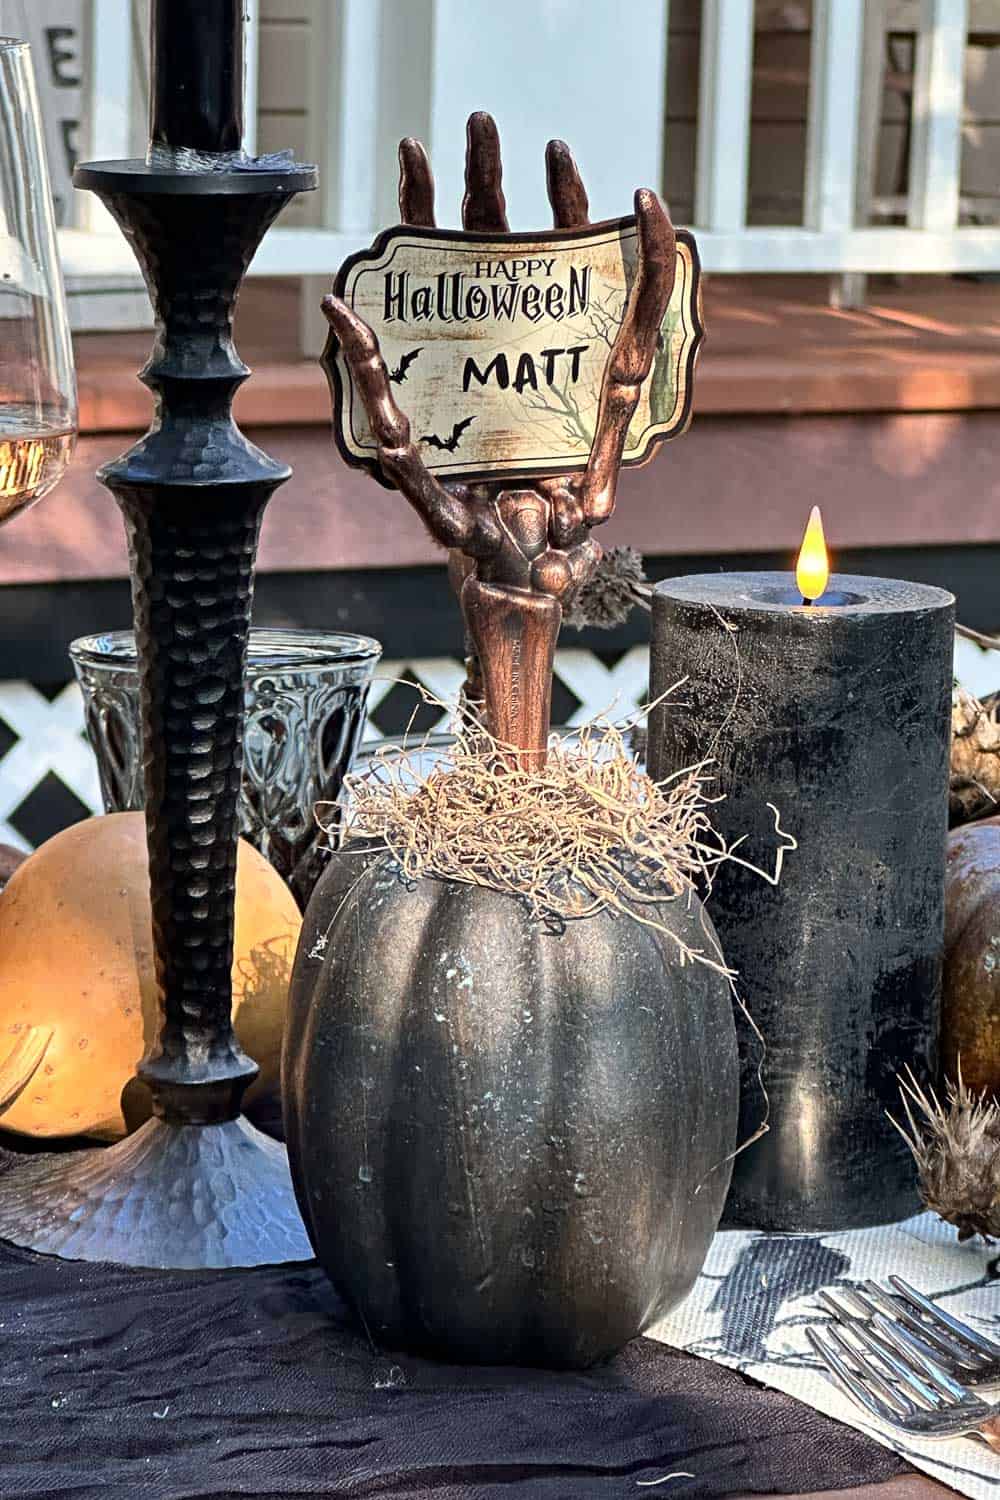
My name card holders were a fun DIY project too—they were little patina pumpkins topped with a skeleton hand, which added a whimsical touch.
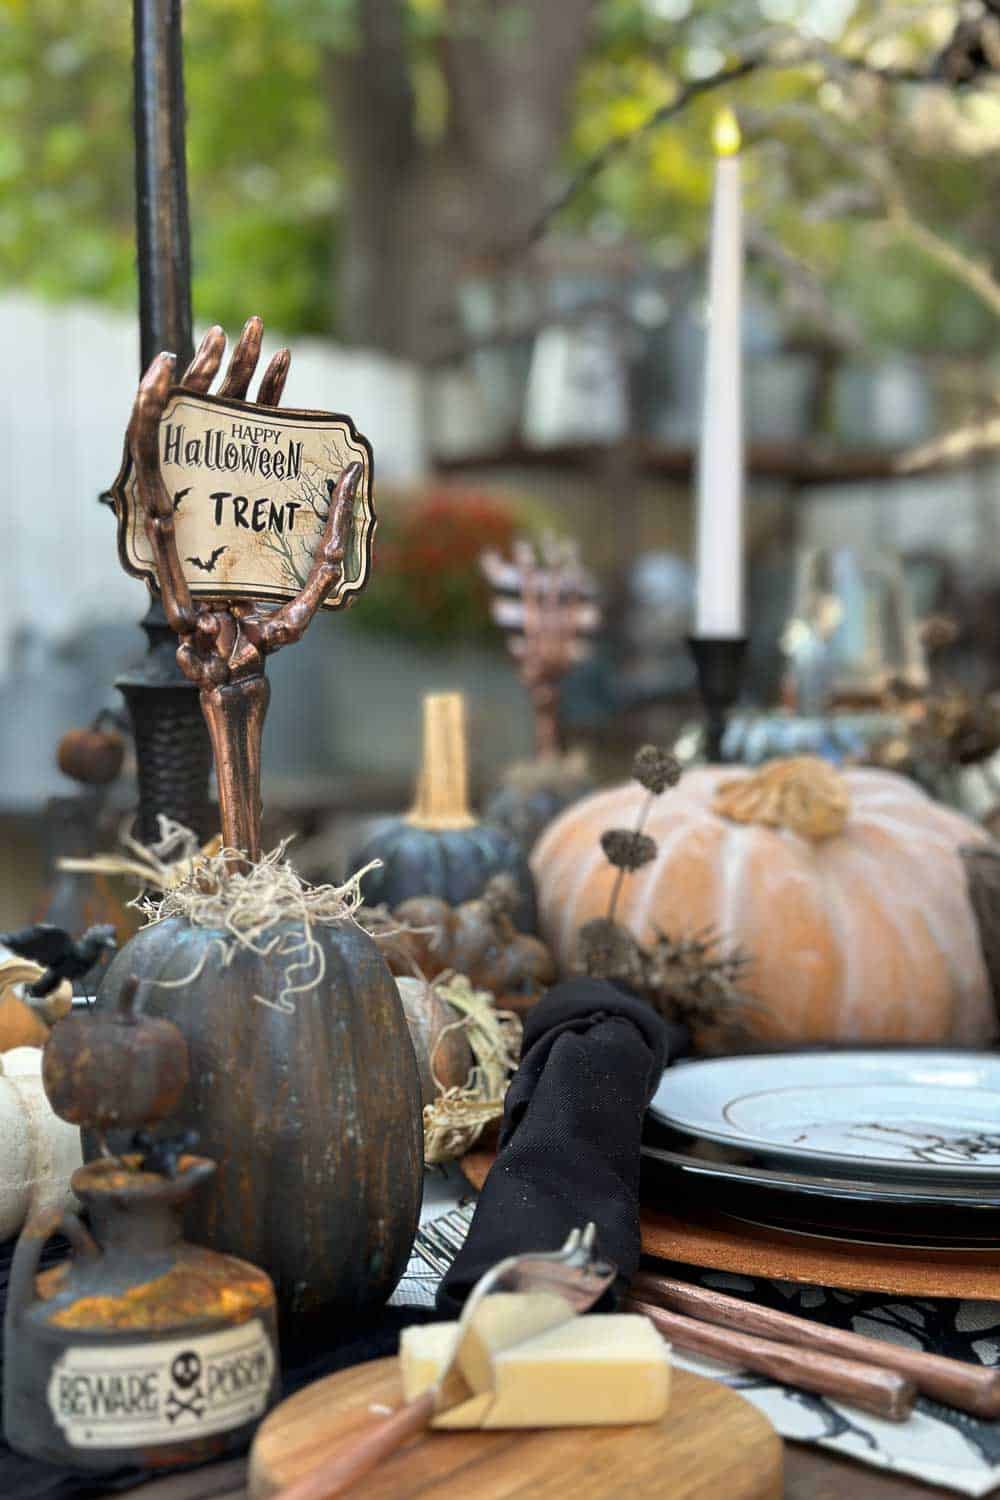
You can download my free Halloween place card printable in the Resource Library.
You can download my free Halloween printable for this place card here.
Final Touches of your Halloween Tablescape
Once everything is on the table, step back and look at it from the head of the table and from the side. Move things until the heights flow and nothing blocks a guest’s view across the table (I removed my Halloween tree once my guests arrived so it did not obstruct their view). Then light the candles and look again. Candlelight changes everything.
Elegant Halloween Tablescape FAQ
Indoors, set the linens, centerpiece, and decorations up to two days ahead. Add dishes, glassware, and napkins the morning of. For an outdoor table, set it the day of and wait until an hour before guests arrive to add anything that can blow over or collect dew.
Use battery-operated candles for most of the table and tuck any real candles inside lanterns, hurricanes, or glass pumpkins. Set the table near a wall, hedge, or fence to block wind, and skip real tapers entirely if the evening is breezy.
Yes. White dishes look elegant against black linens and dark chargers. Add a black napkin, a dark charger, or one small spooky accent at each setting and the white plates will read as intentional.
Remove the crows, Halloween tree centerpiece, skeleton hands, and apothecary bottles. Swap the black napkins for rust or cream, add fresh fruit and greenery to the centerpiece, and keep the candles, chargers, and pumpkins. Most of the base carries straight through November.

More Halloween Ideas from WM Design House
If you love this spooky and elegant Halloween tablescape, you might also enjoy some of my other favorite Halloween ideas
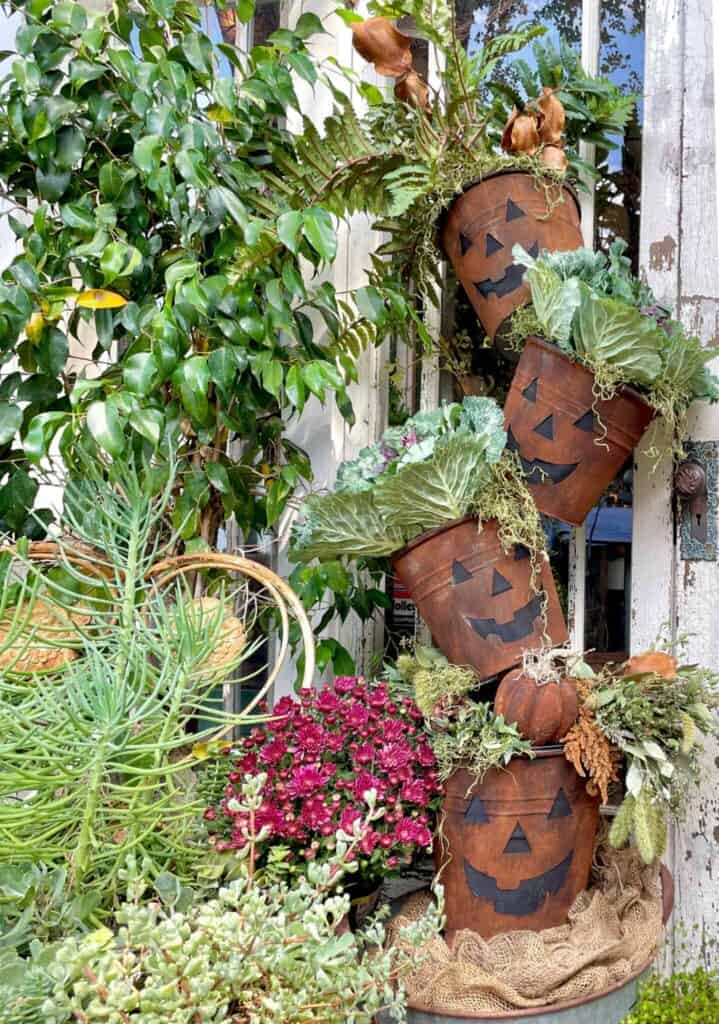
And if you have a few old trick-or-treat buckets in the garage, turn them into DIY Halloween lanterns for the porch.
Wrapping Up
I hope this gave you some ideas for setting your own elegant Halloween table. Start with a dark palette, add more candles than feels reasonable, and let one natural element carry the theme. That is really all it takes.

More Halloween Tablescape Ideas
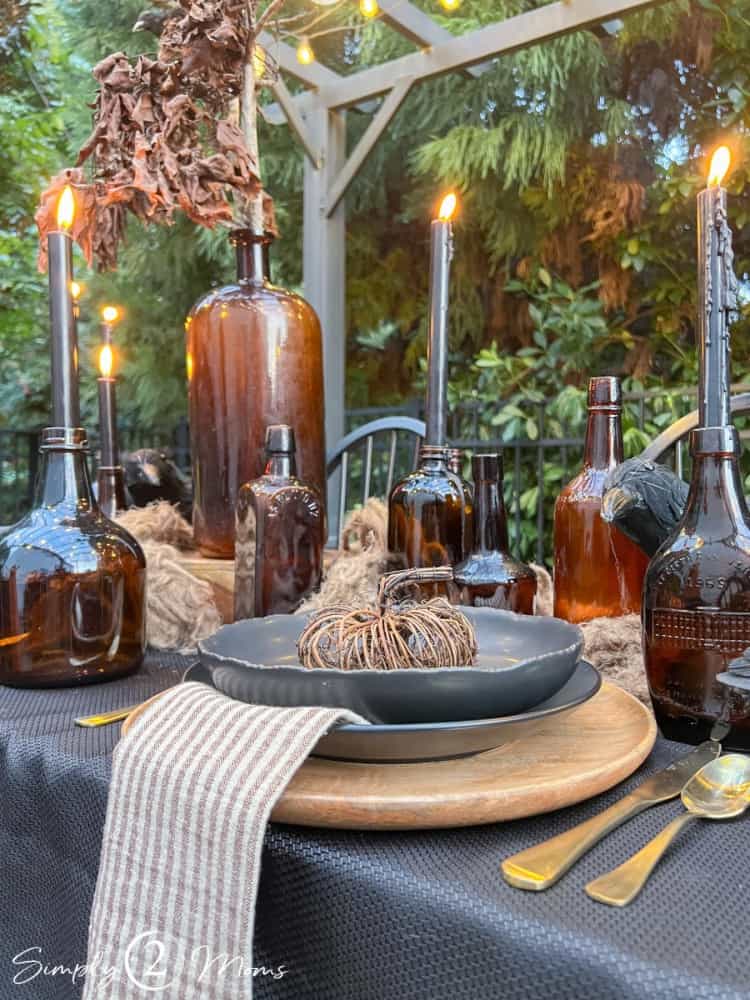
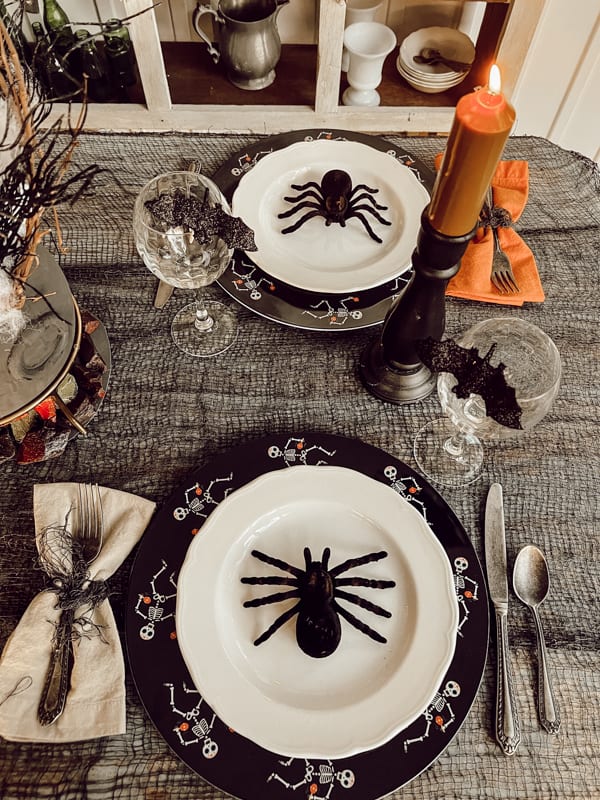
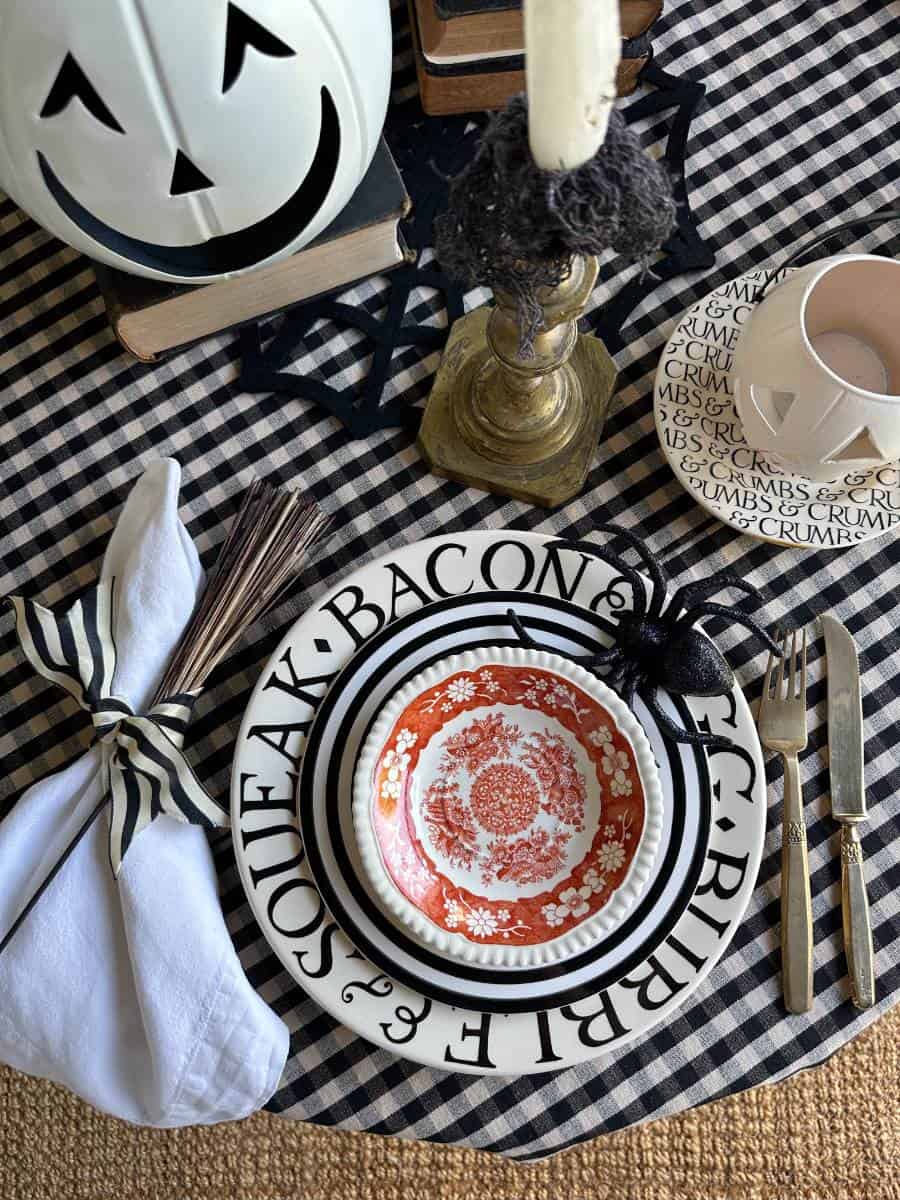
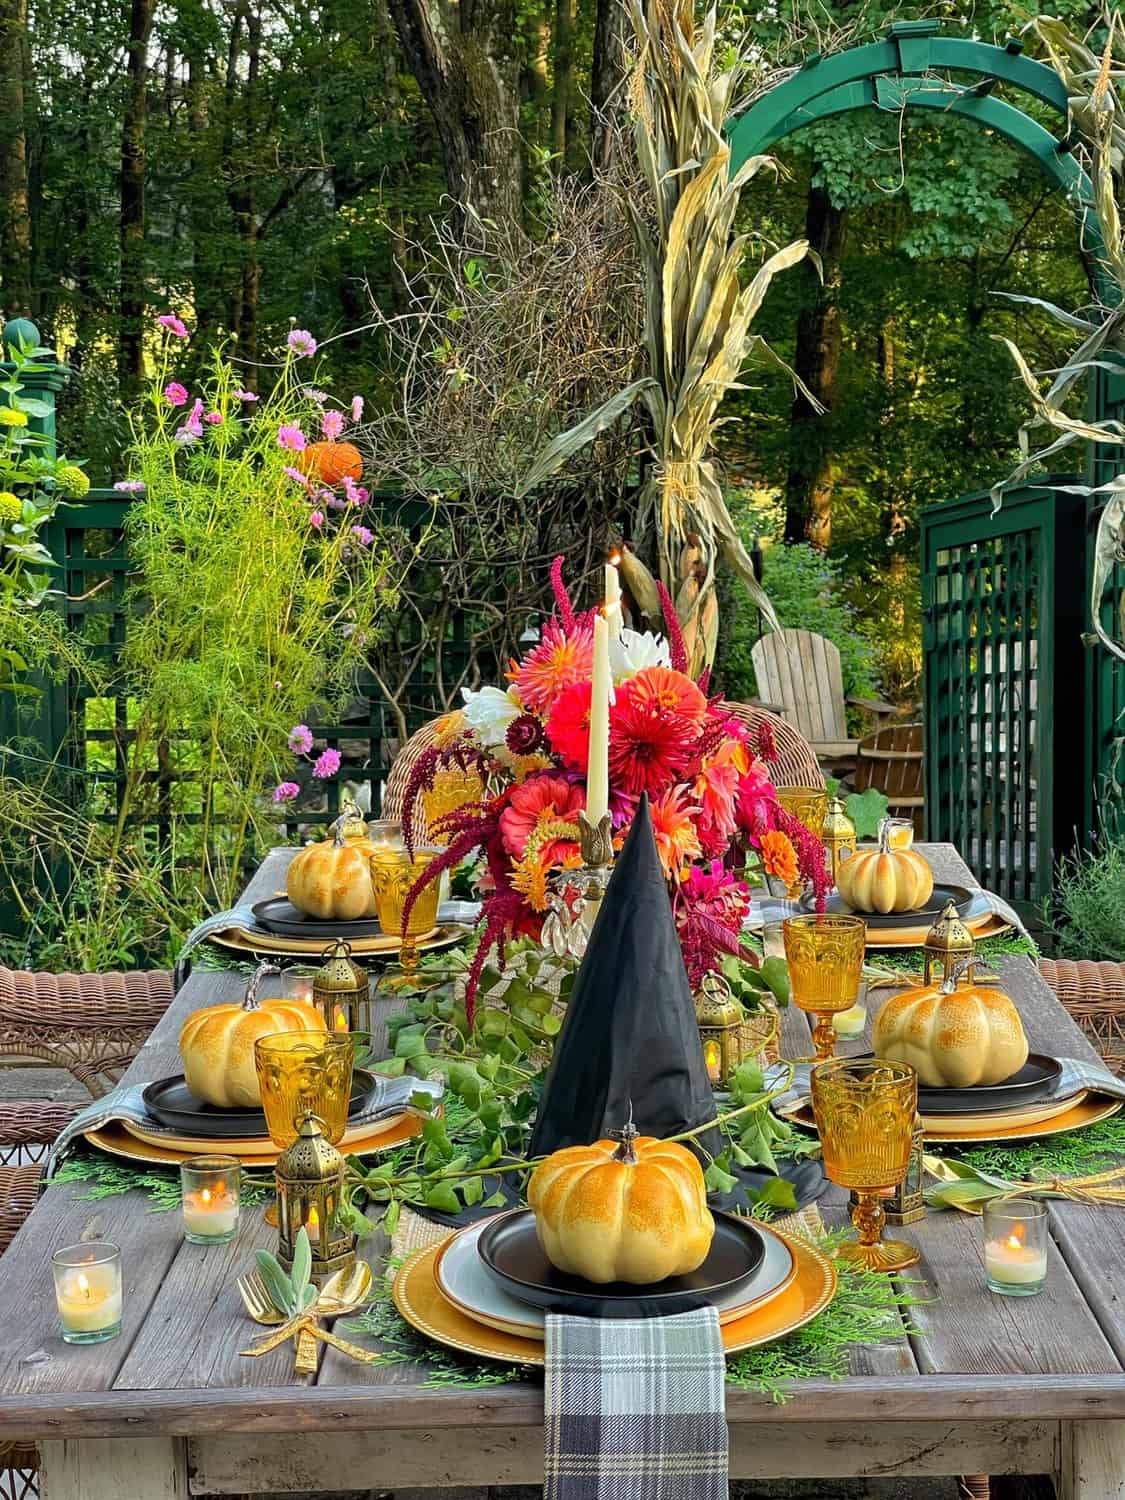
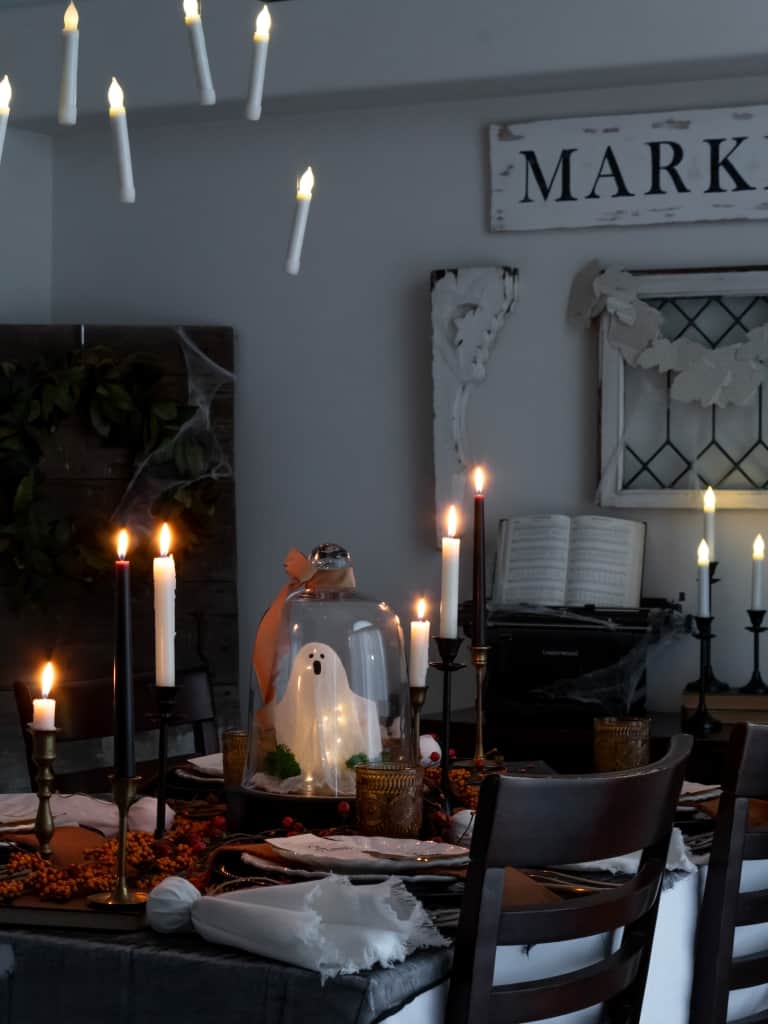
This table was part of a Halloween blog hop with the Virtual Supper Club. Thank you to the ladies for having me! Click on each photo below to see their Halloween tables.

More about me!

Hello, I’m Wendy – a dedicated homemaker with a deep passion for decorating, gardening, cooking, and crafting. I find joy in harmonizing beautiful elements to fashion a space that is both comfortable and inspiring. I will help you create a beautiful home, one project at a time.
good
I am so in love with your Halloween table, Wendy! Can’t wait to share it tomorrow on my Saltwater Sounds.
Thank you for sharing, Kim. I appreciate it!
Wow Wendy! This is amazing. So many fabulously spooky details. You didn’t miss a thing. Your guests are in for a treat! XO- MJ
That is so sweet of you MaryJo. Thank you! This was such a fun table to style. My grands loved it!
This is amazing! I love the centerpiece!
Thanks so much, Susan!
Wendy, This is just amazing! I love all of the details you put into this fabulous table! You have shared all of the things anyone would want to create their own ‘spooktackular’ Halloween tablescape! Great job!!
Thank you so much, Chloe. I appreciate your sweet comment. I’m sorry for being so late to respond. I was traveling for two weeks and all I could do was get my posts out, yikes
this blogging life is not easy, is it?
How spooky, Wendy. SO perfect for Halloween. I absolutely love it! So glad you could join us this month for supper club. I hope you can do it again sometime.
Hi Jen, thanks so much. I had so much fun joining you ladies for this fall table hop.
So fabulous!
Thank you!
Wendy this is such a fun tablescape!
Thank you, Elizabeth.
Thanks so much for joining us this month. You’ve created a stunning Halloween tablescape. Love everything about your design from the skeleton placecard holders to the lighting above the table…just perfect!
Thanks so much for having me. I had so much fun creating this fun table and sharing all of your pretty tables.
Wow, Wendy!! You’ve totally outdone yourself on this table. It’s AMAZING!!! You used so many cool elements and decor pieces..when I look at your photos I can feel what that table is like in person. How clever to cover chargers with cinnamon for a spooky look!! Pinned!
Rachel, your kind comment means a lot. Working on this project was an absolute blast, and I’m eagerly looking forward to sharing all the DIY projects related to the table with everyone.
Your table looks fabulous Wendy! Every detail was amazing! I’m so glad you joined us for the dinner club this month.
Thank you, Michele. It was so fun to hop with your super club today.