
Halloween decorating ideas do not have to mean a garage full of plastic and a weekend of work. Most of my favorites started with something I already owned, something I found at a thrift store, or something I picked up off the ground in the backyard.
Here are the projects I come back to every October, grouped by where they go in the house. Some have full tutorials. A few are so simple they only need a sentence.
On my blog WM Design House, I may sometimes use affiliate links, which means a small commission is earned if you purchase via the link. The price will be the same whether you use the affiliate link or go directly to the vendor’s website using a non-affiliate link. Read my full disclosure policy here.
The Short Answer
The easiest Halloween decorating ideas start with what you already own. Paint plastic trick or treat buckets into glowing lanterns. Turn thrifted sweaters into pumpkins. Build a wreath on a witch hat frame and gather branches from the yard for a broom. Limit your palette to black, brass, and one warm neutral, and the whole house pulls together for under fifty dollars.
Halloween Decorating Ideas for the Front Porch and Entry
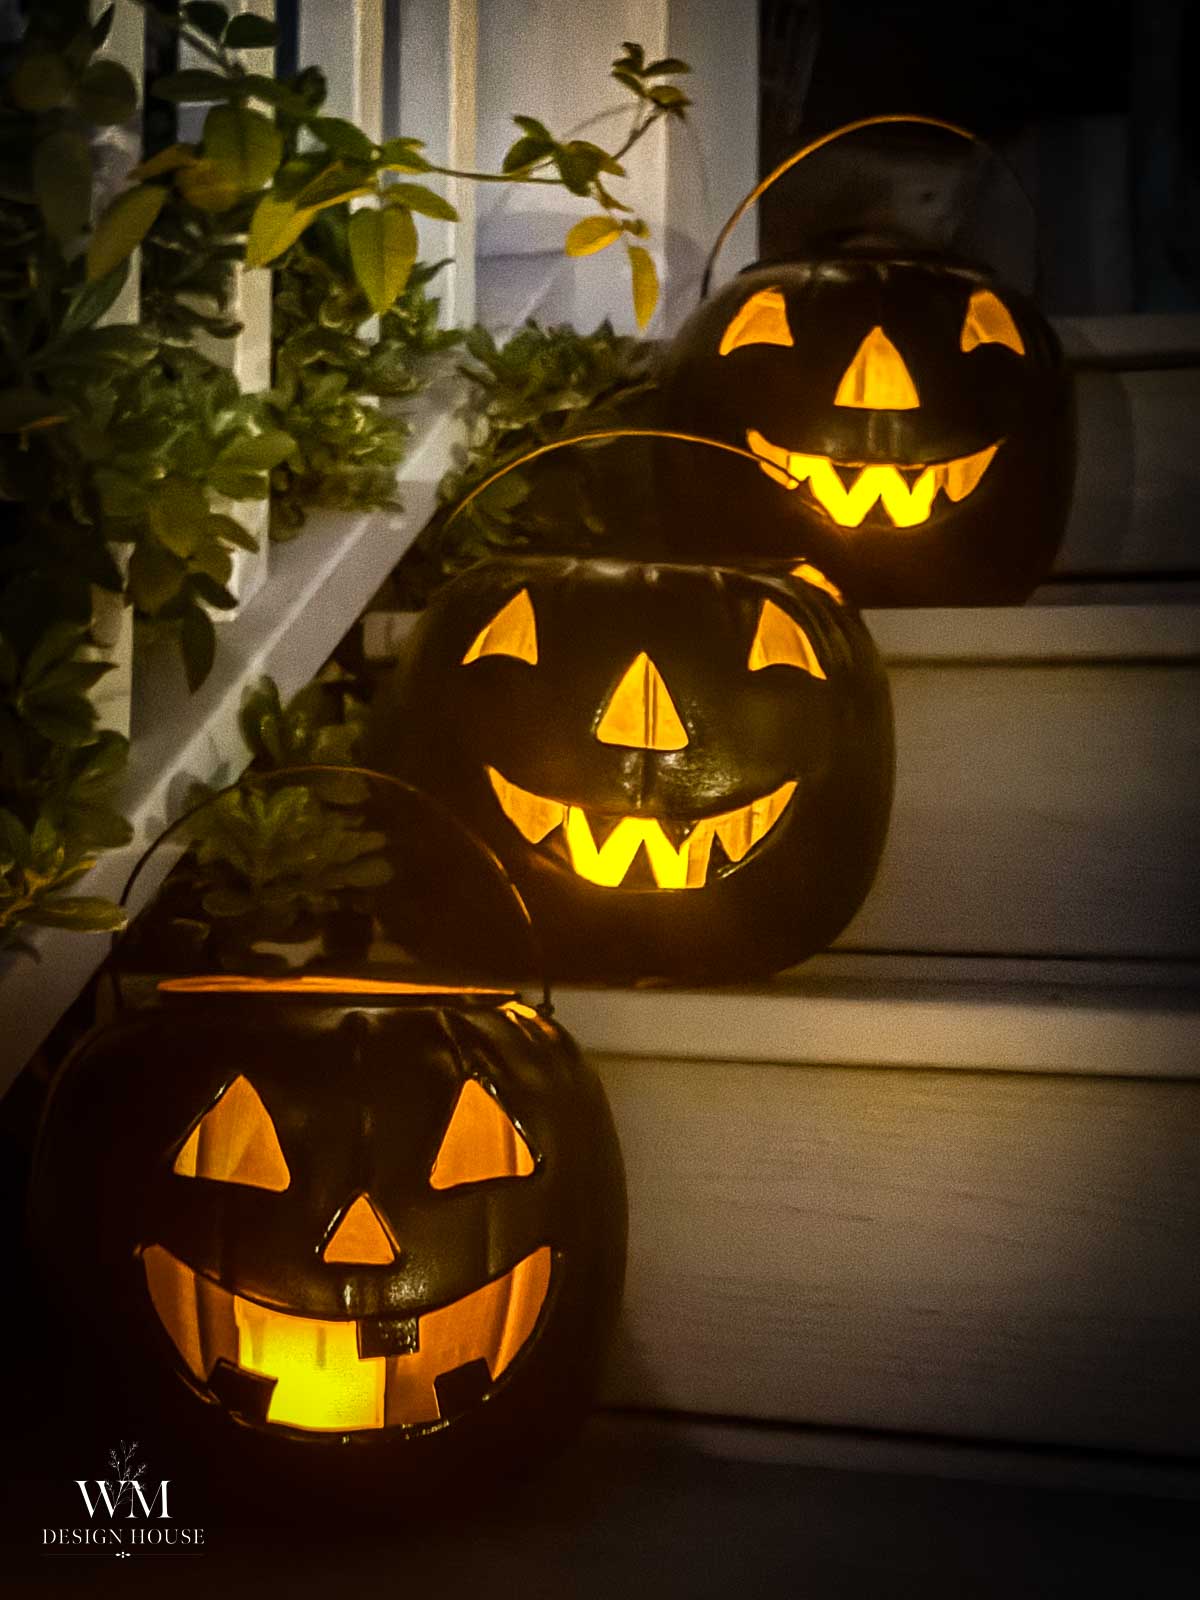
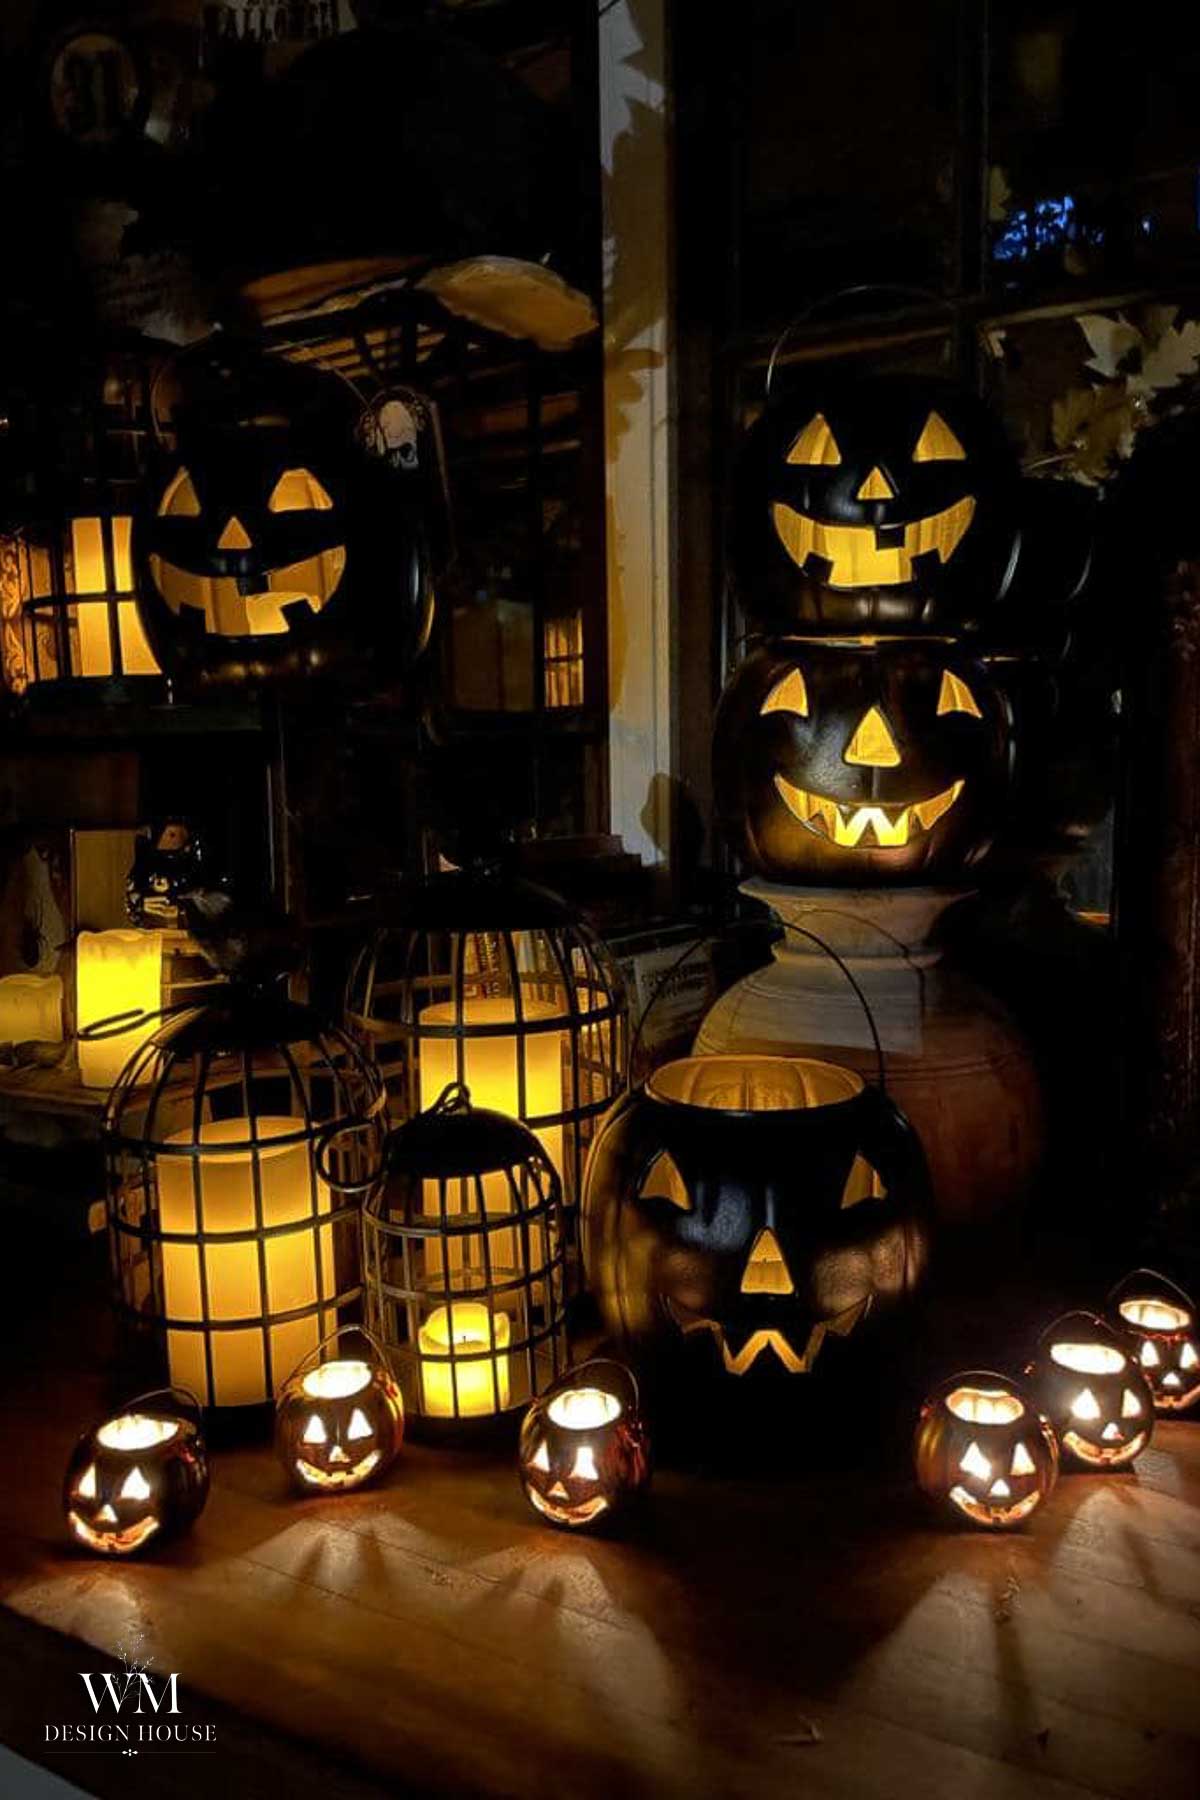
1. Jack O’ Lantern Lanterns from Trick or Treat Buckets
Plastic trick or treat buckets, a craft knife, and a little paint. Gold on the inside, black on the outside, and a battery tea light. They come back out every October and they store inside each other in a single bin.
Here is the full tutorial for these DIY Halloween lanterns from trick or treat buckets, including how to fit a tea light inside the small ones.
2. Outdoor Jack O’ Lantern Pumpkin Topiary
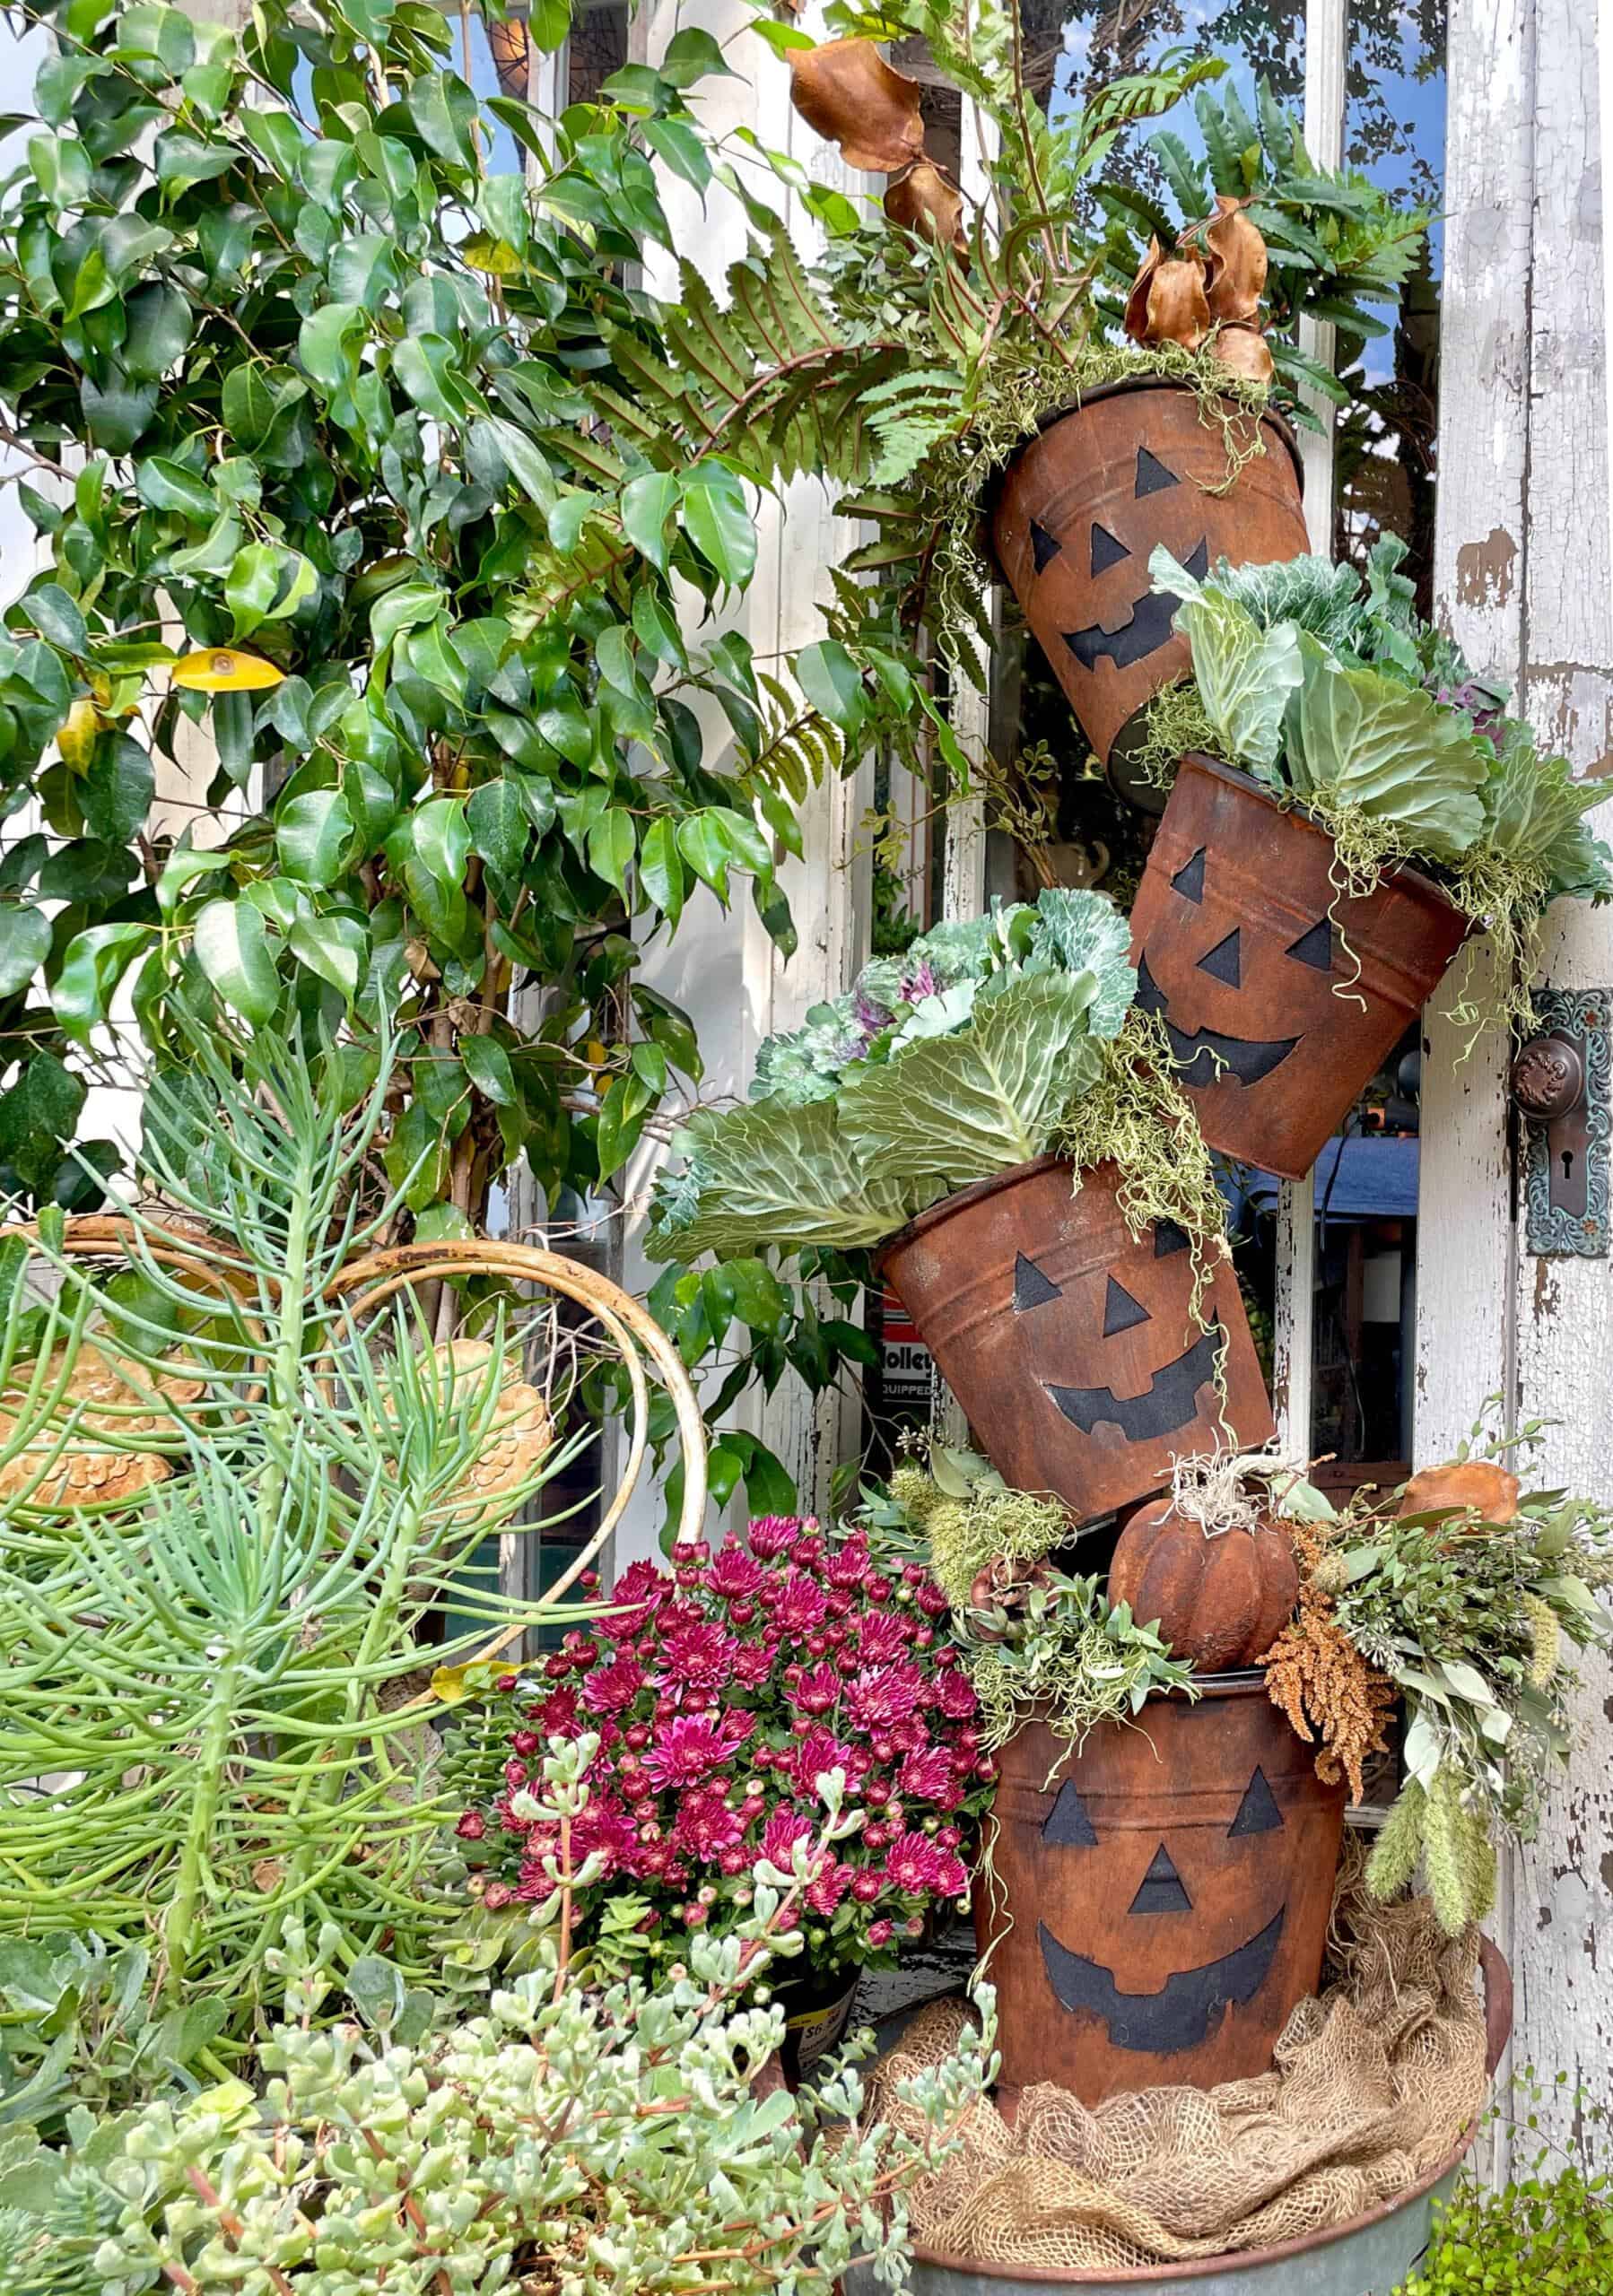
A tier of pumpkins by the front door, stacked and finished with moss and a few foraged pods. It reads as a real topiary from the street and it takes an afternoon.
Here is how to make the easiest outdoor pumpkin topiary, start to finish.
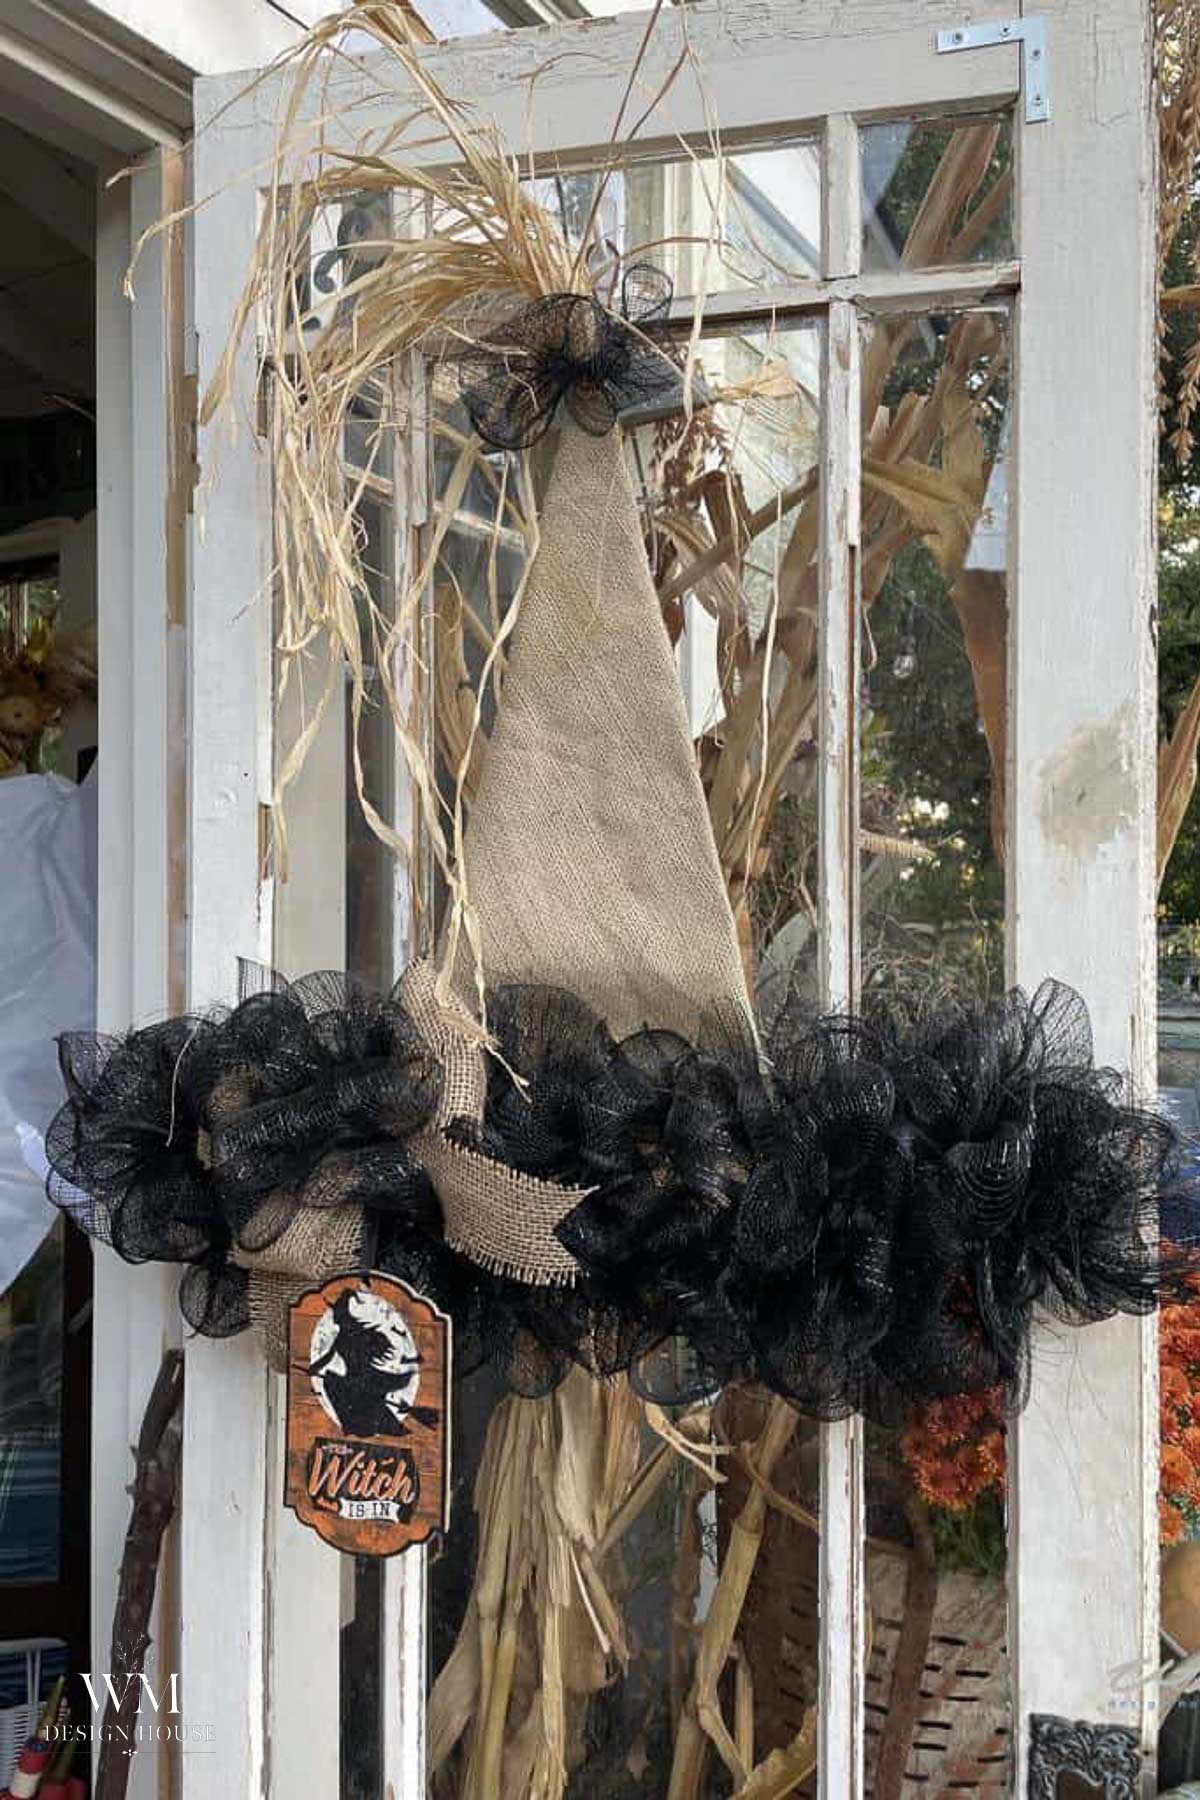
3. Witch Hat Wreath for the Front Door
Creating a DIY witch hat wreath for Halloween is a fun and simple project that anyone can do. With just a few basic craft supplies, you can whip up a unique piece that adds a playful touch to your Halloween designs.
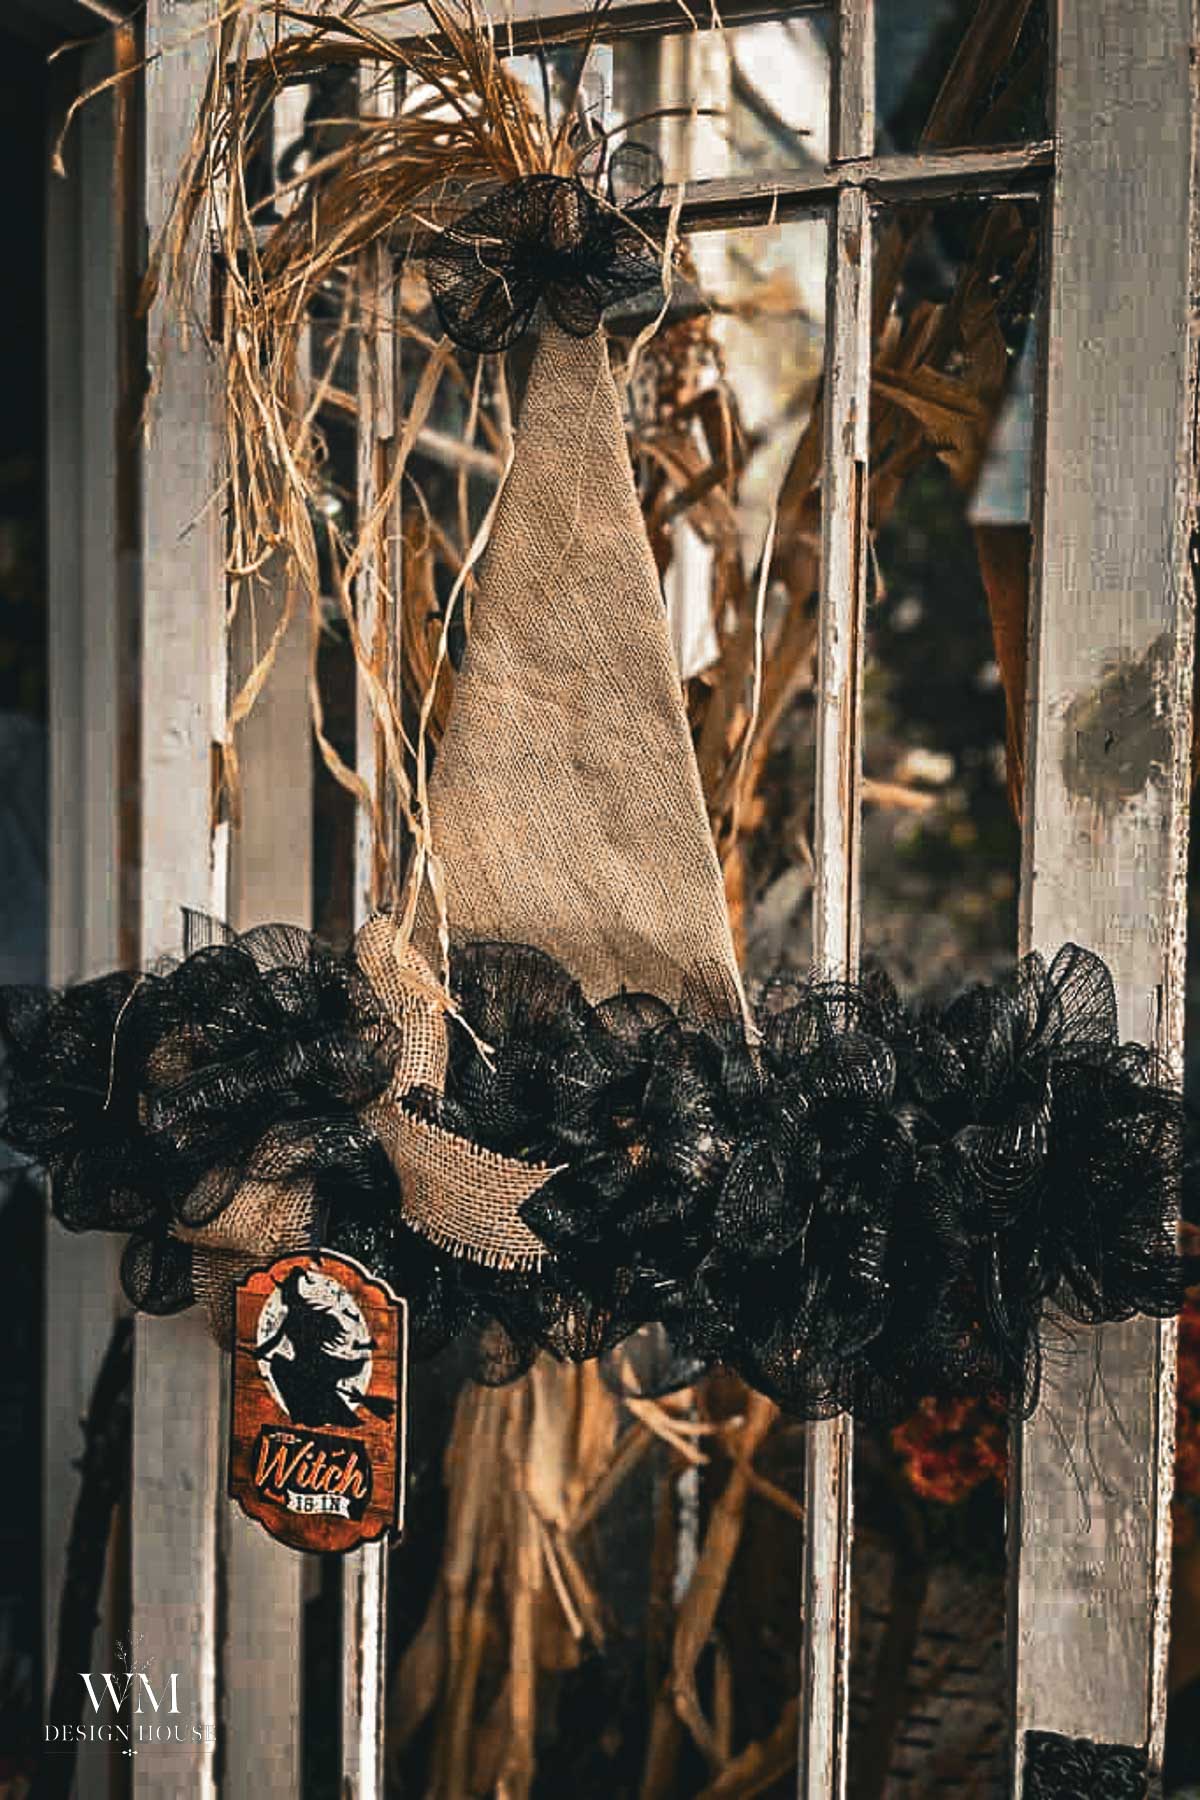
It’s the perfect way to get into the spooky spirit without spending a lot of time or money. Plus, this wreath is a great way to add some creative Halloween decorations to your front door or entryway.
Here’s everything you need to make your own!
Materials Needed
Step 1: Cover the Hat Wreath Frame
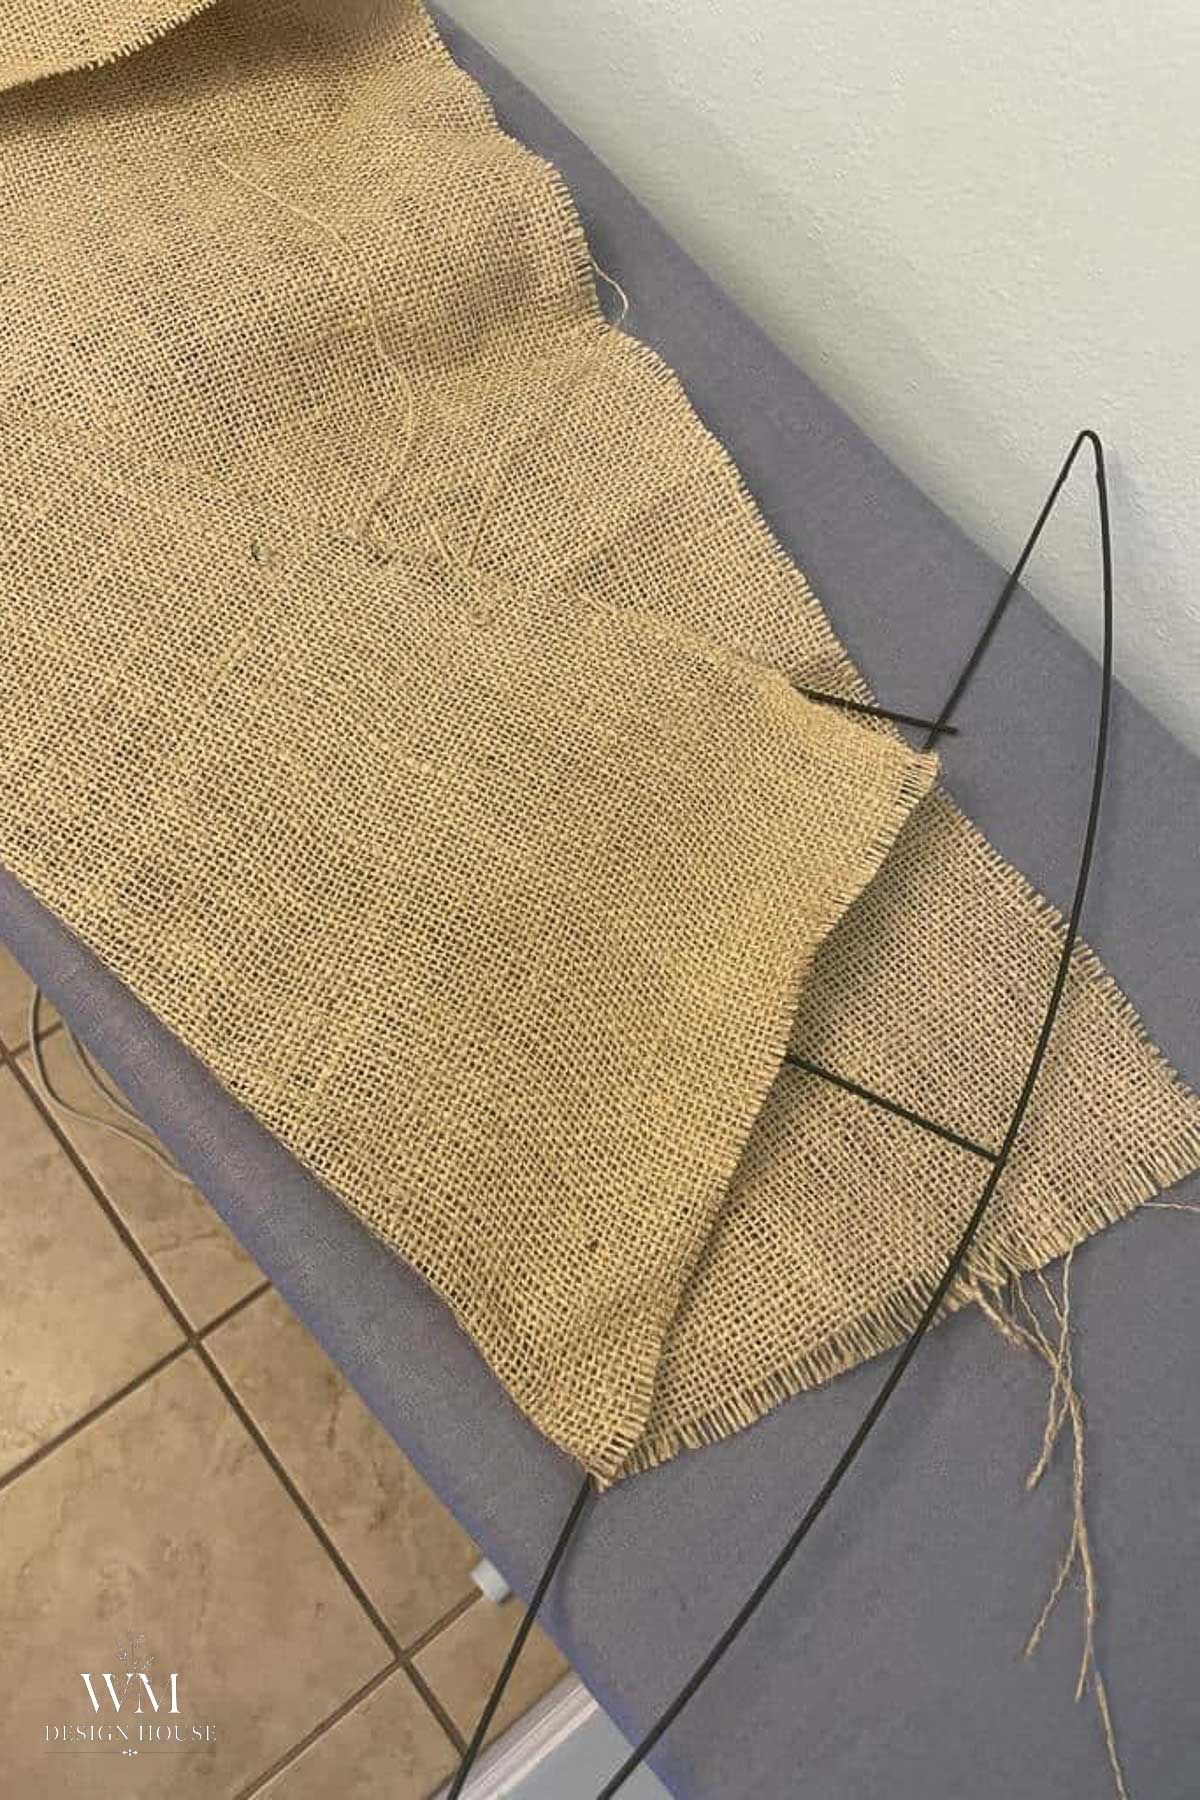
I started this project by grabbing a simple witch hat metal frame as the base.
Then, to begin decorating the hat, take a piece of burlap and carefully wrap it around the top part of the frame.
Using a hot glue gun, secure the burlap in place, making sure it is smooth and snug. This adds a rustic touch, setting the stage for the rest of the wreath.
Step 2: Create the Witch’s Hat Brim
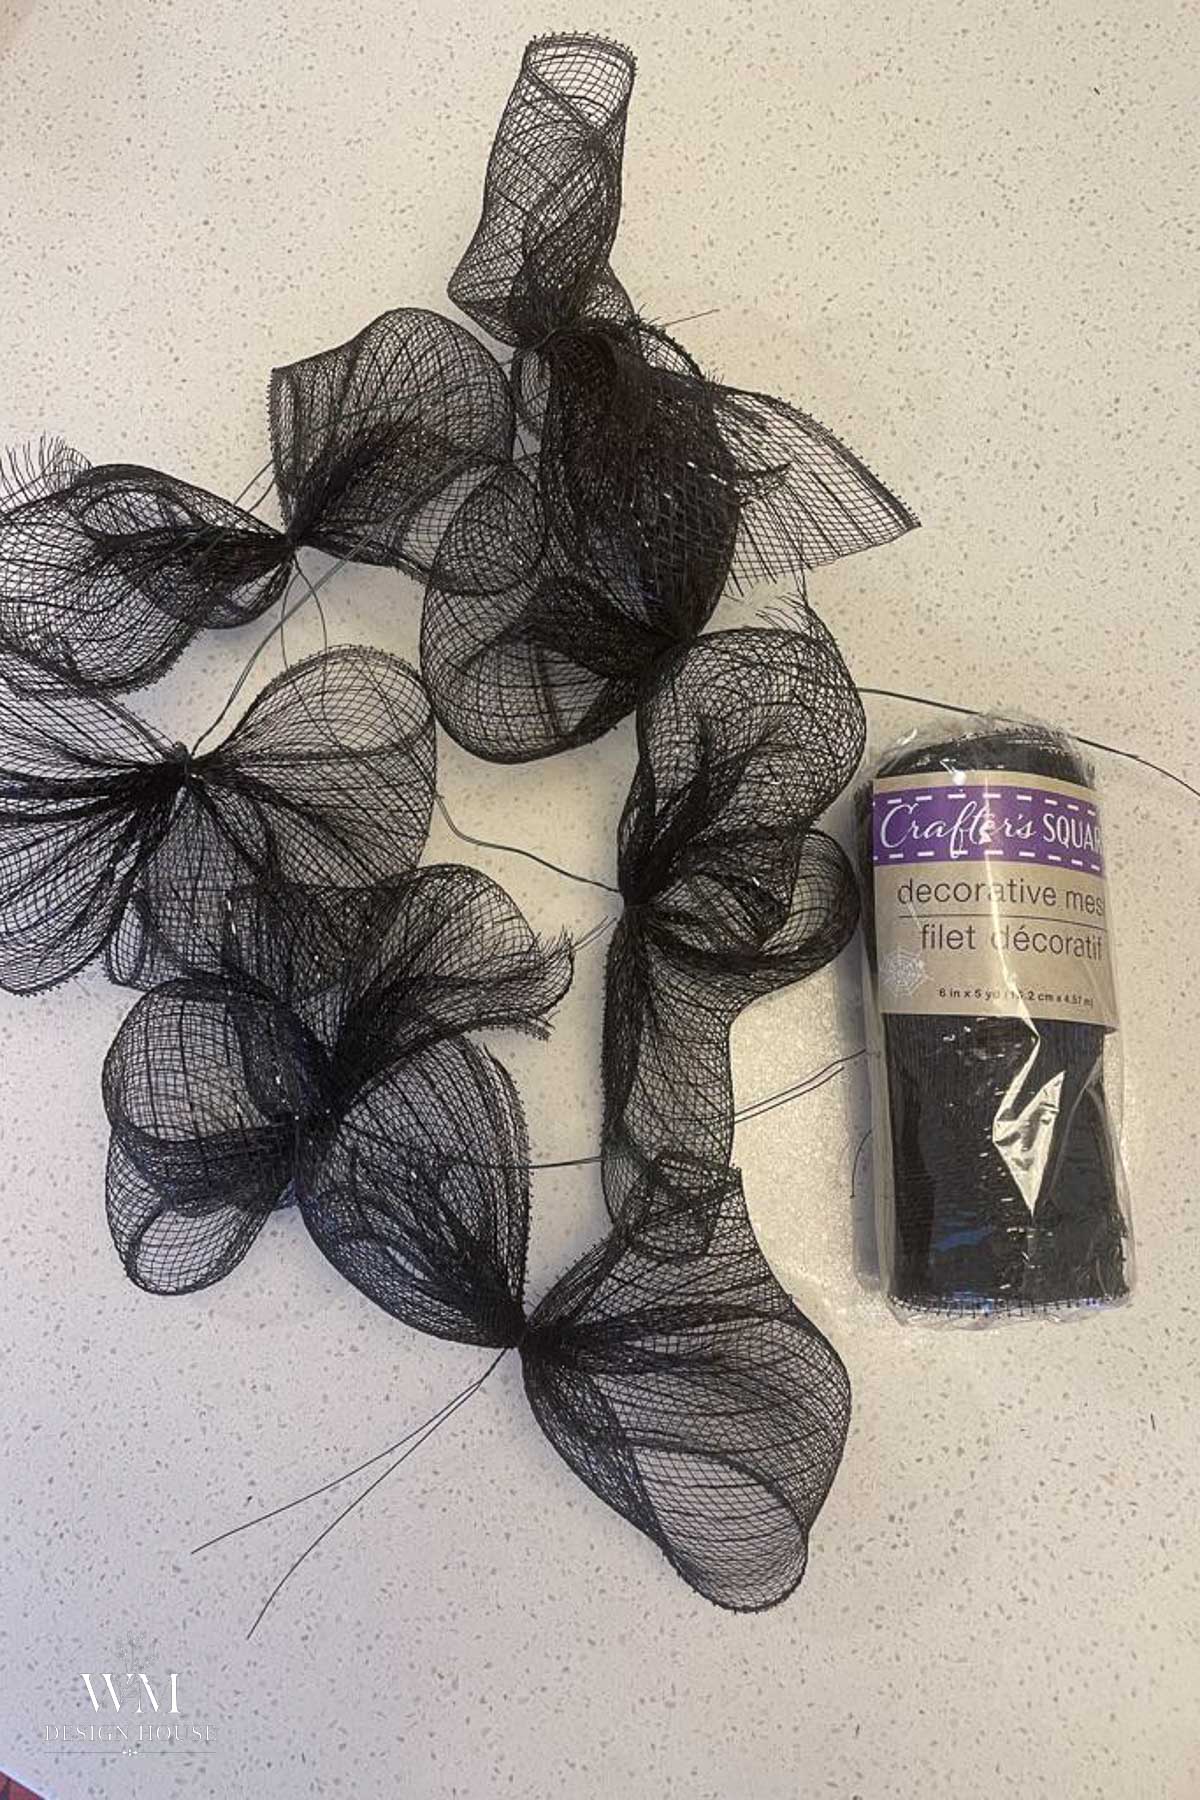
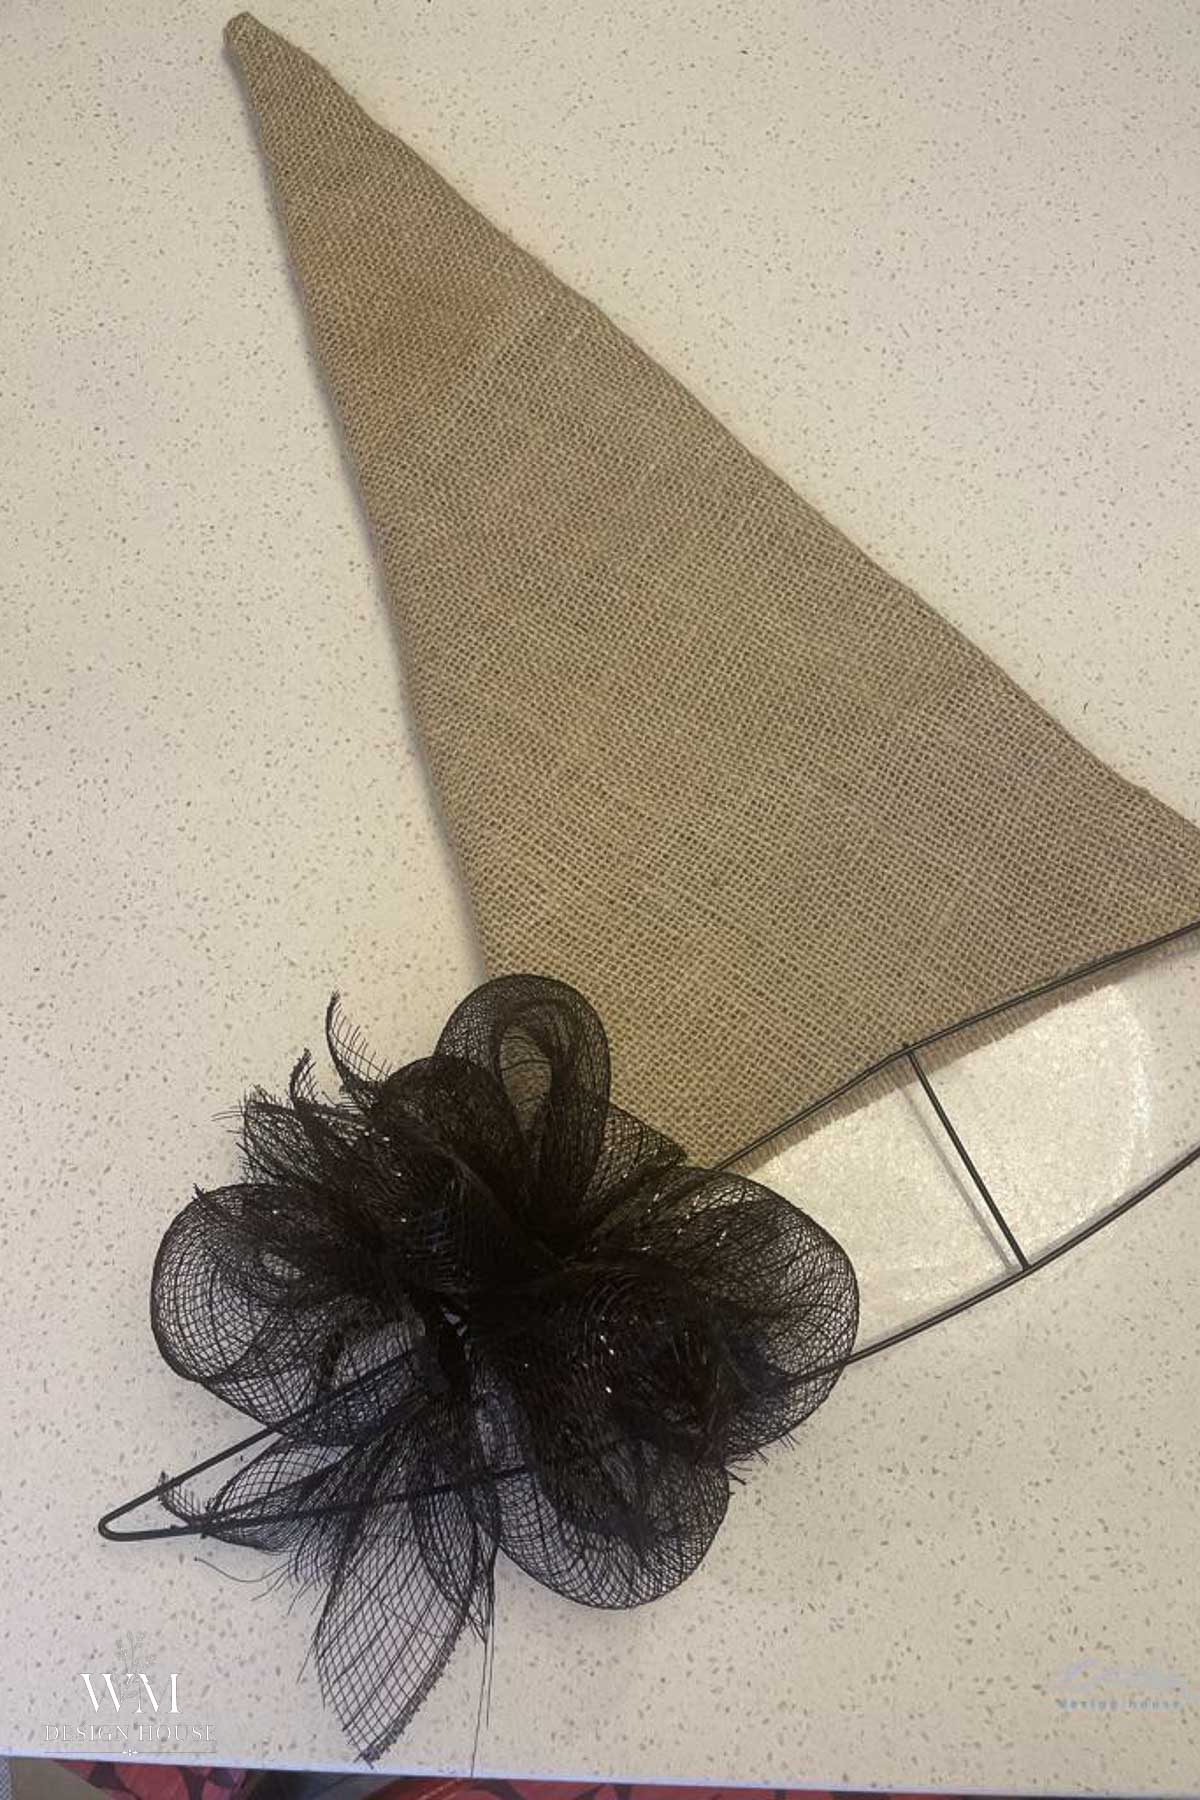
Next, use some black mesh netting to create the brim for your witch hat.
Cut the mesh netting into 12 inch pieces and fold each one in half. Twist thin craft wire or floral wire around the center to pinch it into a loose bow shape. Leave the wire ends long, since that is what attaches each bow to the frame. Three full rolls of Dollar Tree mesh will make enough bows to fill the brim.
Step 3: Add the Finishing Touches
To finish my Halloween wreath I gathered a small bunch of natural raffia and hot glued it to the top of the hat along with one piece of the black mesh netting.
Then I added a burlap ribbon bow to the brim and this darling “The Witch is In” sign I found at the Dollar Tree.
4. Twig Witch’s Broom
Sometimes the best Halloween DIY projects come from items you can find right in your own backyard!
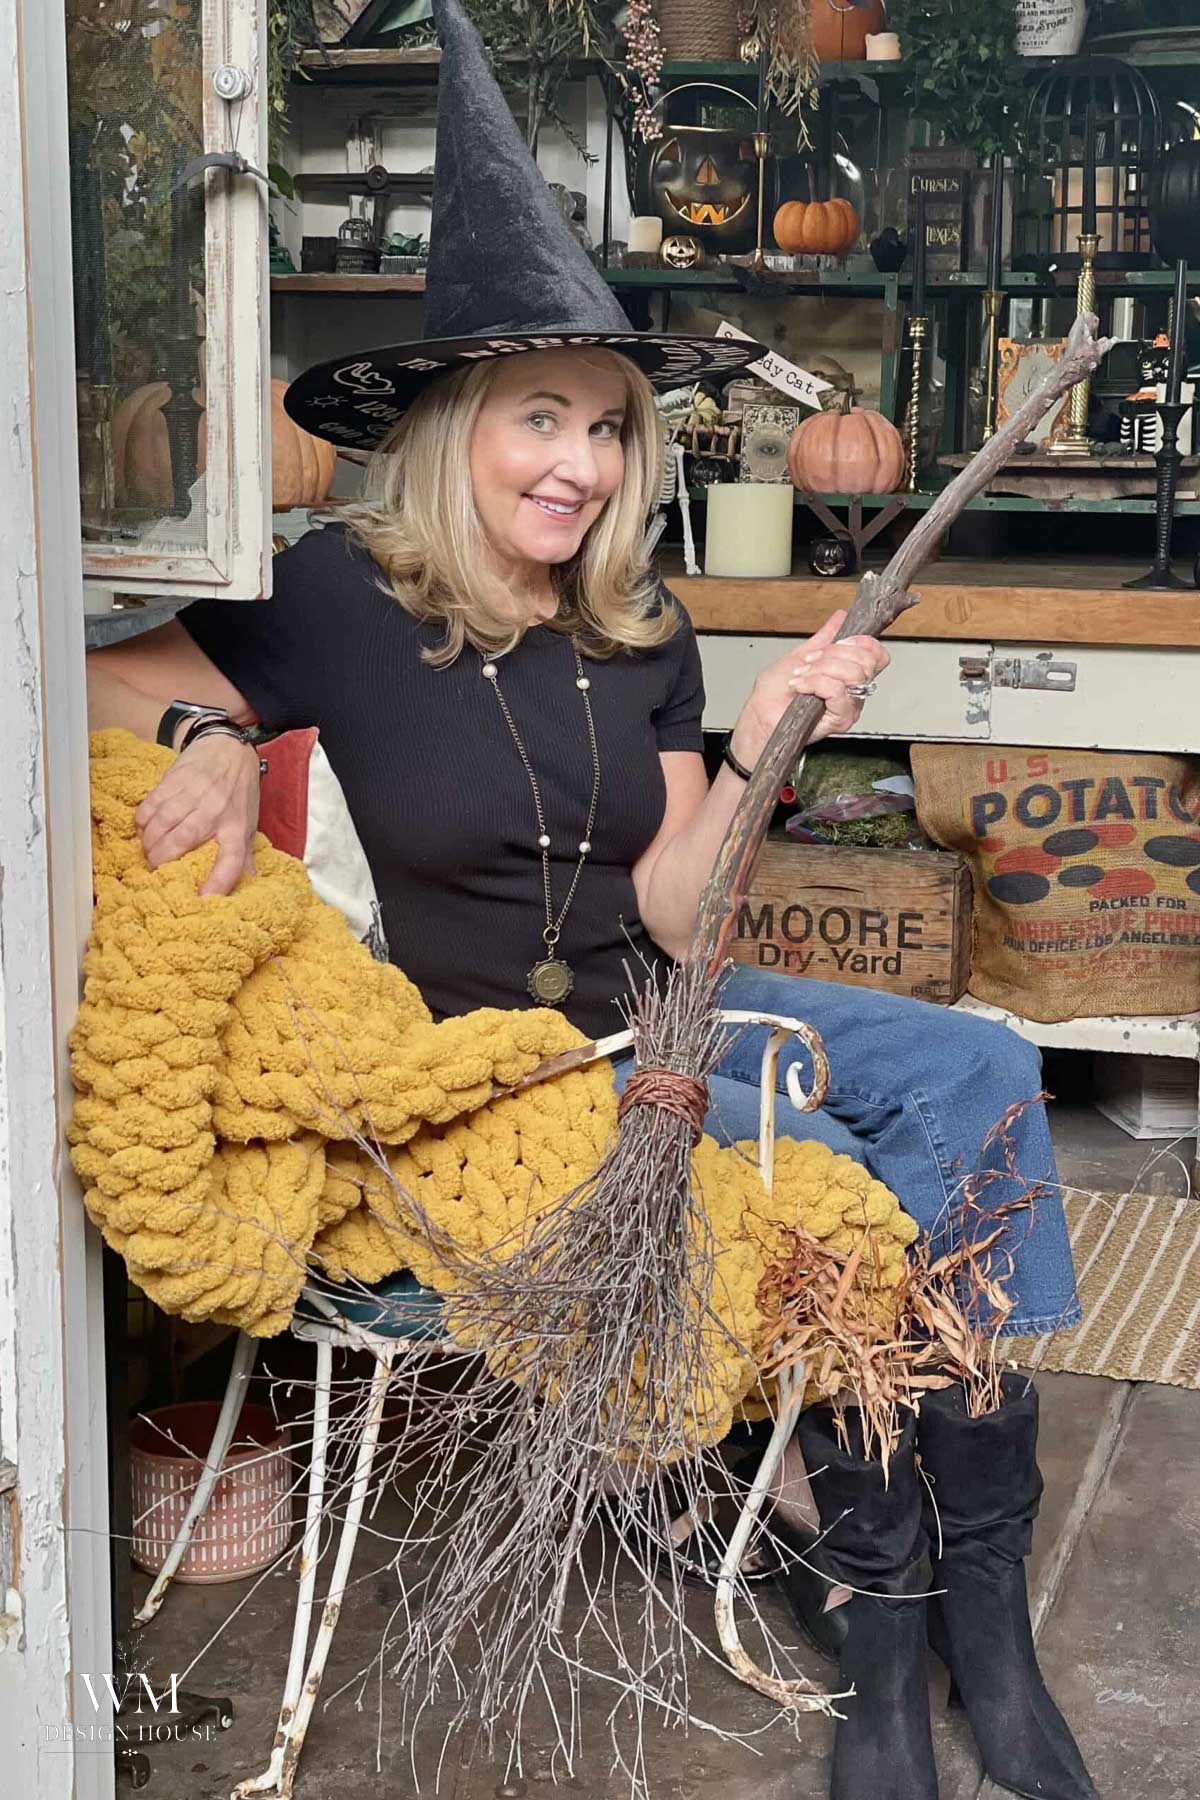
Making a rustic witch’s broom is as easy as gathering a few foraged sticks and materials. With just a little creativity, you can turn these natural elements into a spooky and charming decoration that’s perfect for both indoors and outdoors.
This Halloween decor DIY outdoor project is a great way to add a touch of rustic, witchy charm to your porch or front entry without spending a lot of money.
Here are the materials you need to make your own wickedly fun broom!
Materials Needed
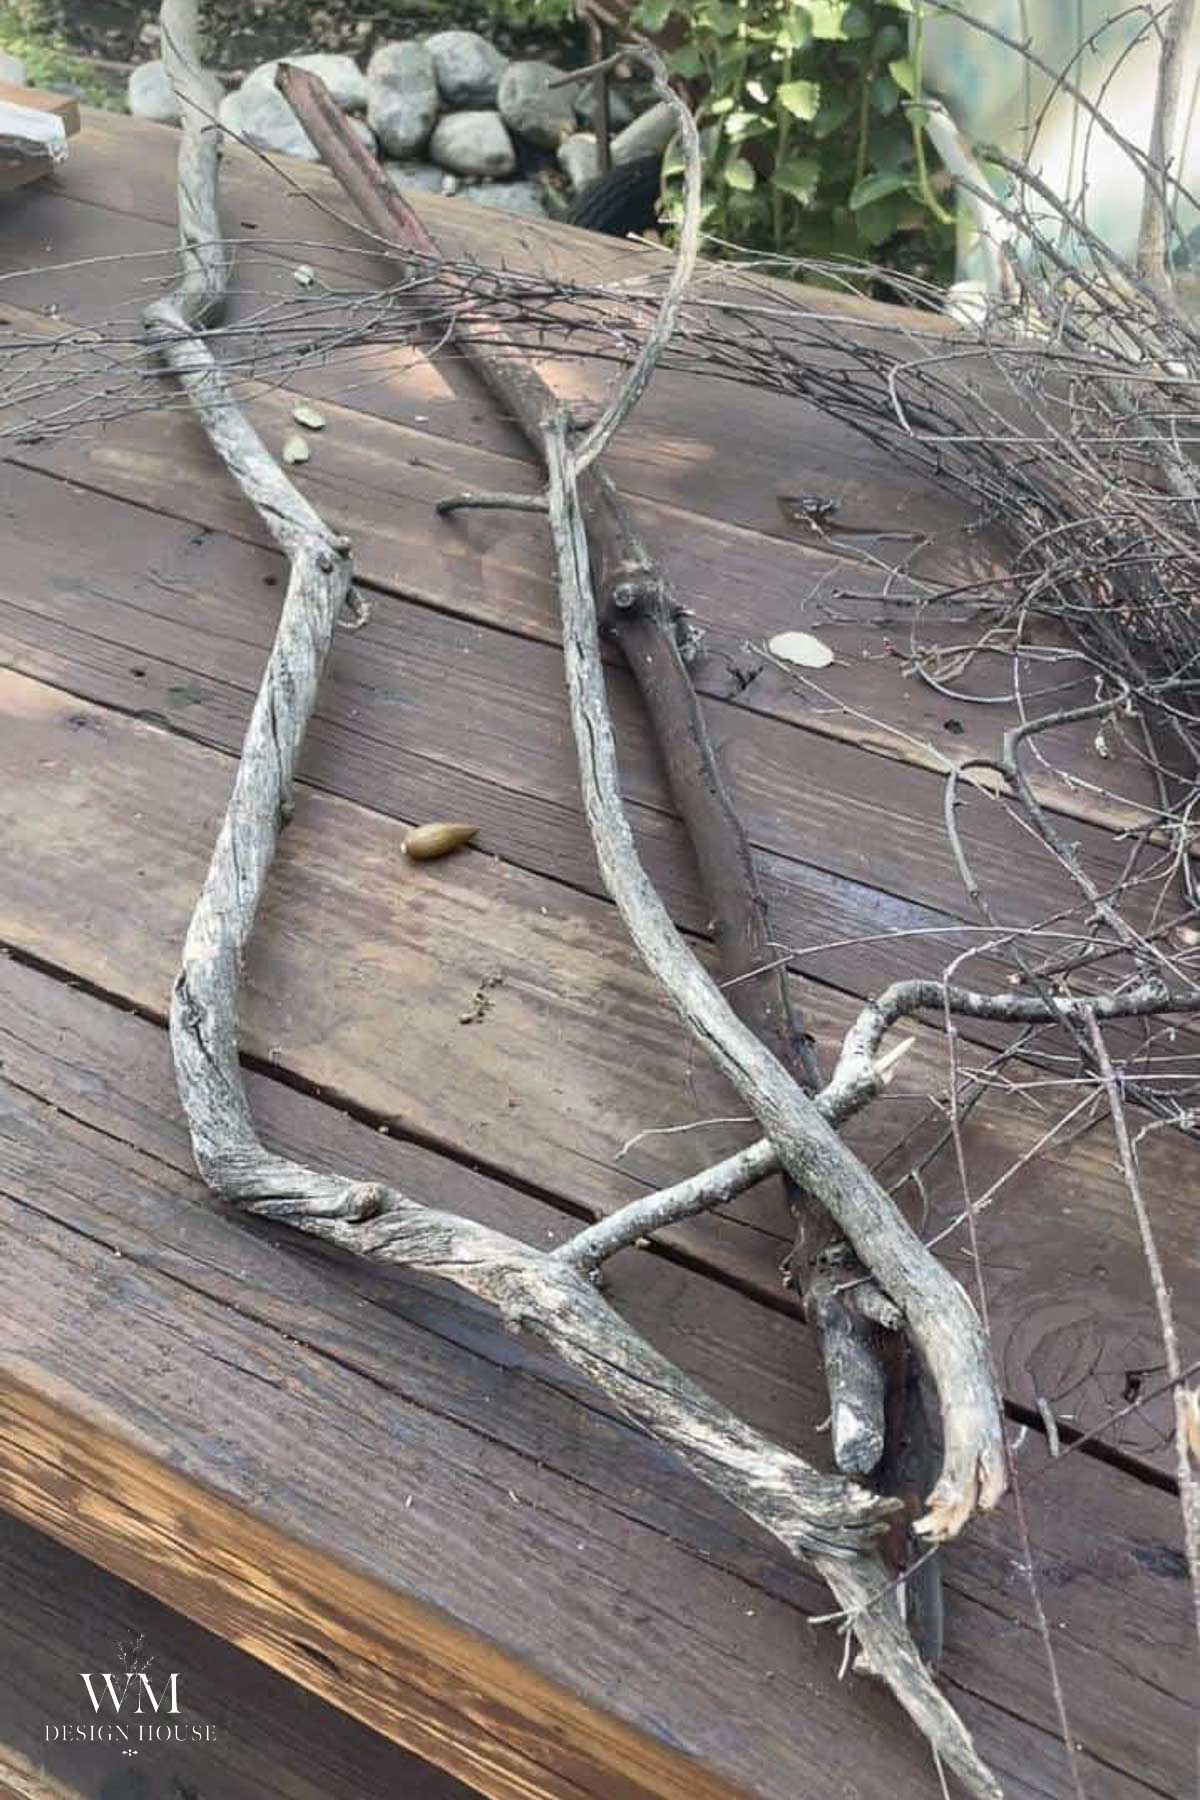
Step 1: Gather a Stick and Twigs
Start by finding a sturdy stick that’s around 3 to 4 feet tall. It can be as crooked or as straight as you like for that extra rustic charm.
You might already have the perfect one lying around in your backyard! It’s the base of your witch’s broom, so make sure it’s strong enough to hold the twigs you’ll be adding later.
Step 2: Glue on the Twigs
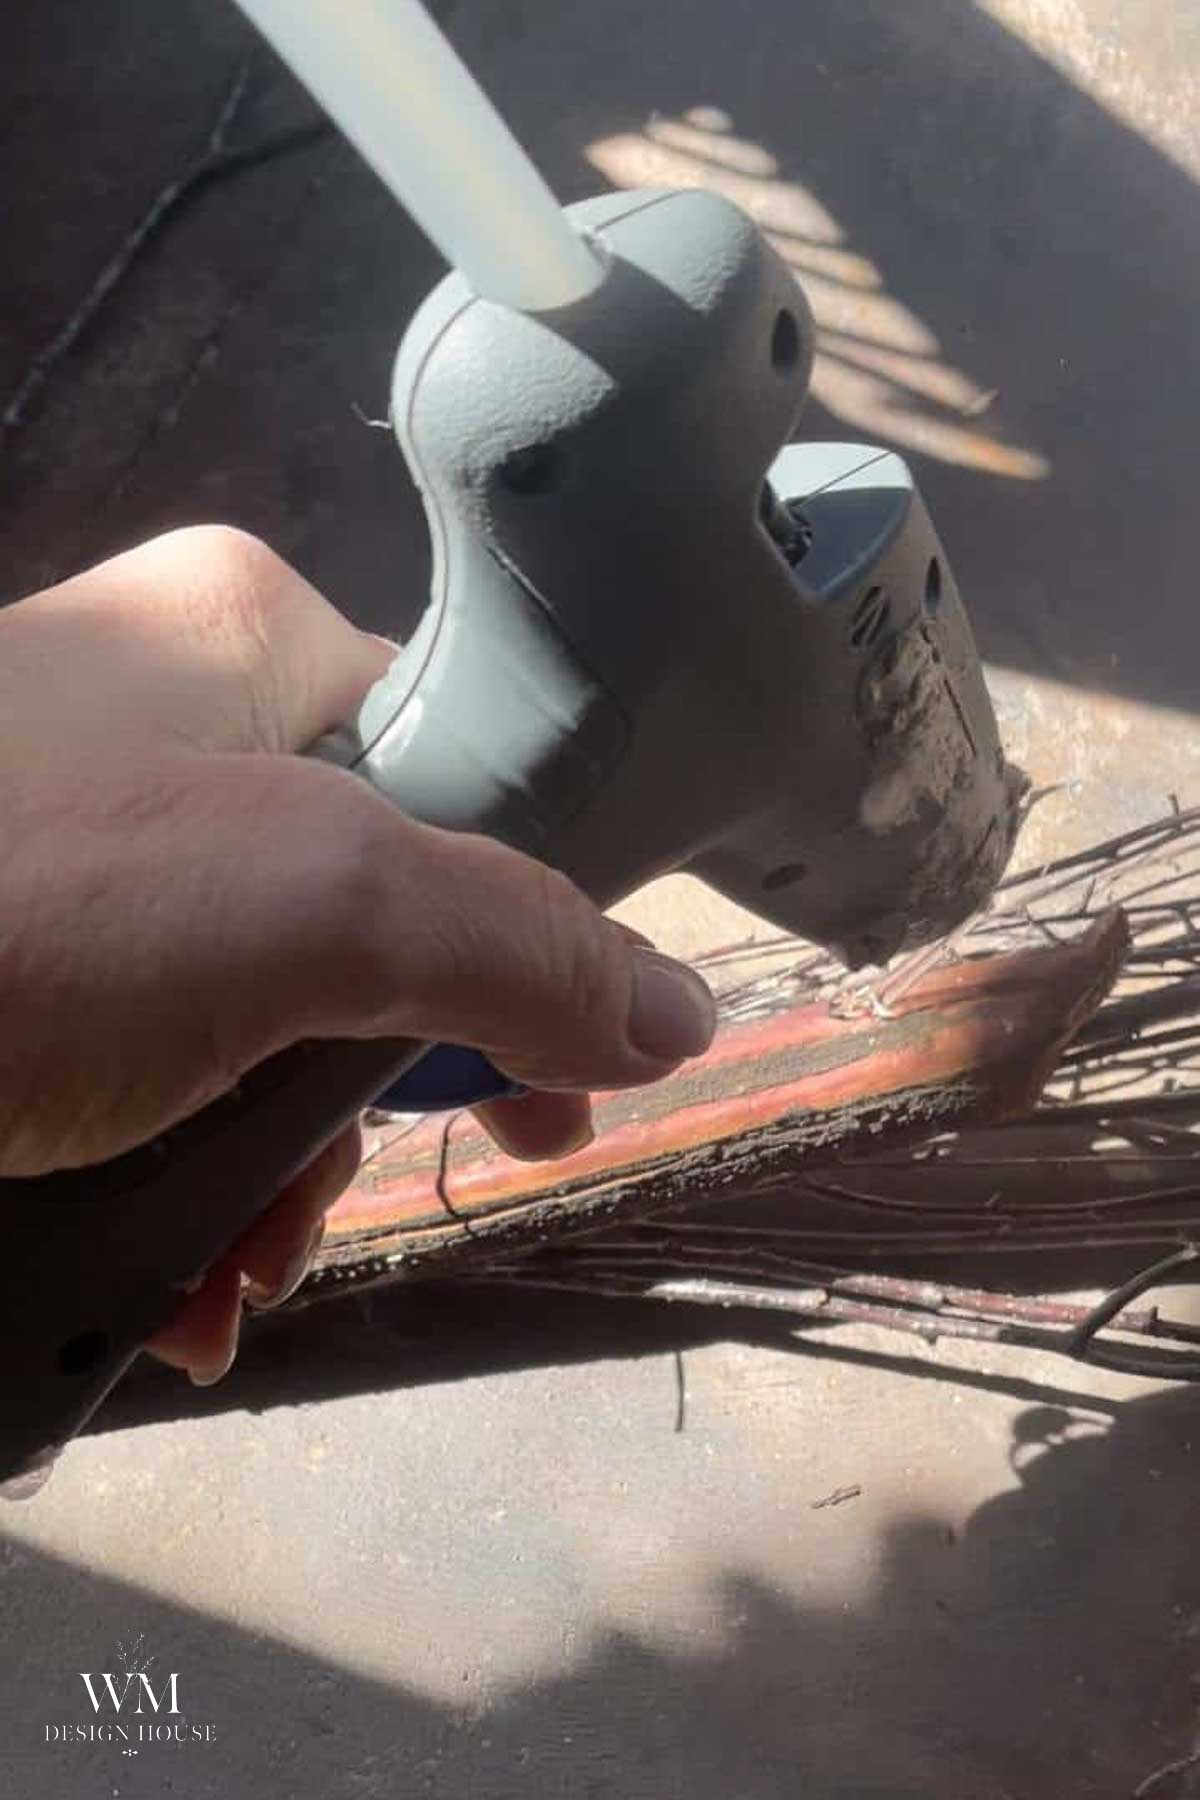
Next, gather a few bunches of small twigs, each about 18 inches long. These will create the bristles of your broom, so you’ll want to collect enough to give it a full look.
Once you have your twigs, use a hot glue gun and carefully attach them onto one end of the stick.
Don’t worry if they’re not perfect. It adds to the rustic, witchy look!
Step 3: Wrap the Broom with Twine
To finish your broom and make sure all the twigs stay securely in place, take some brown floral vine wire and wrap it tightly around the base where the twigs meet the stick.
Not only does this add the perfect finishing touch, but it also reinforces your broom to keep everything held together. Wrap the wire a few times around for extra support, and then tuck the ends neatly into the twigs.
How to Display Your DIY Witch’s Broom
Once your witch’s broom is finished, there are a lot of different creative ways to incorporate it into your Halloween spooky decorations.
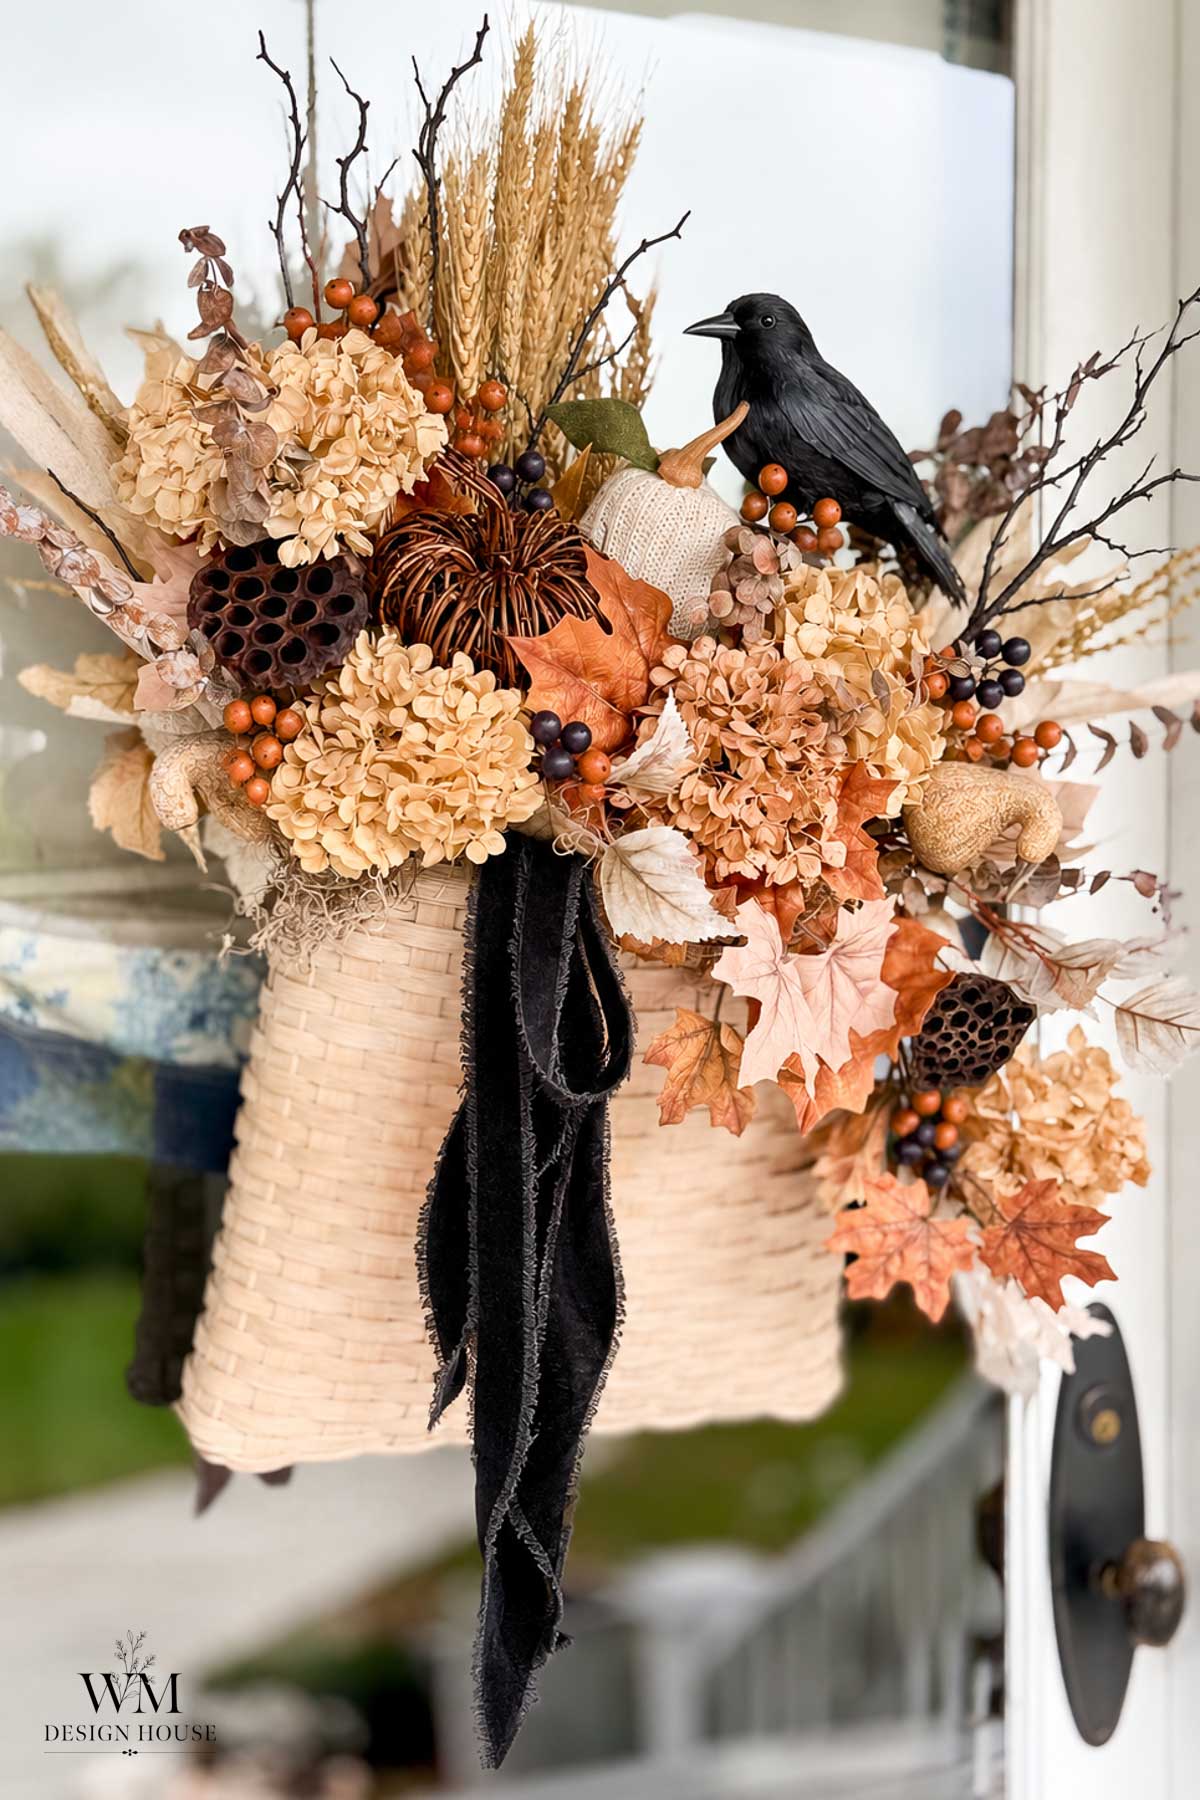
5. A Thrifted Door Basket, Gone Dark
Swap the fall stems in a door basket for black branches, a few dried seed heads, and a length of black ribbon. Same basket, entirely different mood.
The full how-to is in my post on how to style a fall door basket.
Halloween Table Decorating Ideas
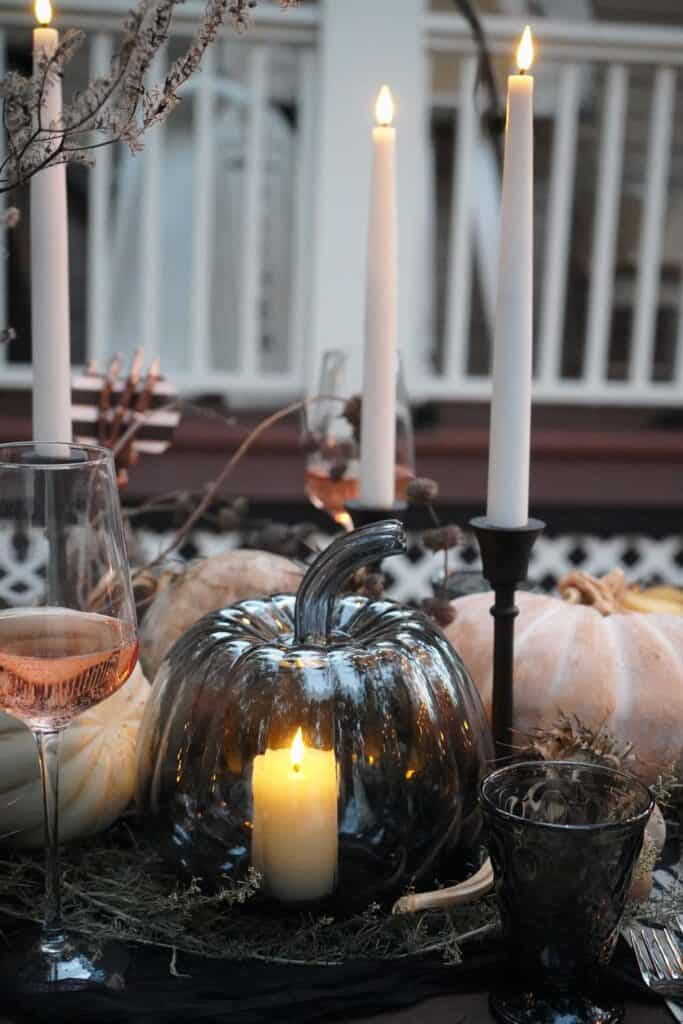
6. A Spooky Elegant Halloween Tablescape
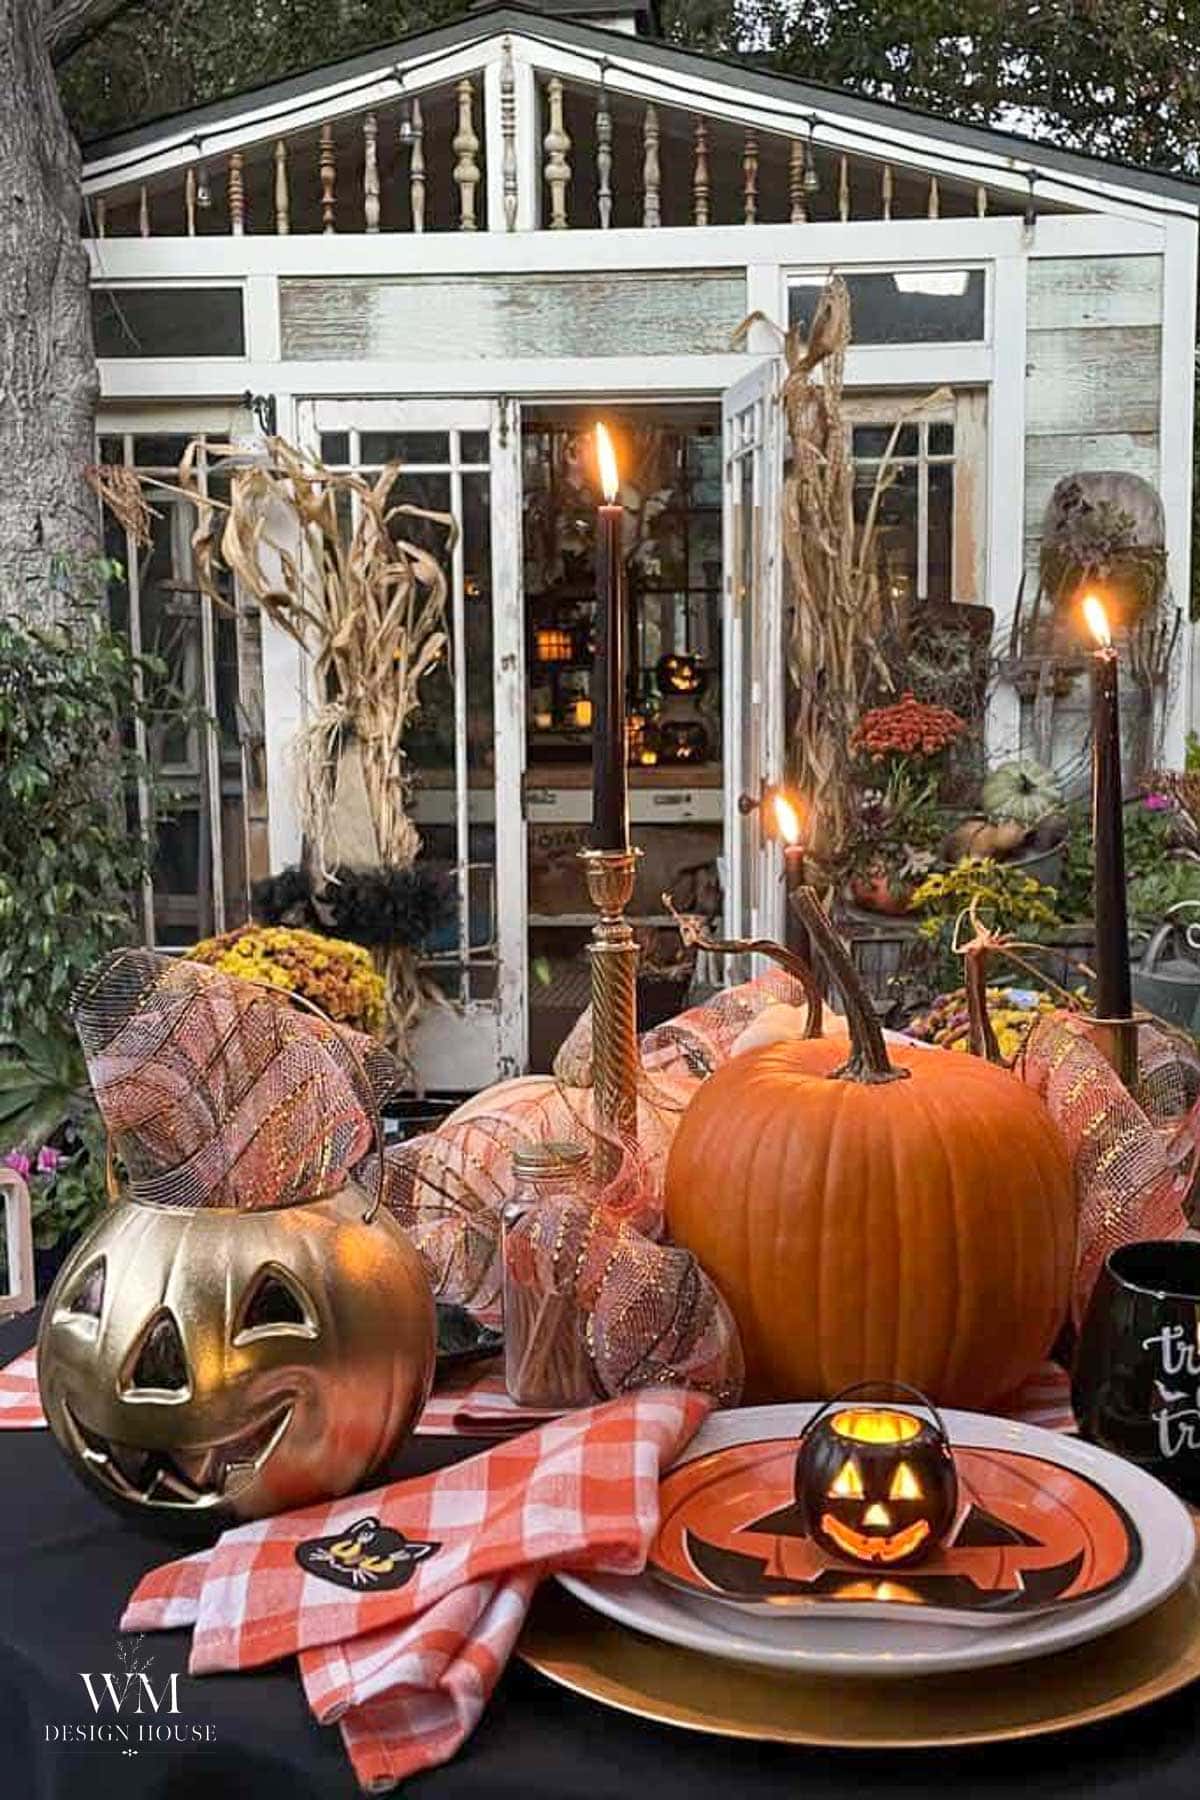
Black glass pumpkins, battery candles, and black tapers in brass candlesticks. Elegant rather than scary, which is the version I always end up wanting.
See the whole table in my spooky elegant Halloween tablescape.

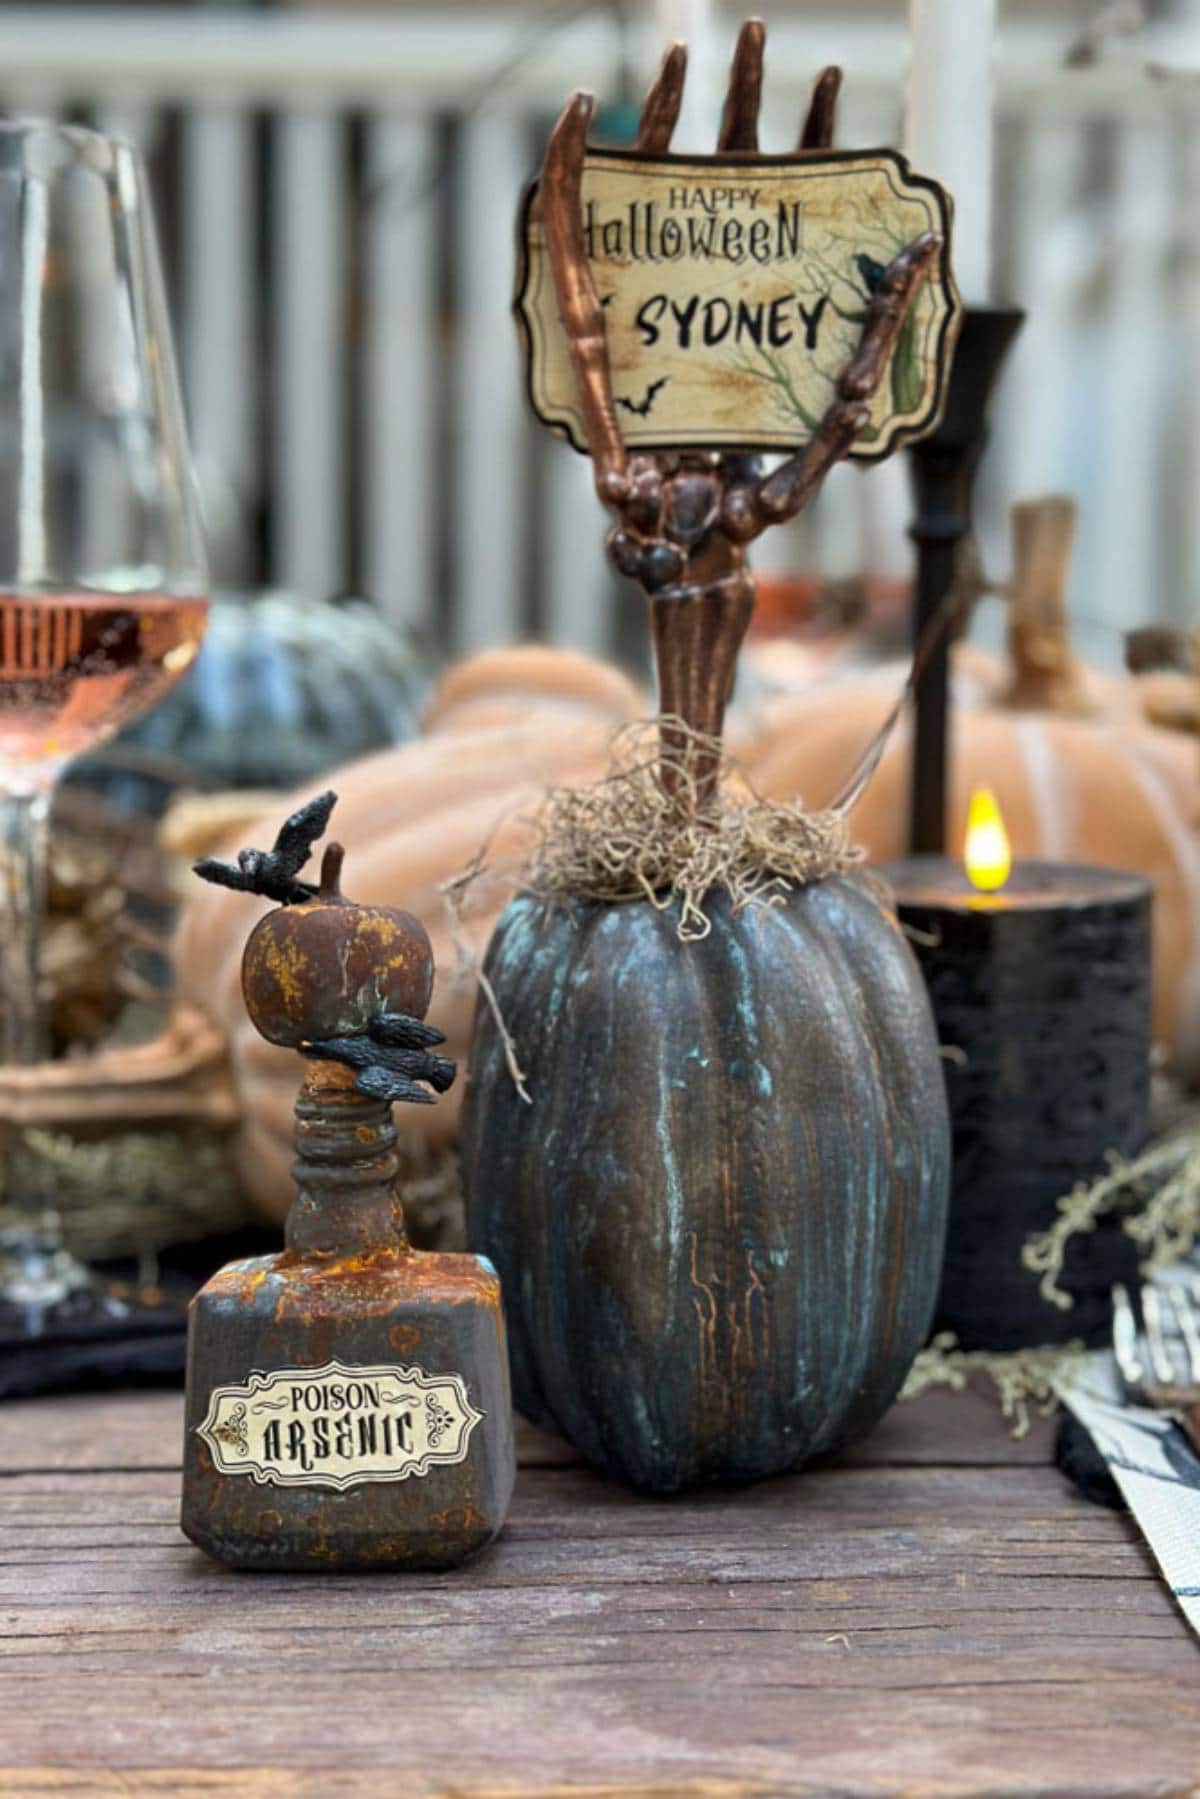
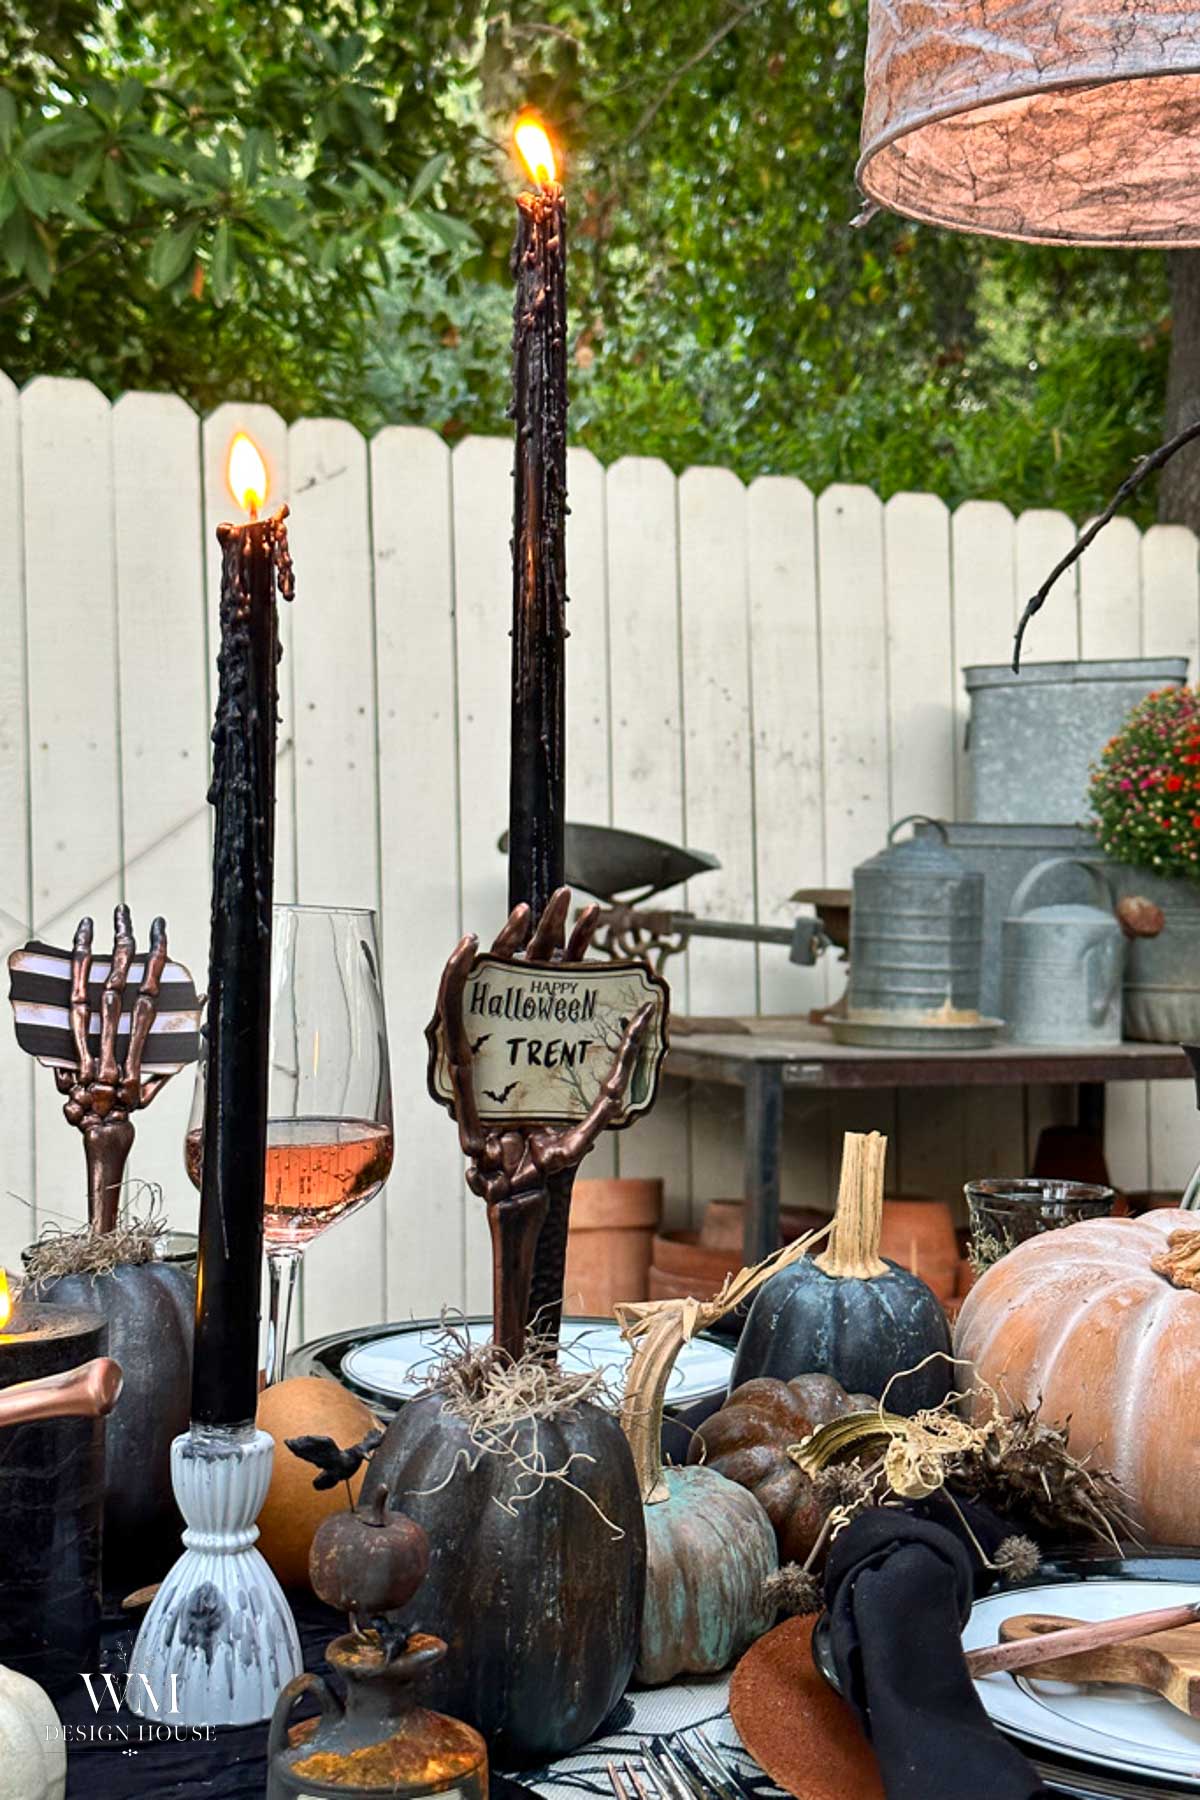
7. Skeleton Hand Place Card Holders
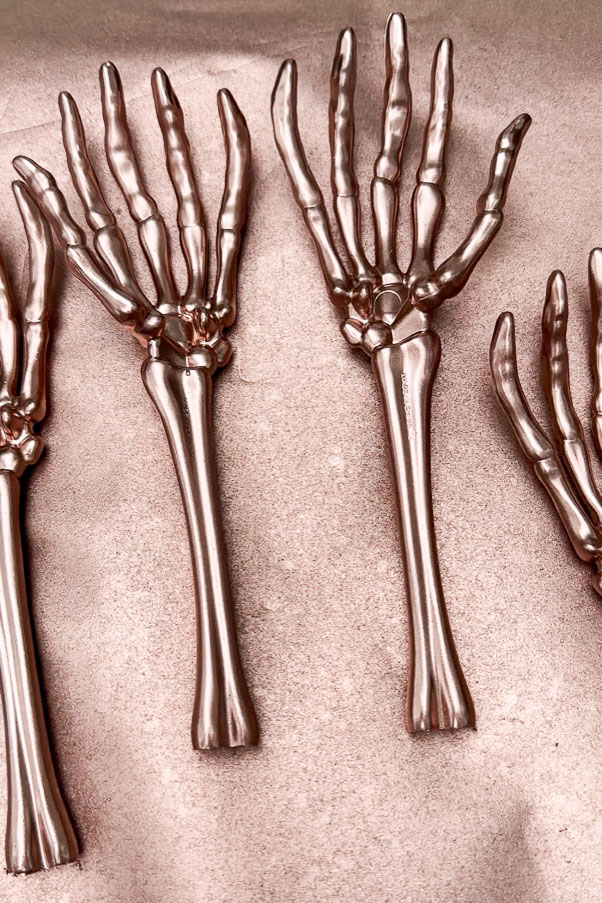
Dollar store skeleton hands holding printed place cards. There is a free printable in the post, so the whole project costs almost nothing.
The free printable is in my post on DIY Halloween place card holders.
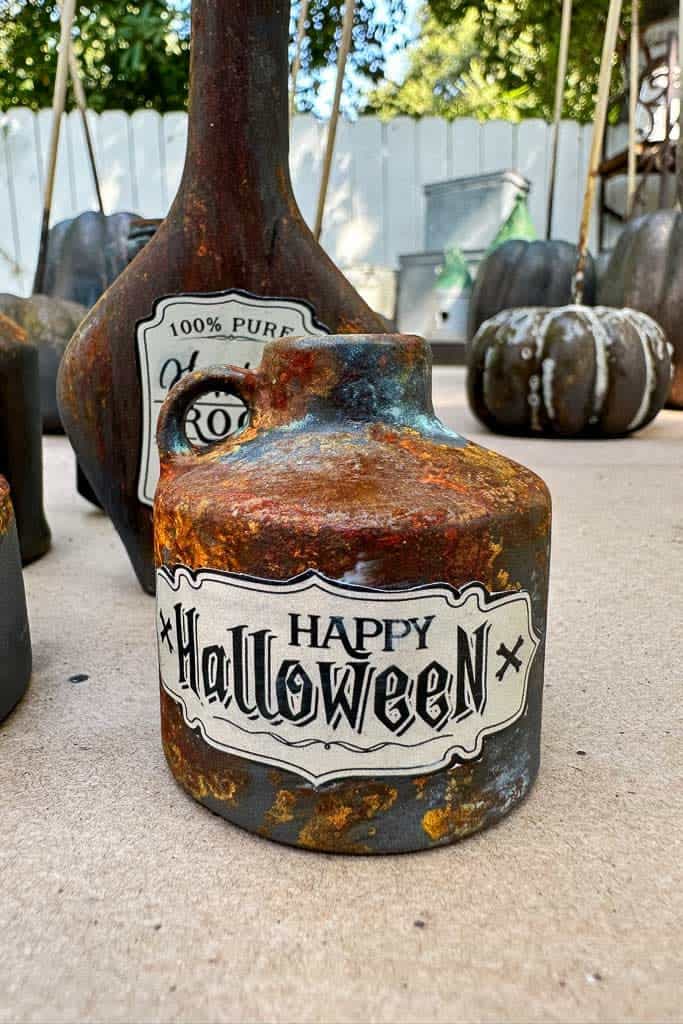
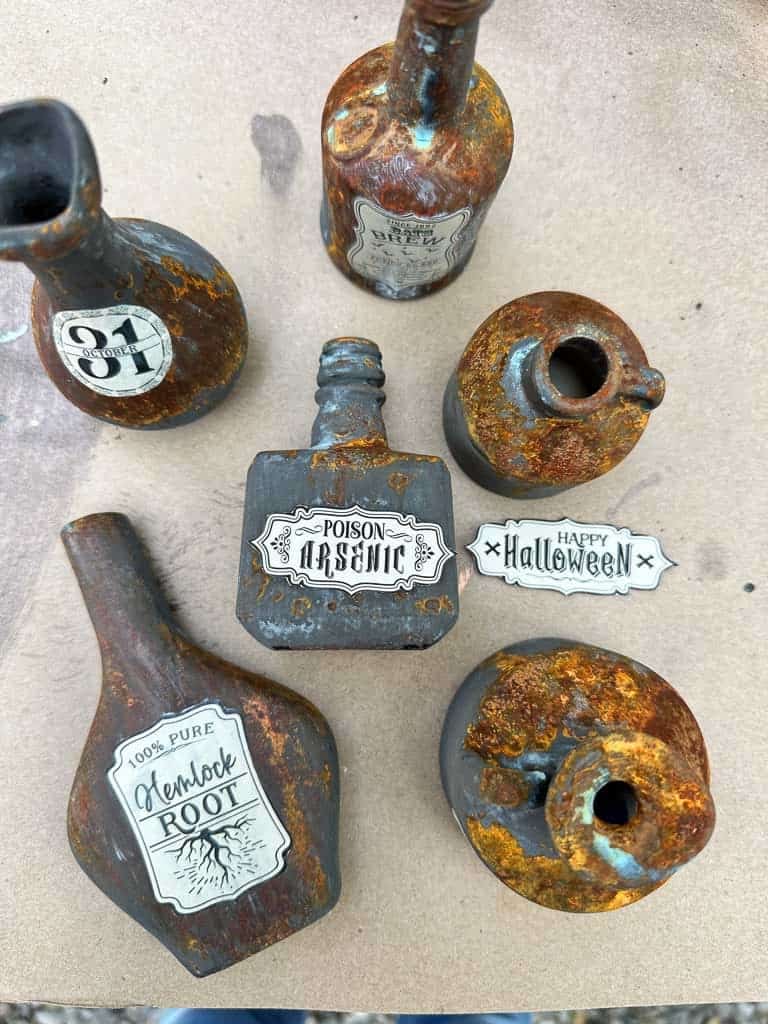
8. Rusty Patina Apothecary Bottles
Mini liquor bottles painted to look like they were dug out of a basement fifty years ago. They work as a centerpiece grouping or one at each place setting as a favor.
Here is how to create rusty patina apothecary bottles from mini liquor bottles.
9. Pumpkin Placemats
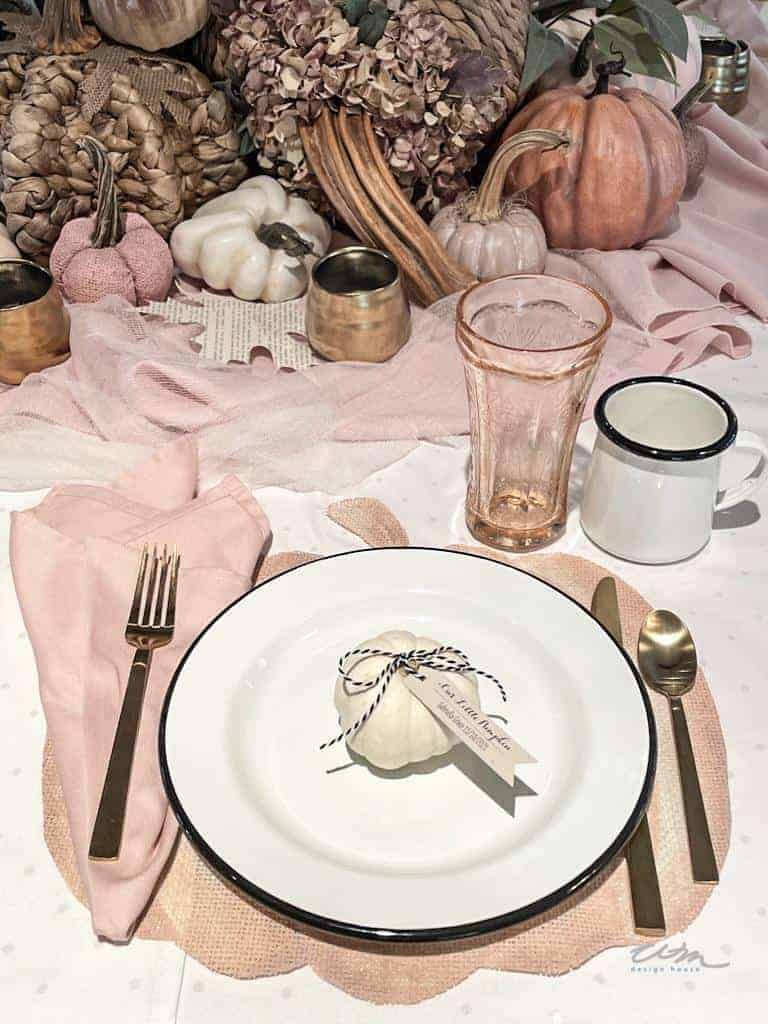
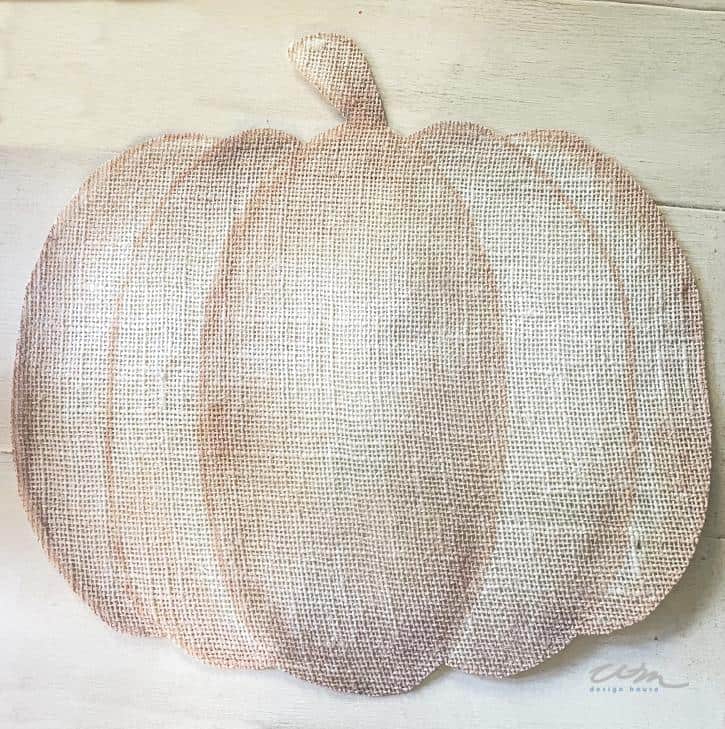
A simple cut pumpkin shape under each plate. More interesting than a charger and it costs a fraction as much.
The shape and the steps are in my post on DIY pumpkin placemats.
10. Black Taper Candles at Mixed Heights
The cheapest upgrade on this entire list. Black tapers or white tapers in whatever candlesticks you already own, brass and black mixed together, nothing matching. Set them at three different heights and the table looks styled before you have added anything else.
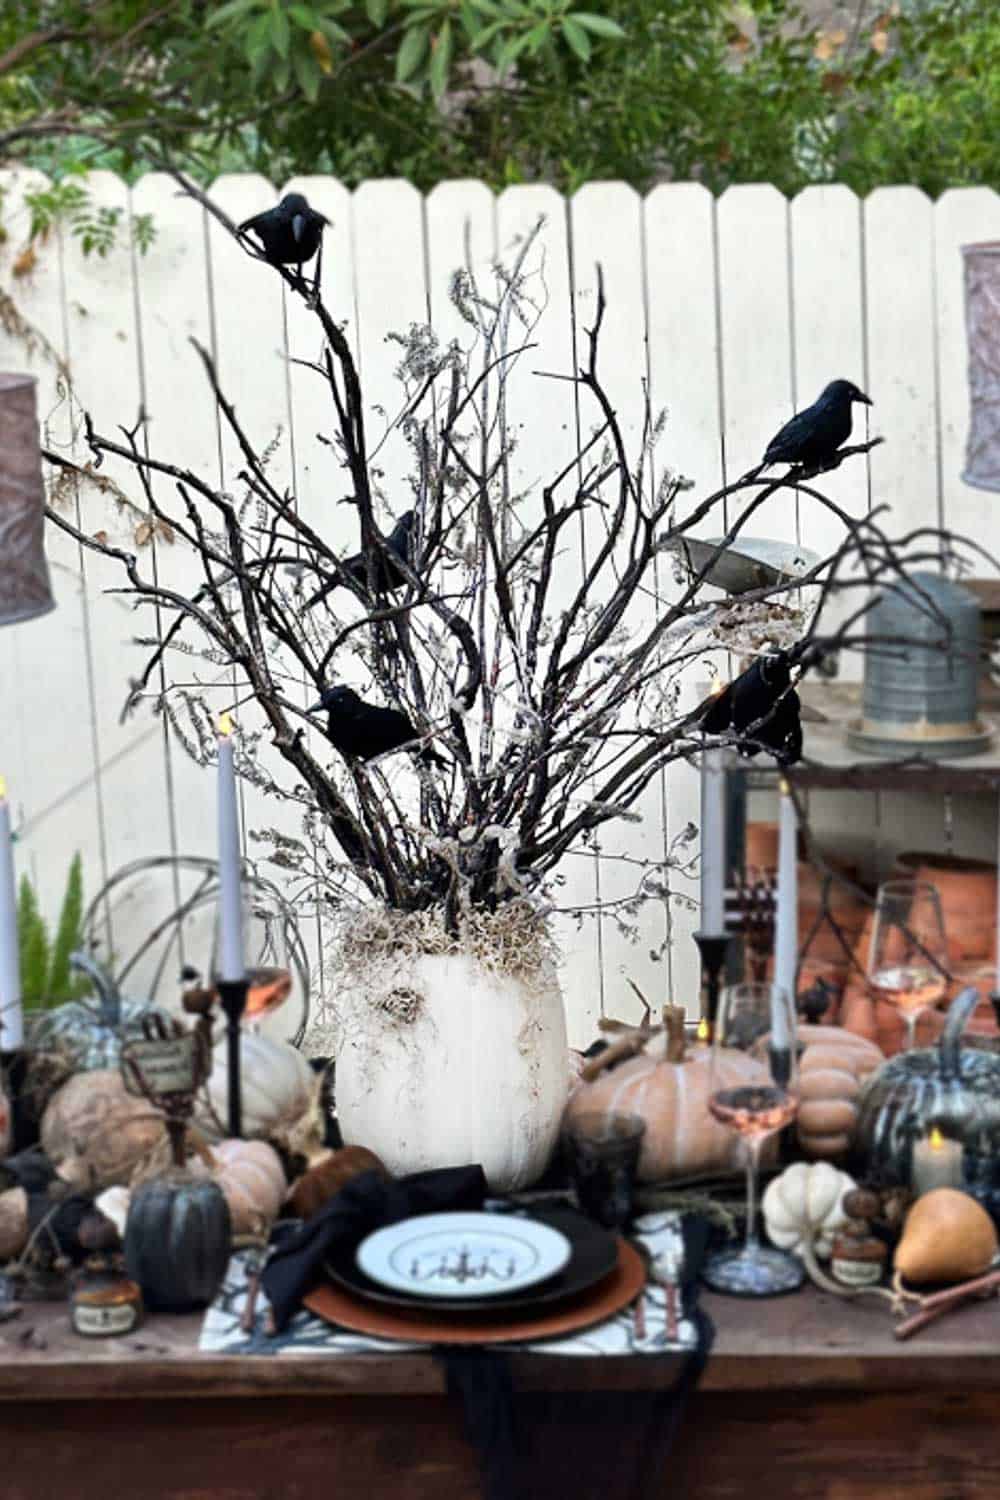
11. DIY Halloween Tree
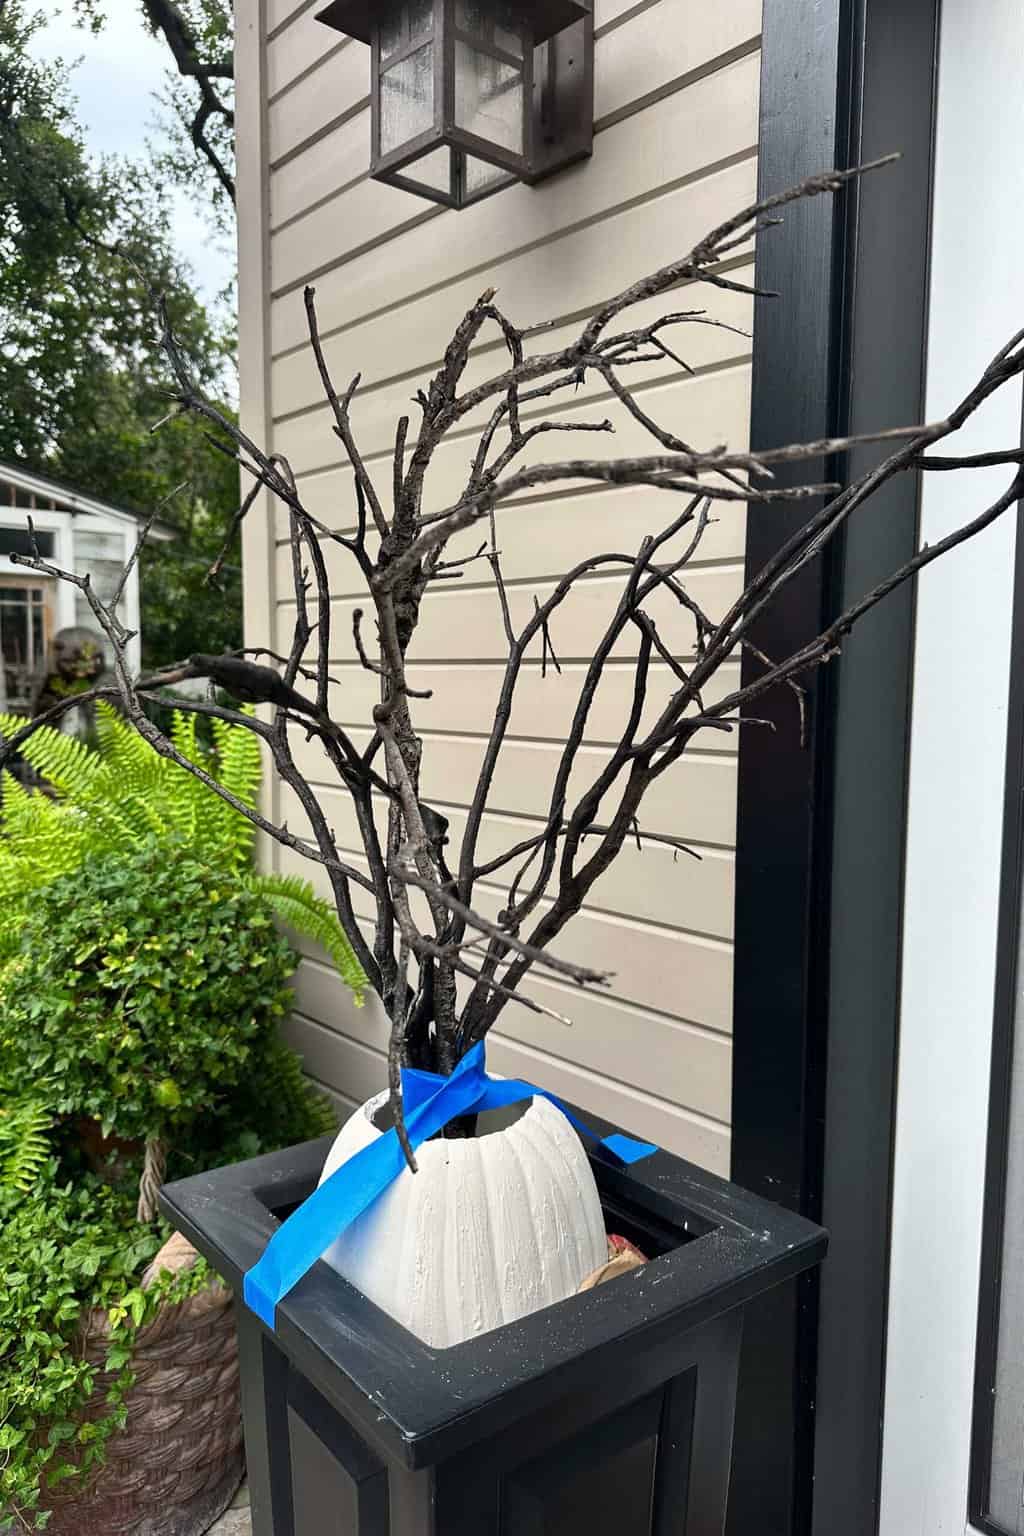
Bare branches in a heavy vase, hung with whatever small ornaments suit your version of the season. Mine leans elegant rather than gory.
Here is how I put together my DIY Halloween tree.
Halloween Decor Ideas for Mantels and Shelves
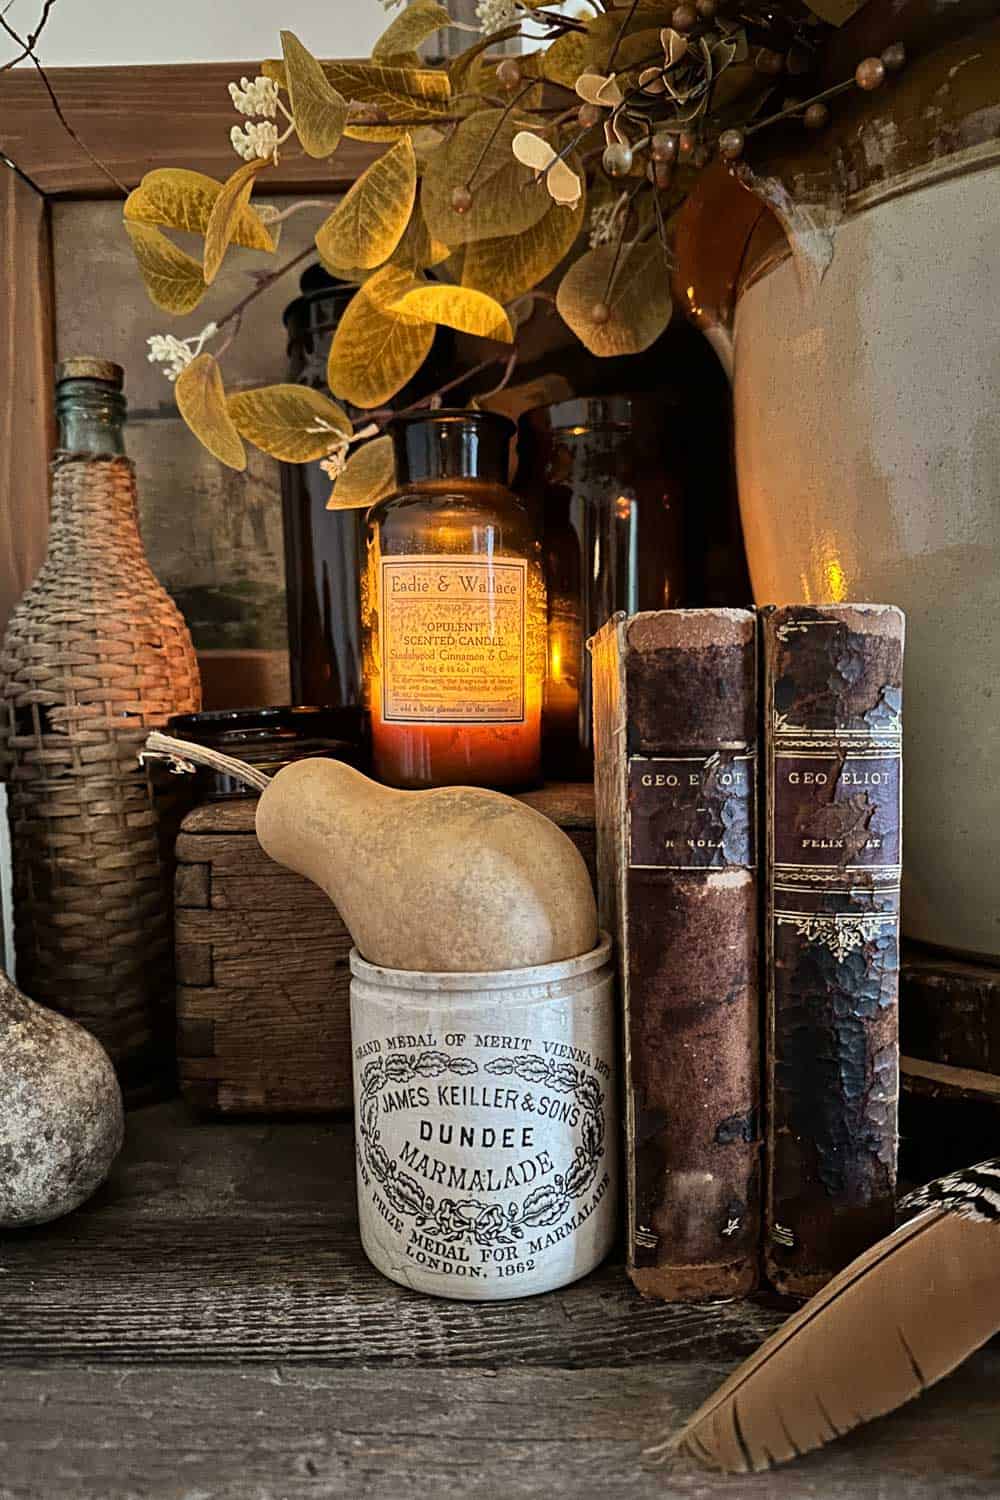
12. A Vignette with Old Books
Stack old books, add a cloche, a candle, and one odd object. This is my answer to almost every empty surface in the house. It works just as well in October with darker colors.
See the whole setup in my fall vignette with old books.
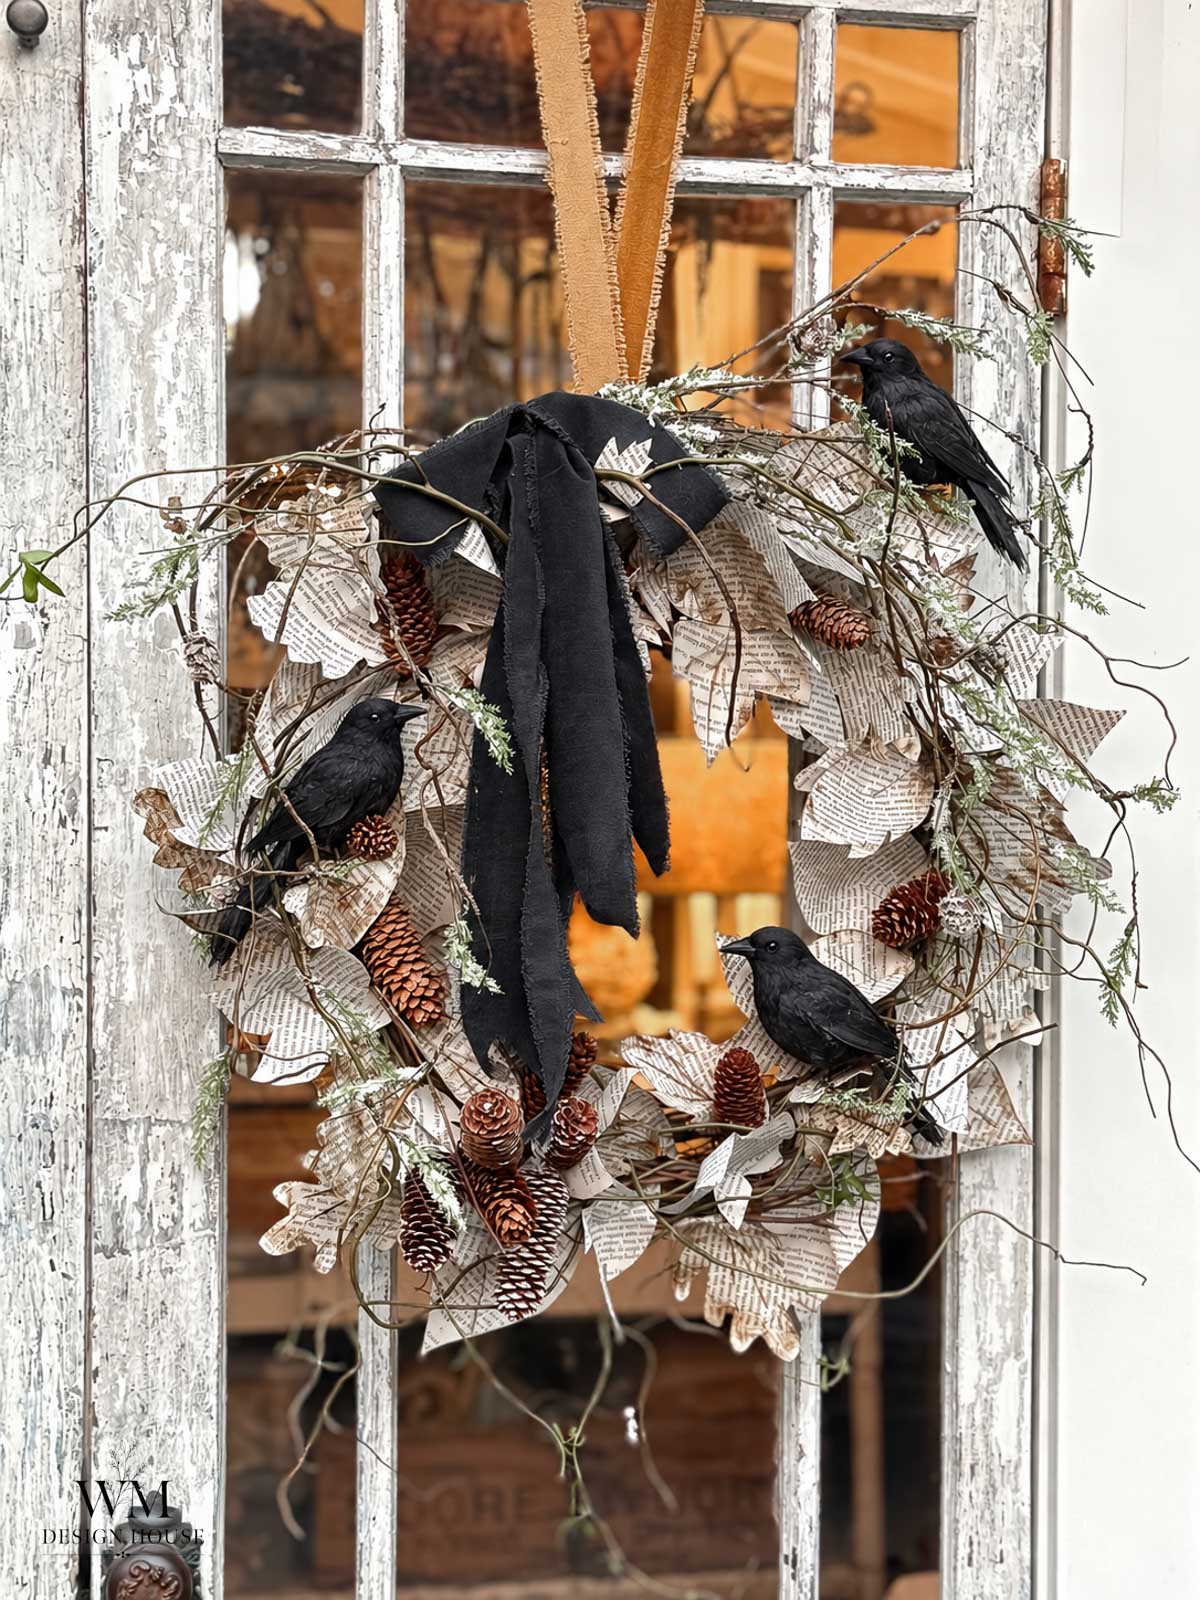
13. Book Page Wreath
Leaves made from a damaged old book, a few pinecones, and some twigs. On its own it reads vintage rather than Halloween. A black ribbon and a small crow tip it into the season. Swap the ribbon, pull the crow and the black twigs, and the same wreath carries you through Christmas.
Here is how to make a DIY book page wreath from a damaged old book.
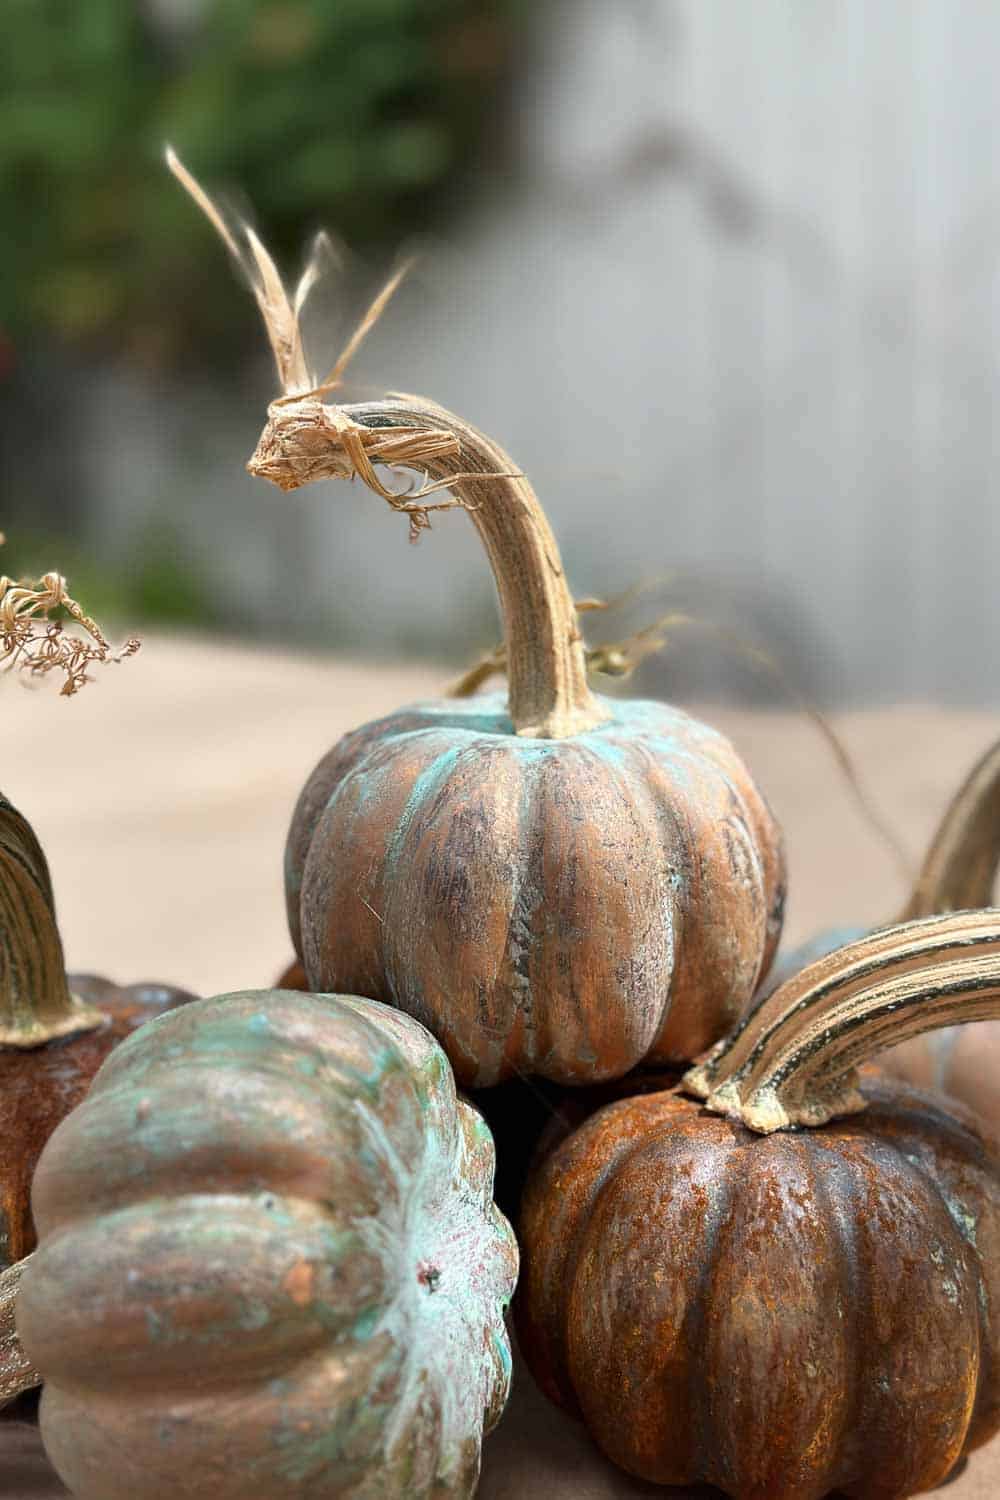
14. Patina Pumpkins
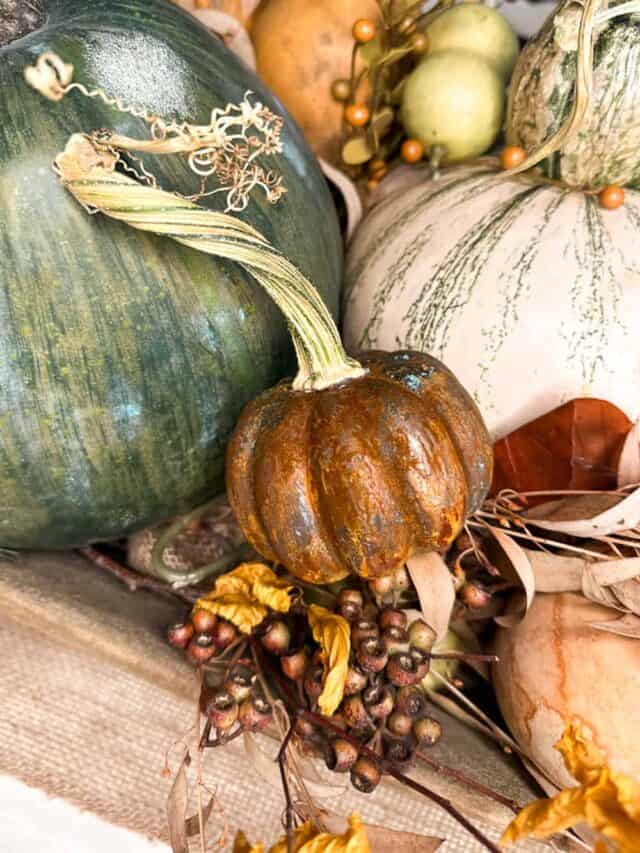
Metal paint and a patina solution on plain craft pumpkins. They end up looking like aged copper. That sits better with old wood and brass than orange plastic ever does.
Here is how to make patina pumpkins using metal paint.
15. Terra Cotta Pumpkins, the Pottery Barn Version
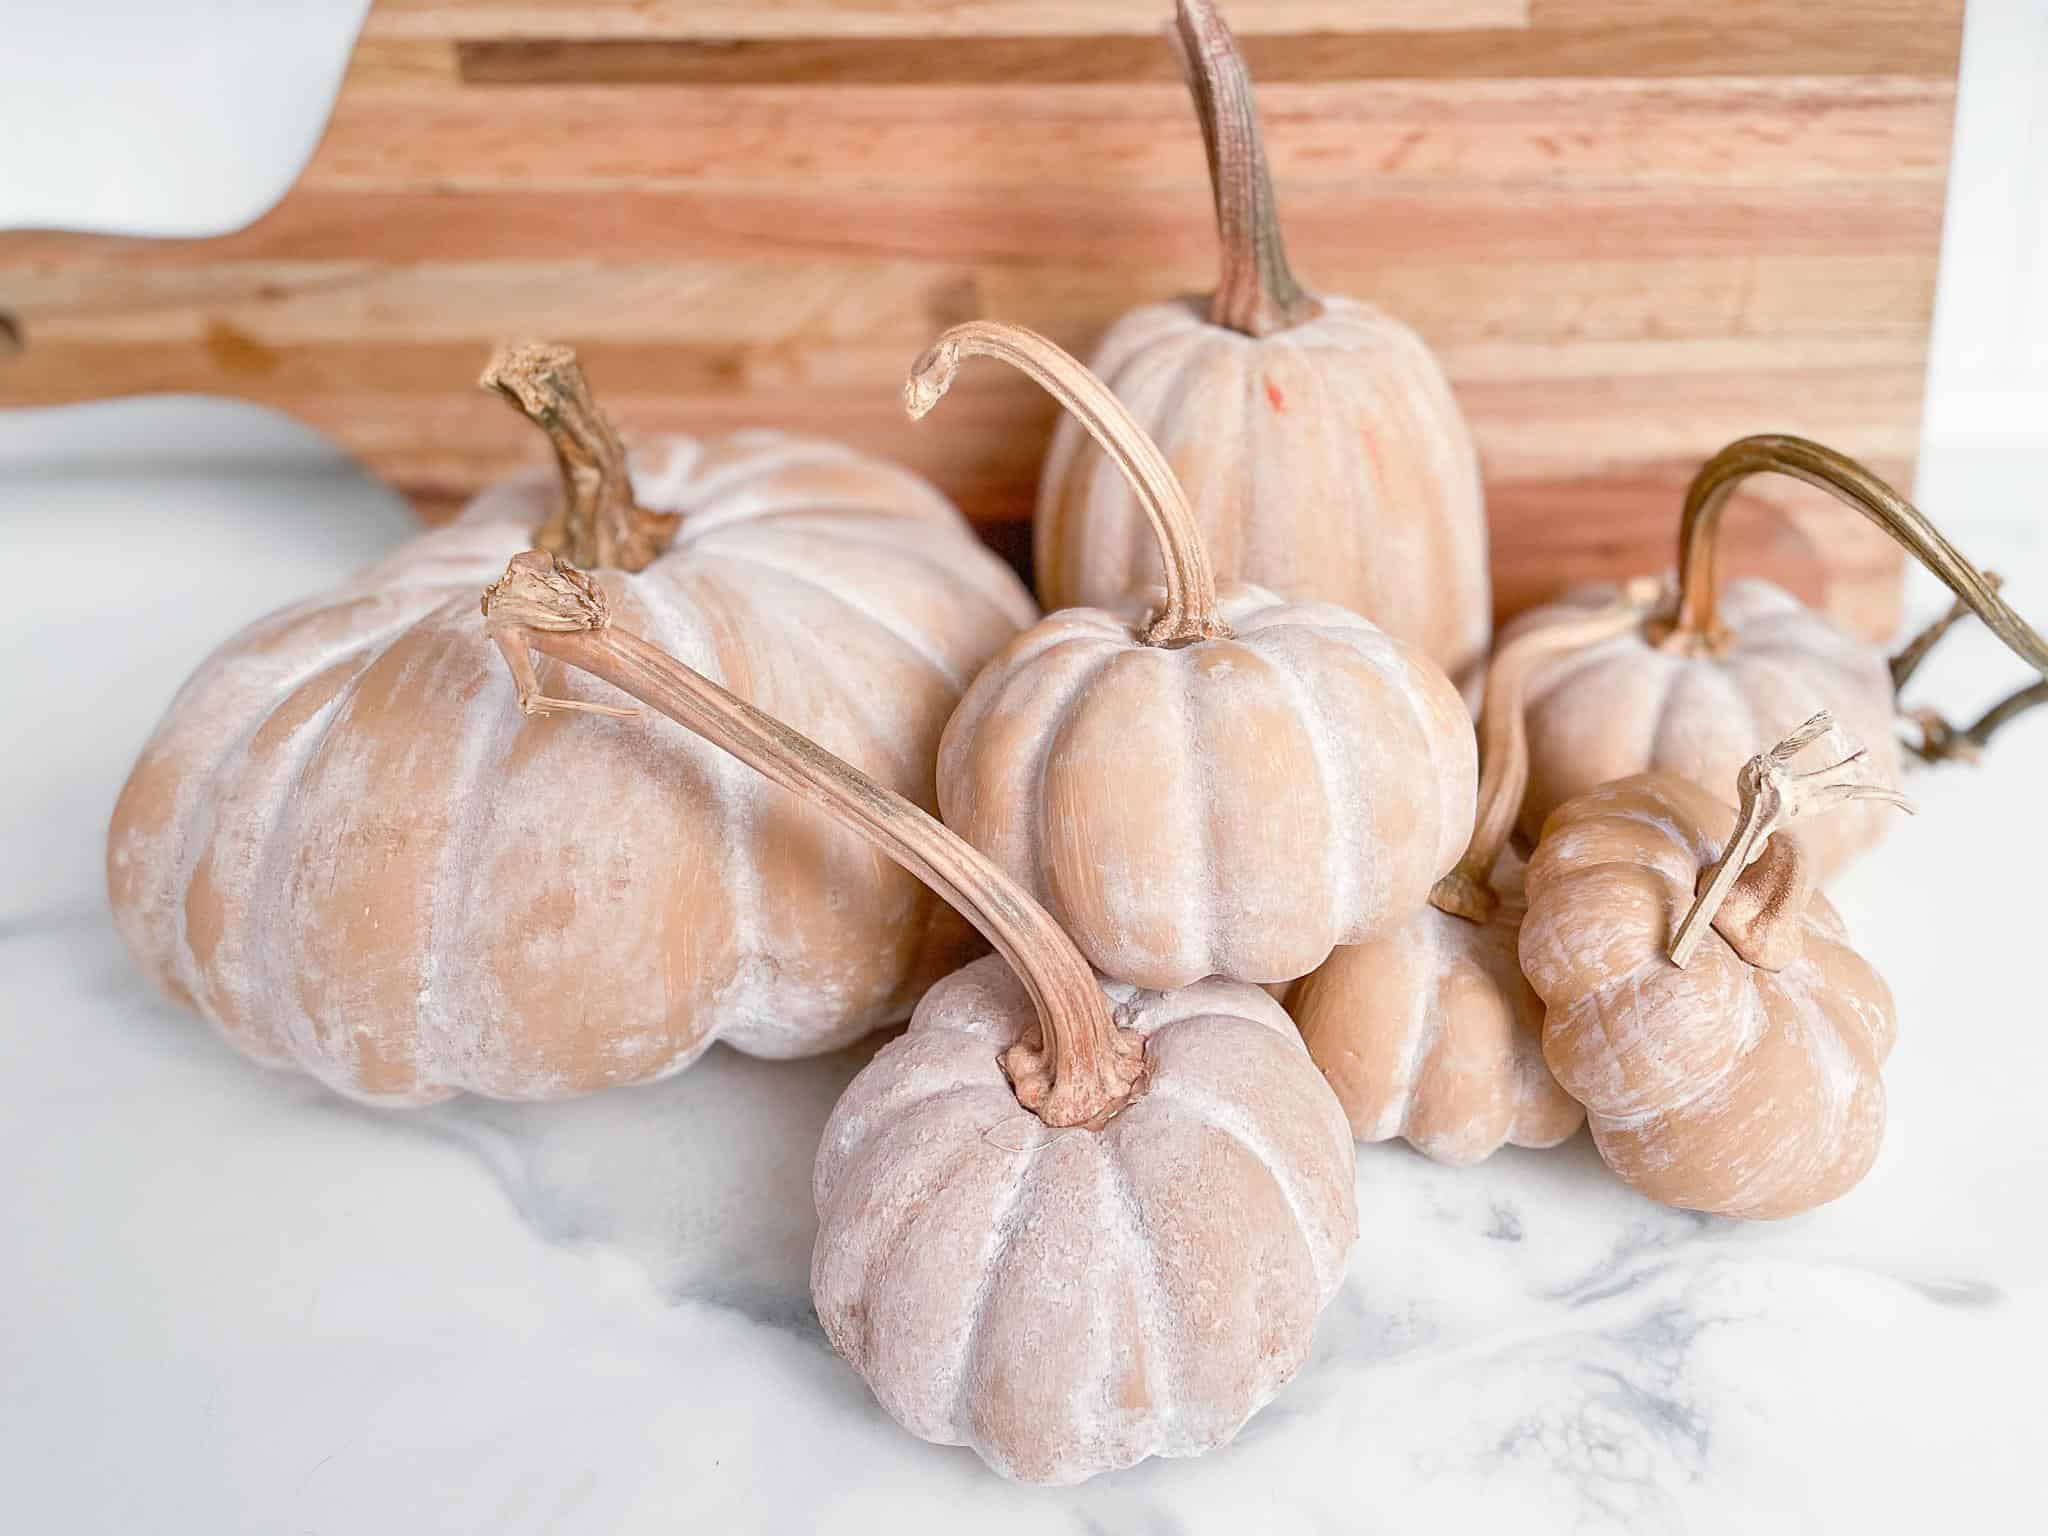
A dupe for a pumpkin that costs considerably more at the store. Paint and texture medium over a craft pumpkin. The finish is close enough that people ask where I bought them.
Here is how to easily make a terra cotta pumpkin, the Pottery Barn dupe.
16. Sweater Pumpkins with Vintage Lace
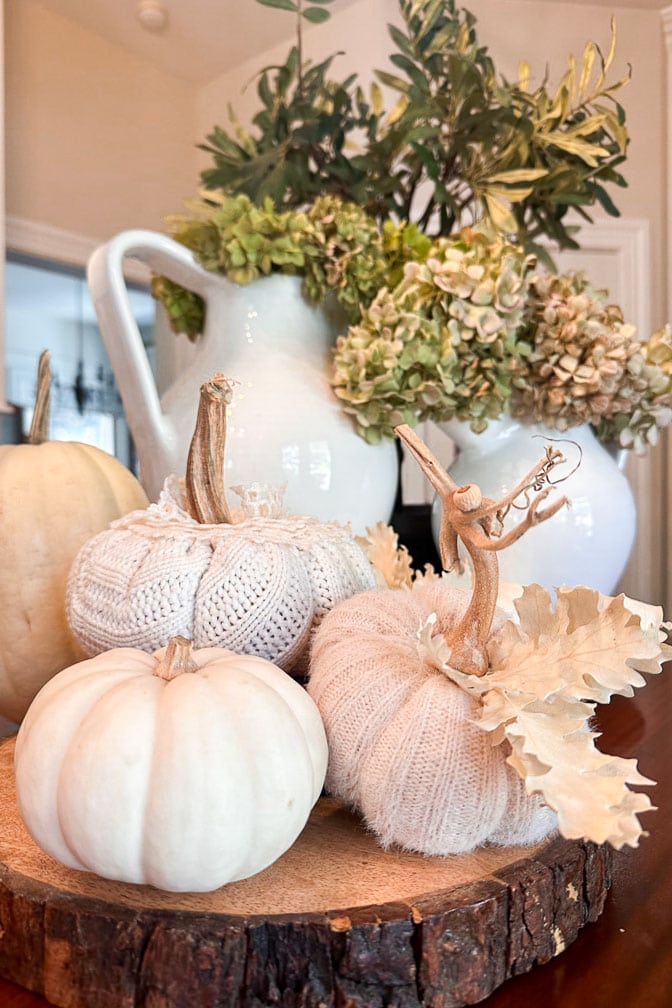
Thrifted sweaters cut down and wrapped over craft pumpkins, finished with a scrap of old lace. Soft, quiet, and the opposite of spooky. That is exactly why they balance a dark mantel.
Here is how I make DIY sweater pumpkins from thrifted knits.
17. Twine Pumpkins
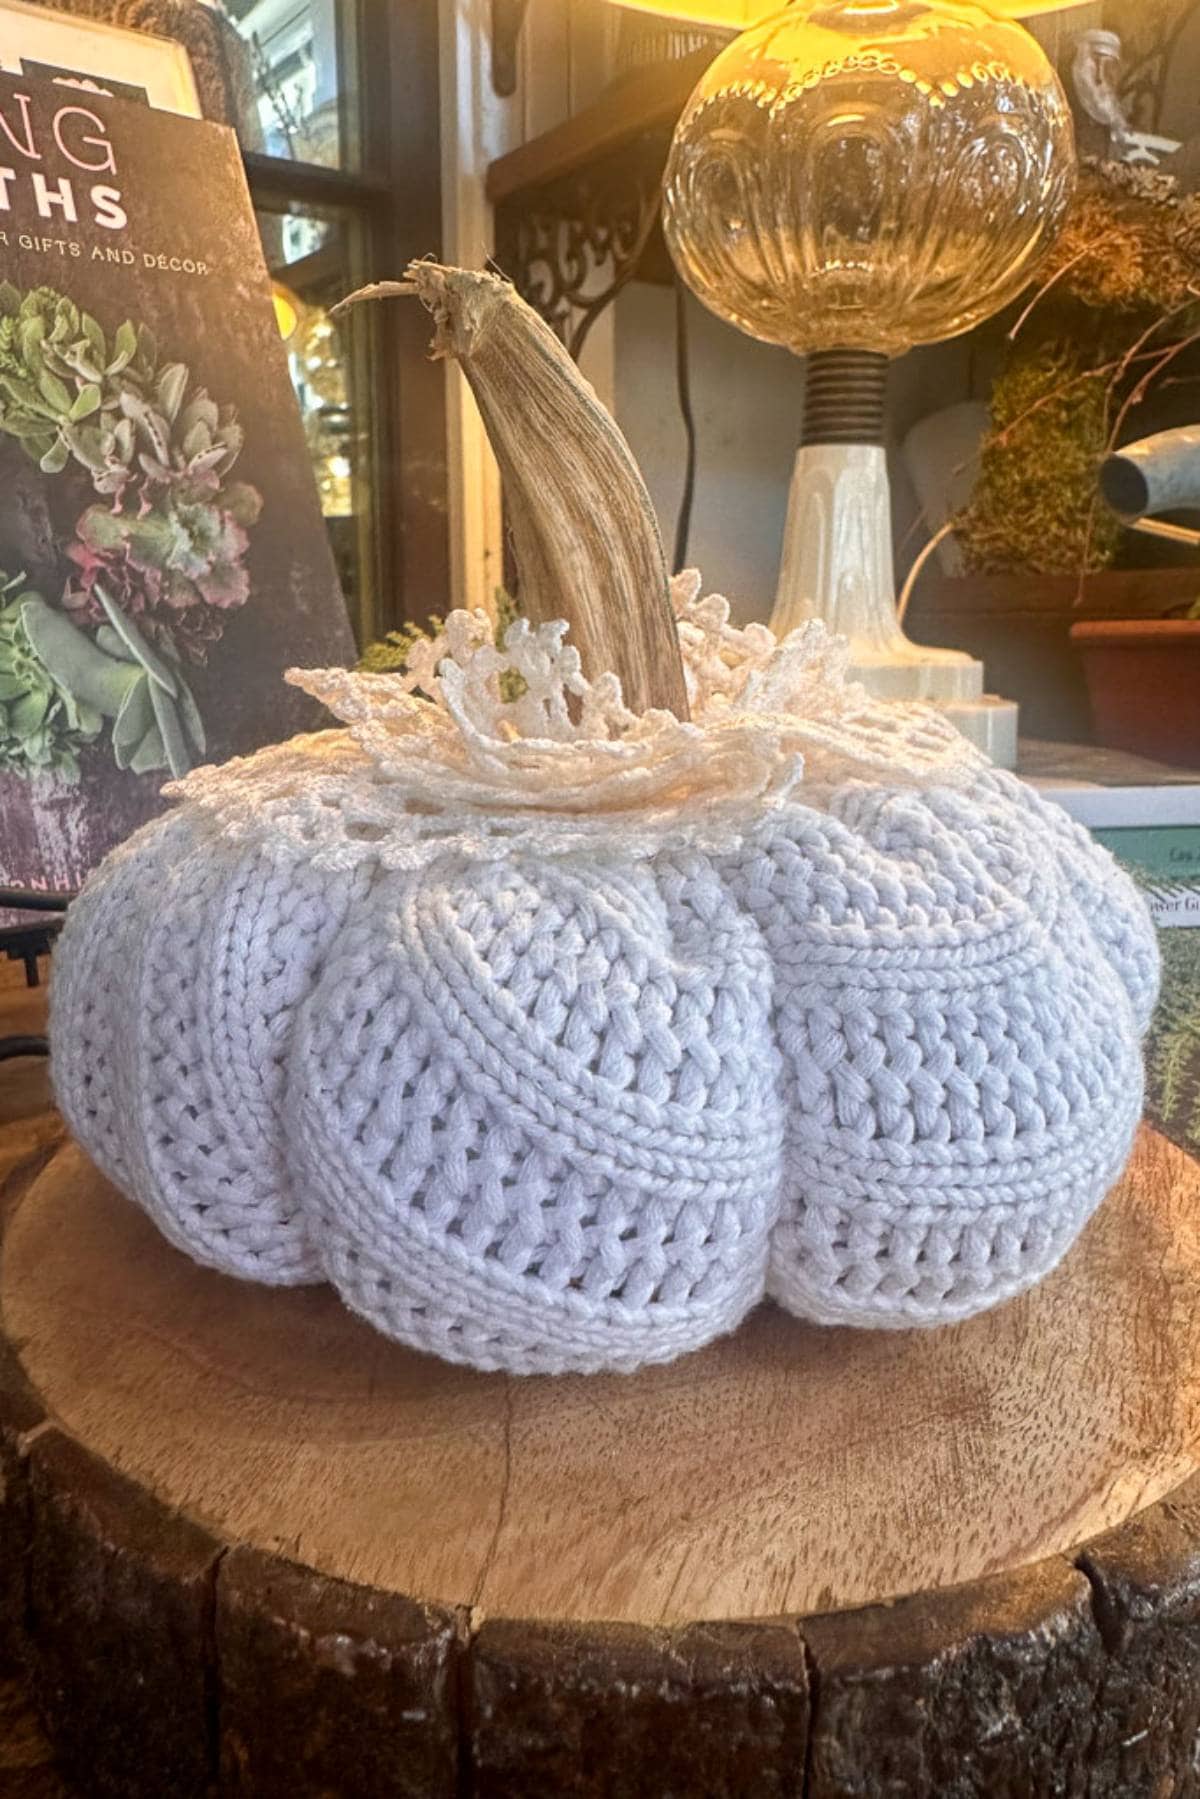
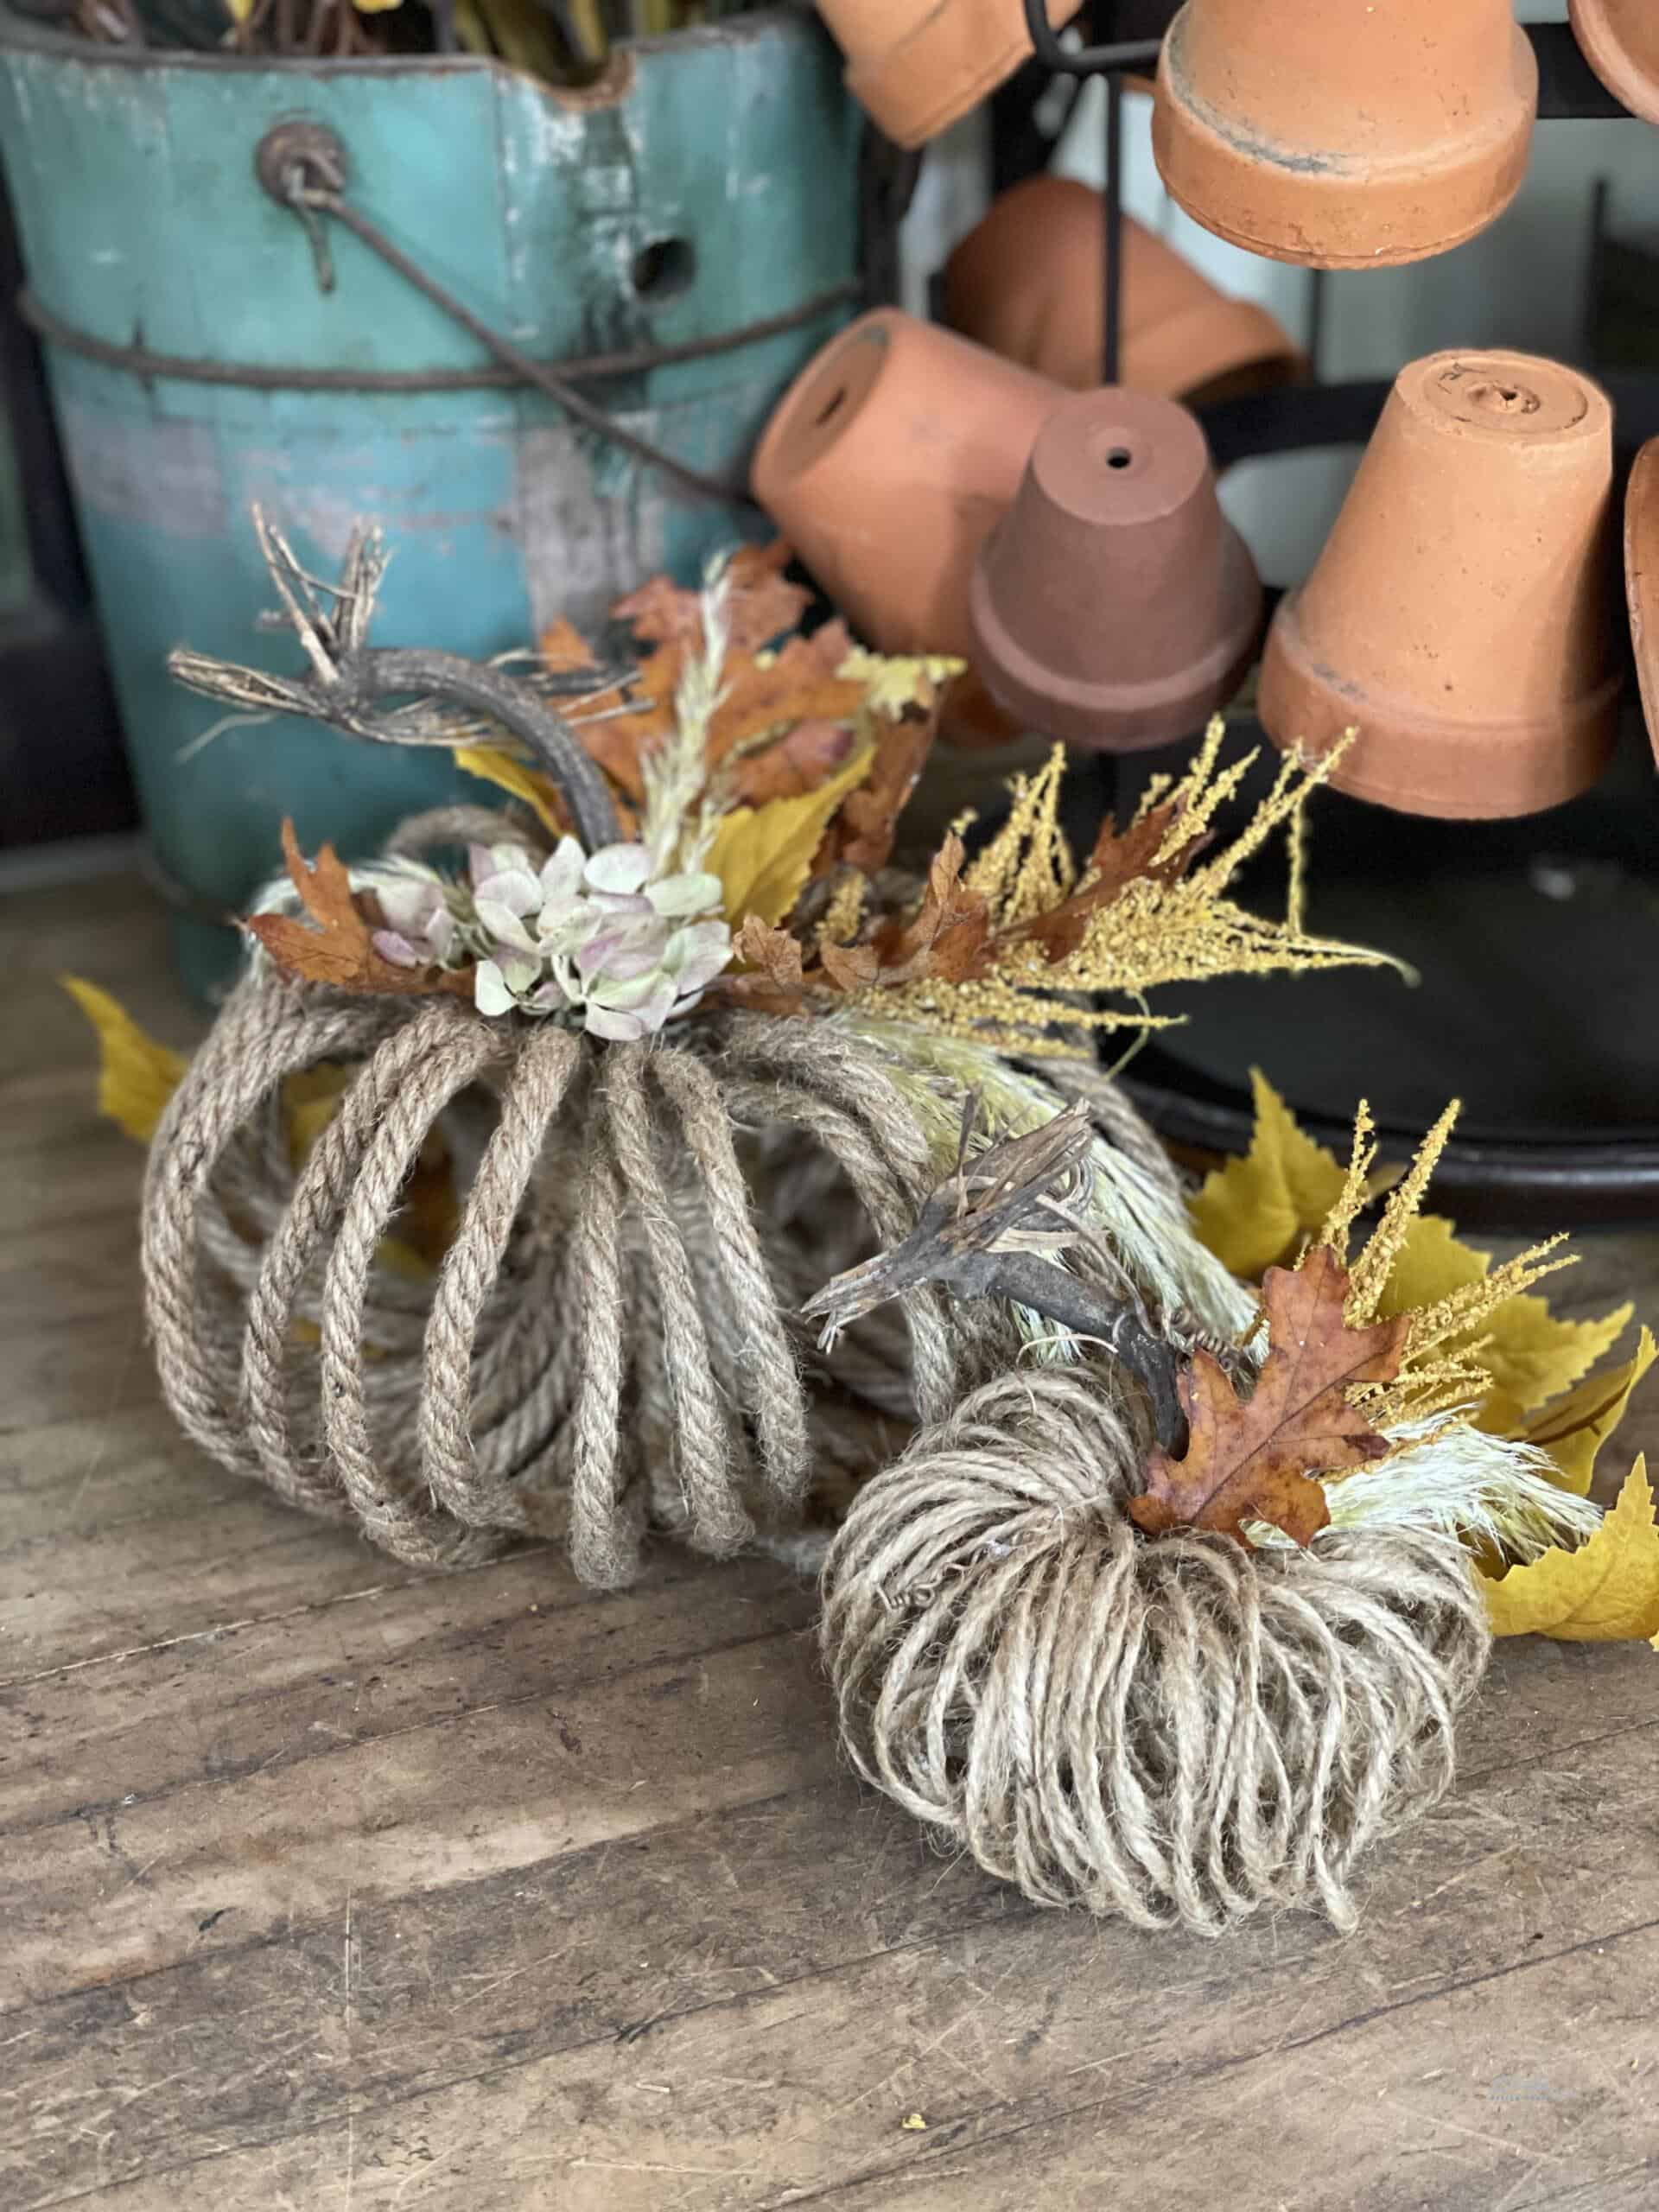
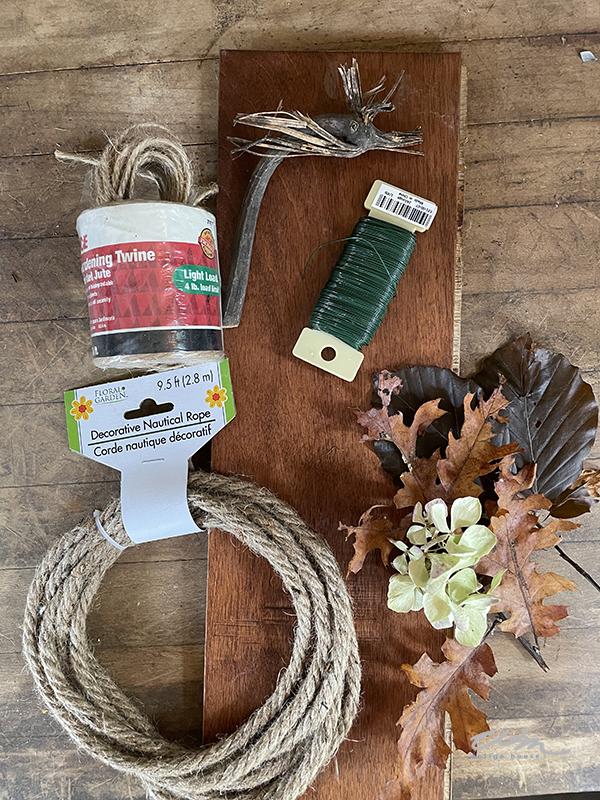
Twine wrapped to create a pumpkin shape, then finished with a dried stem from last year’s pumpkins. One of the oldest projects on my blog and still one of the ones I use the most.
Here is how to make twine pumpkins, start to finish.
18. Fabric Pumpkins
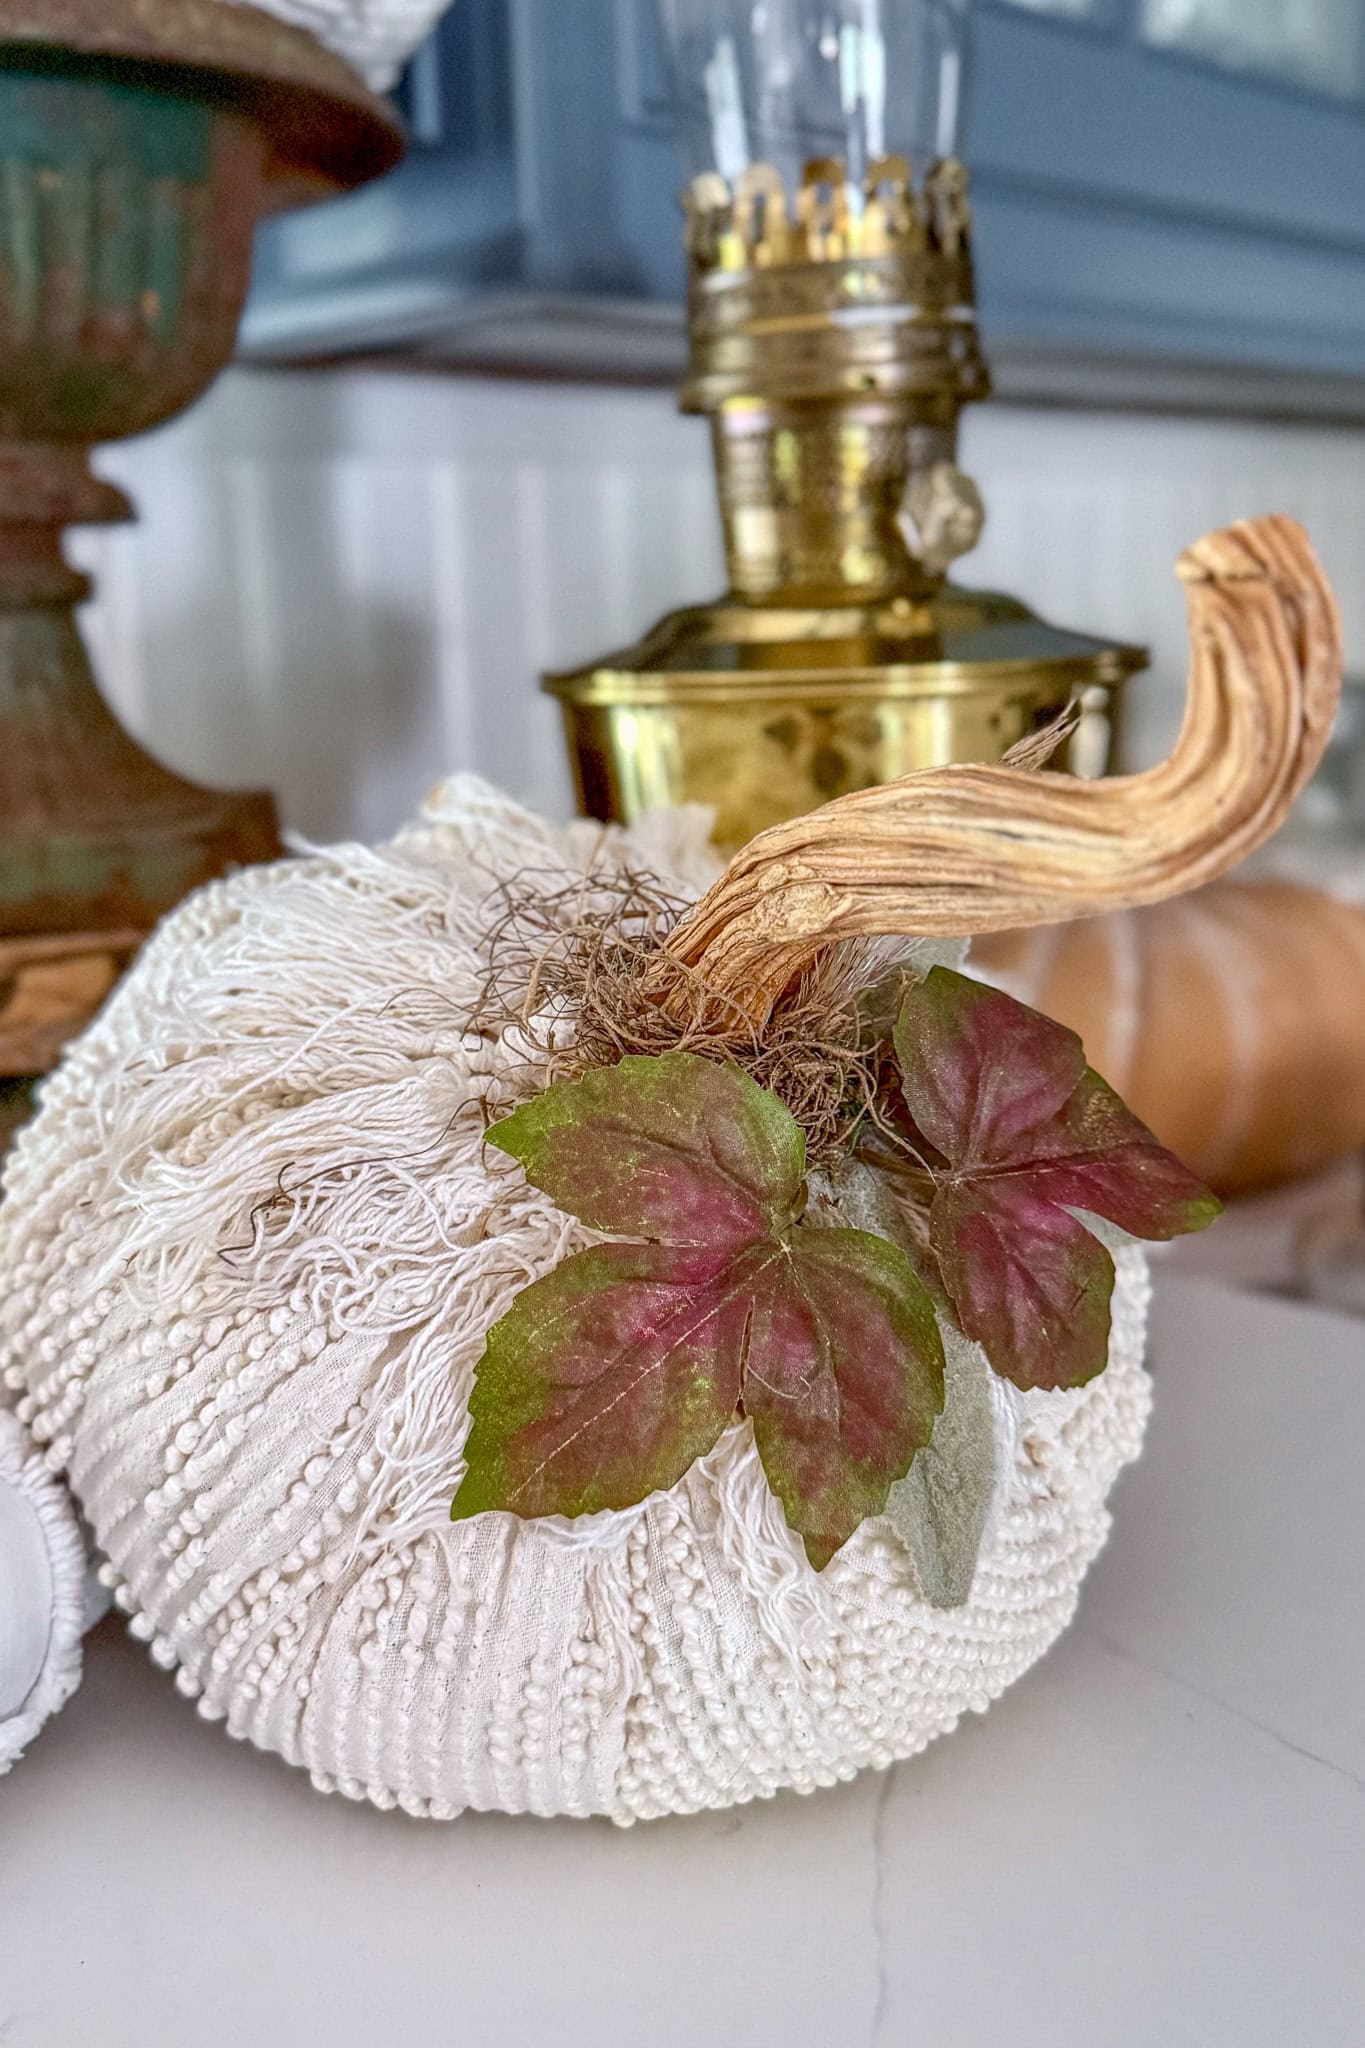
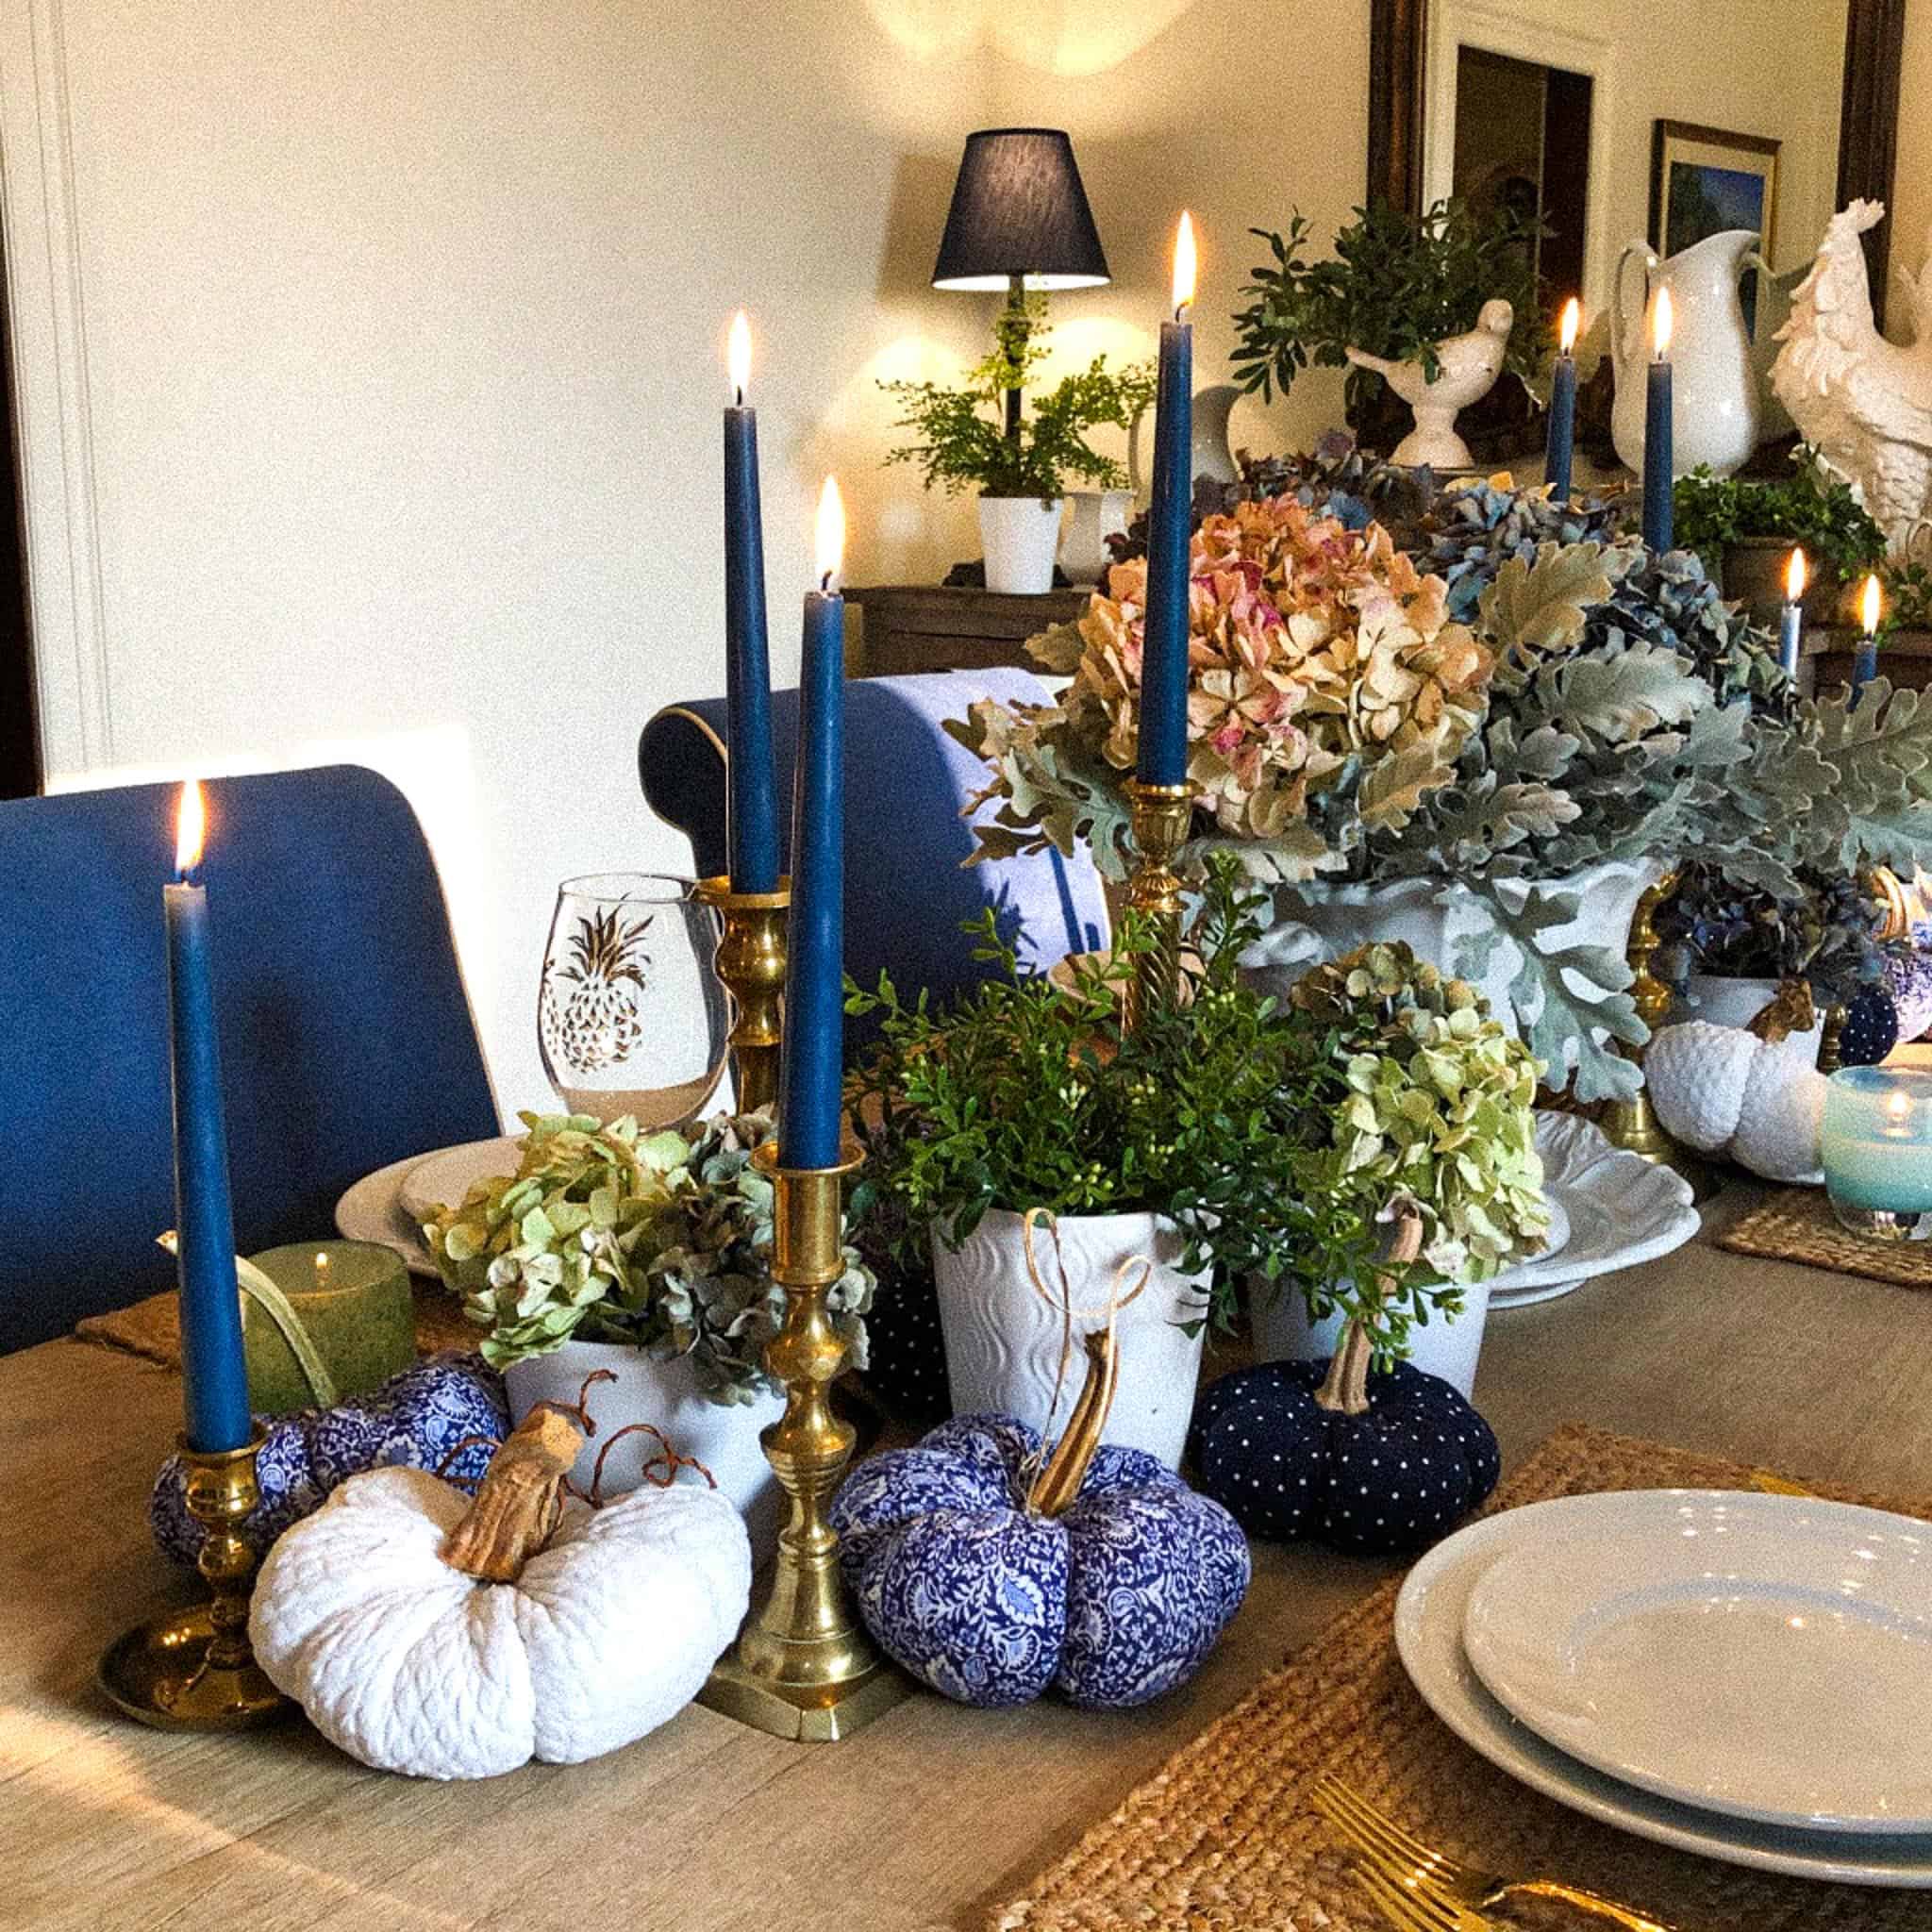
Made from fabric scraps, old bedspreads and clothing with a bit of stuffing. Then topped off with a real dried pumpkin stem. The stem is what sells it, and I save mine every year.
Here is how to make simple and easy fabric pumpkins.
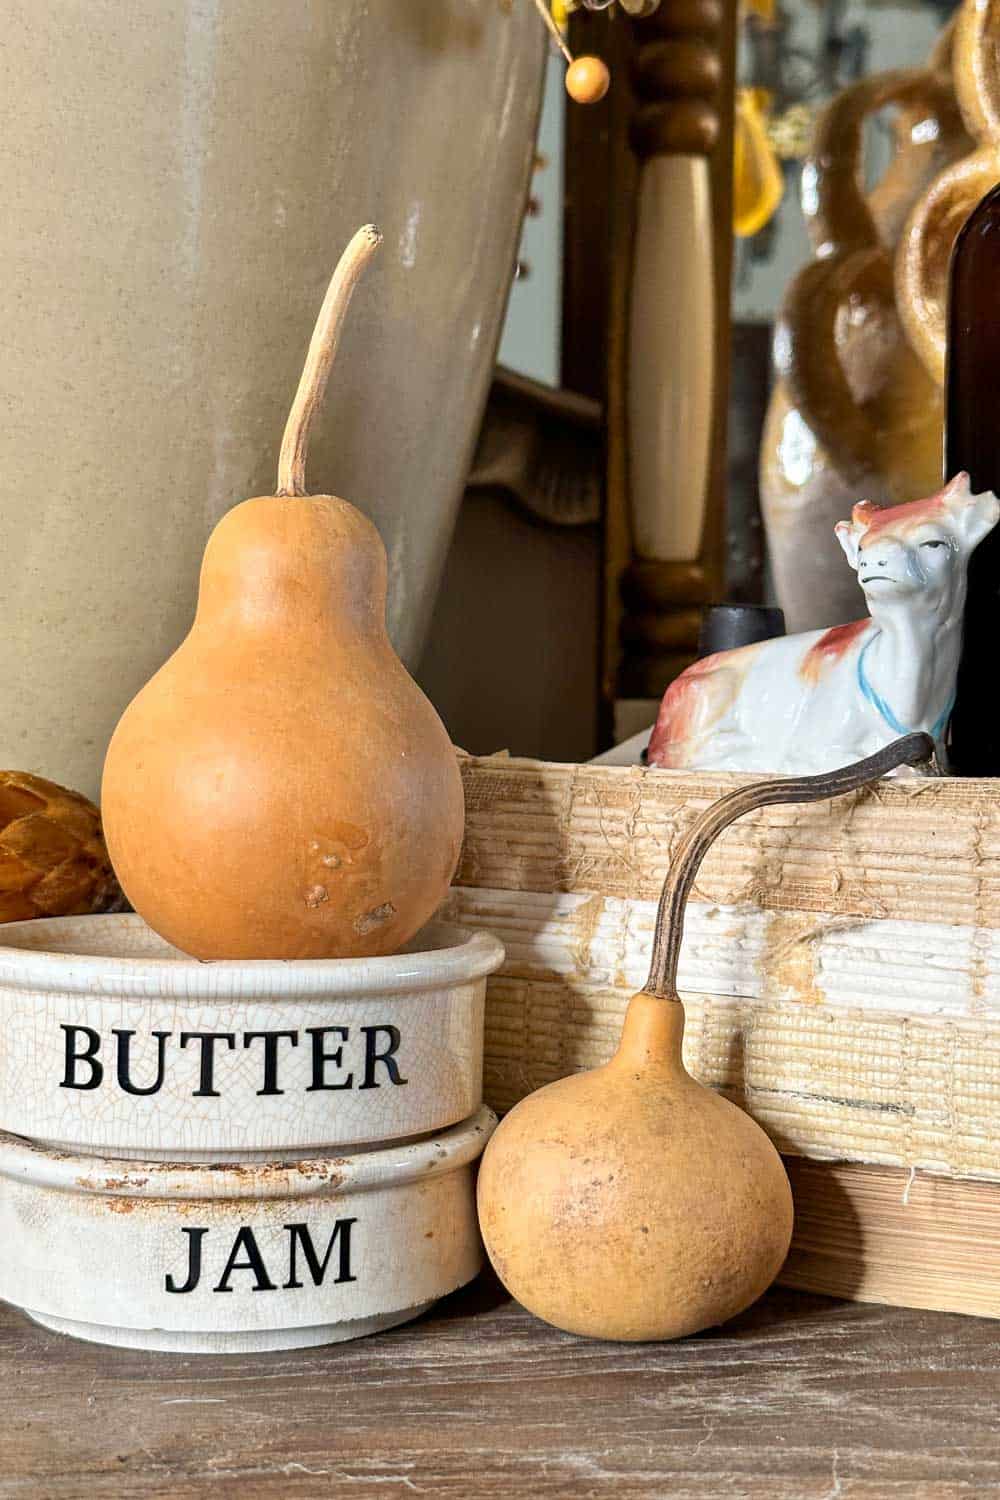
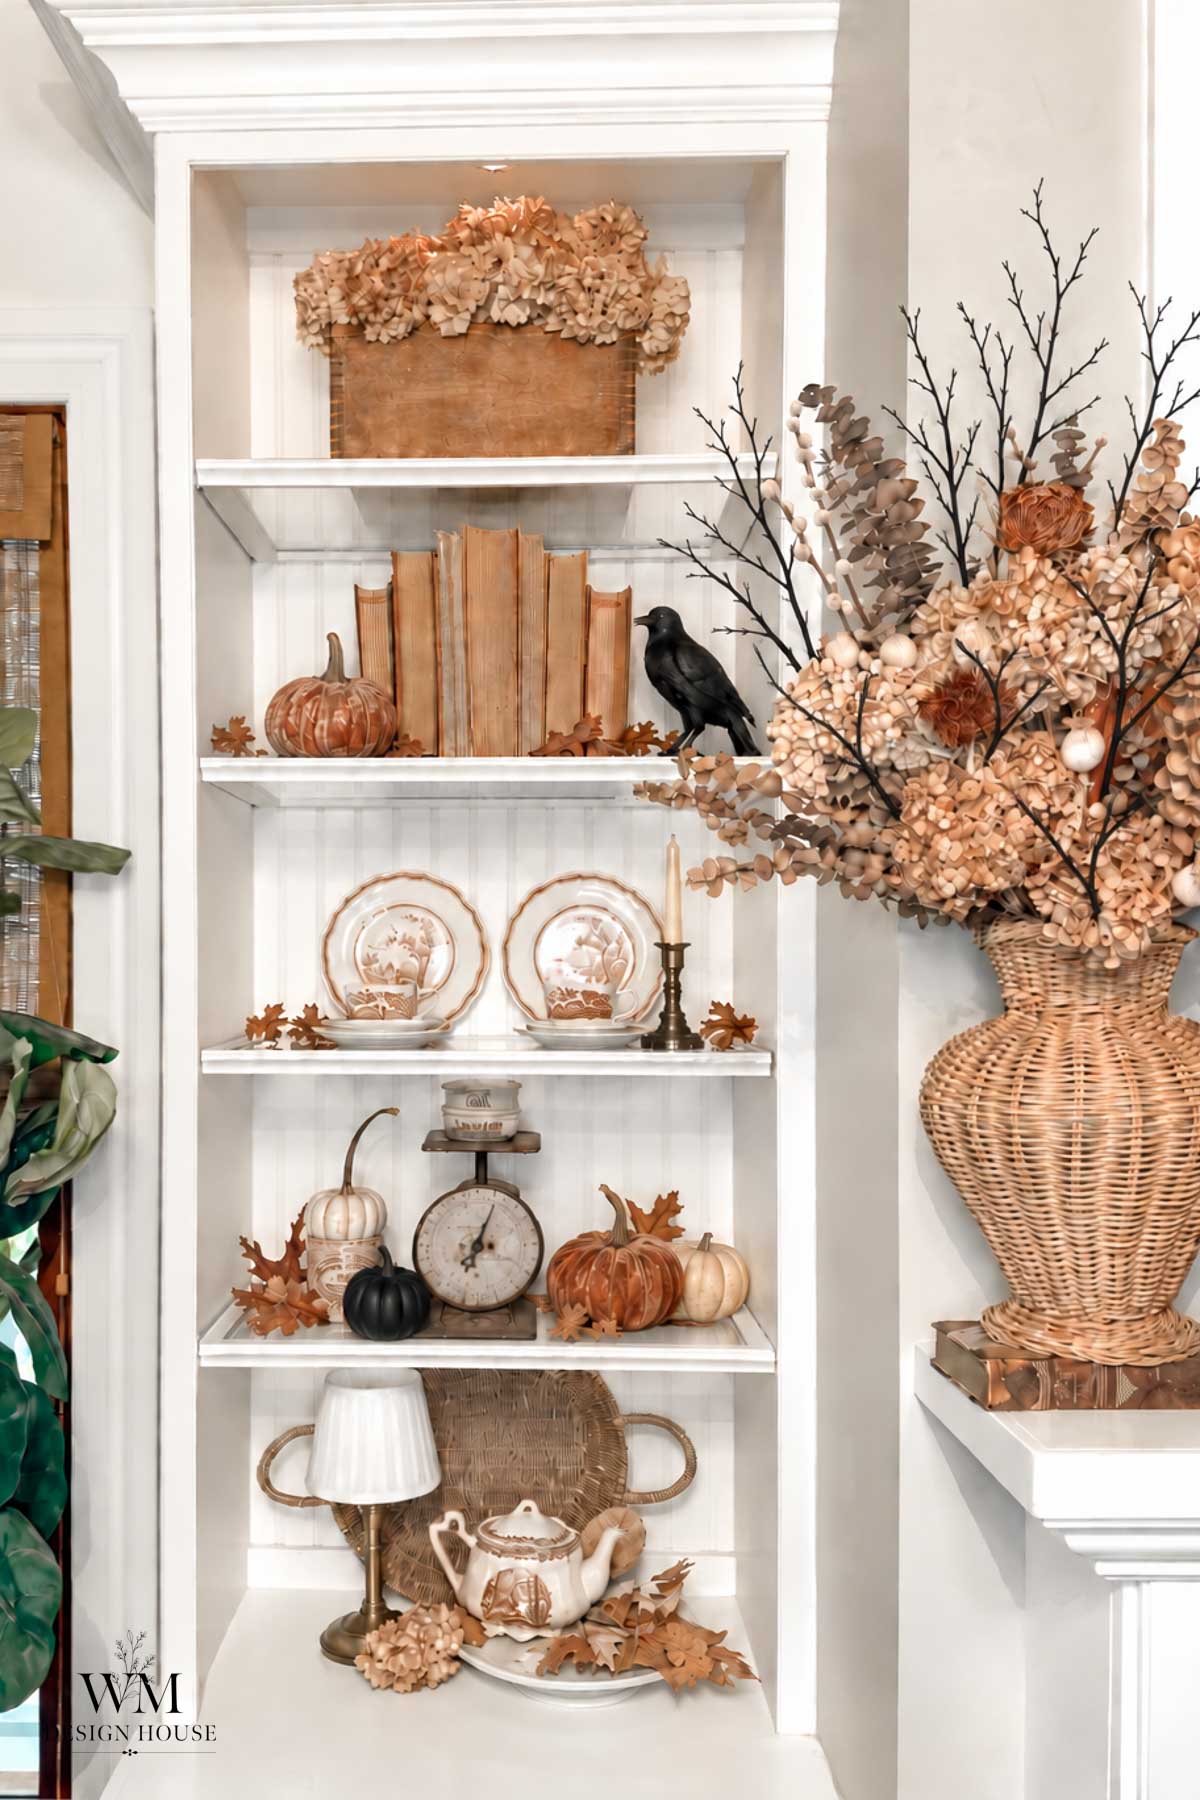
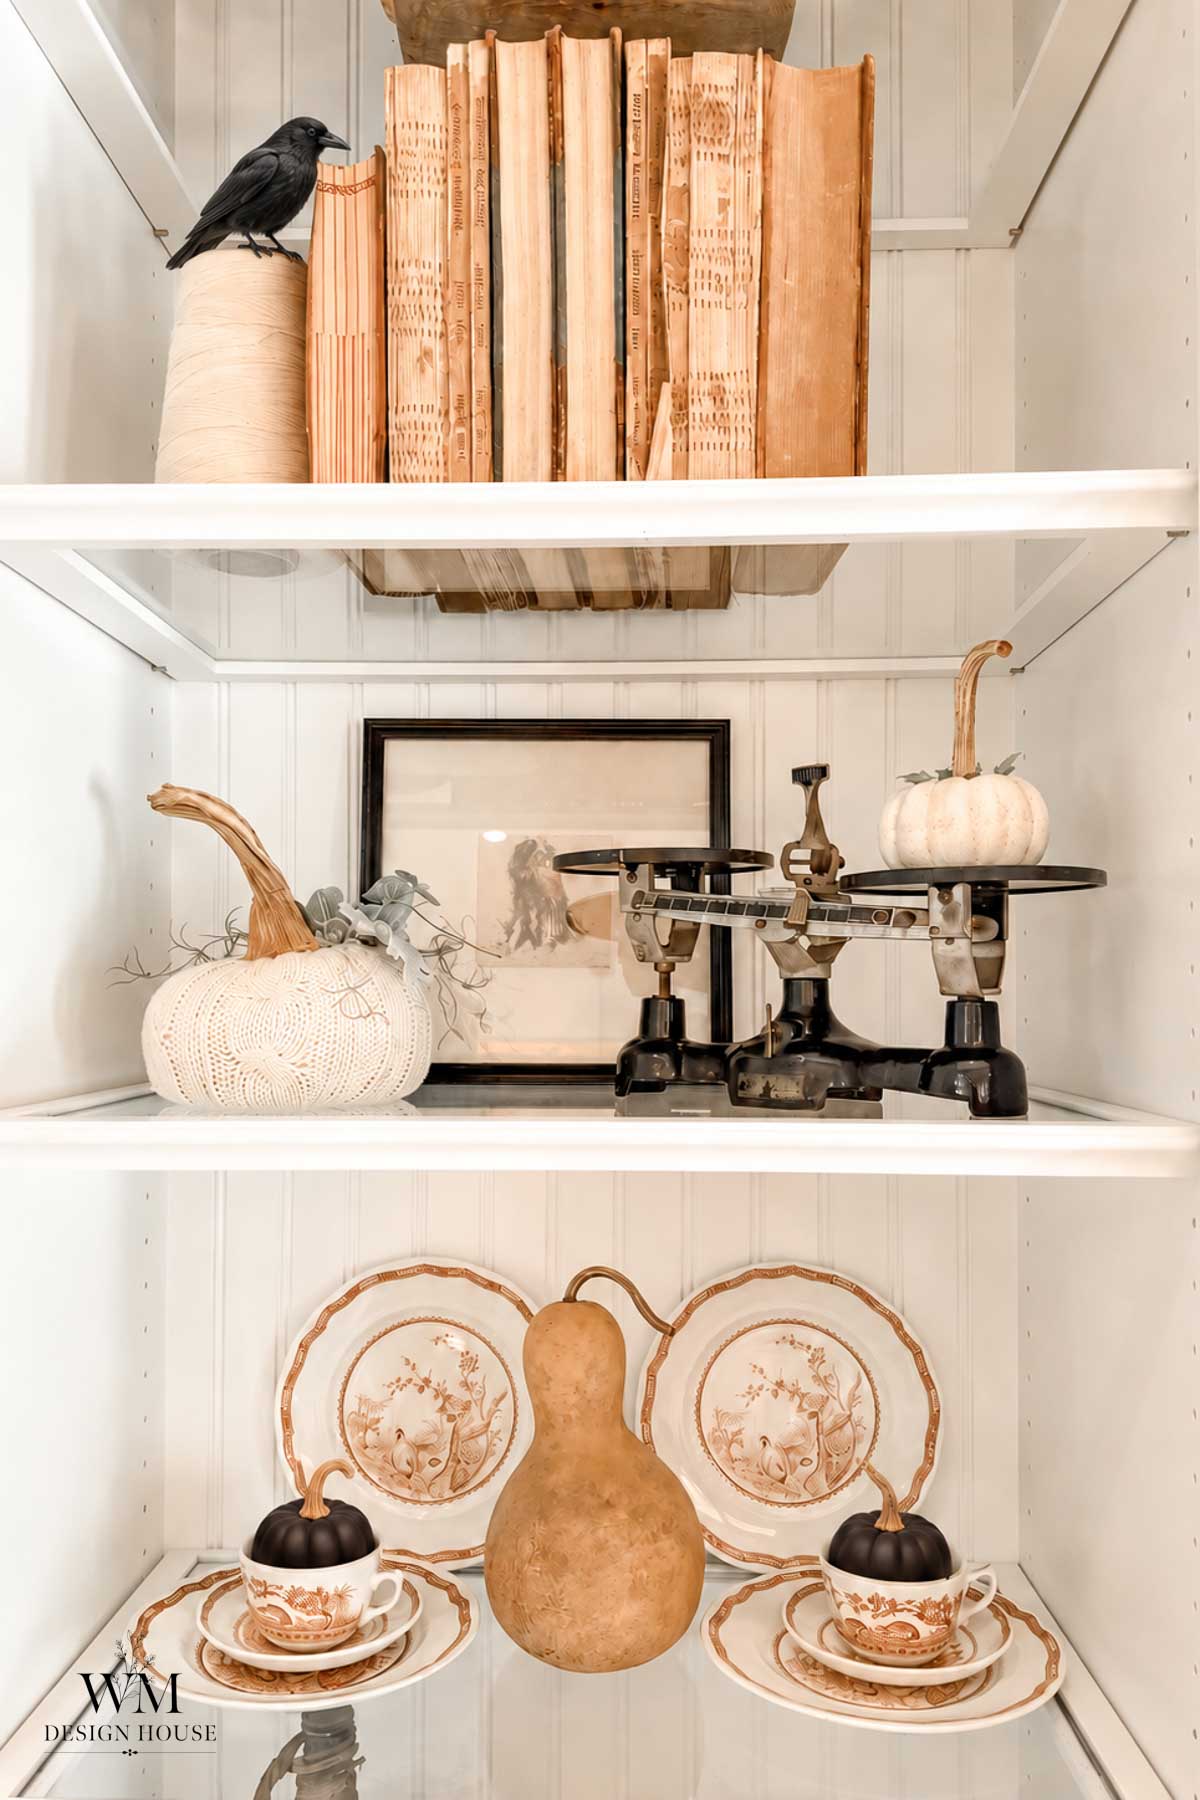
19. Thrifted Shelf Styling in Darker Colors
The same thrifted shelf formula I use all autumn. For October I shift it toward black, brass, and deep green. Nothing new bought, just swapped.
The full formula is in my post on budget friendly fall shelf styling with thrifted decor.
20. Dollar Tree Pumpkin Makeovers
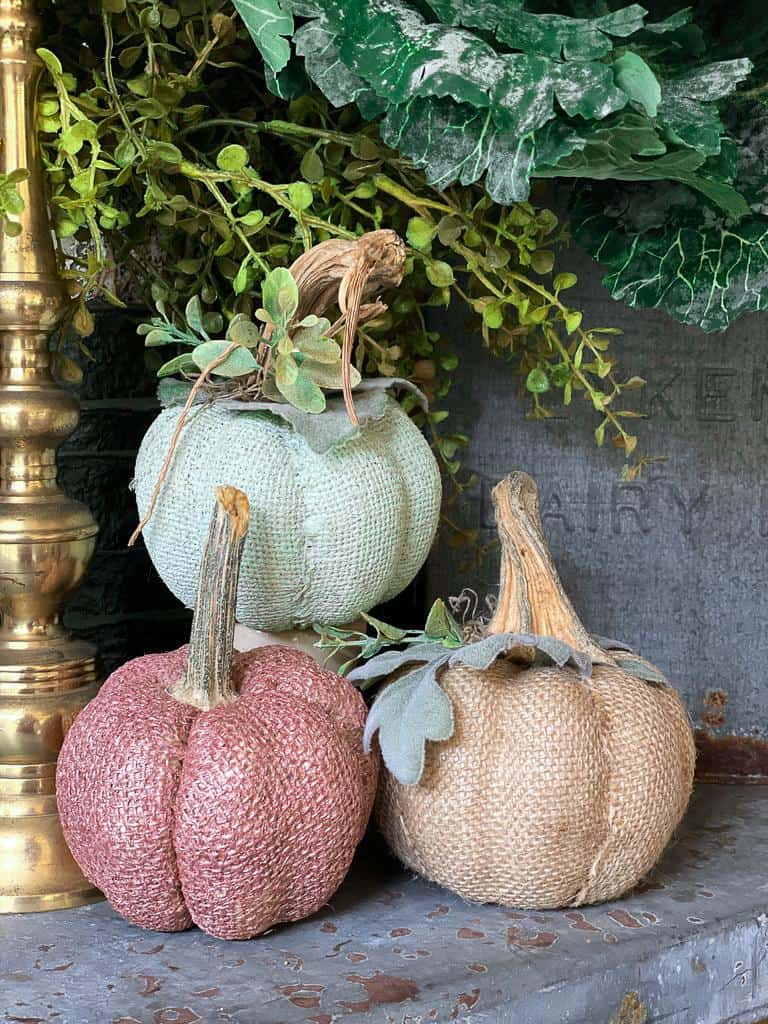
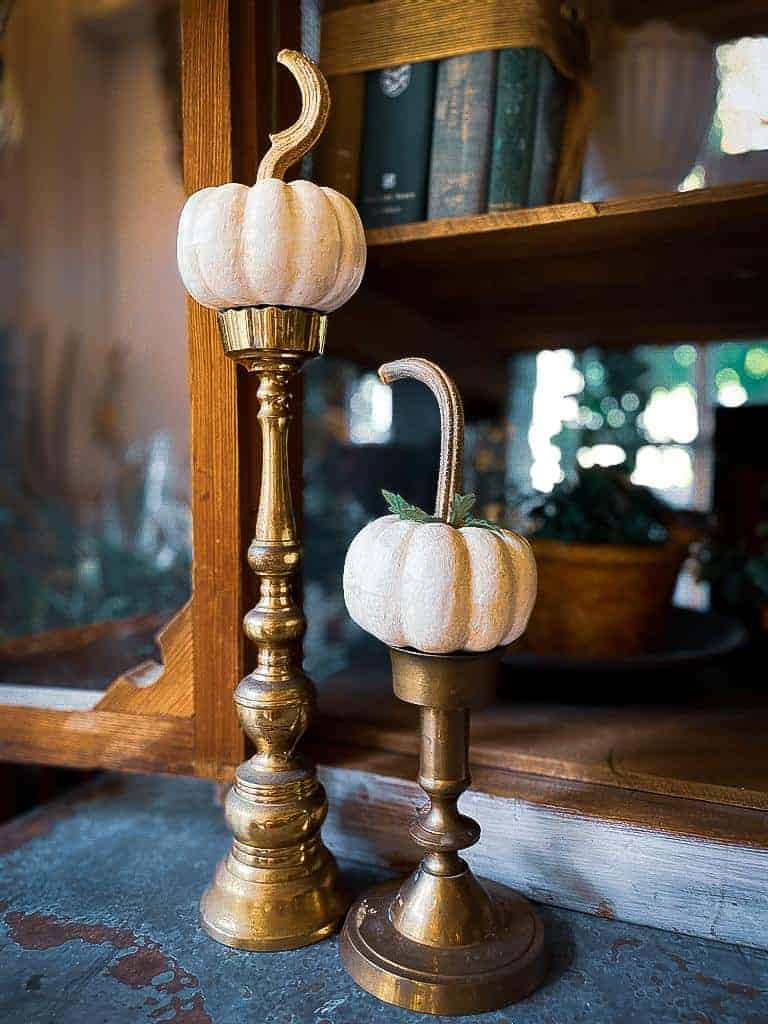
Four ways to take a cheap craft pumpkin somewhere better. Paint is doing most of the work, though the stem transformation is my favorite part.
Here are four ways to transform Dollar Tree pumpkins.
Outdoor Halloween Decorating Ideas
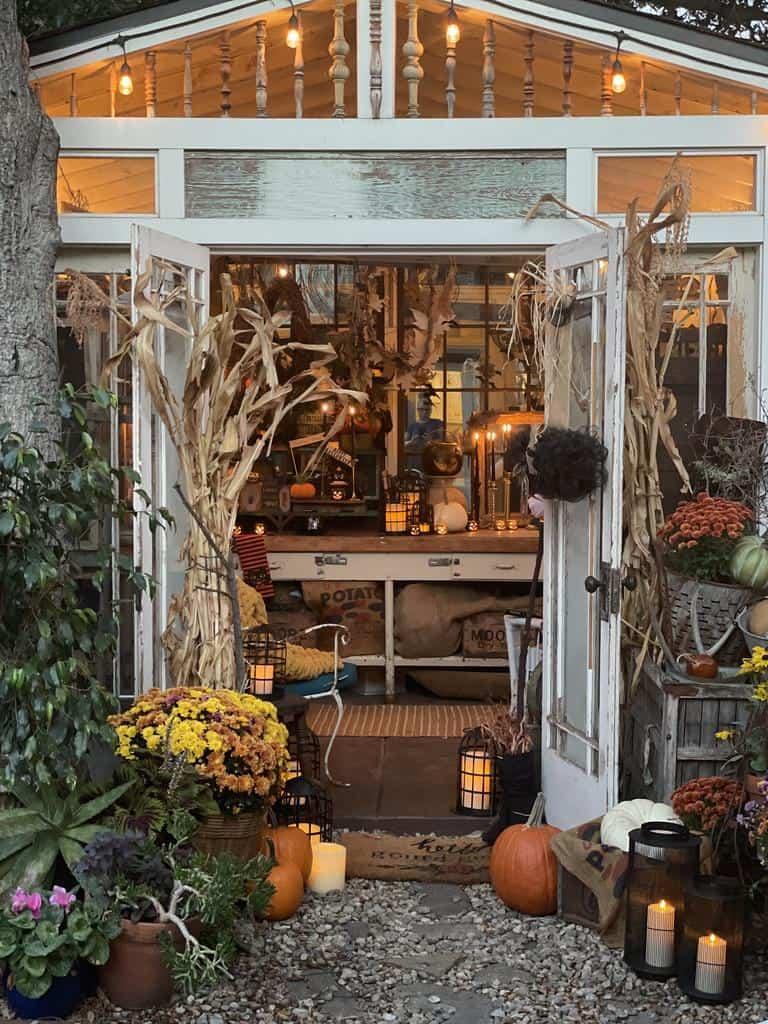
21. A Spooky She Shed
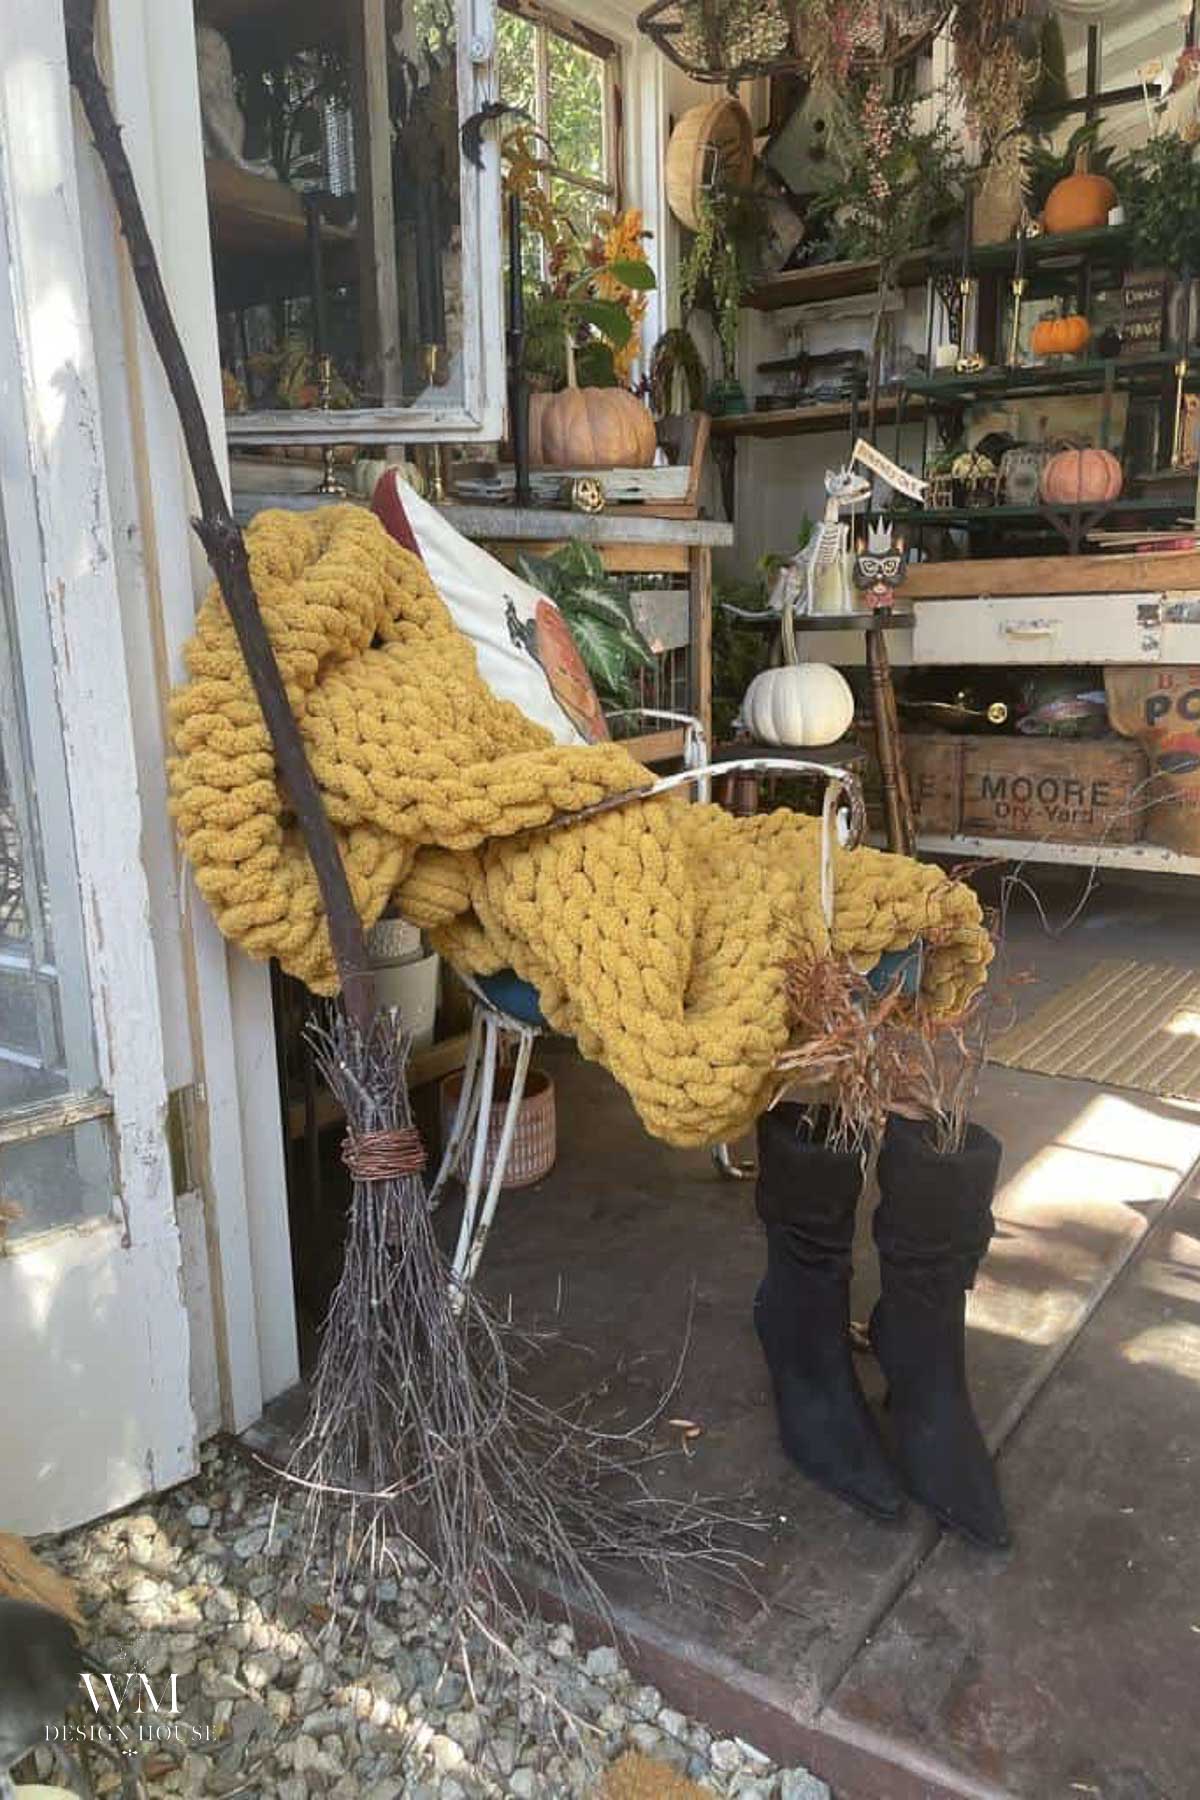
My studio gets the full treatment in October. Lanterns along the floor, a witch’s broom leaning by the door, and candles in the window that read from across the garden.
Come take a look inside my She Shed.
22. Dried Flower Arrangements from the Garden
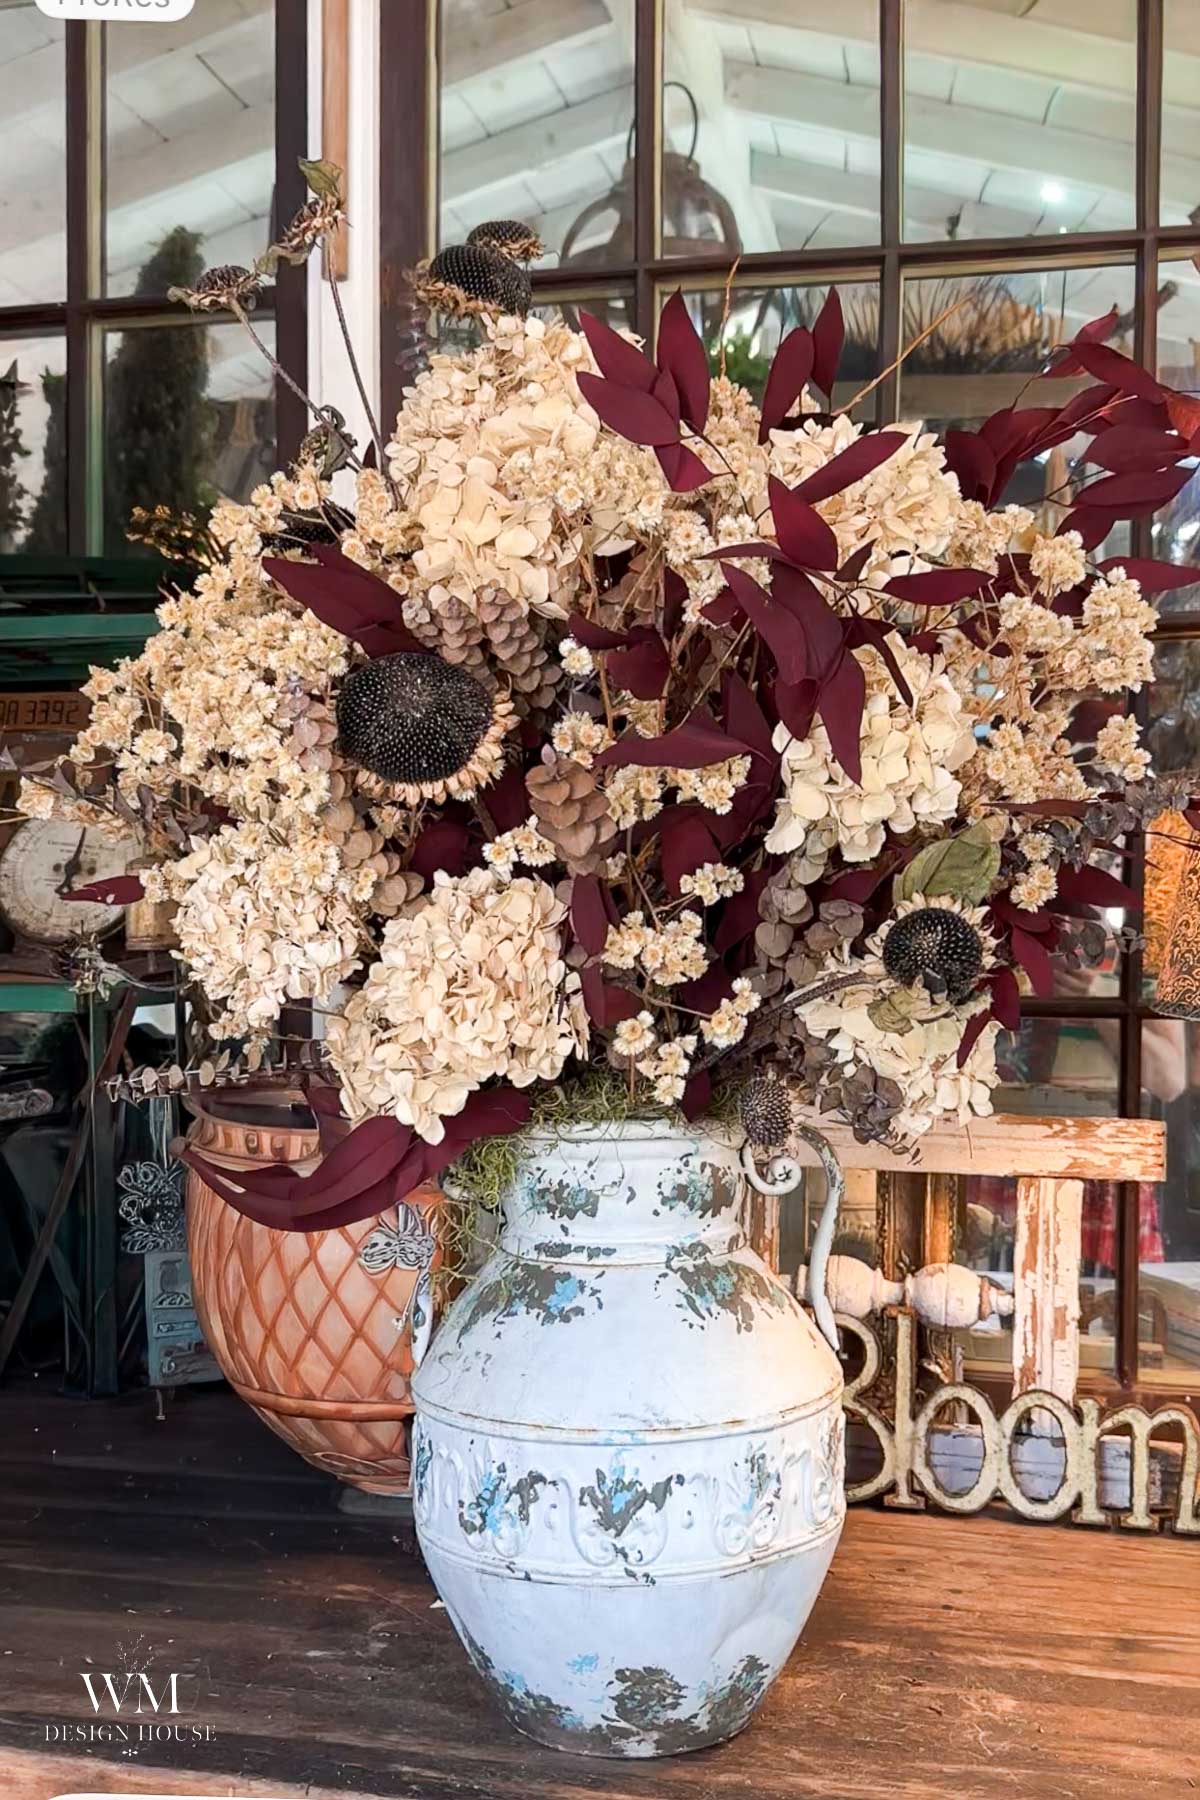
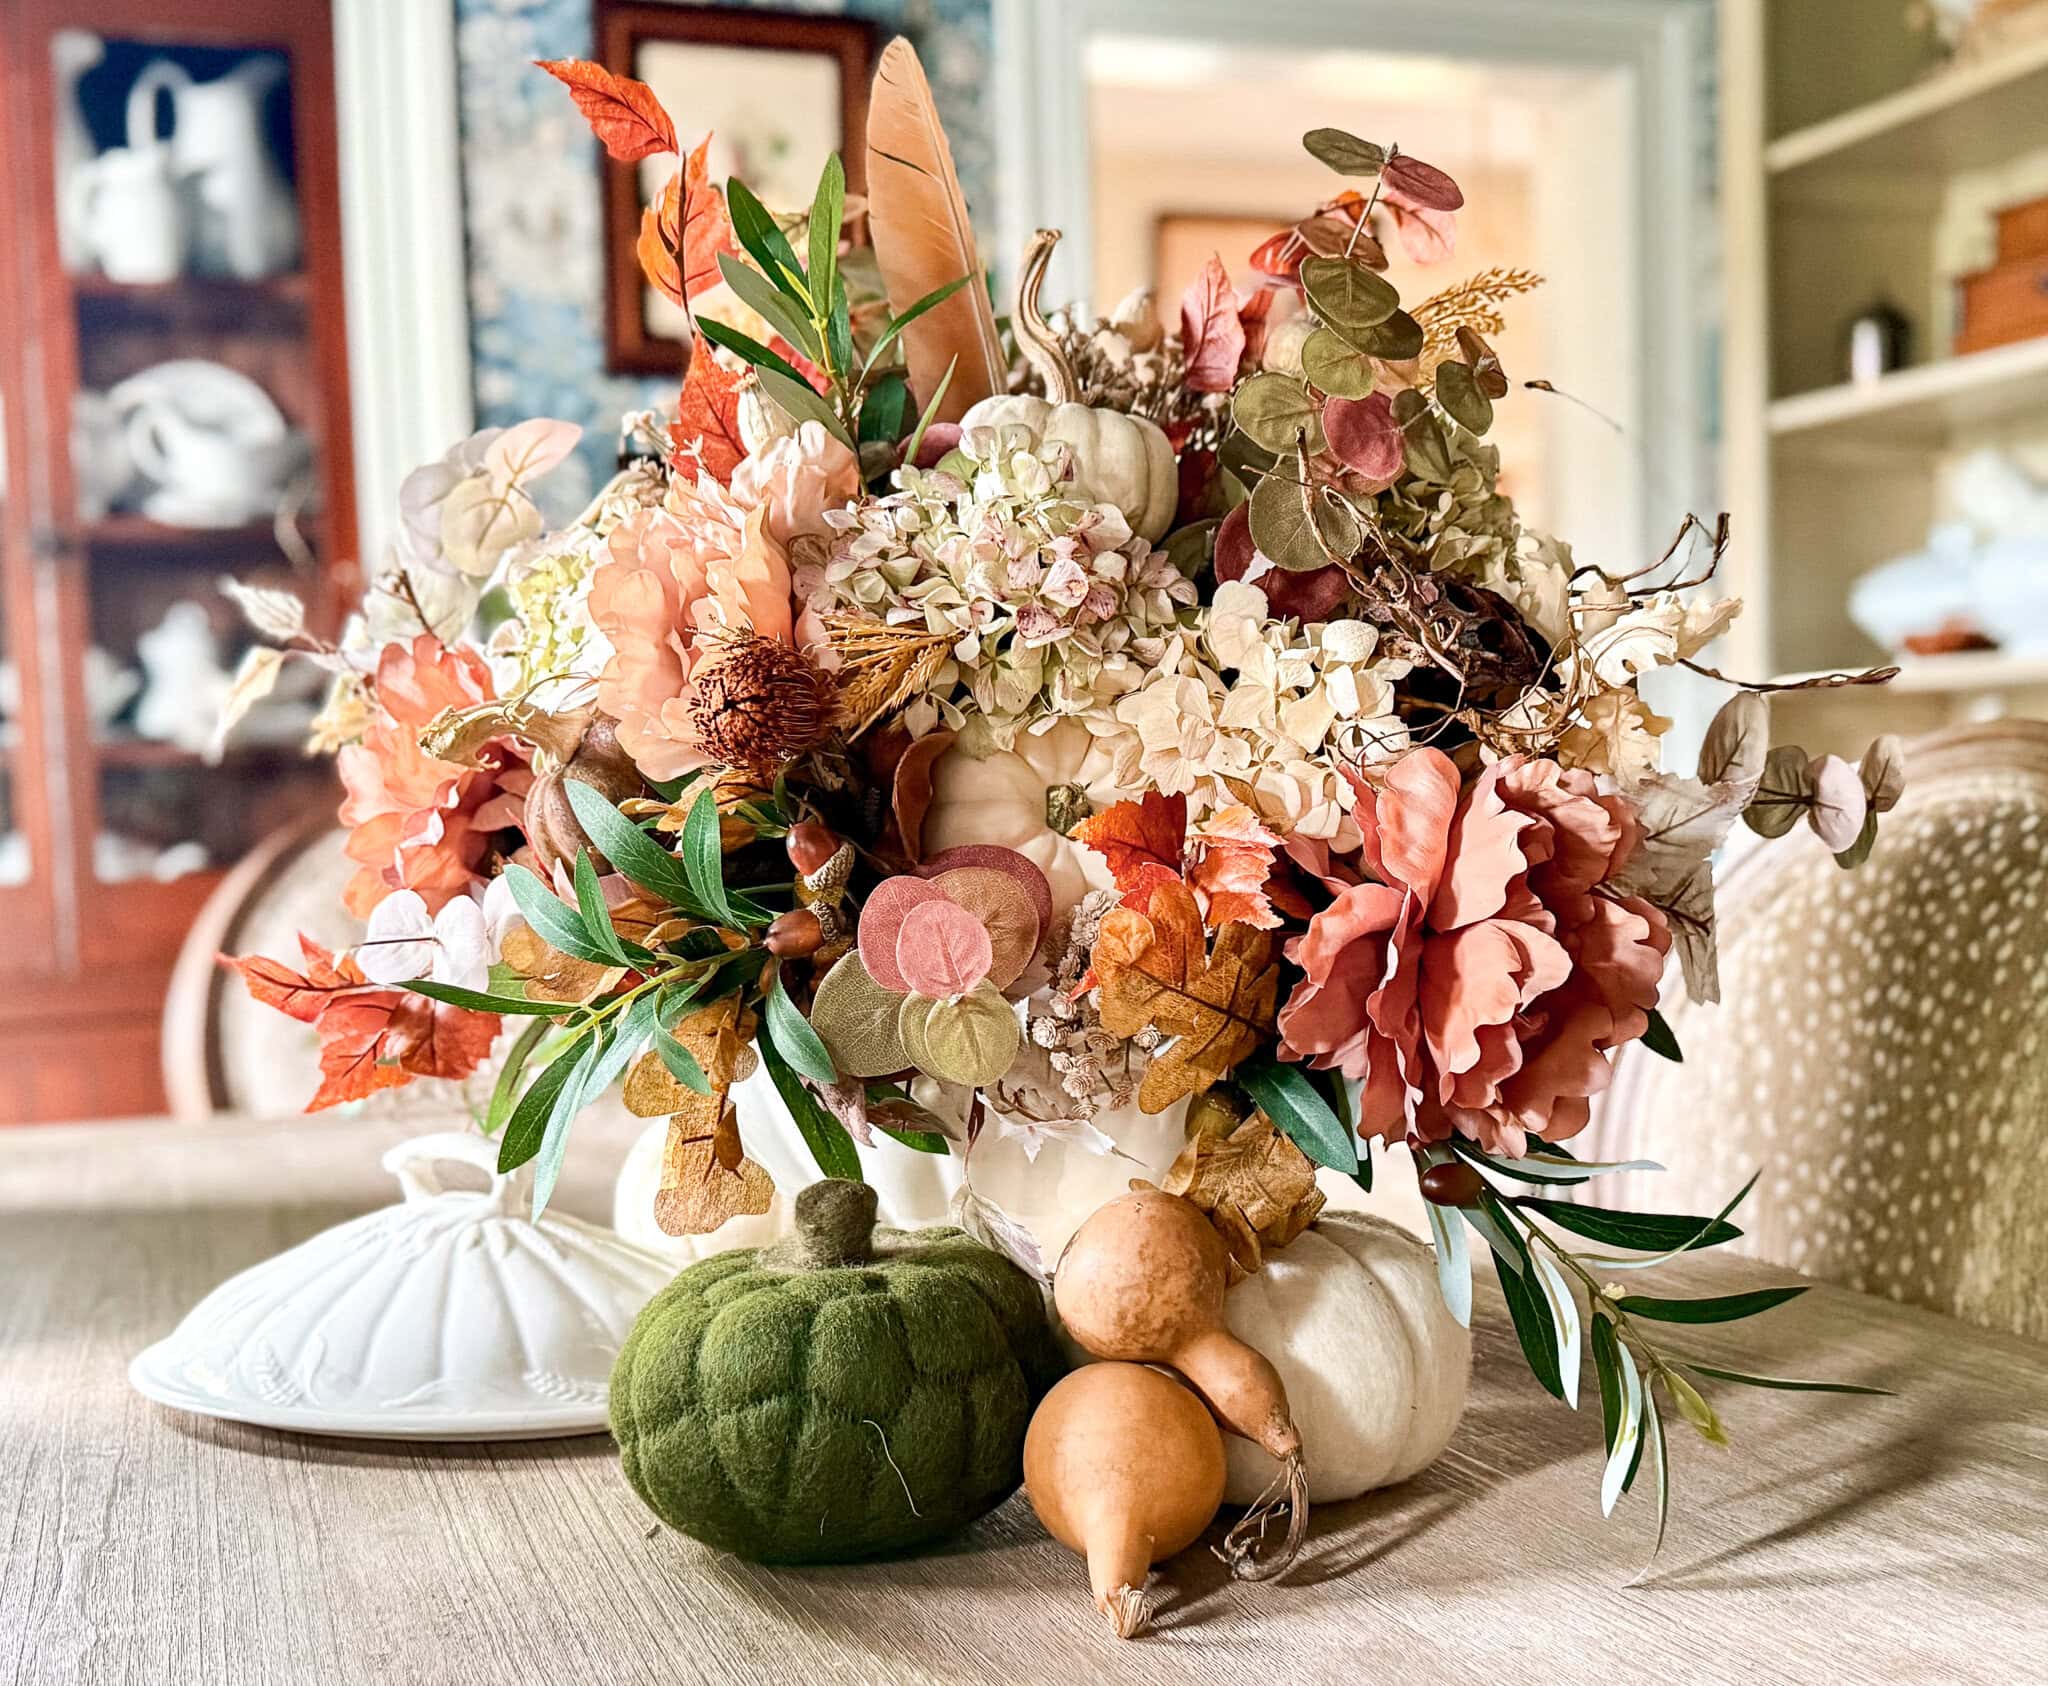
Everything foraged, nothing bought. Seed heads, spent hydrangeas, and dried grasses read genuinely eerie once the color has gone out of them.
Here is how I make DIY dried flower arrangements.
23. Cozy Outdoor Spaces for the Season
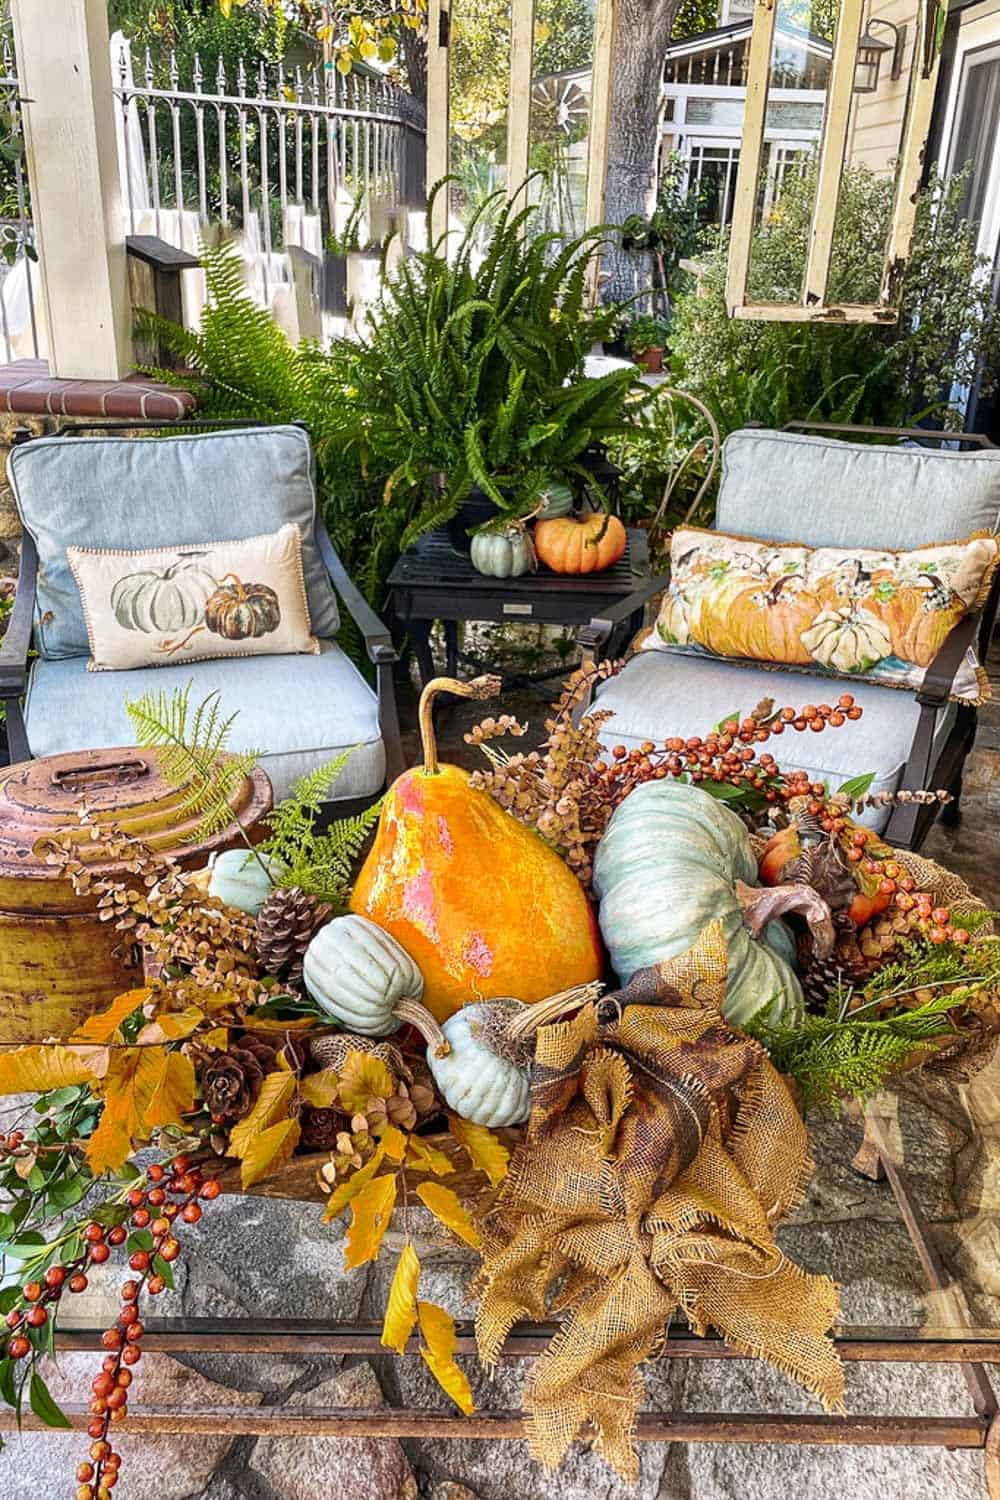
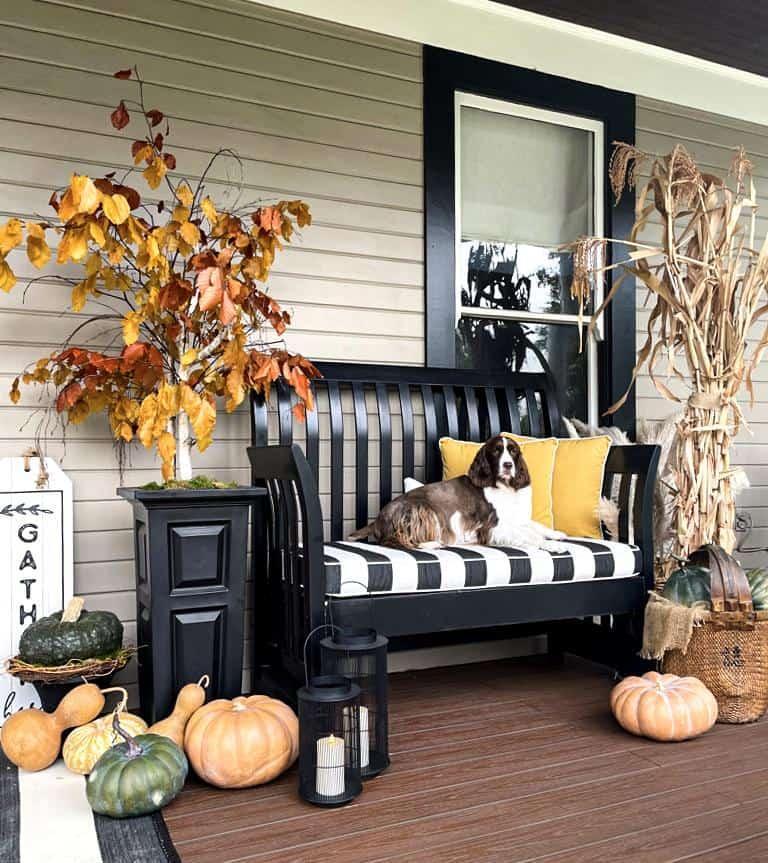
Ways to get the porch, patio, and garden ready. Most carry straight through from fall into Halloween with just a change of color.
There are 21 cozy ways to decorate your outdoor spaces for fall in that post.
24. A Succulent Pumpkin Centerpiece
Succulent cuttings and moss on an uncarved pumpkin. Because nothing gets cut, it lasts the whole season instead of caving in after a week. It holds up outside on a dining table all through October.
Here is my easy succulent pumpkin centerpiece, start to finish.

25. A Painted Pumpkin Pillow
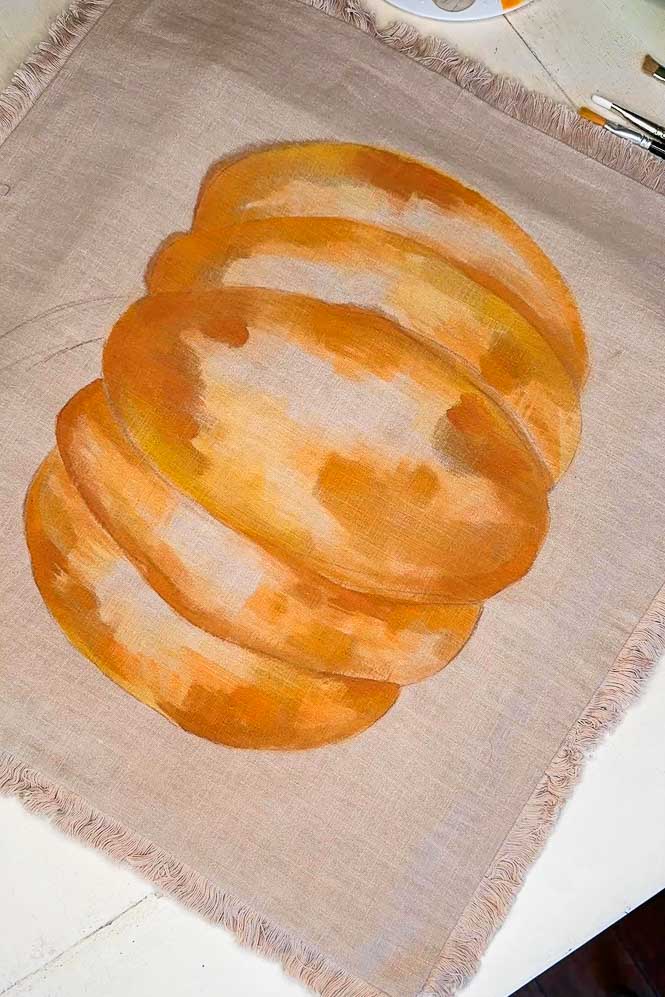
A plain pillow cover and fabric paint. It moves from the porch swing to the sofa and back, and it is the only piece of Halloween decor in my house that is genuinely comfortable.
Here is how to make a painted pumpkin pillow, the Pottery Barn inspired version.

More Halloween Inspiration
My friend Michele at Vintage Home Designs decorates with the same vintage leaning I do, and her Pumpkin wine dispenser is worth a look if you want more ideas in this direction.
These ghost napkins from my friend Jen at Midwest Life and Style are adorable and easy. Jen also has the most amazing recipes for Halloween including this Everything pumpkin bagel cheese ball.
Wrapping Up
Almost none of this cost much. Thrift store buckets, branches from the yard, sweaters nobody wanted, and a lot of black spray paint.
That is what I like about decorating for Halloween. The season rewards resourcefulness more than a budget. Start with one project, and by the end of the month you will have a houseful.
Happy crafting, and may your Halloween be full of treats, no tricks!

Halloween Decorating FAQs
When should you start decorating for Halloween?
The first week of October is the sweet spot for most people. It gives you the full month without stepping on early fall decorating. Everything is also up well before trick or treaters arrive. If you want a longer run, start with neutral pumpkins and dried arrangements in late September and add the black and the faces in October.
Limit your palette and repeat it. Black, brass, and one warm neutral will carry an entire house. The cheap look almost always comes from too many colors and too many novelty pieces competing with each other. Not from how much anything cost.
It works better, in my experience. Old houses already have the architecture doing half the work for you. Lean toward the vintage end. Aged metal, old books, tarnished brass, dark botanicals. Skip the plastic novelty pieces entirely.
Black spray paint and a thrift store. Almost anything reads as Halloween decor once it is matte black. Thrift stores are full of shapes worth painting. Add battery candles and you have covered most of what matters.
Bin by room rather than by type. Setting up next year then takes an afternoon instead of a weekend. Wrap anything painted in tissue so surfaces do not rub. Keep battery candles in a separate small bin with the batteries removed. A leaking battery will ruin an entire container of decor.
P.s. Don’t forget to follow along with me on Pinterest and my social channels for even more seasonal Halloween inspiration.


More about me!

Hello, I’m Wendy – a dedicated homemaker with a deep passion for decorating, gardening, cooking, and crafting. I find joy in harmonizing beautiful elements to fashion a space that is both comfortable and inspiring. I will help you create a beautiful home, one project at a time.
Great ideas, Wendy… as always. Love your Halloween DIYs… so easy, but pack a punch! I’m delighted to be featuring your post at this week’s party! (we still need to make a plan to get together!)
What a great picture of you, Wendy! Thanks for sharing your trick or treat crafts! Love the witches hat! Happy Halloween! 🎃
Absolutely love the witch’s hat! Your creativity has no limits!
Thank you, Lisa. It’s such fun and easy Halloween project.
Those are such cute and creative ideas! Adorable! I’m really curious about Mischief Night! I’ve never heard of it, but it sounds like it would be fun.
It’s fun from what I remember, but there are definitely a lot of crazy things that happen!
Thank you for sharing!
petsscarf – https://www.petsscarf.com
You are so welcome, enjoy and Happy almost Halloween.