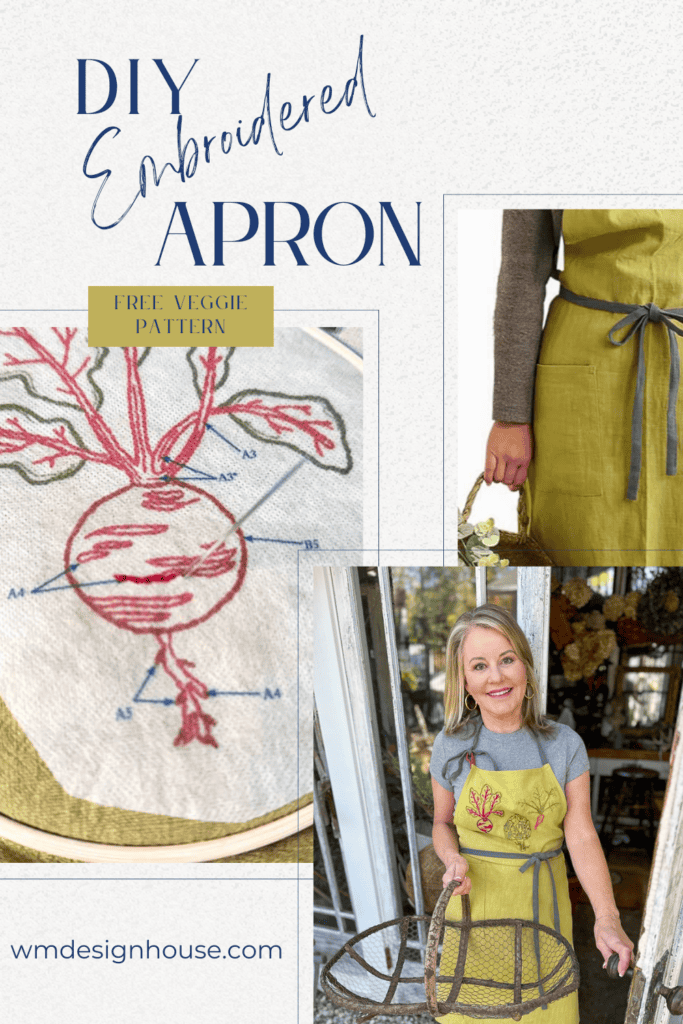
Embroidery Idea for a Garden Apron: Free Veggie Pattern
Dive into our latest project: an Embroidery Idea for a Garden Apron, blending utility with a touch of nature’s charm.
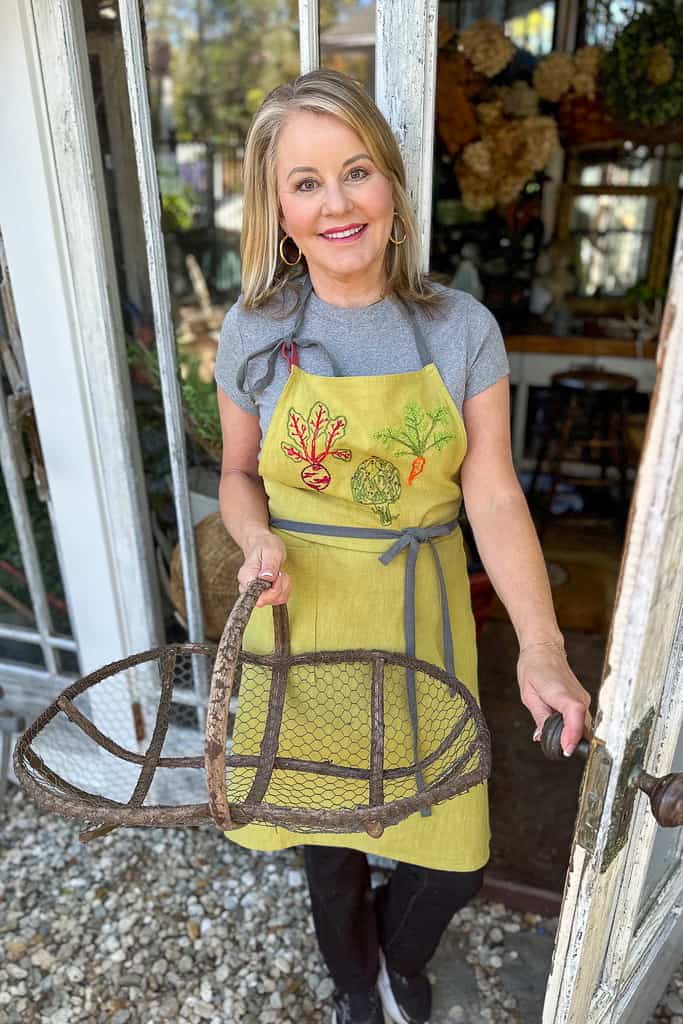
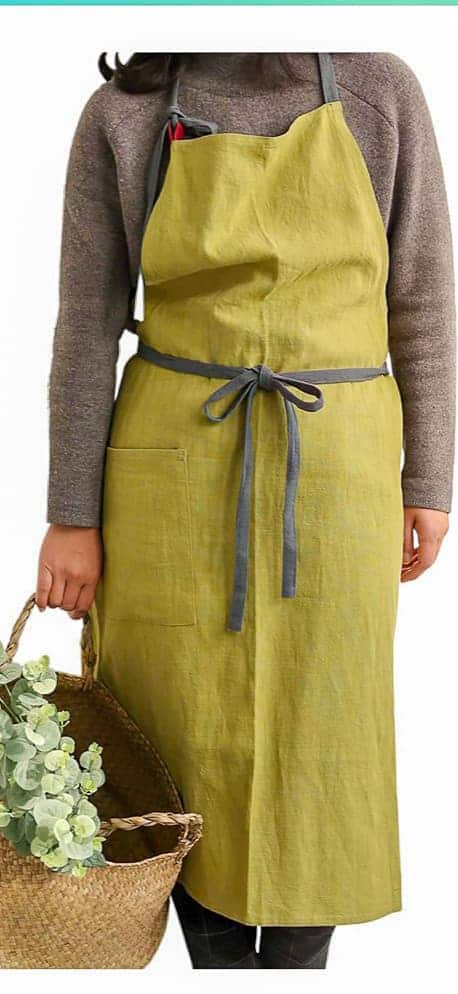
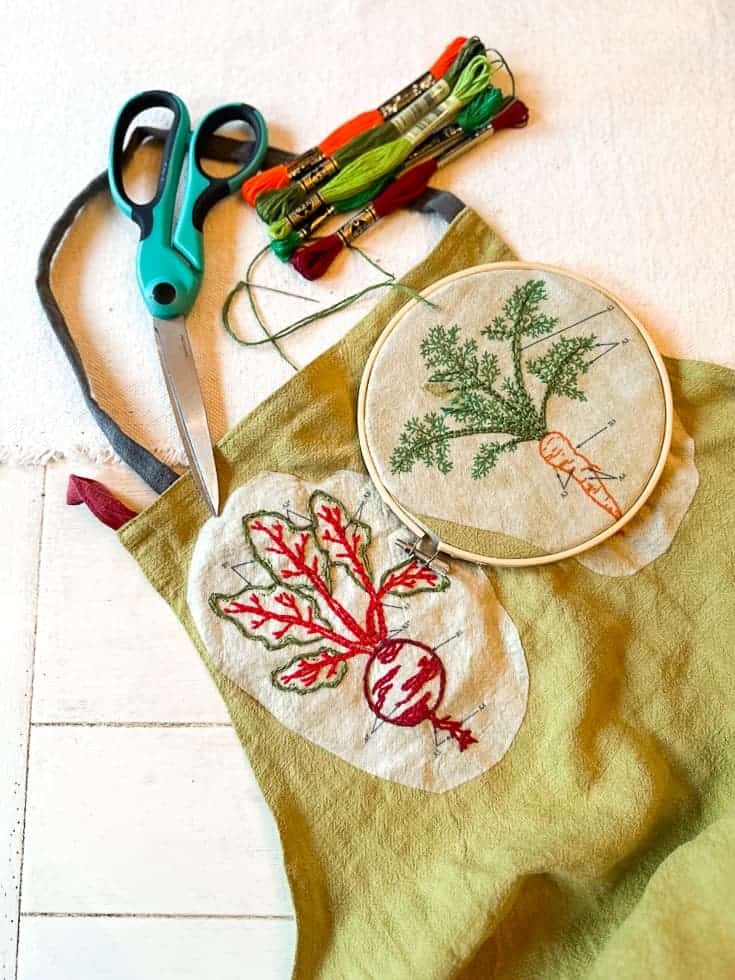
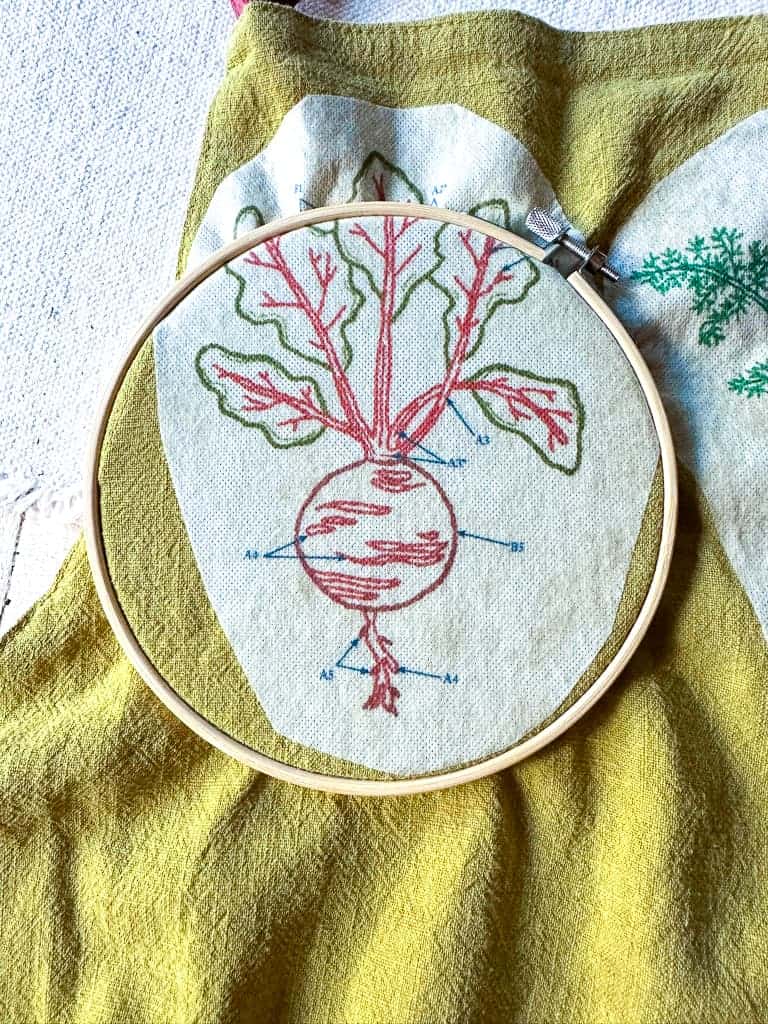
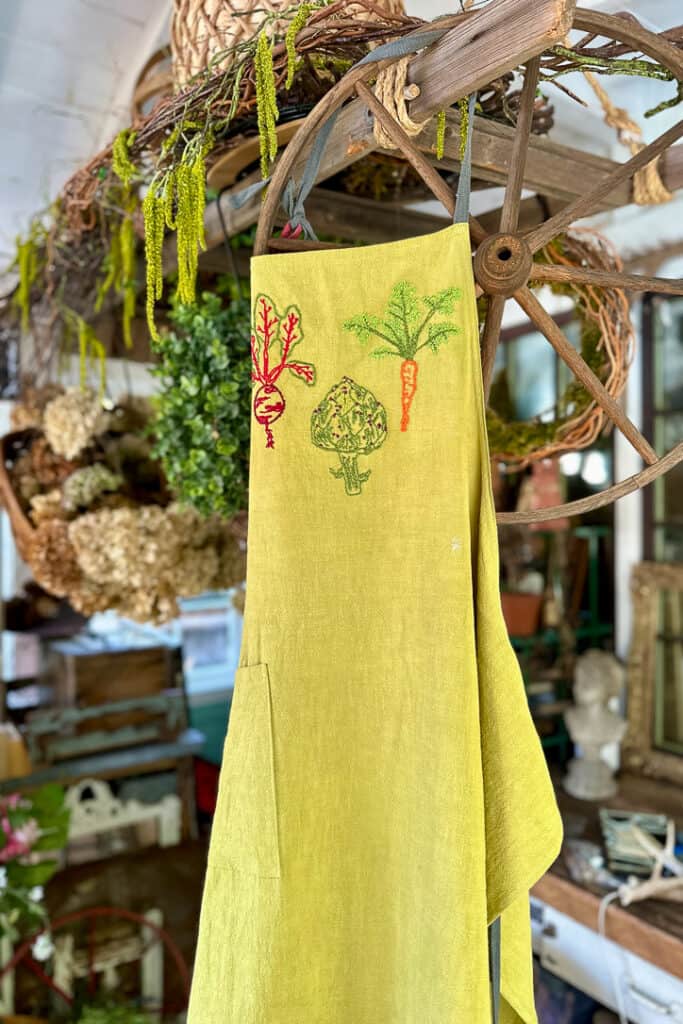
Spring is here, and I’ve been spending a lot of time in my garden. In my search for the perfect gardening apron—one with a charming design that I could personalize—I decided to buy a plain apron and enhance it with embroidery designs. I was looking for something made of natural cotton canvas or linen, equipped with a front pocket and a long neck strap, and I struck gold on Amazon.
On my blog WM Design House, I may sometimes use affiliate links, which means a small commission is earned if you purchase via the link. The price will be the same whether you use the affiliate link or go directly to the vendor’s website using a non-affiliate link. Read my full disclosure policy here.
Today is our Handcrafted Society post, and we were all challenged to use either yarn or embroidery thread in our projects. Since I love to embroider, this was an easy choice for me.
Don’t forget to check out all of the girl’s posts at the end of this post. There are so many amazing projects.
Materials You’ll Need to Embroider an Apron
How to Embroider an Apron
Embroidery has always been a hobby I find both relaxing and enjoyable, especially while watching TV. It’s simple to pick up, with easy-to-follow directions that make the process quick and enjoyable. And the best part is you can personalize your gardening apron with whatever you choose. This would make a great Mother’s Day gift, giving you plenty of time to start.
Embroidery Patterns
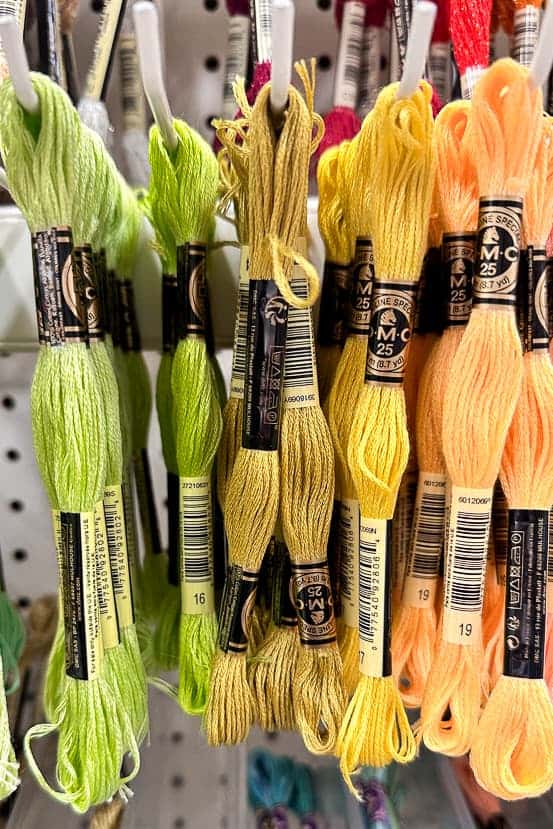
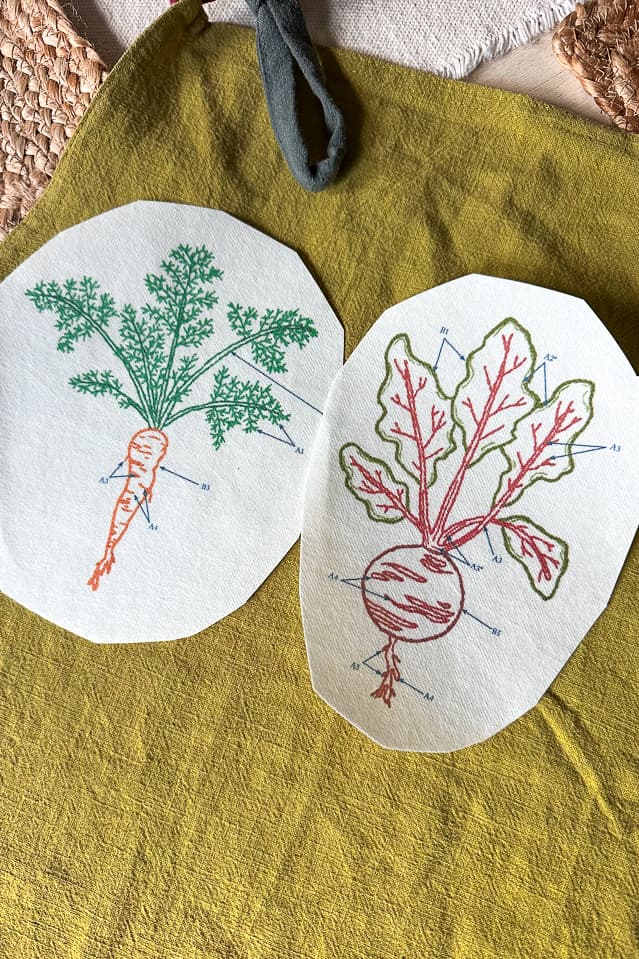
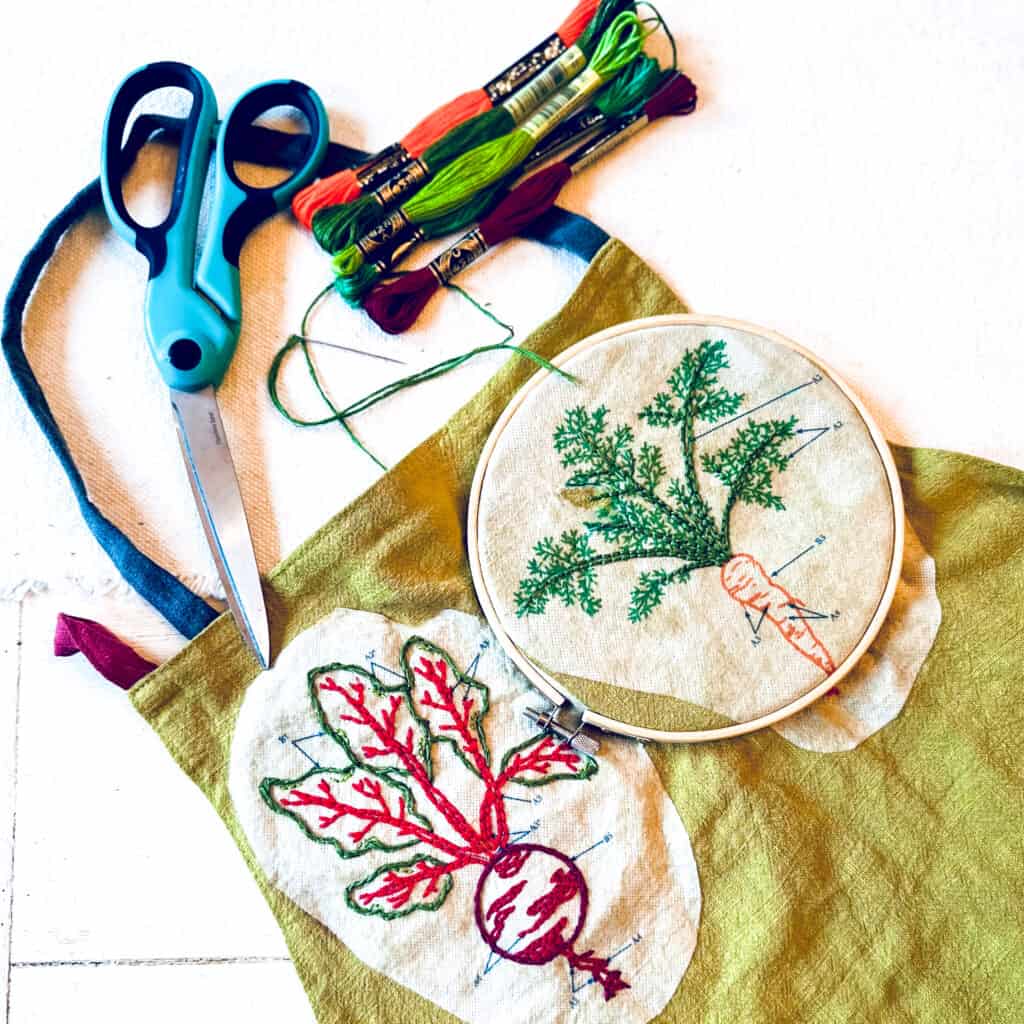
In my quest for colorful embroidery patterns, I stumbled upon some lovely hand-drawn vegetable illustrations by DMC. These patterns, along with their instructions, are available for instant download. This is a perfect embroidery pattern for beginners. DMC also offers a DIY embroidery kit, complete with bright color thread, for those looking to make things easier.
Several sites have free patterns with great beginner embroidery projects. Here are a few of my favorites: They make it easy to download and go.


Step 1: Preparing Your Apron and Printing the Pattern
- Wash and dry your apron before starting.
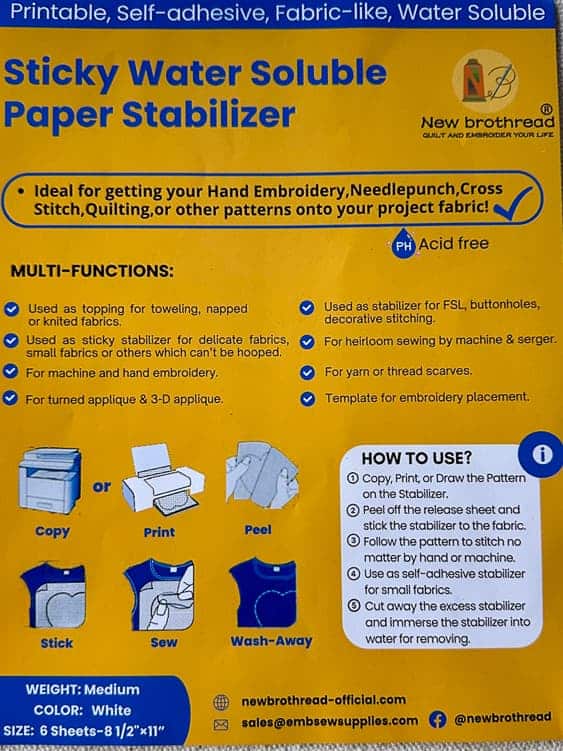
- I chose to print my patterns on water-soluble paper. This paper is easy to work with and washes off like a dream after finishing your embroidery project.
- Print the PDF on your home printer.
- Cut around the pattern.
- Decide where you want the pattern, peel off the backing and position the pattern onto the fabric,, sticky side down.
Tip from wendy’s craft room:
- Check the proper way to feed your paper into the printer. You want to print on the fuzzy side of the paper.
Step 2: Positioning the Pattern
Decide where you want the pattern, peel off the backing, and place the pattern on the fabric, sticky side down.
Tip from wendy’s craft room:
Make absolutely sure of your placement before putting the sticky side down onto the fabric. Once it is down, it is not easy to move.
Step 3: Placing the Embroidery Hoop
- Disassemble the Hoop: Your embroidery hoop consists of two rings—a smaller inner ring and a larger outer ring with a tightening screw. Unscrew the outer ring to loosen it enough to separate the two rings.
- Position the Inner Ring: Place the inner ring on a flat surface. Lay your fabric over the inner ring, covering it entirely with some excess around the edges. If you’re using a pattern, position the fabric so the area you want to embroider is centered over the ring.
- Secure the Outer Ring: Place the outer ring over the fabric and inner ring, ensuring the fabric is where you want it to be embroidered. Press down so that the fabric and inner ring snugly fit inside the outer ring. The fabric should be sandwiched evenly between both rings.
- Tighten the Screw: Once the outer ring is in place, tighten the screw at the top of the hoop. This action secures the fabric between the rings. Slightly-tightened, as this could damage the fabric or the hoop.
Tip from wendy’s craft room:
Do not tighten the screw too tight, as it can stretch the fabric.
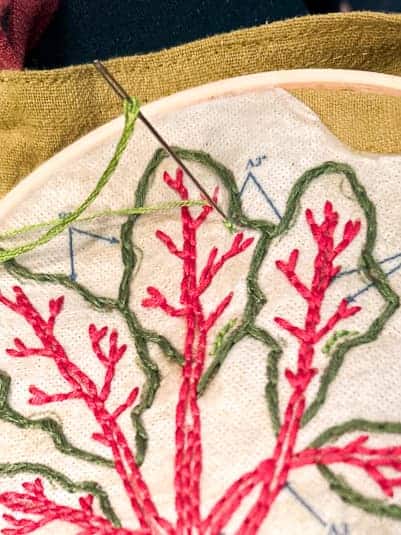
Step 4: Embroidering
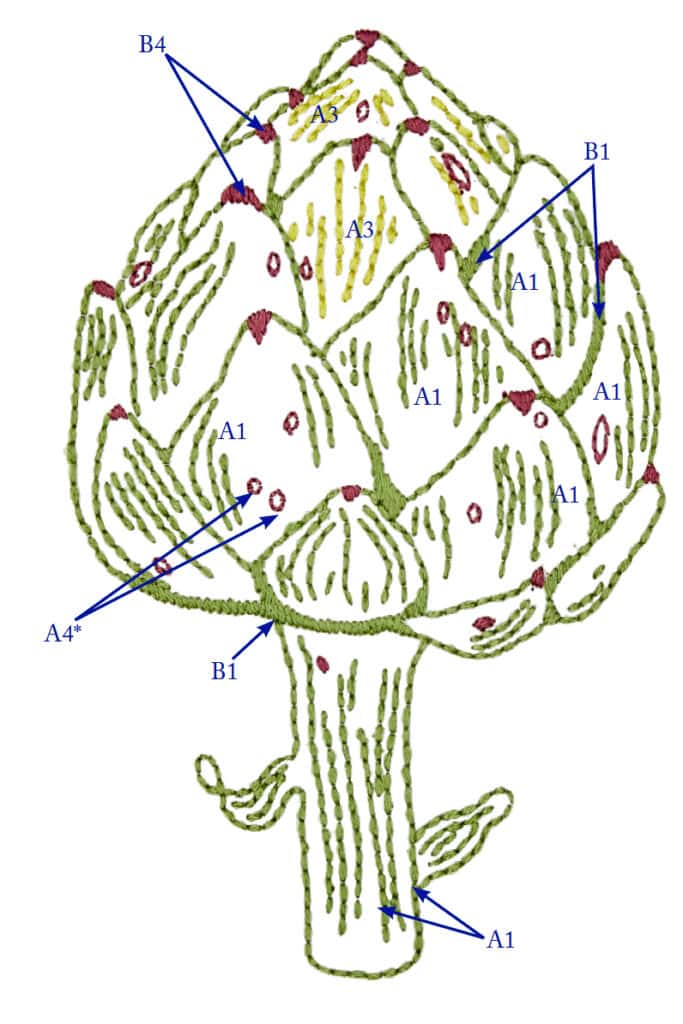
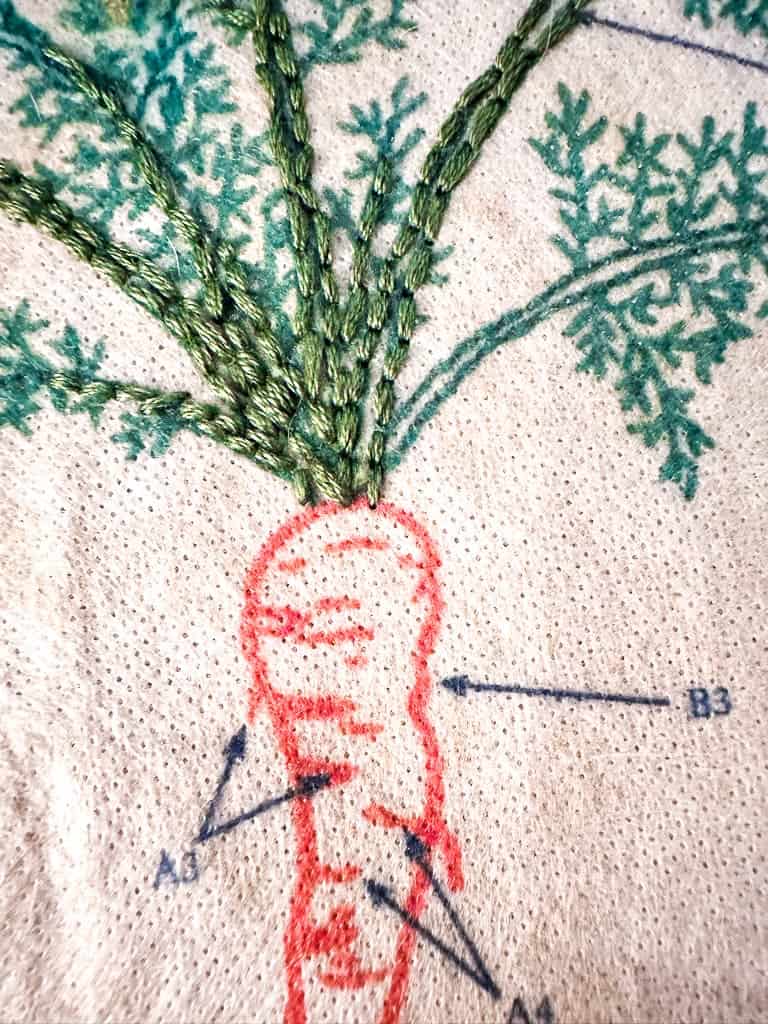
Only four basic embroidery stitches are used for these vegetable patterns: They are all basic and easy stitches.
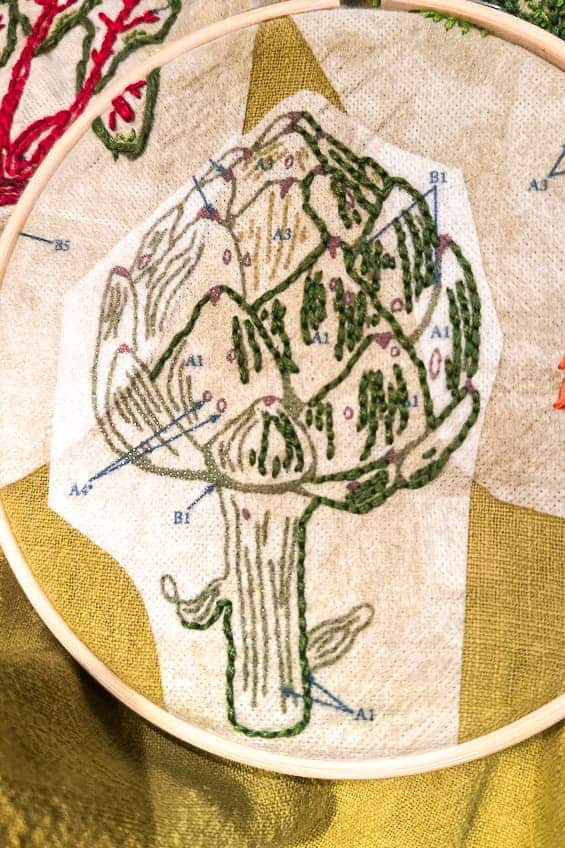
The PDF includes full instructions on where to stitch each type of stitch, how many strands of thread to use, and what color thread to use.
I suggest that you print out the instruction page to make it easy.

Backstitch
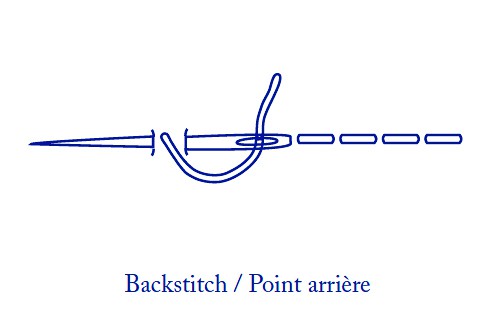
To do a back stitch in embroidery, start by bringing your needle up through the fabric, then make a small stitch forward. Next, bring the needle back up a stitch’s length behind your first entry point and insert it back into the end of your first stitch. Repeat this process, always stitching backward to the end of the previous stitch to create a continuous line. Finish by securing the thread with a small stitch on the back of the fabric. Keep your stitch lengths consistent for a neat result.
Satin Stitch
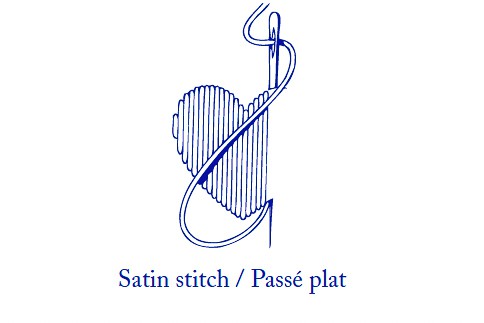
The satin stitch is used to fill in areas with smooth, tight stitches that create a glossy, satin-like finish. Start by bringing your needle up through the fabric at one edge of the shape you’re filling. Insert the needle down on the opposite edge, pulling the thread tight. Bring the needle back up next to where you started, keeping stitches close together without overlapping. Continue this process, working back and forth across the shape, ensuring stitches are parallel and snugly side by side. Adjust the tension to avoid puckering and aim for a smooth, even surface.
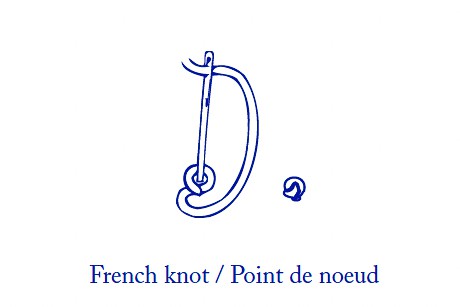
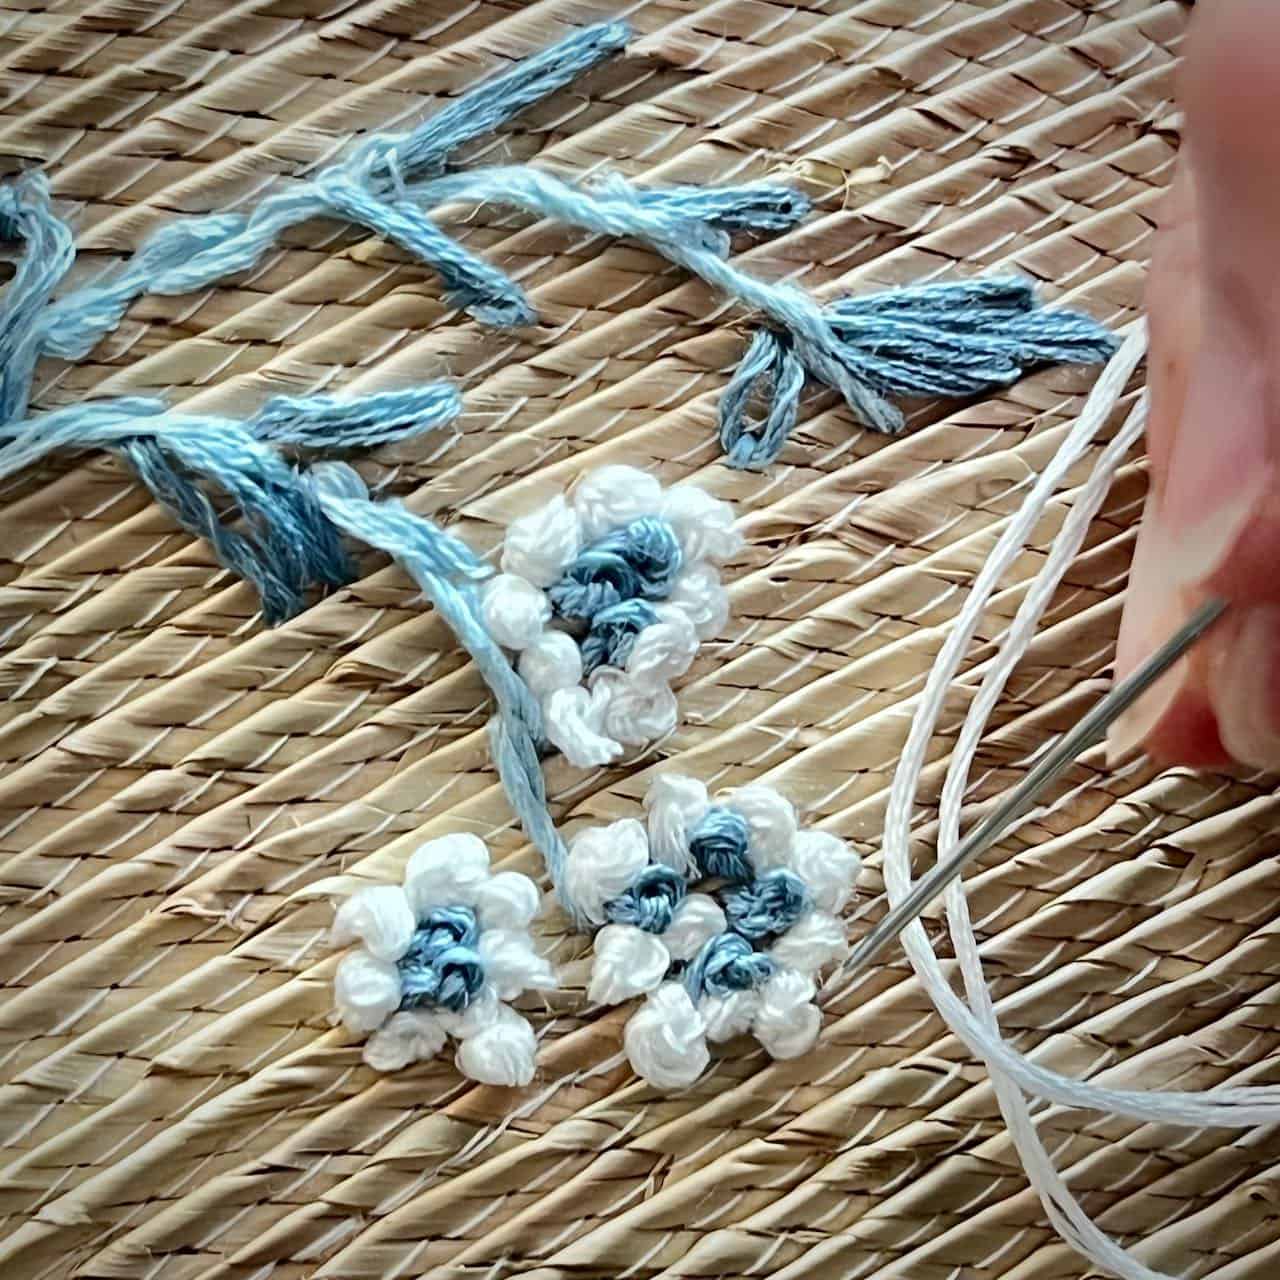
French Knot
To make a French knot in embroidery, start by bringing your needle and thread up through the fabric where you want the knot. Hold the thread taut with one hand and wrap it around the needle two or three times. While holding the wraps in place, push the needle back down through the fabric very close to where it came up, but not through the same hole. Gently pull the needle and thread through the wraps and the fabric, keeping the thread taut until the knot forms on the surface. Adjust the tension to create a tight, neat knot.
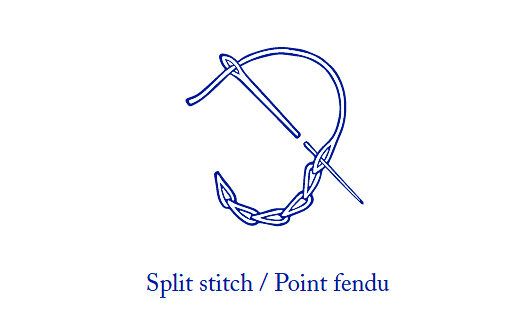
Split Stitch
To execute a split stitch in embroidery, start by pulling your needle and thread up through the fabric. Make a small stitch forward, as you would for a basic straight stitch. Then, bring the needle up again halfway back along the stitch you just made, effectively splitting the thread of the first stitch. Continue forward, making another small stitch and splitting the previous stitch each time you come up. This technique creates a braided, textured line that’s great for outlines or adding detail. Keep your stitches even in length for the neatest appearance.
Tip from wendy’s craft room:
If you have not embroidered before, practice these stitches on a scrap piece of fabric until you are comfortable and ready to start your piece.
Expert Crafting Tips and Tricks for Embroidering
Securing threads on the backside of an embroidery piece is crucial for a neat finish. Here’s how to do it:
- Ending a Thread: If you’re finishing with a thread, run your needle under three to four stitches on the back of your work. Pull it through, but not too tightly, to avoid puckering the fabric.
- Knotting: For added security, you can make a small knot by catching a bit of the fabric or the loops of your previous stitches with the needle and then pulling the thread through the loop you create before the knot tightens. However, knots can create bumps and are often avoided in fine embroidery.
- Starting a New Thread: To start a new thread, begin by running your needle under several stitches on the backside, coming up at the point where you want to continue embroidering. This hides the end of the new thread under previous stitches.
- Trimming Ends: Once your thread is secured, trim any excess thread close to the fabric to keep the back as tidy as possible.
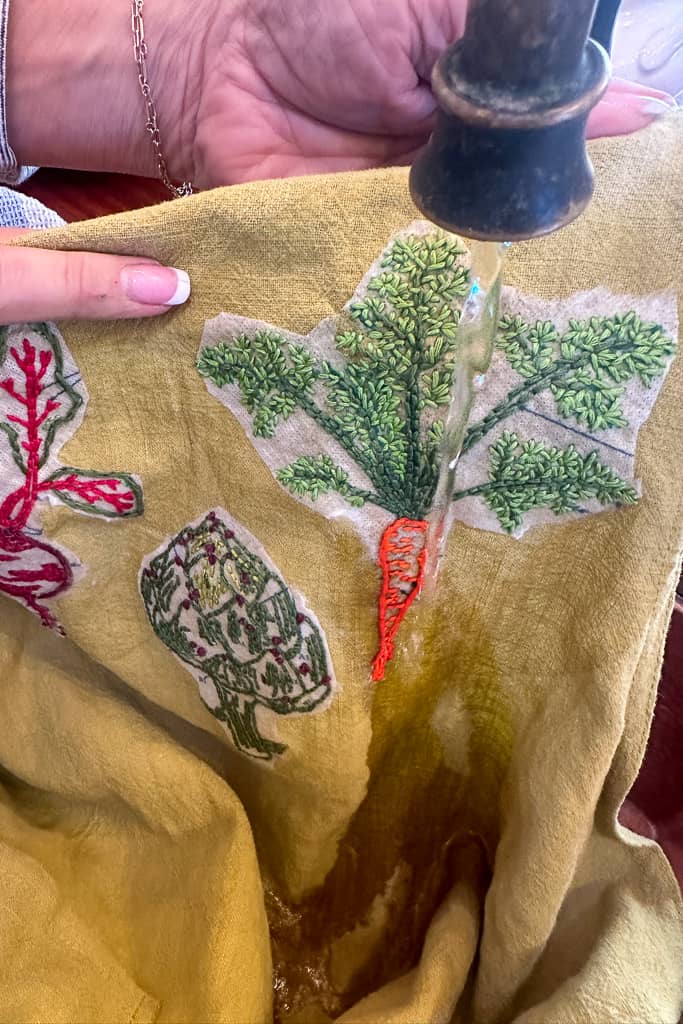
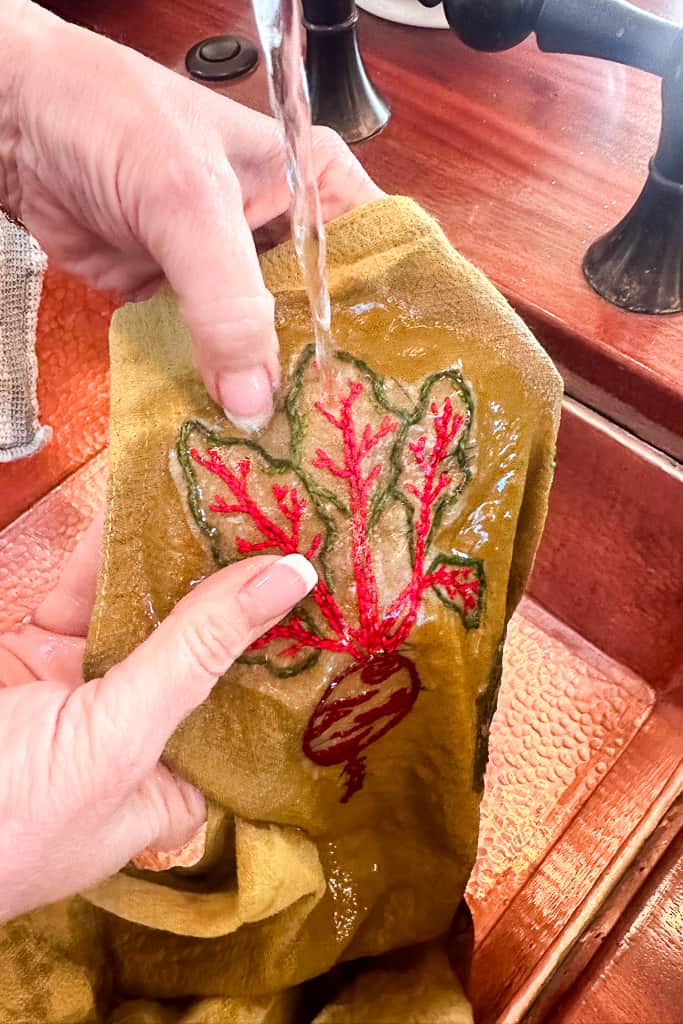
Step 5: Removing the Magic Paper
How to Embroider a Garden Apron
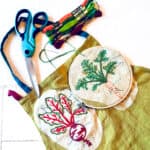
Materials
- One apron You could use almost any kind of apron: cotton, linen, or canvas apron. The embroidery stitching is easy on the linen material for me.
- Embroidery hoop
- Embroidery needles metal needle, no plastic
- Scissors
- Colorful embroidery thread
- Pattern
- Magic Paper
Instructions
- Step 1: Preparing Your Apron and Print the Pattern
- Wash and dry your apron before starting.
- I chose to print my patterns on magic paper. This paper is easy to work with and washes off like a dream after finishing your embroidery project.
- Print the pdf on your home printer.
- Cut around the pattern.
- Decide where you want the pattern, peel the backing off, and place the pattern on the fabric, sticky side down.
- Embroidery Patterns
- In my quest for colorful embroidery patterns, I stumbled upon some lovely hand-drawn vegetable illustrations by DMC. These patterns, along with their instructions, are available for instant download. This is a perfect embroidery pattern for a beginners. DMC also offers a DIY embroidery kit, complete with the bright colour thread for those looking to dive straight into the craft.
- Several sites have free patterns with great beginner embroidery projects. Here are a few of my favorites: They make it easy to download and go.
- Step 2: Placing your pattern
- Decide where you want the pattern, peel the backing off, and place the pattern on the fabric, sticky side down.
- Step 3: Placing the Embroidery Hoop
- Disassemble the Hoop: Your embroidery hoop consists of two rings, one smaller inner ring and a larger outer ring with a tightening screw. Unscrew the outer ring to loosen it enough to separate the two rings.
- Position the Inner Ring: Place the inner ring on a flat surface. Lay your fabric over the inner ring, covering it entirely with some excess around the edges. If you're using a pattern, position the fabric so the area you want to embroider is centered over the ring.
- Secure the Outer Ring: Place the outer ring over the fabric and inner ring, ensuring the fabric is where you want it to be embroidered. Press down so that the fabric and inner ring snugly fit inside the outer ring. The fabric should be sandwiched evenly between both rings.
- Tighten the Screw: Once the outer ring is in place, tighten the screw at the top of the hoop. This action secures the fabric between the rings. Stay under-tightened, as this could damage the fabric or the hoop.
- Step 4: Embroidering
- Only four basic embroidery stitches are used for these vegetable patterns: They are all basic and easy stitches.
- The PDF includes full instructions on where to stitch each type of stitch, how many strands of thread to use, and what color thread to use.
- I suggest that you print out the instruction page to make it easy.
- Step 5: Removing the Magic Paper
- Once you have finished your embroidery, it is time to wash away the Magic paper, and it is truly magical.
- Rinse your apron in cold water and watch the fabric totally disappear.
- It is that easy!
- Hang to dry and press before wearing.

Other Tutorials from WM Design House
If you love this post, you might also enjoy some of my other favorite gardening projects:

How to Make A DIY Vintage Chair Planter for the Garden
Get creative in the garden this year and plant an old chair
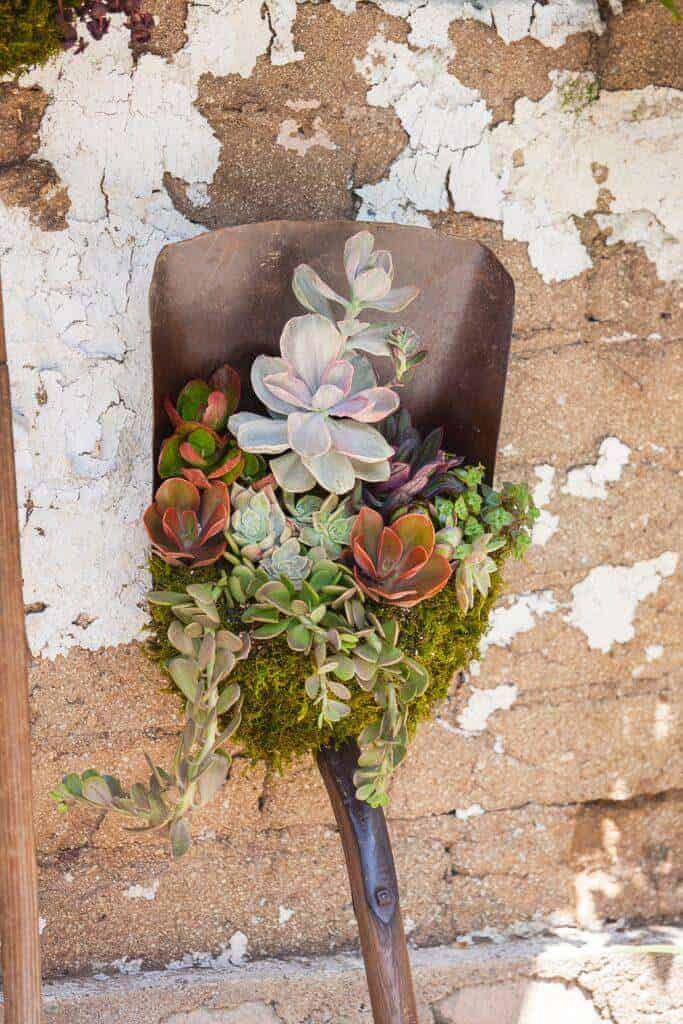
How to Repurpose Old Tools into Succulent Planters
Learn how to turn old garden tools into the most beautiful planters
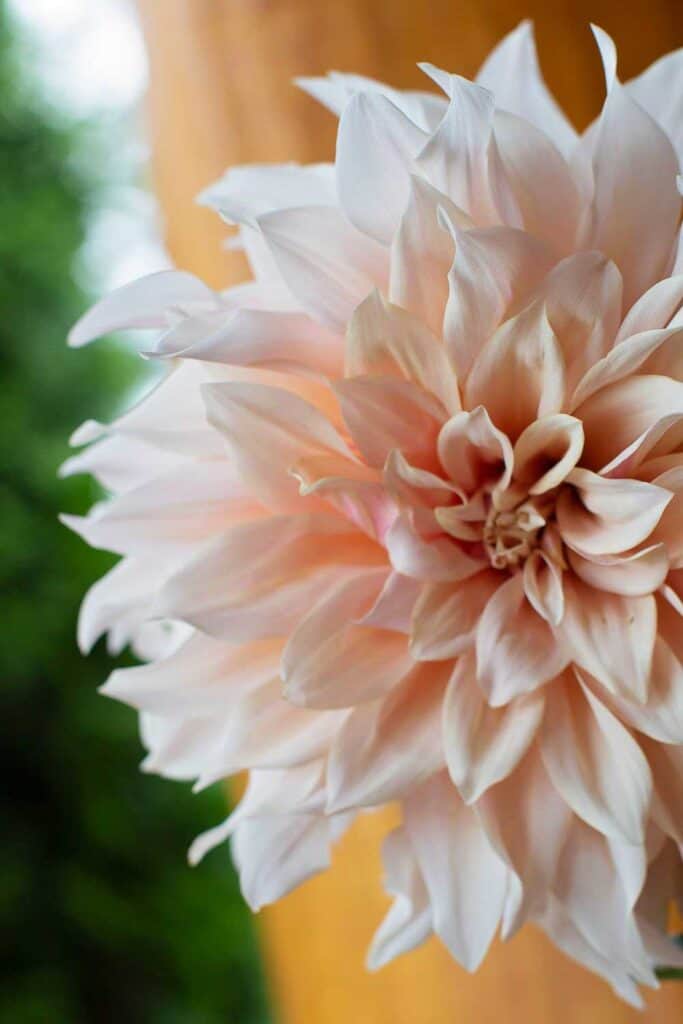
Are Dahlias Perennials
You can learn all about Dahlias and whether you need to dig them up in the winter.
Wrapping Up
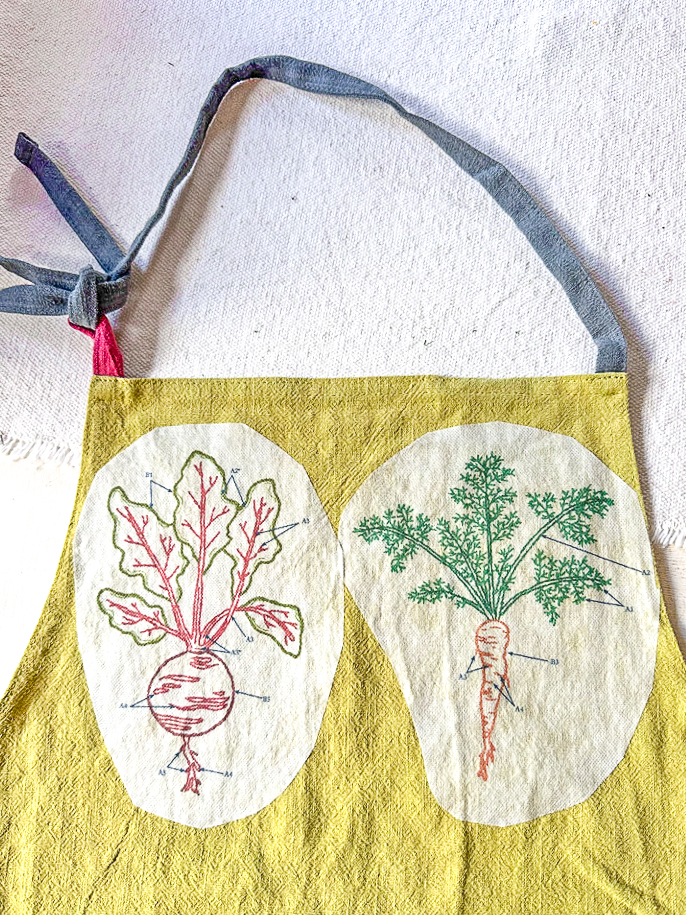
Making your own garden apron with embroidered veggies is a fun and useful DIY project. It’s perfect for anyone who loves gardening and crafting. You can pick your favorite veggies for a personal touch, making gardening even more enjoyable. So, grab your needle and thread, and let’s bring some creative flair to the garden. Happy crafting and gardening! Don’t forget to visit the other gals posts today for some more inspiration.


Did you make this craft?
We would love to see what you have created, so mention us @wmdesignhouse or tag us using #wmdesignhouse so we can see your creations!
More about me!

Hello, I’m Wendy – a dedicated homemaker with a deep passion for decorating, gardening, cooking, and crafting. I find joy in harmonizing beautiful elements to fashion a space that is both comfortable and inspiring. I will help you create a beautiful home, one project at a time.
Connect with Wendy
-
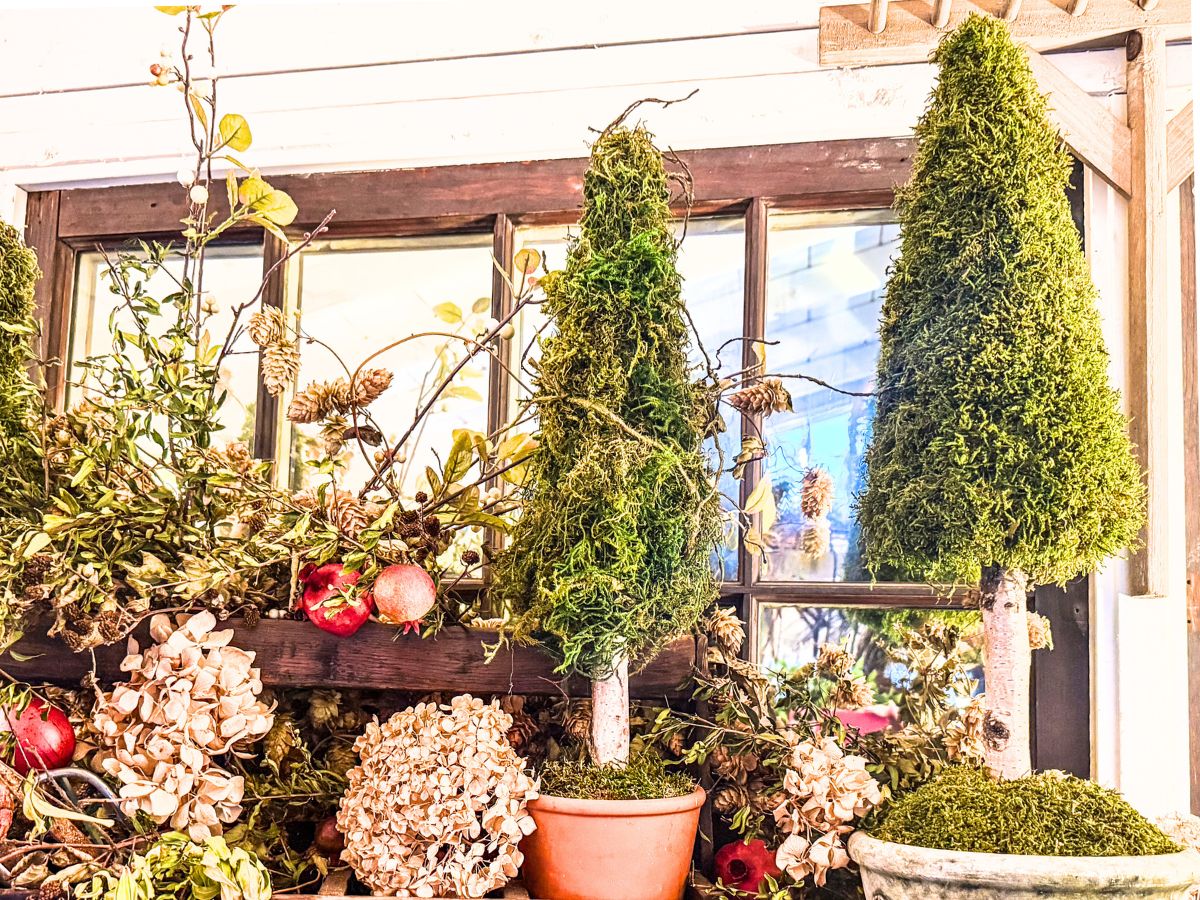
How To Make The Best Topiary: Step By Step
Learn how to easily make a beautiful diy topiary for your garden or porch with this step-by-step guide.
-
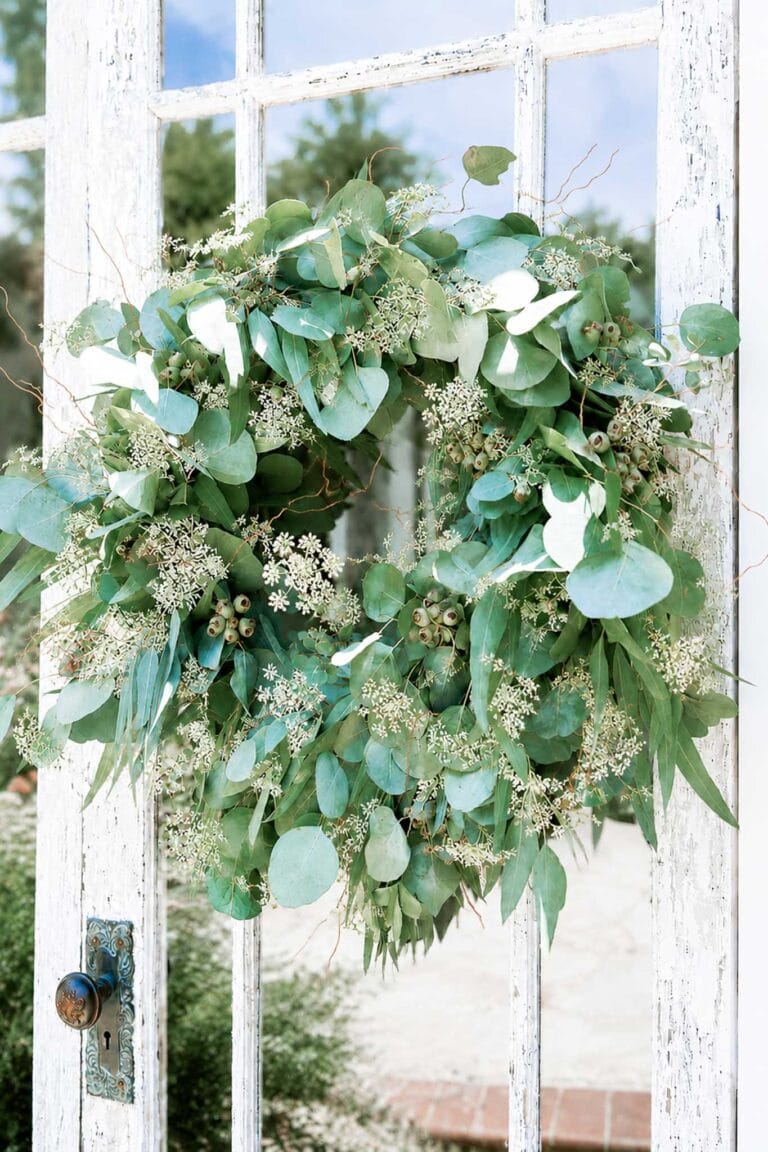
How to Make a Eucalyptus Wreath You Can Restyle for Every Season
25 shares Facebook Pinterest Save Threads If you have ever wondered how to make a fresh eucalyptus wreath you can use all year, this is the tutorial for you. With a grapevine base, two kinds of foraged eucalyptus, and a quiet afternoon, you can create one wreath that carries your front door through every season….
-
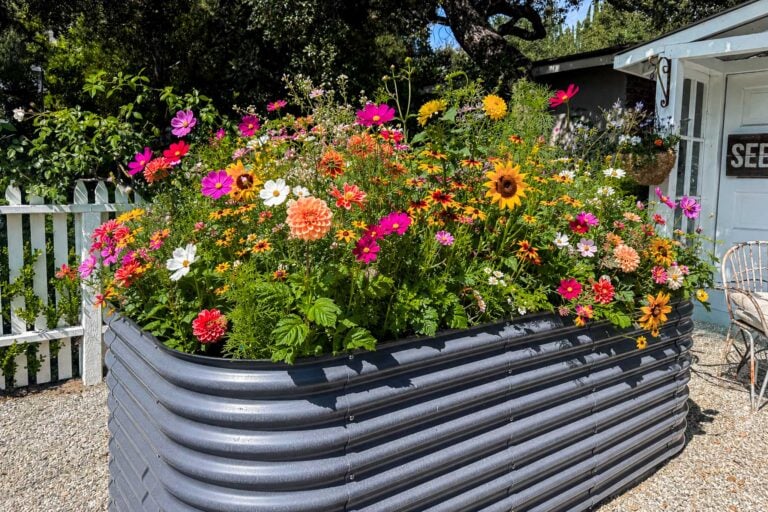
10 Best Cut Flowers to Grow for Beautiful Homegrown Bouquets
Grow the 10 best cut flowers for stunning bouquets all season long. Discover easy-to-grow favorites like dahlias, zinnias, roses, and cosmos.


Wendy, I haven’t embroidered in years. I didn’t even know about the paper transfer…that’s amazing. This is absolutely adorable. What a fun project and you certainly provide informative steps.
Thank you, Mary. It was such a fun project and I think it turned out super cute!
This apron is adorable! The embroidery patterns are so sweet. Good job!
Thank you, Wendy!
Your apron is gorgeous Wendy, it’s a feature over at Handmade Monday this week 🙂
Thank you so much, Julie! I appreciate it!
Great project; I love embroidery, too. I’m no good at counted cross stitch as it is so exacting, but I love French knots, lazy daisies, and the outline stitch especially. I once made a small dollhouse rug of tiny French knots; it looked like a wool punched rug!
Thank you, Kathy!
I love your apron Wendy! I have several family members who embroider beautiful pieces. My aunt was an expert, and I am so glad I have a few of her cherished pieces since she passed last year. Your apron would be a beautiful gift to give. I wish I had this talent. I purchased a kit last year, and I felt like I did not know what I was doing, but your instructions tell what stitches you should use. That is helpful. Have a wonderful weekend!
Thank you, Cara. I’m so glad the instructions are. helpful!
Hi Wendy! Your apron turned out so cute! I absolutely love it! It’s been over 25 years since I’ve tried embroidery but your project and the others in our group have inspired me to try it again! That magic paper is a game-changer! Thanks for the links to so many embroidery projects!
Thank you, Donna
This is adorable. I used to embroider when I was growing up and loved it. It has been so long ago. This brings back great memories!
Thanks, Susan. It was such a fun little project to do.
What an adorable apron, Wendy. I cannot wait for my glasses to come in and get back to my embroidery project. It would make a wonderful gift.
Thank you, Tammy. Yes, this would make a great gift if you want to get a head start for Christmas or have someone with a birthday coming up.
I love your apron, Wendy! Adorable for gardening — and why do beets make me smile so much?
Thanks, Kelly!
It’s adorable,Wendy!! What a pretty color apron, too!
Thank you, Rachel! I’m so glad you like it as much as I do!
This is just so darn cute, Wendy! I love each of the patterns…especially the radish! You give such clear instructions. Anyone would love this! Great job! Pinned!
Thanks so much, Missy!
I love to embroidery, and you have inspired me to start shopping for an apron. Love the veggie idea which reminds me of some watercolor veggies I painted a few years ago. Such a cute project Wendy!
I love the way this apron came together Wendy! It would make such a fabulous gift idea for any gardener too. This was the first time I’d ever used the water soluable paper and oh my gosh talk about opening up a world of new stitching opportunities. I’m so excited about it! Thanks so much for putting this hop together and for inviting me to join. It’s always fun to learn from you guys! Hugs, CoCo
Thank you, CoCo. I’m so happy you could join us!
This is just the cutest apron, Wendy! I haven’t embroidered for years but I love any kind of hand stitching, quilting, smocking, embroidering, all the needle goodness! Pinned ?
Thank you, Cindy This project was so easy! I am happy with how it turned out!
Oh, Wendy! So cute! That dissovable paper is a great find. I’m so inspired from this month’s projects I need to get some of that paper pronto!
Thank you Diane!
Yes! It was so helpful for this project and I bet it would come in handy for a lot of other DIYs too!