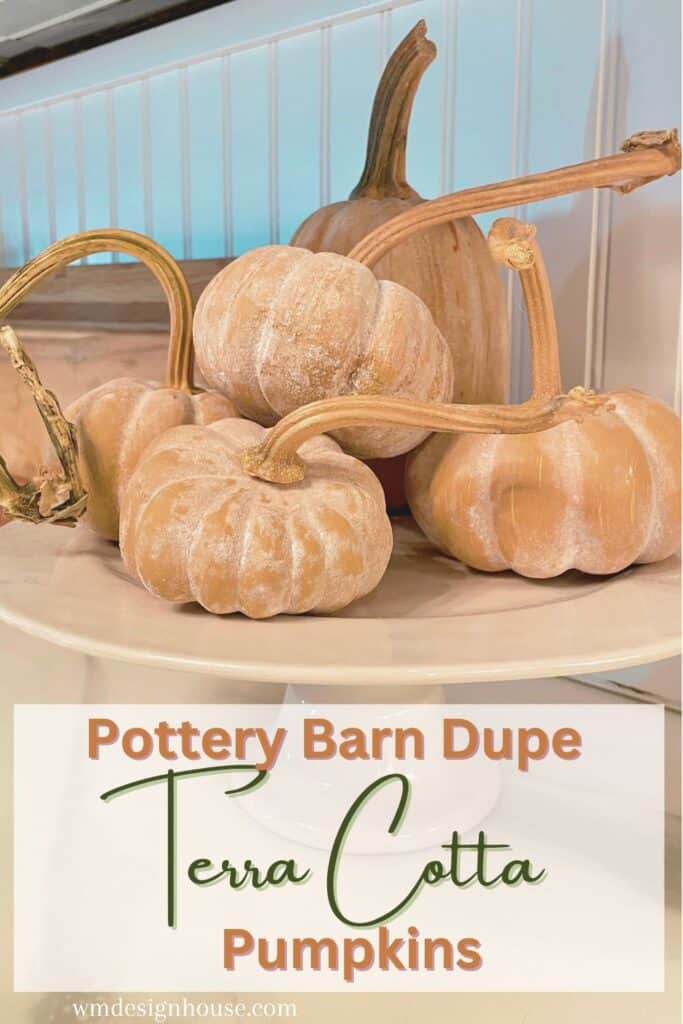
DIY Terra Cotta Pumpkin Dupe: Pottery Barn Pumpkins
Follow this complete tutorial and learn how to make a DIY terra cotta pumpkin dupe. These pumpkins are the perfect decoration for fall.
On my blog WM Design House, I may sometimes use affiliate links, which means a small commission is earned if you purchase via the link. The price will be the same whether you use the affiliate link or go directly to the vendor’s website using a non-affiliate link. Read my full disclosure policy here.
Are you a fan of Pottery Barn? I am! But let’s face it, their prices can be just a bit too steep. If you’re looking for a way to decorate your home for fall without breaking the bank, I have the perfect solution for you: this easy DIY terra cotta pumpkin dupe.
These pumpkins are incredibly easy to make and add a touch of elegance to any fall decor display. Plus, they make great conversation starters!
So, if you’re ready to add a unique and stylish touch to your home this fall, without the Pottery Barn price tag, give this DIY project a try.
Follow along for my step-by-step tutorial to make your own Pottery Barn Terra cotta pumpkin dupe!
Materials Needed to Make Terra Cotta Pumpkins
How to Make a DIY Terra Cotta Pumpkin Dupe- Pottery Barn Style
Step 1: Prepare Your Supplies
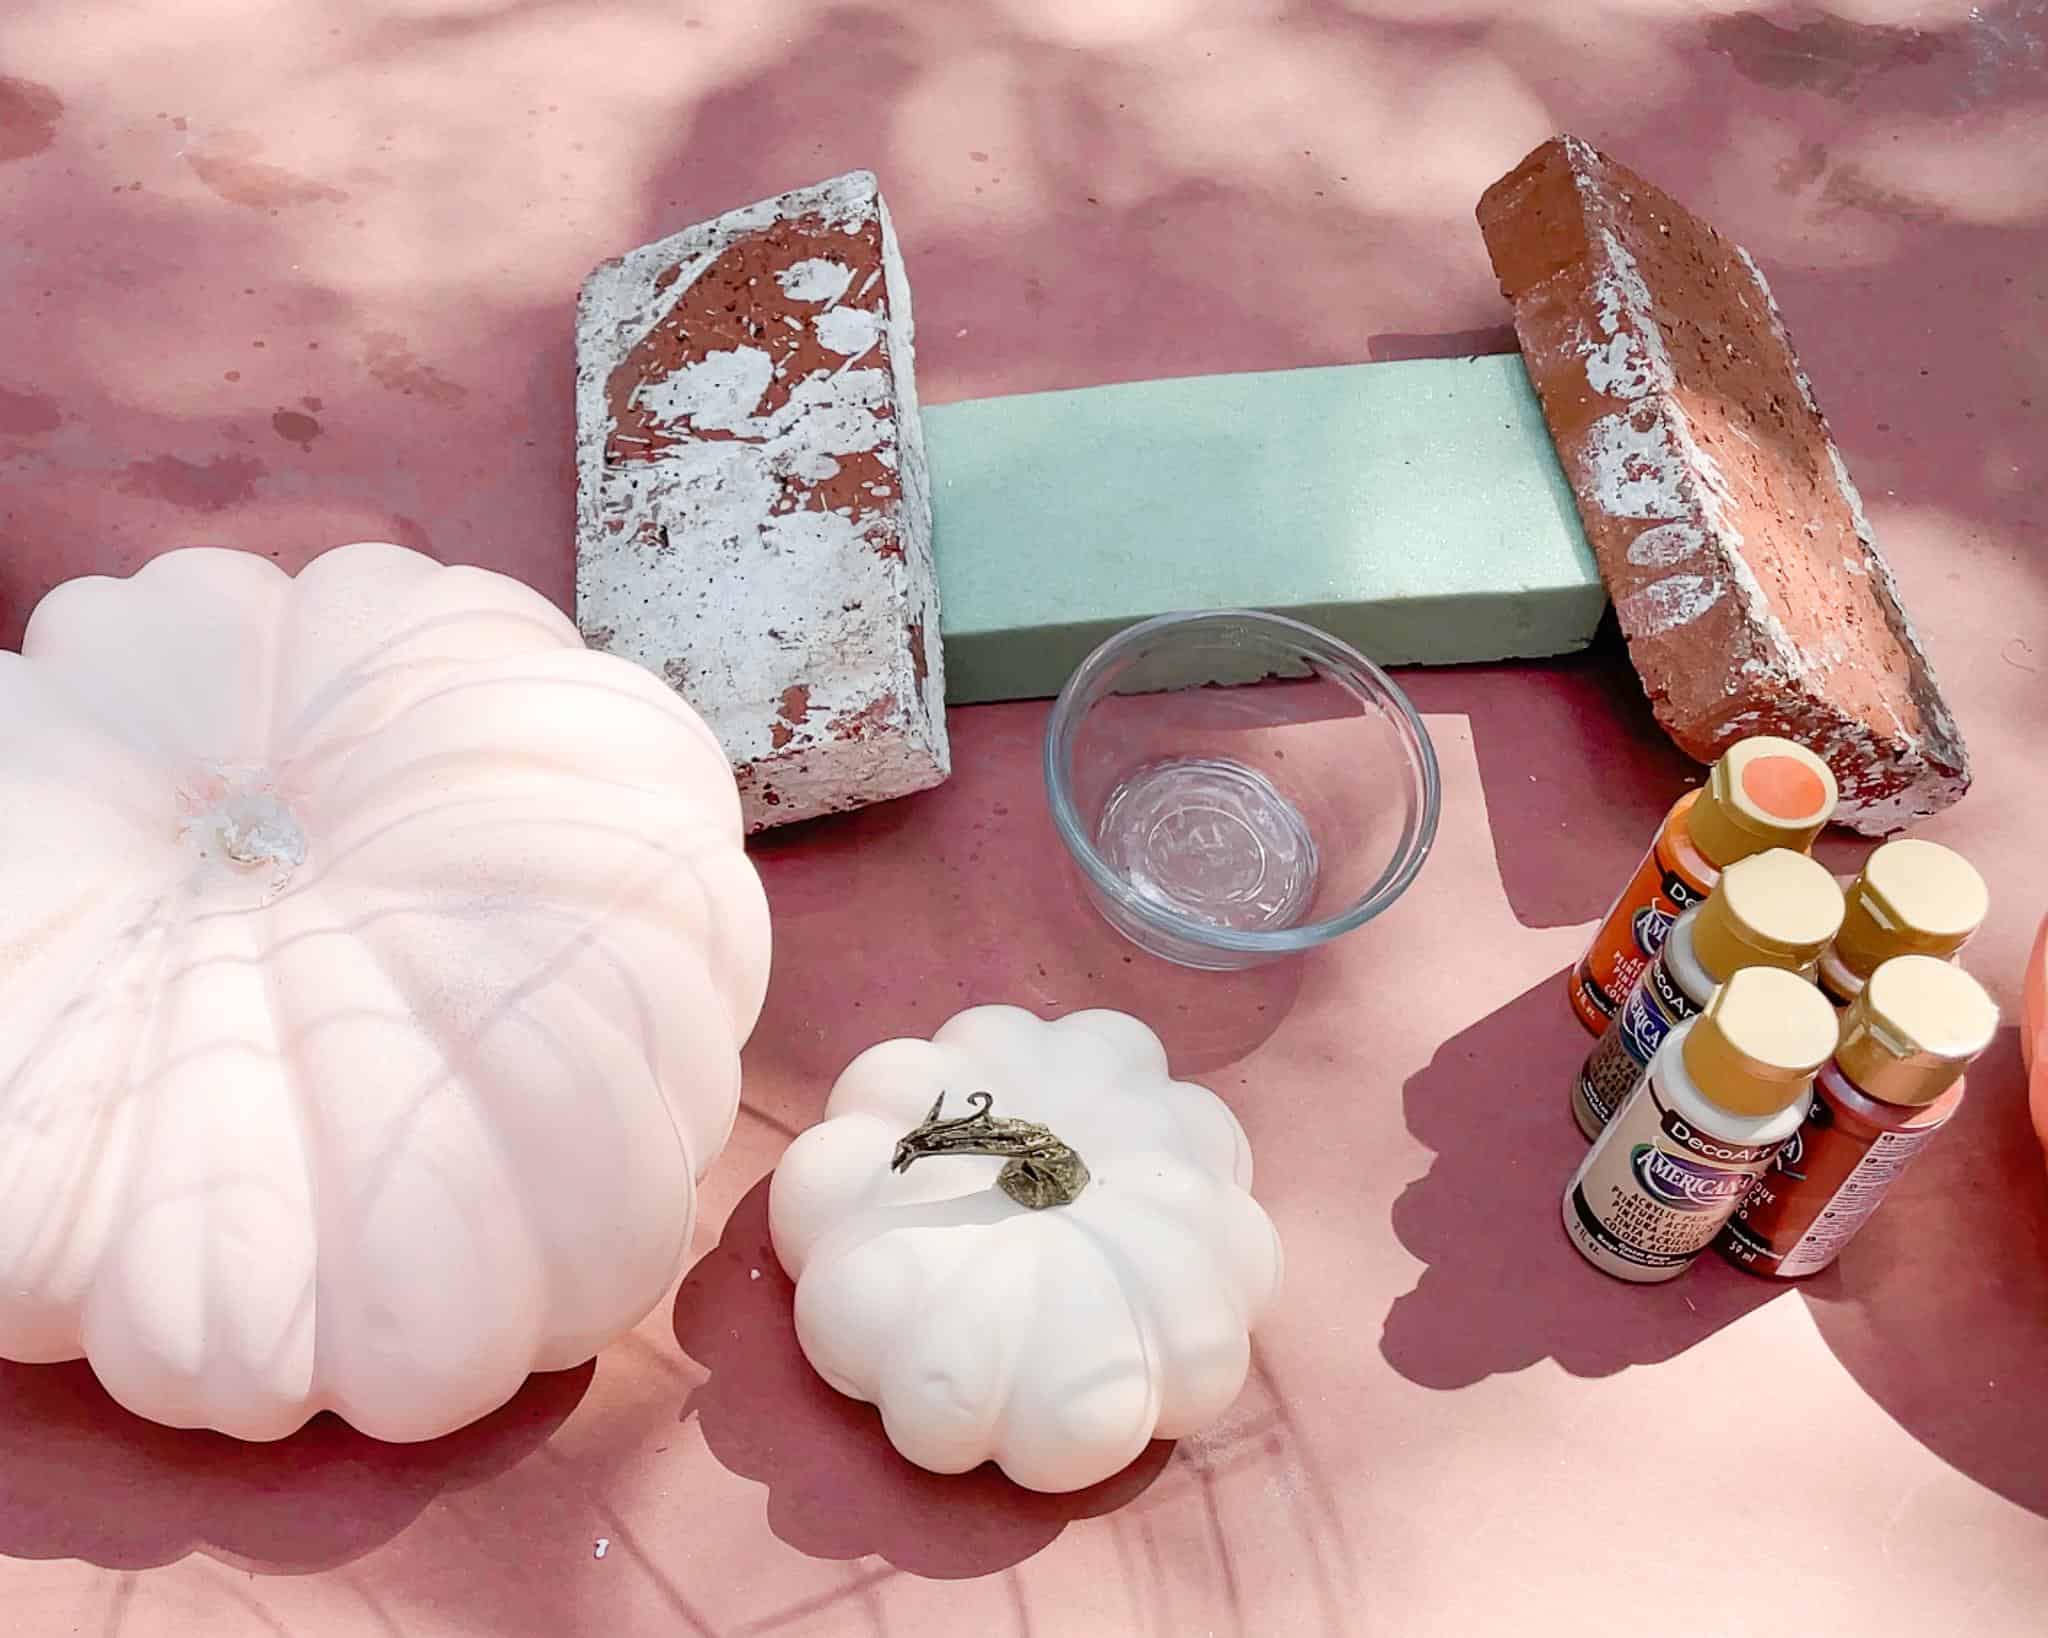
The first thing you want to do is gather all your supplies and prepare your work area.
Before you begin, make sure you have everything you need so you can dive right in! You can find many of these items online or in your local craft store.
If you missed it, make sure to refer to the supply list above for all the items you need!
This DIY terra cotta pumpkin project can also get messy, so it’s best to do it outside. Set up a workspace with newspaper or a drop cloth to protect your surfaces.
Step 2: Mix Your Paint.
Once you have your supplies and your workspace prepped, it’s time to mix up your paint.
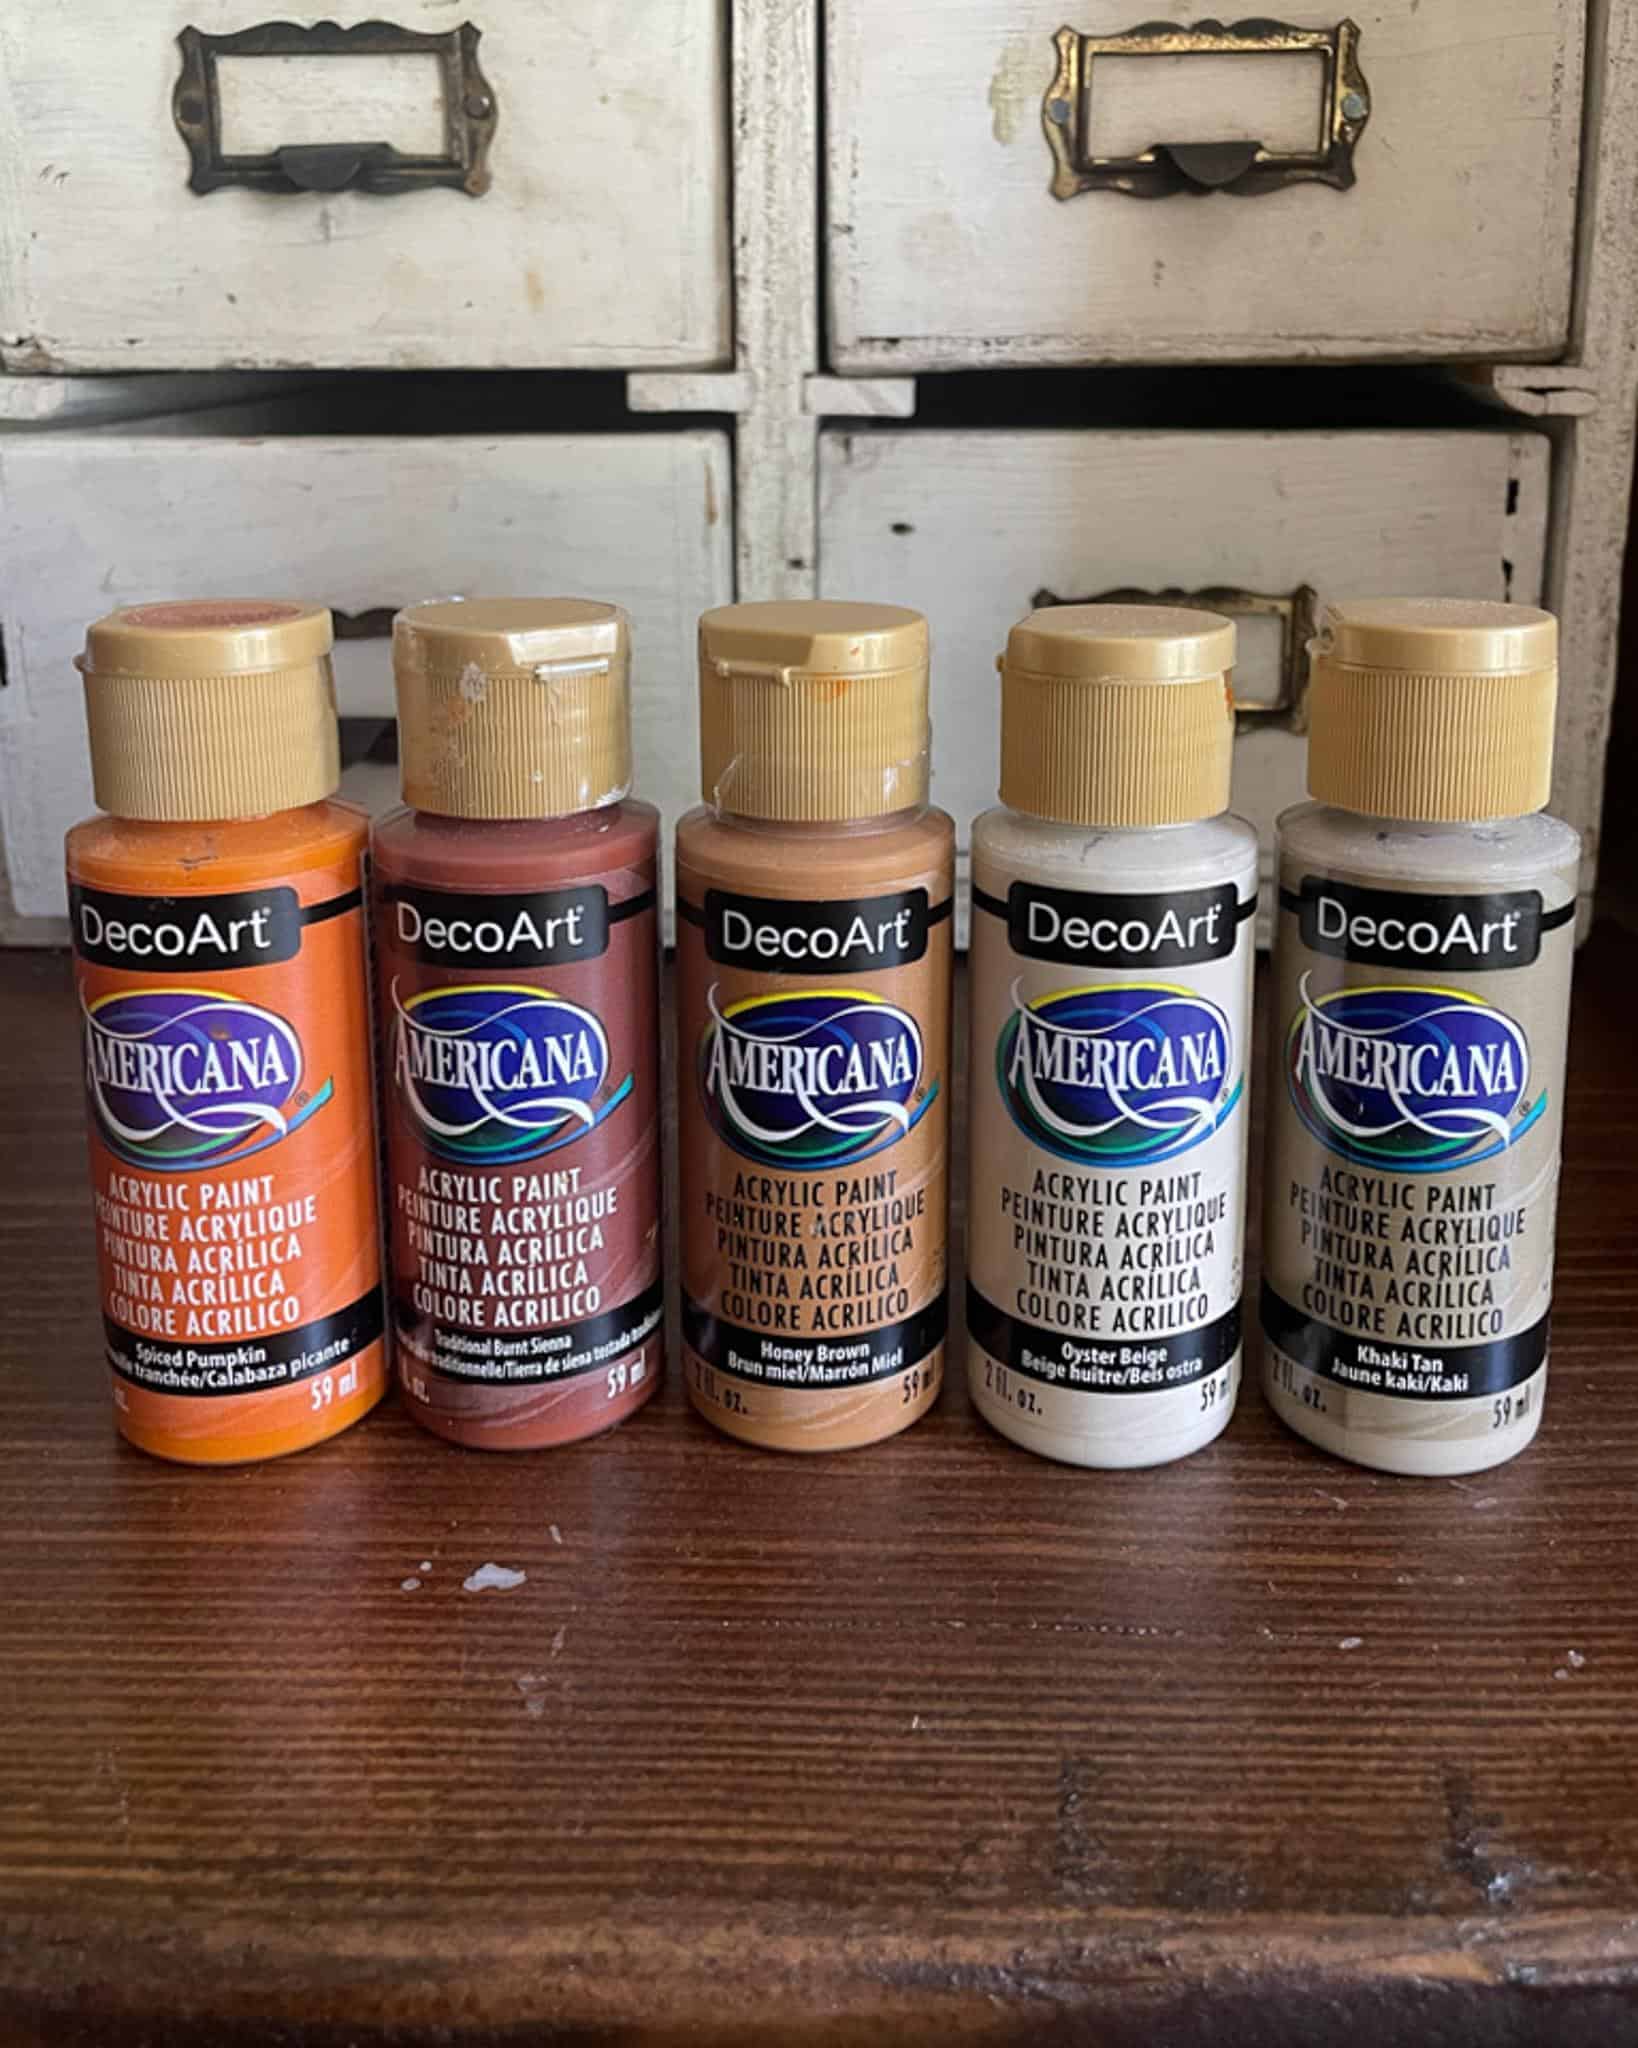
There’s just something I love about mixing up a paint recipe to create the perfect color. For this terra cotta pumpkin project, combined five shades of Deco Art Americana Acrylic paint. Here’s my “recipe”:
- Spiced Pumpkin
- Burnt Sienna
- Honey Brown
- Oyster Beige
- Khaki Tan
I didn’t measure the paint. I just added a bit of each color until I achieved the perfect terra cotta hue.
Tip from wendy’s craft room:
Test the paint on a small area of your pumpkin first to make sure you like the color. If it’s too light or too dark, you can easily adjust it before continuing with your project.
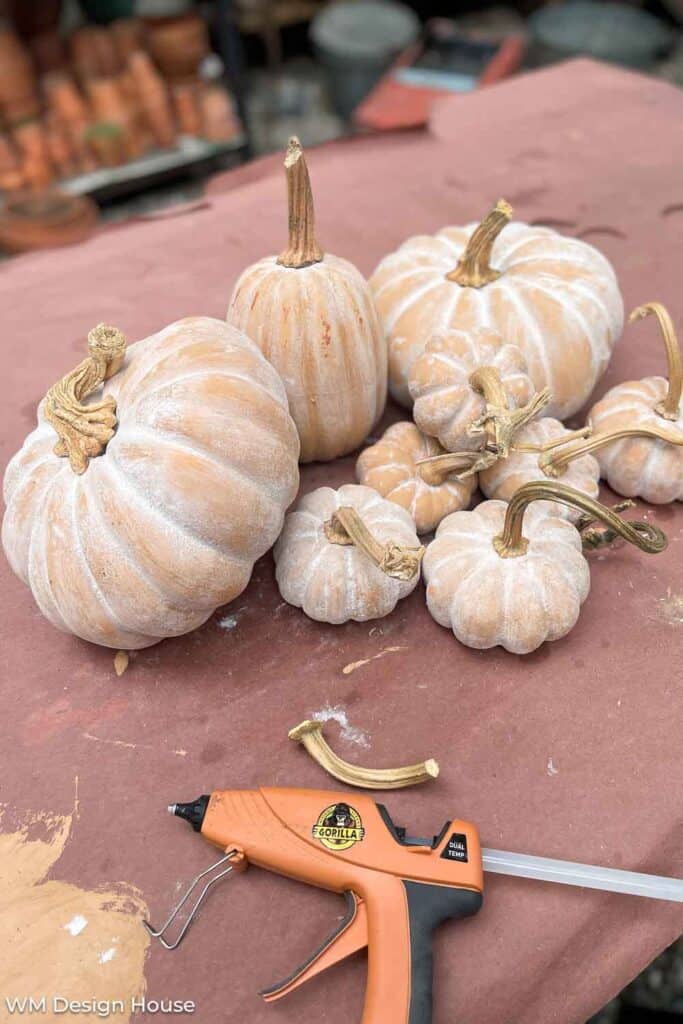
Step 3: Paint the Pumpkin
After I mixed up my terra cotta-colored paint, I removed the fake plastic stem from each foam pumpkin and prepped them for their transformation.
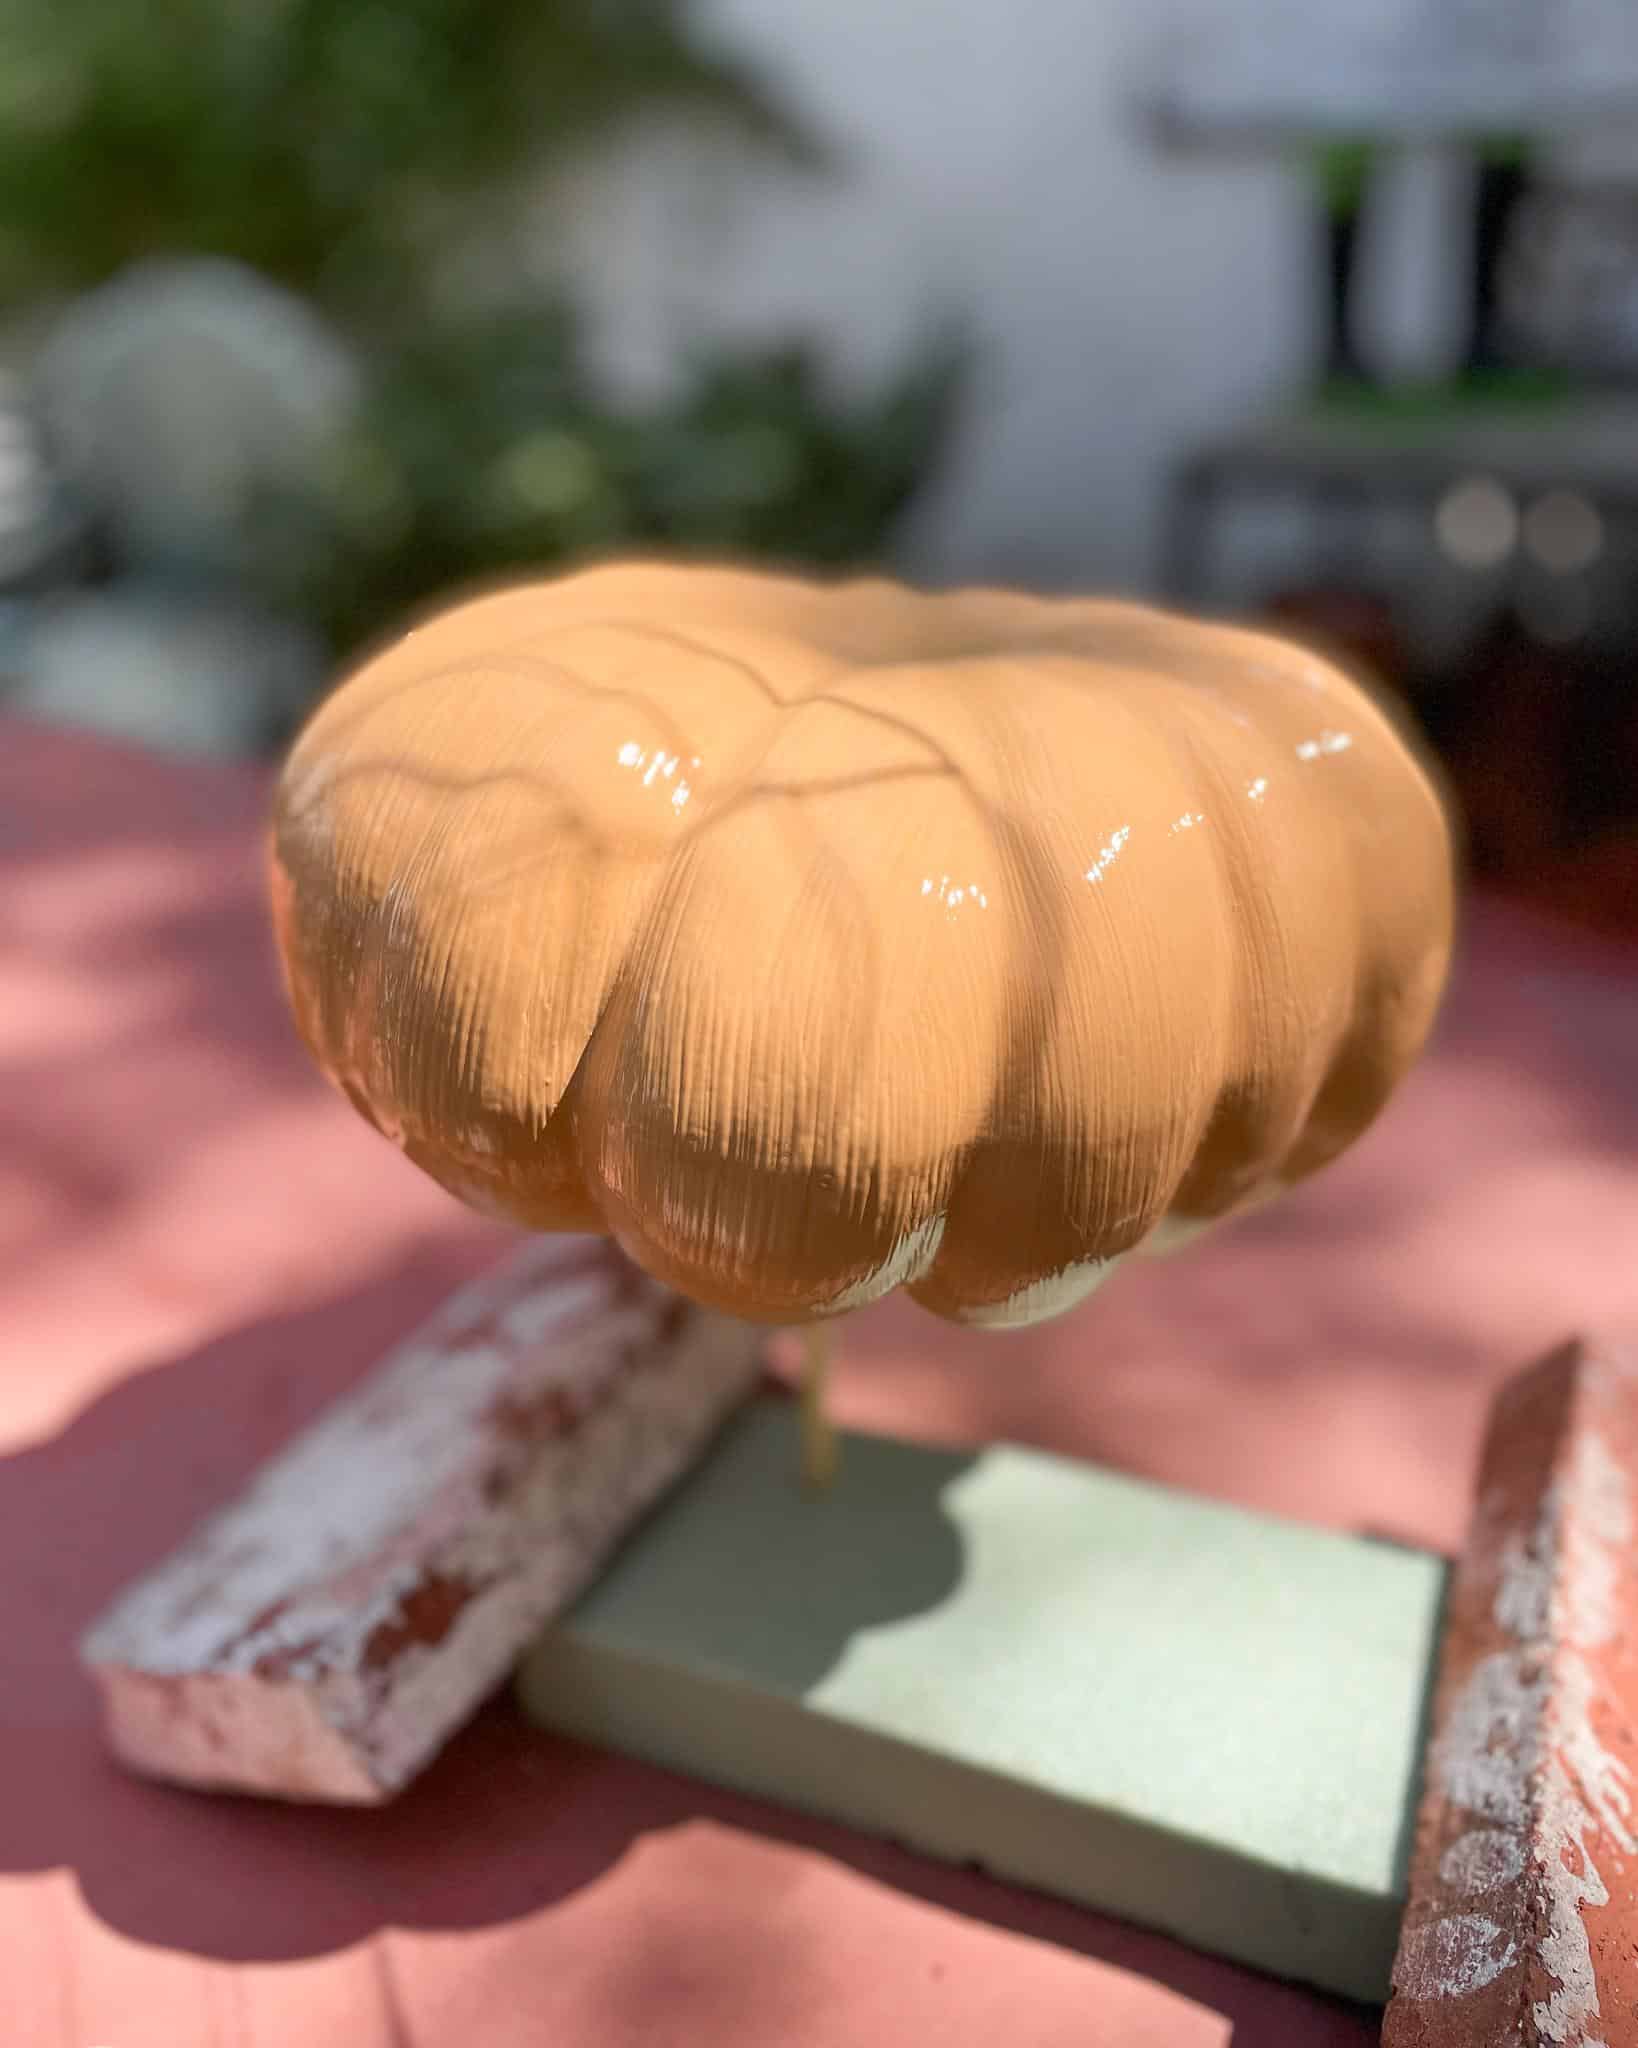
Give each pumpkin a coat of paint. Make sure to step back as you paint to check for any spots you may have missed!
Tip from wendy’s craft room:
To make painting your pumpkin a breeze, stick it onto a wooden skewer and then place the skewer in a foam craft block. This way, you can hold the skewer while you paint, making the process much easier and less messy!
If you’re painting outside, be sure to weigh down your foam block with some bricks or rocks to keep your pumpkin from tipping over
Step 4: Age Your Terra Cotta Pumpkin
While the painted pumpkin is still damp, use some white flour or baby powder to give it an aged terra cotta look.
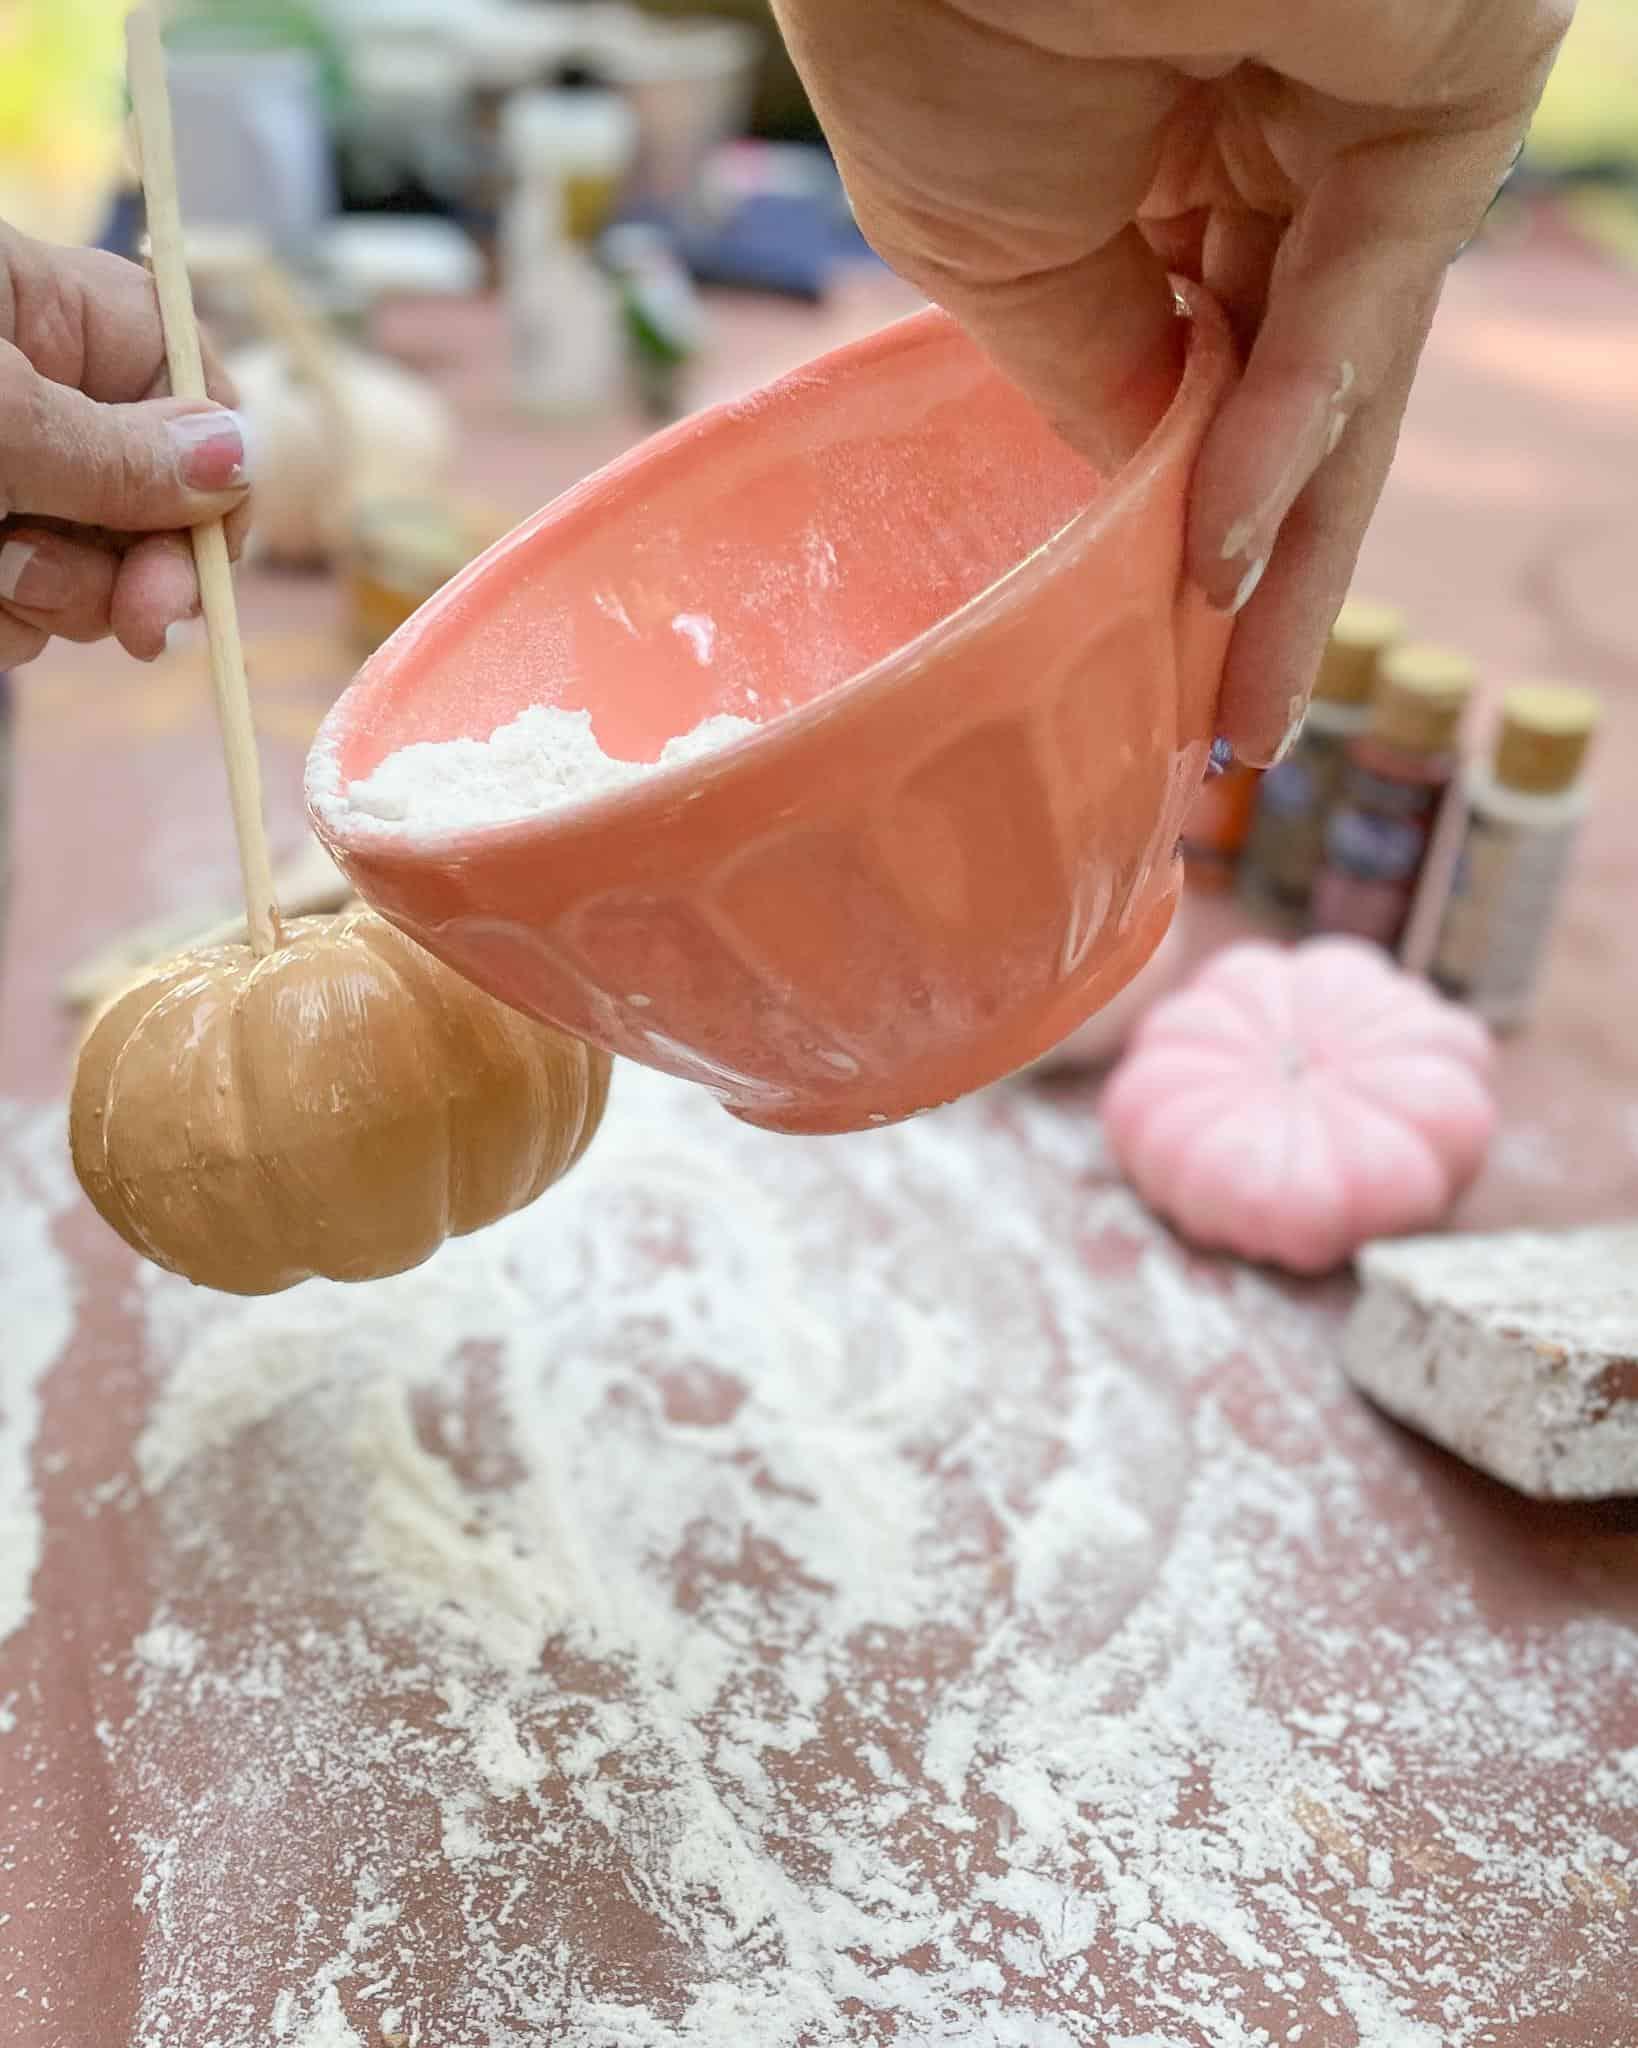
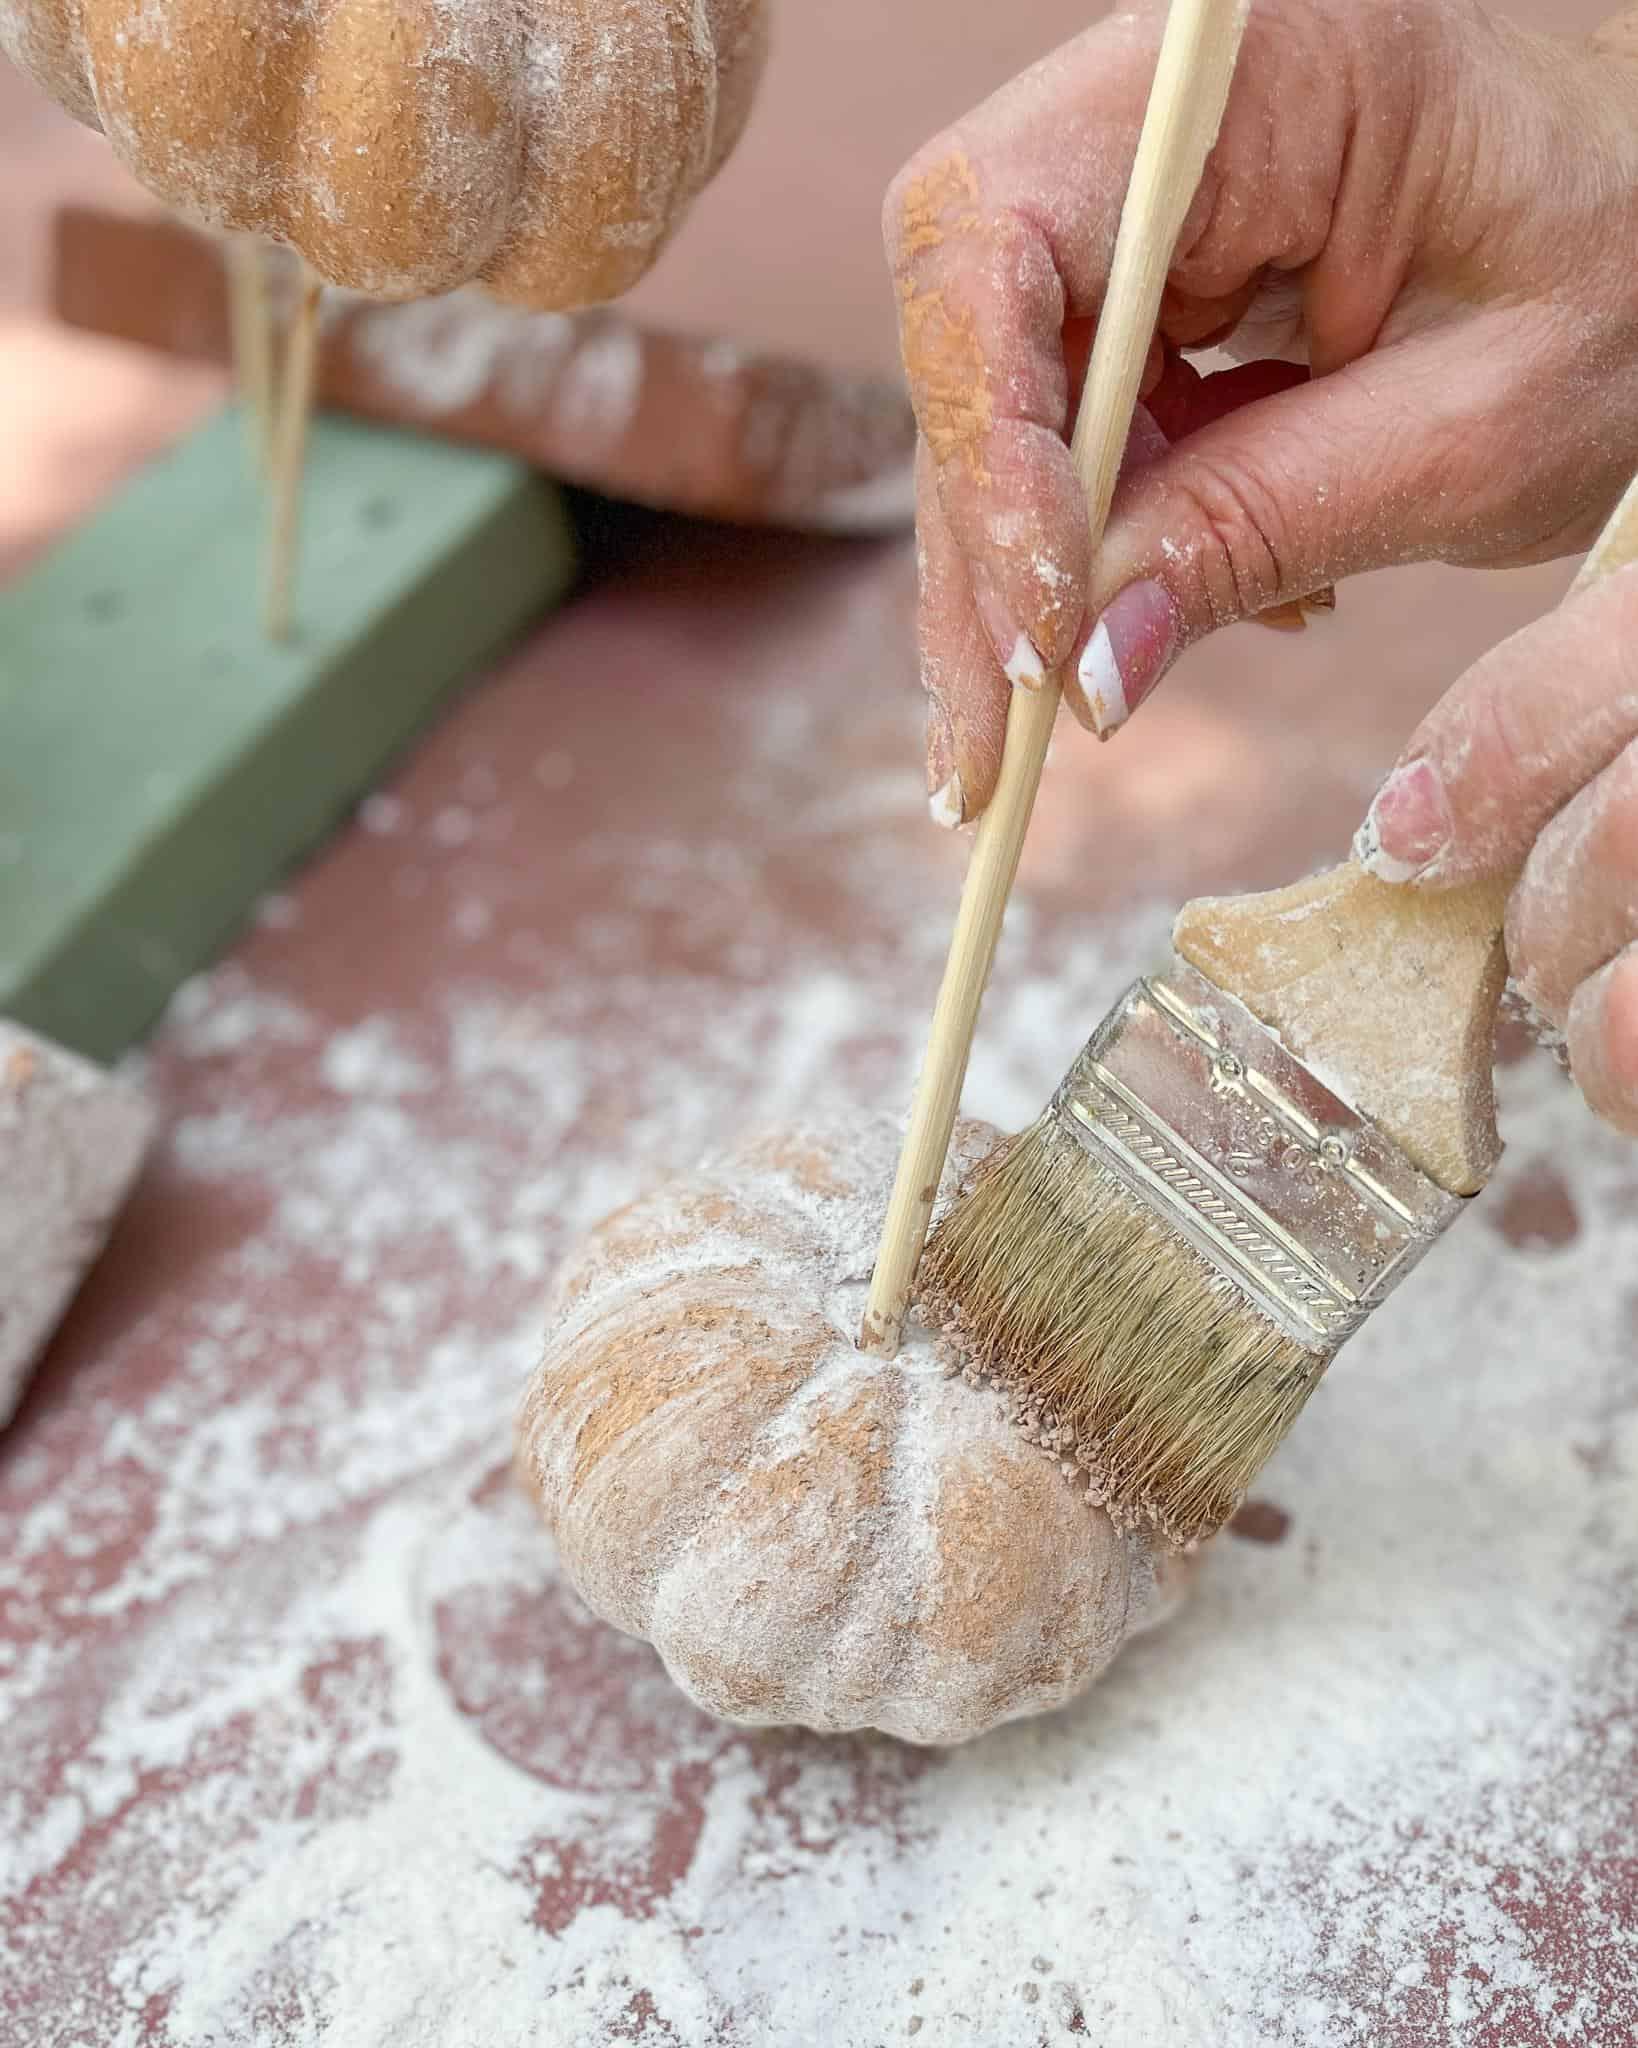
Sprinkle a little bit of flour or baby powder onto the top of your pumpkin and use a dry brush to tap and brush it out. You want your pumpkin to look natural, so avoid using too much.
If you accidentally add more flour or baby powder than you meant to, simply tap and shake the pumpkin to remove the excess.
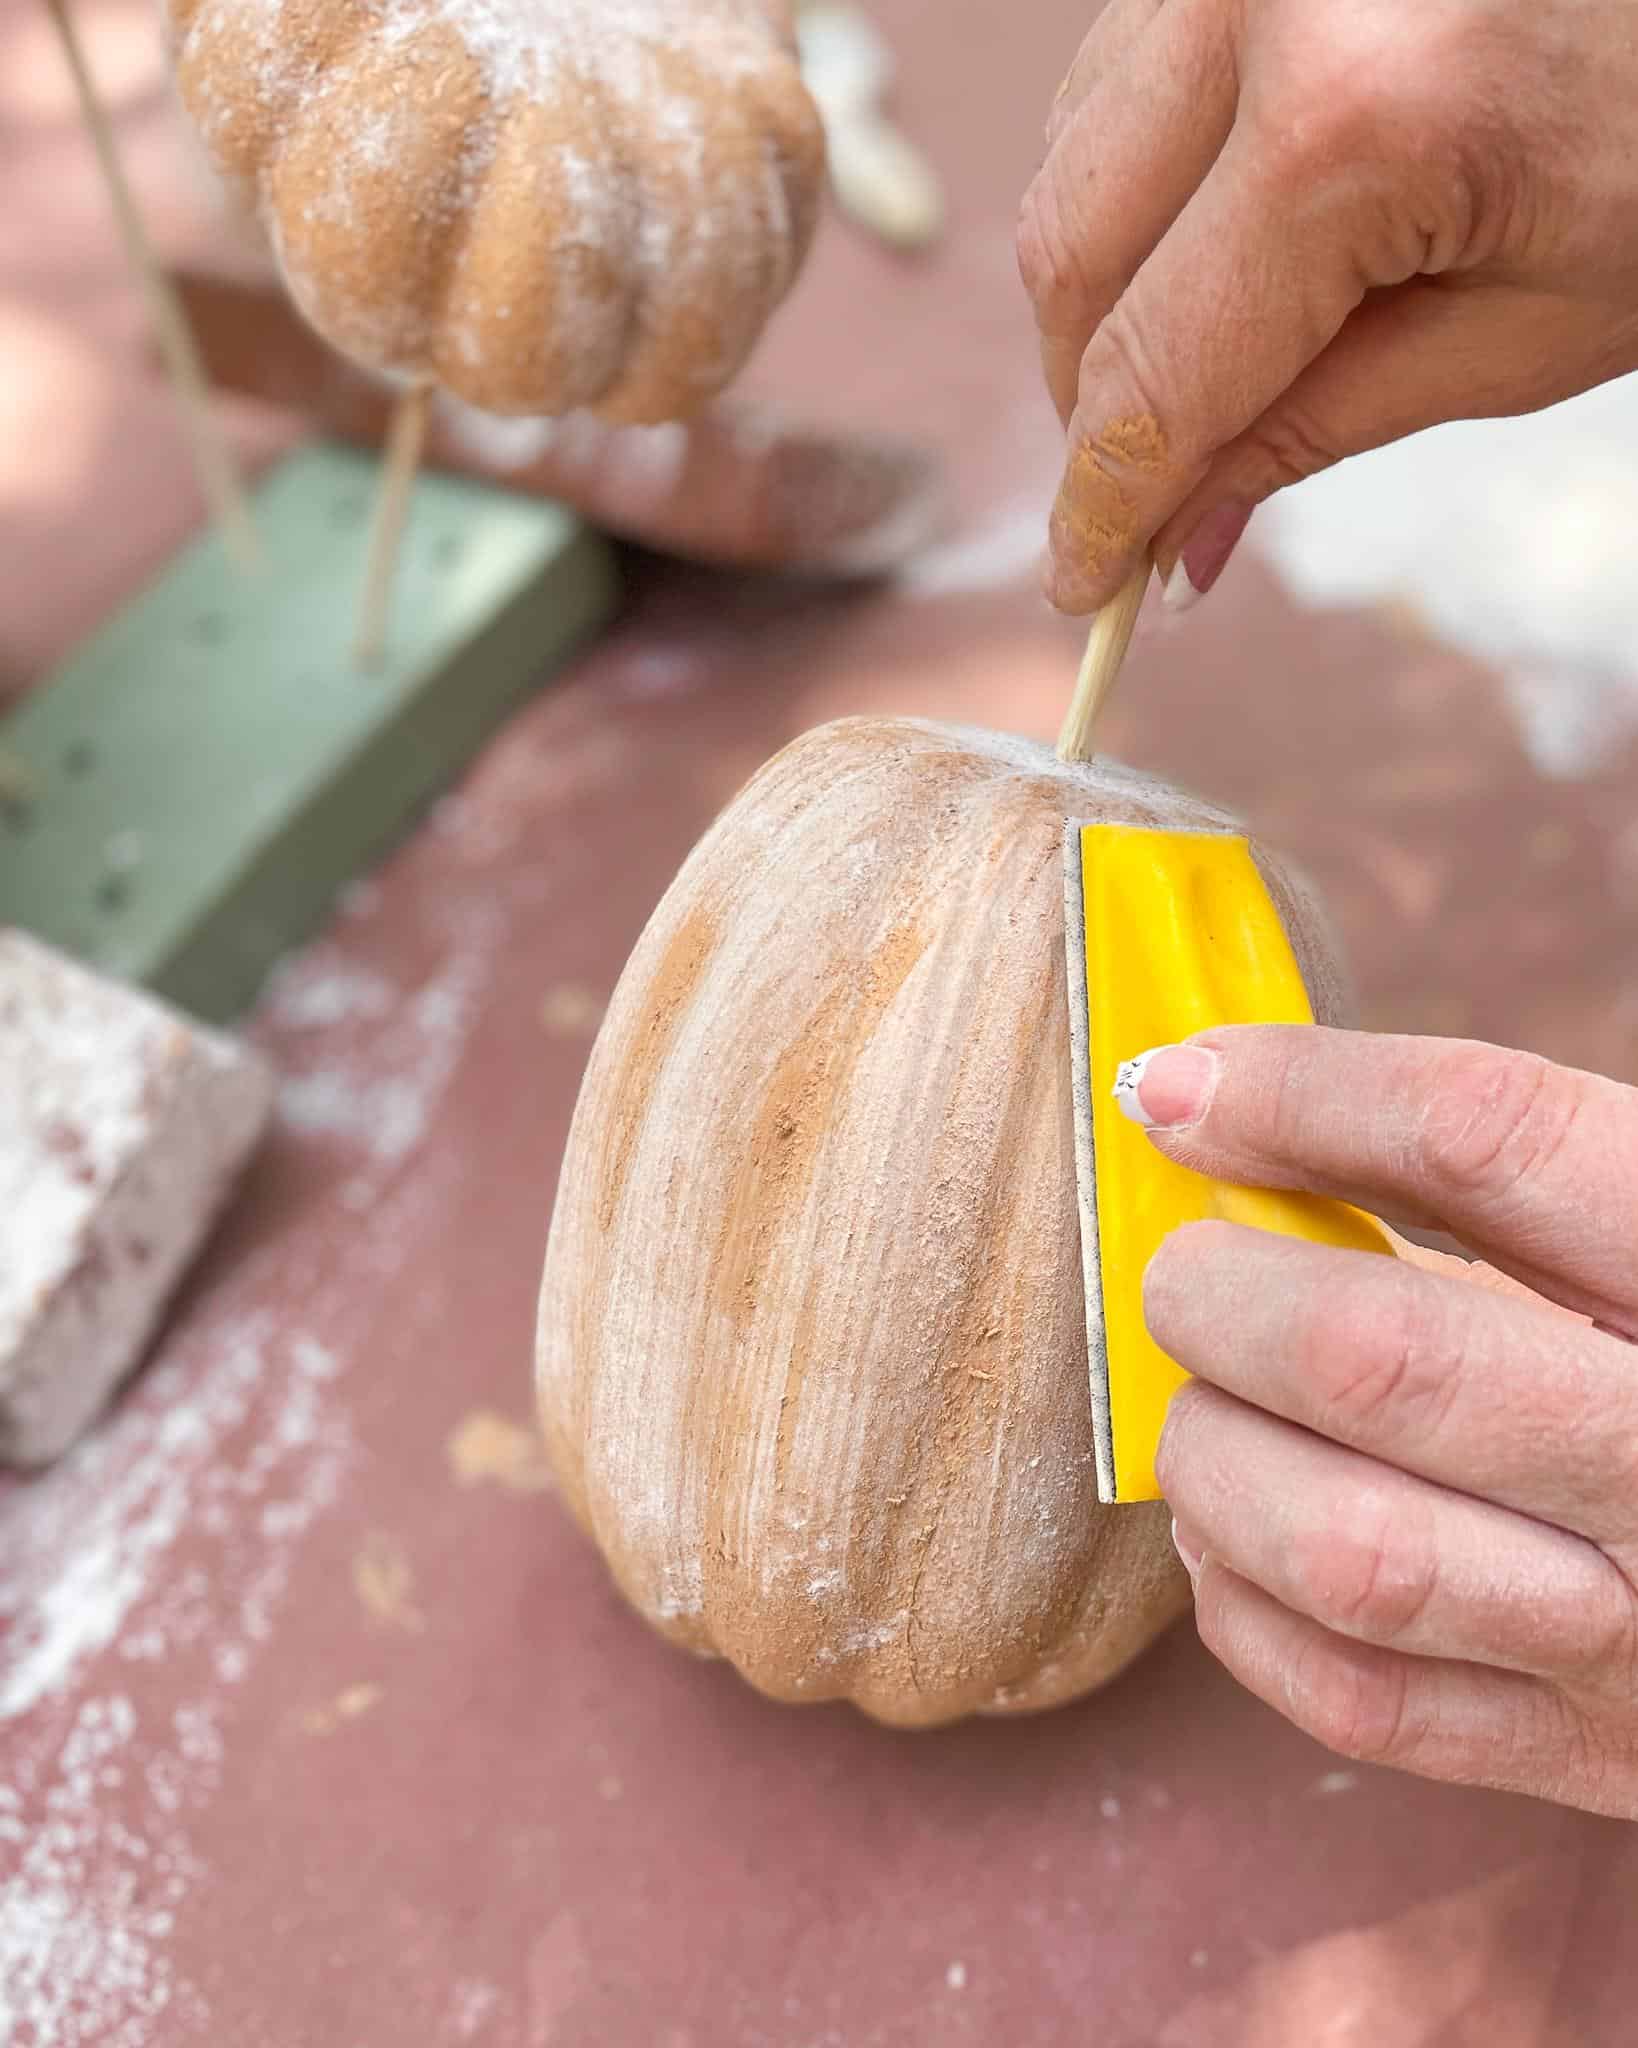
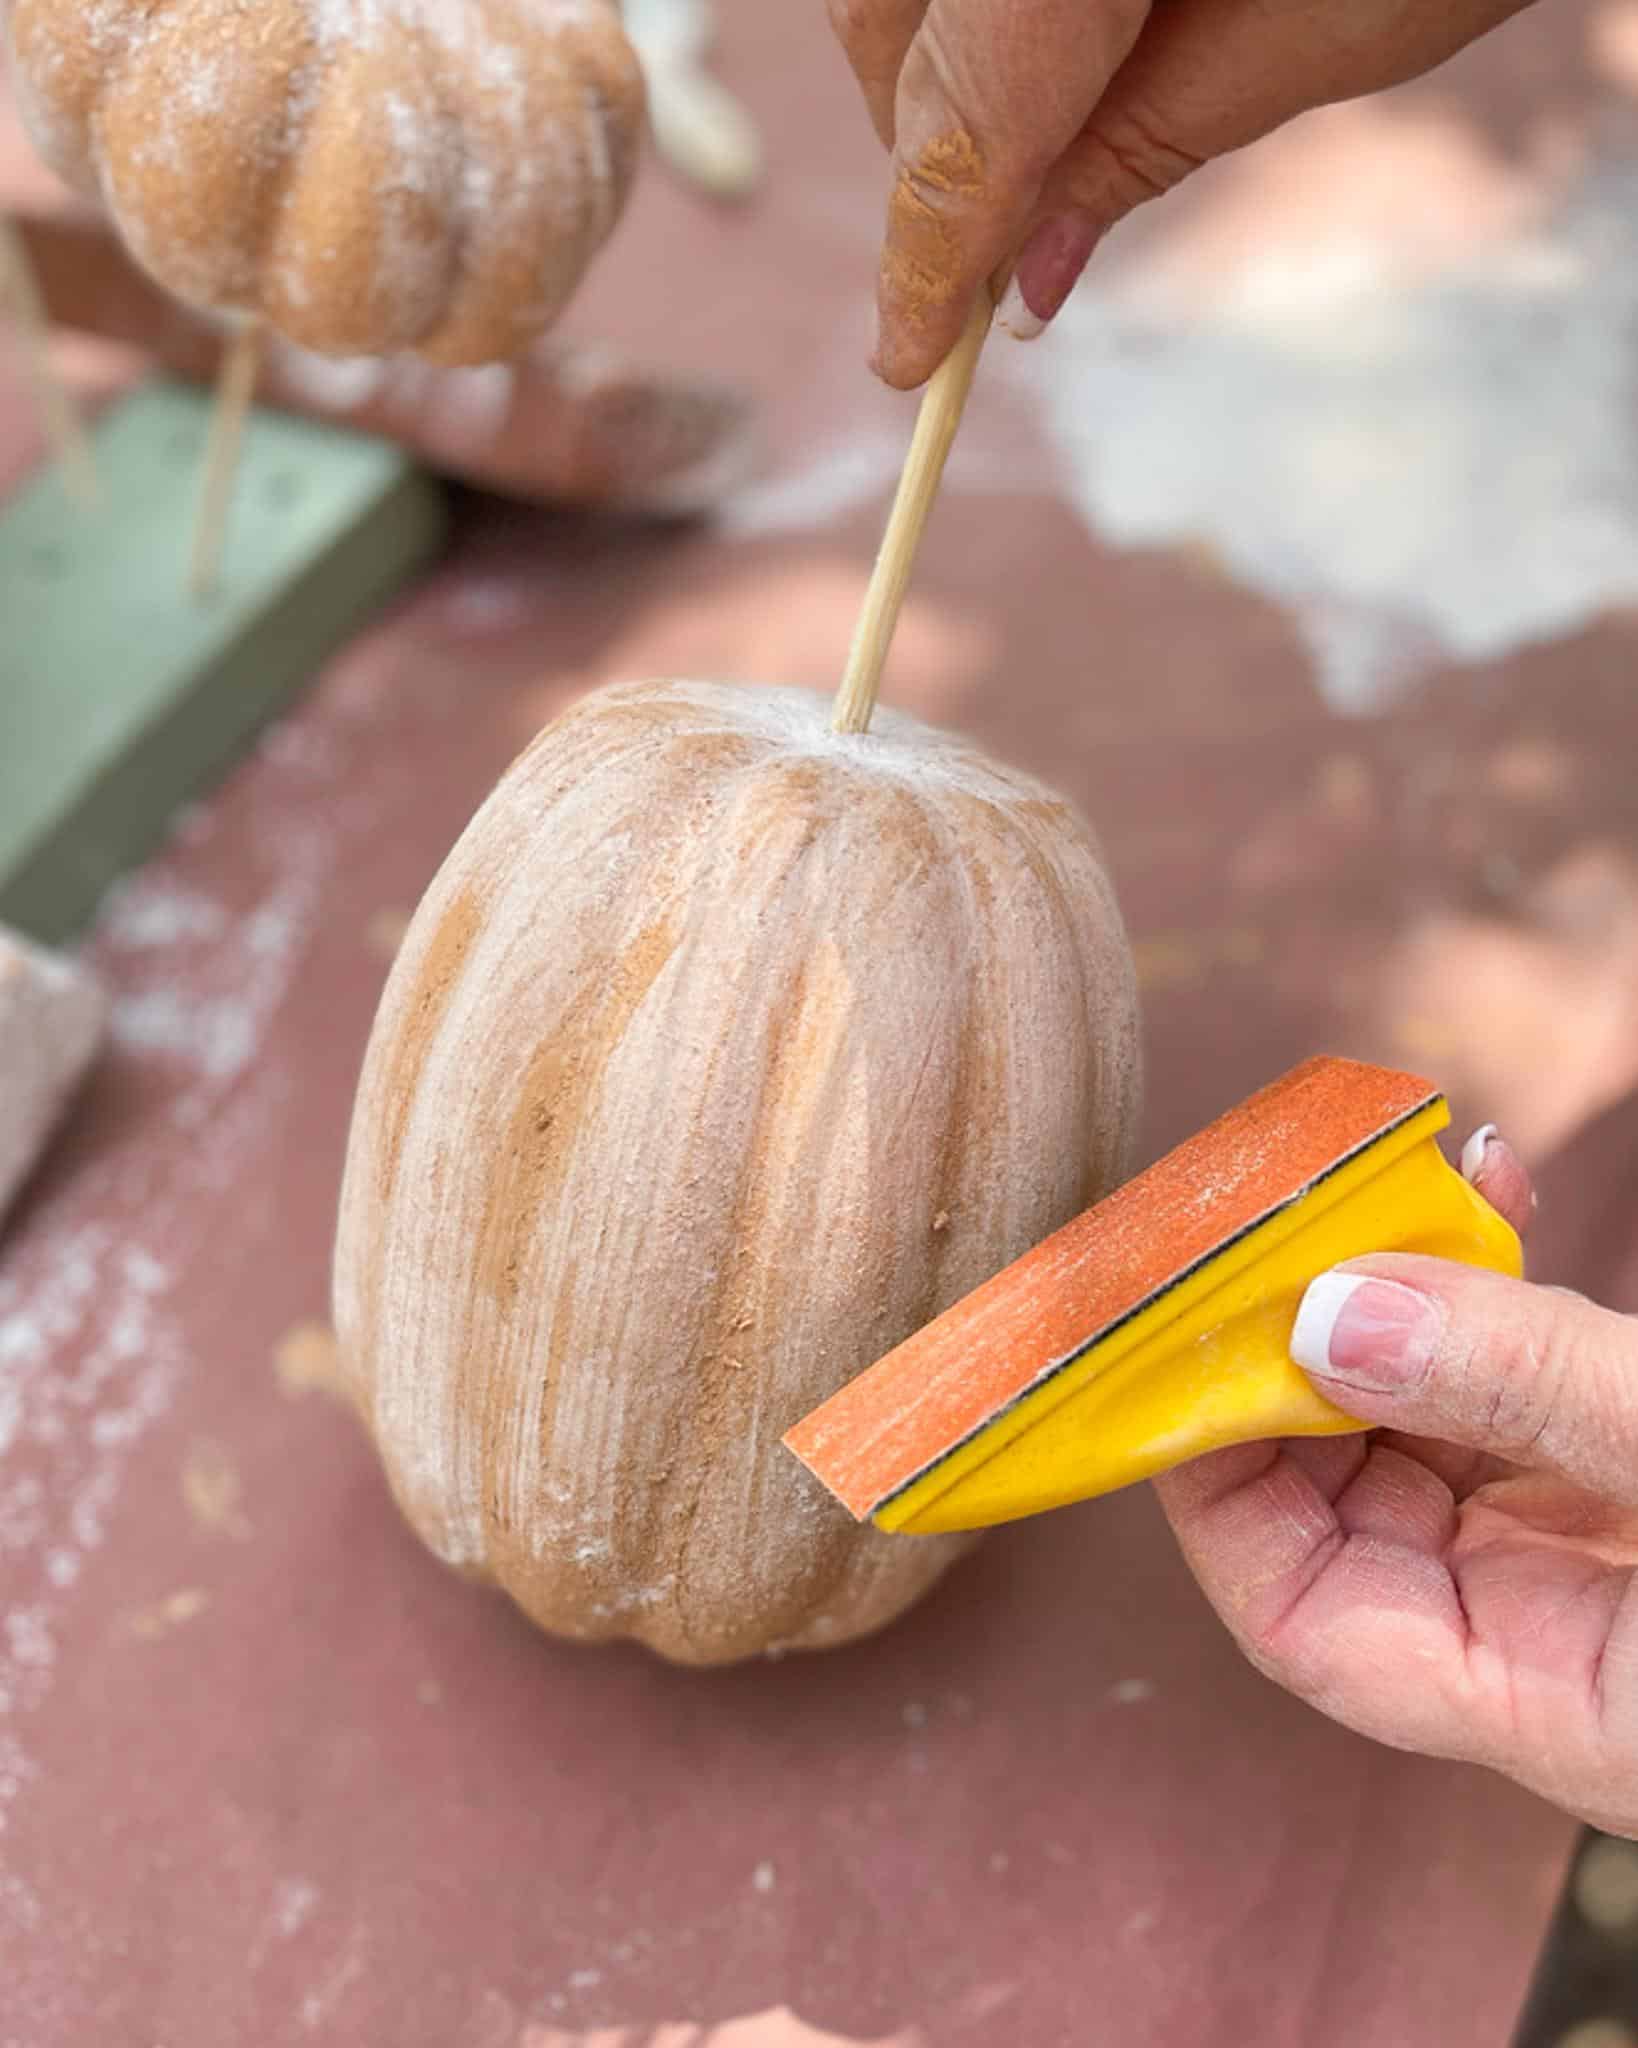
If you still have more four or baby powder than you prefer, you can also gently sand off some of it off with a small sanding block and some extra fine grit sandpaper.
Once your pumpkin is dry, give it quick spray with some matte finish acrylic spray to protect it and keep the flour or baby powder from flaking off.
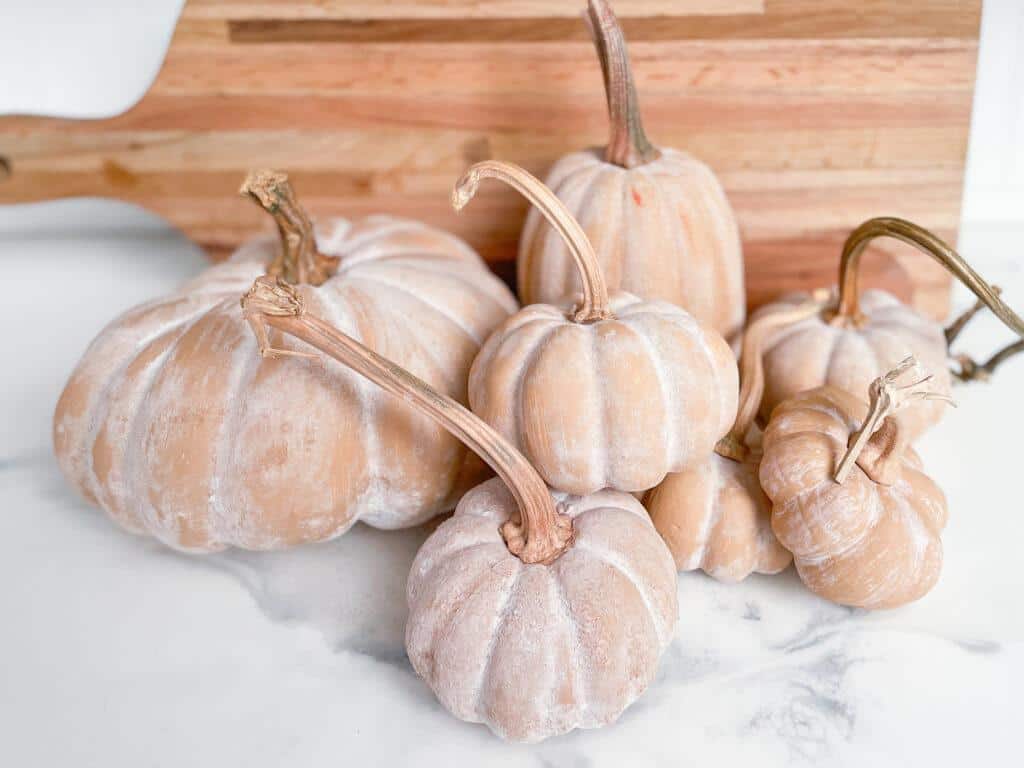
Step 5: Add a Natural Pumpkin Stem
Nothing makes a faux pumpkin look better than replacing the cheap plastic stem with a real one.
As an alternative, I love collecting fresh pumpkin stems and hot gluing them on to each terra cotta pumpkin for a more realistic look!
You can find stems at pumpkin patches, in bins at the grocery store (be careful you don’t fall in!), or by removing them from your fresh pumpkins at the end of the season. Just let them air dry for a few weeks, and they will be ready to use on your crafting projects the following year!
And, of course, if al else fails, you can also buy dried pumpkin stems, too.
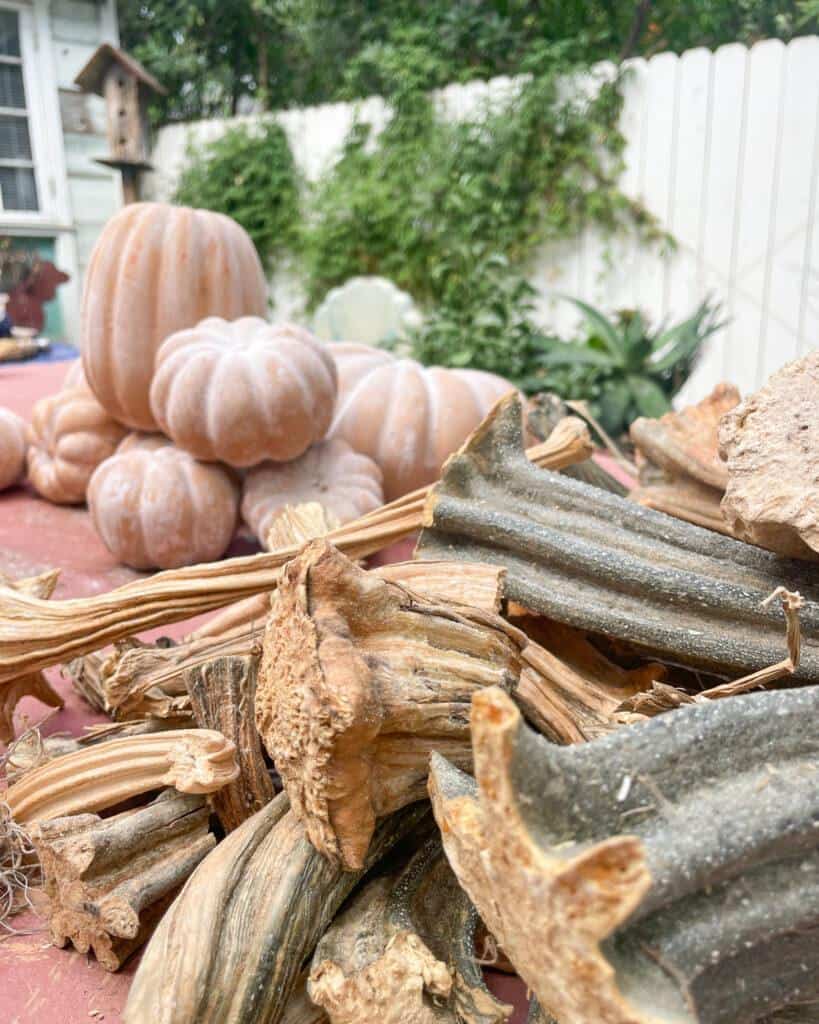
To add a natural stem to each faux terra cotta pumpkin, use large stems for larger pumpkins and smaller ones for small pumpkins. I used a mixture of cute short stems and long curly stems to add variety to my pumpkins and make them look more realistic.
How to Style a DIY Terra Cotta Pumpkin
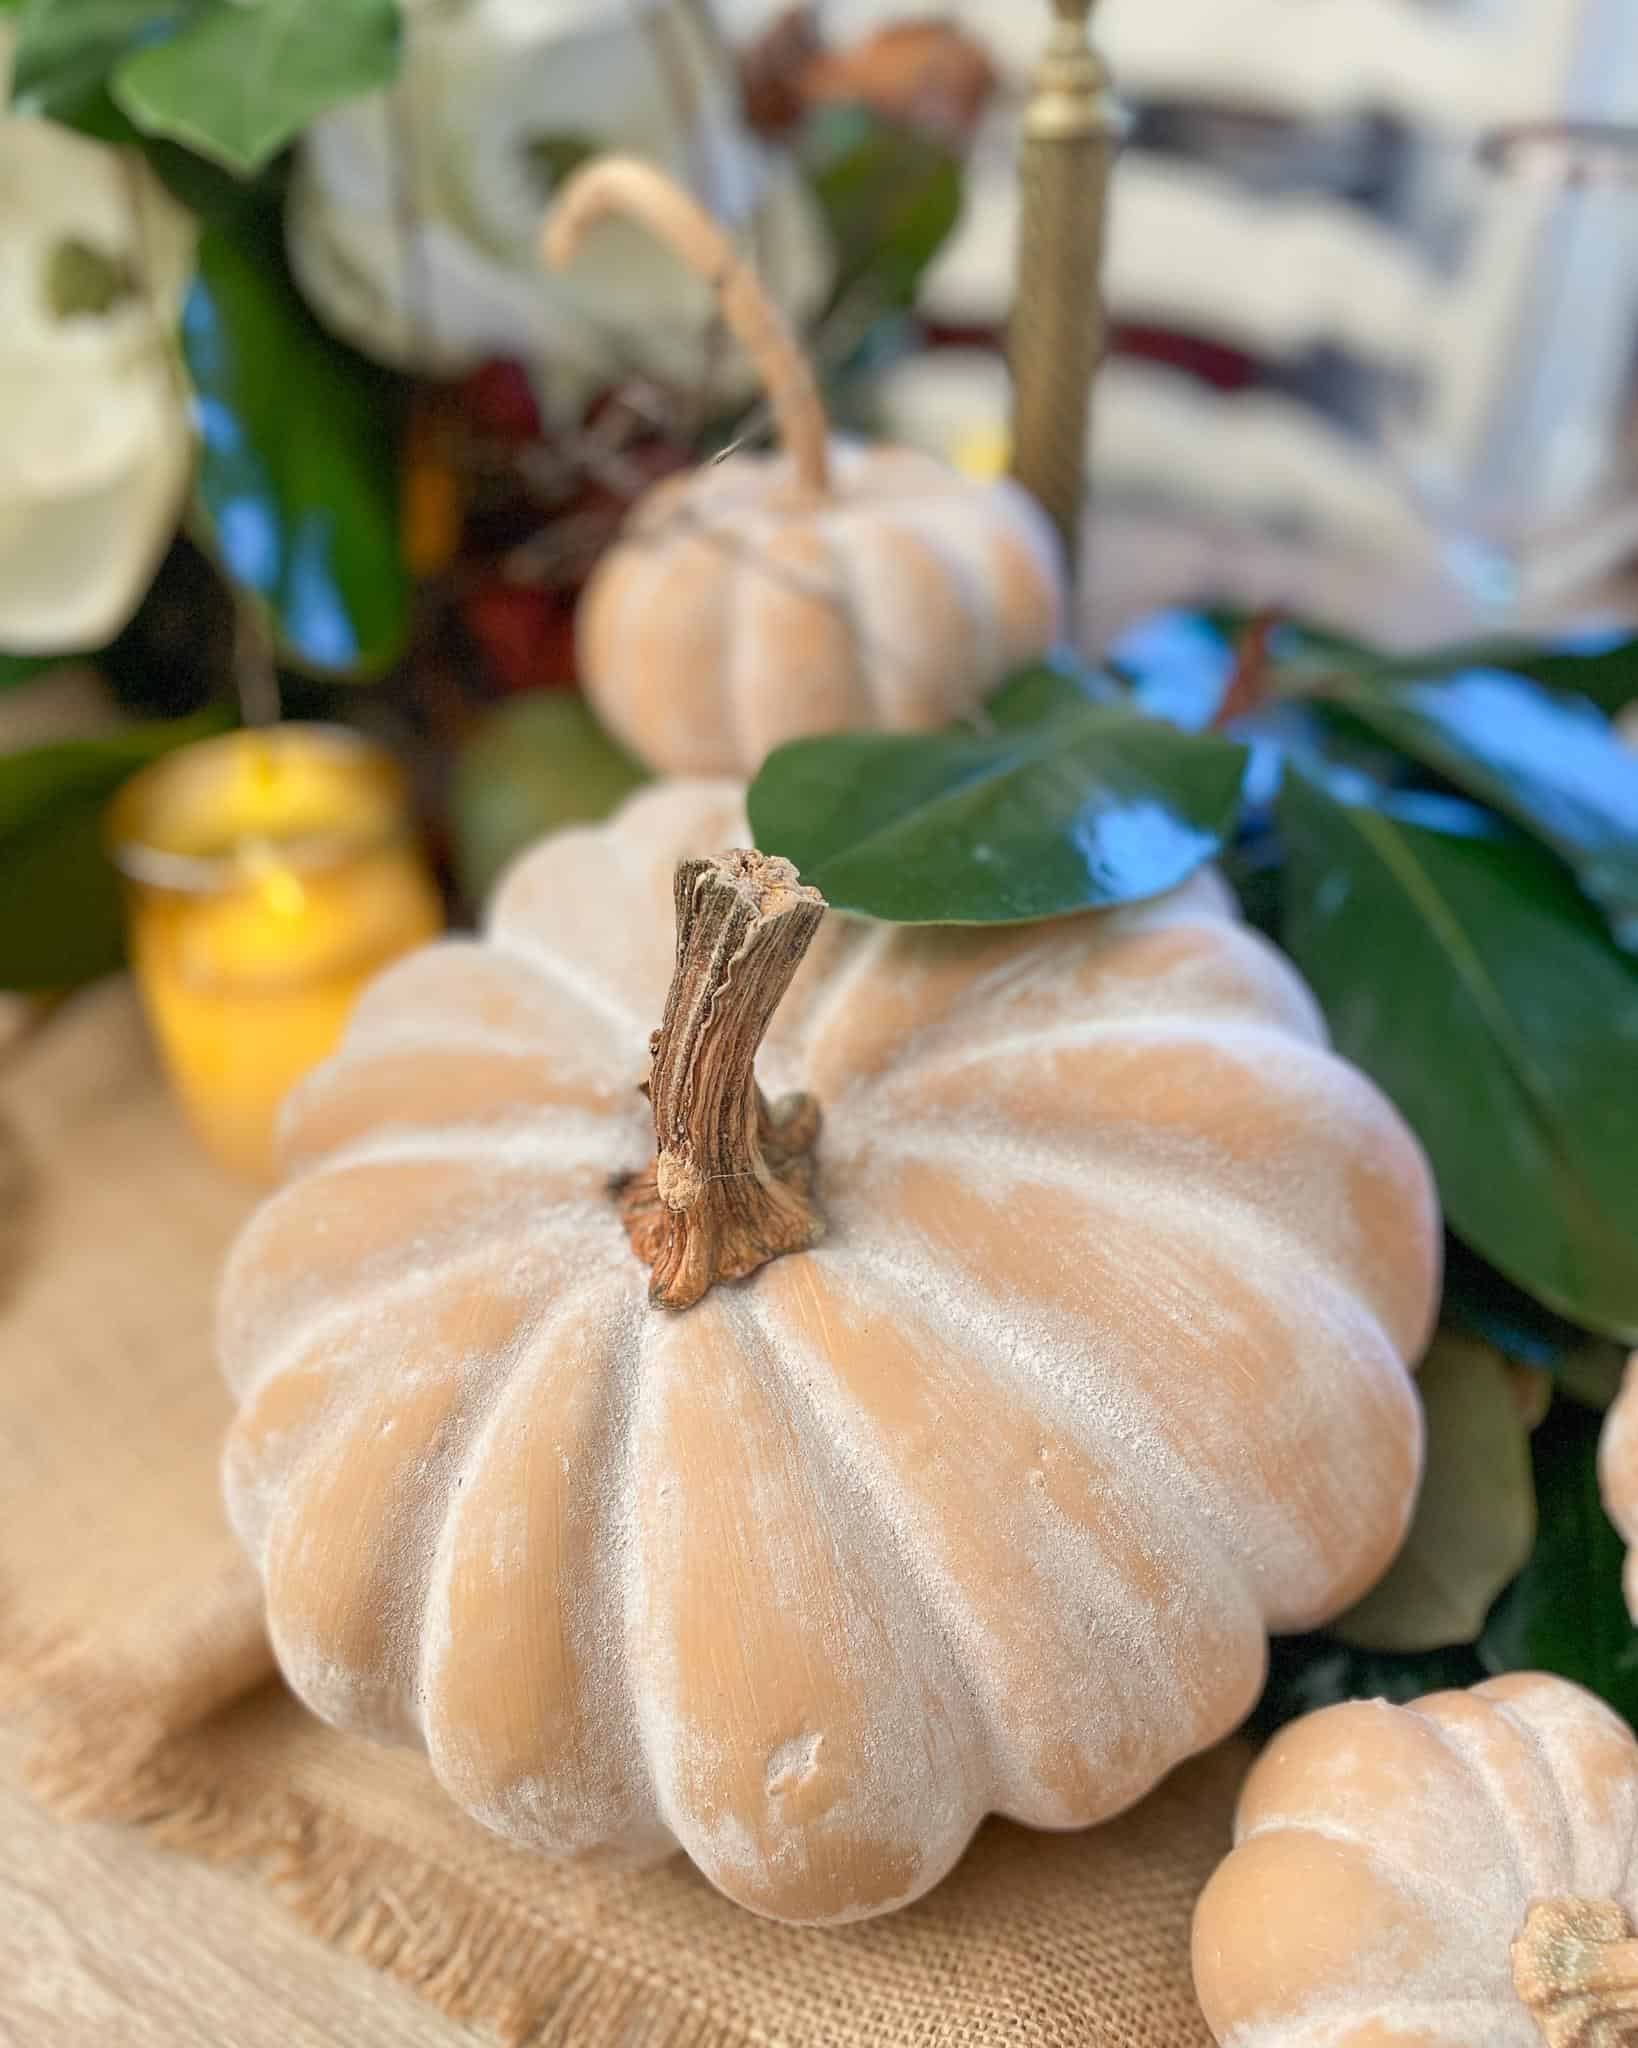
Of course, decorating with pumpkins is my favorite part. It’s so much fun taking them in the house and deciding how to style them.
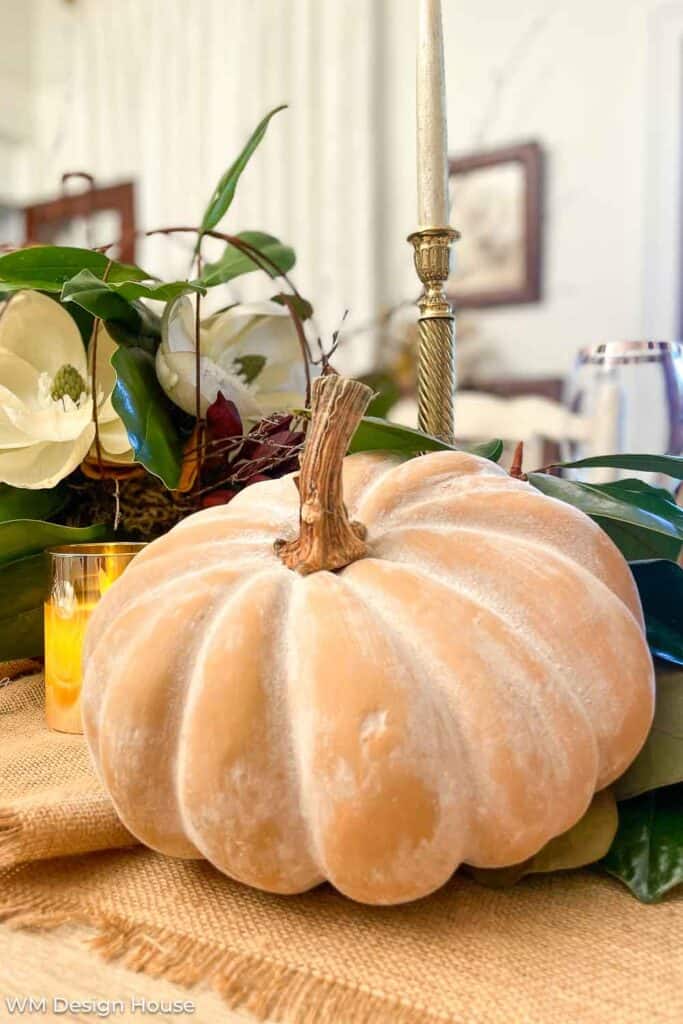
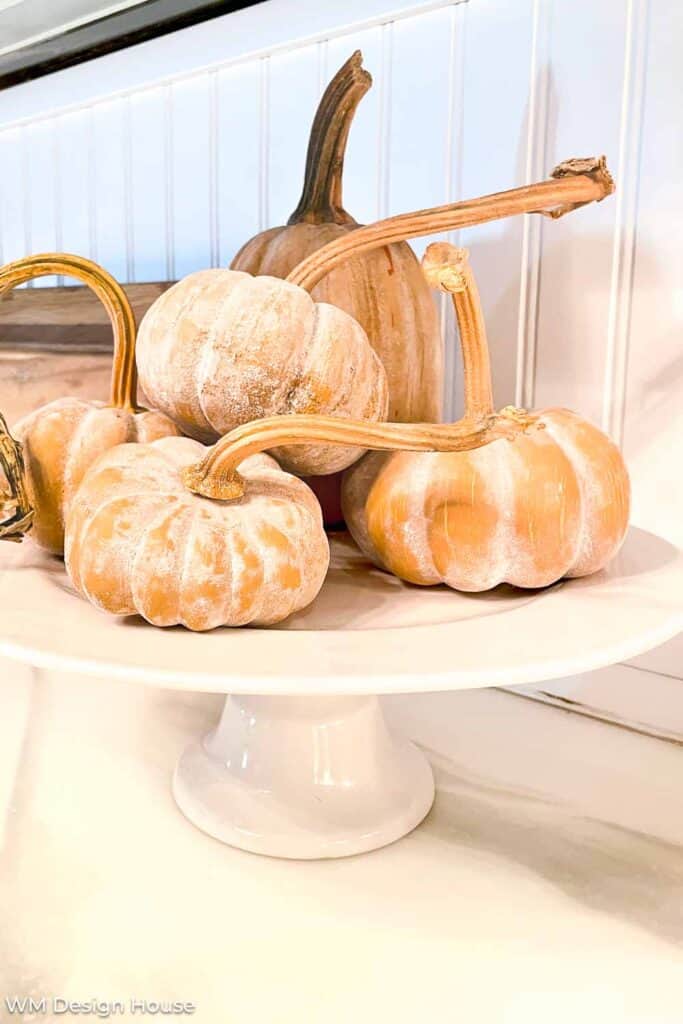
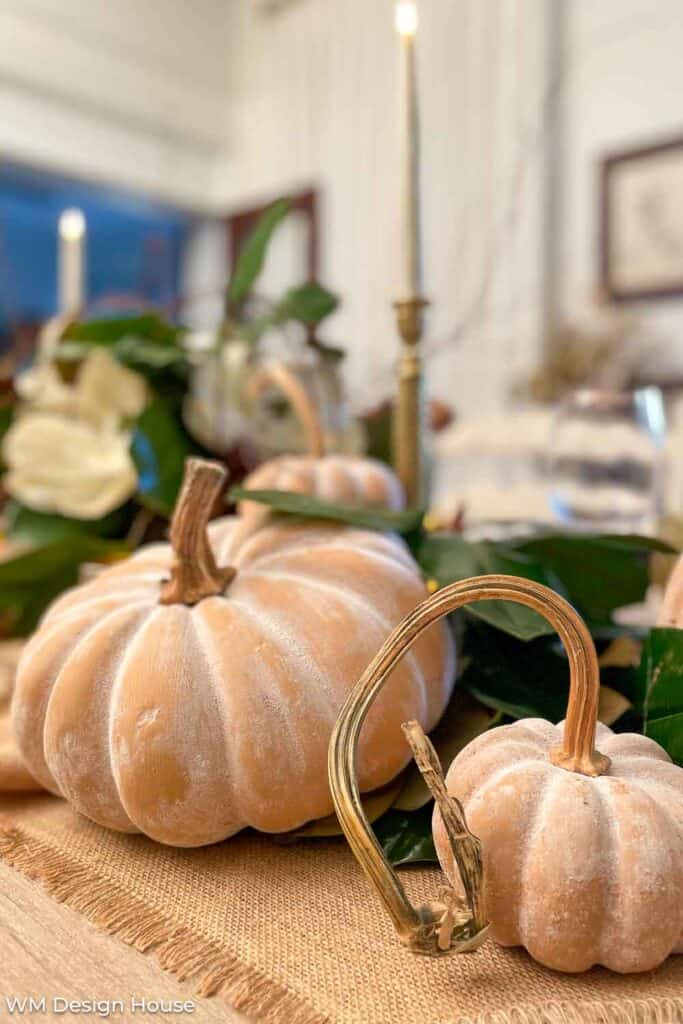
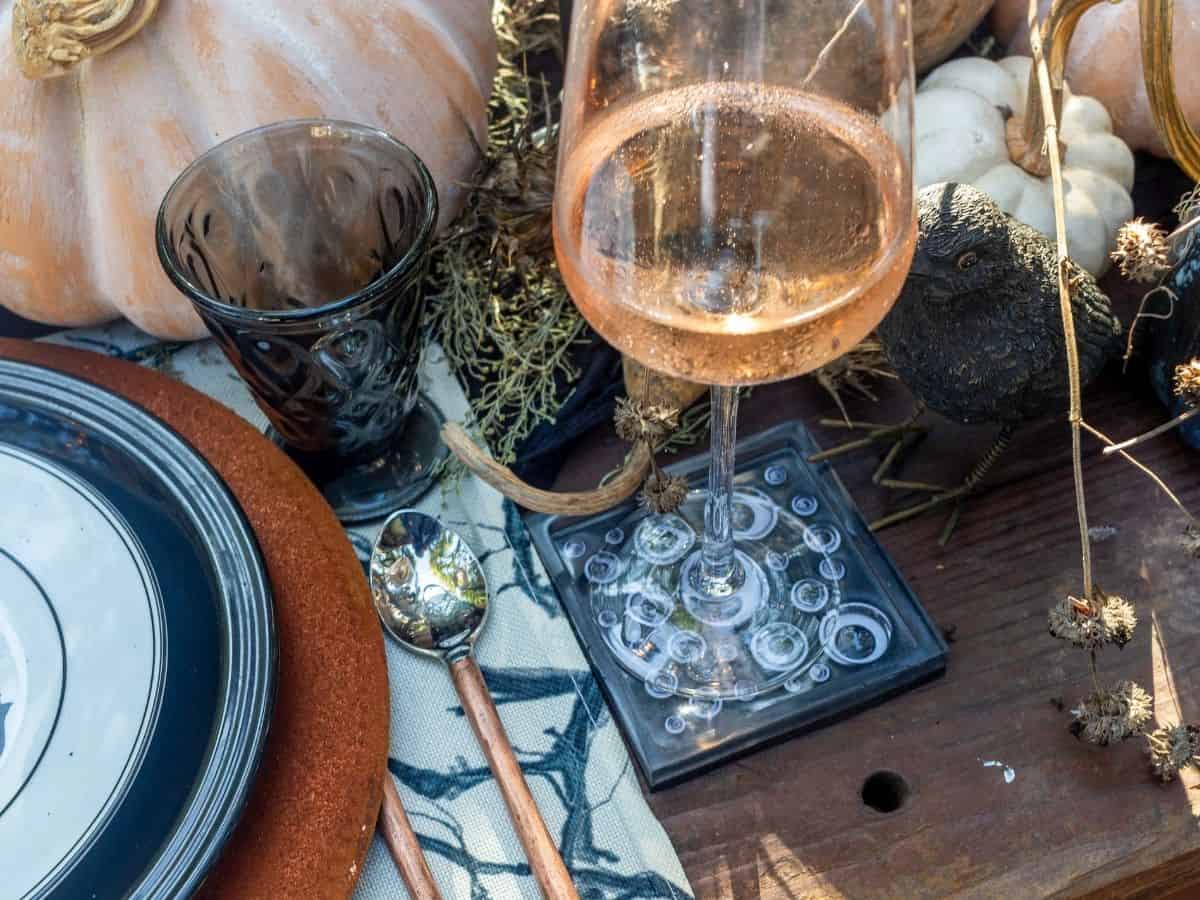
As you can see, there are many ways to style these cute little terra cotta pumpkins in your home. I placed a few on my dining room table and the rest in my wine bar.
Use your creativity and play with different ways to decorate with them until you find a look you love!
Here are a few other idea and tips for styling your DIY terra cotta pumpkin:
More Pumpkin Styling Tips
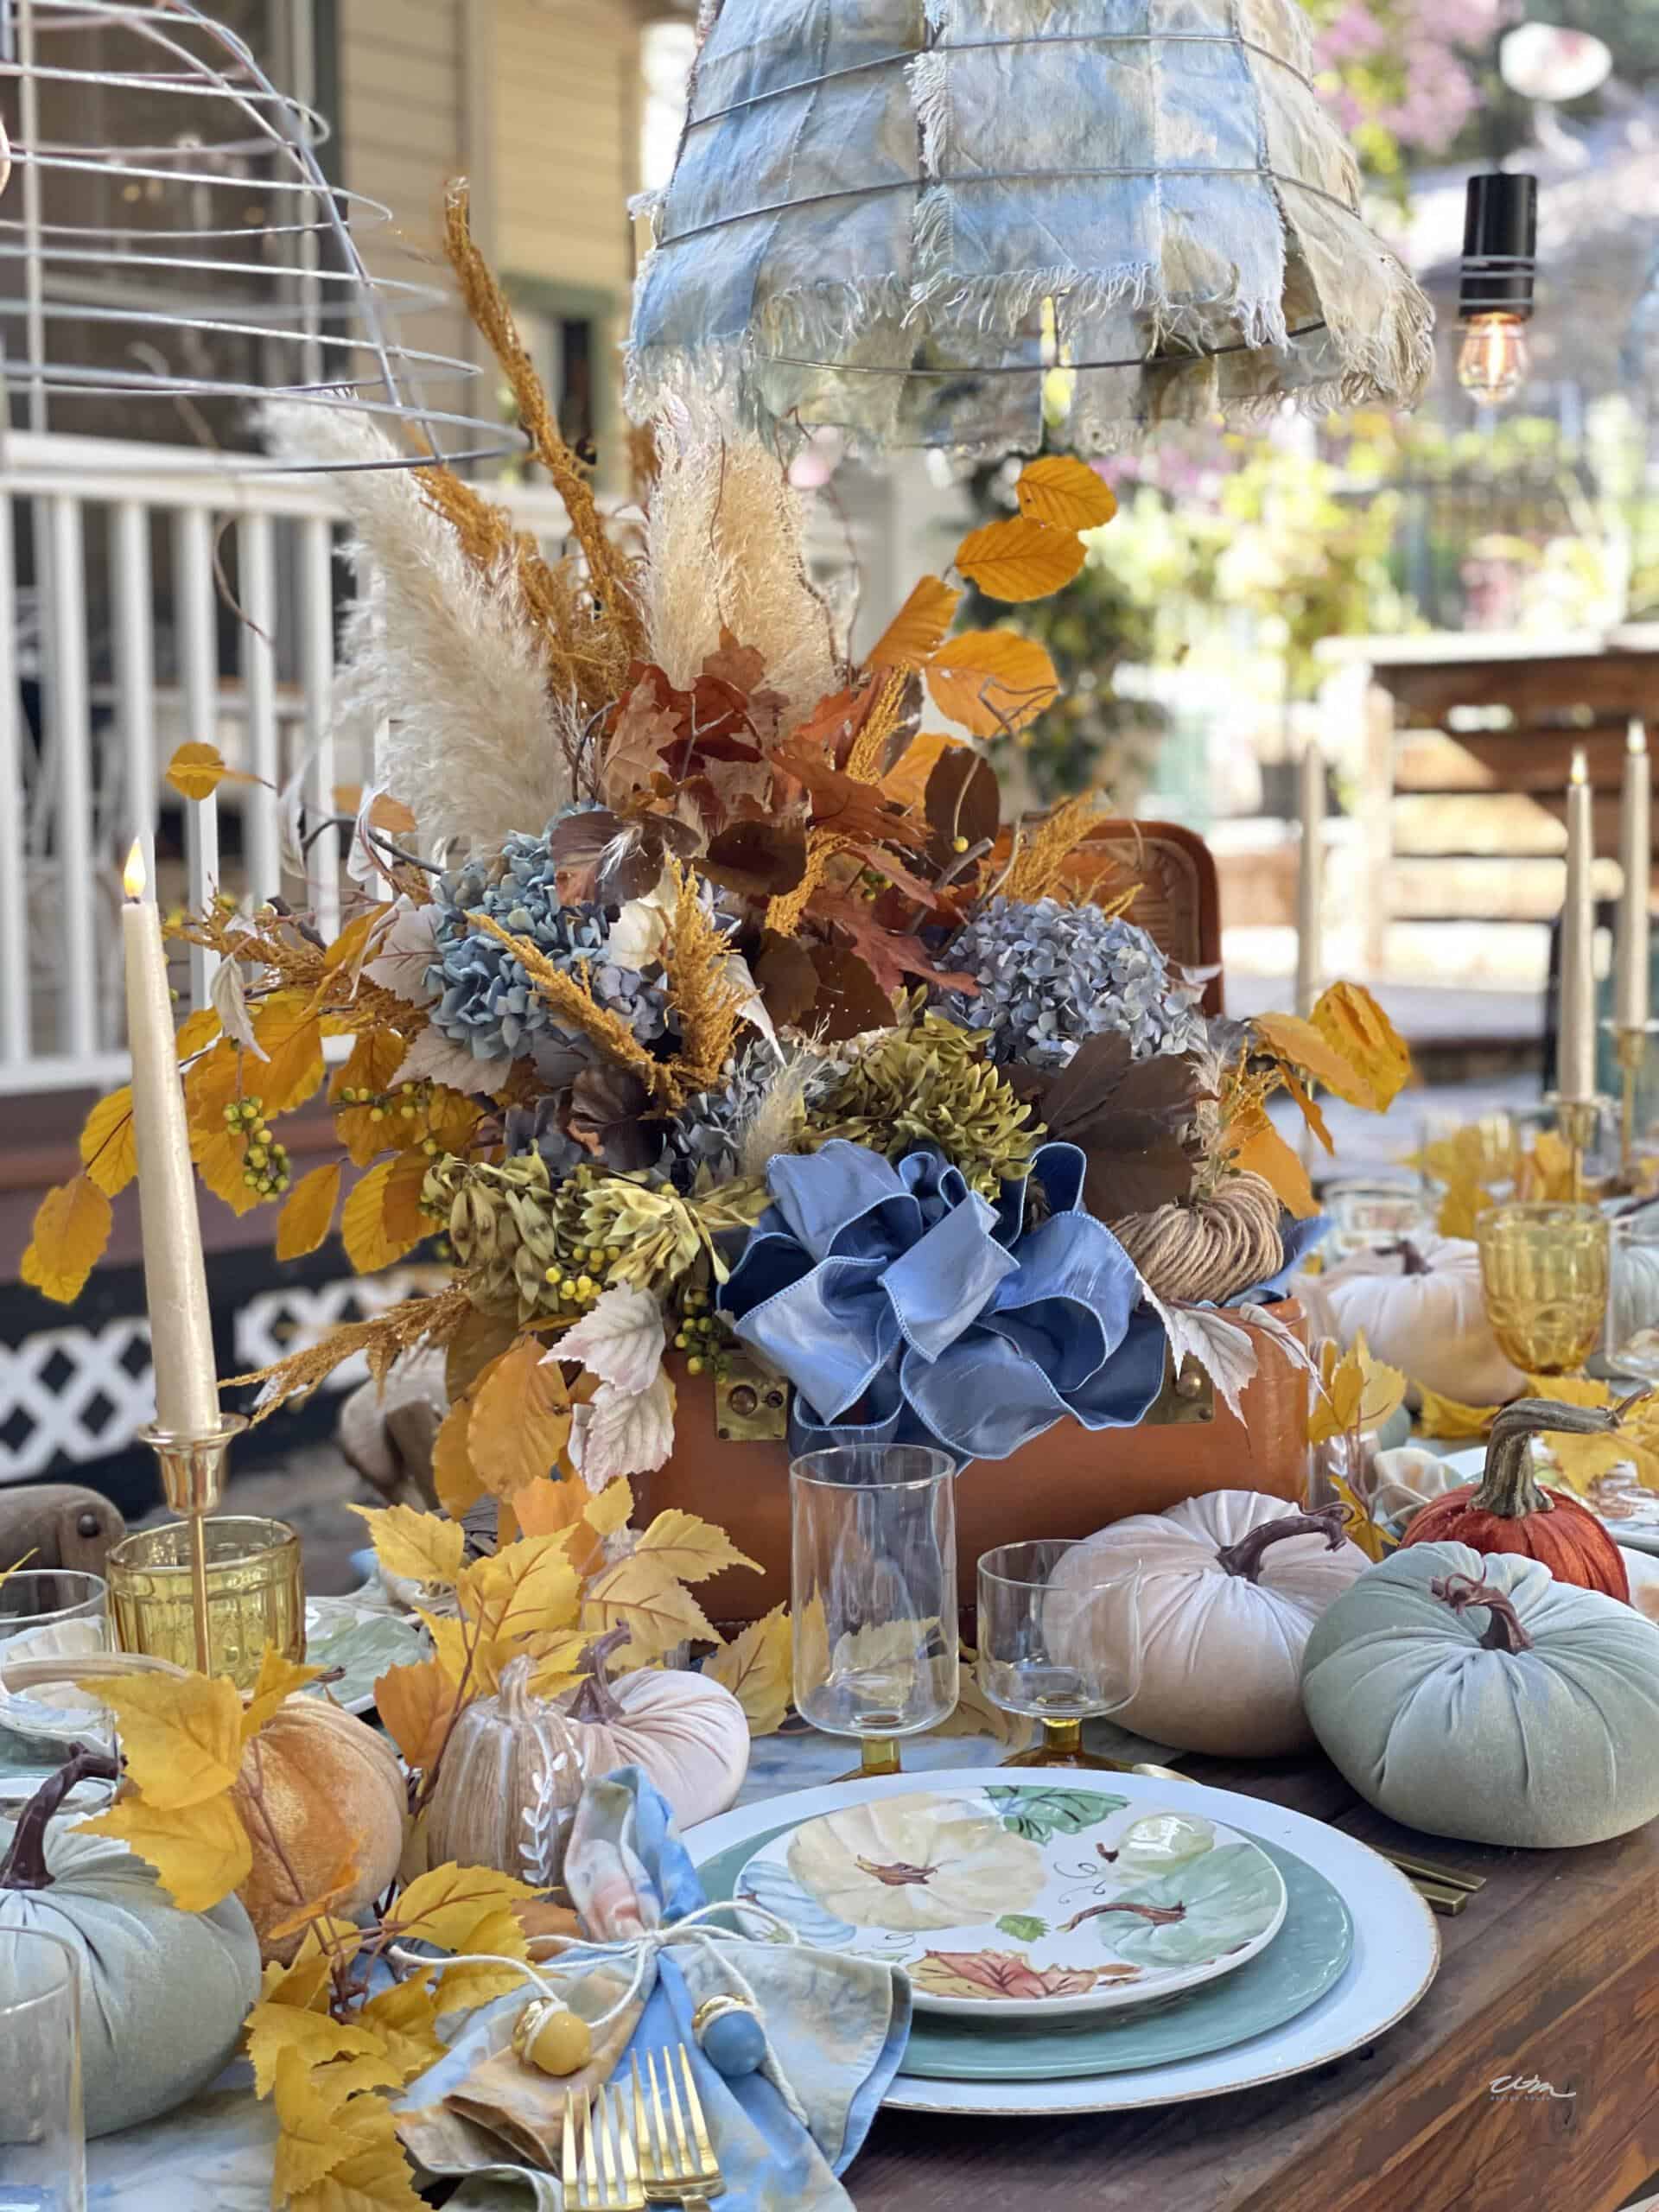
- Choose a color palette – Choose colors that complement the earthy tones of your terra cotta pumpkins. Fall colors like deep oranges, yellows, reds, and browns work well. Incorporating some muted greens and rustic whites can also add depth and contrast.
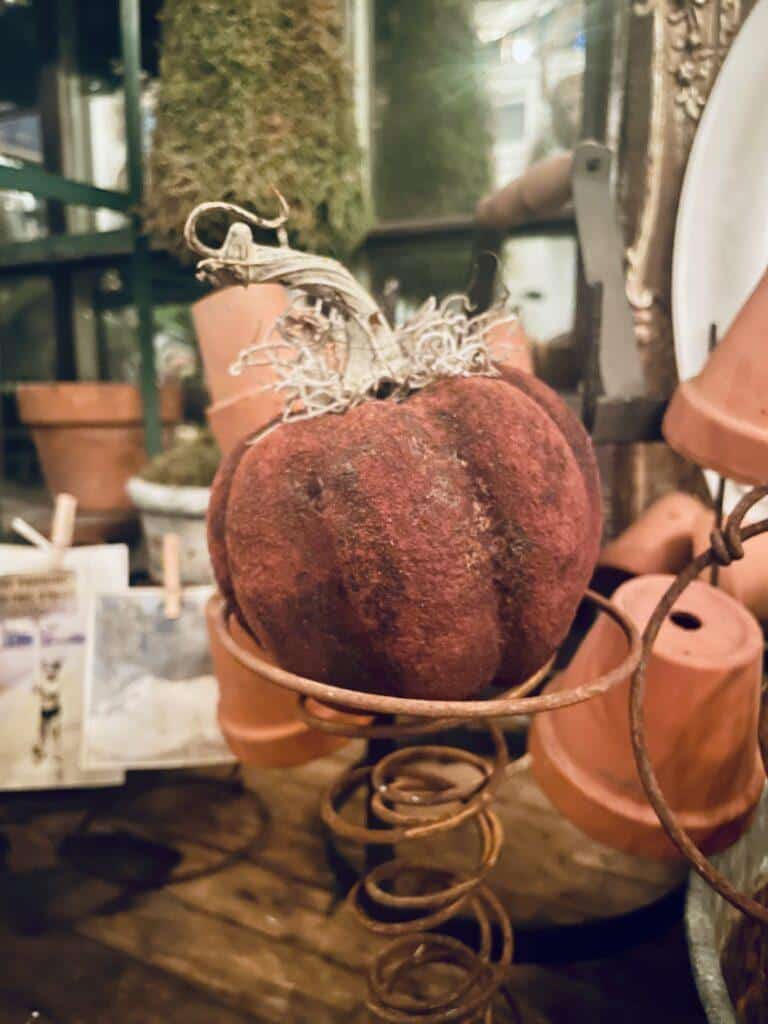
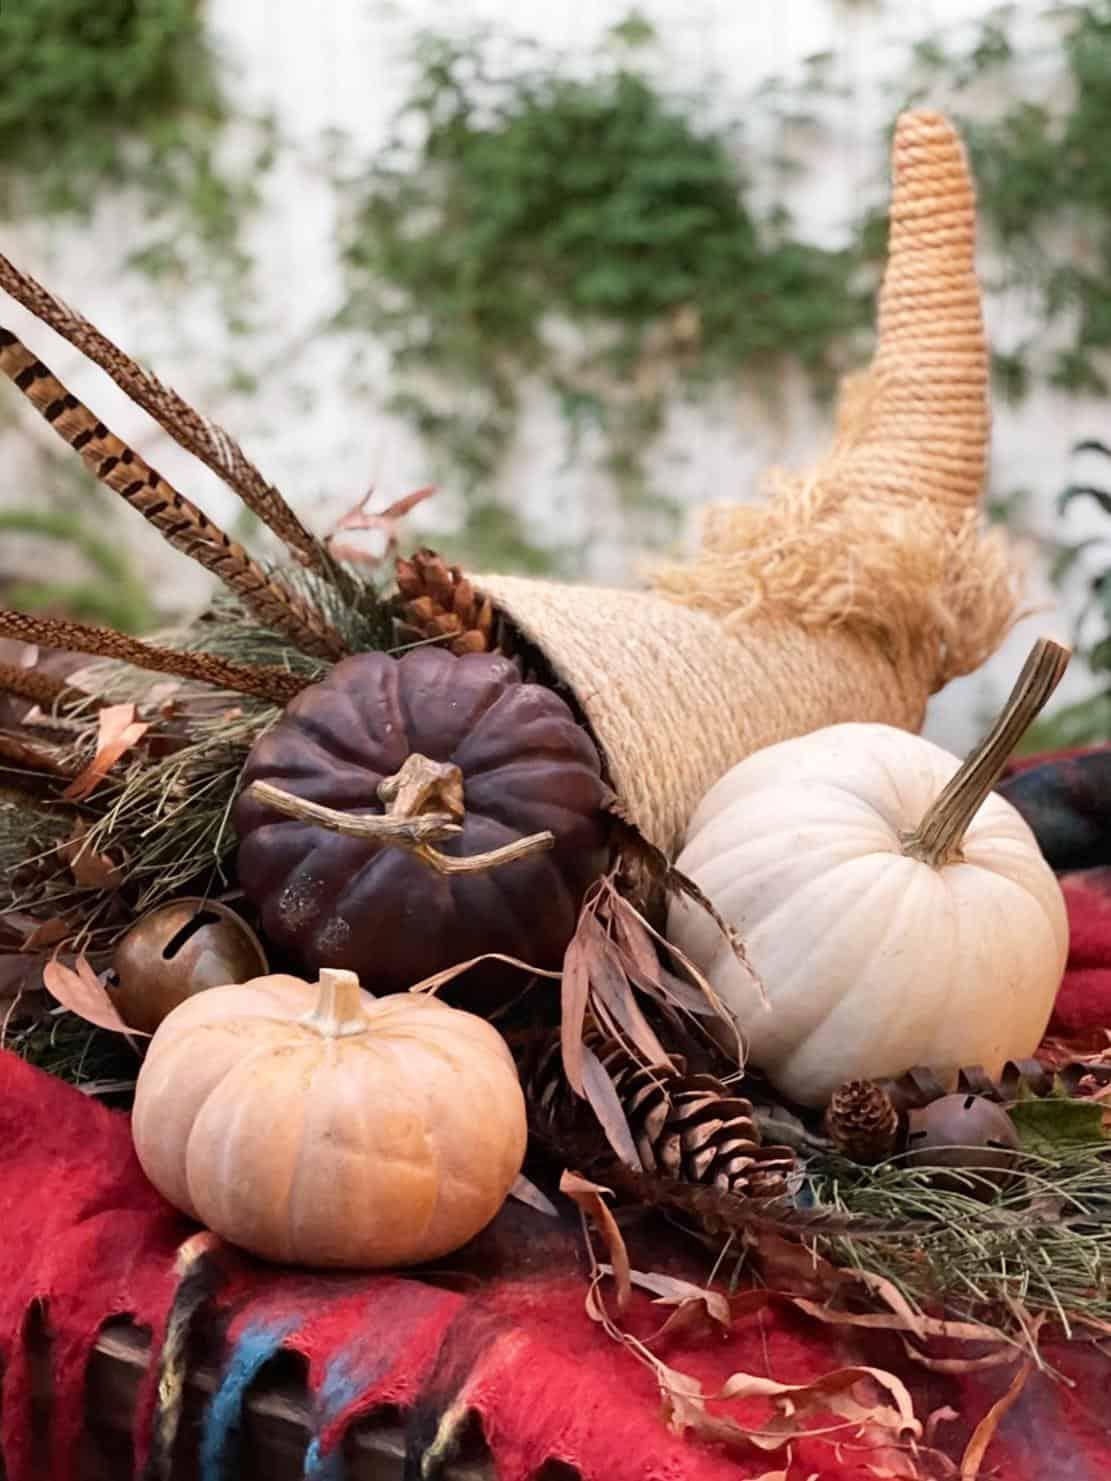
- Opt for a mix of sizes and shapes—Your fall vignette should include several shapes and sizes to add visual interest and a natural feel. For a cozy fall look, mix a few real pumpkins with some sweater pumpkins.
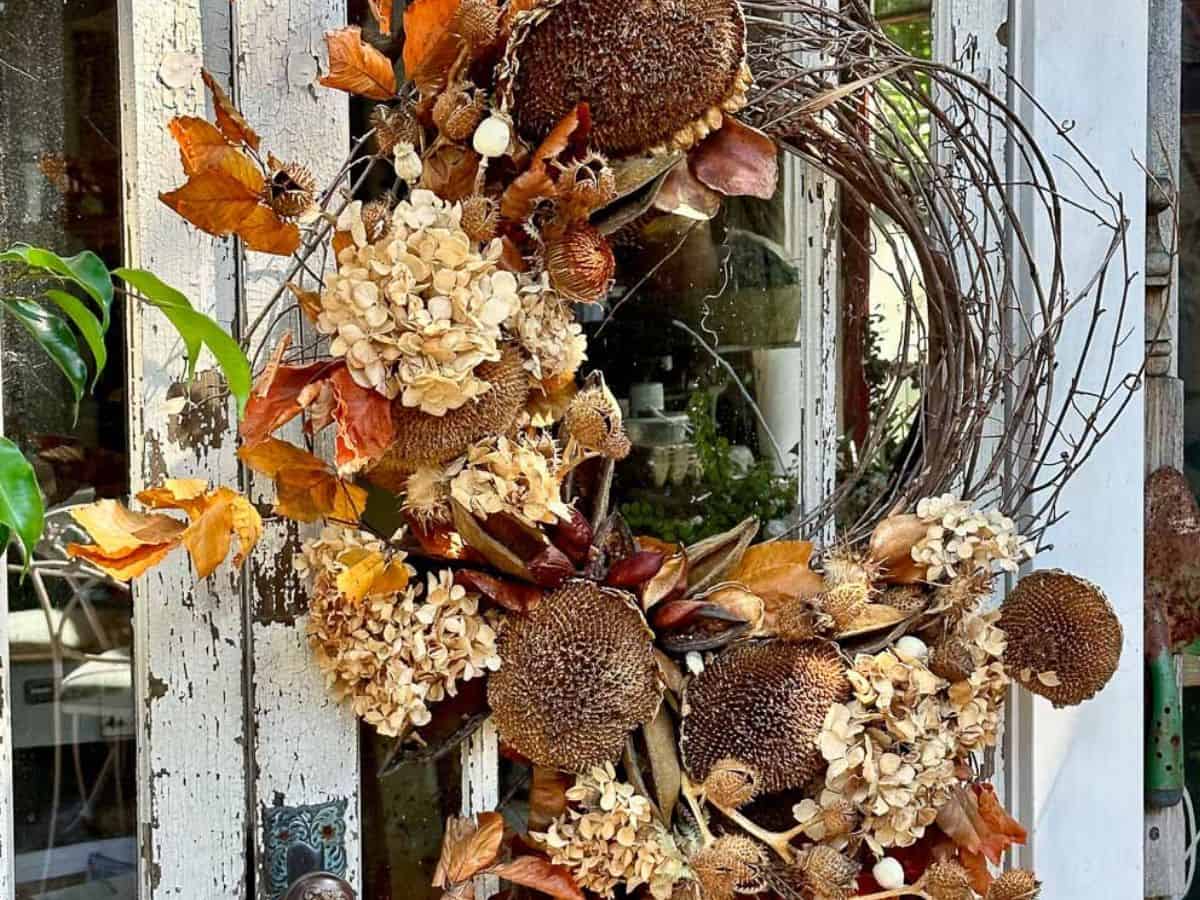
- Incorporate different textures to create contrast – Consider using burlap, twine, rustic fabrics, or natural elements like dried leaves, pinecones, and acorns.
- Create depth – Place pumpkins at different heights. to create depth and visual interest. Use stacked crates, wooden slices, or even small hay bales to elevate some of the pumpkins and create a layered look.
- Arrange the pumpkins in groups of odd numbers – Odd-numbered groupings tend to be more visually appealing and balanced.
- Incorporate candles or lanterns – Add a warm and cozy glow to your setup with candles and lanterns.
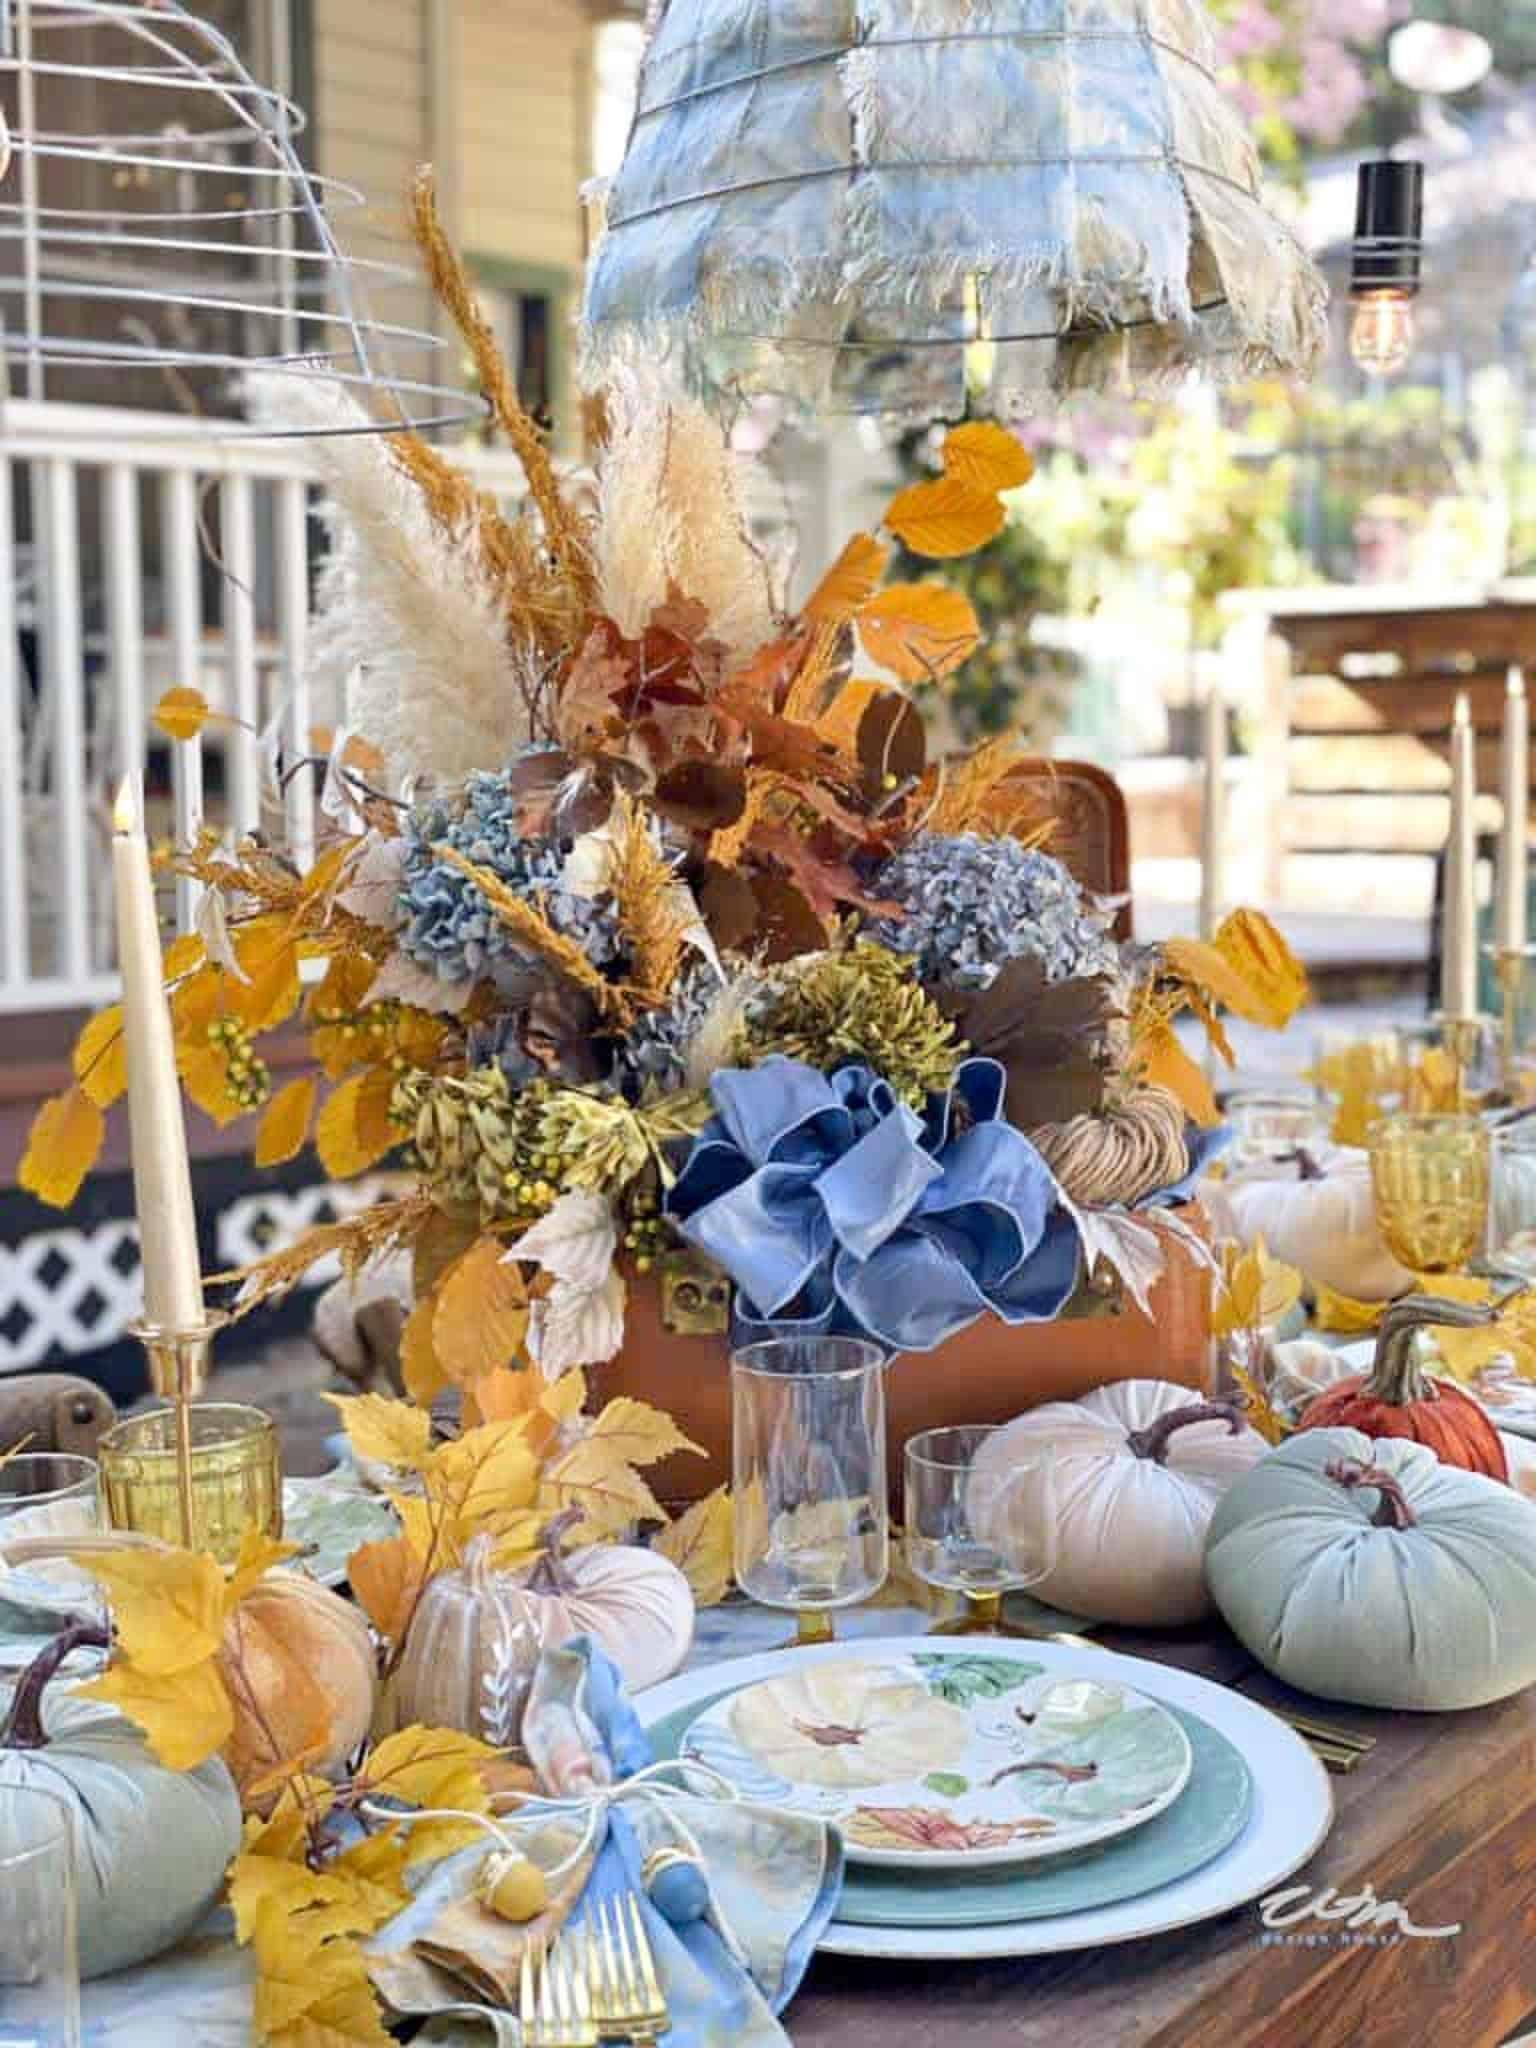
- Create a centerpiece – Use your styled pumpkins as a centerpiece for a dining table. Add a table runner or placemats that complement the color scheme.
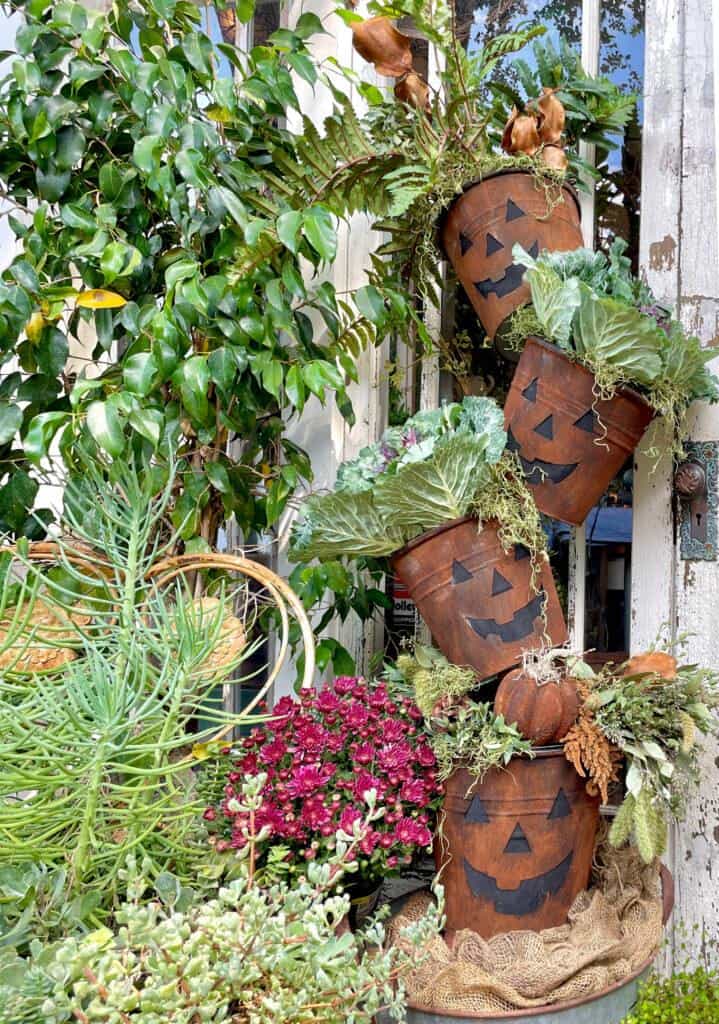
- Create a fall display on your front porch – Use a variety of small and large pumpkins to decorate your porch for the fall season.
- Make a wreath or garland – Combine your terra cotta pumpkins with fall wreaths or garlands. Hang them on walls, doorways, or over mantels.
- Make it cozy – Layer your display with fall-inspired textiles like plaid blankets or cozy throws. Drape them over crates or arrange them underneath your terra cotta pumpkins.
- Make it your own – Consider adding other handmade crafts or family heirlooms to make your display more unique and meaningful.
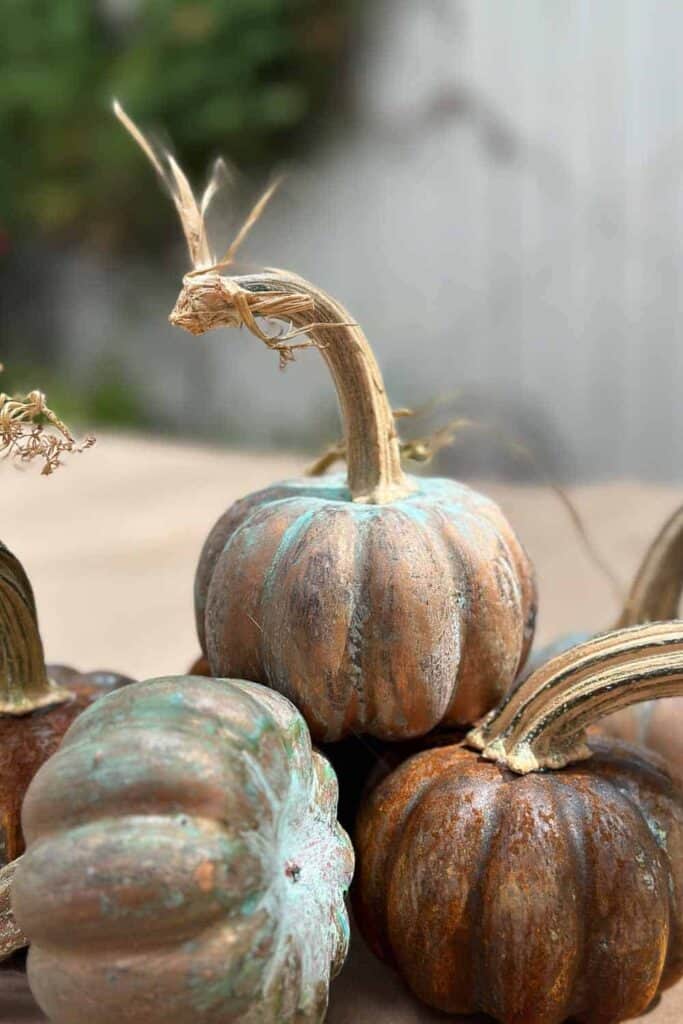
And that’s it! I just love how this fun fall craft turned out. What do you think of my terra cotta Pottery Barn pumpkin dupe?
You may also like to check out my friend Amy at Amy Sadler Designs and her Pottery Barn Terra Cotta Pumpkins post. We both have different takes on our methods of aging the pumpkins.

Other Pumpkin Crafts from WM Design House
If you love this post, you might also enjoy some of my other favorite fall pumpkin crafts
Shop the Post


Wrapping Up
I hope you enjoyed this tutorial for how to make a DIY terracotta pumpkin!
Be sure to subscribe to my blog for more inspiration and DIY tutorials.
And don’t forget to share your creations with me on social media – I love seeing what you all come up with.
Have a happy fall!


More about me!

Hello, I’m Wendy – a dedicated homemaker with a deep passion for decorating, gardening, cooking, and crafting. I find joy in harmonizing beautiful elements to fashion a space that is both comfortable and inspiring. I will help you create a beautiful home, one project at a time.
Love these, Wendy. Will be sharing on tomorrow’s Saturday Meanderings post. You are so talented!
Wow! These turned out so beautifully. Visiting from the Love Your Creativity linkup.
Wendy, these are just perfect and even better than PB! I guess I’ll have to go scavenge for pumpkin stems now and I’ll try not to fall in! 😂 Thanks for this great tutorial!
This was easy to make and looking gorgeous. I would like to share the picture that I made after reading your blog. I made it for my birthday and want to attract my guests with something special.
Hi there, Yeah, I am so glad you made it, send me a picture and I will be happy to share. And Happy Birthday to you!
Thanks, Stacy!
Hi Wendy – I loved this post so much that it will be featured on the blog for our Home Imagined Link Party this coming Tuesday. Thank you for submitting your project!
Hi Anna, thank you so much, I am thrilled to be featured for your link party. I will be back to see all of the great inspiration on your next link party.
These are so beautiful! I’m so glad you joined us for Welcome Home Saturday this week!
ADORABLE!! You can’t even tell that they were not terra cotta to begin with!! Such a good job, Wendy!!
Thank you so much Rachel, and I love that they are so easy and fast to make.
AWESOME tutorial Wendy! We will be featuring you starting Wednesday at the Creative Crafts Linky Party!
Creatively, Beth
Beth, I do not know how I missed your comment. Thank you so much, I so appreciate the feature. Do you have a sticker i can add to my site?
Wendy, these are super cute! Great tutorial!
Thank you so much MAry, I hope you get a chance to make some. They are quick and easy.
these are beautiful Wendy, Thank you for sharing them at Handmade Monday, they will be a feature this week 🙂
Thank you so much Julie, I appreciate the feature. I cant wait to link up again. Have a wonderful week.
What a clever idea!
Thank you so much, Donna. I appreciate you taking the time to comment on my blog. I look forward to reading some of your wonderful posts too, I see we are sisters in Christ. XO
Wendy, these pumpkins are just lovely! Using real stems on them really does make all the difference! The impatient DIYer in me also loves that you don’t have to wait until the paint is dry to add the flour!! That just makes me happy! Thanks for sharing such a great DIY! I’d love to share these in my weekly roundup this week!
Kim, you are so sweet. Thank you so much for your sweet comment and I am honored that you would like to share my pumpkins.
I have been at a conference all week with some of the girls and we were just talking about what a sweetheart you are tonight!
You will have to join us one of these days.
I absolutely LOVE these, Wendy. They turned out beautifully. And what a clever idea to swap out the stems to give them a more realistic look. I’m going to share a photo and link to your pumpkins with my readers this Saturday for my week in rewind post. I know they’ll love them too!
Hugs!
Thank you o much, Jen. I apologize for the late response as I have been at two conferences this past week. You are a doll.
Hi Wendy – these pumpkins turned out fabulous. I never would have thought of using flour to age them. Also I like your tip of saving the pumpkin stems at the end the season. Thank you for sharing this post in our Home Imagined link party.
Oh my goodness Wendy these are amazing! So smart to remove your pumpkin stems at the end of the season. It’s on my to do list now. Thanks for sharing!
Thank you Maria. I do love a beautiful pumpkin stem on my pumpkins. I hope you find some good ones this year.
They look amazing! You and Amy really, really rocked it!
Thank you so much Diane. We do well crafting together. Have a great weekend.
I love your idea about upcycling real pumpkin stems and how to find them for free 🙂 I’ll definitely be on the lookout for some fun twisty ones and look forward to trying making these terra cotta ones myself!
Thank you JJ, I am glad you enjoyed it. Good luck hunting for stems, it is so fun! Happy Fall.
I have to make these!! Awesome fall decor on the cheap! Pinned ?
Thank you Cindy, they are super easy and beautiful on your table.
Such a great yet easy project Wendy! Love how beautiful they look once aged and texturized. As always, love the stems!!!
I love all your pumpkin DIYs Wendy. These are amazing! Happy week!
Thank you Debra, you are so kind. As you can see, I adore pumpkins. Have a great week. I am off to a pinterest conference and the Achieve conference in Waco.