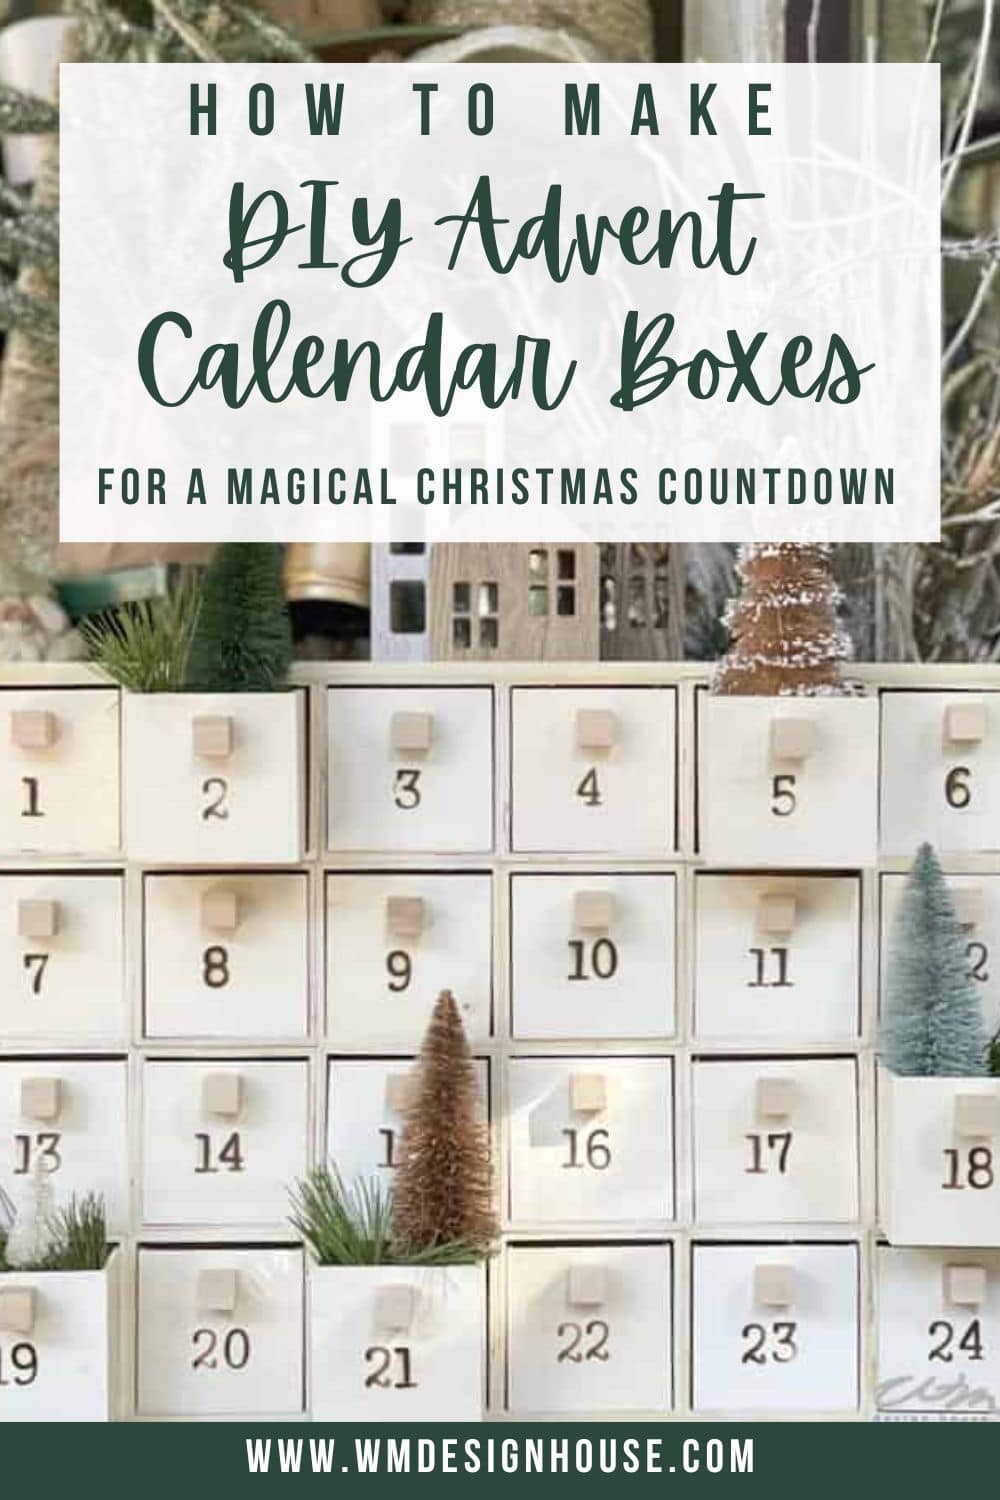
Christmas Countdown: How to Make DIY Advent Calendar Boxes
Searching for a festive way to count down the days to Christmas with your family? This simple DIY advent calendar made with boxes is the perfect holiday craft to make your season extra special!
On my blog WM Design House, I may sometimes use affiliate links, which means a small commission is earned if you purchase via the link. The price will be the same whether you use the affiliate link or go directly to the vendor’s website using a non-affiliate link. Read my full disclosure policy here.
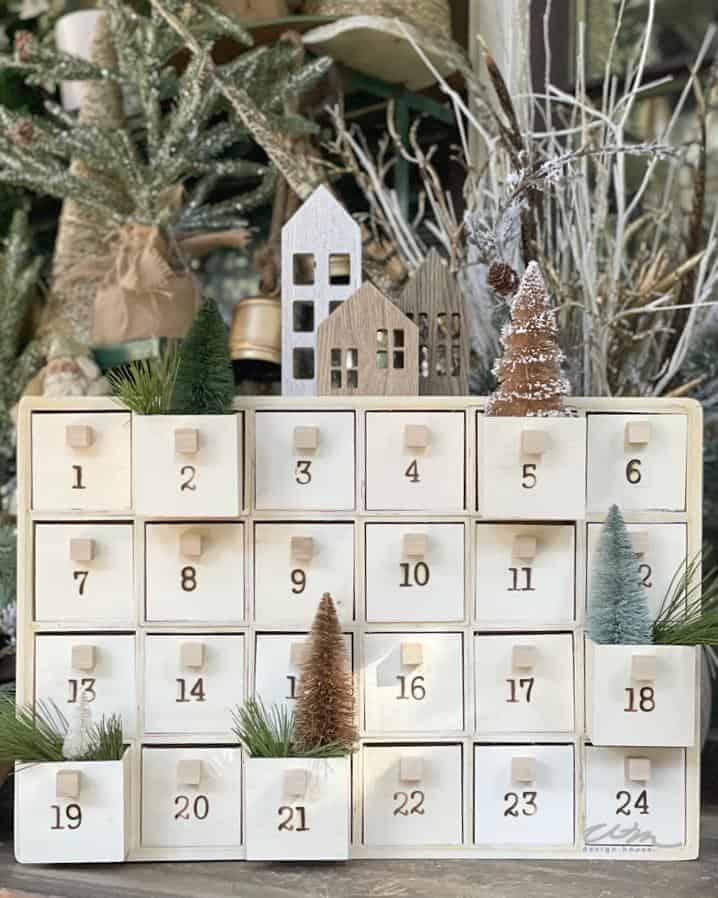
Countdown to Christmas with DIY Advent Calendar Boxes
Several years ago, I came across some little wooden boxes at Dollar Tree. I didn’t have a plan at first. But, after a bit of brainstorming (and a little help from Pinterest) I came up with the idea for a do it yourself advent calendar.

Now that I’m blessed wiith six beautiful grandbabies, I’m always looking for ways to make the season a bit more magical for them. Seriously, are’t they just the cutest?
This DIY Christmas calendar project holds such a special place in my heart and has become one our family’s favorite ways to count down to Christmas together!
I’m thrilled to share how you can make an advent calendar of your own to start this tradition with your family!
Why You’ll Love This DIY Advent Calendar Project
This DIY advent calendar is more than just a countdown to Christmas. Here’s why this easy advent calendar is a project your family will look forward to every December.
- Personalized and Fun: Creating a homemade Christmas advent calendar allows you to fill each box with personalized surprises, making it an easy and heartfelt way to share holiday joy.
- Budget-Friendly: This advent calendar DIY is affordable and achievable for anyone.
- A Perfect Family Gift: Whether for your kids, grandkids, or friends, a homemade advent calendar is a holiday gift that everyone will appreciate. It’s also doubles as a beautiful piece of home decor for the Christmas season.
The Story of Advent Calendars and How They’ve Evolved
While making this calendar, I thought it’d be fun to share a bit of history with my grandchildren. Advent calendars first became popular in Germany in the early 1900s as a way to count down to Christmas.
Over the years, they transformed from paper advent calendars with pictures to calendars filled with treats like chocolates and toys, sparking joy each December morning.
Today, DIY advent calendars like this one allows you to add your own unique touch to a cherished holiday tradition.
Supplies You’ll Need to Make Your Own Advent Calendar with Boxes
Here’s what you’ll need to design your own advent calendar
- 24 small wooden boxes*
- Wood glue
- Small wooden cubes (for handles)
- Clamps or clips
- Branding tool with number attachments or stickers (for numbering each box)
- Poplar hobby wood pieces for framing (optional)
- Wood filler (optional, to finish the edges)
- Light grain sandpaper
- Paint, holiday-themed stickers, or other DIY decor items to personalize your advent calendar boxes
*If you can’t find individual boxes this unfinished storage box is the perfect alternative!
How to Make Your DIY Advent Calendar Boxes
Step 1: Prepare the Boxes
To get started on this DIY advent calendar, take each box apart so you have the inner and outer sections separated. The outer parts will be the main structure of your calendar.
Step 2: Glue the Advent Calendar Boxes Together
Now it’s time to create your calendar!
First, glue six boxes together in a row. You will create four rows in total. Once glued, let each row dry with clamps or clips holding them together.
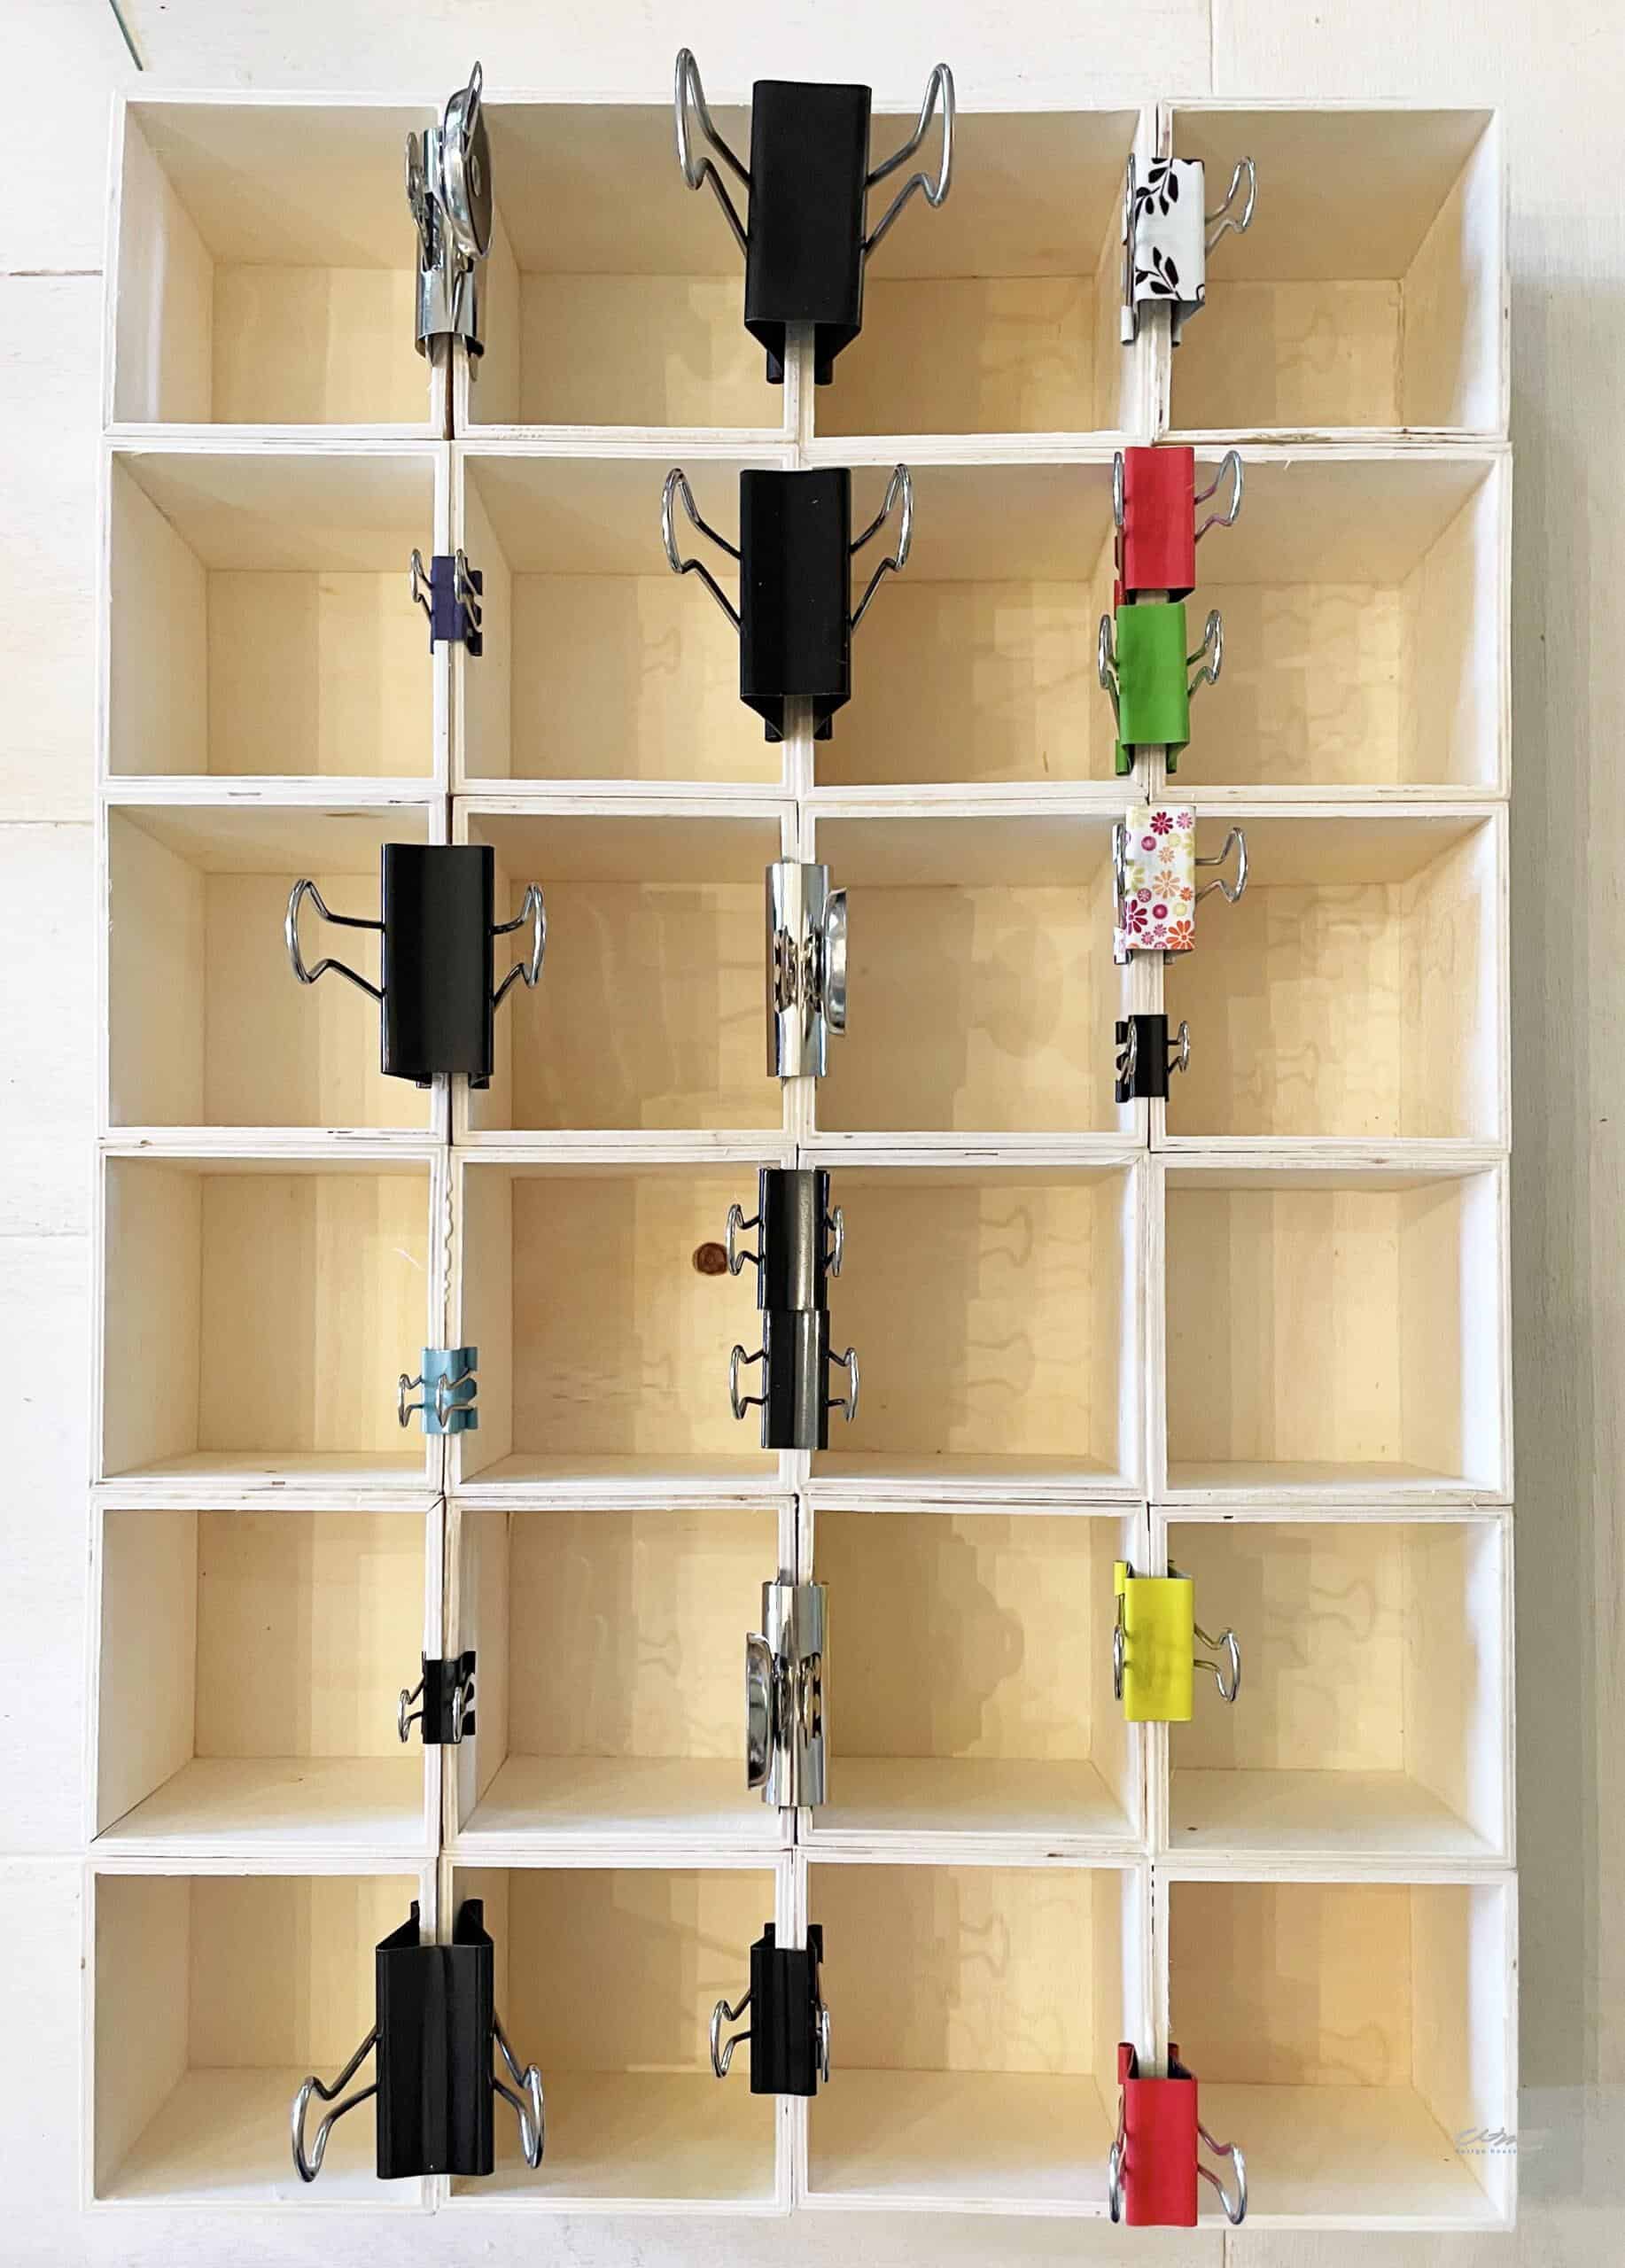
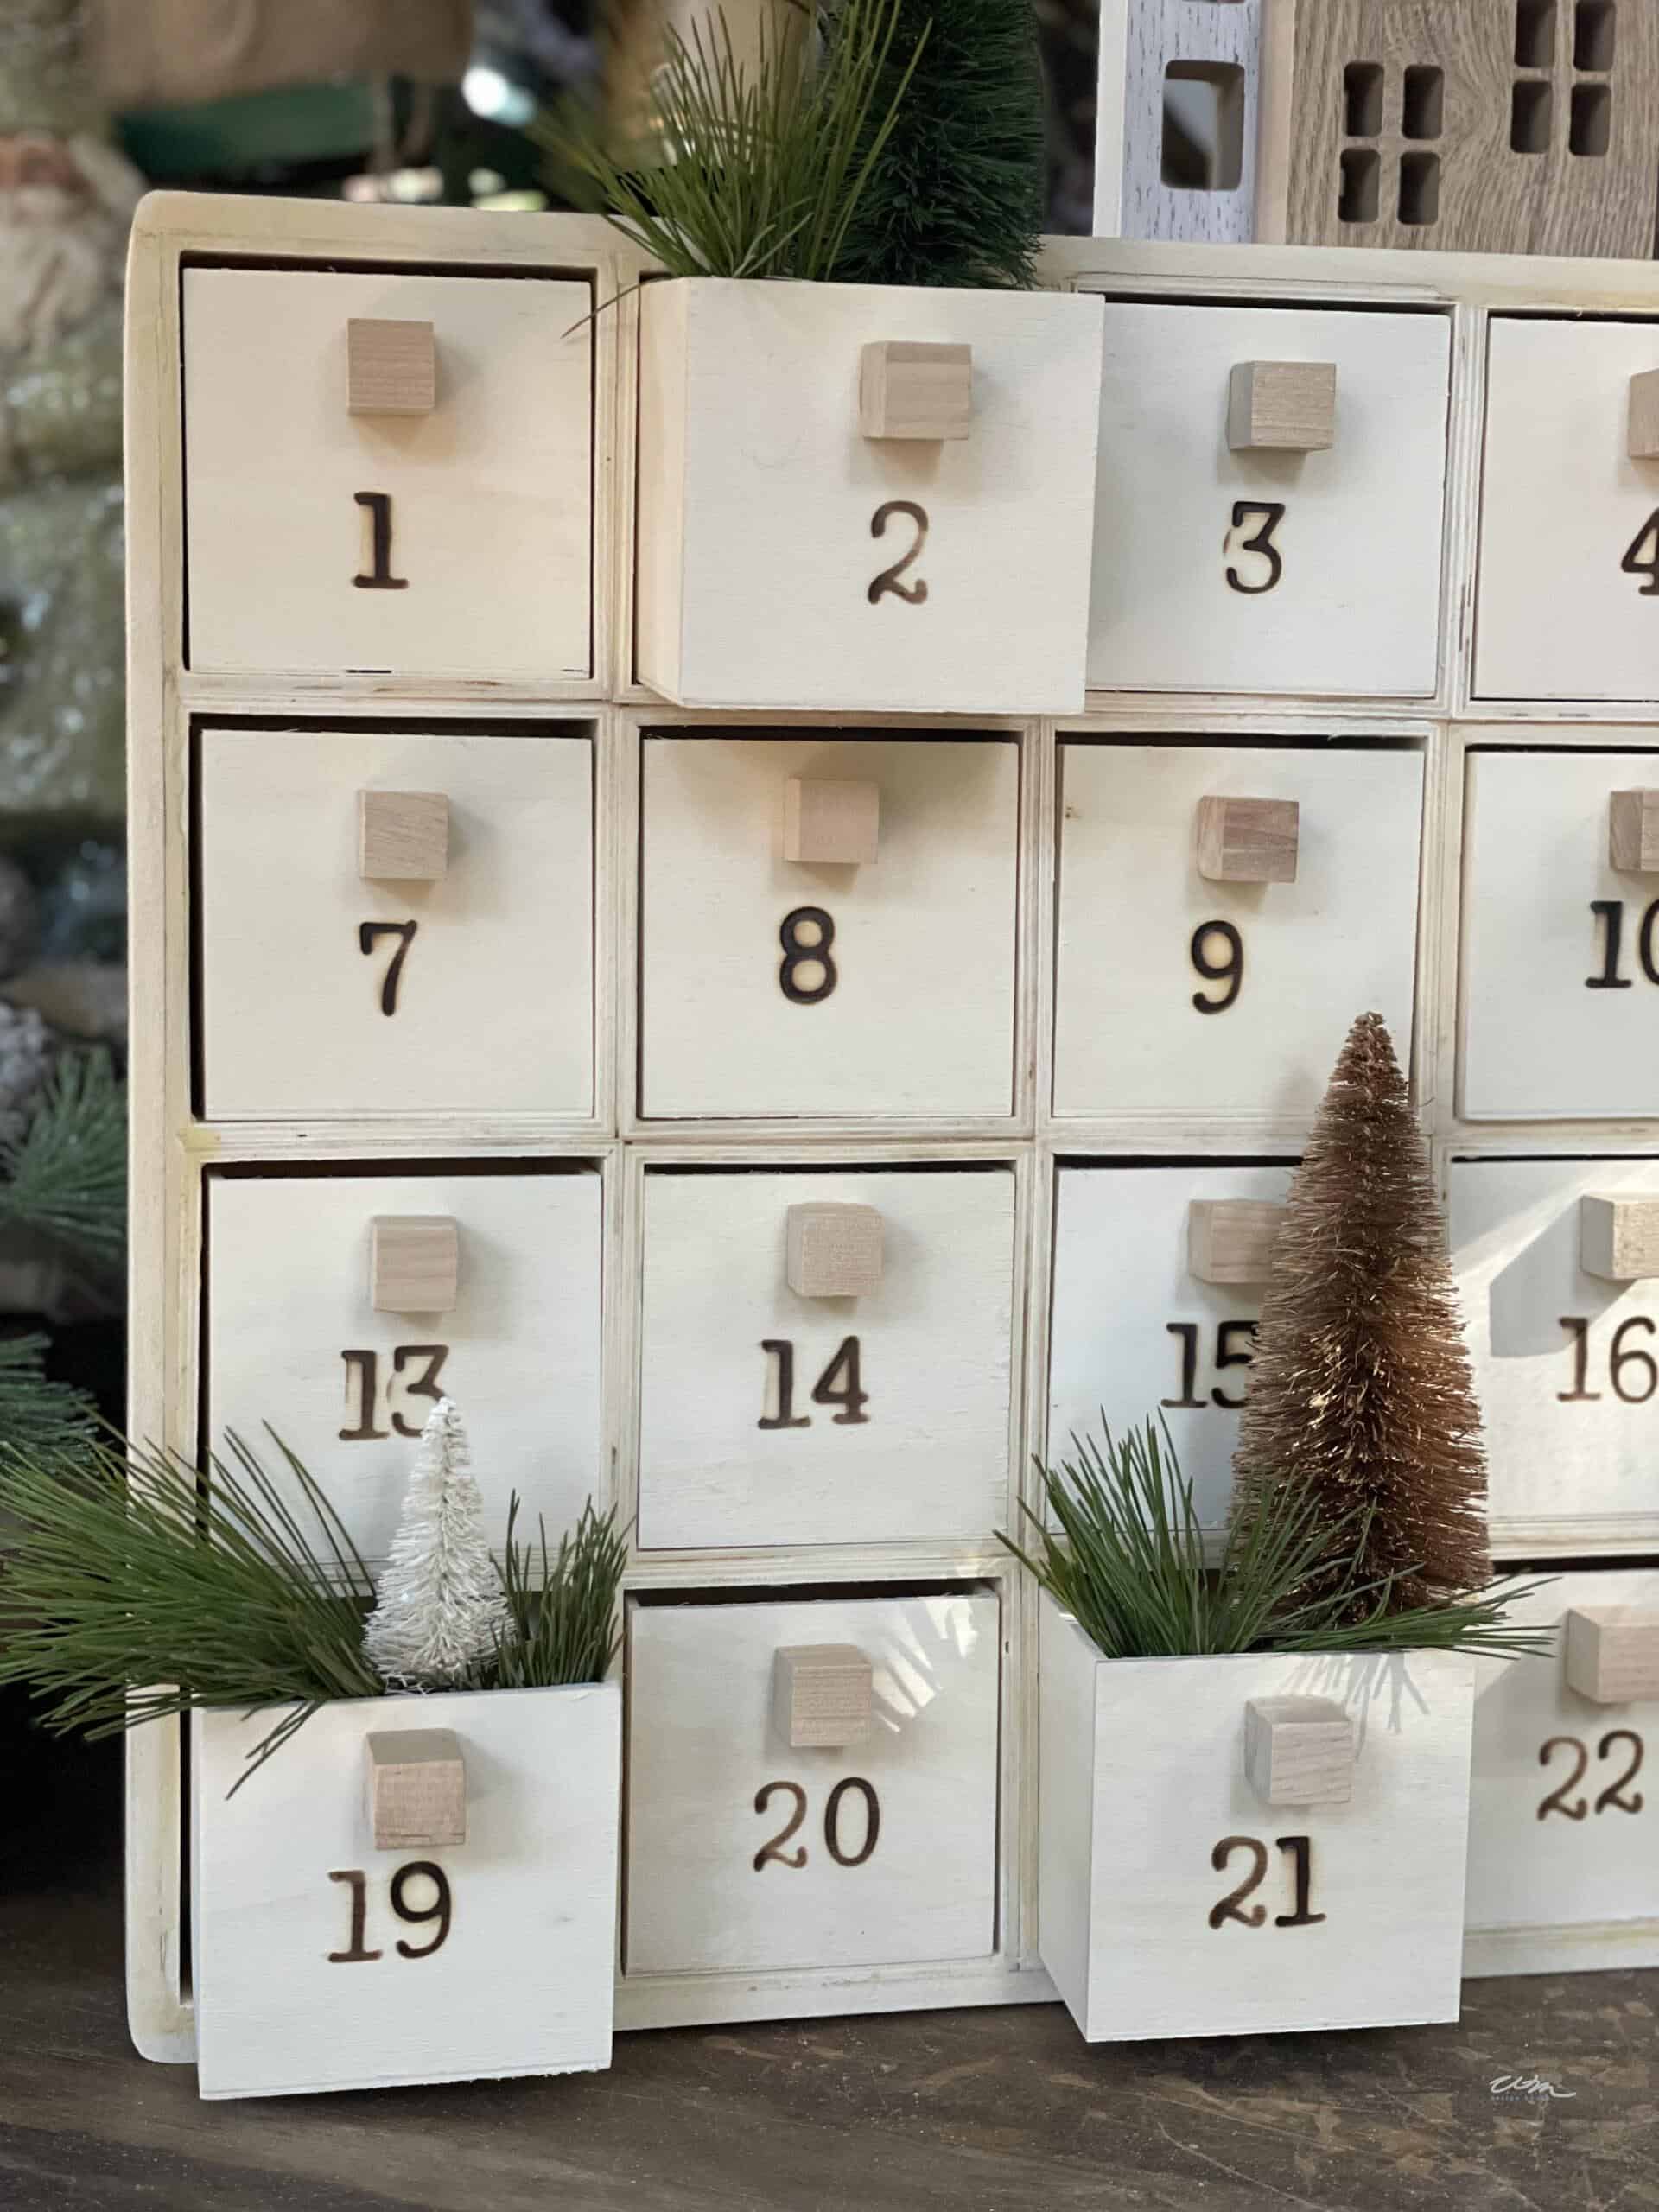
Next, glue the rows together to form one connected grid. Your DIY Christmas advent calendar should look like this once all the empty boxes are attached.
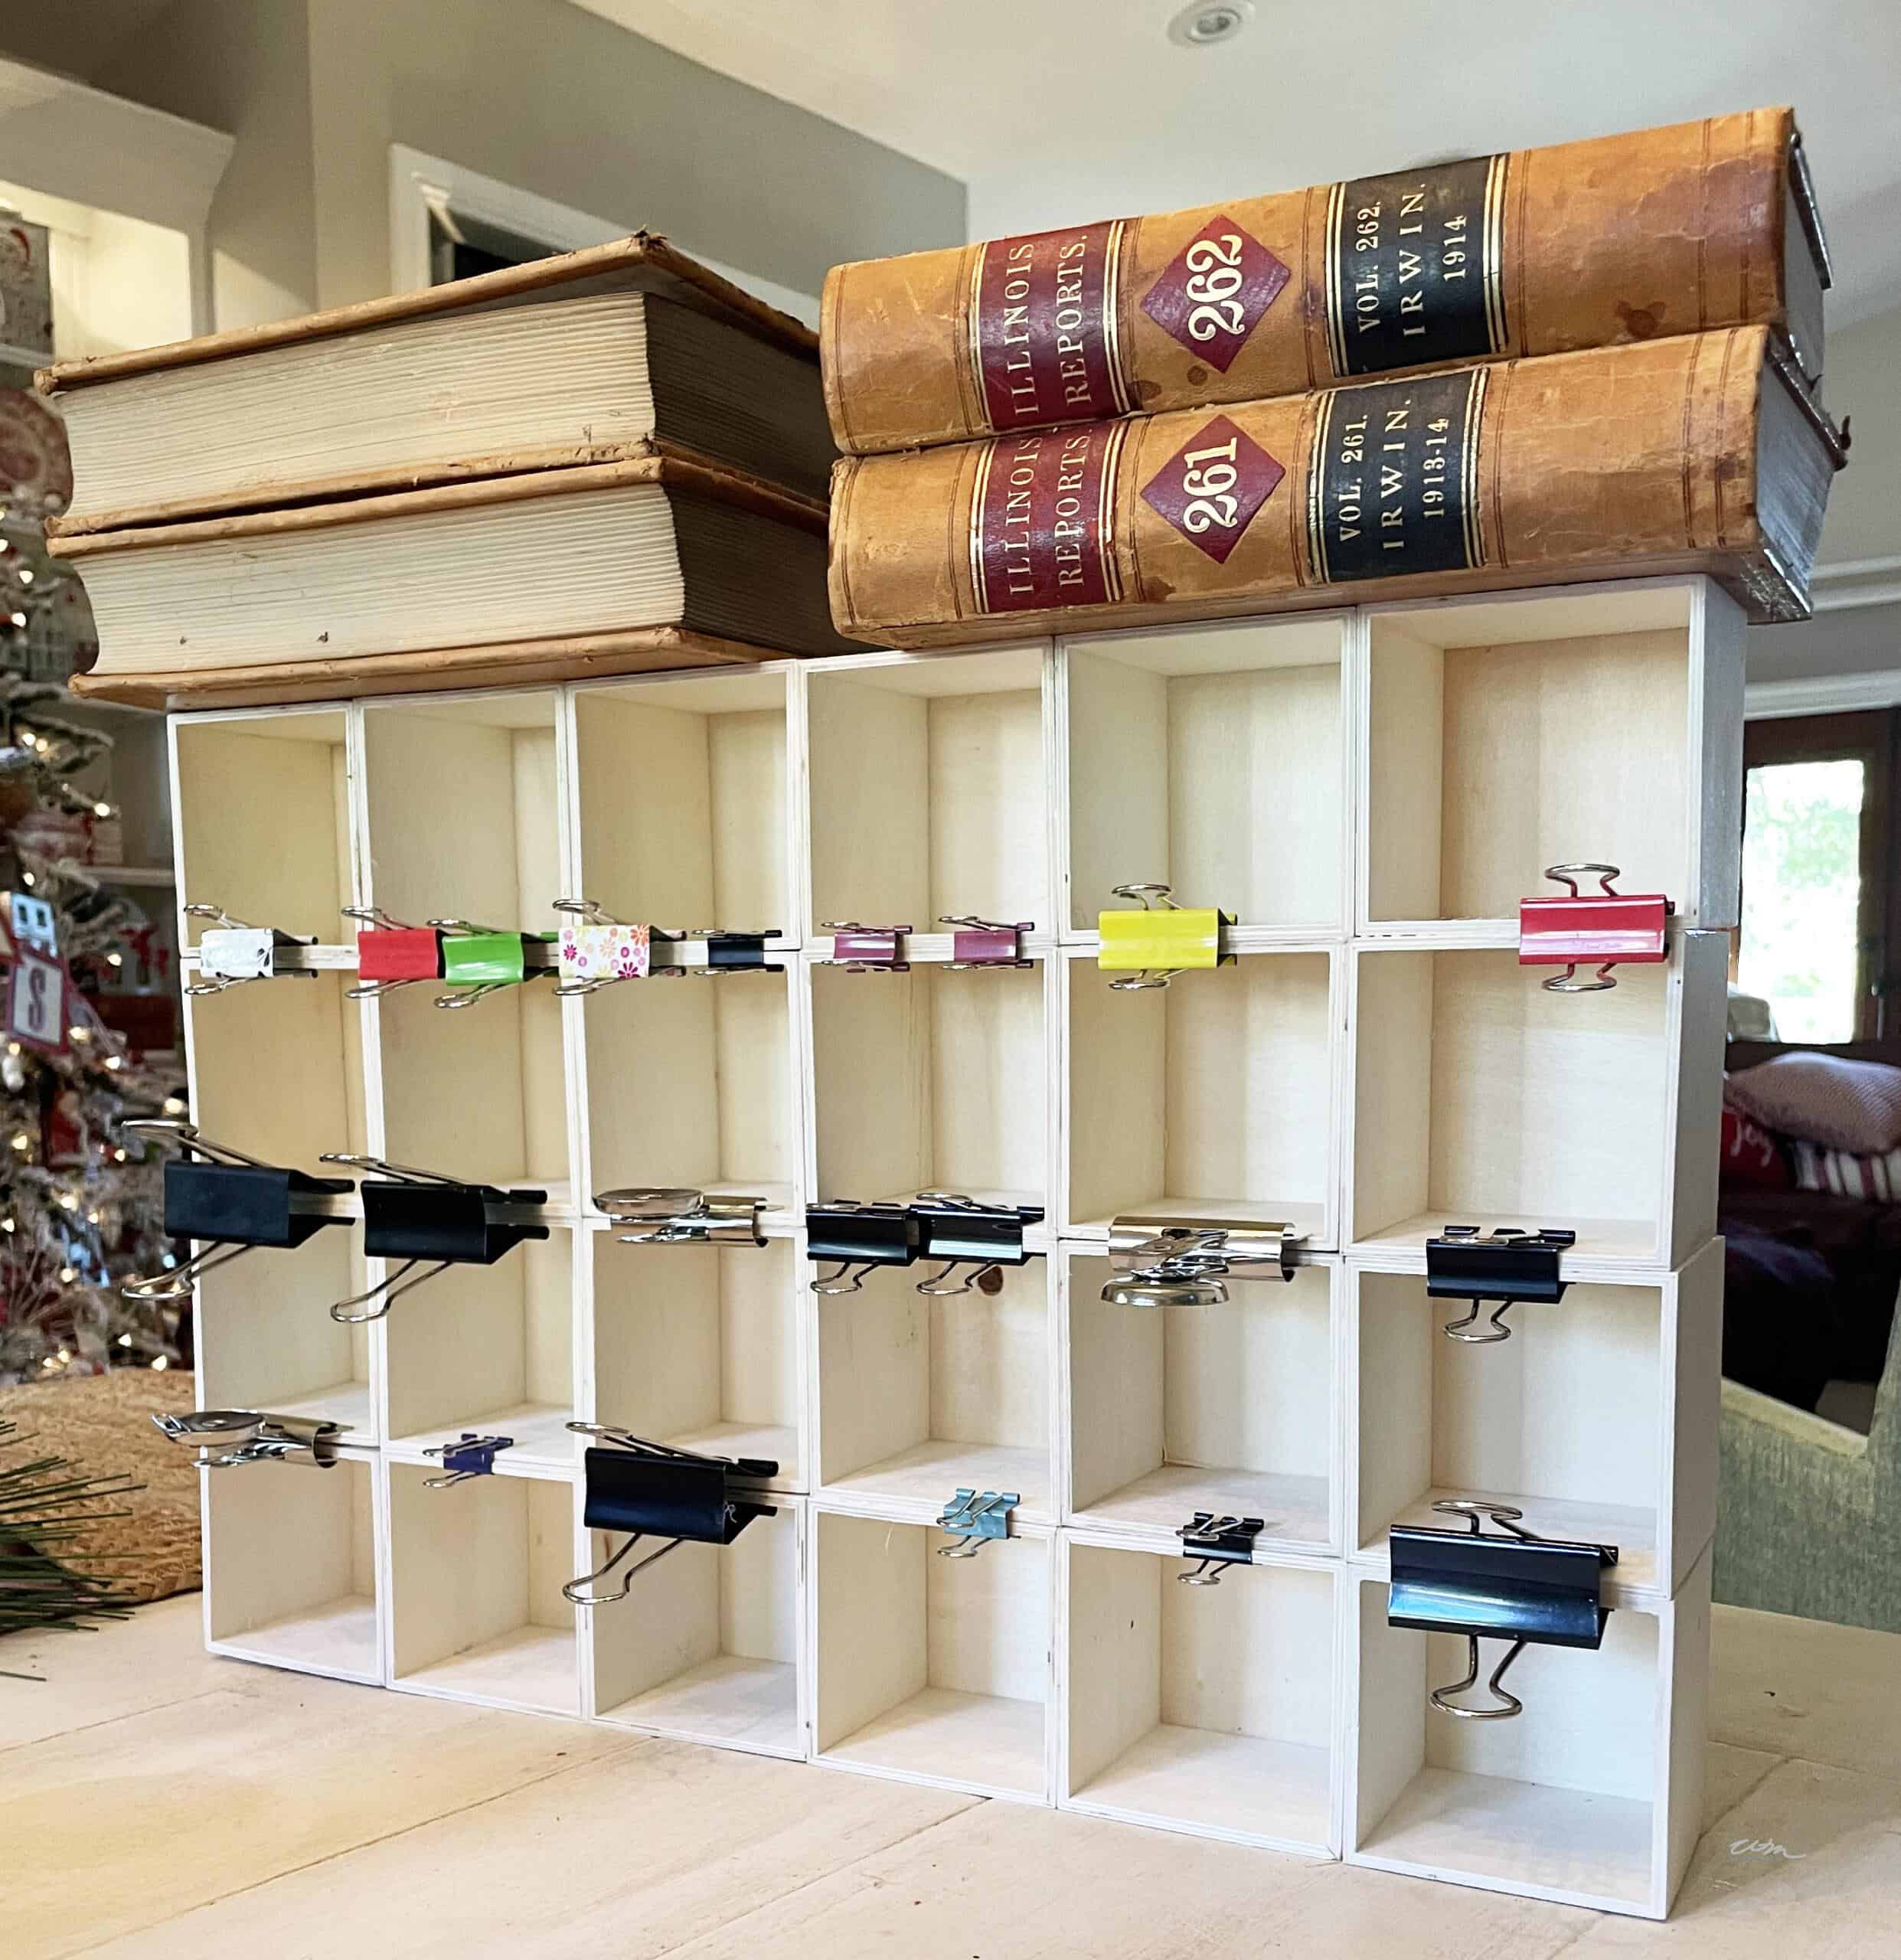
Placing a few heavy books on top can help keep everything in place as it dries (My small wood boxes weren’t perfectly uniform, so this step helped make everything sturdy).
Step 3: Add Handles for Each Box
While the frame of boxes for your DIY advent calendar dries, prepare the drawers for each one.
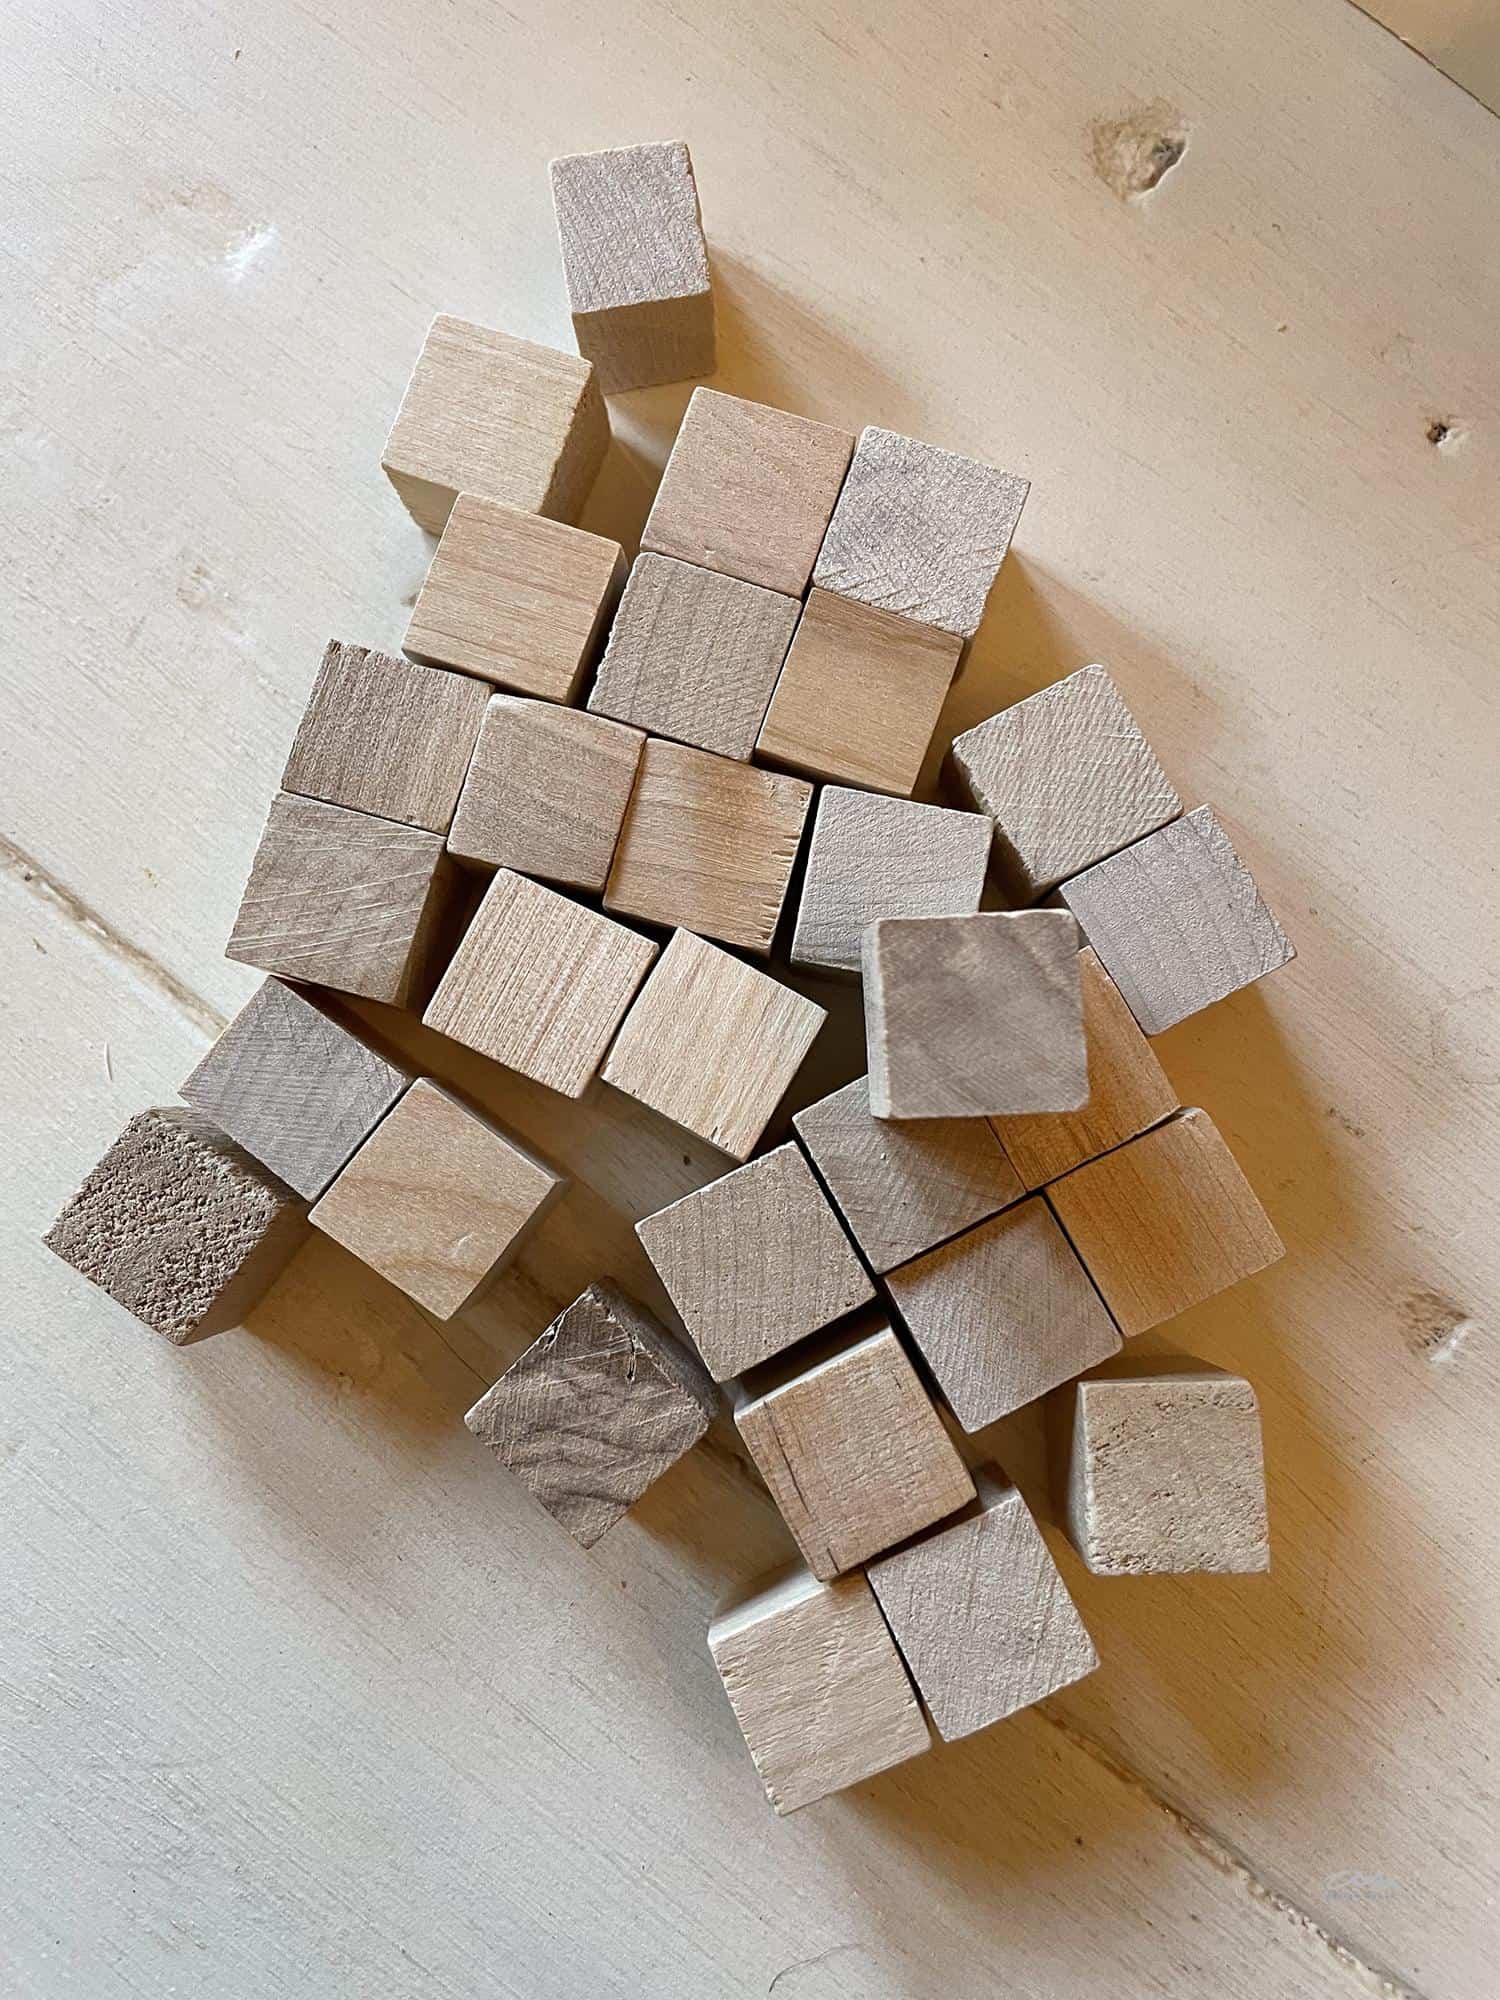
To make handles for each drawer I used small wood cubes like these.
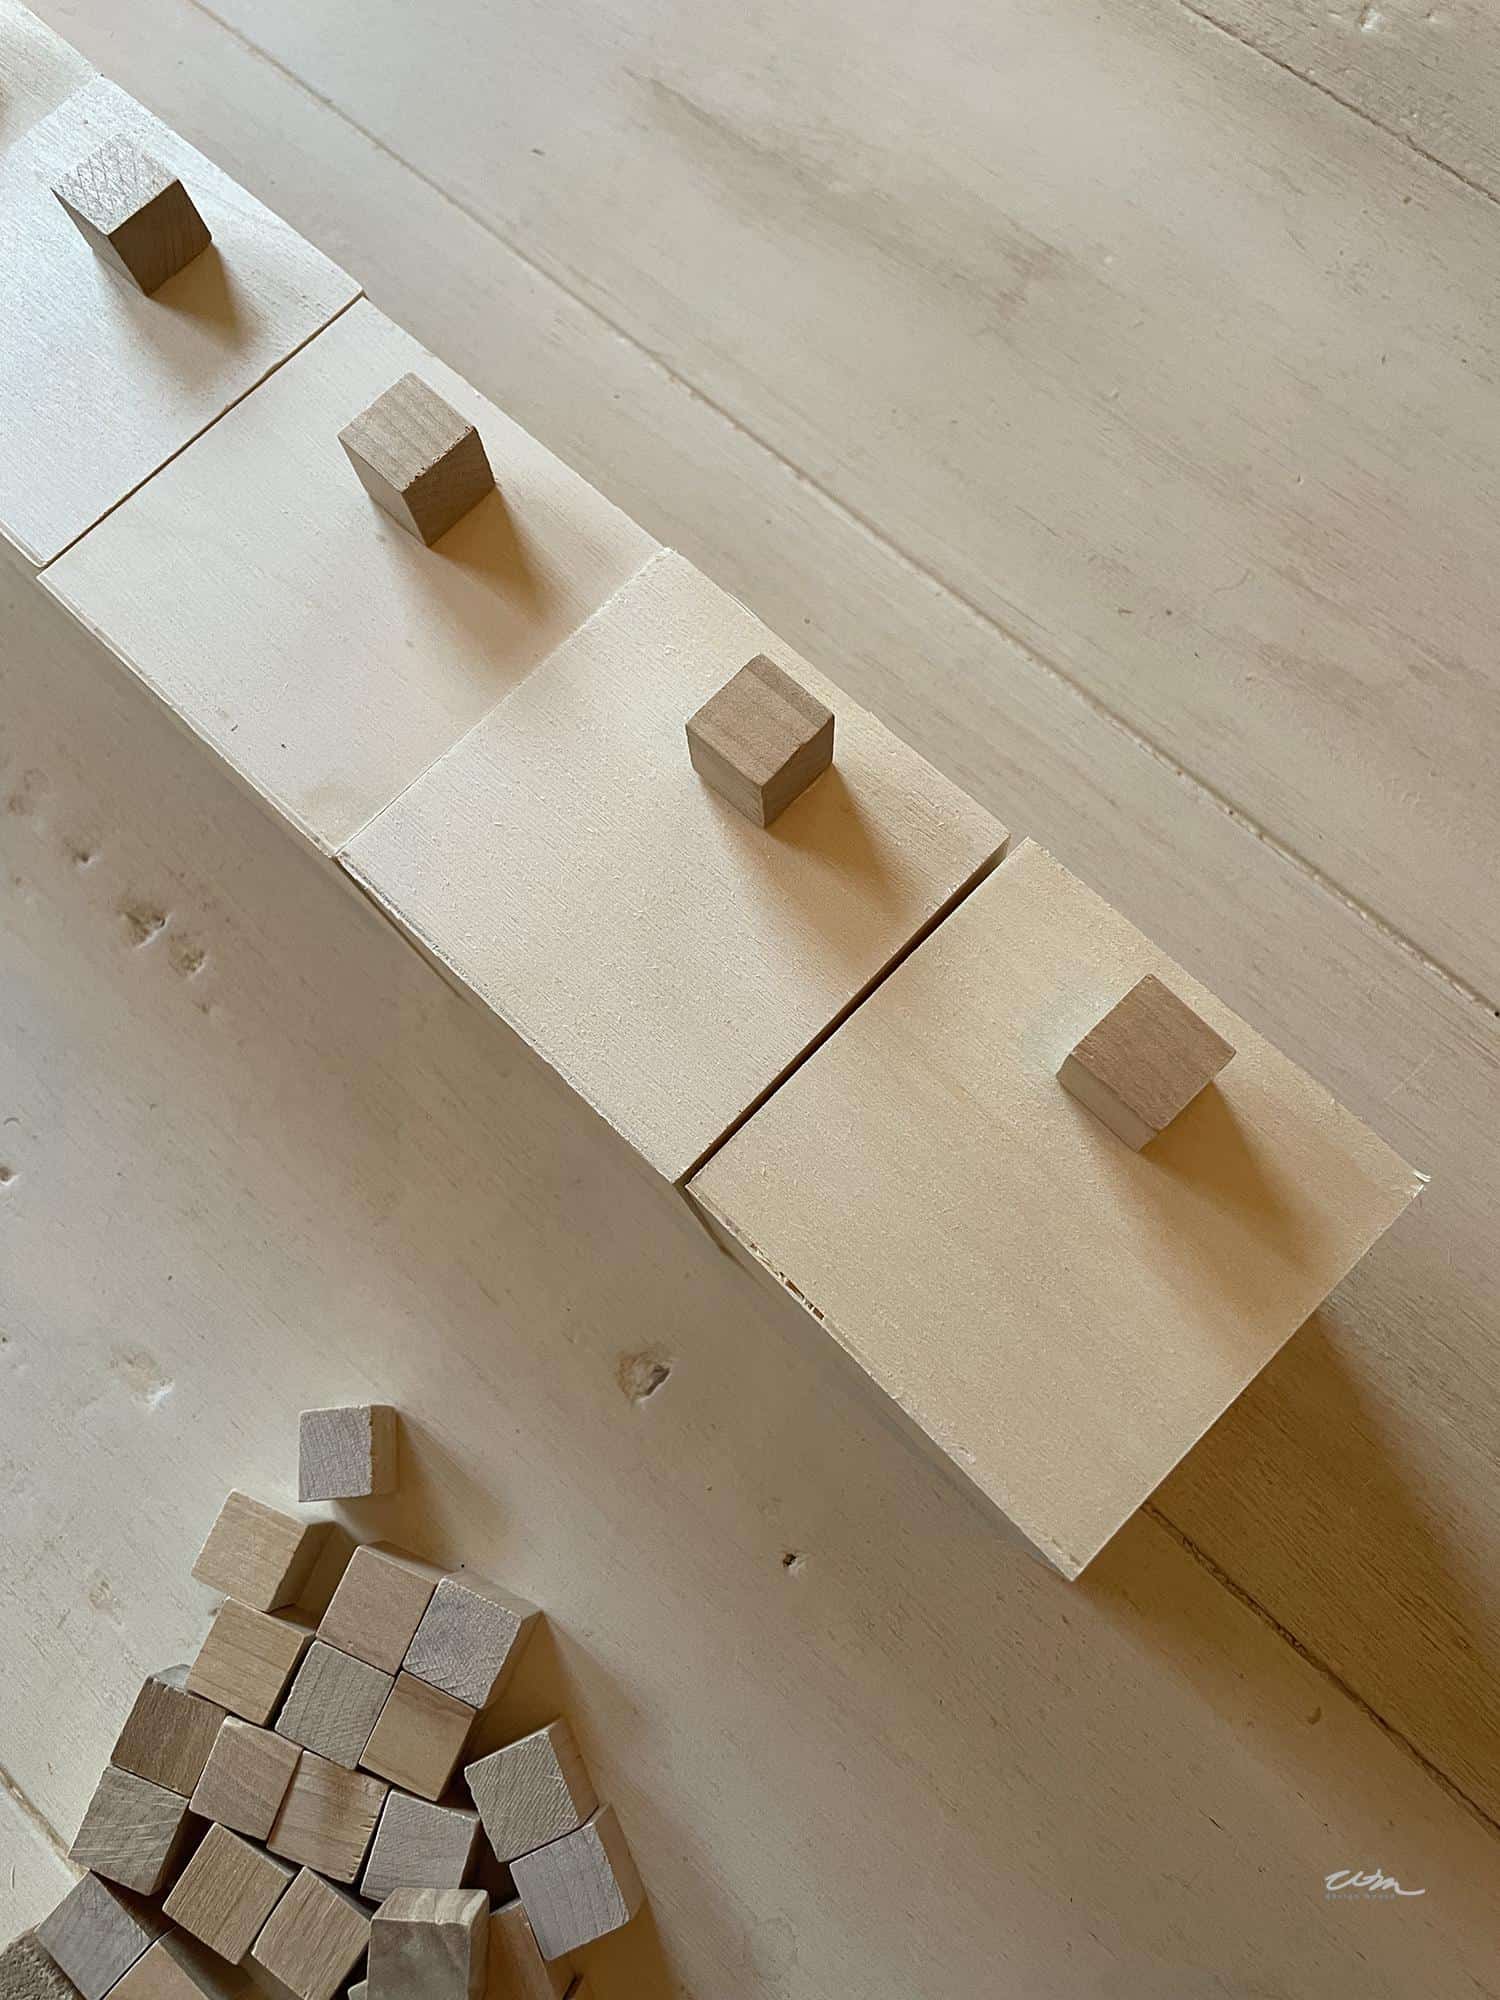
Simply glue a small wooden cube to the front of each box as a handle. This little detail makes it easy to pull each box open and adds a custom touch.
Step 4: Frame the Advent Calendar (Optional)
To give the DIY advent calendar box a polished look, I added a frame using poplar wood pieces. This step is optional, but I love how it looks and it made the project feel complete.
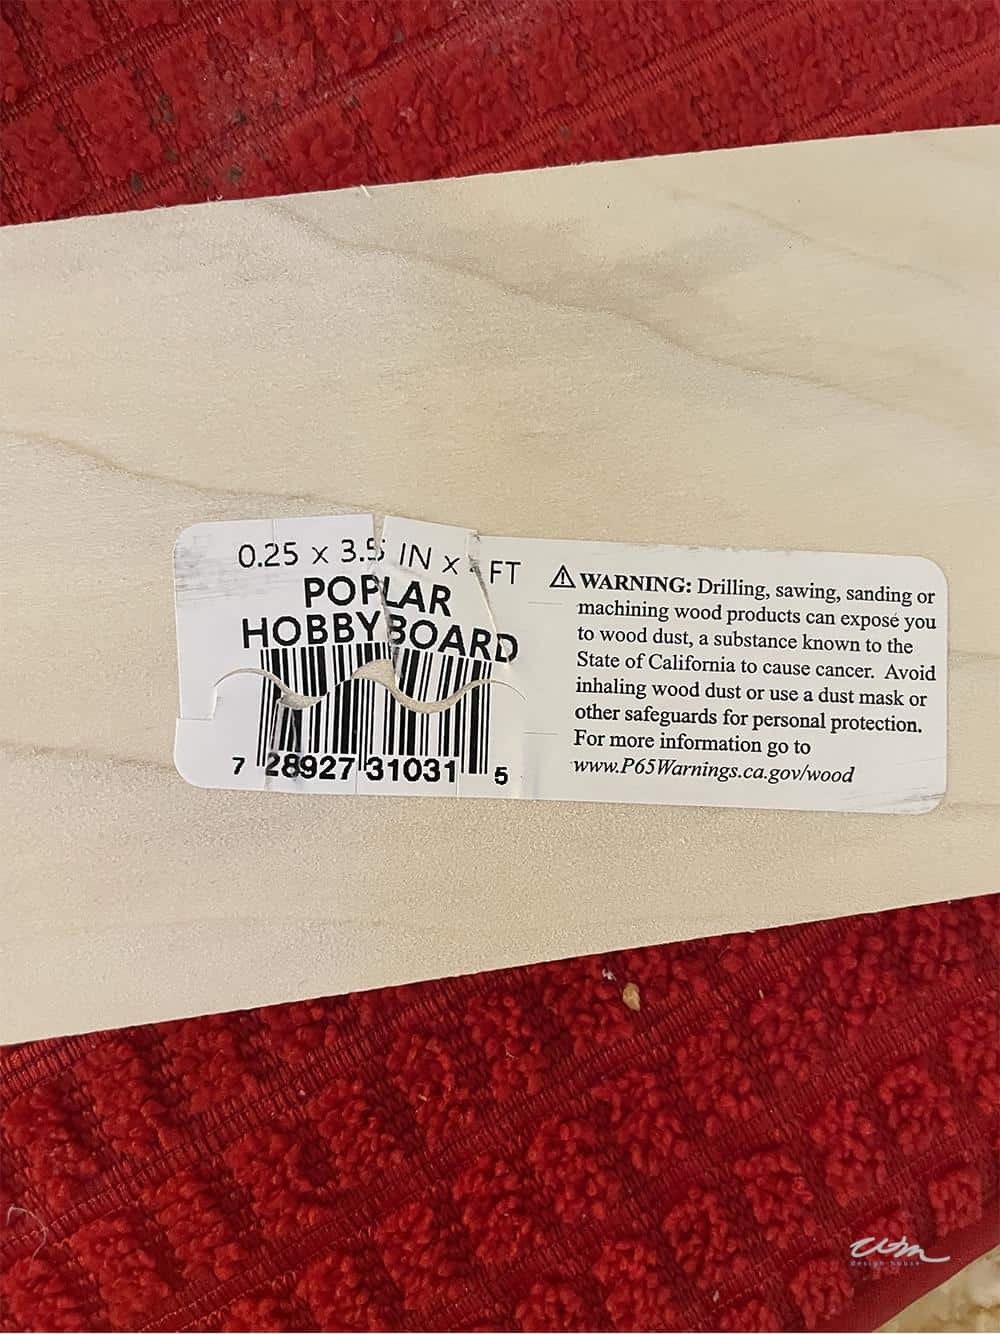
To build out the frame for you advent calendar boxes you’ll need a piece of craft poplar hobby wood about 3.5 x 3″ long. (I purchased four pieces at our local Home Depot).
You may need to trim them a bit to fit around the entire box grid. I trimmed about 1/2″ of width from each board.
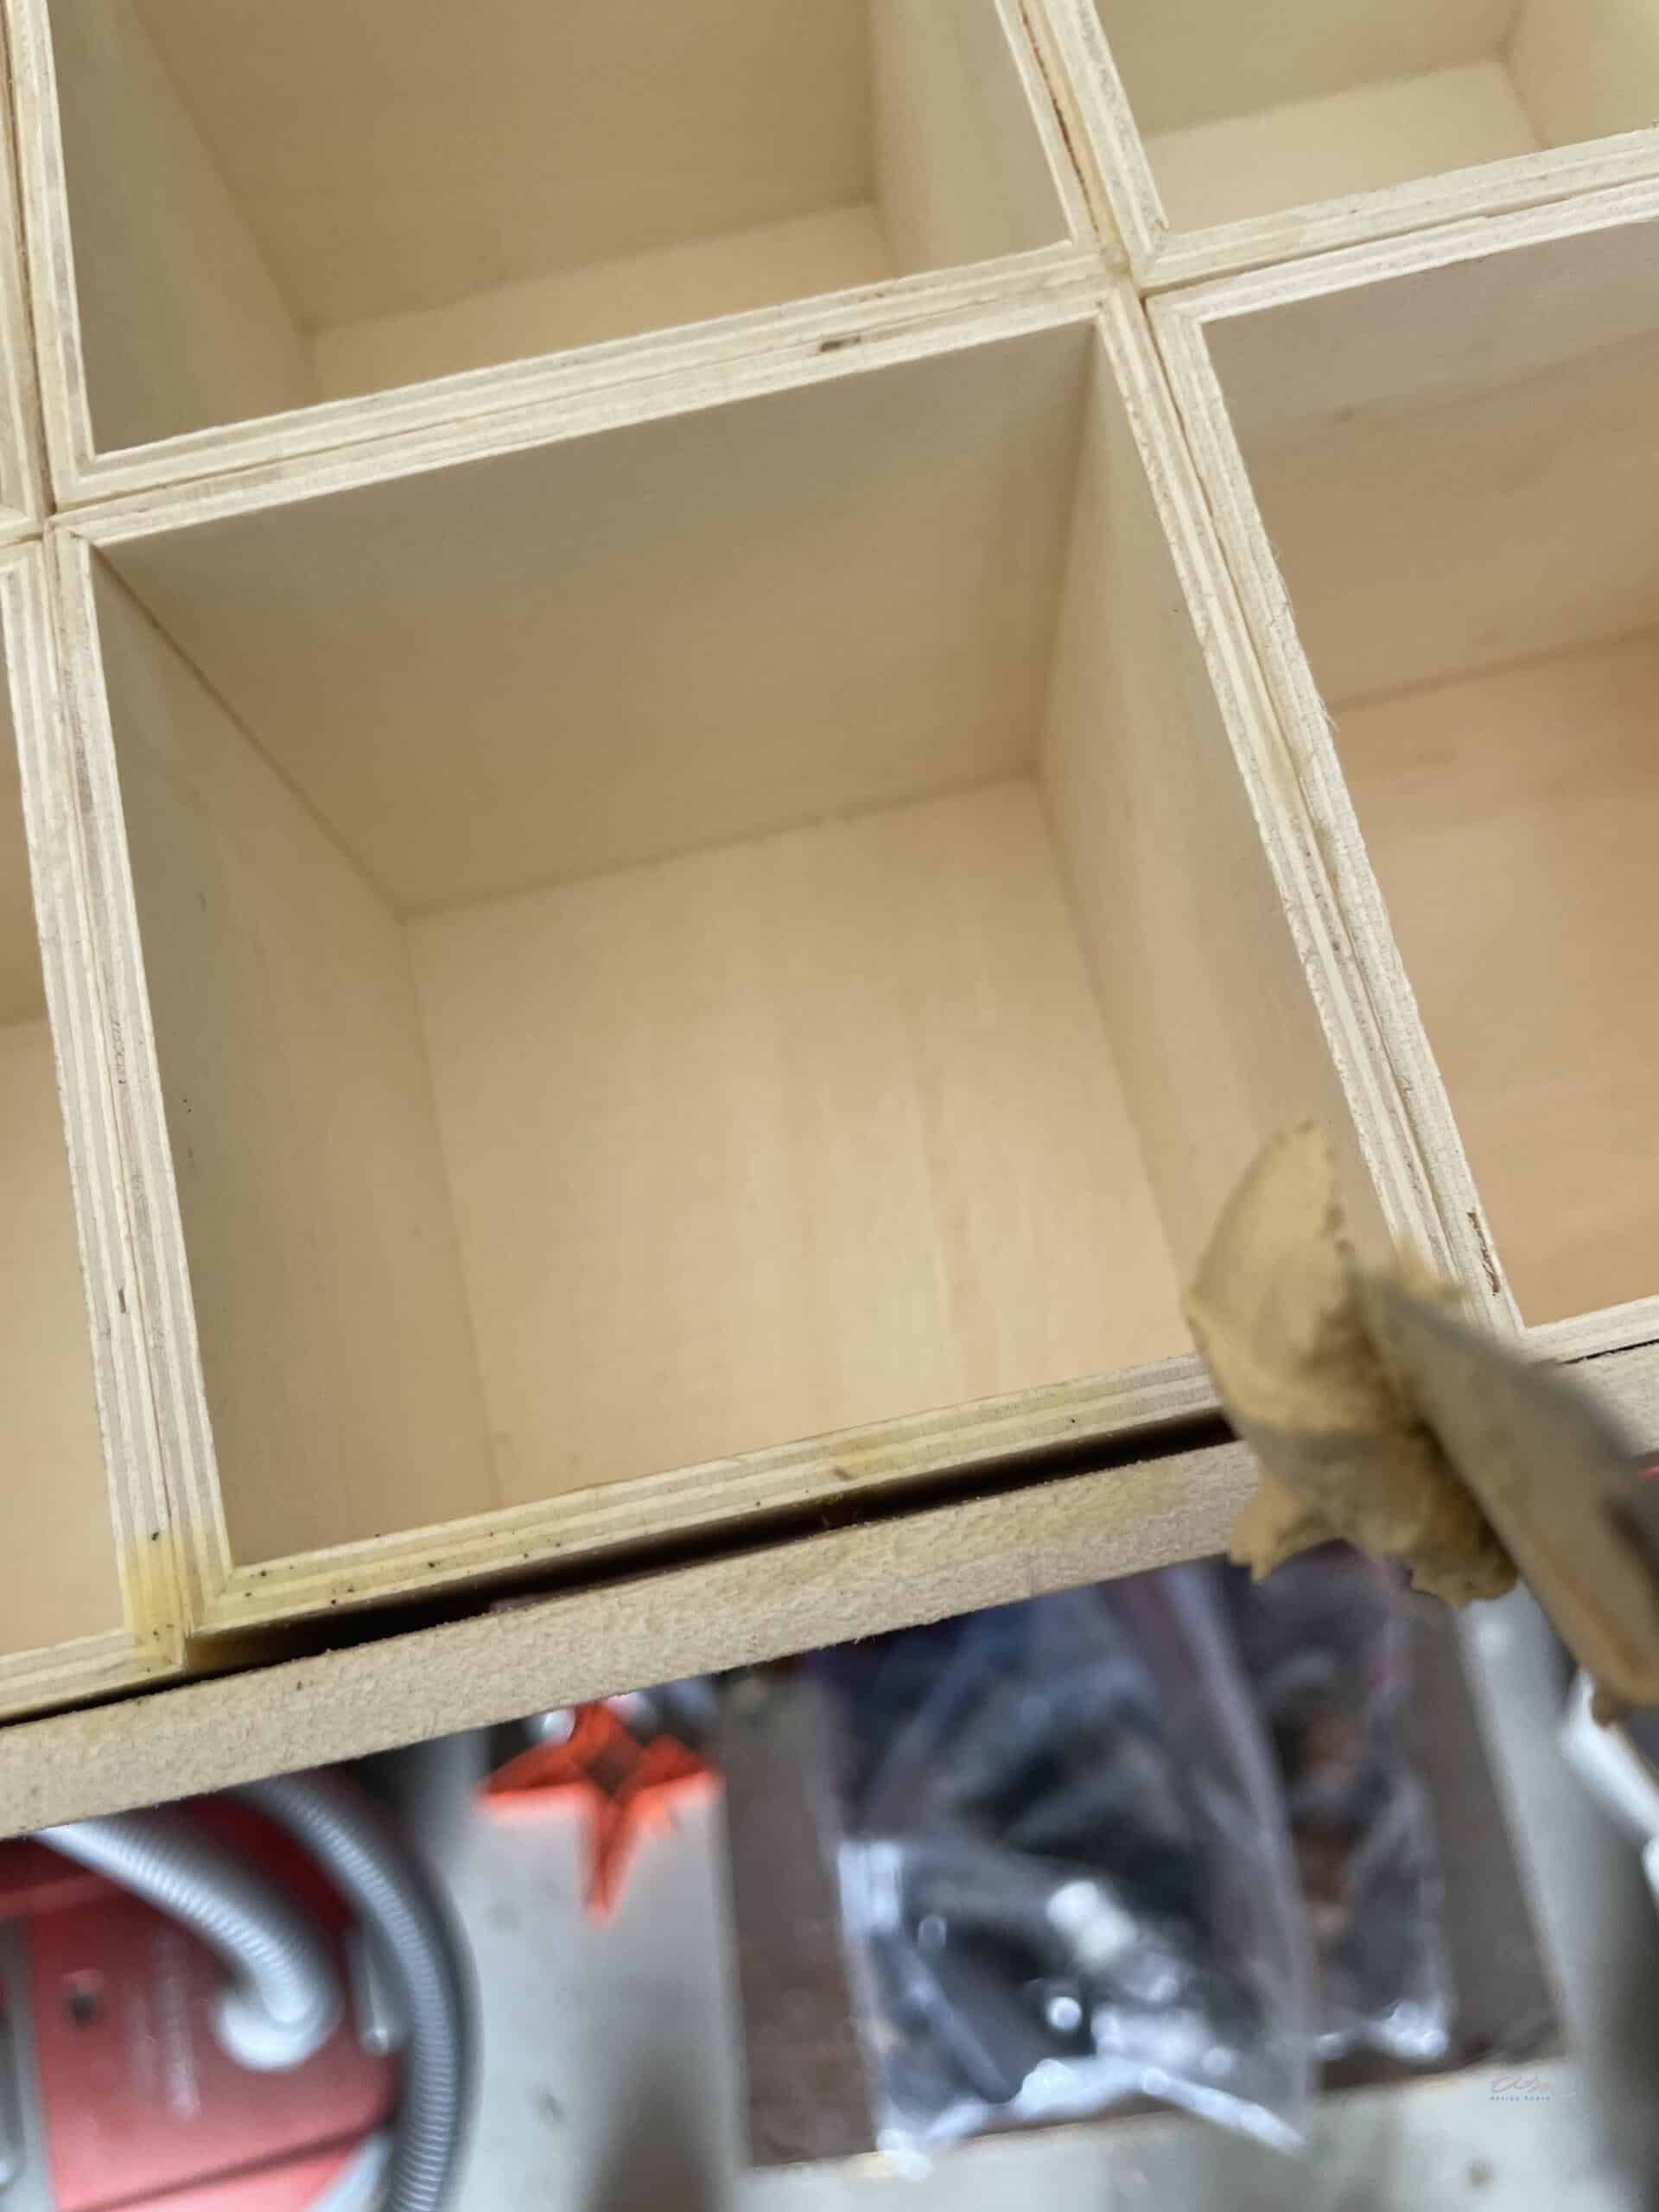
Then, use wood glue to attach the finishings trips around the sides of your calendar. Start by gluing the short sides first, and then do the longer sides.
I did have a small gap between my trim and the boxes as you can seem from the photo above. If you have a similar issue simply use some wood filler to fill in the gaps. Then use some light grain sand paper to smooth everything out and round your edges.
Step 5: Number Each Calendar Box
To finish the boxes for your DIY advent calendar, use a wood burning tool to brand the numbers onto the front of each drawer.
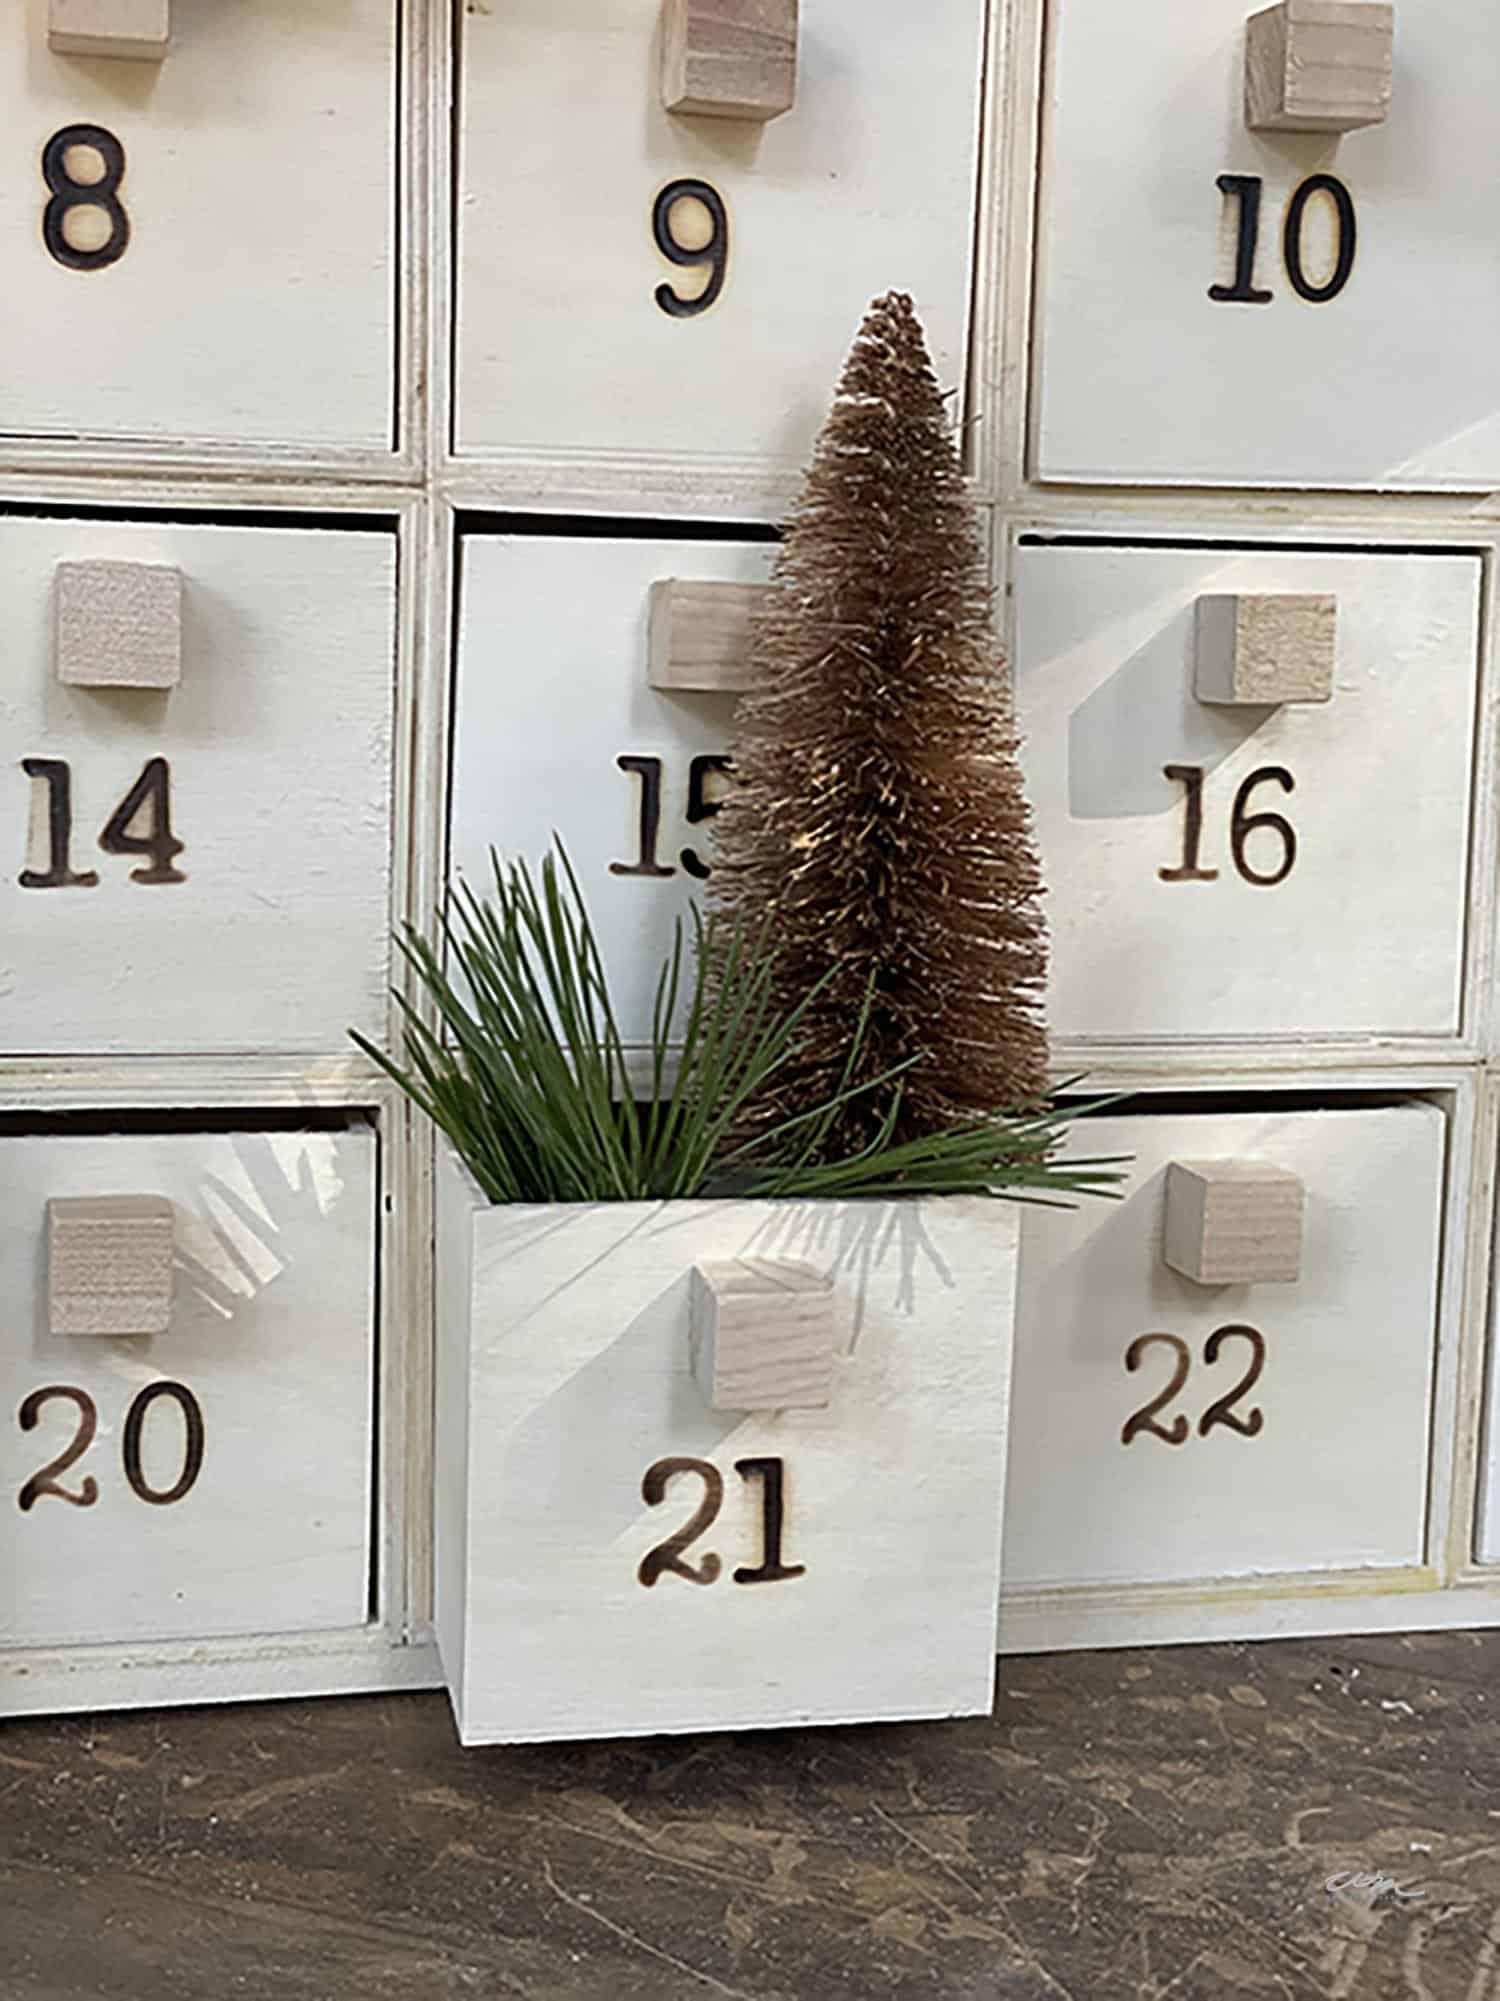
I used the very precise “eyeball” method to burn my numbers into the boxes, but you could measure to make sure each number is centered and exact.
Just attach the number attachment to the tool and then add the numbers 1 through 24 to your advent calendar boxes.
As an alternative, if you don’t have a wood burning tool you could use stickers or even a stencil and some craft paint to add your numbers.
Step 6: Fill Each Box with Surprises and Gift Ideas
This is the fun part! Fill each box with small items, like candy, mini crafts, stickers, toys, money, or even notes with activities or kind messages.
This advent calendar DIY box design lets you personalize each day’s surprise, creating a custom experience.

Filling it with treats and small gifts for my grand babies is my absolute favorite part. It’s so much fun to think about what will make them smile each day as they open a new box.
Seeing their excitement and joy makes all the effort so worthwhile!
Advent Calendar Gift Ideas for Little Ones
If you’re looking for inspiration to fill your DIY advent calendar boxes, here are a few easy and affordable options that kids will love and fit perfectly into those little drawers.
These ideas are simple, fun, and sure to bring big smiles each day of December!

Advent Gift Ideas for Young Girls
Hair Accessories: Small bows, hair clips, or scrunchies in festive colors. These are practical and a fun way to brighten up the countdown.
Chapstick or Lip Balm: Neutral flavors of chapstick like vanilla or mint work, especially during the colder months when lips can get dry.
Mini Nail Polishes: Include fun, festive colors of mini nail polish bottles like red, gold, or sparkly glitter for the holiday season.
Advent Gift Ideas For Young Boys
Mini Action Figures: Tiny versions of superheroes, miniature dinosaurs, or soldiers that fit perfectly in the boxes and provide hours of imaginative play.
Toy Cars or Trucks: Small die-cast cars like Hot Wheels or Matchbox vehicles are a classic and exciting surprise for boys.
Miniature Tools or Gadgets: Tiny flashlights, carabiners, or a small measuring tape are fun and practical items that boys will love to tinker with.
Advent Gift Ideas for Either a Young Boy or Girl
Mini LEGO Sets: Small, collectible LEGO figures or a tiny buildable set are always a hit with boys.
Miniature Toys: Tiny figurines or animals that fit perfectly into the small boxes are fun to collect and add to their toy collection.
Stickers or Temporary Tattoos: Sheets of stickers or small temporary tattoos featuring their favorite characters or holiday themes. They’re easy to fit and always a big hit with kids.
Mini Building Blocks (for Boys and Girls): Include a few pieces from a building block set each day that build up to a small creation by Christmas. Kids love assembling the final product!
Holiday-Themed Erasers or Pencils: Cute, functional, and festive! Holiday themed pencils and art supplies Great for adding a bit of holiday spirit to their school supplies.
Puzzle Pieces: Add a few pieces each day from a small puzzle set, giving them something to work on throughout the countdown.
(And don’t forget to include a bonus gift—a puzzle mat! It’s a great way to keep all the pieces organized as they work on their puzzle throughout the month.)
Small Candy or Chocolate: Individually wrapped treats like mini chocolates, peppermints, or gummies are classic advent calendar fillers kids love.
Cool Wristbands or Mini Keychains: Fun, colorful silicone wristbands or small keychains with designs like sports, superheroes, or animals. These are stylish, easy to fit in the boxes, and something they can proudly wear or clip to their backpacks.
Other Christmas Crafts from WM Design House
If you love this DIY advent calendar with countdown boxes, you might also enjoy these Christmas crafts

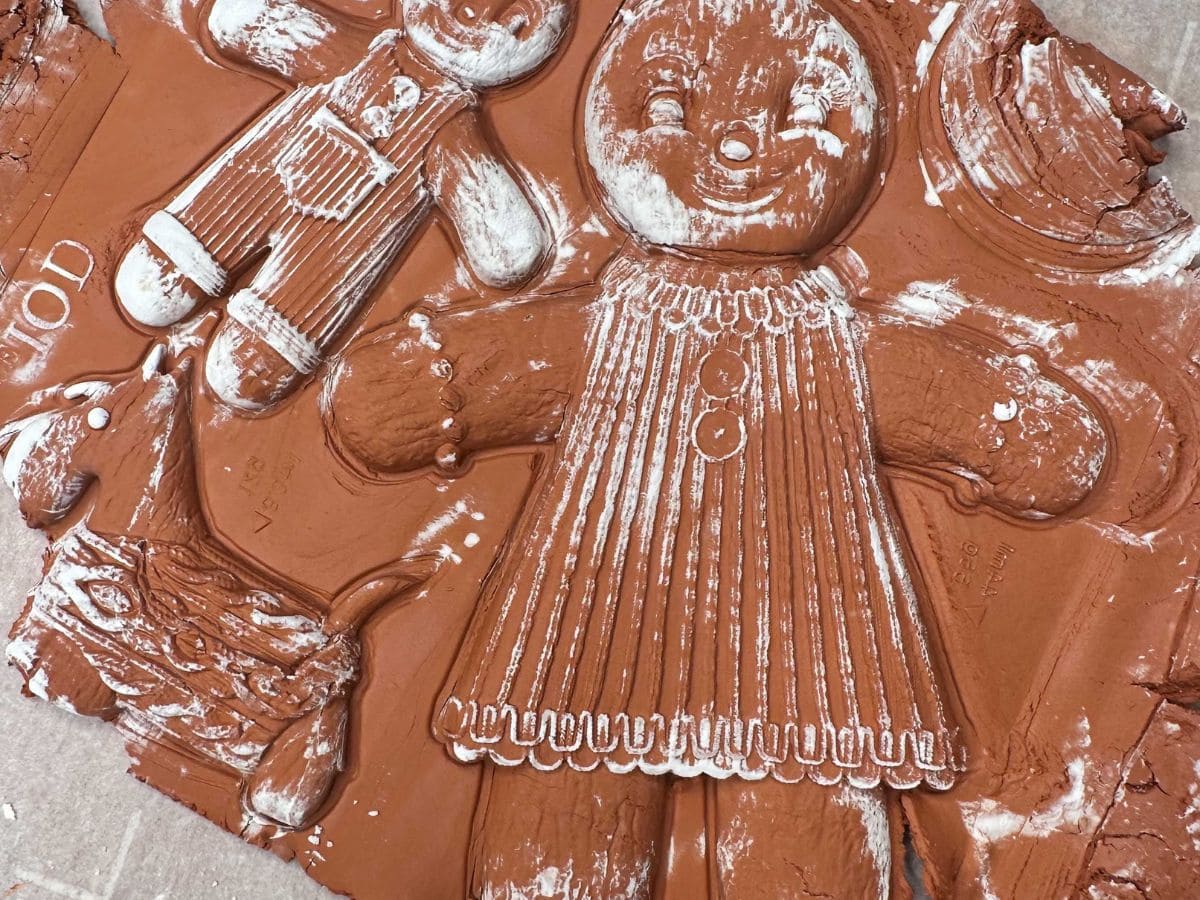
DIY Air Dry Clay Gingerbread Ornaments
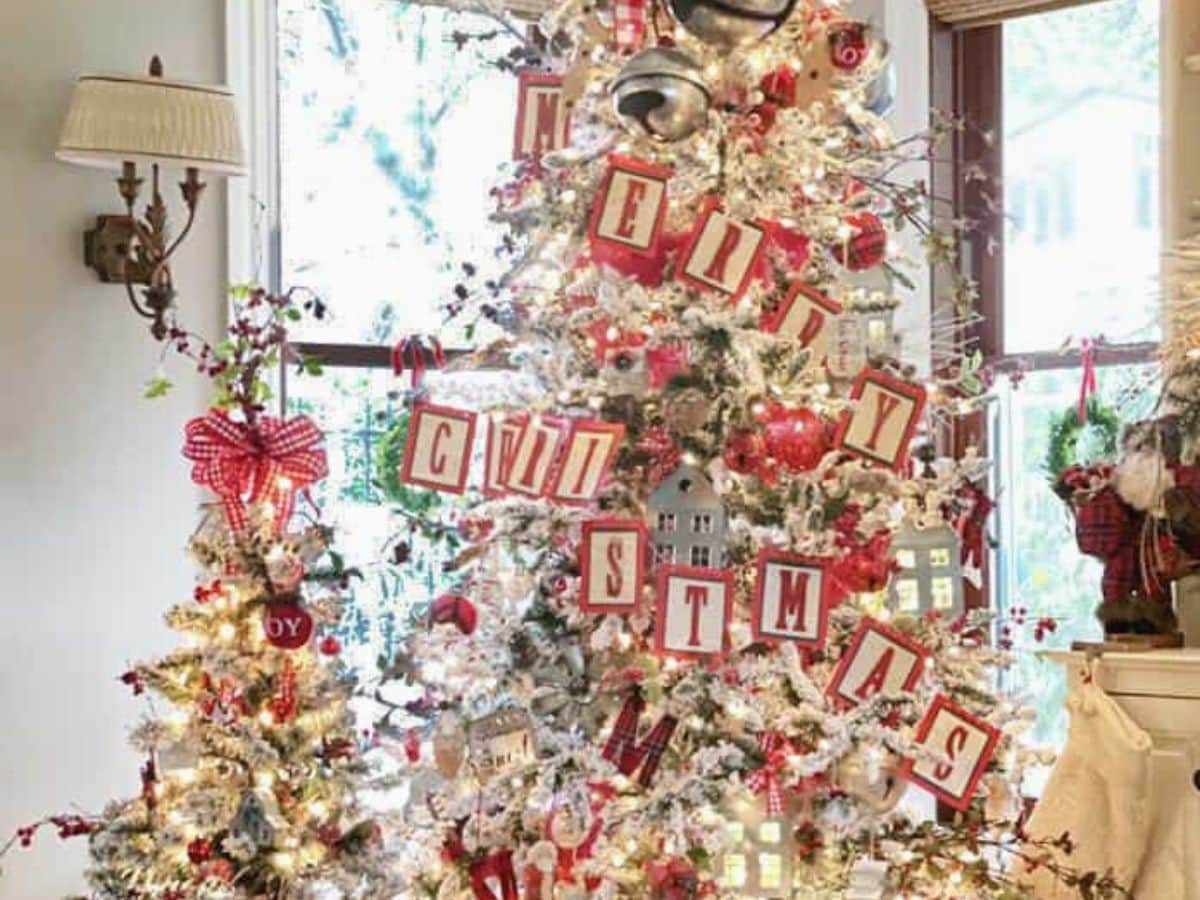
How to Make a Merry Christmas Banner

13 DIY Dried Orange Ornaments

How to Make Mushroom Ornaments
Cherish the Season with Your DIY Advent Calendar
Creating your own advent calendar box display is more than just a fun craft—it’s a heartfelt way to build anticipation, make memories, and bring a little extra joy to each day of December.
From the thrill of filling each box with surprises to watching loved ones open them one by one, this DIY advent calendar adds a meaningful touch to the holiday season. I hope it brings as much warmth and cheer to your family as it does to mine.
Happy crafting, and may your Christmas countdown be filled with love and joy!


Did you make this craft?
We would love to see what you have created, so mention us @wmdesignhouse or tag us using #wmdesignhouse so we can see your creations!
More about me!

Hello, I’m Wendy – a dedicated homemaker with a deep passion for decorating, gardening, cooking, and crafting. I find joy in harmonizing beautiful elements to fashion a space that is both comfortable and inspiring. I will help you create a beautiful home, one project at a time.


Thanks so much for sharing at Tuesday Turn About, Wendy. I’m delighted to be featuring your post at this week’s party!
This is so adorble Wendy. What a fun idea. My girls would love this!
Great idea Wendy! The girls are gonna love it. ♥️♥️
Thank you Kathy, I just gave it to them today and we will see how it goes. Good luck to Meghan. LOL
Such a sweet project! One I might could actually manage! Catching up on Deck the Hall Hop!
Hi sweet Linda, thank you so much. Yes, this is a very easy one, I am sure you could do it :))))) I need an entire week to catch up on blog reading myself. I hope all is well for you.
I’m loving this Wendy and would love to share it on Saltwater Sounds wrap-up tomorrow over on the blog.
Hi Kim, I am so sorry I am just seeing this message. My server was down for a few days.
Please feel free anytime to share my blog. I appreciate your kindness.
I love this idea and need to jump on the bandwagon myself. There are so many talented bloggers out there
with great ideas.