How to Make Elegant Gold Leaf Ornaments
These gold leaf ornaments are an easy way to add a little warmth and shine to your holiday decor, and I’m sharing exactly how I make them.

On my blog WM Design House, I may sometimes use affiliate links, which means a small commission is earned if you purchase via the link. The price will be the same whether you use the affiliate link or go directly to the vendor’s website using a non-affiliate link. Read my full disclosure policy here.
DIY Gold Leaf Christmas Tree Ornaments
This year, try adding a little sparkle to your holiday decor with gold leaf ornaments. They’re the perfect way to add a soft warmth to your Christmas tree and just the right touch of elegance.
Not only do these DIY ornaments work beautifully with any style of holiday decor, but they’re also surprisingly easy to make. I’ve made a lot of DIY Christmas ornaments over the years, the 12 days of Christmas, DIY Candle lamps, wood mushroom ornaments, faux mercury glass ornaments and so many more, but this one is one of my absolute favorites. (I know, I say that about all of them)
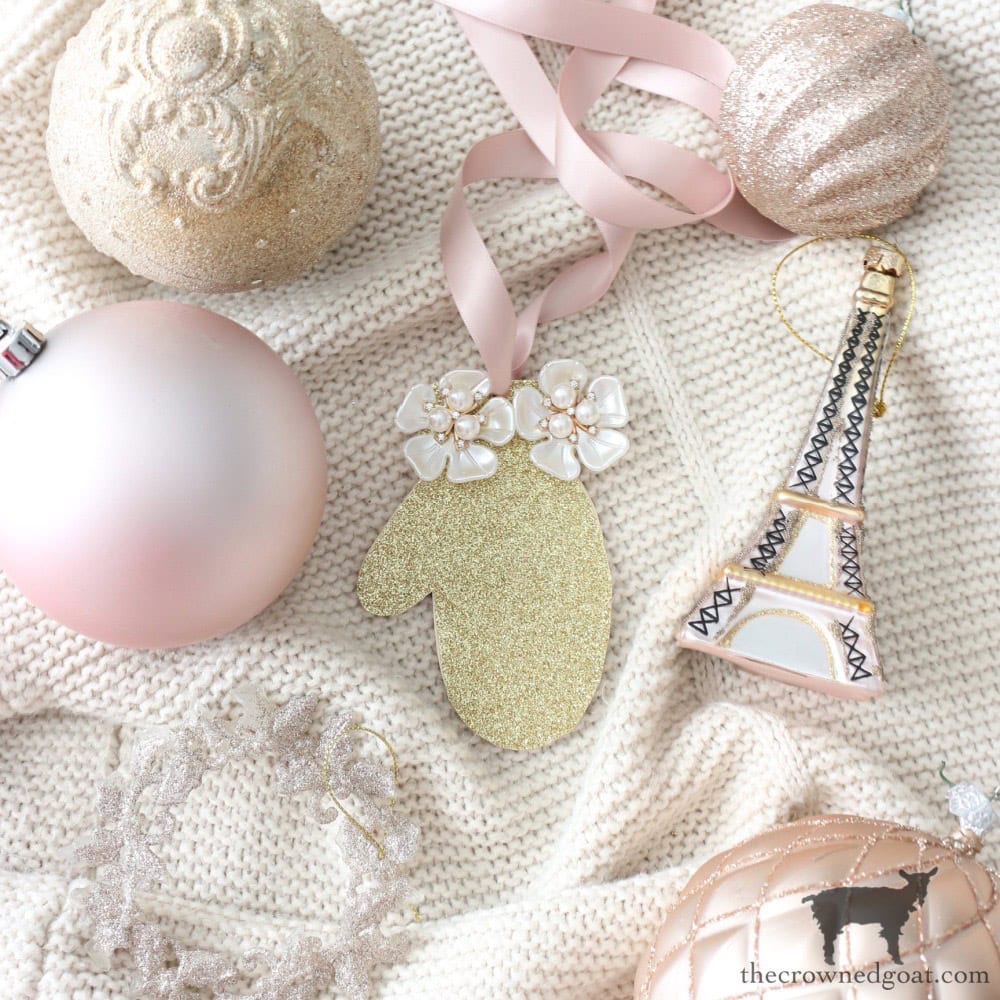
I’m also joining my friends from the Handcrafted Society, who are sharing their own glitter and gold-inspired holiday projects. Be sure to scroll to the bottom to see the pretty crafts they created.
Now grab your supplies and join me to make a few gold leaf ornaments of your own to add to your holiday decor.
Why You’ll Love These Gold Foil Ornaments
Beginner friendly
These gold leaf ornaments are surprisingly easy to make and perfect for any skill level. With just a few basic supplies and a little time, you can create beautiful ornaments even if you’re new to crafting.
Elegant with a handmade touch
The soft shimmer of gold leaf adds instant warmth and elegance to your holiday decor, while still feeling cozy and handmade. They look just as lovely on the tree as they do styled in a bowl or tucked into a wreath.
Customizable and creative
Each ornament turns out a little different, which is part of the charm. You can keep them classic or add your own twist with ribbon, paint, or layered details to match your holiday style.
Supplies Needed to Make Gold Leaf Christmas Ornaments
Tip from wendy’s craft room:
Be sure to use glass ornaments for this project—acrylic won’t work well with the gold leaf.
How to Make Gold Leaf Christmas Ornaments
This quick and easy craft is perfect for a weekend project! In just a few steps, you’ll have beautiful, custom gold leaf ornaments that look just as good—if not better—than the expensive ones in stores.
Best of all, you’ll make them for a fraction of the price, adding a personal touch to your holiday decor without breaking the bank.
Step 1: Paint Your Ornament Tops
If your ornaments come with silver tops and you’d like them to match the gold leaf, you can spray-paint them gold for a cohesive look. This step is optional, but I think it adds an extra touch of polish!
To do this carefully remove the tops from each glass ornament. Then place them on a tarp or a drop cloth in a well-ventilated area.
Spray paint the tops gold, adding additional coats as needed for full coverage. Then, once they’re completely dry, set them aside for later.
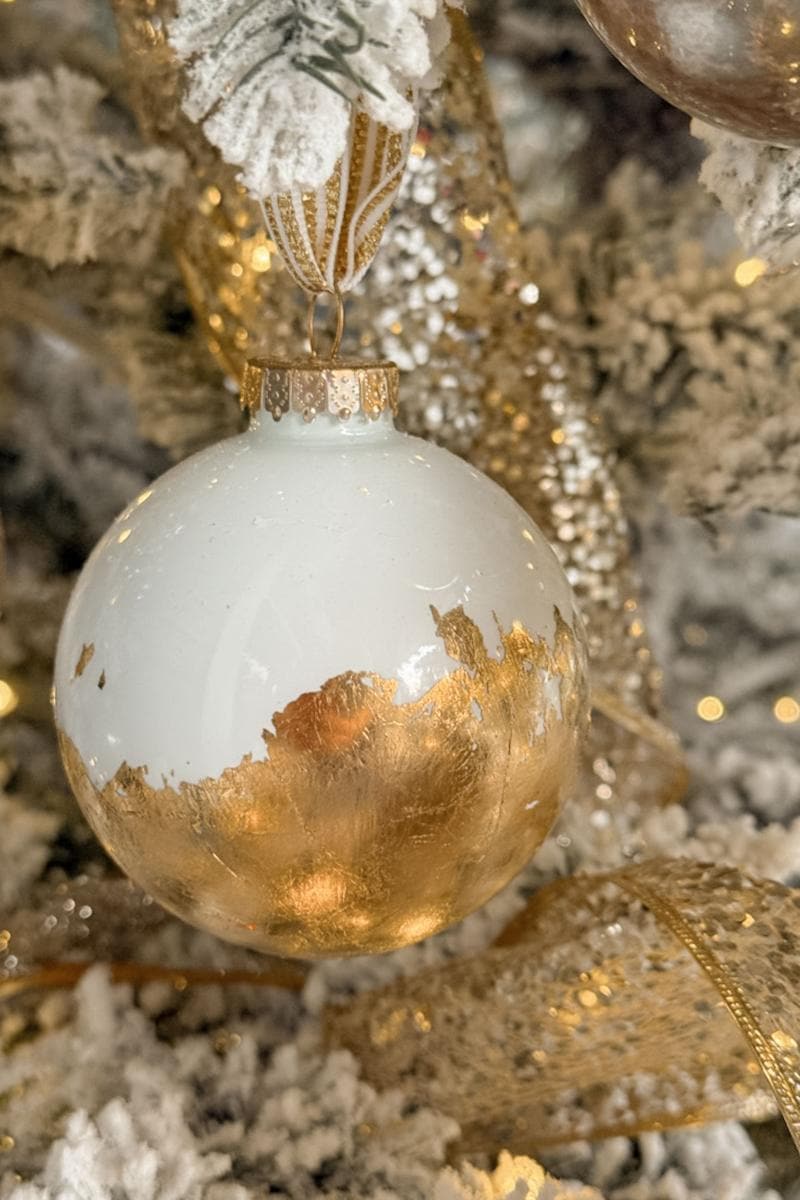
Step 2: Add White Acrylic Paint
Next, squirt some white acrylic paint into each glass ball. Gently shake and swirl the ornament until the paint evenly coats the entire inside.
This step creates a beautiful, opaque backdrop that makes the gold leaf stand out even more!


If needed, add a bit more paint and keep swirling until every part of the glass is covered.
Step 3: Let the Paint Drain and Dry
Once finished, turn each ornament upside down over on plastic cup to let any excess paint drain out.

This will also help the paint dry faster, leaving you with a smooth, even layer on the inside. Let the ornaments sit for a few hours or overnight to fully dry before moving on to the next step.
Step 4: Add the Gold Leaf Adhesive to Your Ornaments
Once the paint is fully dry, put the ornament back onto the plastic cup and paint on the gold leafing adhesive with a brush. Be careful to only put the glue where you want the gold leafing to adhere to the ornament.

Let the adhesive site for around 20-30 minutes until it is tacky to the touch.
Step 5: Place a Sheet of Gold Leaf on Your Ornaments
Once the adhesive is tacky, remove one sheet of the gold leaf ( keeping the backing paper on ), place it over the entire ornament, rub it lightly, and then remove the backing paper.

When you doe applying the gold leaf sheeting, your ornaments should look like the one in the picture above.
Step 6: Remove Loose Gold Leaf from Your Ornaments
This process is called burnishing.
After the gold leave is applied to each of your ornaments, use a dry inexpensive chip brush to adhere the gold foil and remove any loose pieces.

Place a plate or protective covering under your workspace to catch any excess gold leaf that flakes off. This makes cleanup easy and helps keep your workspace tidy.
Step 7: Tie on Some Ribbon
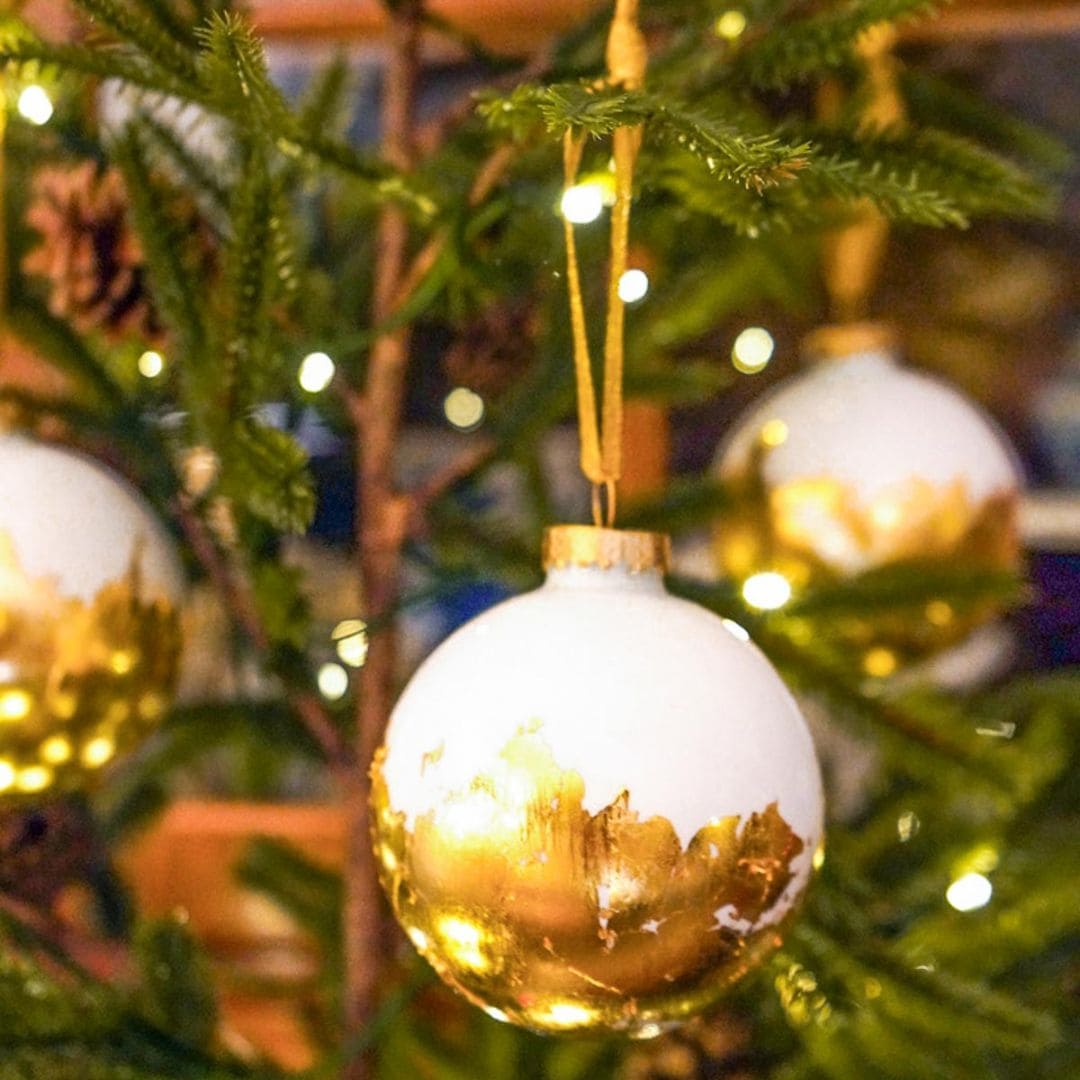
To finish your gold leaf ornaments, tie a piece of gold ribbon to the top and hang it on the tree.
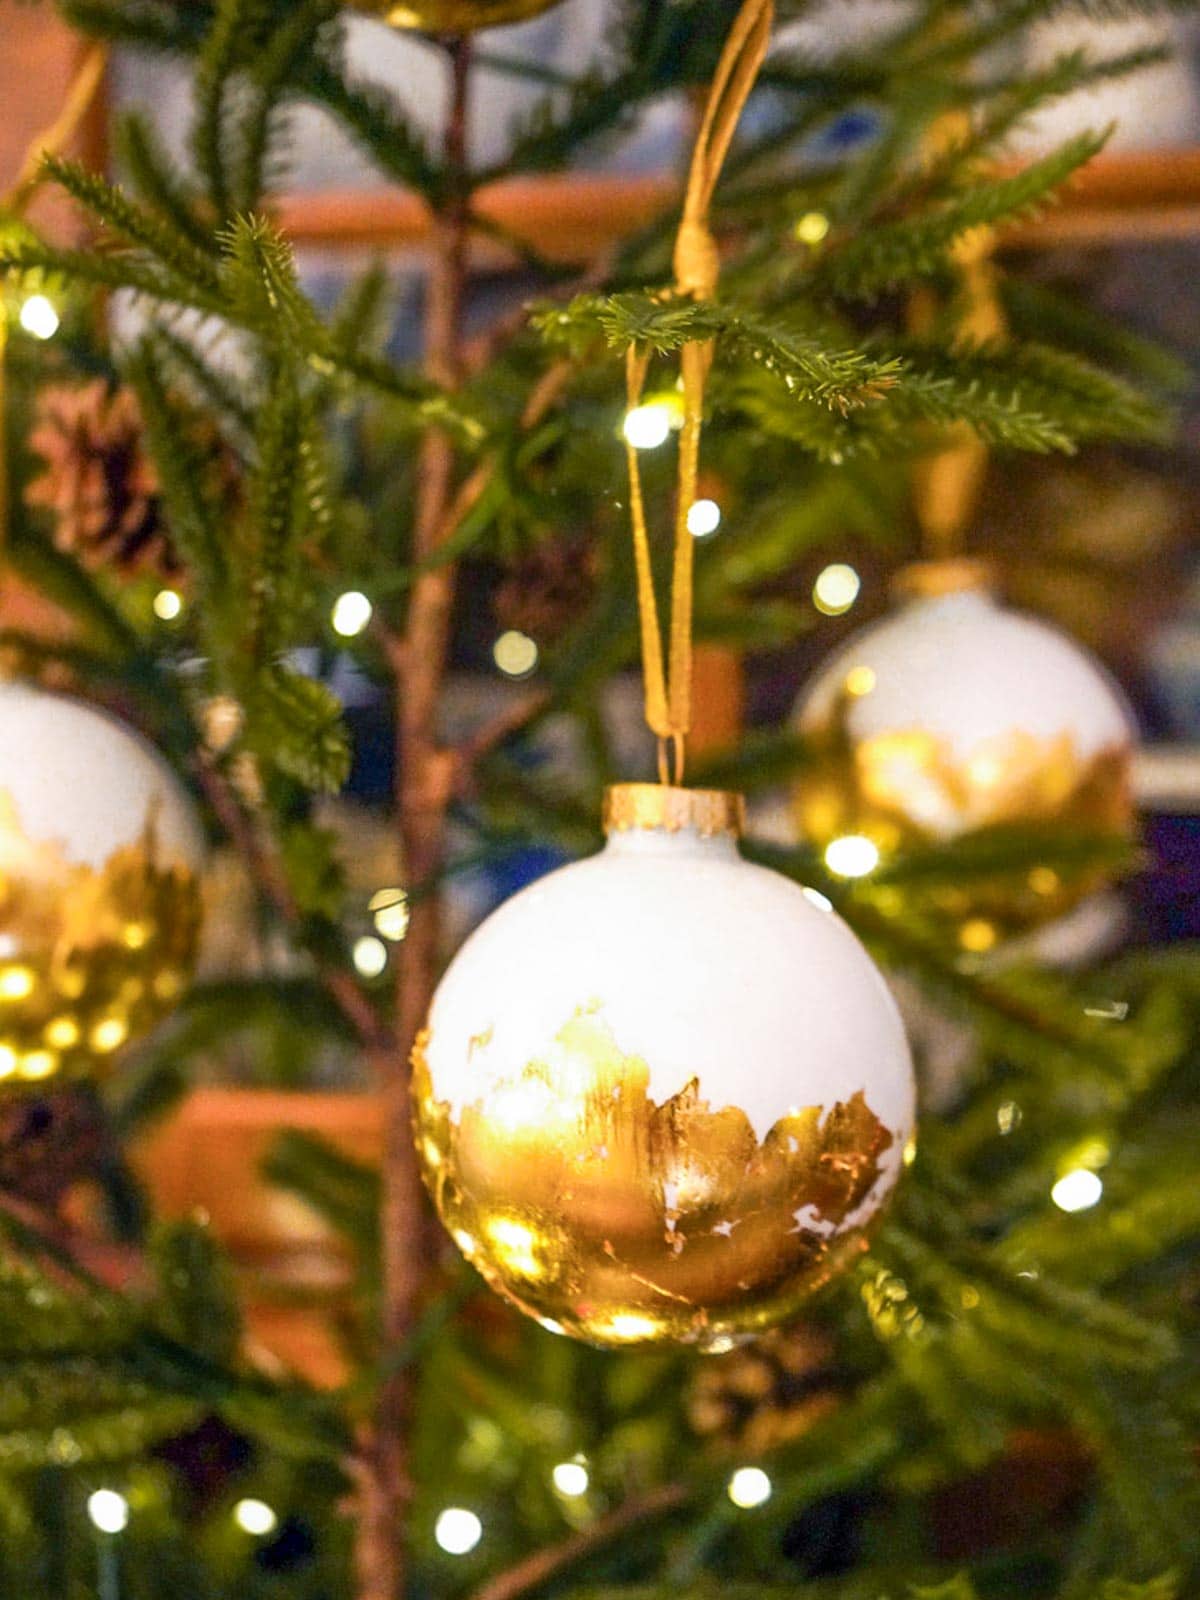
These handmade ornaments will look amazing and bring a cozy, festive feel to your holiday decorations!
Other Ways to Display Your Gold Leaf Ornaments
Your gold leaf ornaments can be displayed in more ways than just hanging them on your Christmas tree!

Try displaying them in a dough bowl or small basket on your Christmas coffee table and add a few spring of greenery for a cozy, festive look.

Or, you can use them to create a charming holiday vignette in your kitchen.
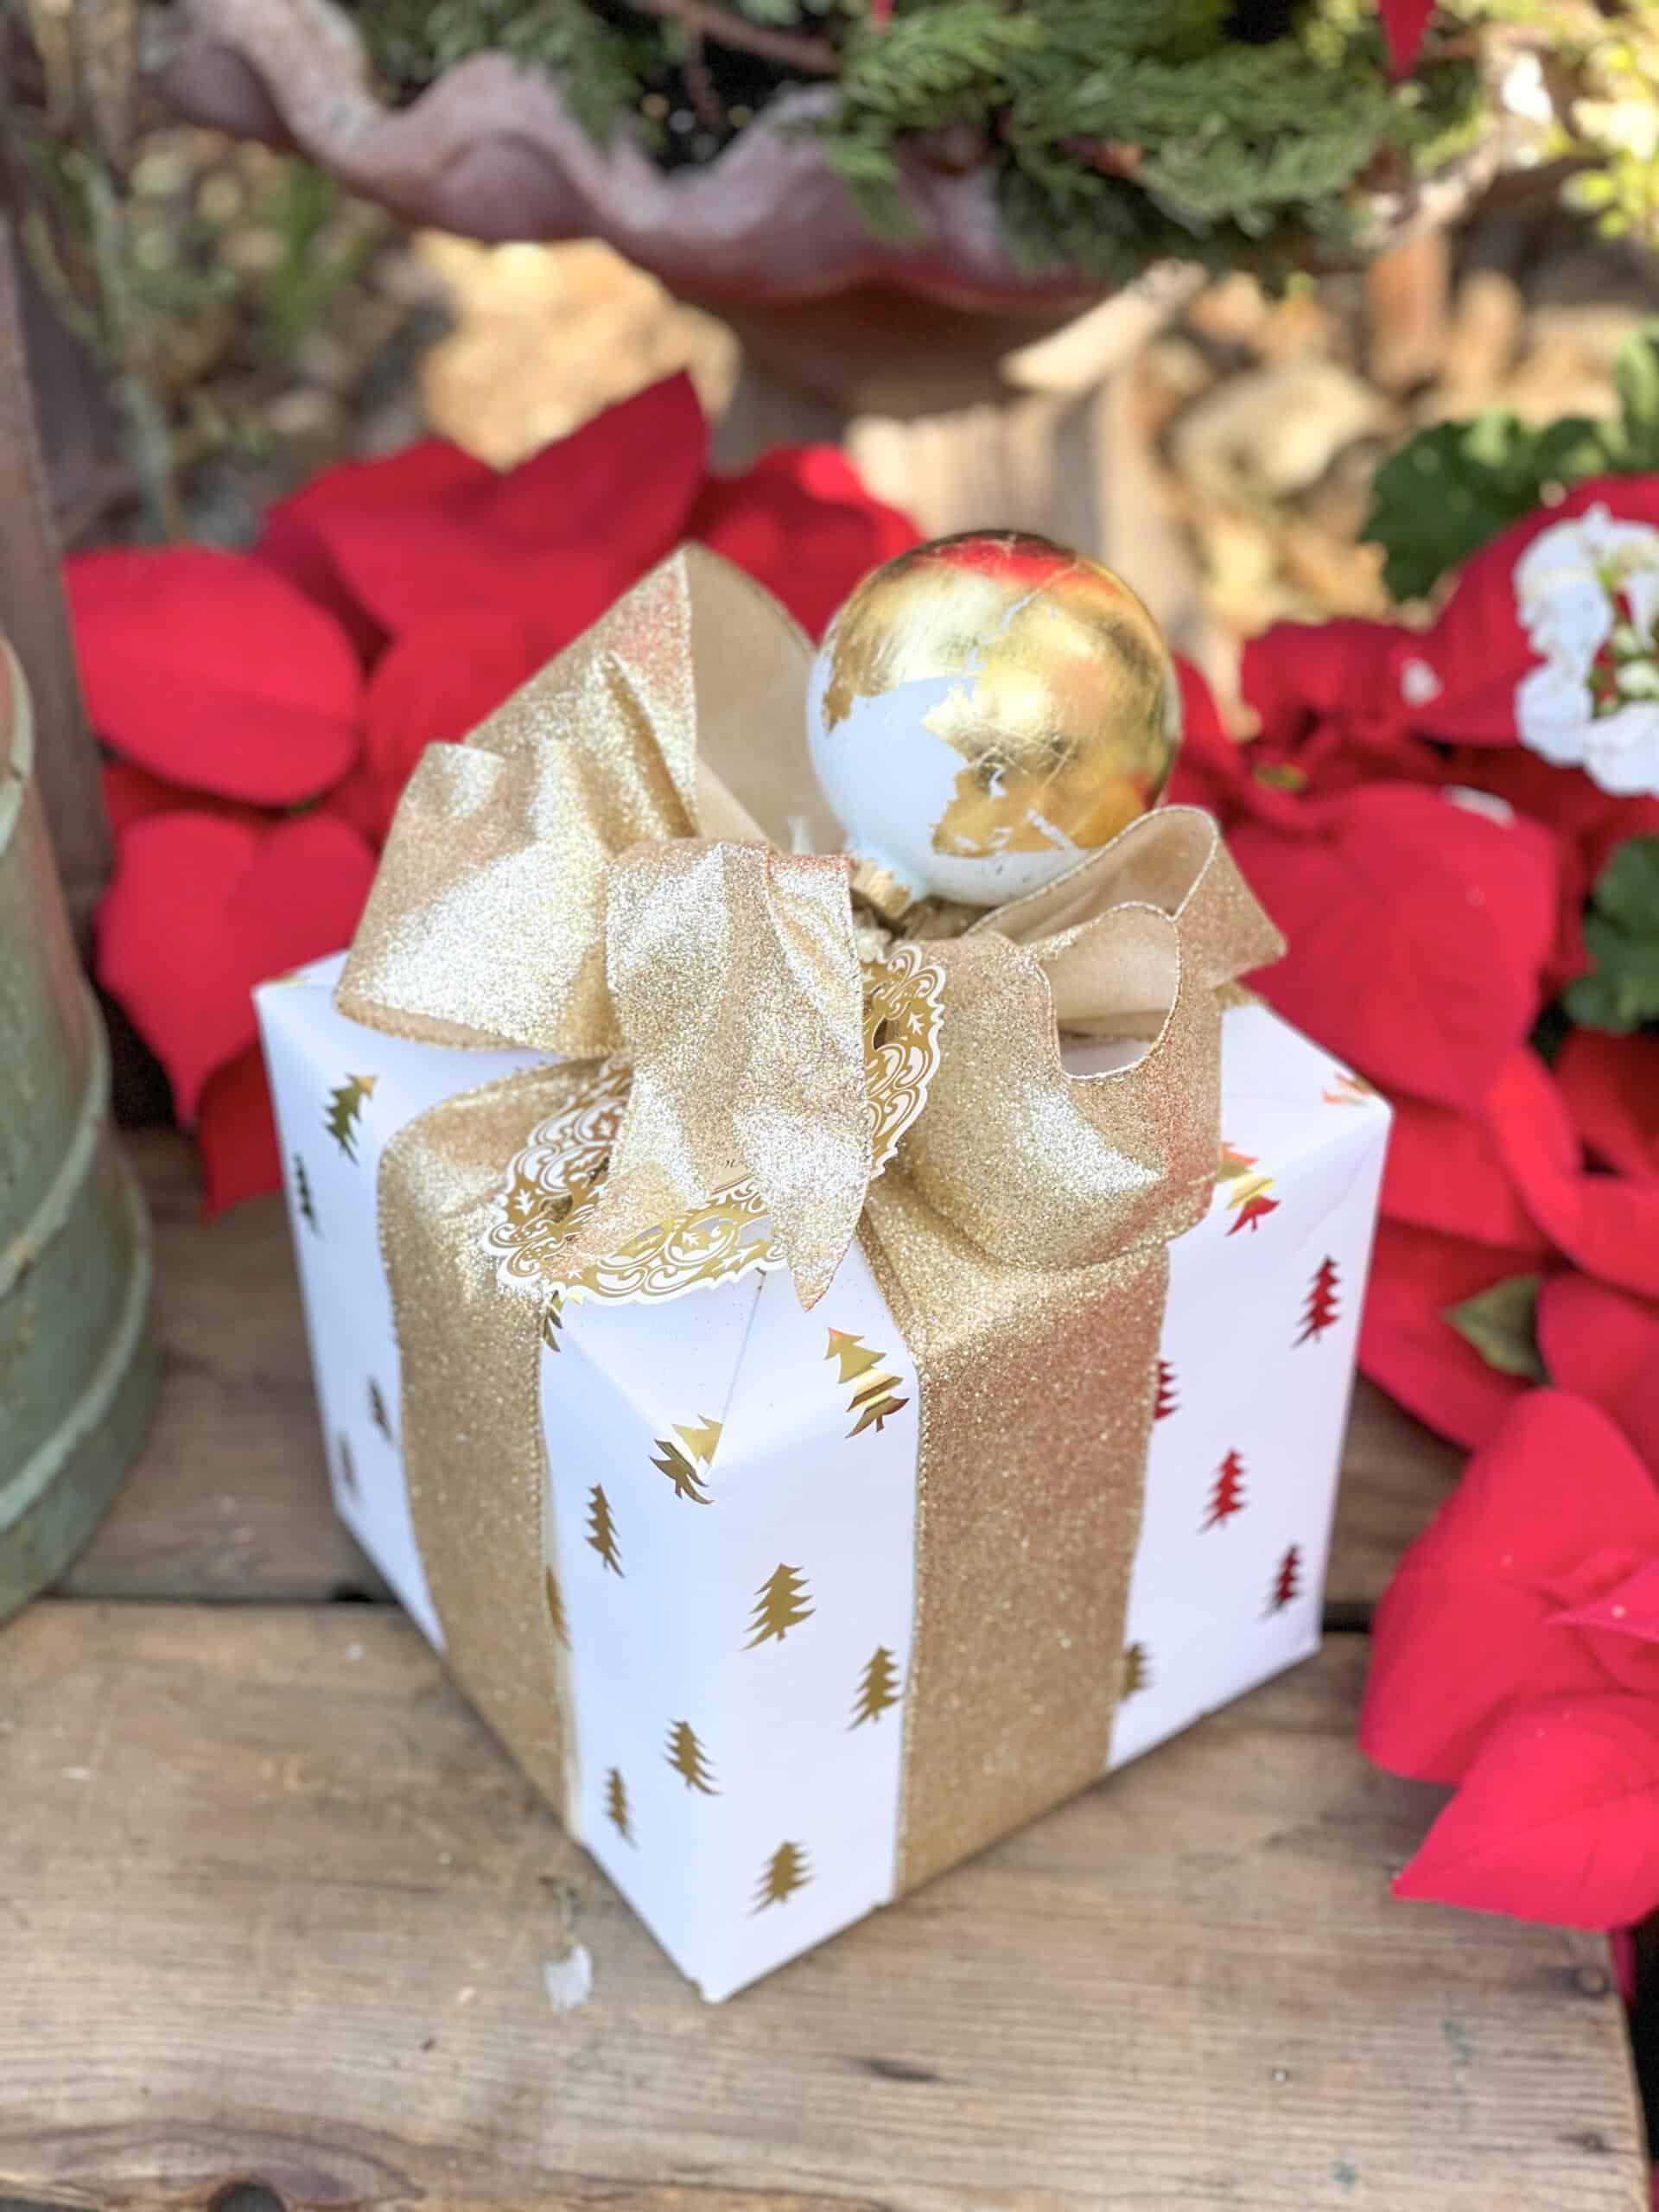
For a unique gift idea, you can also get creative with your gift wrapping by attaching an ornament to the top of a wrapped present. It’s a thoughtful, handmade touch that family and friends will love!

DIY Gold Foil Ornaments
Materials
- 12 Count clear glass Christmas ornaments
- White acrylic paint
- Disposable plastic cups
- Gold leaf sheets
- Metal leaf adhesive
- Chip brush
- Gold spray paint optional
- Gold ribbon
Instructions
How to Make Gold Leaf Christmas Ornaments
Step 1: Paint Ornament Tops (Optional)
- Remove ornament tops
- Spray paint gold on a protected surface
- Let dry completely
Step 2: Add White Paint Inside Ornaments
- Squeeze white acrylic paint into each ornament
- Swirl until the inside is fully coated
Step 3: Drain & Dry
- Turn ornaments upside down over plastic cups
- Let dry for several hours or overnight
Step 4: Apply Gold Leaf Adhesive
- Brush adhesive onto the outside where gold is desired
- Let sit 20–30 minutes until tacky
Step 5: Apply Gold Leaf
- Place gold leaf (with backing) over ornament
- Gently rub, then remove backing paper
Step 6: Burnish
- Use a dry chip brush to secure gold leaf
- Brush off loose flakes (work over a plate or paper)
Step 7: Finish
- Reattach tops
- Tie on gold ribbon and hang
Other Christmas Crafts from WM Design House
If you love these DIY gold leaf ornaments, you might enjoy these Christmas crafts
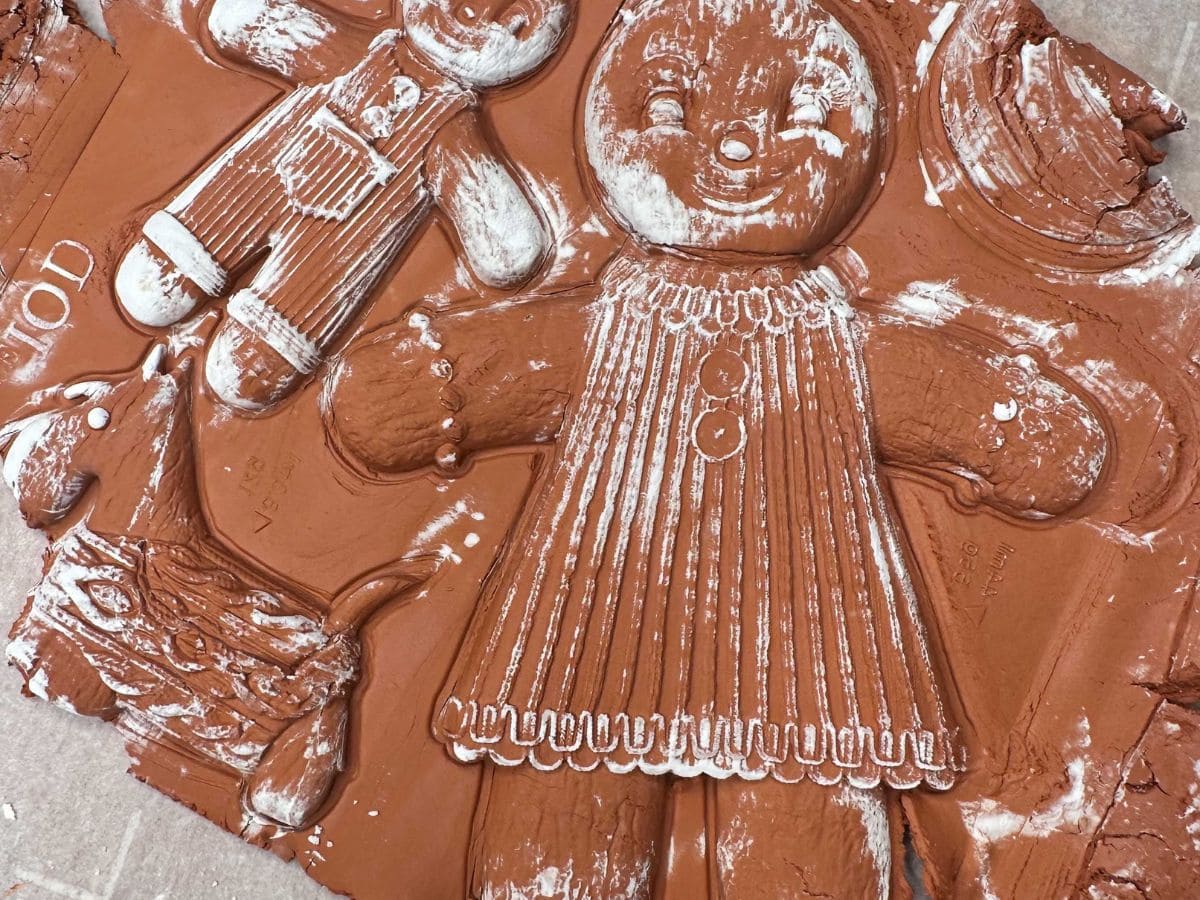
DIY Air Dry Clay Gingerbread Ornaments
How to Make a Merry Christmas Banner
13 DIY Dried Orange Ornaments
How to Make Mushroom Ornaments
Wrapping Up
And there you have it—beautiful, budget-friendly gold leaf ornaments that are easy to make and perfect for adding a little sparkle to your holiday decor! I hope you enjoyed this DIY as much as I did.
Don’t forget to check out what all my friends in the Handcrafted Society created this month; they’ve come up with some amazing projects around the glitter and gold theme.
Happy crafting, and happy holidays!


 a>
a>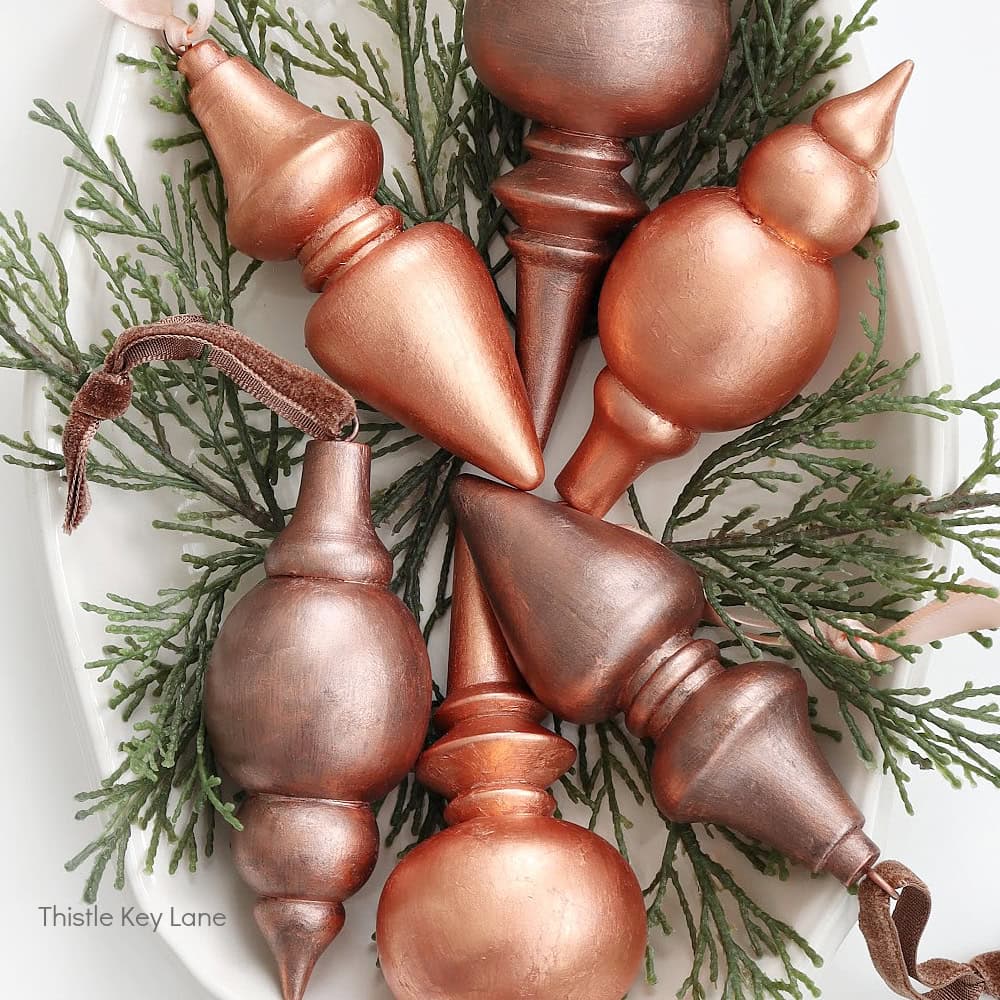


Wendy – These are so classy and relatively easy to make! I love how you used them to adorn packages. Thanks for another great tutorial. Pinned!
Simply beautiful. I’ve never used gold leaf, I may need to add this to my holiday to-do list.
As gorgeous as always! Way to go my friend! These are a huge winner in my book!
Wendy, I’m happy to say I have everything I need to make these beautiful ornaments I just need to jump in and do it! Love the gold with the white paint interior! So striking!
These ornaments are so pretty, Wendy! I love the elegant mix of the white and gold leaf too. It’s such a beautiful contrast. I’ve never worked with gold leaf before but you guys have definitely inspired me to give it a try. Sending you hugs and thank yous for putting these hops together, CoCo
These are gorgeous Wendy! I adore how you painted the inside white, it makes the gold leaf stand out beautifully! Thanks for the suggestions on other ways to use them!! Pinning now!
Beautiful elegant ornaments for the tree!
LOVE them, Wendy!! Super elegant and chic for any color scheme or Christmas theme. Pinned!
These are such elegant ornaments, Wendy. And they would be beautiful in so many different color schemes. Thanks for the great tutorial!
You have amazing DIYs. I’m new to this but do you have printable versions of your DIYs. There are so many ads interfering with the content it’s very difficult to read.
Thank you Chris
[email protected]
Hi Chris, I apologize for all of the ads. I know they make it very difficult to read the post at times. Unfortunately, that is how we bloggers make our money, so we are forced to live with them. However, I am going to move some of them around so it is easier to read the directions. I have another idea up my sleeve.
In most of my DIYs, there is a “HOW TO CARD” that you can print out. Let me know if you are not able to find it so I can help you. Is there a particular project you want directions for?