Preparing to Plant a Cut Flower Garden
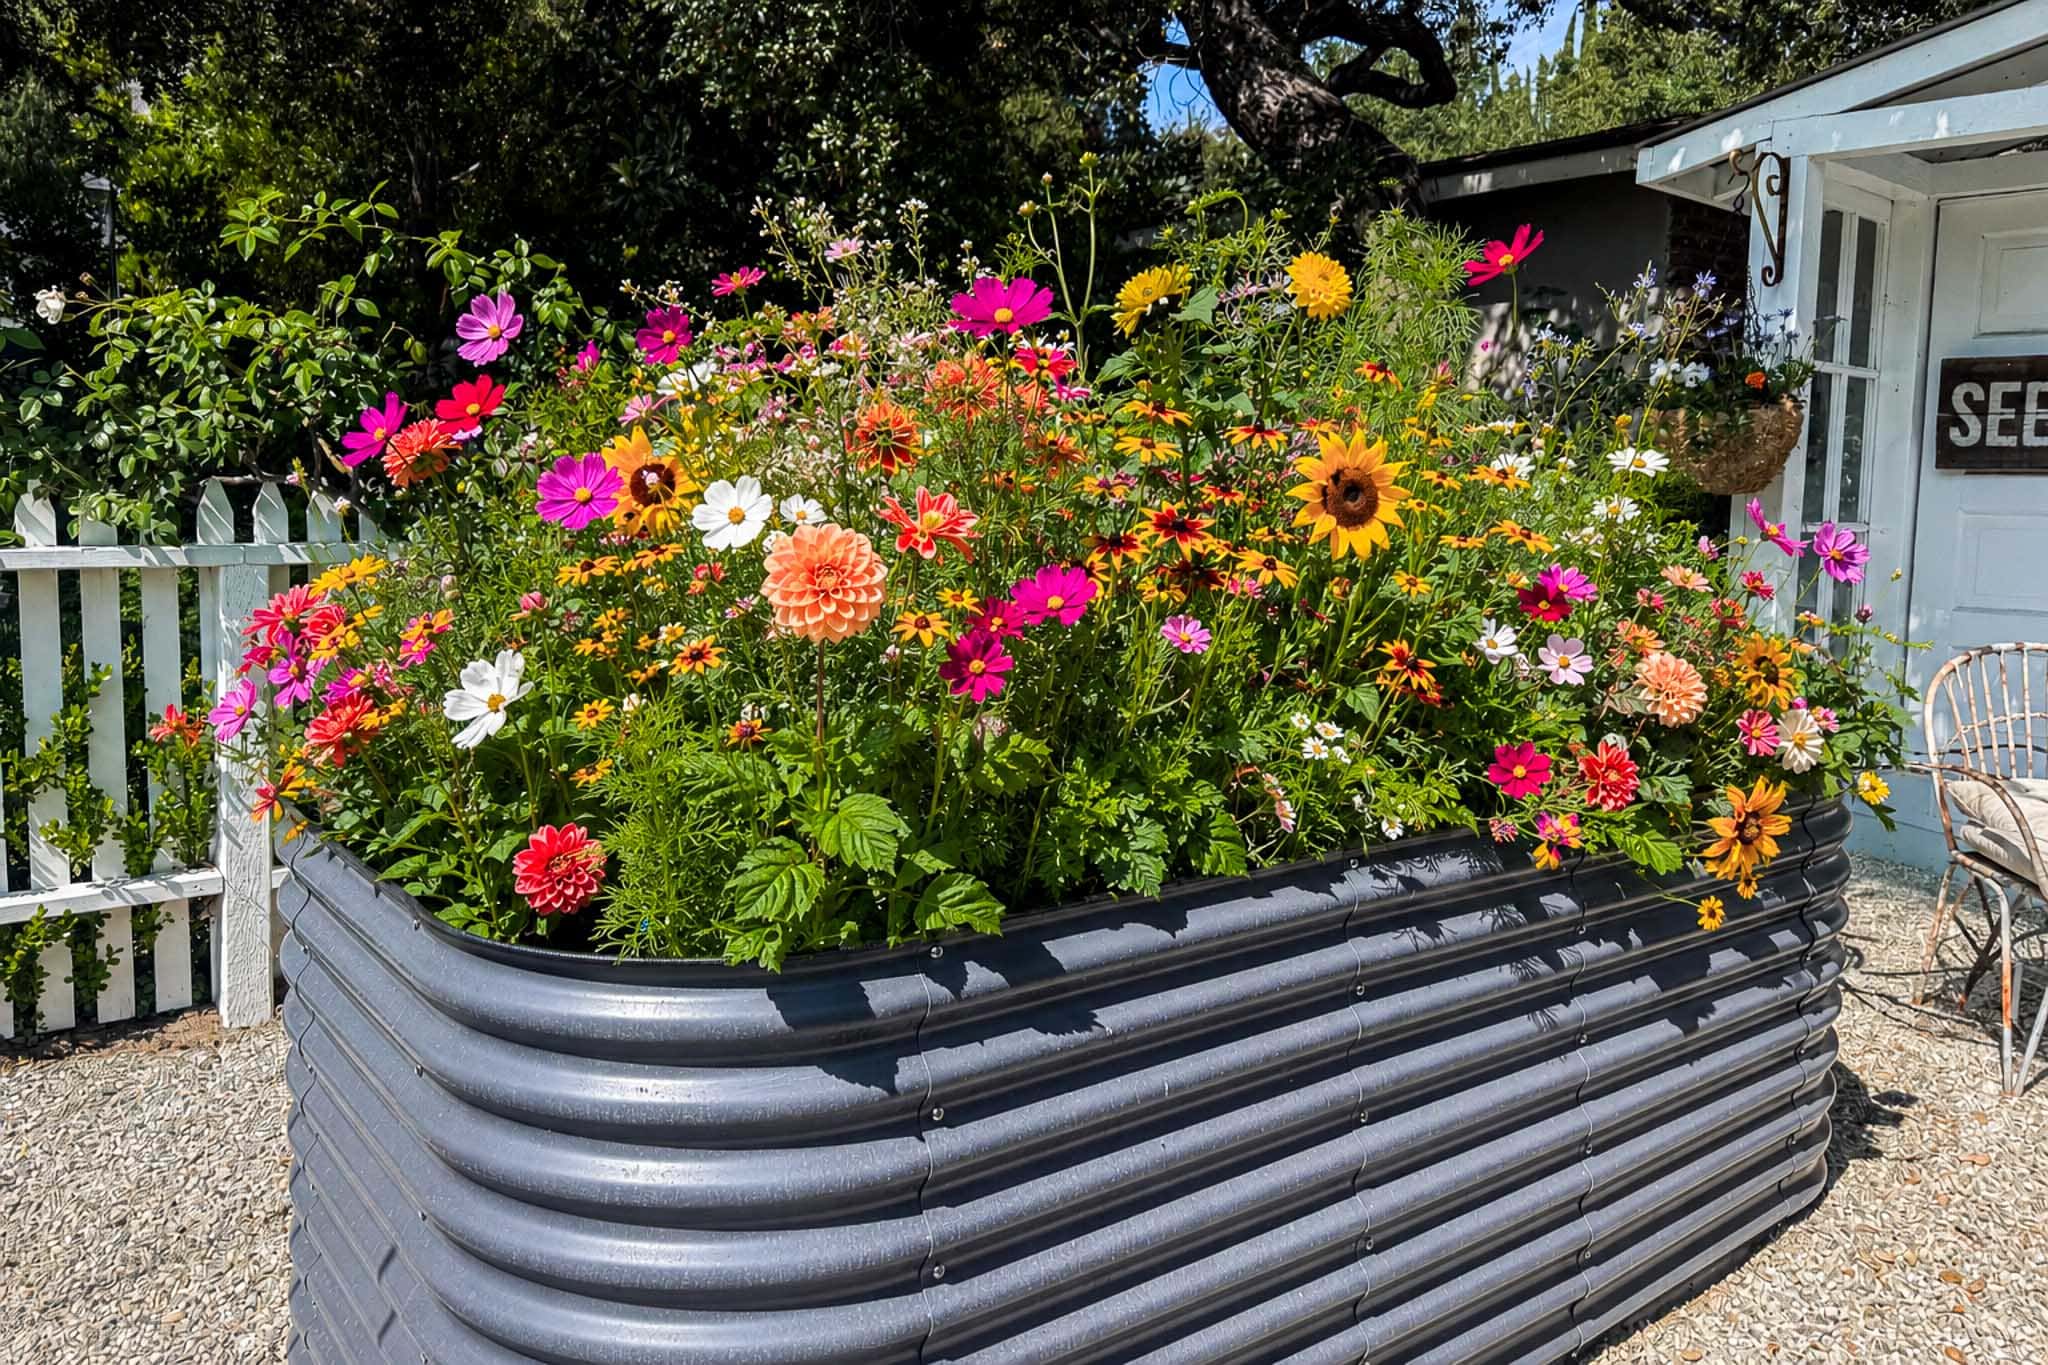
Growing a flower garden from seed is so rewarding. First, you get to make your own unique plan of what types of flowers you want to grow, and how to arrange them in your growing space. Then, you get to watch your seedlings grow from a tiny sprout, and care for them until they burst into beautiful, full blooms. A cut flower garden also gives you the ability to harvest a non-stop supply of fresh flowers right from your backyard. Pretty amazing!
It may only be February, but I am already thinking ahead to spring gardening. In Southern California, this is the perfect time of the year to plan your cut flower garden and begin growing your favorite flowers from seed to enjoy in the coming months.
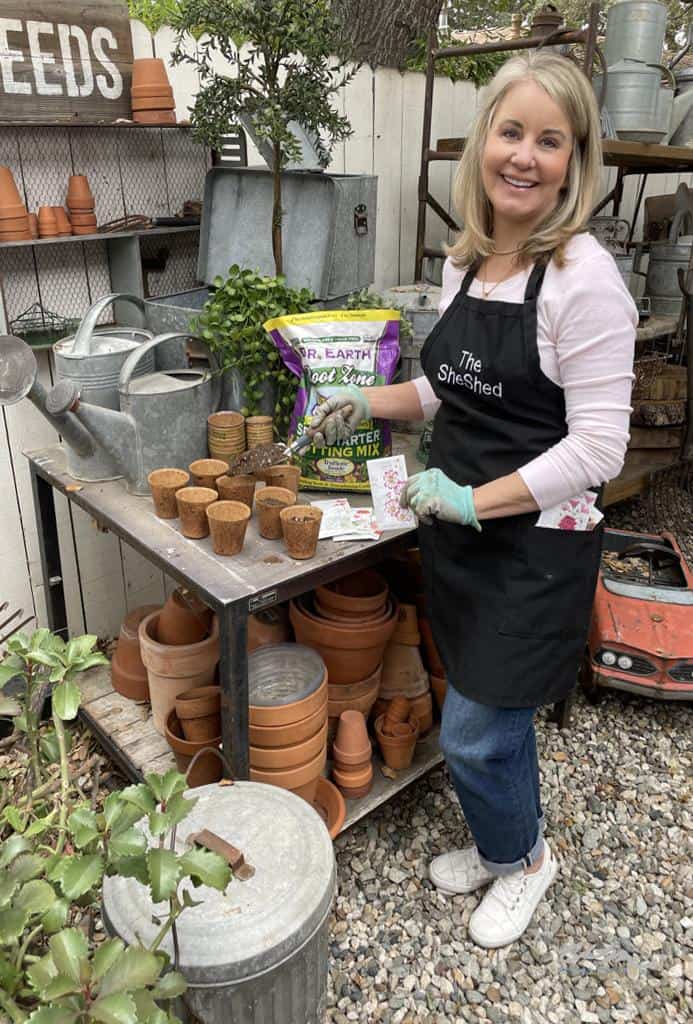
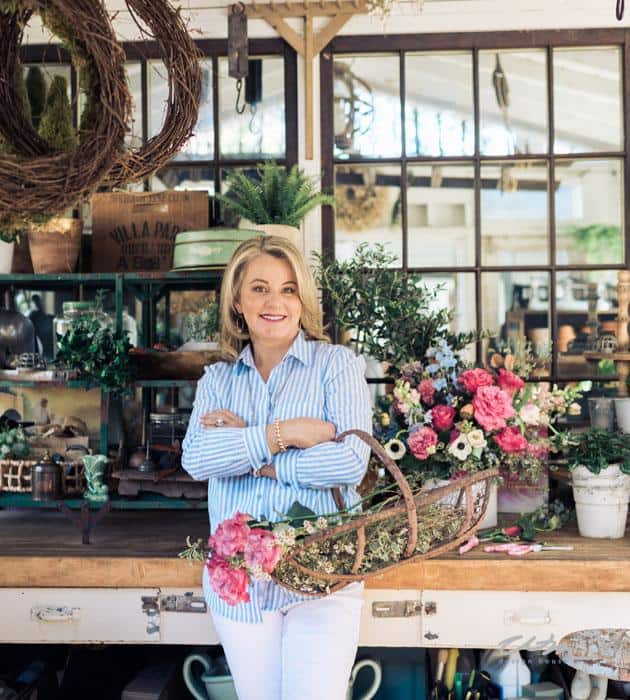
Join me in the She Shed and follow along as I prepare a cut flower garden, starting by planting seeds in biodegradable cups. You’ll find all the information you need in this post on how to start a cut flower garden of your own.
Before you get started, you’ll want to gather all the gardening supplies you’ll need.
This post may contain affiliate links that I make a small commission from.
What You’ll Need:
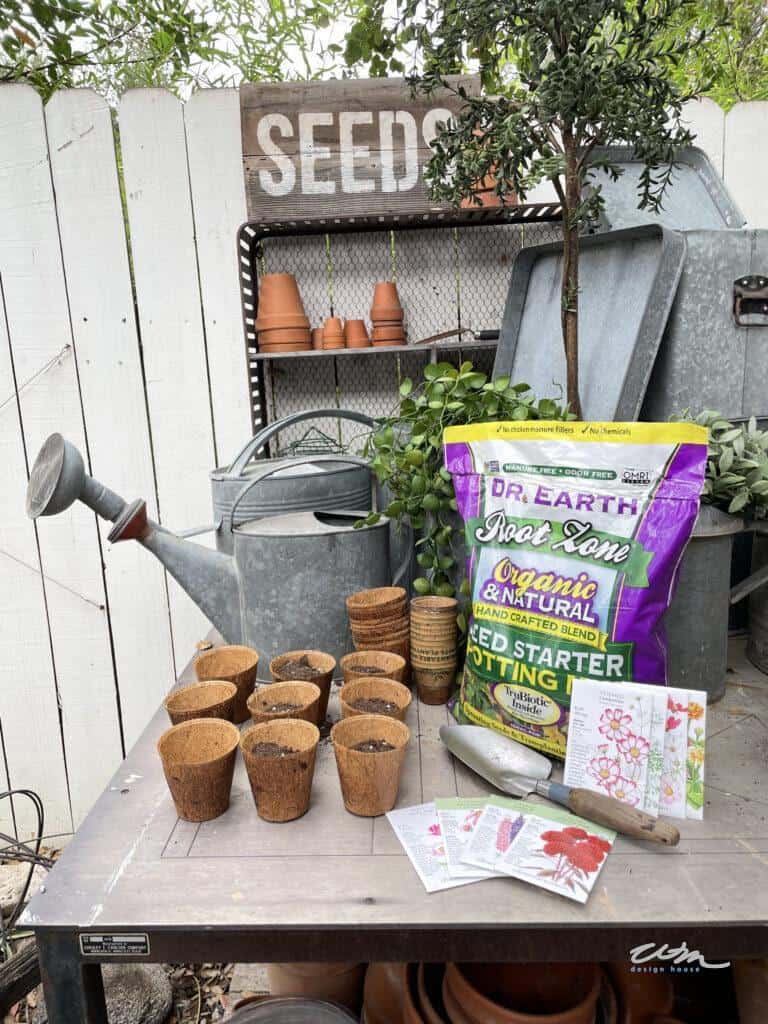
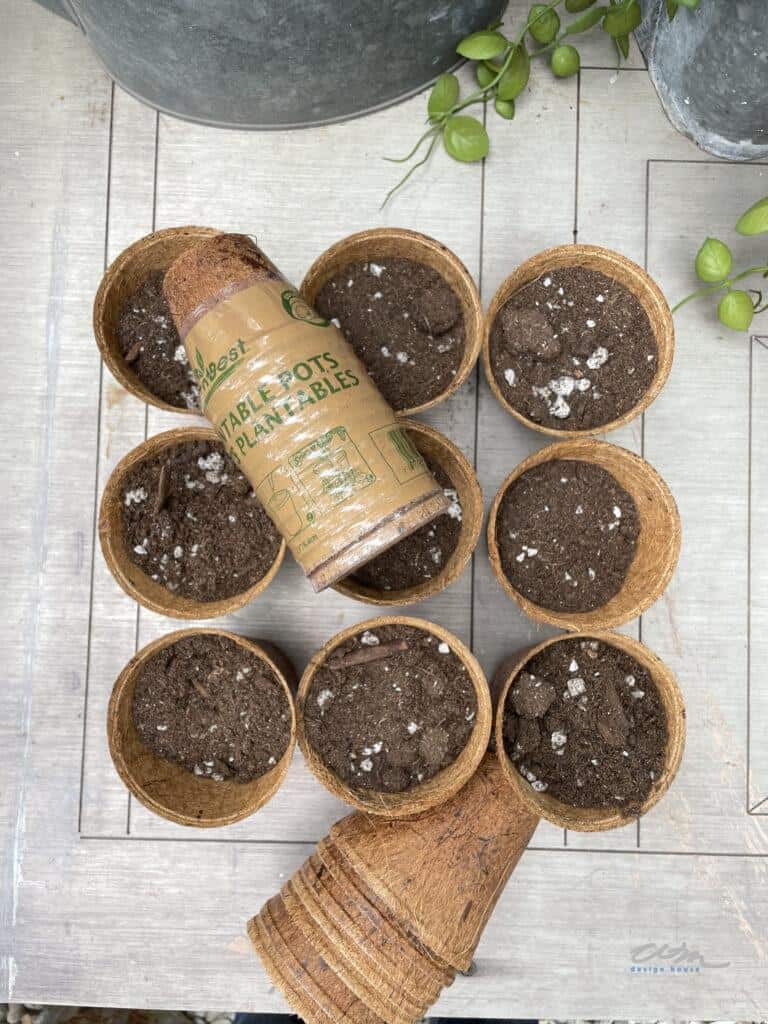
- Biodegradable cups – I used Plant Best Plantable Pots
- You can also use paper egg cartons
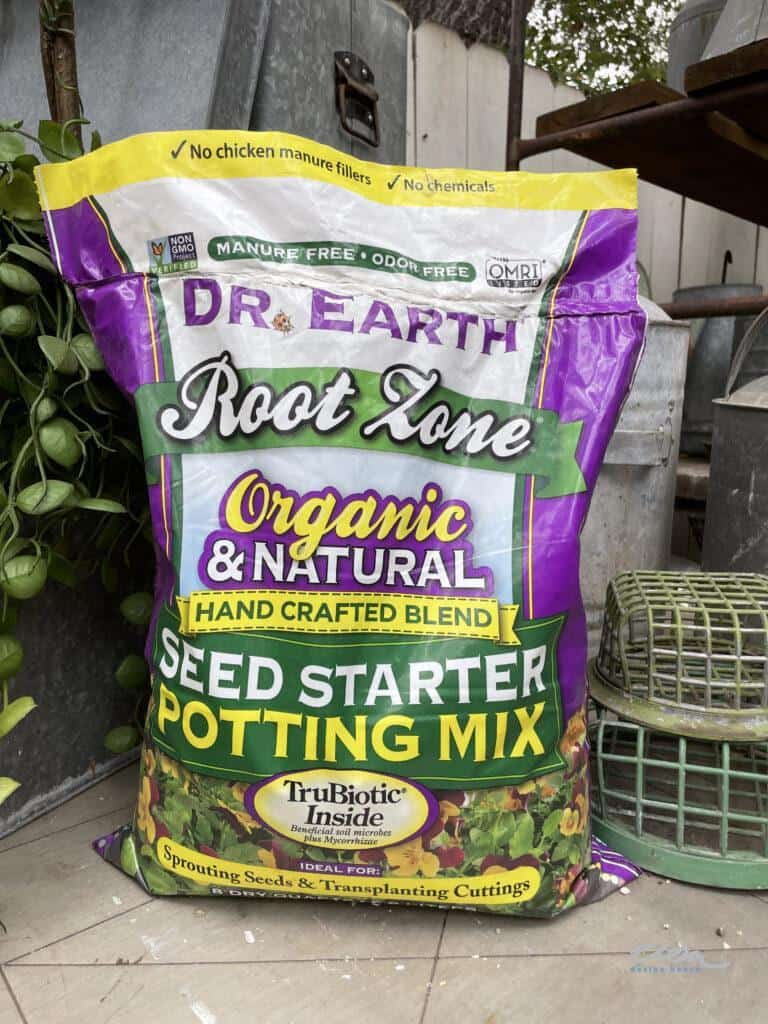
- Potting soil – I used Dr. Earth Root Zone Organic Seed Starter Potting Mix
- Flower seeds – I found a lovely assortment at Armstrong Garden Centers
- Gardening gloves
- Spade
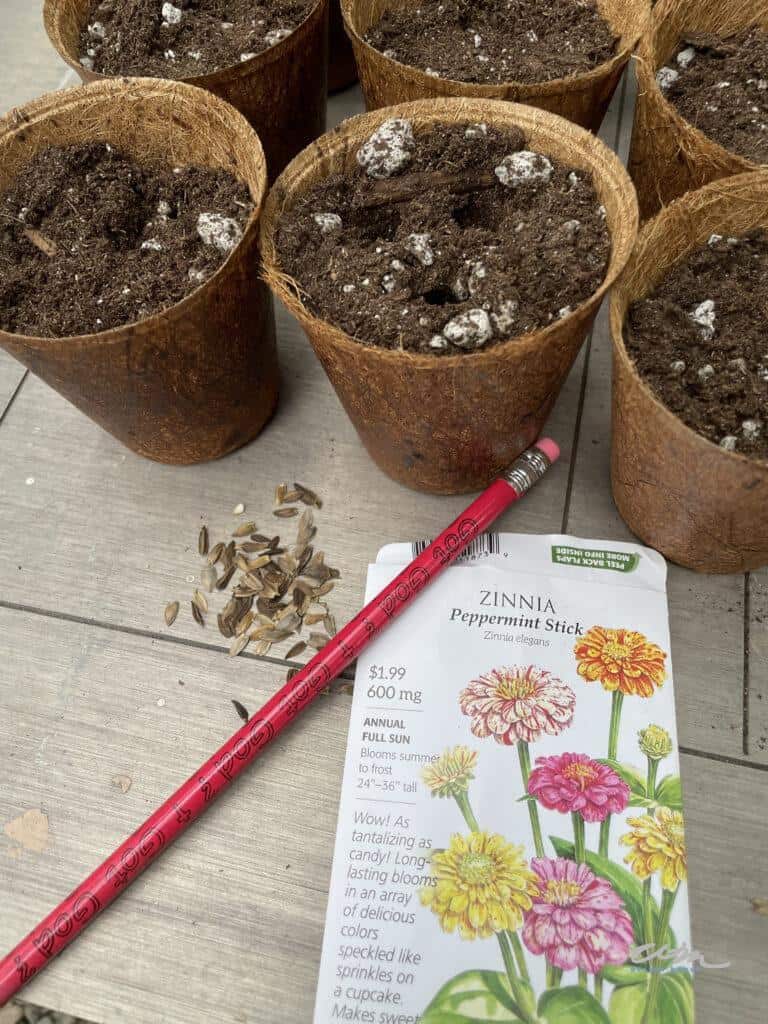
- Pencil
- Water- Spray Bottle
Why Use Plantable Pots?
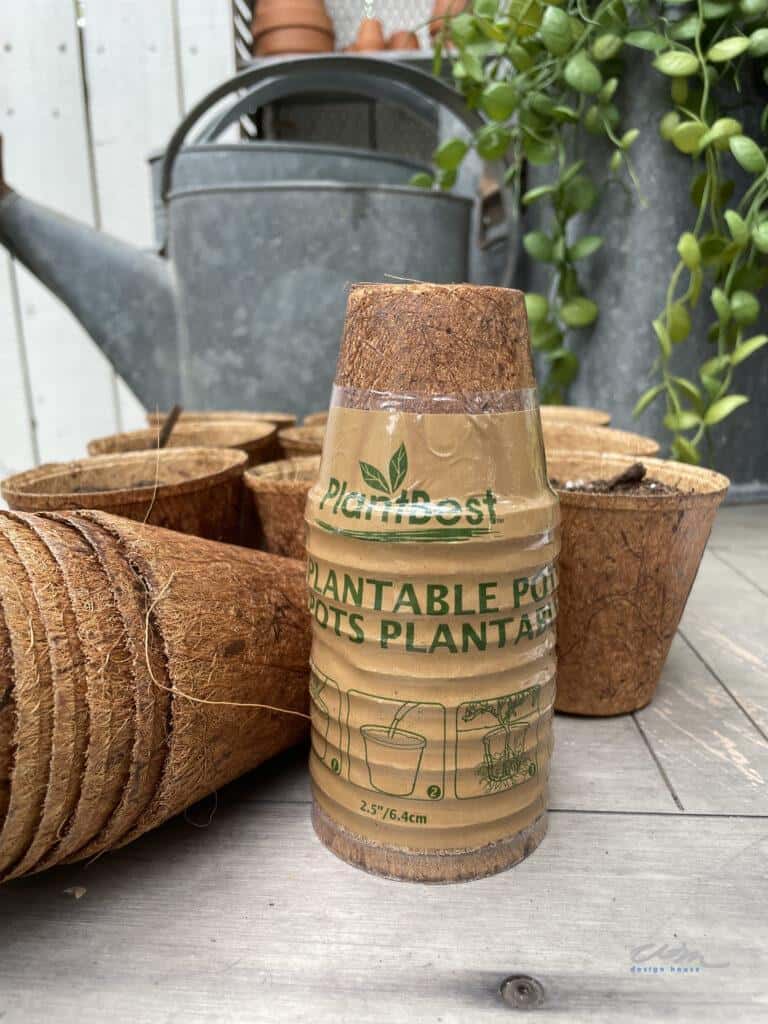
You may be wondering, why should I use biodegradable cups, or plantable pots, for preparing a cut flower garden?
Plantable pots are made from biodegradable, organic material, making them an environmentally friendly choice. They also produce visibly better, faster plant growth, and promote a strong root system.
Additionally, plantable pots make transplanting seedlings incredibly easy. You simply plant the entire pot in the desired location so the seedlings are not disturbed. This helps avoid transplant shock and makes for overall healthier plants.
Choosing Flower Seeds
One of the most challenging parts of preparing a cut flower garden is choosing which types of flowers to grow and where to plant your seedlings. Some varieties need full sun, some partial sun, some require stakes if they grow tall, or a trellis for vining varieties. Plants should be arranged in your garden according to height, with the tallest in back, and to not block the sunlight from shorter plants
It’s a good idea to take your time and do some research to decide which types will work best for you in your garden space. Much of the information you need to grow flowers successfully will be found right on your seed packets, so make sure you read them carefully.
If you’re a first-time gardener and this process sounds overwhelming, I recommend stopping in to a garden center and asking for help choosing the right type of flowers for your cut flower garden. I visited Armstrong Garden Center and chose a lovely assortment of seeds. Their garden center is full of inspiration, and their associates are extremely welcoming and helpful. They will have everything you will need to prepare your cut flower garden.
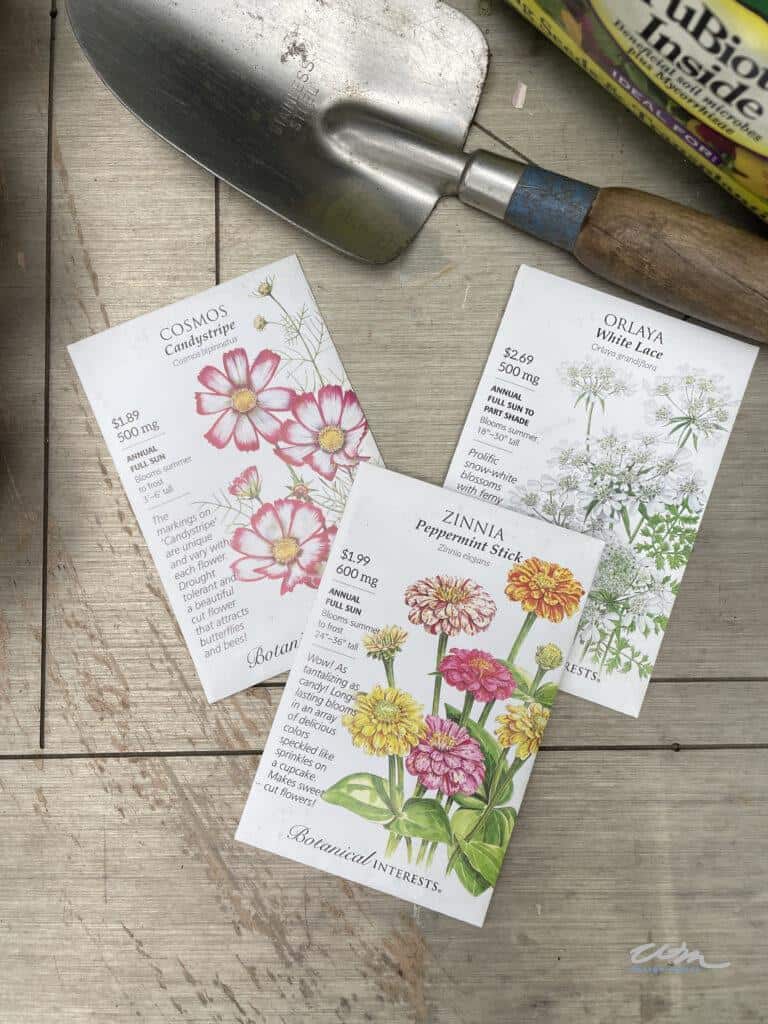
A few of the seed types I chose to grow in my own flower garden are Peppermint Stick Zinnias, Candystripe Cosmos, and White Lace Orlaya. These varieties will provide a range of textures and colors and give me a beautiful, healthy supply of fresh cut flowers to create some lovely homegrown bouquets in the coming months.
How to Plant Seeds for a Cut Flower Garden
Planting seeds in biodegradable pots is a very similar process to using other garden containers.
First, fill your plantable pots with potting soil. I used an organic, natural seed starter potting mix and filled the pots most of the way full.
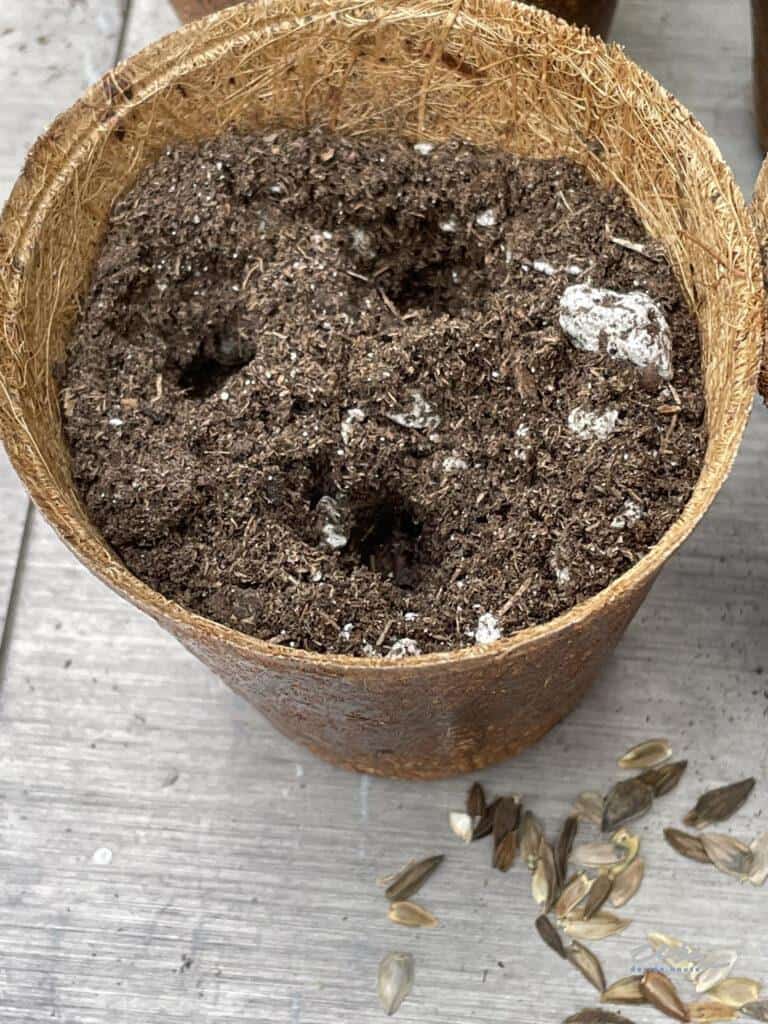
Next, place seeds in each pot. You’ll want to leave a little space between each seed to give them enough room to grow. I planted three seeds in each of my little pots.
Here’s where the pencil comes in. Use the eraser end to gently push the seeds into the soil. A pencil is the perfect size for this job and allows you to achieve a consistent depth. Read the seed packet for instructions for each seed variety you are planting. The hole does not need to be very deep, maybe 1/4-1/2″. Each type of seed may need a varying depth, so read the directions carefully on the seed packet.
If you are planting several varieties, I recommend labeling your pots. This will come in handy when its time to transplant your seedlings into your garden space, as it can be hard to tell the difference between varieties at this stage.
Finally, water well. I like to use a mister so they don’t get too much water at one time. Or you can place water in the tray that your pots are sitting in and they will absorb the water. Place the pots in a warm spot to help the seeds germinate quickly. It is best to cover the pots until the seeds sprout. It’s important to make sure the pots stay consistently moist, so check on them daily and water when needed.
Now that your cut flower garden seeds have been planted and watered regularly, the wait begins. The amount of time it will take for your seeds to sprout will vary slightly depending on the variety. Check your seed packet for details on each flower type you are growing. It’s always so exciting to see the first sign of growth pushing through the dirt! Once they have sprouted, remove the cover and keep them moist.
Transplanting Seedlings
When the seedlings are mature (usually and there is no longer any danger of frost in your area, they are ready to transplant. It’s important to harden off your seedlings, which simply means to gradually introduce them to your climate’s outdoor temperatures. (This is only necessary if you sowed your seeds indoors)
By using the plantable pots, or peat pots, transplanting is easy. Just ensure the pot is completely covered with soil; you can tear away the edges at the top if needed. The pot is biodegradable and will break down naturally, leaving plenty of room for the roots to grow strong and your flowers to flourish.
For now, I am still in the waiting stage, watching and caring for my newly planted seeds, waiting for them to sprout. But I can’t wait to share the next steps and progress with you. Be sure to check back on the blog for updates on my adventures in preparing a cut flower garden. Happy gardening!
SHOP MY GARDEN


Thank you for sharing all of your tips! I need all of the help I can get because I do not have a green thumb at all!
You are so welcome, thanks for stopping by and taking the time to read my blog post. I hope you found it helpful.