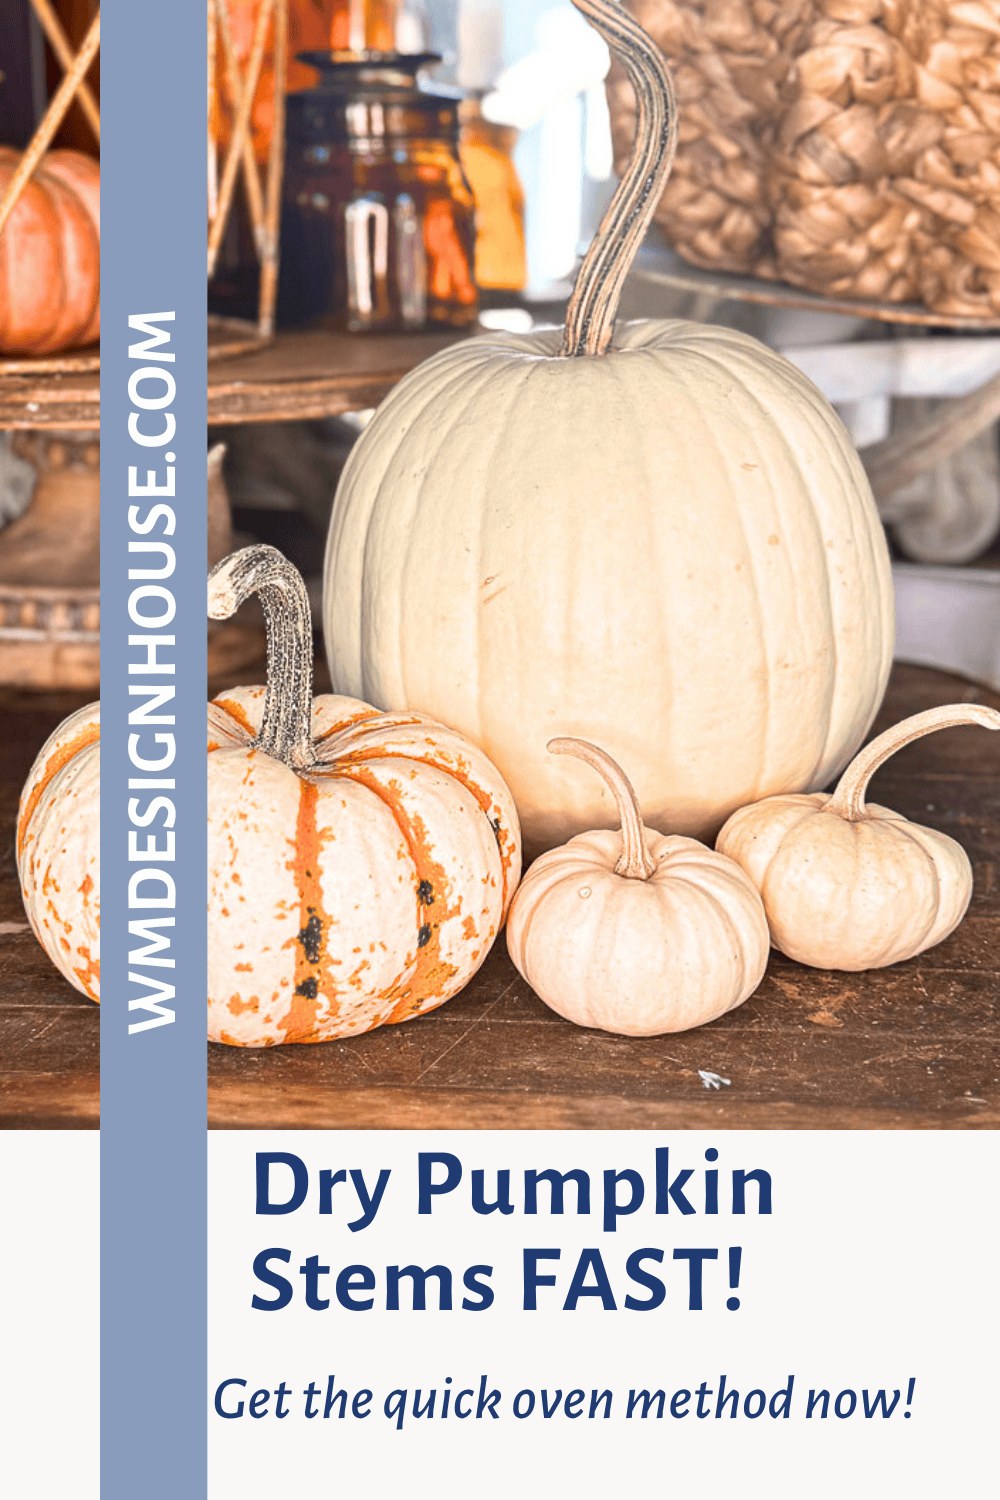
Don’t Toss Those Stems! My Secrets for How to Dry Pumpkin Stems
I love when pumpkin season rolls around—honestly, I know I’m obsessed with pumpkins! My friends kindly refer to me as the Pumpkin Queen, and I’ve been teaching my grandchildren how to hunt for loose pumpkin stems at the pumpkin farm for years. There’s something magical about all the colors, textures, and shapes that fill the garden and the markets this time of the year.
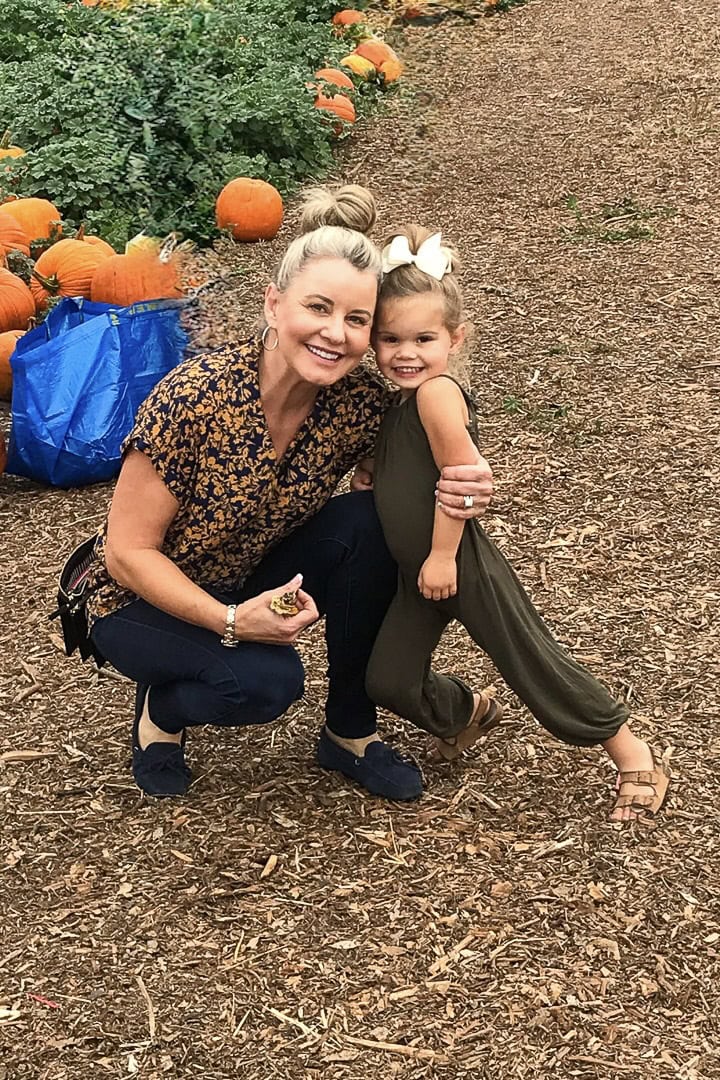
Before you get rid of your pumpkins or use them to cook with, let’s remove those stems! I’ve been saving and drying pumpkin stems for years, and it’s one of the easiest, most rewarding fall crafts you can do.
Tip from wendy’s craft room:
don’t toss those stems! I’ve been saving and drying pumpkin stems for years, and it’s one of the easiest, most rewarding fall crafts you can do.
On my blog WM Design House, I may sometimes use affiliate links, which means a small commission is earned if you purchase via the link. The price will be the same whether you use the affiliate link or go directly to the vendor’s website using a non-affiliate link. Read my full disclosure policy here.
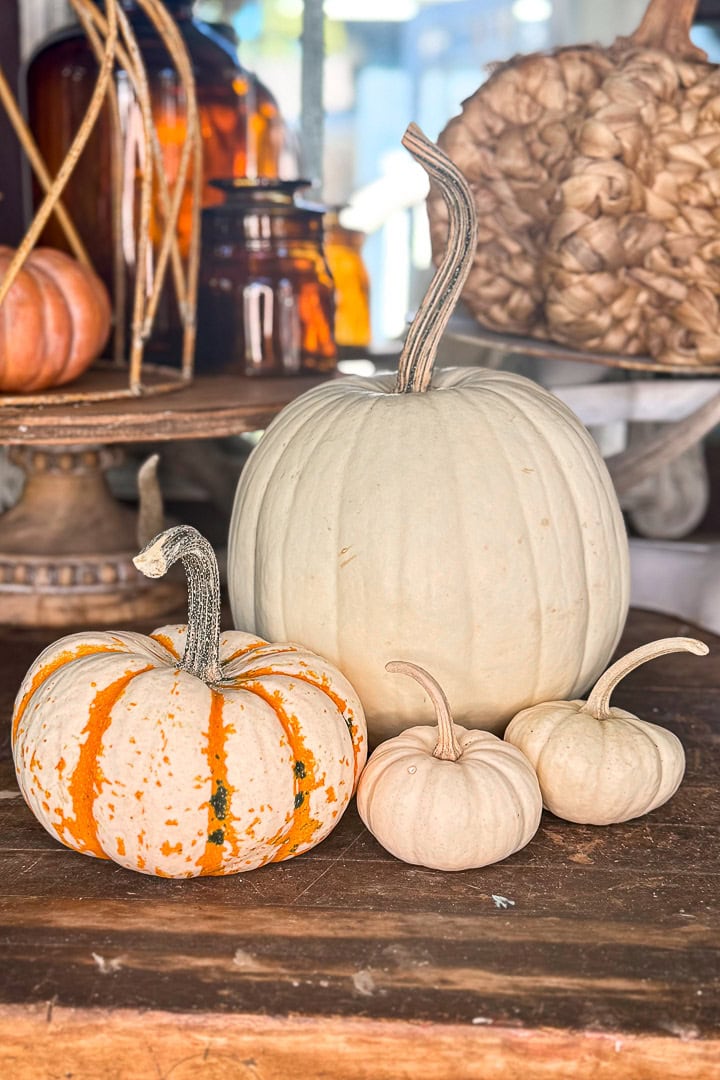
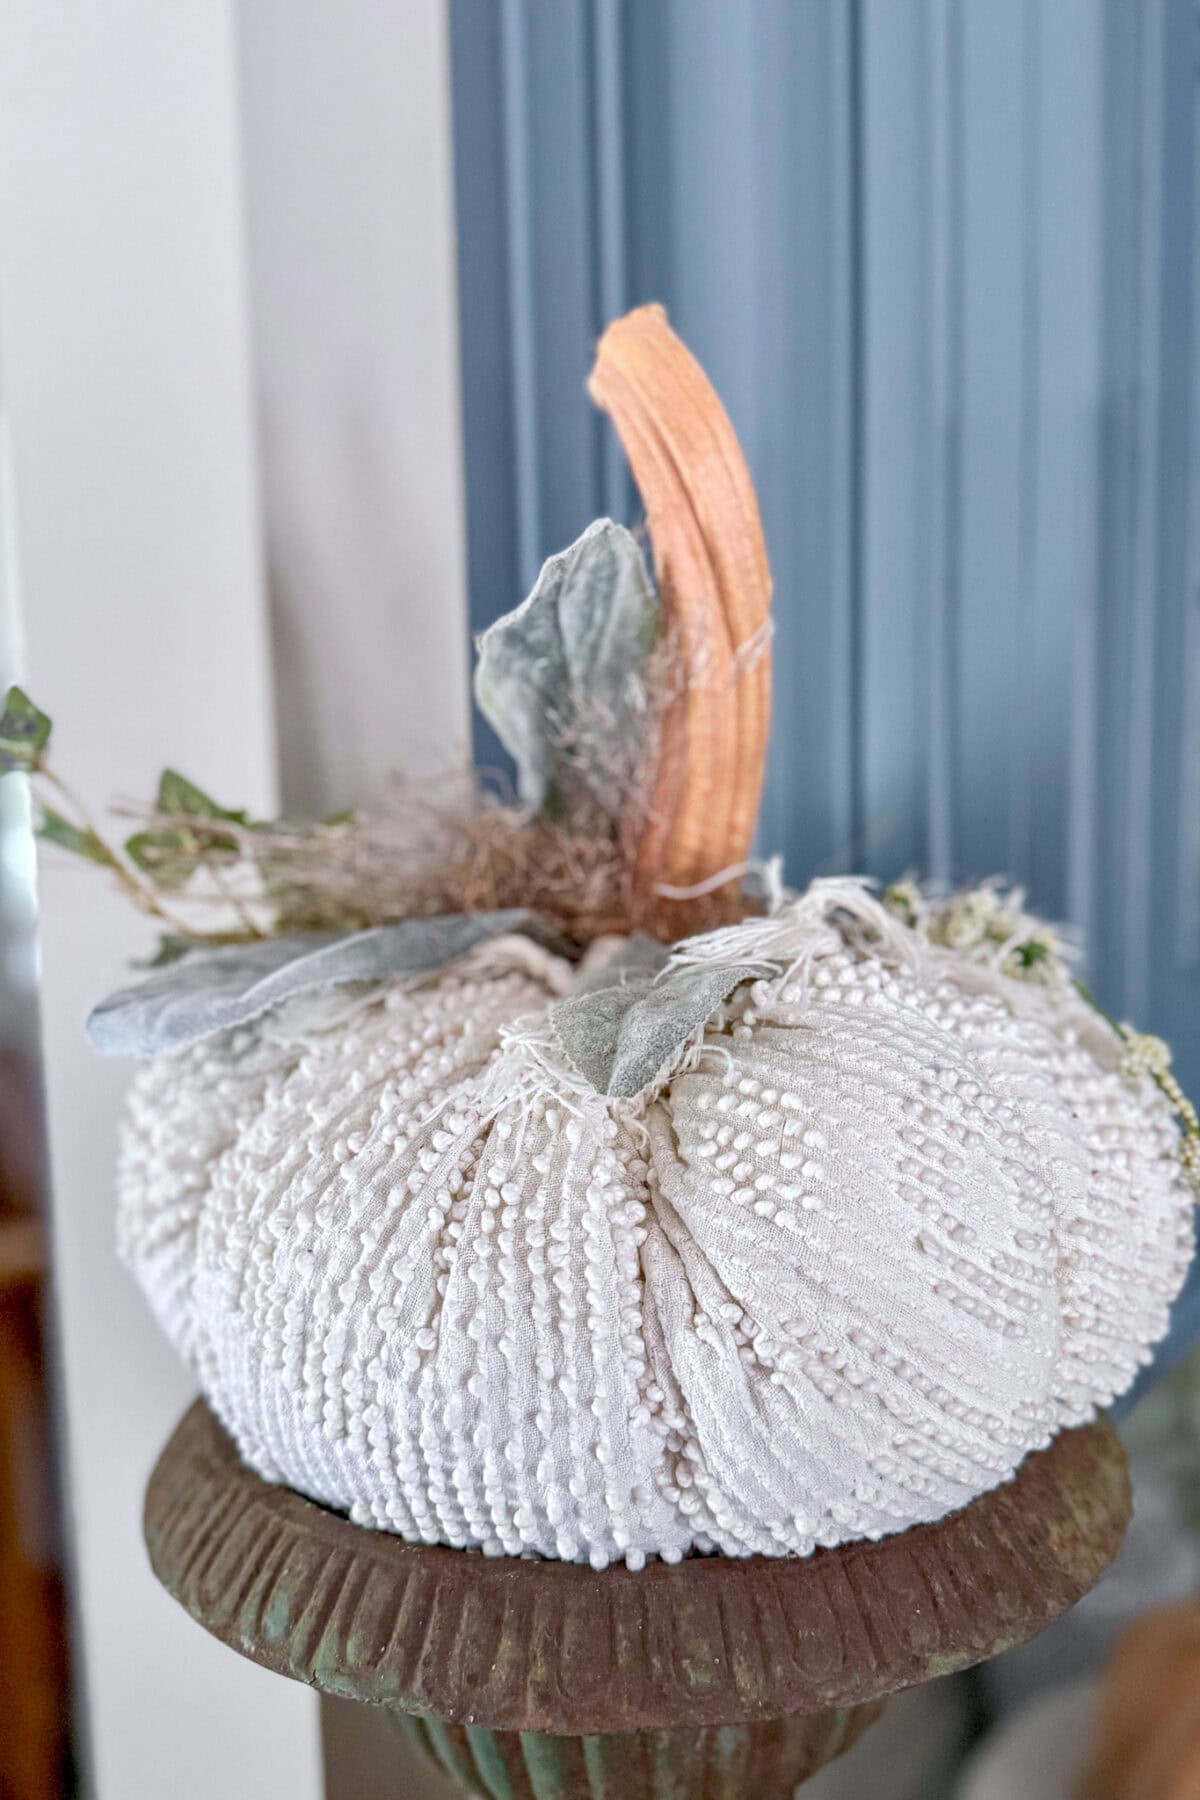
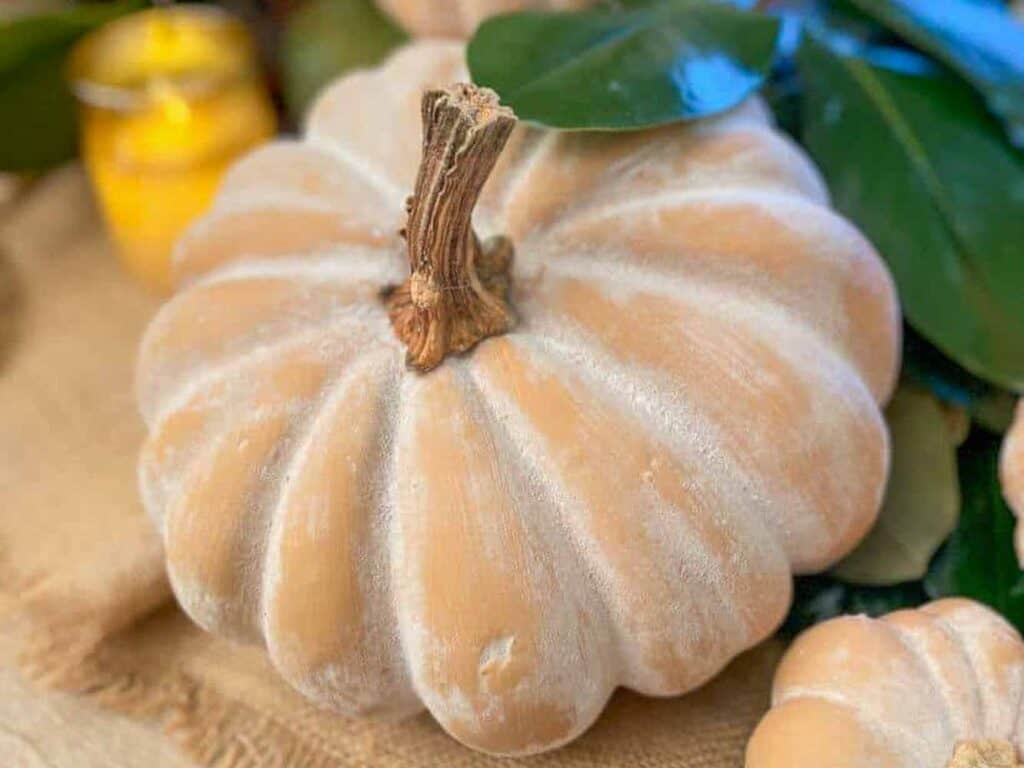
Dried pumpkin stems add such a natural, rustic touch to your home decor and DIY pumpkin projects. They’re eco-friendly, sustainable, and the perfect way to make the most of your harvest. Once dried, these charming little stems can be reused year after year—on fabric pumpkins, sweater pumpkins, or even to replace the tops on your faux pumpkins for a more realistic look.
Let’s dive into how to dry and save pumpkin stems the easy way!
Supplies you will need
- Assortment of pumpkins
- 1 Serrated knife
- Parchment paper or tray
- Mod Podge sealer spray
Why Save Pumpkin Stems?
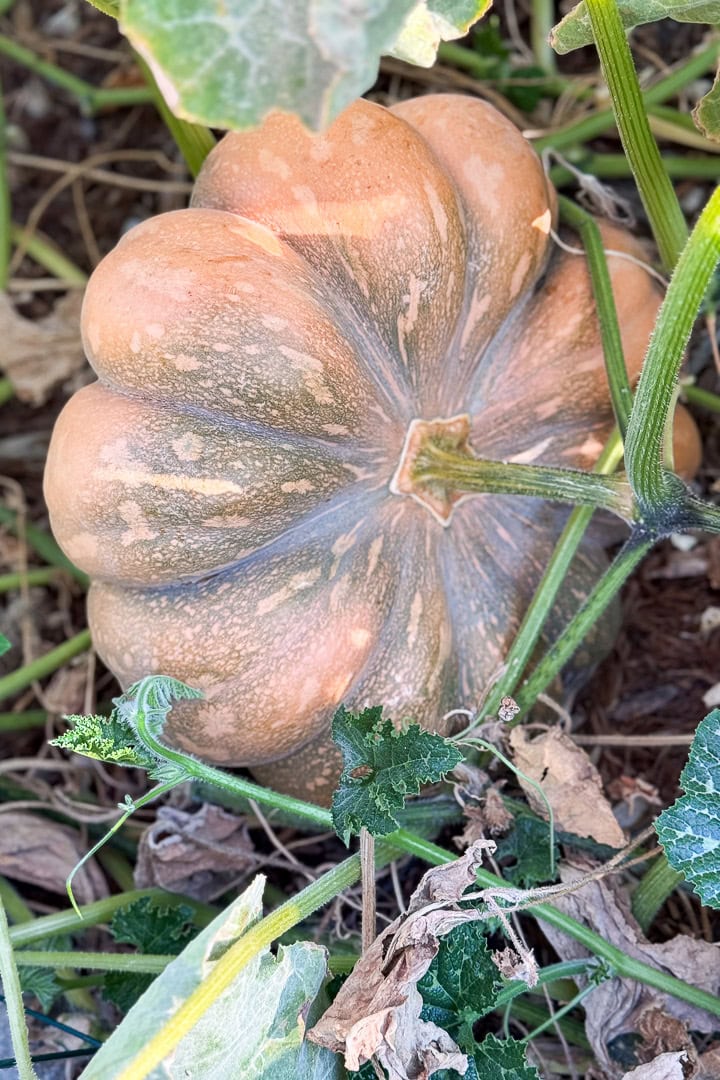
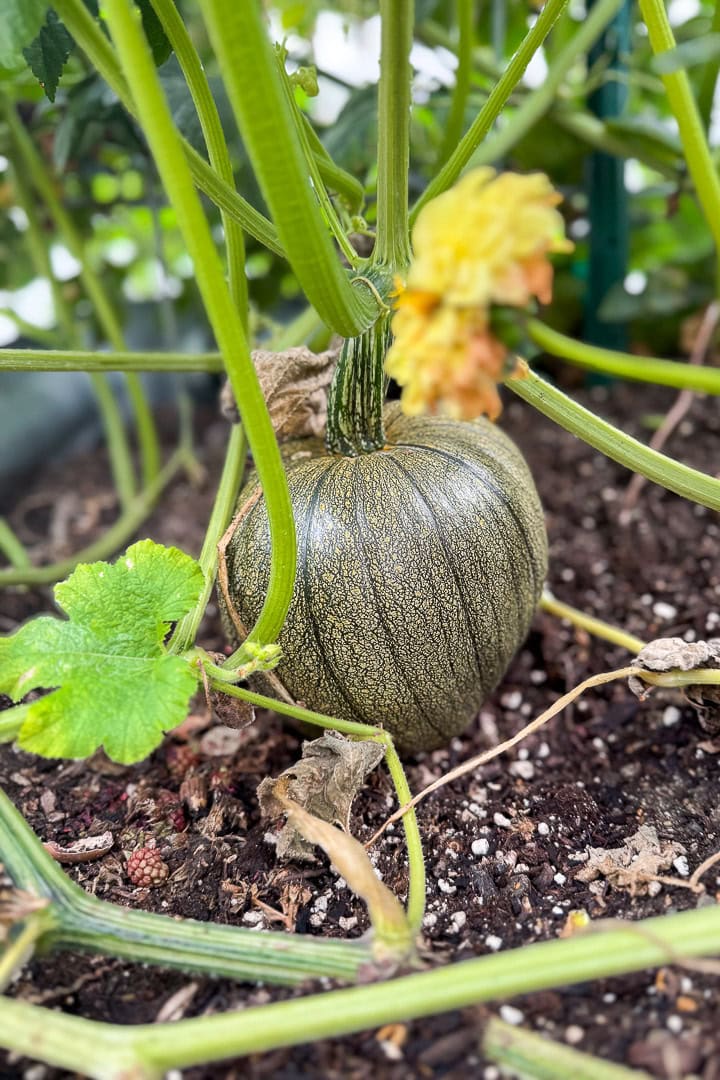
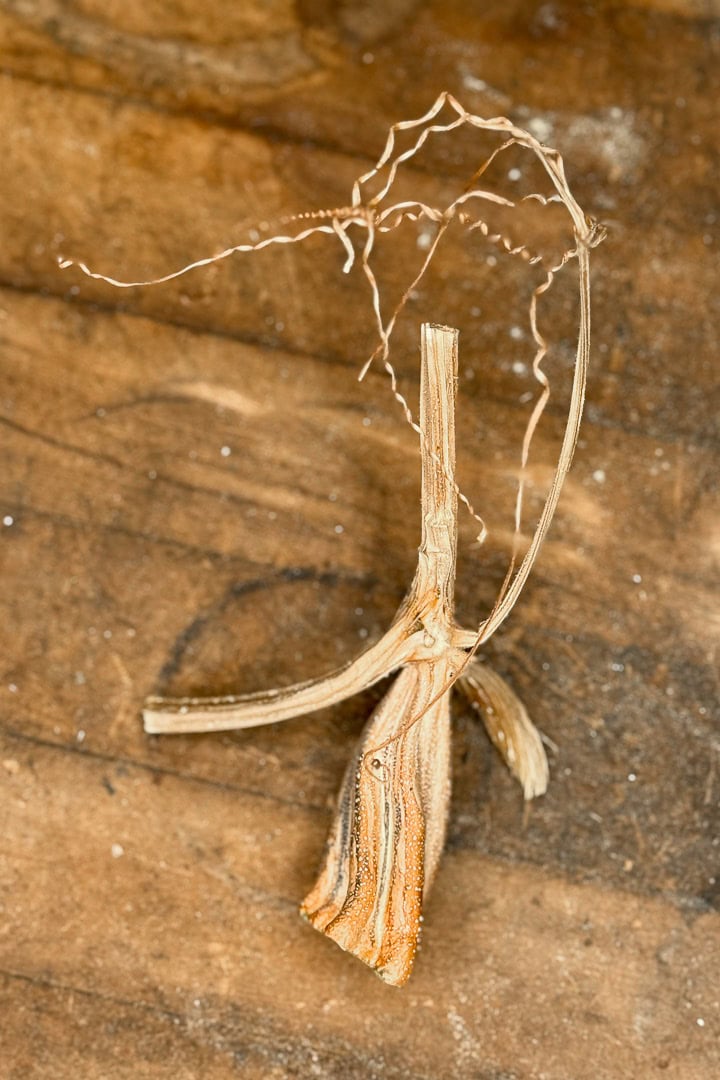
There’s something so special about real pumpkin stems—their twists, textures, and the way each one tells its own story from the pumpkin patch. I love how they vary in shape and color, from soft greens to deep browns, and how no two are ever the same. When dried, these stems become beautiful little keepsakes that can be used for years to come.
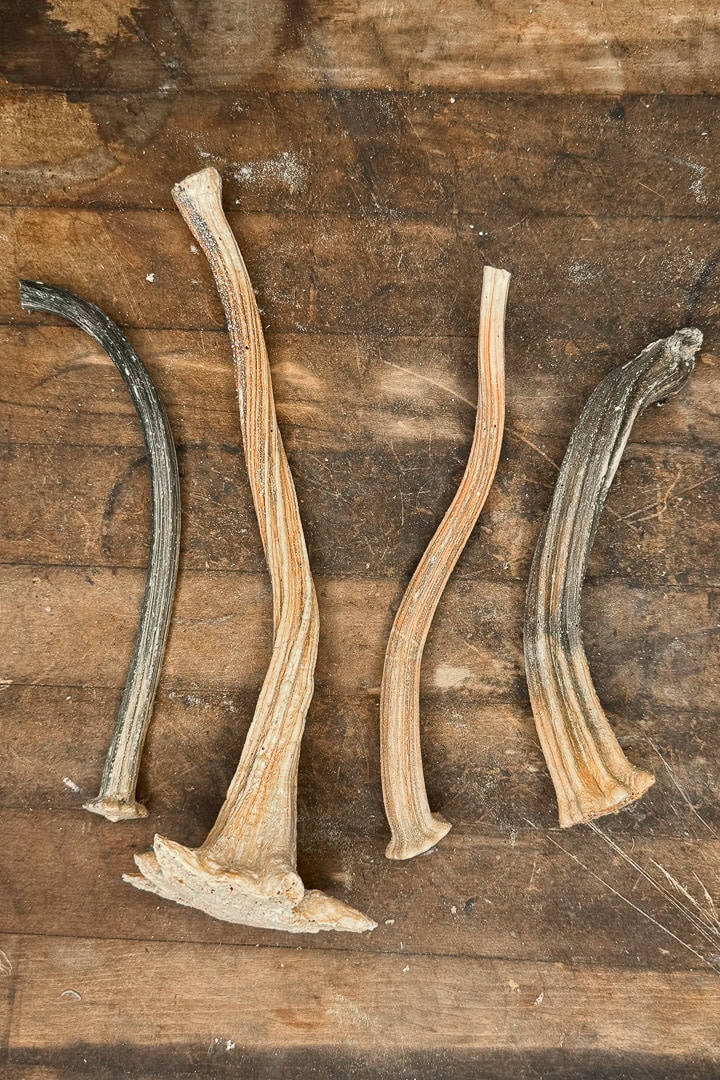

Using dried pumpkin stems in your crafts adds that authentic, organic touch that faux versions just can’t match. They bring life and texture to projects like fabric pumpkins, velvet pumpkins, or even small faux pumpkins that could use a more realistic finish. Plus, saving them is such an easy way to make the most of your harvest while keeping your fall decor sustainable and budget-friendly.
Tip from wendy’s craft room:
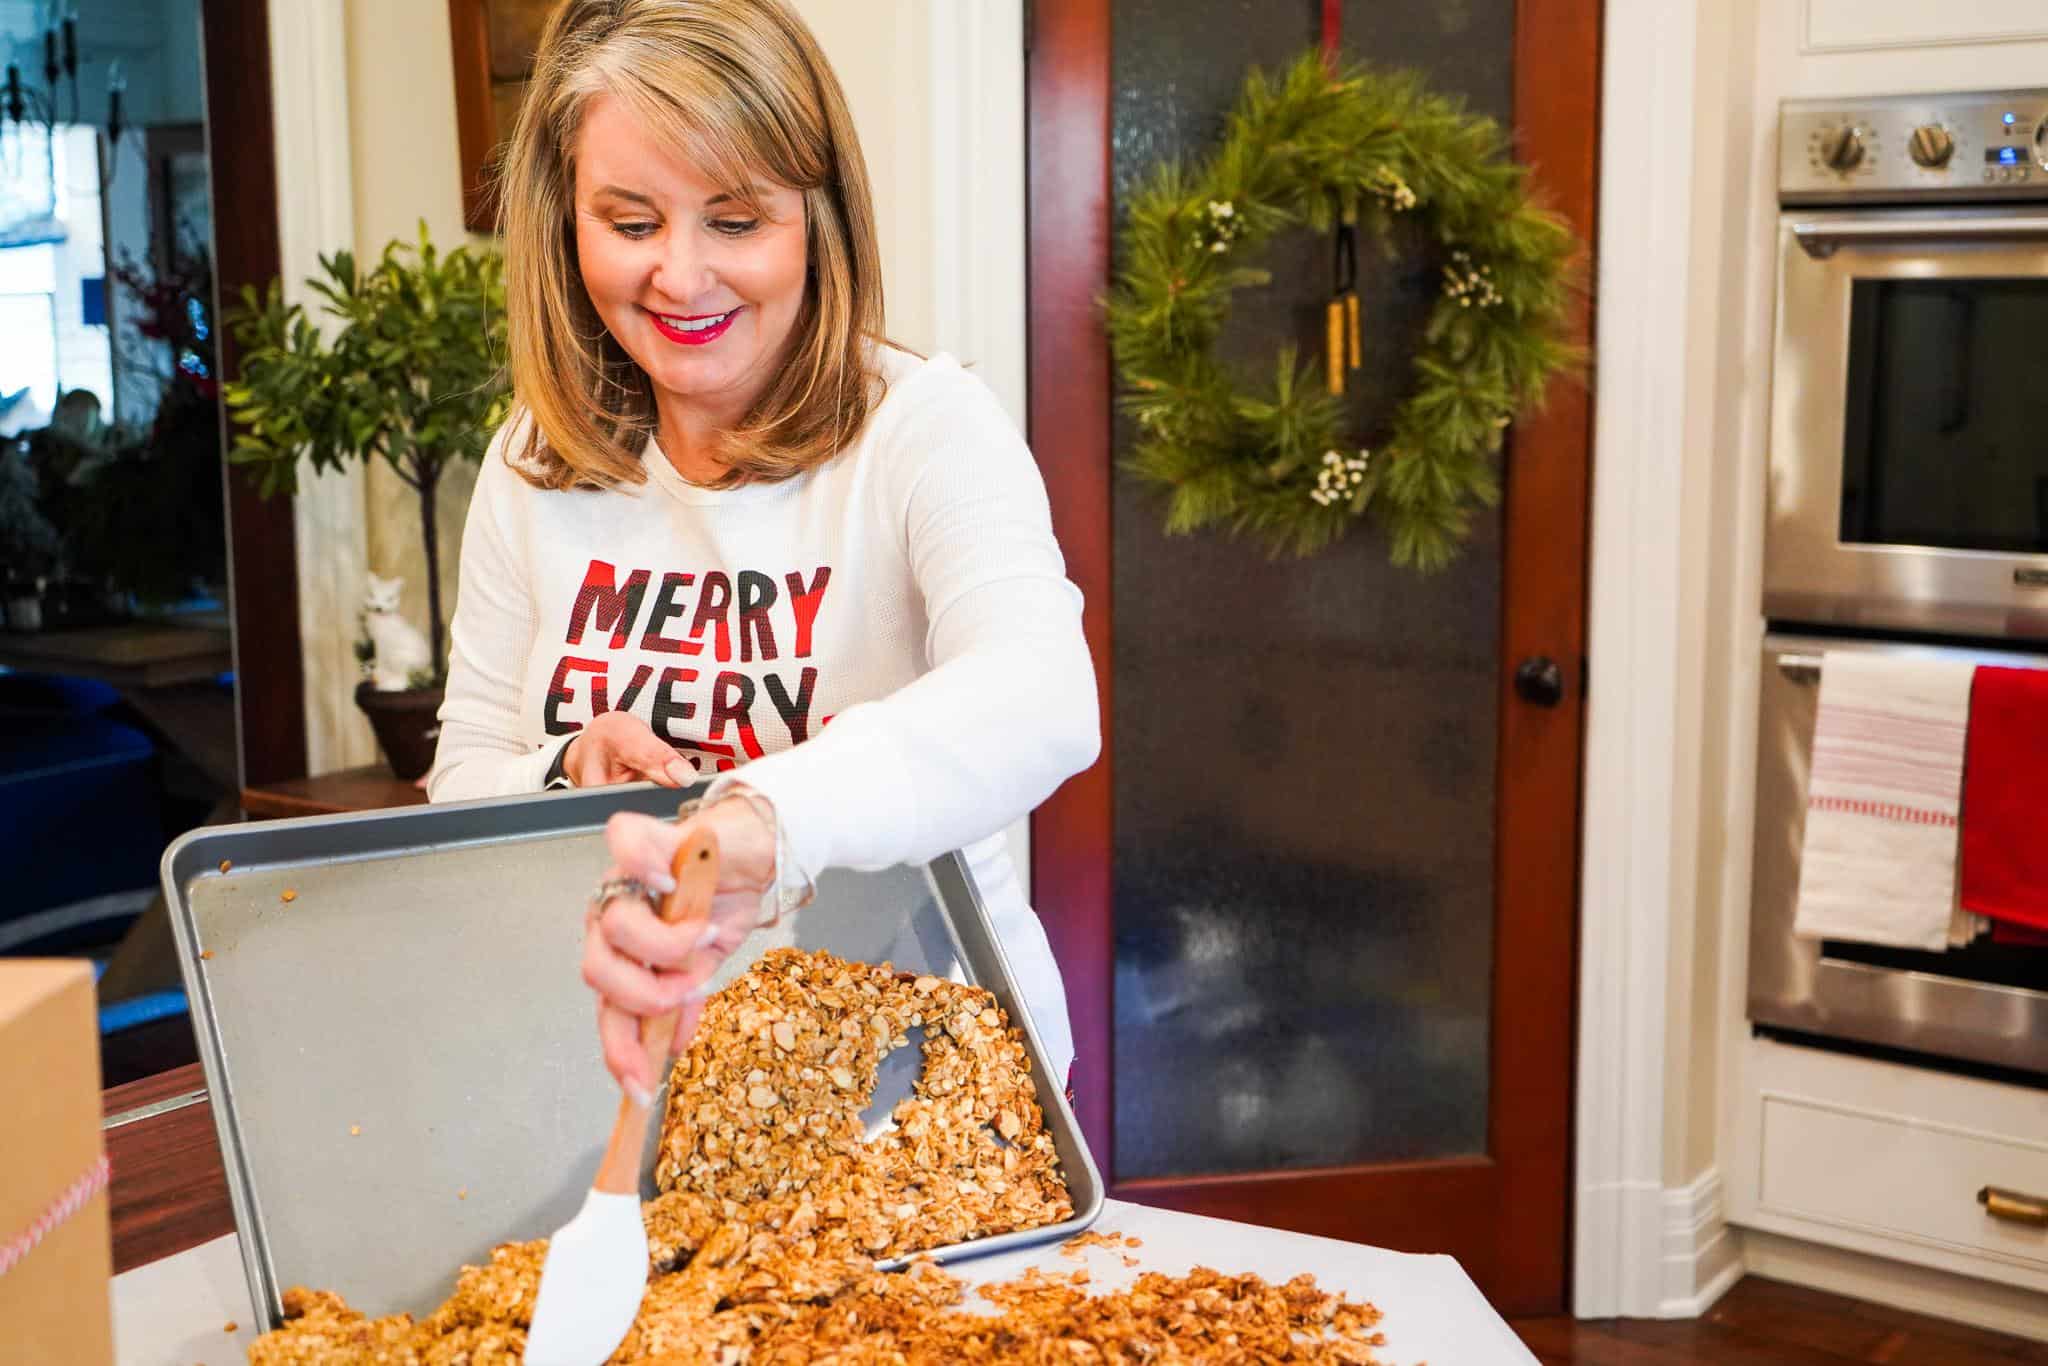
I’ve even been known to dig through the big pumpkin bins at the grocery store in search of broken stems. Of course, I always ask the manager first, but you’d be amazed at the treasures you can find tucked among those pumpkins!
How to Dry Pumpkin Stems
Equipment
- 1 Serrated knife
Materials
- Leftover pumpkins
- Paper towels or parchment paper
- A flat drying surface like a tray or piece of cardboard
- Optional: disposable gloves stems can be prickly!
- Optional: matte sealer spray or Mod Podge for preservation
Instructions
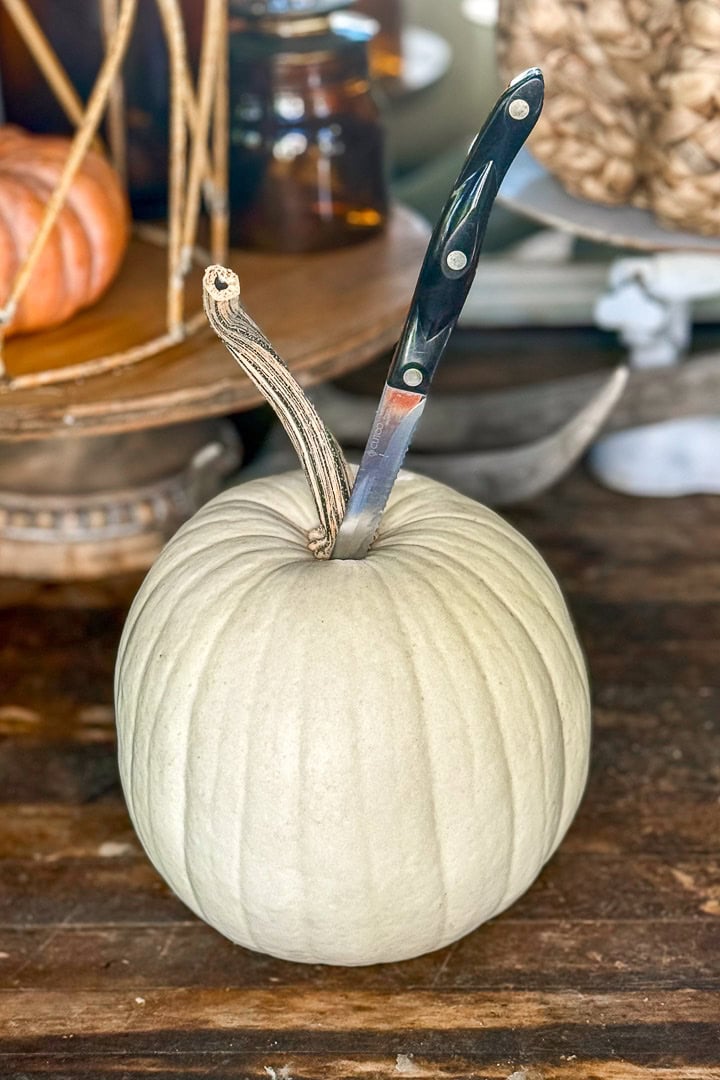
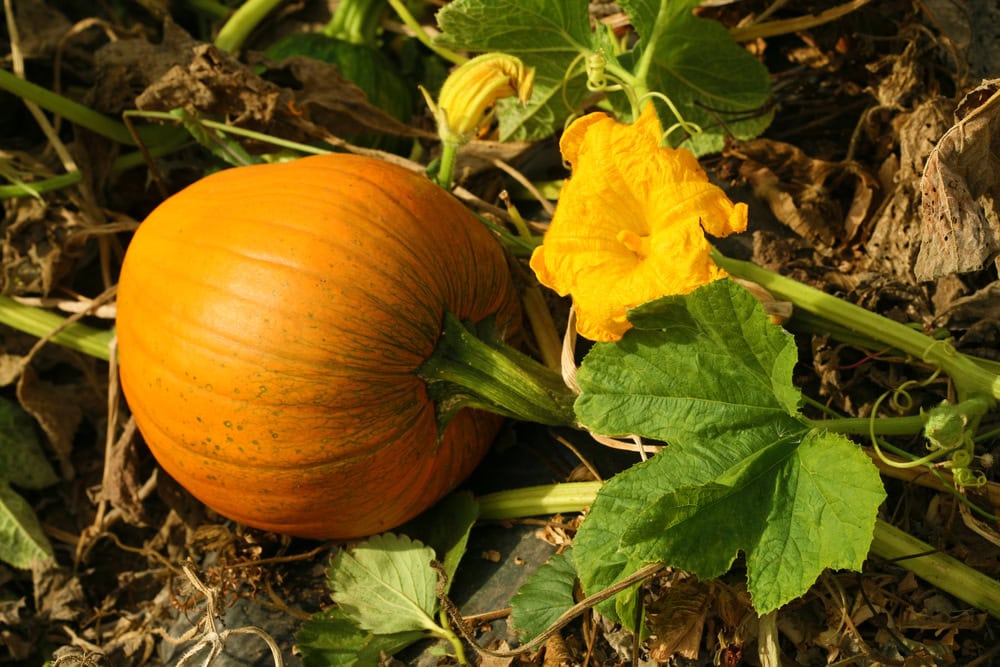
- Cut stems from firm, healthy pumpkins — avoid soft or moldy ones.
- Use a knife to cut around the base (don’t twist off).
- Gently brush away dirt; do not wash with water.
- Place stems on parchment paper or cardboard in a single layer.
- Let them air-dry in a warm, dry place for 2–4 weeks.
- Turn stems every few days for even drying.
- Optional: speed up the process in a 200°F oven for 2–3 hours, checking often.
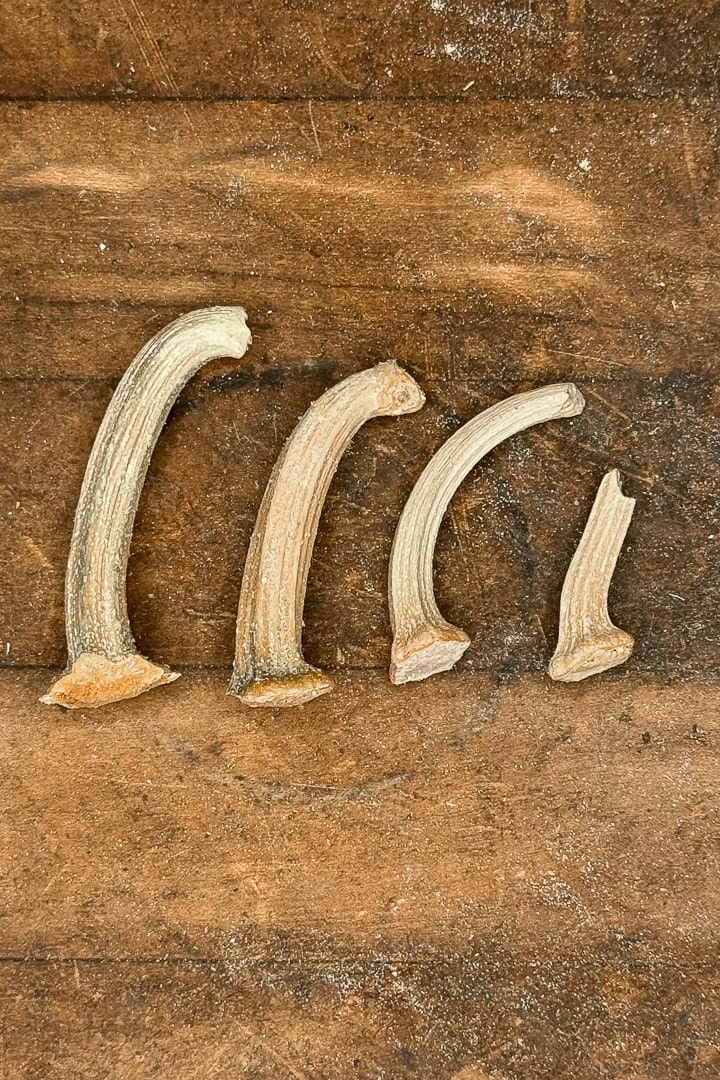
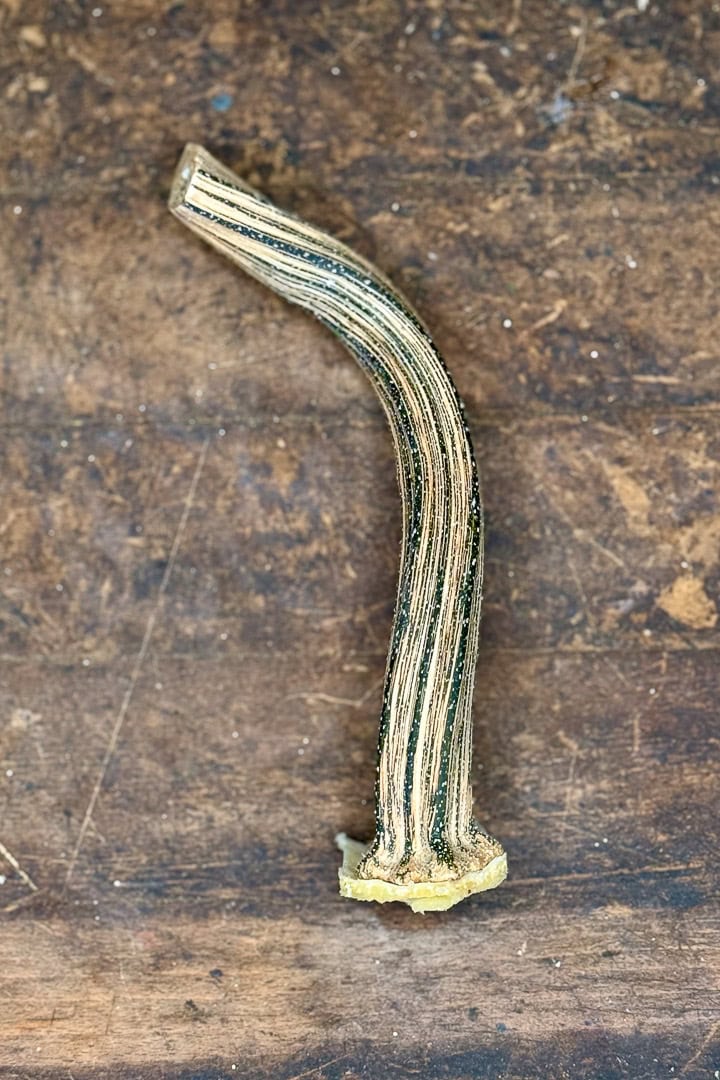
- When stems feel hard and woody, they’re fully dry.
- (Optional) Lightly coat with matte or glossy sealer or Mod Podge to preserve.
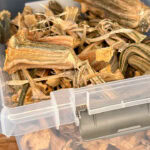
- Store in a paper bag or box in a cool, dry spot until ready to craft.
Shop Supplies

How to Remove Pumpkin Stems Safely
When it’s time to collect your stems, start with firm, healthy pumpkins. Avoid any that are soft, mushy, or showing signs of mold.
Step 1: Removing the Stems
- Use sharp scissors or a sharp knife to cut around the base of the stem—never twist it off, as that can cause it to break.
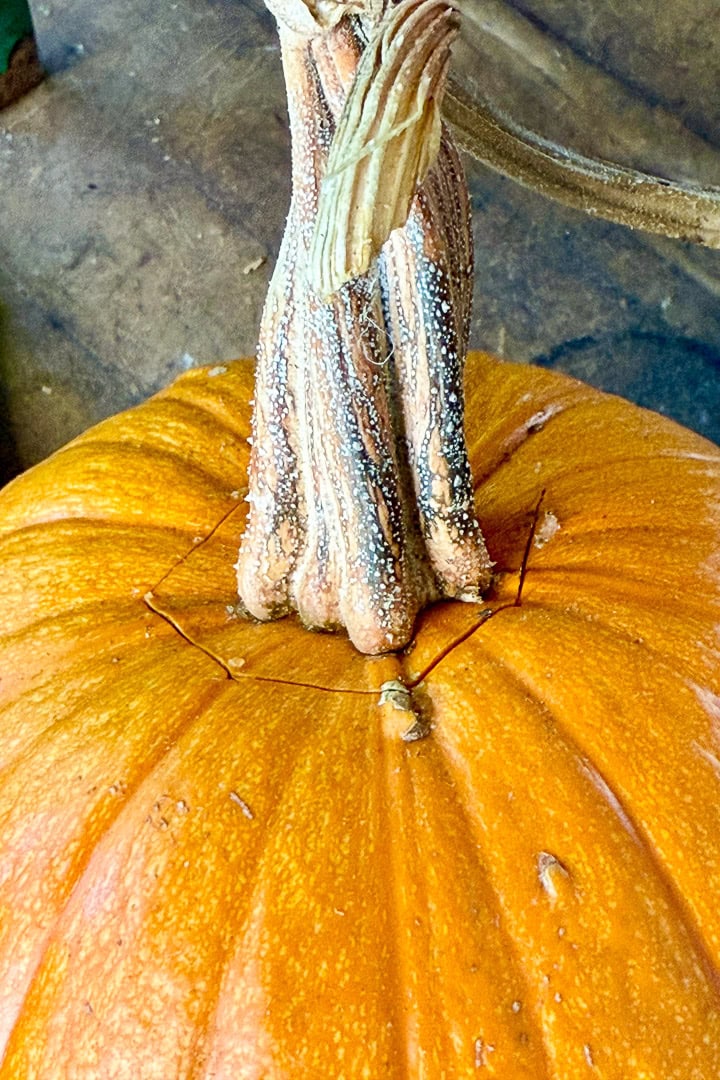
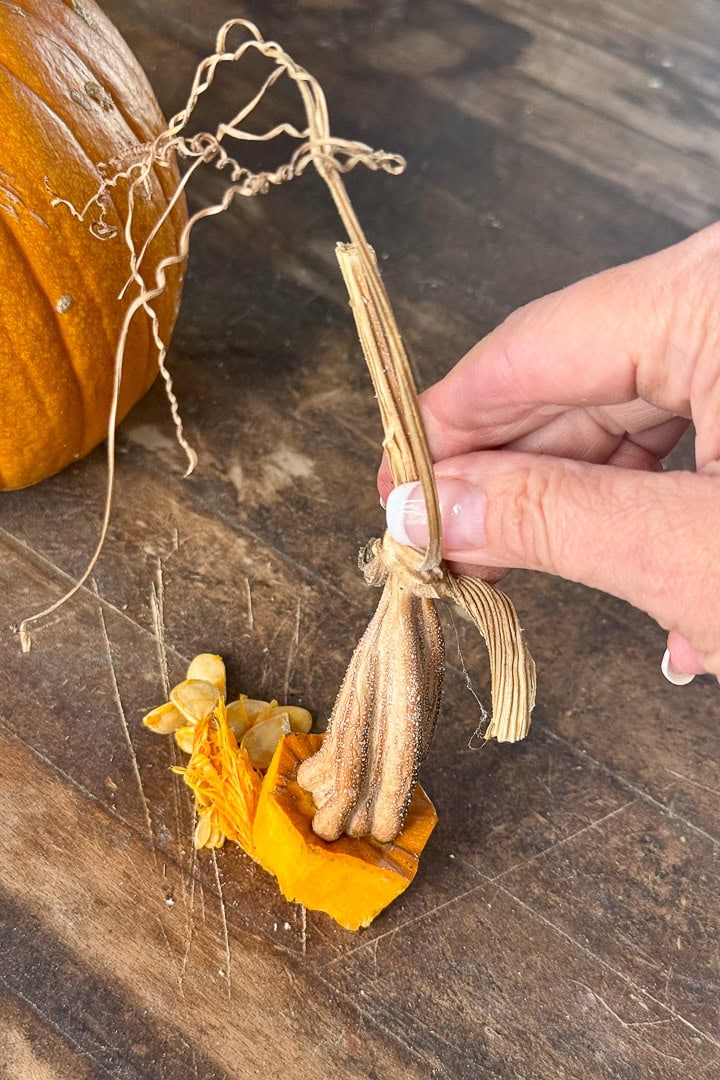
- Leave a small bit of pumpkin flesh attached to the base. It helps the stem dry more evenly and adds character.
- Gently wipe away any dirt or debris using a dry paper towel.
- Skip washing them with water, which can introduce moisture and lead to mold.
Tip from wendy’s craft room:
I keep a small box in my She Shed labeled “Pumpkin Stems,” and it’s come in handy more times than I can count! They last for years and are always ready for my next round of fall crafts.
Step 2: How to Dry Pumpkin Stems Naturally
If you love a more natural approach, air drying is the best way to preserve your stems. It takes a little time, but the results are worth it.
- Place your stems in a single layer on parchment paper, cardboard, or a baking sheet.
- Choose a warm, dry location with good airflow—your garage, craft room, or She Shed works perfectly.
- Rotate the stems every few days to help them dry evenly.
- Allow them to dry for 2–4 weeks, depending on the humidity level.
- You’ll know they’re ready when they feel lightweight, hard, and slightly woody.

Tip from wendy’s craft room:
If your area is humid, set a small fan nearby to keep the air circulating and prevent mold from forming.
Faster Drying Options
If you’re short on time or just eager to get crafting (I’ve been there!), you can speed up the drying process.
Oven Method:
- Line a baking sheet with parchment paper.
- Place the pumpkin stems in a single layer and bake at the lowest possible temperature—around 200°F—for 2–3 hours.
- Check often to make sure they don’t over-dry or darken too much.
- Allow them to cool completely before handling.
The quick oven method works great when you’re short on time, but naturally dried stems often keep a bit more of their rustic green tones and natural shape. I like to do both—some for immediate use, and others I dry the slow way for future projects.
Dehydrator Method:
- Set your dehydrator to about 110°F.
- Arrange the stems evenly and dry for 8–12 hours, or until completely hard and dry.
Both of these methods work beautifully when you want to prepare dried pumpkin stems quickly for fall crafts or home decor projects.
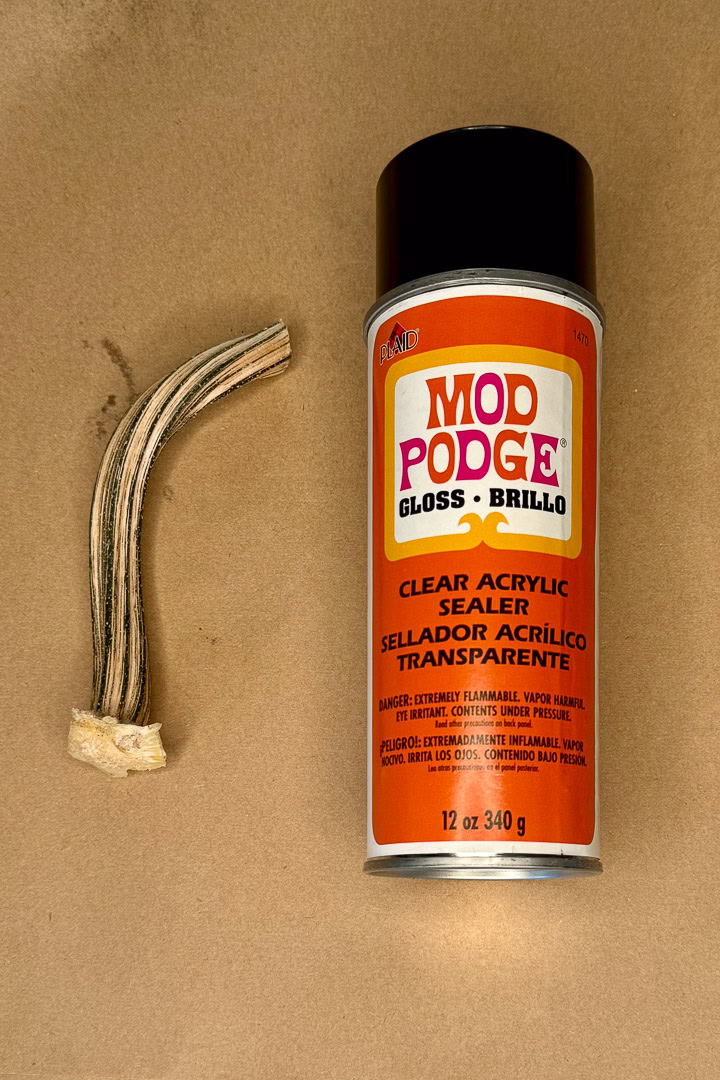
Optional: Sealing and Storing Dried Pumpkin Stems
Once your stems are completely dry, you can preserve them with a light coat of matte sealer spray or Mod Podge. This step helps protect them from moisture and keeps them looking beautiful for years to come.
- Lay the stems on a parchment-lined baking sheet.
- Lightly spray or brush each one with a thin coat of sealer.
- Let them dry overnight.
- Store your dried pumpkin stems in a paper bag or cardboard box, somewhere cool and dry.
Avoid plastic bags or containers—they trap moisture and can cause mold over time.
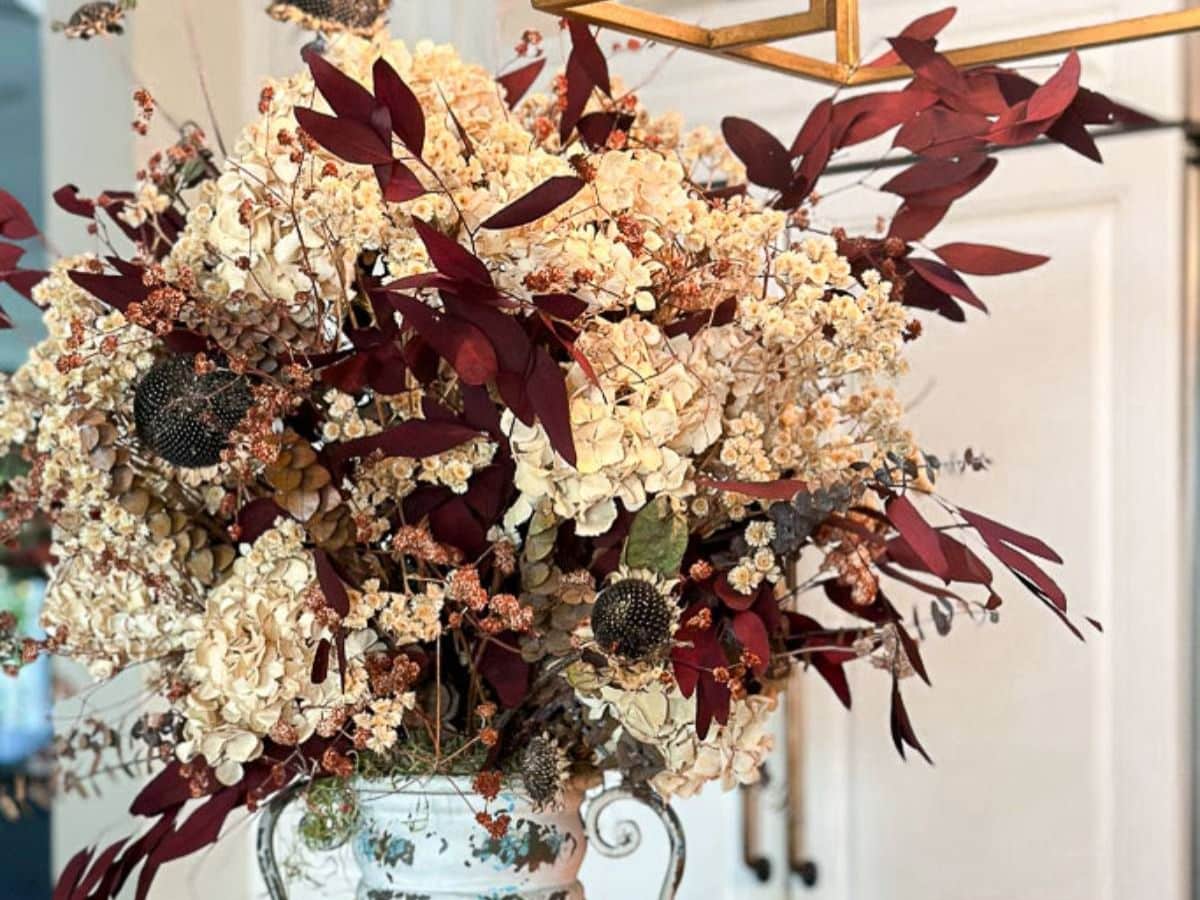
Creative Ways to Use Dried Pumpkin Stems
Now comes the fun part! Once your stems are fully dry, there are so many ways to use them in your seasonal projects and home decor.
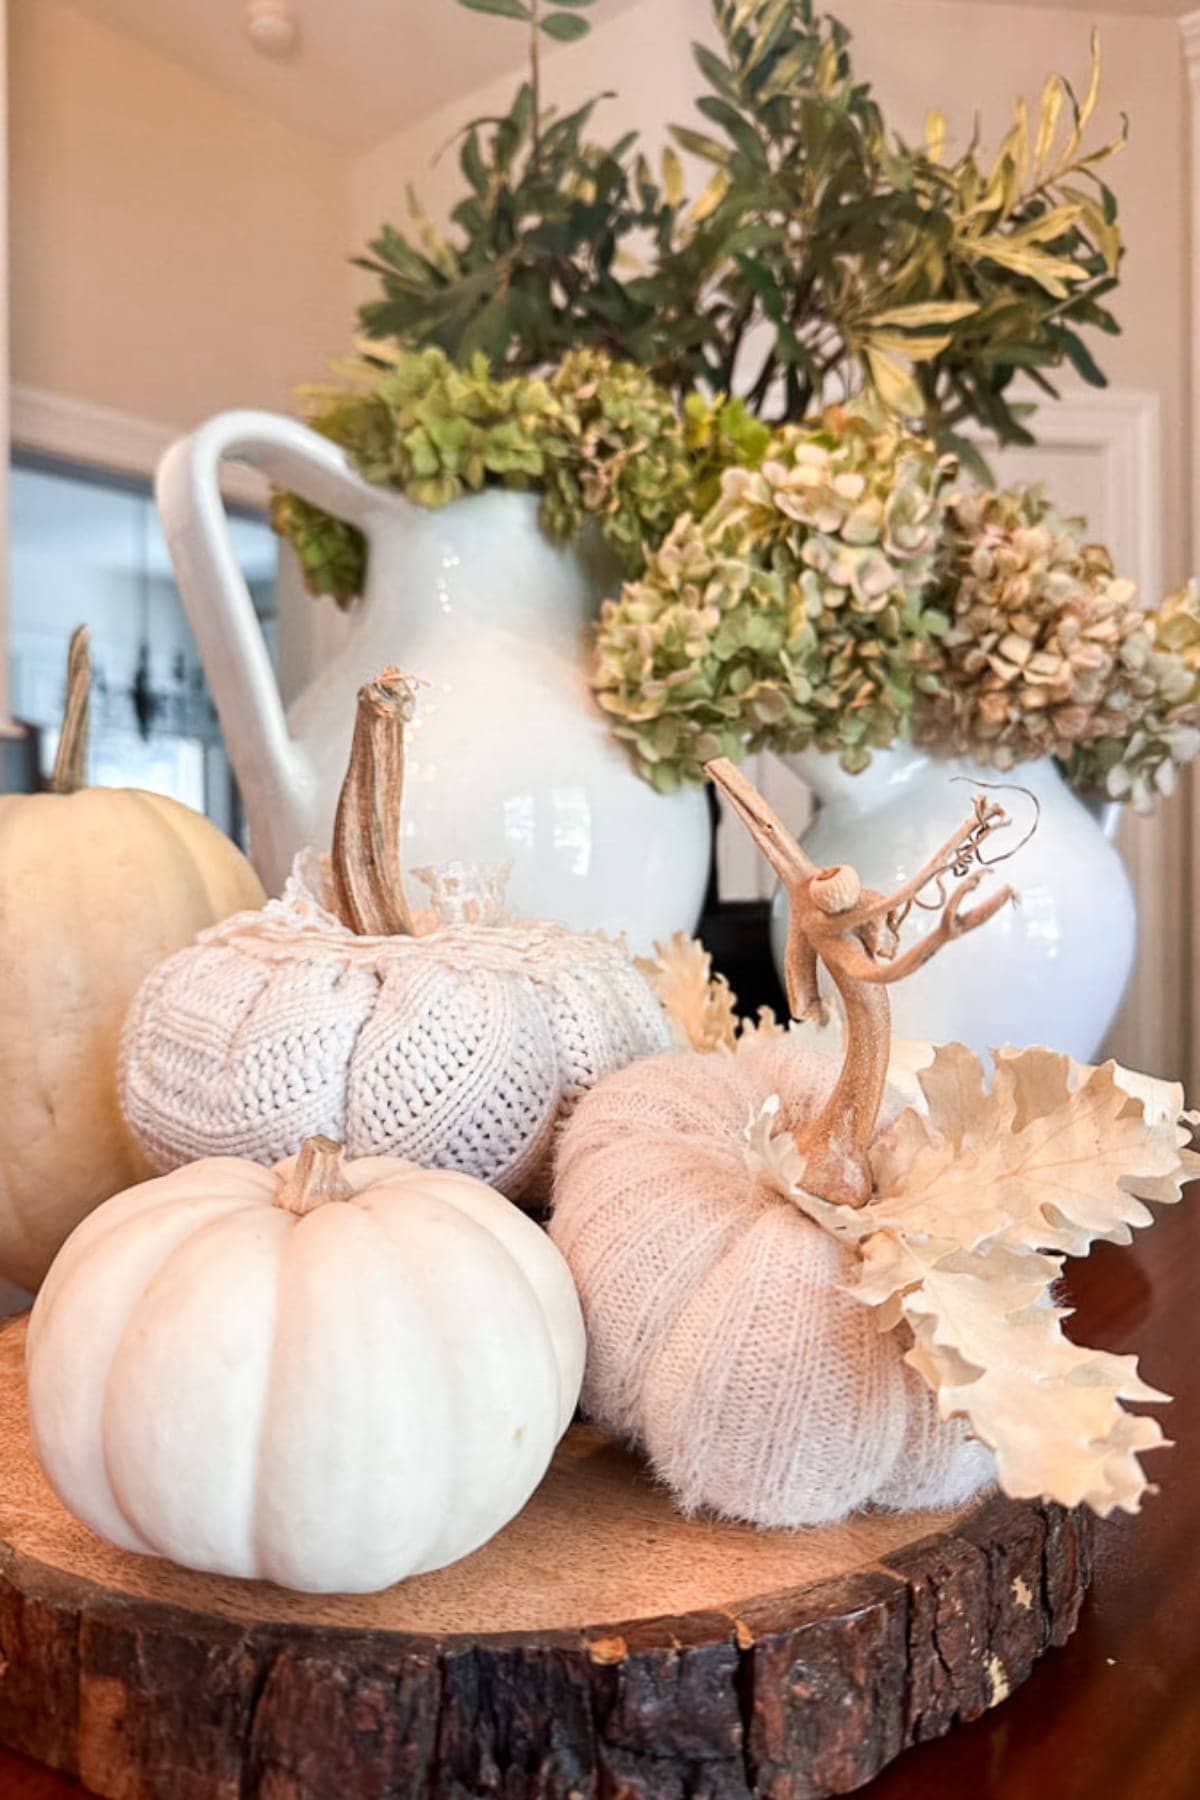
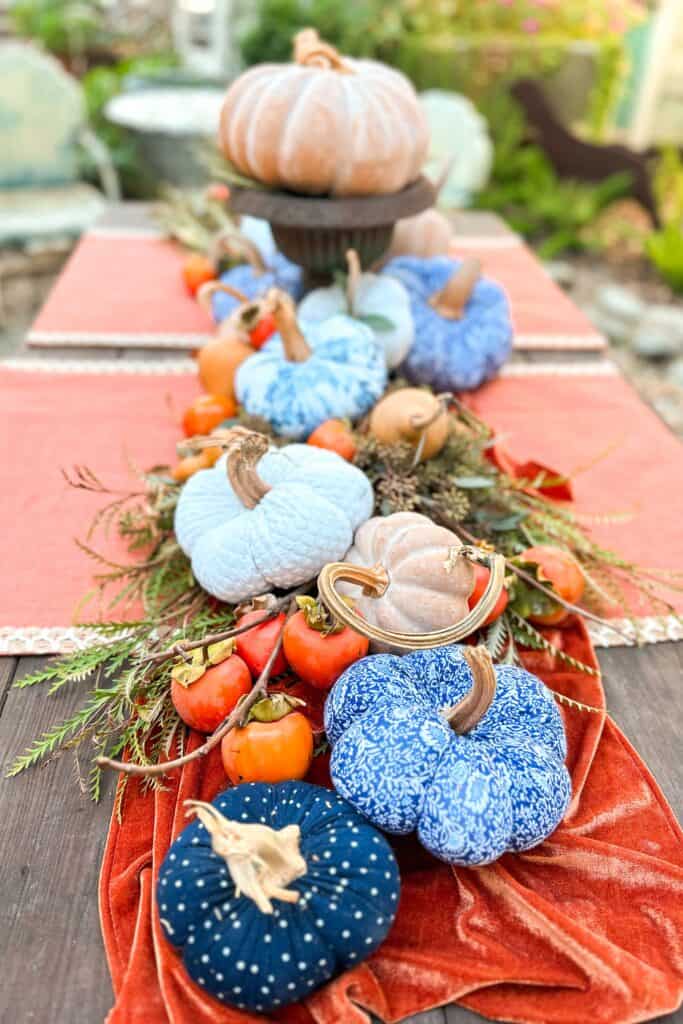
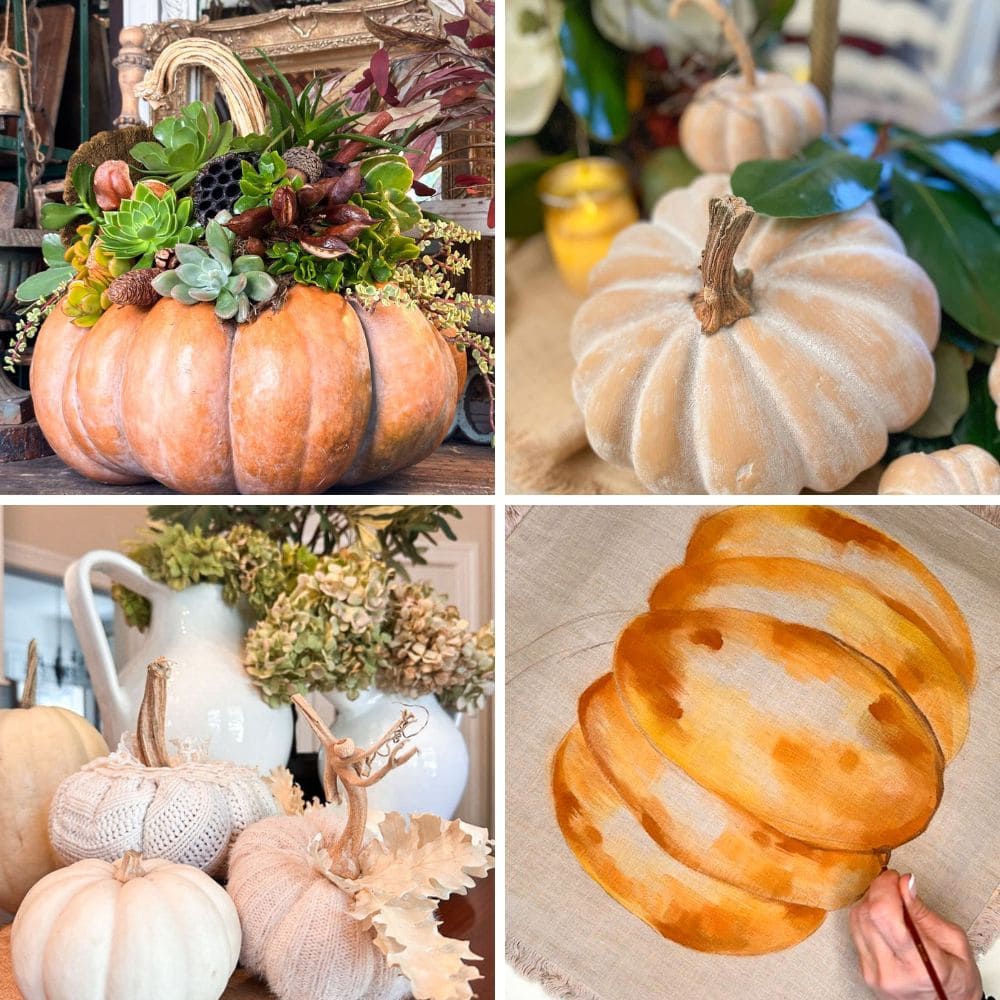
- Attach them to fabric pumpkins, sweater pumpkins, sweater pears or DIY metal painted pumpkins.
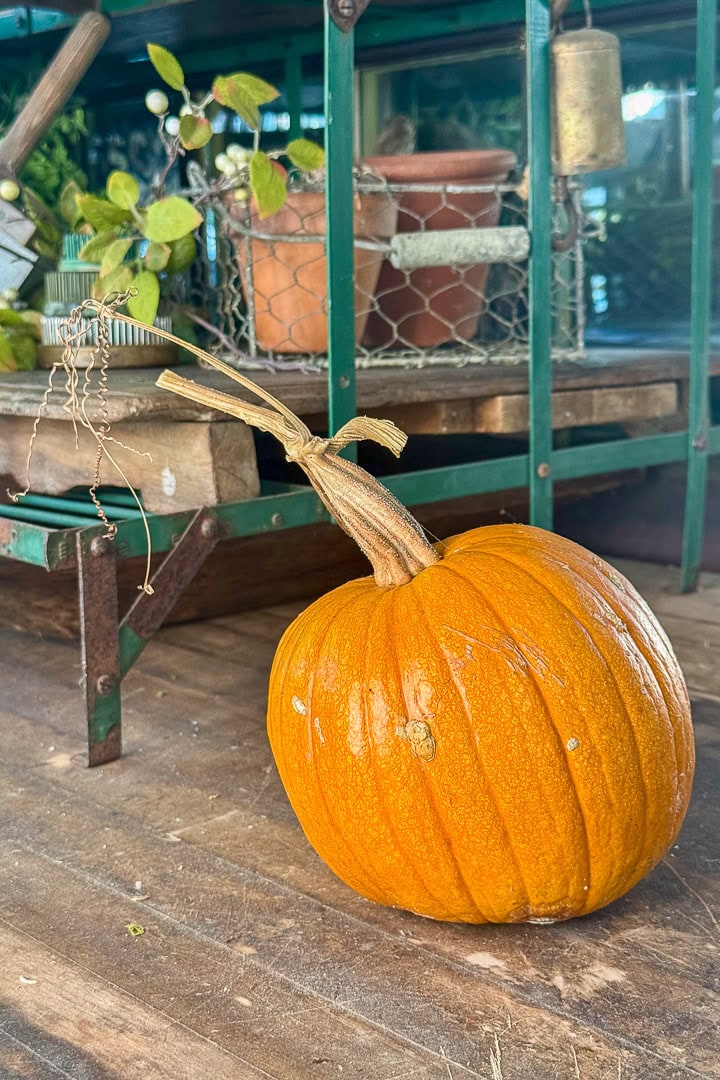
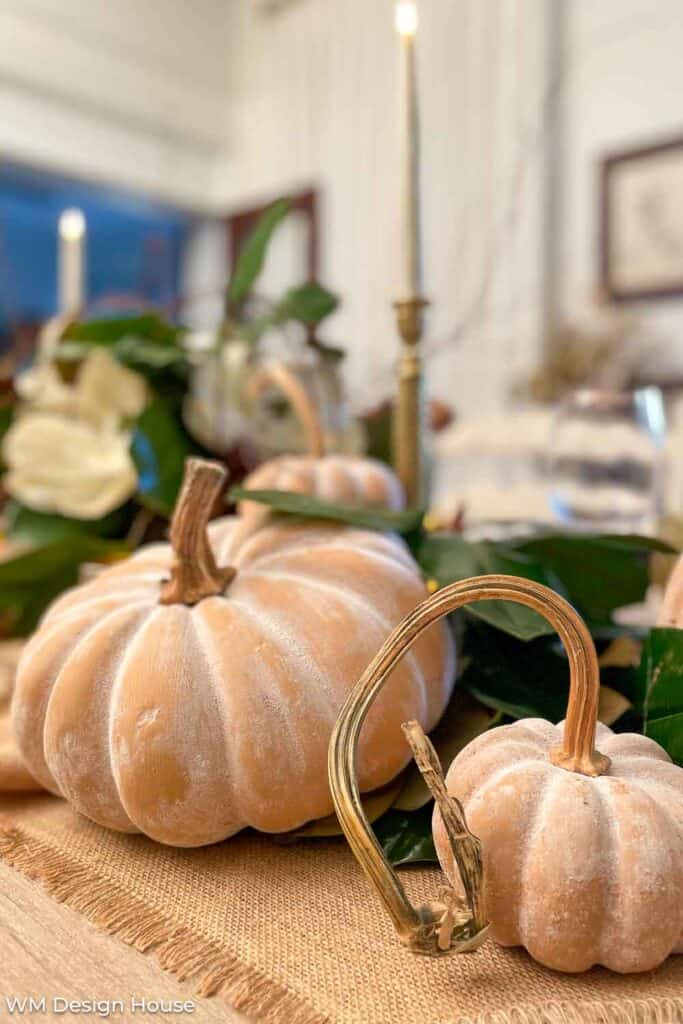
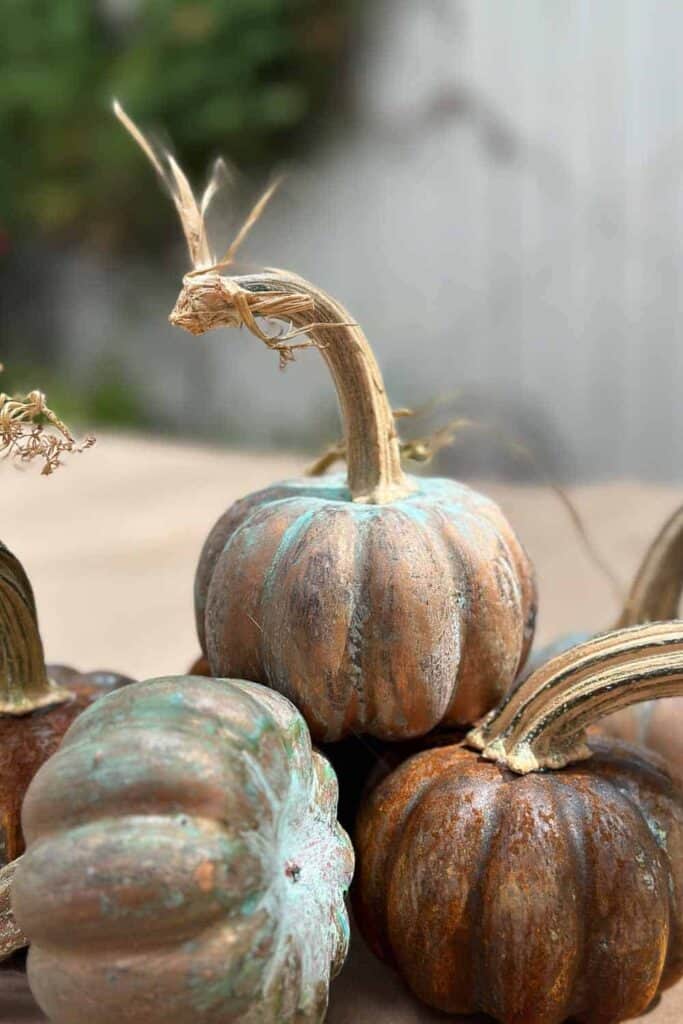
- Replace the tops of faux pumpkins that you have painted to look like a Pottery Barn terra cotta pumpkins to give them a more realistic, natural look.
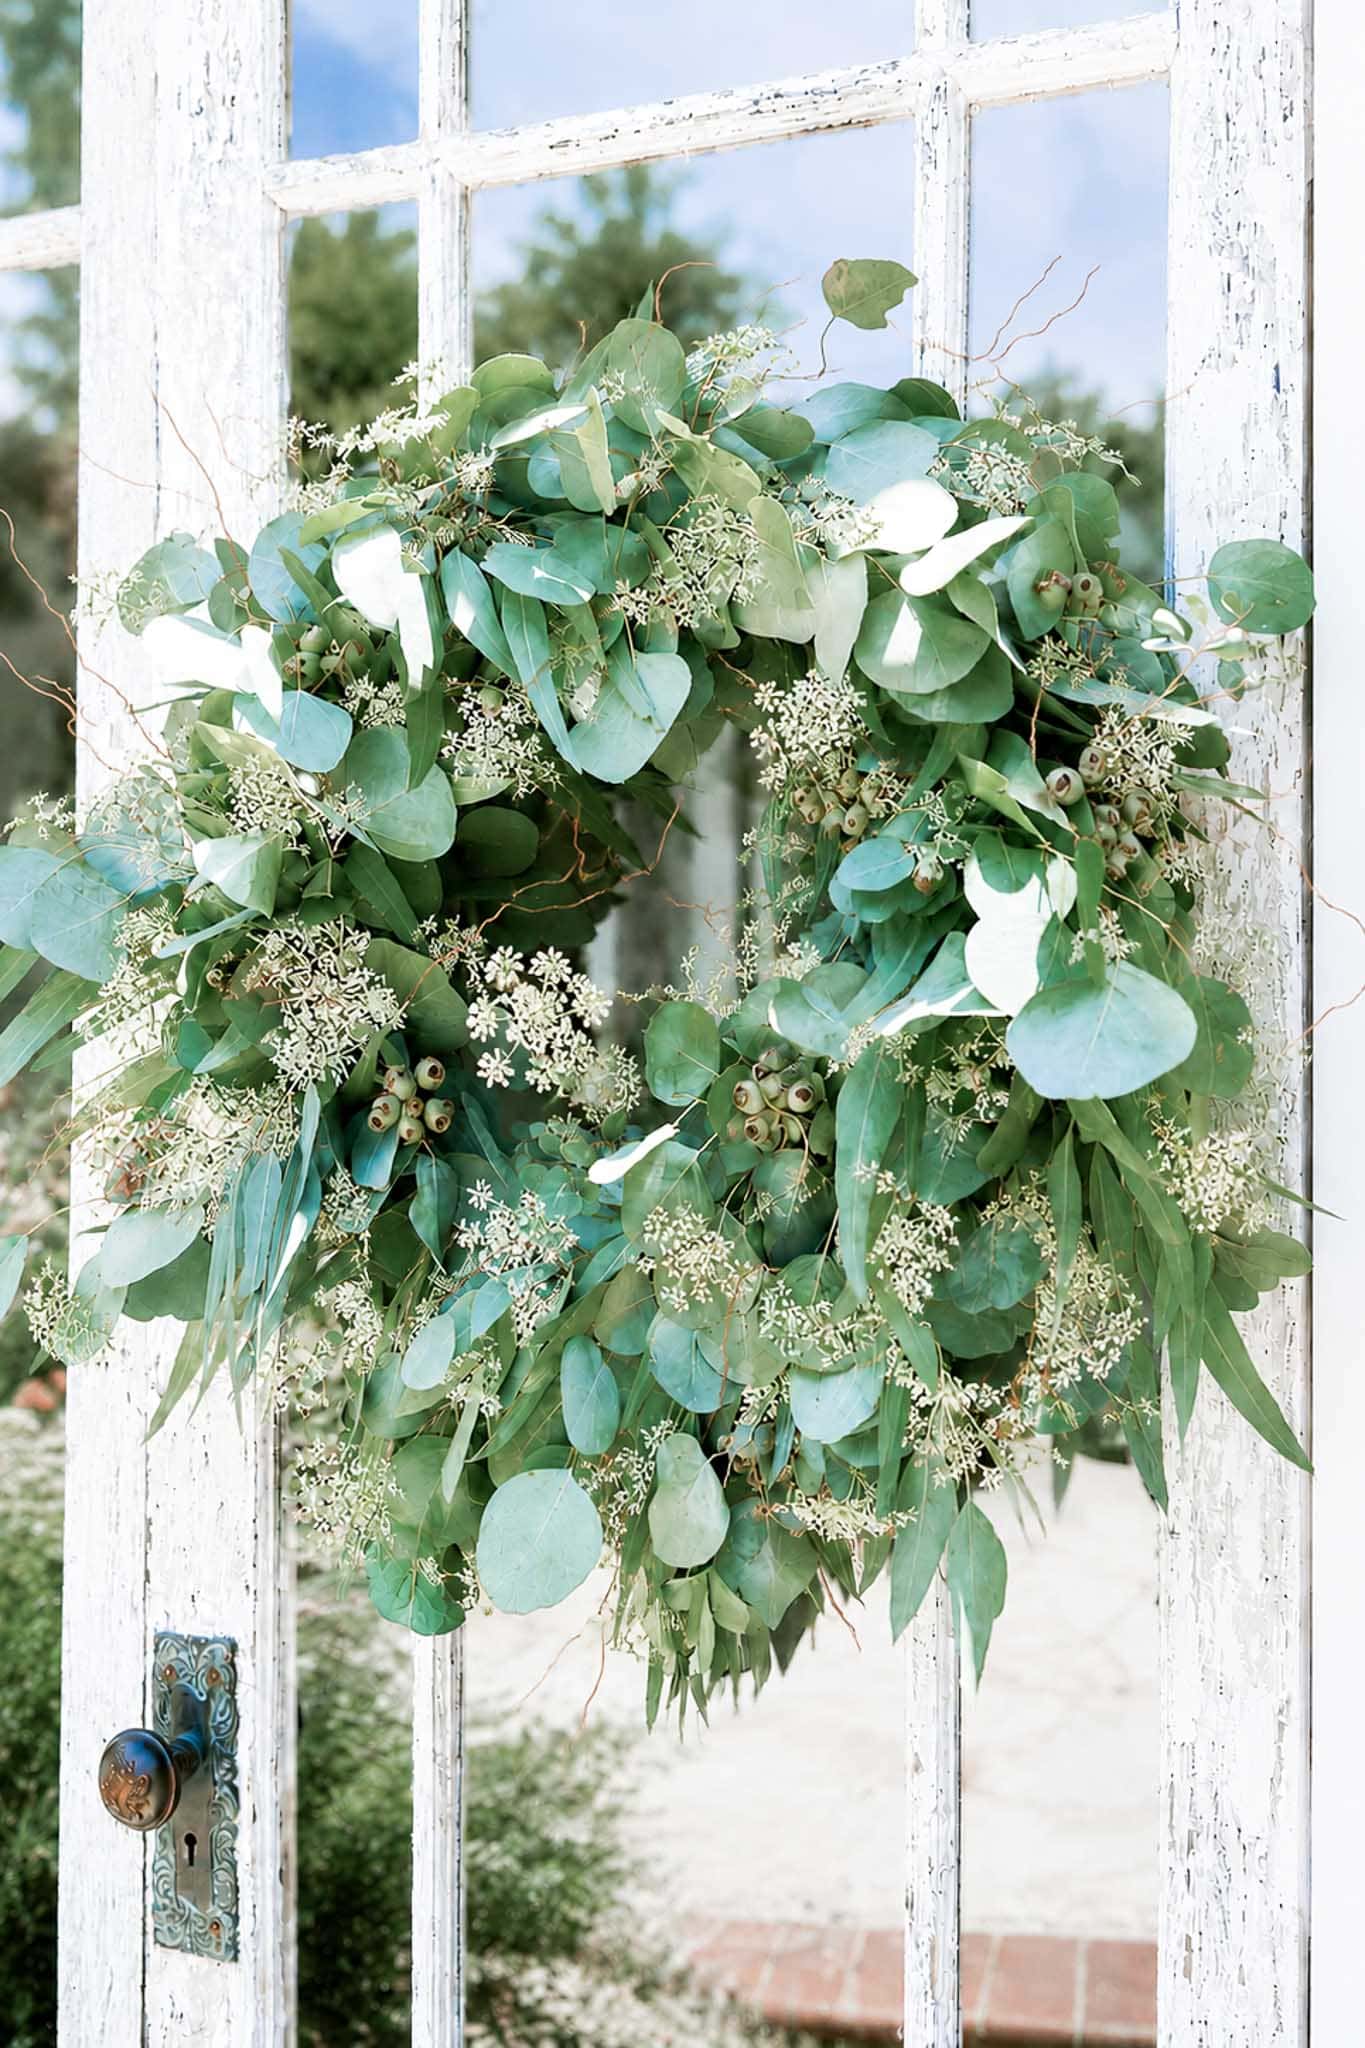
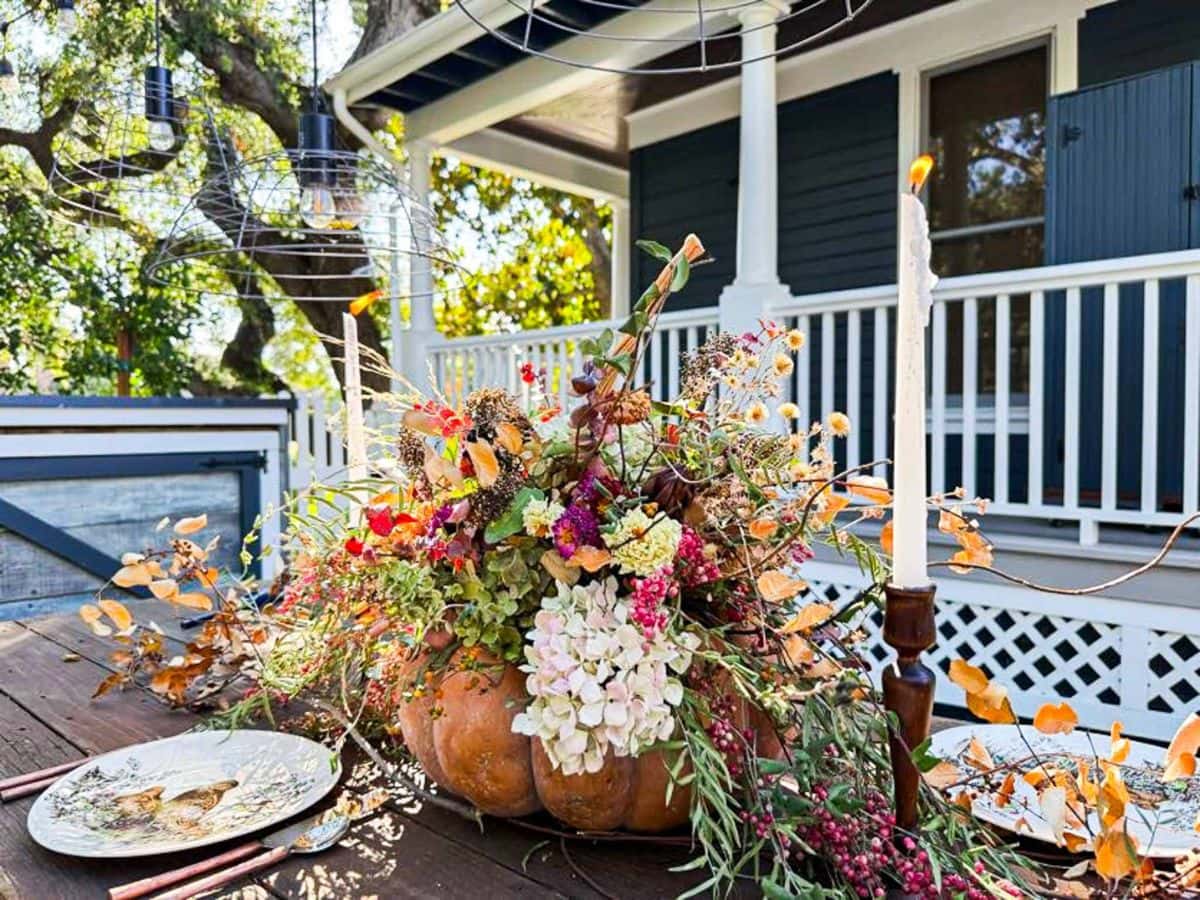
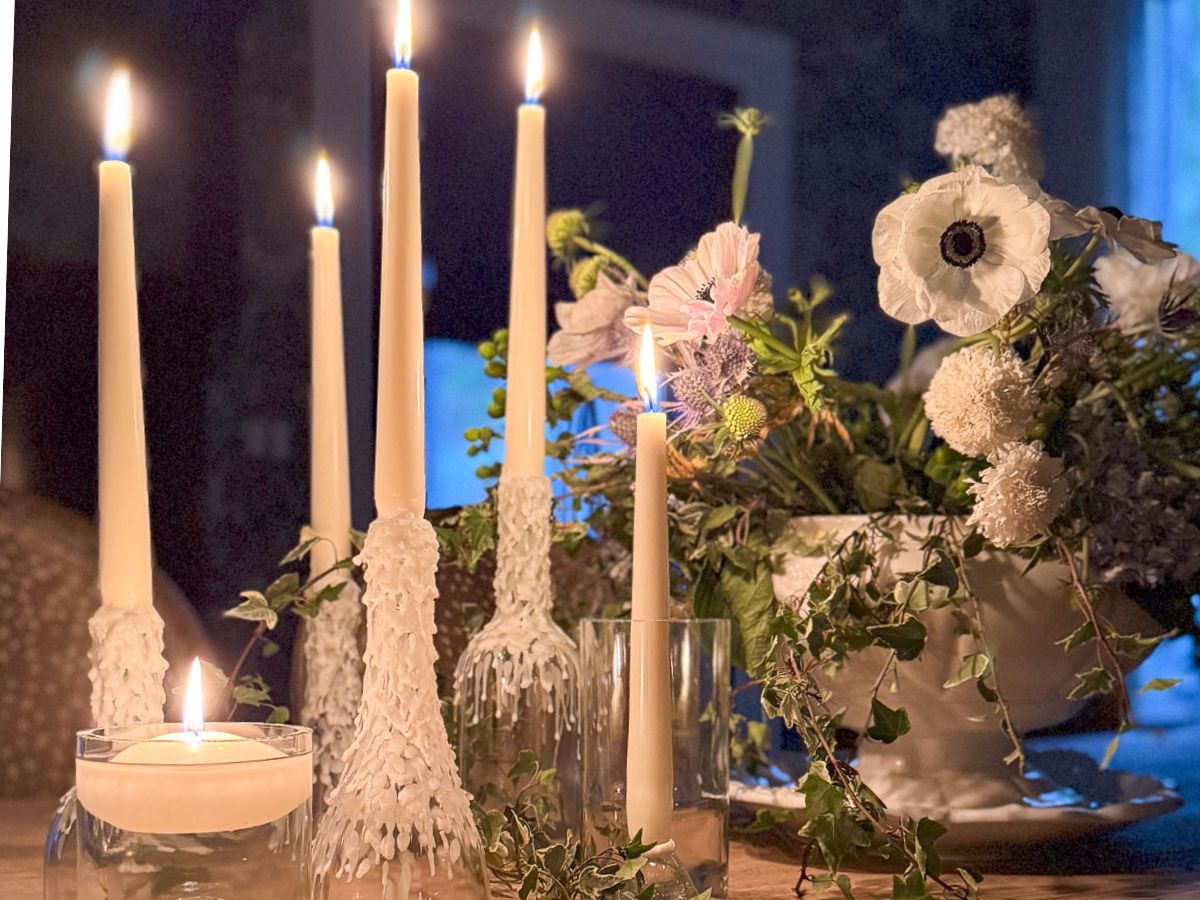
- Use them in fall wreaths, garlands, or table centerpieces.
- Add a few to a rustic tray or bowl with pinecones and small pumpkins for an easy fall vignette.
- Tie a dried pumpkin stem to a wrapped gift for a charming, nature-inspired touch.
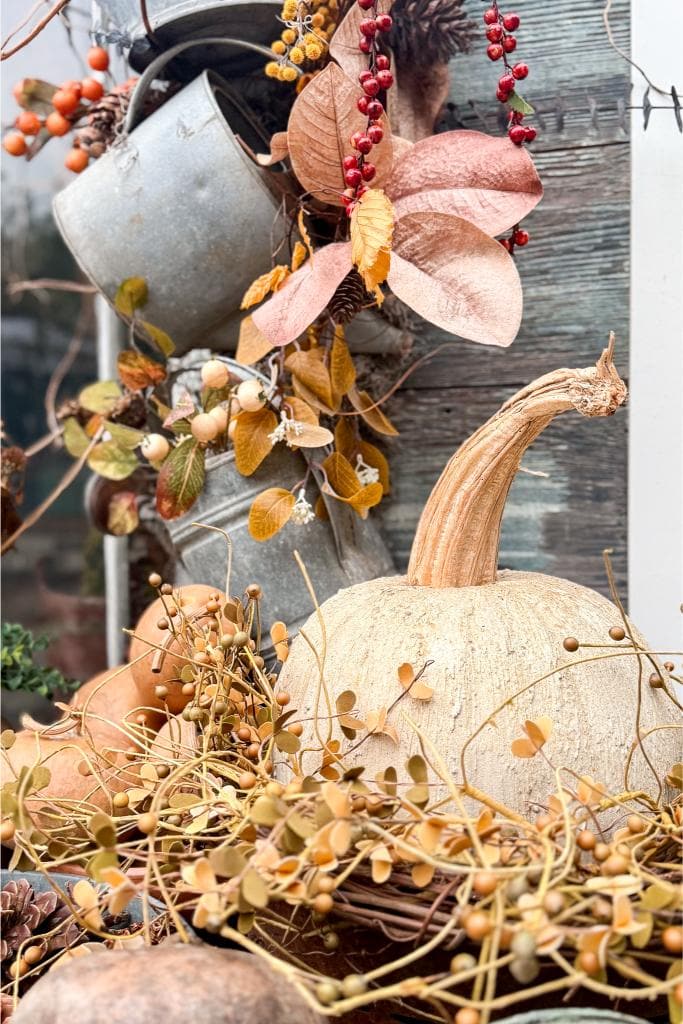
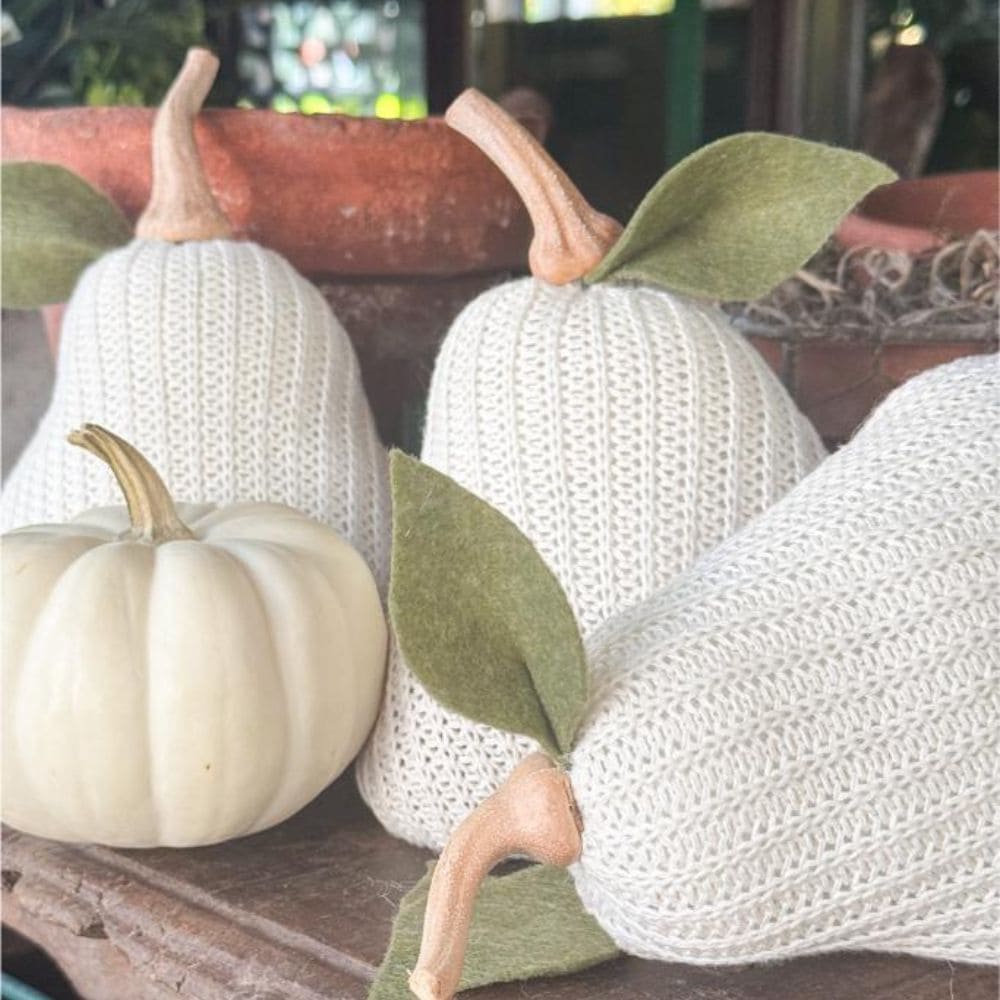
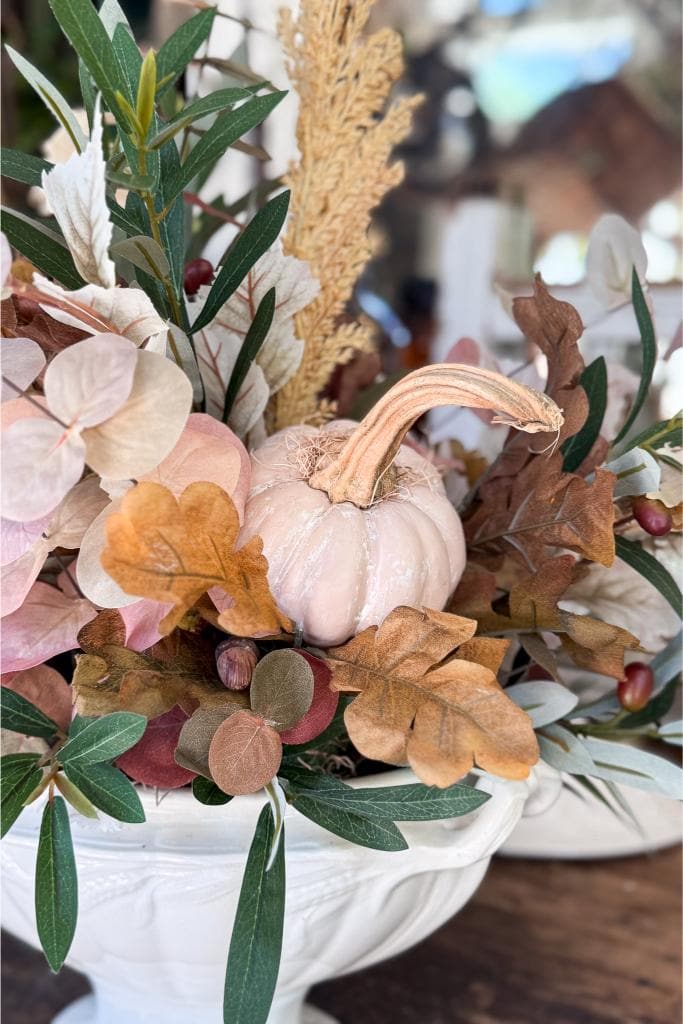
Each stem is unique, and that’s what makes your fall crafts so special. They tell a little story—of your garden, your pumpkin patch visits, and all the memories made during pumpkin season.

Common Mistakes to Avoid
Drying pumpkin stems is simple, but there are a few pitfalls to watch out for:
- Don’t dry stems from soft, rotting, or moldy pumpkins.
- Don’t rush the process—stems need to be completely dry before storing.
- Don’t use plastic storage containers; paper or cardboard is best.
- Don’t forget to rotate your stems while drying for even airflow.
Taking your time with this process ensures your dried pumpkin stems will last beautifully for many seasons.
Tip from wendy’s craft room:
If you are growing your pumpkins, be sure to cut the stem as long as you possibly can.
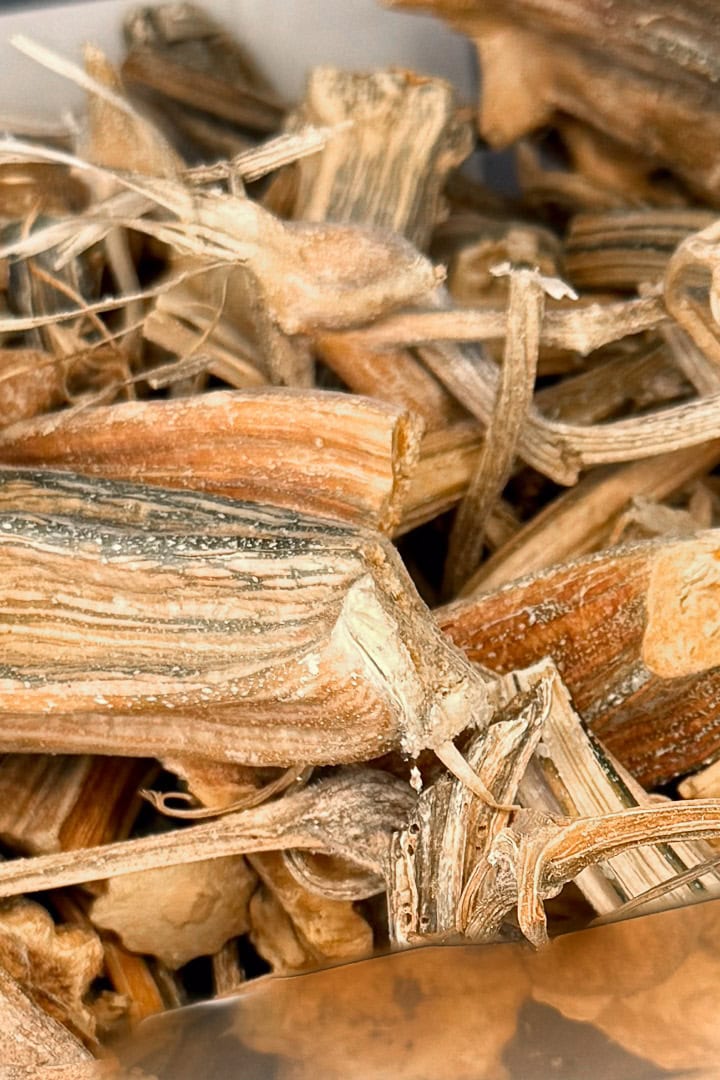
Final Dried Pumpkin Stems
If you dry them naturally they tend to keep their color better.
Other Pumpkin Tutorials from WM Design House
If you love this fun project, you might also enjoy some of my other favorite pumpkin posts where I share how to use your dried pumpkin stems.
DIY Terra Cotta Pumpkin Dupe: Pottery Barn Pumpkins
4 Creative Ways to Transform Dollar Tree Pumpkins
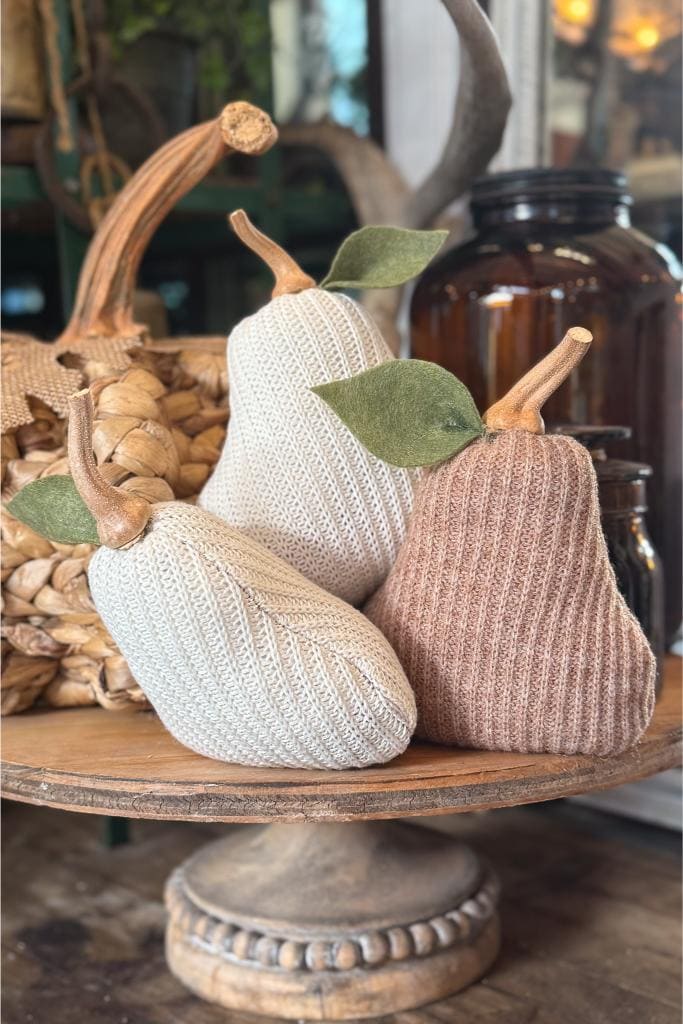
The Cutest Little Pears you Ever Did See!
23 DIY Pumpkin Crafts and Projects
Wrapping Up
Drying pumpkin stems is one of those small, satisfying projects that connects the garden to your craft room—and it’s become one of my favorite fall traditions. It’s easy, inexpensive, and adds such a charming, organic detail to your home decor.
So next time you’re cleaning up after Halloween or Thanksgiving, don’t toss those pumpkins! Remove the stems, dry them, and tuck them away for your next round of fabric pumpkins or fall crafts. You’ll love having a little collection of dried pumpkin stems ready to go when inspiration strikes.
If you found this helpful, don’t forget to save it on Pinterest or share it with a fellow pumpkin lover! You never know who might need a little “Pumpkin” inspiration this fall. 🎃


Did you make this craft?
We would love to see what you have created, so mention us @wmdesignhouse or tag us using #wmdesignhouse so we can see your creations!
More about me!

Hello, I’m Wendy – a dedicated homemaker with a deep passion for decorating, gardening, cooking, and crafting. I find joy in harmonizing beautiful elements to fashion a space that is both comfortable and inspiring. I will help you create a beautiful home, one project at a time.
Great post! I’ve always want to preserve some. Thanks for sharing, Wendy!
Thank you Kim, they are so fun to use in your fall crafts!
Thank you for the tips Wendy! Love all of your projects!
I went to a commercial pumpkin patch toward the end of the season several years ago, asked permission to walk the field and picked up quite a few pumpkin stems for which I was not charged. I’ve also noticed pumpkin stems for sale online. They make such a difference when used to replace the stems on faux pumpkins.
This is such good information. I have wanted to use some pumpkin stems in a few projects, so I will really put this to use. Thanks for sharing!