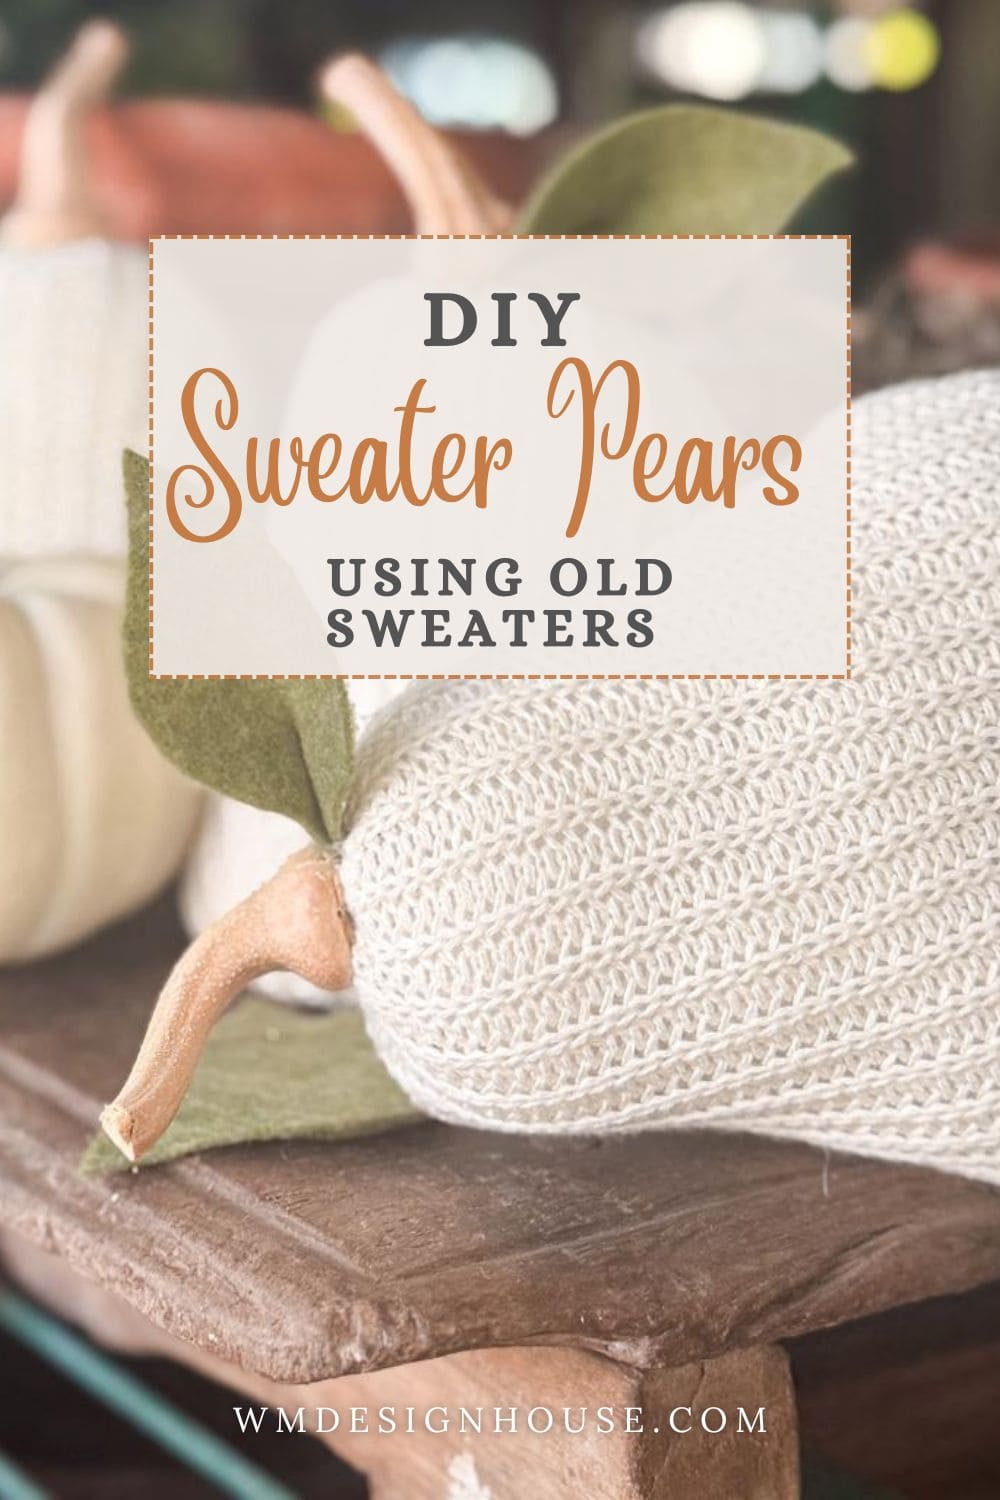
How to Make DIY Sweater Pears from Thrifted Sweaters
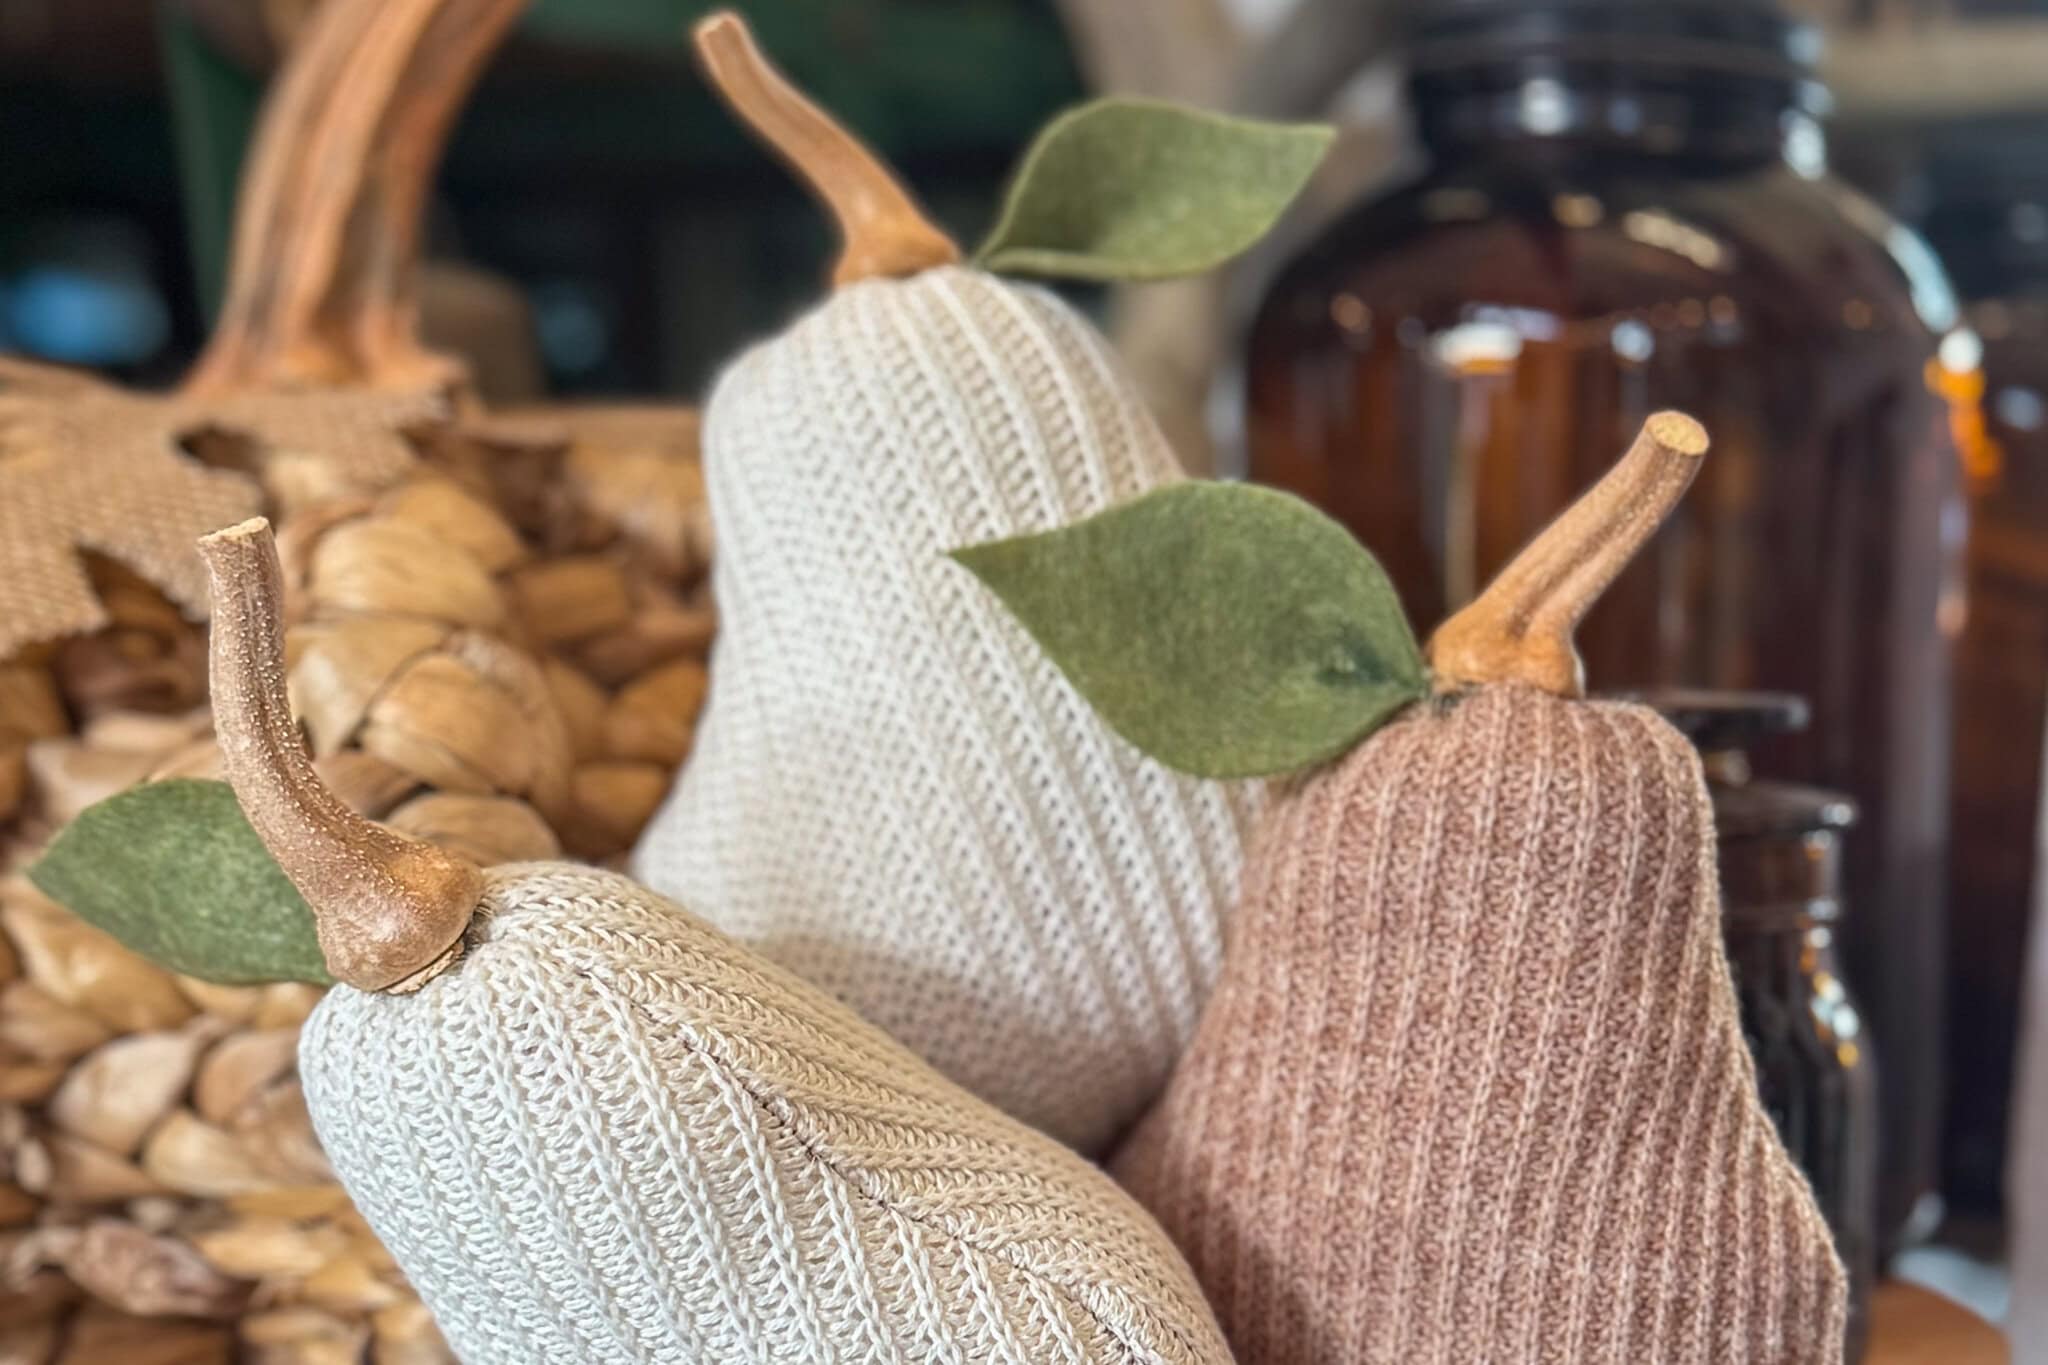
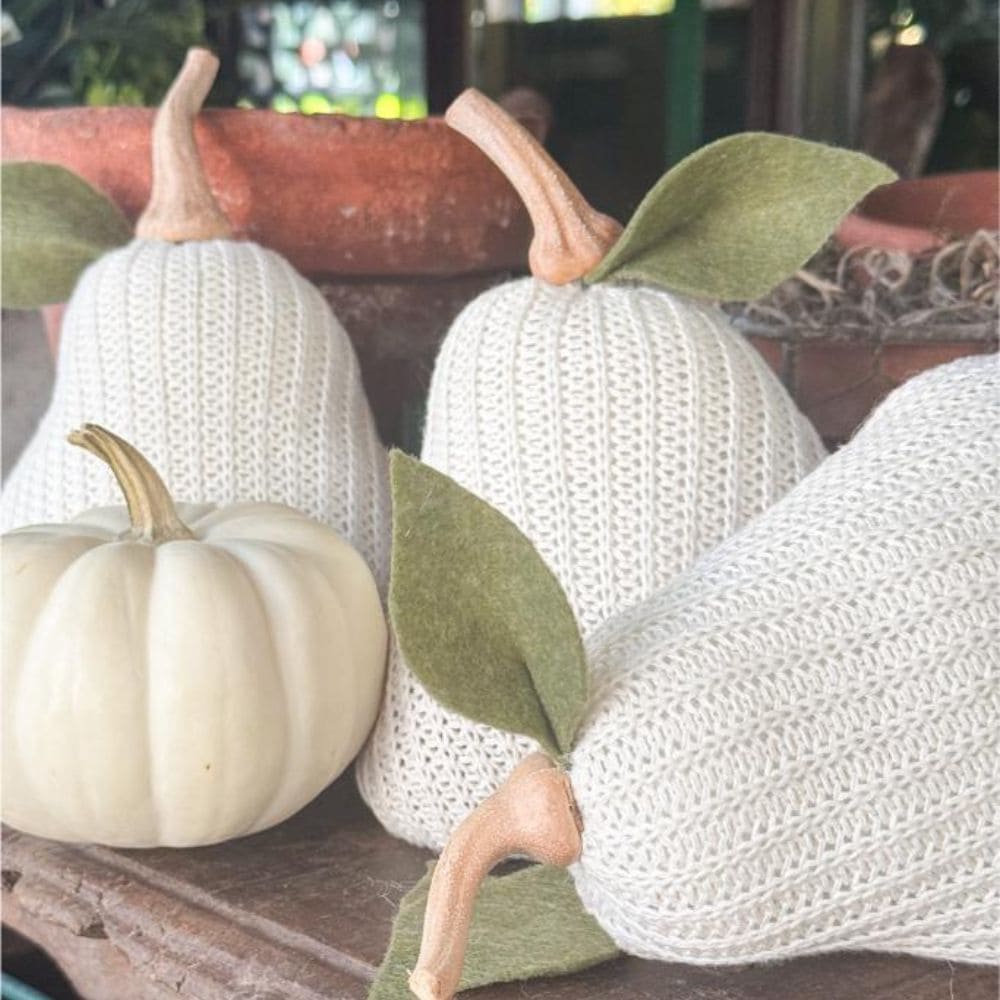
I’m sure you’ve seen — and probably even made — a few DIY sweater pumpkins by now. But pears? That’s a whole new story! These DIY sweater pears from thrifted sweaters are not only adorable, but they’re also one of the easiest and most charming fall crafts you’ll ever try. A little unexpected, a little cozy, and completely unique, they’ll bring personality and farmhouse flair to your fall decorating.
On my blog WM Design House, I may sometimes use affiliate links, which means a small commission is earned if you purchase via the link. The price will be the same whether you use the affiliate link or go directly to the vendor’s website using a non-affiliate link. Read my full disclosure policy here.
Why Make Sweater Pears Instead of Pumpkins?
Pumpkins may have the spotlight, but pears are the hidden gem of fall crafts. Here’s why you’ll love them:
- Unexpected Charm – I love pumpkins, but sweater pumpkins are everywhere, but sweater pears feel fresh and new. Guests will instantly notice them.
- Budget-Friendly – With just a thrifted sweater or two, you can make a whole bushel of pears for just a few dollars.
- Sustainable – As you know, I love to thrift for my home decor, and this project is the perfect example. It’s an upcycled sweater craft for fall that breathes fresh life into old textiles.
Handcrafted Society
Today marks another exciting installment of our Handcrafted Society series, where a group of creative bloggers comes together to craft projects centered around a common theme.
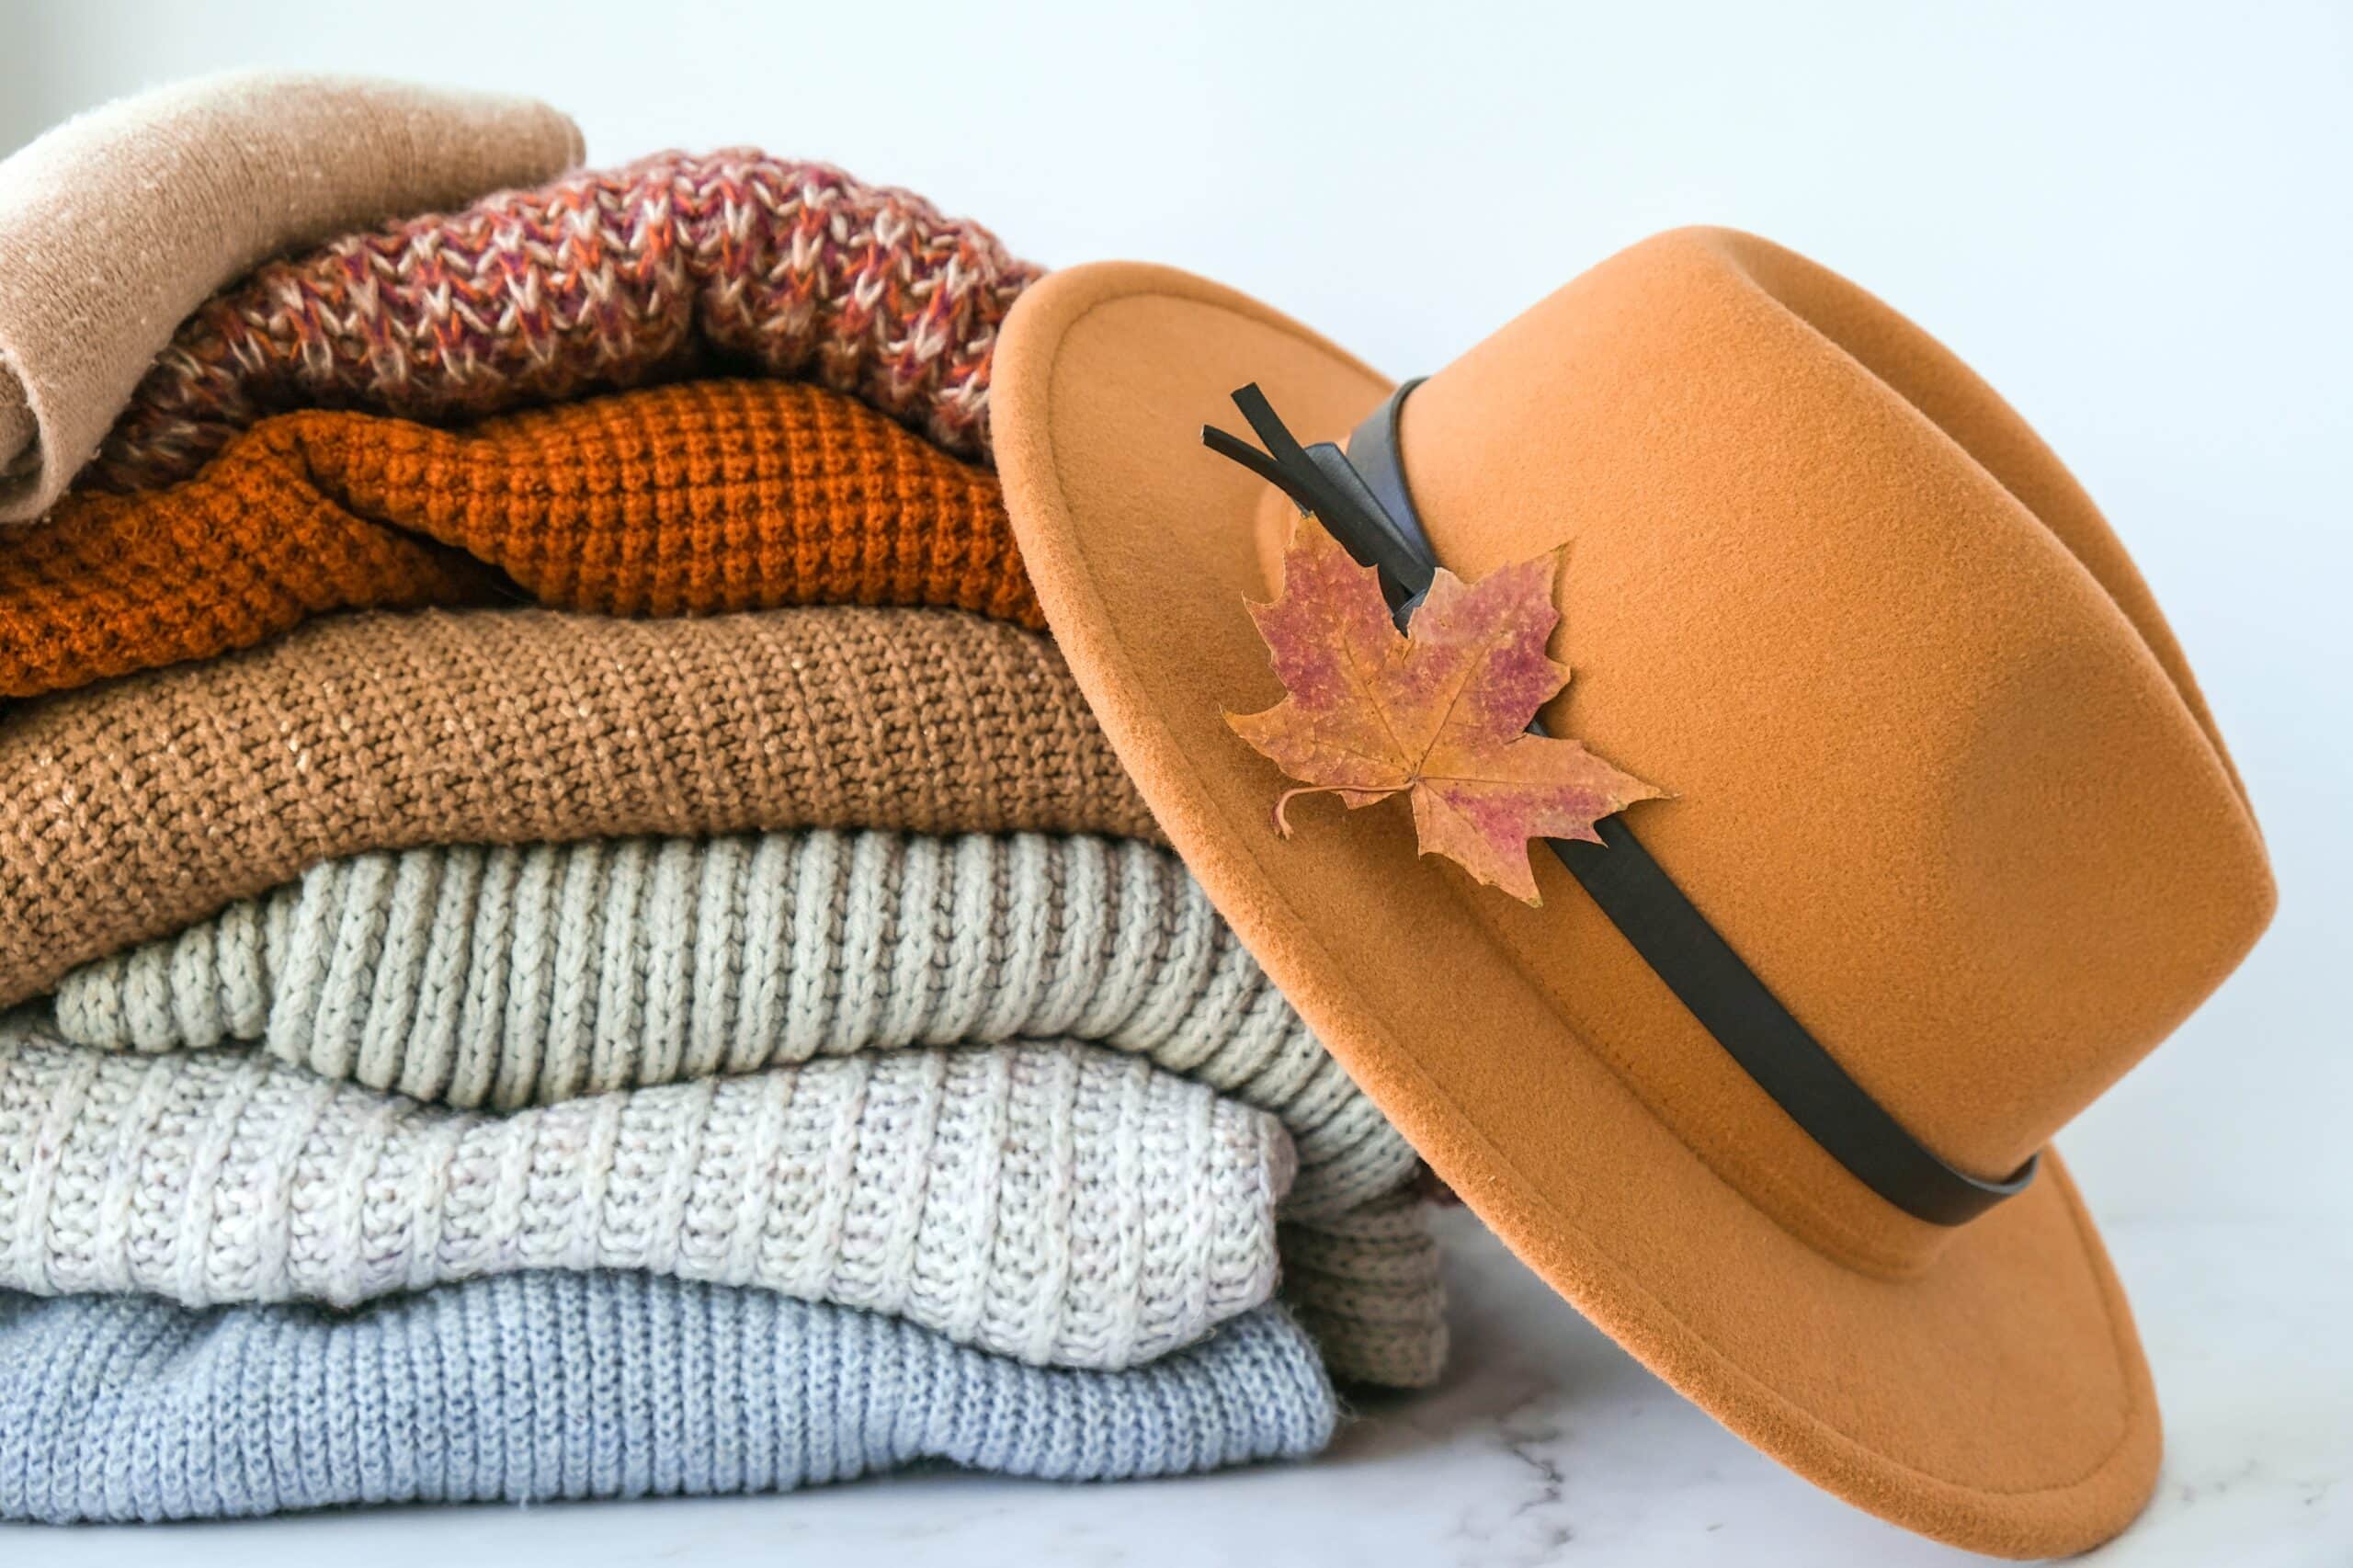
With summer winding down, our thoughts naturally turn to the cooler, cozier days of fall. This month, we thought it would be fun to center our projects around boots and sweaters—two seasonal favorites. It’s always an enjoyable challenge to dream up something creative that’s a little outside the typical crafting box.
So, grab something cool to drink and join us as we showcase our latest DIY creations. You’re sure to find inspiration for your next crafting adventure!
Don’t forget to check out the links to all the bloggers’ projects at the end of this post.
Step-by-Step Tutorial: DIY Sweater Pears
Ready to get started? Here’s how to make these adorable DIY sweater pears using just a few simple supplies and a bit of creativity.
How to Make DIY Sweater Pears
Materials
- Thrifted sweaters knits work best in cozy fall colors
- Fabric scissors
- Needle and embroidery thread
- Polyester fiberfill or pillow stuffing
- Twigs pumpkin stems or cinnamon sticks (for stems)
- Felt fabric scraps, or dried leaves (for leaves)
- Jute twine or ribbon optional, for embellishments
Instructions
- Cut sweater fabric into a pear-shaped piece (any size you like).
- Stitch or hot glue the edges, leaving the top open.
- Turn fabric right side out and fill with stuffing.
- Gather and secure the top with thread or twine.
- Add a twig, natural stem or cinnamon stick for the stem.
- Glue on a felt or dried leaf for detail.
- Embellish with ribbon, twine, or buttons if desired.
- Style pears in clusters for a natural, cozy look.
Expanded Step-by-Step Tutorial: DIY Sweater Pears
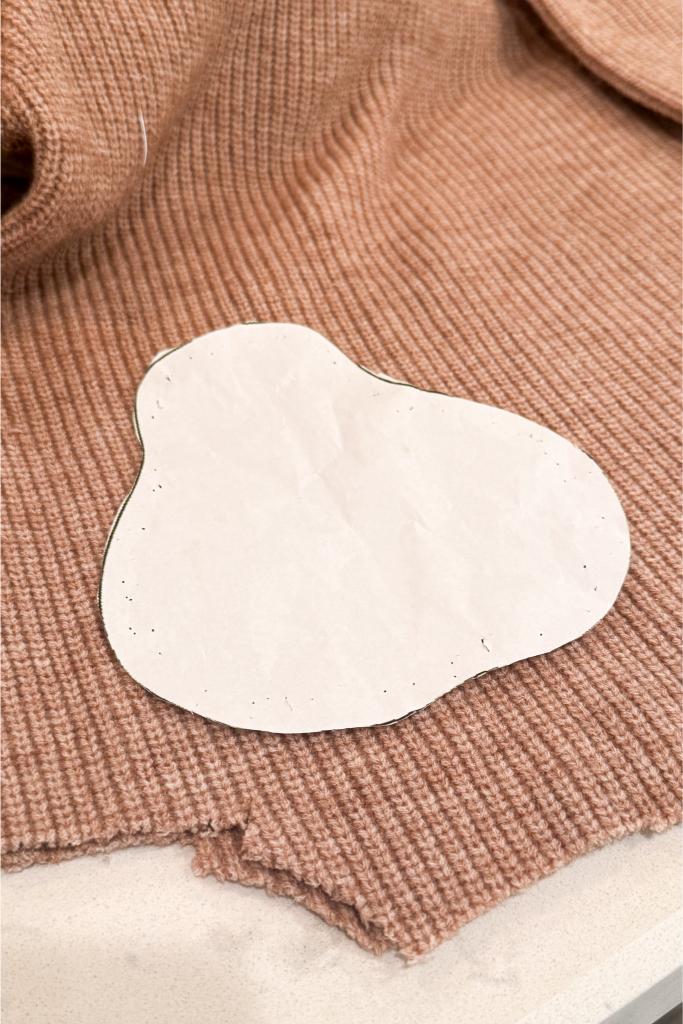
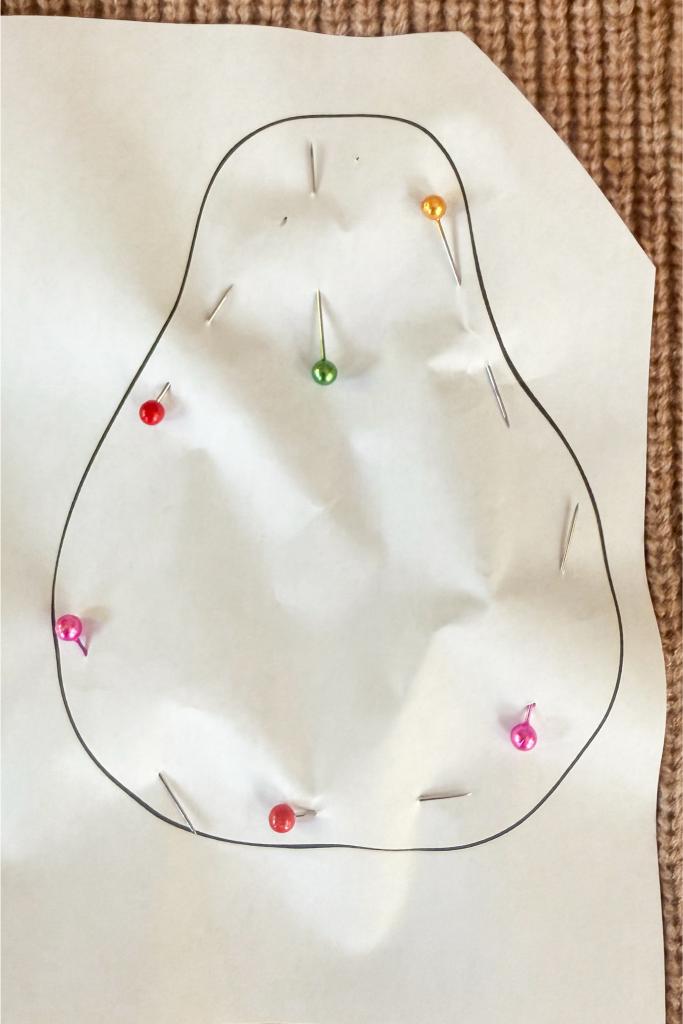
Step 1: Cut Your Sweater Fabric
Lay your sweater flat and cut out two pear-shaped pieces of fabric. Think of it as a rounded oval with a bit more length at the top. You can find my free pear template in my freebie library. Most of my pears are the large size, but I did make one smaller one and I am going to make more.
- Size tip: The larger your cut, the bigger the pear. Small cuts make adorable mini pears for trays or tiered stands. Keep in mind that the nature of the sweaters is to stretch.
- You can download my free templates from the freebie library.
Tip from wendy’s craft room:
Tip from Wendy’s Craft Room: Don’t worry about making your pears perfectly shaped. A little bit of wonkiness makes them look even more natural and charming!
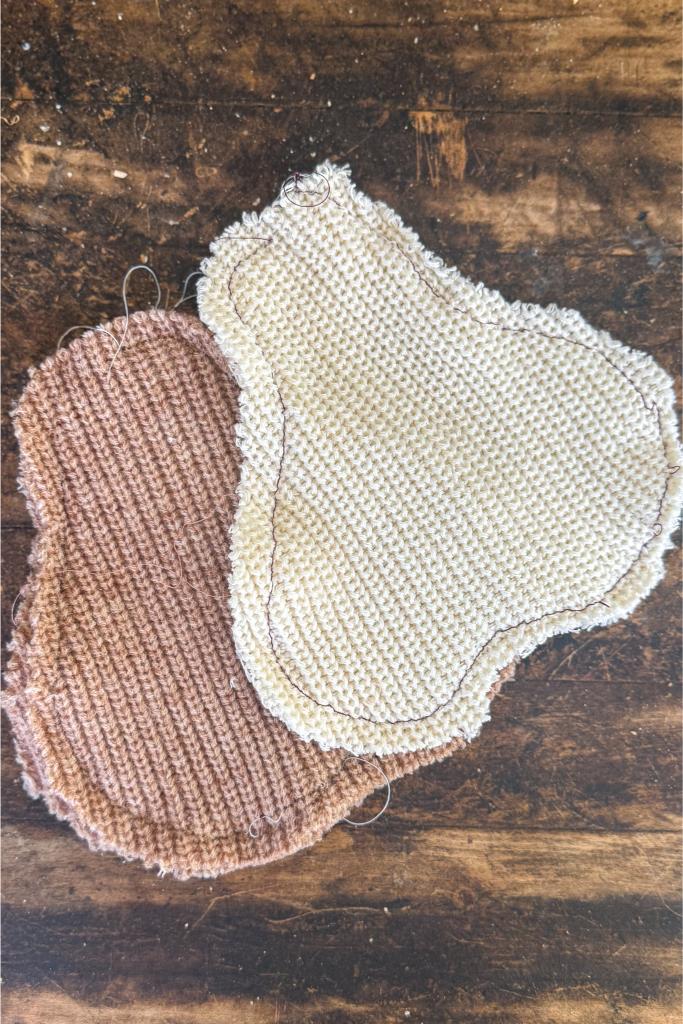
Step 2: Sew or Glue the Edges
Fold your fabric piece inside out so the right side of the sweater knit is facing in. This way, your seam will be hidden once you turn it right side out. Using a needle and thread, carefully stitch along the curved edge of your pear shape, working your way from the bottom up and leaving the top edge open.
Whichever method you choose, just make sure to keep the top open — this will become the natural opening where your pear’s stem and leaf will be added later.
Tip from wendy’s craft room:
No-sew option: If sewing isn’t your thing, don’t worry! Simply run a line of hot glue along the edges instead. Press the fabric together until the glue sets..
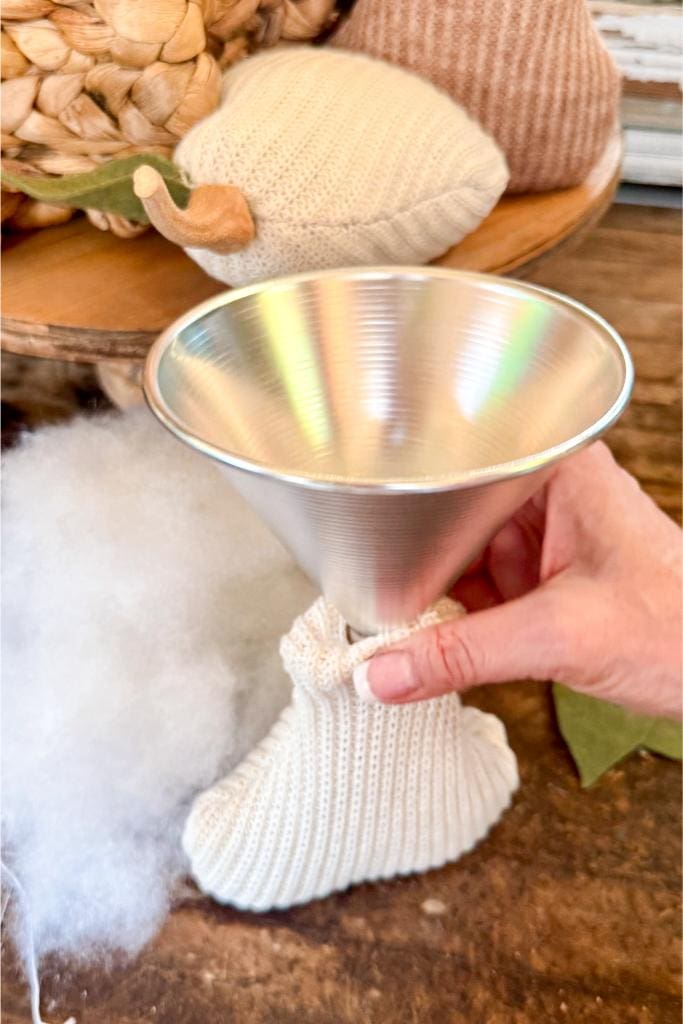
Step 3: Turn & Stuff the Sweater Pear
Turn your fabric right side out so the seam is now hidden inside. You’ll start to see your pear shape coming together.
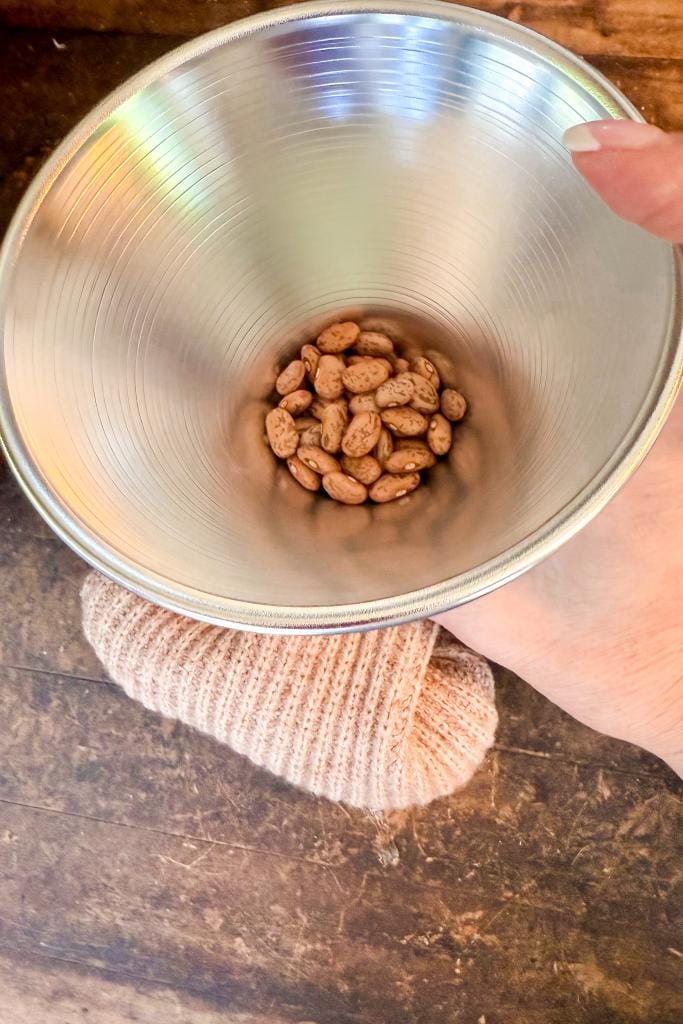
Next, we are going to add 1/2 cup of dried pinto beans into the bottom of the pear to weight it. This will allow the pear to stand up on its own. Simply use a funnel and pour the beans into the pear.
Next, fill the remainder of the pear with polyester fiberfill (or whatever stuffing you have on hand) until the pear feels plump and rounded. Use your fingers to push the stuffing down into the corners so the shape is even.
The more stuffing you add, the firmer your pear will be.
Tip from wendy’s craft room:
Don’t limit yourself to store-bought stuffing. Old pillow fill, fabric scraps, or even plastic grocery bags work beautifully — and they keep this project thrifty and sustainable.
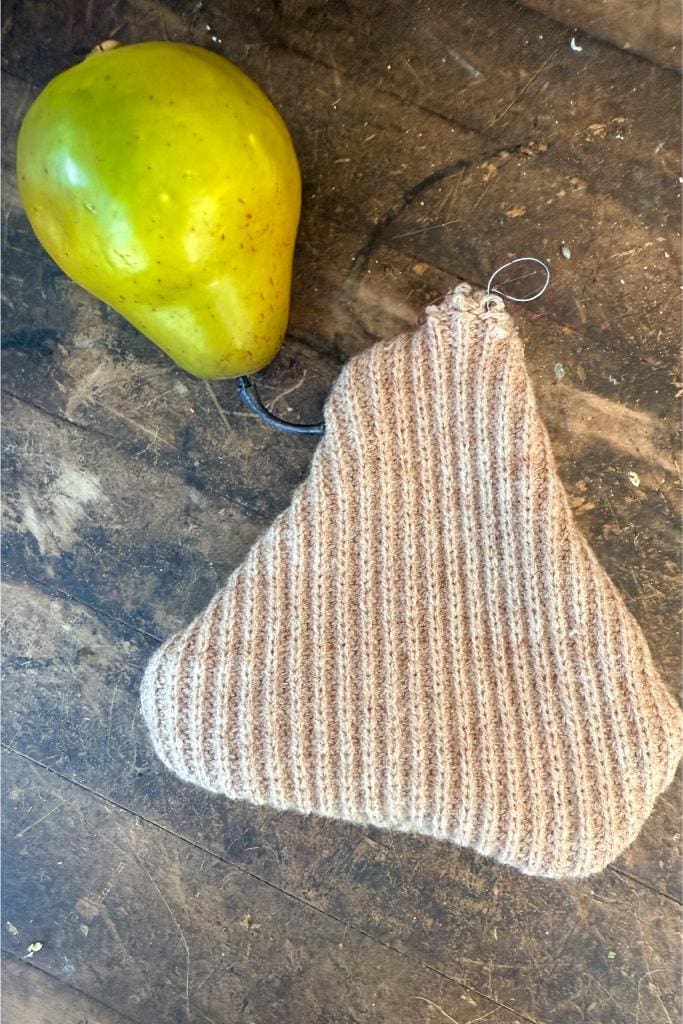
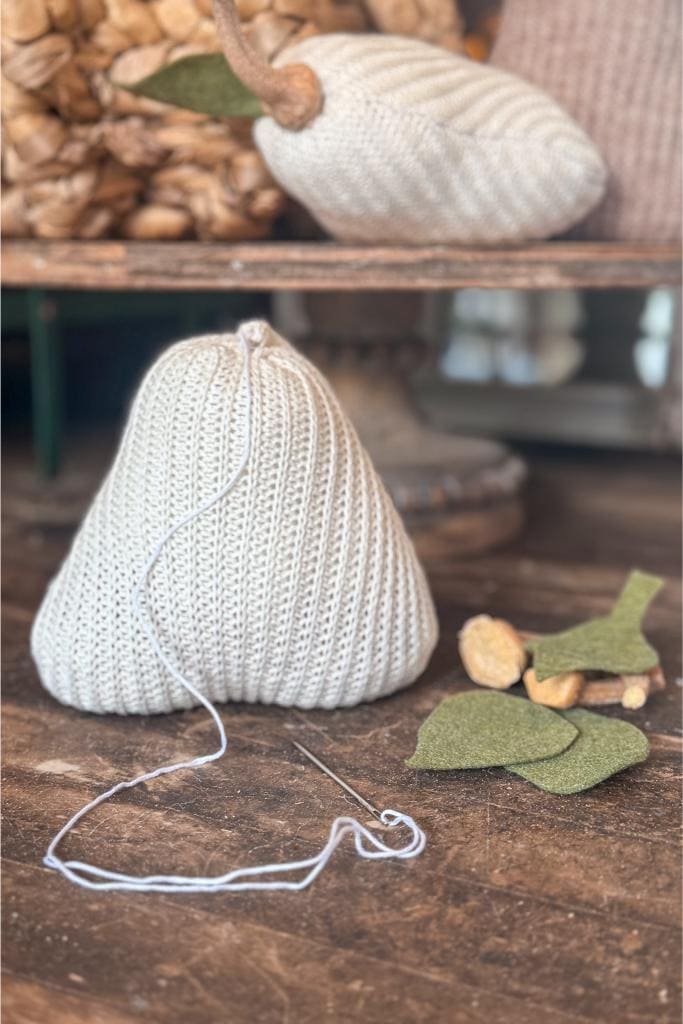
Step 4: Gather the Top
Once your pear is stuffed, it’s time to close the opening. Using your needle and embroidery thread, sew a loose running stitch around the raw edge at the top. Gently pull the thread to cinch the fabric together, creating that natural little dimple you’d see on a real pear. Tie the thread securely in a knot to hold everything in place.
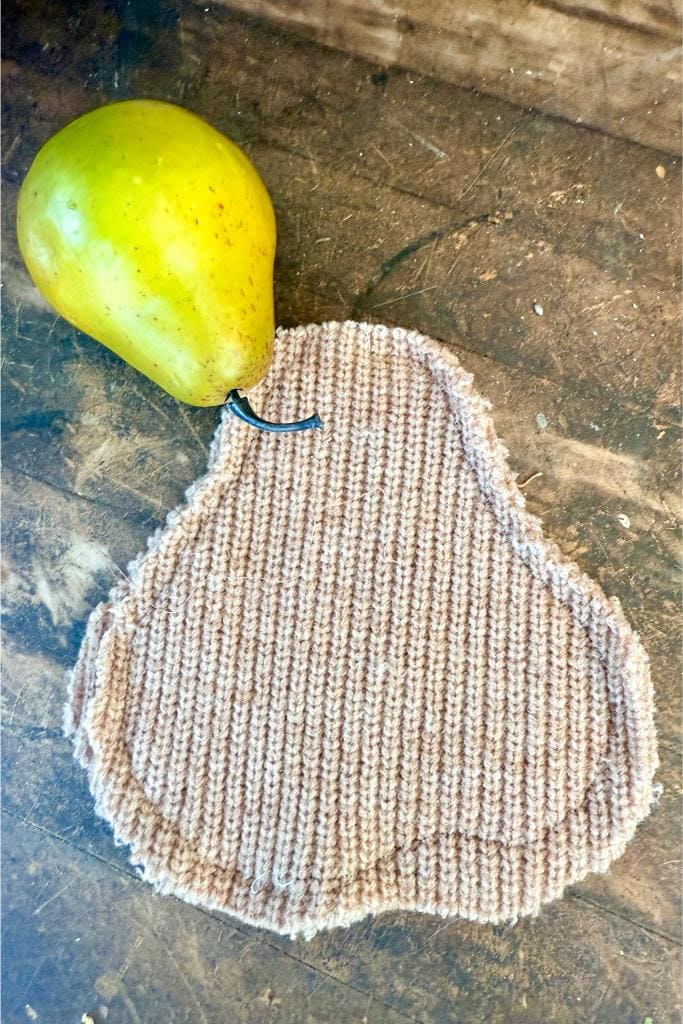
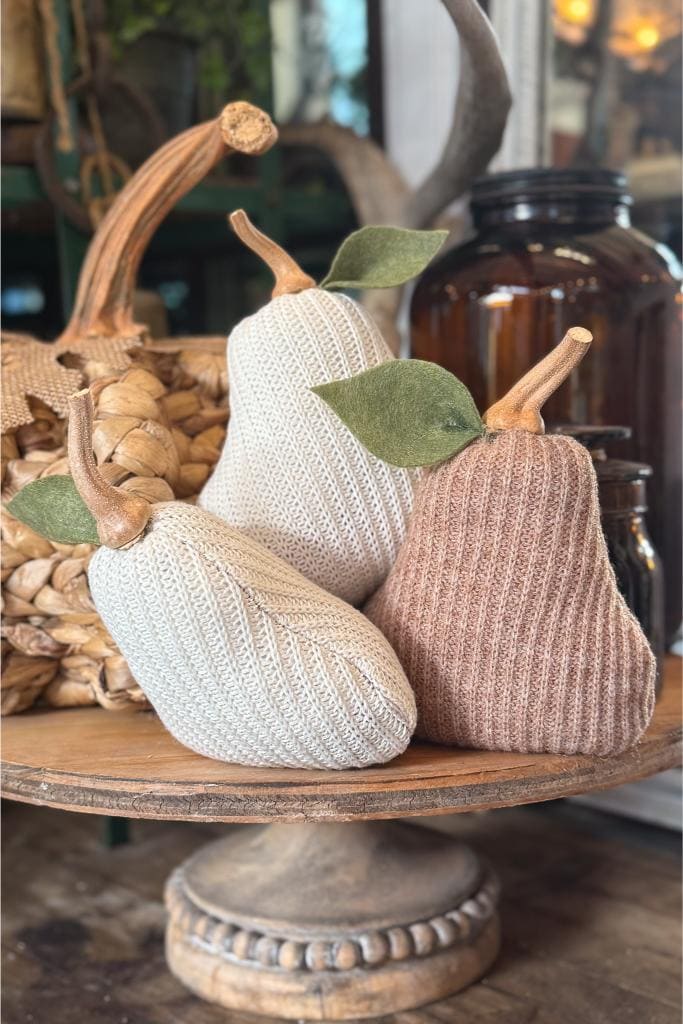
Step 5: Add the Stem & Leaf
This is where your pear gets its personality.
Cut a small leaf shape (or use my leaf template) from felt, fabric scraps, or even a real dried leaf. Attach it to the top of the pear with a dab of hot glue.
For the stem, you can use a twig, a cinnamon stick, or even a dried stem from a gourd like I did. I simply added a bit of hot glue and placed it over the leaf on top of my DIY sweater pear. Don’t be afraid to play with proportions — a long, crooked twig can look wonderfully rustic!
I kept my pears simple and classic, but this is where you can really get creative. Add a sprig of greenery, a vintage button, or even a scrap of lace to make each pear reflect your own style.


How to Style Your DIY Sweater Pears for the Fall Season
Now that your pears are finished, the fun really begins — decorating! These little upcycled beauties are so versatile and look charming just about anywhere in your home. Here are a few of my favorite ways to style them
On a Wooden Tiered Tray
Nestle a few pears among small candles, pinecones, and mini pumpkins. Vary the sizes and colors of your pears to create layers of interest. Tiered trays are perfect for showing off easy fall crafts with fabric in a way that feels curated and cozy.
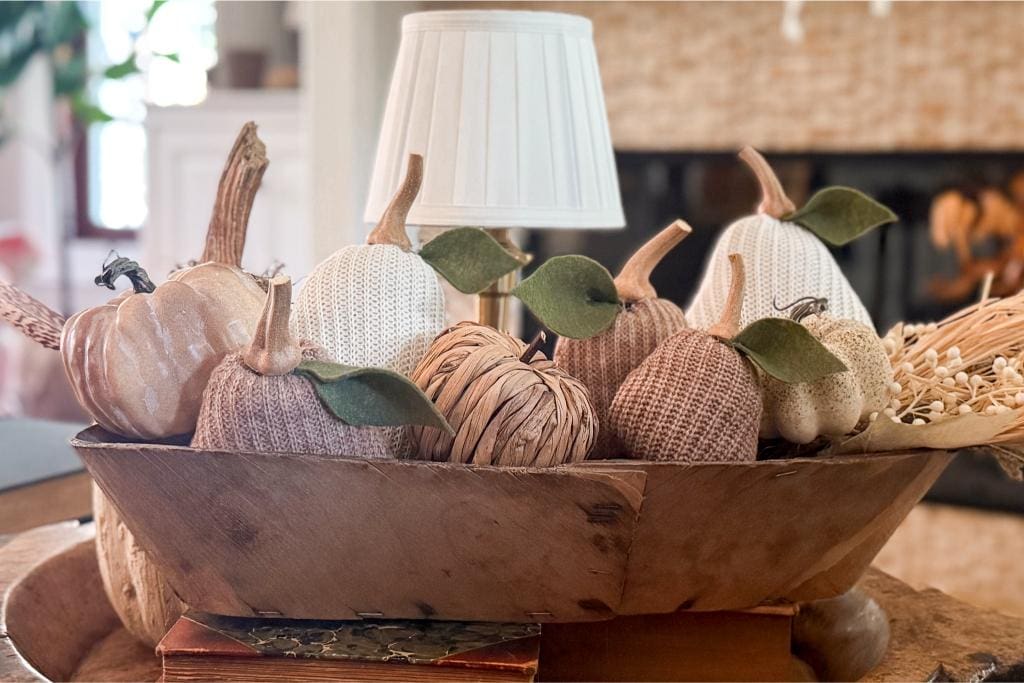
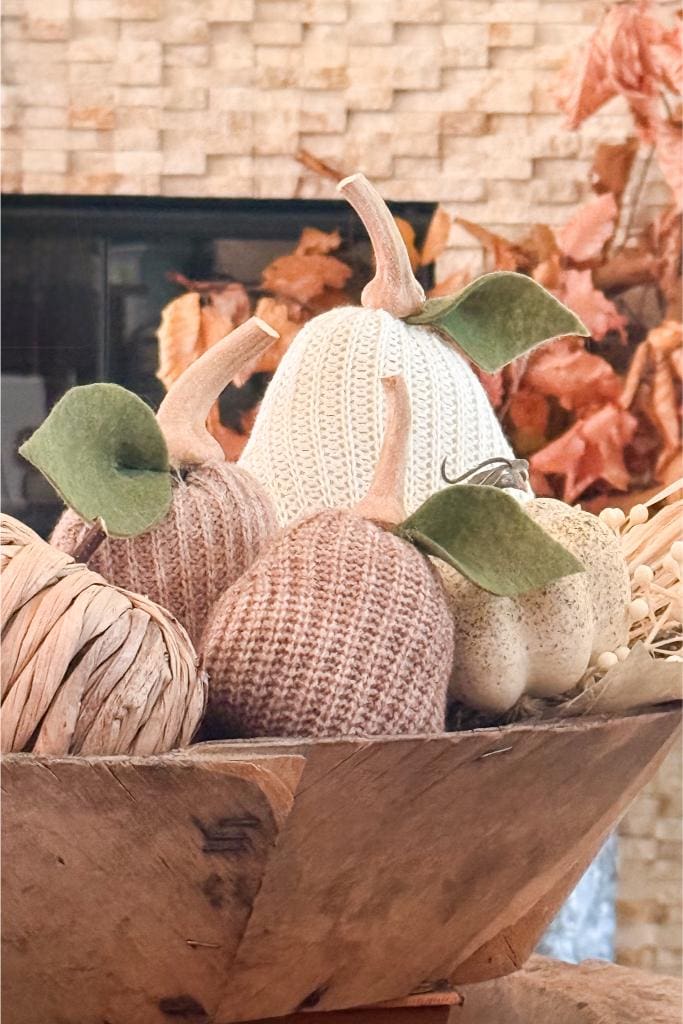
In a Basket
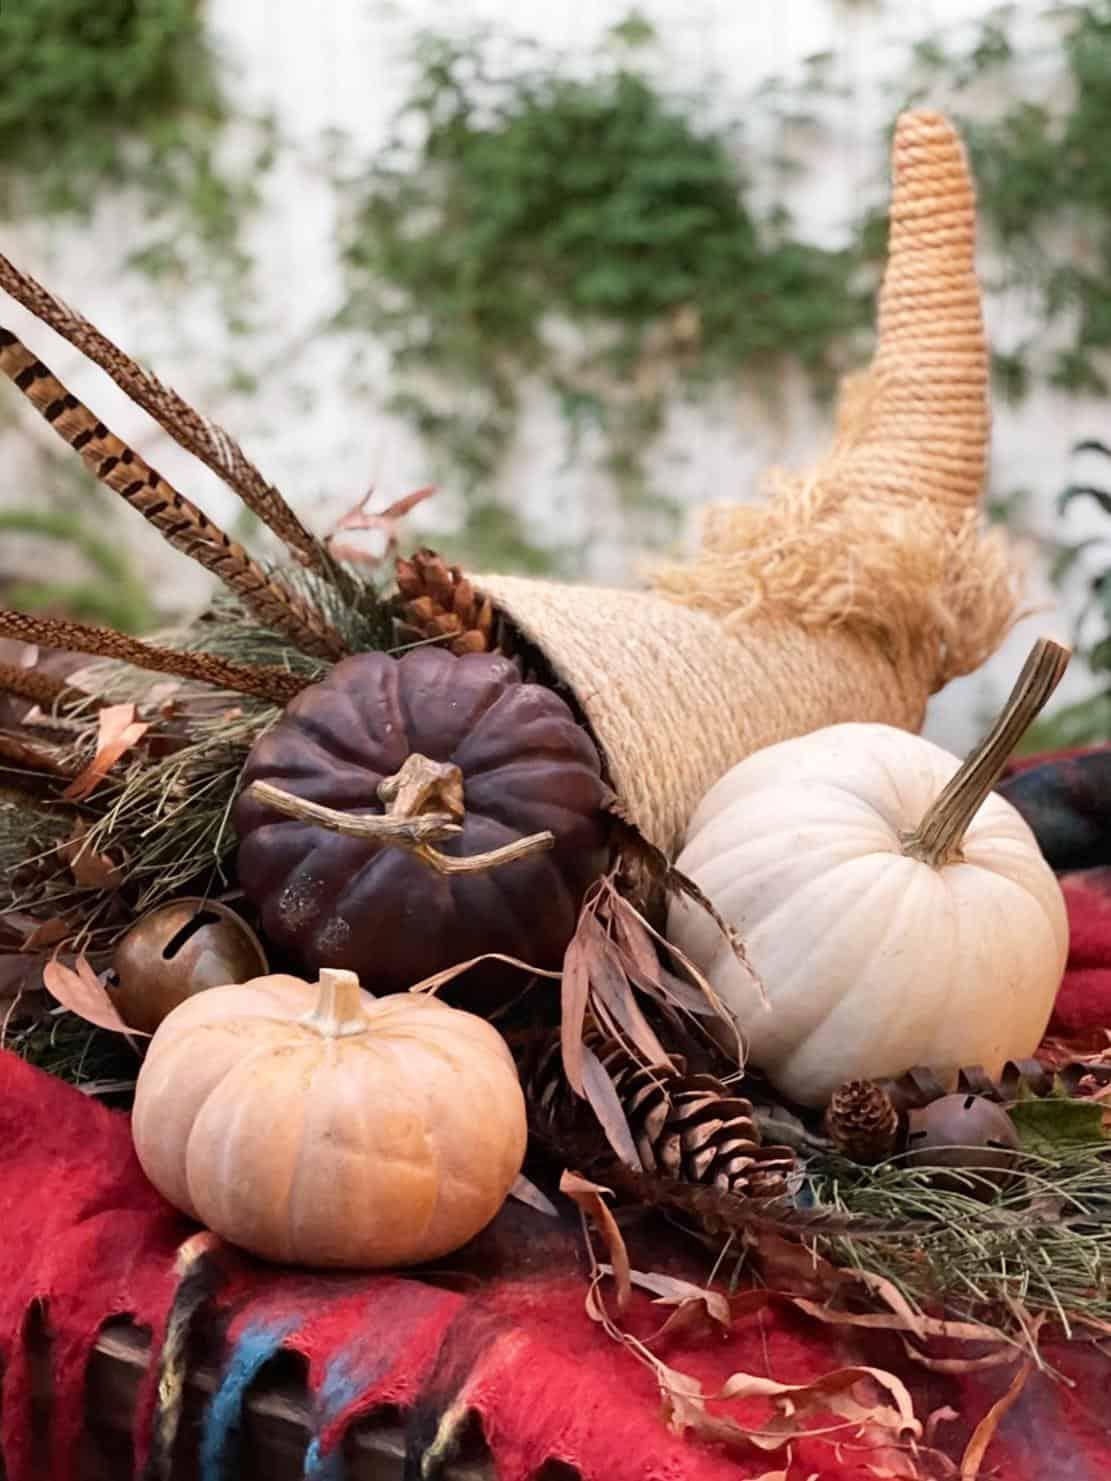
Gather a mix of pears and a few pumpkins to tuck into a thrifted basket or vintage wire container. Add dried flowers, eucalyptus, or faux greenery around the edges for fullness. This makes an instant budget-friendly fall centerpiece for your table or kitchen island
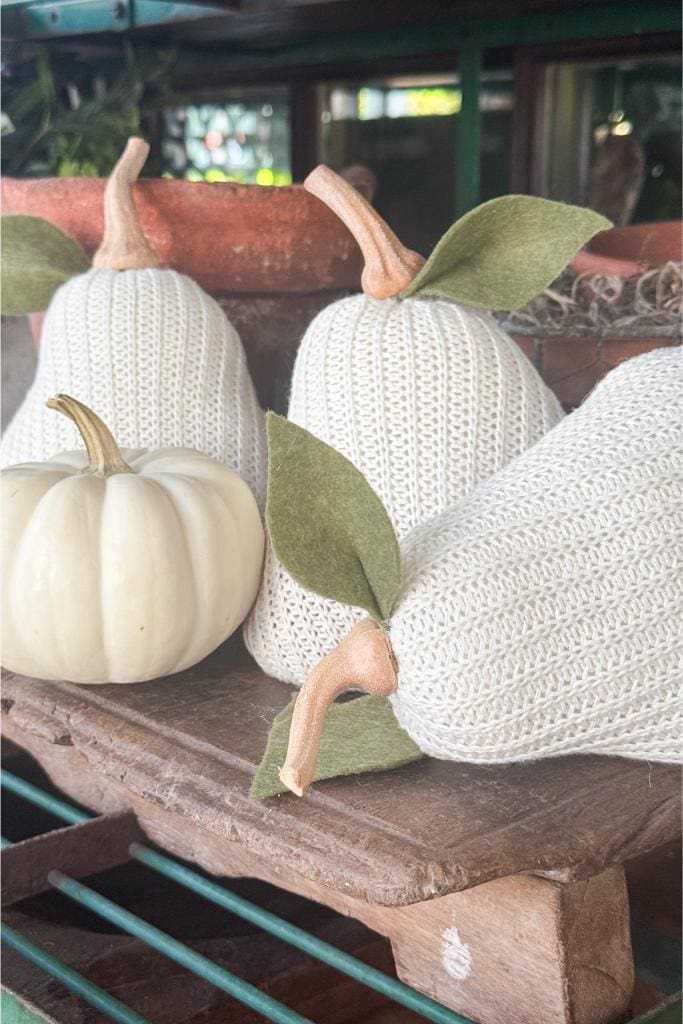
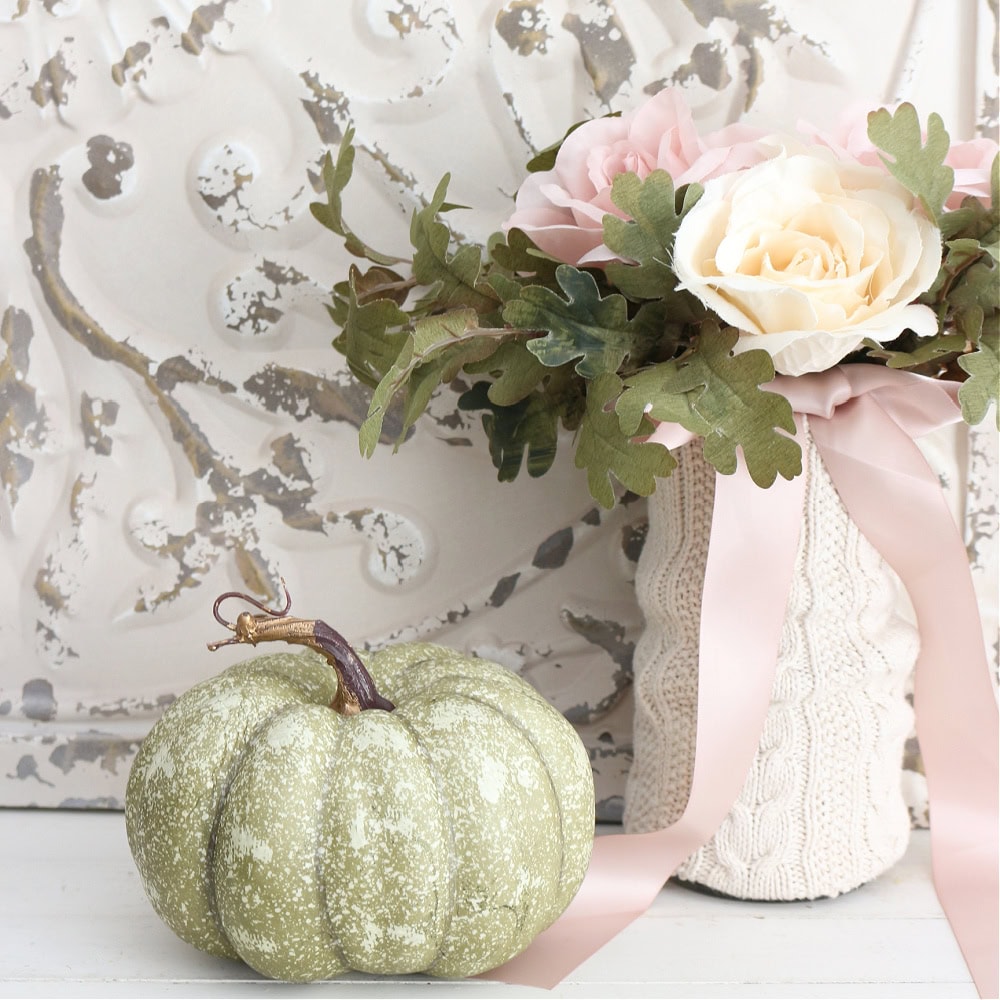
Resting on a Shelf
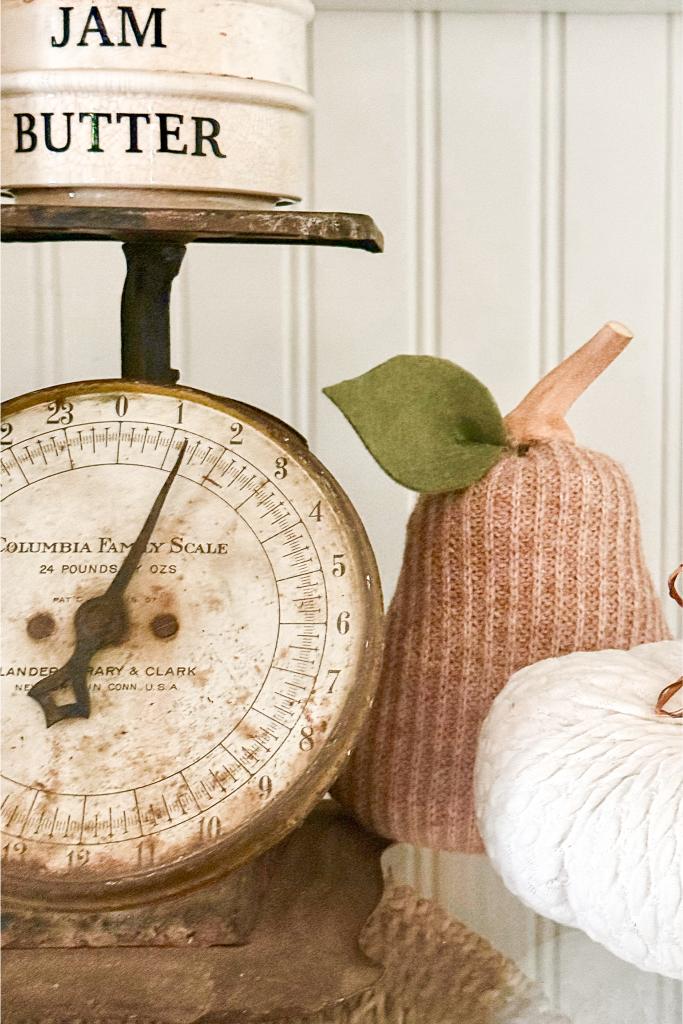
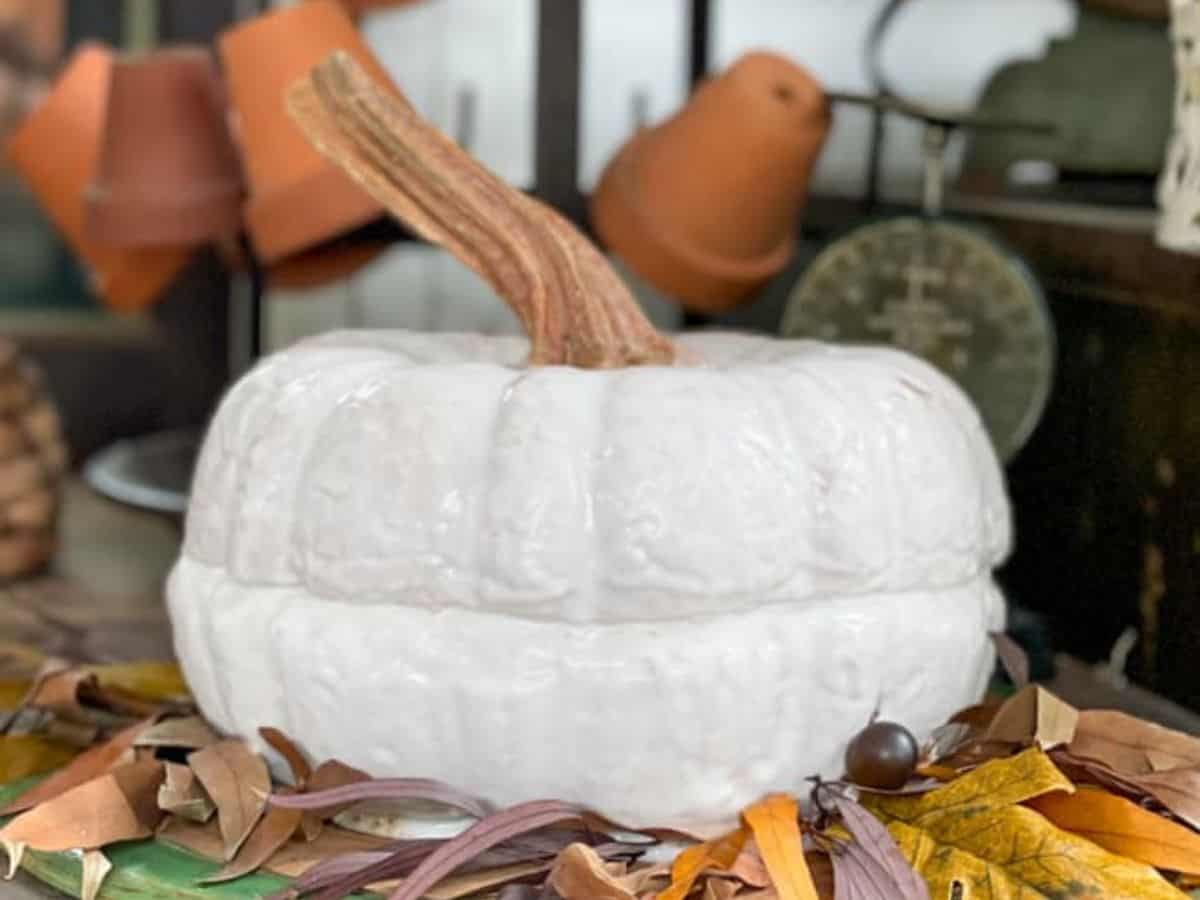
For a more subtle touch, place a few pears on your bookshelf, mantel, or entry table. Pair them with brass candlesticks, old books, or a vintage scale for an elegant fall vignette. Even a single pear can be the perfect accent that ties a whole shelf together.
On the Porch
Tuck a few sweater pears into your fall door basket alongside branches, foliage, and seasonal flowers. They also look adorable styled with boots, pumpkins, or a cozy blanket on a bench. Outdoor displays make a warm, inviting statement for guests right at your doorstep.
Tip from wendy’s craft room:
✨ Tip from Wendy’s craft room: Style your pears in groups of three for the most natural look — just like you’d see a small cluster of fruit in nature.
FAQ’s about DIY Sweater Pears
Can I make DIY sweater pears without sewing?
Yes! Use a hot glue gun instead of stitching. Just glue the edges (leaving the top open), flip, and stuff.
How do I get my sweater pears to stand up?
Add a small handful of beans, rice, or dried peas to the bottom before stuffing. This extra weight keeps them upright and sturdy.
What sweaters work best for this project?
Thicker knits like cable, ribbed, or chunky textures give the pears more character. Lightweight sweaters can work too, but they’ll need a bit more stuffing.
Other Tutorials from WM Design House
If you love this project, you might also enjoy some of my other favorites.
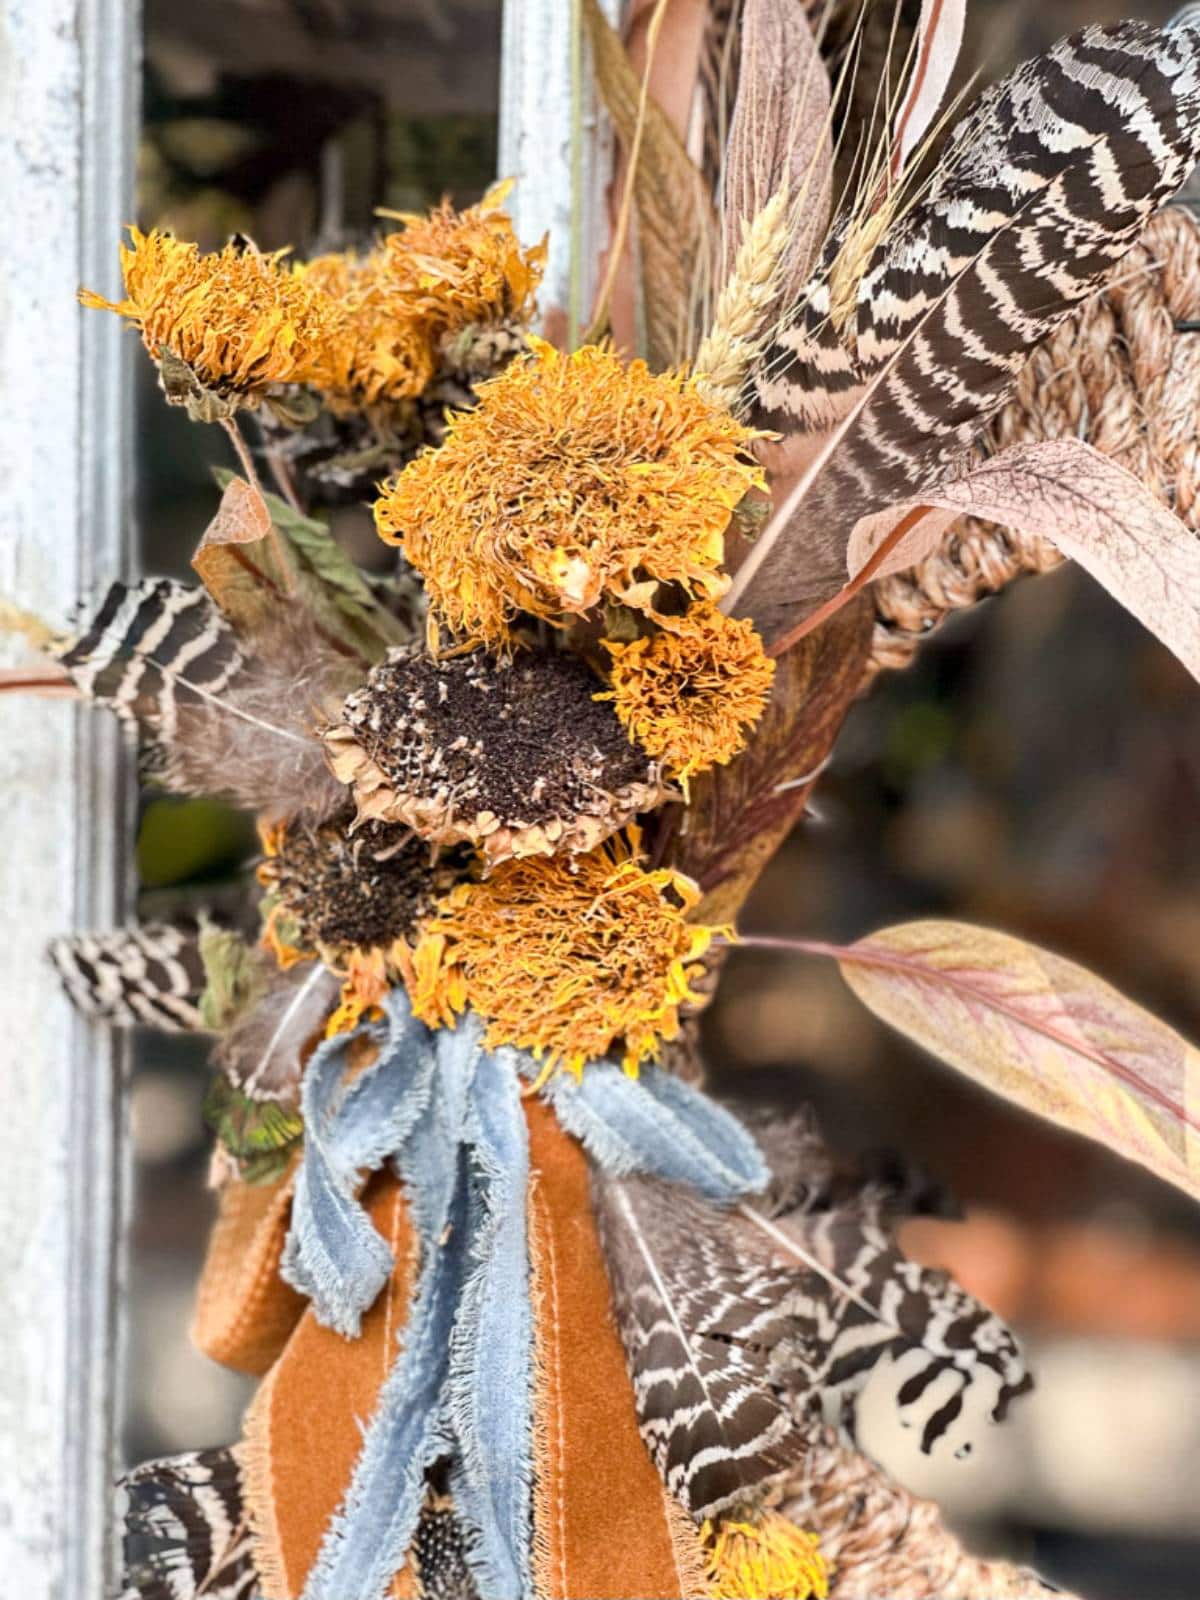
How to Make a DIY Rope Wreath
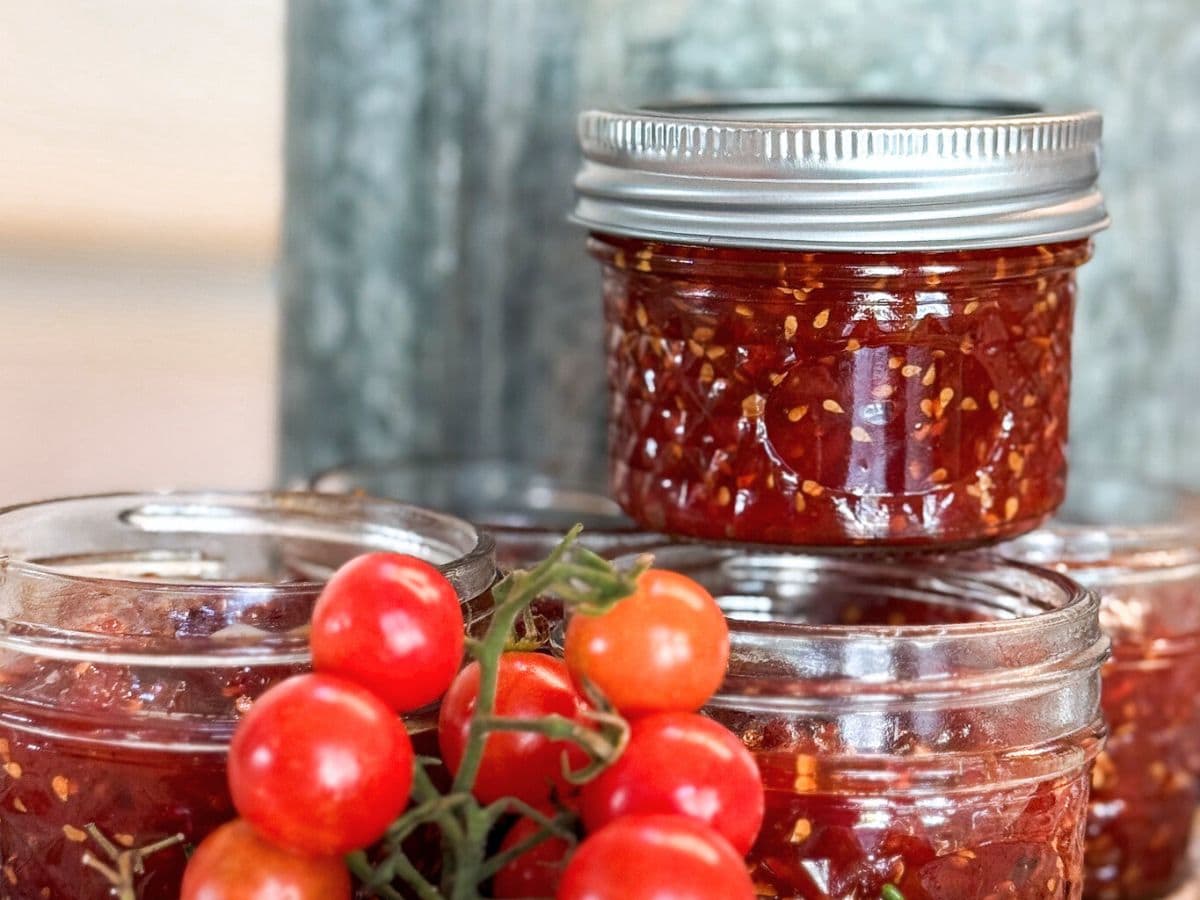
Easy Cherry Tomato Jam Recipe for Beginners
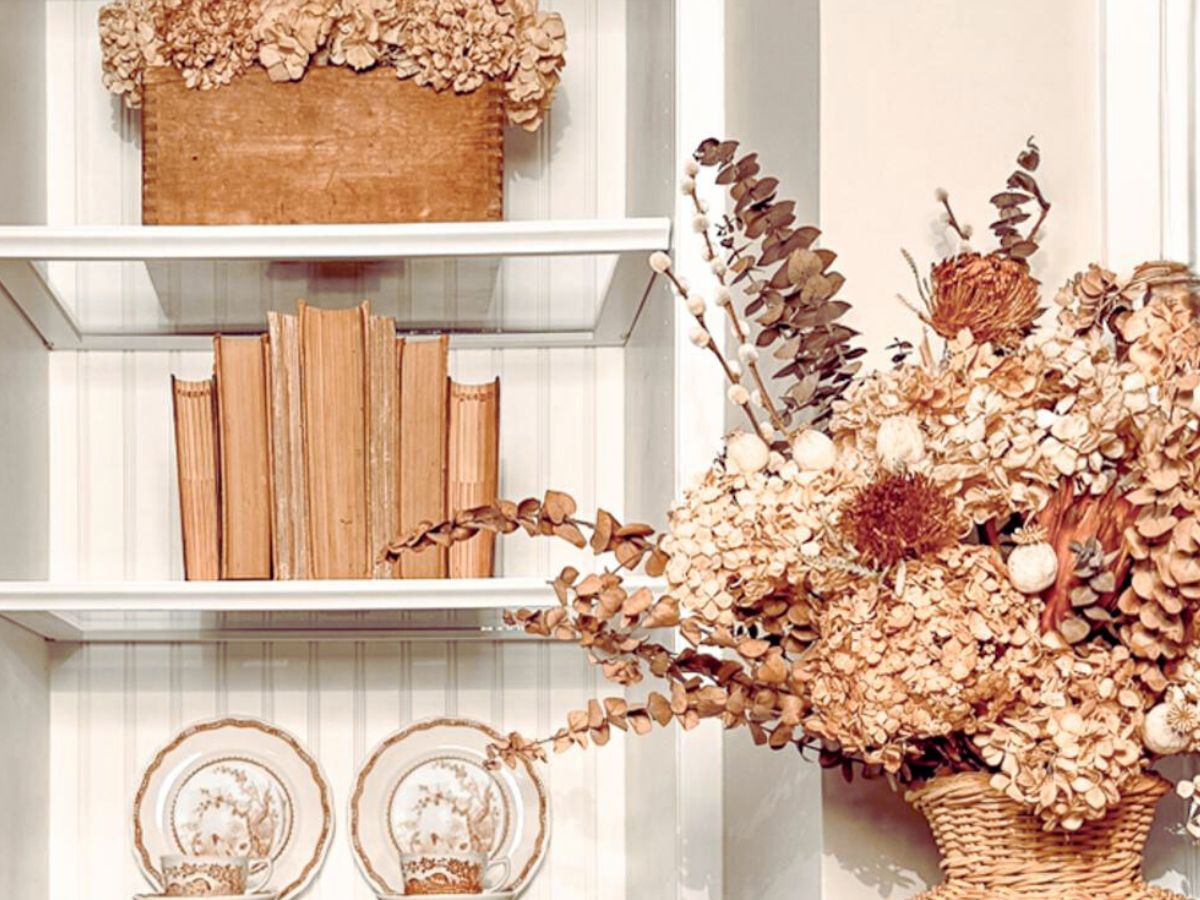
11 Beautiful Budget Friendly Fall Shelf Decor Ideas with Thrifted Items
The fun doesn’t stop here! The rest of the Handcrafted Society ladies have been busy creating their own cozy fall projects, and trust me — you won’t want to miss them. Click through to see the beautiful, creative ideas they’ve dreamed up. I know you’ll come away inspired (and maybe with a few new favorites for your fall home, too!).


DIY sweater pears are a simple, budget-friendly way to add charm to your fall decor. With just an old sweater, a twig, and a little creativity, you can make something cozy, sustainable, and unique. Each pear tells its own story — a quirky shape here, a rustic stem there — and together they create a look that feels handmade and personal


Did you make this craft?
We would love to see what you have created, so mention us @wmdesignhouse or tag us using #wmdesignhouse so we can see your creations!
More about me!

Hello, I’m Wendy – a dedicated homemaker with a deep passion for decorating, gardening, cooking, and crafting. I find joy in harmonizing beautiful elements to fashion a space that is both comfortable and inspiring. I will help you create a beautiful home, one project at a time.
If you plan to keep these for next year, do NOT use a food product. I got some kind of food mite in a doll I made. I also know for a fact that rodents can smell food available. FYI the new packing peanuts are made from rice.
Hi Teresa, thank you for the tip, I appreciate you sharing.
What a pretty project, Wendy!
You amaze me! Your projects are always so creative and classy – I love how you created these and styled them in your home! PS – I also think your posts are next level!!
Hi Wendy – I love using pears 🍐 to decorate for fall. So your sweater pears are right up my alley. I also love the way you displayed them!! Pinned!
How fun, Wendy! Love how your pears turned out. They look great in the dough bowl. I think it is my favorite way that you styled them.
Thank you so much Tammy, I ended up leaving them in the bowl on top of my mantle.
Great idea, Wendy! These sweet pears turned out so cute, and they’re the perfect companions for all types of pumpkins and fall florals! They’re a lovely way to add a bit of cozy decor for the season! Happy fall, my friend!
Thank you Donna, they came out better then I expected. One of those projects. I just wasn’t sure how it was going to work out, but I was happy in the end. I adored your sweet ghost under the glass.
Wendy, I think your sweater pears are going to be really popular! I love that you filled them with beans too for a weighted bottom, so smart!! They look fabulous on display! Hugs!
Thank you so much Michelle! They were very fun to make and super easy.
Love that these pears are a fresh take on sweater pumpkins, Wendy. They look so good mixed in with all your seasonal vignettes and I appreciate that they’re easy to make too. Big hugs for a happy Fall season, CoCo
Thank you Coco, they were very easy, which is always nice. They would pair nicely with your beautiful vase. I will have to make one to showcase with my pears.
Simply stunning! Love the mix of pears and pumpkins! I certainly have my share of pears artwork, but I’m thinking they need some cuddly pears for balance! Thanks for the inspiration my friend!
Thank you Diane! you do have some beautiful pear artwork and these would be a great addition to your home for the fall.