DIY 12 Days of Christmas Ornaments (With Free Printable)
Today I’m sharing the 11th ornament of the season, and it’s hard to believe we’re already nearing the end. Creating these DIY 12 Days of Christmas ornaments has been such a joy, and I hope you will love making them right along with me.
The 12 Days of Christmas has always felt timeless — full of music, tradition, and nostalgia — which made it the perfect inspiration for this collection. In today’s post, I’m sharing all 12 DIY ornaments, created as a cohesive set using my free printable.
Whether you make one or all twelve, these ornaments are meant to be enjoyed year after year.


On my blog WM Design House, I may sometimes use affiliate links, which means a small commission is earned if you purchase via the link. The price will be the same whether you use the affiliate link or go directly to the vendor’s website using a non-affiliate link. Read my full disclosure policy here.
A Handmade Take on the 12 Days of Christmas
I don’t know about you, but I love to make handmade ornaments for myself and to give as gifts. There are so many varieties that you can make.
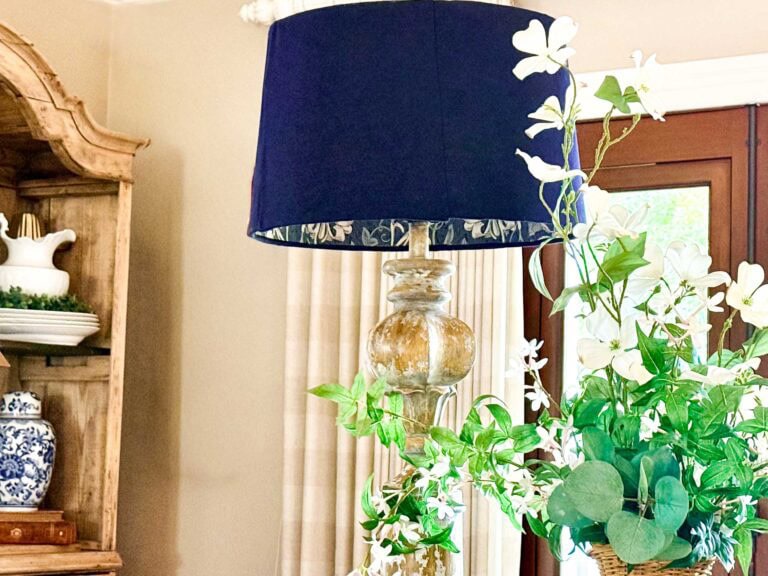
I have shared clay ornaments, glass ornaments, ornaments made with feathers small lamp ornaments, pomegranate ornaments and more.
When I started designing this project, I knew I wanted the ornaments to have a vintage feel — and I wanted to use old sheet music. From there, my goal was to create ornaments that felt truly special, while still being approachable.
I wanted them to be:
- Handmade
- Budget-friendly
- Timeless and storybook-inspired
- Easy to recreate at home
- Neutral enough to blend with many holiday styles
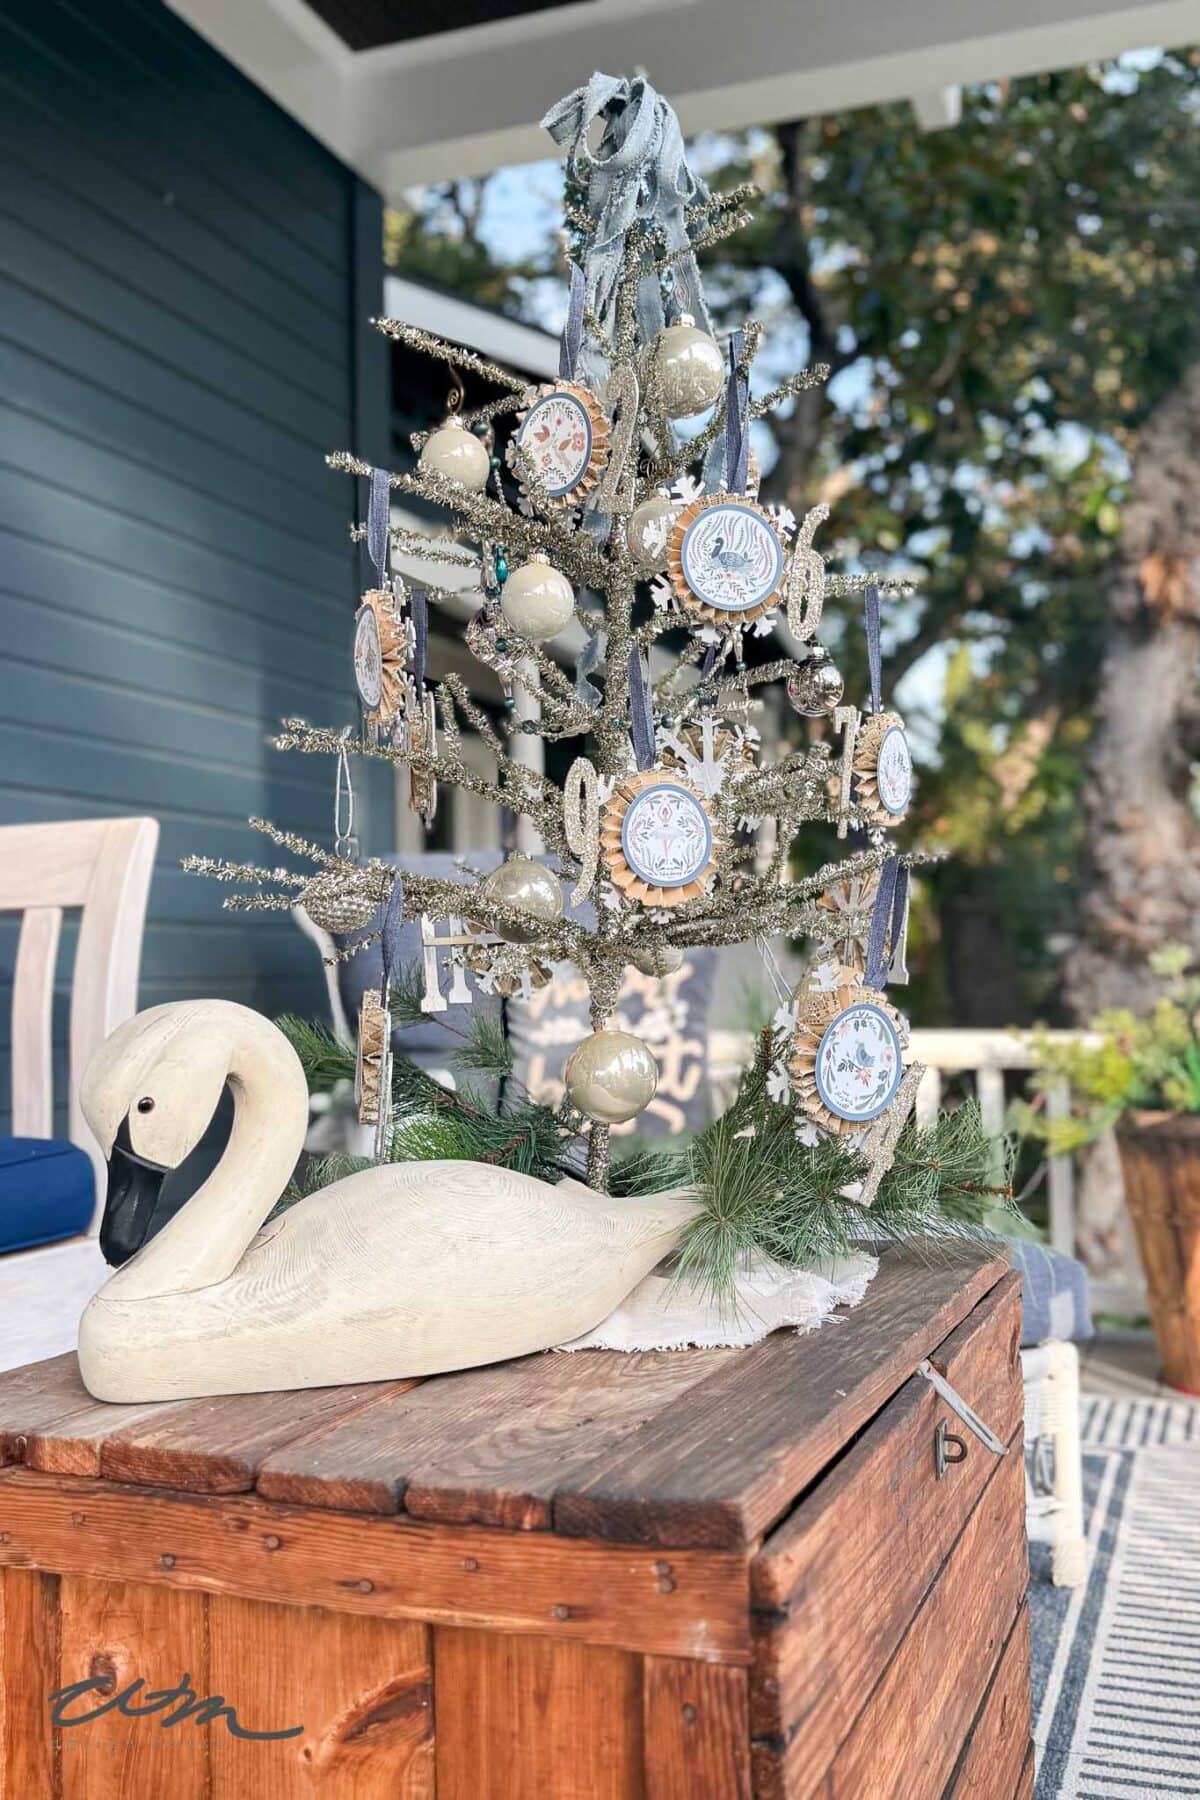
Each ornament combines a snowflake from a Dollar Tree garland that I took apart, vintage sheet music, soft seasonal artwork, and simple layered details to add texture and charm without feeling complicated. They look just as beautiful on a traditional Christmas tree as they do on a small tabletop or porch tree.
Materials You’ll Need
How to Make DIY 12 Days of Christmas Ornaments
All twelve ornaments are made using the same process, which makes this a great project to batch-create. For the best results, I recommend completing each step for all twelve ornaments before moving on to the next.
Start by purchasing all of the necessary supplies and printing the free printable artwork on cardstock paper. Cut out the artwork and set it aside so everything is ready and organized before you begin assembling the ornaments (see supply list above).


Step 1: Prep the Snowflakes and Numbers
- Spray paint the snowflakes and numbers silver, using light, even coats. Once dry, flip them over and paint the opposite side as well. Allow everything to dry completely before handling or assembling the ornaments.


Step 2: Create the Sheet Music Rosettes


- Cut two pieces of sheet music that are approximately 4″ wide x 6″ long.
- Accordion-fold the paper, making each fold approximately ⅓ inch wide. Once the entire piece is folded, fold the accordion strip in half.
- Using hot glue, attach two folded pieces together at the center and along the edges to form a complete circular rosette, similar to the images above. Add a small dab of glue to the center ½ inch on both sides to help hold the rosette securely together.
- Carefully roll the outer edges of the rosette in white glue, then roll the glued edge in German glass glitter. Set aside and allow the rosette to dry completely before assembling the ornament.


Tip from wendy’s craft room:
Place the rosettes on parchment paper while drying so they don’t stick to your work surface.
Step 3: Assemble the Ornament Base for the DIY 12 Days of Christmas
- Cut a piece of ribbon 8 inches long.
- Glue one end of the ribbon to the top branch of the snowflake. I used snowflakes from an old garland that already had holes in the branches, which is why I attached the ribbon at the top as I wanted to cover one of the holes. Ideally, if your snowflake is solid, you can glue the ribbon to the back instead.
- Loop the ribbon around to create a hanger and glue the other end on top of the first, pressing firmly until secure.
- Next, attach the dried sheet music rosette to the center of the painted wooden snowflake using hot glue. Press gently and hold in place until the glue sets.
- Be sure the rosette is centered so the snowflake shows evenly around the edges. Allow everything to dry completely before moving on.


Tip from wendy’s craft room:
If your ribbon frays easily, lightly seal the cut ends with a tiny dab of glue and let it dry before attaching.
Step 4: Add the Artwork and Number
- Add a small dab of hot glue to the center of the rosette and attach the artwork for each ornament.
- Paint a coat of Mod Podge on the front of your numbers and sprinkle with glitter. Allow them to dry completely.
- Next, add the correct number to each ornament using hot glue. I alternated placement, positioning some numbers on the left and others on the right for visual balance.
- For the double-digit numbers, I added a small piece of wood behind them for extra support. (I simply broke off a piece from one of the extra snowflakes I had on hand.)


Tip from wendy’s craft room:
Finish by spraying the entire ornament with a clear varnish to protect the surface and help seal the artwork for long-lasting durability.

How to Style Your 12 Days of Christmas Ornaments
One of my favorite things about this DIY is how versatile the finished ornaments are. Here are a few ways to use them:
- Hang all 12 together on a Christmas tree as a themed tree
- Style them along a garland on a mantel or staircase
- Display them on a small tabletop tree
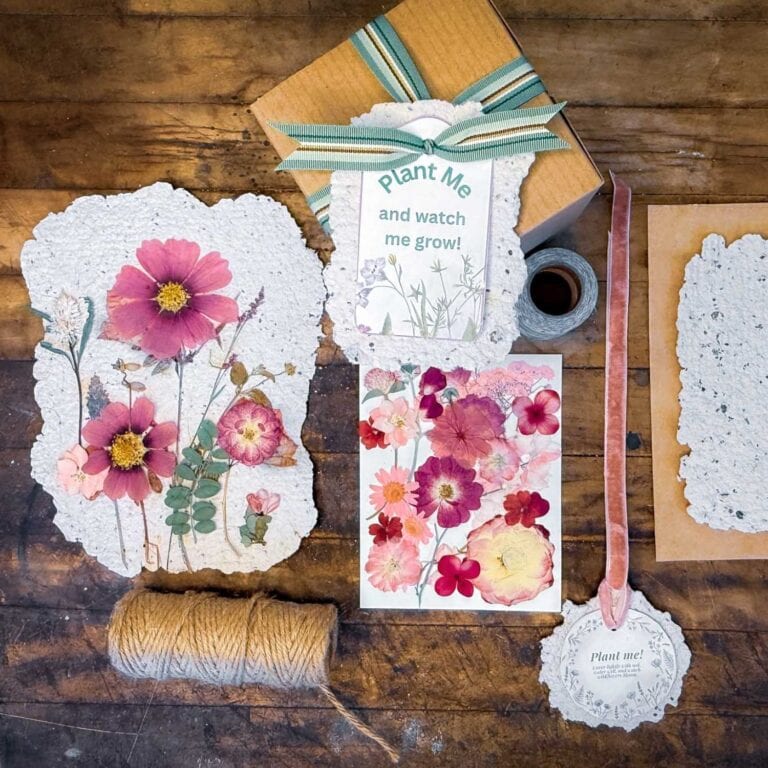
- Gift the full set in a decorative box for a meaningful holiday present
Because they’re lightweight, they work beautifully even on smaller branches.


12 Days of Christmas Ornaments
Equipment
- 1 Glue Gun
- 1 pair of scissors
Materials
- Wood Snowflakes 5"
- Vintage sheet music
- Print out the 12 days of Christmas on cardstock
- German glitter glass
- Silver spray paint
- 5/8" Ribbon for hanger
- Wood numbers: 1-12
- Clear acrylic spray
Instructions
DIY 12 Days of Christmas Ornaments
- Gather supplies and print the free printable on cardstock.
- Cut out artwork and prepare all pieces before assembling.
- Complete each step for all 12 ornaments before moving on.
Prep
- Spray paint snowflakes and numbers silver (both sides). Let dry.
- Make Rosettes
- Cut sheet music to 4″ x 6″.
- Accordion-fold, fold in half, and glue into a rosette.
- Add glue to the center for support.
- Coat edges with glue and German glass glitter. Let dry.
Assemble
- Cut 8″ ribbon and glue to snowflake to create a hanger.
- Glue rosette to the center of the snowflake.
Finish
- Glue artwork to rosette.
- Glitter numbers with Mod Podge; let dry.
- Attach numbers (add backing for double digits if needed).
- Spray with clear varnish to seal.
Wendy’s Tips for the Best Results
Use heavier cardstock so the ornaments hold their shape
Stick to a limited color palette for a more elevated look
Keep embellishments consistent across all 12 ornaments
Store them flat in a labeled box so they stay pristine year after year
A Handmade Tradition Worth Repeating
These DIY 12 Days of Christmas ornaments have quickly become one of my favorite holiday projects this year. They’re simple to make, meaningful, and feel like something that could be pulled out each December and enjoyed again and again.
Whether you make them for your own tree or as a gift, this ornament set is a beautiful way to celebrate the season with something handmade and heartfelt.
👉 Be sure to download the free printable and start creating your own 12 Days of Christmas ornament set.
Wishing you a very Happy Holiday Season!


Did you make this craft?
We would love to see what you have created, so mention us @wmdesignhouse or tag us using #wmdesignhouse so we can see your creations!
More about me!

Hello, I’m Wendy – a dedicated homemaker with a deep passion for decorating, gardening, cooking, and crafting. I find joy in harmonizing beautiful elements to fashion a space that is both comfortable and inspiring. I will help you create a beautiful home, one project at a time.

Absolute perfection Wendy!!! Leave it to you!
I’m so glad you’re feeling better and able to share your incredible crafting talents with us.