DIY Faux Mercury Glass Christmas Ornaments: Elegant Vintage Shine for Your Tree
Are you dreaming of those real mercury glass ornaments from Pottery Barn that have that expensive look? But don’t want to spend a fortune on your holiday decor? This simple DIY tutorial will show you how to create stunning, budget-friendly mercury glass ornaments that add vintage glamour to your Christmas decorations without emptying your wallet.
.
On my blog WM Design House, I may sometimes use affiliate links, which means a small commission is earned if you purchase via the link. The price will be the same whether you use the affiliate link or go directly to the vendor’s website using a non-affiliate link. Read my full disclosure policy here.
Holiday Magic with DIY Mercury Glass Ornaments
There’s something pretty special about taking a plain Christmas ball and turning it into a vintage-style ornament you’ll love for years. It’s one of those DIY projects that feels simple but really makes an impact in your holiday home decor.
And if you love mercury glass as much as I do, you know it can be really expensive. That’s why this project is such a great way to get that luxe, high-end look for a whole lot less.

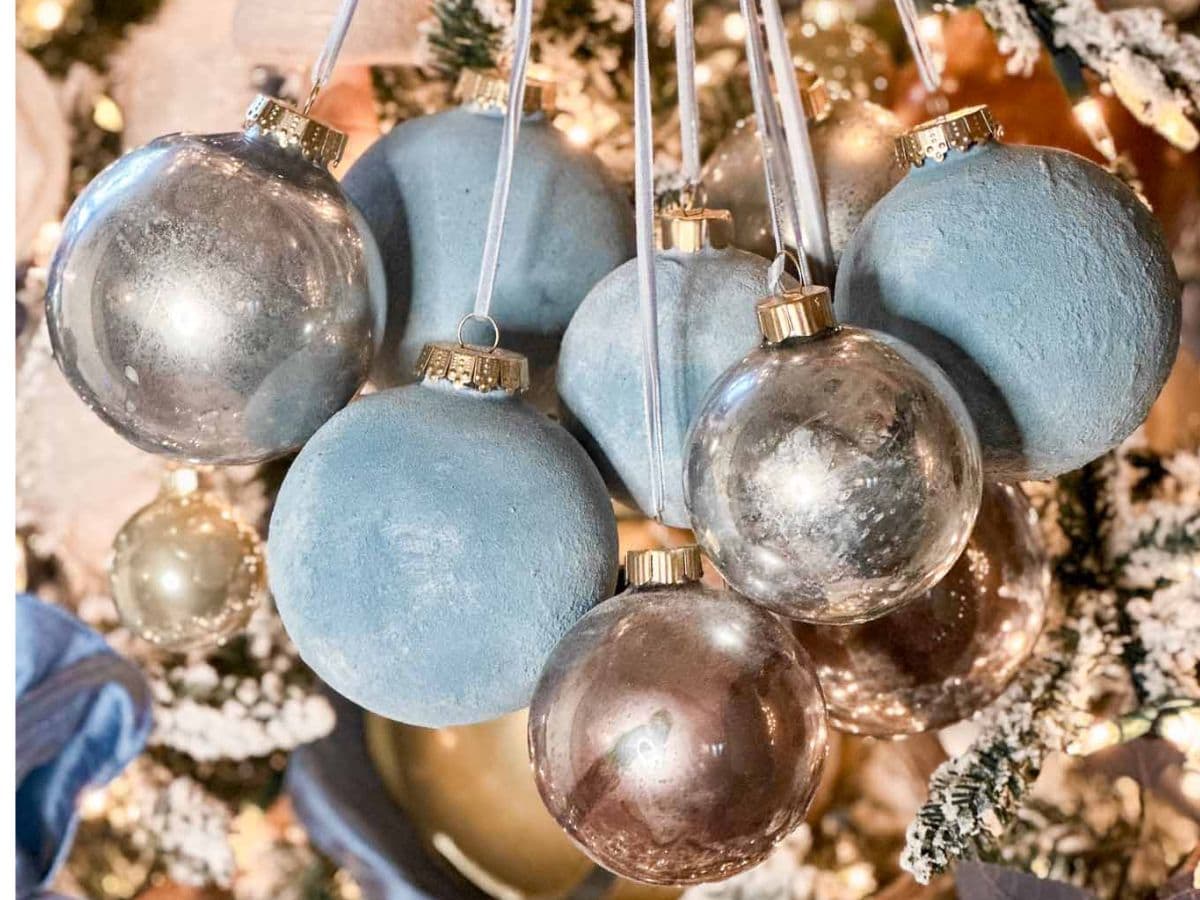
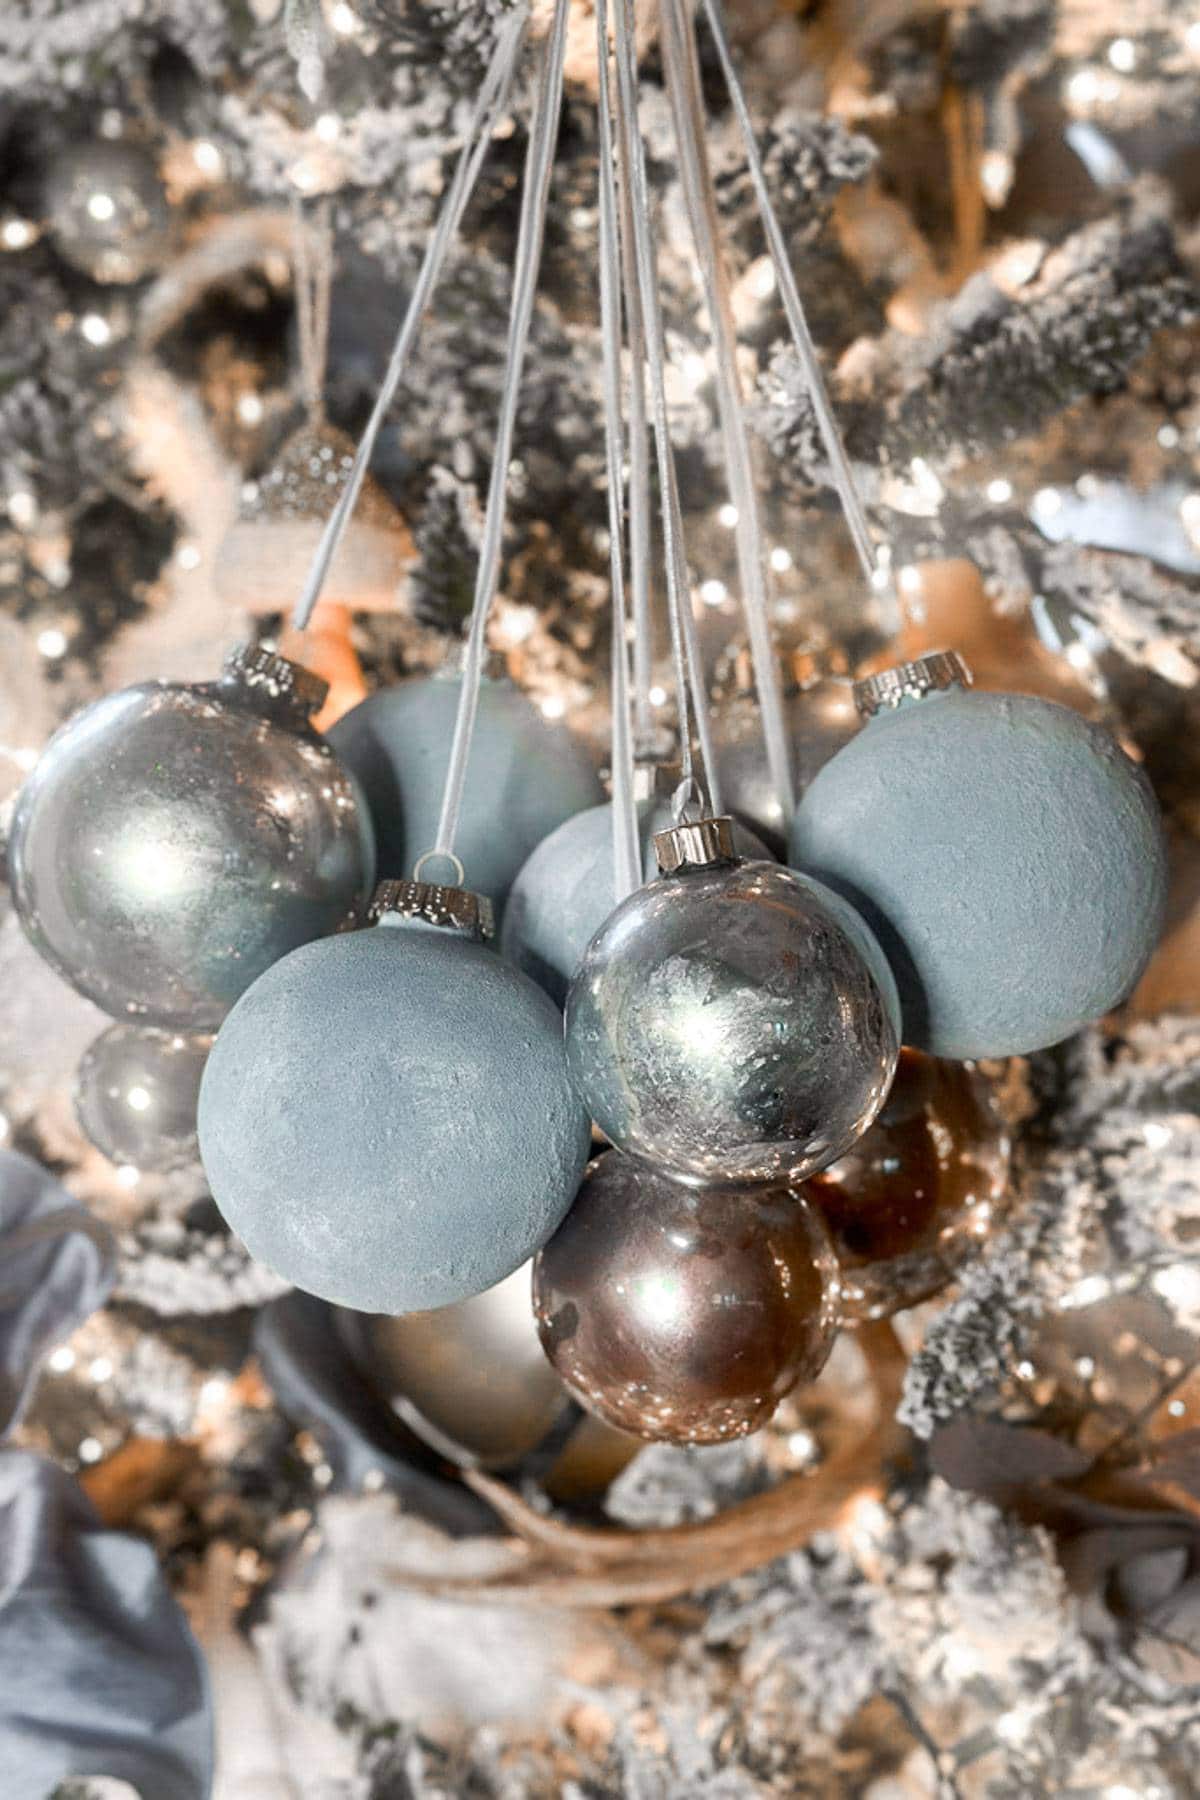
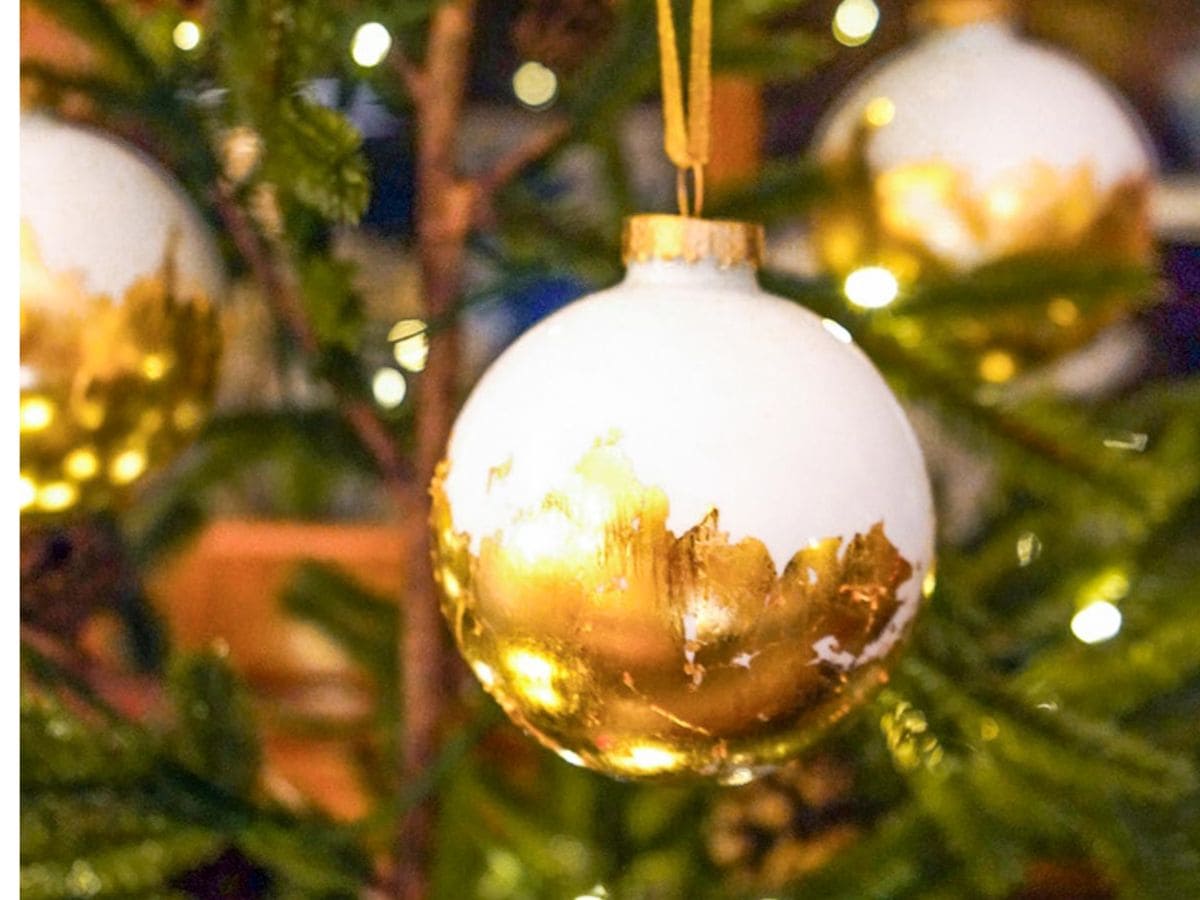
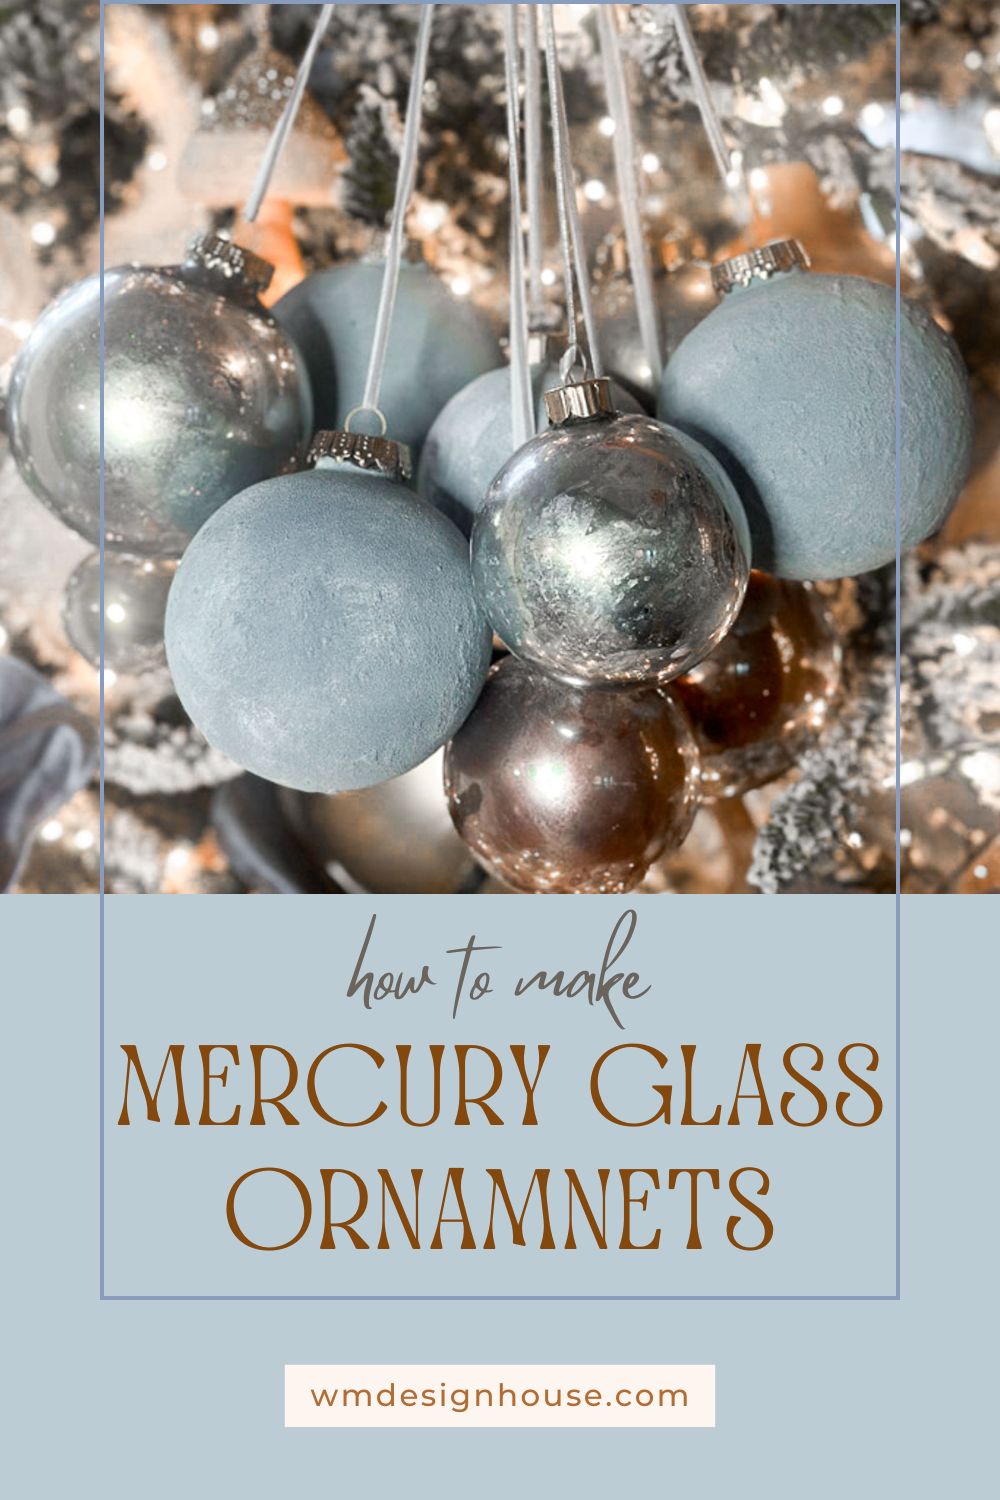
With just a few easy supplies, you can make mercury glass ornaments that look beautifully aged and full of charm. They have that soft, sparkly glow we all love and are such a fun way to add a personal touch to your tree. So gather a few supplies, read on, and let me show you how to make your own.
Why You’ll Love Making Mercury Glass Ornaments
If you’ve ever wanted to create your own Christmas ornaments that look high end without the high price tag, you are in the right place! These easy DIY mercury glass ornaments are simple to make, beautifully sparkly, and perfect for the holidays.
Whether you’re working with glass or a plastic ornament, this mercury glass DIY is an easy way to get the classic vintage-worn look.
Here are a few other reasons why you’ll love this festive craft project:
Beginner-friendly – This mercury glass painting technique is incredibly easy and doesn’t require any special skills or fancy tools. Each ornament turns out a little different, giving you a unique, artisan feel with very little effort.
Perfect Christmas decor – These faux mercury glass ornaments add the prettiest shimmer to your tree, garlands, wreaths, or holiday centerpieces. They catch the light in the most magical way and instantly elevate your Christmas decorating.
Beautiful for gifting – Handmade ornaments make such thoughtful presents. Bundle a few in a sweet box or tie one onto a wrapped gift, and you have a meaningful keepsake that friends, neighbors, and hosts will love.
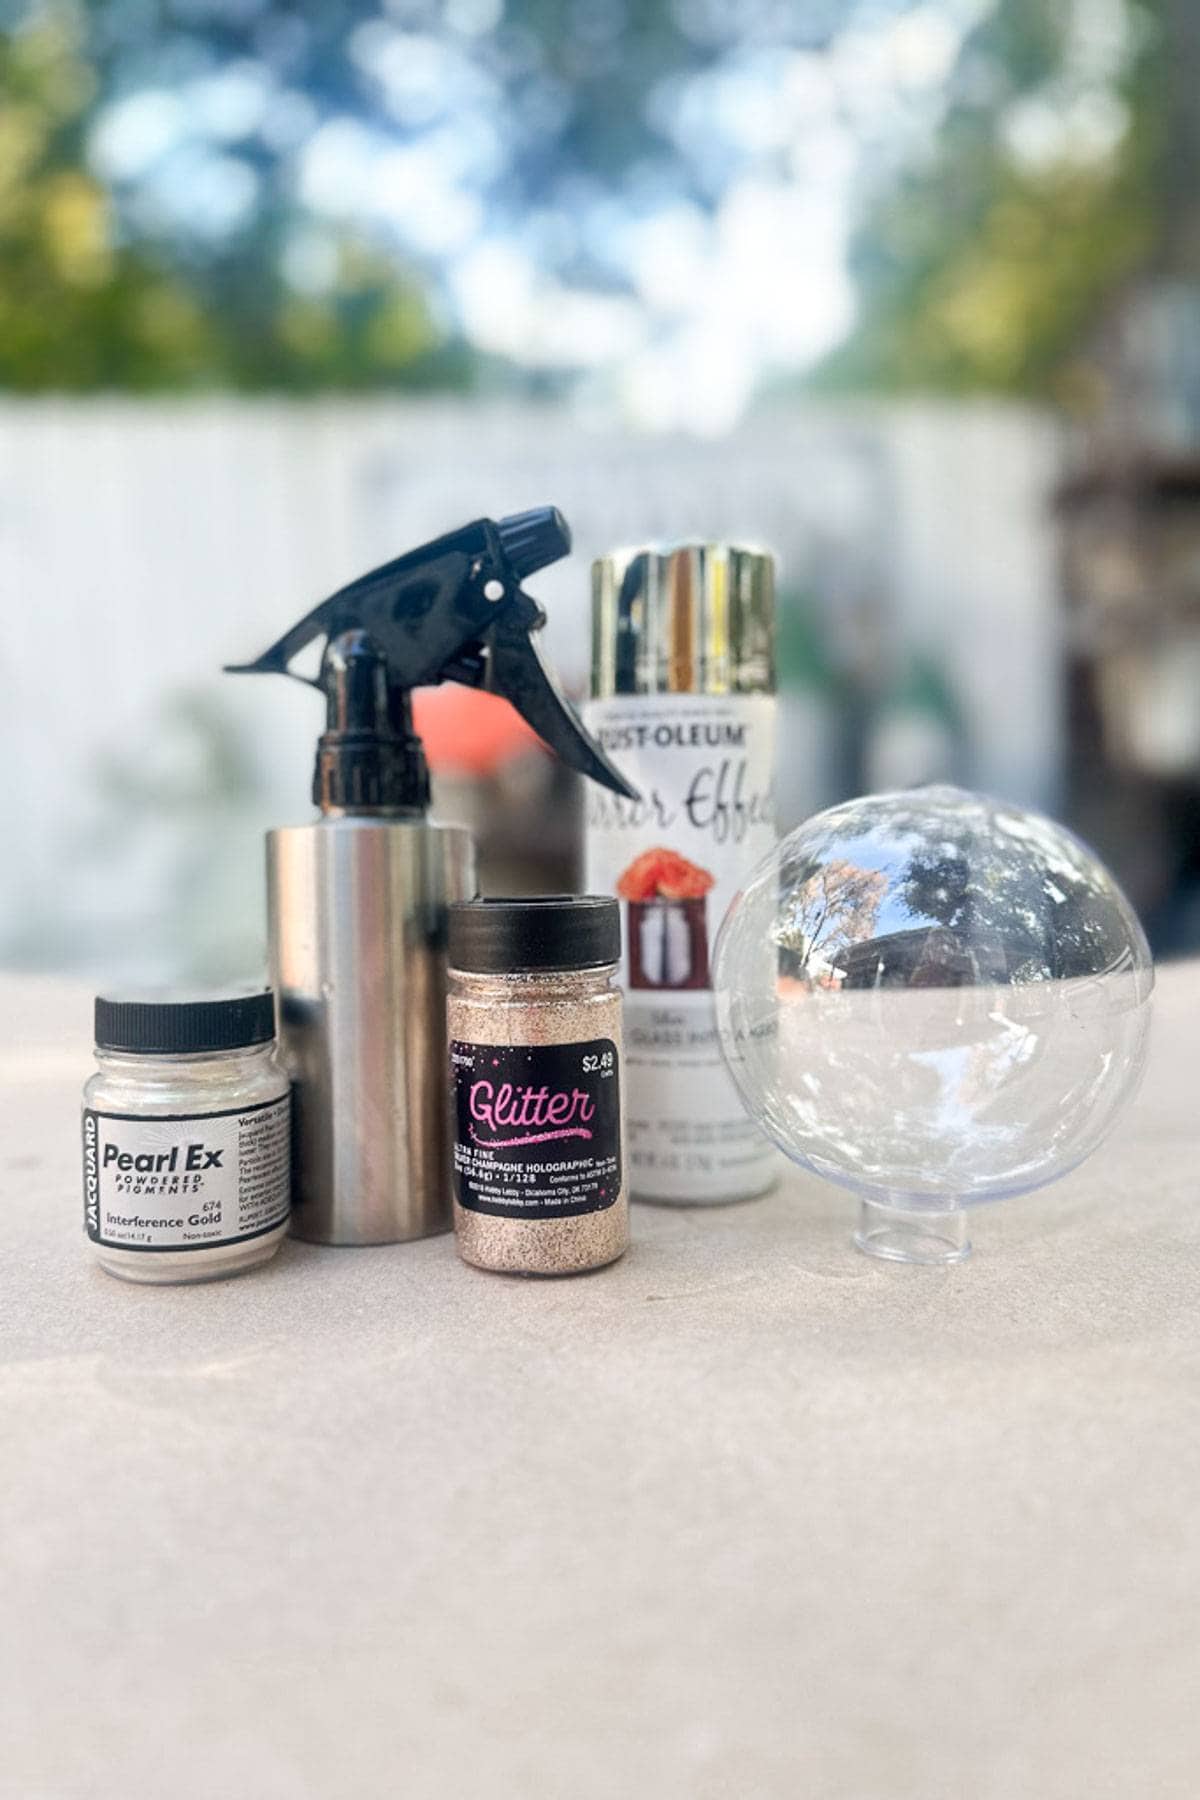
Supplies Needed to Make DIY Mercury Glass Ornaments
You’ll find most of the supplies through my links or at major craft stores like Hobby Lobby.
Tip from wendy’s craft room:
I chose to make gold mercury glass ornaments, but don’t be afraid to experiment with color! You can also make red mercury glass ornaments for a festive look, or try silver or green.
How to Make Faux Mercury Glass Ornaments
Step 1: Prepare Your Work Area
- Cover your workspace with paper or a drop cloth to protect it from spray paint.
Tip from wendy’s craft room:
This can get a bit messy, so I would suggest you do this outside if possible.
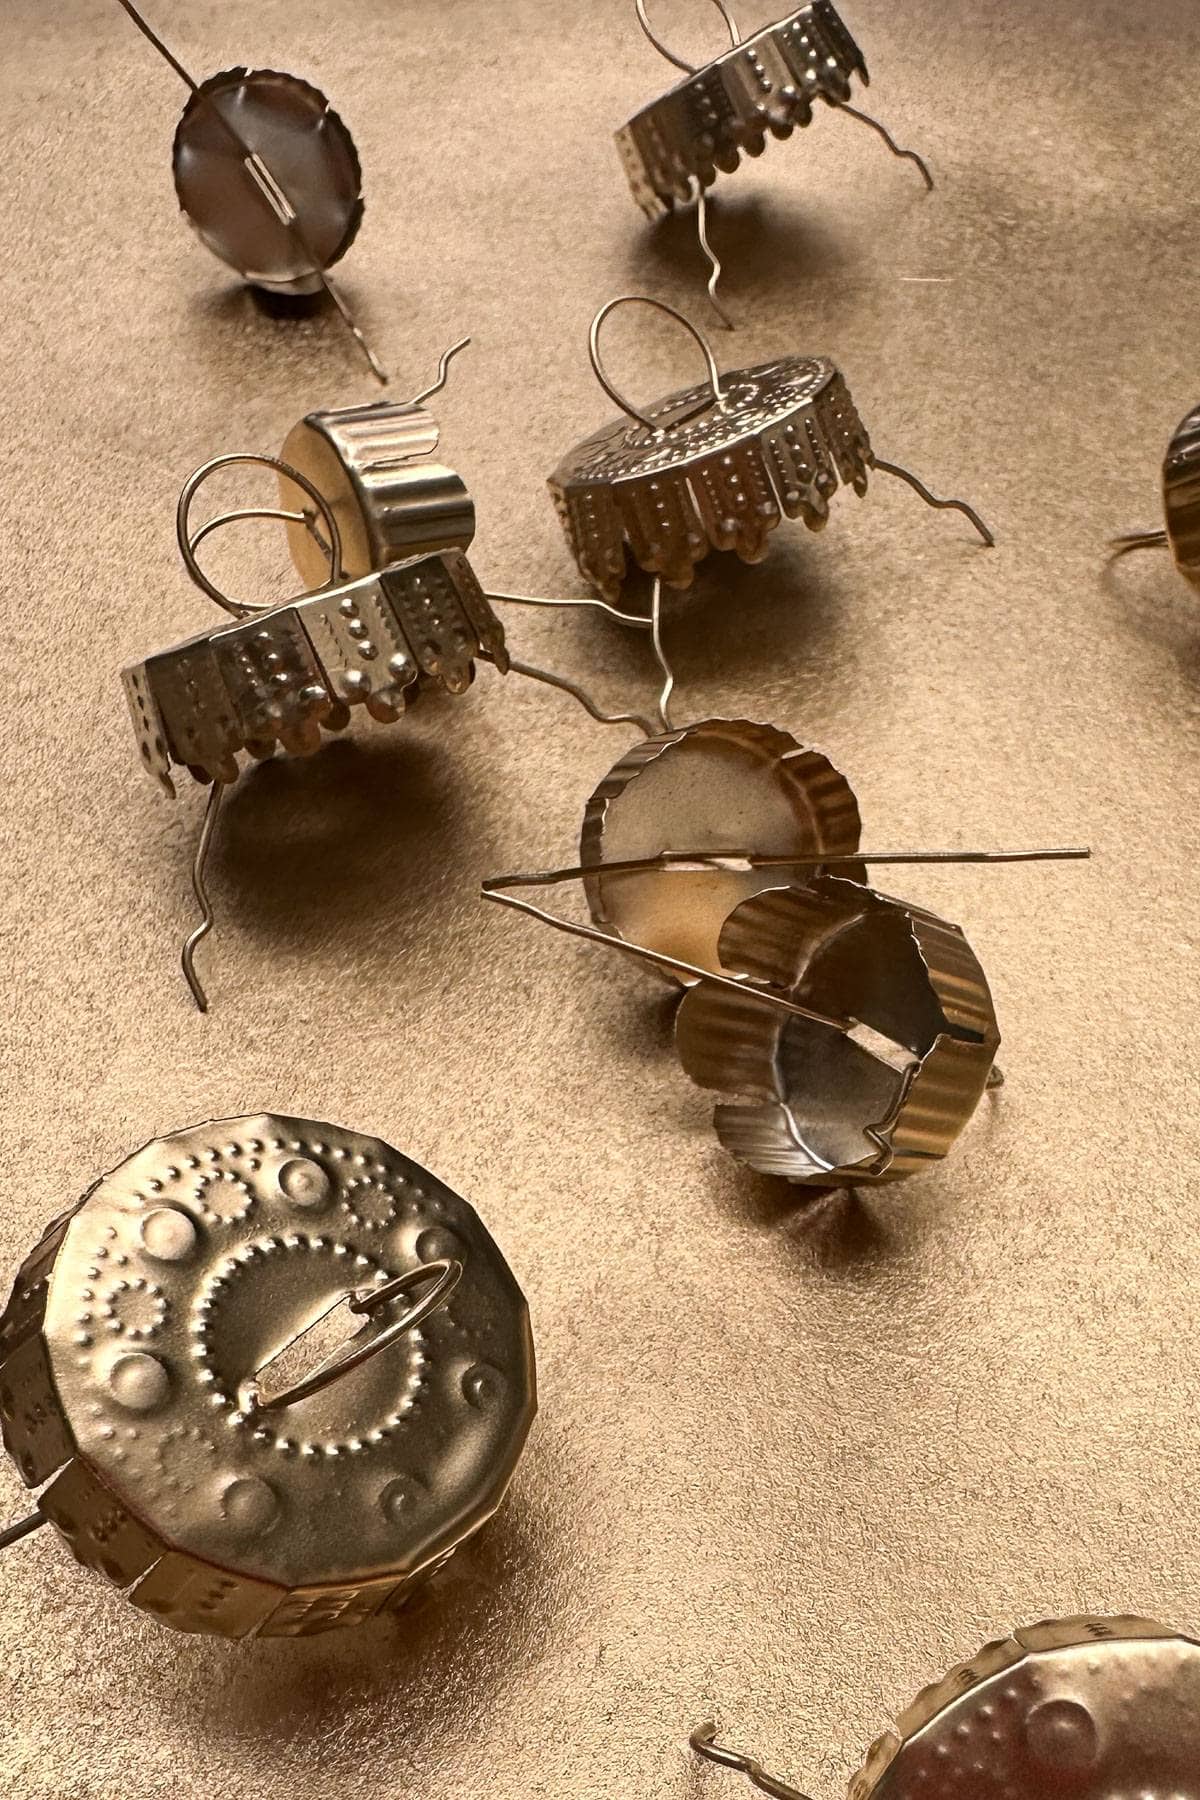
Step 2: Prepare Your Ornaments
- Remove the clear ornament caps and spray them with gold spray paint. Allow them to dry and set them aside.
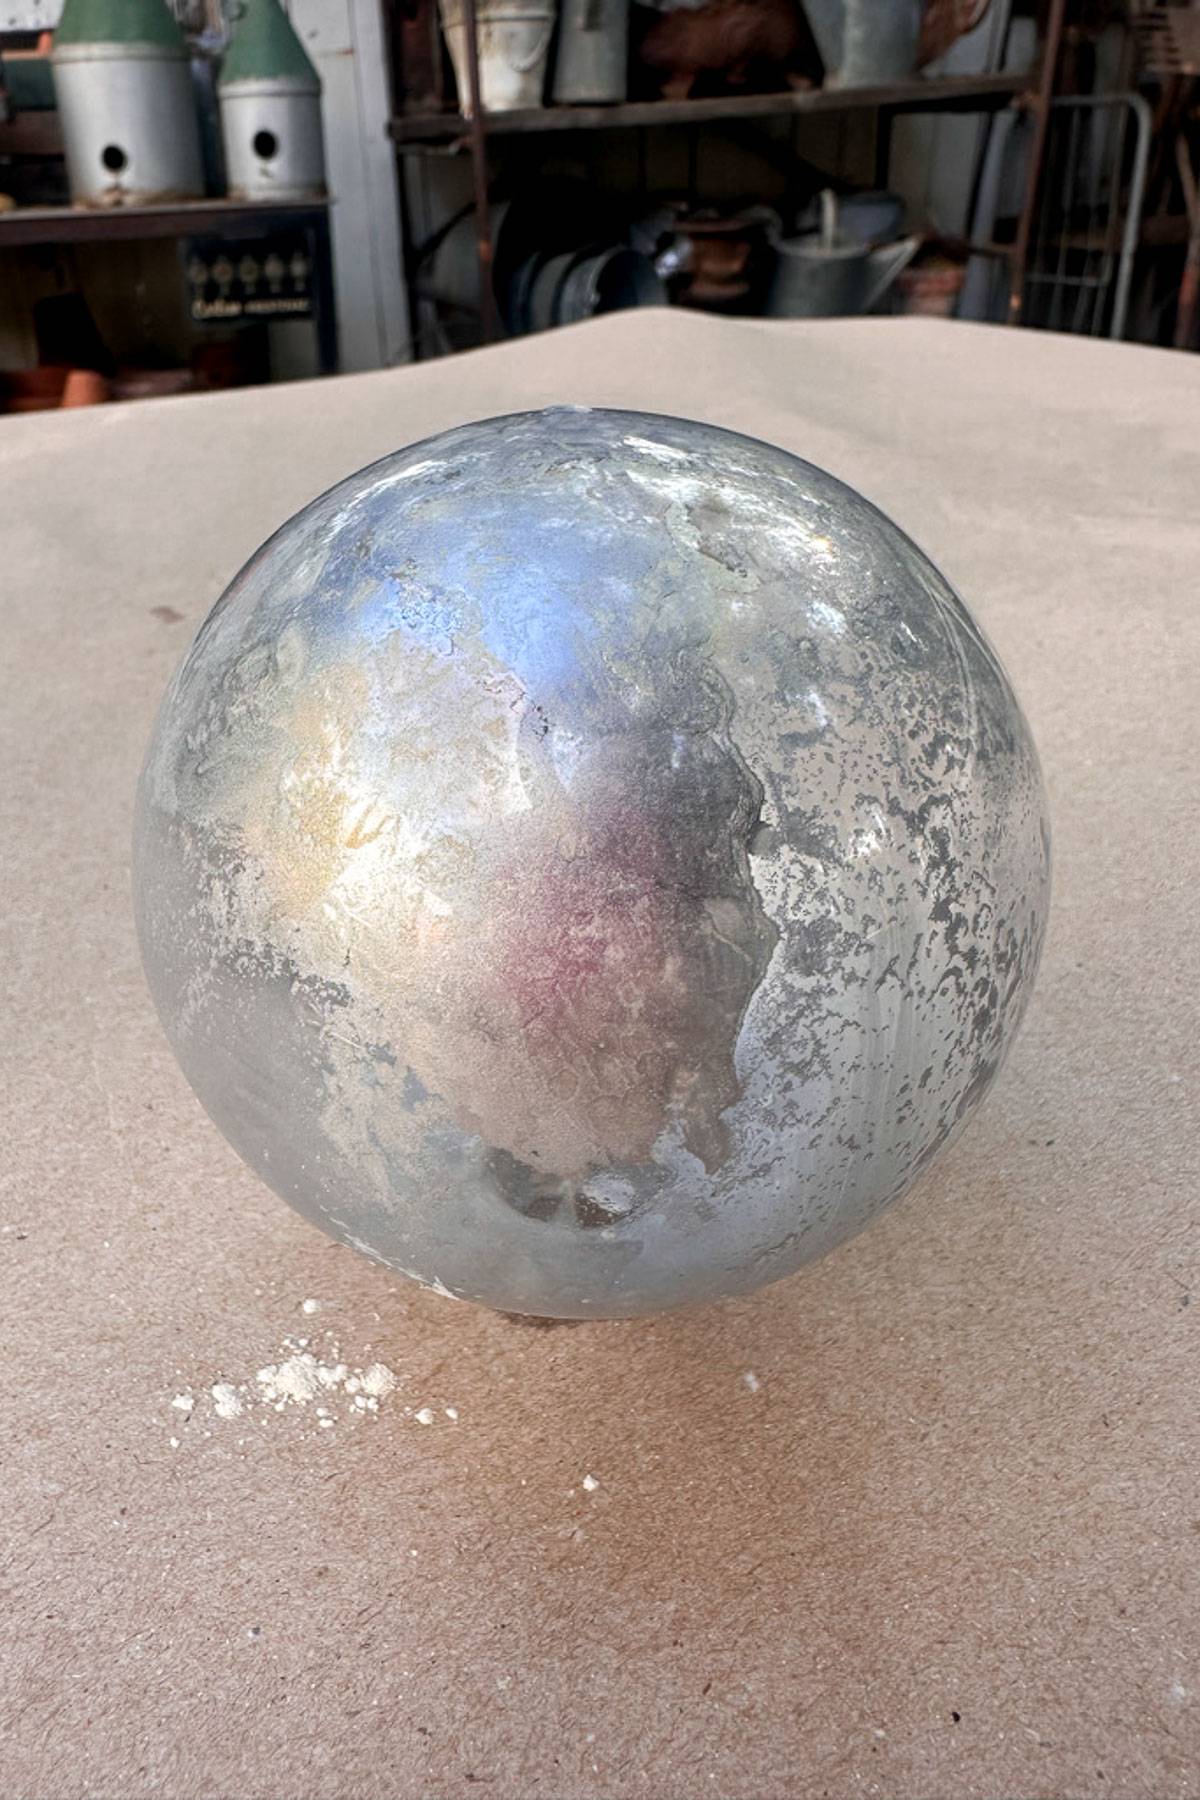
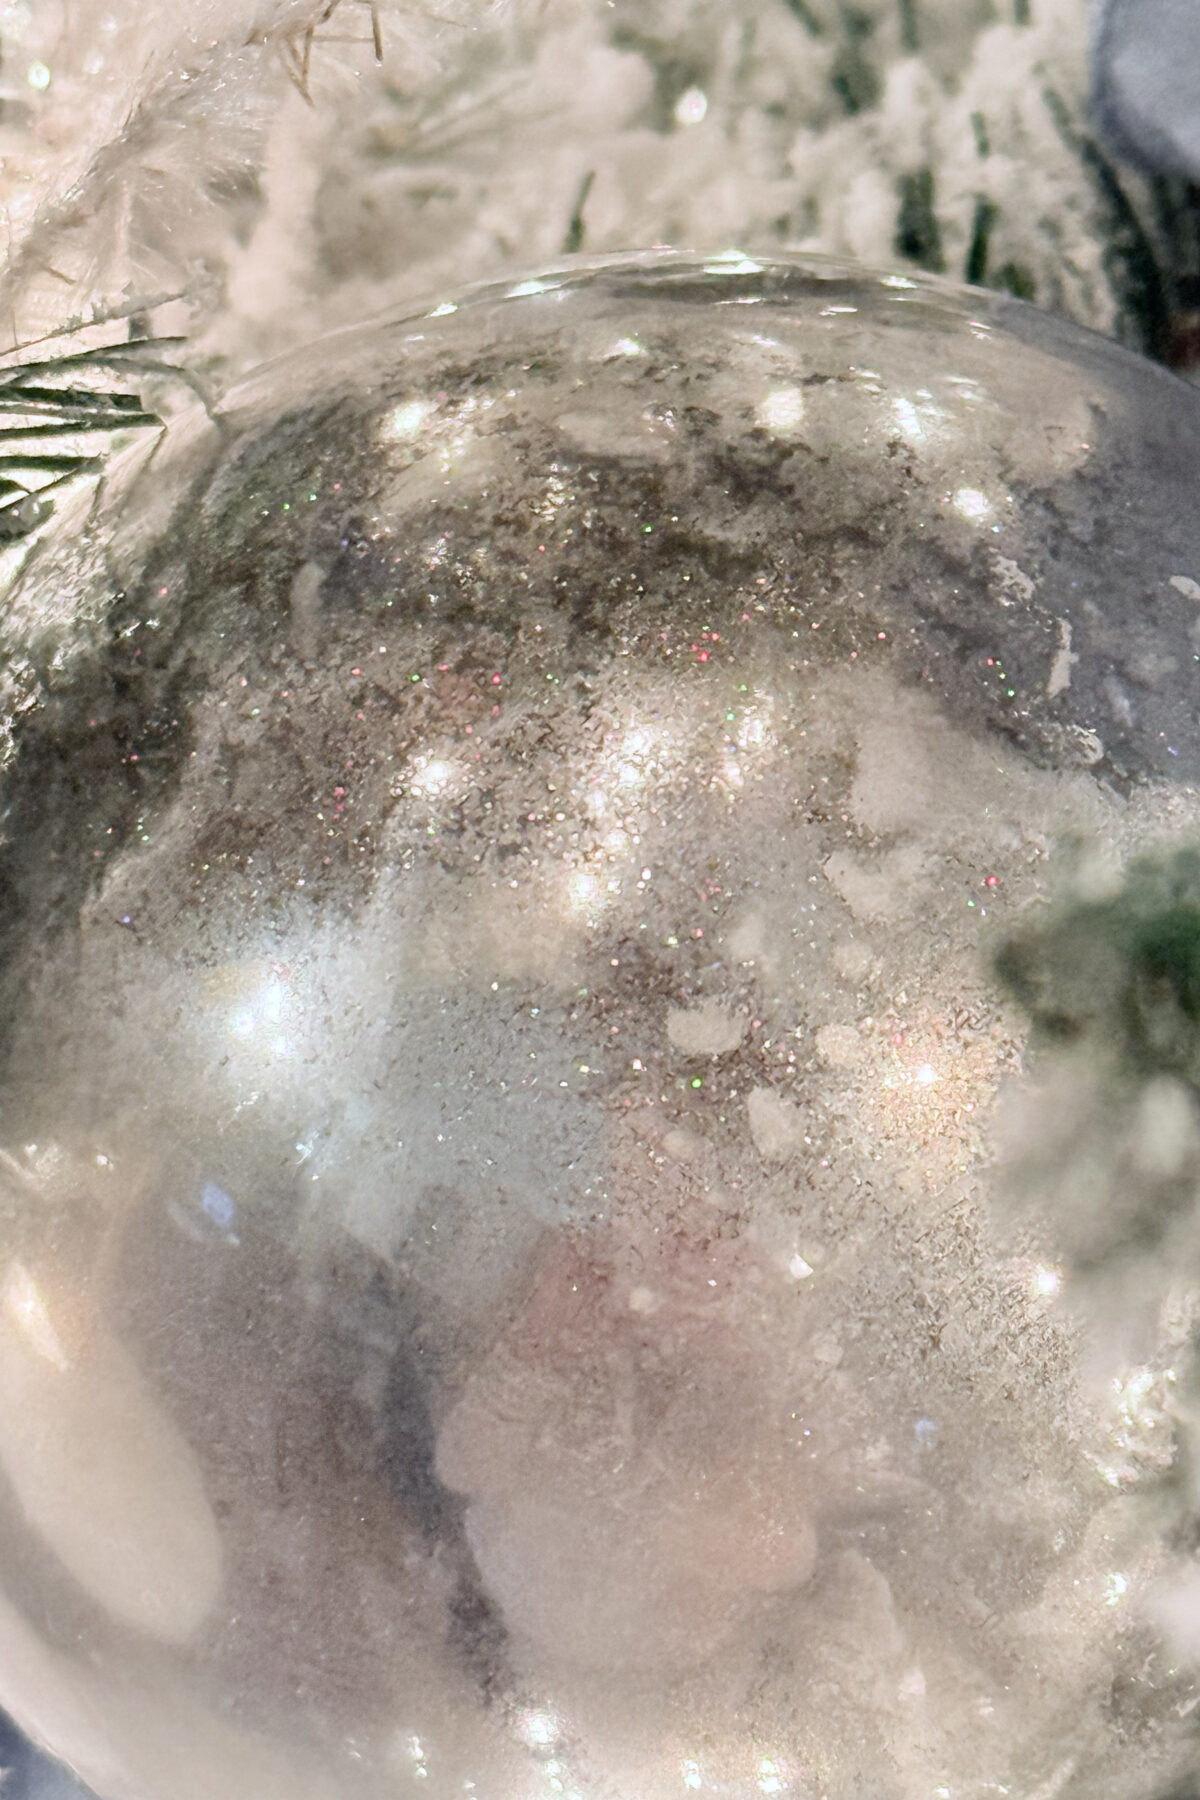
Step 3: Create the Mercury Glass Effect
- Spray the inside of the ornament with a few sprays of the mirror finish spray paint and swirl the paint around for your first coat.
- Spray a very small amount of the vinegar and water solution inside the ornament and swirl around.
- The vinegar will react with the paint, creating a mottled, aged effect to give you the fake mercury glass look.

- Use the blow dryer and dry the inside of the ornament.
- Add a second layer of spray paint.
- Add a very small amount of vinegar spray if you want more of a mottled or aged look.
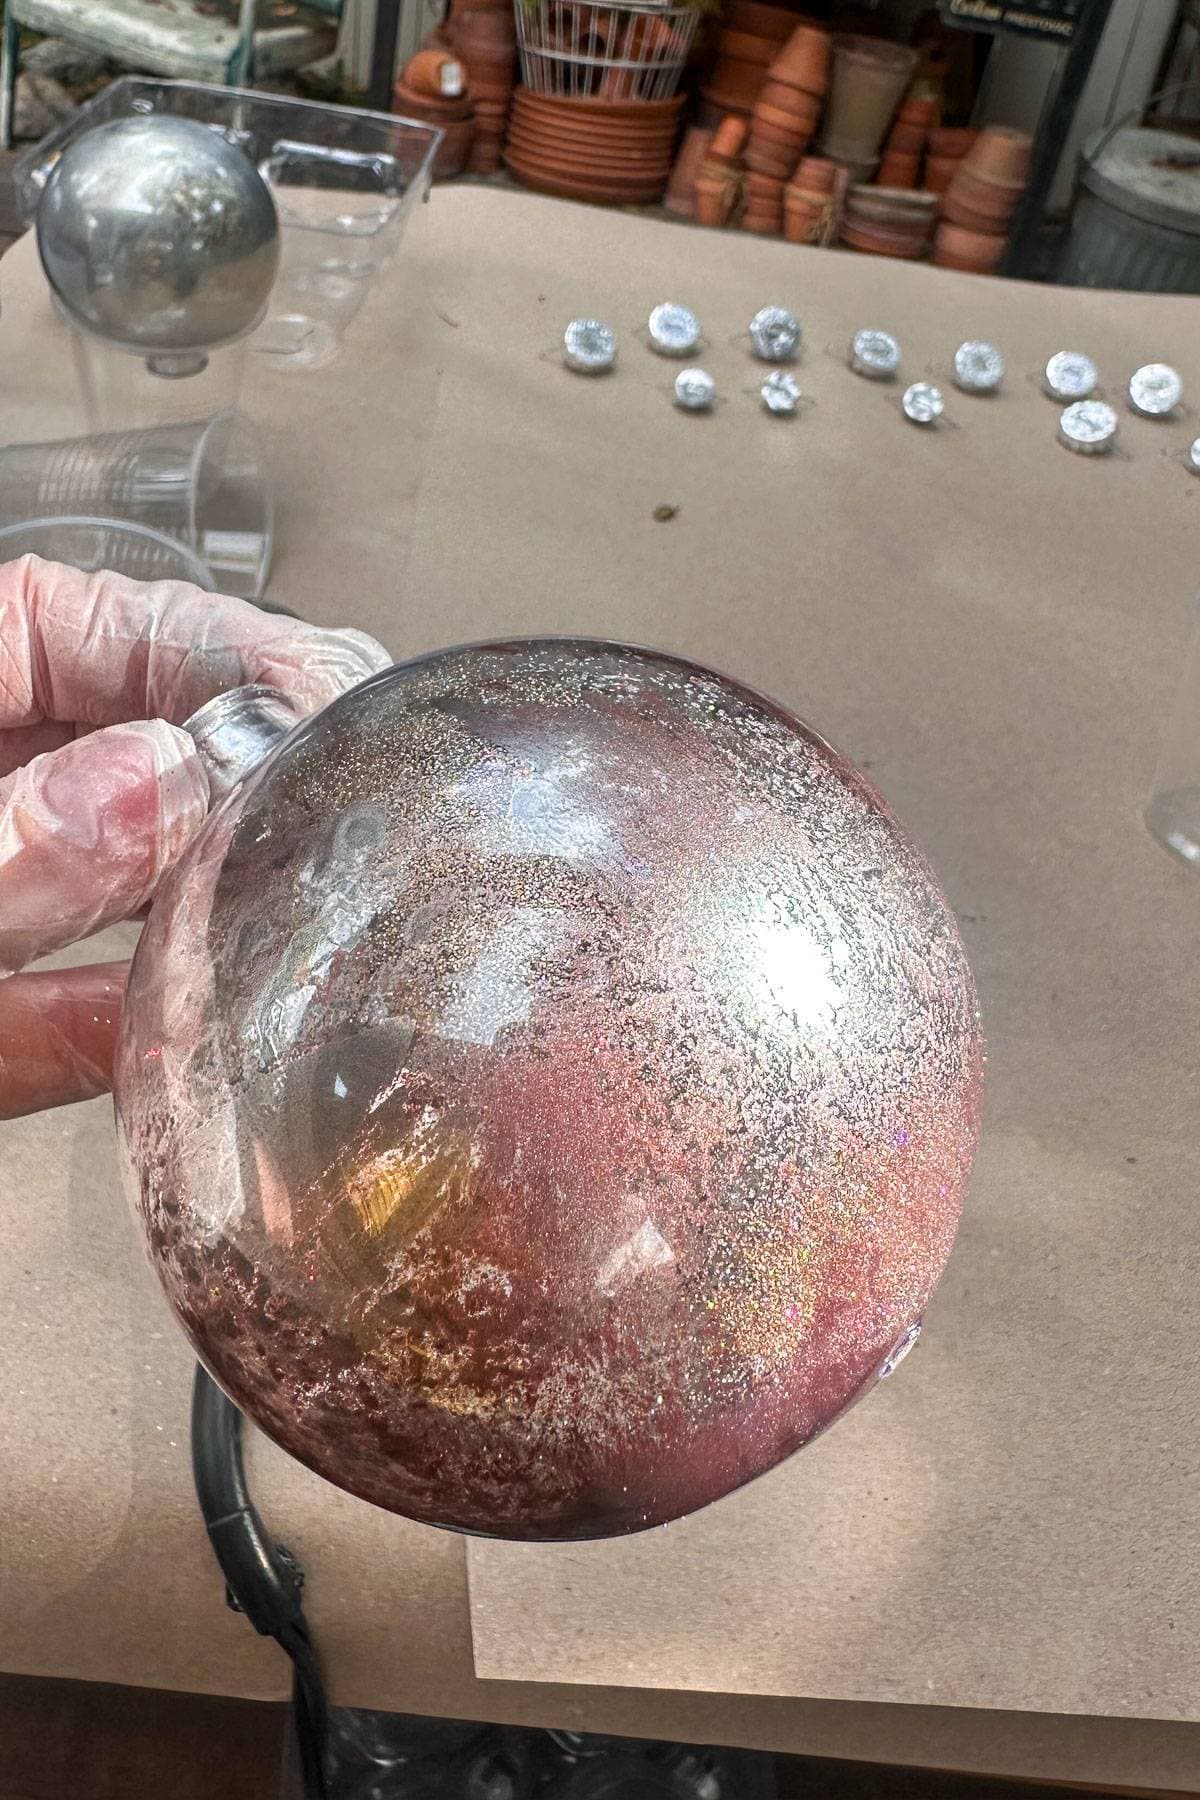
- Add a small amount of the Pearl Ex pigment powder (I used Interference Gold and Mink) and swirl around. The mink pigment will give you the rose gold looking ornament.
- Use the blow dryer again for your drying process.
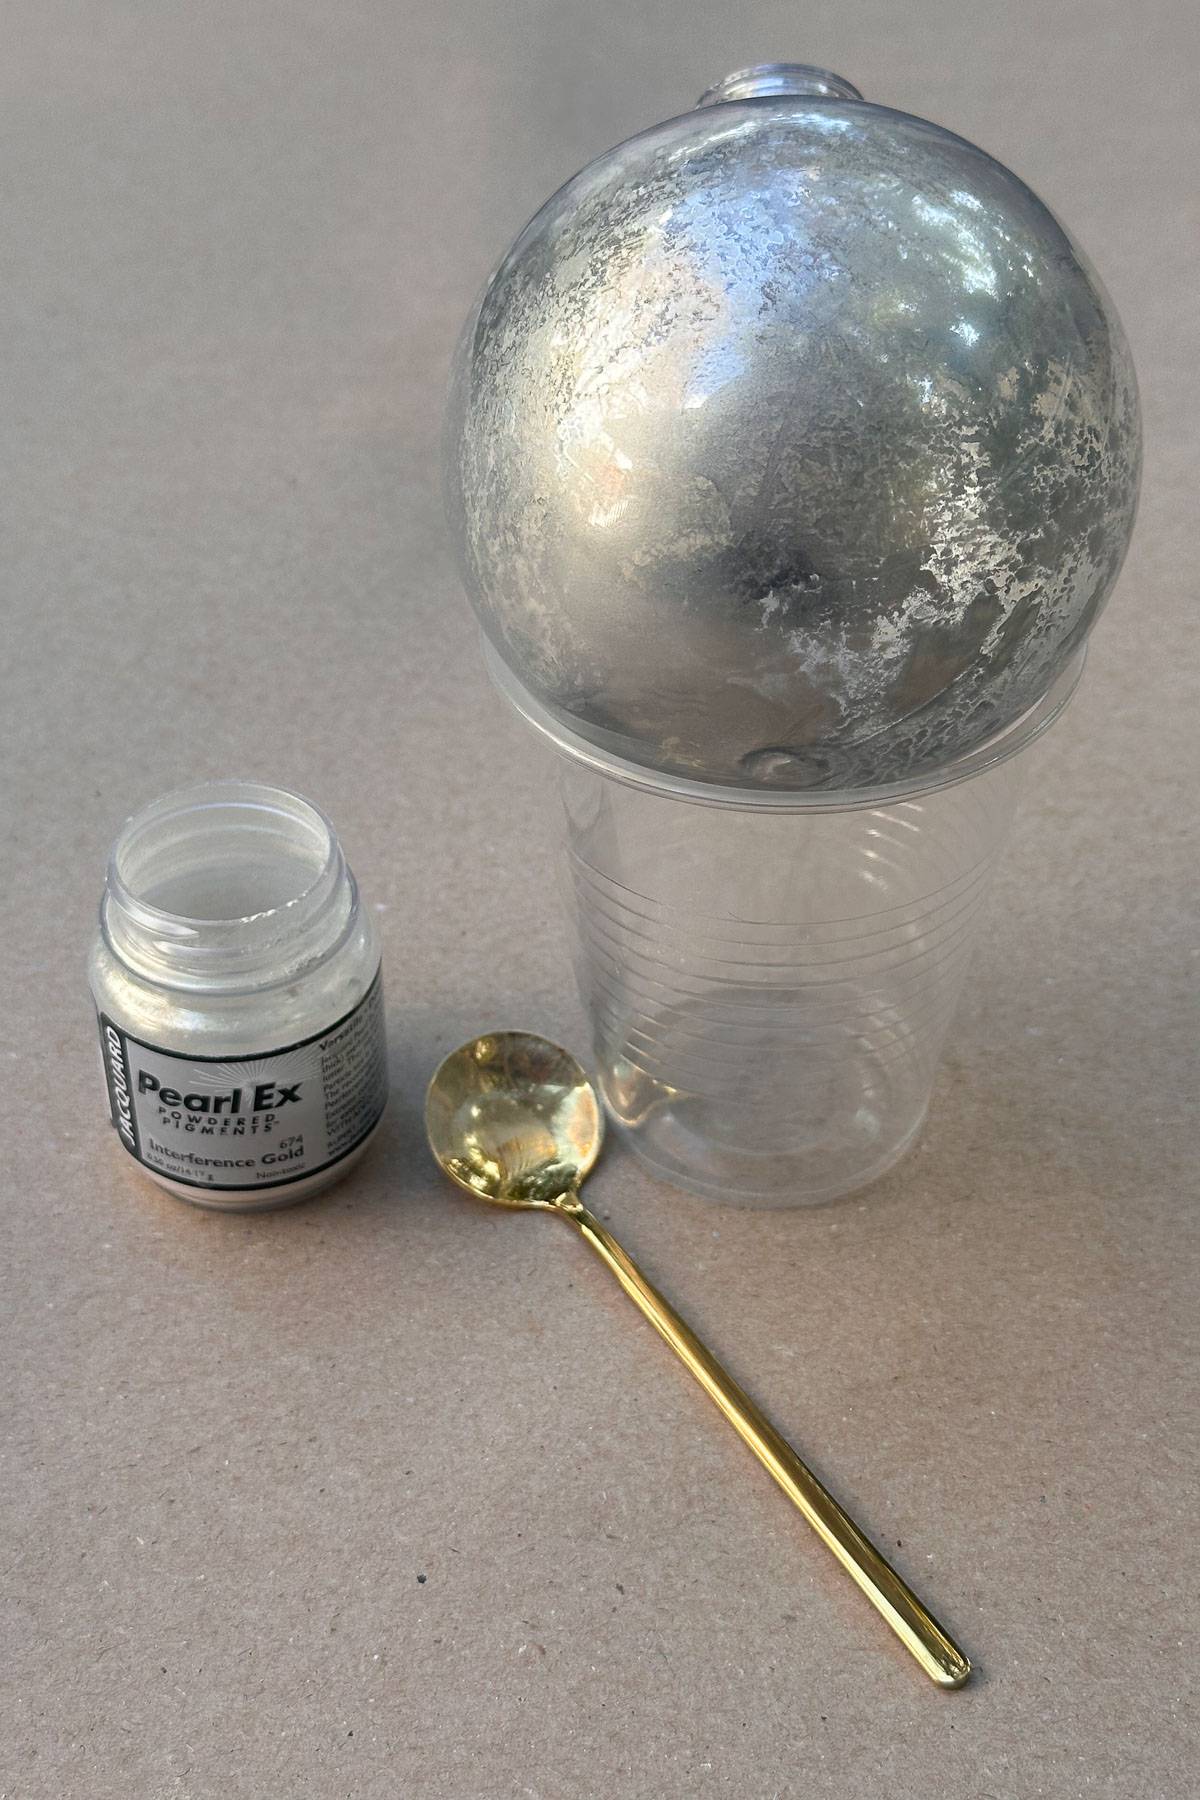
Tip from wendy’s craft room:
Use a small spoon when adding the pigment powder, and start with a little bit. You can always add more.
- Add another small spray of the original silver mirror spray paint and a few sprinkles of gold glitter.
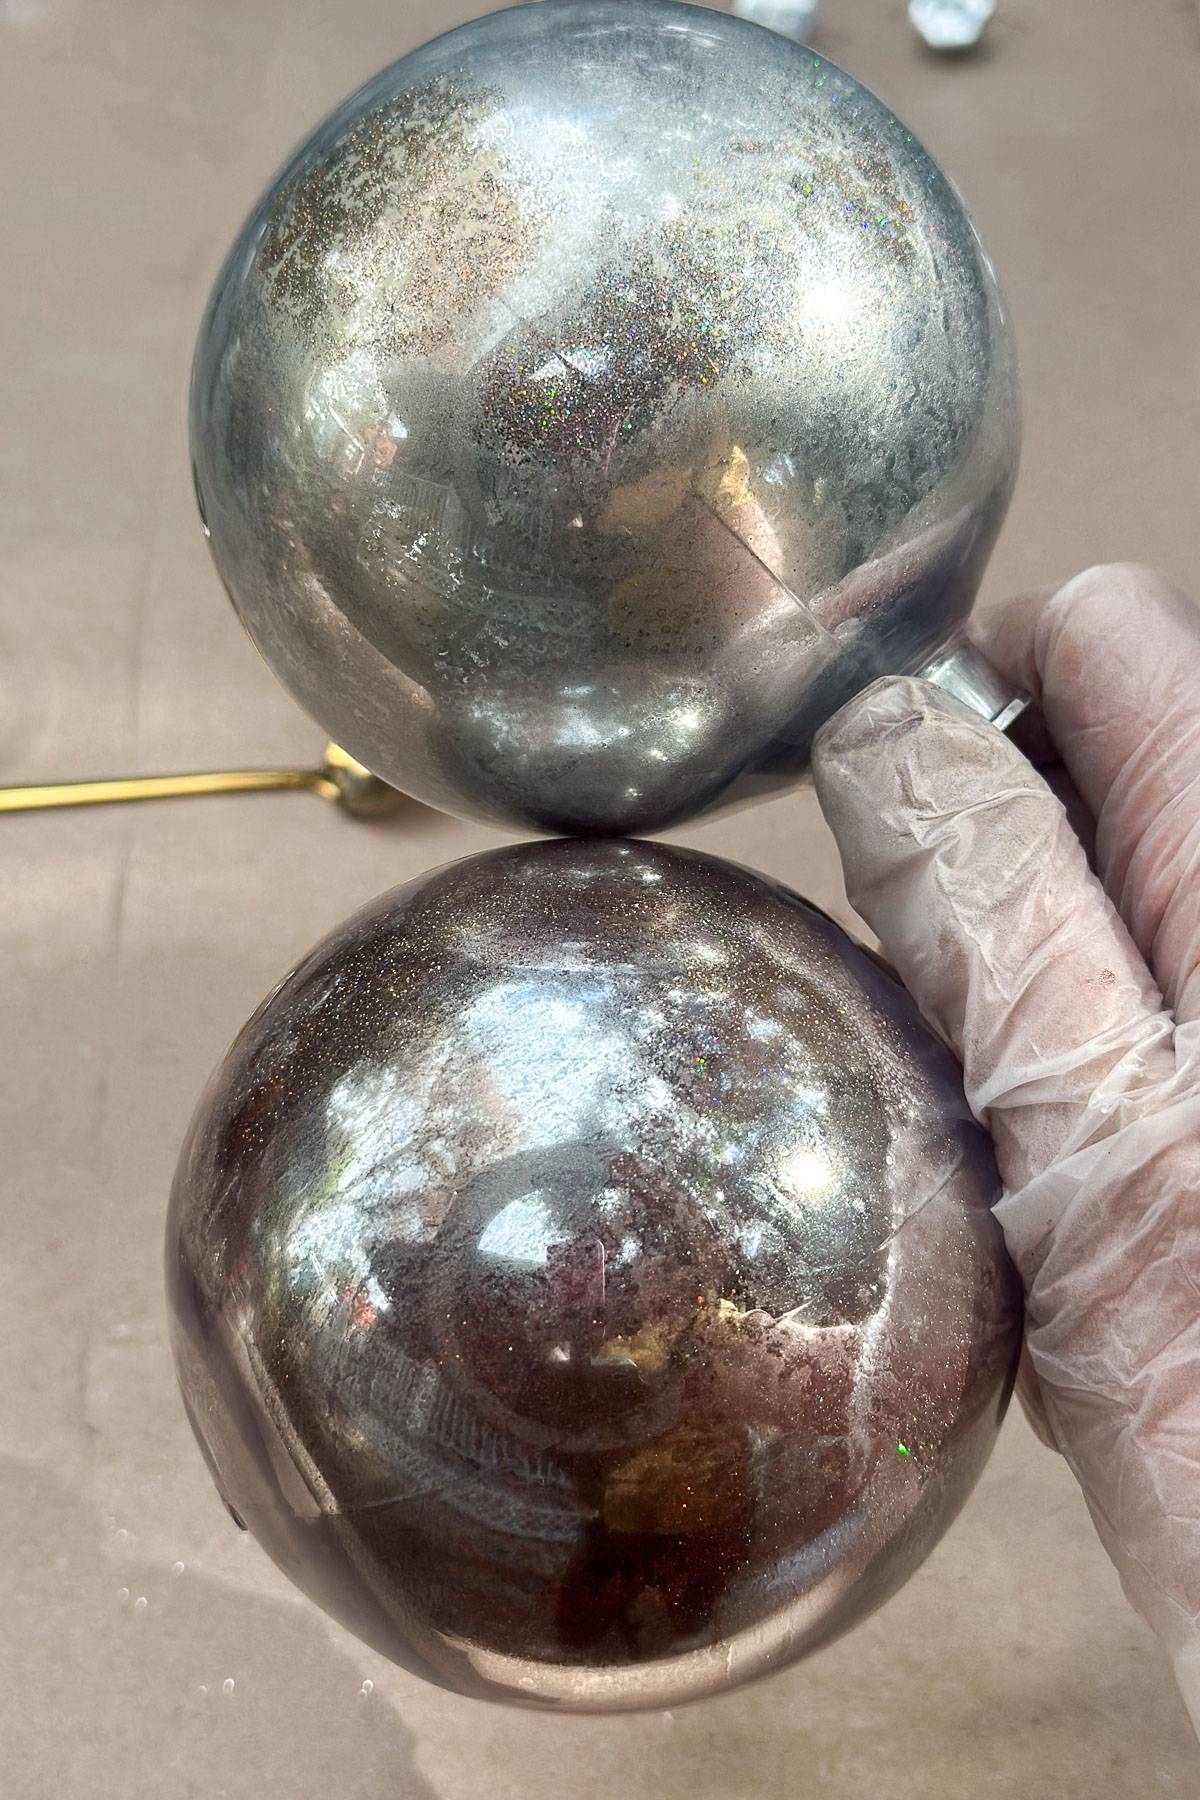
- Repeat the above steps until you have your desired look.
Tip from wendy’s craft room:
Dive into color exploration. Experiment boldly with pigments and glitter – each shade offers a unique potential. Mix unexpected combinations, layer textures, and craft something truly original. Your creative palette is limitless, so don’t hold back.
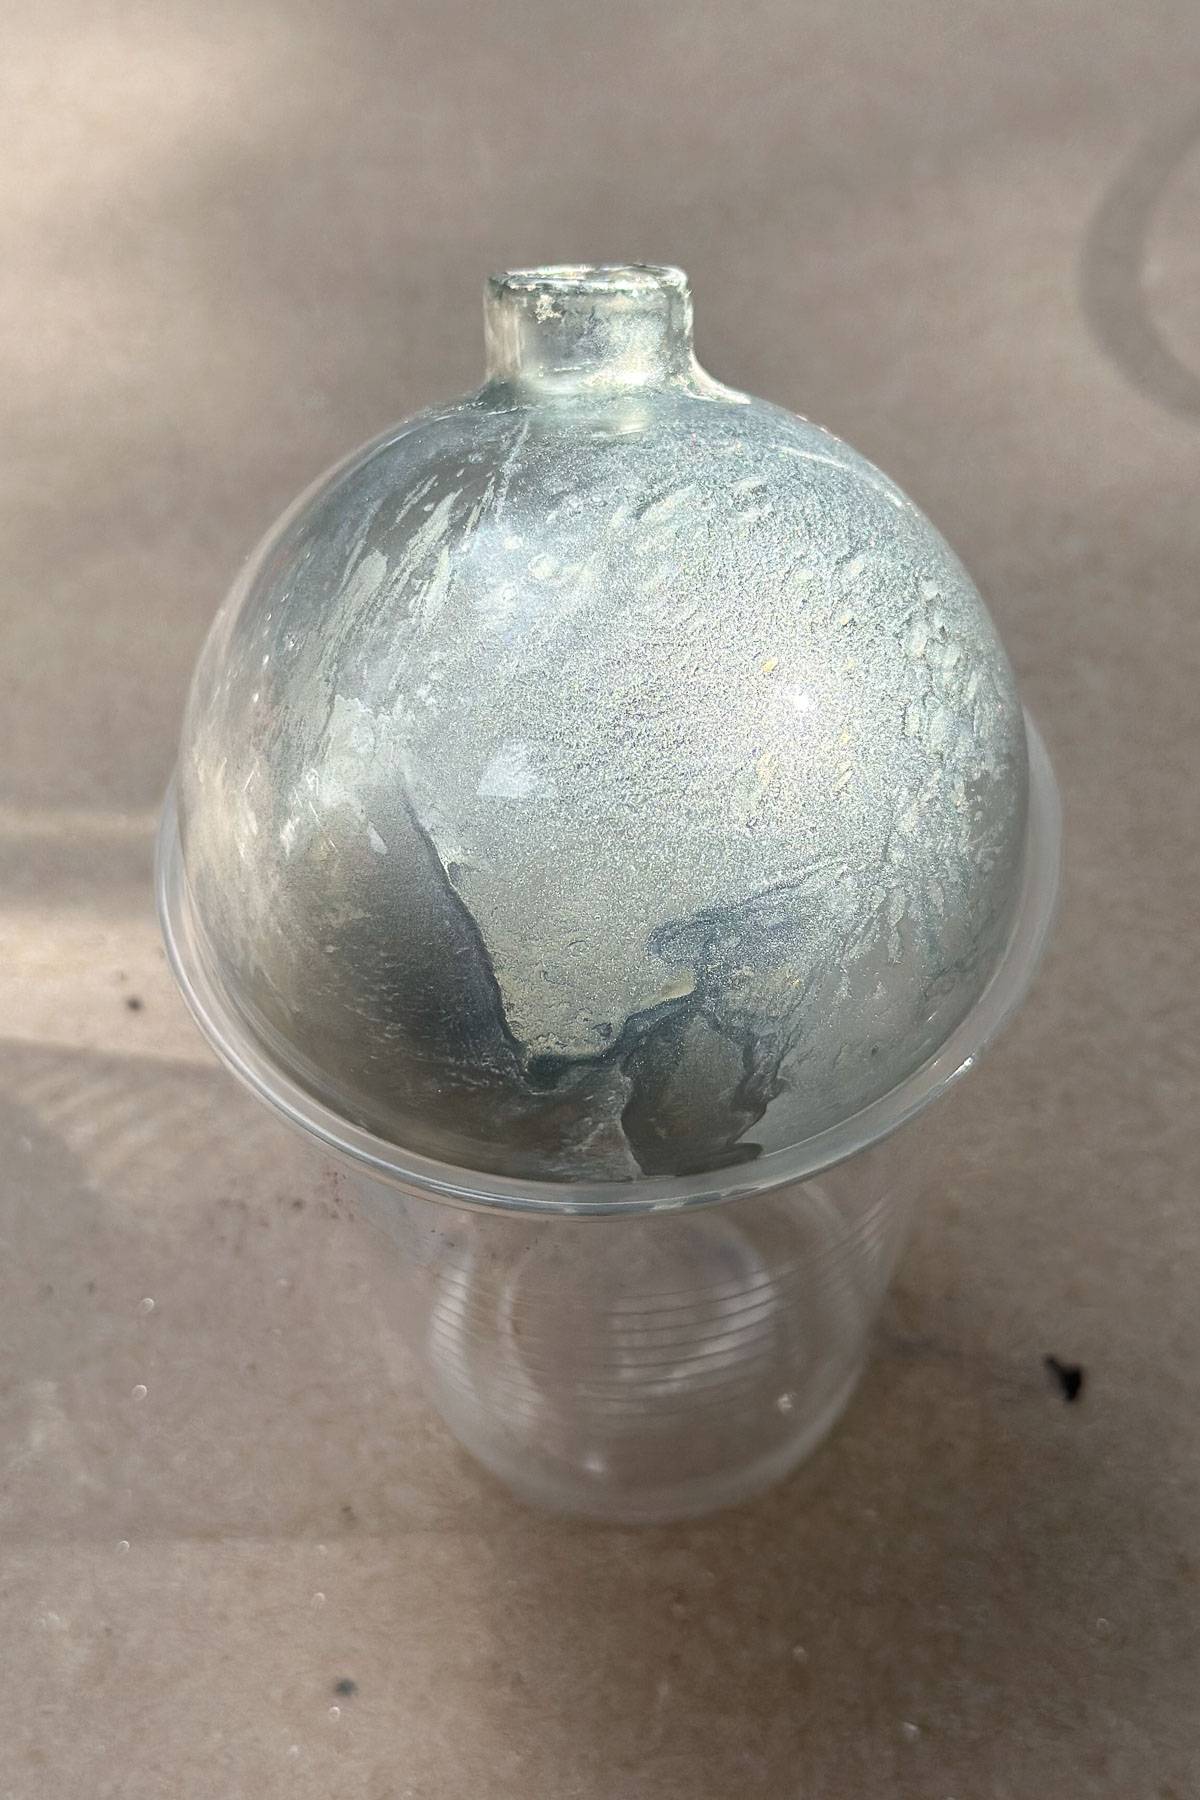
Step 5: Finish and Dry
- Place the ornament into a plastic cup to dry completely.
- Replace the ornament tops.
- Add a piece of velvet ribbon.
Tips and Tricks for Making DIY Christmas Ornaments
I couldn’t tell the difference between the glass and the clear plastic ornaments once finished. So why not try both?
If you’re concerned about breakage, plastic is a great choice to make shatterproof mercury glass ornaments. They’re lightweight and won’t weigh down your tree.
Want to add a splash of color to your beautiful ornaments? Experimenting with different metallic colors of paint can transform your mercury glass ornaments into stunning, one-of-a-kind piece.
Remember, the possibilities are endless! Don’t be afraid to experiment and have fun with color.
Here are a few ideas to inspire your creativity:
- Classic Elegance: Stick to traditional metallics like gold, silver, or copper for a timeless look.
- Bold and Bright: Dare to be different with vibrant colors like pink, red, or green.
- Mixed Metal Magic: Combine two or more metallic colors for a unique, textured look.
- Vary the Vinegar Application: Adjust the amount of vinegar mist to control the intensity of the mercury glass effect. I only applied this mixture after the first spray of paint as I liked the look of adding the pigment powder and glitter for the added texture I wanted.
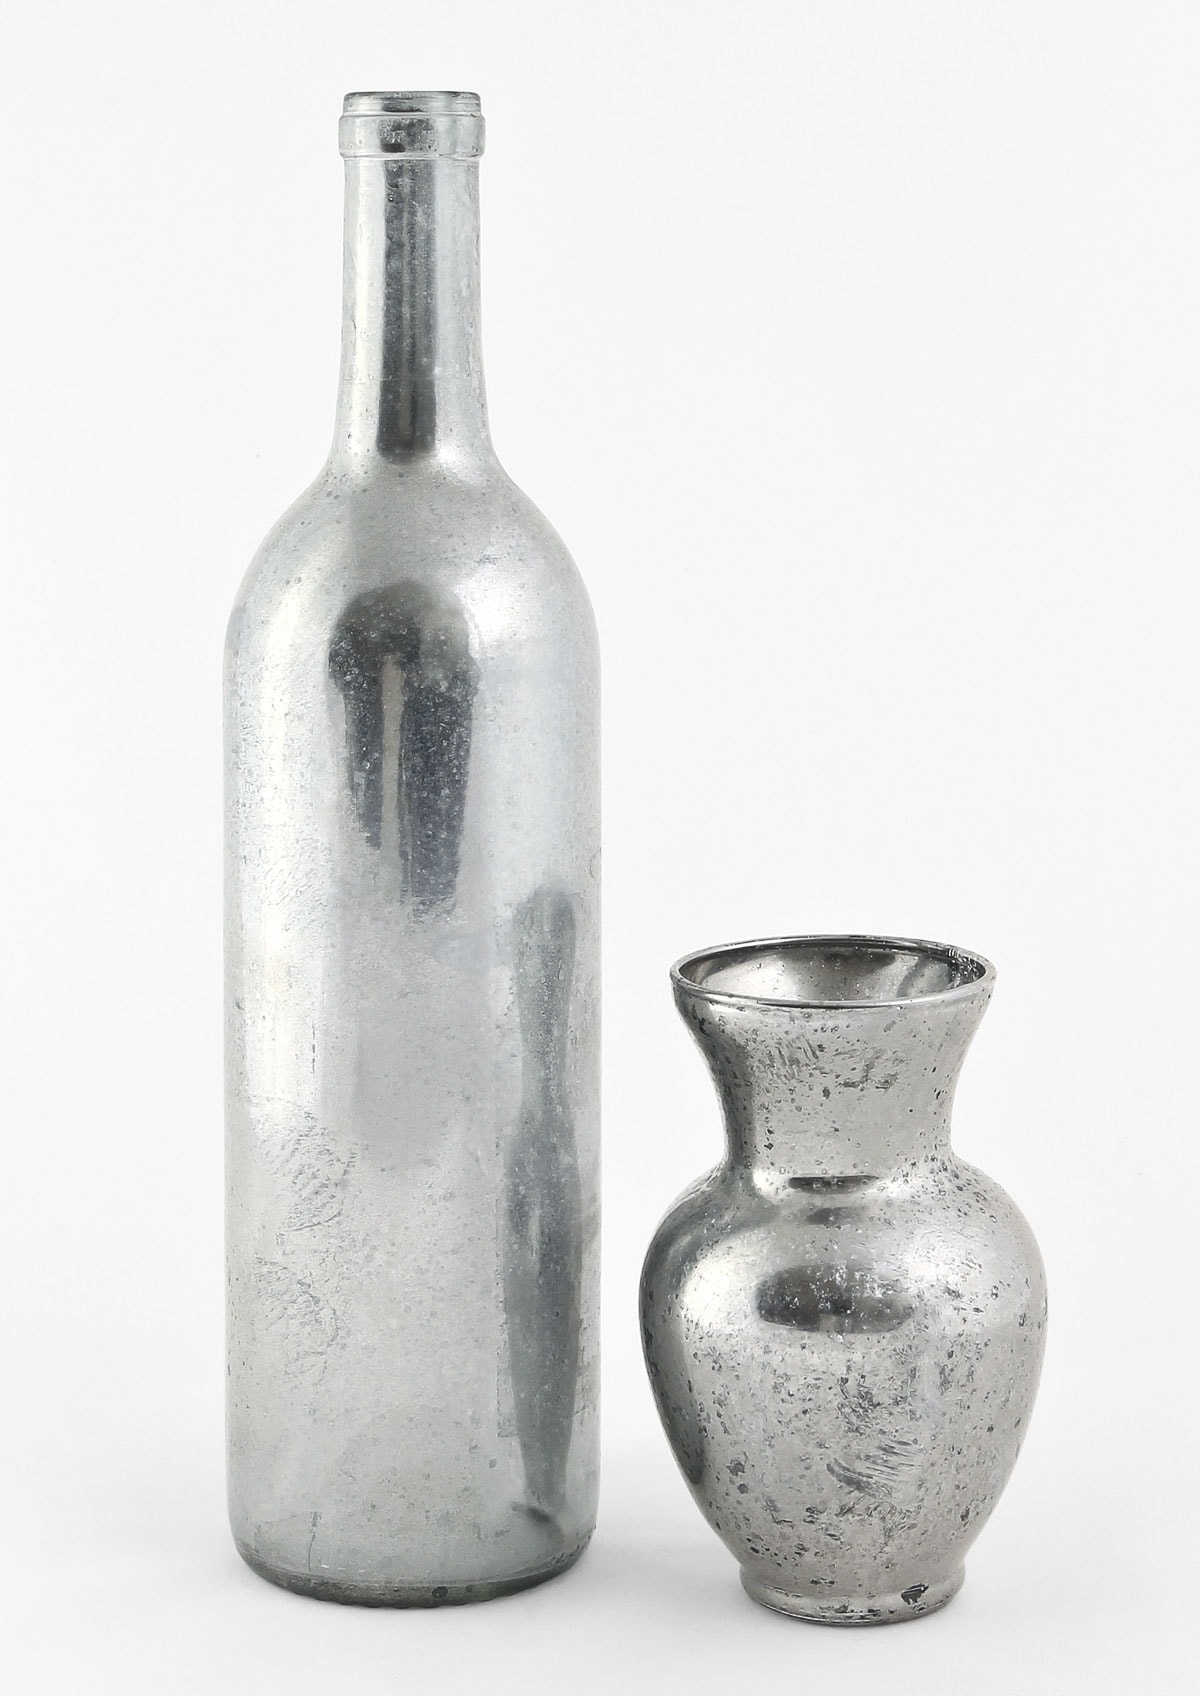
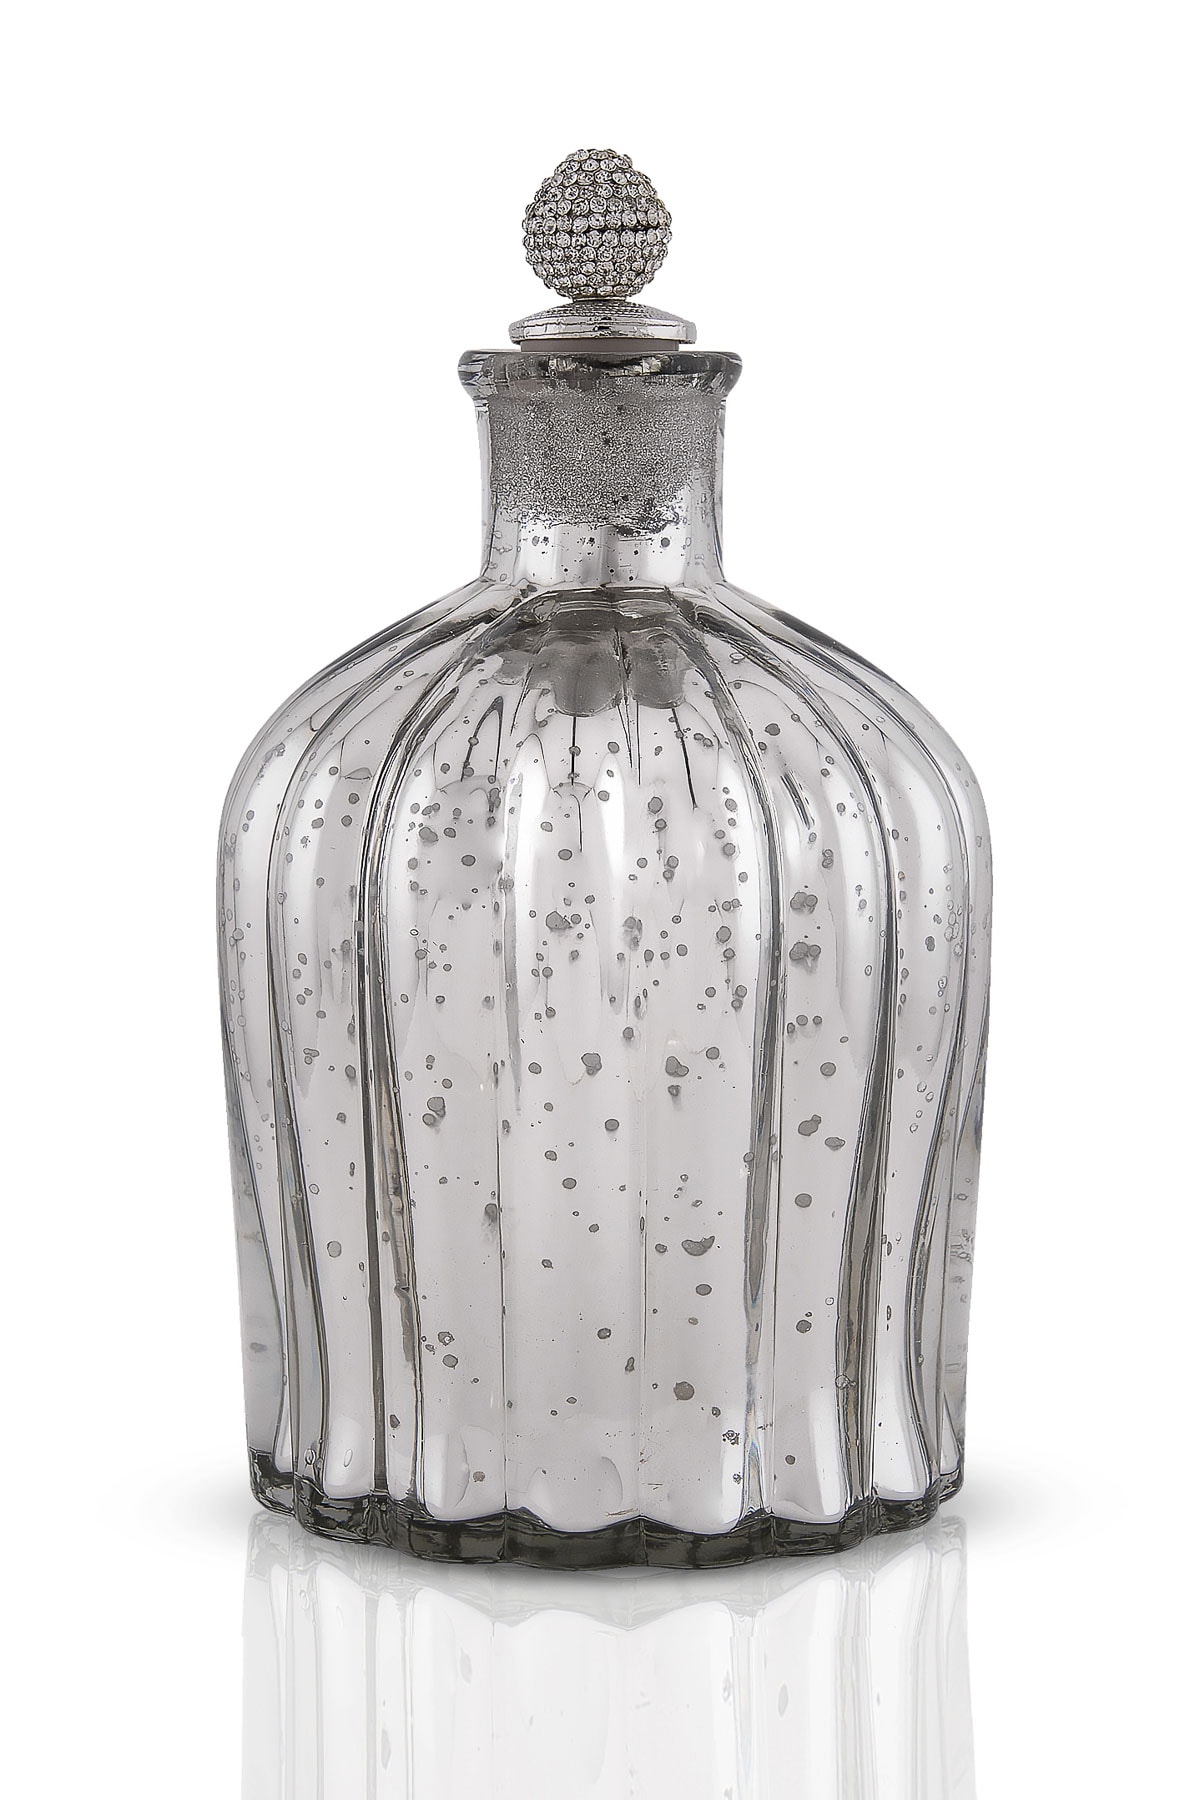
- Try this process on other items: Don’t limit yourself to ornaments. You can make other mercury glass Christmas decorations as well. Try items like a clear glass wine bottle, a flower vase, or a clear jar.

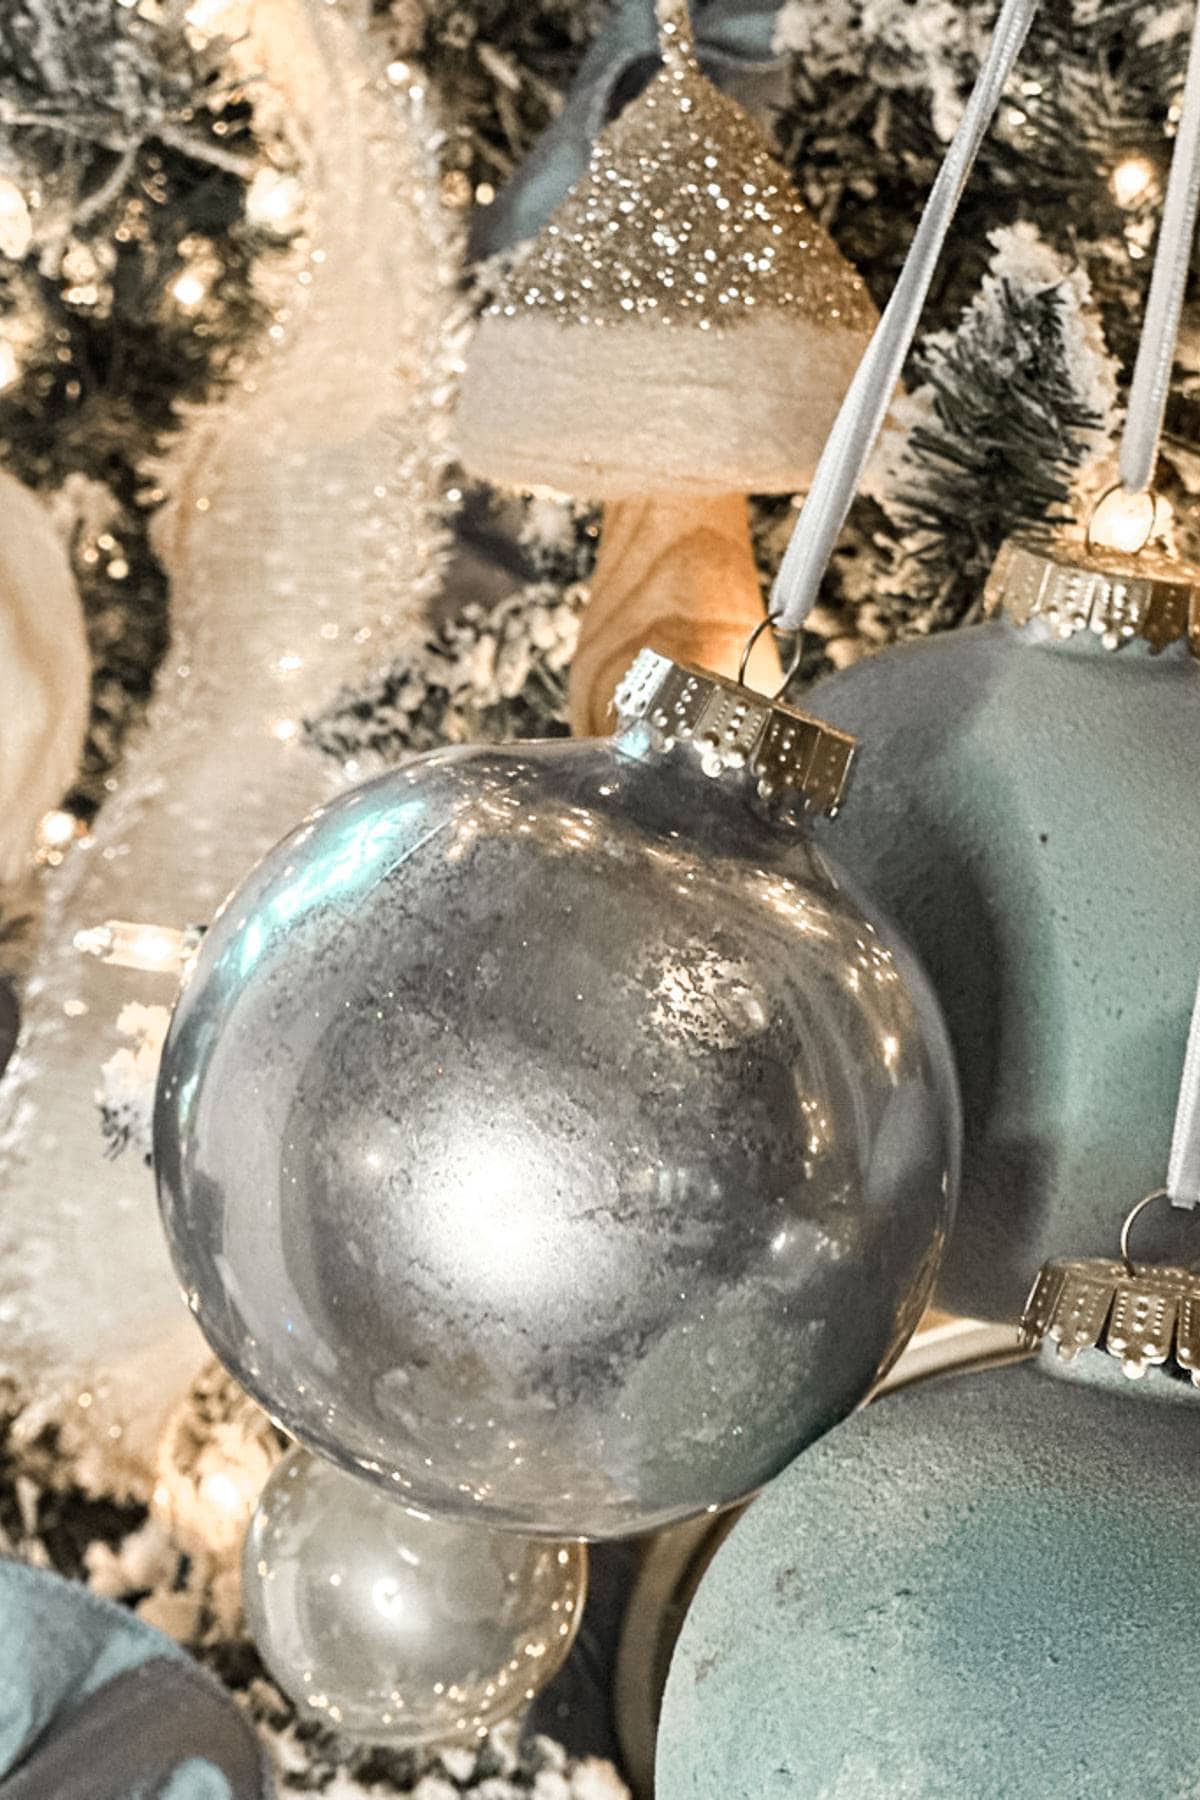
How to Style Your DIY Mercury Glass Christmas Ornaments
Once you’ve crafted your beautiful DIY mercury glass ornaments, it’s time to display them. There are many ways you can decorate with them besides just hanging them on Christmas trees. Here are some creative ideas:
Traditional Tree Decor
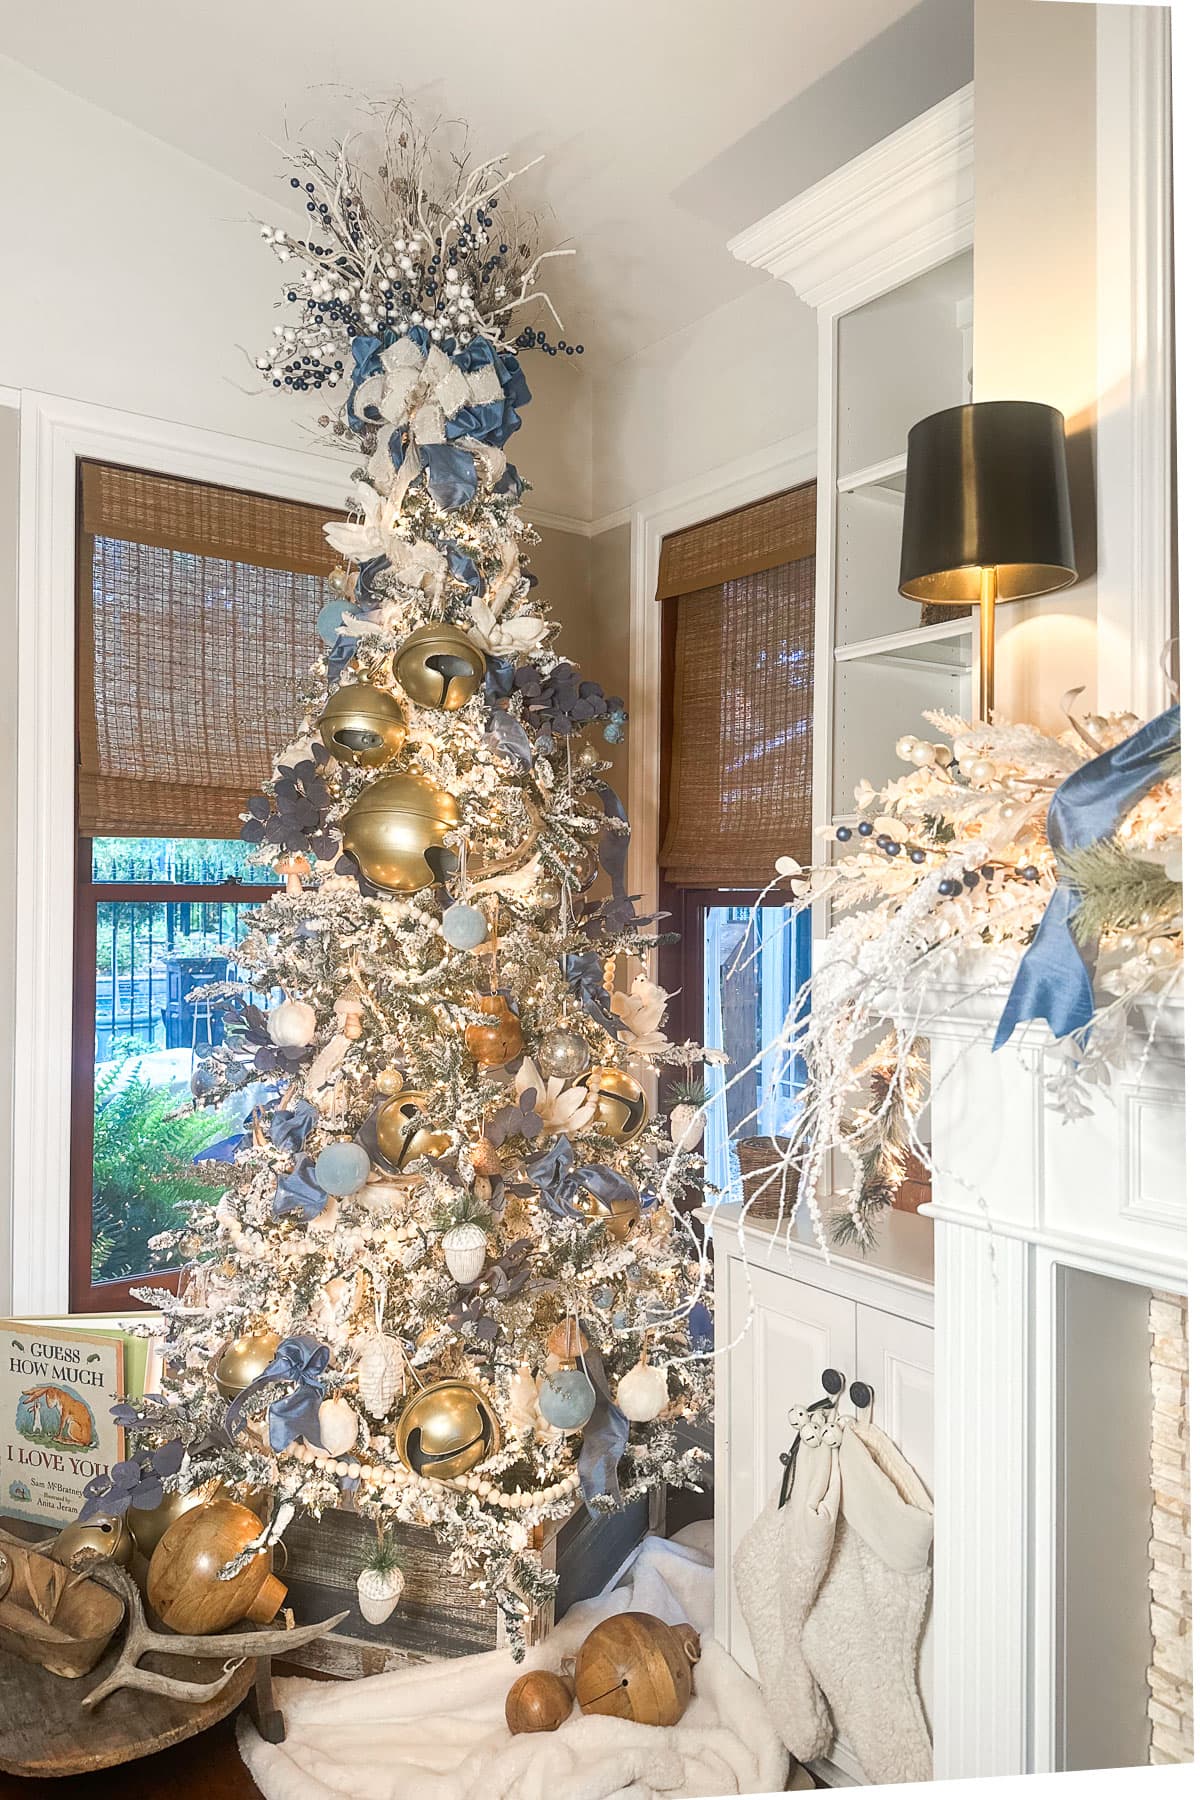
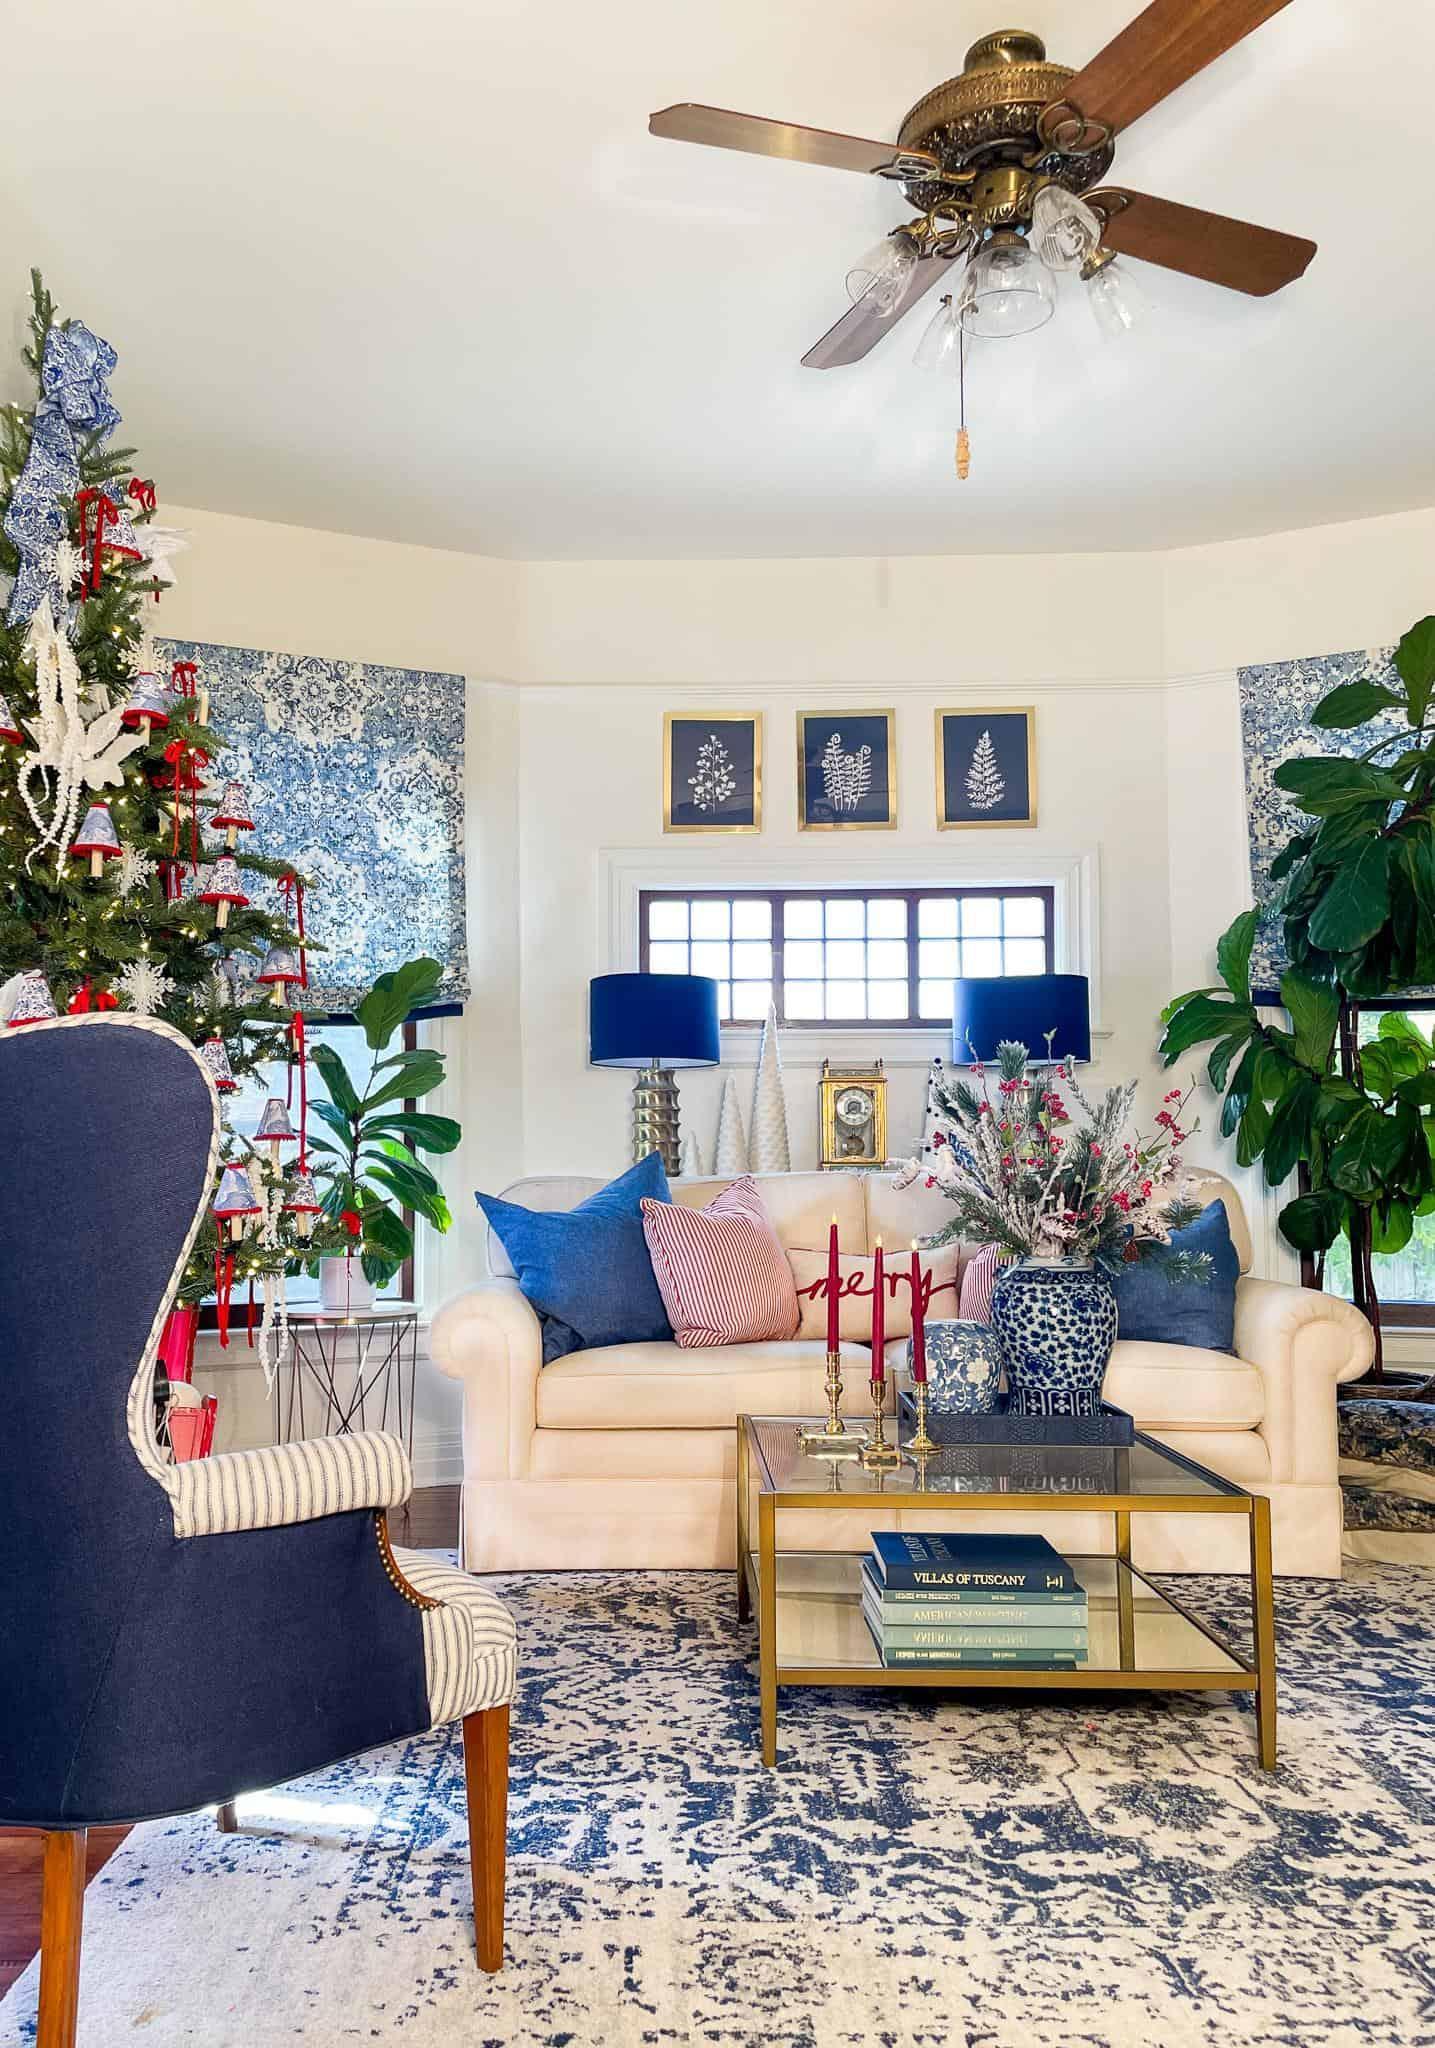
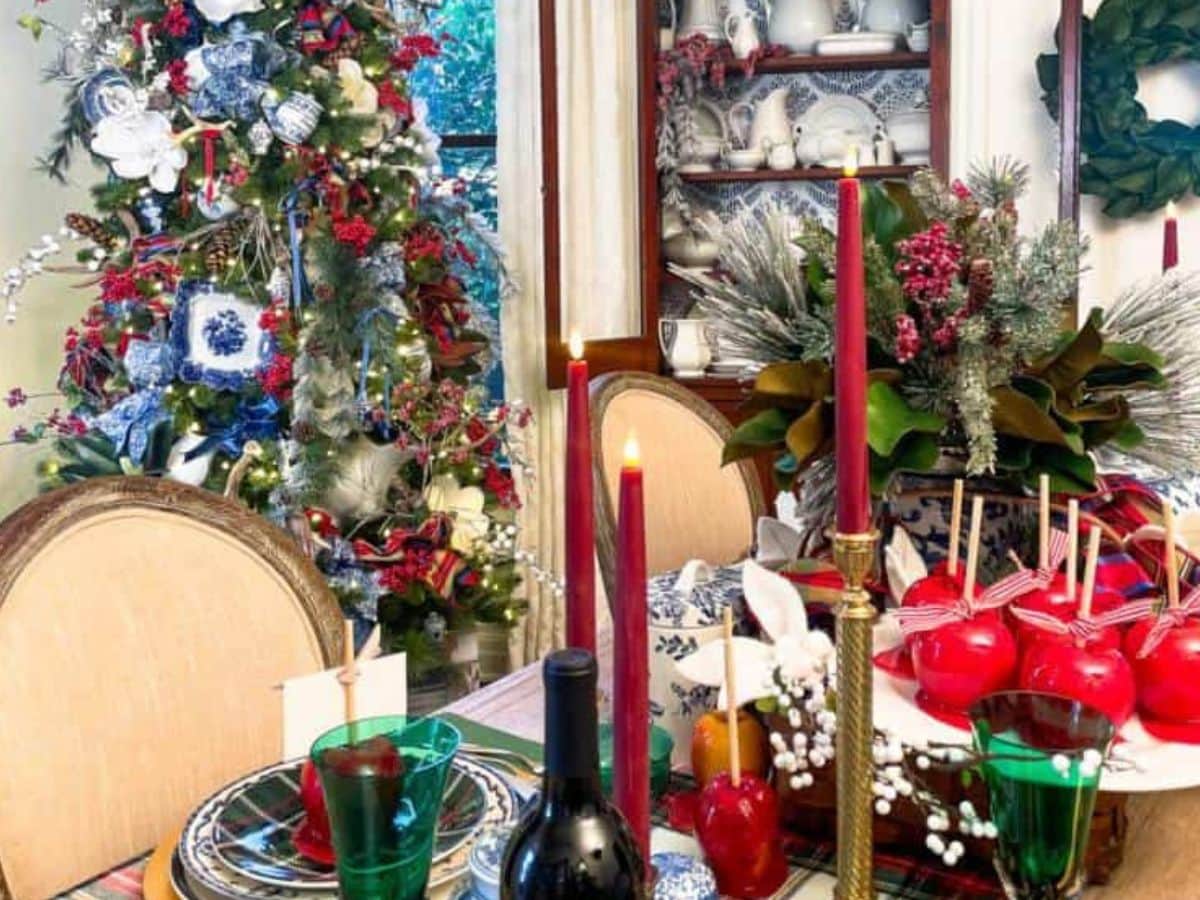
- Classic Elegance: Hang your ornaments on the Christmas tree, either as standalone pieces or paired with others for a layered look. Be sure to check out my entire Christmas home tour featuring all my blue and white Christmas decorations!
- Color-Coordinated: Group ornaments of similar colors together for a cohesive look.
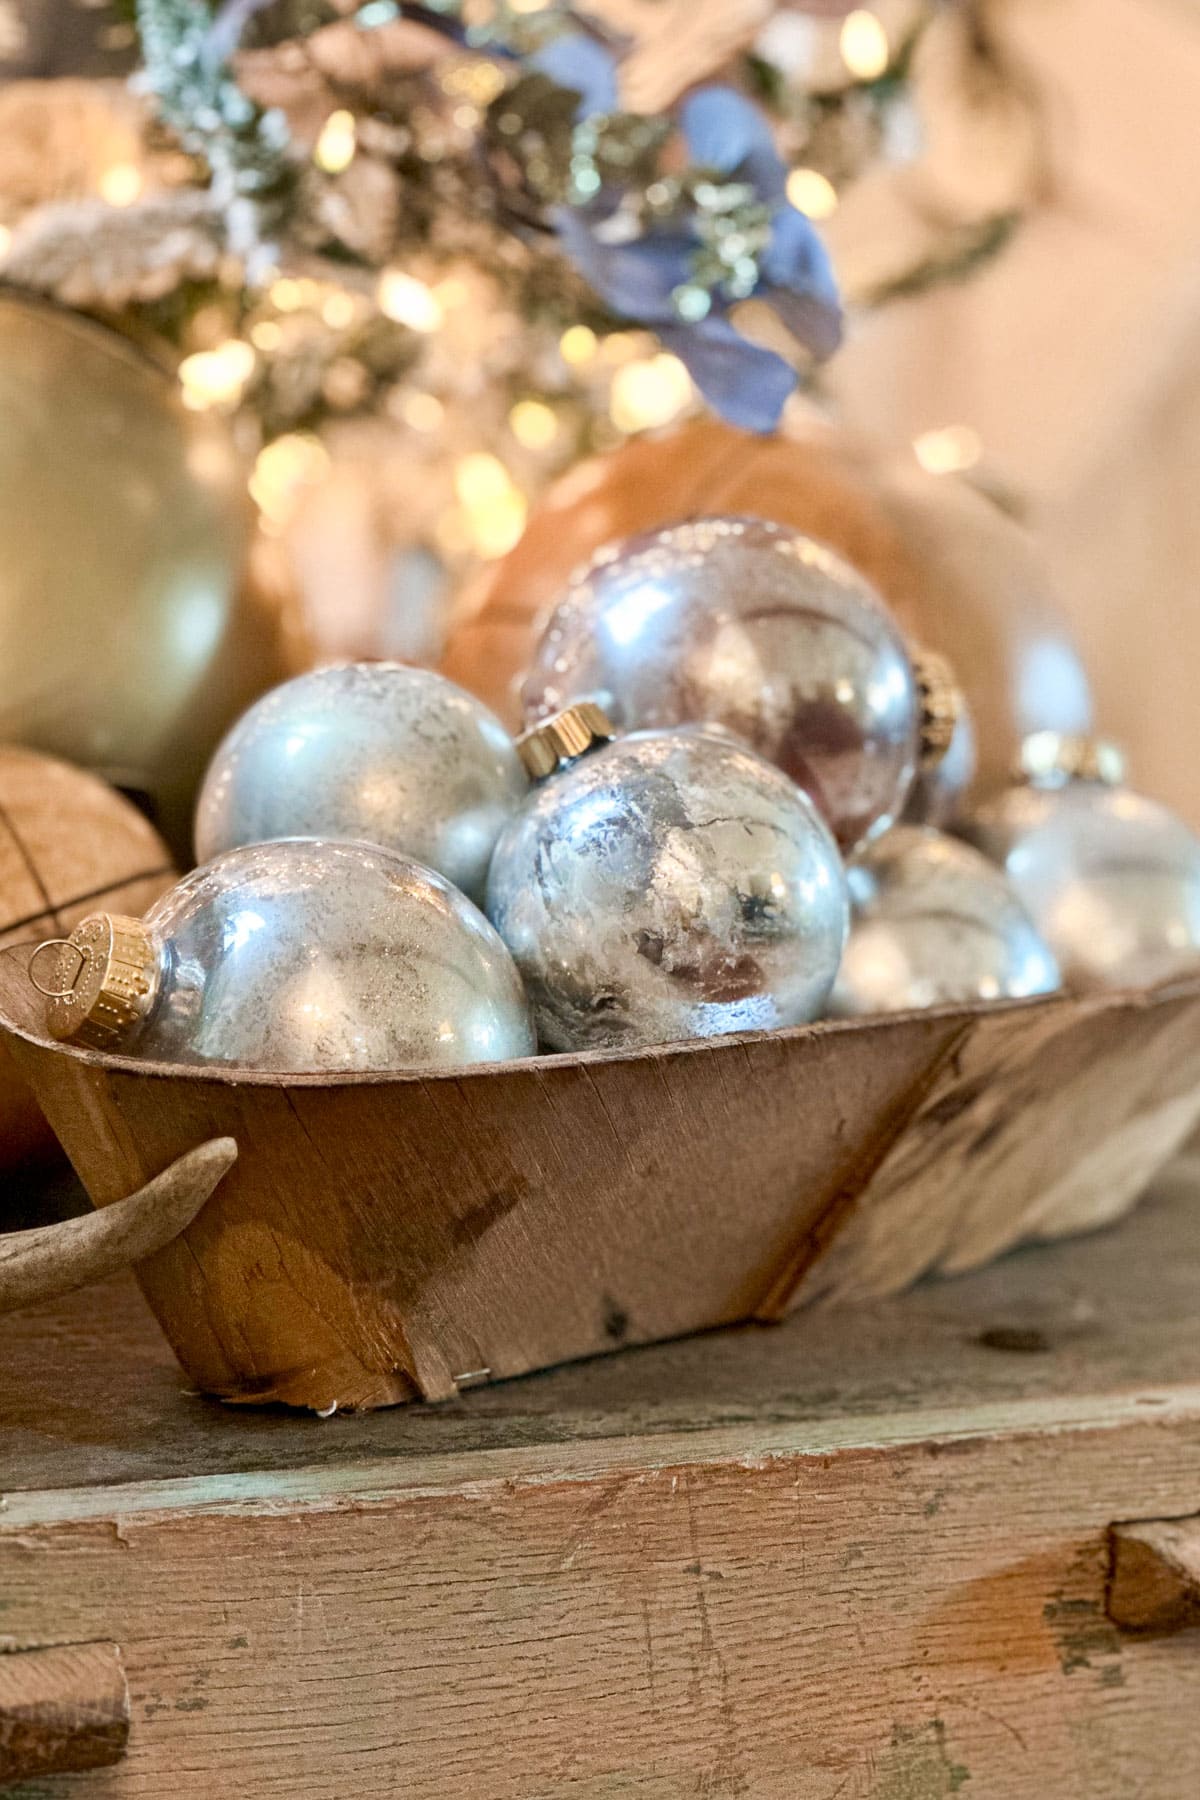
- Mixed Materials: Combine mercury glass ornaments with natural dried orange ornaments, gold foil balls, or other textured ornaments.
Tabletop Displays
- Ornament Bowl: Fill a glass bowl or vase with mercury glass ornaments for an easy centerpiece on your Christmas coffee table.
- Holiday Mantle: Arrange ornaments on your mantle mixed with greenery for a stunning display.
- Windowsill Display: Create a magical windowsill display by hanging ornaments from a ribbon or string.
- Christmas Centerpiece: Fill glass hurricane candle holders with your ornaments to create a festive centerpiece for your Christmas tablescape.
Gift-Topping
- Add a unique touch to your gifts by tying a mercury glass ornament to the package as an added gift.
By incorporating these styling ideas, you can elevate your holiday decor and showcase your handmade ornaments beautifully and festively.
More DIY Christmas Ornaments You’ll Love
If you love this DIY Mercury glass Ornaments Tutorial, you might also enjoy some of my other favorite ornament ideas:
DIY Gold Leaf Ornaments
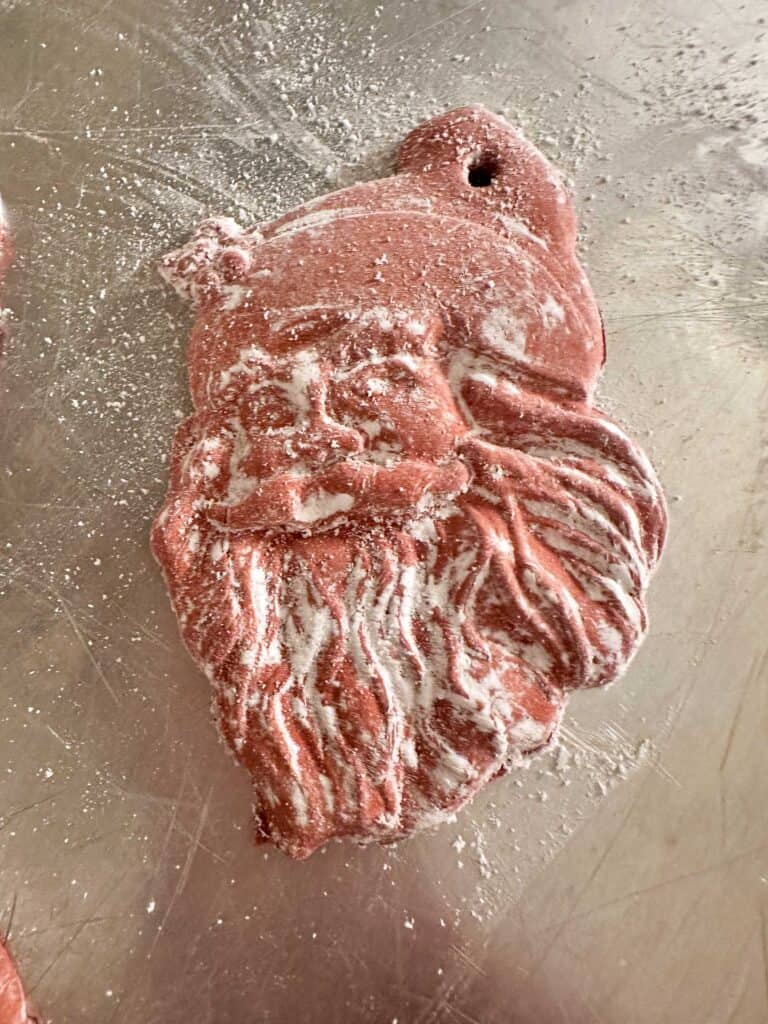
DIY Air Dry Clay Ornaments – Christmas Gingerbread Men
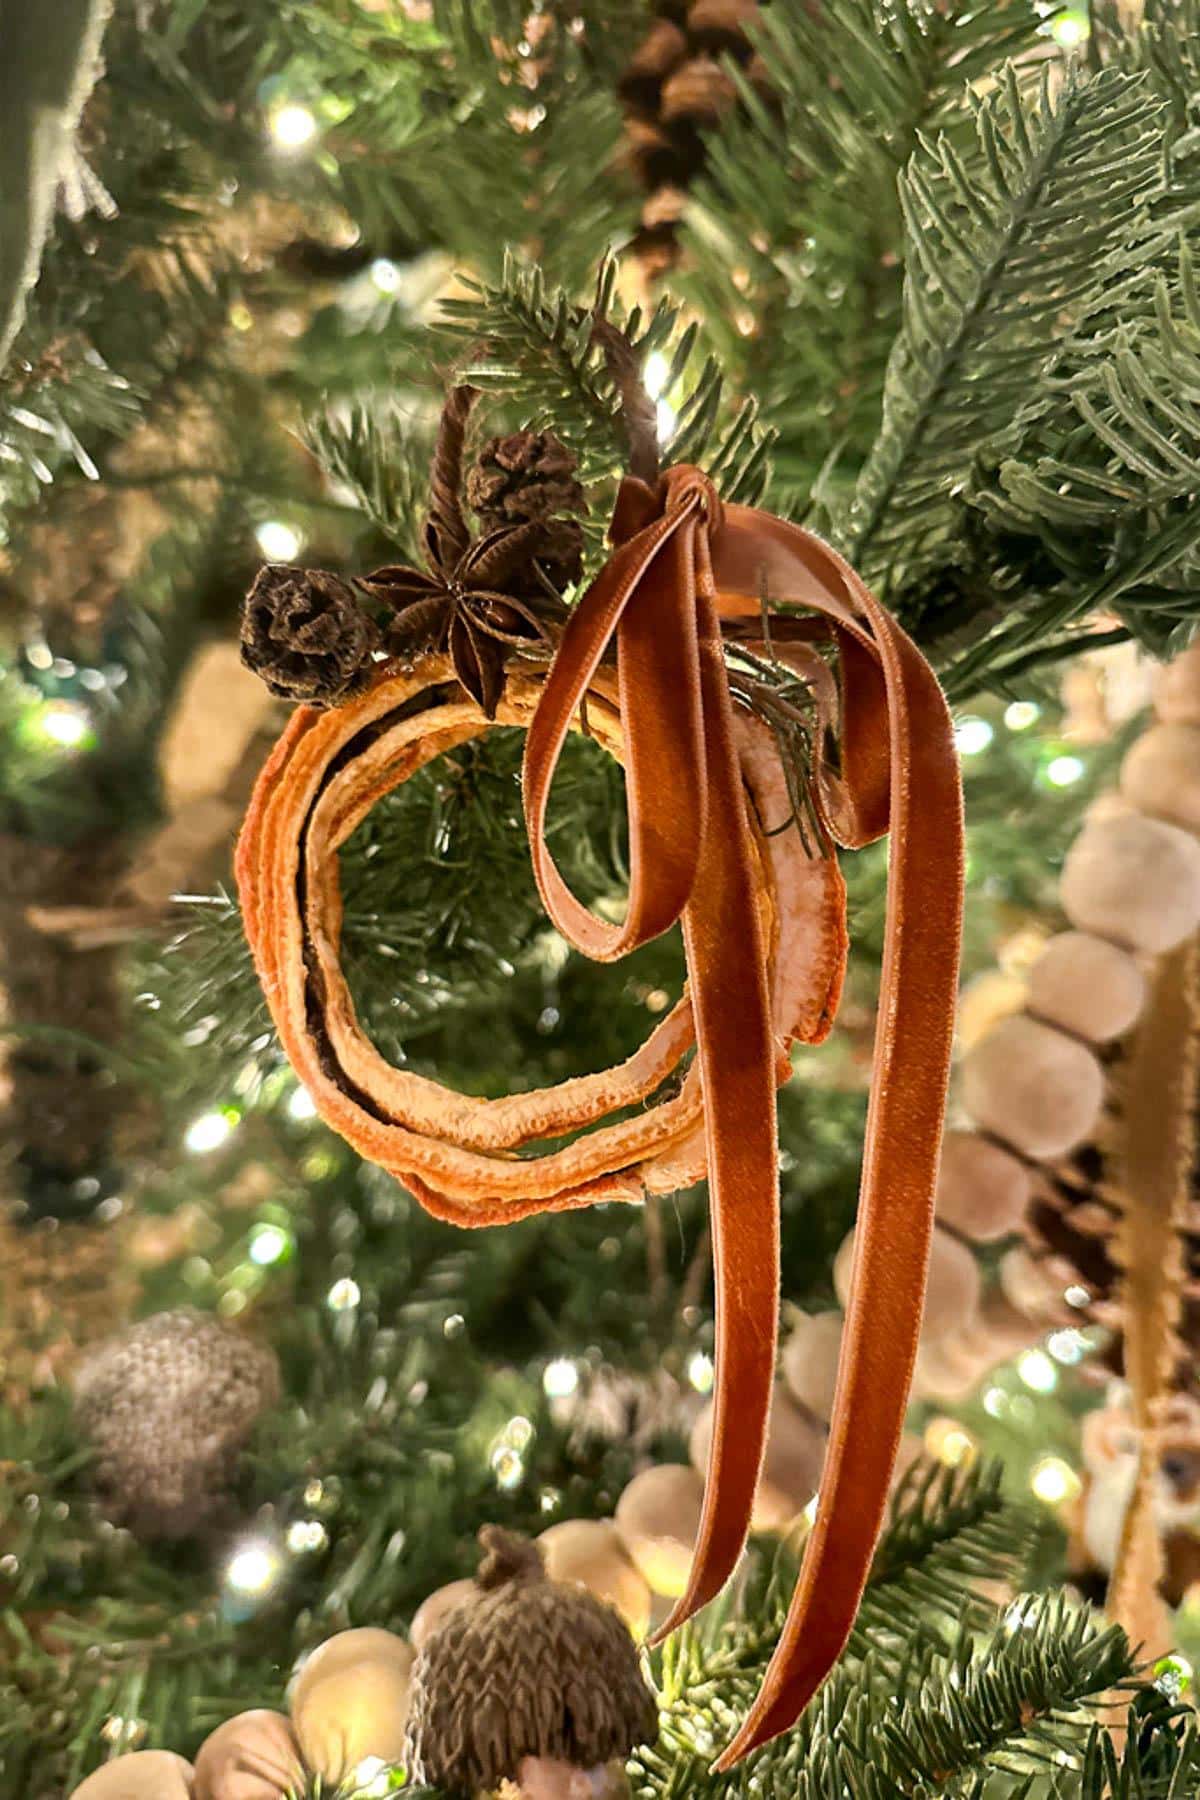
13 Different Ornaments You Can Make with Dried Oranges
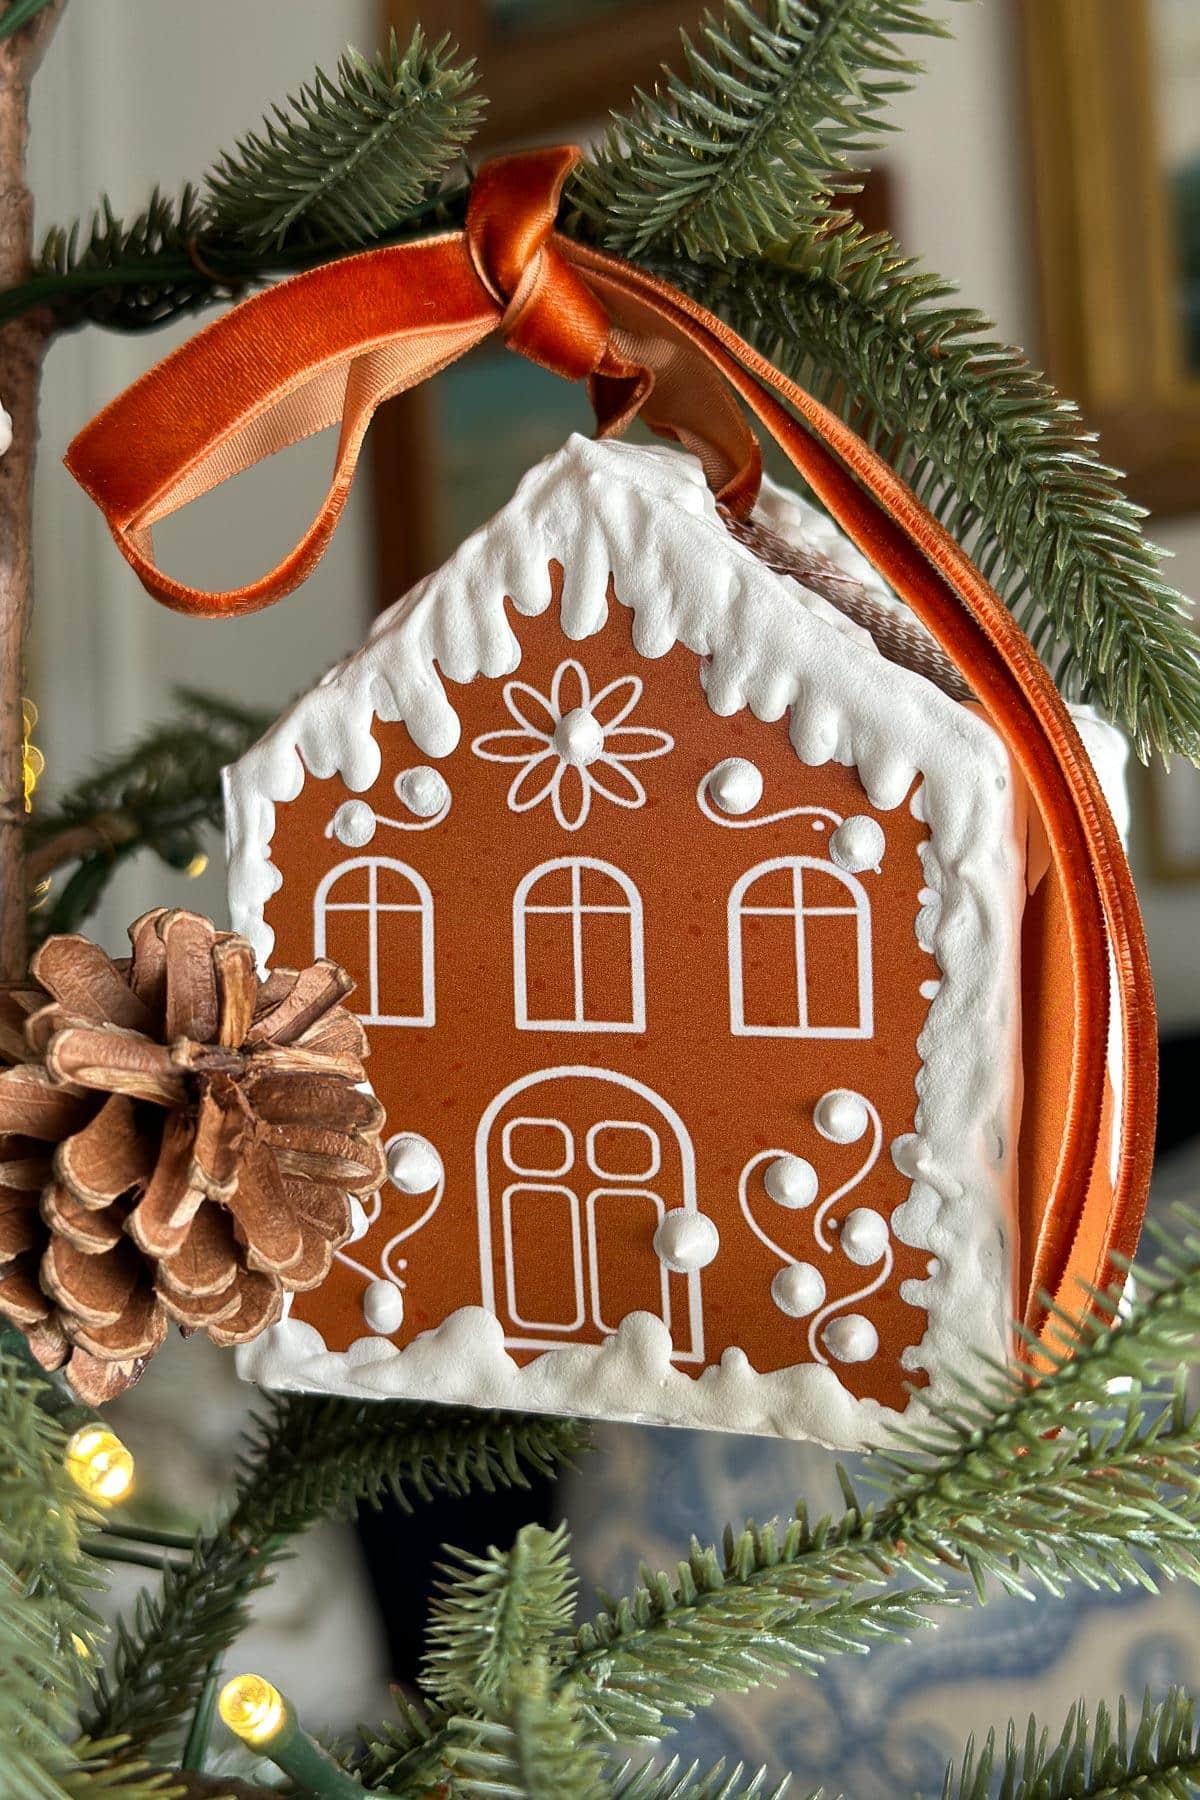

EASY DIY Gingerbread House Ornaments: 3D Free Printable
Ready to Make Your Own Holiday Magic?
Creating your own mercury glass ornaments is such a wonderful way to slow down and enjoy a little holiday creativity. With just a few simple supplies and an easy process, you can make ornaments that look beautifully vintage and add the softest sparkle to your Christmas decor.
Each one turns out a little different, which makes them feel even more special and truly handmade. So gather your supplies, take your time, and enjoy the magic of crafting something lovely for your home.
If you make a few, I would love to see them — share your photos and tag me on social, or leave a comment below to let me know how yours turned out. Happy crafting!

Printable Instruction Card for How to Make DIY Mercury Glass Ornaments

How to Make DIY Mercury Glass Ornaments
Materials
- Clear glass ornaments
- Clear plastic shatterproof ornaments
- Rustoleum or Krylon looking glass spray paint
- Gold pigment
- Fine gold glitter
- Gold spray paint
- Spray bottle with half water and half vinegar white vinegar
- Plastic cups
- Paper towels
- Hair dryer
- 3/8 ” wide velvet ribbon
Instructions
- Prepare the Work Area: Cover your workspace with paper or a drop cloth to protect it from spray paint.
- Prepare the Ornaments: Remove the clear ornament caps and spray them with gold spray paint. Allow them to dry and set them aside.
Create the Mercury Glass Effect:
- Spray the inside of the ornament with a few sprays of the mirror finish spray paint and swirl the paint around for your first coat.
- Spray a minimal amount of the vinegar and water solution inside the ornament and swirl around.
- The vinegar will react with the paint, creating a mottled, aged effect.
- Use the blow dryer and dry the inside of the ornament.
- Add a second layer of spray paint.
- Add a minimal amount of vinegar spray if you want more of a mottled or aged look.
- Add a small amount of the Pearl Ex pigment powder (I used Interference Gold and Mink) and swirl around.
- Use the blow dryer again for your drying process.
- Add another small spray of the original silver mirror spray paint and a few sprinkles of gold glitter.
- Repeat steps until you have your desired look.
4. Finish and Dry:
- Place the ornament into a plastic cup to dry completely.
- Replace the ornament tops.
- Add a piece of velvet ribbon

Did you make this craft?
We would love to see what you have created, so mention us @wmdesignhouse or tag us using #wmdesignhouse so we can see your creations!
More about me!

Hello, I’m Wendy – a dedicated homemaker with a deep passion for decorating, gardening, cooking, and crafting. I find joy in harmonizing beautiful elements to fashion a space that is both comfortable and inspiring. I will help you create a beautiful home, one project at a time.