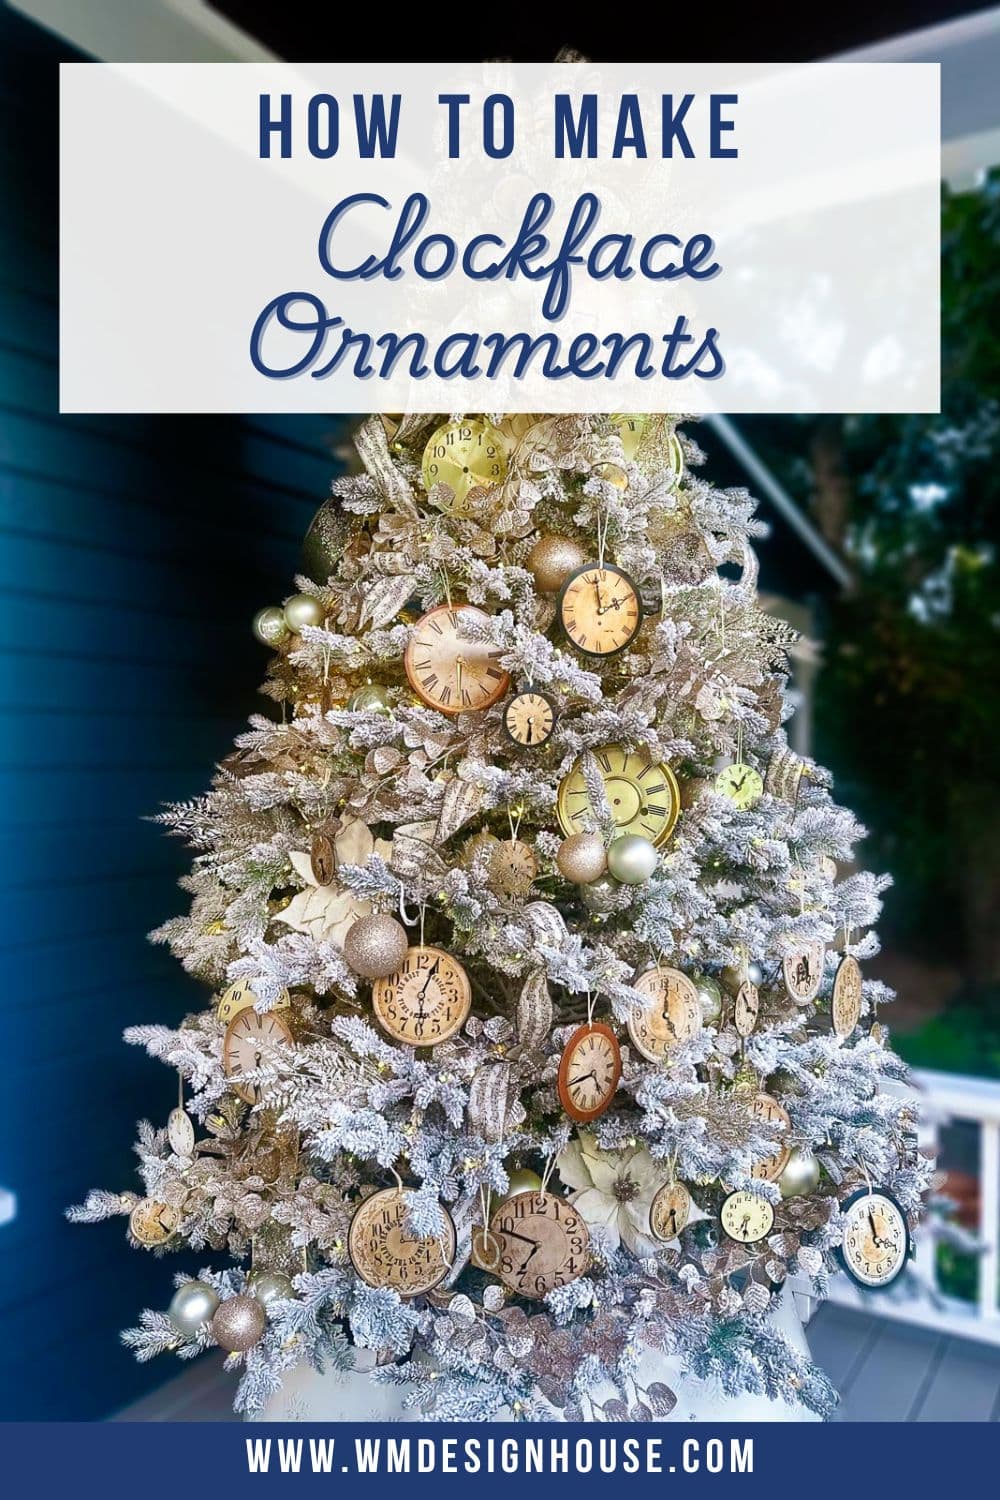
How to Make DIY Vintage Clock Face Christmas Ornaments
Rekindle the magic of Christmas past with these easy DIY vintage Christmas ornaments made to look like antique clock faces. This simple project is a beautiful way to add old fashioned charm to your Christmas tree
On my blog WM Design House, I may sometimes use affiliate links, which means a small commission is earned if you purchase via the link. The price will be the same whether you use the affiliate link or go directly to the vendor’s website using a non-affiliate link. Read my full disclosure policy here.
Vintage Christmas Ornament Ideas
My love affair for all things vintage has led me to create unique Christmas ornaments that whisper stories from the past. Over the years, I’ve transformed simple materials into nostalgic treasures – breathing new life into Dollar Tree plastic ornaments with careful brushstrokes of acrylic paint, delicate vintage embellishments, and hand-painting glass ornament with my personal touch.
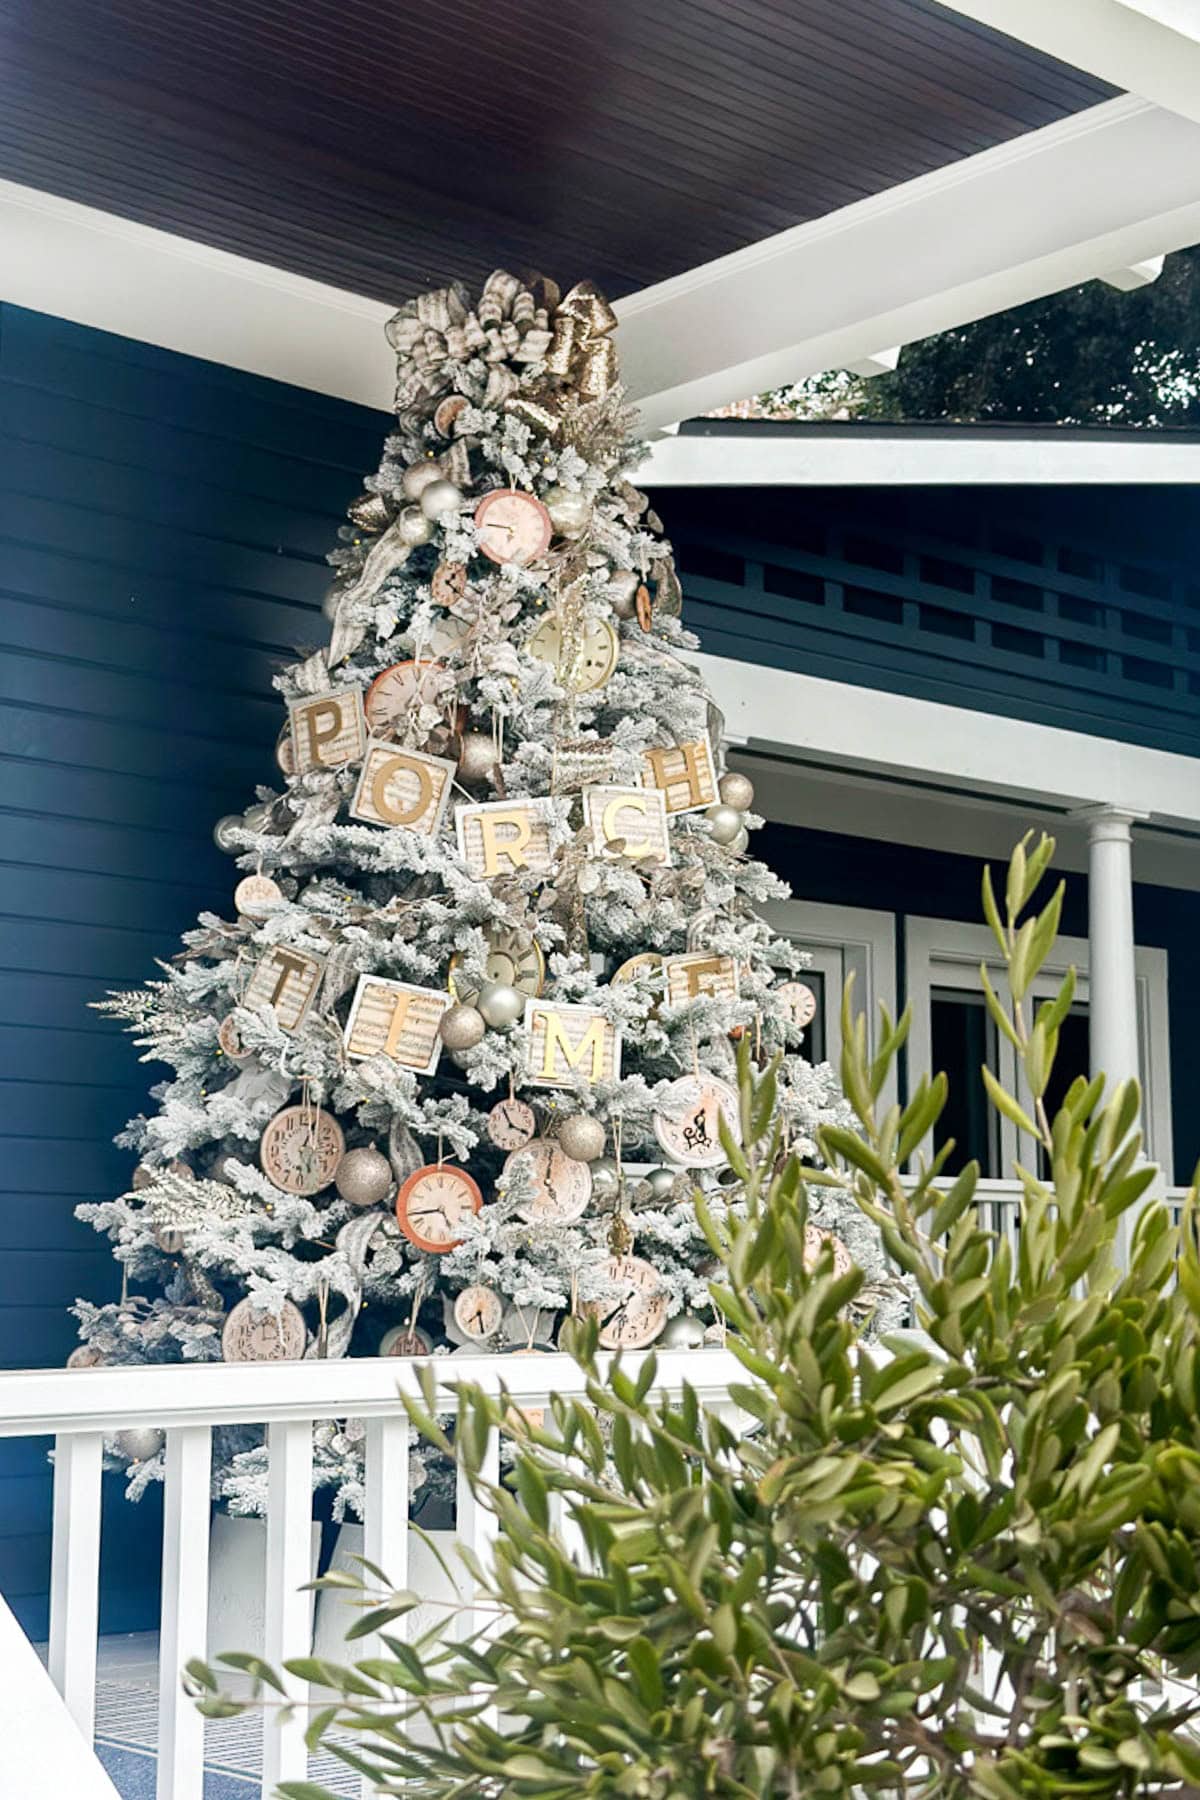
This year’s project holds a special place in my heart. Inspired by my grandfather, a master clockmaker, I’m creating a Christmas tree that celebrates the intricate beauty of vintage timepieces. It felt like fate when I discovered a treasure trove of clock parts at the thrift store. Those gears and dials spoke to me, reminding me of countless hours spent watching my grandfather work his magic.
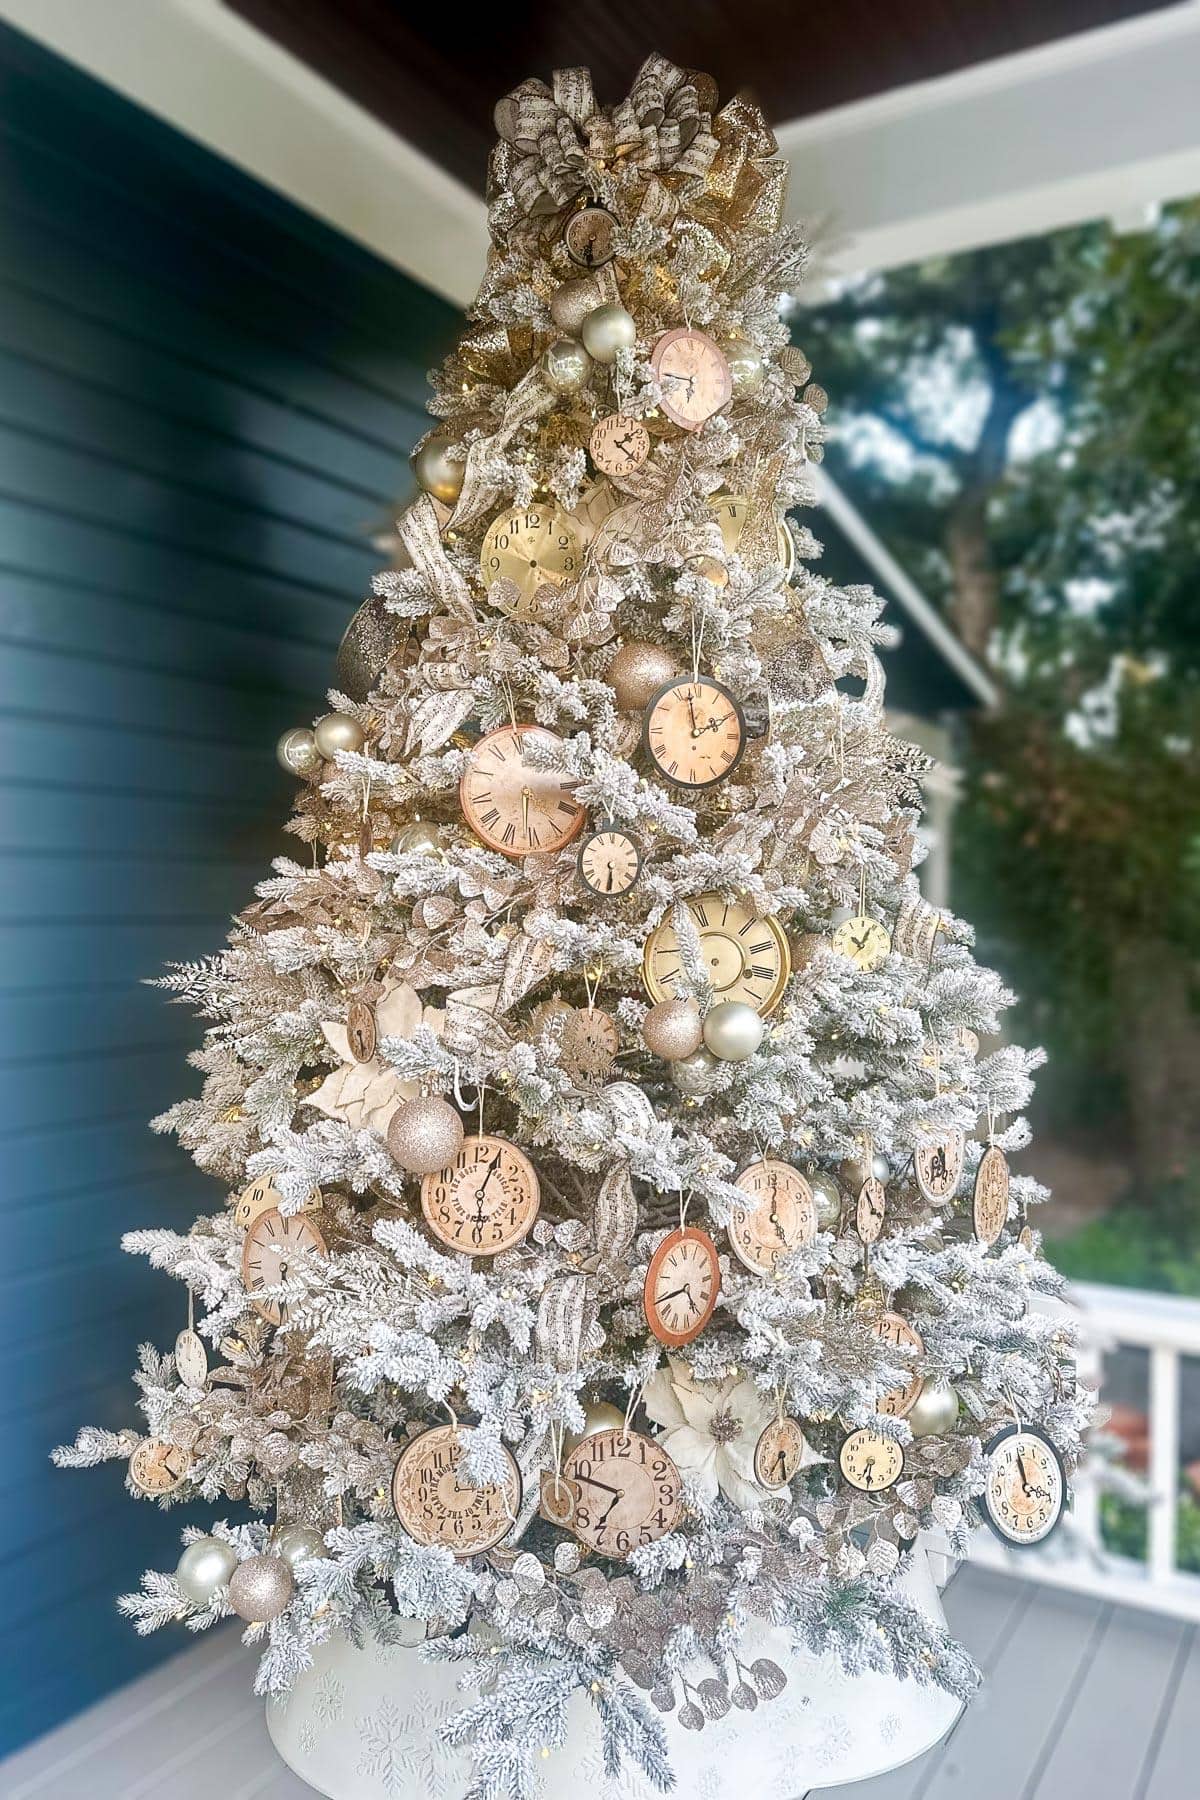
My majestic 9′ Rushmore King of Christmas Tree needed more ornaments than my thrift store find could help provide, so I channeled my grandfather’s creative spirit and crafted additional pieces that capture the authentic charm of vintage clock faces. Each handmade piece is a tribute to his artistry and the timeless magic of Christmas past.
So, let’s start creating some handmade ornaments that have a vintage feel and will bring the holiday spirit to your Christmas tree this holiday season.
Why You’ll Love Making These Vintage Ornaments
Beginner friendly
These DIY vintage Christmas ornaments are simple to make and perfect for any skill level. You only need a few basic supplies and a little time, making this an easy project even if you’re new to crafting.
Timeless and nostalgic
Inspired by antique clock faces, these ornaments have an old fashioned charm that never goes out of style. They instantly add character and a sense of Christmas past to your tree, mantel, or holiday vignettes.
Easy to customize
Each ornament can be made a little differently depending on the graphics, finishes, and embellishments you choose. No two turn out exactly the same, which is part of what makes these handmade vintage ornaments feel so special.
Supplies Needed
Tip from wendy’s craft room:
You can find most of the supplies at major craft stores like Hobby Lobby, where I did most of my shopping. Check vintage markets, flea markets, estate sales, and thrift stores for authentic vintage clock parts. I’ve included shopping links for each item in the supply list below to make shopping easier.
How to Make DIY Vintage Clock Face Christmas Ornaments
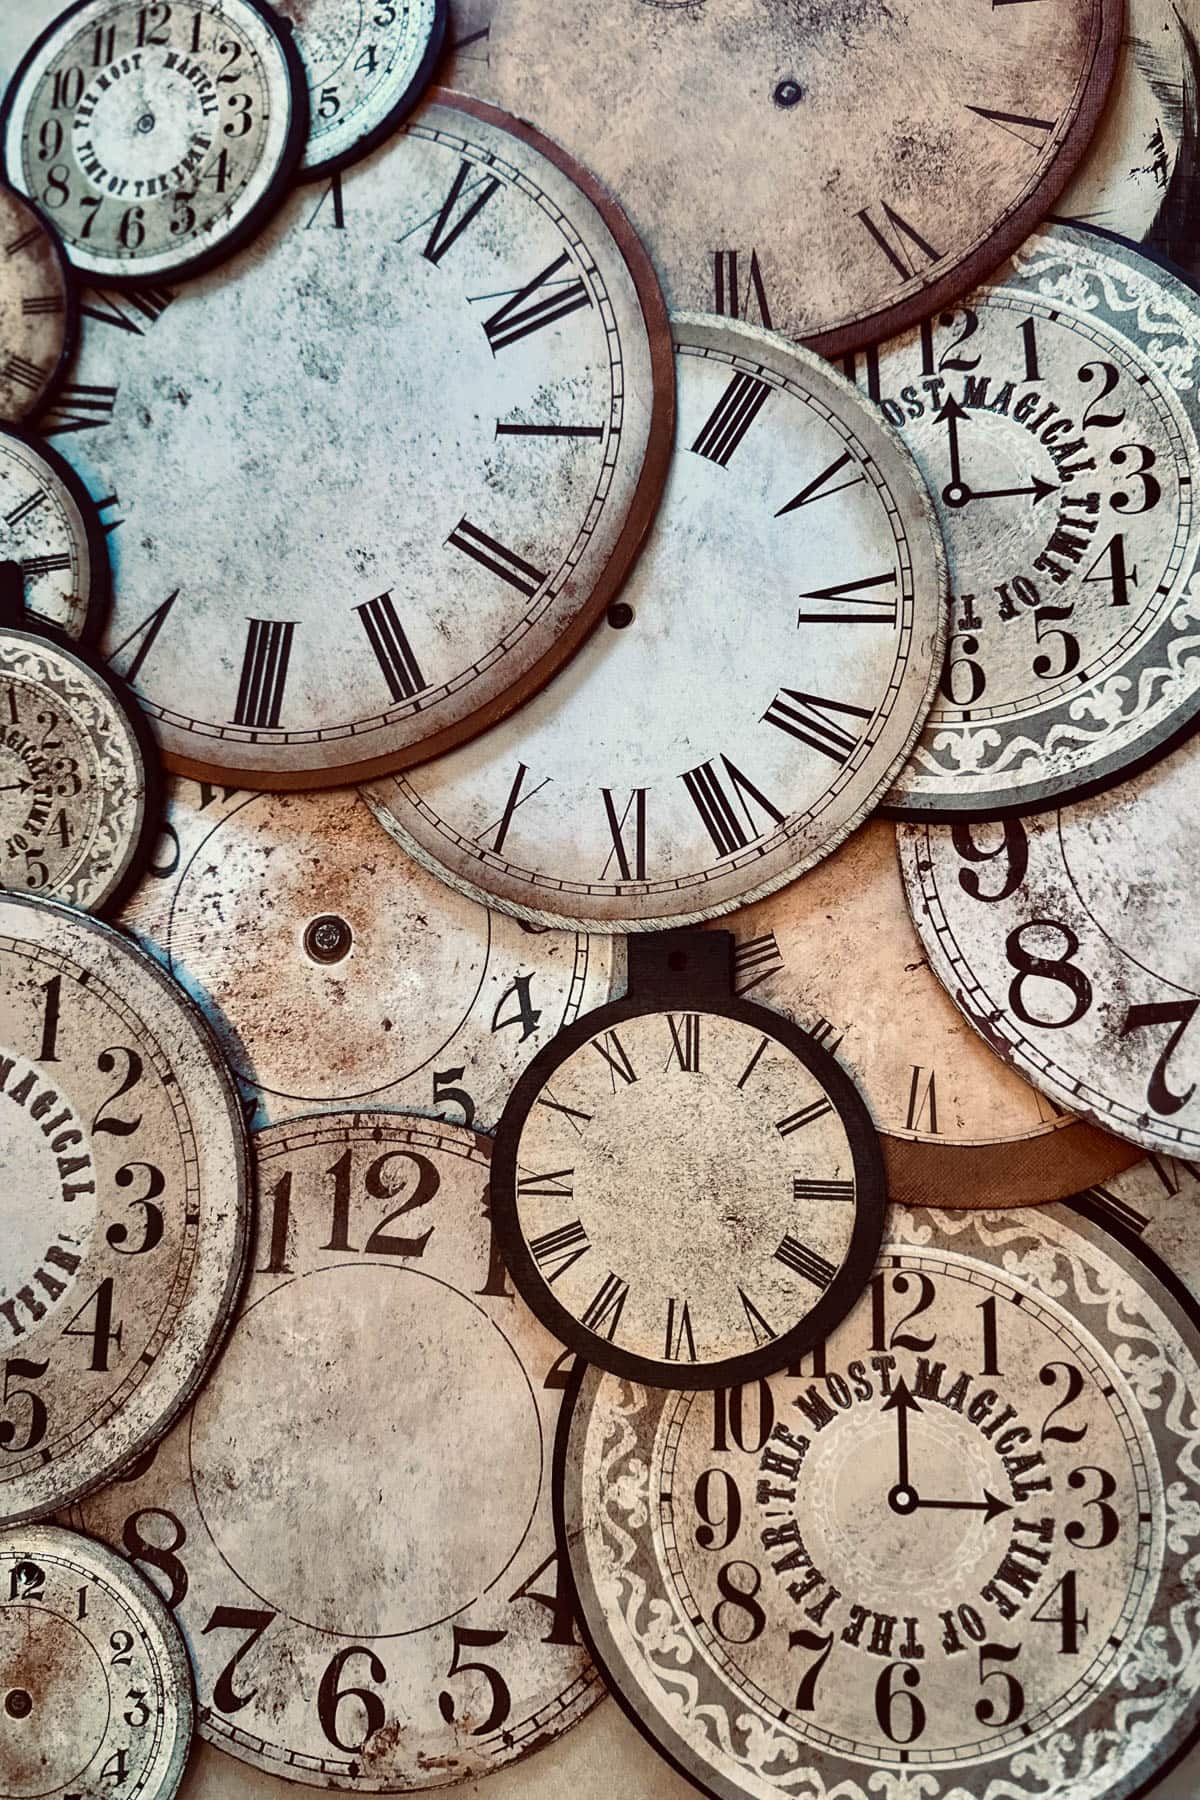
Step 1: Print the clock faces
- Print out my FREE printable clock faces and cut them out using sharp scissors.
- Print as many as you need for your tree.
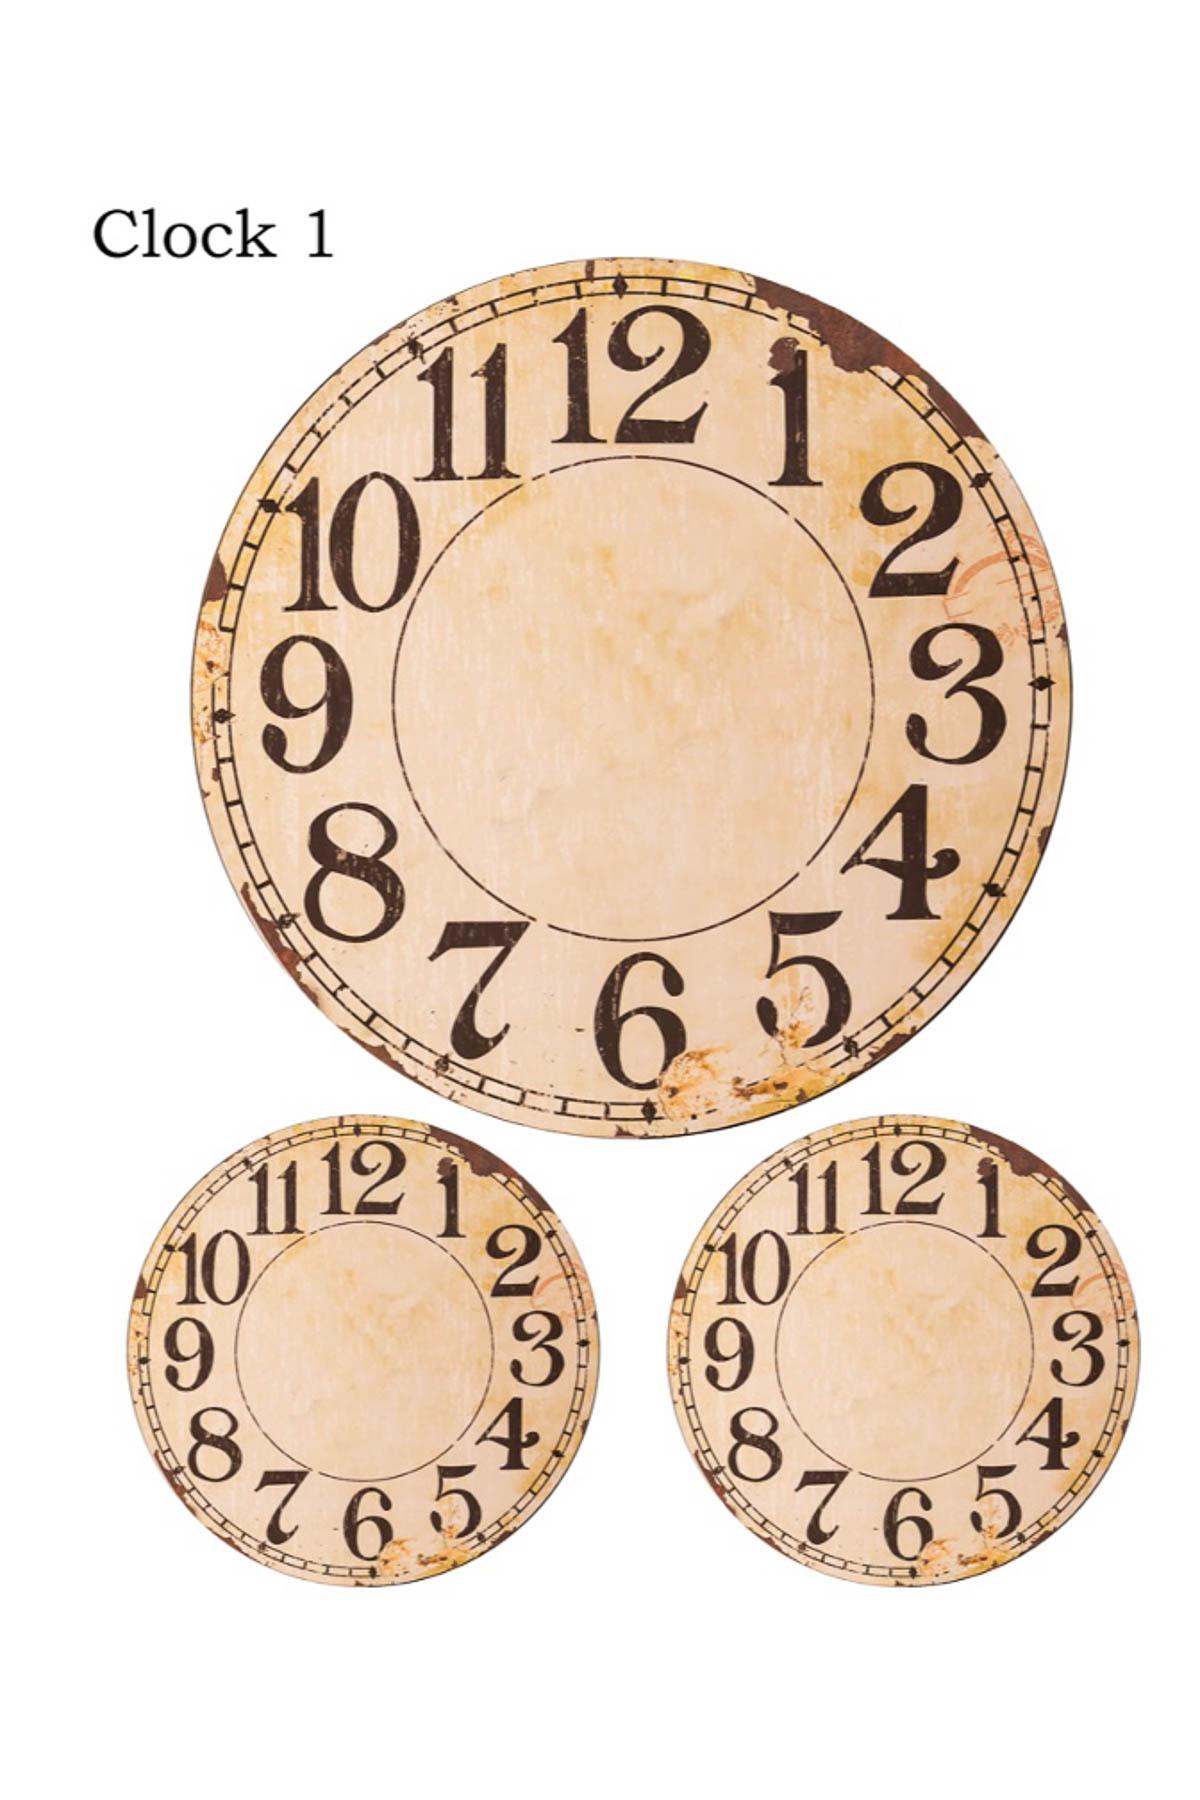
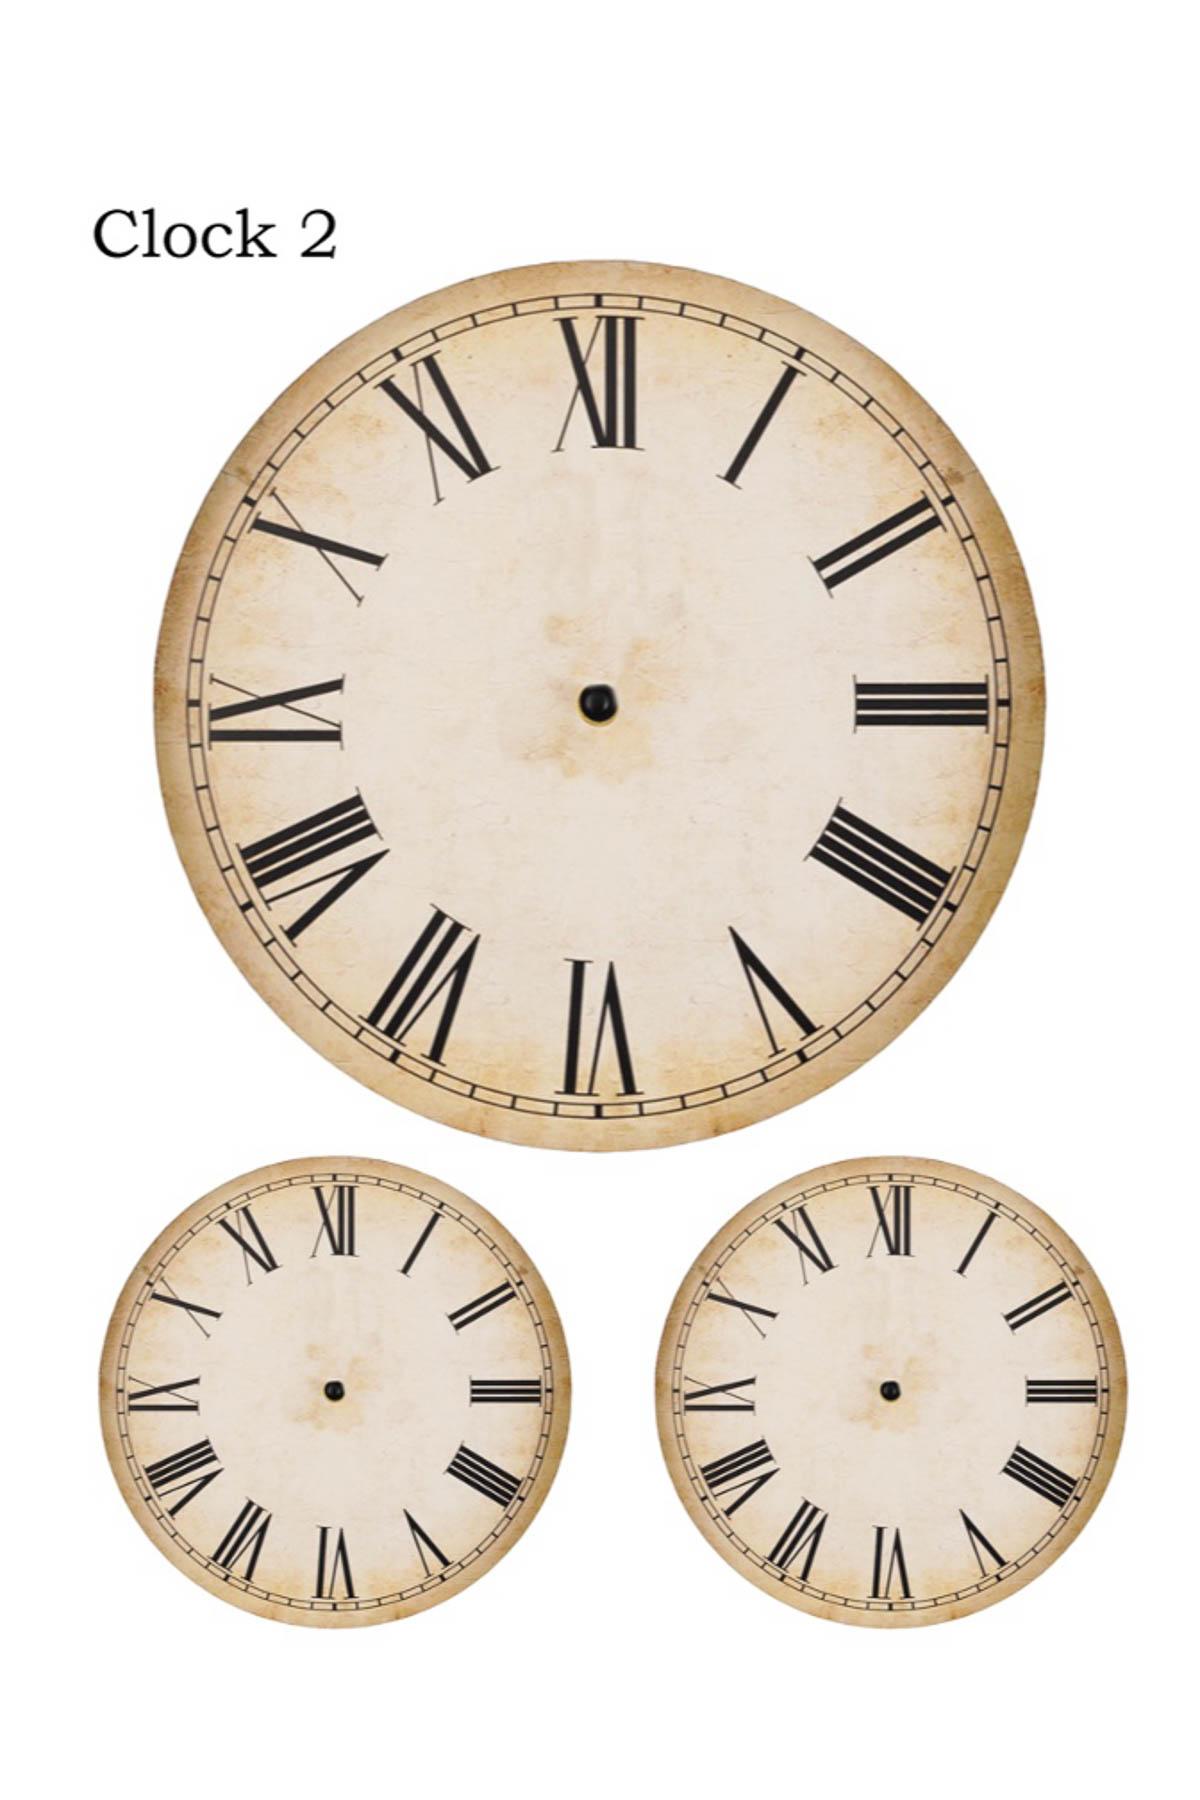
You can also purchase this darling clock face graphic from my friend Bobbie @thefrenchdoorstudio.
Tip from wendy’s craft room:
Use sharp scissors that are meant for paper. This will give you nice, smooth edges on your clock faces.
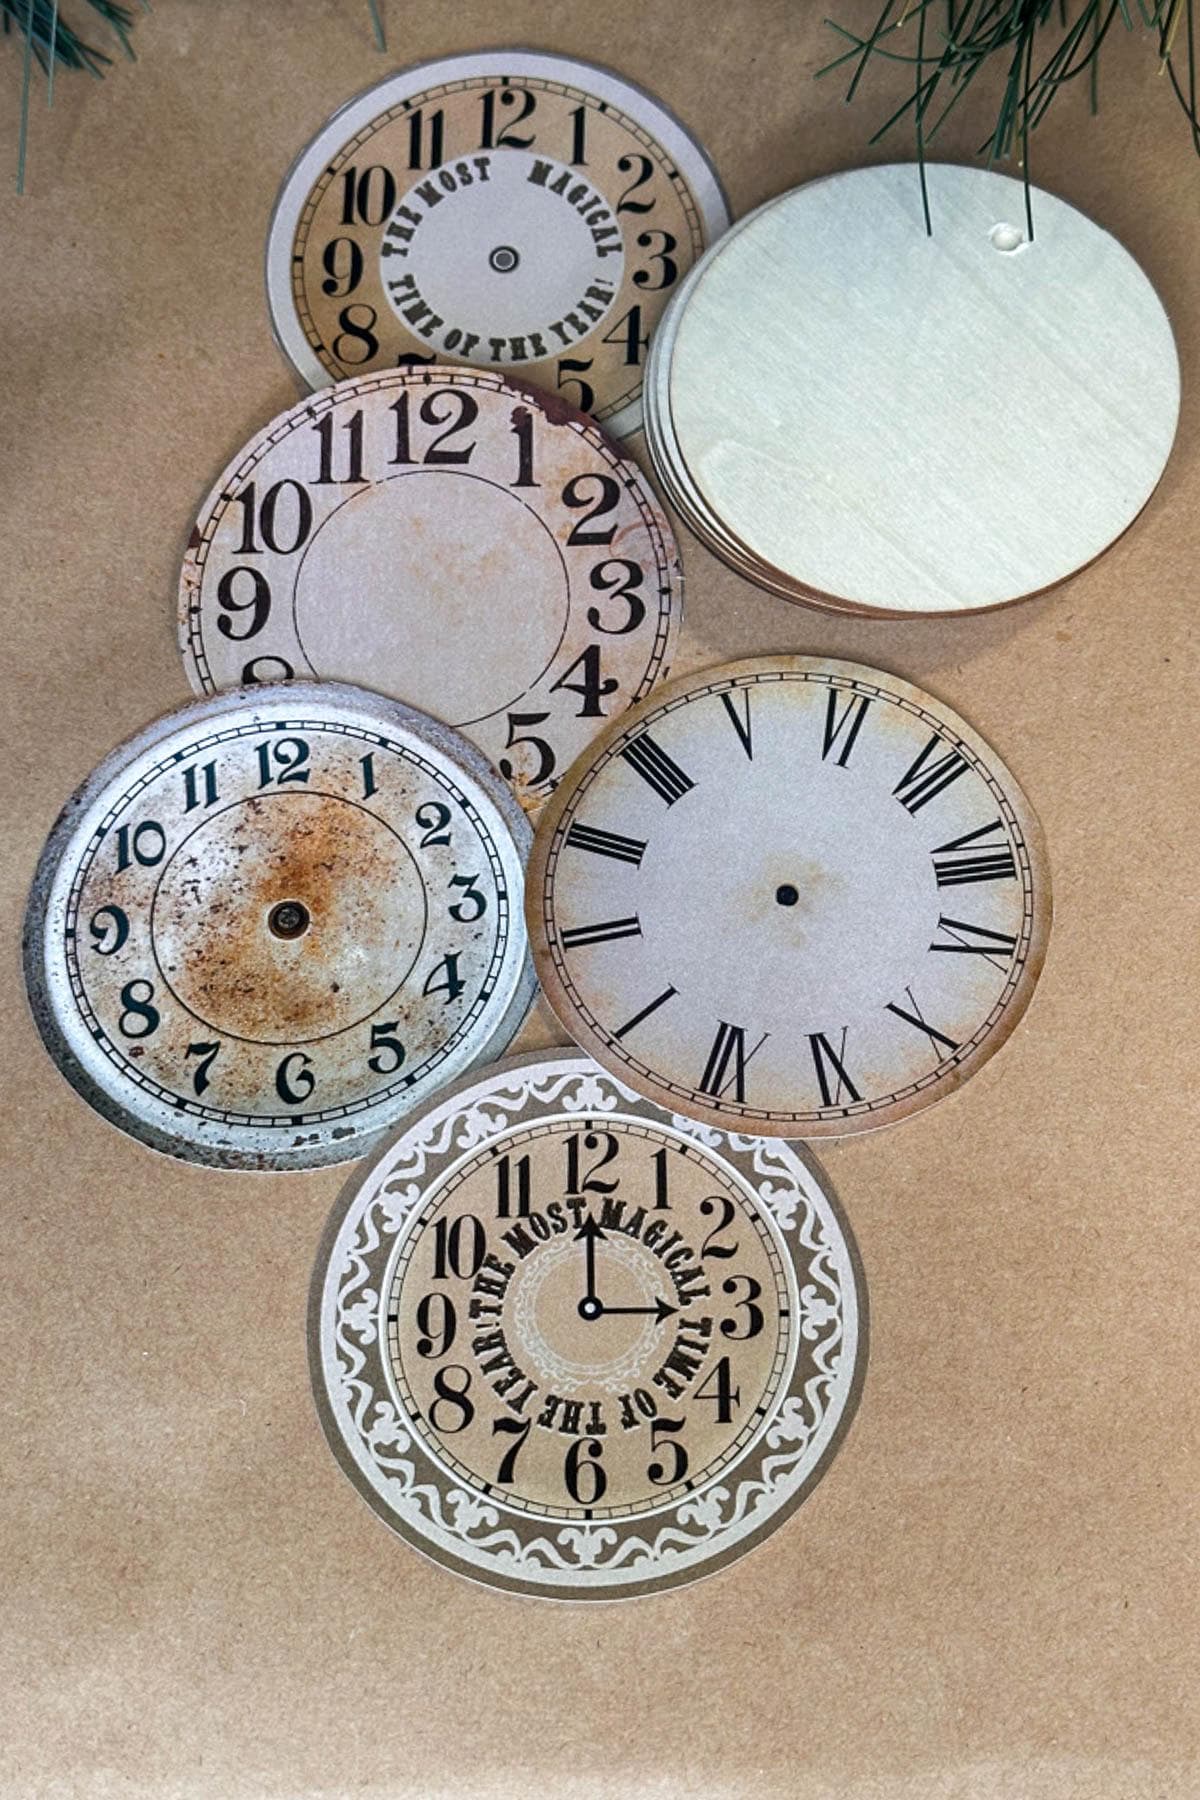
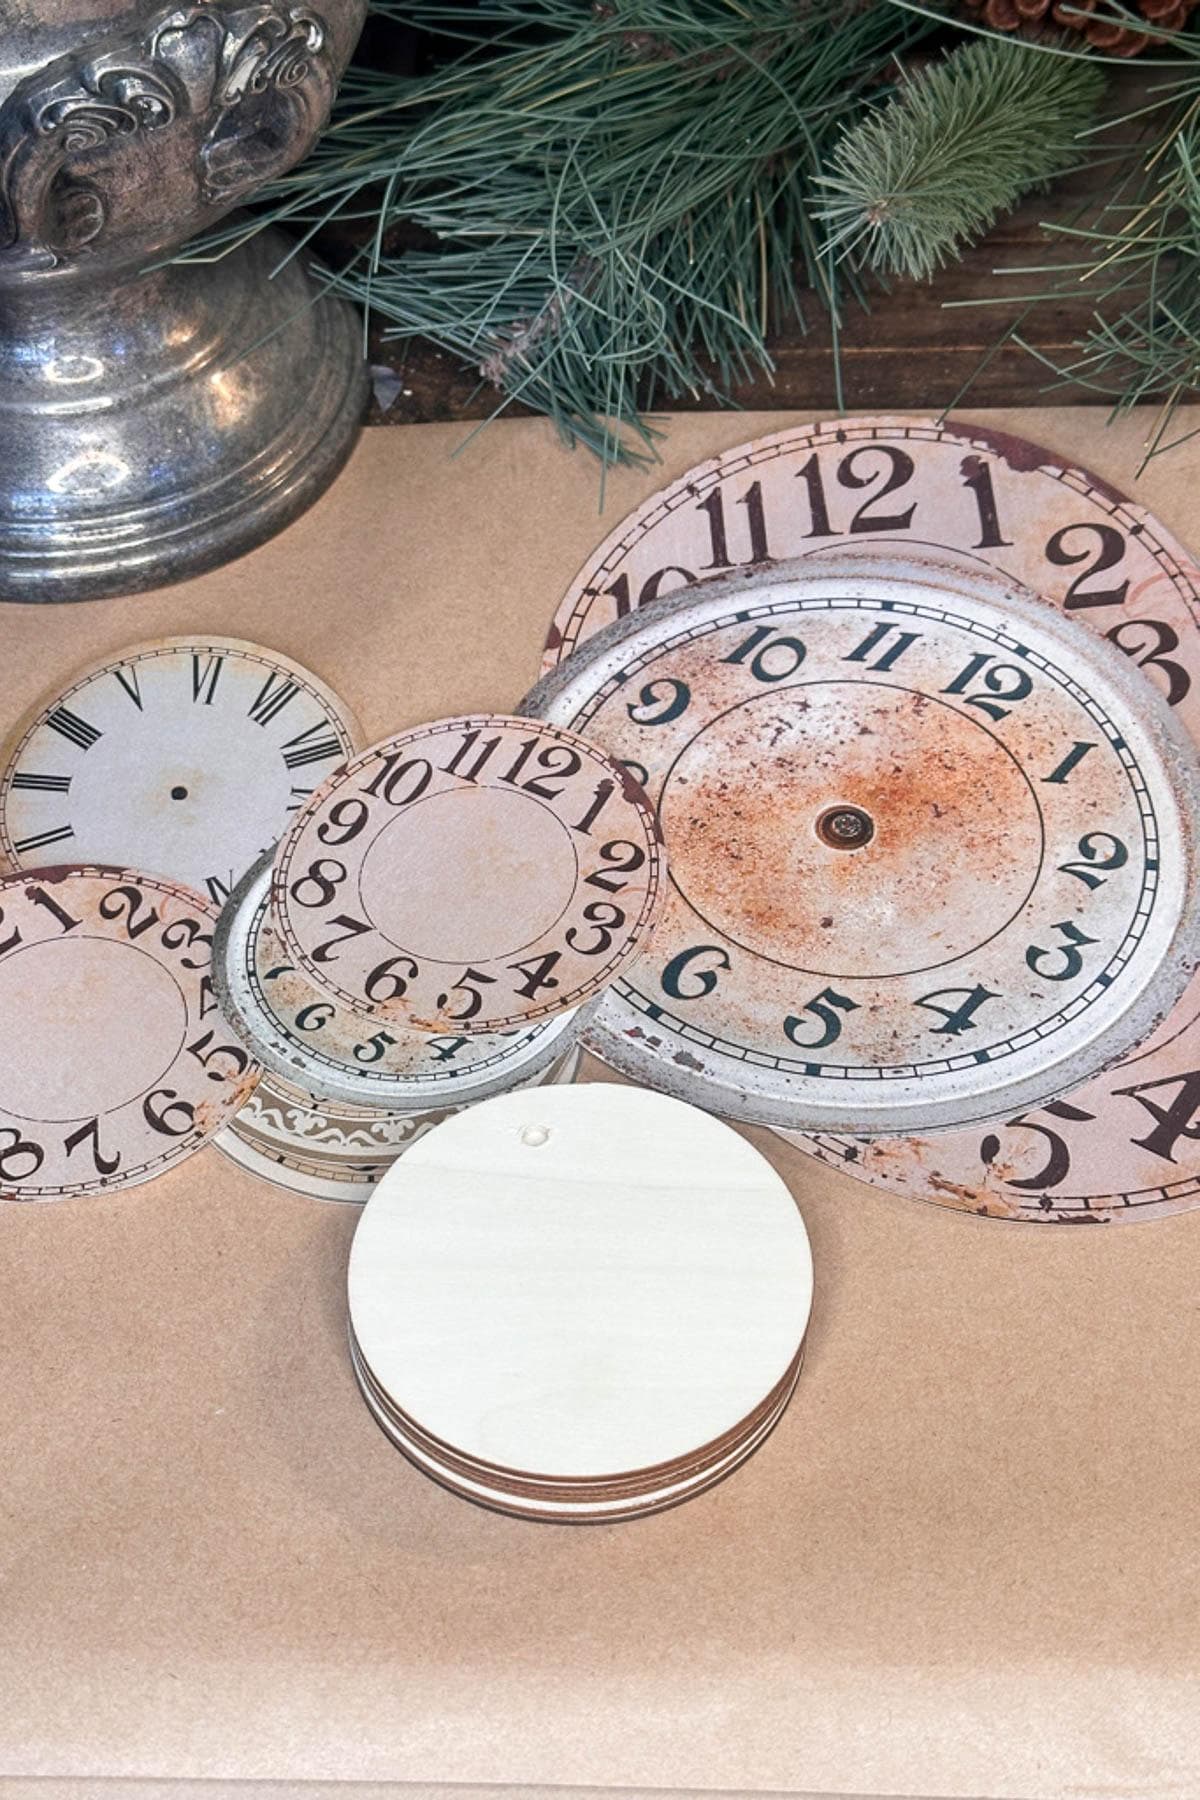
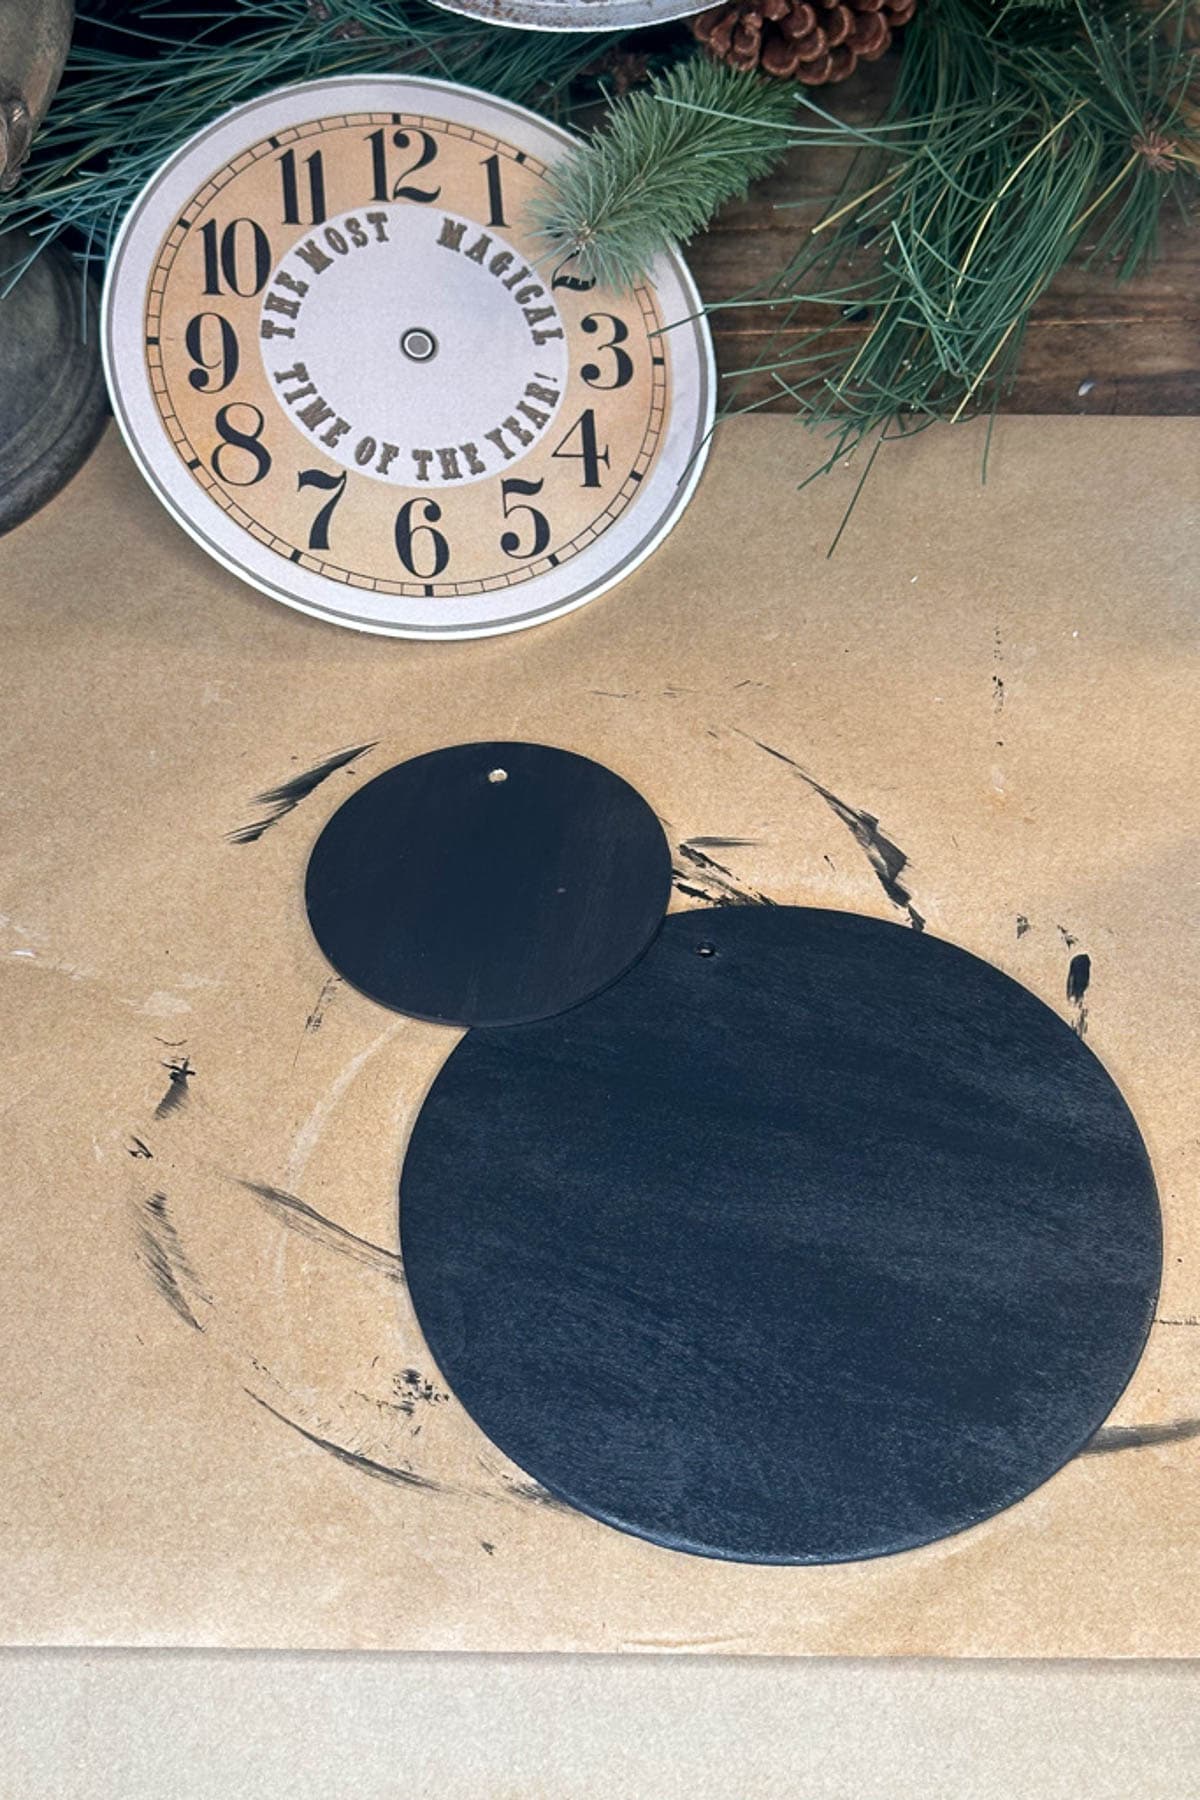
Step 2: Choose Your Ornament Base
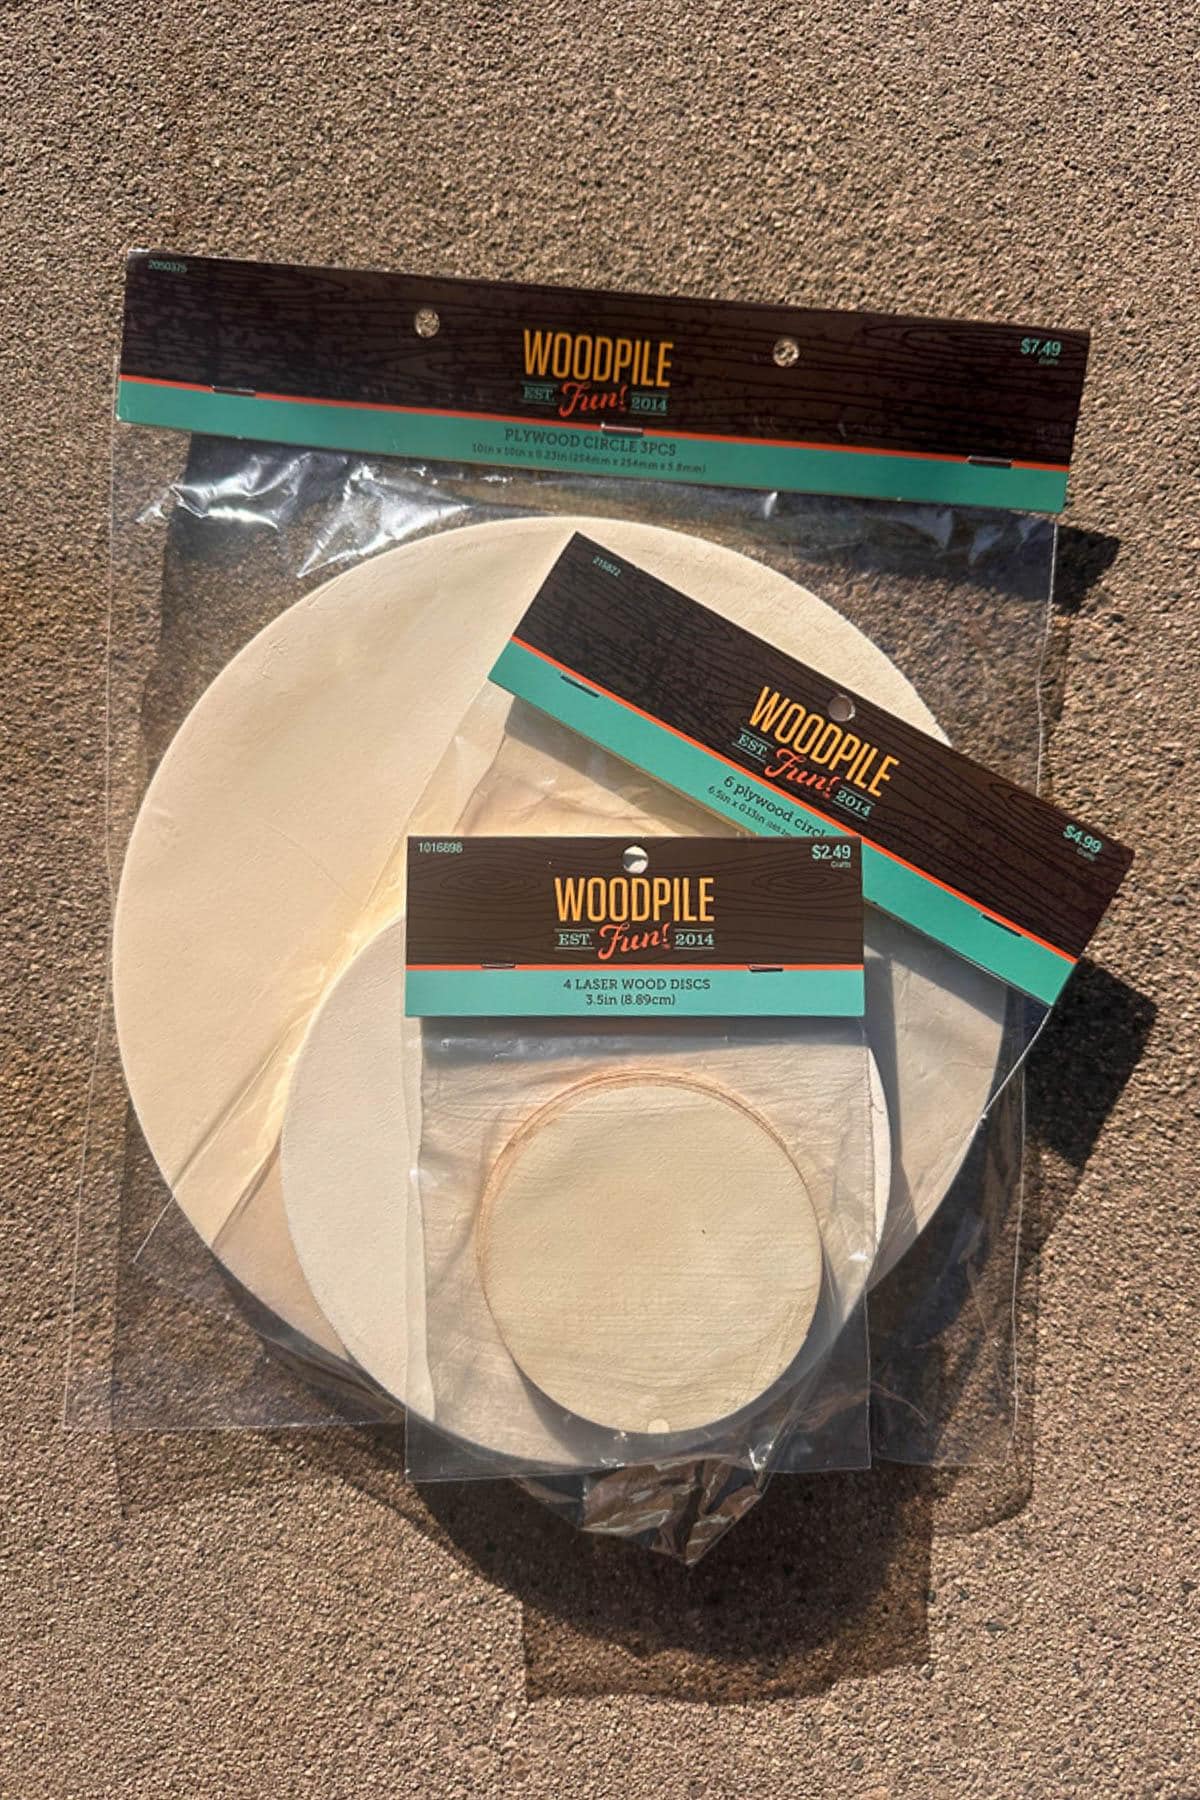
- Decide what kind of base you want to use to make your new ornaments. I purchased wooden discs at the craft store that were 6″ around and 3″ – 3.75″ around. These fit the artwork perfectly. If you use your ornaments inside, you could also use a chipboard as a base.
- In addition, I also purchased a few round paint canvases and a few wood DIY ornaments in a package of 4 that were in the shape of an ornament. Be creative and try different sizes and shapes.
Tip from wendy’s craft room:
If you are displaying your ornaments on a tree outdoors, as I did, be sure to use wood bases so the ornaments do not warp.
Step 3: Drill Holes in the Wooden Discs
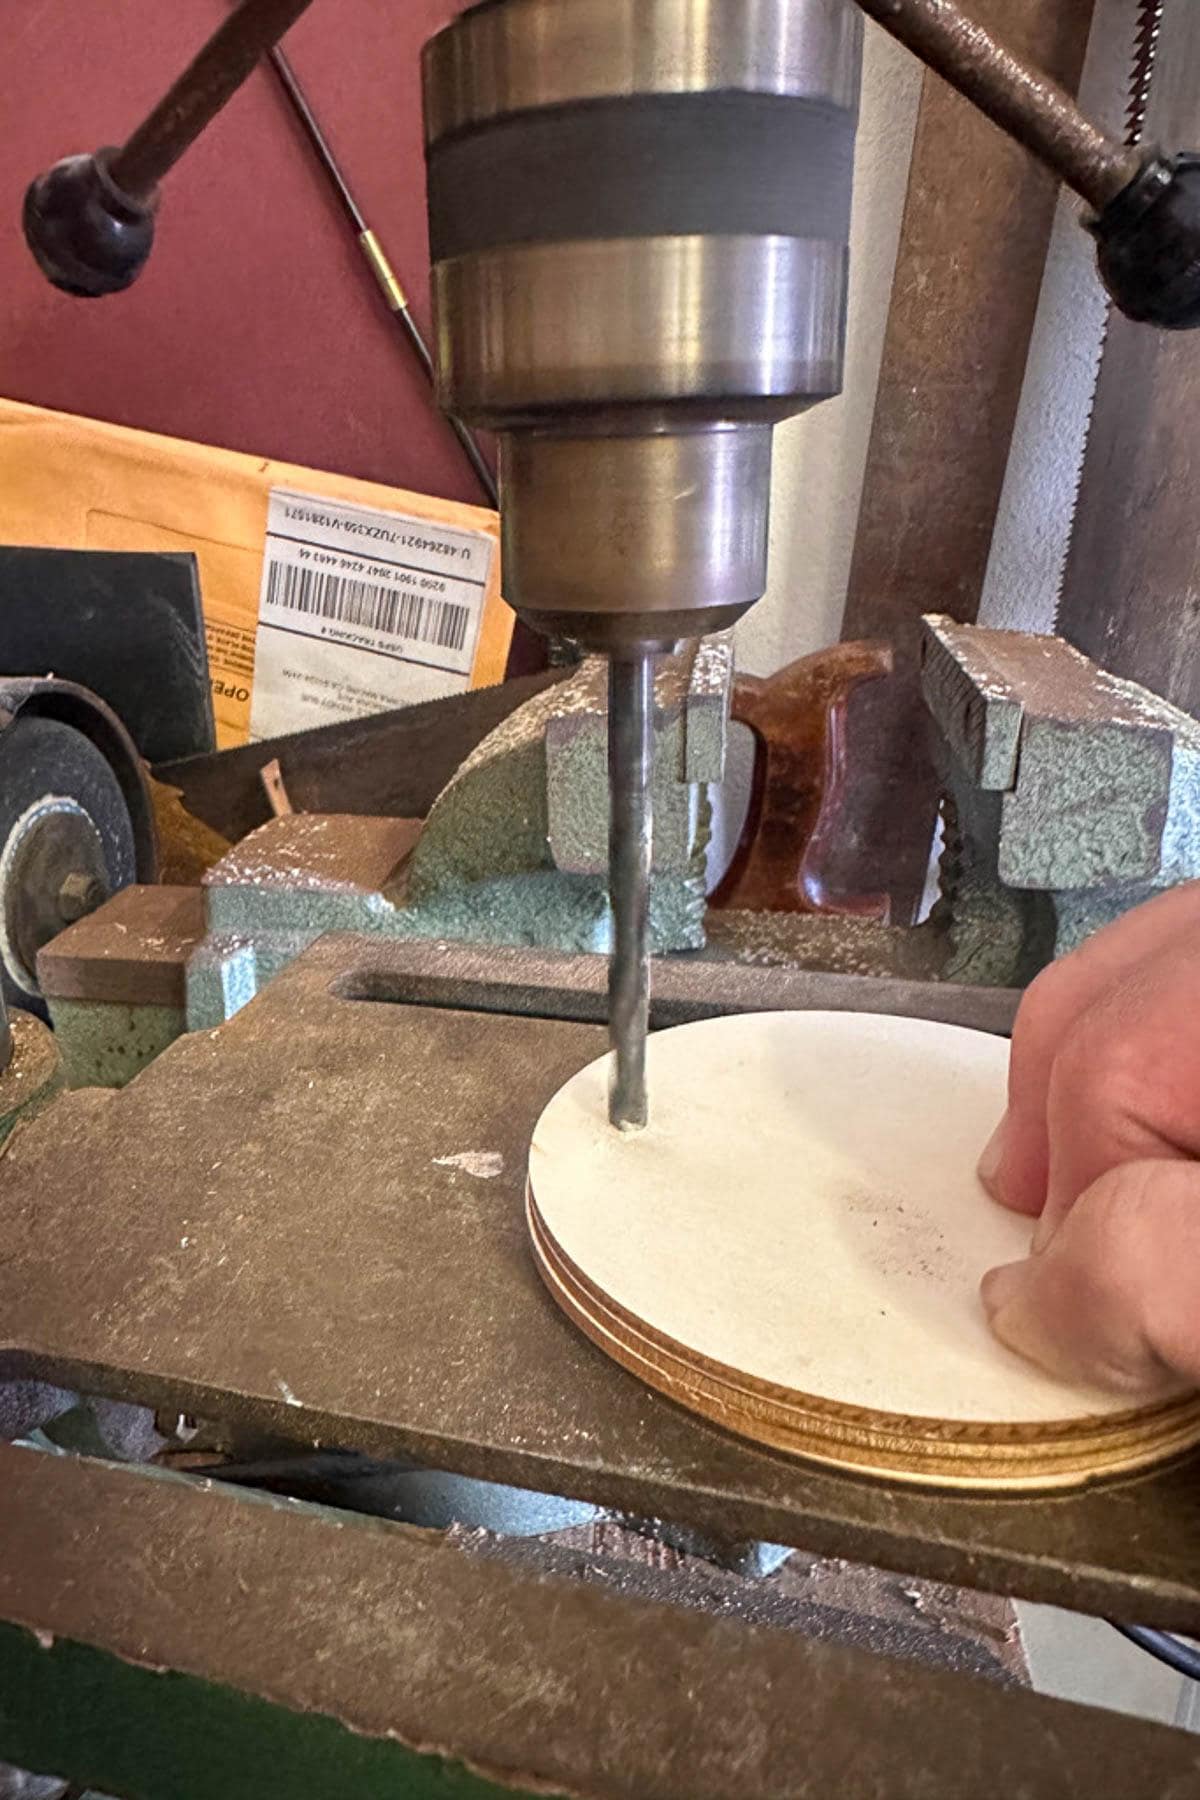
- Using a hand drill or a drill press, drill a small hole at the top of the ornament to run a string through to hang them.
Tip from wendy’s craft room:
Drill multiple holes at one time using a drill press.
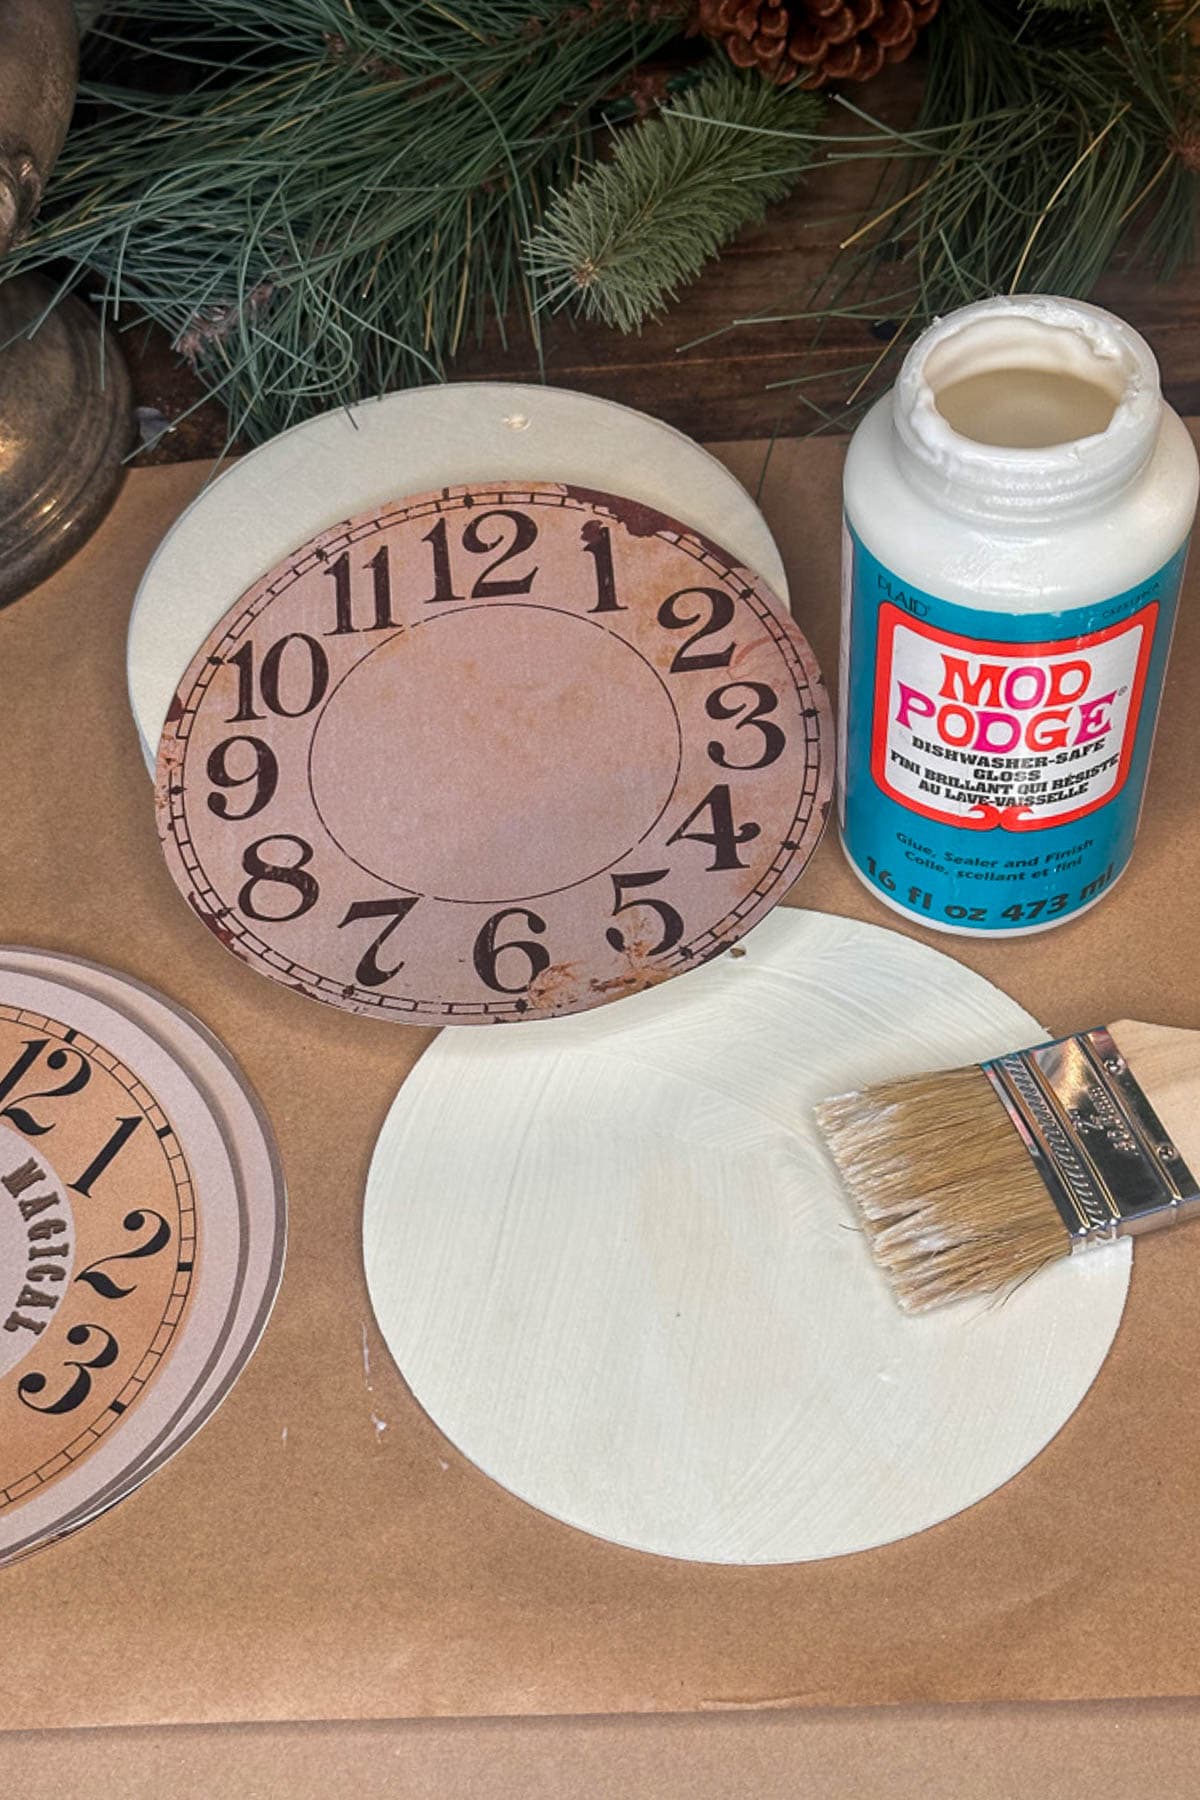
Step 4: Prepare the Ornament Surface
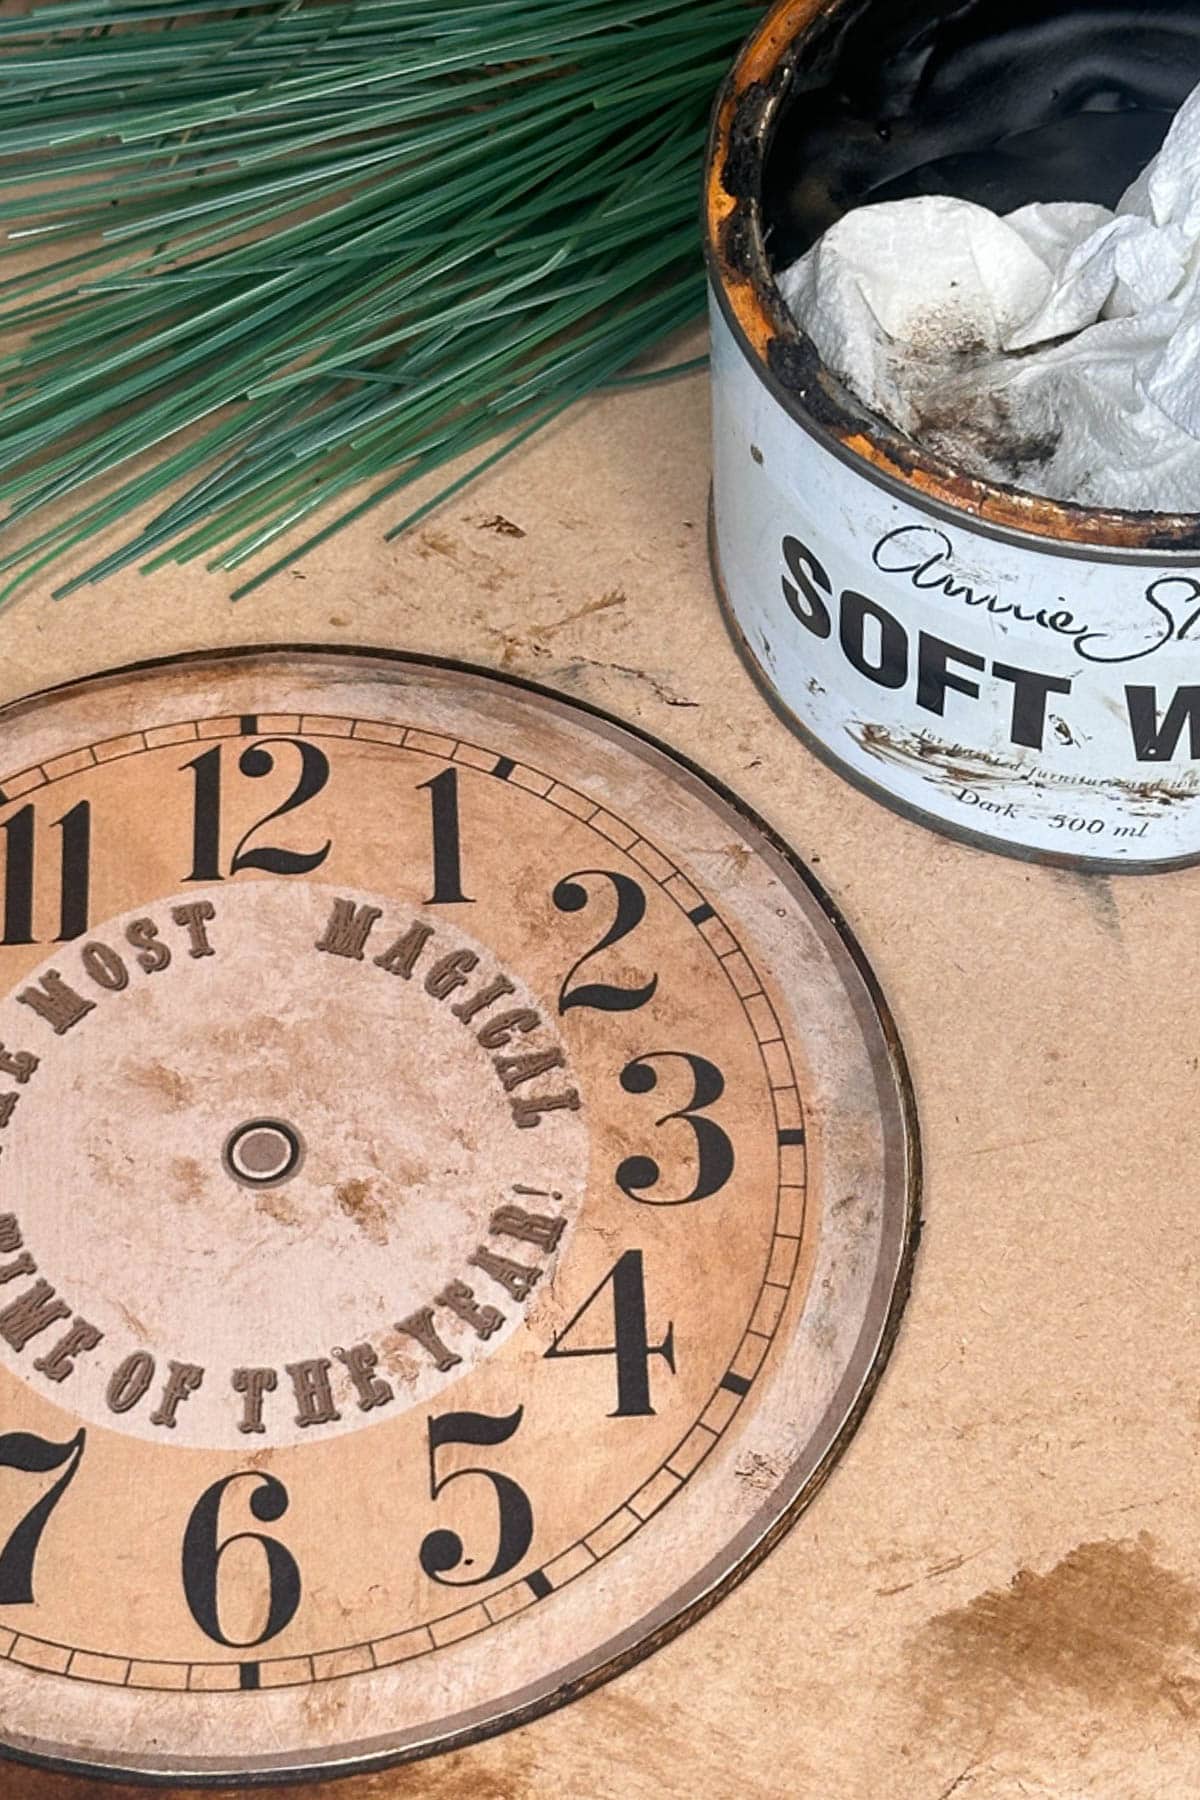
- Choose your paint colors. I used Annie Sloan dark wax and black acrylic craft paint.
- For the clock faces, I stained them using dark wax, but first, I used Mod Podge to attach the clock faces.
- For the black bases, I painted the entire surface of the disc black on the front and back before adding the clock faces.
- Another idea would be to decoupage the disc before adding the clock face. Use book pages, old sheet music, or a paper napkin.

Tip from wendy’s craft room:
Choose colors that go with your home or your Christmas theme. I wanted a neutral palette for my Christmas decorations, so I went with black, white, and gold.
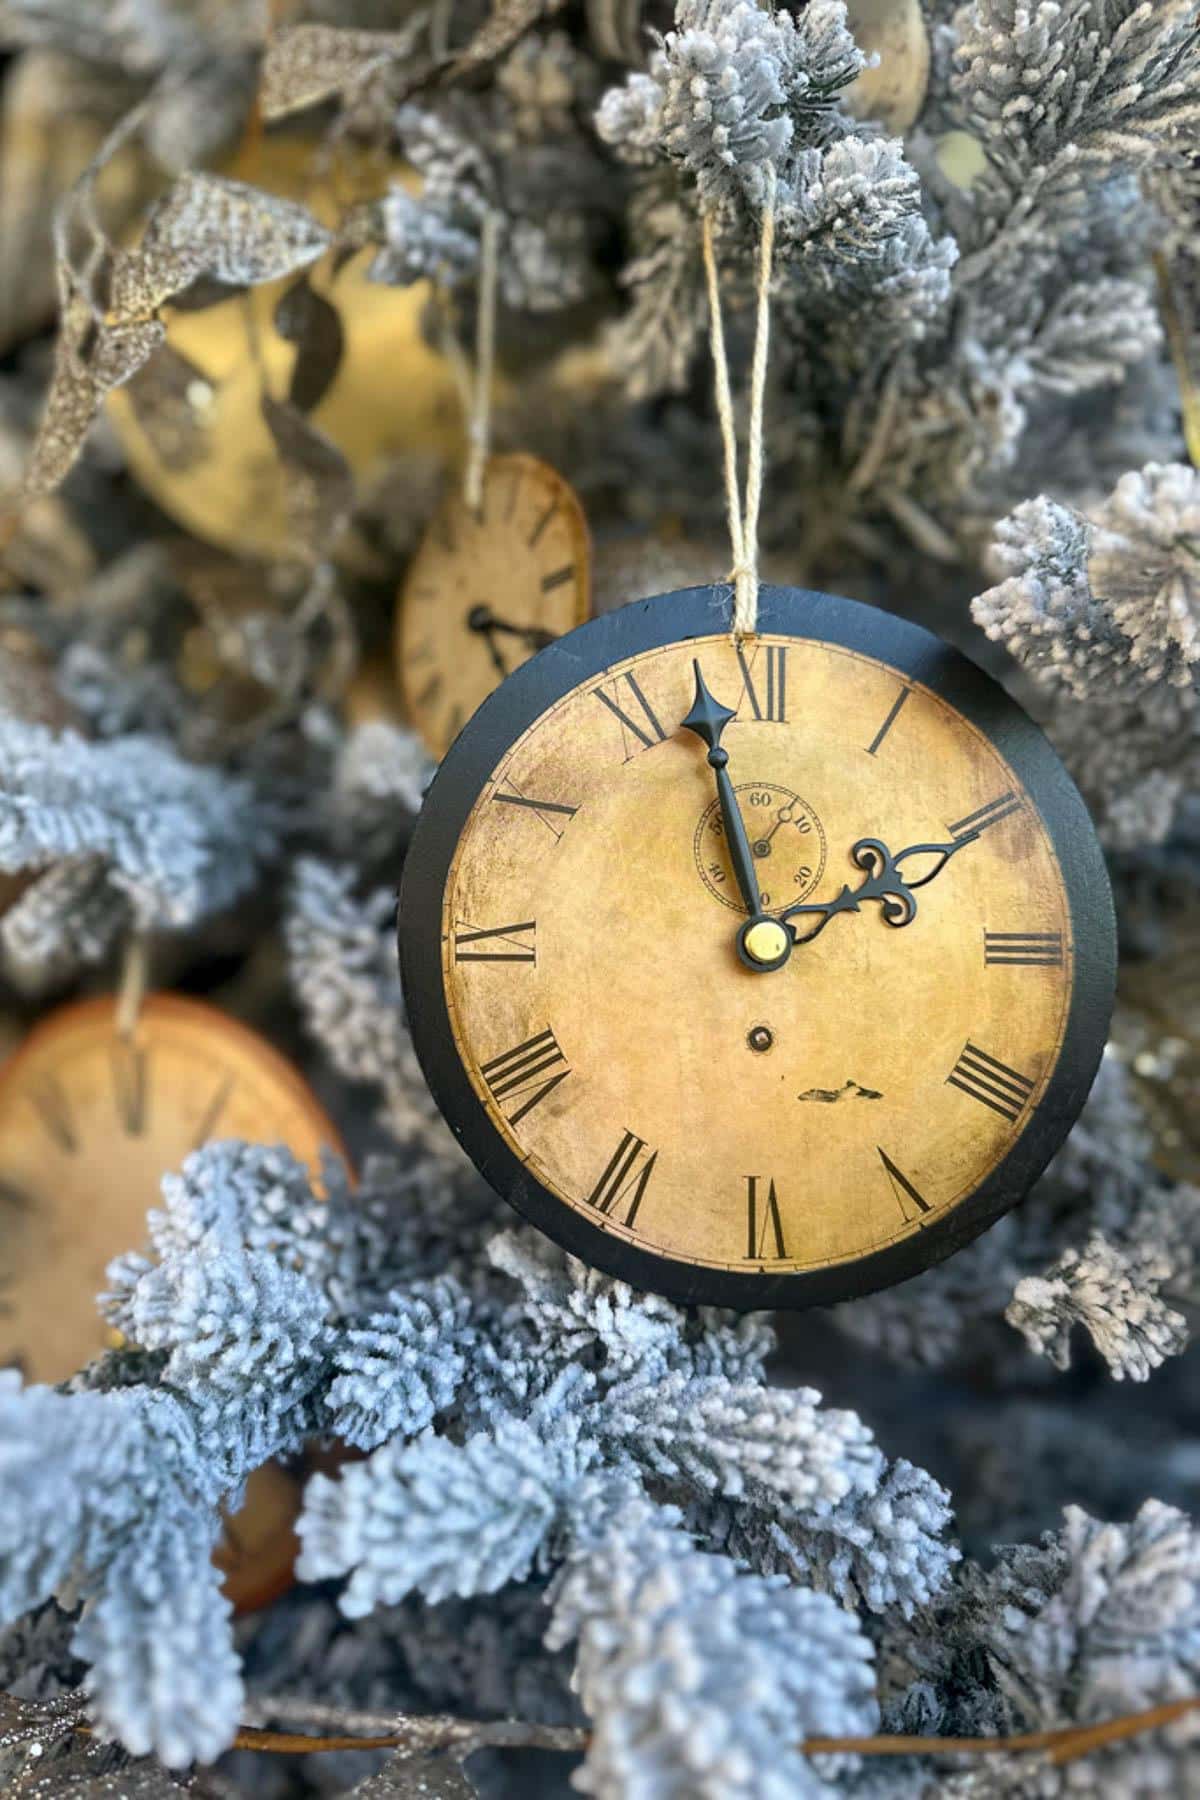
Step 5: Add a Vintage Look
Antiquing with wax:
- Using the dark wax, add a bit to a cloth and dab it onto the clock face to distress the ornament. (to get a darker color, add a second layer after the first layer dries)
- In addition, using various colors of archival ink pads is a great way to add additional distressing and dimension.
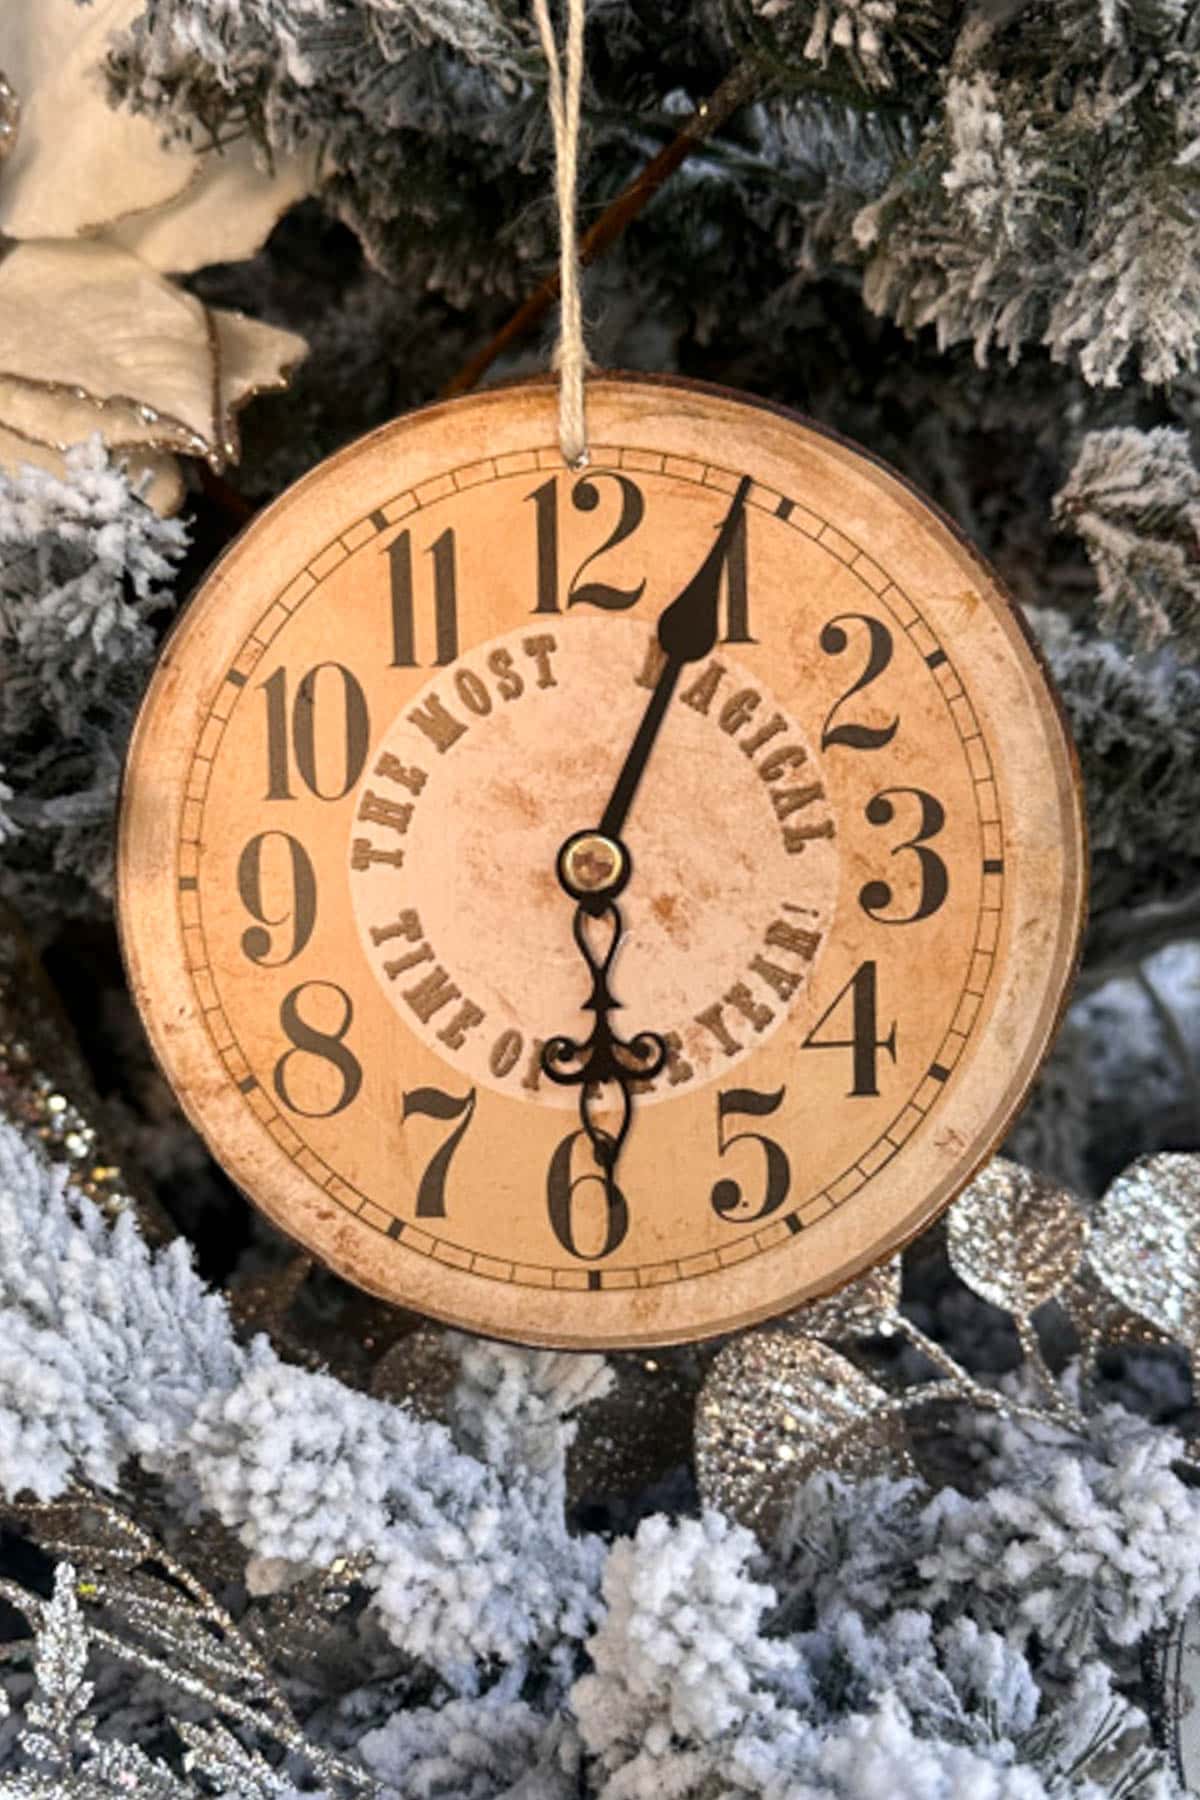
Add Clock Hands:
- Use vintage clock hands if you can. If not, you can always use new ones or print them and cut them out.
- I drilled a hole in the middle of the disc, placed my clock hands over the hole, and put a brad through the hole.
- Add a few hot glue dots to the back to secure the brad.
Step 6: Add the Finishing Touches
- Once your clock faces are complete, spray them with a clear sealer to protect them for years.
Creative Ways to Personalize and Gift Your Vintage Ornaments
Personalization: Add a name to the front or back of your vintage inspired ornament to make it extra meaningful. You can also write a short, heartfelt message expressing love, appreciation, or holiday wishes on the back.
Add a date: Including the year turns these vintage ornaments into keepsakes you will treasure for years to come. It is a simple detail that makes them even more special.
Thoughtful gift giving: These ornaments make lovely homemade Christmas gift ideas. Choose a small decorative gift bag that complements the vintage style, such as one with classic patterns, soft colors, or textured details.
Pretty packaging: Place the ornament inside the bag with a bit of tissue paper to protect it, then finish with a ribbon tied at the top. Choose a ribbon that coordinates with the ornament for a polished, thoughtful presentation.
How to Style Your Own DIY Vintage Christmas Ornaments
On your Christmas tree:
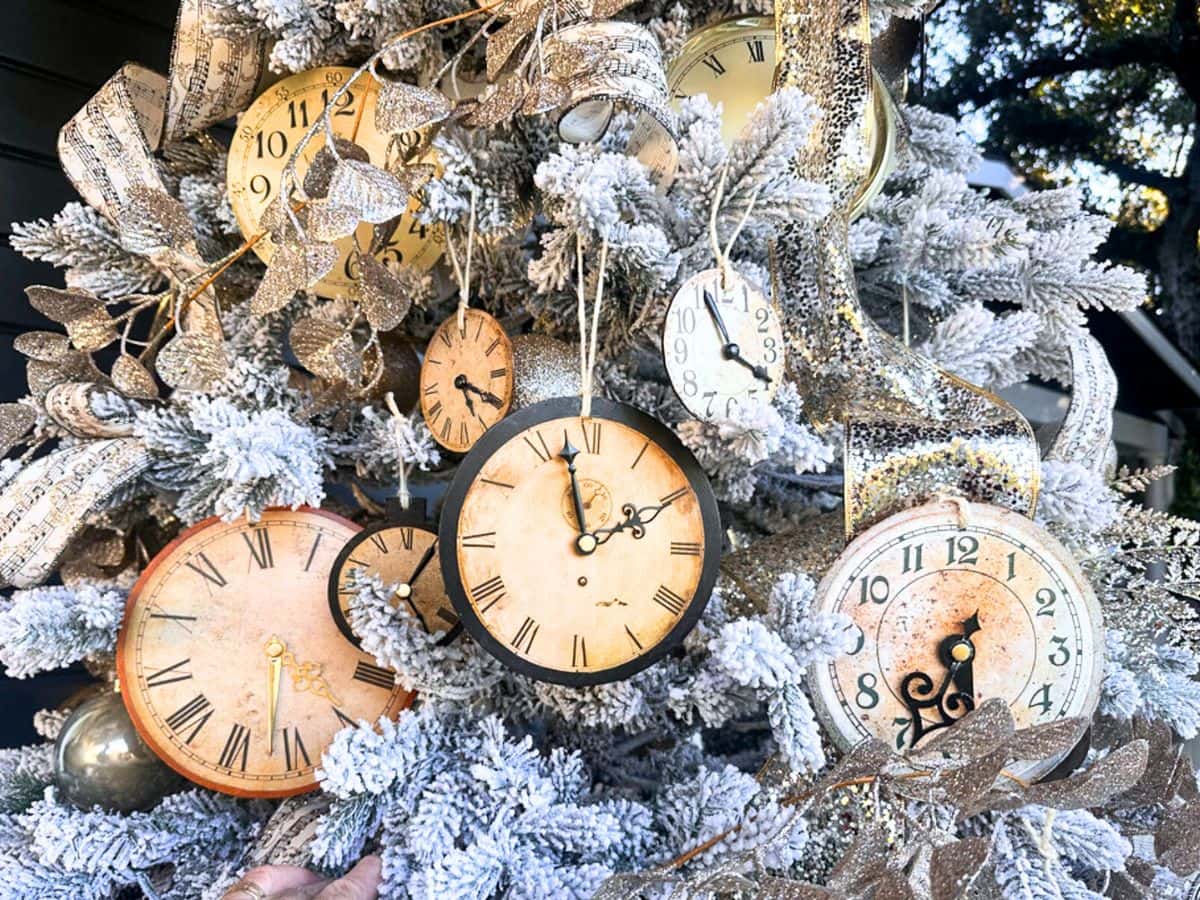
Incorporate these easy DIY vintage ornaments into your Christmas decor by spacing them throughout the branches of your Christmas trees. They look especially pretty mixed with soft lights, ribbon, and other timeless decorations for a collected, old world feel.
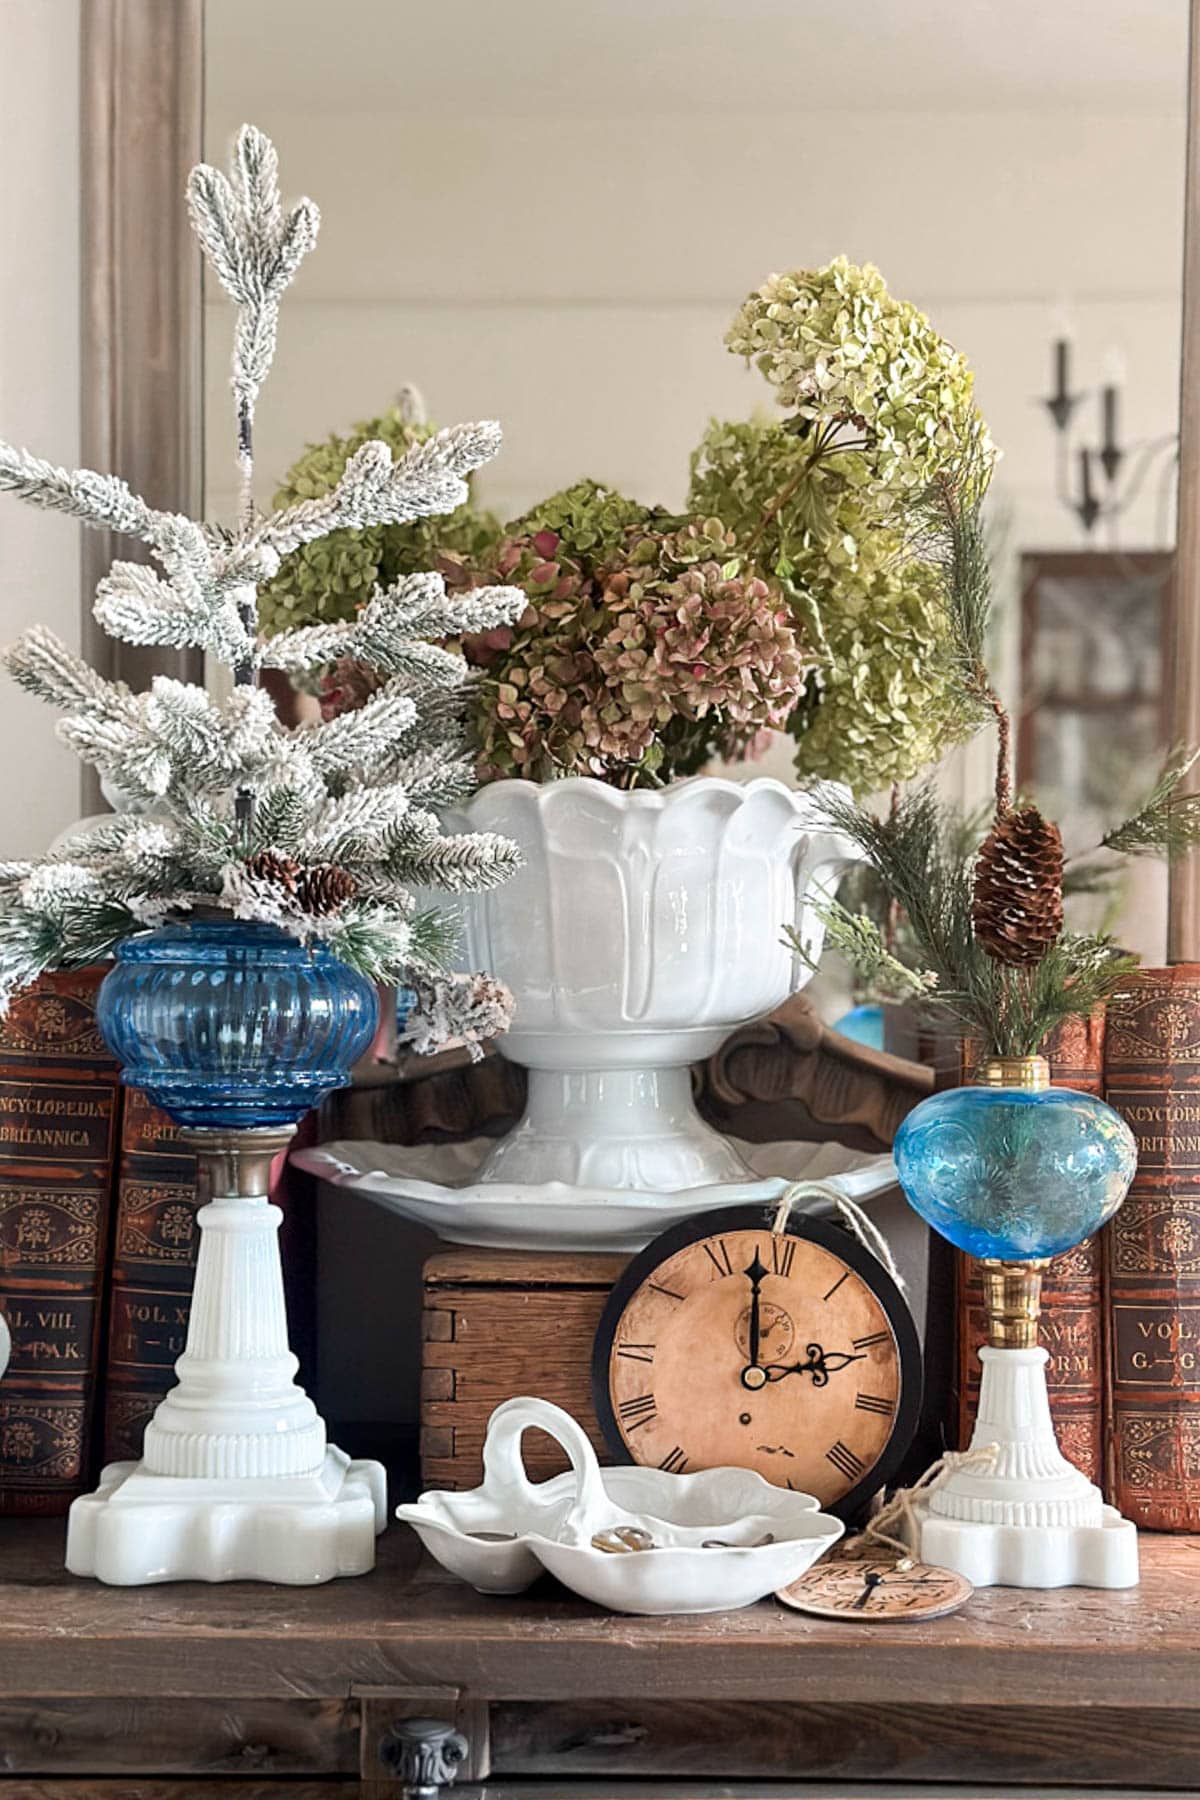
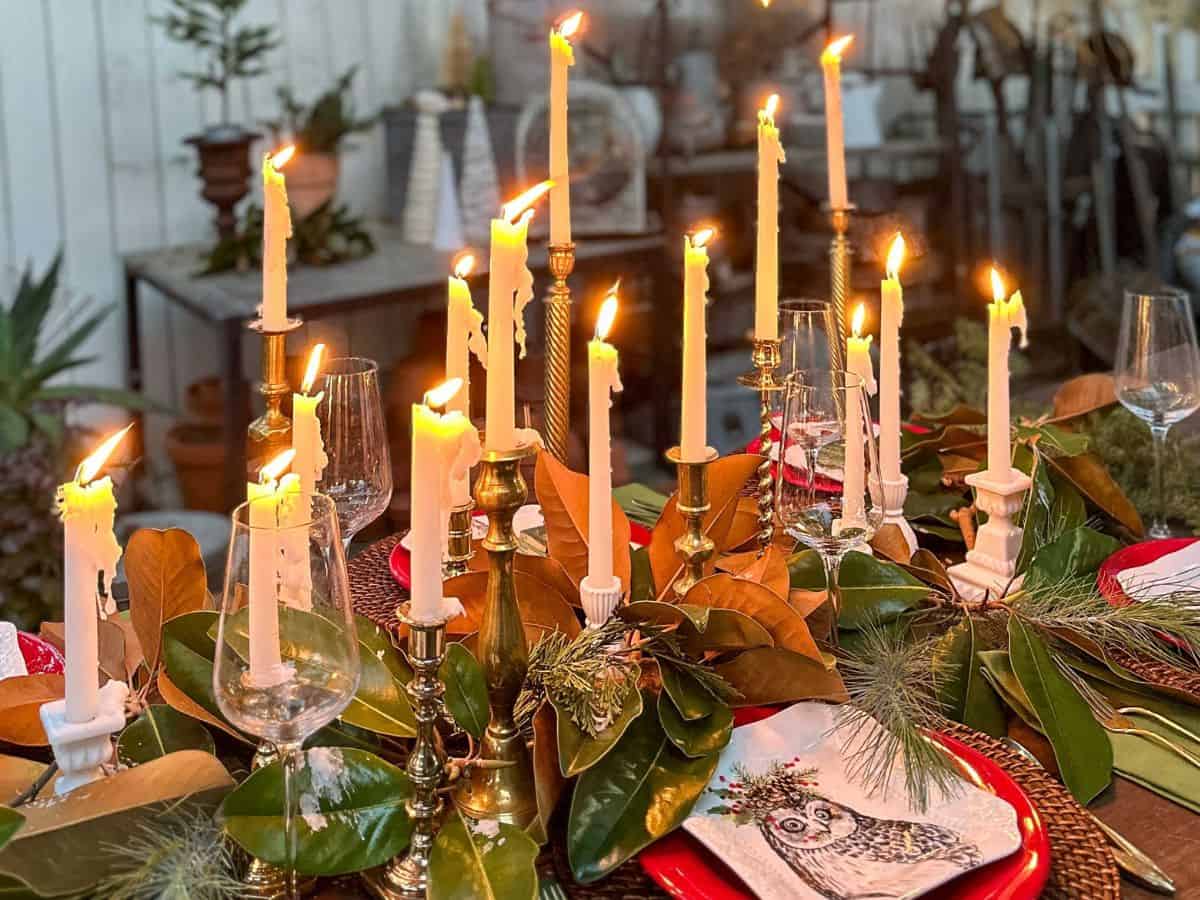
Create a vintage vignette:
Arrange a small grouping of vintage clock face ornaments in the living room on your Christmas coffee table, fireplace mantel, side table, or bookshelf. Layer them with antique clocks, old books, or vintage-inspired holiday pieces to create a cozy and nostalgic display.
Use as gift tags or place cards:
Attach a vintage DIY ornament to a wrapped gift for a unique and thoughtful finishing touch. You can also use them as place card holders at your Christmas dinner table by adding a small name tag or handwritten card.
Add them to a wreath:
Tuck a few ornaments into a Christmas wreath for an unexpected vintage detail. They look beautiful paired with greenery, ribbon, and natural elements like pinecones or dried citrus.

Other Vintage-Inspired DIY Ornament Ideas
If you’re looking for other vintage-inspired Christmas ornaments you might also like these Christmas crafts from my friends
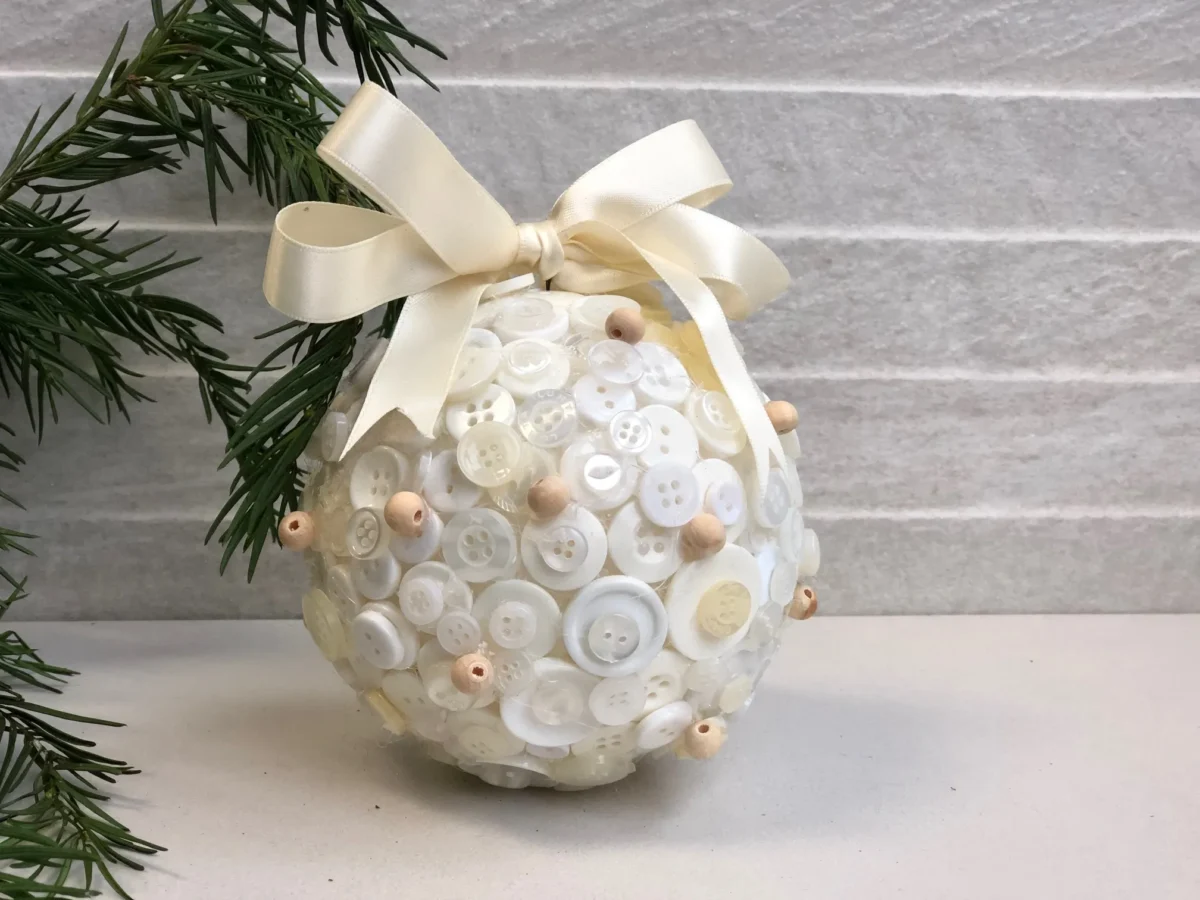
- DIY vintage Christmas ornaments with buttons:
- Christmas Cards Ornaments: Use your old Christmas cards and create charming ornaments like my friend Kim at Cottage in the Mitten.
More Christmas DIY Ornaments You’ll Love
If you loved this tutorial for vintage clock face ornaments, you might also enjoy some of my other favorite ornament ideas:
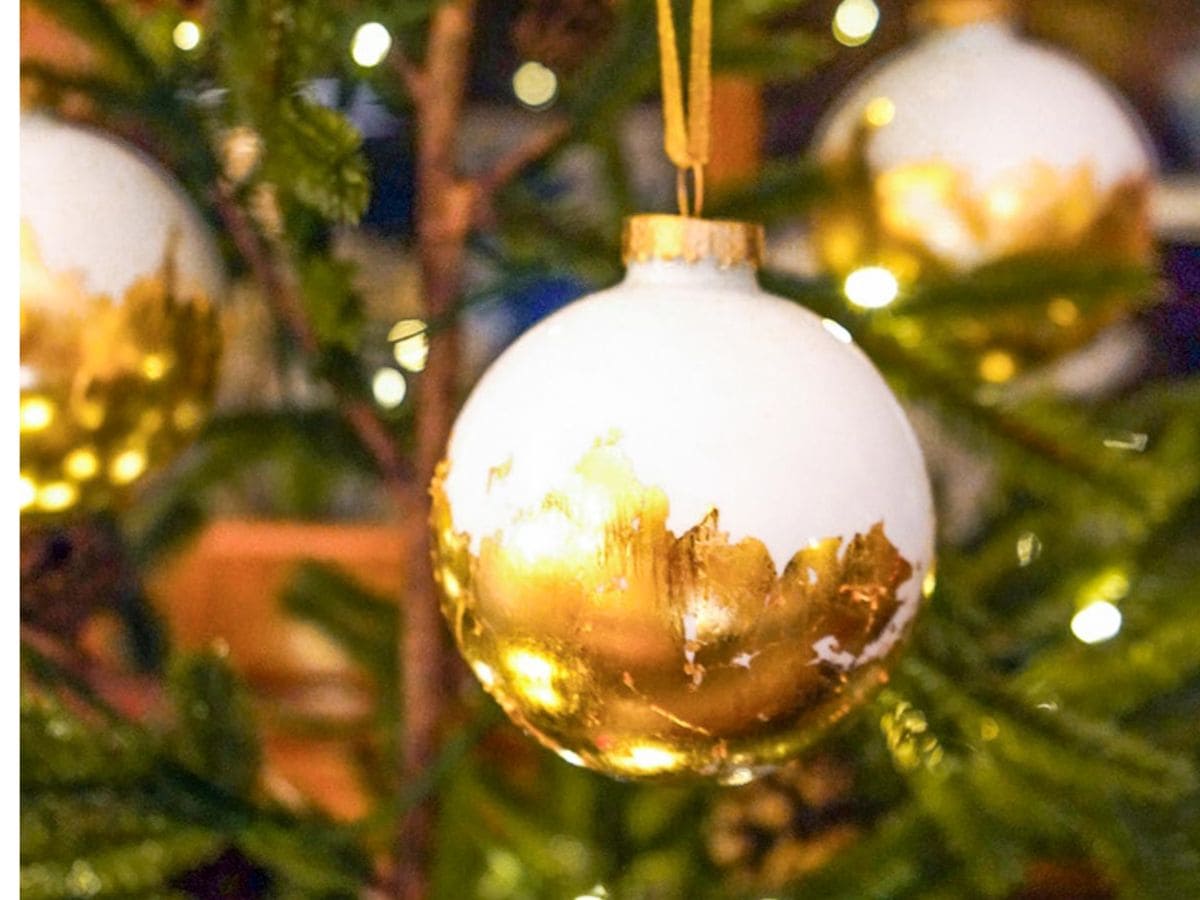
DIY Gold Leaf Ornaments
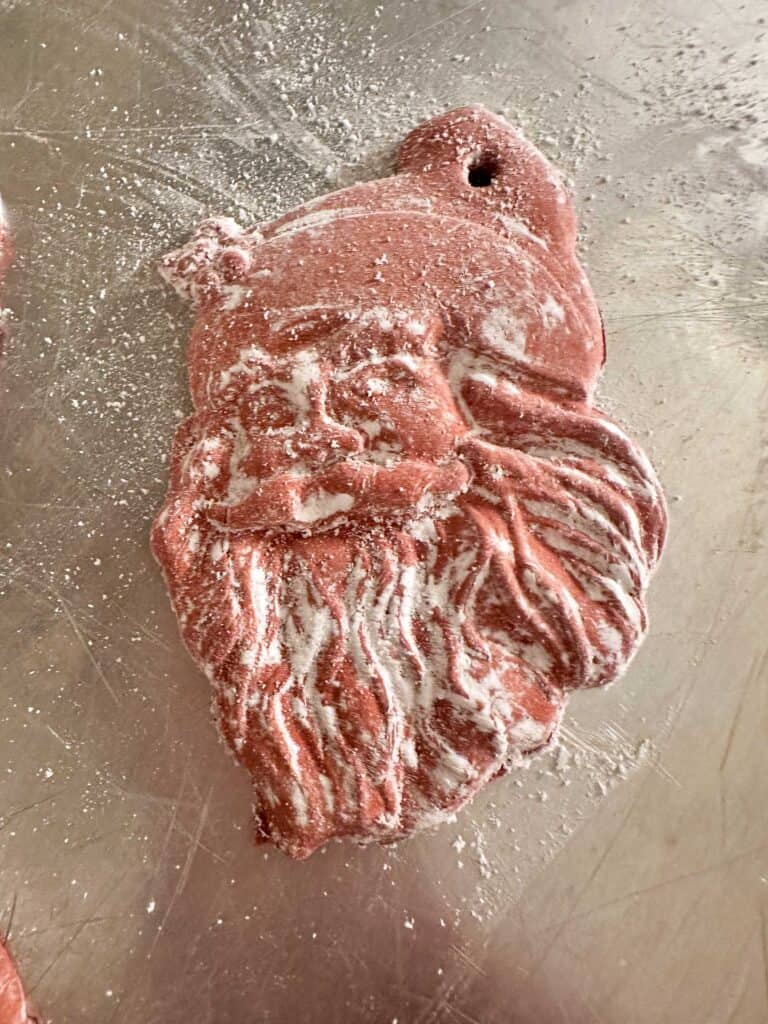
DIY Air Dry Clay Ornaments – Christmas Gingerbread Men
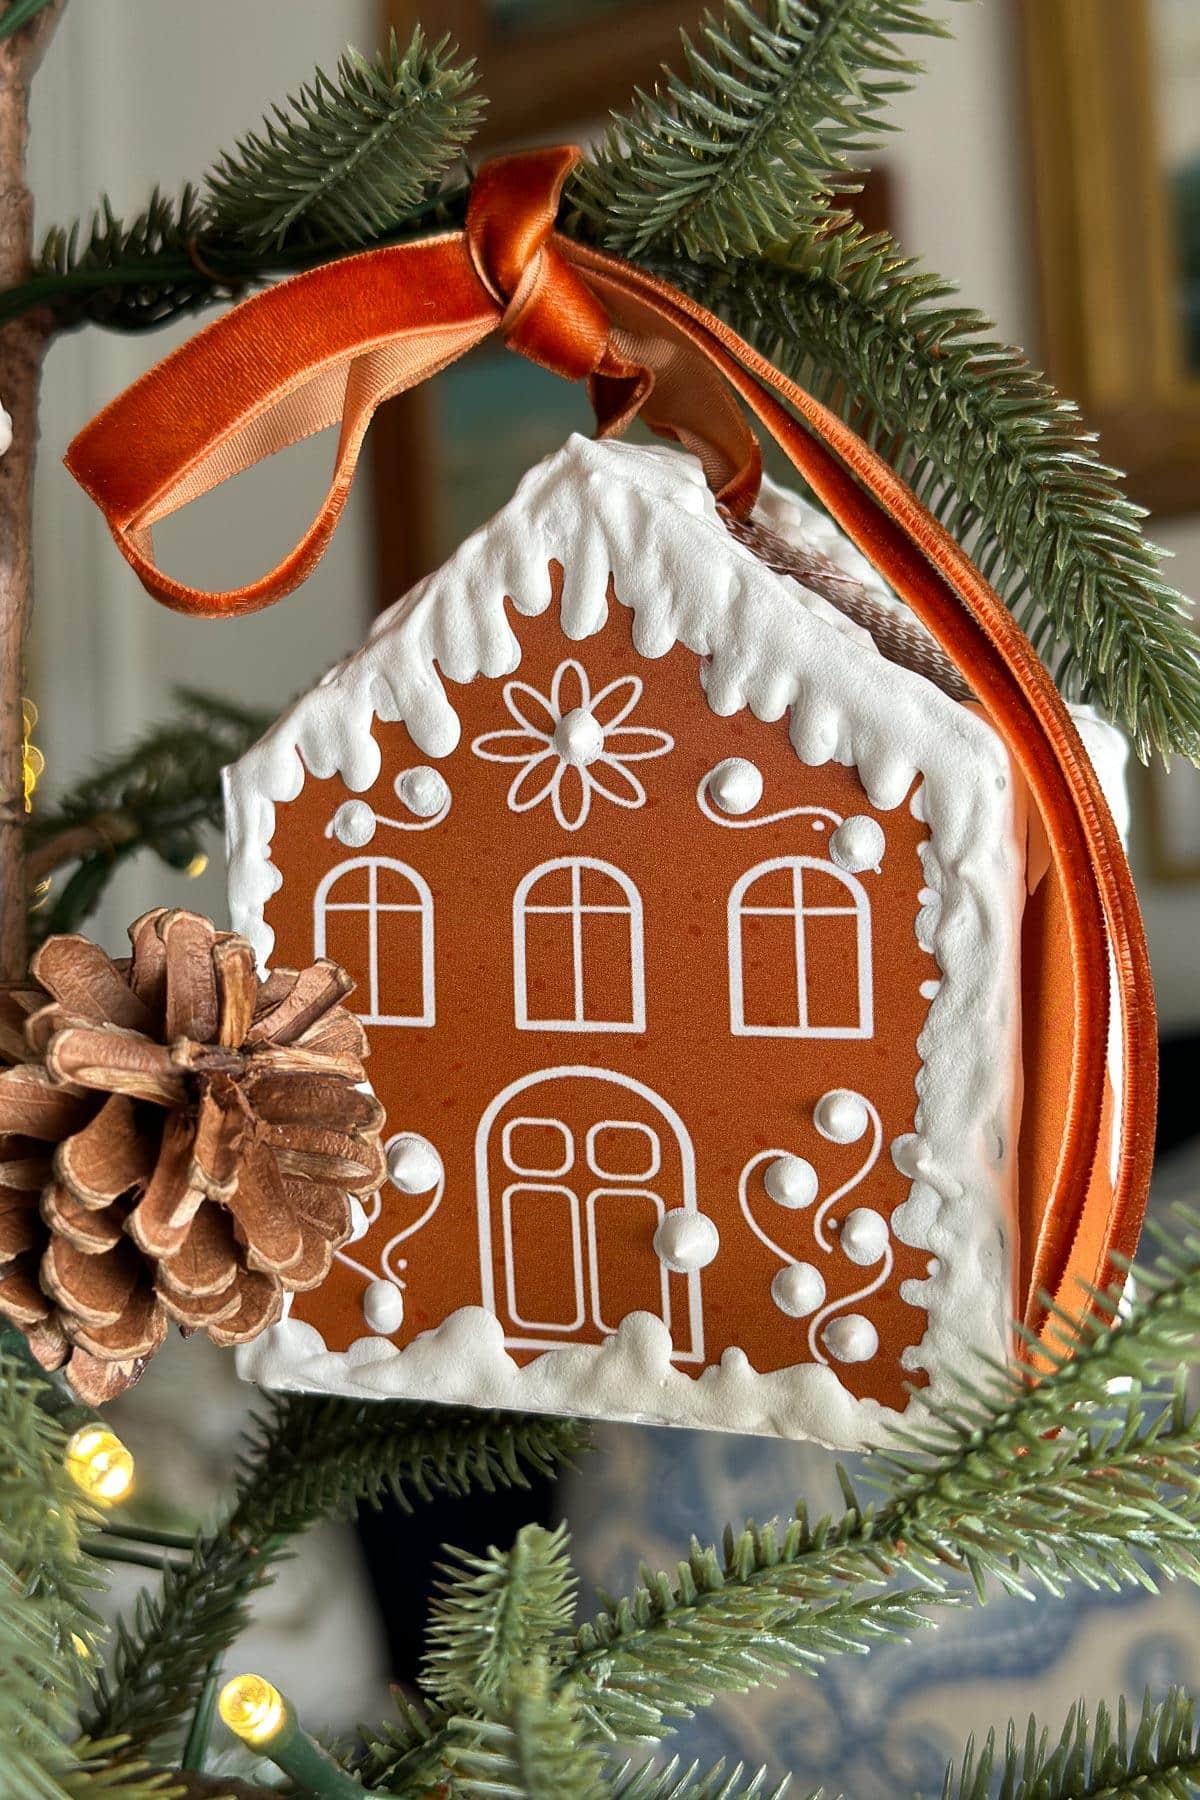

EASY DIY Gingerbread House Ornaments: 3D Free Printable
Even More Handmade Ornaments To Make This Season
And, here are even more handmade Christmas ornaments I think you’ll love!
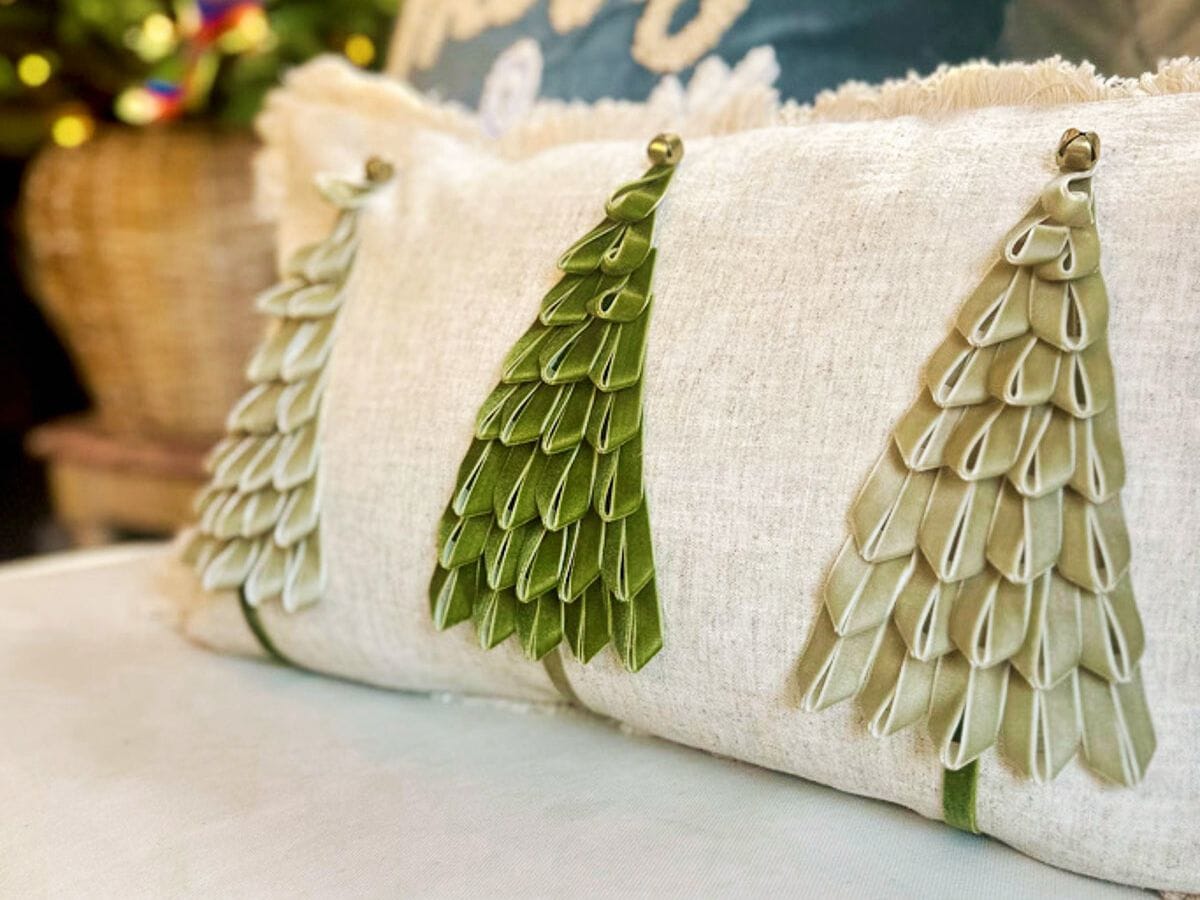
The DIY mercury glass ornaments are quick and always turn out nice. The feather ornaments are light and easy, and the velvet ornaments have a soft look that I really love.
Wrapping Up
Creating your own vintage clock face ornaments is a fun and easy DIY Christmas craft. It’s a great way to spend quality time with loved ones while adding a touch of vintage charm to your holiday decor.
With these simple steps, your new Christmas ornaments will look old, adding a nostalgic touch to your festive celebrations.
Happy crafting and happy holidays!


DIY Vintage Christmas Ornaments with Old Clock Faces
Equipment
- Drill
- Hot glue gun
- Scissors
Materials
- Print out my FREE CLOCK FACE PRINTABLES
- Round wood discs or canvas discs
- Wood ornament shapes
- Mod podge
- Archival ink
- Twine or ribbon
- Clock hands
- Gold brads
- Black craft paint
- Clear spray sealer
- Foam brush
- Paper towel
- Dark wax
Instructions
- Step 1: Print the Clock Faces: Make as many copies as needed of my FREE CLOCK FACE PRINTABLES.
- Step 2: Choose Your Ornament Base
- Decide what kind of base you want to use to make your new ornaments. I purchased wooden discs at the craft store that were 6.5" around and 3.5" around. These fit the artwork perfectly.
- In addition, I also purchased a few round paint canvases and a few wood DIY ornaments in a package of 4 that were in the shape of an ornament. Be creative and try different sizes and shapes.
. Step 3: Drill holes in the discs:
- Using a hand drill or a drill press, drill a small hole at the top of the ornament to run a string through to hang them.
- Step 4: Prepare the Surface
- Choose your paint colors. I used Annie Sloan dark wax and black acrylic craft paint.
- For the clock faces, I stained them using dark wax, but first, I used Mod Podge to attach the clock faces.
- For the black bases, I painted the entire surface of the disc black on the front and back before adding the clock faces.
- Another idea would be to decoupage the disc before adding the clock face. Use book pages, old sheet music, or a paper napkin.
- Step 5: Adding a Vintage look:
Antiquing with wax:
- Using the dark wax, add a bit to a cloth and dab it onto the clock face to distress the ornament. (to get a darker color, add a second layer after the first layer dries)
- Using various colors of the archival ink pads is a great way to add additional distressing and dimension.
Add Clock Hands:
- Use vintage clock hands if you can. If not, you can always use new ones or print them and cut them out.
- I drilled a hole in the middle of the disc, placed my clock hands over the hole, and put a brad through the hole.
- Add a few hot glue dots to the back to secure the brad.
Step 6: Embellishing:
- The perfect way to add a little glitz is with glitter! So fun and easy.
- You can also add some other vintage pieces you may have collected from old jewelry or trimmings from your craft closet.
Step 6: Finishing touches:
- Once your clock faces are complete, spray them with a clear sealer to protect them for years.

Did you make this craft?
We would love to see what you have created, so mention us @wmdesignhouse or tag us using #wmdesignhouse so we can see your creations!
More about me!

Hello, I’m Wendy – a dedicated homemaker with a deep passion for decorating, gardening, cooking, and crafting. I find joy in harmonizing beautiful elements to fashion a space that is both comfortable and inspiring. I will help you create a beautiful home, one project at a time.

These are SO darling!! Visiting from the Love Your Creativity linkup.
Wendy you are amazing! Each time I open one of your emails I feel as if I am reading a copy of Where Women Create.
You are the most creative blogger, gardener, stylist I know and I am so happy to have found you. This tree is amazing and even without a box of clock faces from the thrift store you have given us the tools to make our own.
Have a blessed Thanksgiving.
Wendy
This is such a cute idea. I plan to share on my DRA on Sunday. Have a blessed Thanksgiving 🦃😘