The Best Way to Use Up Leftover Wallpaper – Line a Lampshade
There is something so satisfying about finding a beautiful second life for something you already have. Leftover wallpaper is one of those things that feels too pretty to throw away but too small to use again — and this DIY lampshade project is exactly the answer.
With just a lampshade, some wallpaper scraps, and a little patience, you can create a lighting moment that looks intentional, layered, and completely unique.
On my blog WM Design House, I may sometimes use affiliate links, which means a small commission is earned if you purchase via the link. The price will be the same whether you use the affiliate link or go directly to the vendor’s website using a non-affiliate link. Read my full disclosure policy here.
In This Post
In this tutorial, I’ll show you how to:
- Line the inside of a lampshade with leftover wallpaper.
- Choose the right wallpaper and lampshade for this project
- Cut and fit the wallpaper for a clean, seamless finish.
- Style your finished lamp for maximum impact.
The Handcrafted Society
The Handcrafted Society is back today, and we’re so excited to share our creative projects with you.
This month’s theme is “left over wallpaper”, and everyone has come up with such beautiful and creative ideas.
At the end of this post, you’ll find links to all of the other Handcrafted Society projects. I hope you’ll take a few minutes to visit each one and see the wonderful ways everyone used their wallpaper scraps.
What Is a Lined Lampshade?
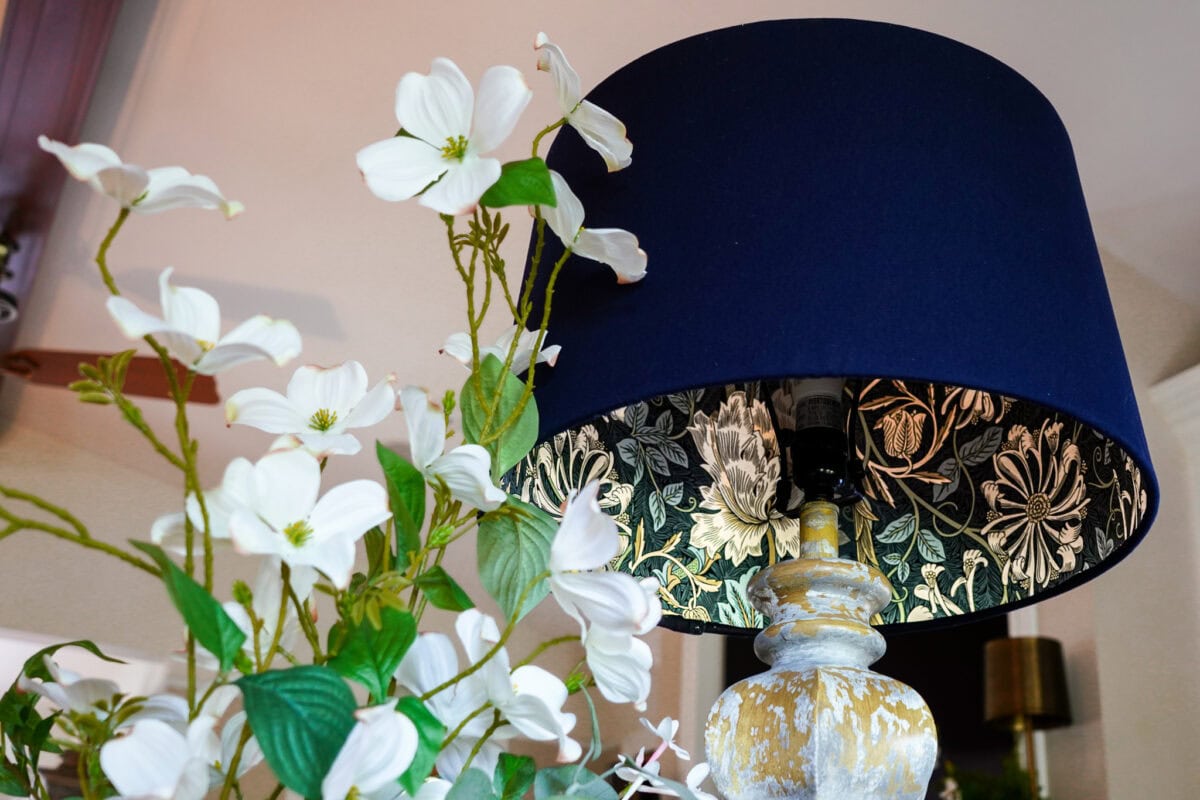
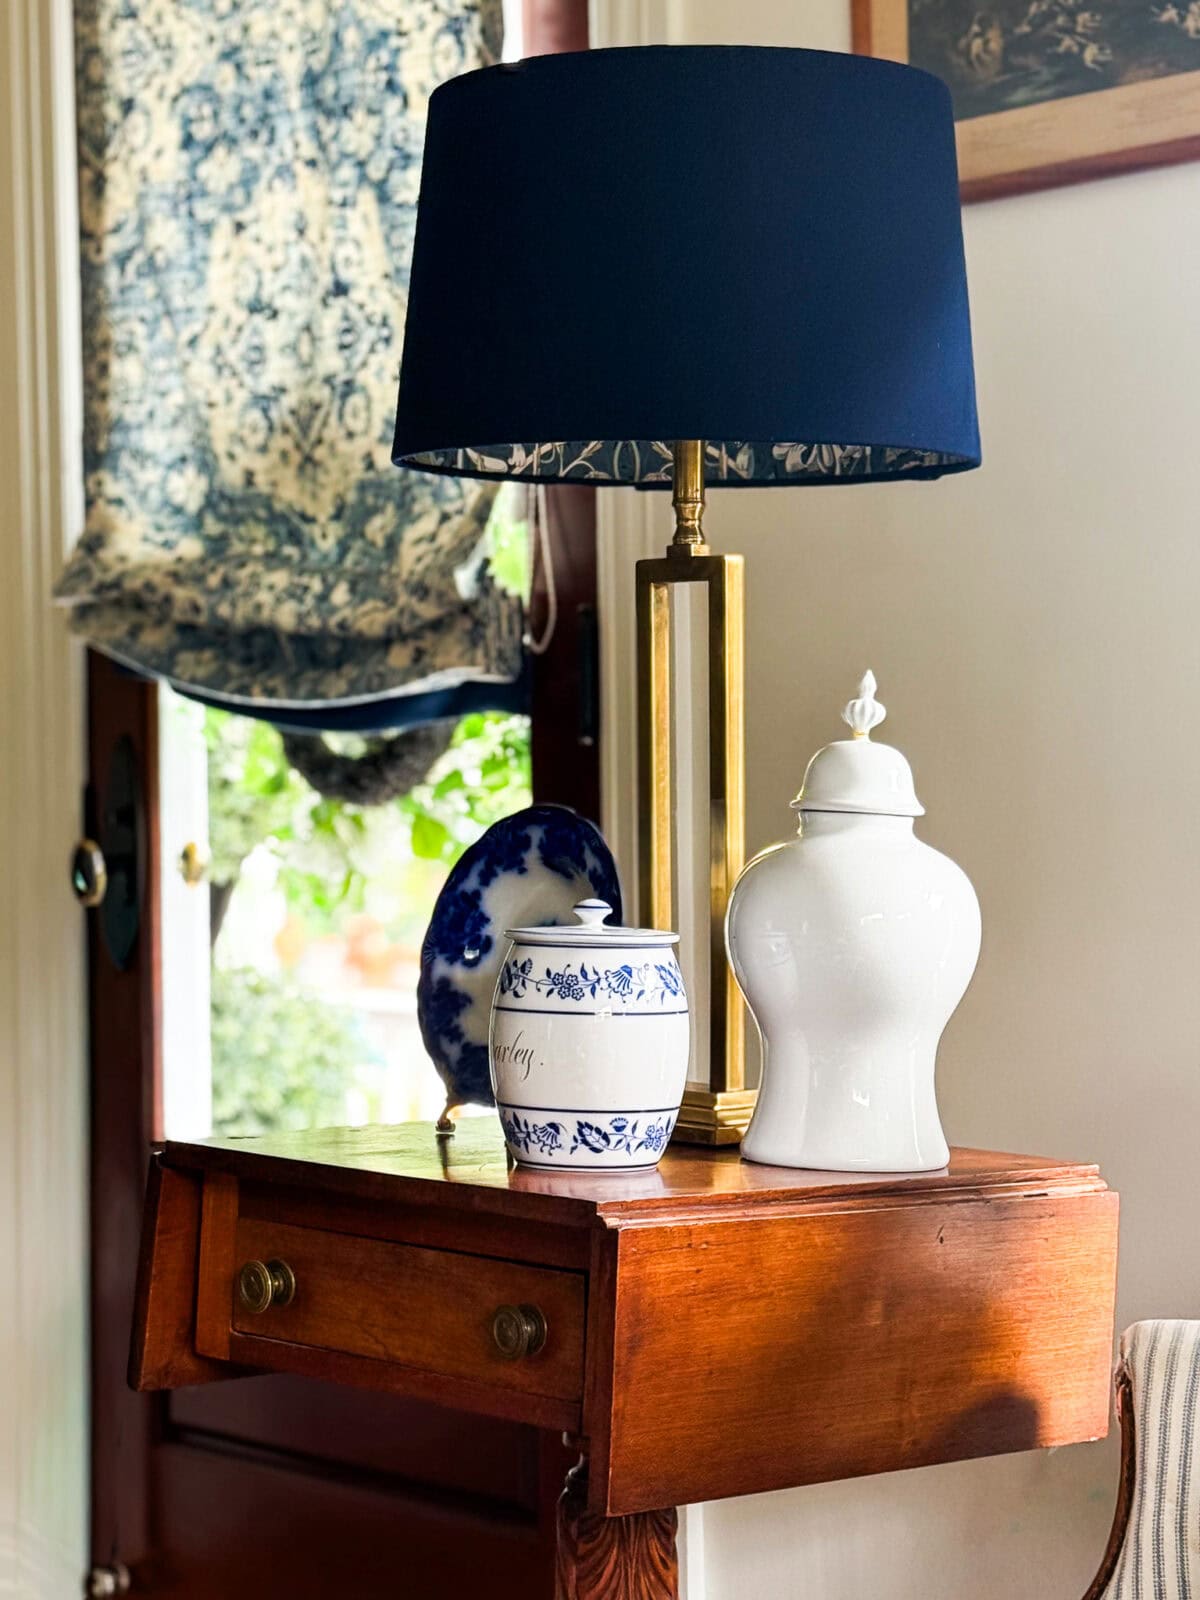
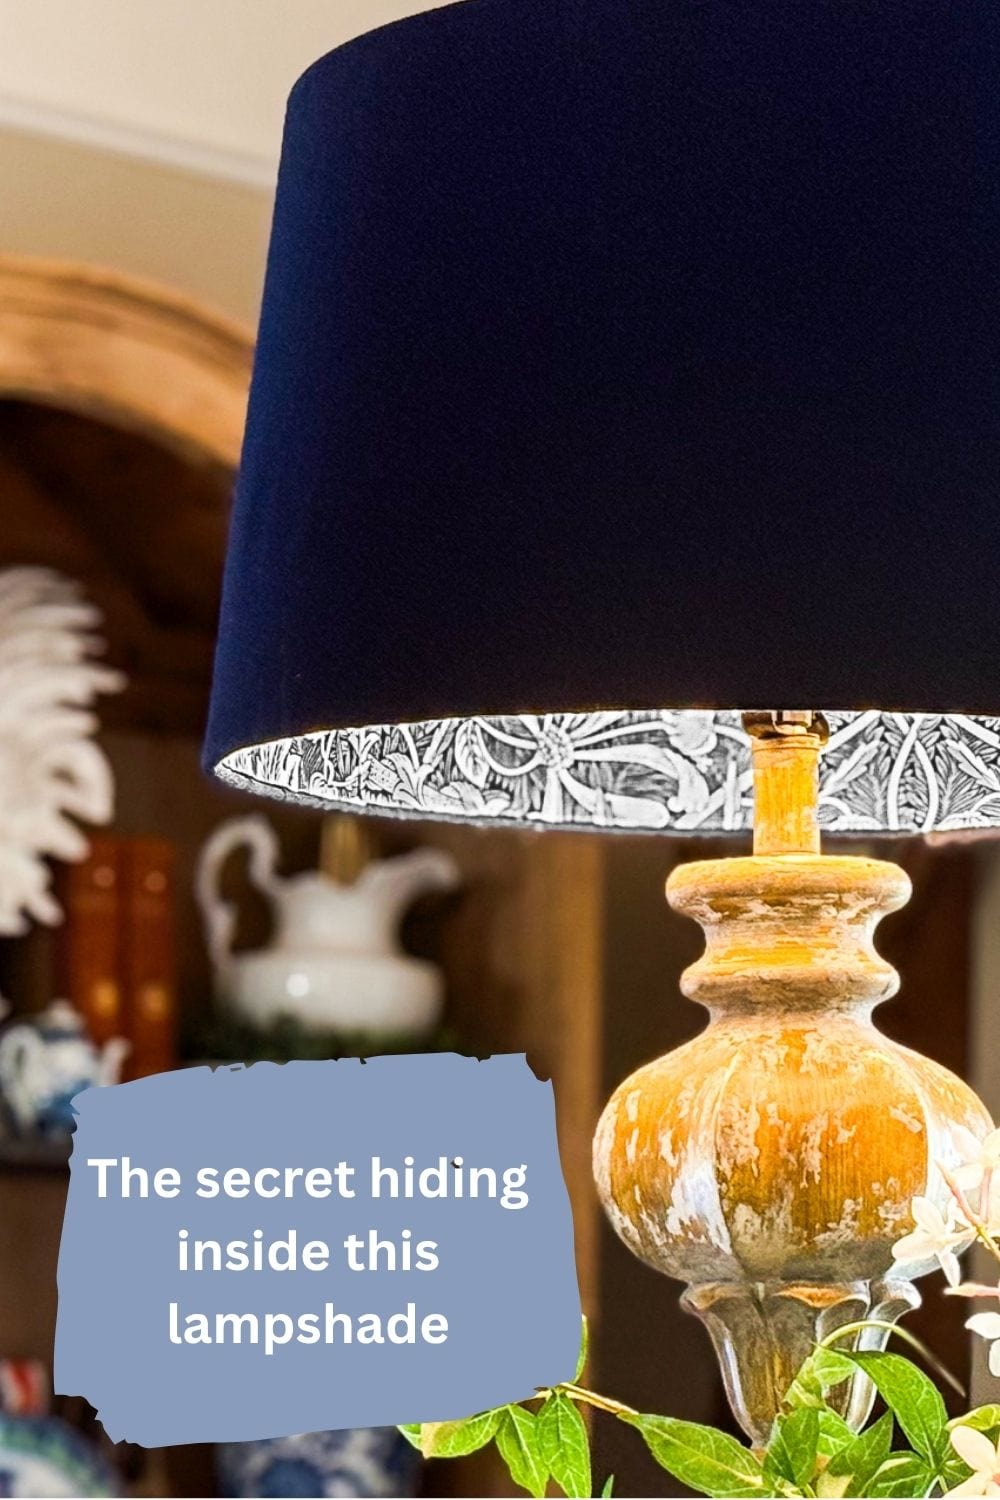
A lined lampshade is simply a lampshade that has been decorated on the inside with fabric or paper — in this case, wallpaper. From the outside, the shade looks clean and solid, with no hint of what’s hiding inside.
The beauty of this project is in that element of surprise. You have to look inside the shade — or see it from below — to discover the pattern. It becomes a little secret that makes the lamp feel special and one of a kind.
It is one of those small details that makes a room feel curated and considered, without requiring a lot of time or money.
Why Use Leftover Wallpaper?
Leftover wallpaper rolls are one of the most underused craft supplies in the home. The paper is thick, durable, and beautifully printed — which makes it ideal for this kind of project.
Using wallpaper remnants also means the lining will coordinate perfectly with any room where you have already used that pattern. If you missed my post on [how I wallpapered my dining room], that is exactly where this beautiful wallpaper came from — and having scraps left over led me straight to this project.”


Choosing the Right Lampshade
Not every lampshade works equally well for this project. Here is what to look for.
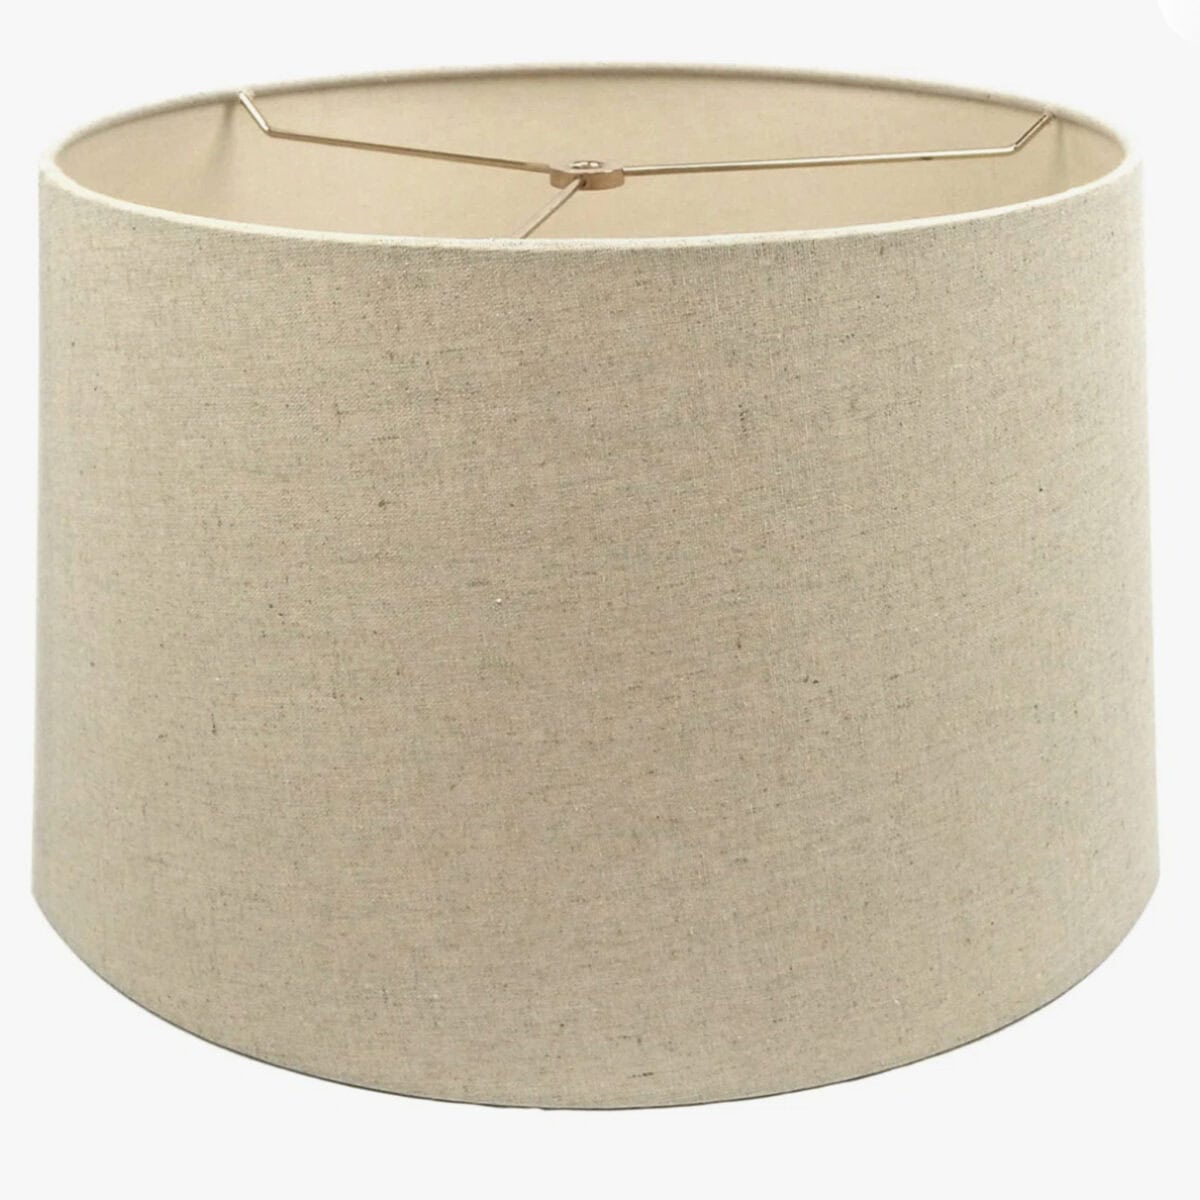
Drum shades are the easiest to line because the sides are fairly straight and the wallpaper lays flat without too much shaping.
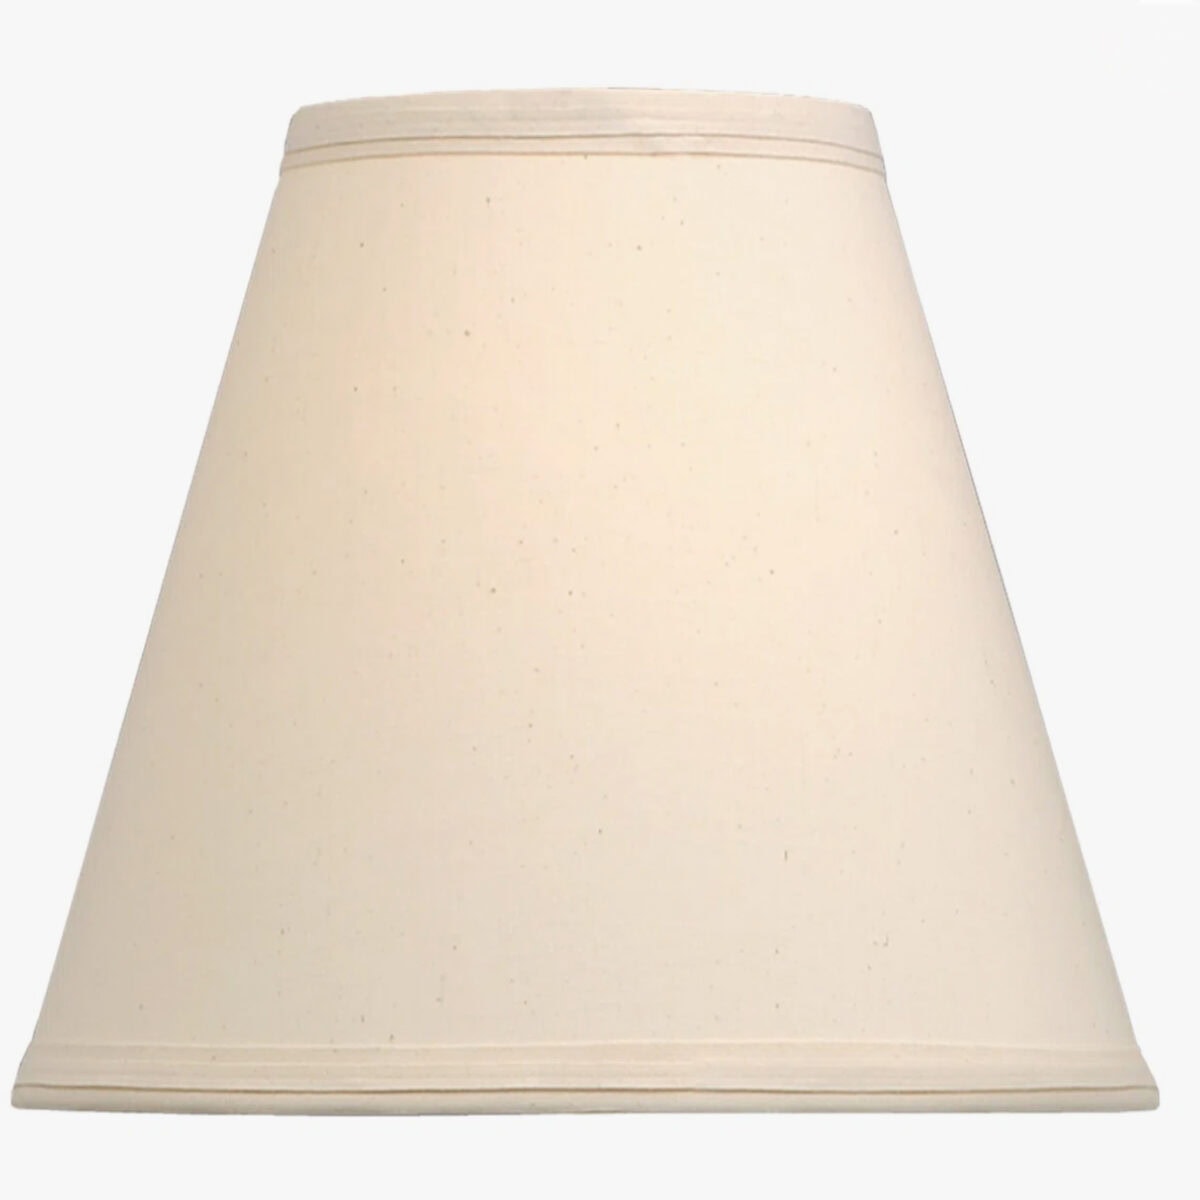
Empire shades (tapered) can also work beautifully but require a little more patience when cutting and fitting the paper around the curve.
Fabric shades are generally easier to work with than plastic-coated shades, as the adhesive bonds better to a porous surface.
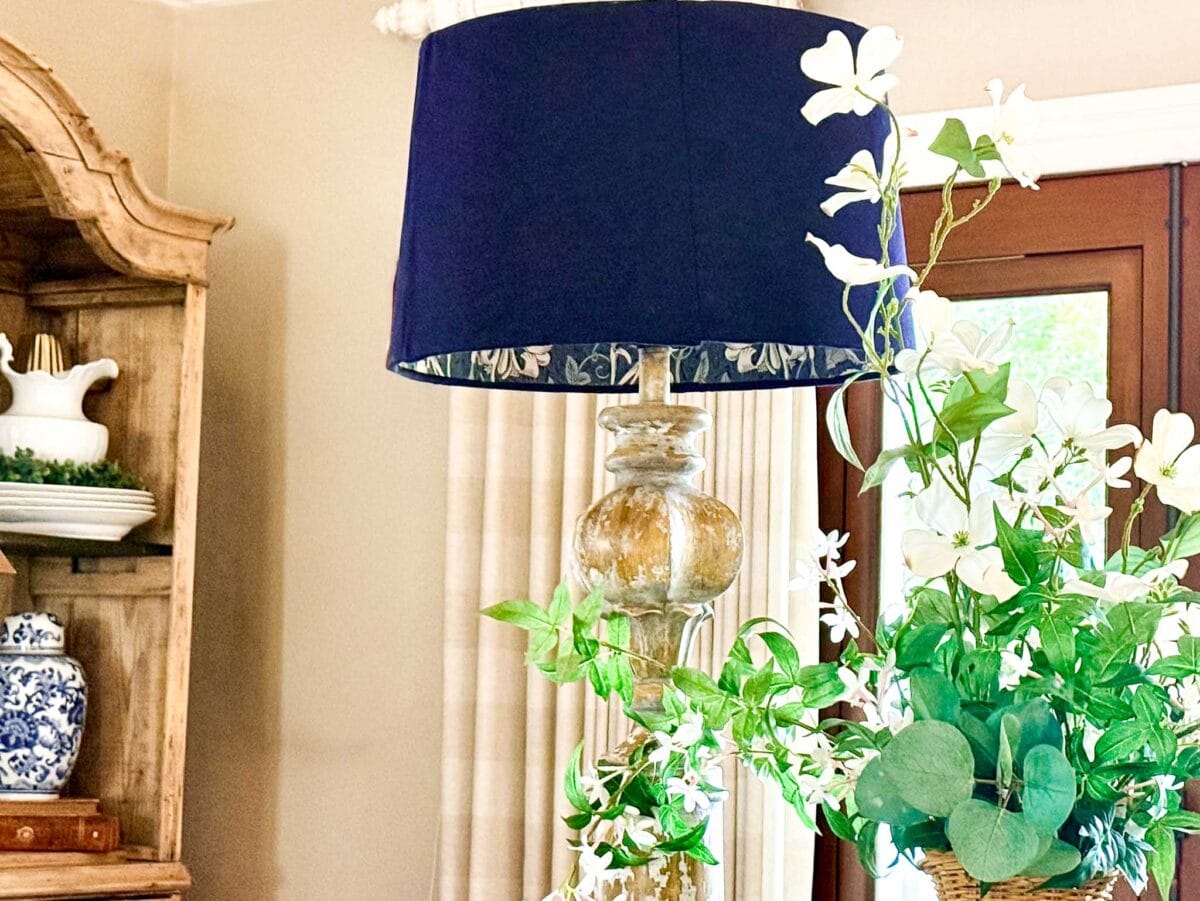
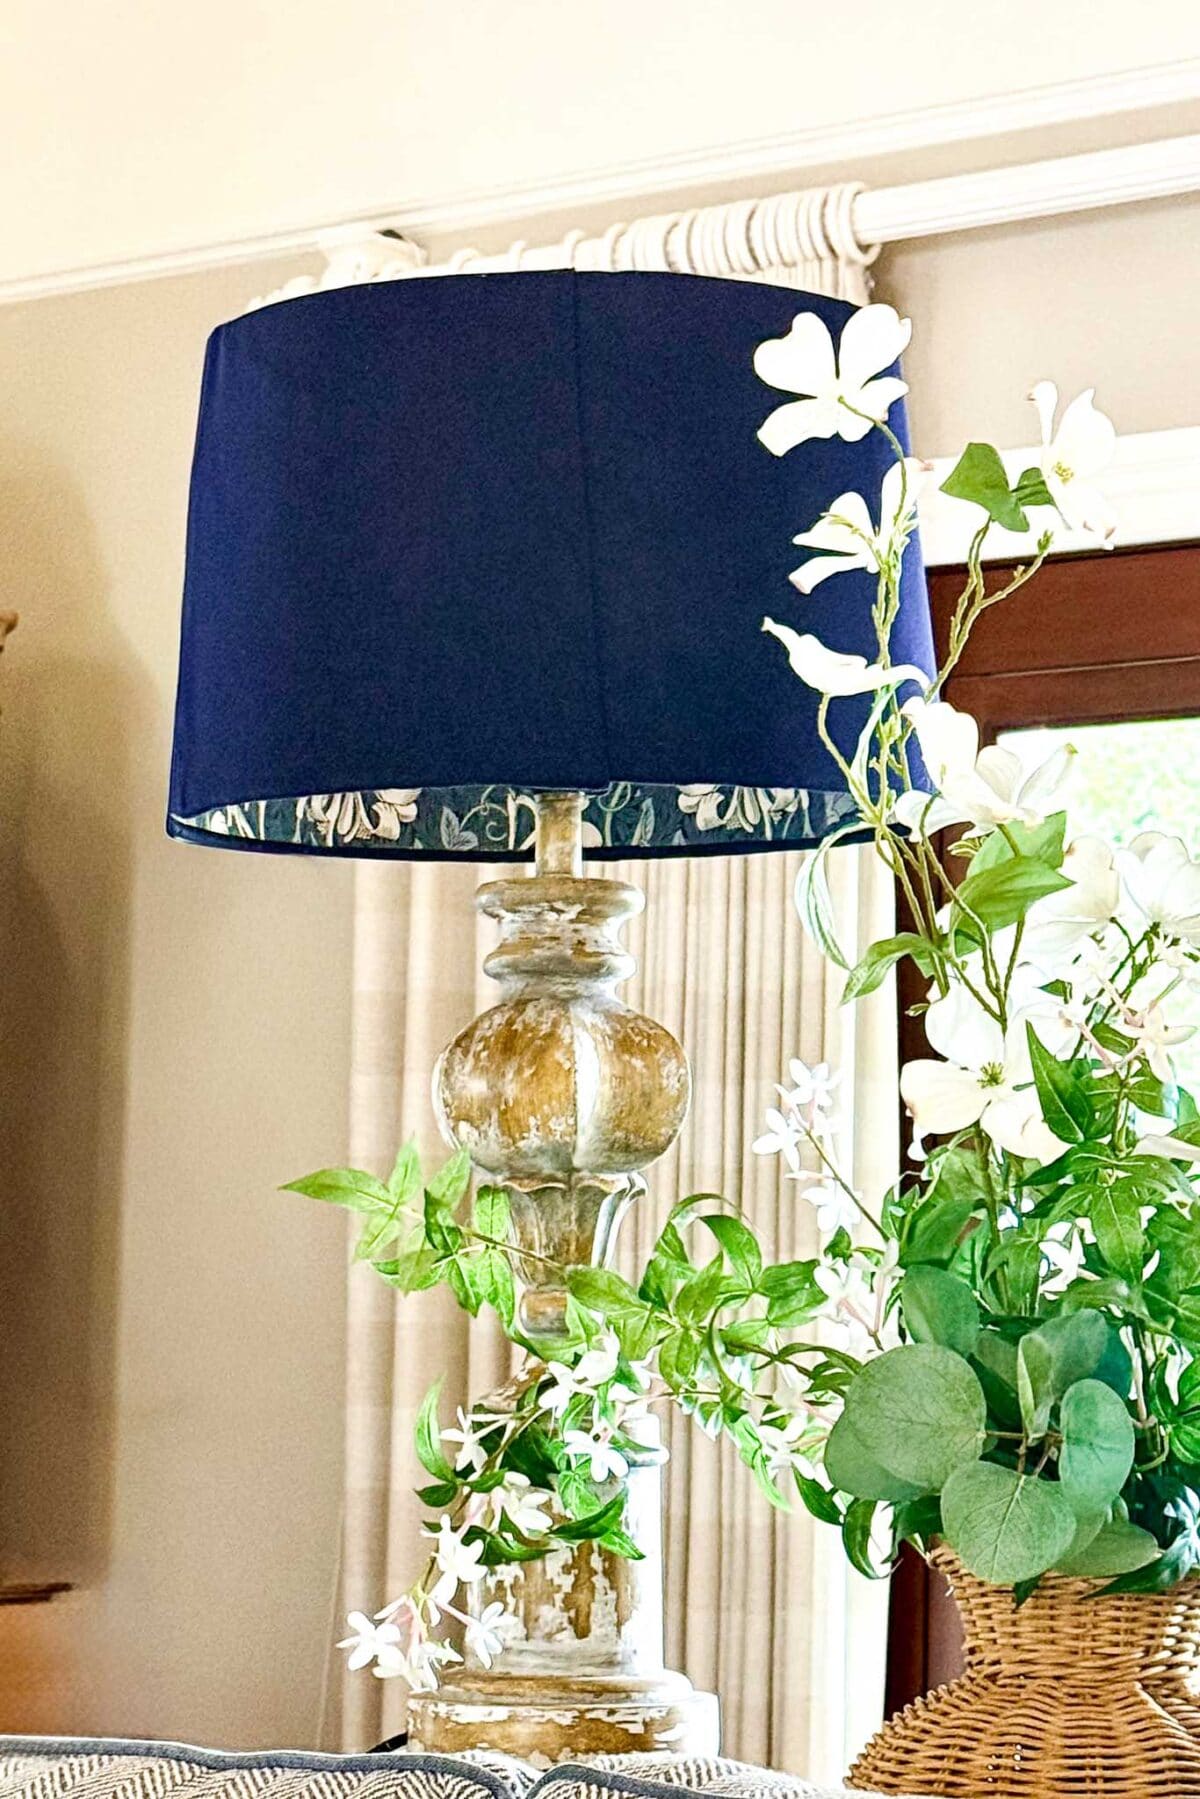
For this project I used a large navy drum shade, which I recovered myself as it had faded. I used a Sunbrella fabric to prevent fading in the future. The dark exterior makes the botanical lining feel like a wonderful secret that is only revealed when you look inside — or when the lamp is lit.
Choosing the Right Wallpaper
Almost any wallpaper will work, but some choices give better results than others.
Botanical and floral prints like I chose are particularly beautiful because the organic shapes feel at home inside the curved walls of a lampshade.
Dark background papers create a dramatic, jewel-box effect on the inside of the shade.
Lighter papers give a softer, more delicate finish that feels fresh and pretty when you peek inside.
Avoid very thick or textured wallpaper as it can be difficult to adhere smoothly around a curved shade.
Supplies Needed for DIY Lampshade Lining with Wallpaper
- A lampshade (drum or empire style)
- Leftover wallpaper
- Wallpaper paste or craft glue
- A foam brush or paste brush
- Sharp scissors
- A pencil
- A ruler or tape measure
- A soft cloth or brayer roller for smoothing
How to Line a Lampshade with Wallpaper
Step 1: Measure and Cut the Wallpaper
Method 1 — One continuous piece: Roll the lampshade along a piece of plain paper to trace the exact shape you need. For a drum shade you will end up with a simple rectangle. For a tapered shade, the shape will curve slightly at the top and bottom. Add half an inch to each edge to allow for overlap and trimming. Transfer the template onto the back of your wallpaper and cut carefully.
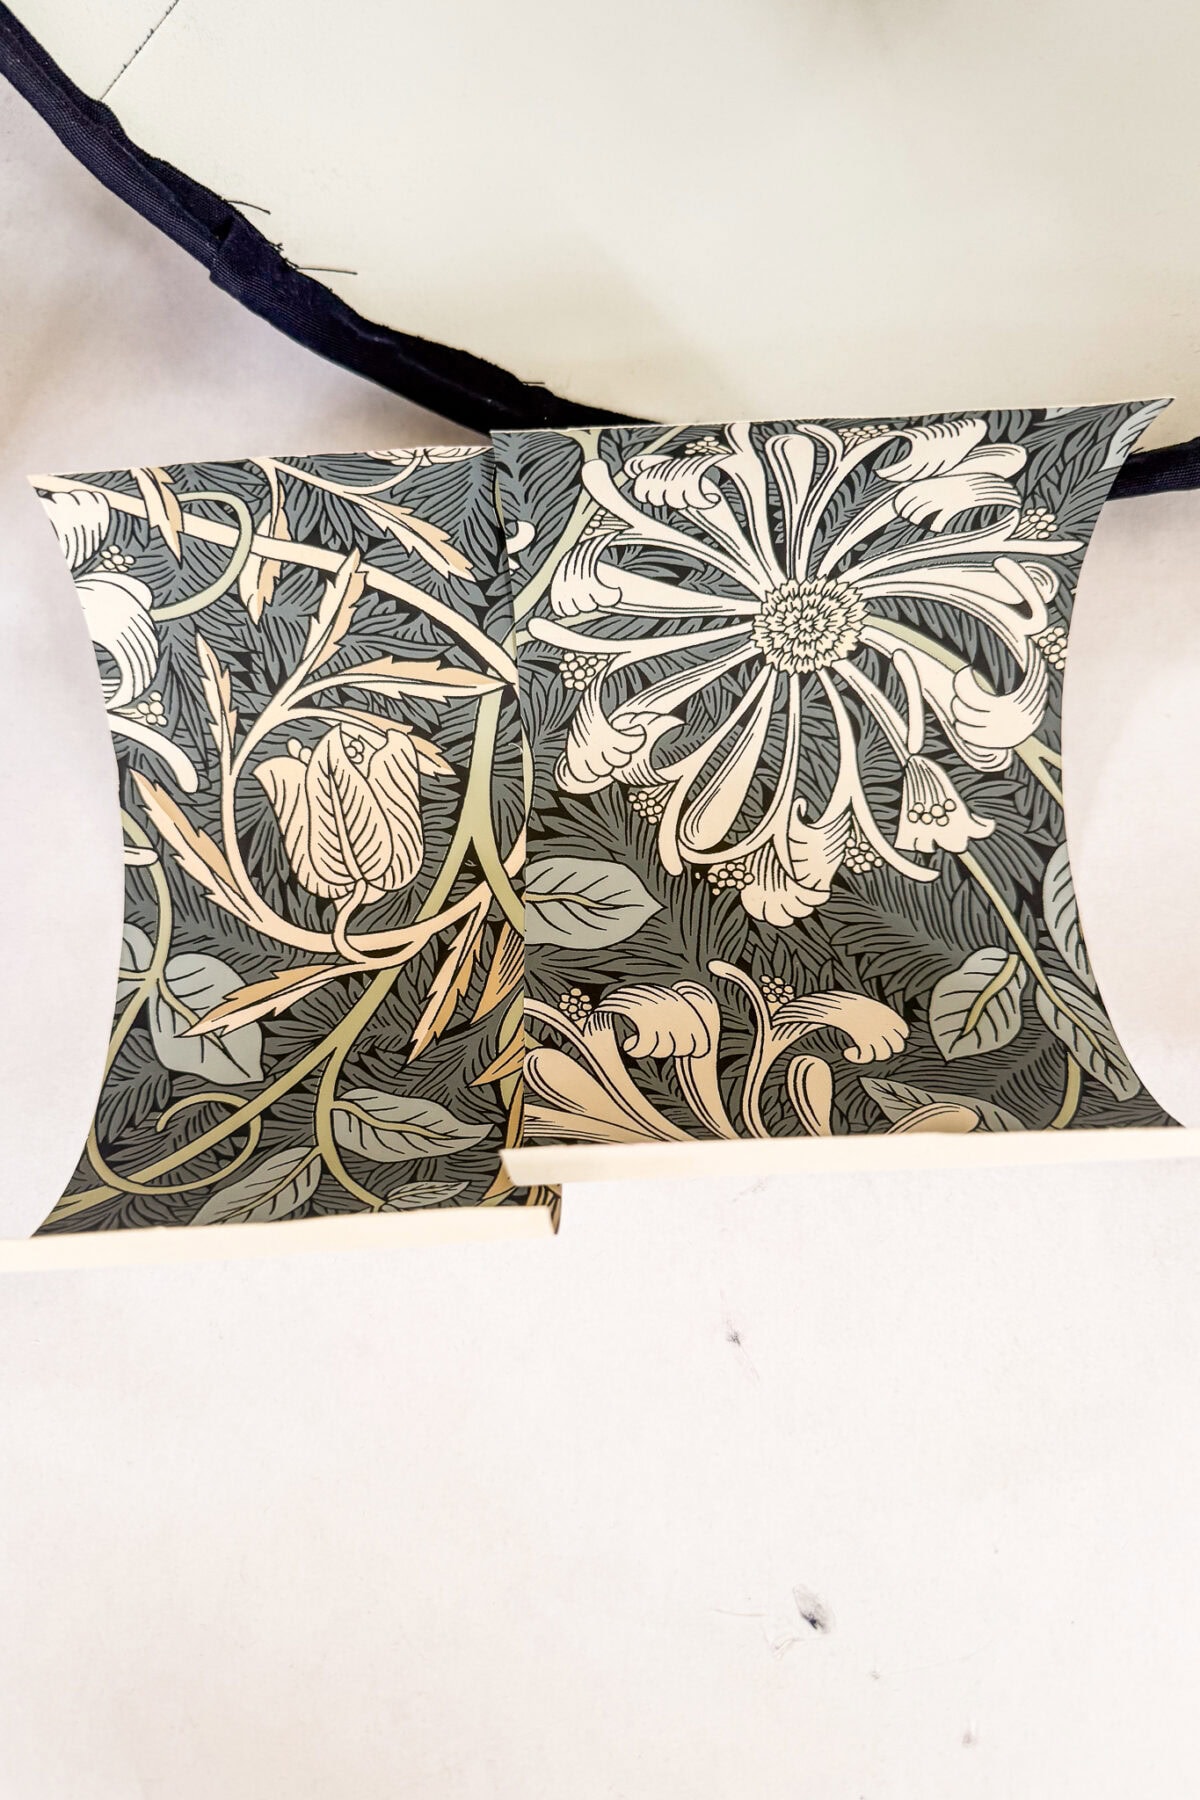
Method 2 — Strips (the method I used): Cut the wallpaper into smaller strips around 4–8 inches wide and work around the inside of the shade in sections. Because my lampshade was not perfectly straight, this method worked much better for me. I also wasn’t too concerned about the pattern lining up perfectly from strip to strip — since you only ever catch a glimpse of the lining from the outside, the overall effect is what matters, not precision.
Tip from wendy’s craft room:
If your lampshade has any irregularities in shape, the strip method is much more forgiving and actually gives a very clean result. Don’t let an imperfect shade put you off this project!
Step 2: Apply the Glue to the Wallpaper
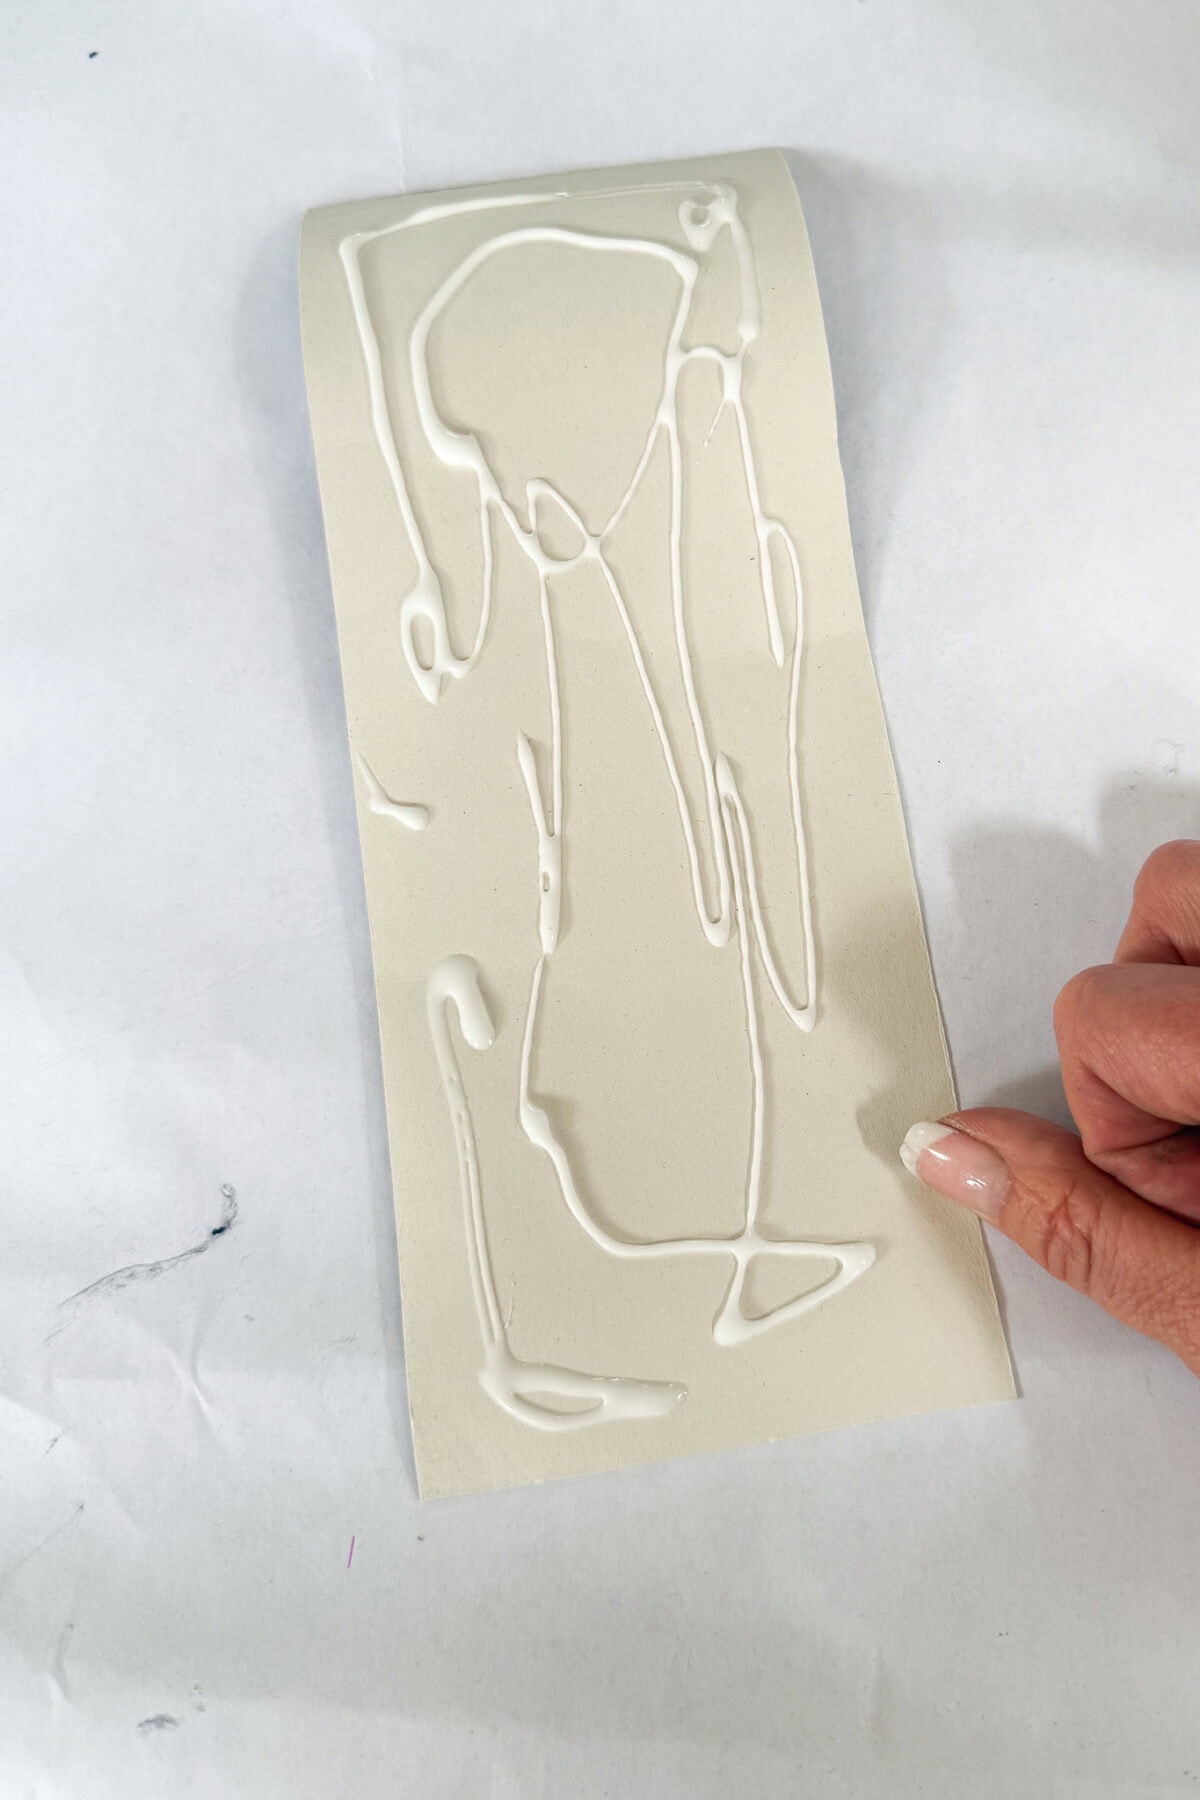
Once your pieces are cut and ready, brush a thin even layer of wallpaper paste or PVA glue onto the back of the wallpaper. If you are using the strip method, work one strip at a time so the adhesive doesn’t dry out before you get to it.
You can also apply a thin layer of adhesive to the inside of the shade itself for extra hold — I found this especially helpful when working with strips, as it gives you a little more time to position each piece before it sets.
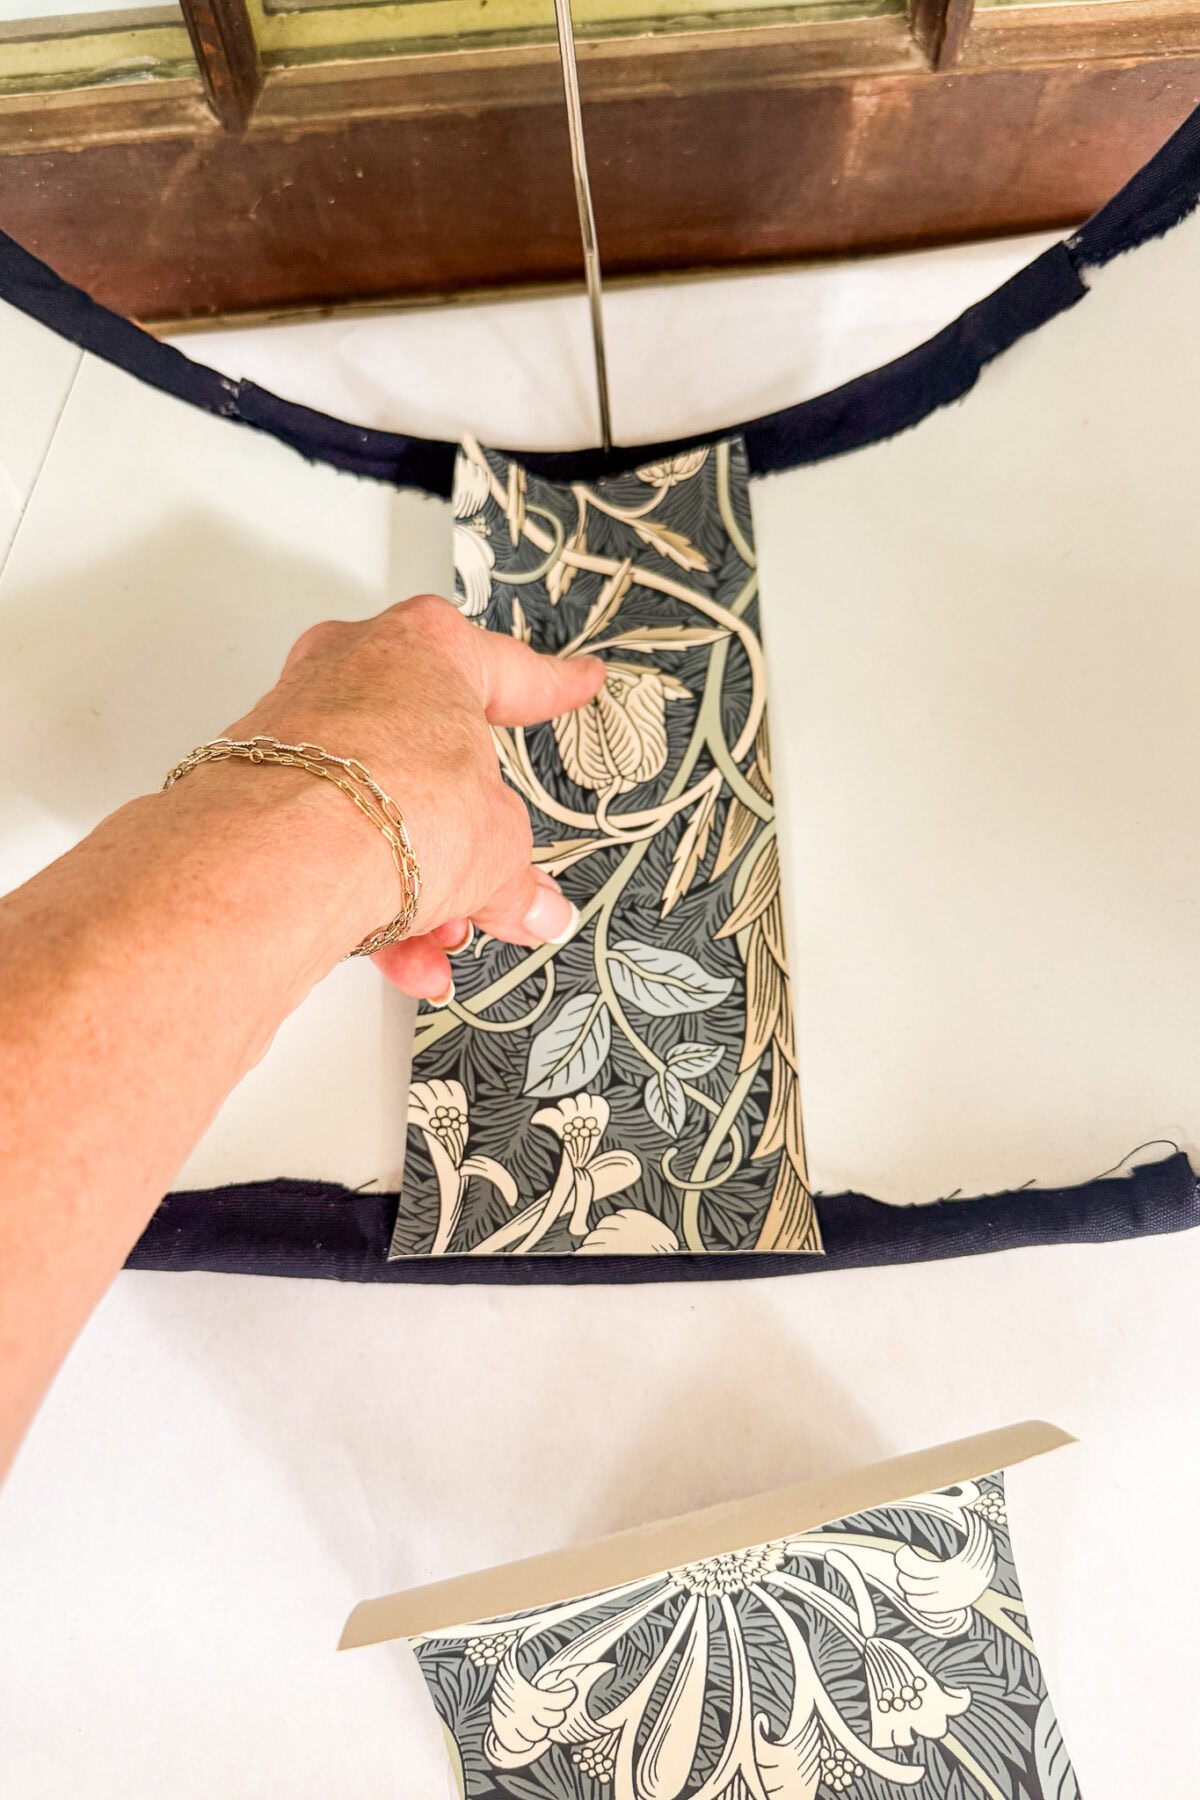
Step 3: Apply the Wallpaper
Starting at one edge of the shade, carefully press your wallpaper piece or first strip onto the inside surface. Smooth it down with a soft cloth or brayer as you go to remove any air bubbles.
If you are using the strip method, overlap each strip very slightly as you work your way around the shade. Don’t worry too much about the seams — once the lamp is styled and in place, the inside lining reads as one beautiful whole rather than individual pieces.
Work slowly and don’t rush this step. Once the paper is flat and smooth, fold any overlap over the top and bottom rings of the shade and press firmly to secure.

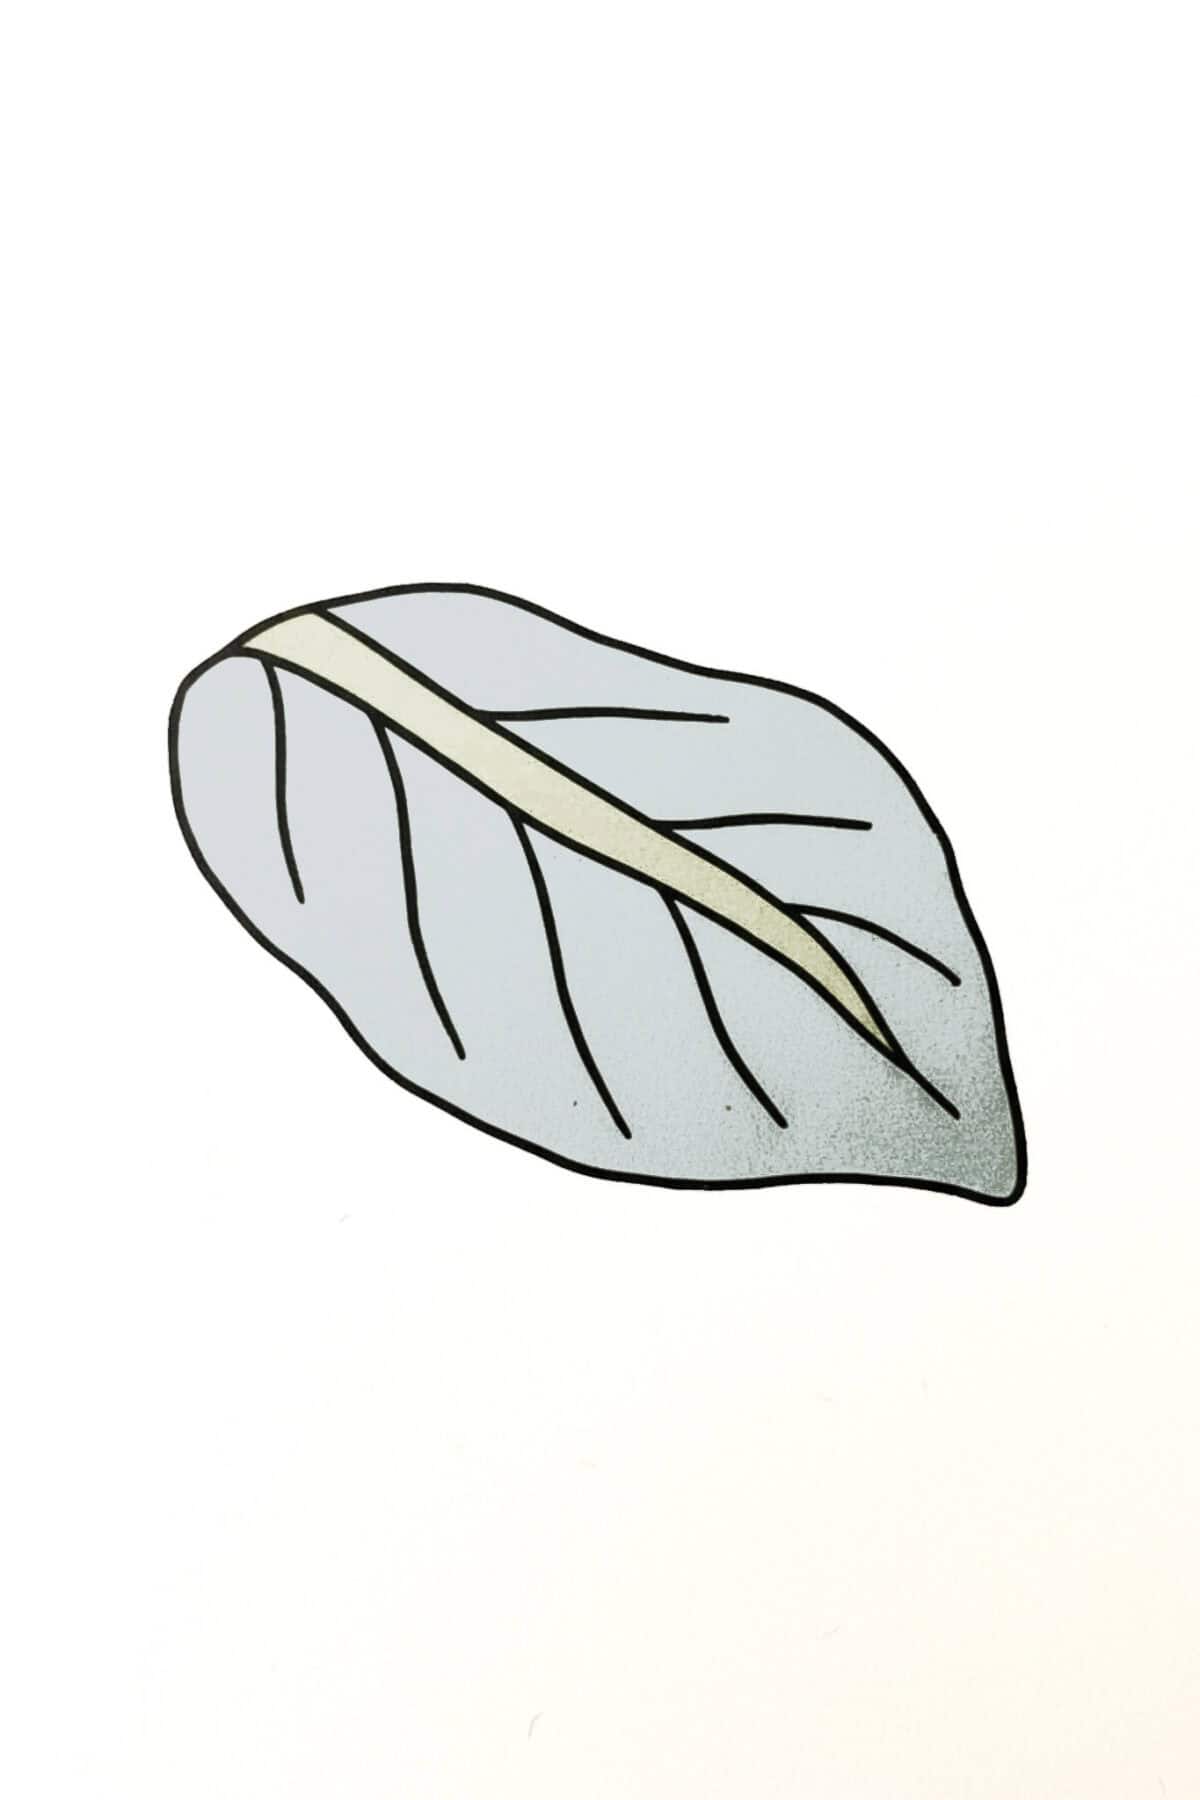
Tip from wendy’s craft room: If your strips don’t line up perfectly at the seams, don’t panic — this is an easy fix. Simply cut out a motif from your wallpaper scraps, a single leaf, a flower head, or a stem, and paste it directly over the join. It blends the seam beautifully and looks completely intentional, as if the pattern was always meant to flow that way.
Step 4: Trim and Finish
Once all of the paper is attached and the adhesive is dry, use a sharp craft knife or scissors to trim any excess paper along the top and bottom edges for a neat finish.
Step back, look inside, and enjoy that beautiful moment of reveal.
Tip from wendy’s craft room:
If you notice a small air bubble after the paper has dried, use a pin to make a tiny hole, then press the bubble flat with your finger. It disappears completely and saves you from having to redo the whole section.
Why This Botanical Wallpaper Works So Well
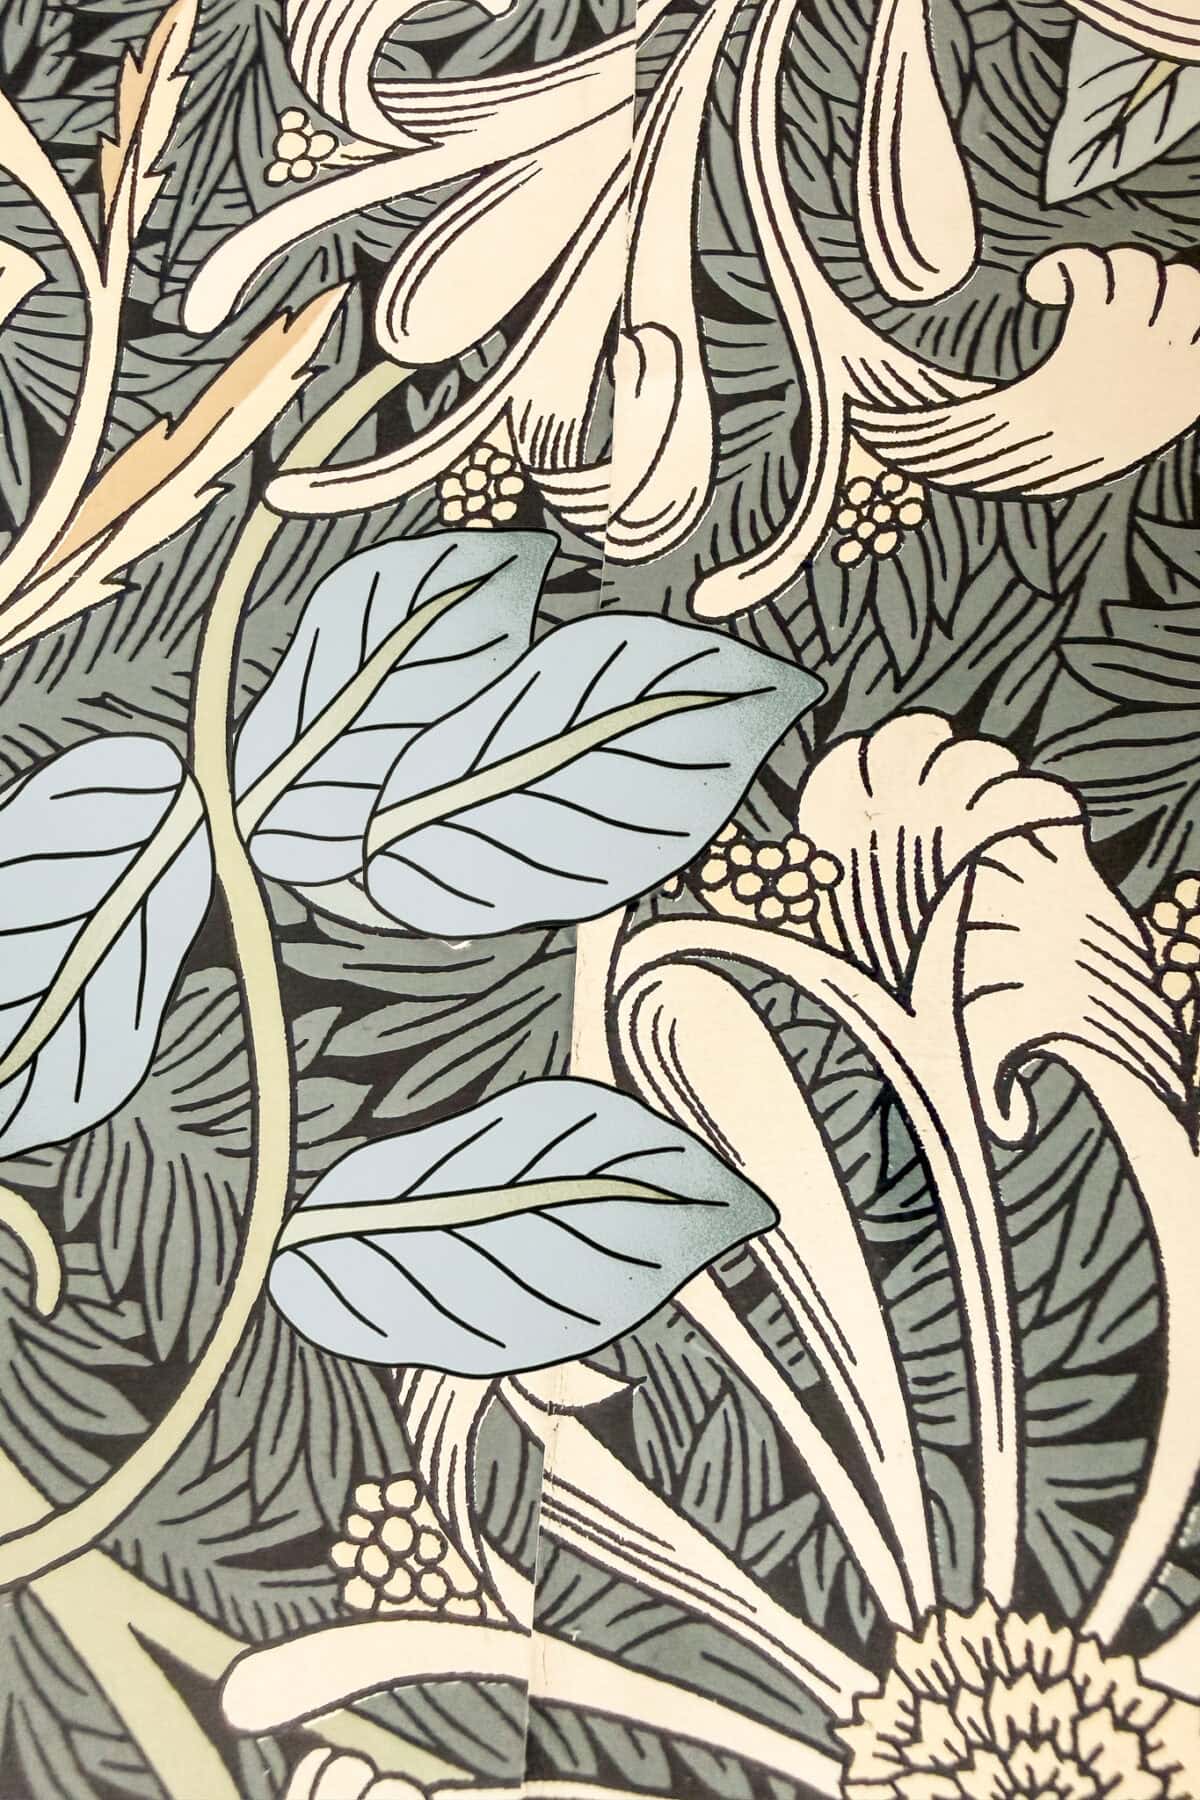
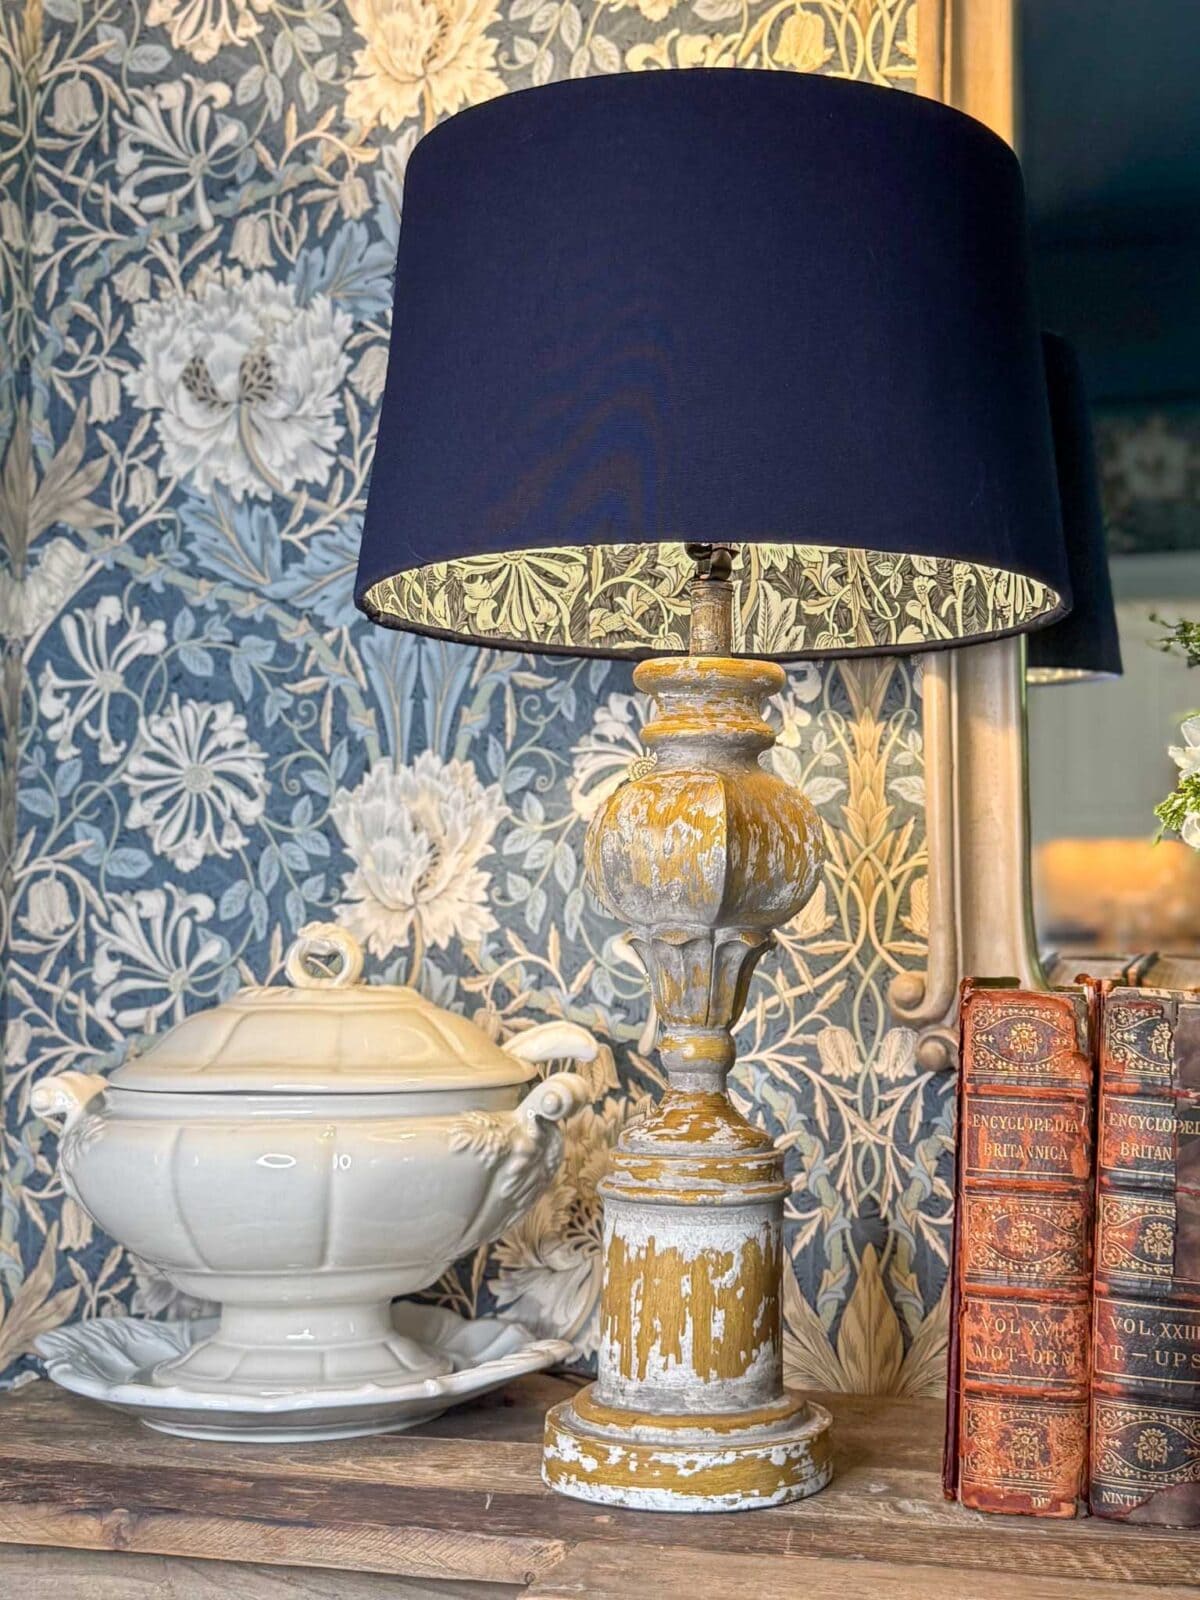
- The wallpaper I used for this project has a dark blue background with a cream and light blue botanical print — very much in the style of classic William Morris designs.
- Against the deep navy exterior of the shade, the pattern feels rich and layered. The colors warm up beautifully in the light and the whole shade feels like a little piece of art.
- It is one of those projects where the materials do most of the work. You simply have to let them.
Tips for a Beautiful Finish
- Work on a clean, flat surface so the wallpaper does not shift while you are cutting and applying it.
- Use a brayer or soft cloth to smooth from the center outward, which prevents bubbles from getting trapped.
- Let it dry completely before trimming the edges — wet paper tears more easily than dry.
- Test your adhesive first Test your adhesive first on a small piece of wallpaper” needs its ending: to make sure it does not cause the ink to bleed or the paper to wrinkle before applying it to your shade.

Styling Your Finished Lamp
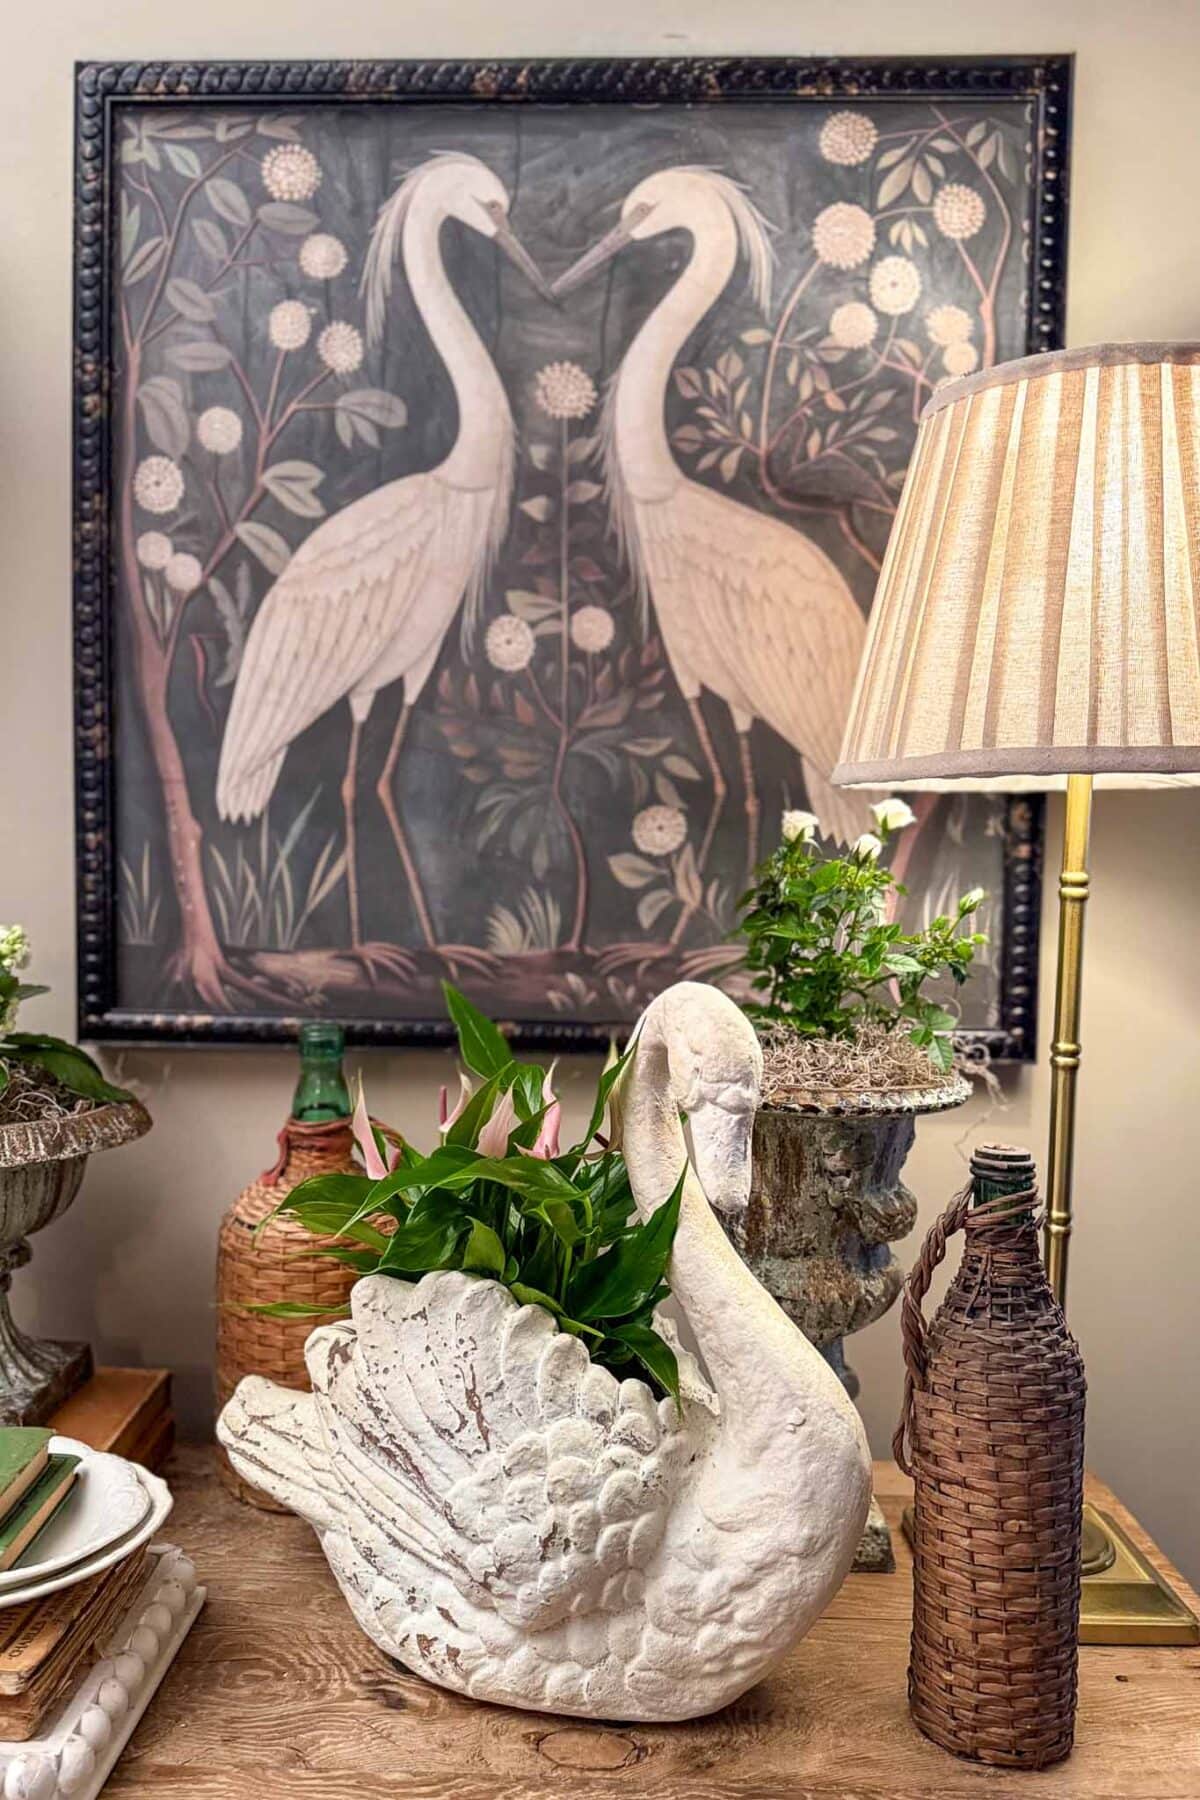
This lampshade makeover DIY is one of the easiest ways to refresh a tired lamp and give it a completely new personality. Once the lining was finished, I styled the lamp alongside a basket of fresh white blooms and trailing eucalyptus.
The contrast between the relaxed, natural greenery and the rich navy shade felt exactly right. It is the kind of combination that feels collected rather than decorated — as if the pieces simply belong together.
I love pairing handmade or reworked pieces with natural elements. It keeps a room feeling warm and lived-in rather than too polished.
.
More Handcrafted Society Projects
.
Using Wallpaper Scraps for a Decorative Tray
Trays seemed to be a very popular choice this month!
My friend Diane from South House Designs shares a woven basket tray that is extremly functional. An easy solution that is quick and budget-friendly, while maintaining the flexibility to use the tray with or without the tray liner.
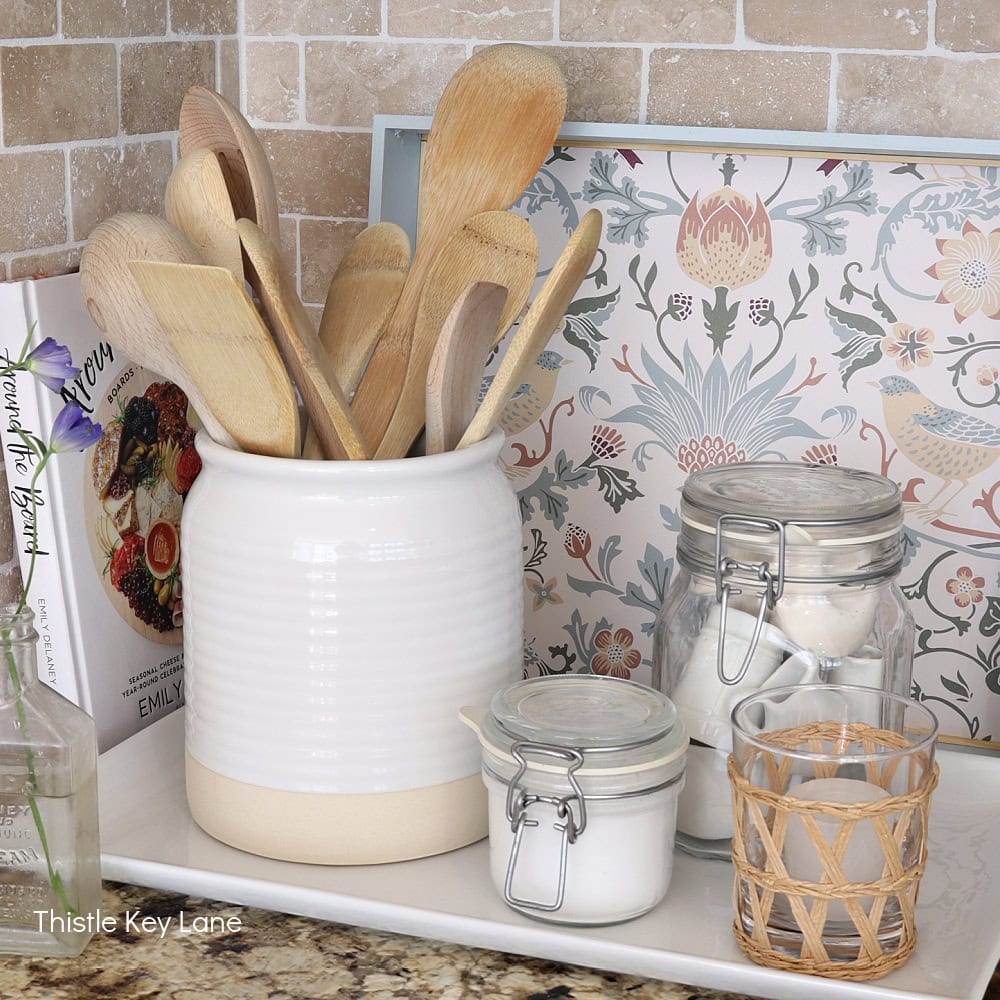
Michelle from Thistle Key Lane uses her leftover wallpaper to decorate a tray that is both decorative and functional.
Donna from An Organized Season teaches us how a piece of scalloped wood trim from Hobby Lobby and a wallpaper sample can be transformed into a pretty and practical small tray.
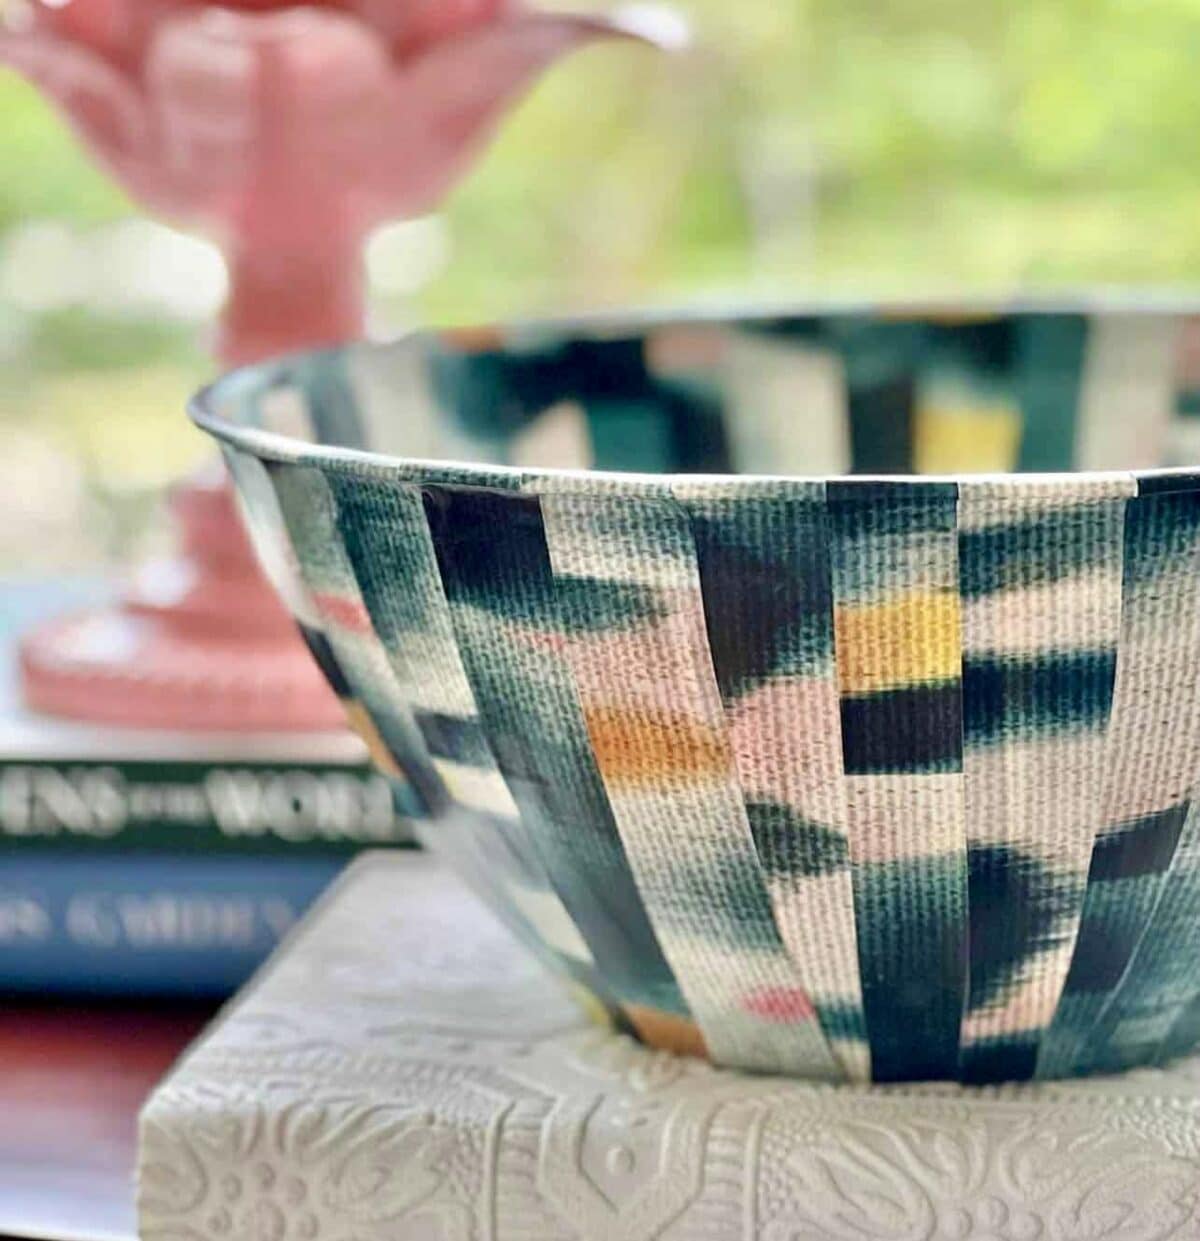
High End Wallpapered Bowl
Missy at Sonata Home Design transformed a basic dollar store plastic bowl into a decorative high-end decor piece using leftover wallpaper scraps. Quick, easy, and under $5.
A Simple Project with a Beautiful Result
DIY lampshade lining with wallpaper is one of those projects that looks far more complicated than it actually is.
With a few leftover wallpaper scraps, an afternoon, and a little care, you end up with something that feels genuinely beautiful — and completely your own.
And once you start looking at your leftover wallpaper rolls differently, it is hard to stop finding new ways to use them. If you still have scraps left over after this project, my [DIY wallpaper placemats] are the perfect next make.


Did you make this craft?
We would love to see what you have created, so mention us @wmdesignhouse or tag us using #wmdesignhouse so we can see your creations!
More about me!

Hello, I’m Wendy – a dedicated homemaker with a deep passion for decorating, gardening, cooking, and crafting. I find joy in harmonizing beautiful elements to fashion a space that is both comfortable and inspiring. I will help you create a beautiful home, one project at a time.
Connect with Wendy
Other Tutorials from WM Design House
If you love this creative project, you might also enjoy some of my other favorite blog posts.
How to Style the Perfect Entry Table
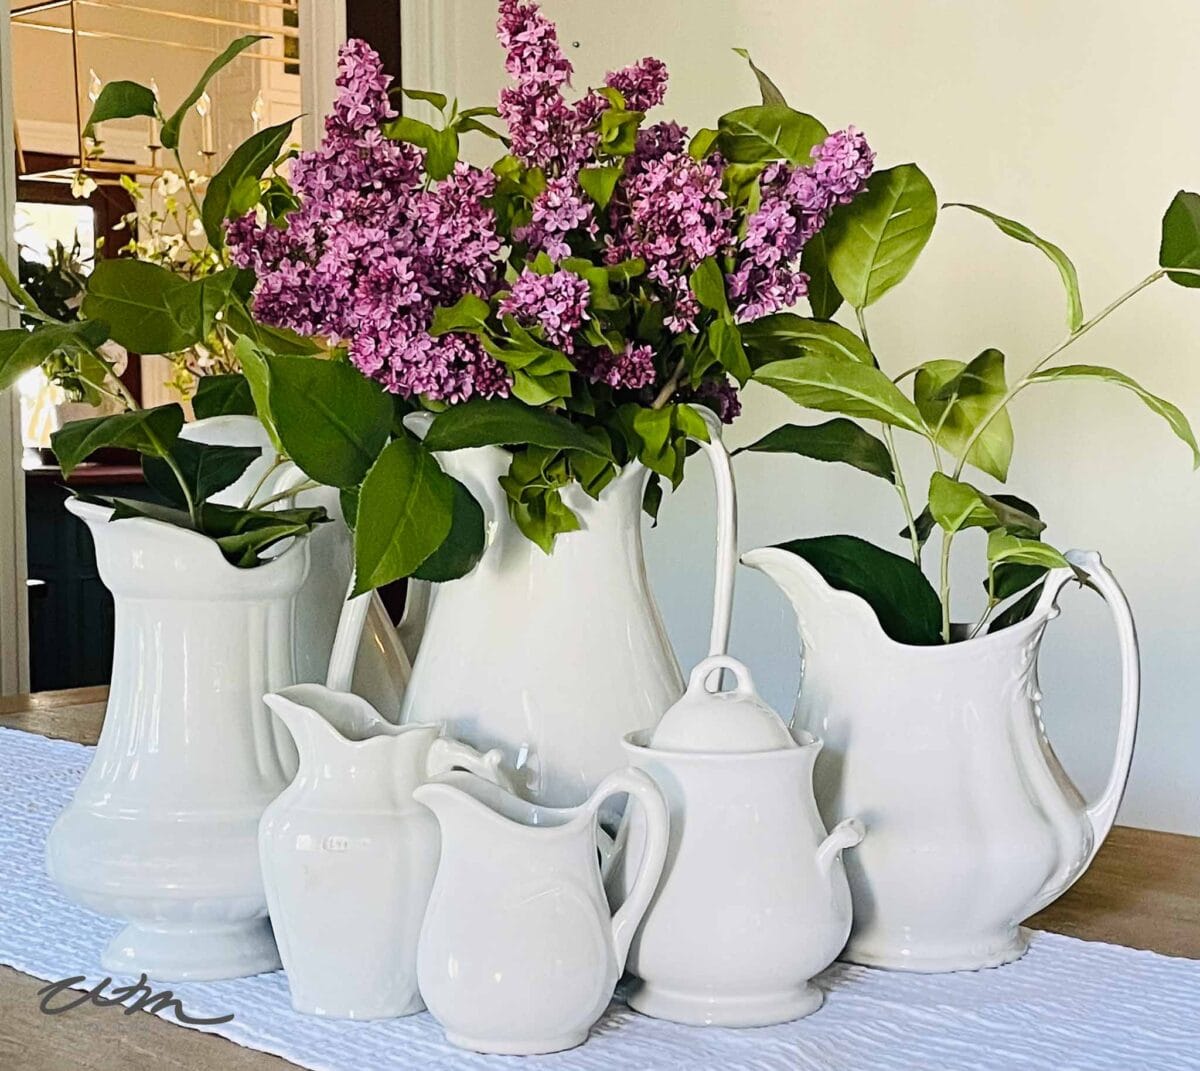
What is White Ironstone? and How to Decorate with it.

Are Dahlias Perennials? Everything you need to know to grow them in your gardening zone.
Title Page Separator Site title
Don’t throw away leftover wallpaper! Learn how to line a lampshade for a stunning DIY result that looks like a designer detail

What a great idea Wendy. I love the peek-a-boo effect and it blends in beautifully with your decor. xo- MaryJo
Gorgeous, Wendy! The paper is so beautiful with the blue shade. And I love your tip for blending the seams. Once again, an amazing project with fabulous creativity! Pinned!
You’ve done it again my friend!!! Absolutely stunning. I love that the floral works in strips — don’t think I would have thought of that. And I was surprised the navy fabric was deep enough that the pattern it didn’t show through when lit. Gorgeous!!!
That is absolutely beautiful! It is such a creative idea!
Hi Wendy! I absolutely adore your creative idea! The lampshade looks gorgeous and creates such a fun surprise! Great way to use up old wallpaper!