DIY Wallpaper Placemats: Easy Home Decor Project
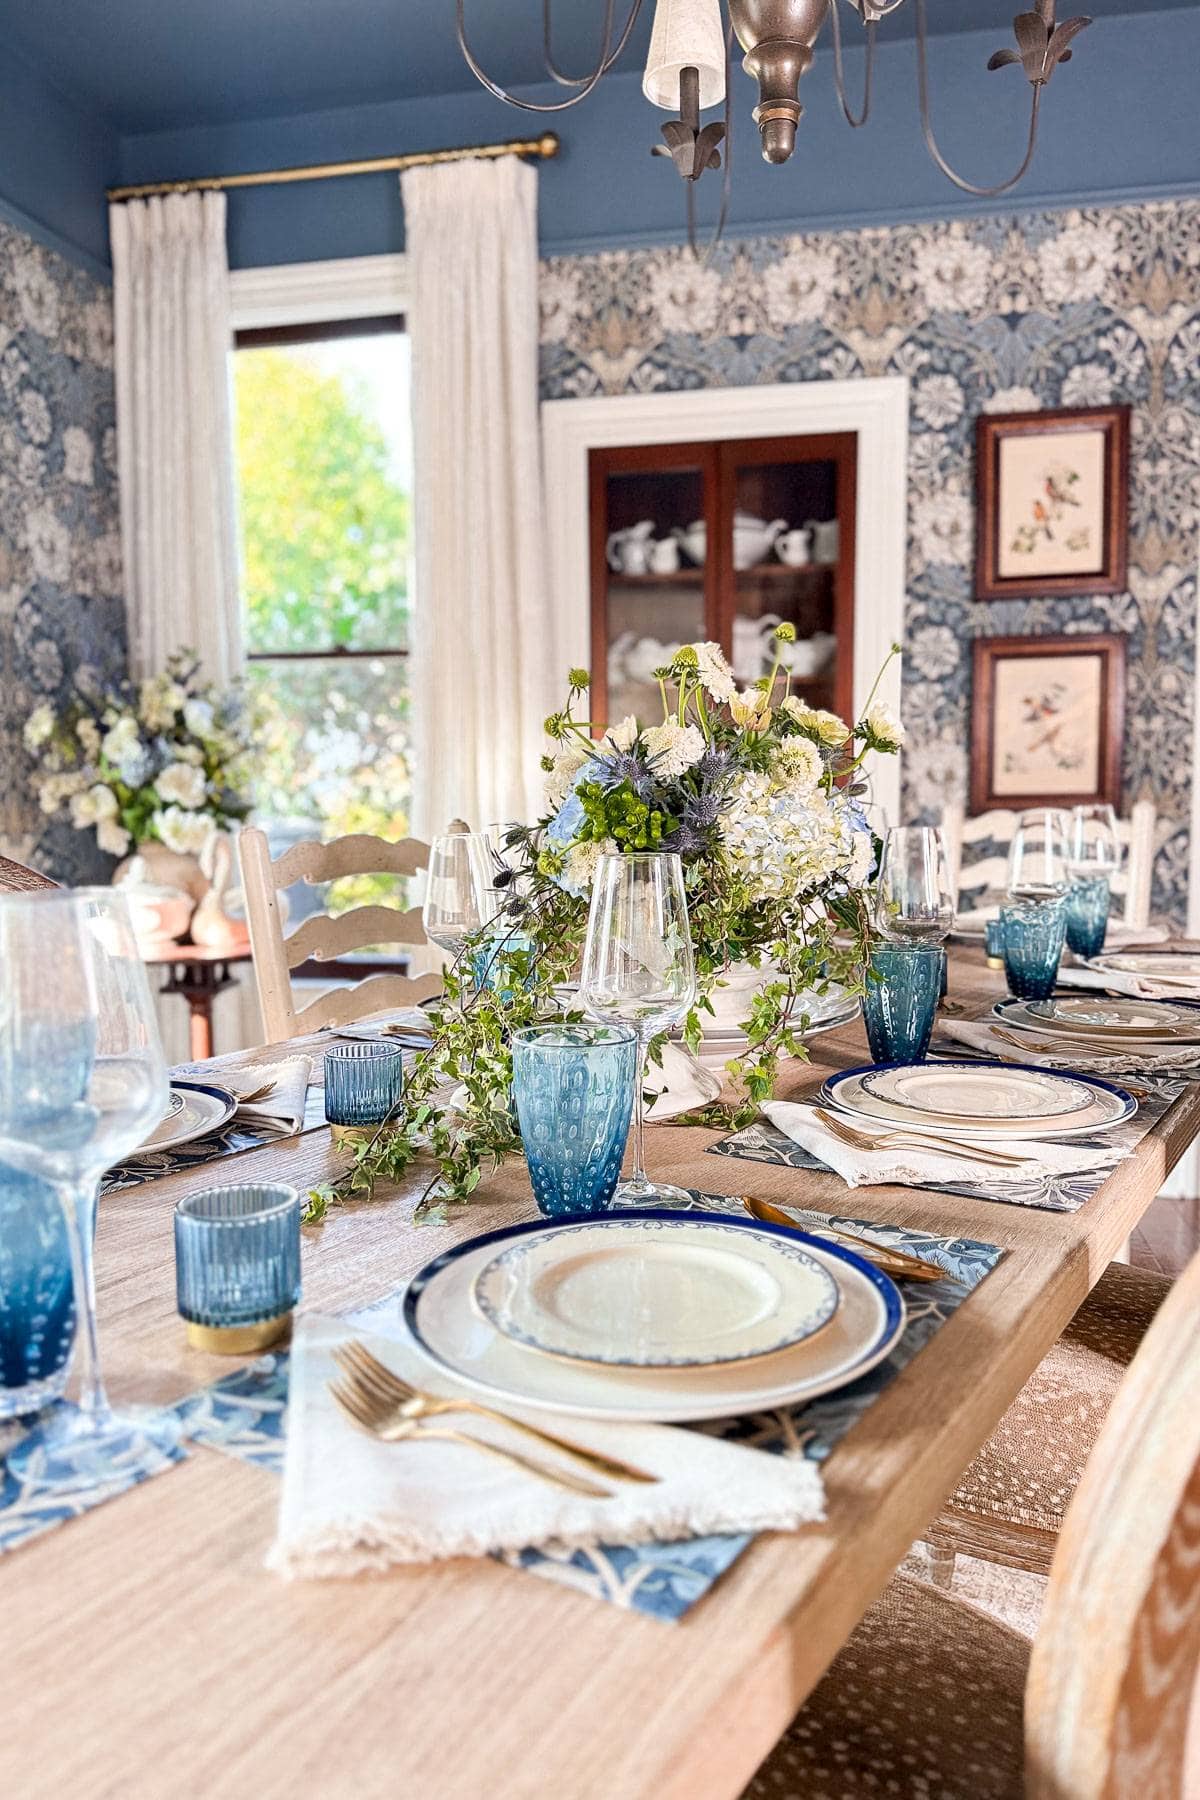
Earlier this January, I embarked on a home makeover journey, transforming my dining room with the timeless elegance of William Morris wallpaper. The intricate patterns and rich colors brought a vintage charm that I absolutely adore. However, I found myself with a generous amount of leftover wallpaper and pondered over creative ways to repurpose it. That’s when inspiration struck for a new blog post: Wallpaper DIY placemats to complement my newly adorned walls?
On my blog WM Design House, I may sometimes use affiliate links, which means a small commission is earned if you purchase via the link. The price will be the same whether you use the affiliate link or go directly to the vendor’s website using a non-affiliate link. Read my full disclosure policy here.
Creating DIY placemats from leftover wallpaper is a budget-friendly project and a sustainable way to add a personalized touch to your kitchen or dining area. Whether you want to refresh your tablescape or craft a thoughtful handmade gift, this tutorial will guide you through the process.


Wallpaper DIY Placemats
Equipment
- 1 Pair of Scissors or an Exacto Knife
- 1 Paint roller or paintbrush
- 2 Heavy books per placemat
- 1 Credit card
Materials
- 1 roll Leftover wallpaper
- 1 Can Spray glue or wallpaper paste
- 1 Pencil
- 1 Ruler
Instructions
- Prepare Your Work AreaLay out materials on a clean, flat surface
- Measure & Cut Leftover WallpaperDecide placement of pattern on placematPlace placemat on back of wallpaperTrace around placemat with ½” extra on all sidesCut out wallpaper
- Attach Wallpaper to Placemat or BackingTraditional WallpaperApply wallpaper paste to basePlace wallpaper on top, smooth from center outwardUse hands or a card to remove bubblesSpray AdhesiveSpray both placemat and wallpaper backWait 30 seconds, then press and smooth
- Seal & ProtectApply thin layer of Mod Podge with foam brushLet dry 15–20 minutesRepeat for 2–3 coats
- Read full blog post for step by step instructions with details.


✂️ Step-by-Step Guide to Making Wallpaper Placemats
Ready to transform your leftover wallpaper into beautiful, custom placemats? Let’s dive into this simple DIY project that brings both charm and functionality to your dining table.
1. Prepare Your Workspace
Lay out your materials on a clean, flat surface. If you’re using traditional wallpaper, ensure it’s clean and wrinkle-free.
Tip from wendy’s craft room:
How to revamp old placemats
You can give some of your old, worn-out placemats new life by using them with your leftover wallpaper. This recycles materials and provides a sturdy base for your new designs.


2. Measure and Cut Wallpaper:
- Plan Your Placemat Layout:
- Decide how you want the pattern to appear on each placemat. For instance, you might want a central floral motif or a specific geometric element centered.
- Position the Placemat Base:
- Place your placemat base on the backside of the wallpaper, aligning it with the desired section of the pattern. Ensure consistency if you’re making multiple placemats.
- Trace and Add Allowance:
- Trace around the placemat, adding an extra ½ inch on all sides. This allowance aids in wrapping and ensures full coverage.
- Cut Carefully:
- Using sharp scissors or a craft knife, cut along the traced lines. Precision is key to maintaining the integrity of the pattern.
- Repeat for Additional Placemats:
- For multiple placemats, repeat the process, ensuring each is aligned similarly to maintain a uniform look across your table setting.
Tip from wendy’s craft room:
Create Reversible Designs for Versatility
Attach different wallpaper patterns to each side of the placemat. This allows you to easily switch up your table setting and adds versatility to your decor.


3. Adhere the Wallpaper:
For Traditional Wallpaper:
Wallpaper Paste–
- Apply Wallpaper Paste: Using a paintbrush or roller, spread a thin, even layer of wallpaper paste onto the back of your placemat base. Ensure full coverage, especially at the edges, to promote a strong bond.
- Position the Wallpaper: Carefully lay your pre-cut wallpaper piece onto the pasted surface. Start from one edge and gently press down, smoothing as you go to prevent air bubbles.
- Smooth Out Bubbles: Use your hands or a plastic card (like a credit card) to gently smooth the wallpaper from the center outward, eliminating any air pockets and ensuring a flat, even application.


Spray adhesive– Apply to both the placemat or chipboard and the back of the wallpaper cutout. Wait about 30 seconds for the adhesive to become tacky. Carefully place the wallpaper onto the place mat, smoothing it out to eliminate bubbles.
Whichever method you choose to adhere your wallpaper, allow it to dry properly by placing the placemat under a heavy object, such as a stack of books, to maintain pressure and prevent curling. Allow it to dry completely, typically for several hours.
Peel and stick wallpaper
Follow steps 1-3 from the traditional wallpaper, then follow these steps to attach the paper.
- Peel a small section of the backing from the wallpaper.
- Align the wallpaper with the placemat base and press it down, smoothing as you go to prevent air bubbles.
- Continue peeling and sticking the wallpaper, using a credit card to ensure a flat application.
Tip from wendy’s craft room:
Avoid Over-Saturating: Apply paste sparingly to prevent the wallpaper from becoming too wet and tearing.
4. Seal and Protect Your DIY Wallpaper Placemats
There are several ways to approach this process, and I highly recommend that you choose one.
1. Mod Podge (Sealer & Finish)
This is what I used to seal my placemats.
- Apply: Use a foam brush to apply a thin, even layer of Mod Podge over the entire surface of the placemat.
- Dry: Allow it to dry completely (approximately 15–20 minutes).
- Repeat: Apply 2–3 additional coats, letting each layer dry thoroughly between applications.

2. Clear Contact Paper (Self-Adhesive Film)
- Measure & Cut: Cut a piece of contact paper slightly larger than your placemat.
- Apply: Peel off the backing and carefully place the sticky side onto the placemat, starting from one edge.
- Smooth: Use a credit card or squeegee to smooth out air bubbles as you go.
- Trim: Once applied, trim the excess contact paper around the edges for a clean finish.


3. Laminating Sheets (Thermal or Self-Adhesive)
- Thermal Laminating:
- Place: Insert the placemat into a laminating pouch.
- Seal: Run it through a laminating machine according to the manufacturer’s instructions.
- Cool & Trim: Allow it to cool, then trim any excess laminate around the edges.
- Self-Adhesive Laminating:
- Peel & Stick: Peel the backing off the laminating sheet and carefully place it over the placemat.
- Smooth: Use a squeegee or credit card to eliminate air bubbles.
- Trim: Cut away any excess laminate for a neat edge.
Tip from wendy’s craft room:
Use a Credit Card for Smooth Application
After adhering the wallpaper to the placemat, gently smooth out any air bubbles with a plastic wallpaper tool or a credit card. This ensures a flat, professional finish.

How to Style Your DIY Wallpaper Placemats
Make your DIY placemats the highlight of your table with these easy steps:


- Set the Table: Place your placemats evenly at each seat.
- Add Tableware: Use dishes, silverware, and napkins that match or complement the colors and patterns of your place mats.
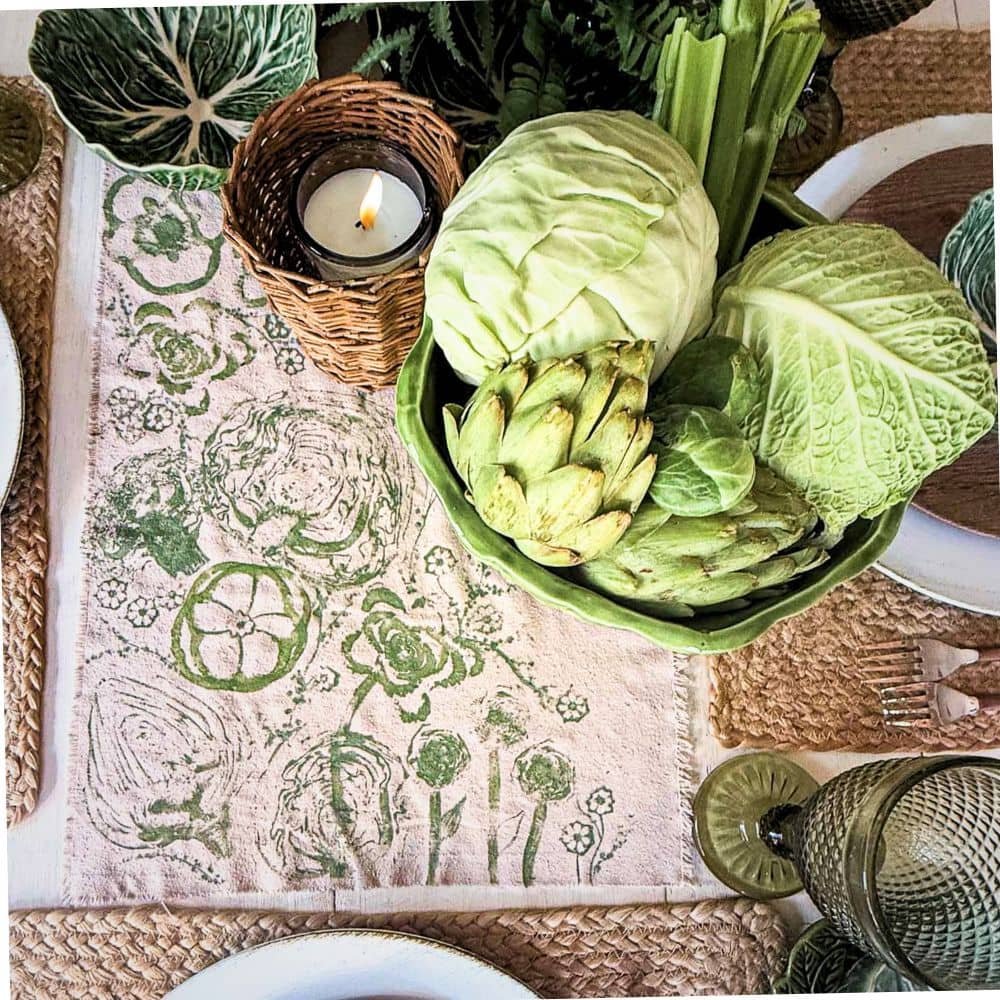
- Include a Centerpiece: Add a simple blue hydrangea centerpiece, or a simple vase of flowers and a few candles, to enhance the table without overshadowing the placemats.
- Personal Touches: Consider adding name cards or small decorative items to make each setting special.
- Add color and charm by placing your mat under a lamp or using it as a tray for your favorite decor pieces.


With these simple steps, your placemats will shine and create an inviting dining atmosphere that coordinates with your dining room walls.

Other leftover wallpaper projects
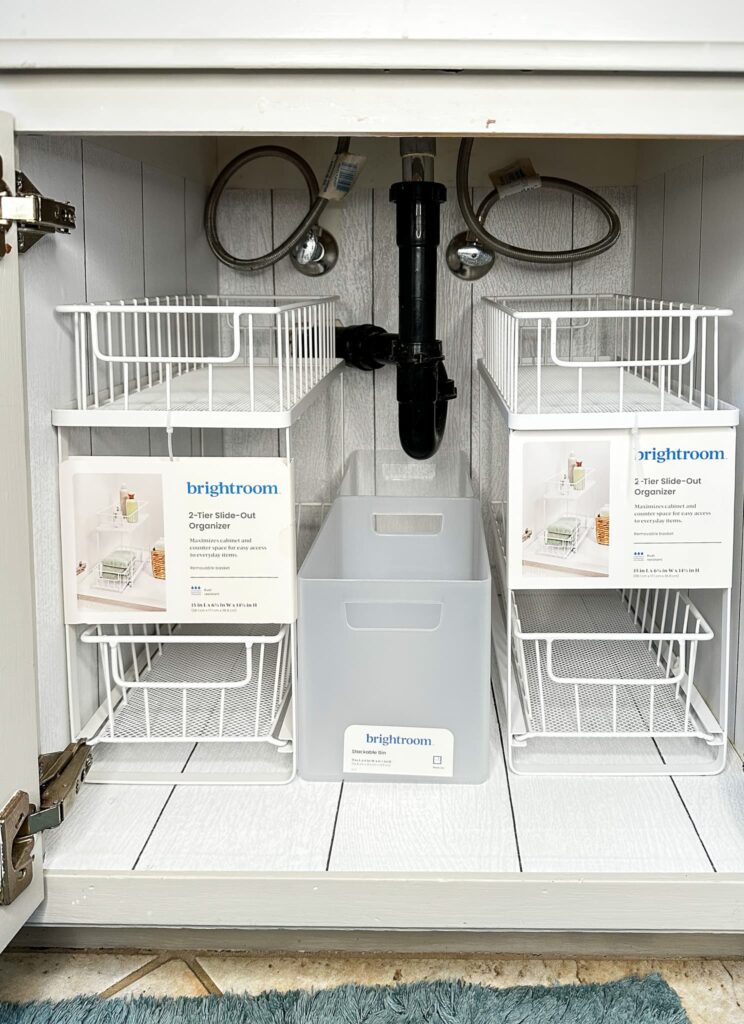
- Line Shelves and Drawers
- Add a pop of color and pattern by lining the backs of bookshelves or the insides of drawers. It’s an unexpected detail that brings joy every time you open a drawer or glance at your shelves.
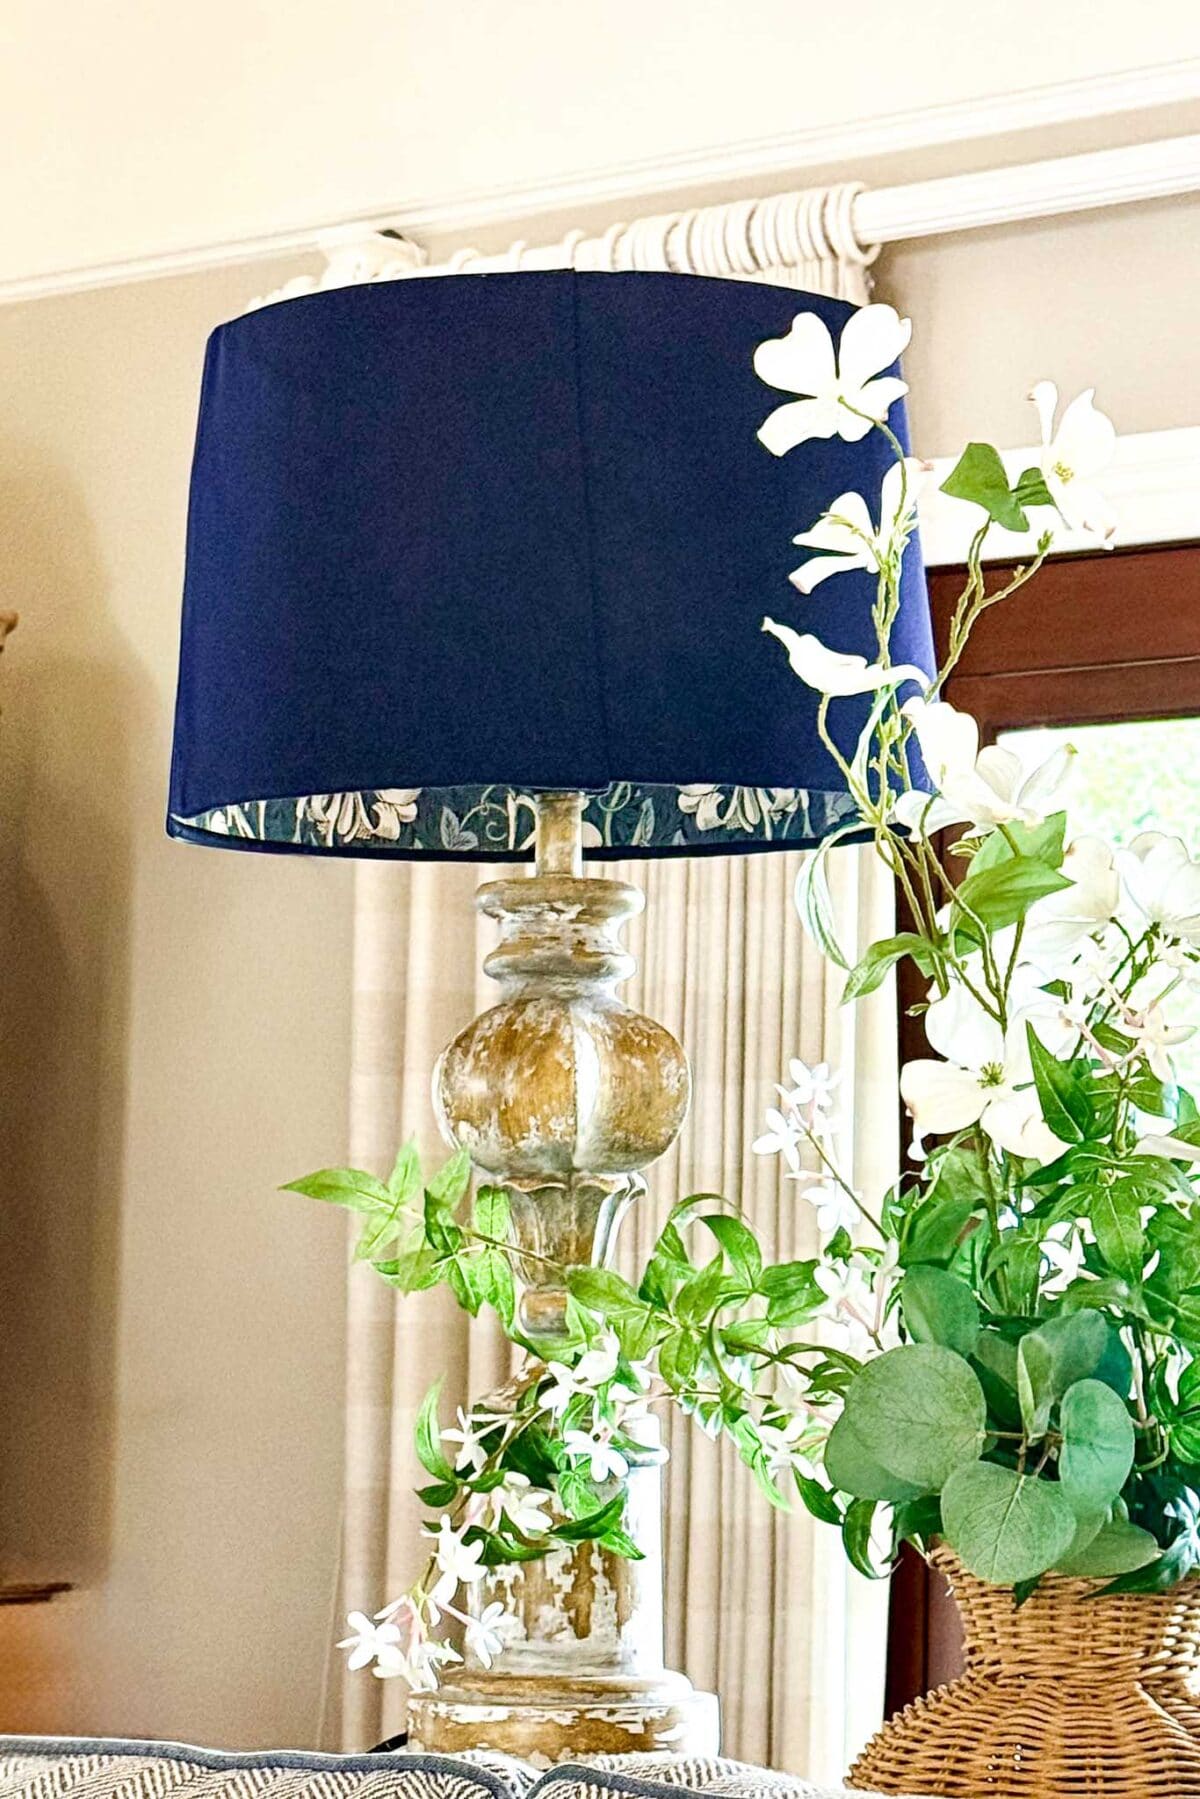
- Line a Lampshade One of my favorite ways to use up wallpaper scraps is to line the inside of a lampshade. The pattern becomes a hidden surprise that peeks out from below — and the result looks like something straight out of an interior design magazine. See my full DIY lampshade lining tutorial.
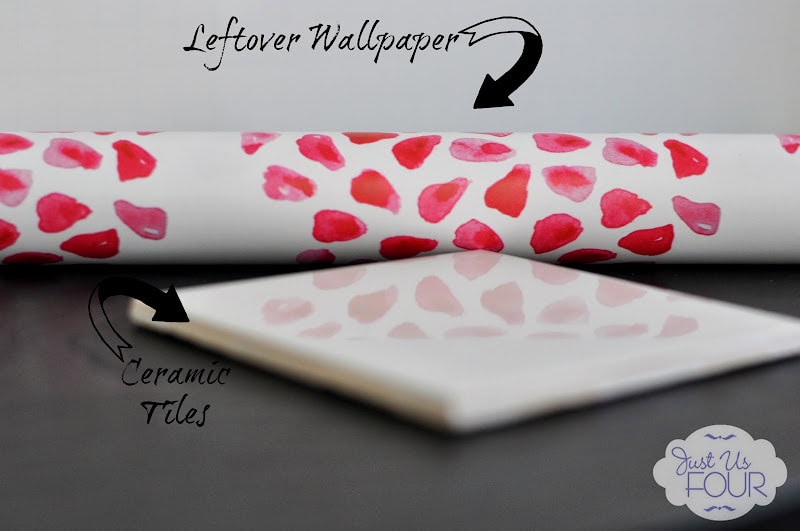
- Create Custom Coasters
- Adhere wallpaper scraps to cork or ceramic tiles to make unique coasters. Seal them with a waterproof finish (Mod Podge) to protect against spills.
- Upgrade Switch Plates and Outlet Covers
- Cover switch plates and outlet covers with wallpaper for a cohesive and stylish look that ties in with your room’s decor.
- Craft Gift Wrap and Tags
- Use wallpaper scraps as unique and sturdy gift wrap or cut them into shapes for personalized gift tags.
- Wrap packages to put under your Tree as decoration.
Other Creative Placemat Projects
If you enjoyed this quick and easy craft, you might also love these other placemat ideas.
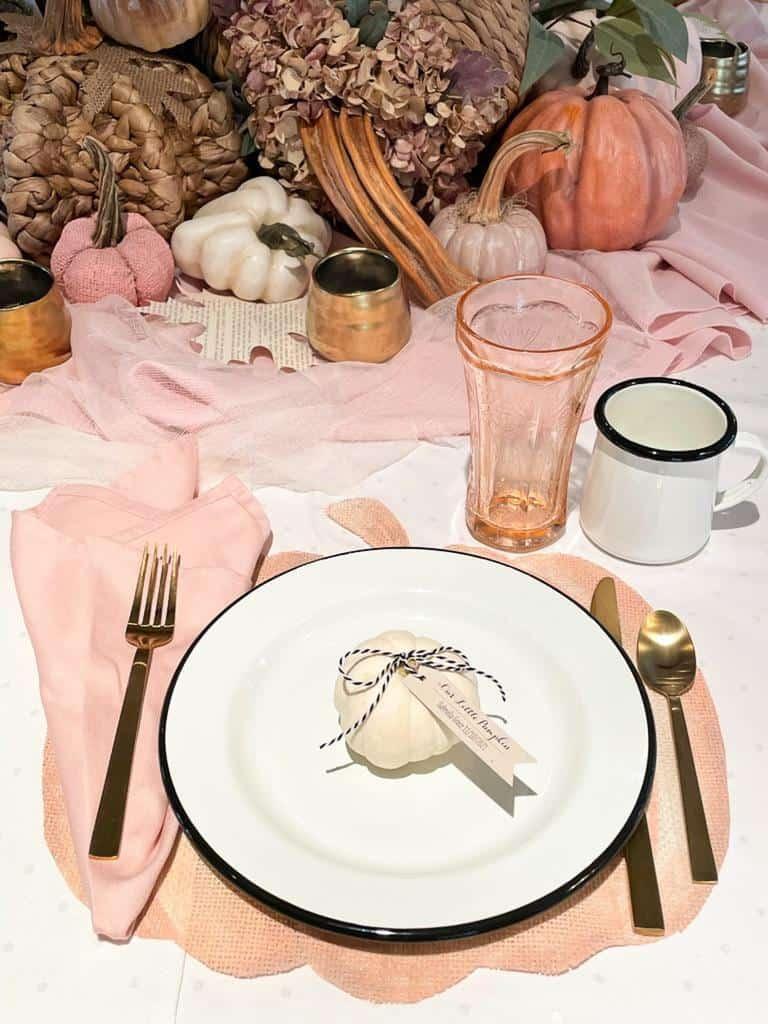
1. The best Pumpkin DIY Placemats
Prepare for autumn early with these easy-to-follow instructions on how to make DIY pumpkin placemats.
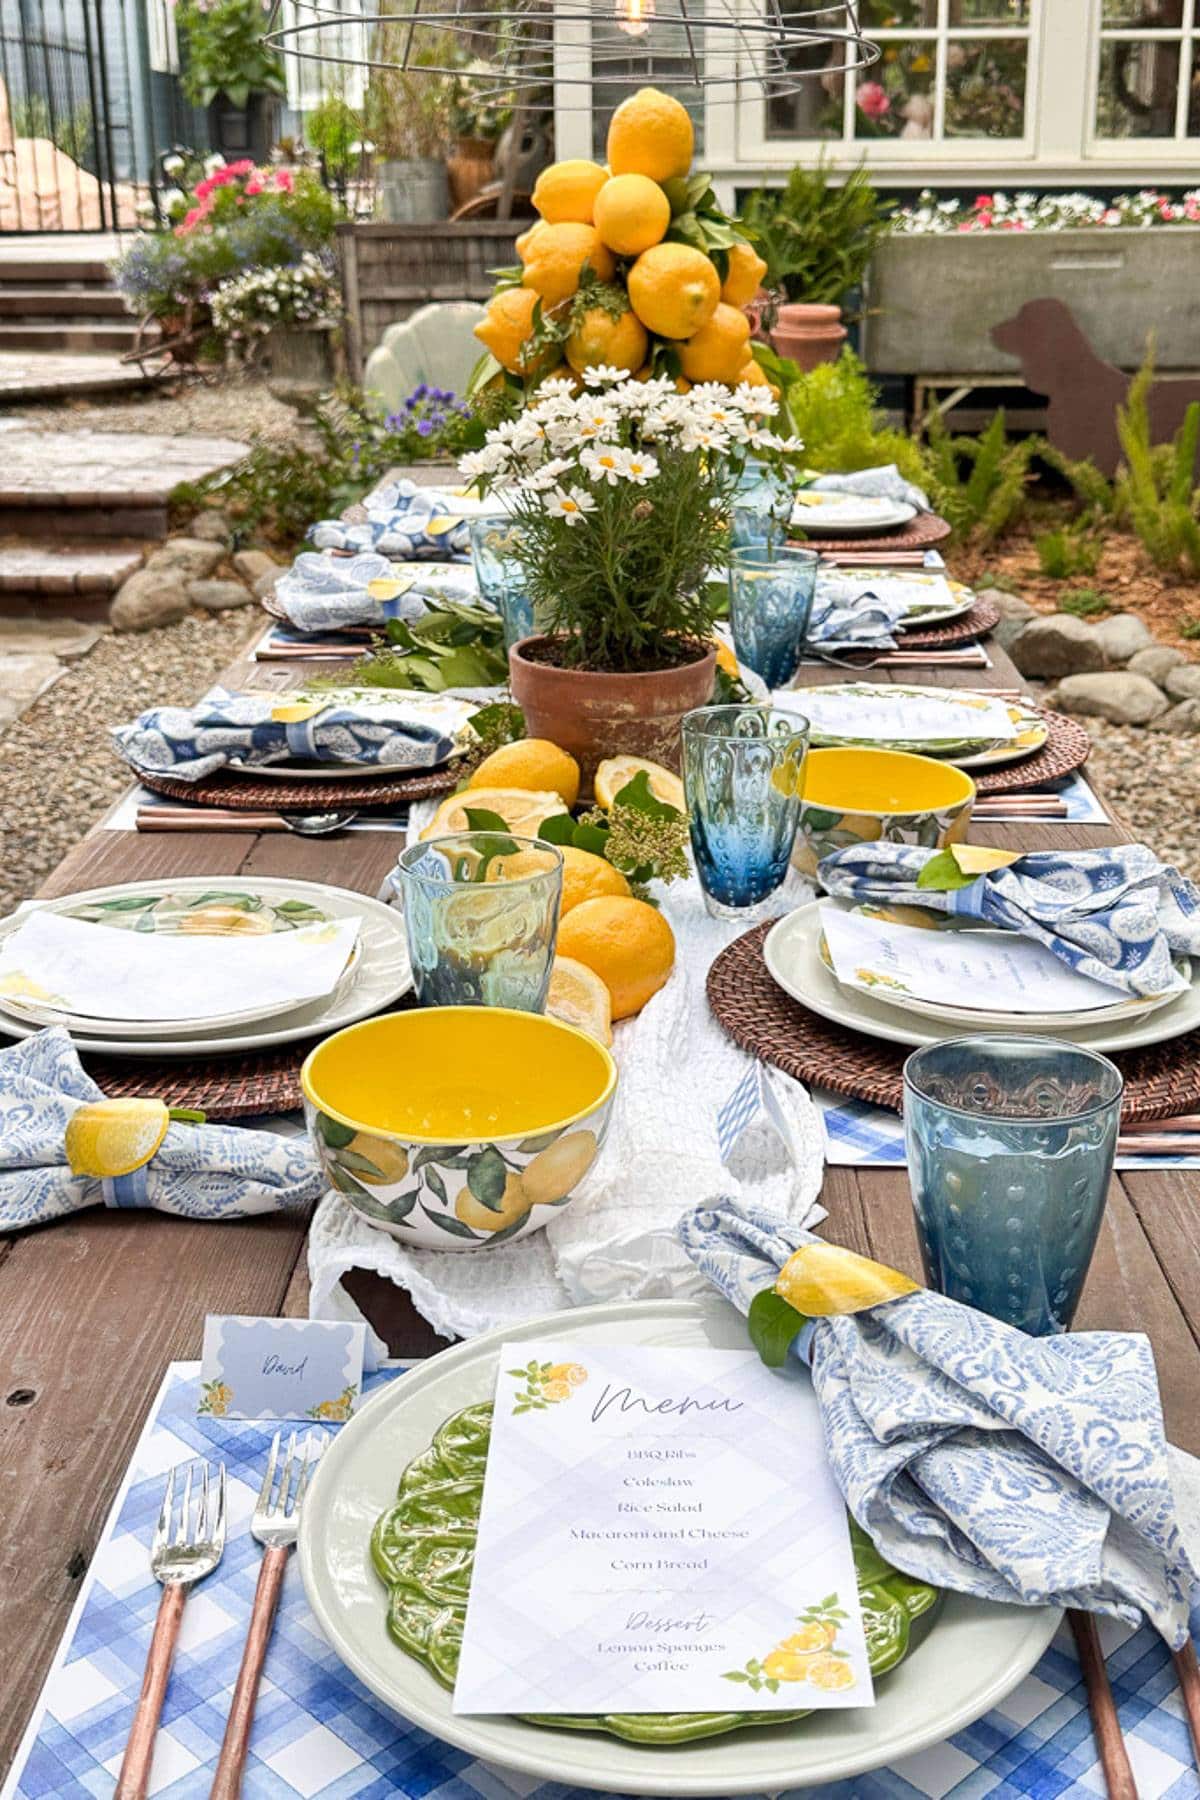
2. Summer Tablescape with Lemons and FREE Lemon Printables
Join me in creating a stunning summer lemon tablescape! With just a few simple items and my free printables, you’ll have a refreshingly beautiful setup that will impress your friends and family.
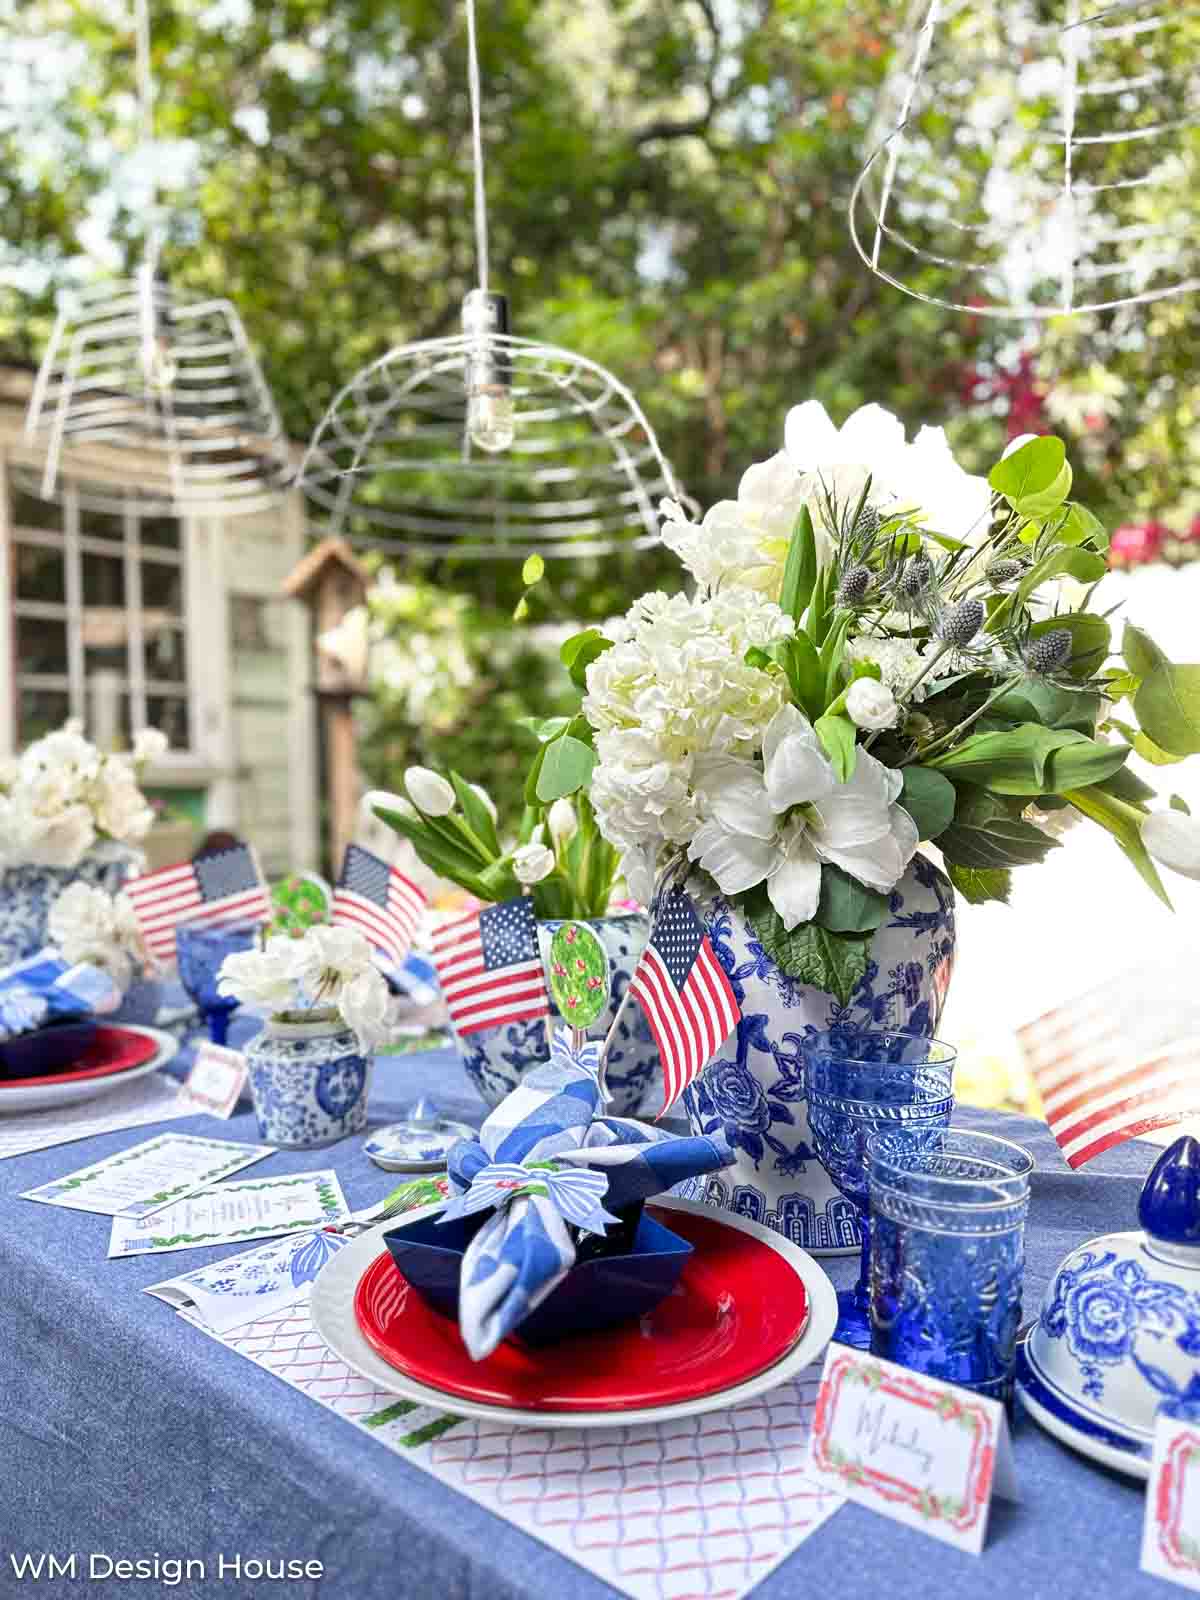
3. 9 FREE Dinner Party Printables for the 4th of July or Memorial Day
Add a touch of festive flair to your next dinner party with some beautiful (and free!) printables.
✨ Final Touches
Transforming leftover wallpaper into charming placemats is a delightful way to add personality to your dining space. With just a few materials and a dash of creativity, you can craft functional and stylish pieces. Give it a try, and let your table tell a story of sustainability.


Did you make this craft?
We would love to see what you have created, so mention us @wmdesignhouse or tag us using #wmdesignhouse so we can see your creations!
More about me!

Hello, I’m Wendy – a dedicated homemaker with a deep passion for decorating, gardening, cooking, and crafting. I find joy in harmonizing beautiful elements to fashion a space that is both comfortable and inspiring. I will help you create a beautiful home, one project at a time.

Love this idea, Wendy! Your dining room looks absolutely gorgeous! 💙