A Heartfelt DIY Upcycled Yard Tools Wreath
Crafting an upcycled yard tools wreath from the ashes of the fires.
The recent fires that devastated my hometown left an unforgettable mark, especially on my friends who lost their homes. I can only begin to fathom the heartbreak of losing a house, a lifetime of cherished memories, and treasured belongings.
As a family, we have done what we can—volunteering, offering support, and finding small ways to help—but my heart still aches for those who are starting over, rebuilding from the ground up.
This once was a beautiful house filled with love and memories; it became a pile of ashes in just a few hours on a windy night in January.


My dear friend Becky had the most beautiful garden—where she poured her heart into tending her flowers and curating a charming collection of vintage garden tools that adorned her yard.
We have shared a beautiful friendship and a love for treasure hunting over the years, and we never pass up a thrift store; we were always looking for unique finds to add to our gardens or home decor. Some of our best times were spent chatting about our latest plantings, exchanging ideas, and dreaming up new ways to make our gardens flourish and homes beautiful.


Upcycling Yard Tools : A Symbol of Hope from the Ashes
This month’s Hand Crafted Society project focused on garden tools, so I saw an opportunity to spread a little more love in a personal and meaningful way.
I wanted to create something that honored what was lost while bringing my dear friend a touch of beauty and remembrance. Given how much I love incorporating vintage finds into my own garden, it felt only right to take something from the ashes of her garden and turn it into a heartfelt tribute and let my friend know that there is hope.
Digging Through the Ashes
I made my way to the burn zone, sifting through the ashes of my girlfriend’s home, hoping to salvage something meaningful. Among the remnants, I found an old shovel, watering cans, rakes, and other tools that once symbolized care and growth.
One of the pieces I found was a large metal “S,” once a strap that held her chimney together. The bolt had melted, making it impossible to remove by hand. Determined, we returned with a Sawzall, and after some effort, we freed it. Unfortunately, it was too heavy to add to the wreath, but I’ll find another purpose for it in time as I know she will love it.


On my blog WM Design House, I may sometimes use affiliate links, which means a small commission is earned if you purchase via the link. The price will be the same whether you use the affiliate link or go directly to the vendor’s website using a non-affiliate link. Read my full disclosure policy here.
Spring Wreath DIY Materials (with Garden Tools)
Additional Tools You’ll Need

How to Make an Upcycled Yard Tools Wreath
This is a relatively simple project once you collect your supplies and, most importantly, your gardening tools. Of course, I would not expect that you would be salvaging your tools out of the ashes, but you could always find a few at your local thrift stores, yard sales, flea markets or maybe in your garden shed.
Step 1: Prepare the wreath and garden tools
As a first step in making your wreath, choose a sturdy base. I used a grapevine wreath frame for my project, but an old garden hose can also create a unique and beautiful foundation. To enhance and protect the frame, I sprayed it with a clear sealant, giving it a richer, refreshed look while ensuring its durability.
Next, thoroughly clean any old, rusty tools you plan to incorporate, removing dirt and debris. Since mine had been exposed to fire, I took extra care in scrubbing them before sealing them with a clear lacquer spray. This not only preserves their character but also gives them a lasting finish.
Tip from wendy’s craft room:
Use a good lacquer spray on your wreath and tools to protect them for years.


Step 2- Add a base of greenery
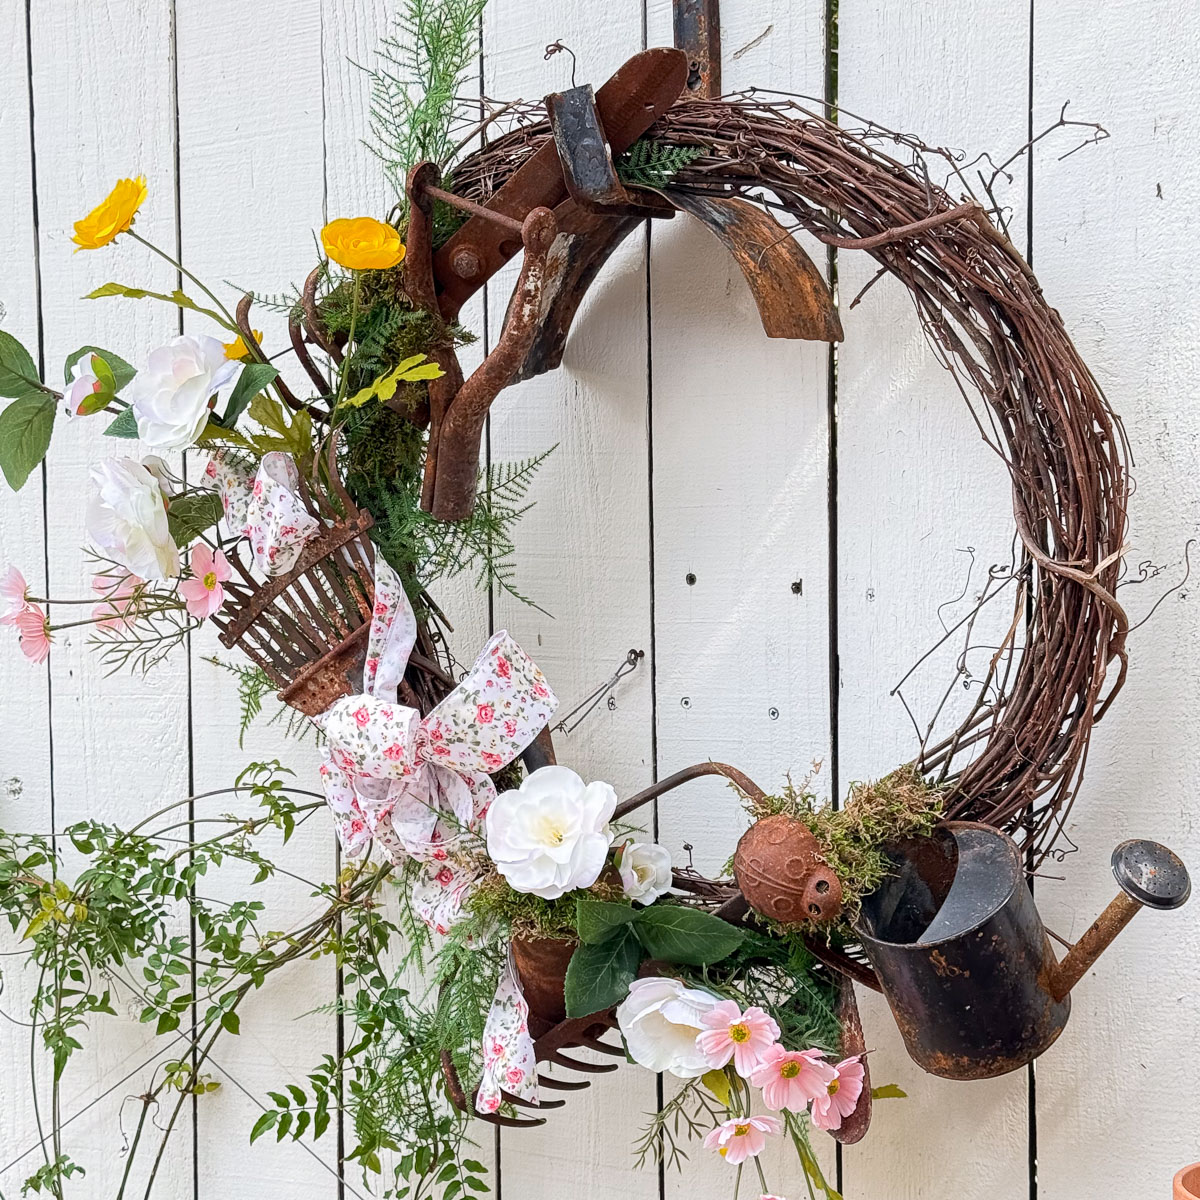
To create a balanced yet organic design, I incorporated lush green faux ferns, adding natural texture and depth to the wreath. To maintain an asymmetrical composition, I arranged the decorative elements on one side, allowing the design to feel effortless yet intentional.

Step 3: Adding the Vintage Tools to the Wreath
Arrange your garden tools in a visually balanced design, considering their shapes and sizes for the best composition. Once you’re happy with the placement, securely fasten them using zip ties or wire to ensure they stay in place.


Tip from wendy’s craft room:
Zip ties are a fantastic tool for securing your design and can be easily concealed with moss for a seamless, natural look.
Step 4: Add ribbon and flowers
To bring this wreath to life for the spring season, I incorporated a soft pastel floral bow along with delicate pink cosmos, elegant white roses, and a few cheerful yellow ranunculus. These touches add a fresh, vibrant feel while maintaining a natural, harmonious look.


Watch How easy it is to make a bow!h

Gifting this wreath to my friend today was a deeply moving moment—filled with a few tears, countless hugs, and an overwhelming sense of love.

Styling Your New Wreath For the Garden
There are many creative ways to display your upcycled garden wreath, adding charm and character to your outdoor space. Here are a few ideas to inspire you:
- Front Door: Hang it on your front door to welcome guests and celebrate the beauty of spring.
- Garden Gate: Add a touch of rustic charm by displaying it on your garden gate.
- She Shed or Greenhouse: Decorate the door of your garden shed or greenhouse for a cozy, inviting look.
- Patio or Fence: Hang it on a patio wall or fence to bring a unique decorative element to your outdoor seating area.
Wherever you choose to display it, your wreath will be a beautiful reminder of resilience, renewal, and the love of gardening.


Tip from wendy’s craft room:
When inserting your flowers, add a small amount of hot glue on the end of the stem and insert into the wreath.

DIY Upcycled Yard Tools Wreath
Equipment
- 1 pair of scissors
- 1 Hot glue gun
- 1 Pair of wirecutters
Materials
- One Grapevine Wreath
- Clear Lacquer Spray
- Vintage Garden or old gardening tools (old rake heads rusty junk, and faucet handles. Hose reel, old hoses.
- Terra Cotta Pots
- Seed Packets
- Wire
- Zip Ties or Pipe Cleaner
- Ribbon
- Moss
Instructions
- Step 1: Prepare the wreath and garden tools As a first step in making your wreath, choose a sturdy base. I used a grapevine wreath frame for my project, but an old garden hose can also create a unique and beautiful foundation. To enhance and protect the frame, I sprayed it with a clear sealant, giving it a richer, refreshed look while ensuring its durability.Next, thoroughly clean any old, rusty tools you plan to incorporate, removing dirt and debris. Since mine had been exposed to fire, I took extra care in scrubbing them before sealing them with a clear lacquer spray. This not only preserves their character but also gives them a lasting finish.
- Step 2- Add a base of greeneryTo create a balanced yet organic design, I incorporated lush green faux ferns, adding natural texture and depth to the wreath. To maintain an asymmetrical composition, I arranged the decorative elements on one side, allowing the design to feel effortless yet intentional.
- Step 3: Adding the Vintage Tools to the WreathArrange your garden tools in a visually balanced design, considering their shapes and sizes for the best composition. Once you're happy with the placement, securely fasten them using zip ties or wire to ensure they stay in place.
- Step 4: Add ribbon and flowers To bring this wreath to life for the spring season, I incorporated a soft pastel floral bow along with delicate pink cosmos, elegant white roses, and a few cheerful yellow ranunculus. These touches add a fresh, vibrant feel while maintaining a natural, harmonious look.

Other Garden Decoration Ideas
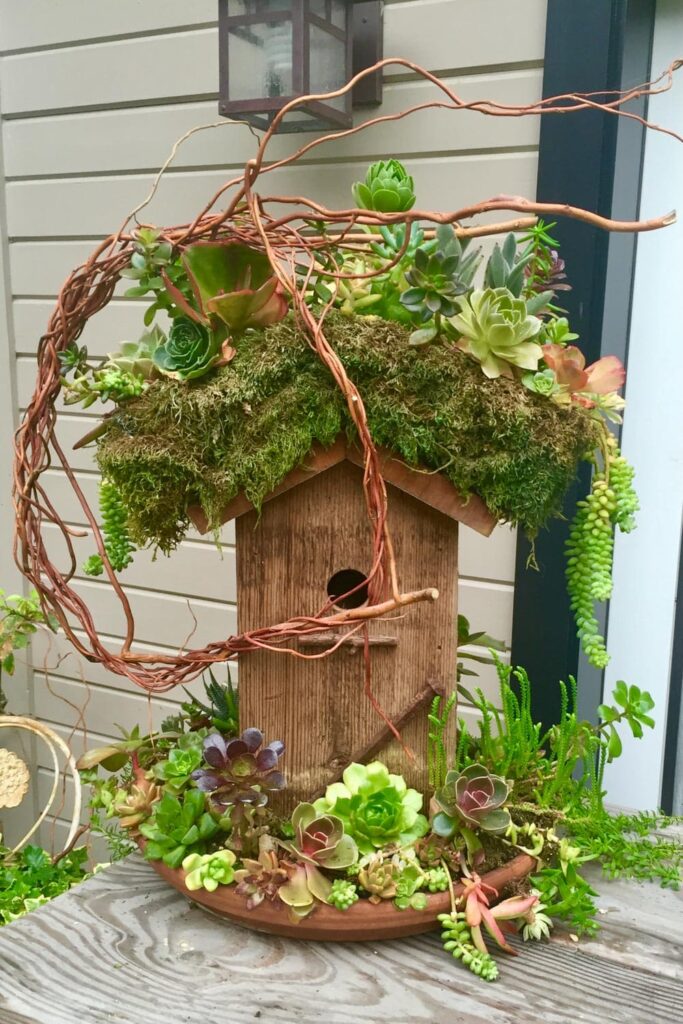
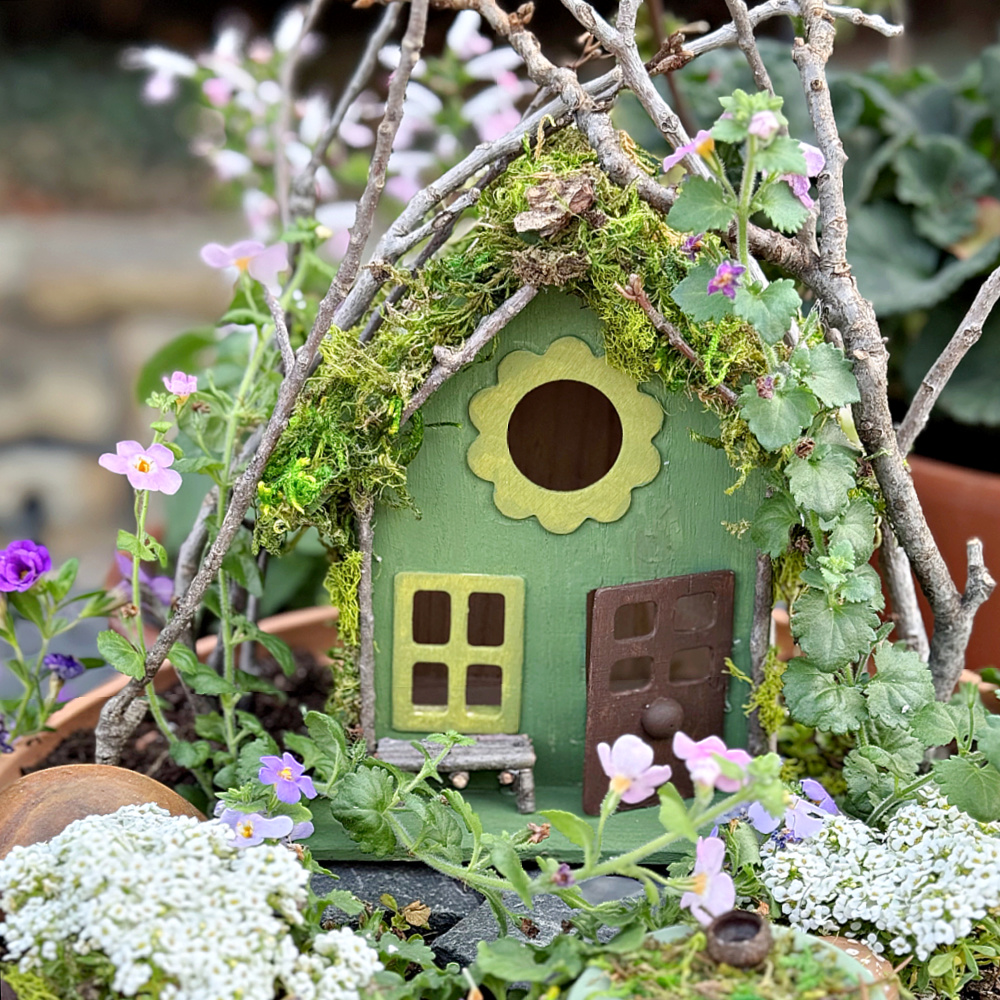
Enhancing your garden with charming decorations can create a welcoming and cozy outdoor space. Consider adding birdhouses or a bird feeder to attract feathered friends, bringing life and movement to your garden while helping local wildlife thrive.

Rustic furniture, such as a weathered wooden bench or a vintage metal bistro set, adds character and provides a perfect spot to sit and enjoy the beauty around you.


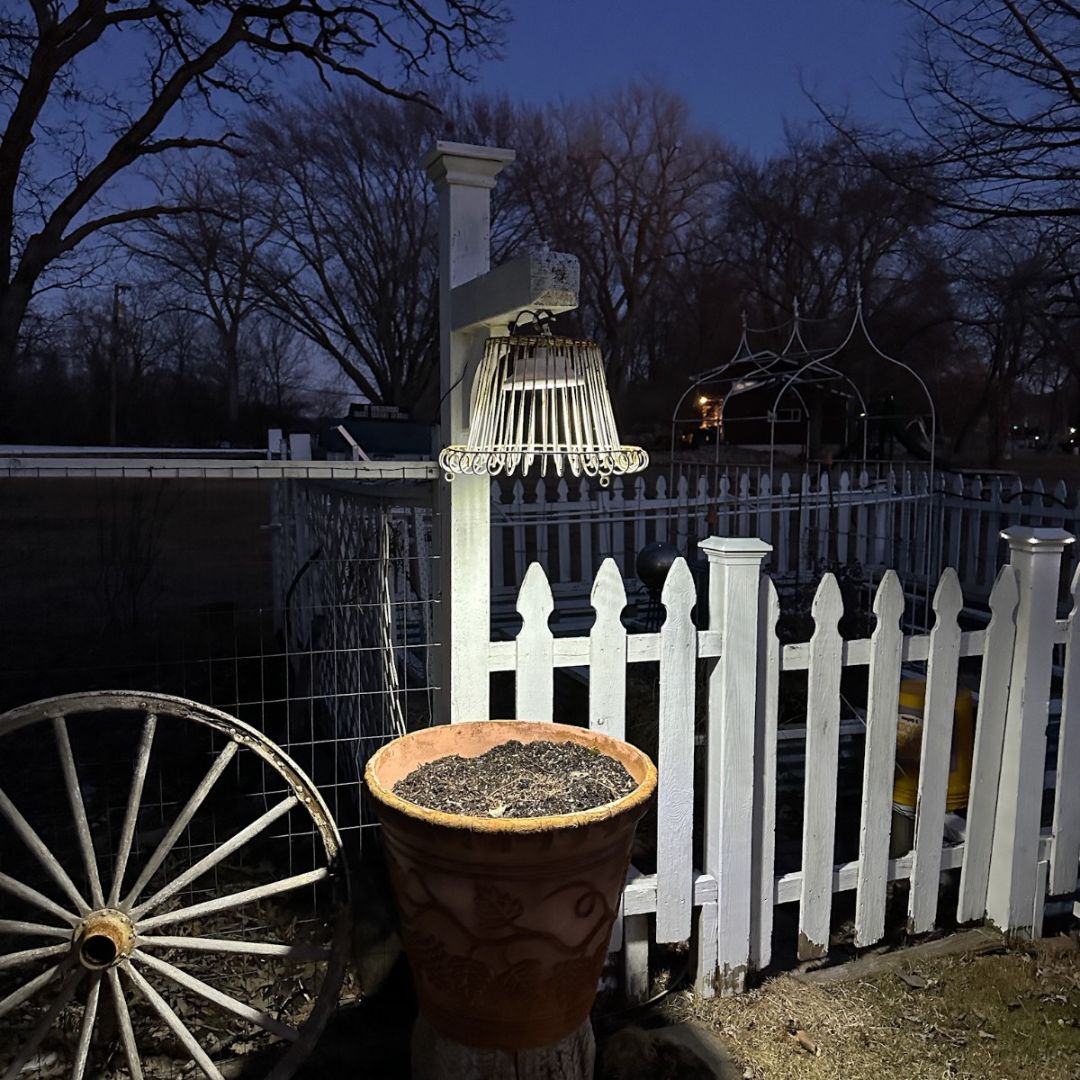
An old wheelbarrow can be repurposed into a stunning planter, overflowing with seasonal flowers or cascading greenery. And for those cooler evenings, a fire pit makes an excellent gathering spot, creating warmth and ambiance for outdoor entertaining. Mixing these elements together adds charm, personality, and functionality to your garden, making it a space you’ll enjoy year-round.
Other Spring Tutorials from WM Design House
If you love this upcycled yard tools wreath, you might also enjoy some of my other favorite wreaths:

Easy DIY Dollar Tree Easter Wreath (Egg-Bunny) Tutorial

How to make an Easy Easter DIY Carrot Wreath

Box Spring Upcycle: ( giving old mattress springs new life)
That’s a wrap for today! I hope you enjoyed this heartfelt story and the beauty that emerged from the ashes. Don’t forget to check out the links below to explore the stunning projects from fellow bloggers!


Did you make this craft?
We would love to see what you have created, so mention us @wmdesignhouse or tag us using #wmdesignhouse so we can see your creations!
More about me!

Hello, I’m Wendy – a dedicated homemaker with a deep passion for decorating, gardening, cooking, and crafting. I find joy in harmonizing beautiful elements to fashion a space that is both comfortable and inspiring. I will help you create a beautiful home, one project at a time.


You are so thoughtful Wendy, I am sure your friend was so touched that you created this wreath for her, something she will cherish for years to come. It was devasting watching the news and the tragic loss of so much. If anyone could turn ashes into beauty, it would be you. Thank you for sharing, and take care.
Wendy- My heart was breaking just looking at the photos of my burned down home. I love your idea of incorporating salvaged pieces into the wreath. What a lovely way to pay tribute to memories and honor the possibilities of the future.
Wendy, this is adorable for my she shed door! I see these rakes all the time when I am thrifting and now I am going to pick one up because I know what to do with it!
Such a beautiful way to honor your friend, Wendy. Your wreath is beautiful and something I know she will treasure for years to come. It’s a gorgeous reminder there’s always hope even among ashes. Sending you hugs and can’t wait to share on tomorrow’s From the Front Porch, CoCo
What a wonderful way to honor your friend. It is a beautiful wreath with rustic charm and sentimental meaning.
Wow Wendy. This is truly amazing. You are a priceless friend and I feel for your girlfriend and so many affected. I can’t even imagine. The thoughtfulness behind this project says so much. Thank you for sharing this with all of us. XO- MaryJo
Wendy, this is such a beautiful gift. I am sorry for your friend and countless others who lost everything.
Wendy – As always, so beautiful and what a gift for your friend. It honors what has been lost and gives hope to what can be again!
Wow, Wendy, the loss from these fires is unbelievable! I can’t imagine how difficult it has been for everyone in your area! It’s so wonderful that you were able to salvage items from this tragedy to make something beautiful for your friend! Thanks for sharing your creativity with us! Prayers for all!
This breaks my heart and fills me with joy at the same time. What a beautiful and special gift for your friend. You share beauty and love and in all that you do, Wendy!
What a beautiful project for a lovely friend honoring her loss, but also a wonderful friendship.!!!
Oh Wendy this is amazing. What a special story of hope and healing for your sweet friend! The wreath looks SO pretty and I love the bow. Such a loving gesture towards those who lost their homes in the fires.
What a beautiful wreath project and heart tugging story behind it! Making something so sentimental for your friend brings tears to my eyes! Love it!