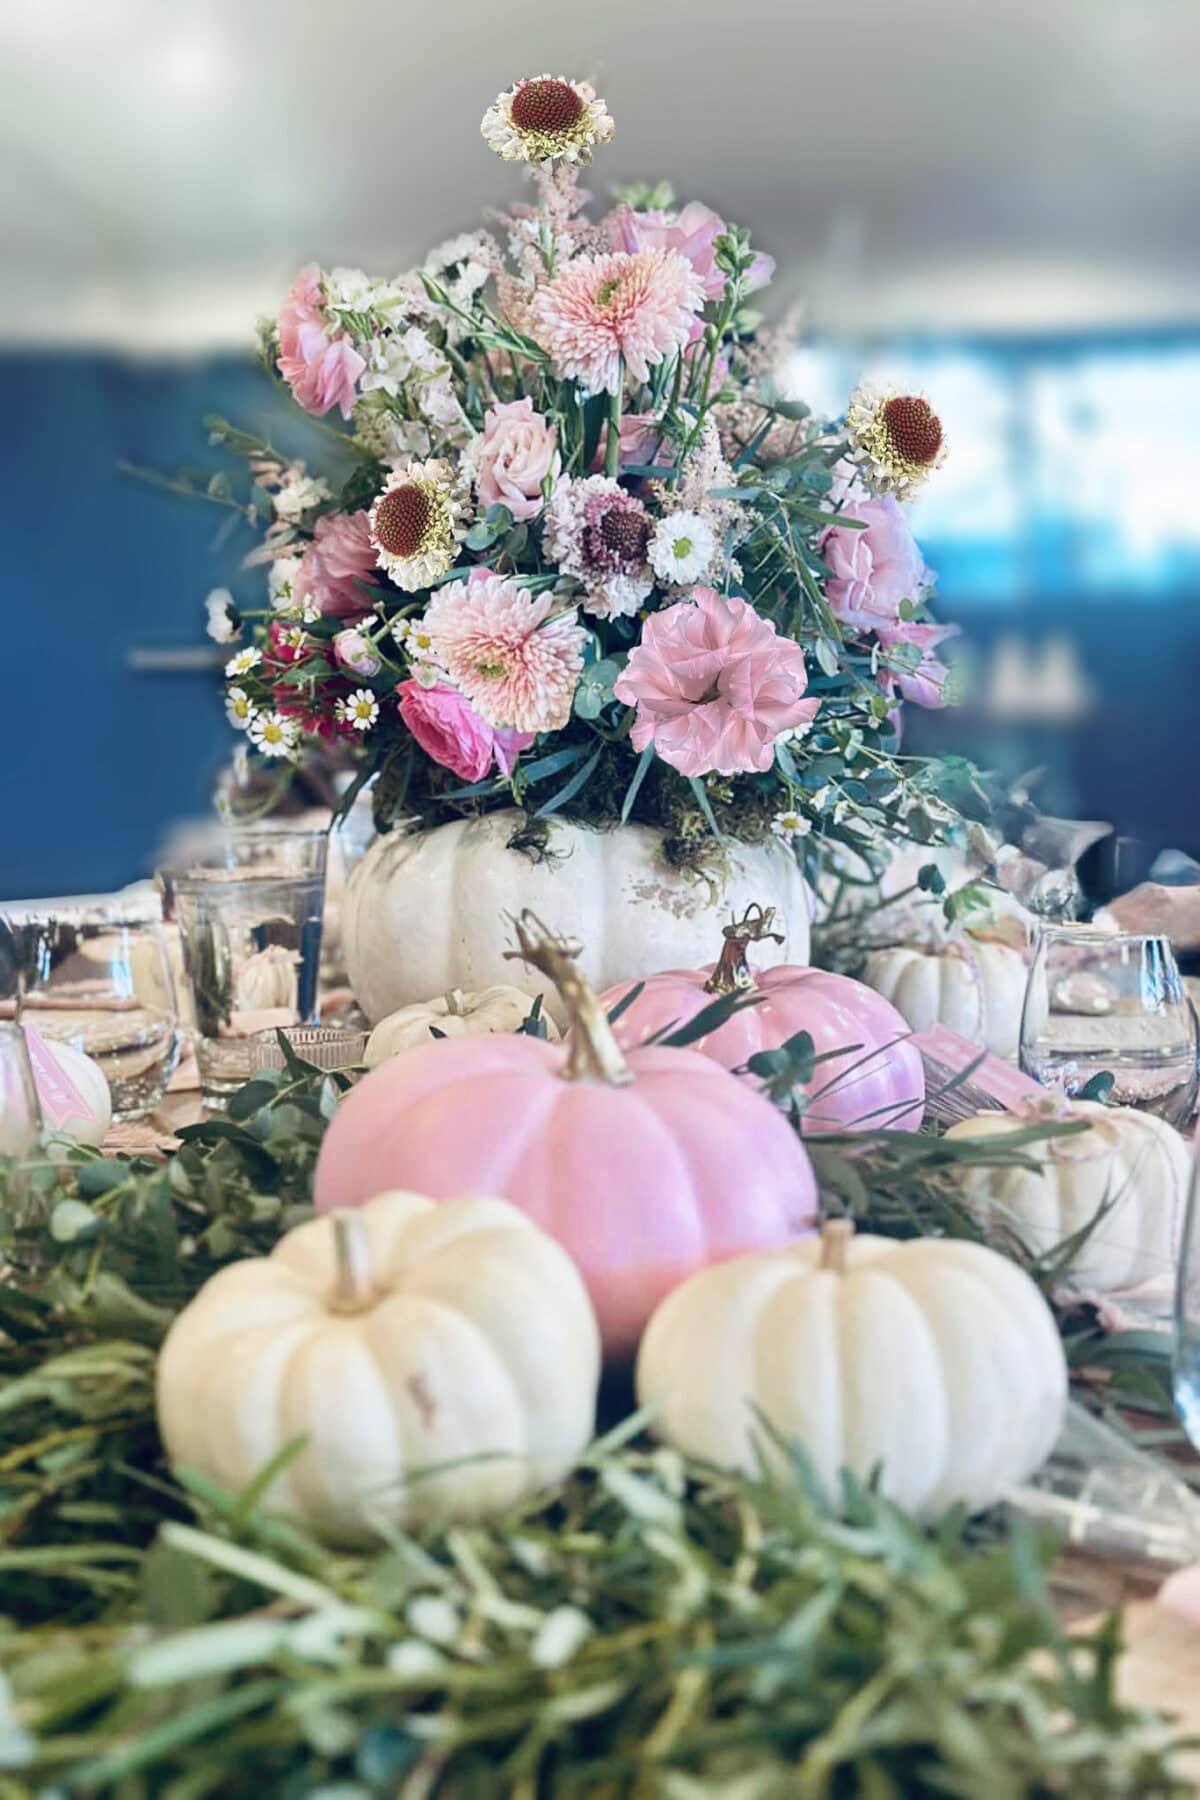
OH BABY! DIY White Pumpkin Flower Arrangement
If you know me, you know I have a soft spot for pumpkins, any color pumpkins — and this one might just be my favorite yet! I recently had the privilege of decorating for my girlfriend’s daughter’s baby shower, and it couldn’t have been more special. The theme was “My Little Pumpkin,” the sweetest way to welcome her new baby girl.
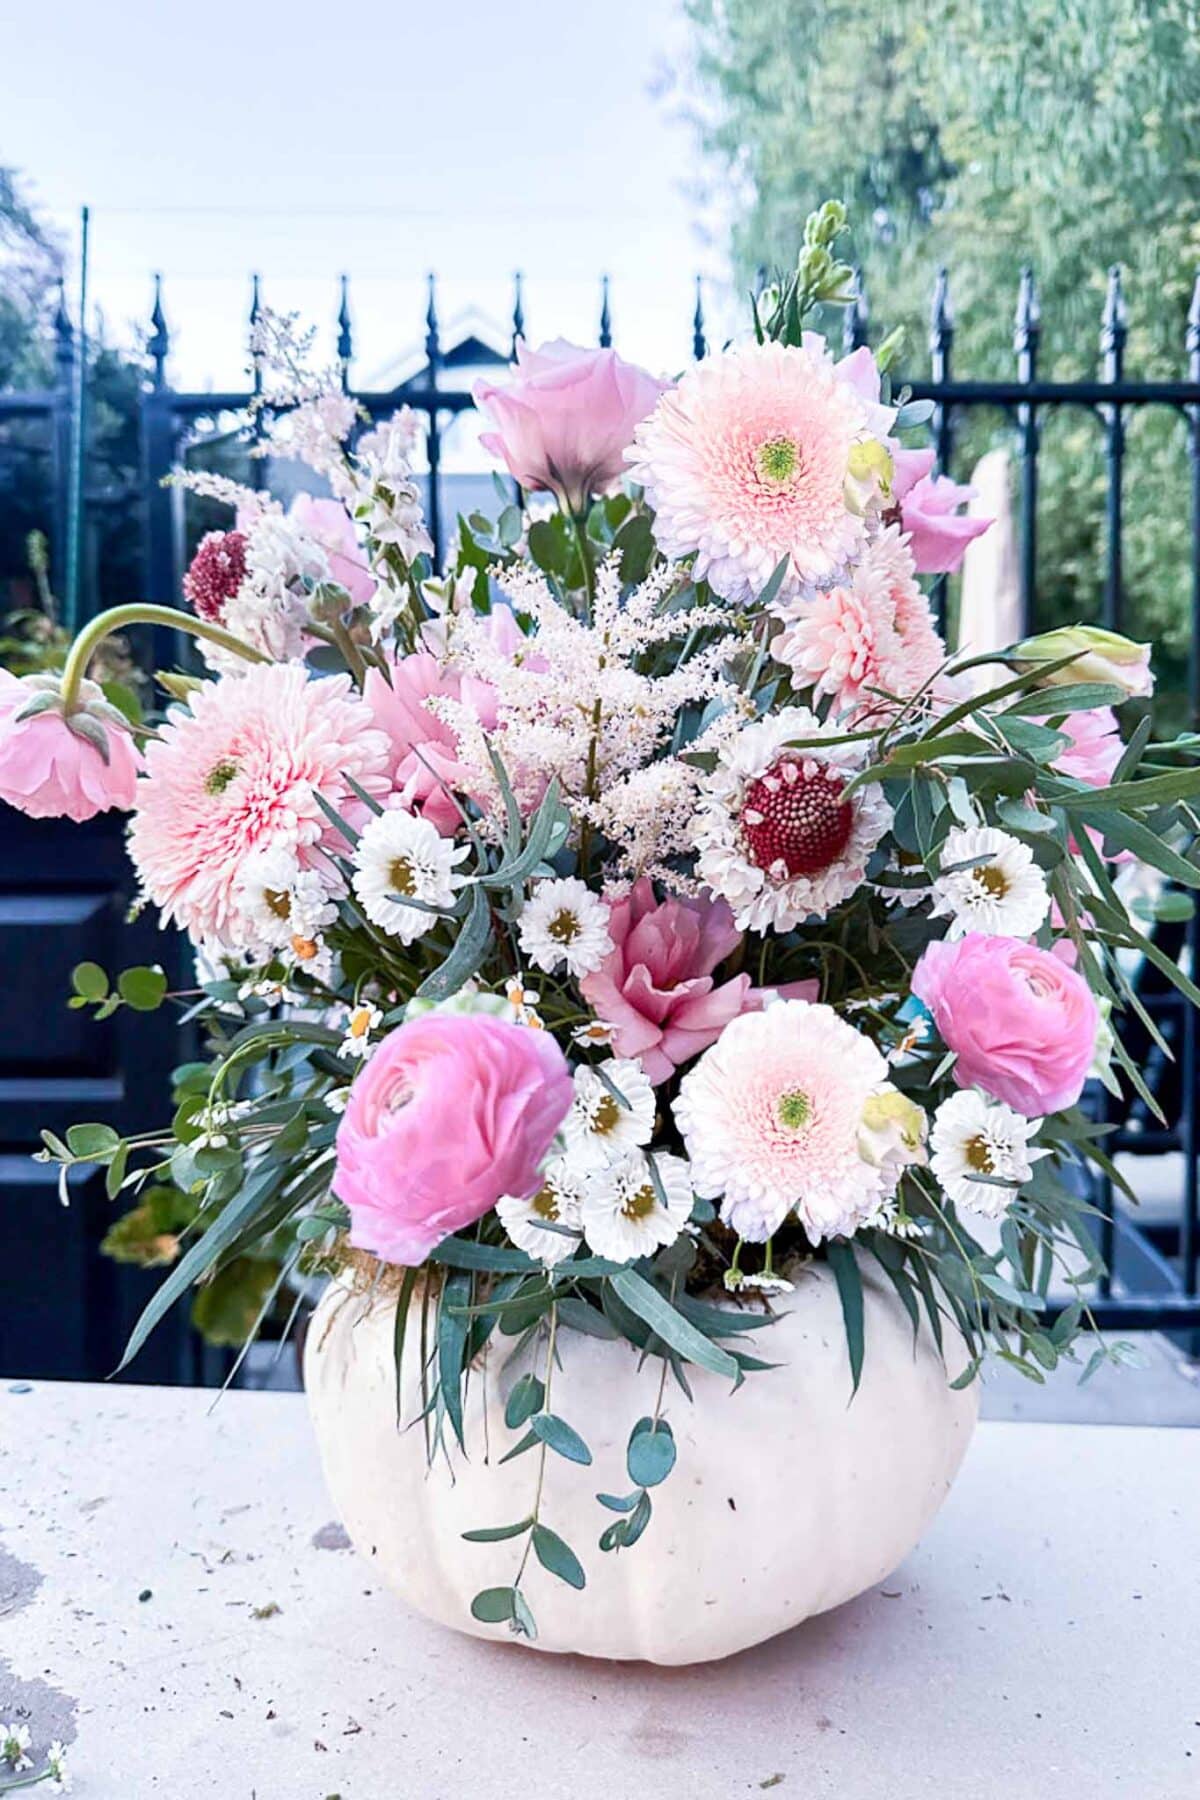
It was the perfect time of year to celebrate with pumpkins, flowers, and soft pink tones. To bring the theme to life, I created this white pumpkin flower arrangement — a simple, elegant centerpiece that captures the warmth of fall and the joy of new beginnings. Whether you’re planning a baby shower, hosting a fall gathering, or just love fresh seasonal decor, this easy DIY will add the perfect touch of charm to your celebration.
On my blog WM Design House, I may sometimes use affiliate links, which means a small commission is earned if you purchase via the link. The price will be the same whether you use the affiliate link or go directly to the vendor’s website using a non-affiliate link. Read my full disclosure policy here.
Why a White Pumpkin Makes the Perfect Centerpiece

“White pumpkins are like a blank canvas — soft, simple, and elegant enough for any celebration.”
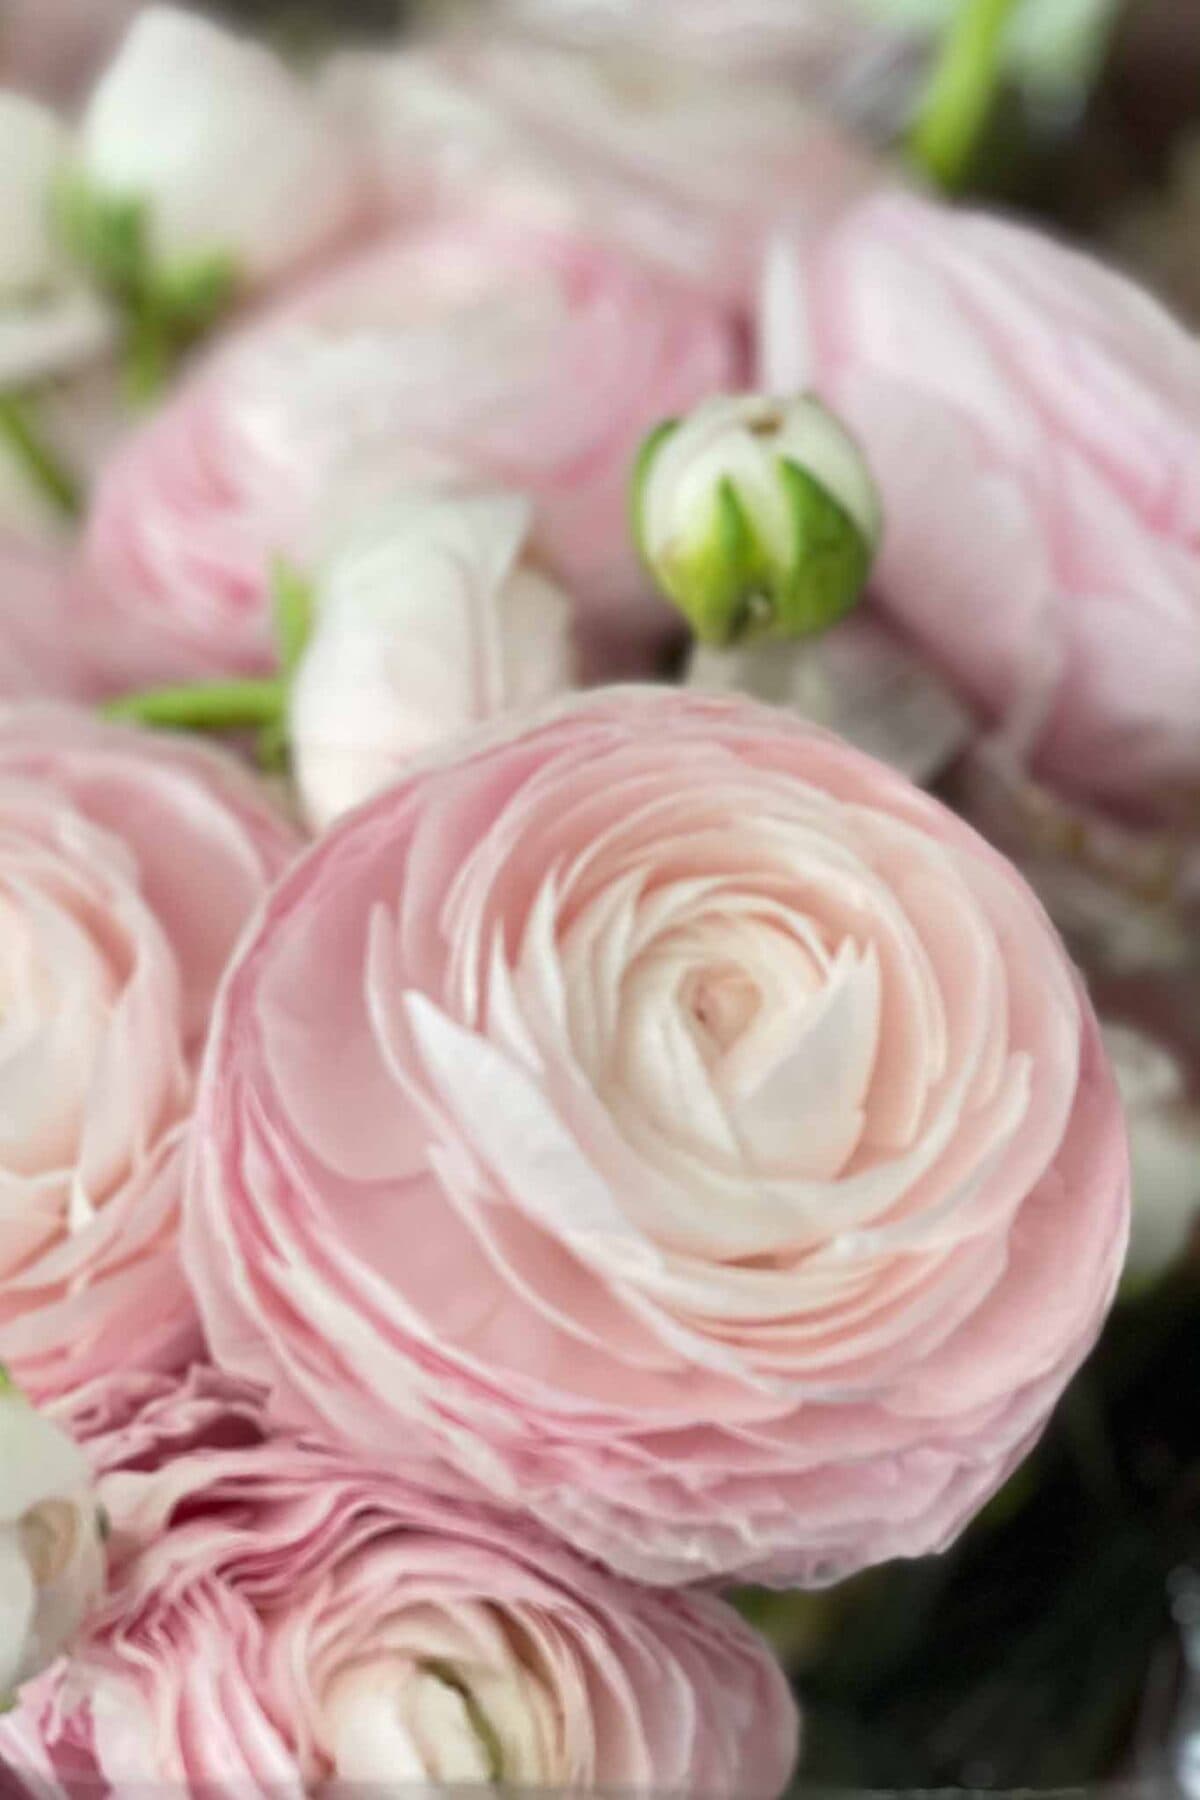
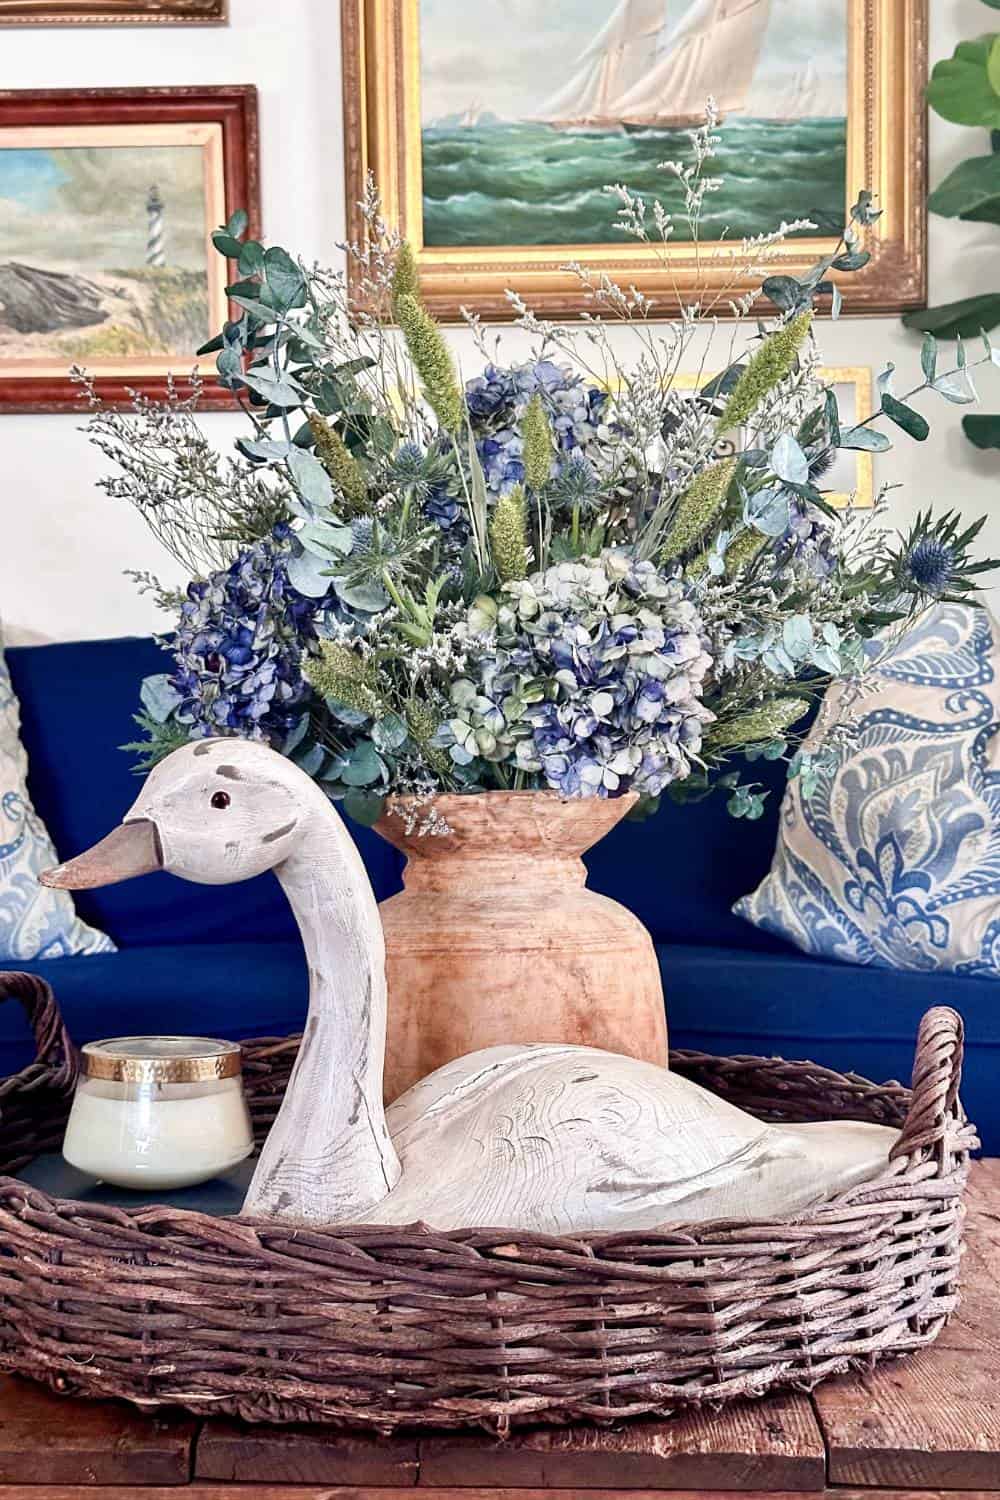
There’s something timeless about white pumpkins — they are elegant, neutral, and allow your flowers to take center stage. The creamy tones pair beautifully with blush, pink, peach and soft greenery, creating a dreamy color palette that feels warm and welcoming.
Whether you’re planning a Little Pumpkin baby shower or simply love understated fall décor, this project is the perfect mix of seasonal and sophisticated. And by all means, you can change up the color scheme to fit your decor.
The best part is I do not cut into the pumpkin, so you don’t have to worry about your pumpkin going bad.
DIY White Pumpkin Flower Arrangement
Equipment
- 1 Pair of garden sheers
- 1 Roll of floral tape
Materials
- 1 Medium white pumpkin real or faux
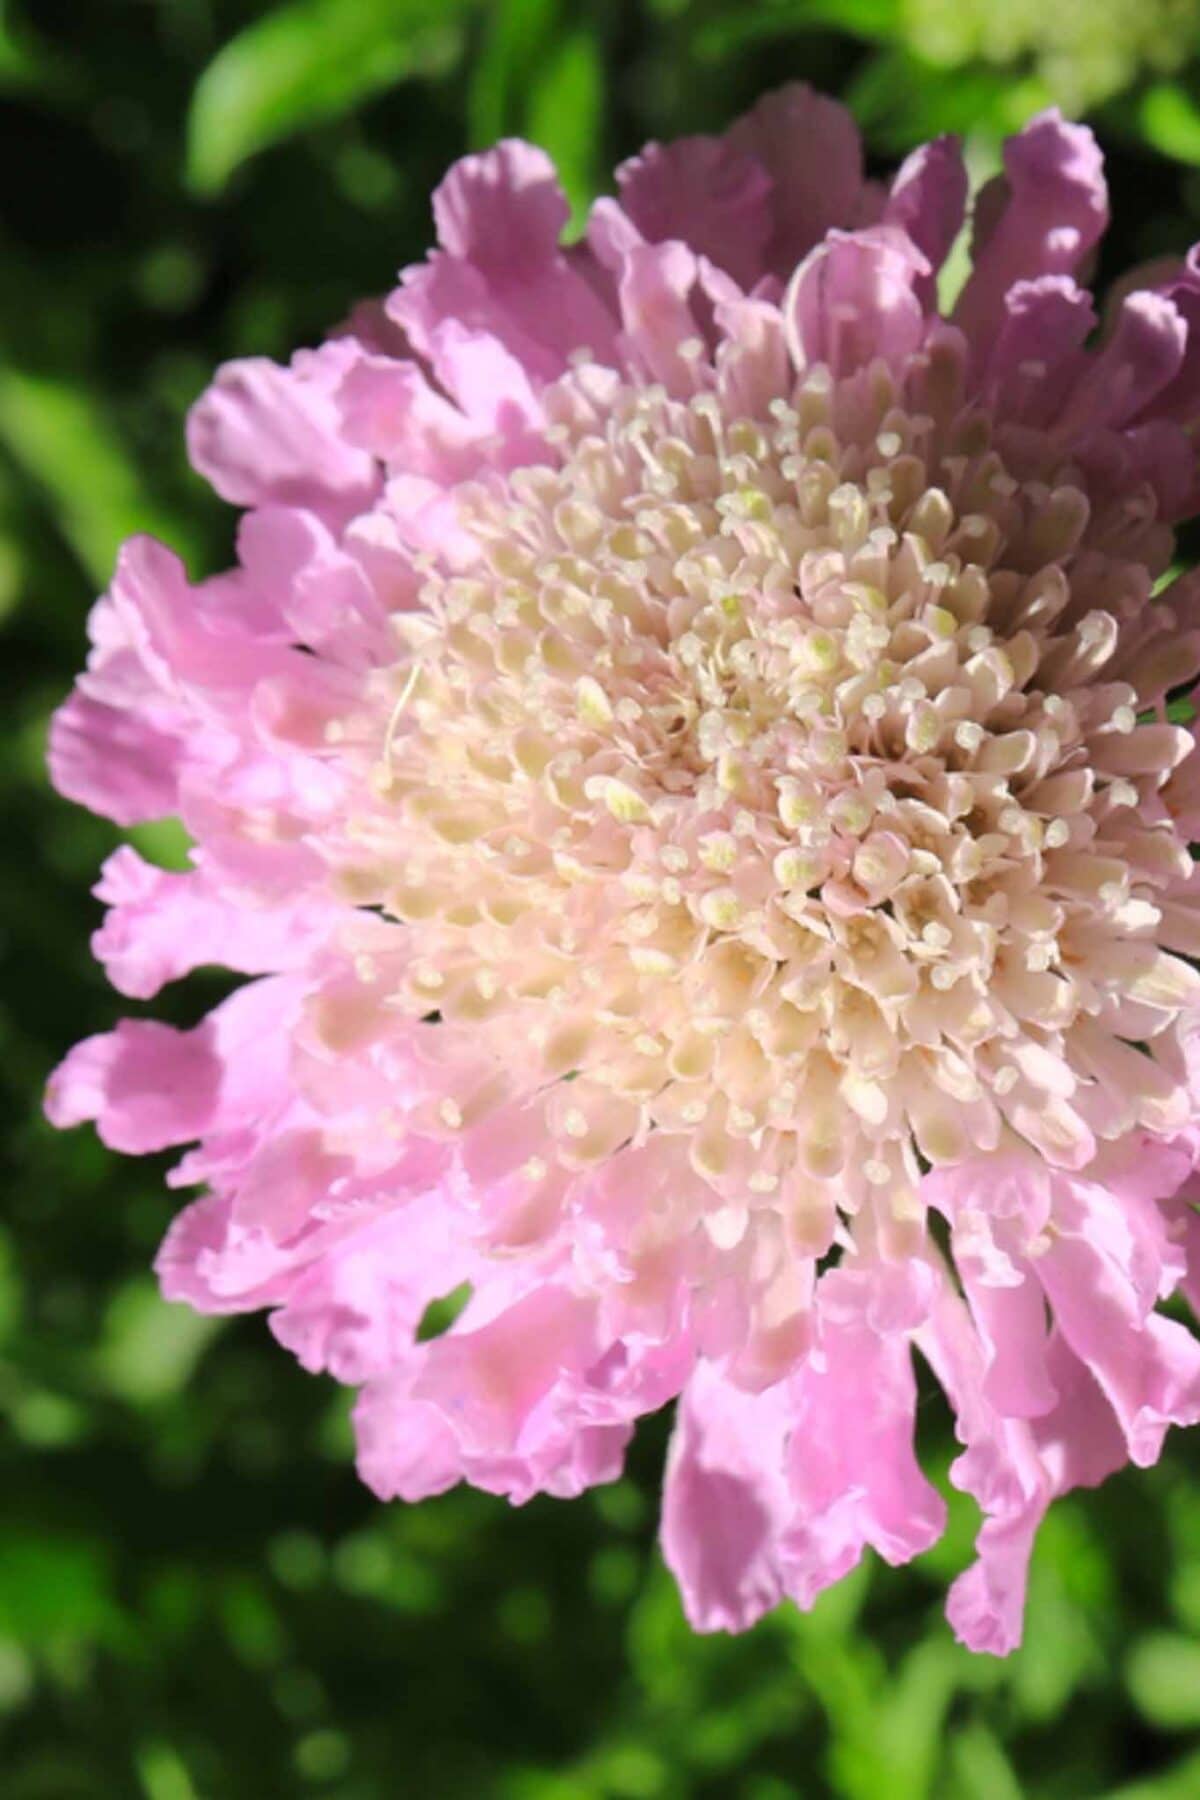
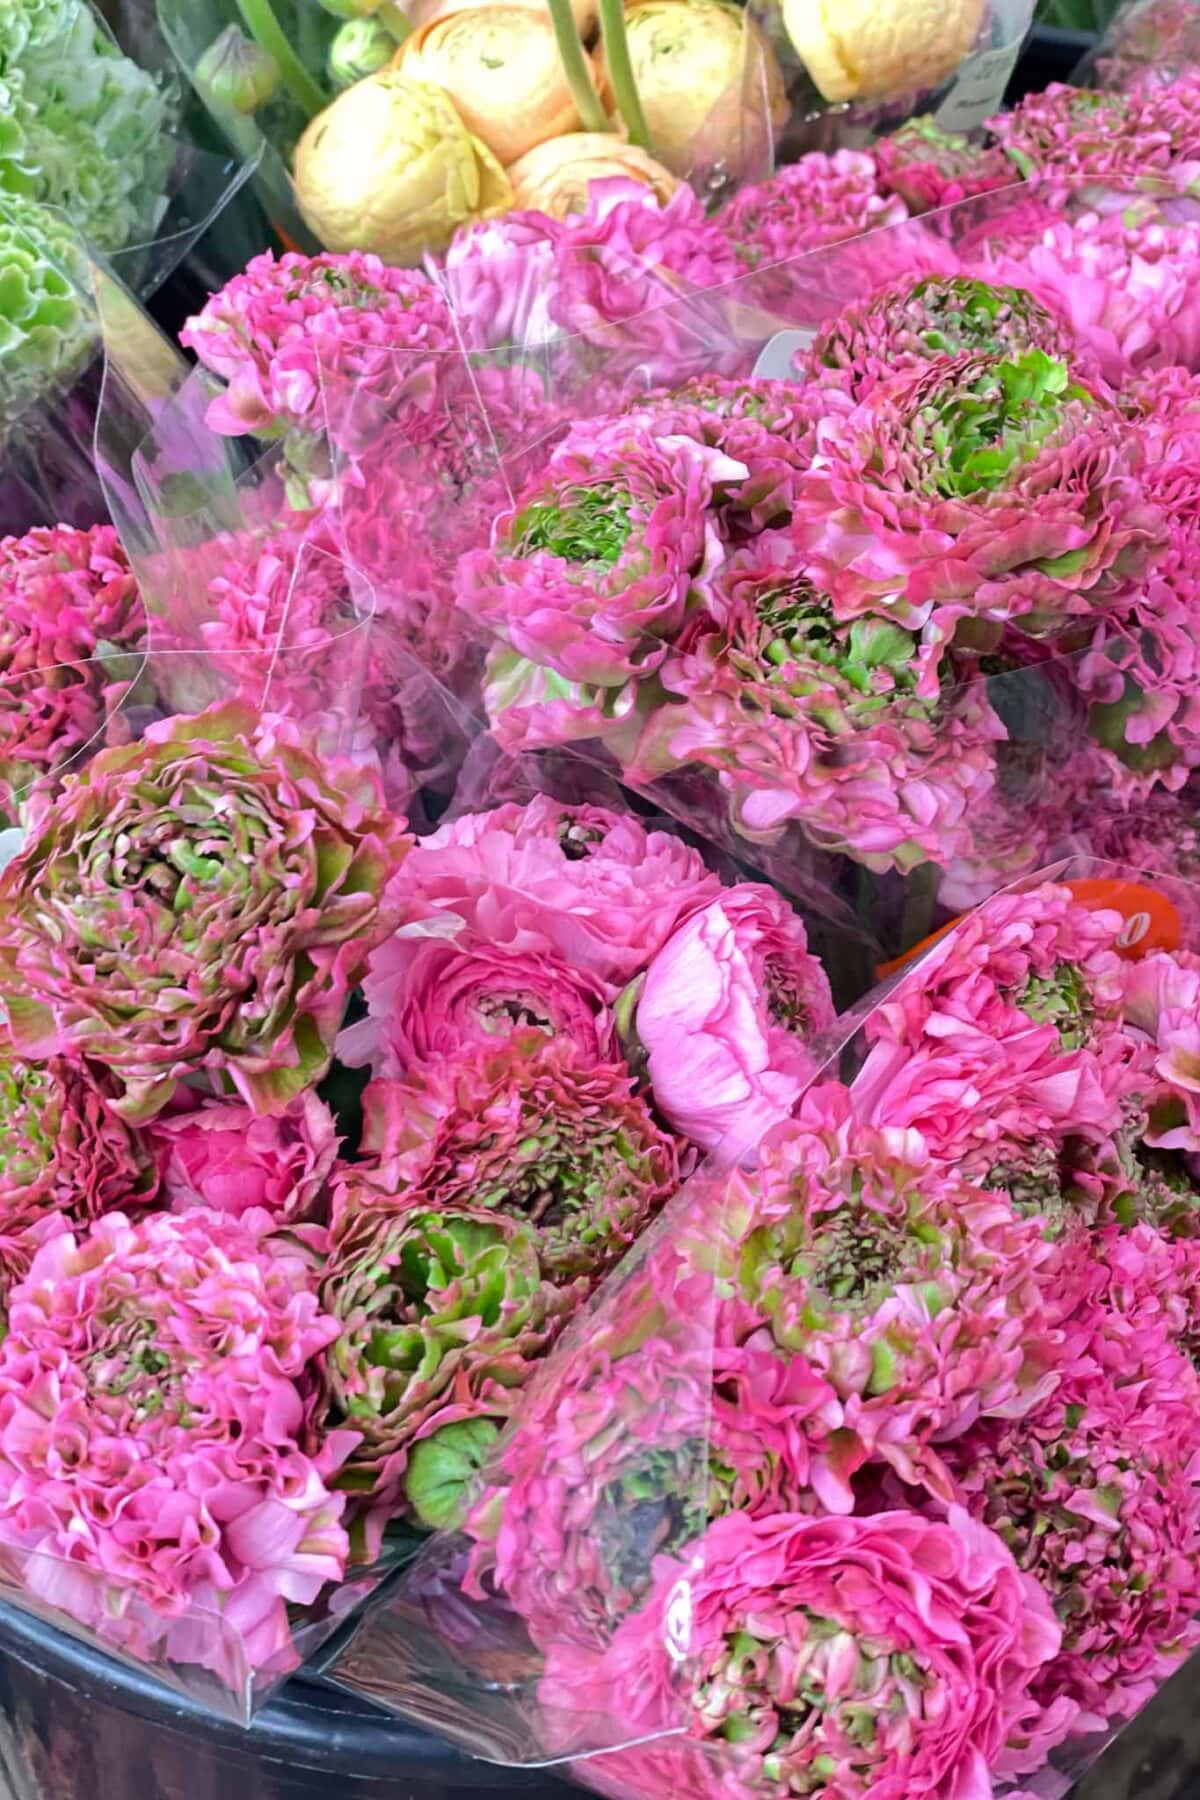
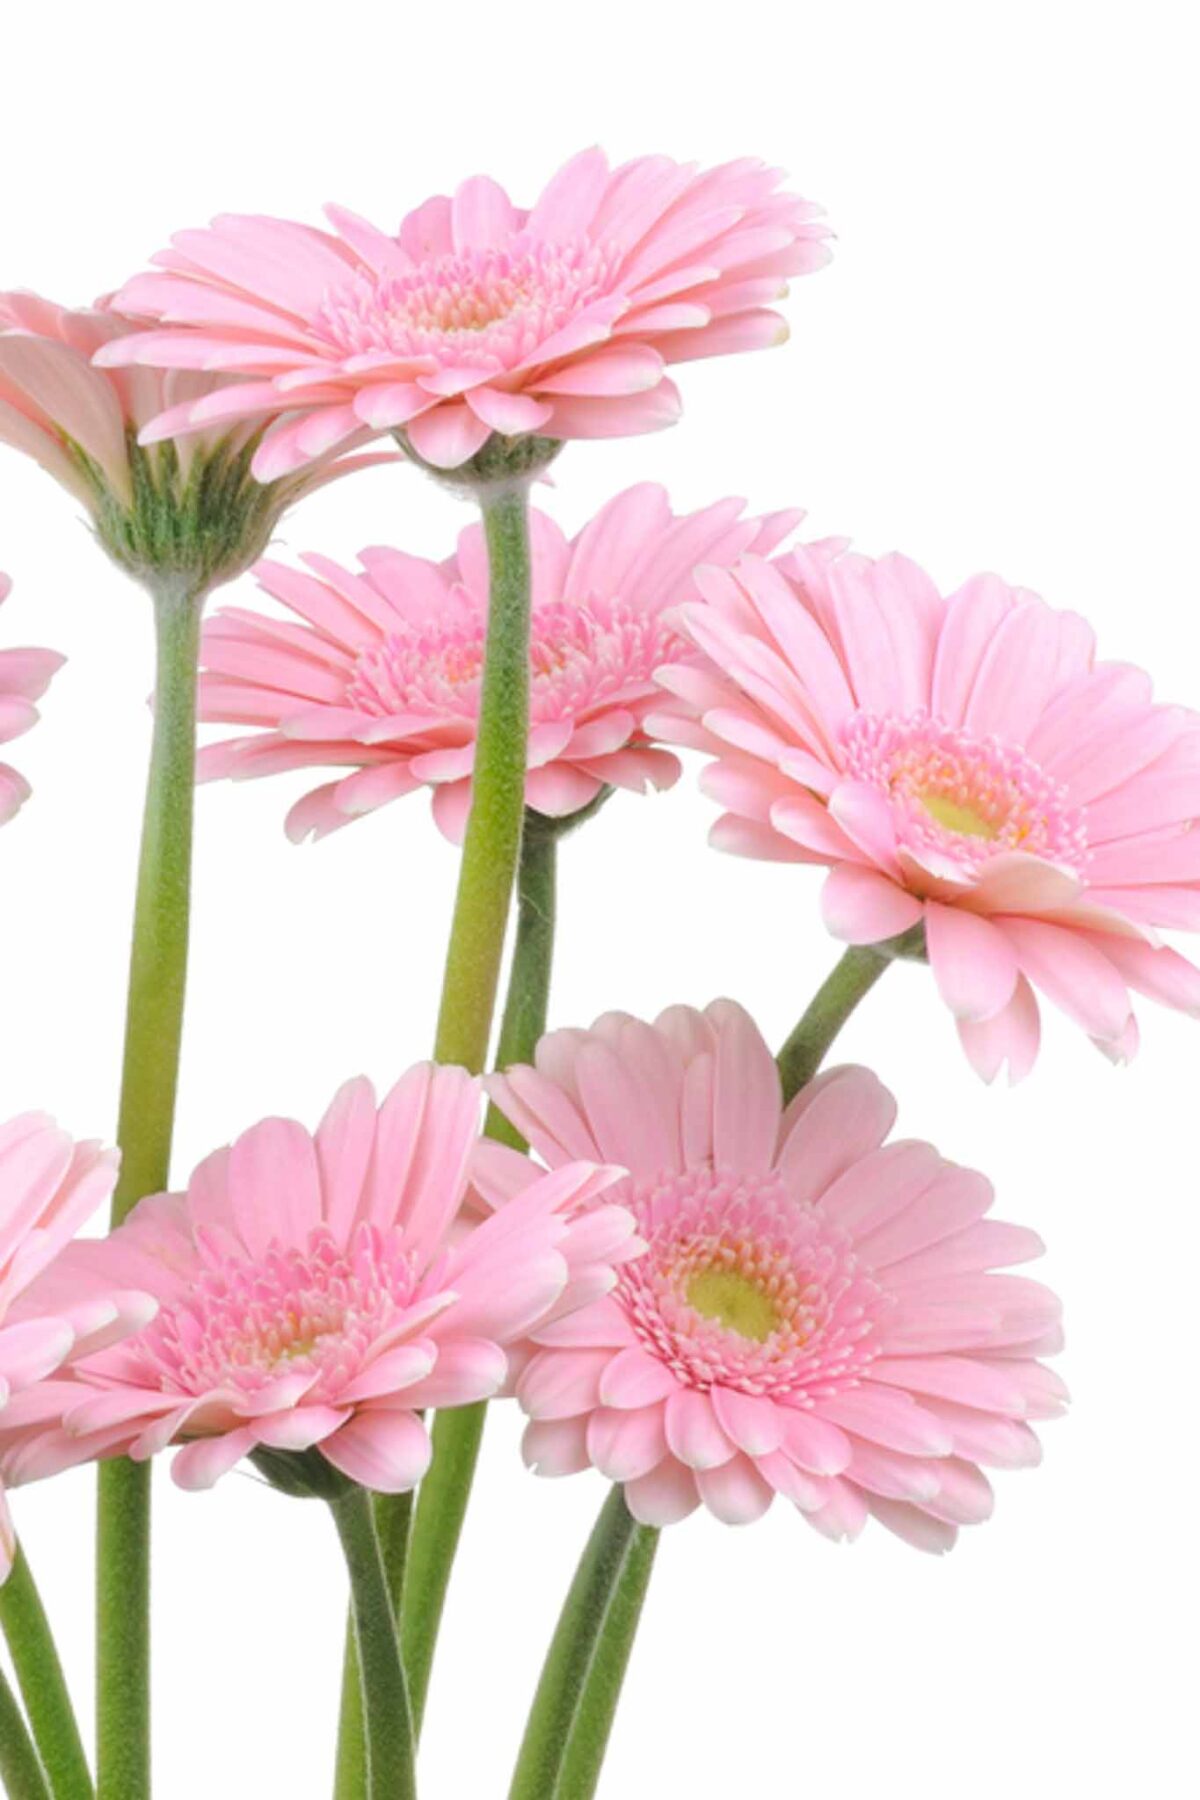
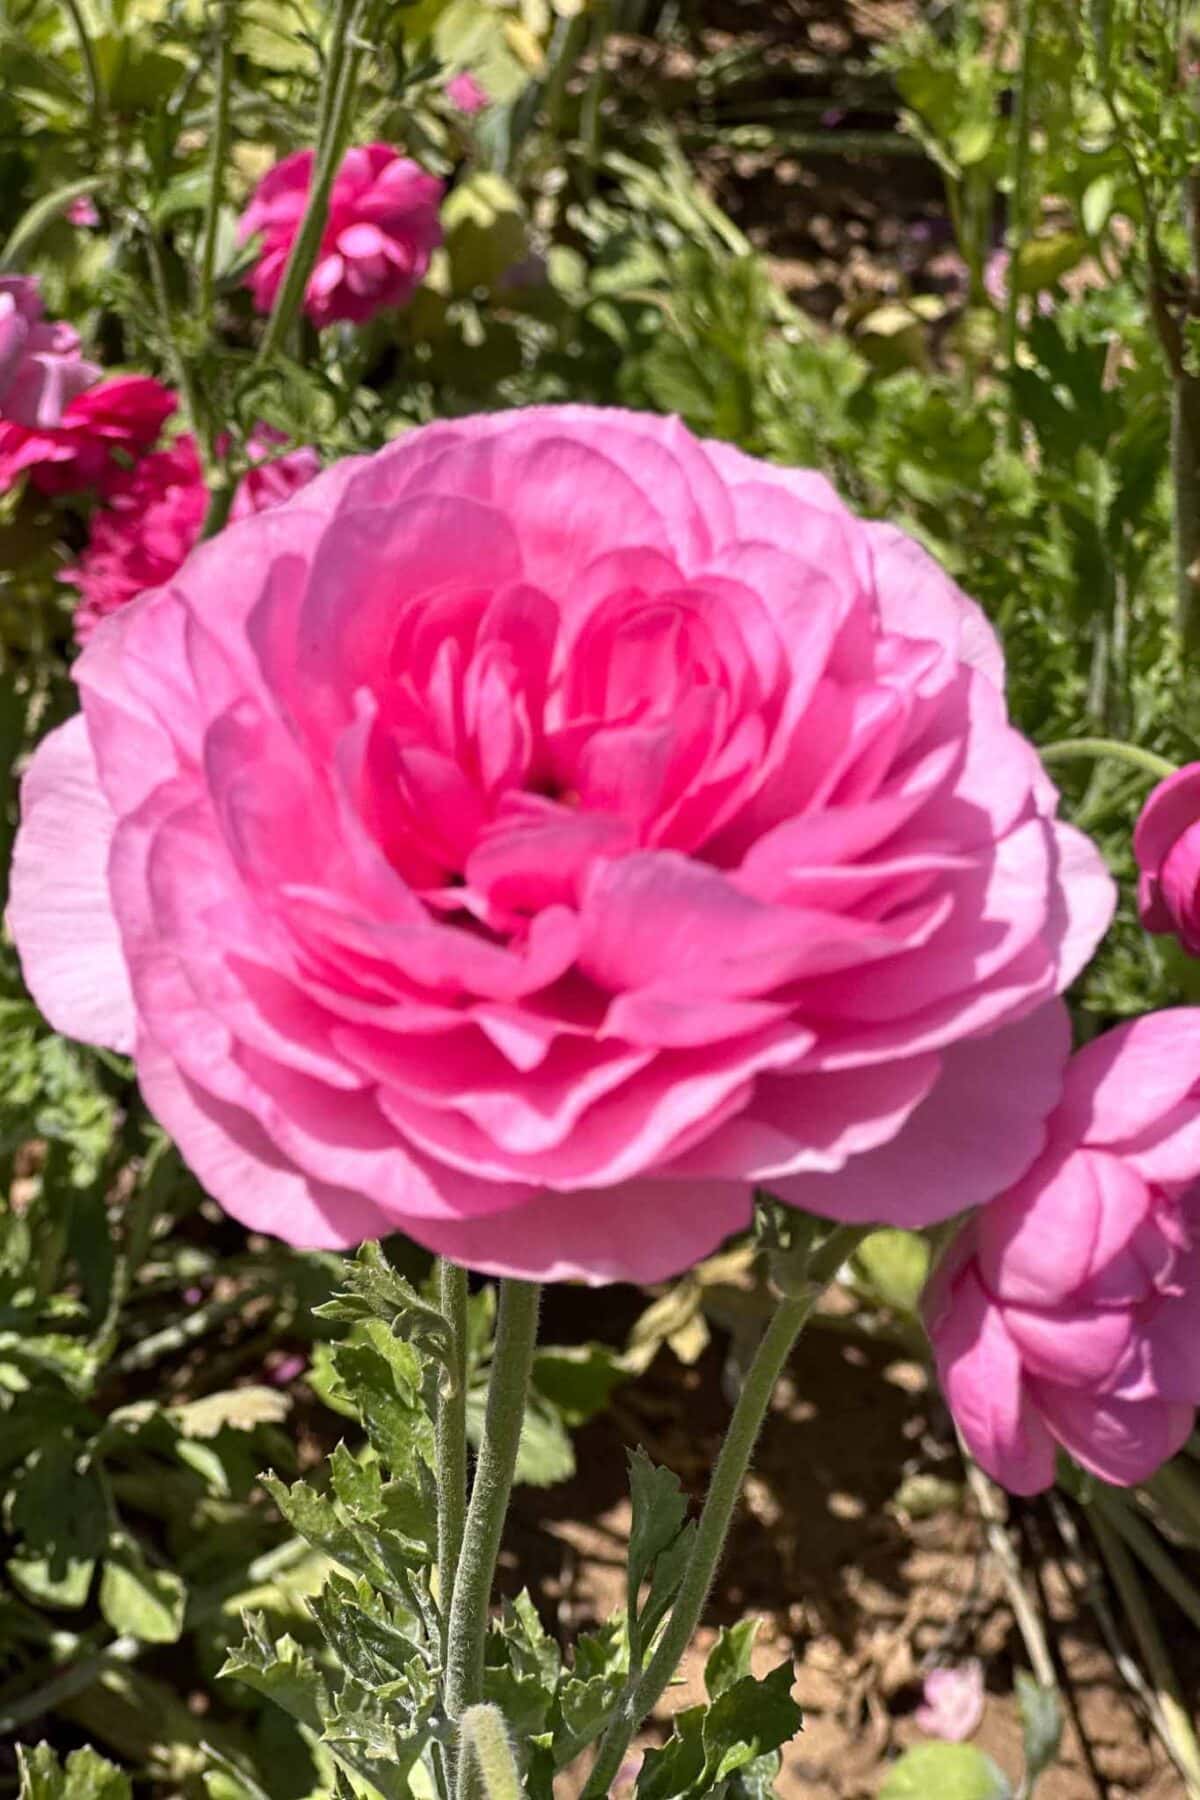
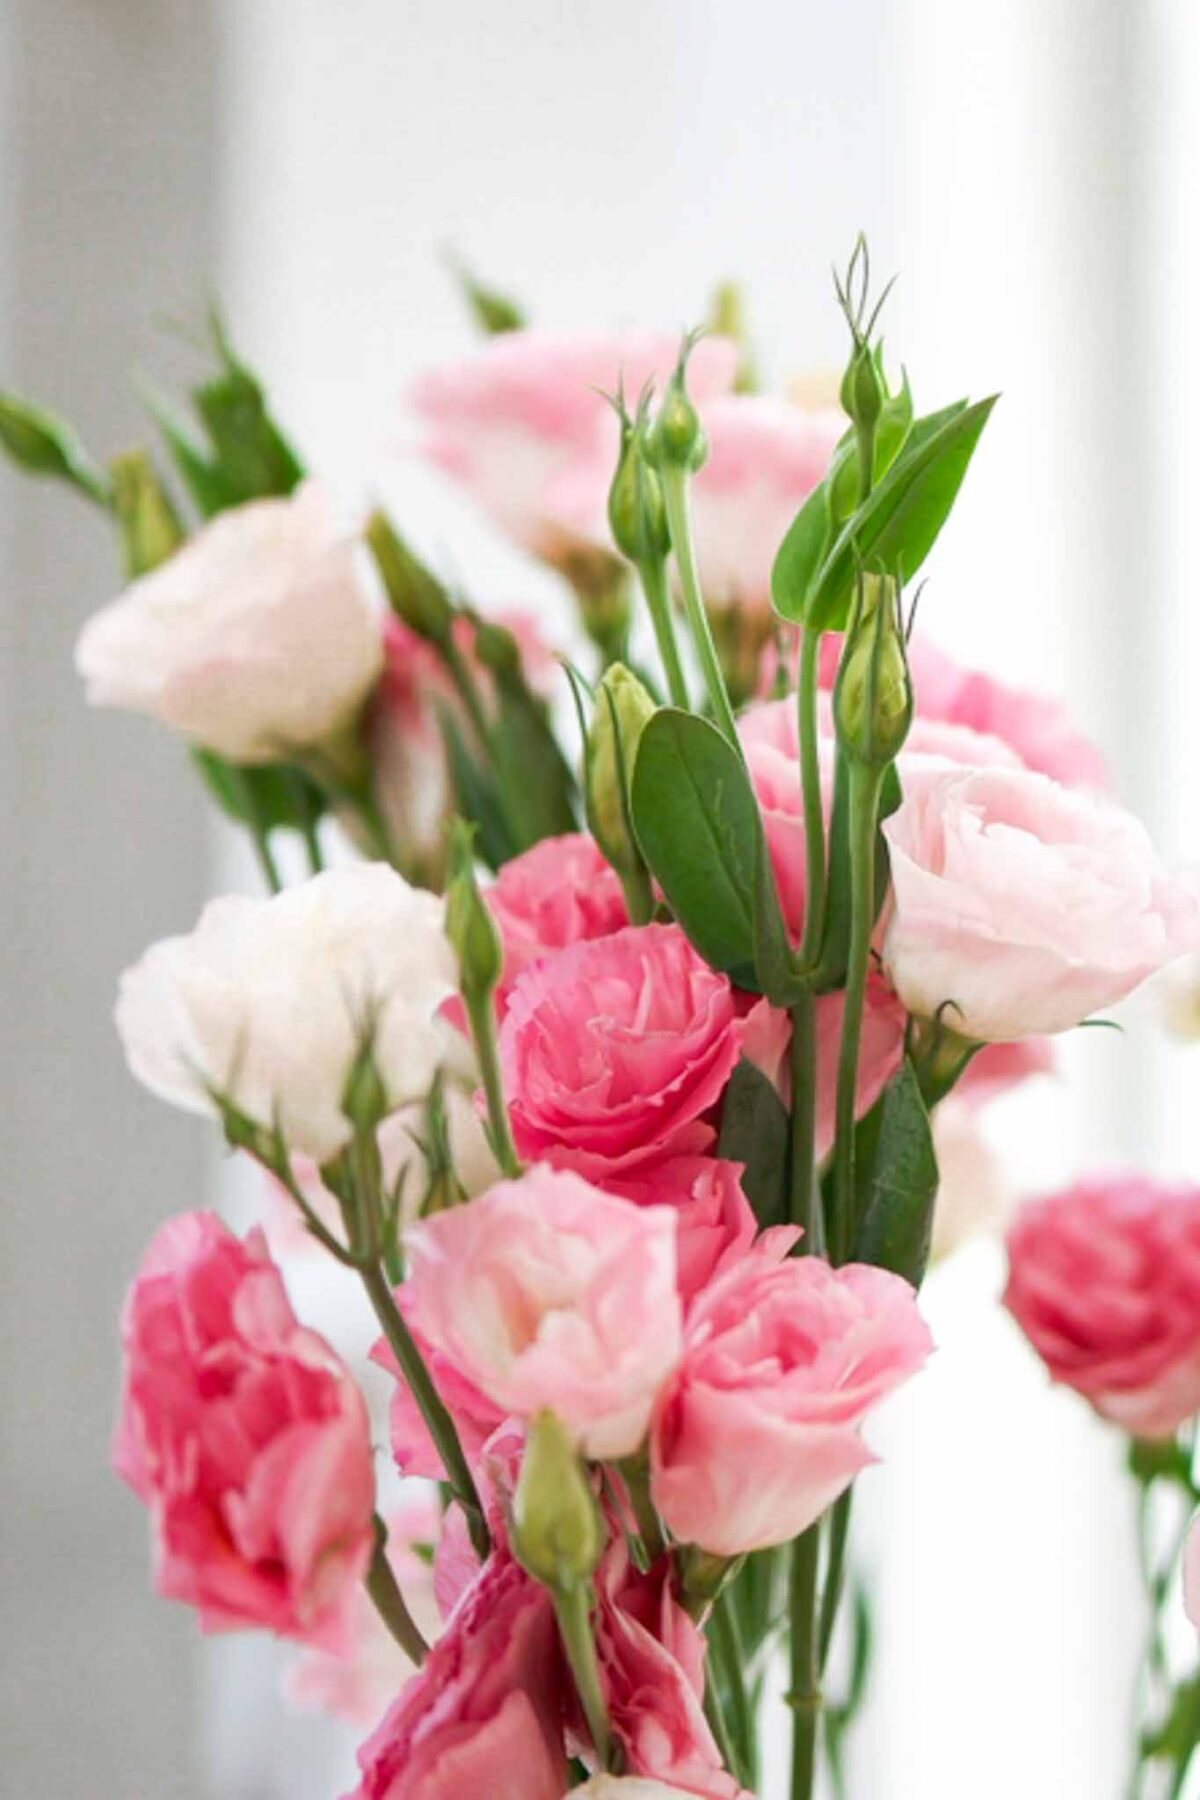
- 3-5 Bunches of fresh flowers dahlias, ranunculus, eucalyptus, lisianthus, pincushions, gerber daisy's
- 1 Bunch of fresh eucalyptus
- 1 6" round tray with a lip jar, or floral foam
- 1 Bag Green moss
- 1 Wet foam block
Instructions
- Wash and dry your pumpkin; remove the stem.
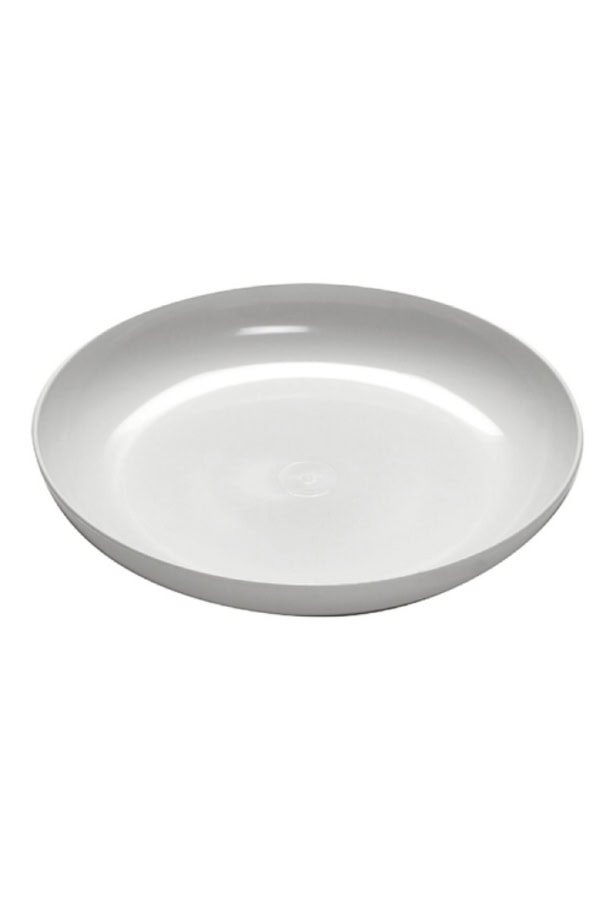
- Place a shallow 6-inch dish on top of the pumpkin.
- Soak floral oasis for 20 minutes, then cut to fit the dish.
- Add moss around the oasis to hold it in place and hide the edges.
- Start with eucalyptus or greenery to create your base shape.
- Add focal flowers such as lisianthus and gerbera daisies.
- Layer in ranunculus, pincushion flowers, and astilbe for texture.
- Finish with roses, chamomile, and small white daisies to fill gaps.
- Mist with water to keep flowers fresh and store in a cool spot until ready to display.
How to Make a White Pumpkin Flower Arrangement
Creating this arrangement is simple and can be done in just a few easy steps.
Step 1: Prepare your Pumpkin
Ready to make your own white pumpkin flower arrangement? Follow these simple steps to create this soft and elegant fall centerpiece.
- Wash your pumpkin well if you choose to use a fresh one.
- Remove the stem (Never throw it away — you may want to dry your pumpkin stem and use it for another fun project like one of my 23 pumpkin ideas.)
Step 2: Prepare your Flowers
Before you start your flower arranging, take a few minutes to prep your blooms — this will help them last longer and make arranging so much easier.
- Remove excess foliage.
- Strip away any leaves that would fall below the water line to prevent bacteria growth and keep the water fresh.
- Trim and prep your greenery.
- Cut each stem to your desired length, creating a variety of heights for a natural, layered look. Remove extra leaves from the lower portion of the stems.
- Wire delicate blooms for stability.
- Flowers like gerbera daisies tend to have soft stems that can bend easily. Insert floral wire through the base of the bloom and wrap it gently along the stem to give it extra support when arranging.
Step 3: Prepare your Flower Arrangement Base
I started with a shallow 6-inch white plastic dish to build my arrangement in, then placed it on top of the pumpkin. This method keeps the pumpkin whole and prevents it from rotting.
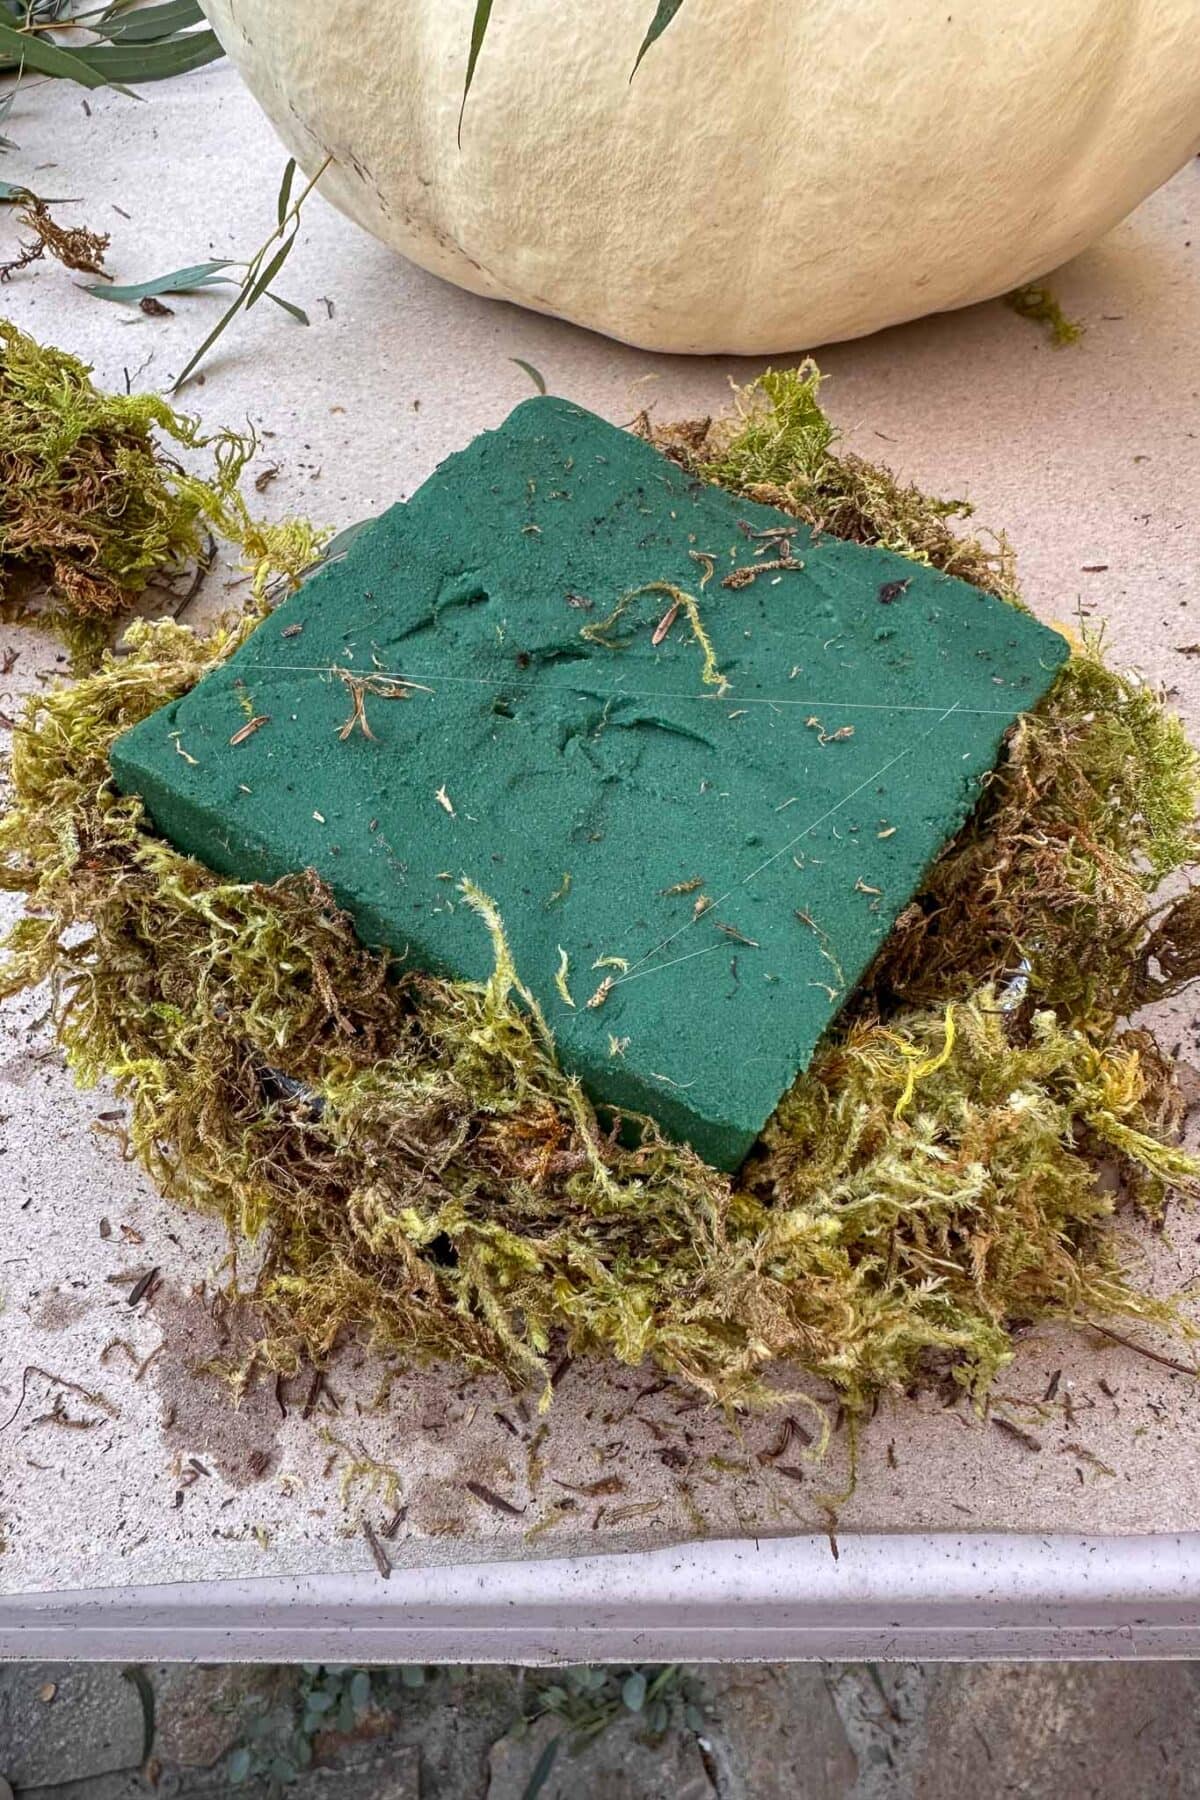
- Add Your Oasis
- Soak a block of floral oasis in water for about 20 minutes, allowing it to fully absorb moisture. Once saturated, cut the oasis to fit snugly inside your dish.
- Add Moss
- Tuck moss around the edges to secure the oasis in place and hide the sides of the dish. This not only keeps everything neat but also gives your arrangement a beautiful, finished look.
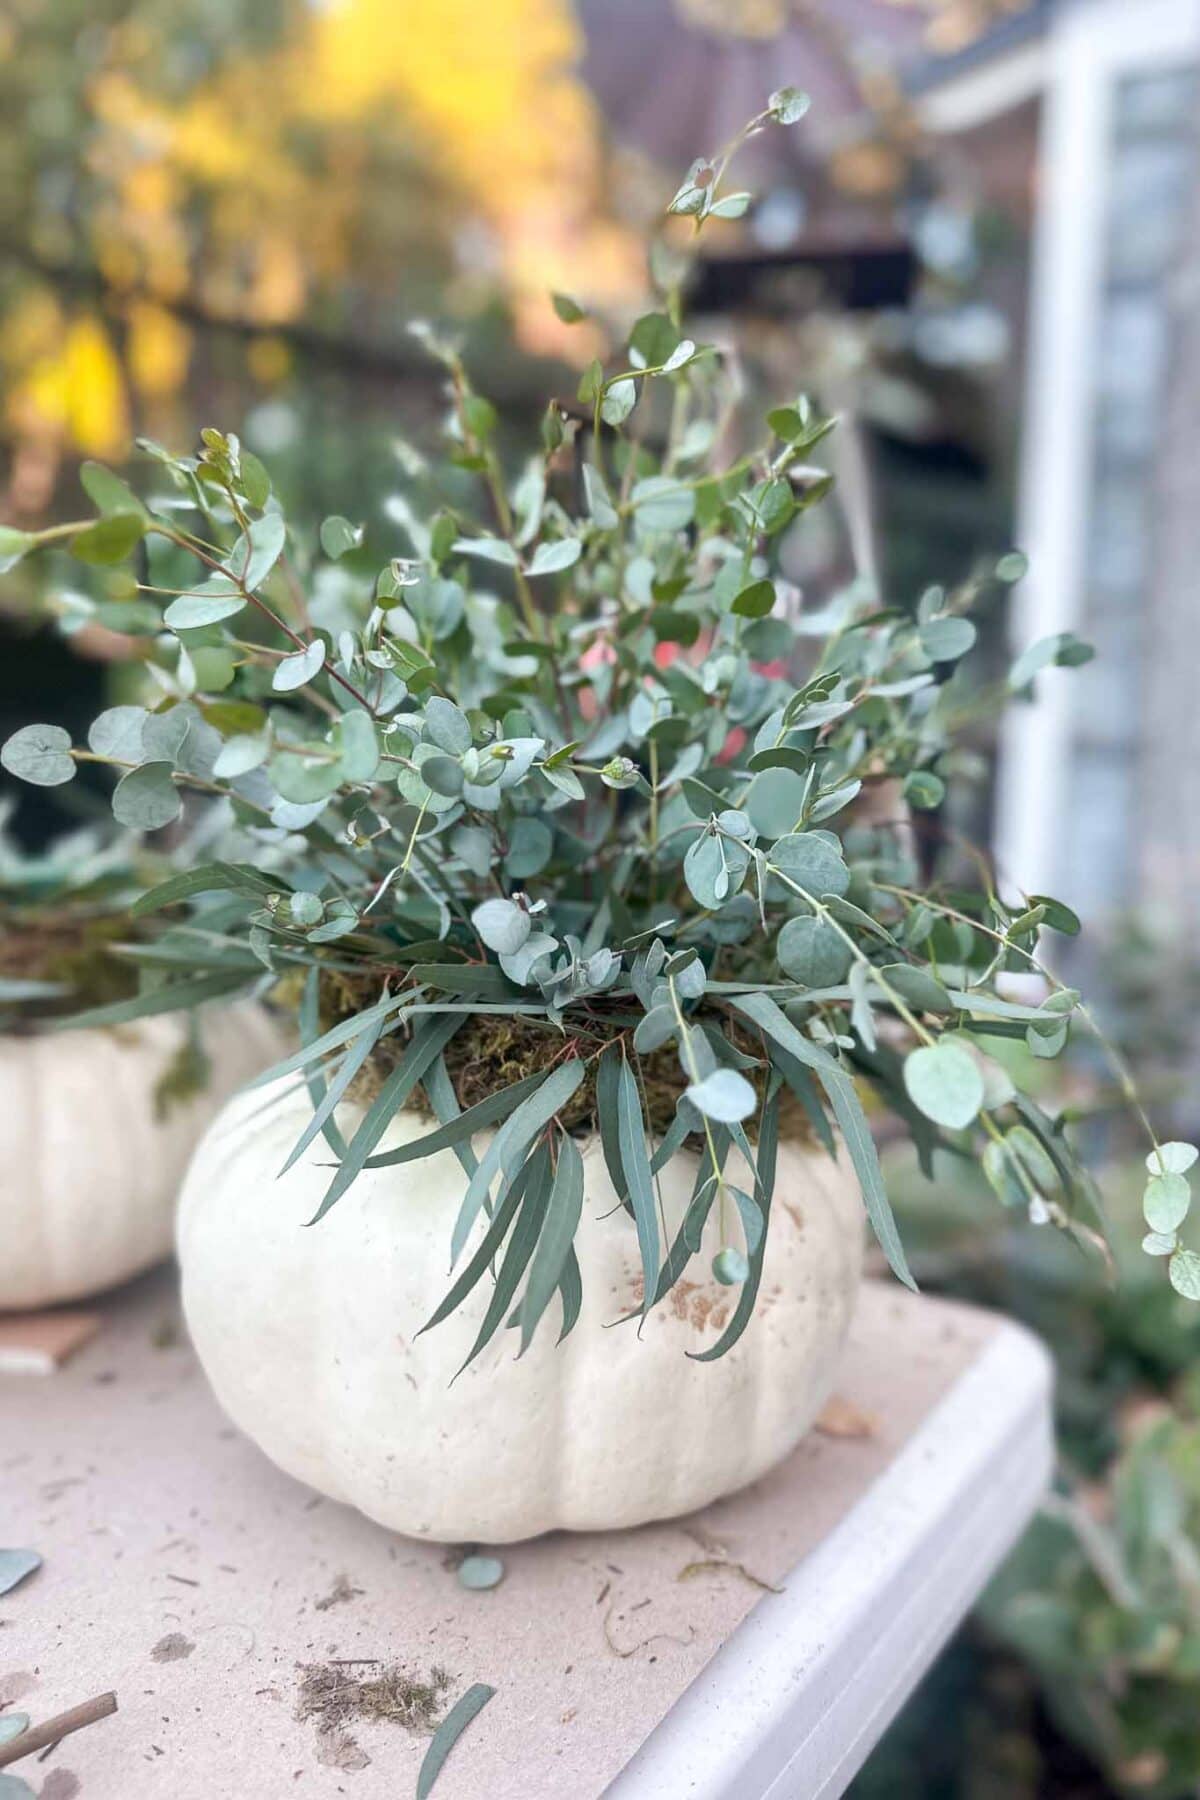
Step 4: Add your Greenery
Start your design by adding greenery such as eucalyptus or ruscus to outline the shape and flow of your arrangement.
- Add Greenery
- Start with eucalyptus (I used both long leaf eucalyptus and silver dollar eucalyptus) or other foliage to create a loose, natural shape. This sets the foundation for your flowers.

Step 5: Layer your blooms
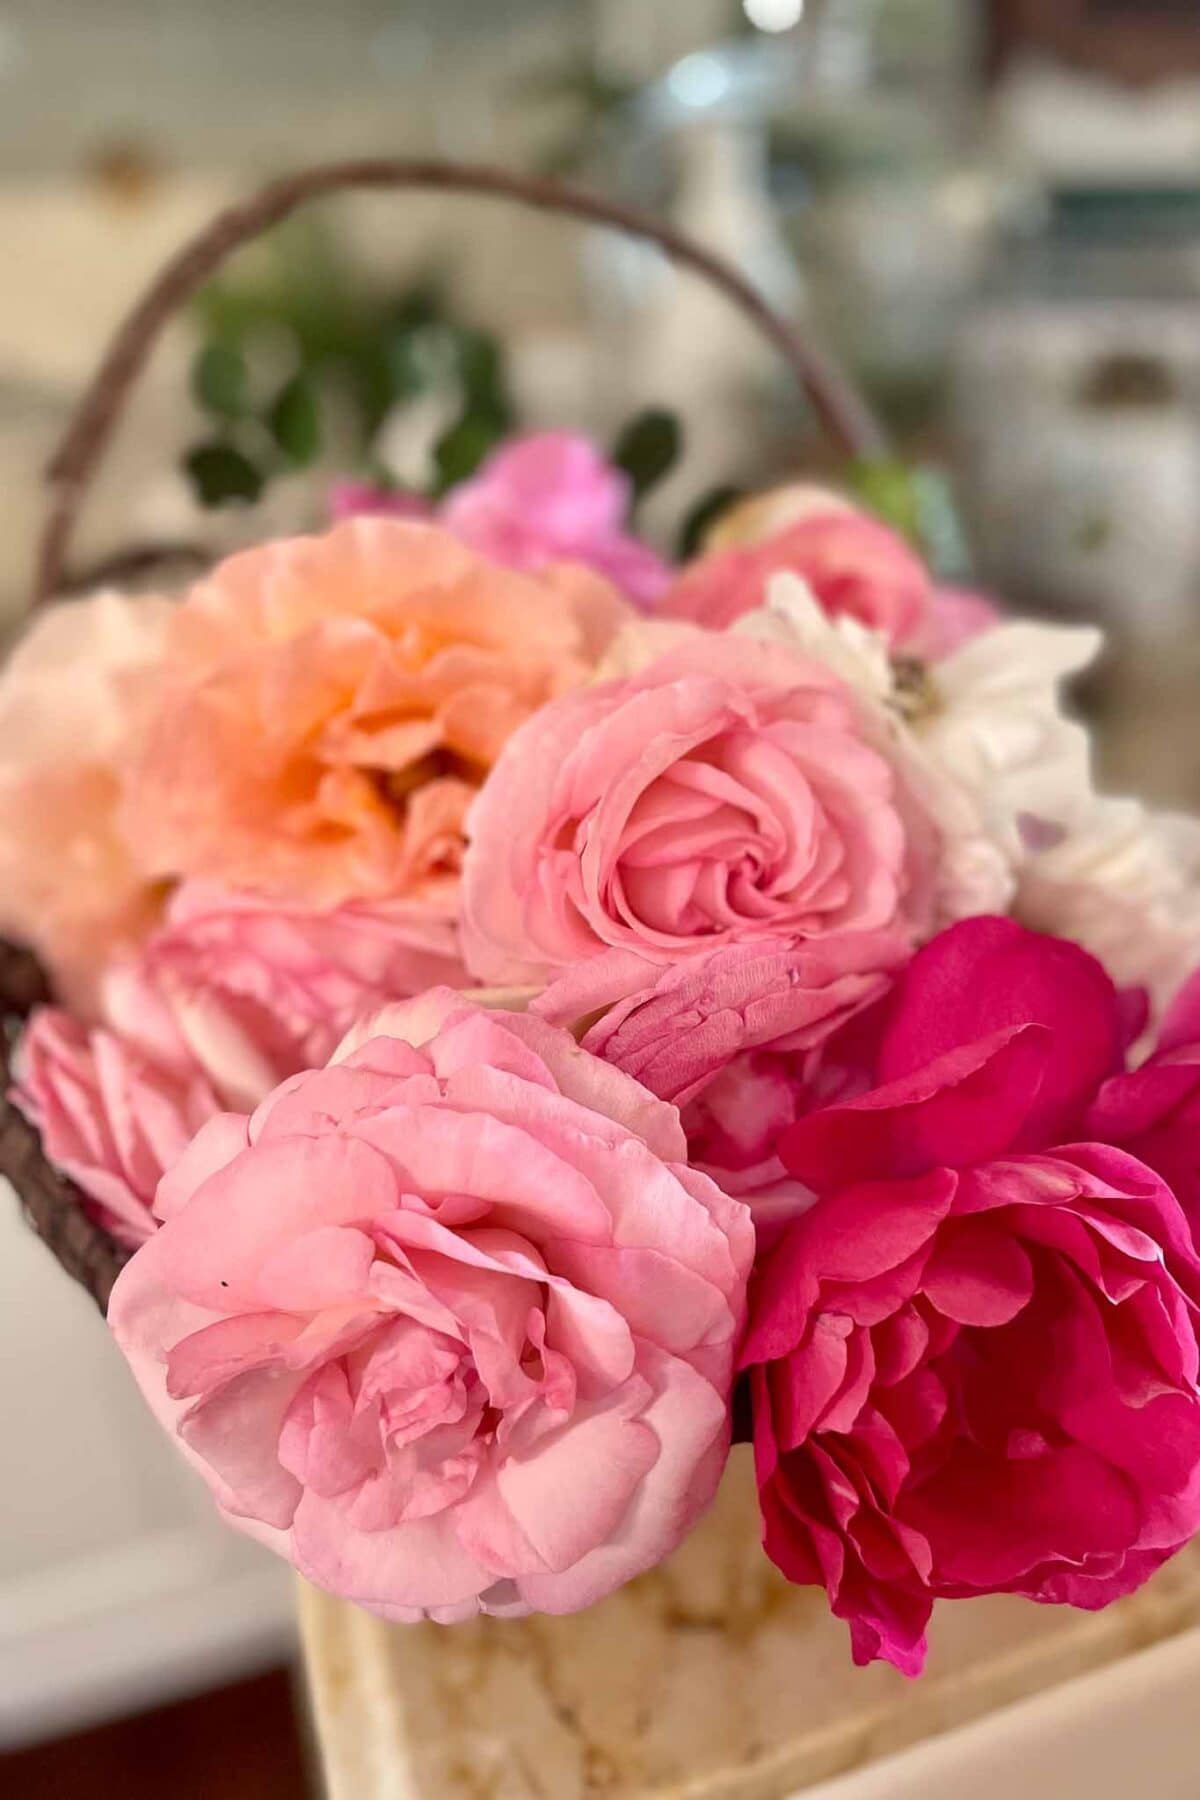
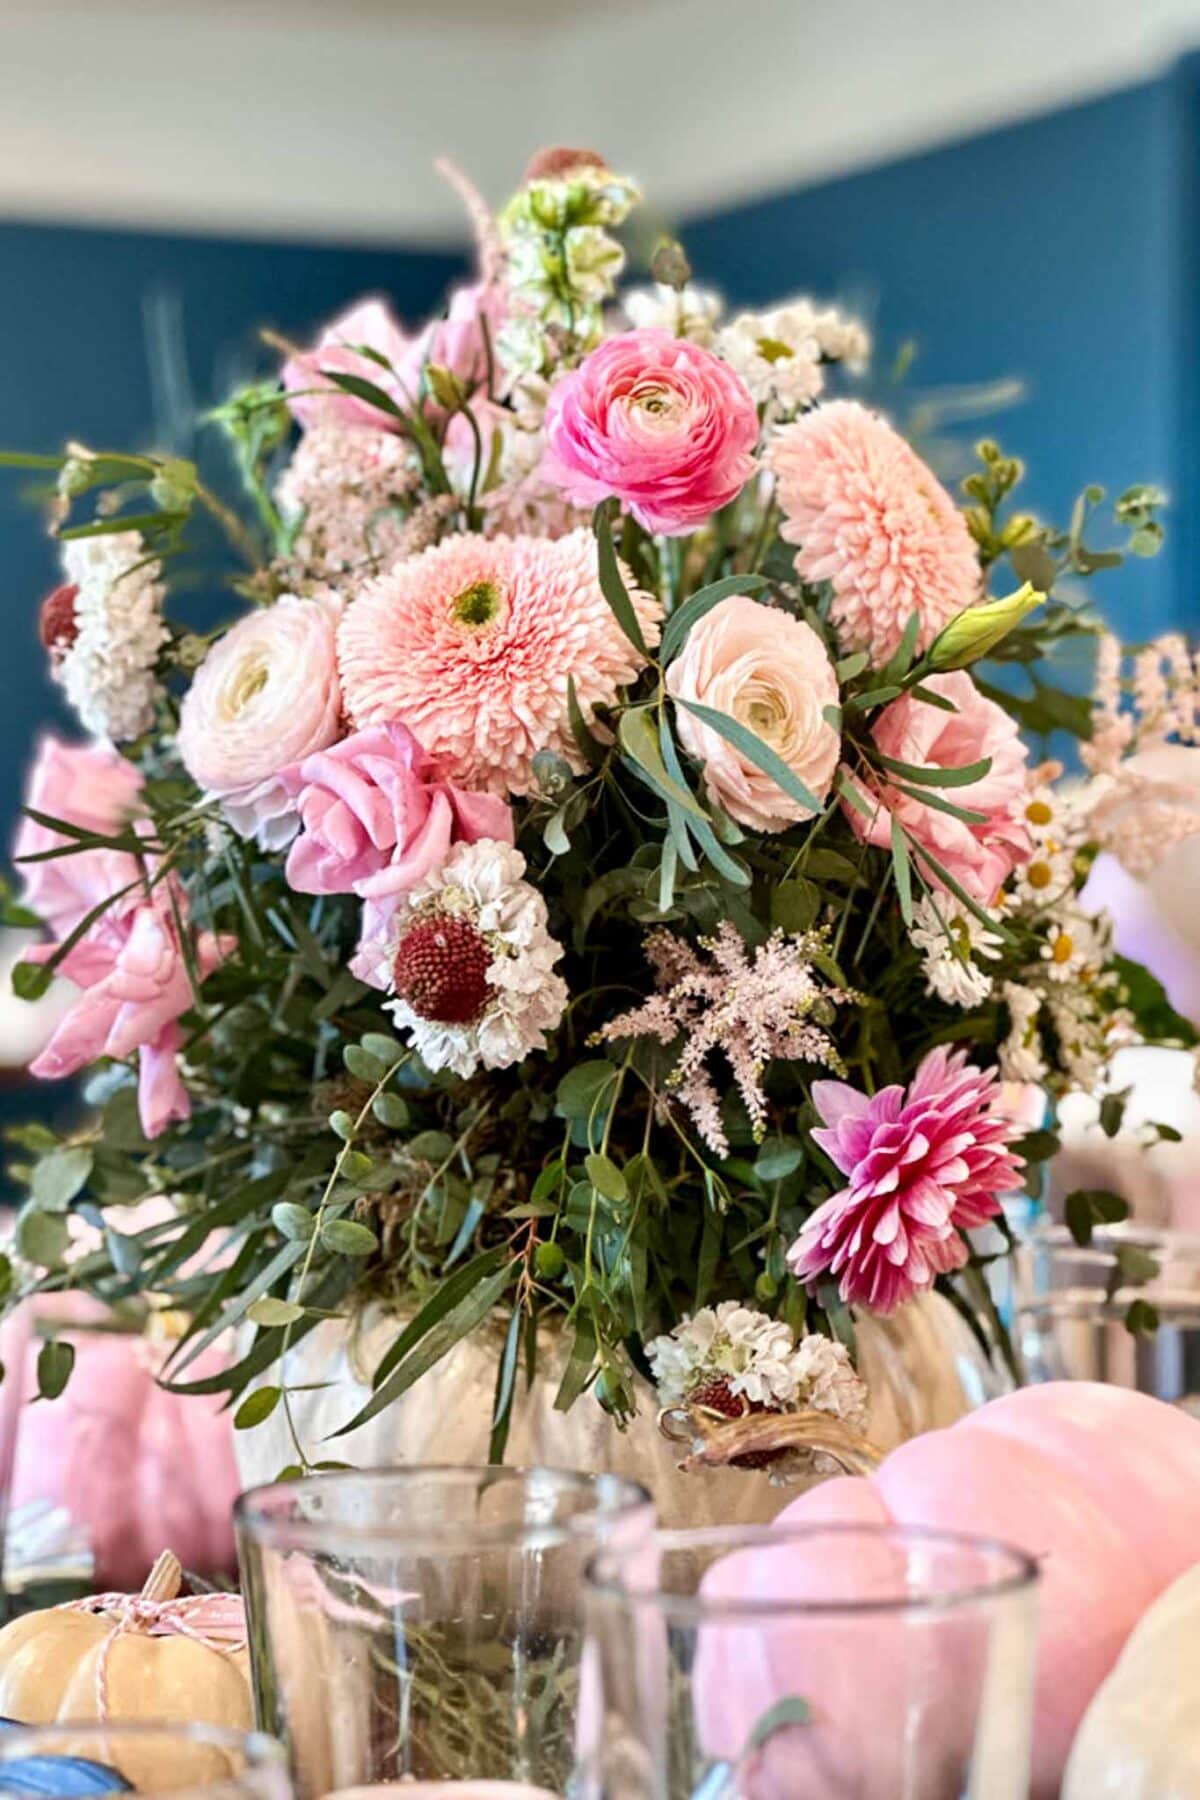
For this white pumpkin flower arrangement, I used a soft mix of seasonal blooms — roses, lisianthus, pincushion flowers, ranunculus, gerbera daisies, astilbe, chamomile, and small white daisies. The combination of textures and colors gives the arrangement that lush, garden-inspired look I love.
Add Your Focal Flowers First
Begin by placing your largest blooms — the lisianthus and Gerbera Daisies — to create structure and balance.. Then layer in the ranunculus, pincushions, and airy astilbe to add height and texture.
Finish with Accent Blooms
Next, tuck in the roses, and smaller filler flowers like chamomile and white daisies to fill any gaps and soften the edges. Adjust the blooms as you go for a natural, slightly asymmetrical look that feels effortless and organic.


Once your blooms are layered, it’s time to give your arrangement those finishing touches that make it look polished and professional.
Step 6: Finishing Touches
Once your flowers are in place, take a step back and check the overall shape of your white pumpkin flower arrangement. Adjust any blooms that feel too high or too low until the arrangement looks balanced from every angle. Mist the flowers lightly with water to keep them hydrated and fresh.
If you’re preparing this centerpiece a day or two before the event, store it in a cool space or refrigerator overnight. When you’re ready to style your table, simply set the arrangement on a tray or pedestal to give it extra presence.
Styling Ideas for Your White Pumpkin Flower Arrangement
This white pumpkin flower arrangement makes such a lovely statement piece, and it’s incredibly versatile! Whether you’re hosting a Little Pumpkin baby shower, decorating your home for fall, or setting your Thanksgiving table, this arrangement brings effortless seasonal charm to any setting.
Baby Shower Ideas
Choosing a baby shower theme is always so much fun, and the Little Pumpkin theme couldn’t be more perfect for fall. You might also enjoy seeing another shower I styled in the spring using a Little Cutie theme — it was just as sweet!
Here are some ideas of how to use your pumpkin flower arrangement for a baby shower.
- Use it as a centerpiece on the main or dessert table surrounded by mini pumpkins and candles.
- Place it on a welcome table beside a framed “Welcome Little Pumpkin” sign.
- Add it to your photo backdrop or buffet for a cohesive floral touch.
Styling a DIY pumpkin arrangement At Home
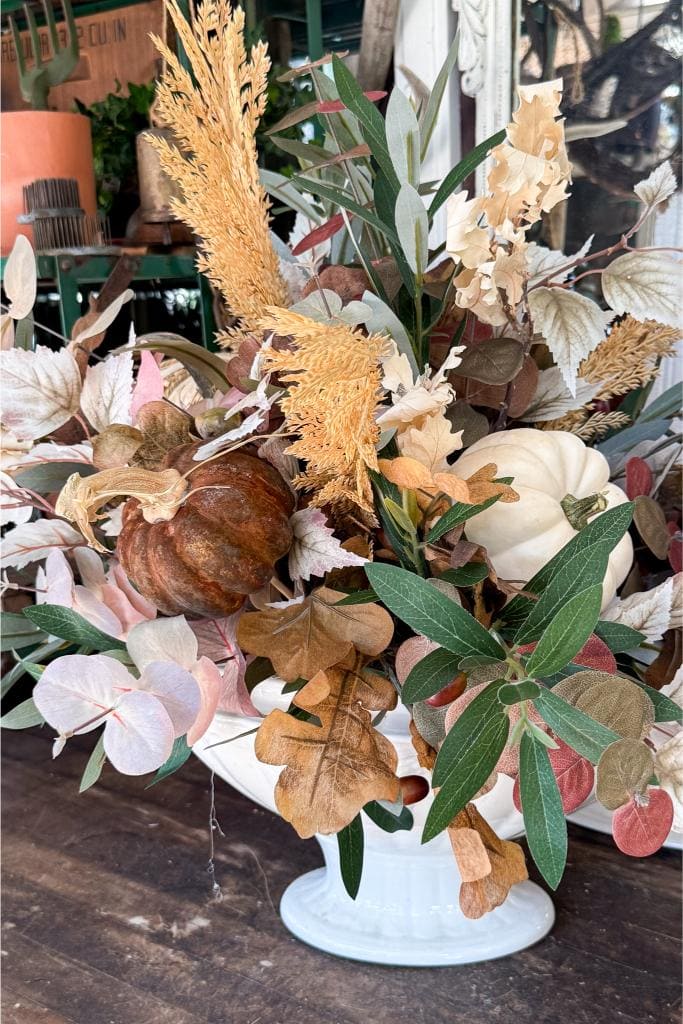
This arrangement isn’t just for baby showers! Switch up the flower colors to match your home, and try one of these easy ways to style a DIY pumpkin arrangement around the house.
- Style it on an entryway table or kitchen island to bring seasonal warmth indoors.
- Display it on a coffee table tray with books and a candle for a cozy fall vignette.
- Move it easily from room to room since the pumpkin isn’t cut — it stays fresh all season.
How to use a white pumpkin flower arrangement on your thanskgiving table
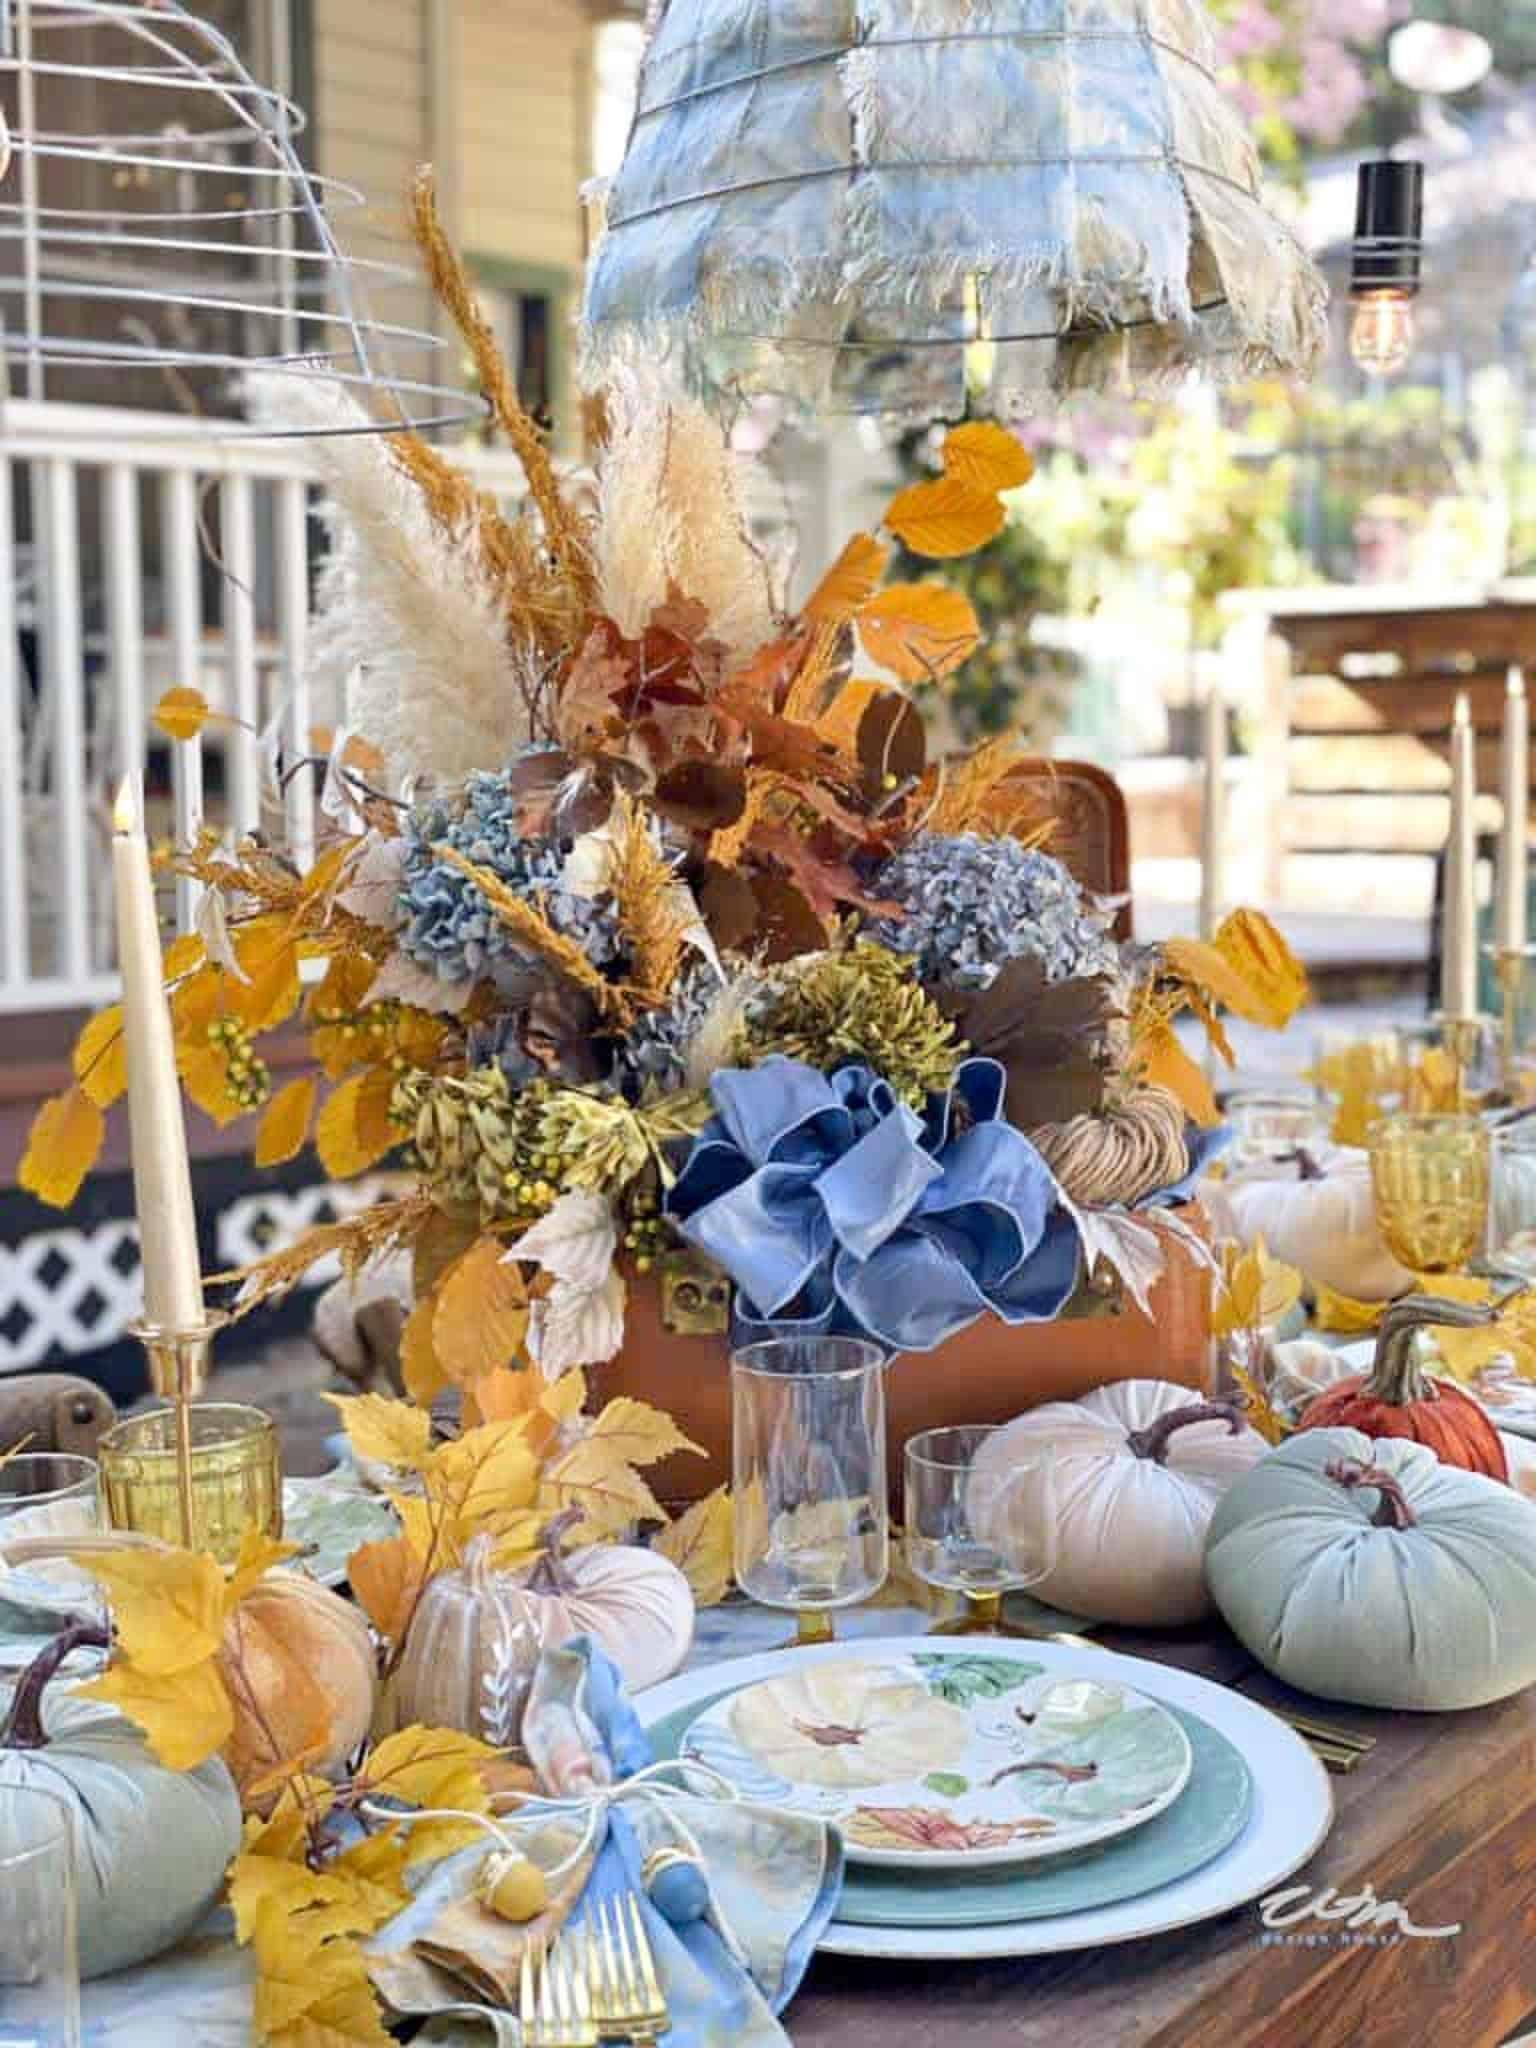
- Feature it as your centerpiece, paired with small pumpkins and soft candlelight.
- Keep the look neutral with linen napkins and gold accents for an elegant fall tablescape.


Aha! Moments with Wendy
- Have you ever had one of those “aha” moments mid-project and thought, I wish I knew that before I started?
Me too! Below are a few tips and tricks that worked for me while making my pumpkin centerpieces. Whether you’re a crafting newbie or a seasoned pro, I hope these make your next project a little smoother.
Our Favorite
Tips for Making Your White Pumpkin Flower Arrangement Last Longer
- By creating the arrangement in a dish, it makes it easy to transport and also keep in the refrigerator for storage if necessary.
- Mist your fresh flowers with a small amount of water to keep them hydrated and fresh.
- After you purchase your flowers, take them home and trim the ends before soaking them in water.
- Dip your stems into “Dip It” before arranging your flowers to open their veins.
- Store arrangements in a cool spot, away from direct sunlight, heat vents, or fruit (which emits ethylene gas that speeds wilting).

More Pumpkin & Floral Ideas You’ll Love
How to Dry and Save Pumpkin Stems
4 Creative Ways to Transform Dollar Tree Pumpkins
How to Dye Dried Hydrangeas
There’s something so special about the simplicity of a white pumpkin filled with fresh blooms. This white pumpkin flower arrangement brought the sweetest touch to our Little Pumpkin baby shower, and it’s a timeless design you can enjoy long after the celebration ends. Whether on your Thanksgiving table, kitchen island, or entryway, it’s a reminder of the beauty that comes from combining nature, creativity, and a little seasonal joy.


Did you make this craft?
We would love to see what you have created, so mention us @wmdesignhouse or tag us using #wmdesignhouse so we can see your creations!
More about me!

Hello, I’m Wendy – a dedicated homemaker with a deep passion for decorating, gardening, cooking, and crafting. I find joy in harmonizing beautiful elements to fashion a space that is both comfortable and inspiring. I will help you create a beautiful home, one project at a time.
Oh my goodness! That is the cutest ever! I absolutely love this!