How to Make A DIY Halloween Tree: A Spooky Way to Decorate
Halloween is such a fun time of year. I love seeing all of the children dressed in their favorite costumes and celebrating with their friends.
And it is always an excellent excuse to make some DIY Halloween decorations for the whole family to enjoy.
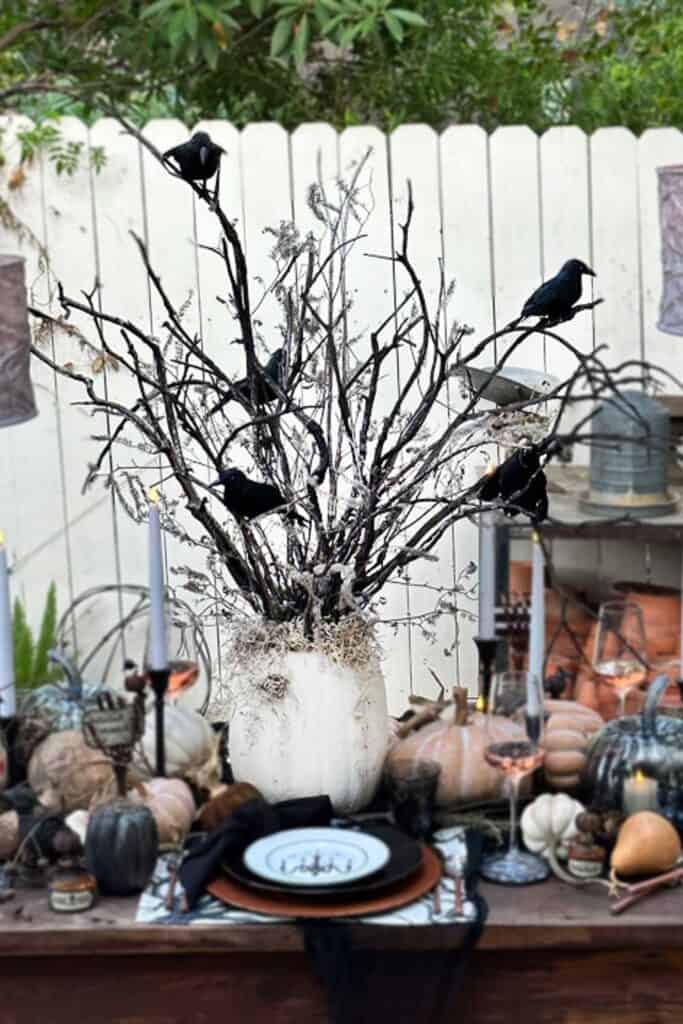
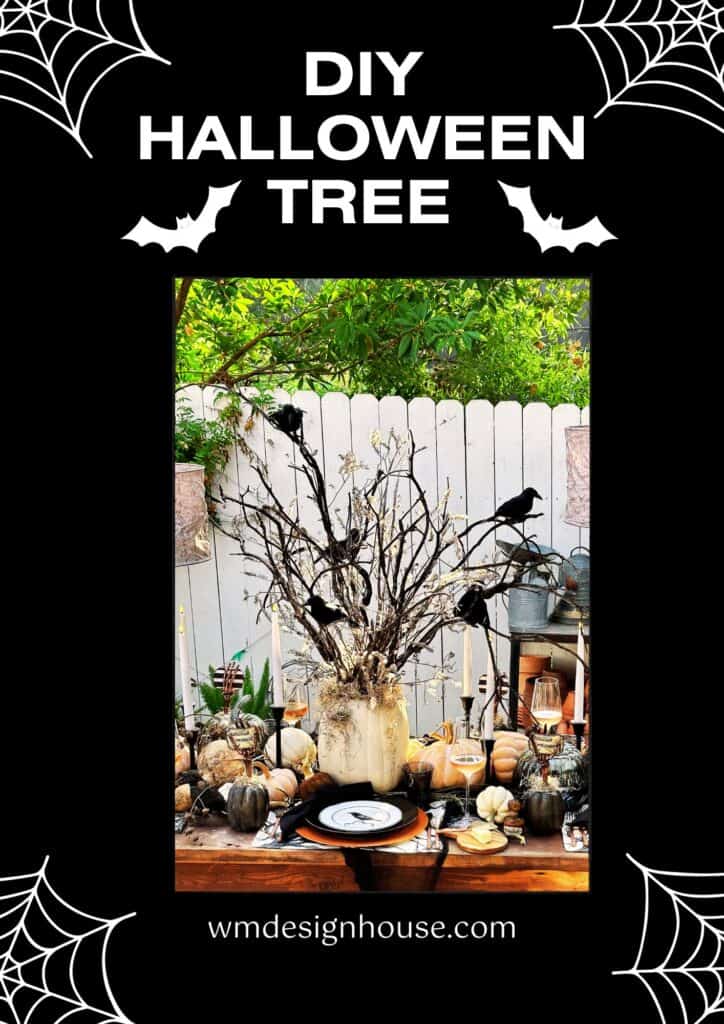
I wanted to make a spooky tree for my Halloween party this year. Not so spooky that it would genuinely scare anyone, but just enough to give you that creepy vibe.
I had so much fun creating this tree, from foraging the branches to adding the crows.
You can create a tree in several ways, from collecting branches to making a Halloween Christmas tree, so let’s explore and learn how to create your own Halloween trees.
On my blog WM Design House, I may sometimes use affiliate links, which means a small commission is earned if you purchase via the link. The price will be the same whether you use the affiliate link or go directly to the vendor’s website using a non-affiliate link.
How do I make a Halloween tree?
There are several ways you can go about designing your tree. Here are a few suggestions on creating a spooky Halloween tree.
First, decide what kind of tree you want to create. There are several types of DIY Halloween trees to choose from. A tabletop tree, a Christmas tree, or maybe you want to build a tree trunk.
Tree Selection:
You can use an artificial or small fresh tree as your base. Choose a tree with a shape and size that fits your space and vision. Many people opt for black or white trees for a Halloween tree, but you can use any color that matches your theme. You can also make a tree from natural branches like I did for my Halloween table.
Theme and Color Scheme:
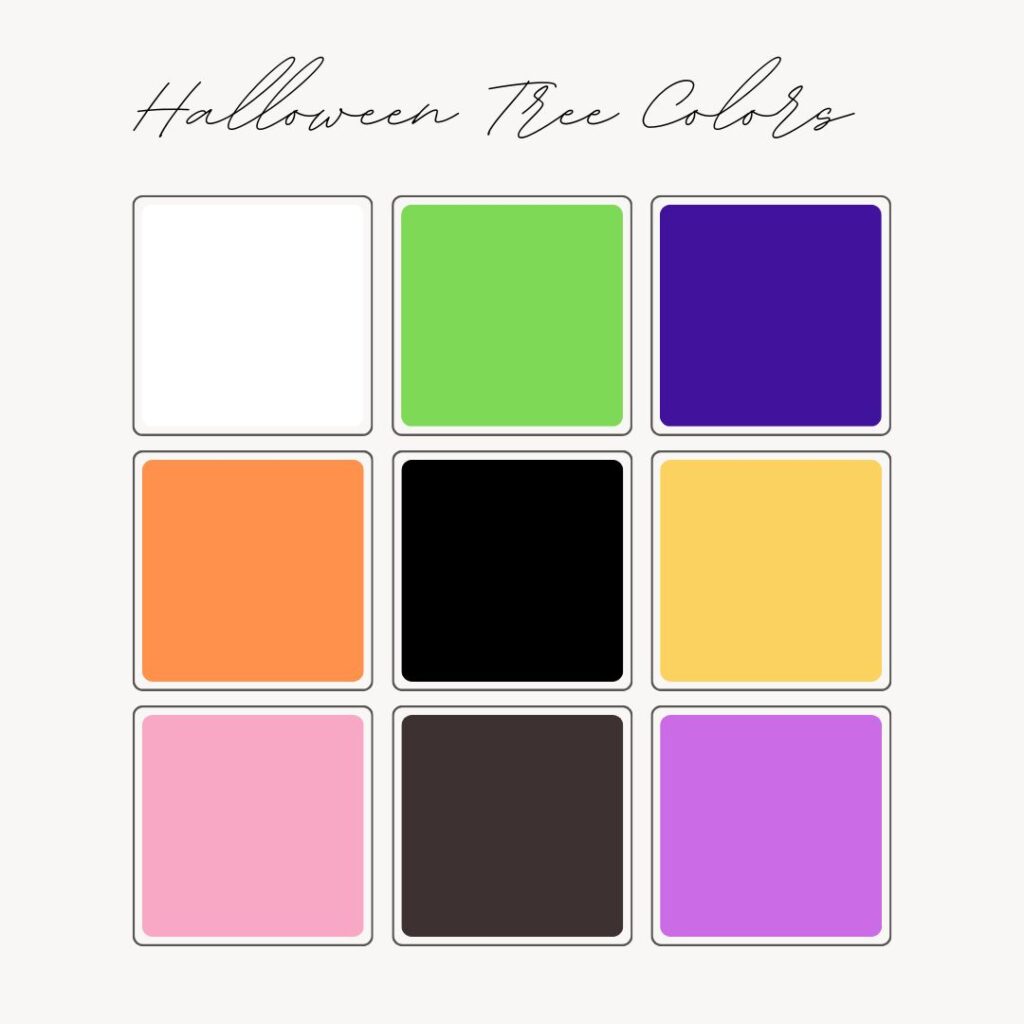
Decide on your Halloween tree’s theme and color scheme. Classic Halloween colors include orange, black, purple, and green. Themes could range from classic spooky (ghosts, bats, witches) to more whimsical (pumpkins, candy, monsters). Make sure all of the decorations reflect your chosen theme and color palette.
Ornaments and Decorations:
Select or create ornaments and decorations that align with your theme. Consider using mini pumpkins, spiders, bats, skeletons, black cats, and witches hats. You can purchase Halloween ornaments or make your own Halloween crafts.
Lighting:
Use appropriate lighting to create a spooky or eerie atmosphere. String lights, especially orange or purple ones, work well. You can also add candles or LED candles for a more haunting effect. Please make sure you’re safe by using flameless options.
Garlands and Ribbons:
Incorporate garlands or ribbons in your chosen colors and theme. These can be draped around the tree for added texture and visual interest.
DIY Touches:
Don’t hesitate to get creative and craft some DIY felt ornaments. This can make your Halloween tree even more personal and unique.
Placement:
- Decide where to place your Halloween tree. It could be the centerpiece of your Halloween party, placed in the living room, sitting next to your front door, or place it on your front porch.
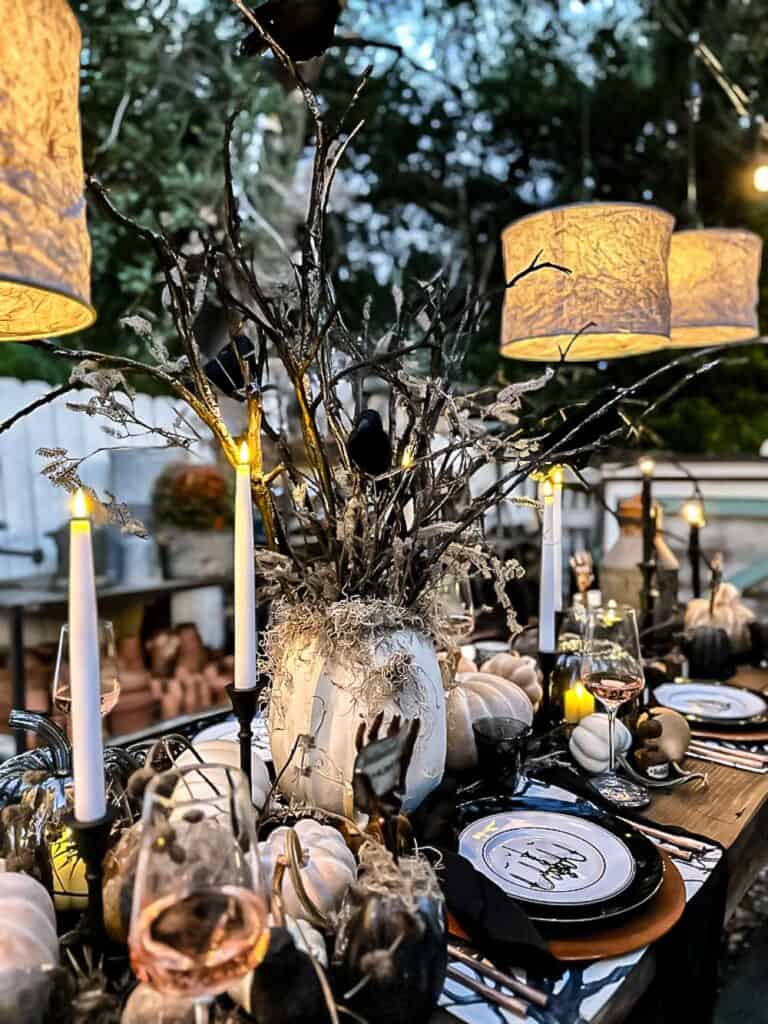
Creating a Halloween tree can be a fun and creative way to celebrate the season, and these considerations will help ensure your tree fits perfectly into your Halloween decor.

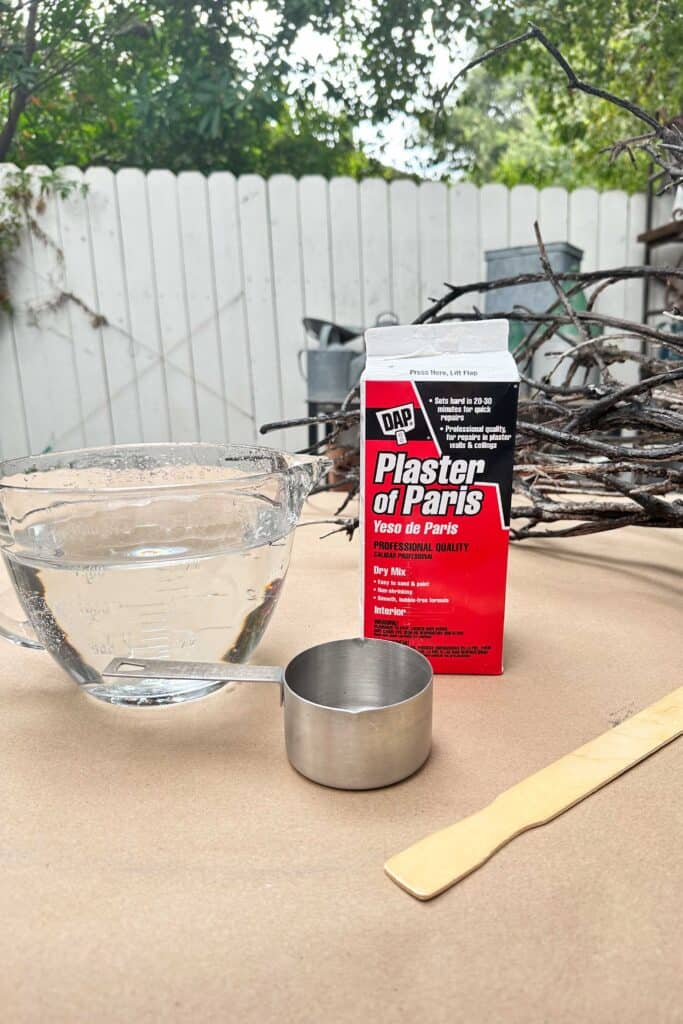
Supplies Needed For a Natural Branch Tree in a Pumpkin
- Natural branches
- Black spray paint
- One large white faux carving pumpkin
- One box of Plaster of Paris
- Spanish moss
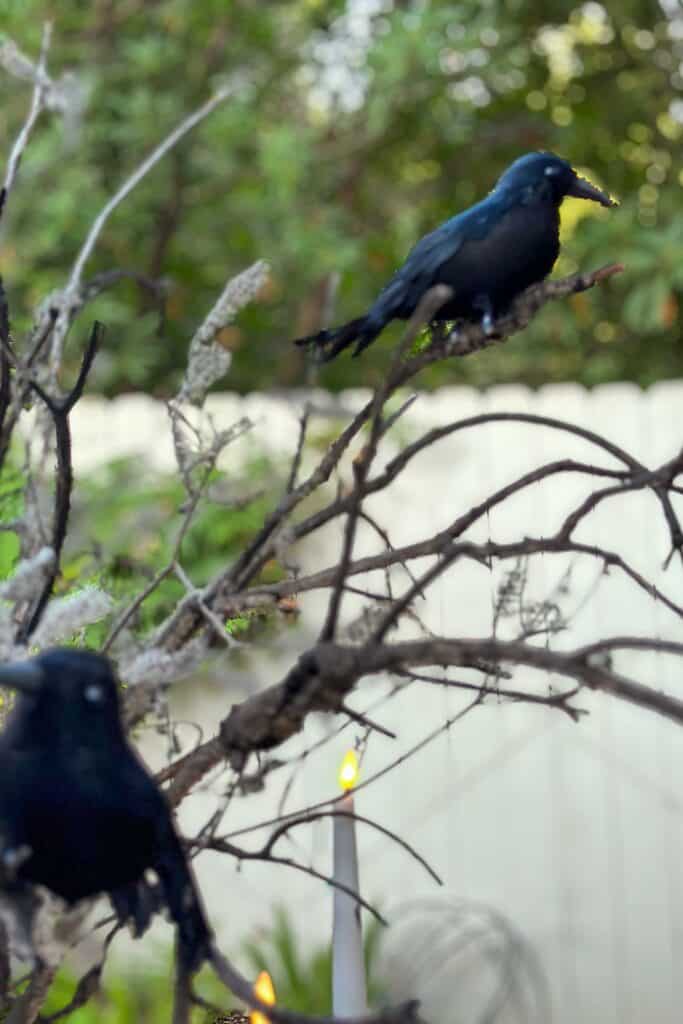
- Black crows
- Hot glue
- Hot glue gun
- Piece of floral foam
- White chalk paint
- Baking Soda
- Chip paint brush
Step-by-Step Instructions to Make a Natural Branch Tree in a Pumpkin
Cut a hole in the top of the faux carving pumpkin for a vase. Make sure the hole is large enough to fit all of your branches.
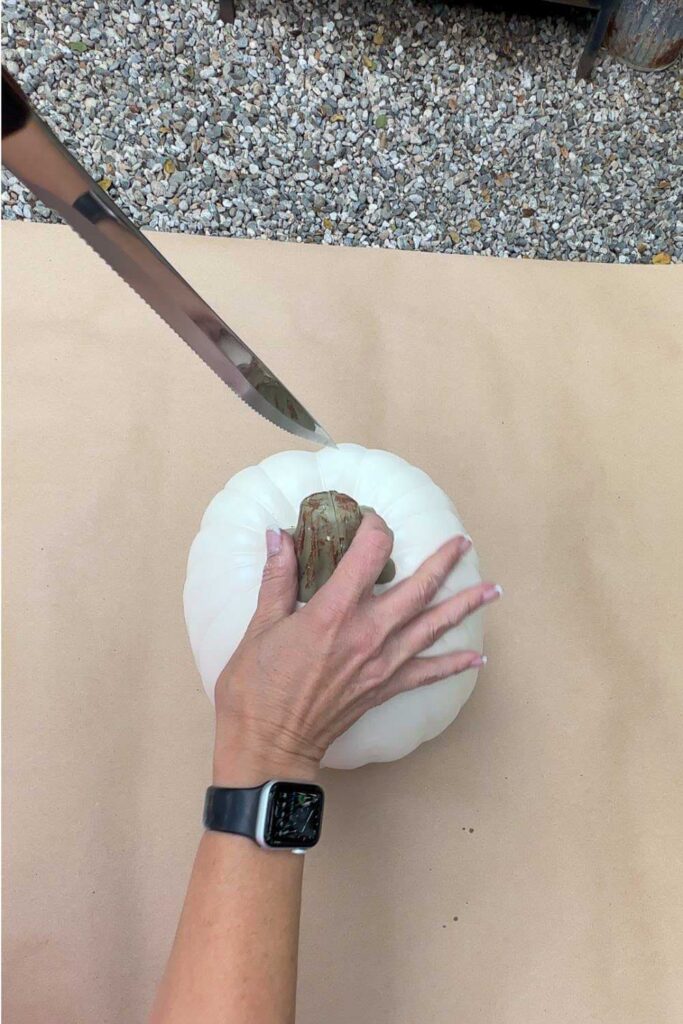
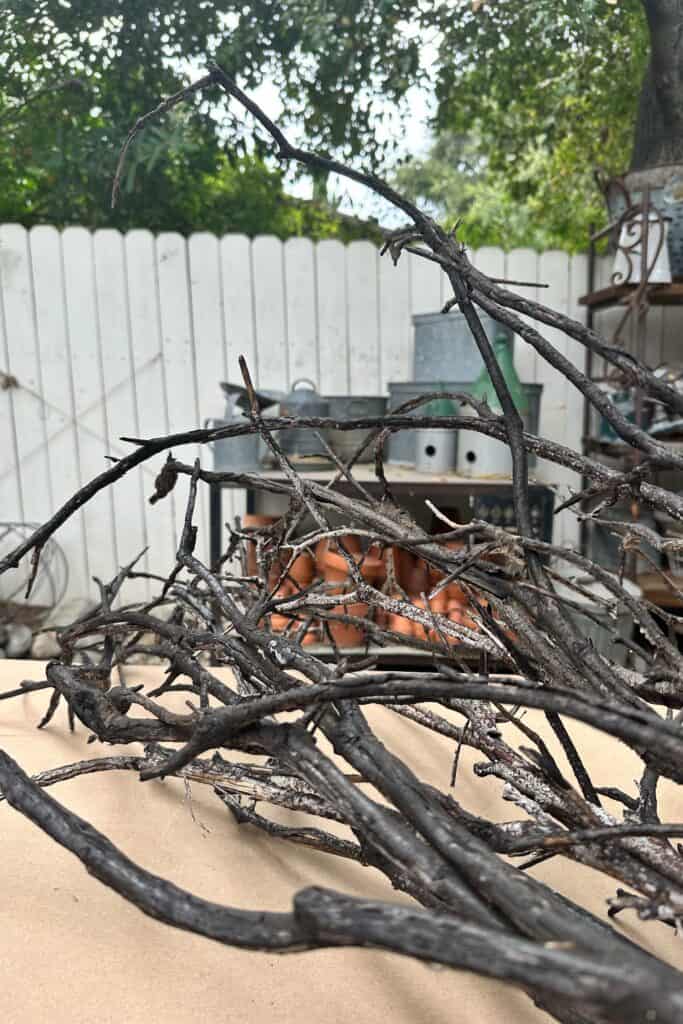
2. Collect your branches. I wanted a black tree and was able to find a burnt tree to cut my branches from. Typically, I would use black spray paint and paint the branches for this project.
3. I wanted to give my pumpkin a bit of texture and a matte finish with the following process:
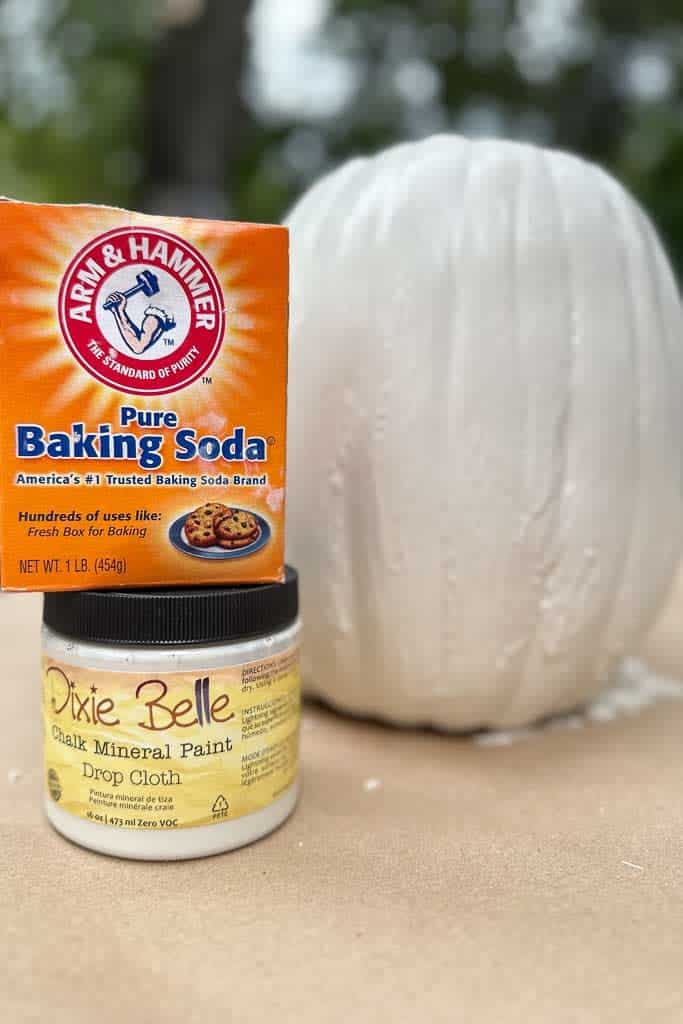
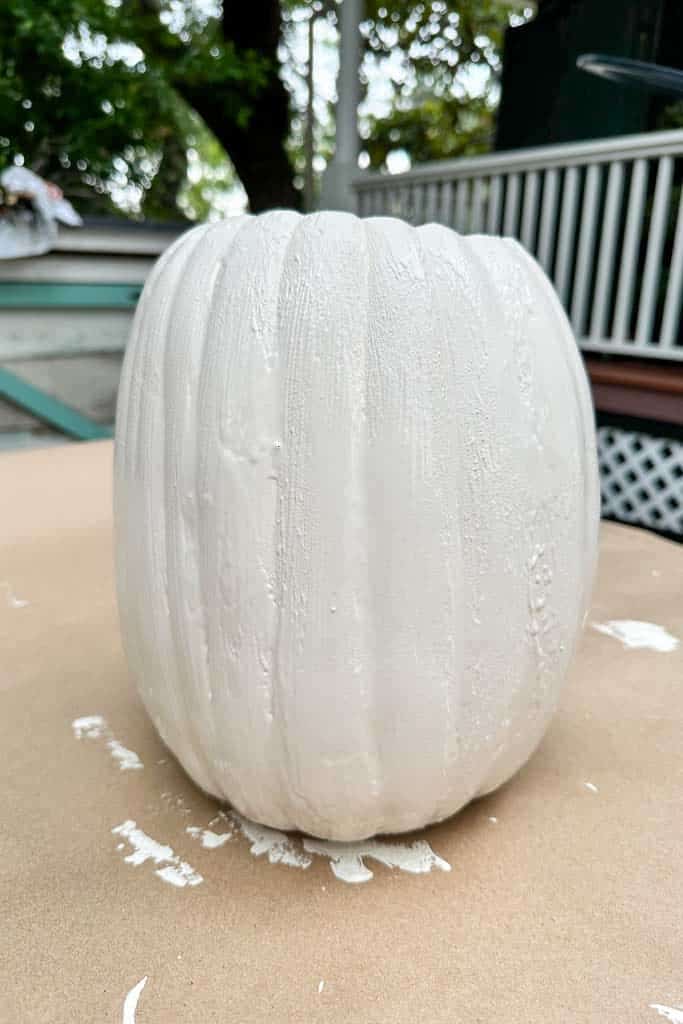
Combine off-white chalk paint and baking soda to create a thick, paste-like paint. Use nearly equal amounts of both paint and baking soda, adding baking soda gradually until you achieve the desired consistency.
Using a chip brush, paint the pumpkin. You can add a second coat of paint if you want additional texture.
4. Allow the pumpkin to dry for a few hours.
5. Trim your branches to the height you want your tree to be.
6. Hot glue a piece of dry foam into the bottom of the pumpkin. (I did not do this as I ran out of foam, but I highly recommend it as you will avoid having to tape the branches like I did.
7. Insert the branches into the foam to create your tree.
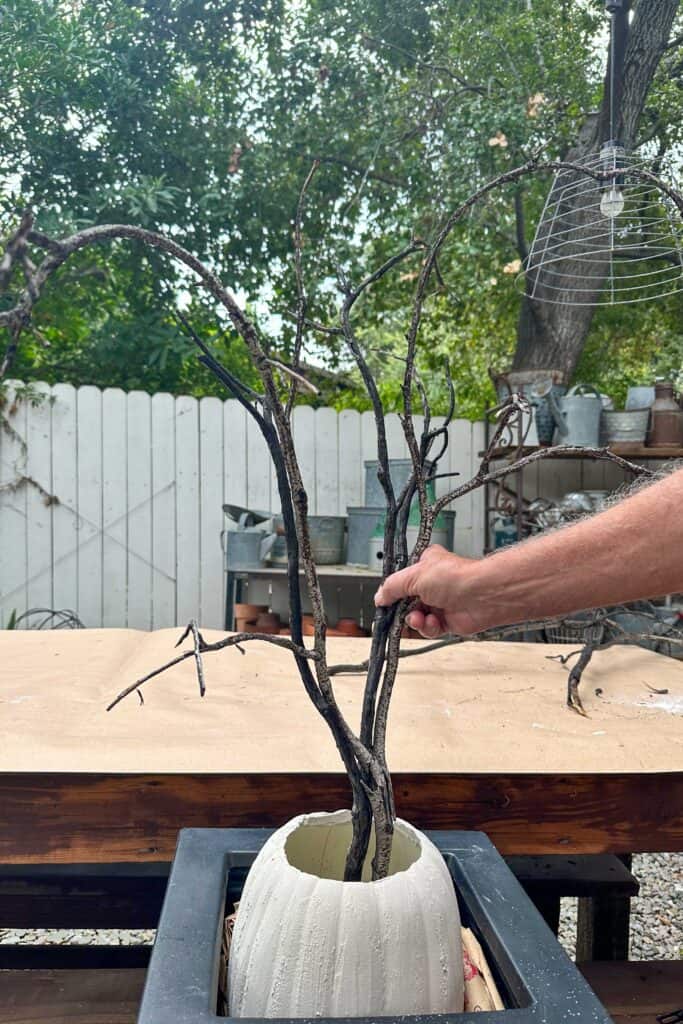
8. Mix up your Plaster of Paris and pour it into the pumpkin to hold your tree in place.
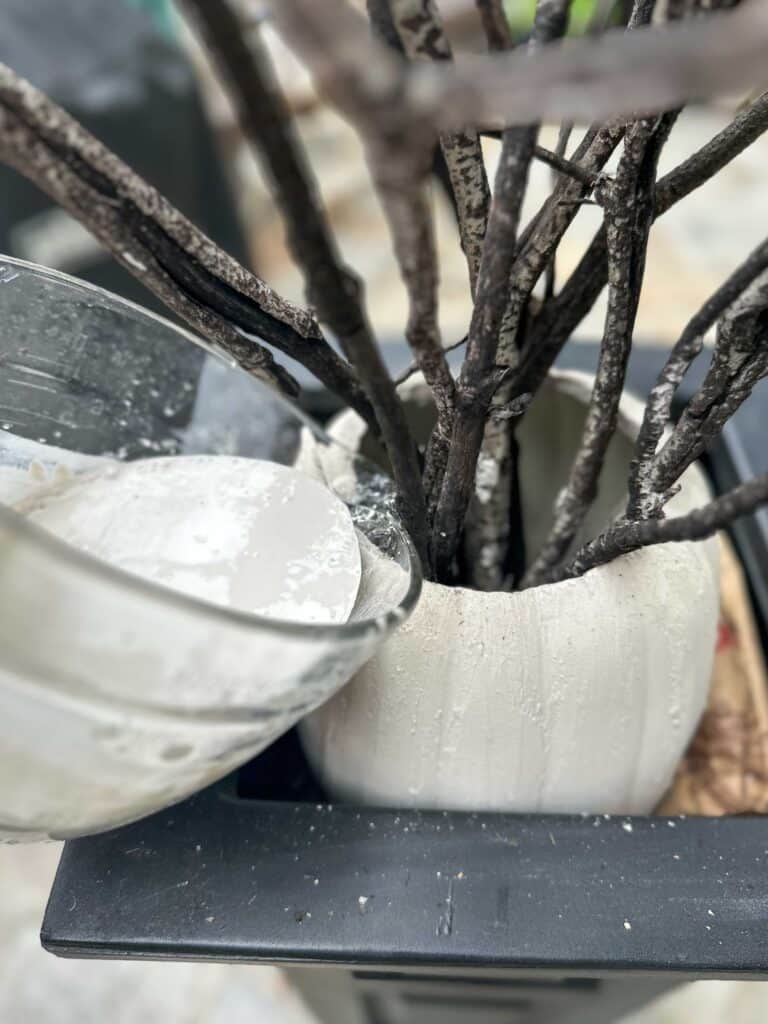
9. Allow this to dry overnight.
10. Add Spanish moss around the base of the branches.
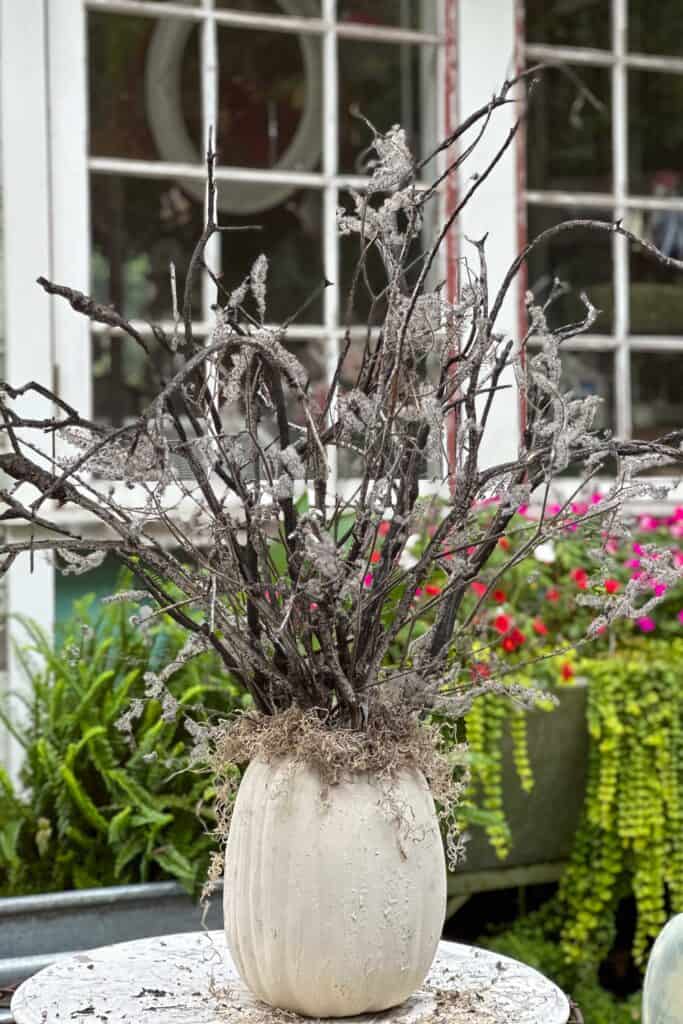
11. You can add some extra dried grasses or flowers. I happened to find some grey spooky-looking dried flowers and added them.
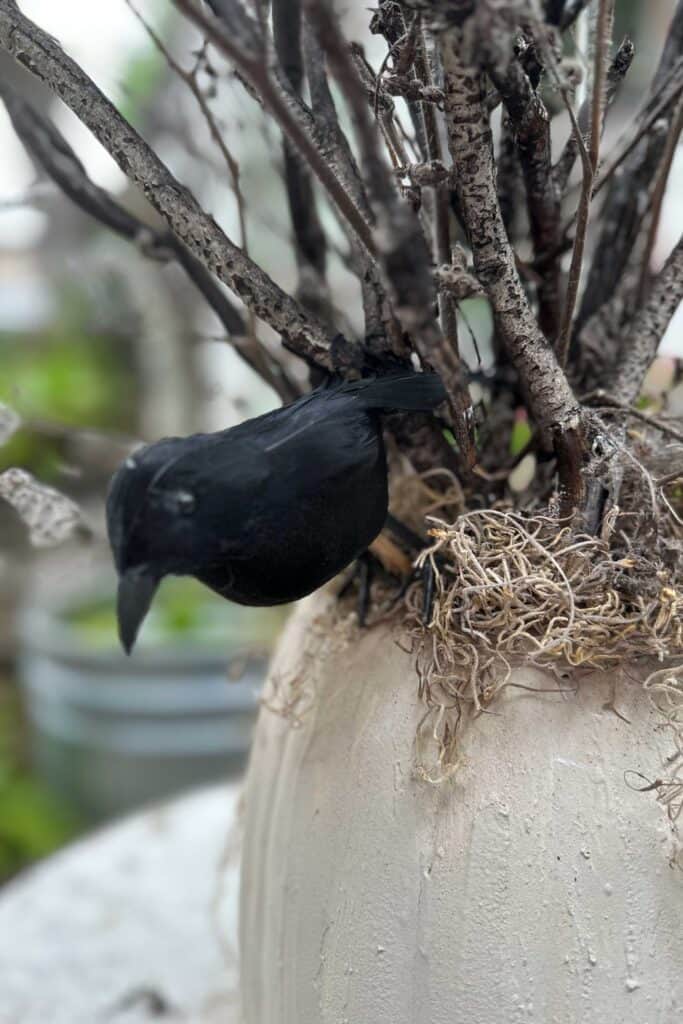
12. Attach some black crows using a hot glue gun.
How do you decorate a fake tree?
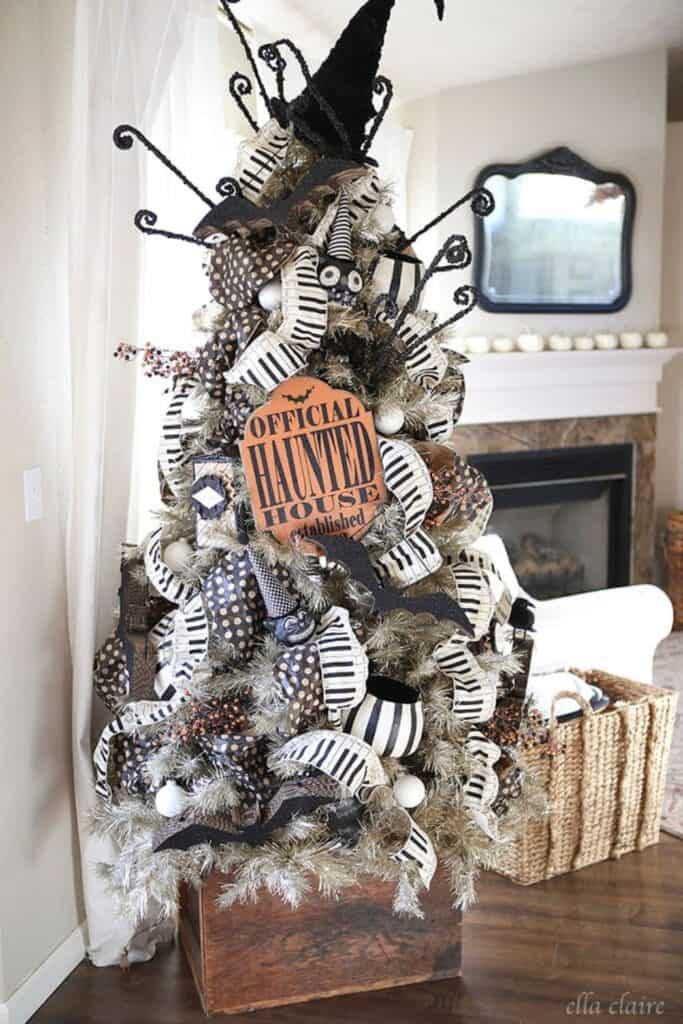
Another option is to use your holiday tree and turn it into a fun Halloween tree.
You can use a flocked tree and a black-and-white theme to create a creepy Halloween tree like this tree from This old house on main.
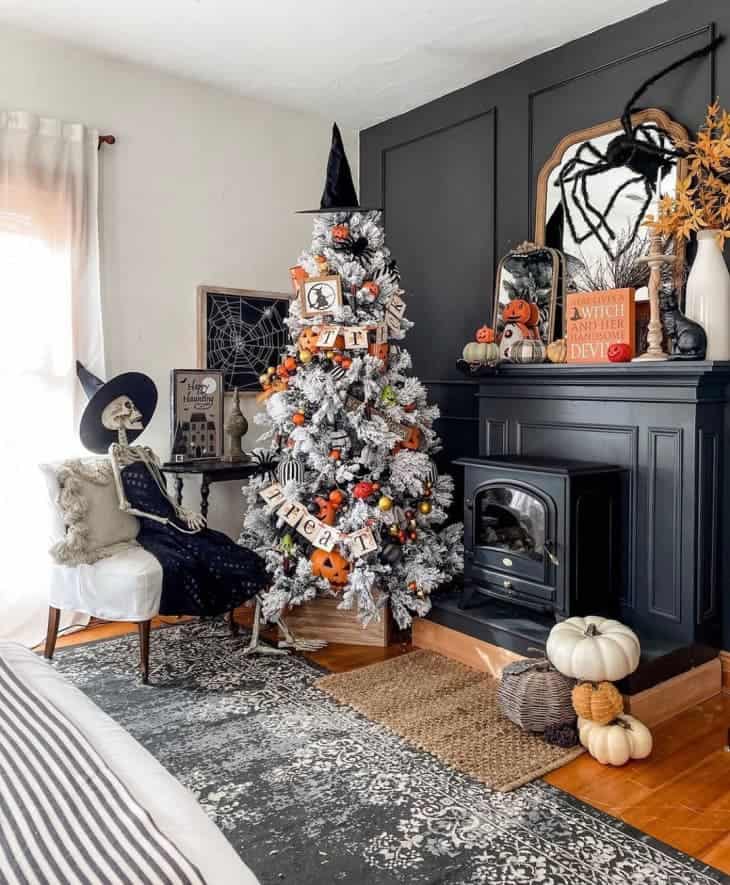
Or add orange and black DIY felt Halloween ornaments to a green tree.
There are endless creative ways you can decorate your tree. Add a few fake spider webs and a few orange pumpkin buckets. Add a witches hat on the top of the tree to top it off.
What do you put on a tree for Halloween?
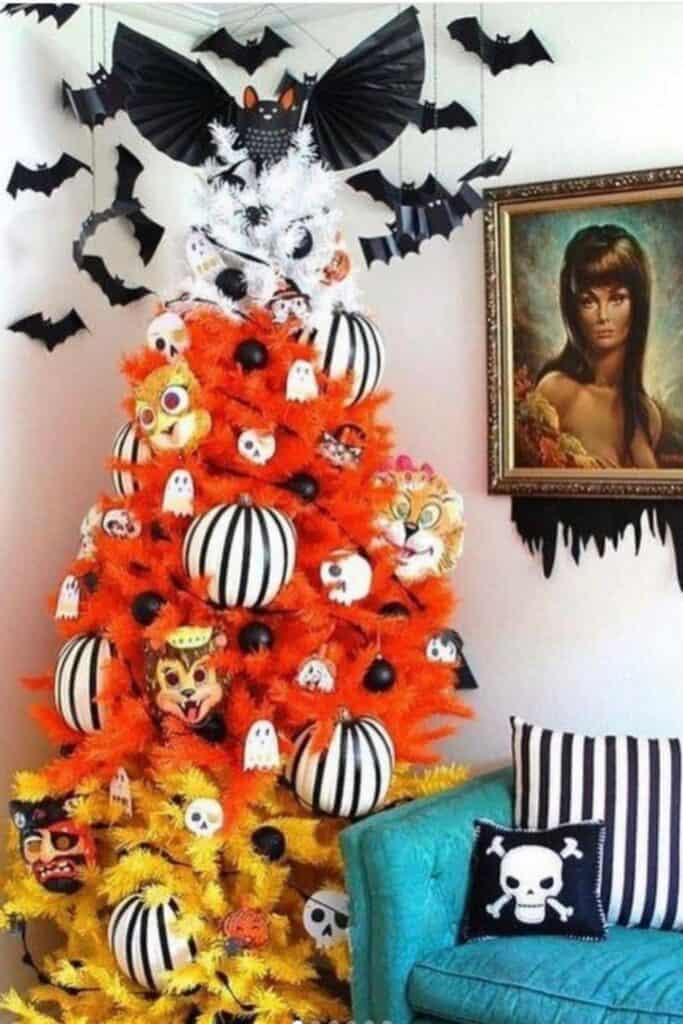
Have you ever seen candy corn trees? Aren’t they adorable? You can jazz them up with bats made out of black card stock and a few black and white pumpkins like this tree from jennifer perkins.
Or is a pink Halloween tree more your style?
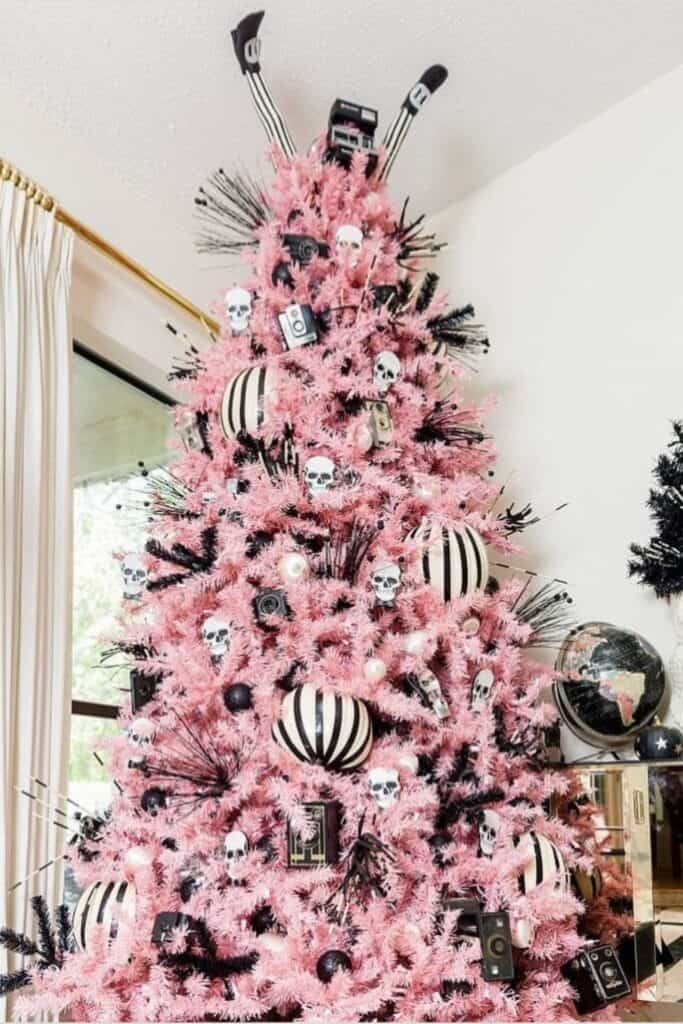
The Halloween tree topper on this tree is absolutely delightful, showcasing remarkable creativity.
Moreover, the black and white decorations adorning the entire tree fit just perfectly.
There is no need to spend a lot of money on decorations as you can create many of these Halloween decorating items yourself. Use small faux white pumpkins from the dollar tree and add black electrical tape for the stripes.
Shop the Dollar store for great Halloween decorations at a reasonable cost.
Use tissue paper and wrap it over a lollipop to create white ghosts to hang on your tree.
You can use a brown paper lunch bag, open it, poke the center of the bottom of the bag in and twist it into a rose shape. You can leave them natural or paint them black.
Conclusion
To sum it up, our DIY Halloween tree with black branches and crows adds a spooky yet elegant touch to our decor. We hope it inspires you to create your own whimsical masterpiece for the season!






Great ideas. I love them. I enjoy being crafty and as I was looking at your Halloween tree; it got my creative juices flowing; I’m ?; hmmmm; depending on how you do it, you could take that same tree; make a few alterations and use it for Thanksgiving! Thank you for sharing.
Hi Pam, Thank you so much. I am always thrilled when I get someone’s juices flowing.
If you make one, be sure to send me a picture. I love to share with my followers.
I agree. You could use natural branches and then use it for Thanksgiving as well.
My branches were black from a burnt tree, so It would not work unless I painted them.
My daughter took over my tree, so I have to make a new one for me :)))
Such cute Halloween decor Wendy, and I love the DIY Halloween tree!
Thank you, Michele. I hope you had a fun Halloween and enjoy your trip this weekend.