
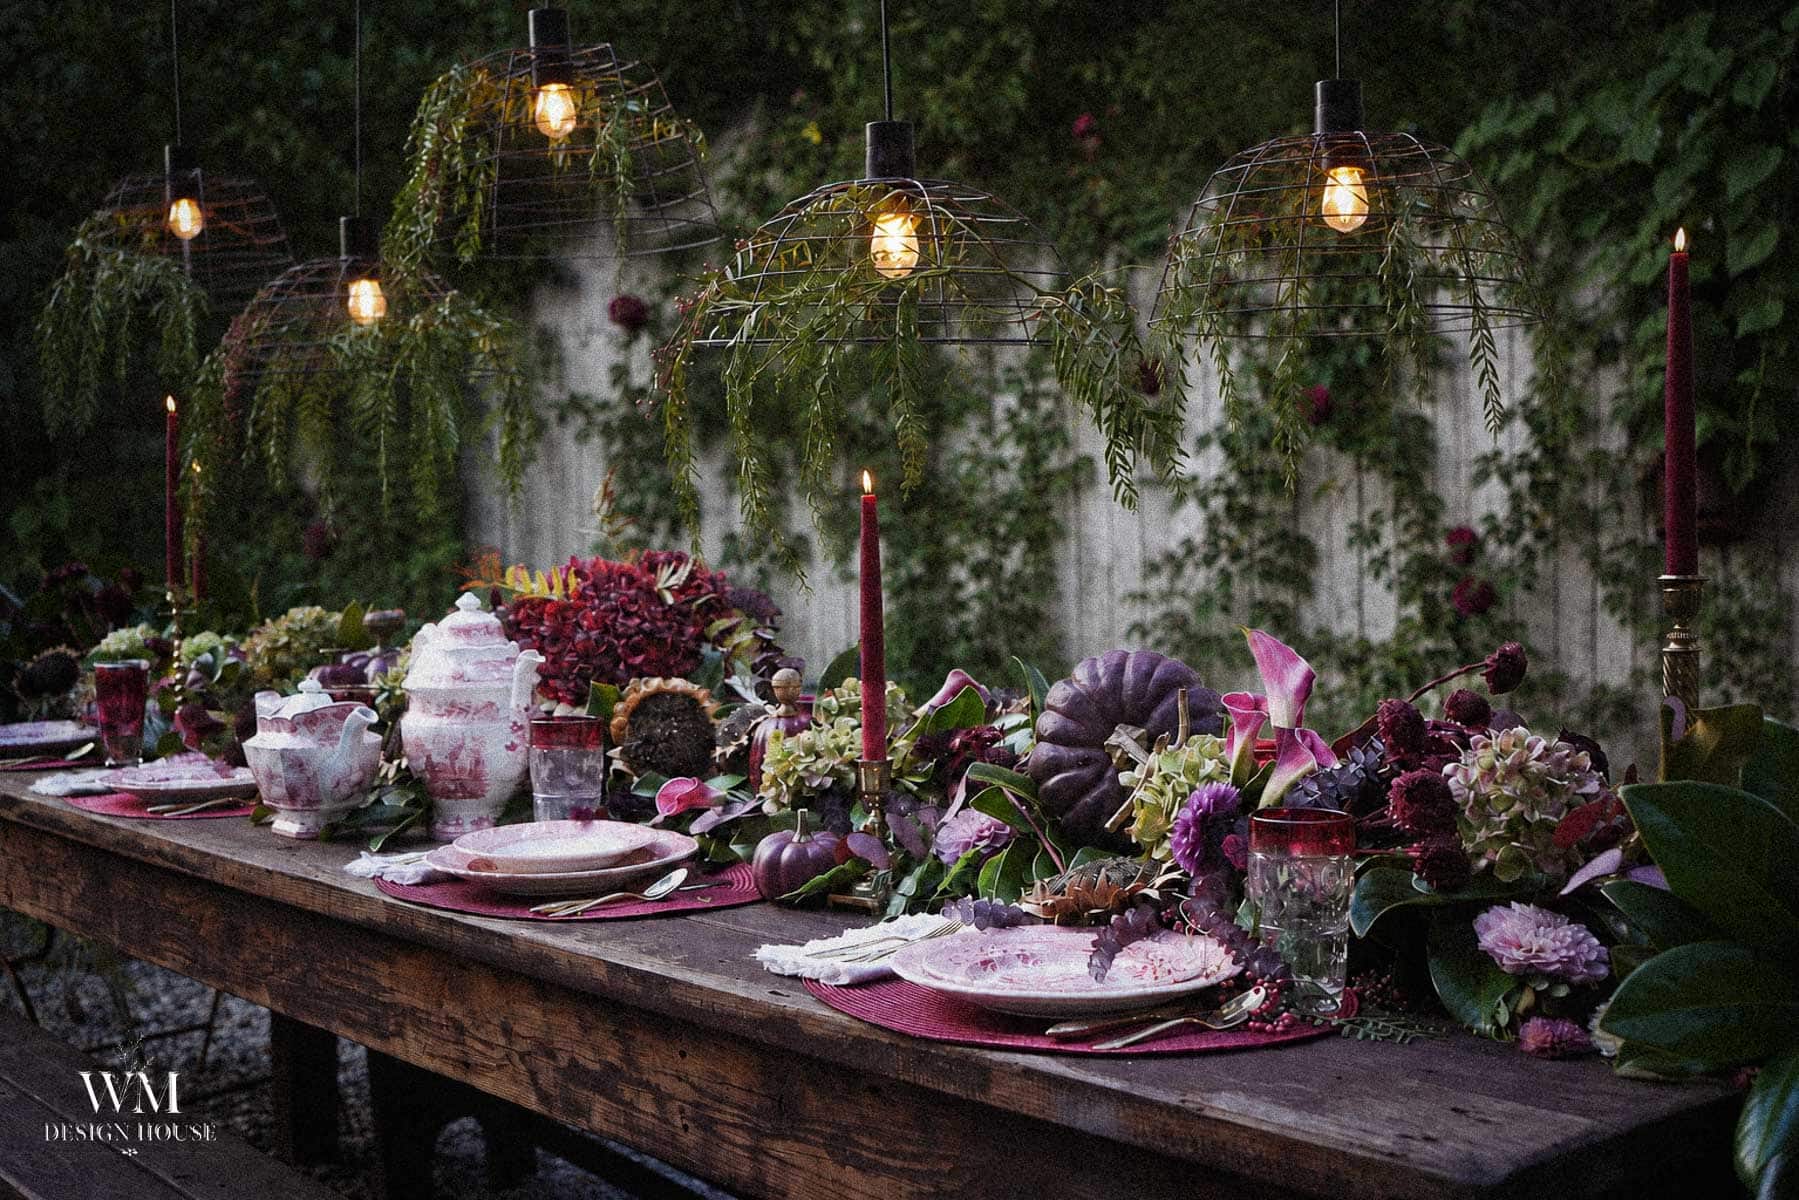
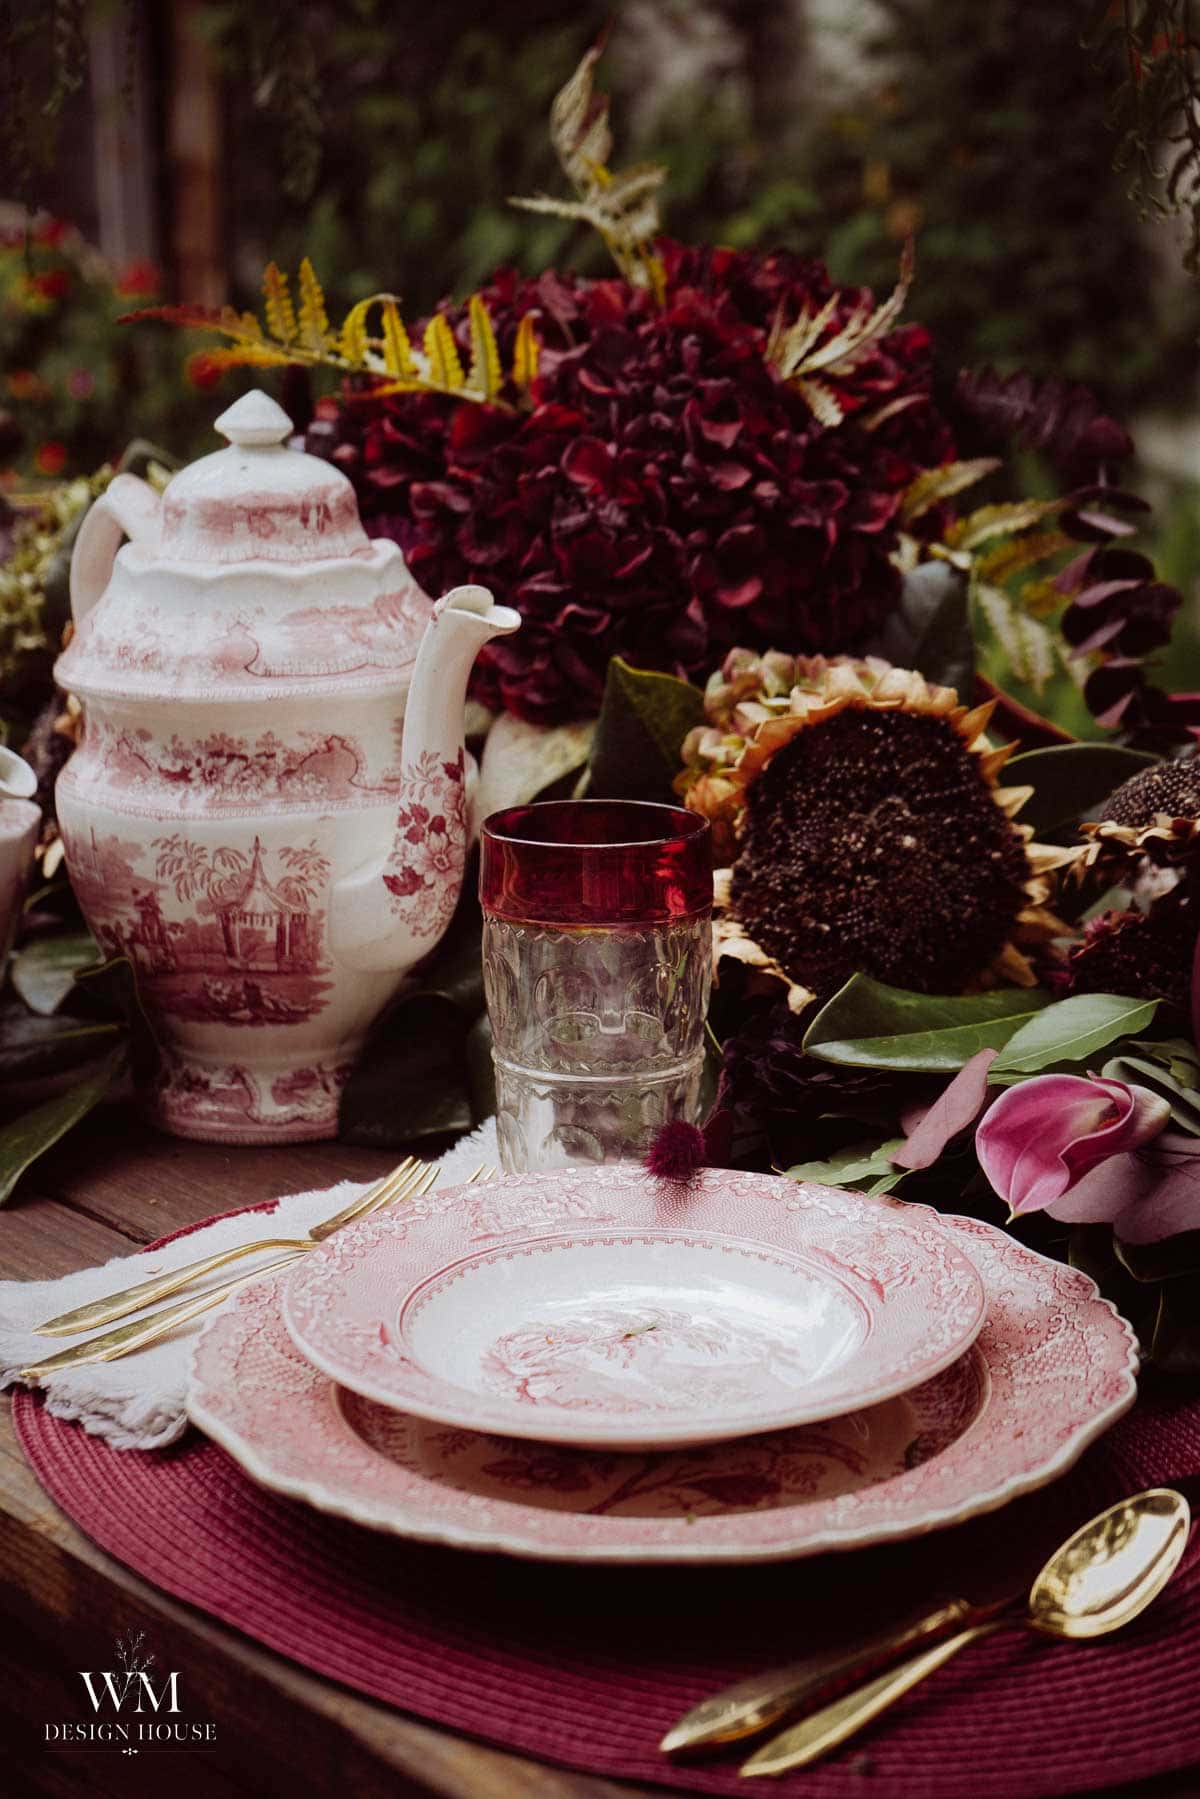
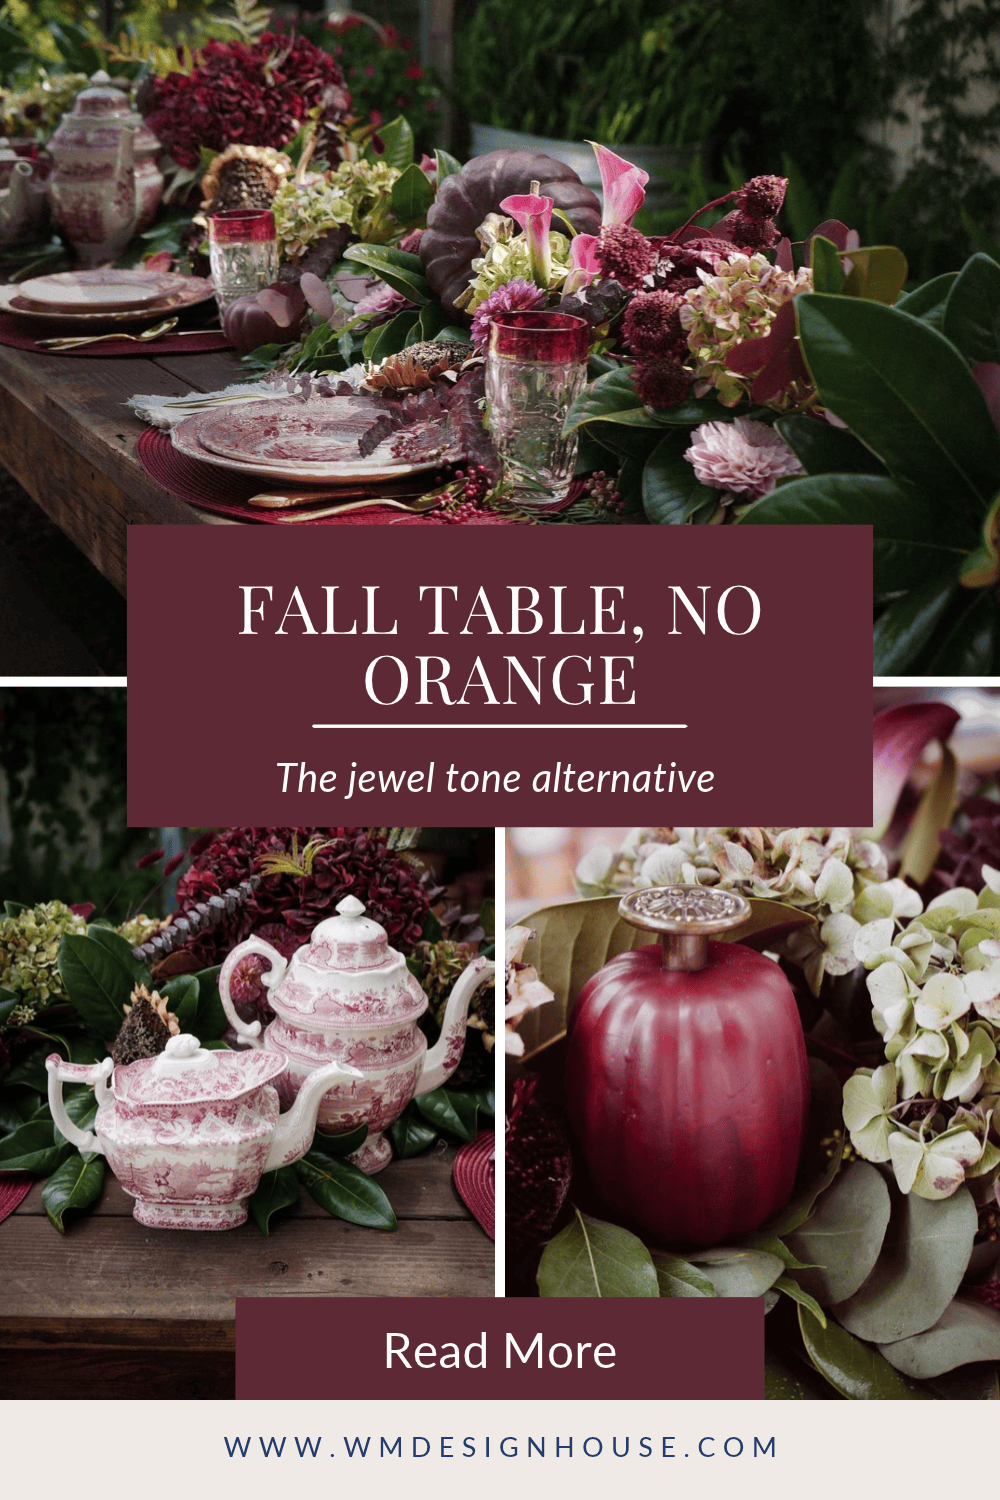
A moody tablescape in plum, burgundy, and deep green is not what this month’s design challenge photo asked of me, and I am going to say so right up front. The inspiration image is warm and golden. Mine is dark and lit by candles. Same rustic bones, a completely different color wheel, and I love where it ended up.
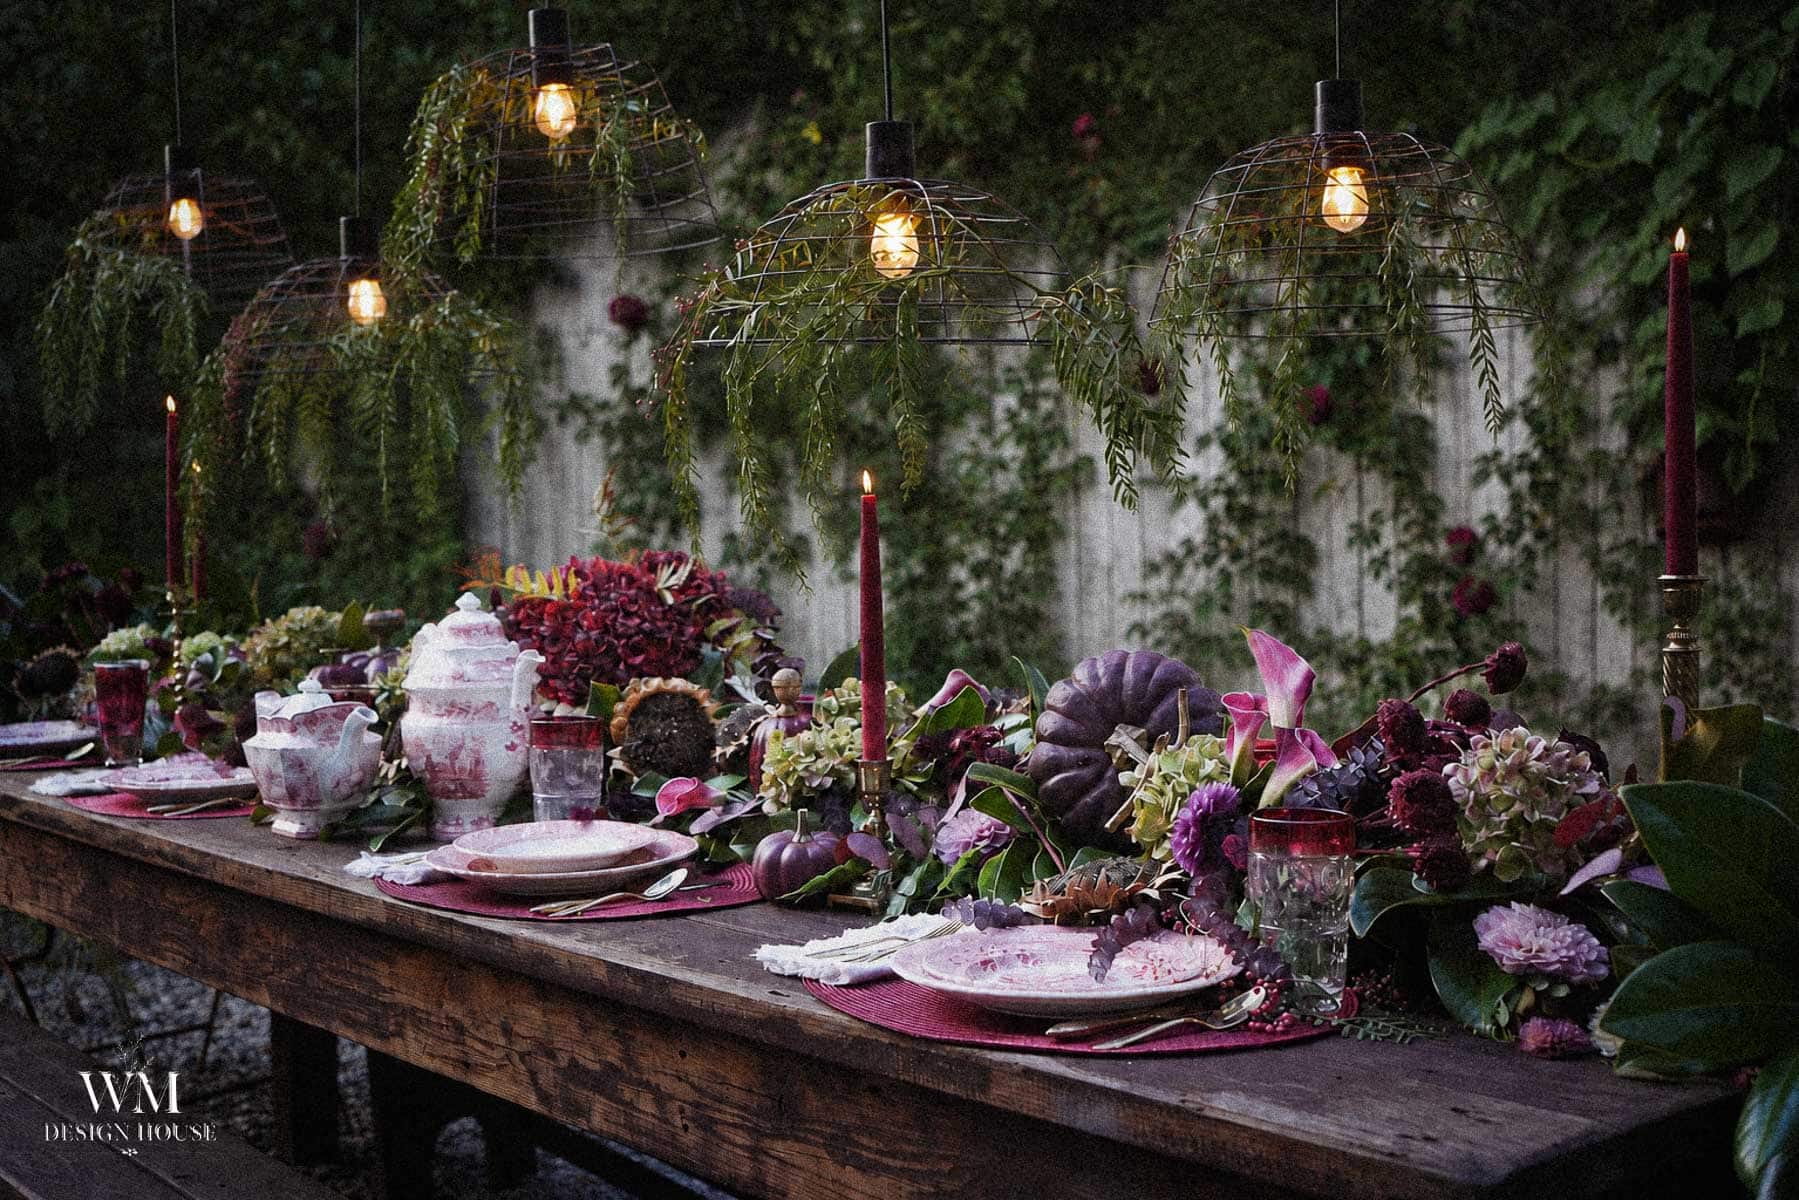
Fall does not arrive here the way it does other places. There is no frost, no dramatic turning of the leaves, no morning where you wake up and the season has changed overnight. What we get is a long stretch of warm evenings that finally cool off around seven, and if you want a table to feel like autumn, you have to build that feeling yourself. For this one, color and candlelight did the work.
On my blog WM Design House, I may sometimes use affiliate links, which means a small commission is earned if you purchase via the link. The price will be the same whether you use the affiliate link or go directly to the vendor’s website using a non-affiliate link. Read my full disclosure policy here.
A Fall Design Challenge With Blogging Friends
Welcome if you are hopping over from Cindy’s Table! Isn’t it beautiful? She and I are both releived that the heat has settled down and we can dine outside again. I am so glad you are here. Come on in and see how I took this month’s inspiration in a darker direction.

Today I am joining a wonderful group of bloggers for a monthly design challenge hosted by my friend Cindy of County Road 407, who is also the stop just before mine. Each month Cindy gives us one inspiration image and we each interpret it in our own homes, which is my favorite kind of creative assignment because no two of us ever land in the same place.

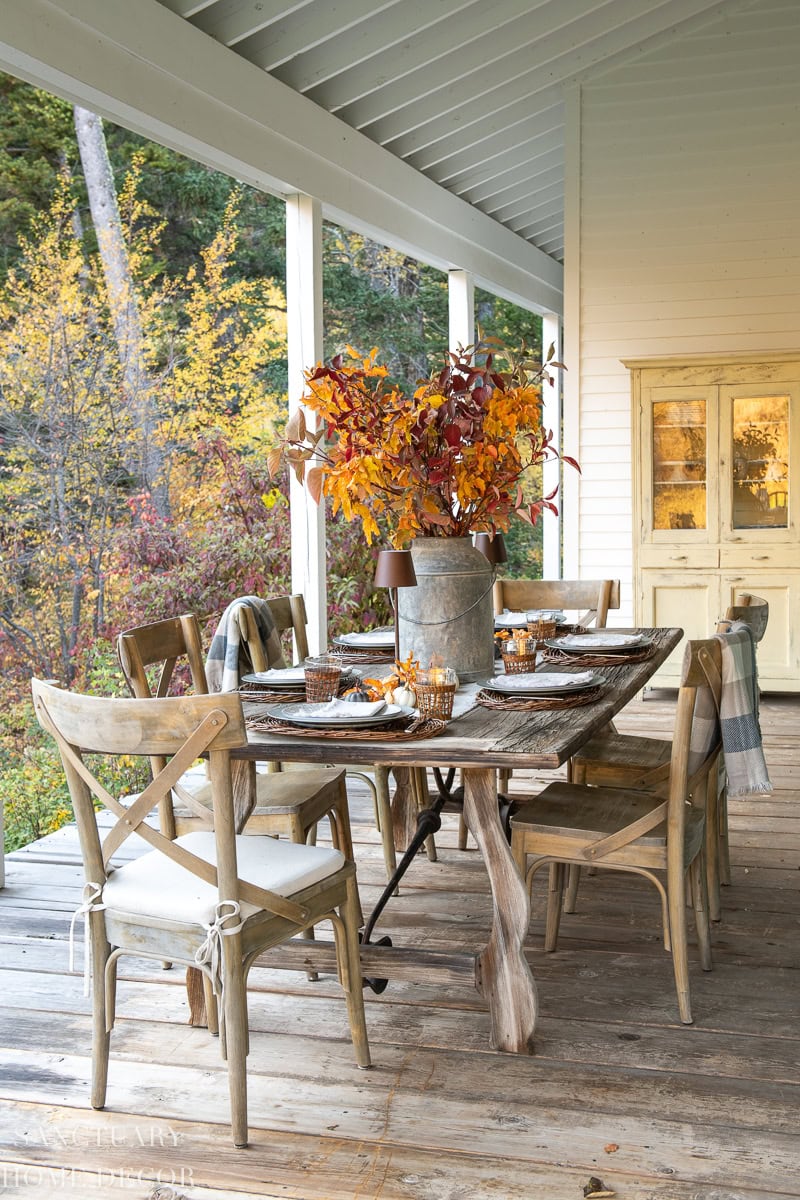
This month’s image comes from Karen at Sanctuary Home Decor, and it is a rustic fall table at its best: a long weathered farm table on a covered porch, branches of turning leaves in a galvanized bucket, wicker chargers, and a hillside of gold behind it all.
What I Took From the Photo, and What I Changed
I always try not to copy an inspiration photo piece for piece. I look for the few things that make it work and then build those out of what I already own. This month that approach took me somewhere I did not expect, so I want to be honest about it. I kept the structure of that porch table almost exactly. Then I turned the color wheel all the way around.
What I kept:
- A long, rustic wood farm table set outdoors, with the garden as the backdrop.
- Foraged branches as the centerpiece instead of a florist arrangement.
- Natural, textured layers under the plates rather than a tablecloth.
- Candlelight on the table.
- The feeling of a dinner that happens outside, in the season, with what the garden gives you.
What I changed:
- The palette. Orange, gold, and rust became plum, burgundy, and deep green.
- The time of day. Her table is afternoon light. Mine is set for dusk and after.
- The lighting. Small table lamps became the hanging basket pendants we made years ago.
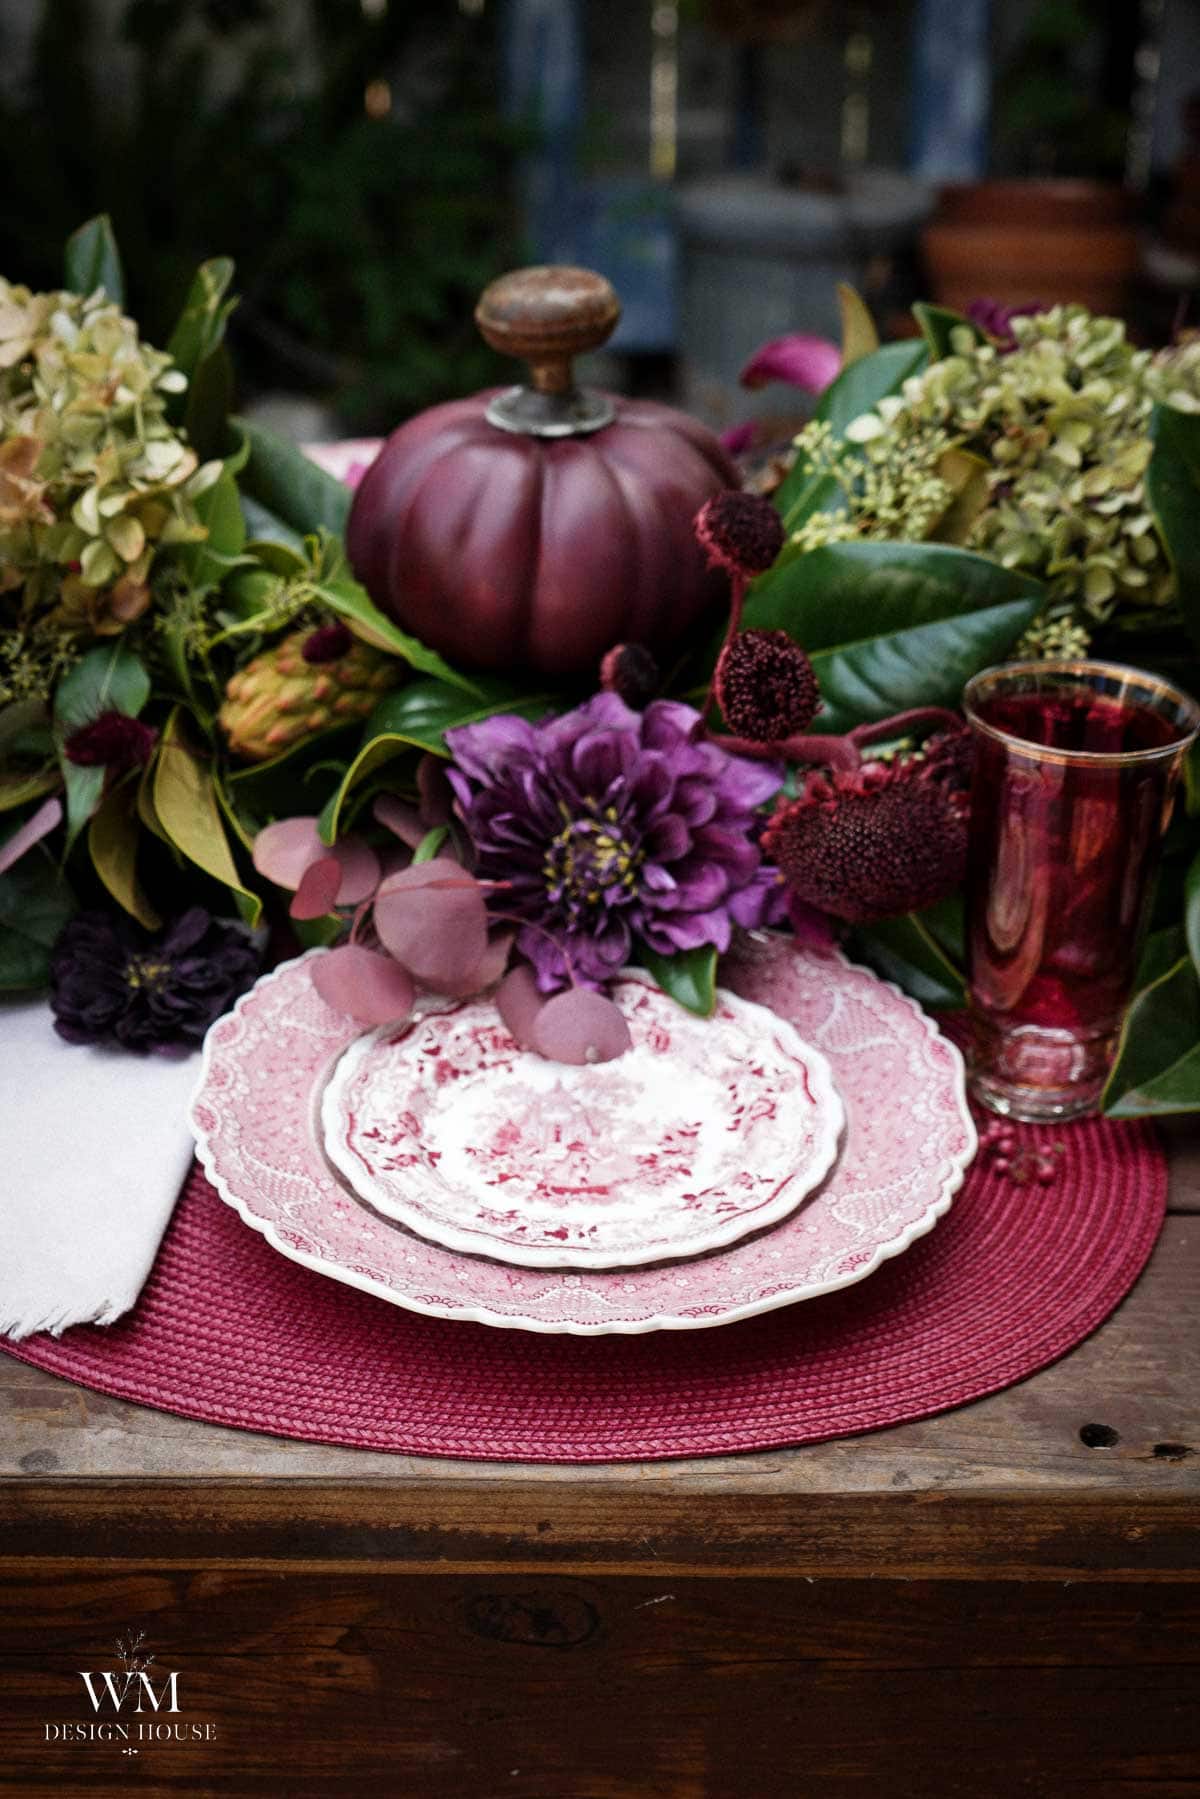
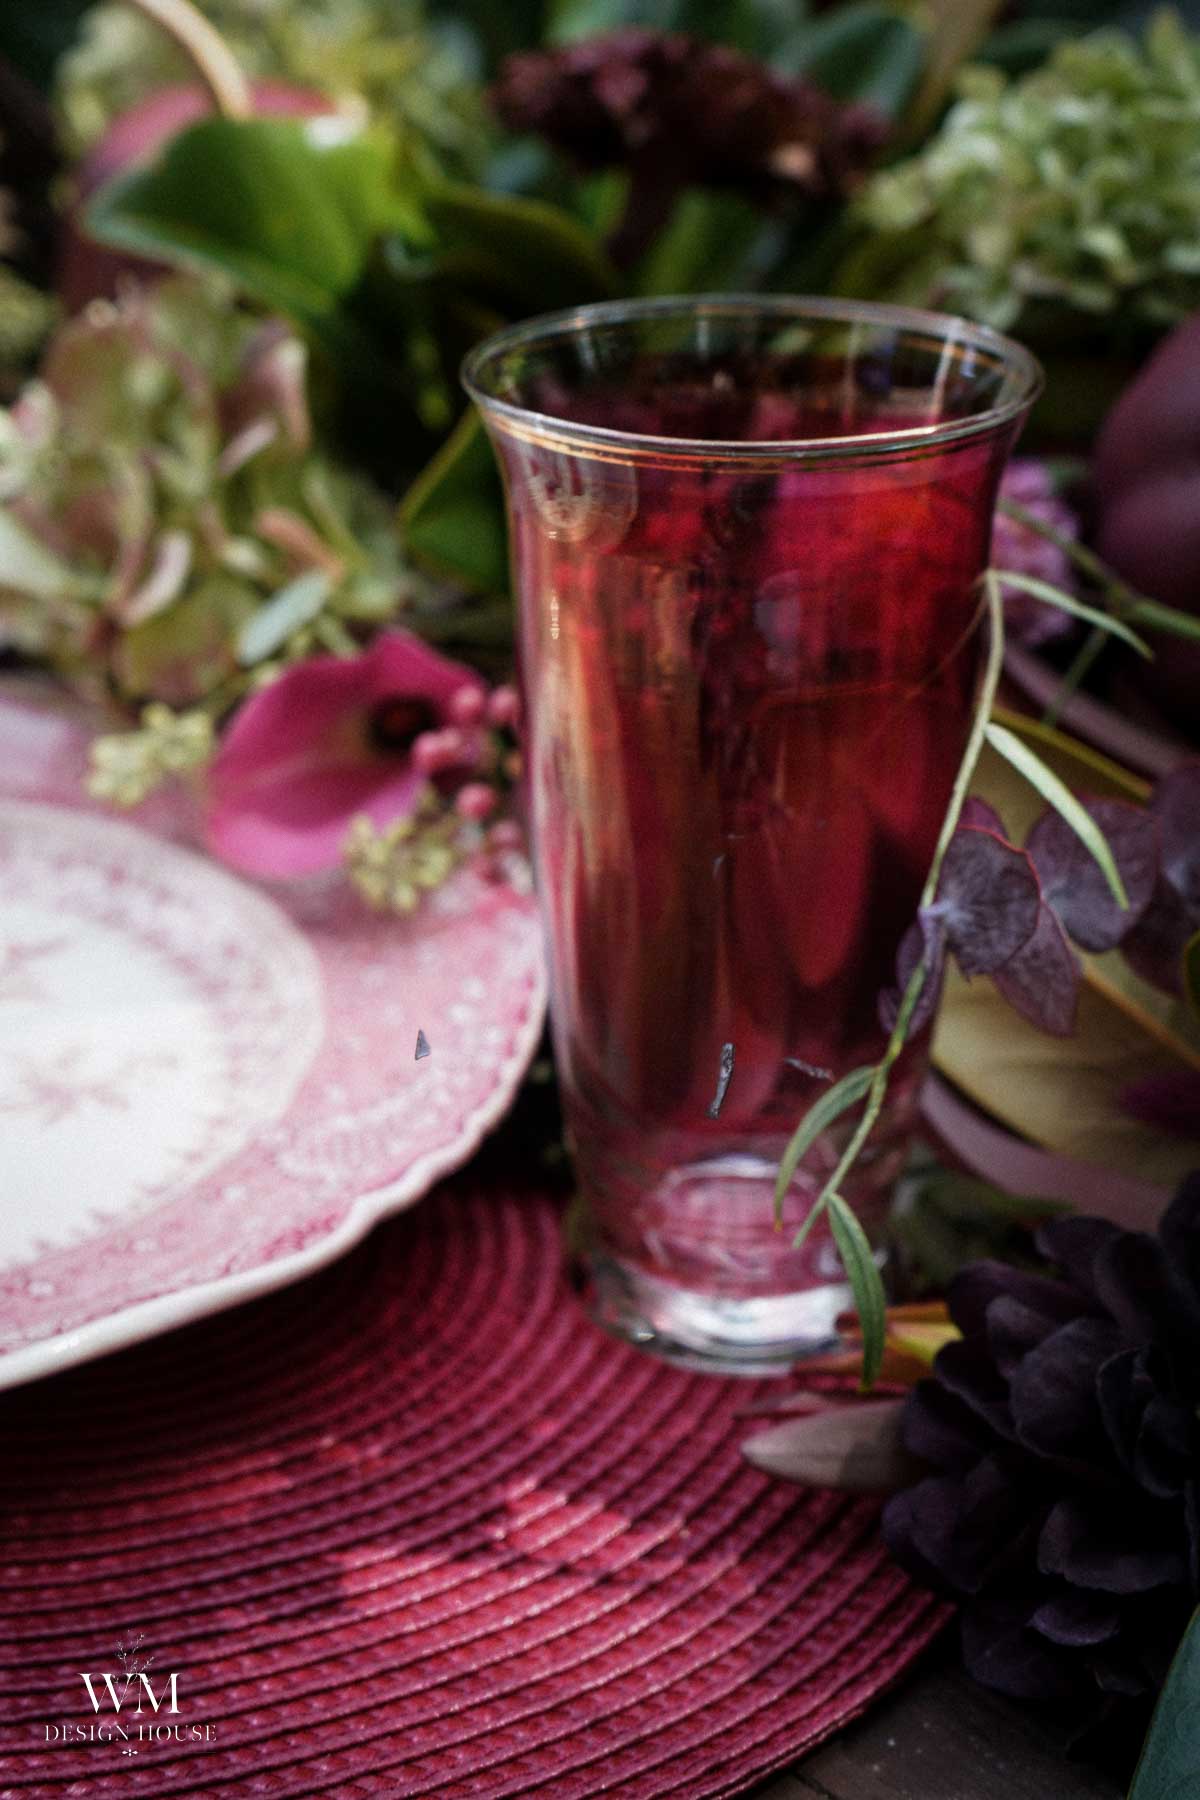
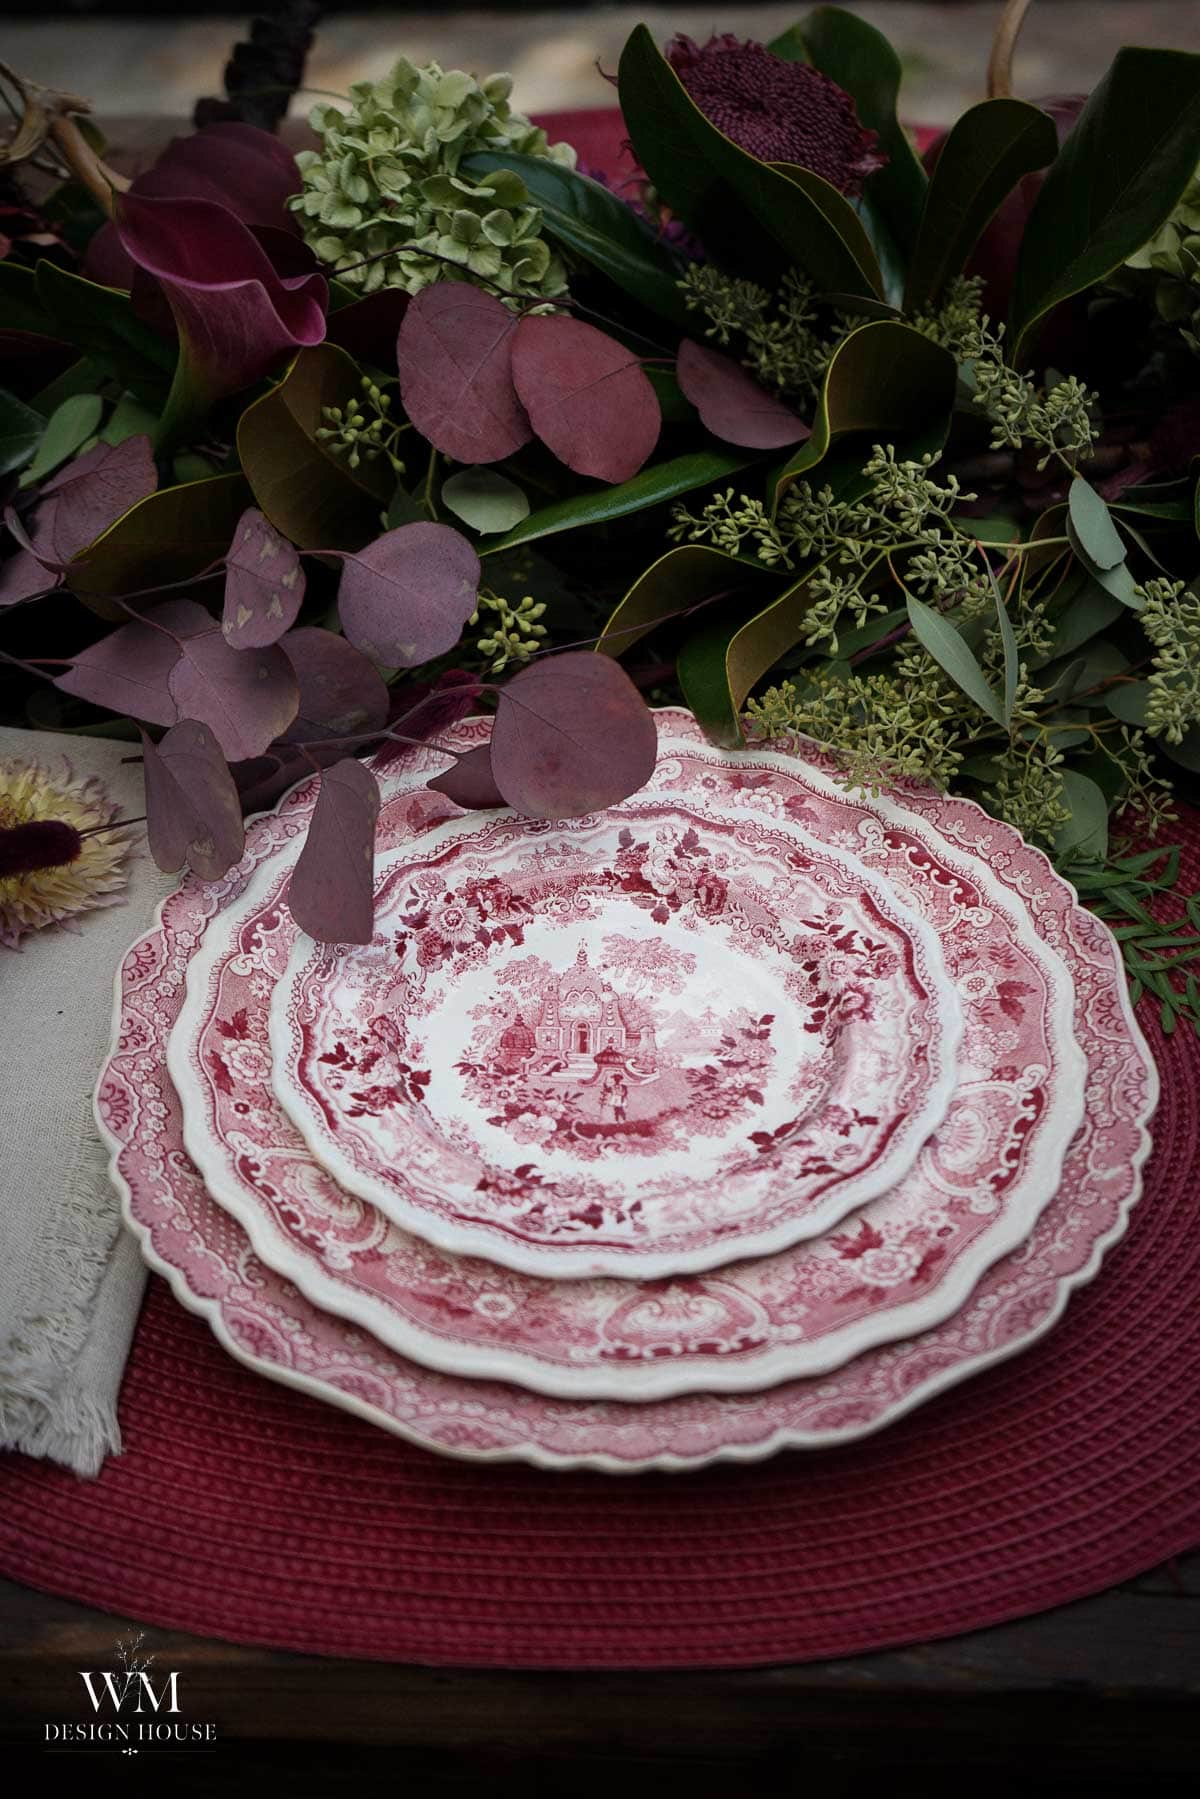
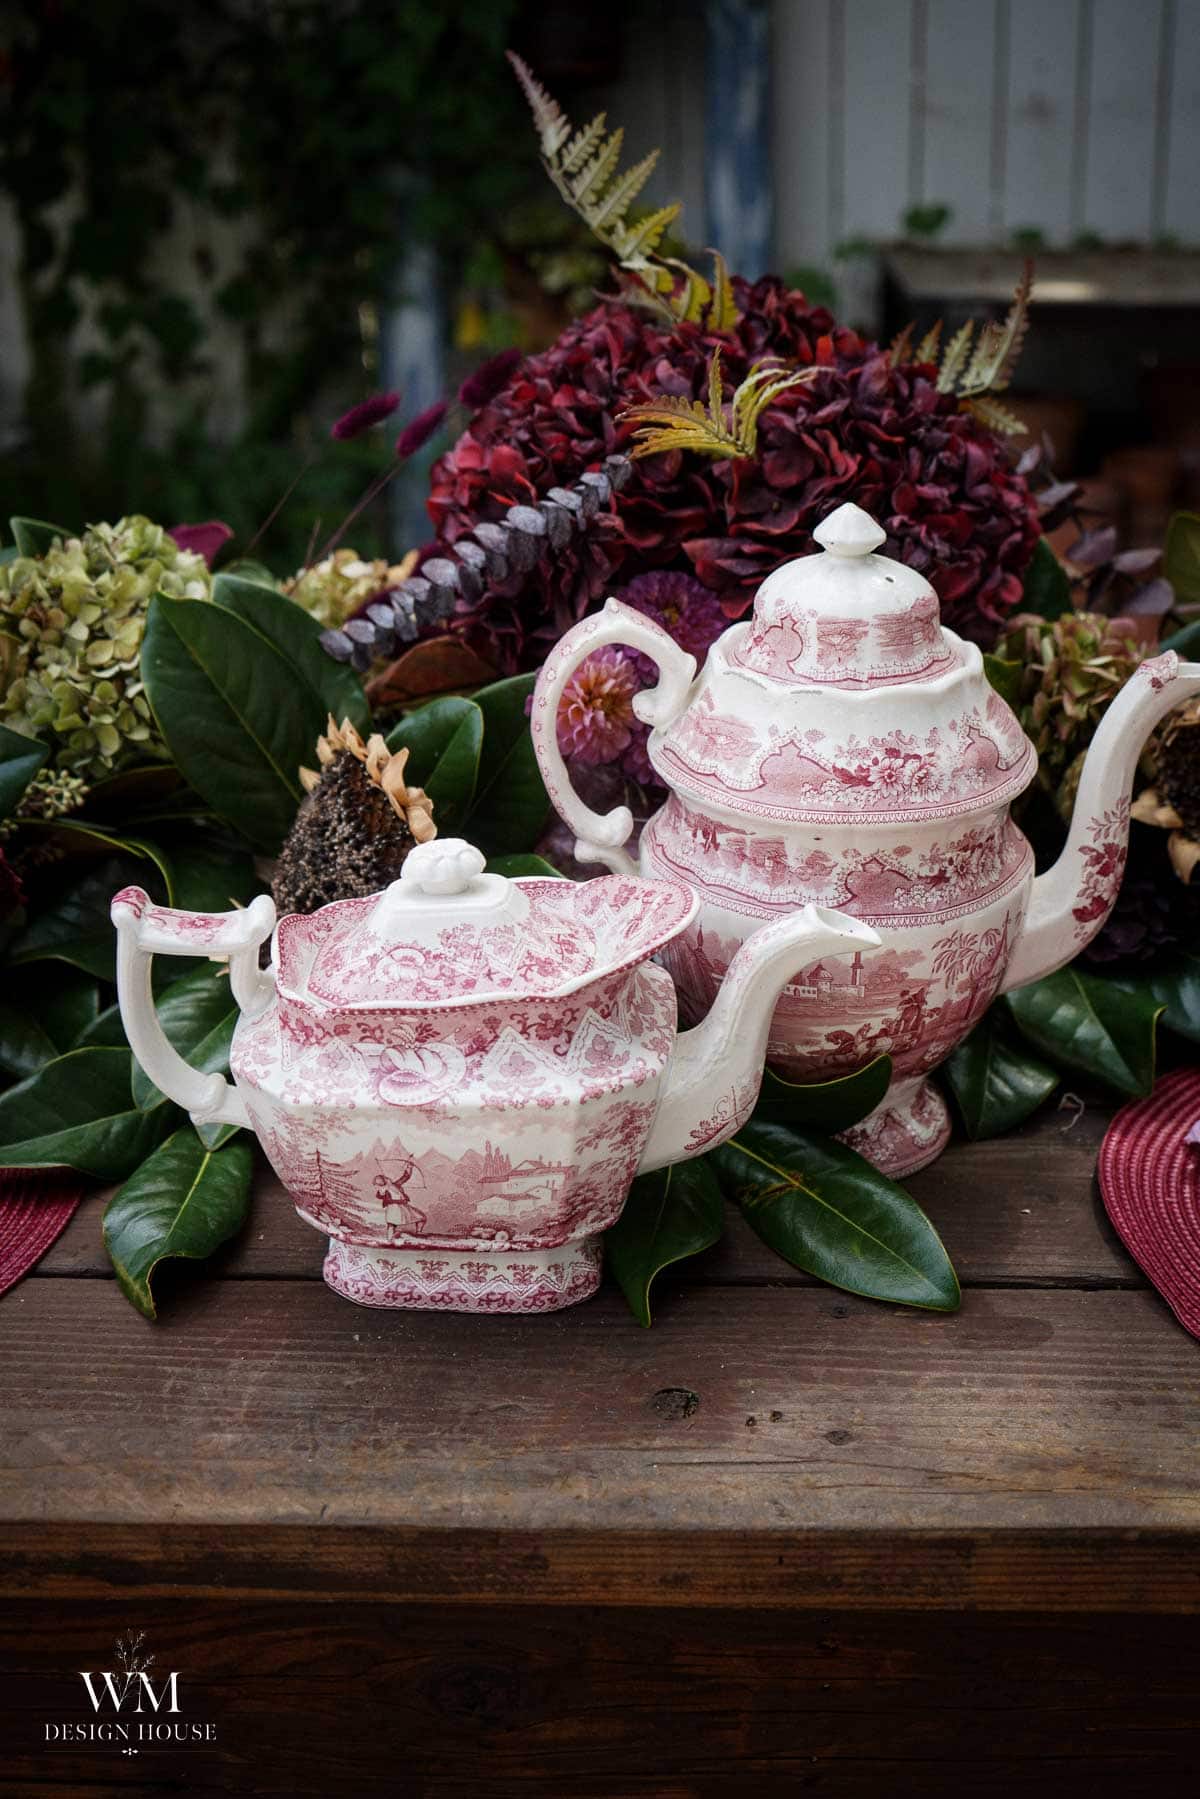
- The tableware. Neutral stoneware became red transferware with ruby glass.
- The branches. Turning leaves in a bucket became a greenery runner laid the full length of the table.
Karen took the warm route this month with her rustic fall table, and I took the dark one. Same assignment, two answers. If you like a fall table with no orange in sight, keep reading. You will also get lots of other great ideas from the other gals, I am sure there will be something that aligns with your style.
Why a Moody Tablescape Instead of Orange
Orange is a classic and I love using it. It reads as fall the second it lands on a table, and that is exactly why I wanted to step outside of it this year. A moody tablescape asks a little more of you and gives back a great deal more in return.
Deep plum and burgundy do something orange cannot. They recede. They let the greenery come forward, they make old transferware look like it has been on that table for a century, and once the sun drops and the candles come on, they glow instead of shouting. A burgundy table at dusk is a completely different room than a burgundy table at noon.
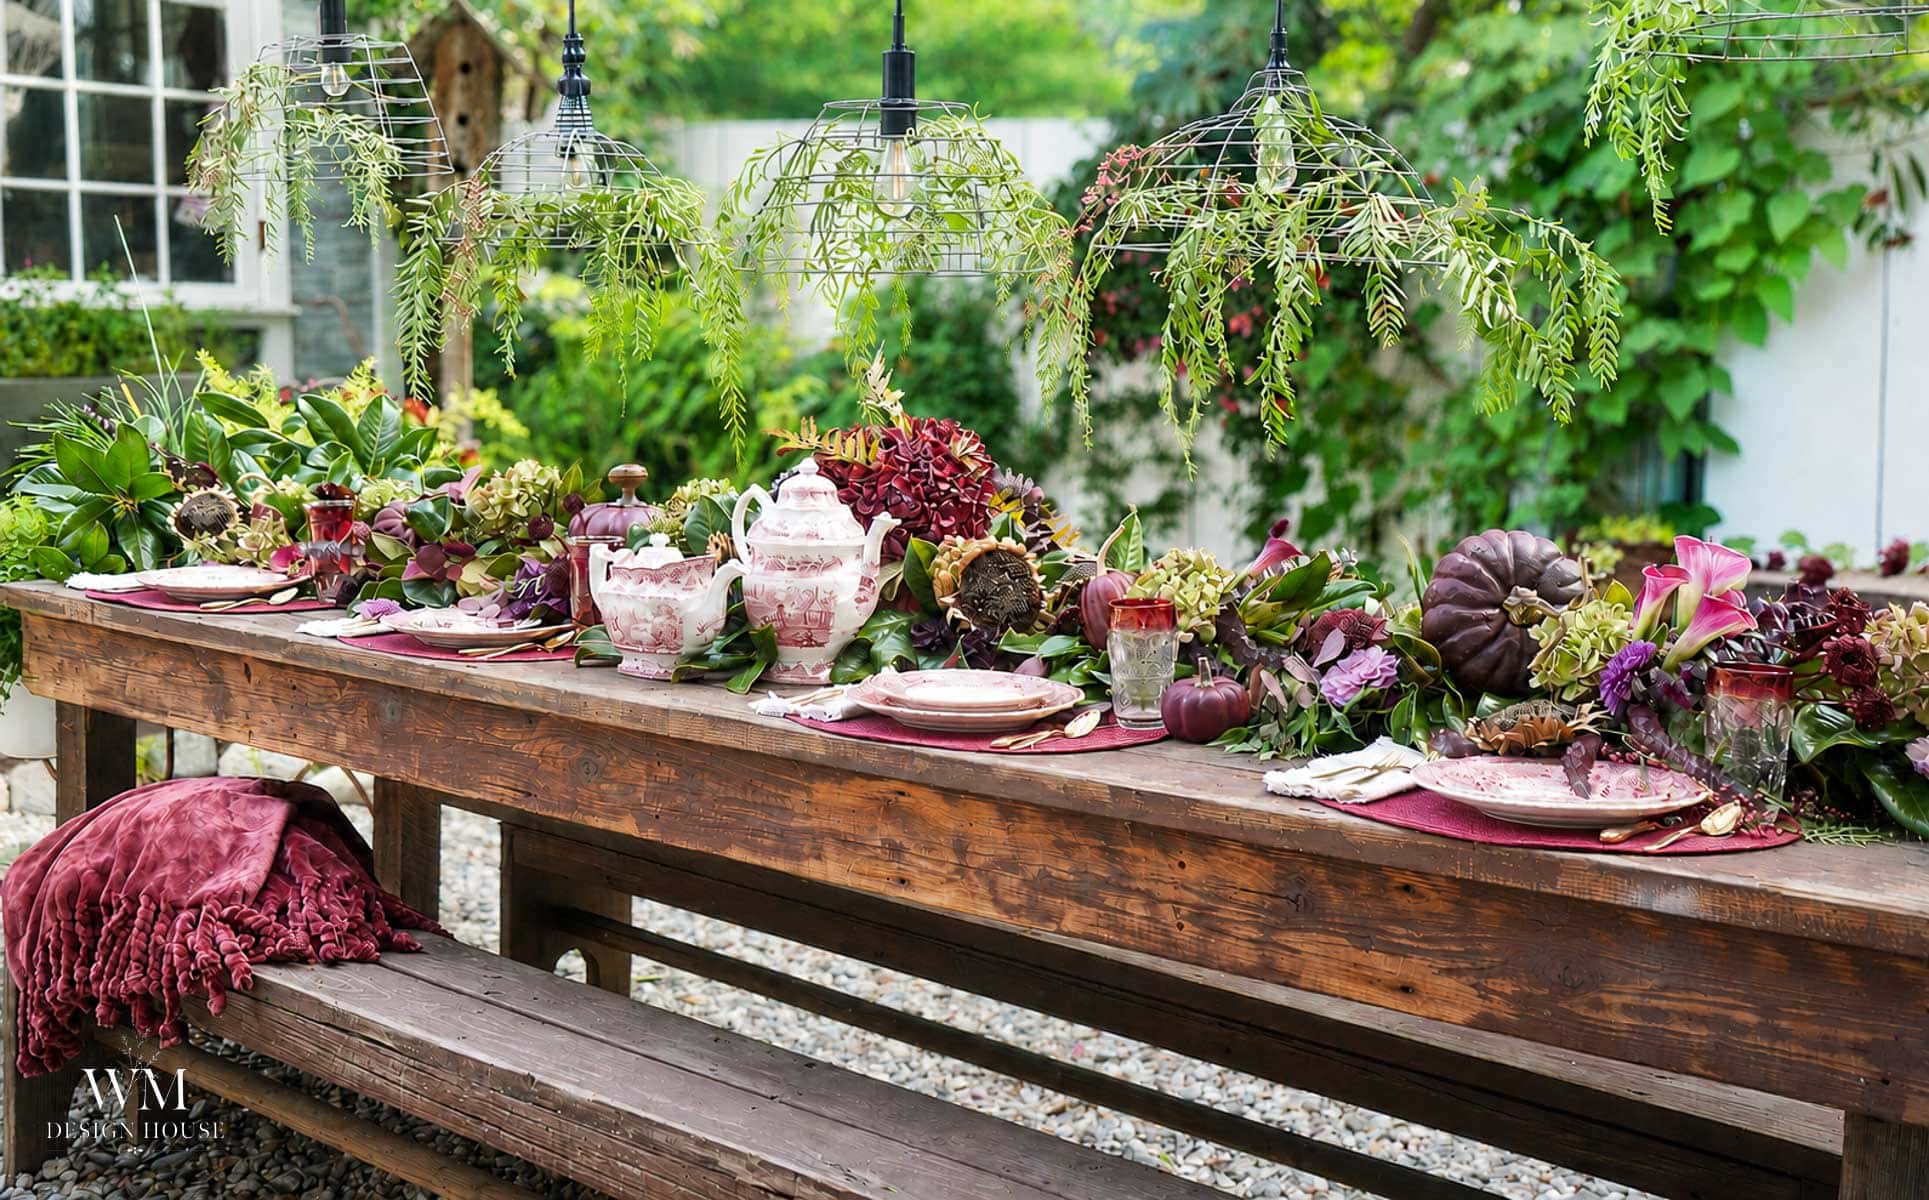
The palette here is narrow on purpose. Plum, burgundy, and every green I could find, with nothing bright to break it up. When you are working this dark, restraint is what keeps it from tipping into something else entirely.
Building the Runner
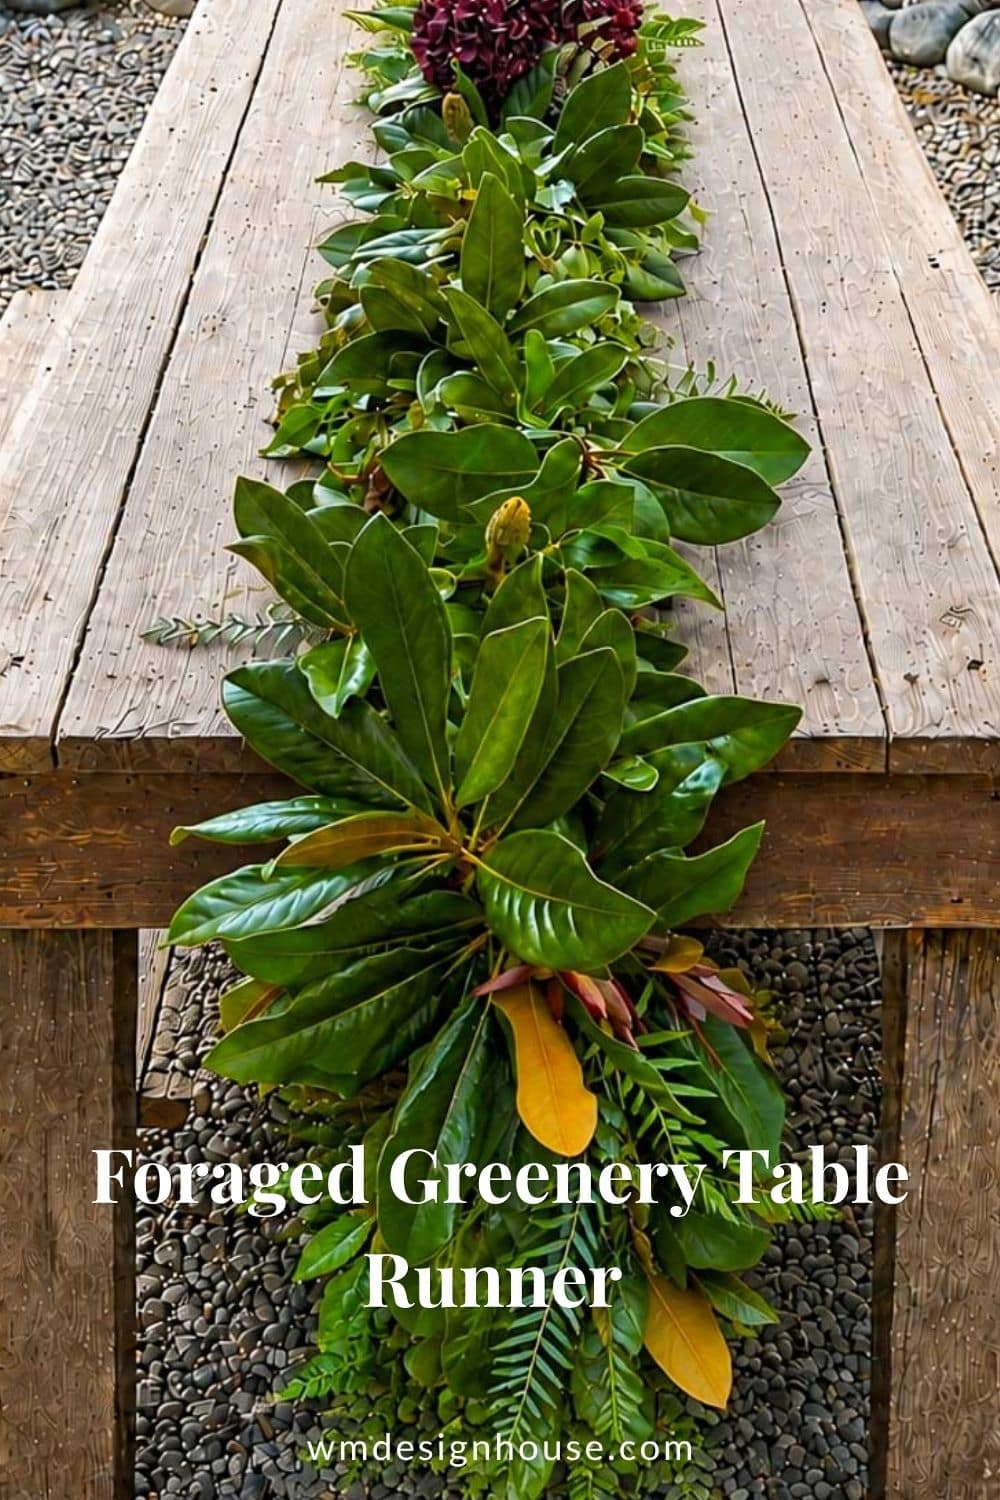
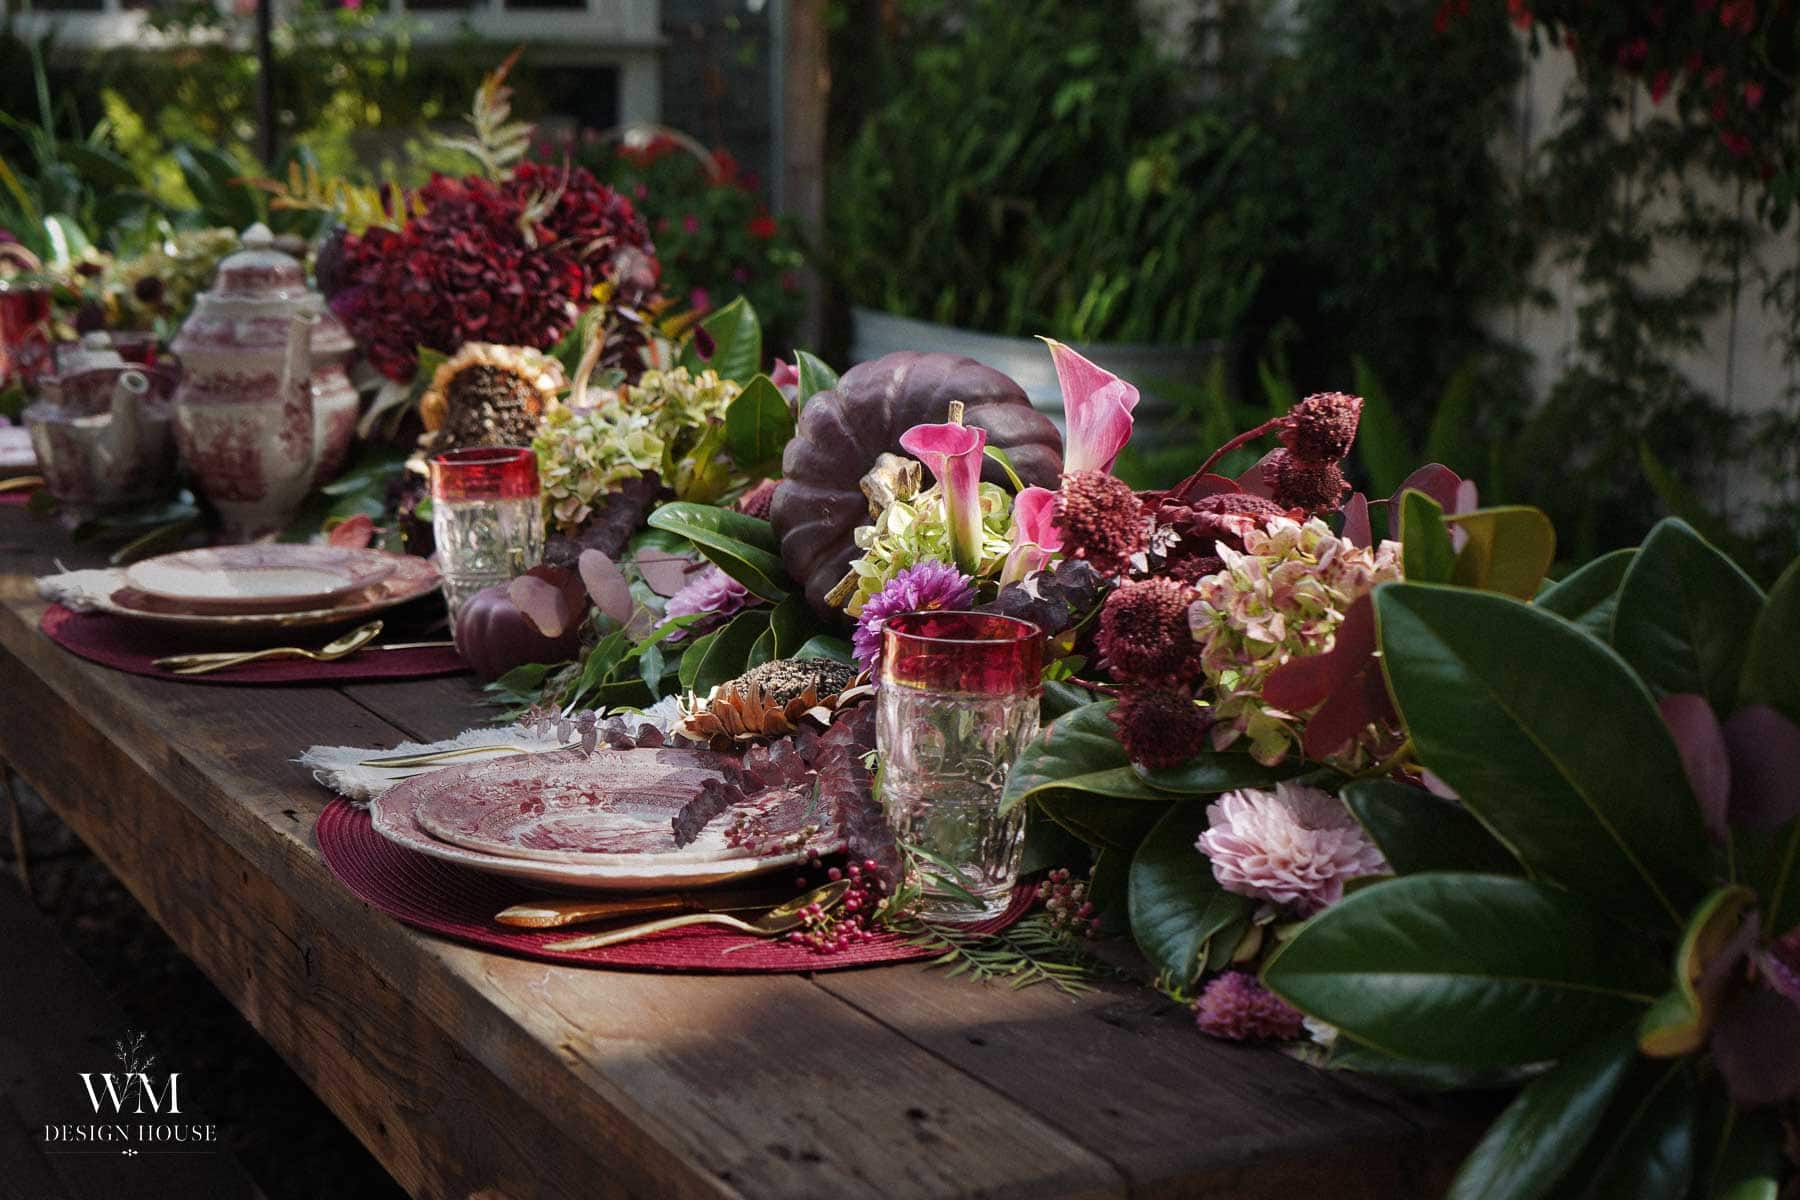
The base of the whole table is a foraged greenery table runner that I built the week before. Magnolia leaves for the big glossy structure, seeded eucalyptus and pepper tree for the softer trailing bits, and leucadendron for those burgundy tipped stems that tie into everything else.
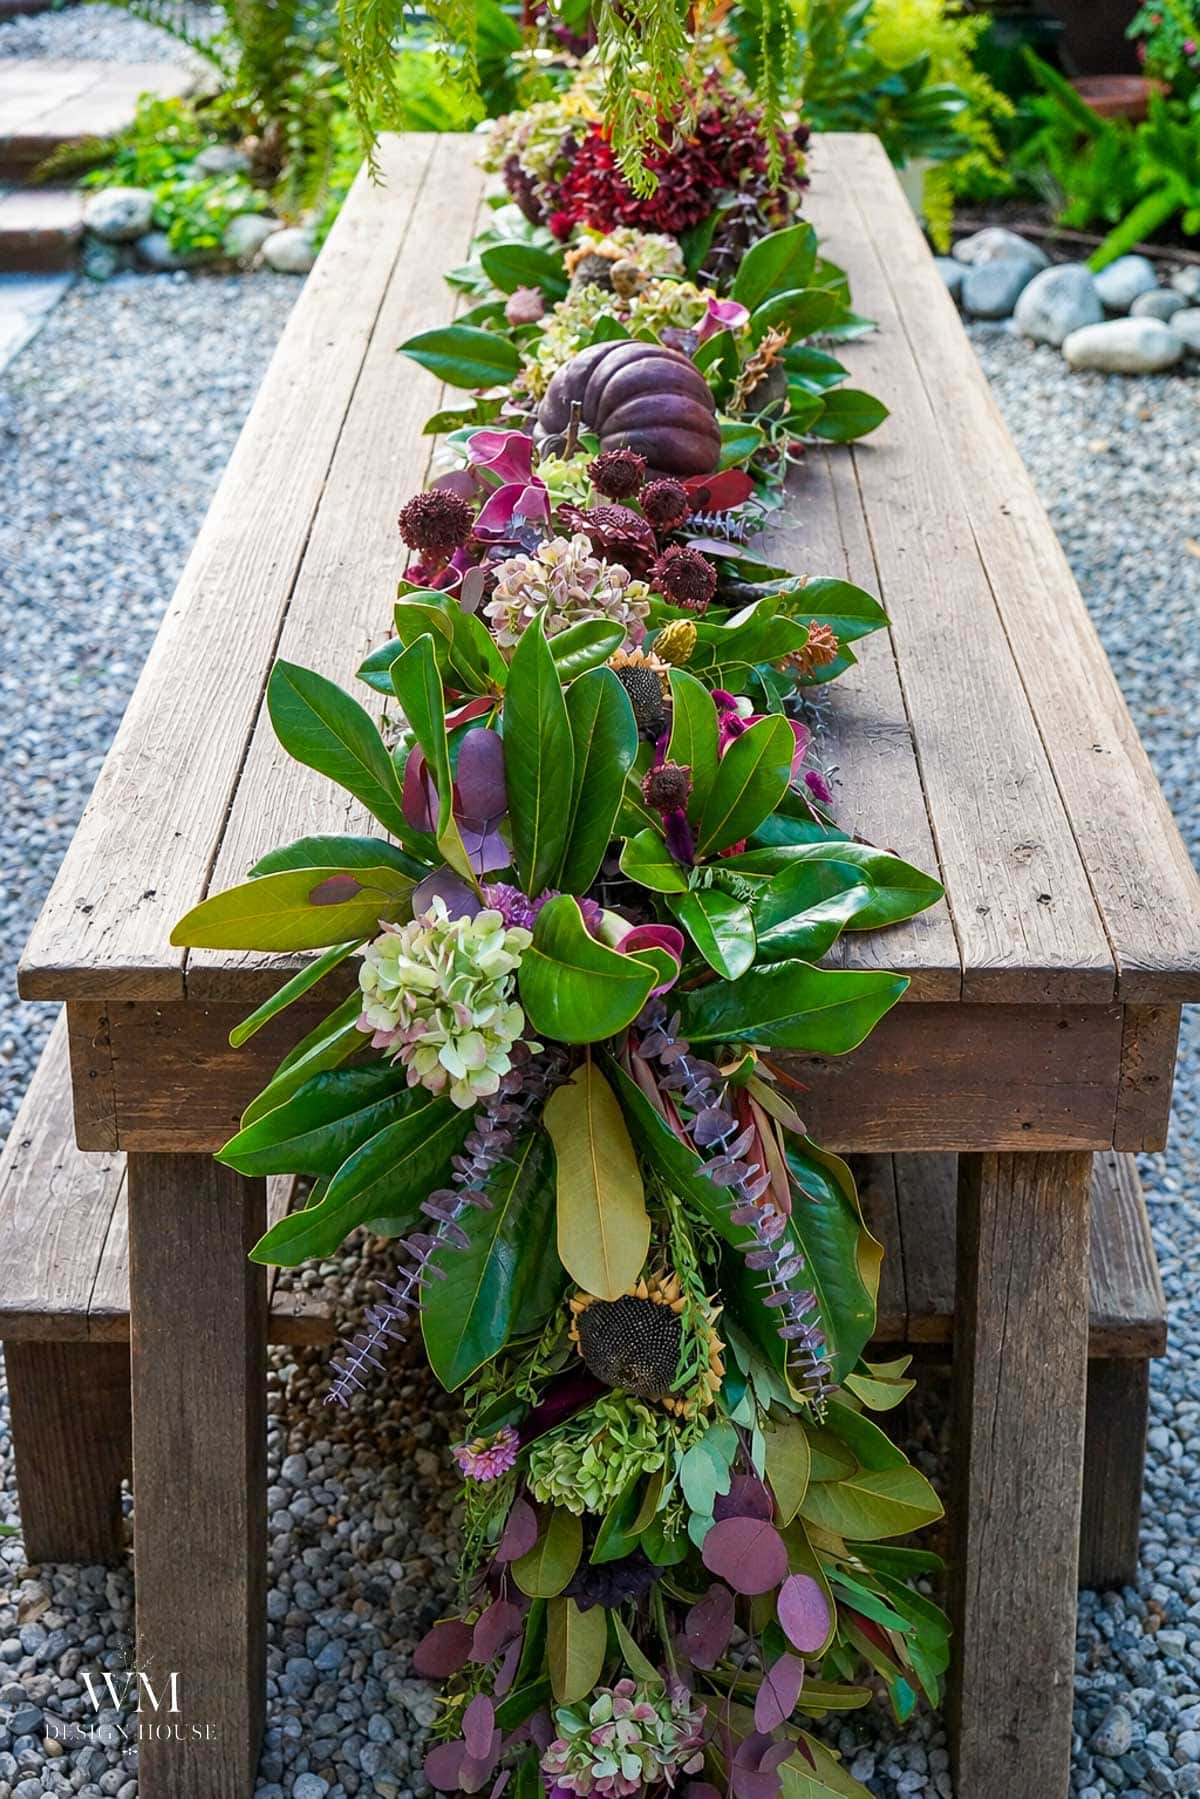
Start with the runner, and I mean before anything else goes on the table. I learned this the hard way. The first time I tried to work greenery in around plates that were already set, I ended up with a little wreath at every place setting and nothing that looked like a runner. So now I lay the greenery down the whole length of the table first, walk to the end and look at it, and only then bring in the plates, candles, and everything else.
Magnolia is the workhorse. It holds its shape out of water for the better part of a week here, which matters when you are setting a table on a Thursday for a Saturday dinner.
What Is Real and What I Painted
This is my favorite part to talk about, because the honest answer is that this table is about half garden and half craft cupboard, and you cannot tell which is which in the photographs.
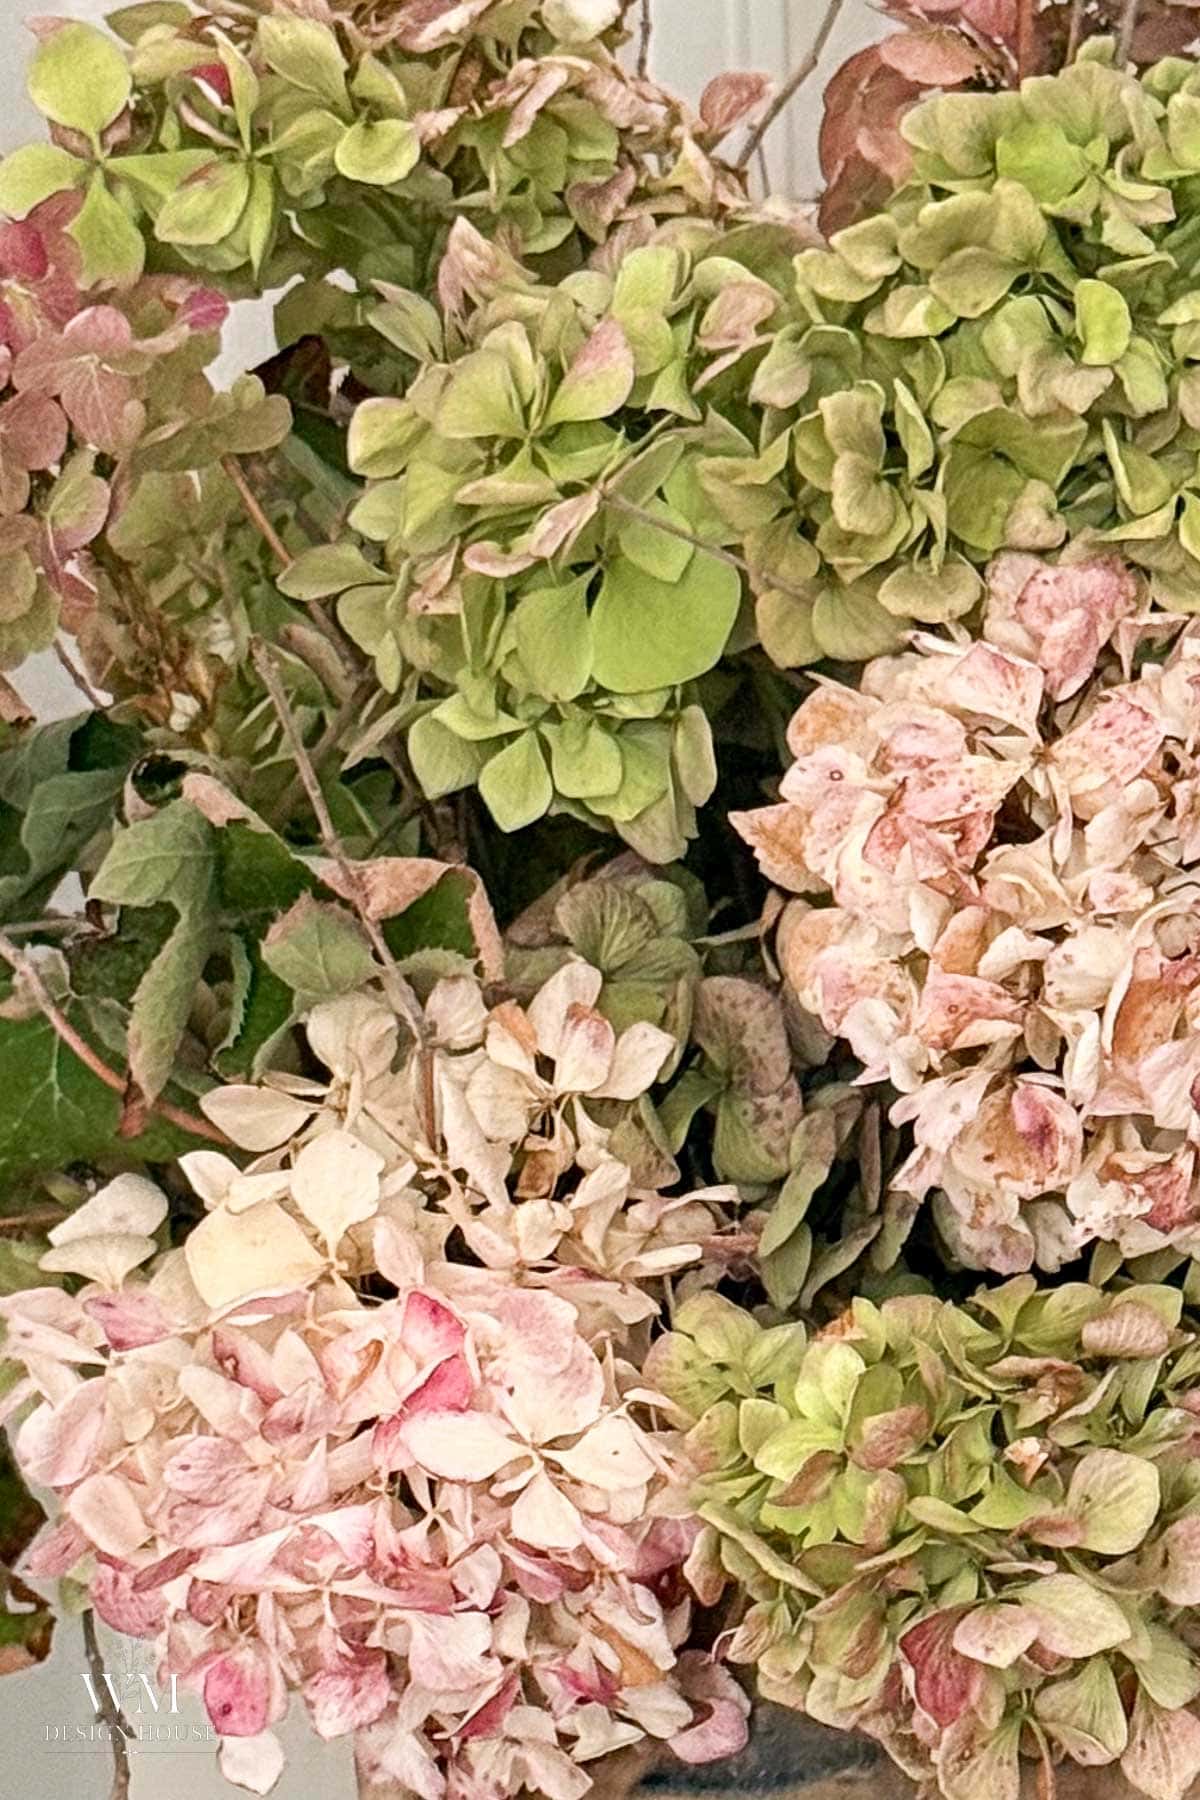
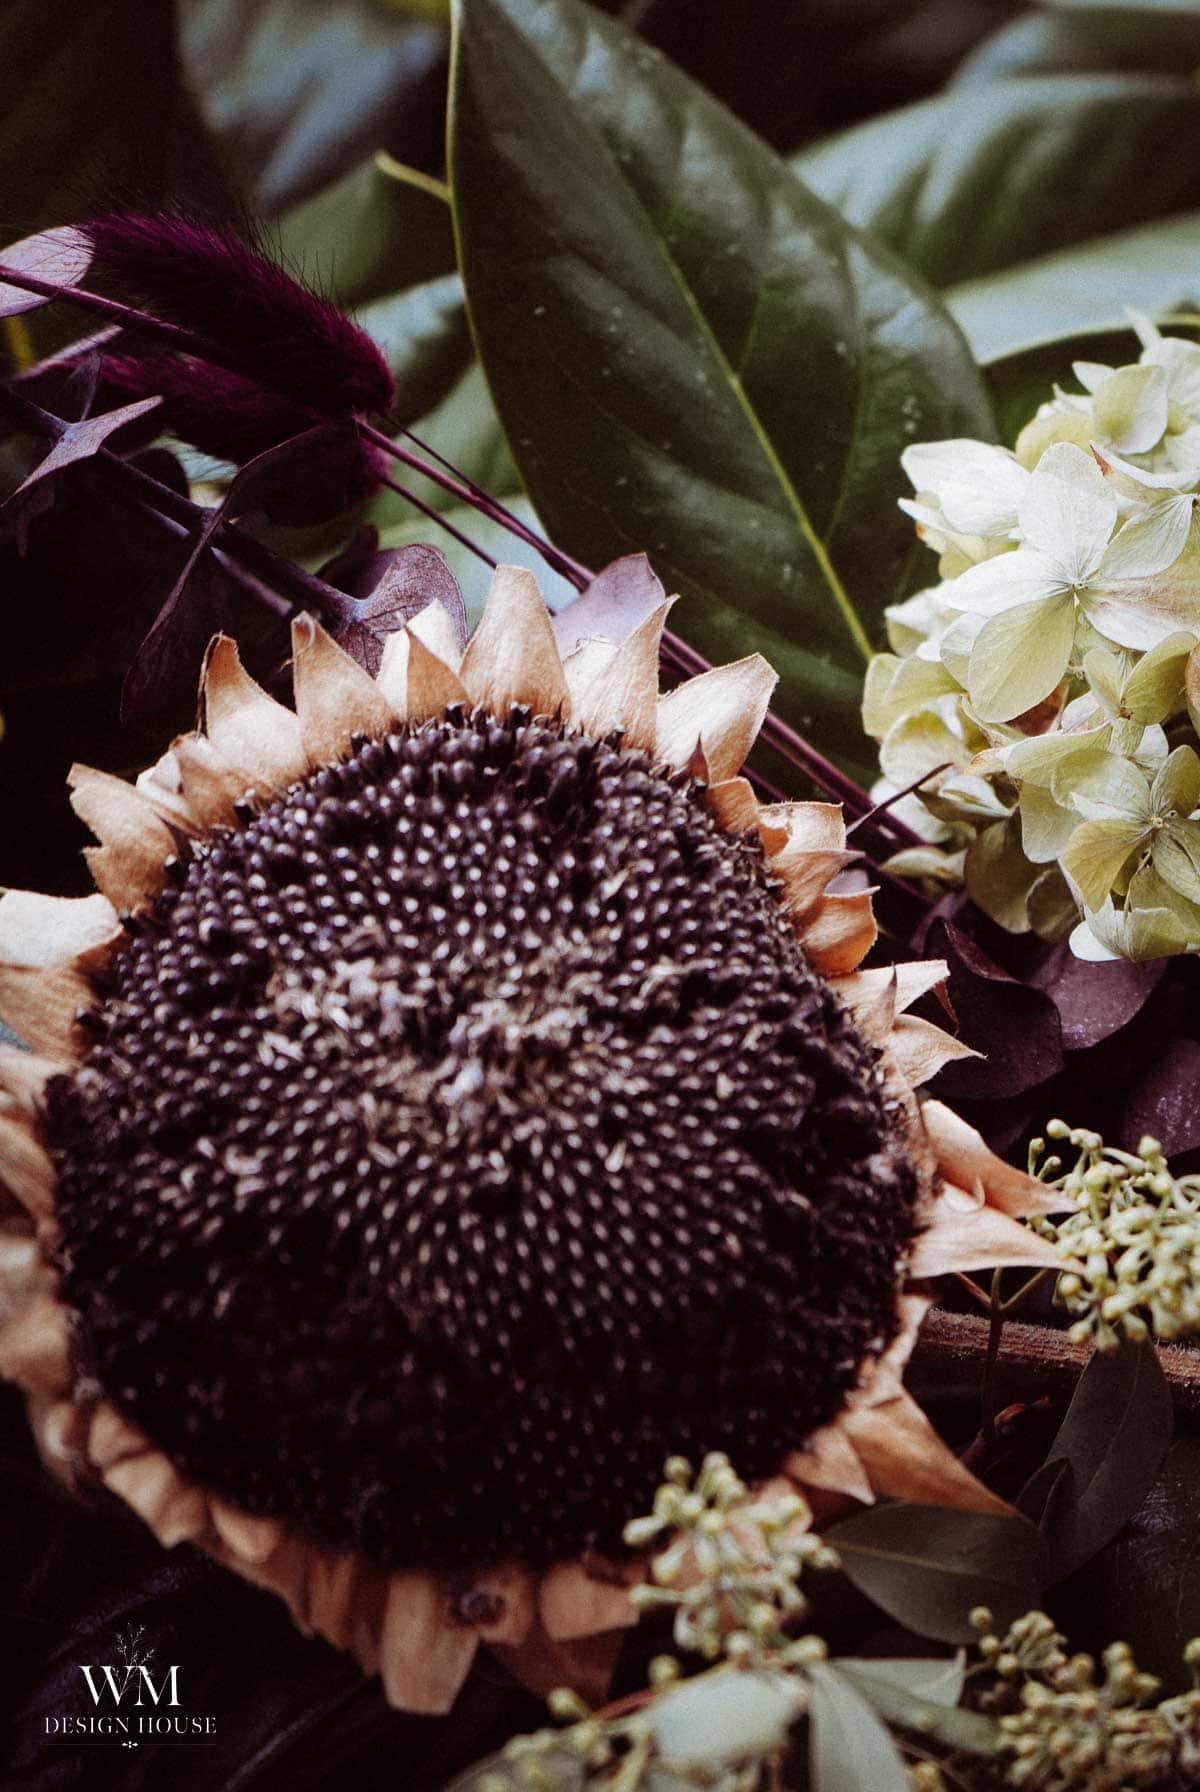
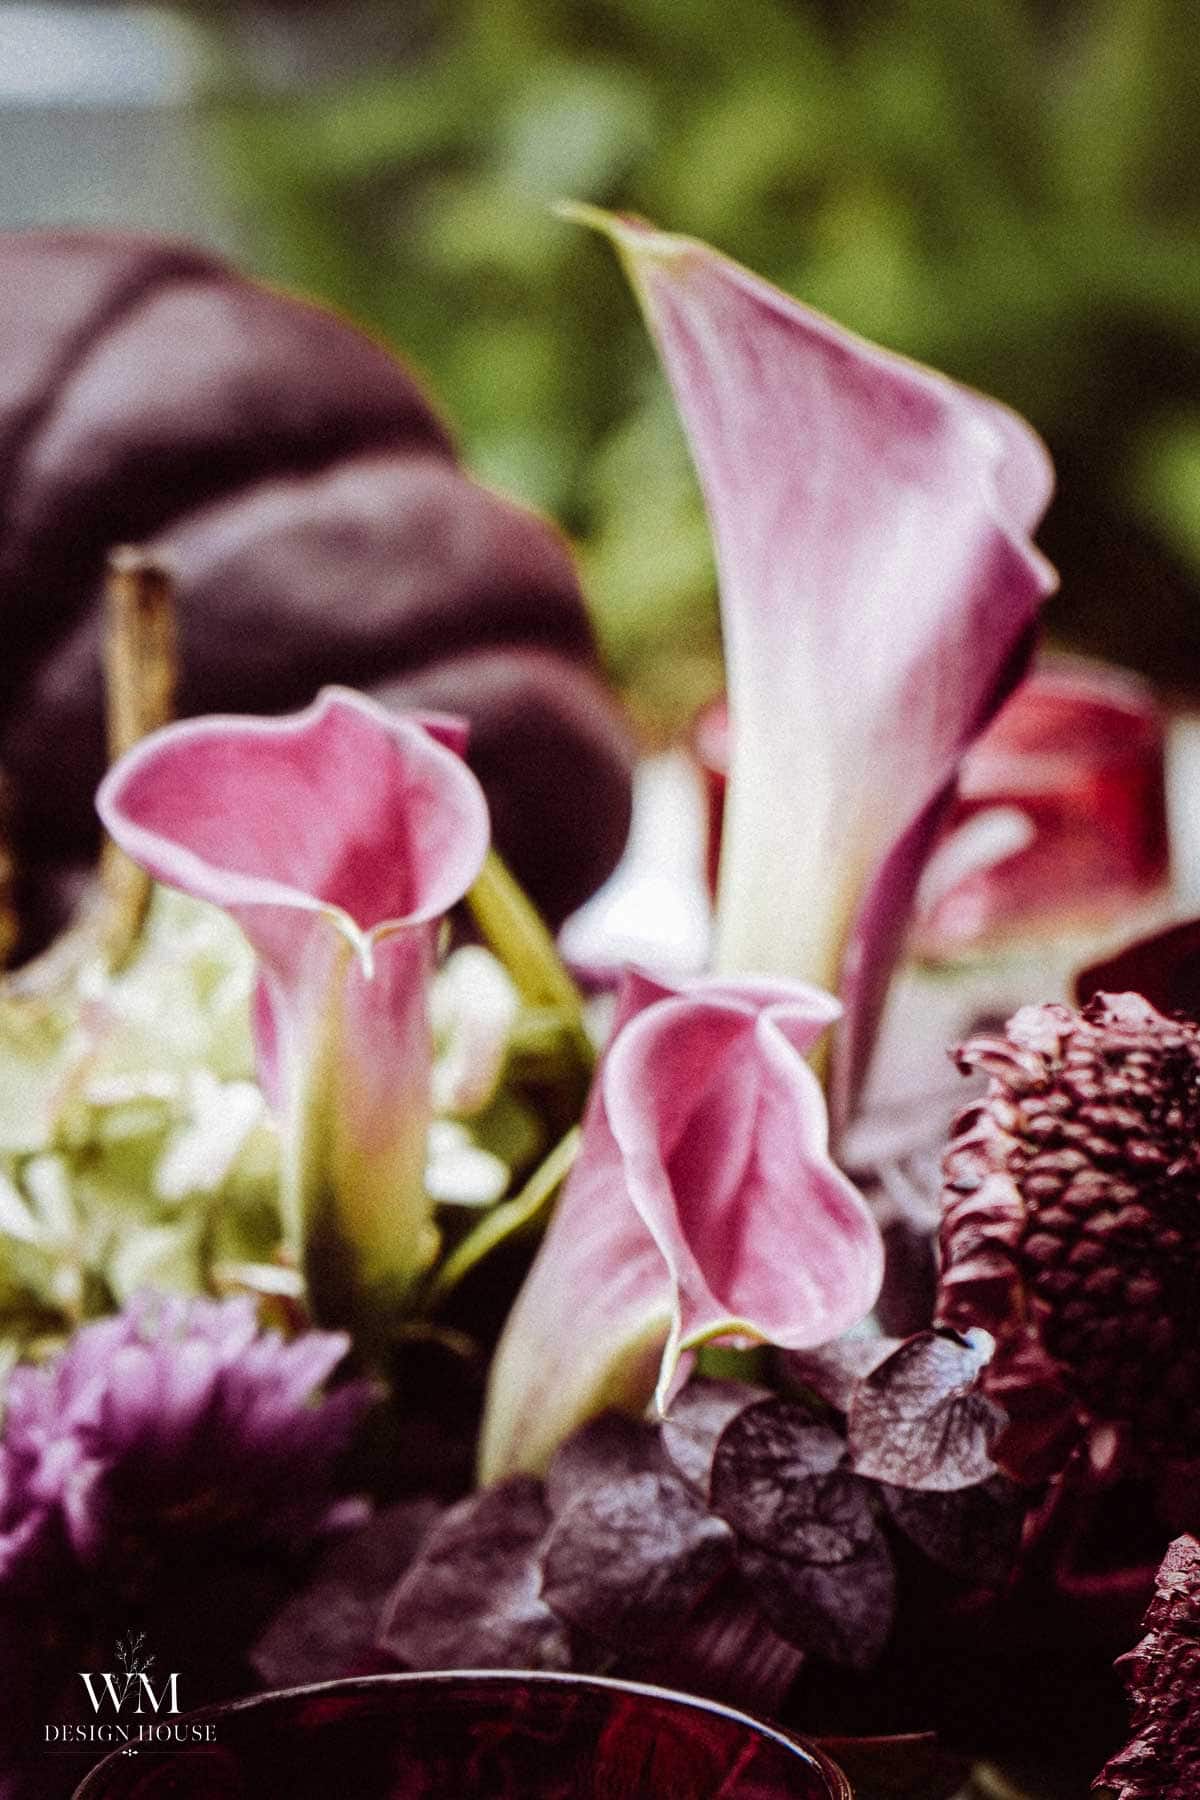
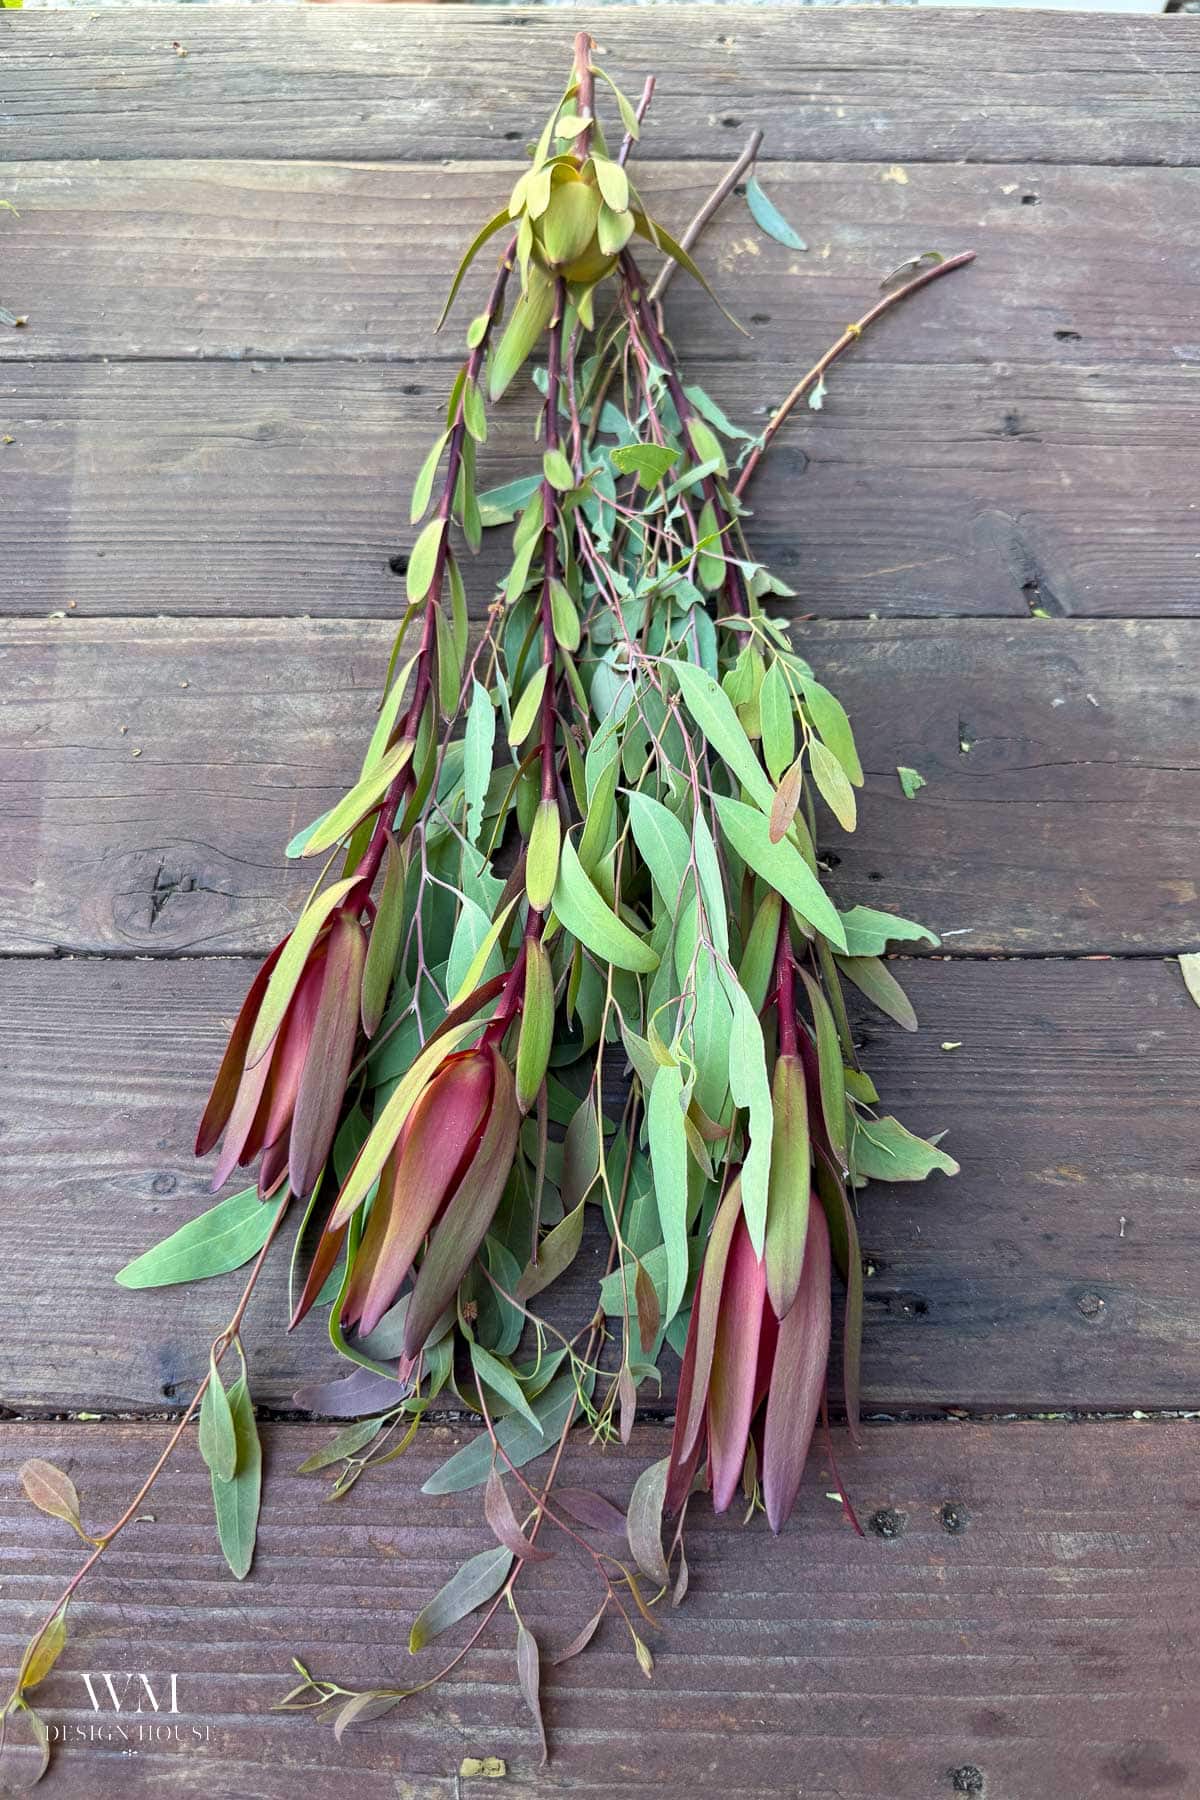
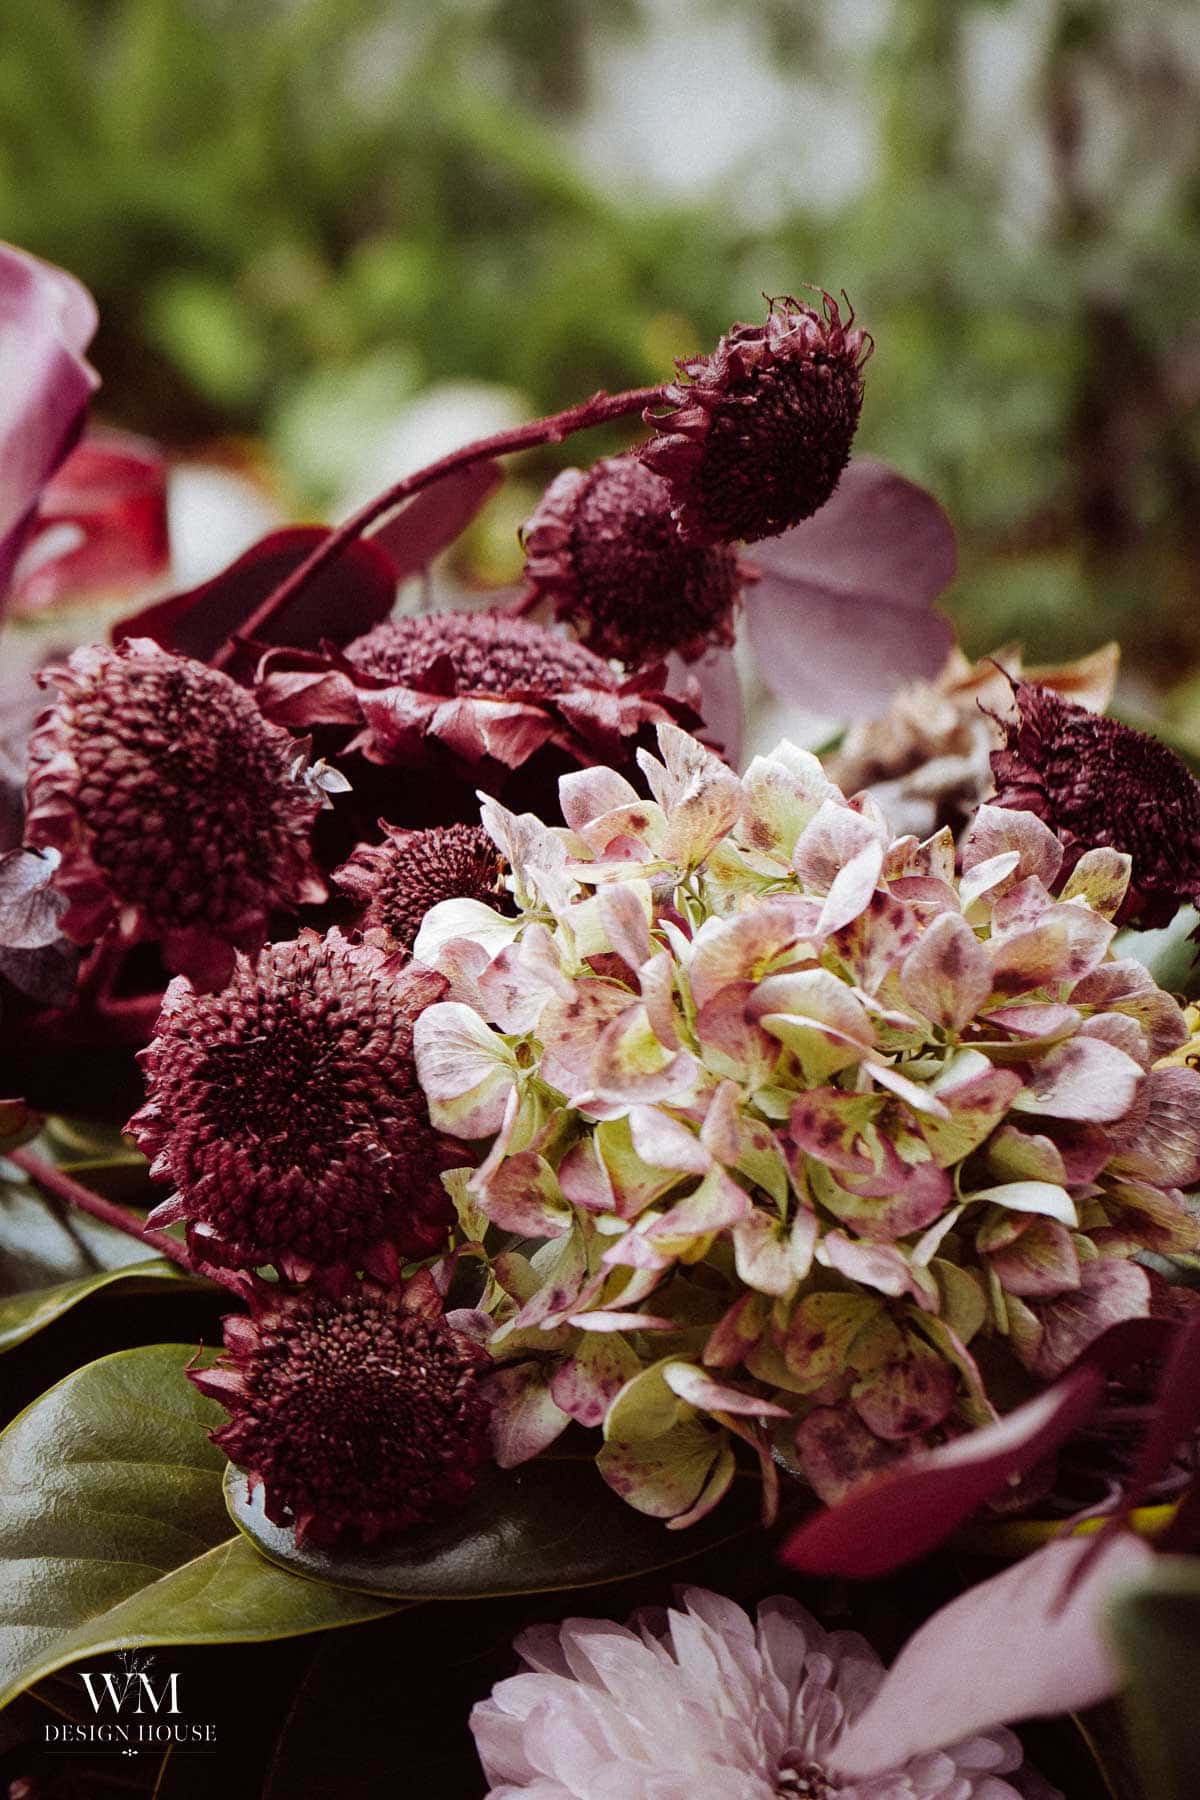
From the garden: the hydrangeas, dried on the stem until they went papery and took on that green and rose mottling that only happens late in the season. The dahlias, which I dried in silica gel a few weeks ago. The sunflower heads, saved after the birds had finished with the seeds. The magnolia, leucadendrons and pepper berries, all cut that morning.
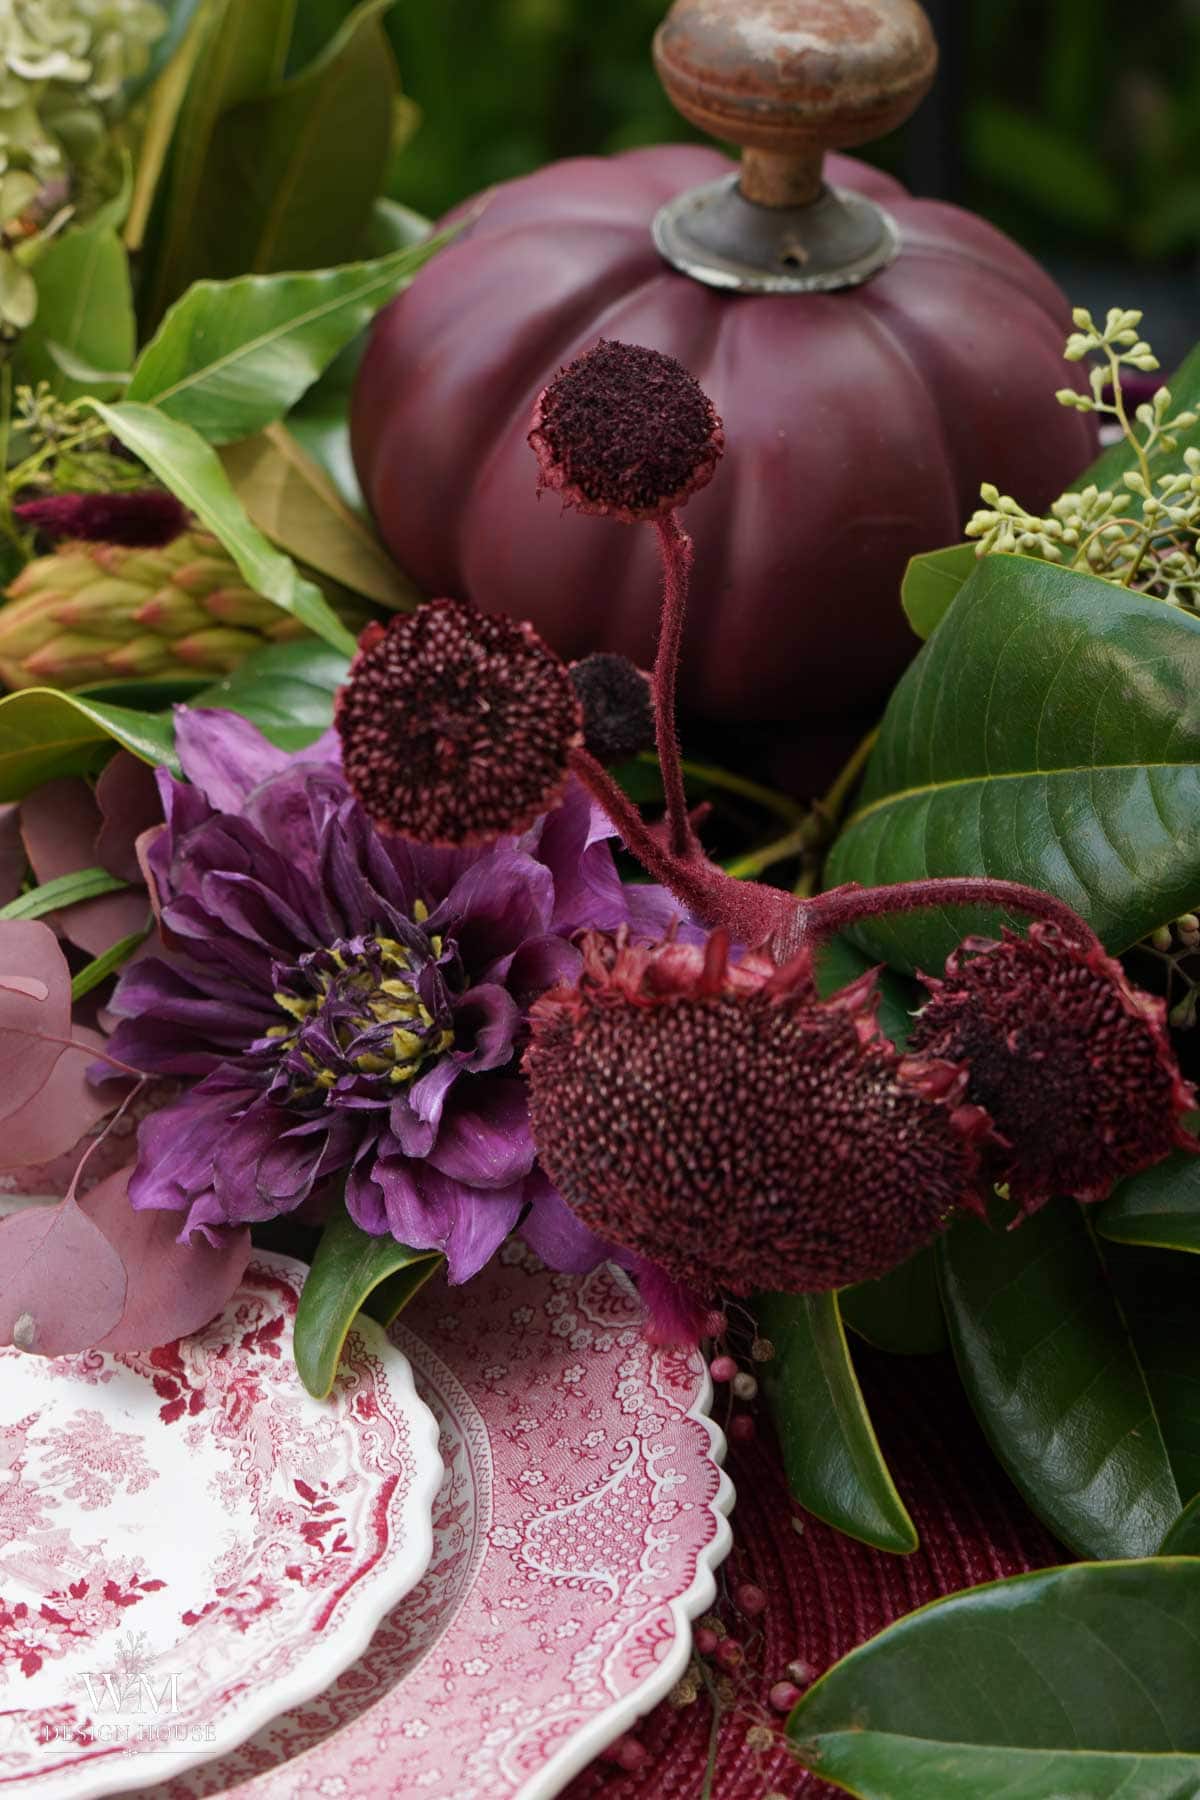
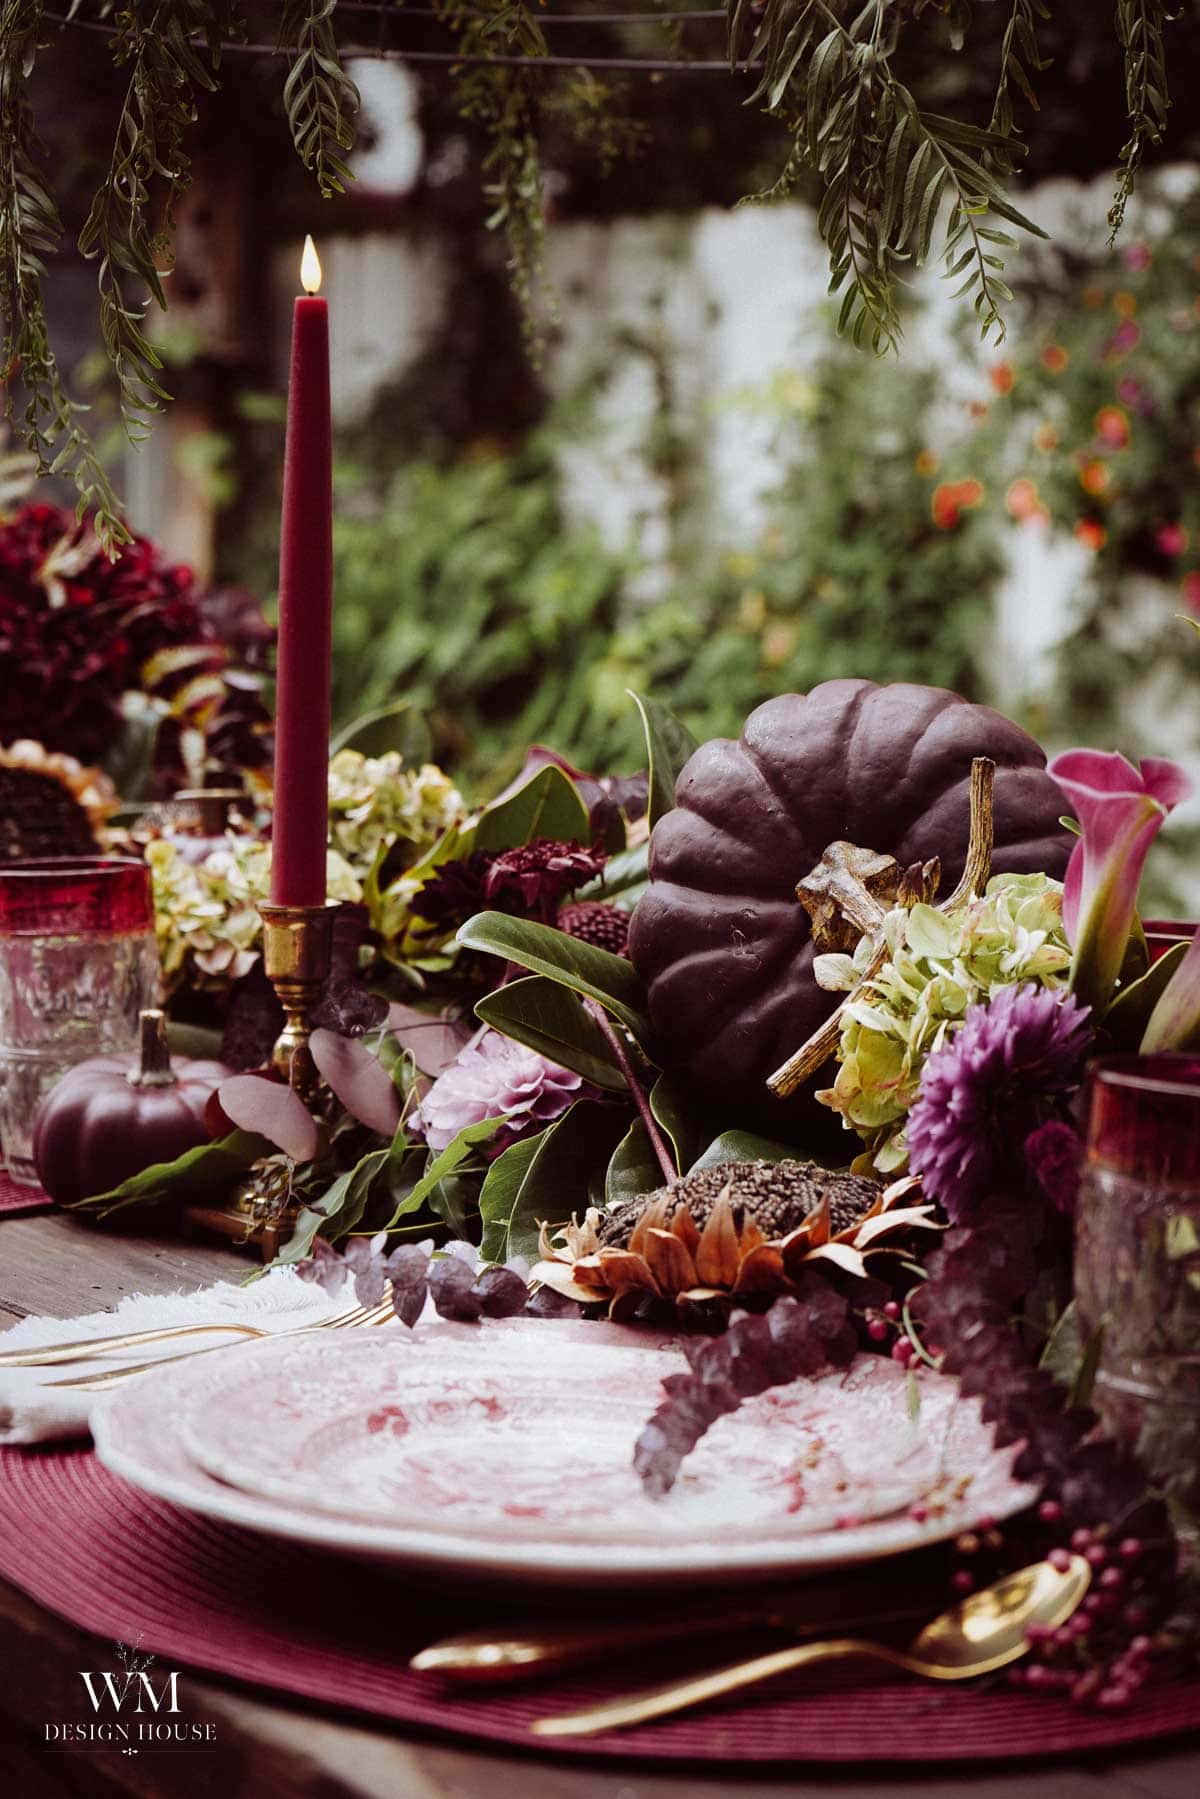
From a can of spray paint: several of the dried sunflower heads, which I painted a deep burgundy. The small foam pumpkins. The large pumpkin under the centerpiece.
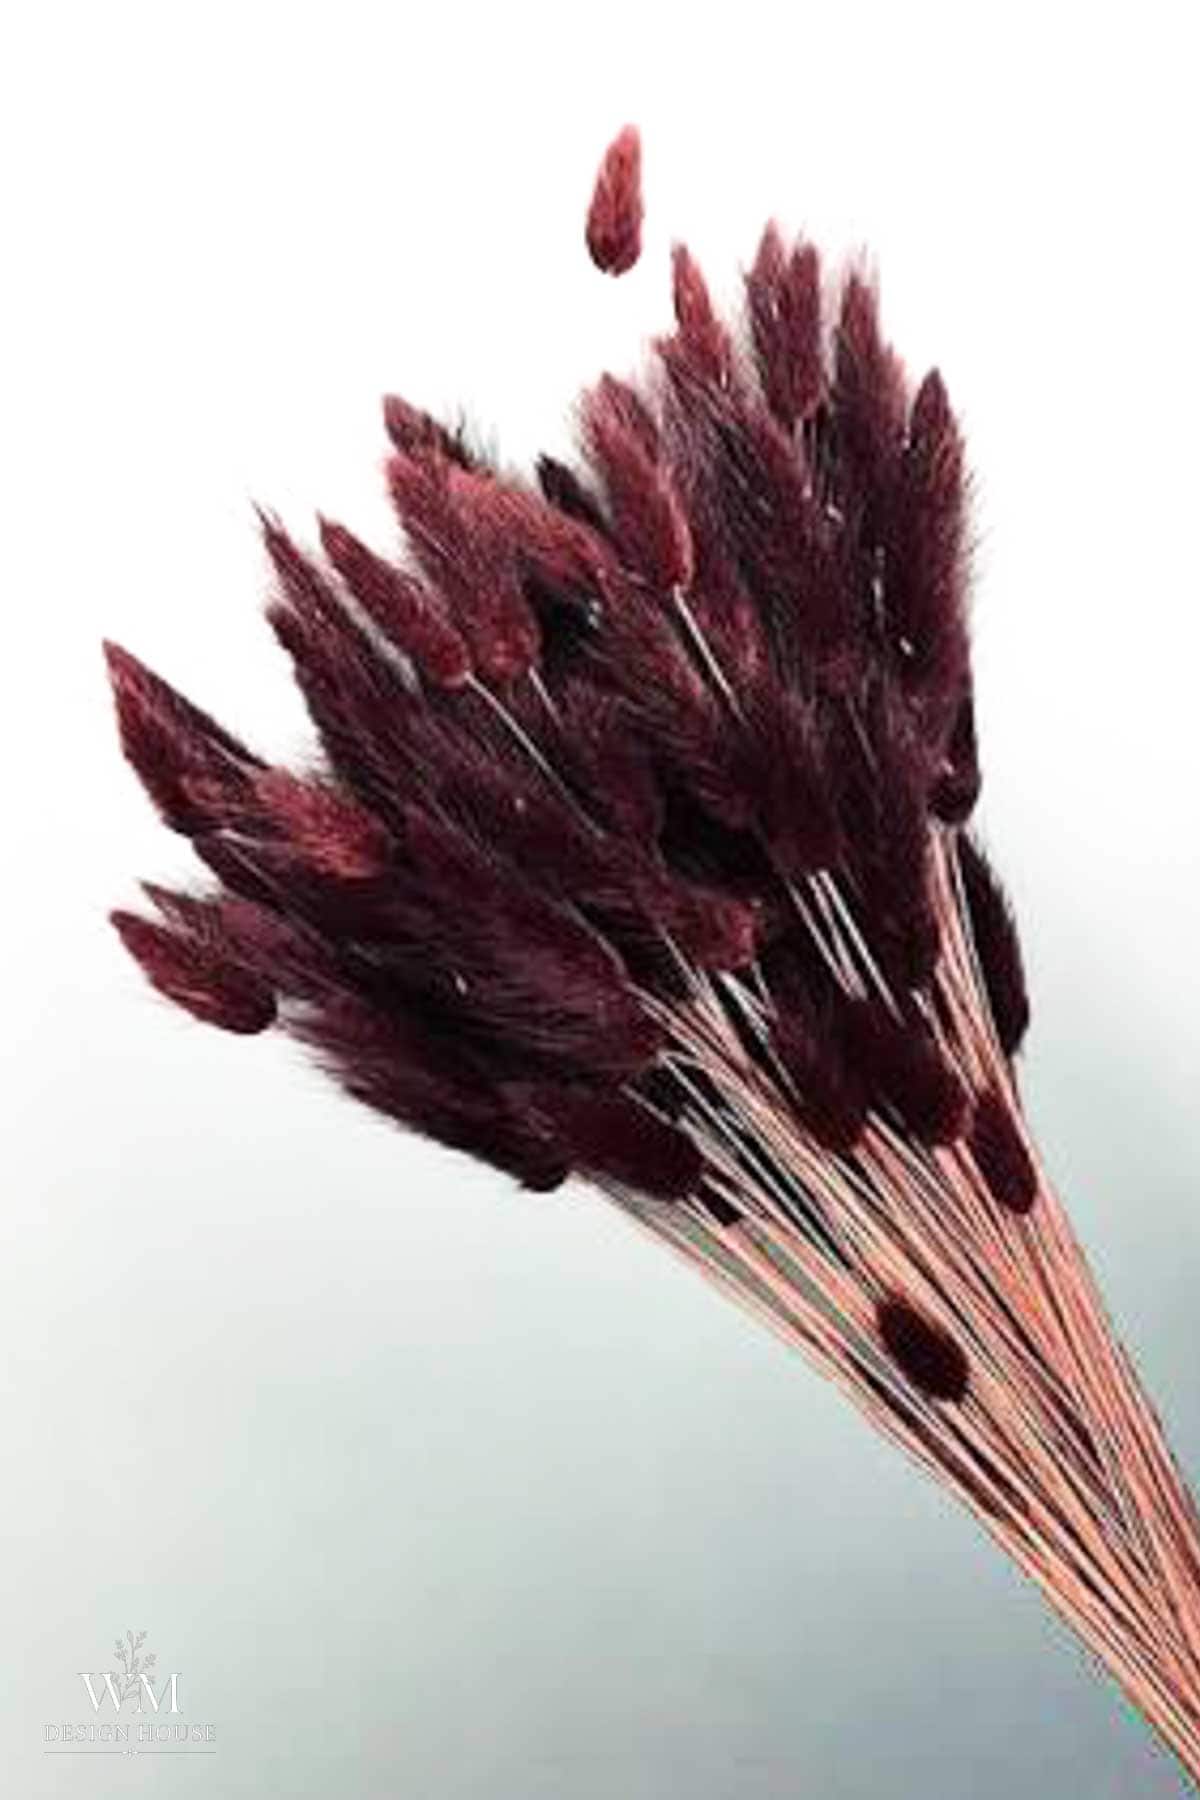
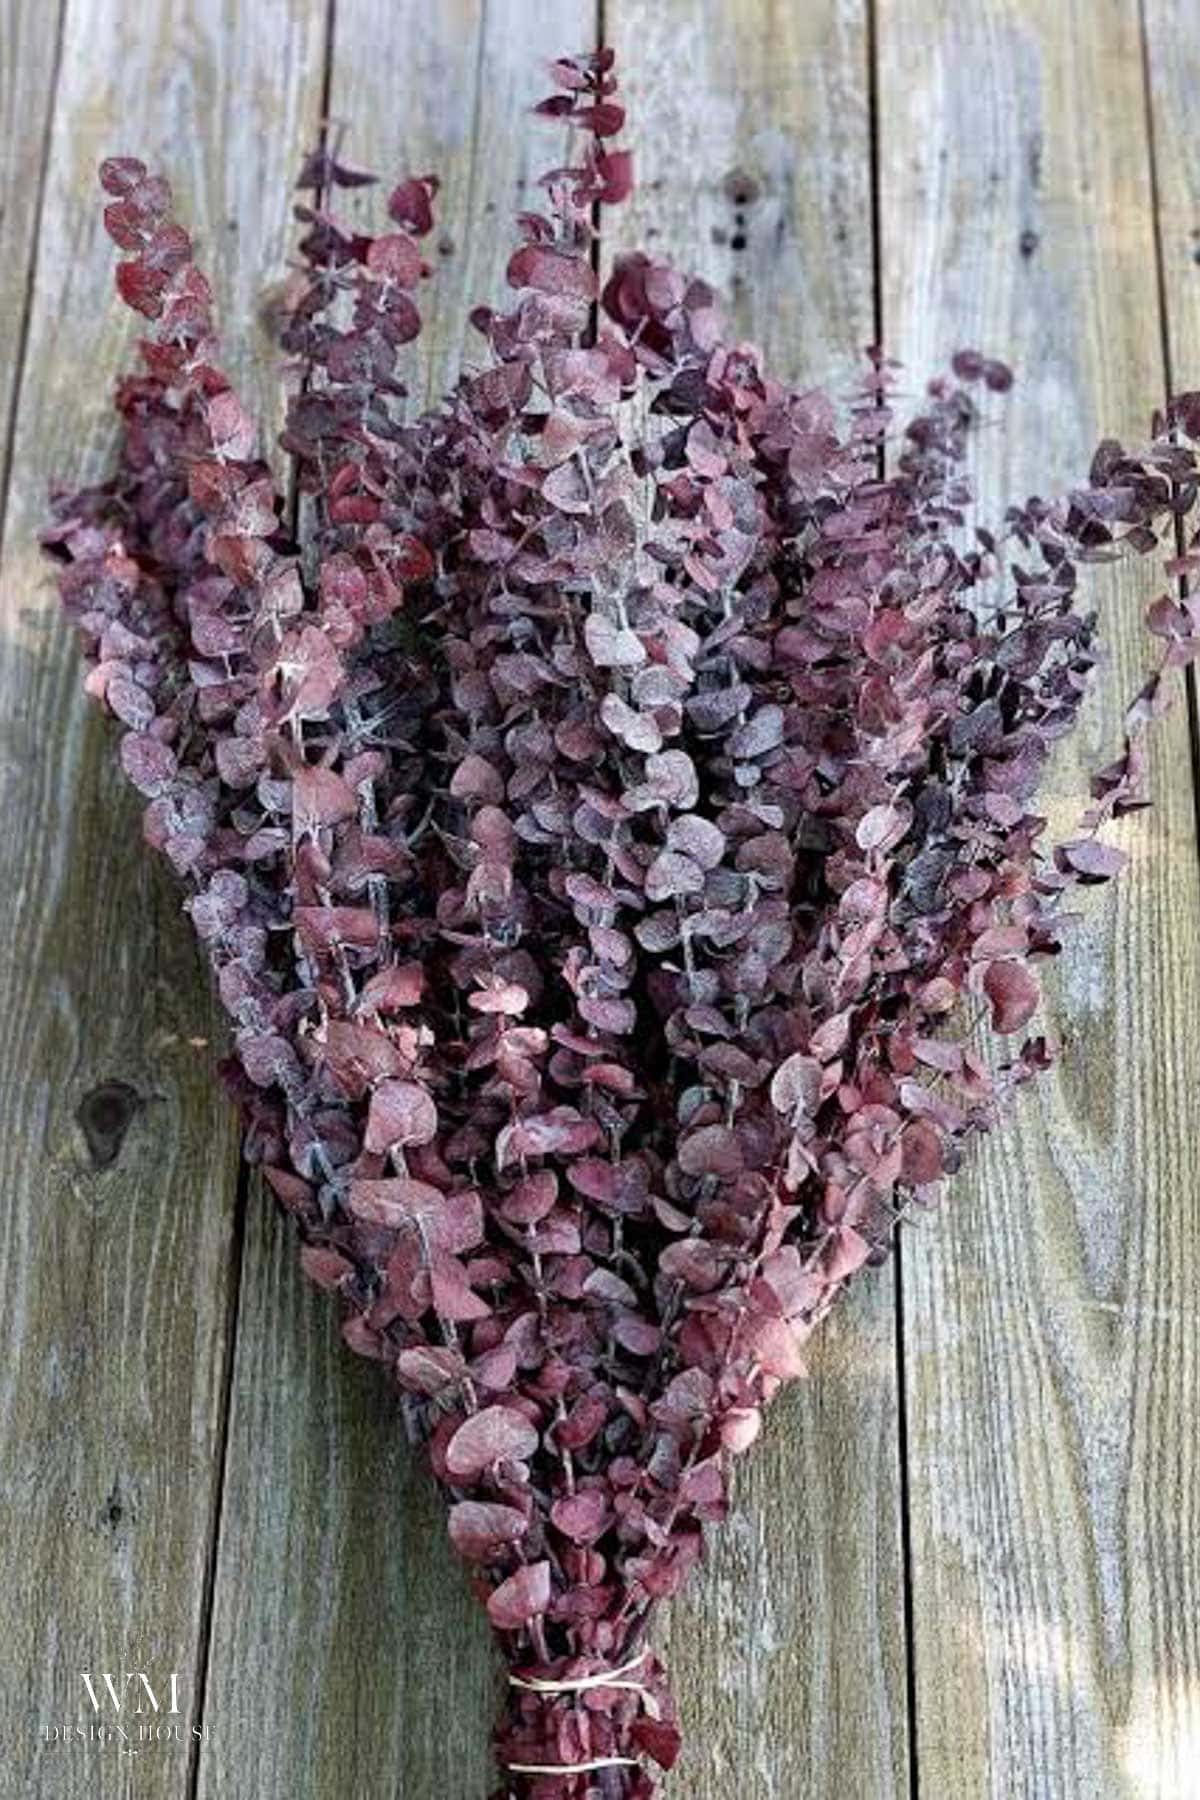
From the craft store, a bunch of dried eucalyptus in that same deep burgundy, the one thing I bought for this table. Everything else was painted, foraged, or pulled from the craft cupboard.
And from the craft cupboard, with no apology: the hydrangeas on the centerpiece are faux. I wanted that solid mound of burgundy to hold up outdoors for a full evening and into the next day, and dried blooms would have shattered the first time someone brushed past. Mixed in with real dried flowers along the runner, nobody noticed. That is the trick with faux: put it next to something real.
Tip from wendy:
Mix painted and unpainted pieces. A table where everything has been sprayed the same color looks like a craft project. A table where half of it is real reads as a garden.
How to Spray Paint Dried Sunflowers
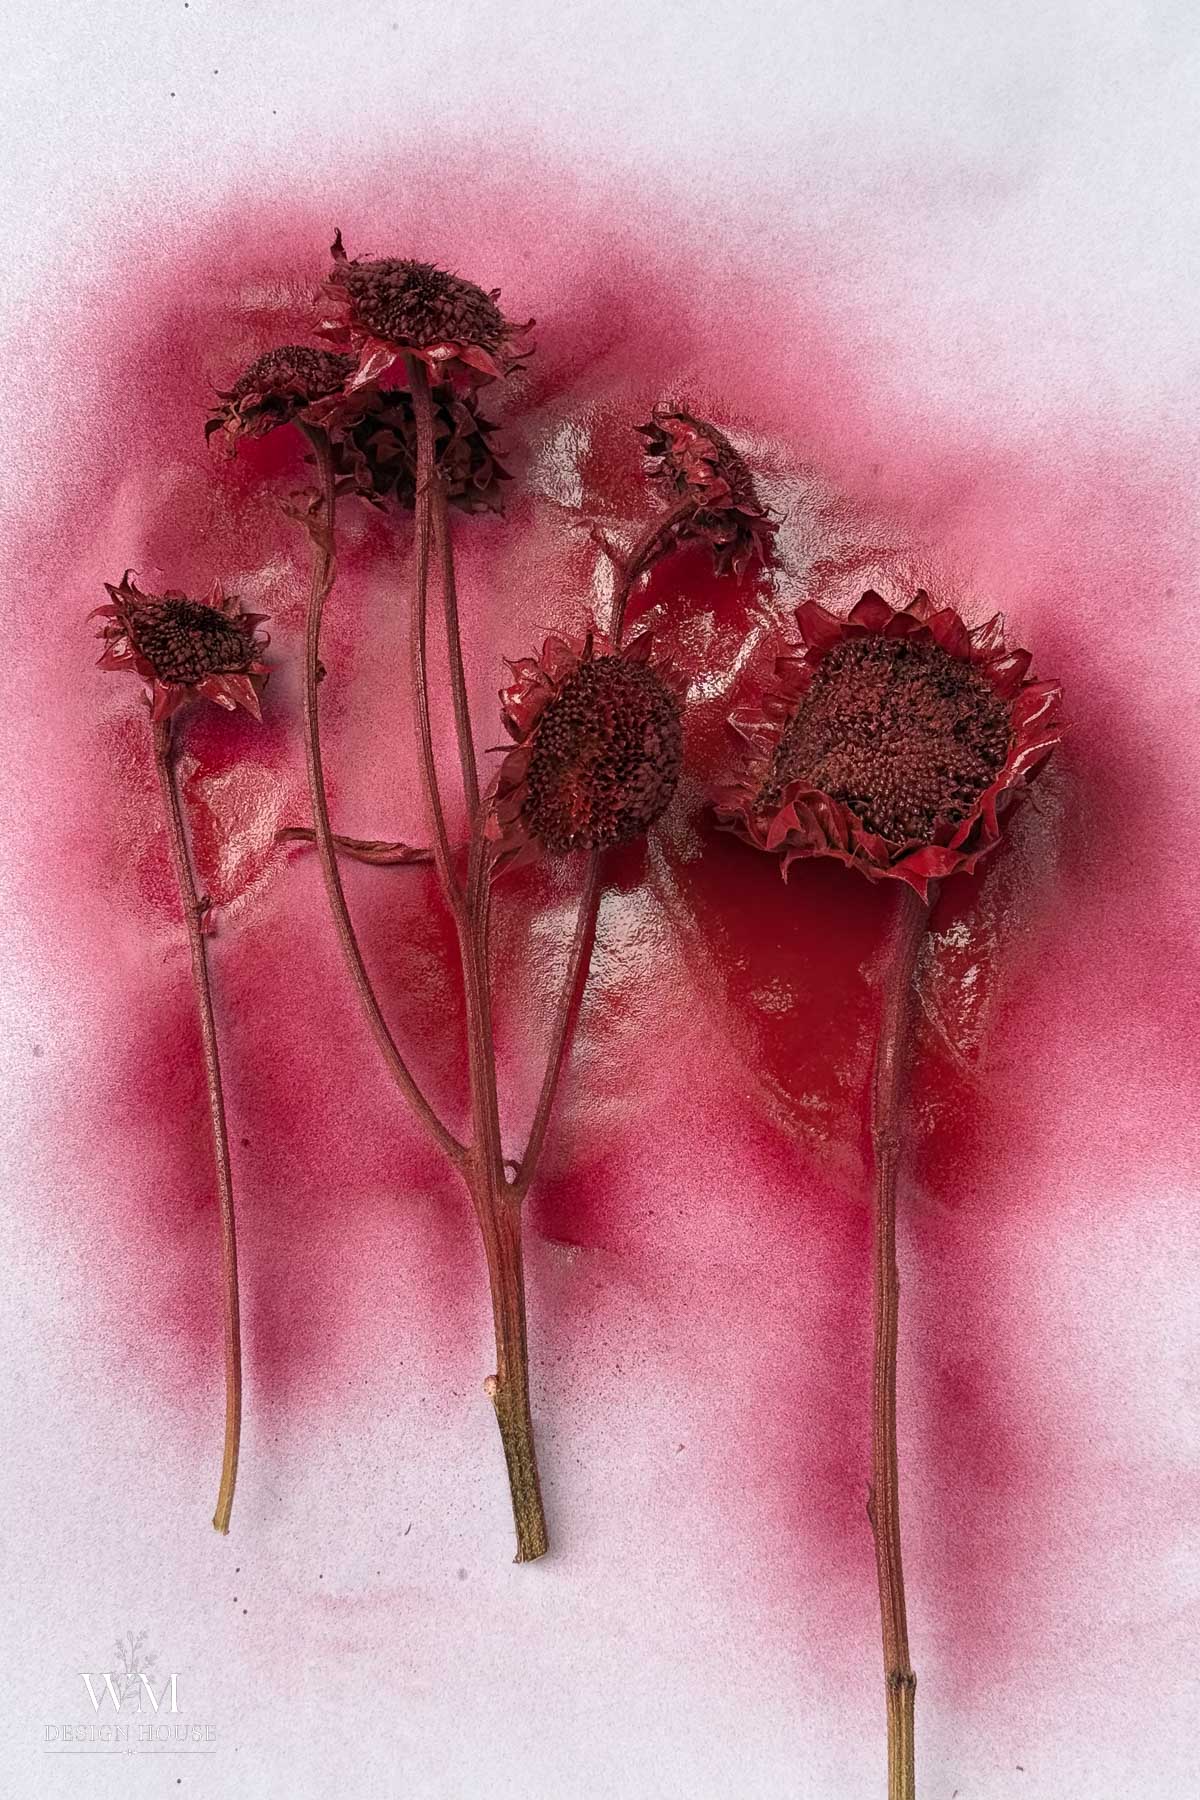
This is the one technique on the table I have not shared before, and it is the single thing that pulled the whole palette together. Dried sunflower heads have extraordinary texture and absolutely the wrong color, and a light coat of paint fixes that without flattening the texture at all.
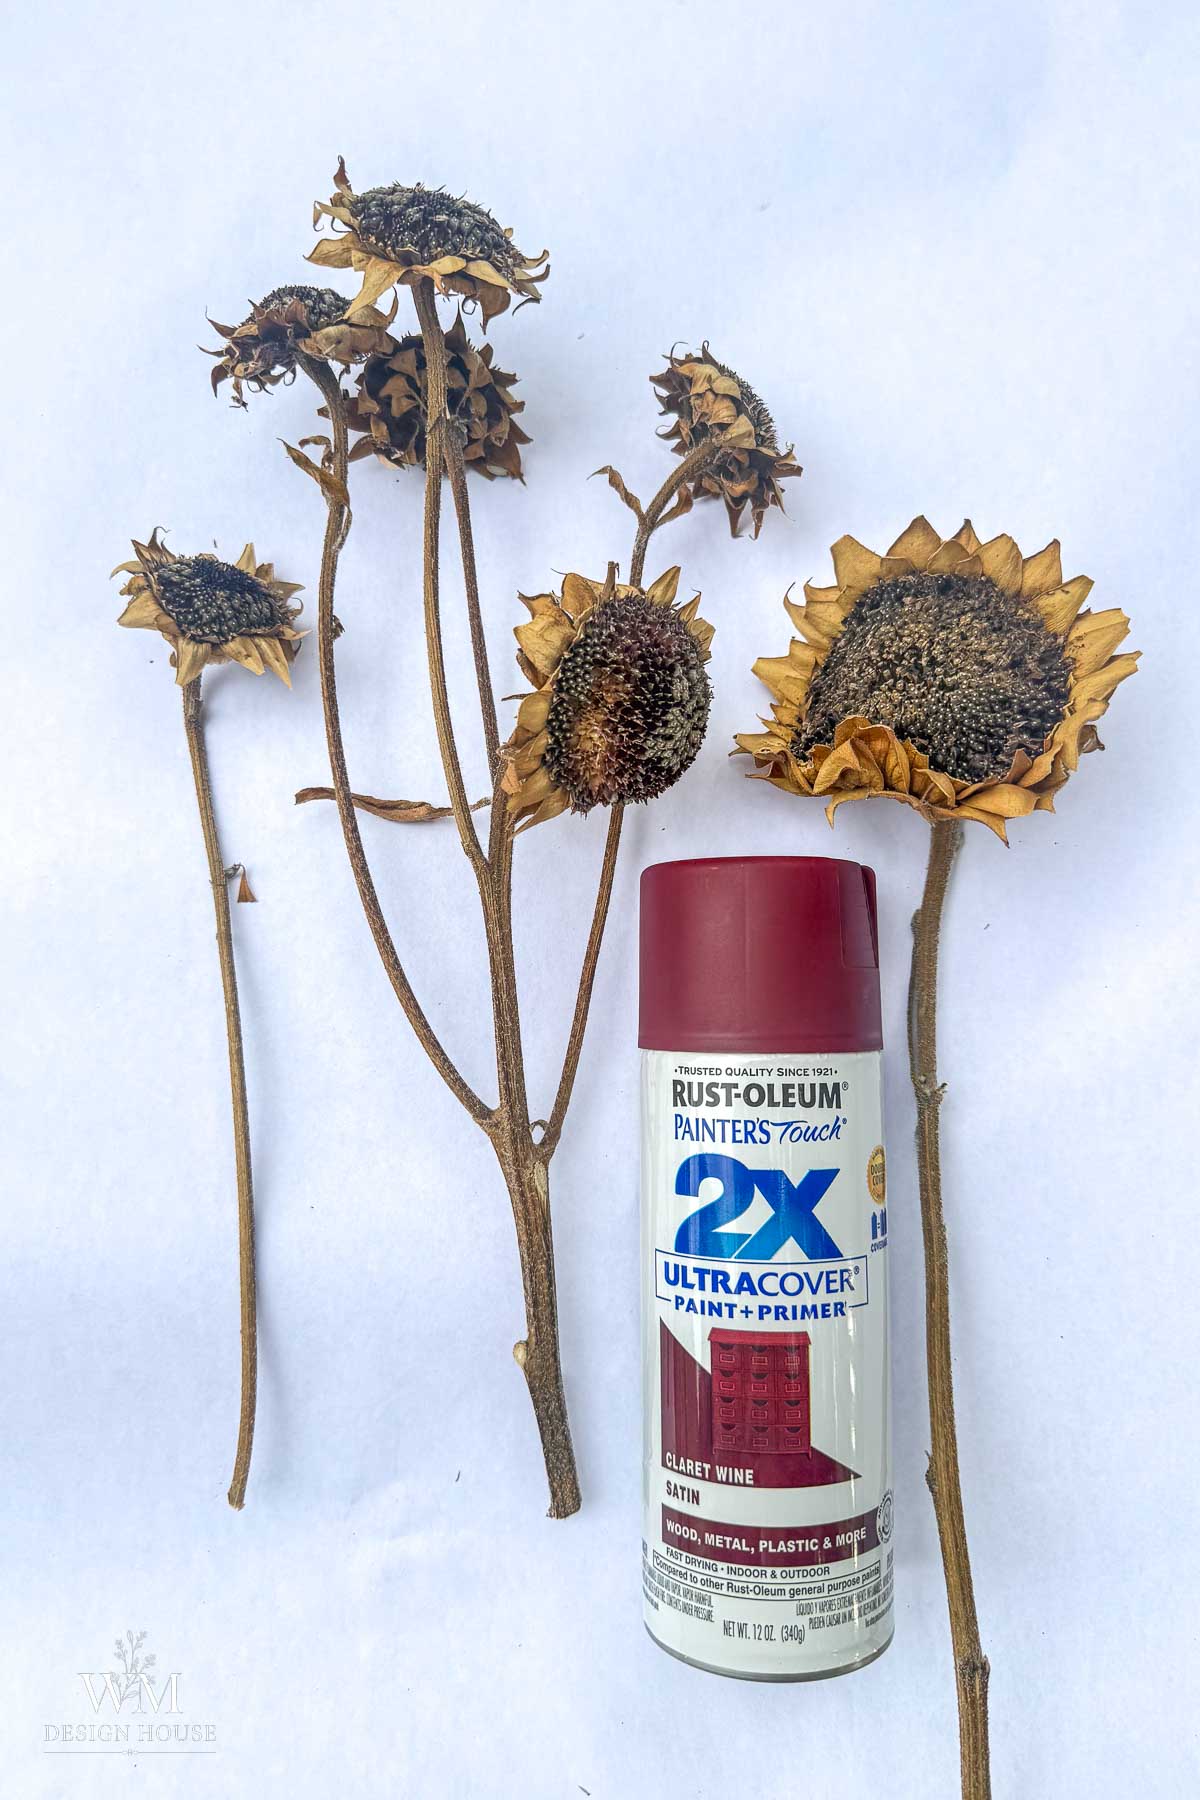
Start with fully dry heads
If there is any give in the center, wait. Damp seed heads hold the paint wet and go blotchy.
Shake out the seeds
Outside, over a bag. There will be more than you expect. I skipped this and painted right over them, which works fine if you do not mind a few seeds dropping later.
Spray from farther back than feels right
Work outdoors on a drop cloth with the head face up. Hold the can at least fifteen inches away and use short passes rather than a steady spray. You are dusting the tips of the texture, not coating the surface.
Stop before it looks finished
Let it dry and look at it from a few feet away. If you can still see natural brown in the deepest parts of the center, stop. That variation is what keeps it from looking like a craft store flower. Two light coats always beat one heavy one, because a heavy coat fills the seed pattern and you lose the reason you used a sunflower in the first place.
I painted about half my heads and left the rest natural. Mixing painted and unpainted is what makes the painted ones believable.
Three Pumpkins, Three Salvaged Stems
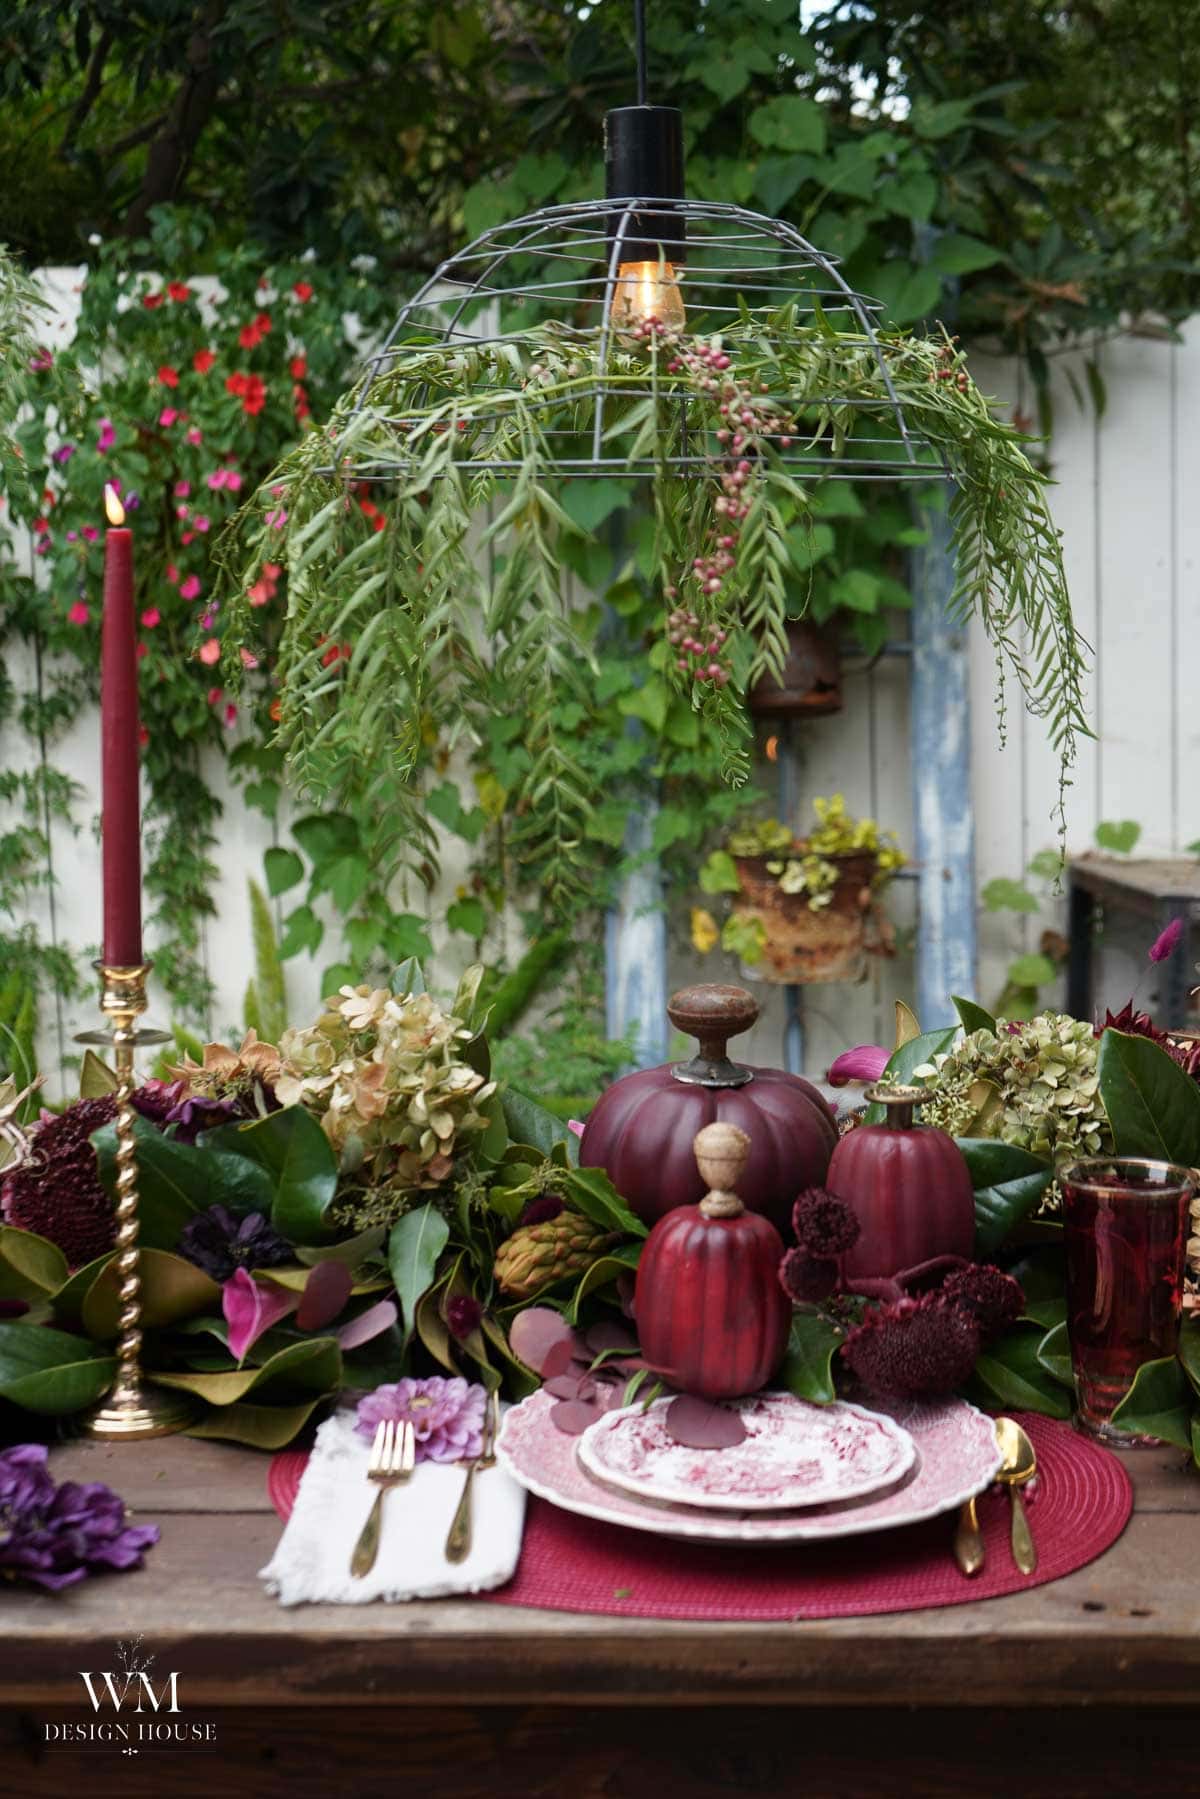
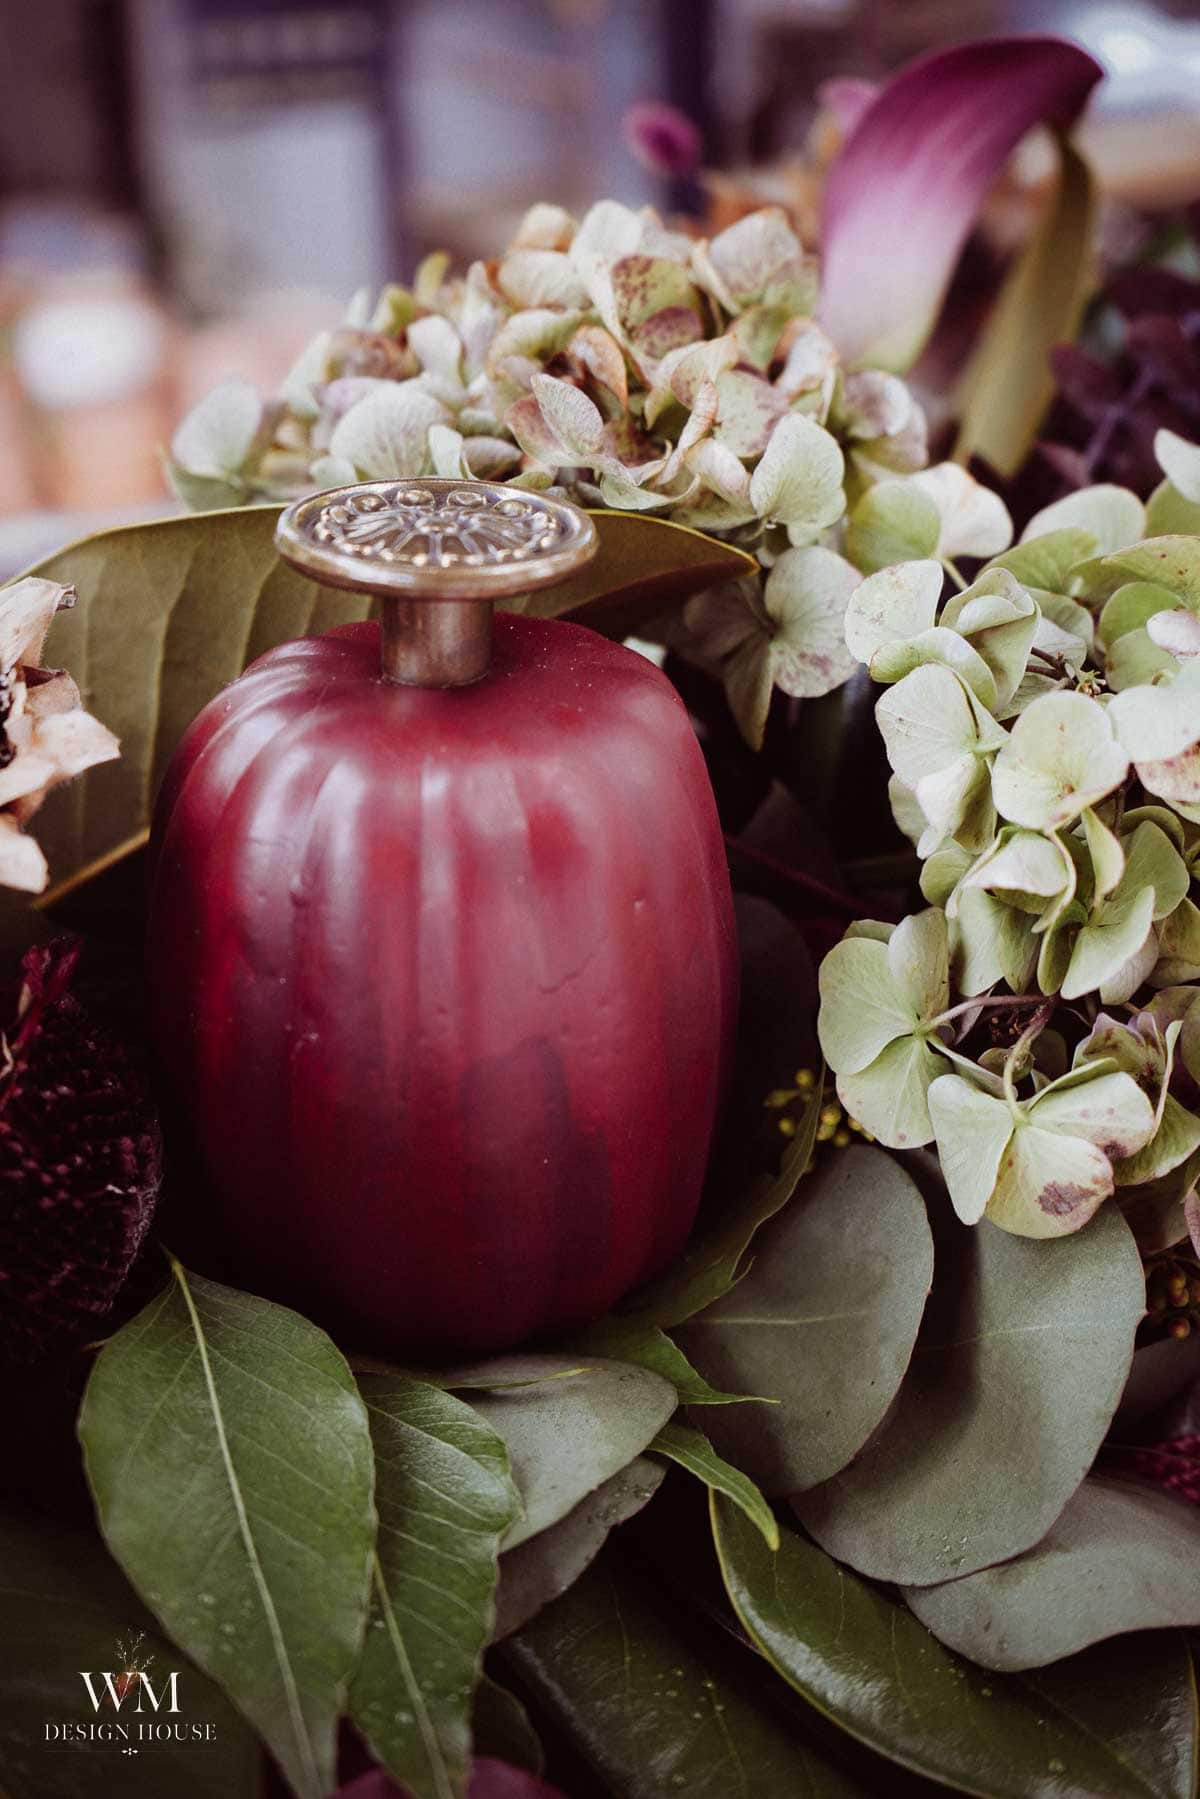
Faux pumpkins always give themselves away at the stem. That short plastic nub is the tell, and it is also the easiest thing on the table to fix. I painted three old foam pumpkins in plum and burgundy, twisted out the plastic stems, and went looking for replacements. I typically use real stems from the box I keep and pull from every fall, but once again, I was trying to stretch my imagination and reached into the hardware drawer instead.
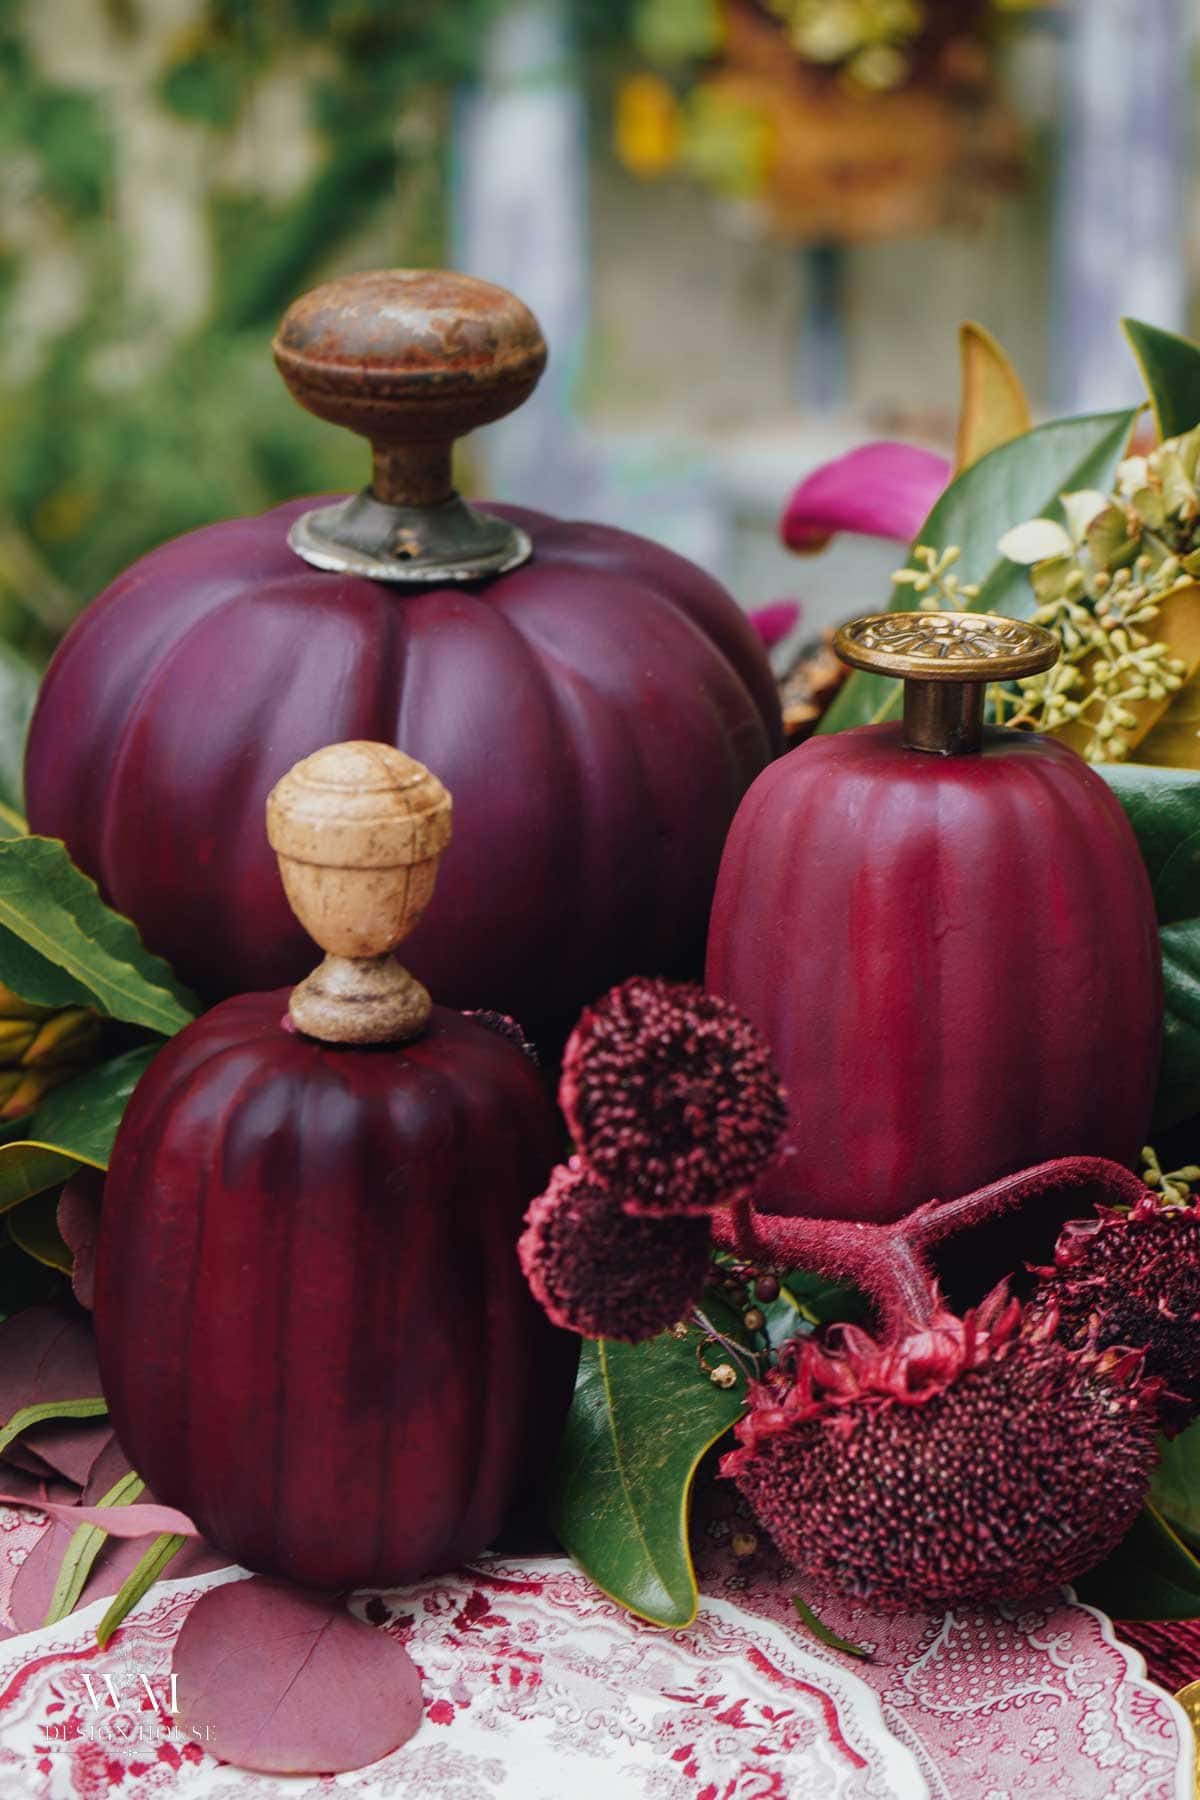
A rusty door knob
Screwed straight into the top of the pumpkin. The rust is what makes it work. A worn knob has the same aged quality as a dried stem, so your eye accepts it before it questions it. A shiny new one would not do this.
An ornate brass drawer pull
This is the dressiest of the three, and it is the one people reach for first when they see the table. The pull sits on its side, so the curve reads like a stem that has started to twist. Old brass is having a moment right now alongside colors like oxblood and aubergine, and it belongs on a dark table far more than silver does. Silver reads cold against plum. Brass reads like candlelight.
A turned wooden finial
Off an old piece of furniture, and the closest of the three to a real stem in silhouette. If you only try one of these, try this one. It is the most convincing from across the room.
If your foam pumpkins still need paint first, I have four ways to transform a Dollar Tree pumpkin that cover every finish I use. The rule here is not “use a knob.” The rule is to skip the obvious thing on purpose now and then, and go look at what you already have with different eyes.
The Centerpiece
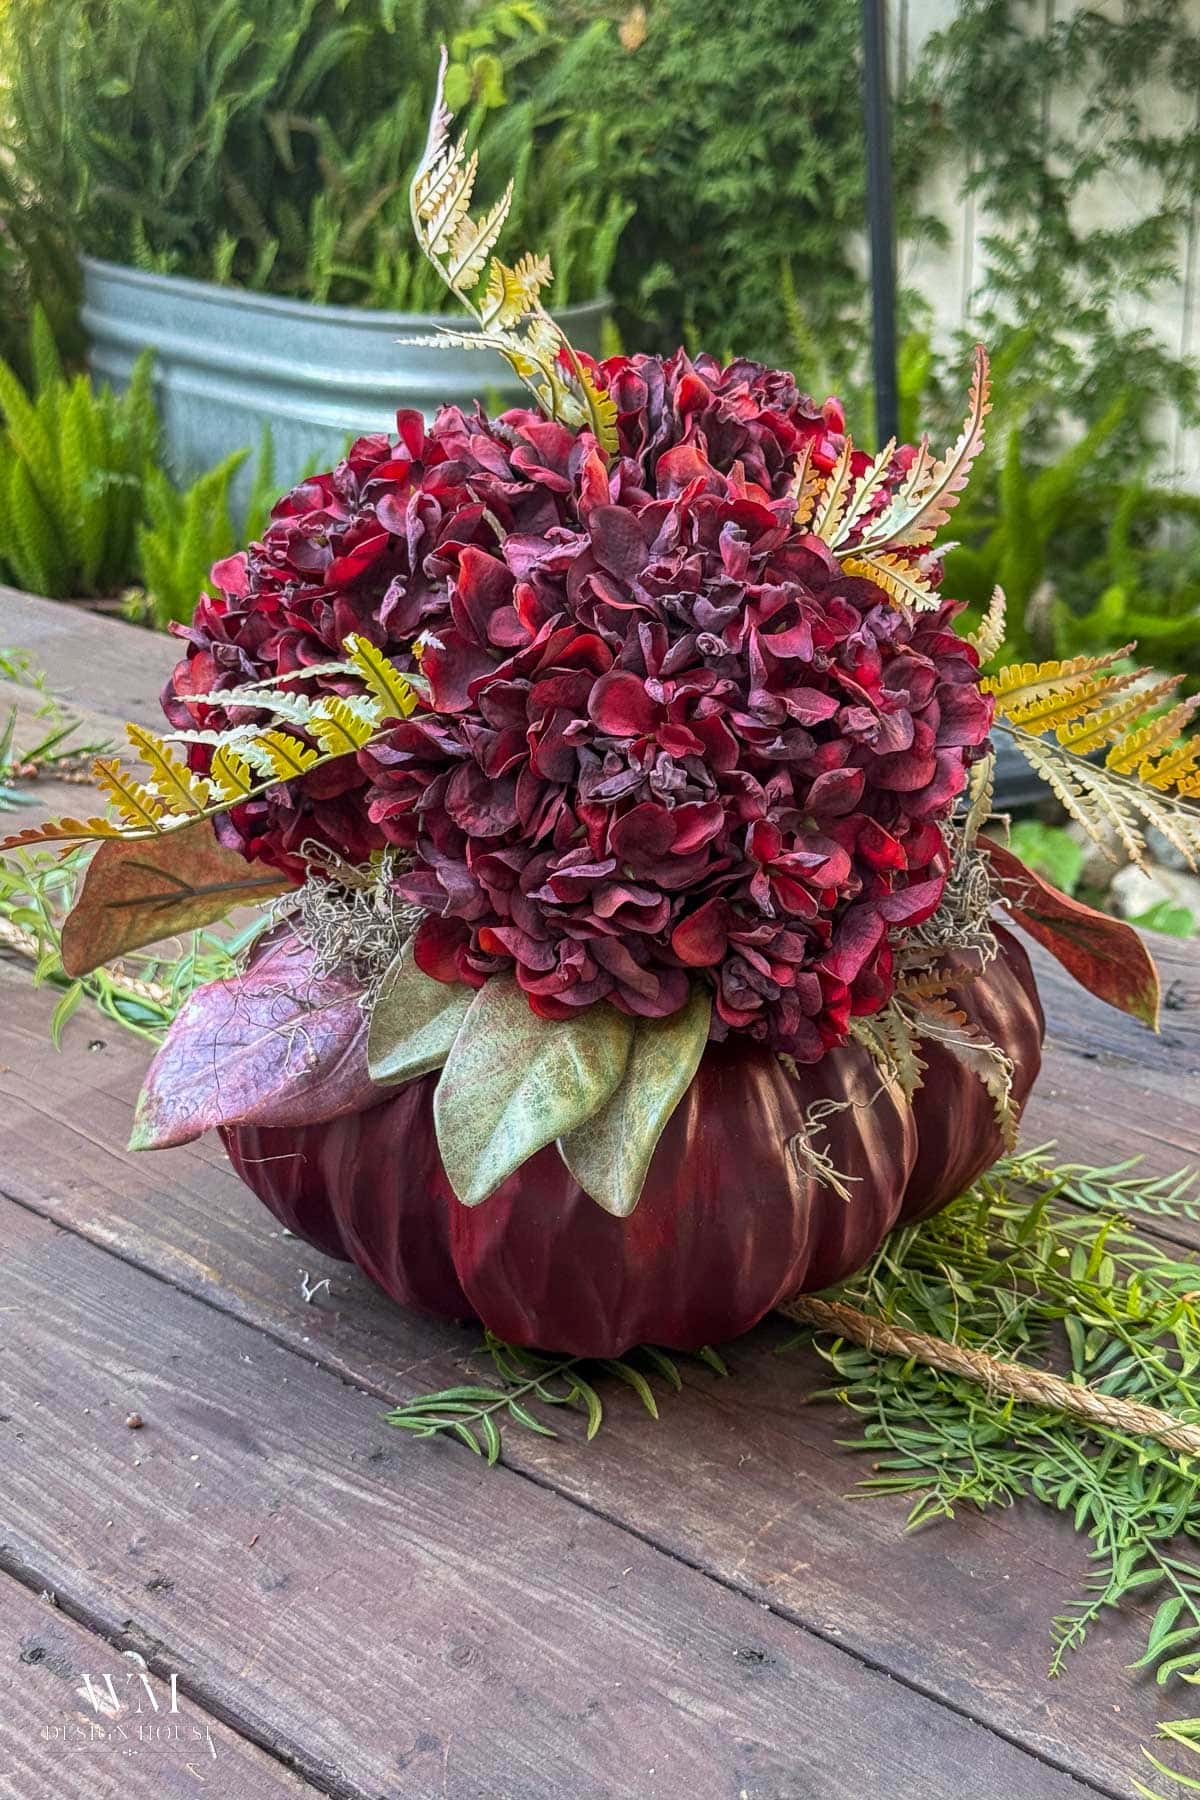
The centerpiece is a foam pumpkin painted burgundy with a block of foam glued to the top, covered in moss and mounded with faux burgundy hydrangeas and a few pale fern fronds and magnolia leaves for contrast. It sits slightly off center on the runner rather than dead middle, which keeps the table from looking staged.
It is built exactly the same way as my dried flower pumpkin centerpiece, which would also look right at home on this table, so I will not walk through the steps again here. The only differences this time are the color and the flowers. Everything went burgundy, including the pumpkin, and I swapped dried blooms for faux so it would last the whole season outdoors. The result reads as one solid mass of color rather than a pumpkin with flowers on it.
Jewel Tone Variations on the Same Table
If full burgundy feels like more than you want to commit to, this same table works as a softer jewel tone setting with a few changes.
- Swap the transferware for white ironstone. The greenery and the dark flowers still carry the mood, but the table lightens considerably.
- Bring in one more jewel tone rather than staying monochrome. Deep teal or aubergine glassware next to the burgundy reads richer and less severe.
- Leave the sunflowers unpainted. The natural brown warms the whole palette and pulls it toward harvest, which is the bridge back to this month’s inspiration photo.
I tried all three at various points during setup, and the version you are looking at is the darkest of them. Take it as far as suits your table.
Lighting a Moody Tablescape After Dark
A dark palette does nothing in flat afternoon light. It needs to be lit, and this is where an outdoor table has an enormous advantage over an indoor one.
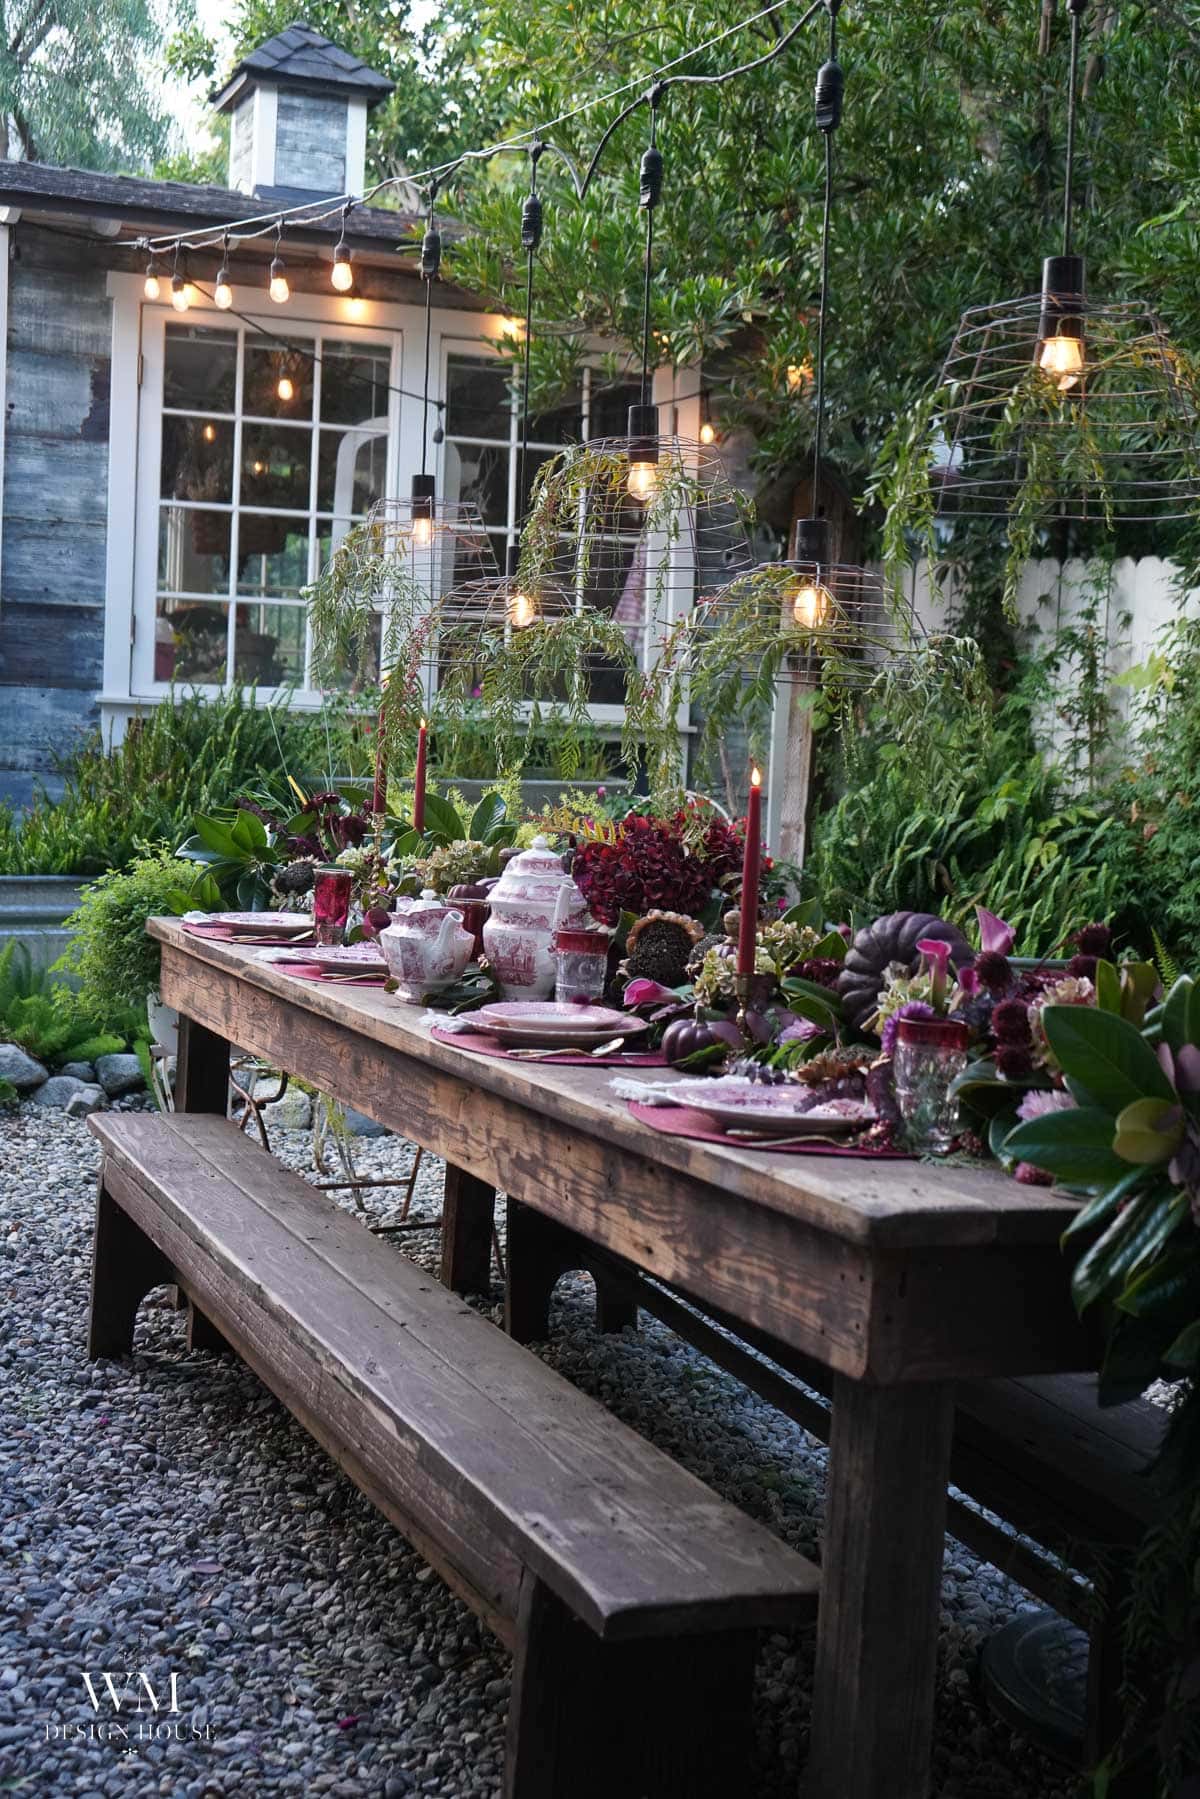
Above the table are the pendant lights from repurposed wire garden baskets we made, which have hung there through every season for years now. For this table I threaded a little pepper tree through the wire so the greenery from the runner carries upward. When the bulbs come on at dusk the whole thing turns golden and the burgundy finally does what it is supposed to do.
Then candles, tall and scattered along the runner rather than clustered in the middle. Anything at eye height across a narrow table blocks the person across from you, and a table that people cannot talk across is a failed table no matter how it photographs. If you want something overhead as well, a candle chandelier with fresh greens hangs beautifully above a setting like this.
Give yourself an hour between setting the table and sitting down at it. The light between six and seven is the entire reason to do this outside.
More Fall Tables and Garden Projects
If you love decorating with what the garden gives you, these posts use the same idea:
- How to build a foraged greenery table runner.
- Three ways to dry dahlias.
- Repurposed garden baskets as outdoor hanging lights.
- A dried flower pumpkin centerpiece.
- A more traditional fall tablescape, for the classic version of all this.
Frequently Asked Questions
Look for anything with a large, stiff, glossy leaf that holds its shape out of water. Camellia, loquat, bay laurel, rubber plant trimmings, and salal from the florist all work the same way structurally. You want one leaf big enough to hide the mechanics of the runner and enough stiffness that it does not wilt by hour two. Skip anything soft and thin, like hosta or nasturtium.
Yes, and the paint makes them more durable than they were. It seals the seed head slightly and cuts down on shedding. Store them in a box in a dry place, not a sealed plastic bin, since trapped moisture will cause mold at the base of the head. The color dulls a little each year.
Battery operated candles are the real answer. The good ones flicker so convincingly that nobody at the table can tell, and you skip the whole headache of open flames outdoors, so go with the tallest tapers you can find. Battery votives tucked down into the greenery will carry the glow if the wind picks up and the rest of the table goes dark.
It can, and the fix is lighting rather than color. Inside, put the arrangement on bare wood or a light runner rather than a dark cloth, keep the greenery generous for contrast, and get more candlelight on the table than you think you need. A small room with a dark table and one overhead fixture feels heavy. The same table with six candles does not.
The greenery goes down one to two days ahead if you mist it and keep it out of direct sun, and the painted and dried elements can be arranged weeks ahead. What I would not do early is the fresh cut pepper berries, which drop within a day or two of cutting. Save those for the morning of.
Screw it in by hand first so the threads cut their own path, then back it out, add a drop of hot glue or E6000 in the hole, and screw it back in. For a drawer pull or finial with no threads, drill a pilot hole slightly smaller than the post, add glue, and press. Let everything cure overnight before you move the pumpkin.
Wrapping Up
I went into this half expecting it to feel gloomy and came out of it wanting to do every fall table this way. There is something about a deep table under warm light that makes people slow down and stay longer, which is really the only thing I want out of a dinner in the garden.
If it is more drama than your dining room wants, I have a more traditional fall tablescape that will suit you better, and Karen’s rustic fall table is the warm version of everything I did here. But if you have been looking at the orange in the stores and feeling nothing, try the dark side of the color wheel. Tell me in the comments which way you would go.
Next stop on our hop is my friend Michelle from Thistle Key Lane, and you are in for a treat. Head over and see how she interpreted this month’s outdoor dining experience.
Enjoy the tour!

Shop the Post

More about me!
Hello, I’m Wendy – a dedicated homemaker with a deep passion for decorating, gardening, cooking, and crafting. I find joy in harmonizing beautiful elements to fashion a space that is both comfortable and inspiring. I will help you create a beautiful home, one project at a time.