
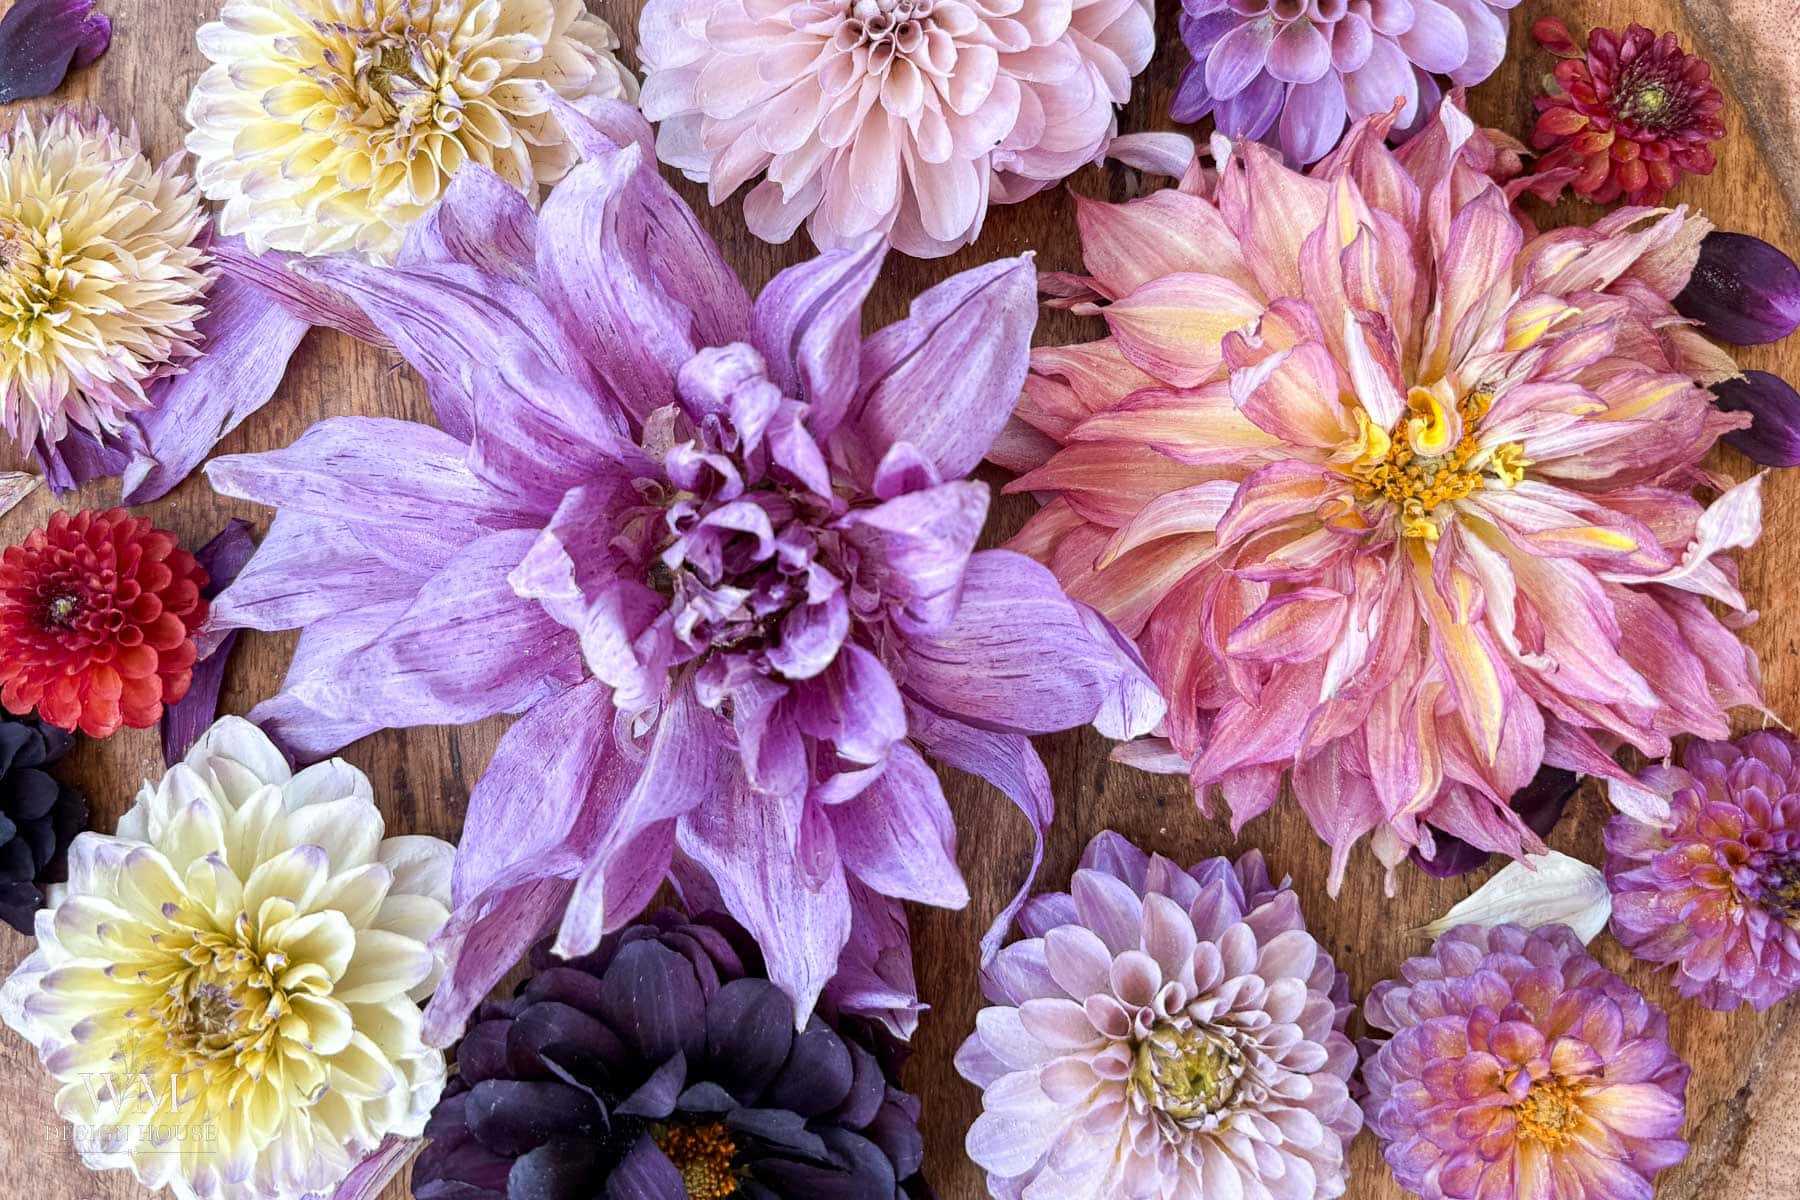
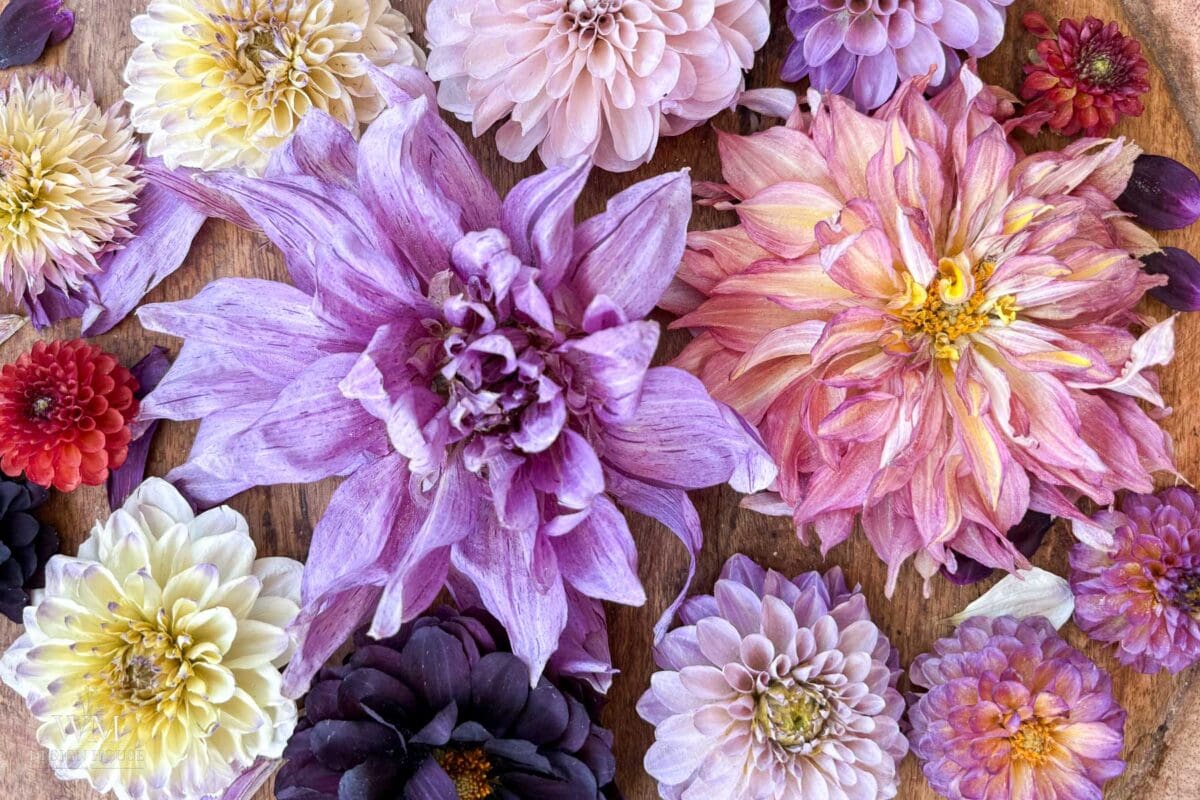
Drying dahlias has been one of my favorite garden projects for years now, ever since these blooms took over as the star of my Southern California cutting garden. I have grown more varieties than I could ever count, everything from dinner-plate-sized Café au Lait to the tightest little pompon types, and after a lot of trial and error, I have genuinely come to love the process of drying them well.
On my blog WM Design House, I may sometimes use affiliate links, which means a small commission is earned if you purchase via the link. The price will be the same whether you use the affiliate link or go directly to the vendor’s website using a non-affiliate link. Read my full disclosure policy here.
Here is something that surprises people that do not live in Southern California: I never have to race a frost. My dahlias hit their absolute peak in July, and it is the summer heat, not a freeze, that eventually slows the plants down. That early peak is actually the best window to start drying, while the blooms are at their strongest, rather than waiting for tired flowers at the tail end of the season.
I will be honest with you. I have ruined more beautiful dahlias than I care to count over the years. Dahlias are one of the genuinely difficult flowers to dry well, and most of the advice out there treats them like they are no different from a bundle of lavender. They are very different. But once you understand why they fight you and you match the right method to the right bloom, you can have a bowl of dahlias sitting on your table any time of year.
What You’ll Learn in This Post
I use three methods, and I use them for different reasons. Here is exactly how each one works, which of your dahlias belongs in which, and the mistakes that cost me a whole season of Café au Laits before I figured them out.
Why Dahlias Are Harder to Dry Than Most Flowers
Don’t let this scare you! I have learned all the do’s and don’ts so you don’t have to.
Most every flower that dries easily has one thing in common. It is already fairly dry when you cut it. Think of strawflower, statice, lavender, or a hydrangea head left on the shrub until autumn. The petals are papery to begin with, so drying is really just finishing a process the plant already started.
A dahlia is the opposite of that. The petals are thick and fleshy and full of water, and there are dozens or even hundreds of them packed tightly around a dense center. That center is the real trouble. The outer petals will feel crisp and finished days before the base of the bloom has given up its moisture, and that trapped water is exactly where mold can begin.
Here is what goes wrong when you treat a dahlia like a bundle of lavender:
- The bloom loses volume. Large decorative and dinnerplate types lose a good deal of their size as they give up water, and a ten inch Café au Lait can dry down dramatically smaller. Depending on the method, this can either ruin the bloom or turn it into something beautifully different, more on that below.
- The petals shatter. Fully open blooms drop their outer ring the moment you touch them.
- The color shifts. Pinks go tan, whites go cream or brown, and the soft blush tones fade the most.
- The center molds. You get a bloom that looks perfect from above and is soft and dark underneath.
None of that means dahlias cannot be dried. It just means the method matters far more than it does with an easier flower.
Drying Dahlias: Match the Method to Your Bloom
This is the part I wish someone had told me first. The single biggest predictor of whether your dahlia dries beautifully is not the method you choose, it is whether that method suits the form of the bloom. A ball dahlia and a dinnerplate dahlia are not the same project.
Find your dahlia in this chart before you do anything else.
| Dahlia Form | Examples | Best Drying Method | What to Expect |
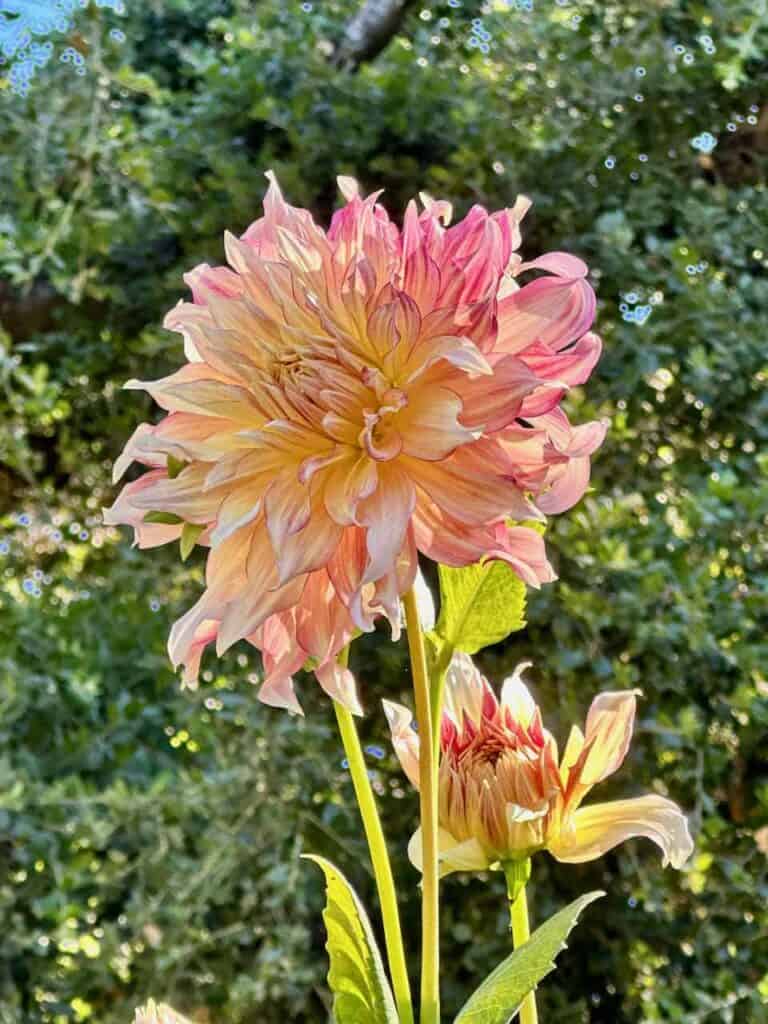
| Dinnerplate & large decorative | Café au Lait, Labyrinth, Penhill Watermelon | Silica gel for full shape, or air dry for texture | Silica holds the fresh, full shape and most of the color. Hung to dry instead, the same bloom shrinks a lot and the petals crinkle and hang down, but the color stays rich and saturated. Two different, equally valid looks. |
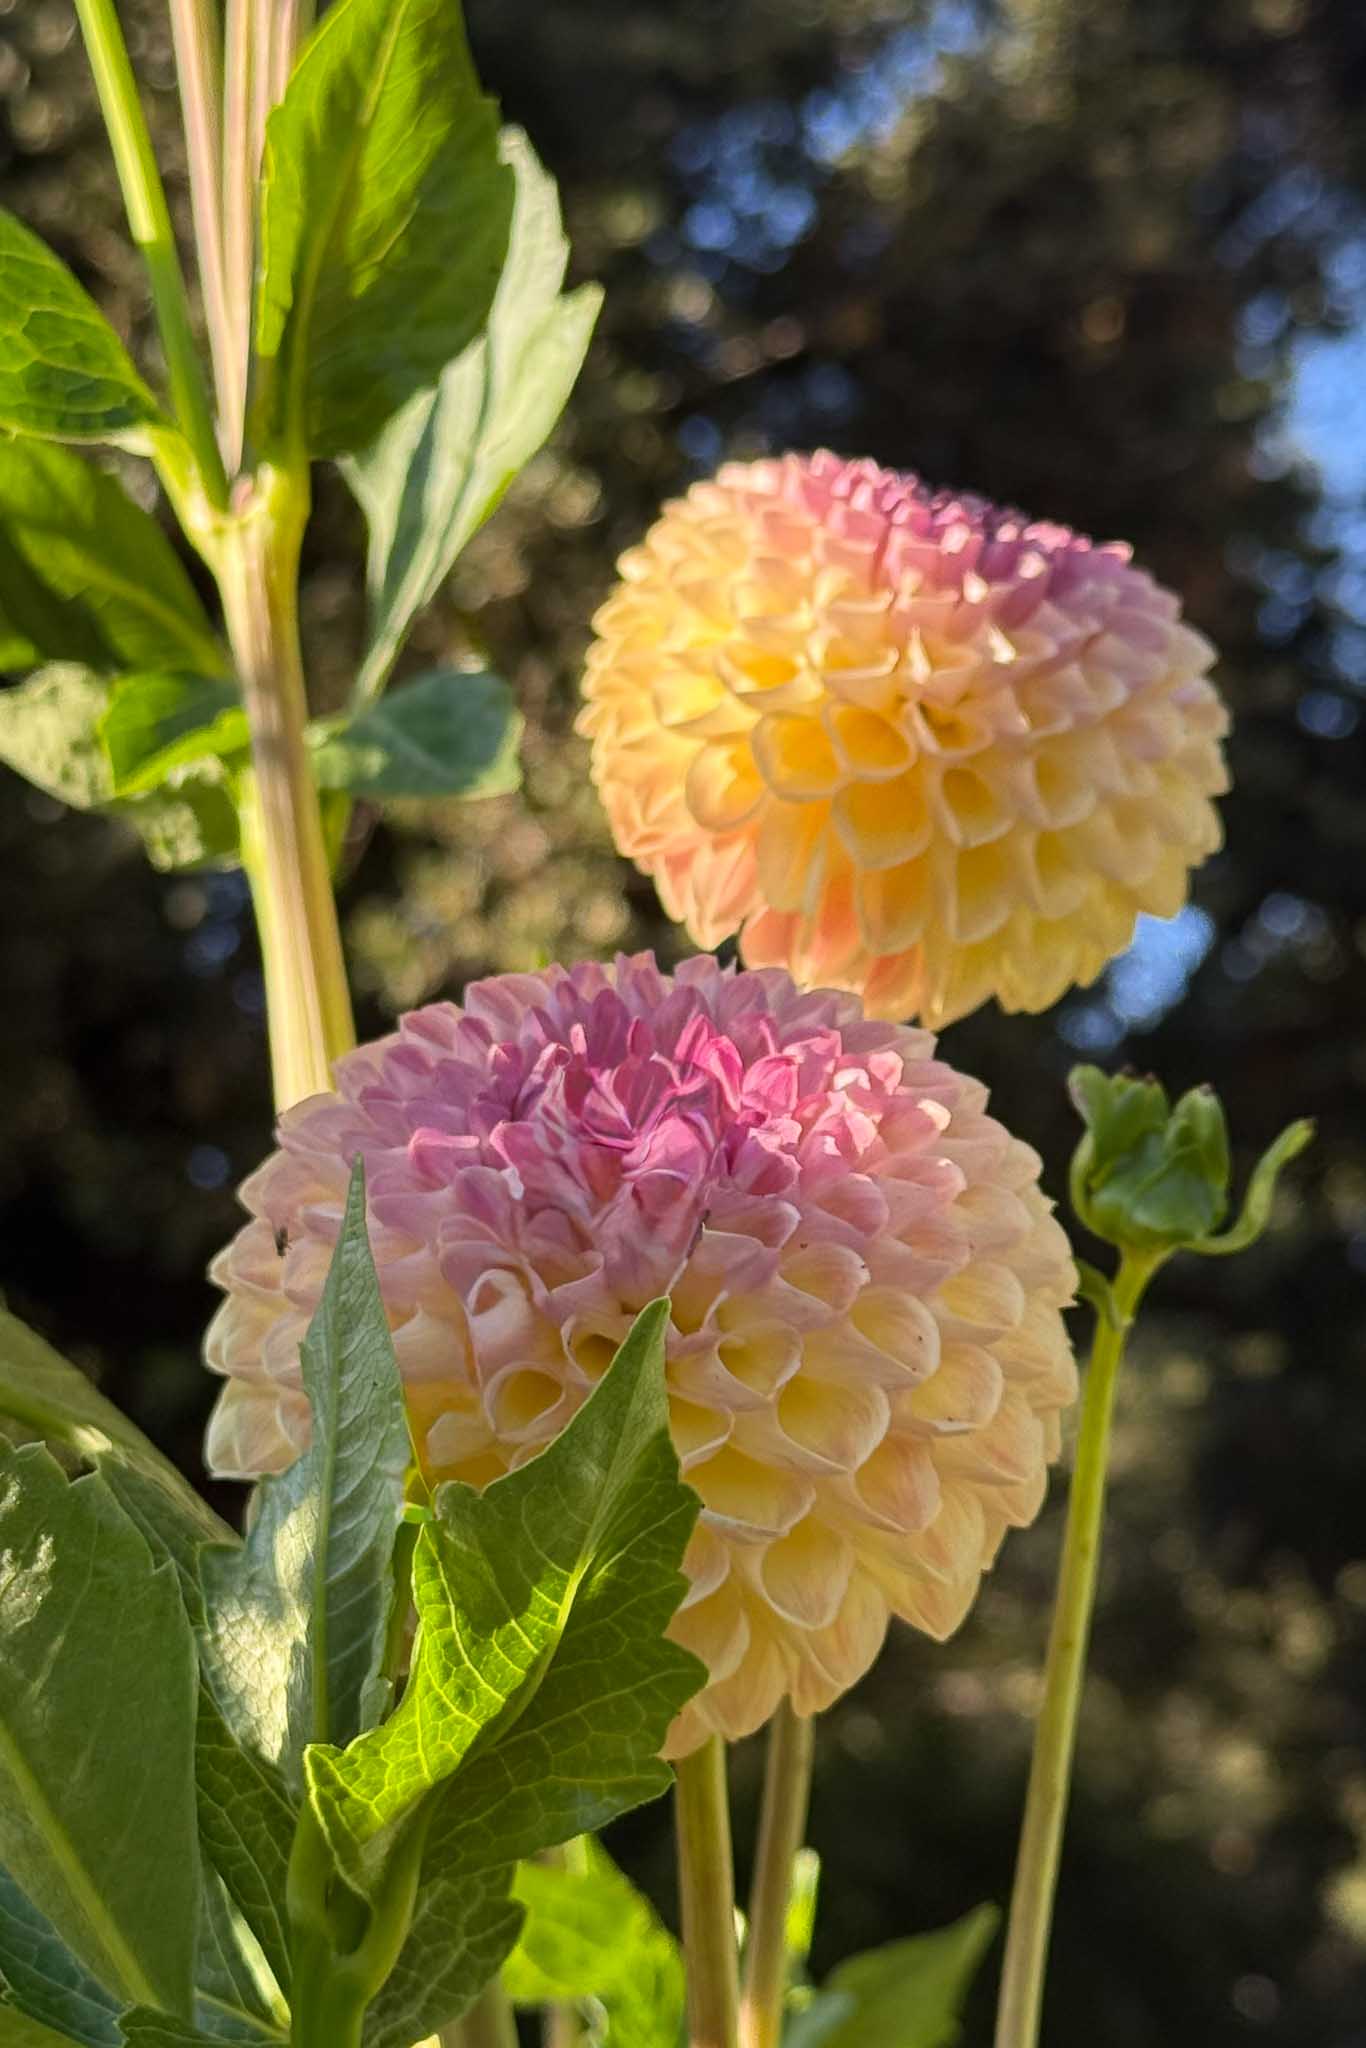
| Ball & pompon | Cornel Bronze, Jowey Winnie, Sylvia | Air drying or silica gel | Tight petals hold the sphere either way, with slightly crinkled petals when air dried. |
| Small decorative & waterlily | Sweet Nathalie, Linda’s Baby | Silica gel | Silica keeps the shape crisp. Air drying makes the petals curl and twist, which some people love, however if you want the perfect flower always use silica gel. |
| Cactus & semi-cactus | Karma Sangria, Hollyhill Spiderwoman | Silica gel | Dries with a beautiful architectural, spiky look. |
| Single, collarette & anemone | Rock Star, Totally Tangerine, Blue Bayou | Pressing | Few flat petals, so they press cleanly. Perfect for framing. |
The short version: if your dahlia is fat and layered and you want it to keep its fresh shape, use silica gel. If you like a wrinkled, moodier texture, hang it instead, ball and pompon types either way, and if it is flat and open faced, press it.

When to Cut Dahlias for Drying
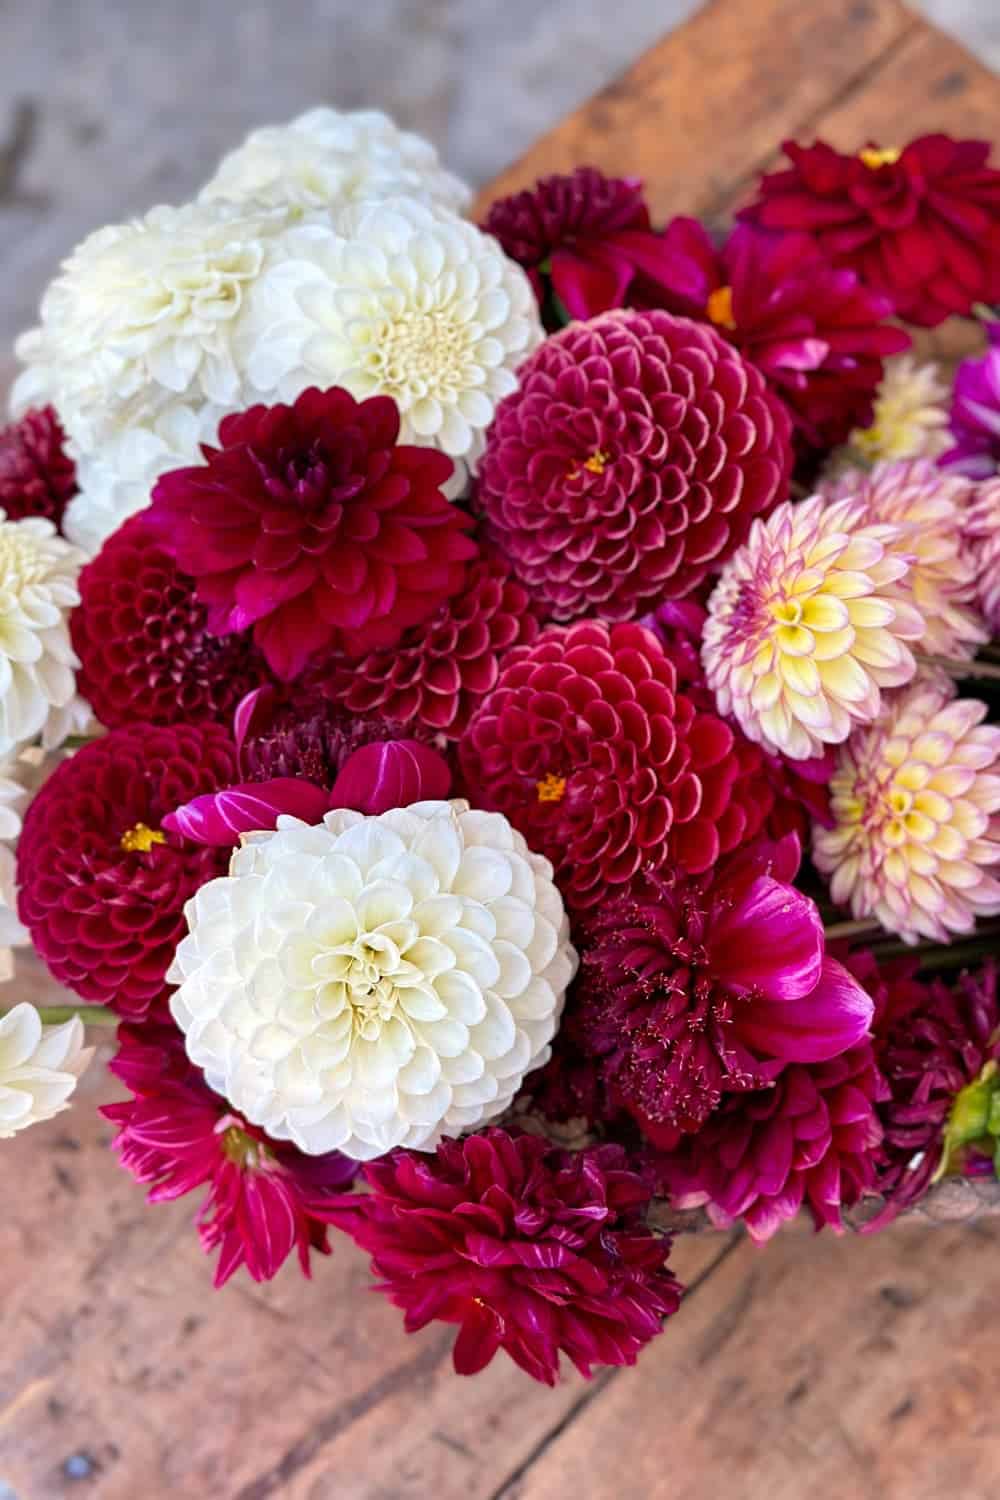
Timing matters more with dahlias than with almost anything else you will dry, and this is the step most people skip.
- Cut mid morning. Wait until the dew has fully evaporated but before the afternoon sun has warmed the blooms. Any surface moisture at all invites mold later.
- Cut at about three quarters open. This is the one that took me years. A dahlia at its absolute peak is already beginning to loosen, and those outer petals will drop during drying. A bloom that is not quite fully open still has tension in it and holds together.
- Skip anything with damage. Brown edges, rain spots, and earwig nibbles all become more obvious once the bloom is dried, not less.
- Cut more than you need. I plan on losing roughly one in five, more if I am working with a variety I have not dried before.
- Process them the same day. Do not put them in water first, and do not leave them sitting on the counter overnight. Cut and start drying within a few hours.
Method 1: Silica Gel, My Go-To for Big Blooms
If you only try one method, make it this one. Silica gel is the only technique that will give you a dried Café au Lait that still looks like a Café au Lait.
Despite the name, silica gel is not a gel at all. It is a fine white sand shot through with orange crystals, and it works as a desiccant, pulling moisture out of the petals much faster than air ever could. The important part is that because the sand supports every single petal while the water leaves, the bloom keeps its three dimensional shape instead of collapsing.
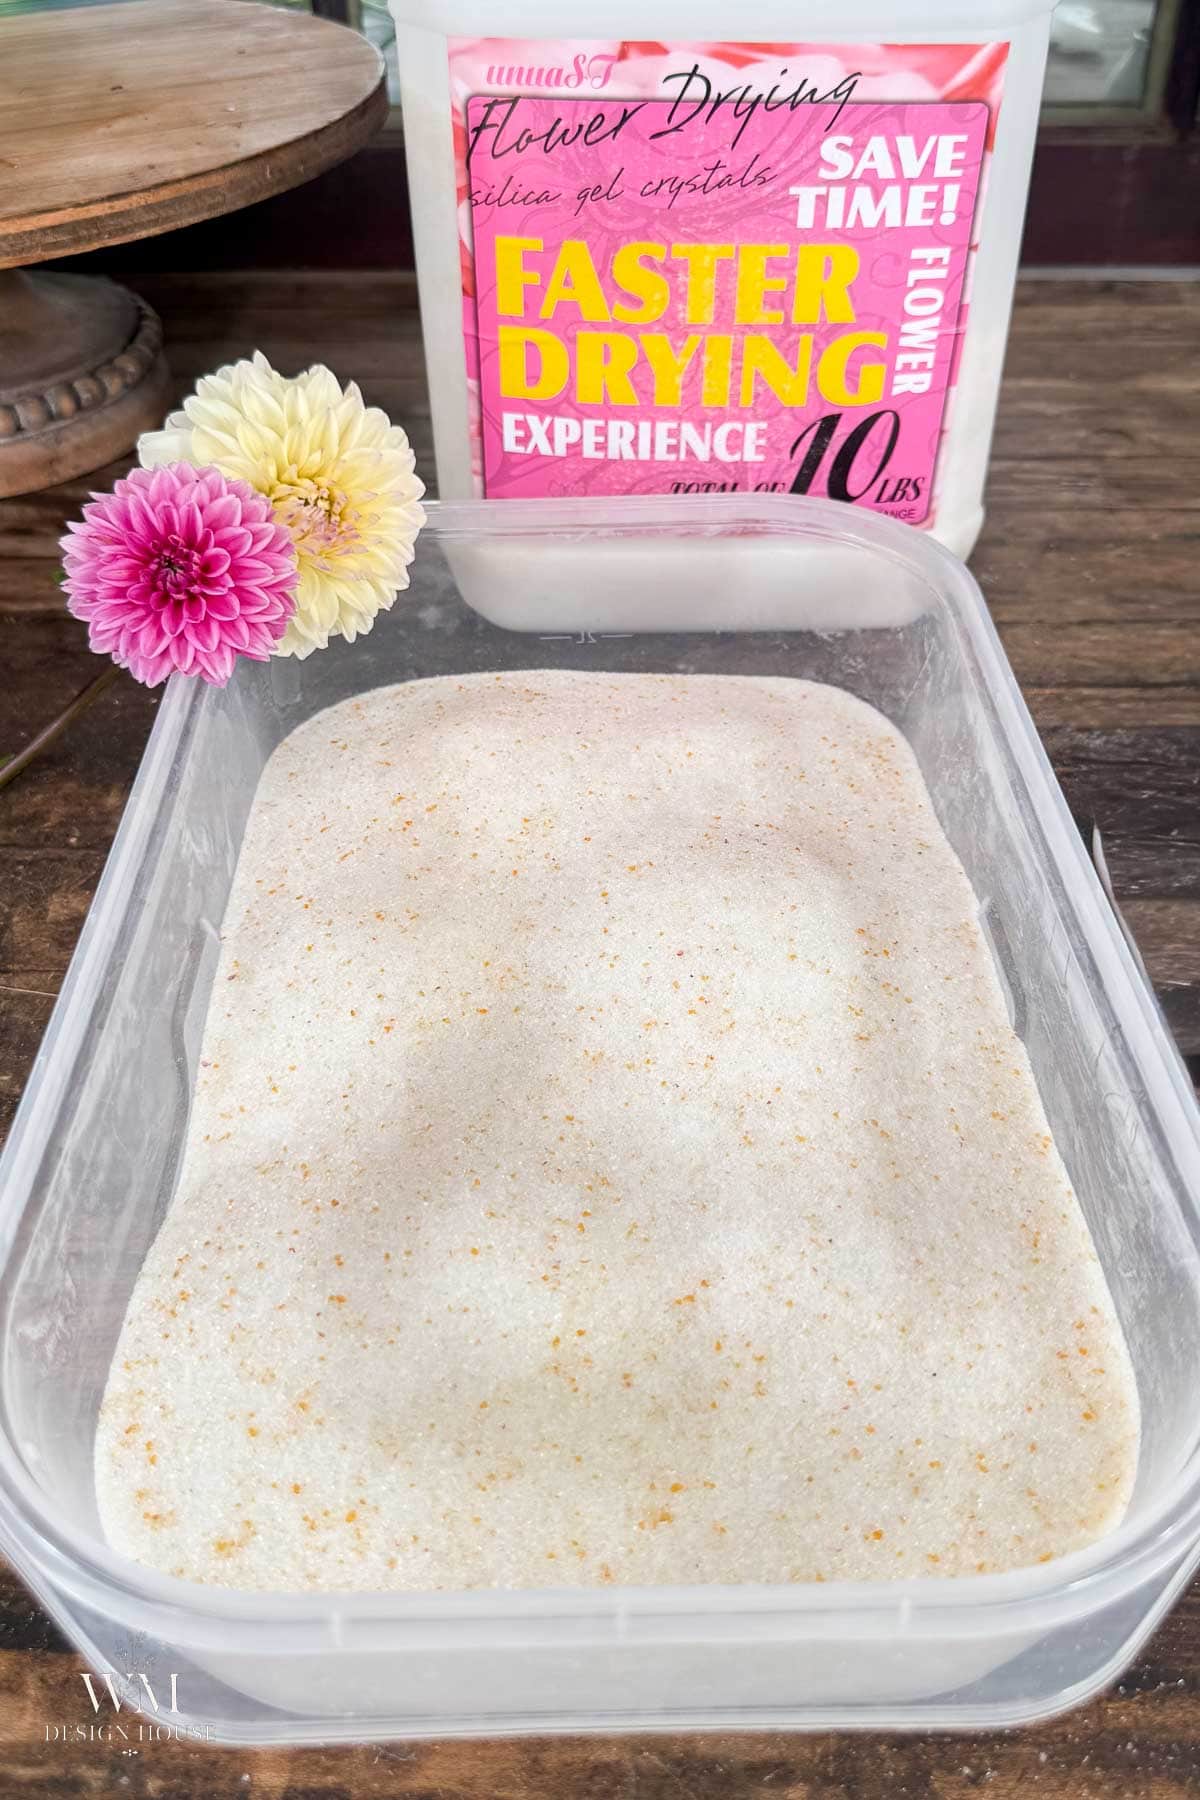
What You Need to Dry Dahlias with Silica Gel
- Silica gel, the fine flower drying kind rather than the coarse packets. Buy the indicating type with orange crystals that turn green when saturated, so you know when to recharge it.
- An airtight plastic or glass container at least two inches deeper than your tallest bloom. Do not use cardboard or wood, which let moisture in. If you use plastic, retire it from food use.
- A small scoop or measuring cup.
- A soft artist’s paintbrush for cleanup.
- A dust mask and gloves. The fine silica dust is not something you want to breathe.
How to Dry Dahlias with Silica Gel
- Trim the stem to about one inch below the bloom. You are drying the flower head only. Long stems get in the way and hold their own moisture.
- Pour about an inch of silica into the bottom of your container as a bed.
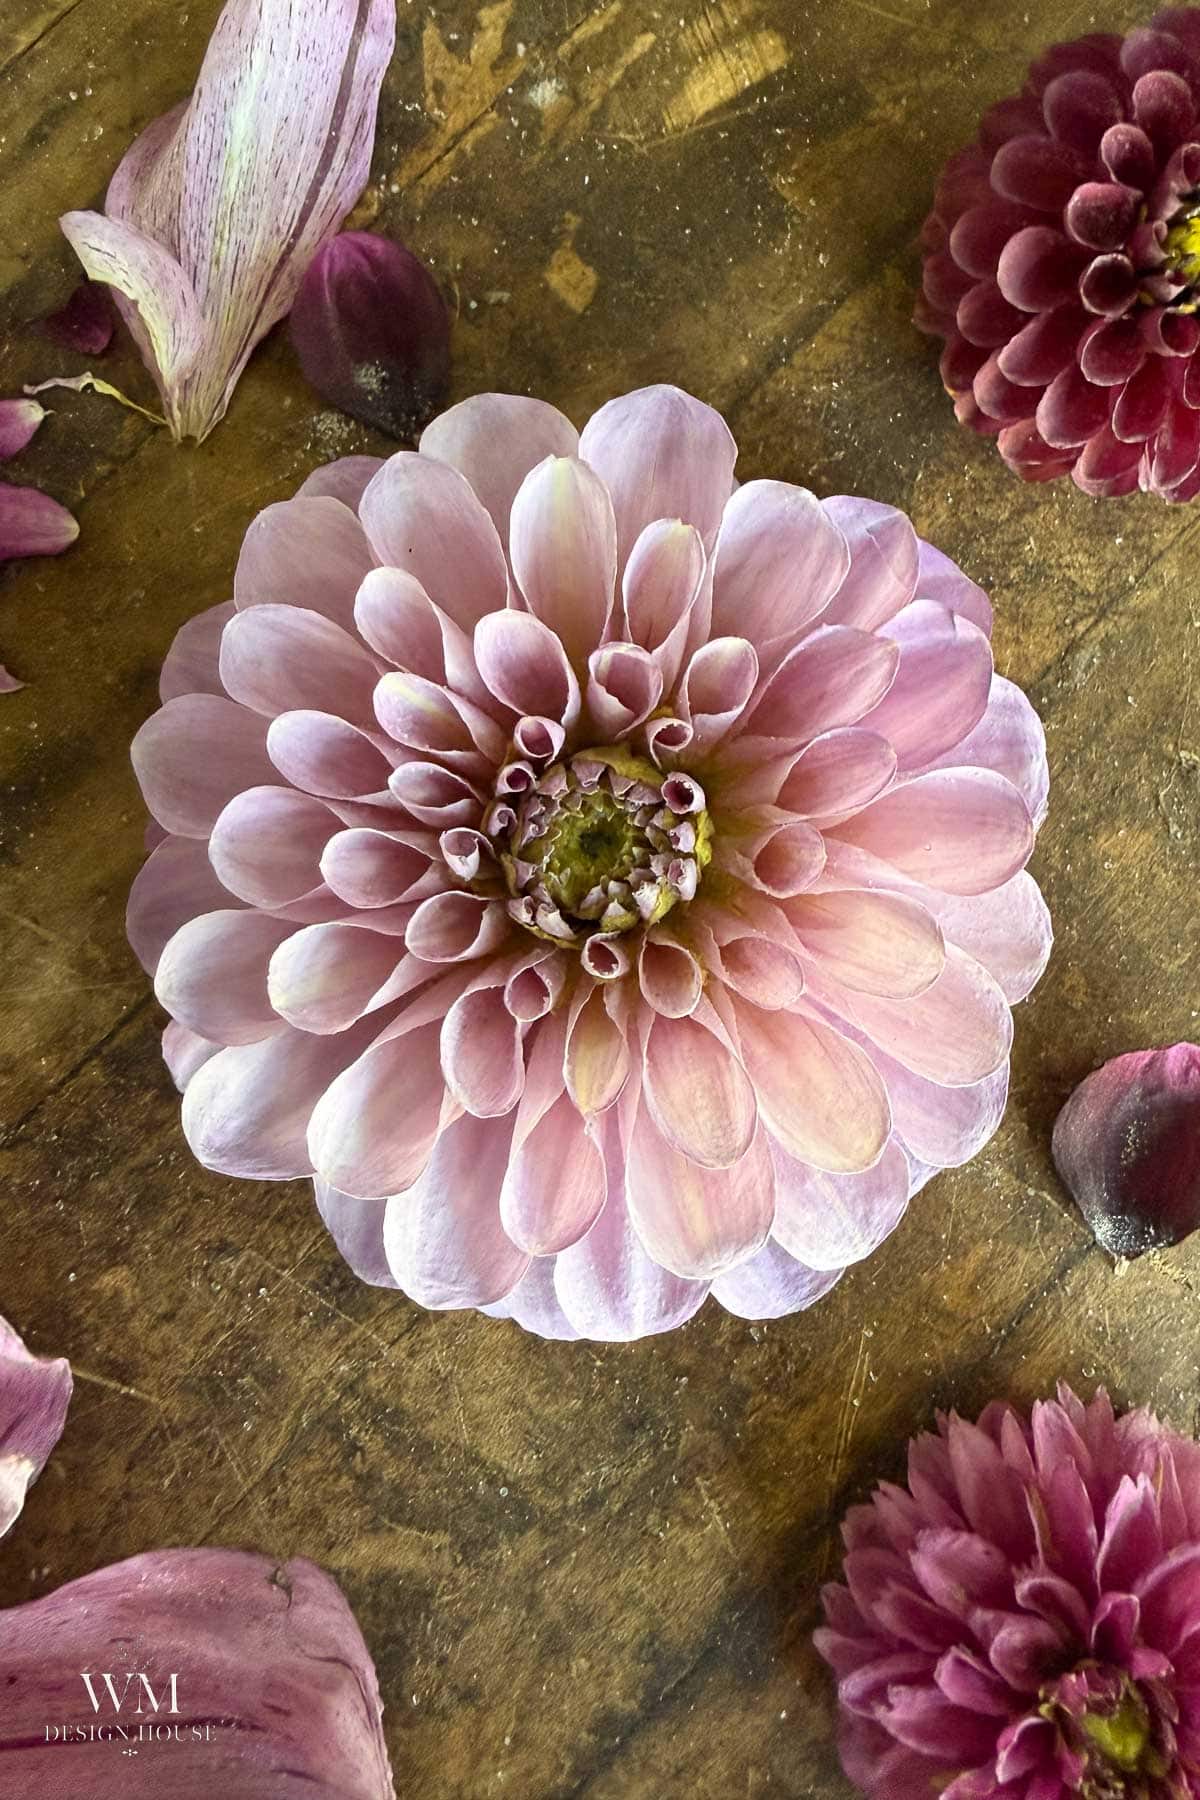
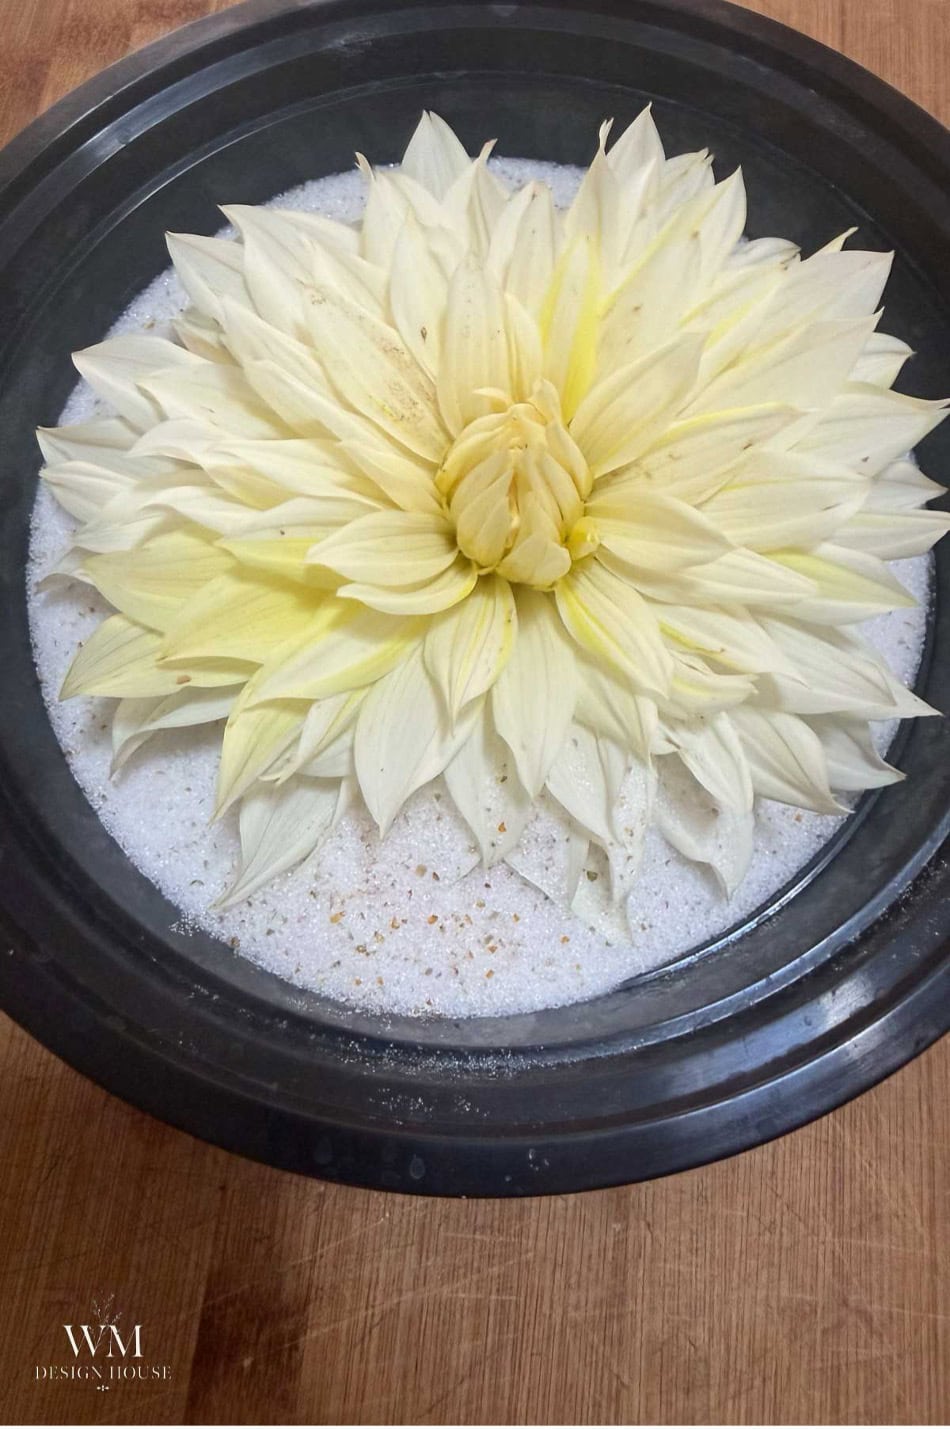
- Set the bloom face up on the silica. Face up, not face down. Give each flower breathing room and do not let the petals of one touch another. You can dry several different varieties in the same tray at once, as long as none of them are touching, which makes good use of a single batch.
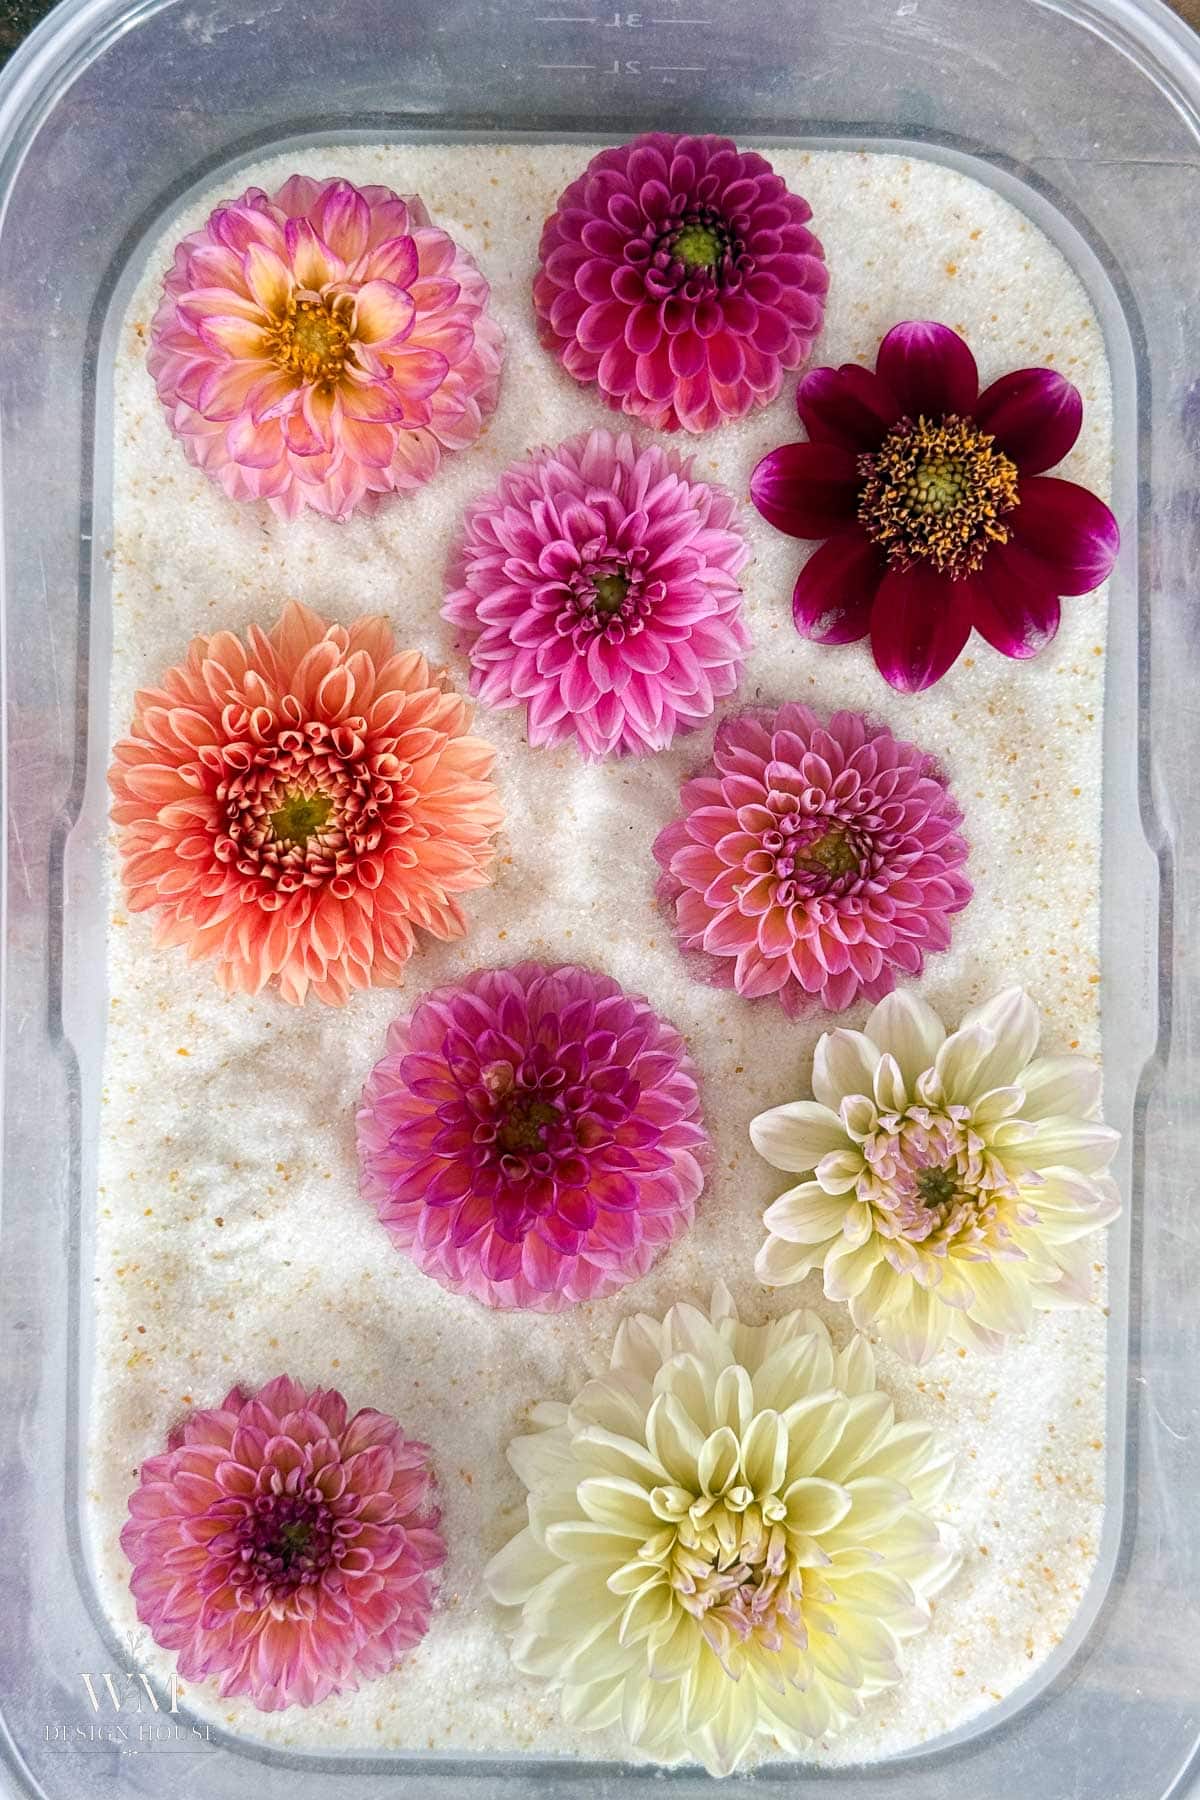
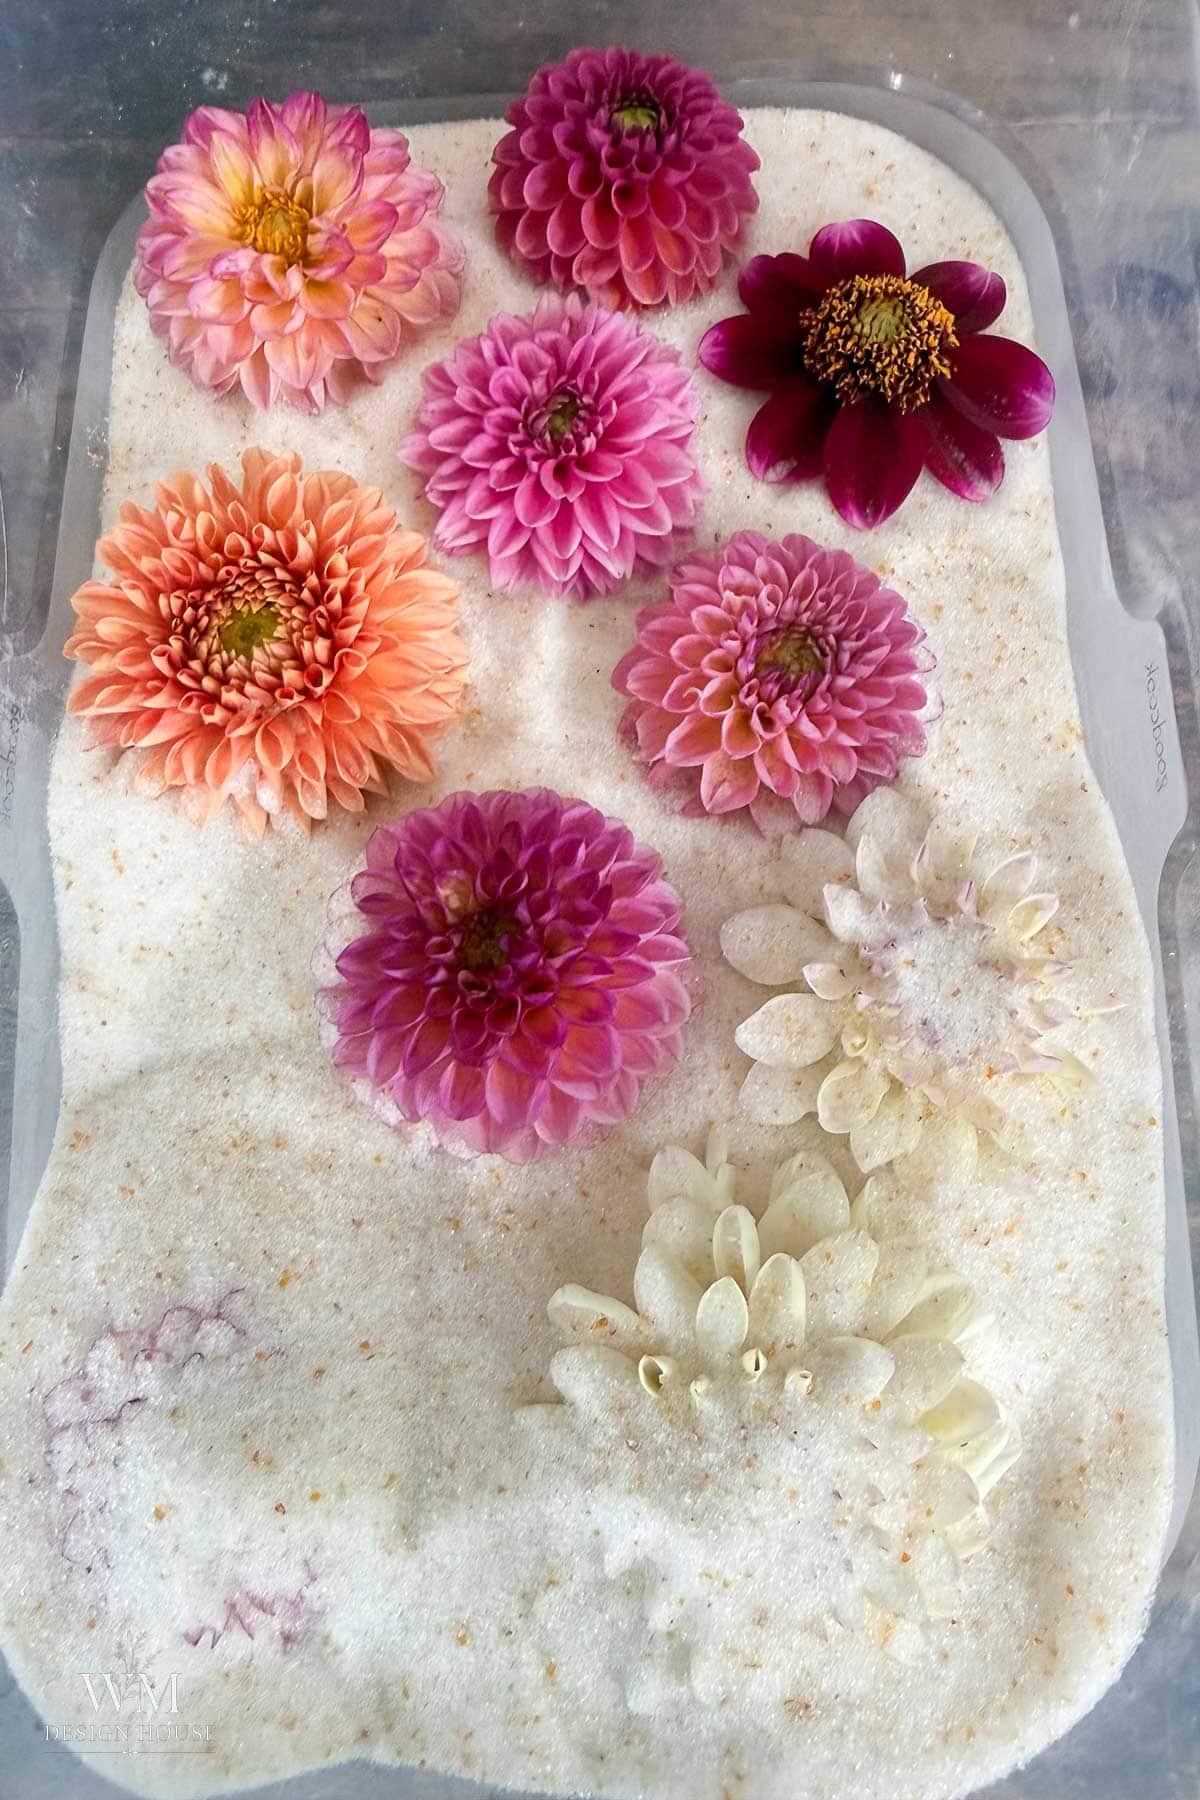
- Spoon the silica in slowly, working from the outside edge toward the center. This is the step that decides whether your dahlia is beautiful or flattened. You want the sand to sift down into every gap between the petals and support them from underneath, so let it trickle rather than pour. Give the container a very light tap now and then to help it settle.
- Keep going until the bloom is covered by at least an inch of silica. Do not press down.
- Seal the container and put it somewhere cool and dark. Label it with the date and the variety, because you will forget.
How Long to Wait, and How to Get Them Out
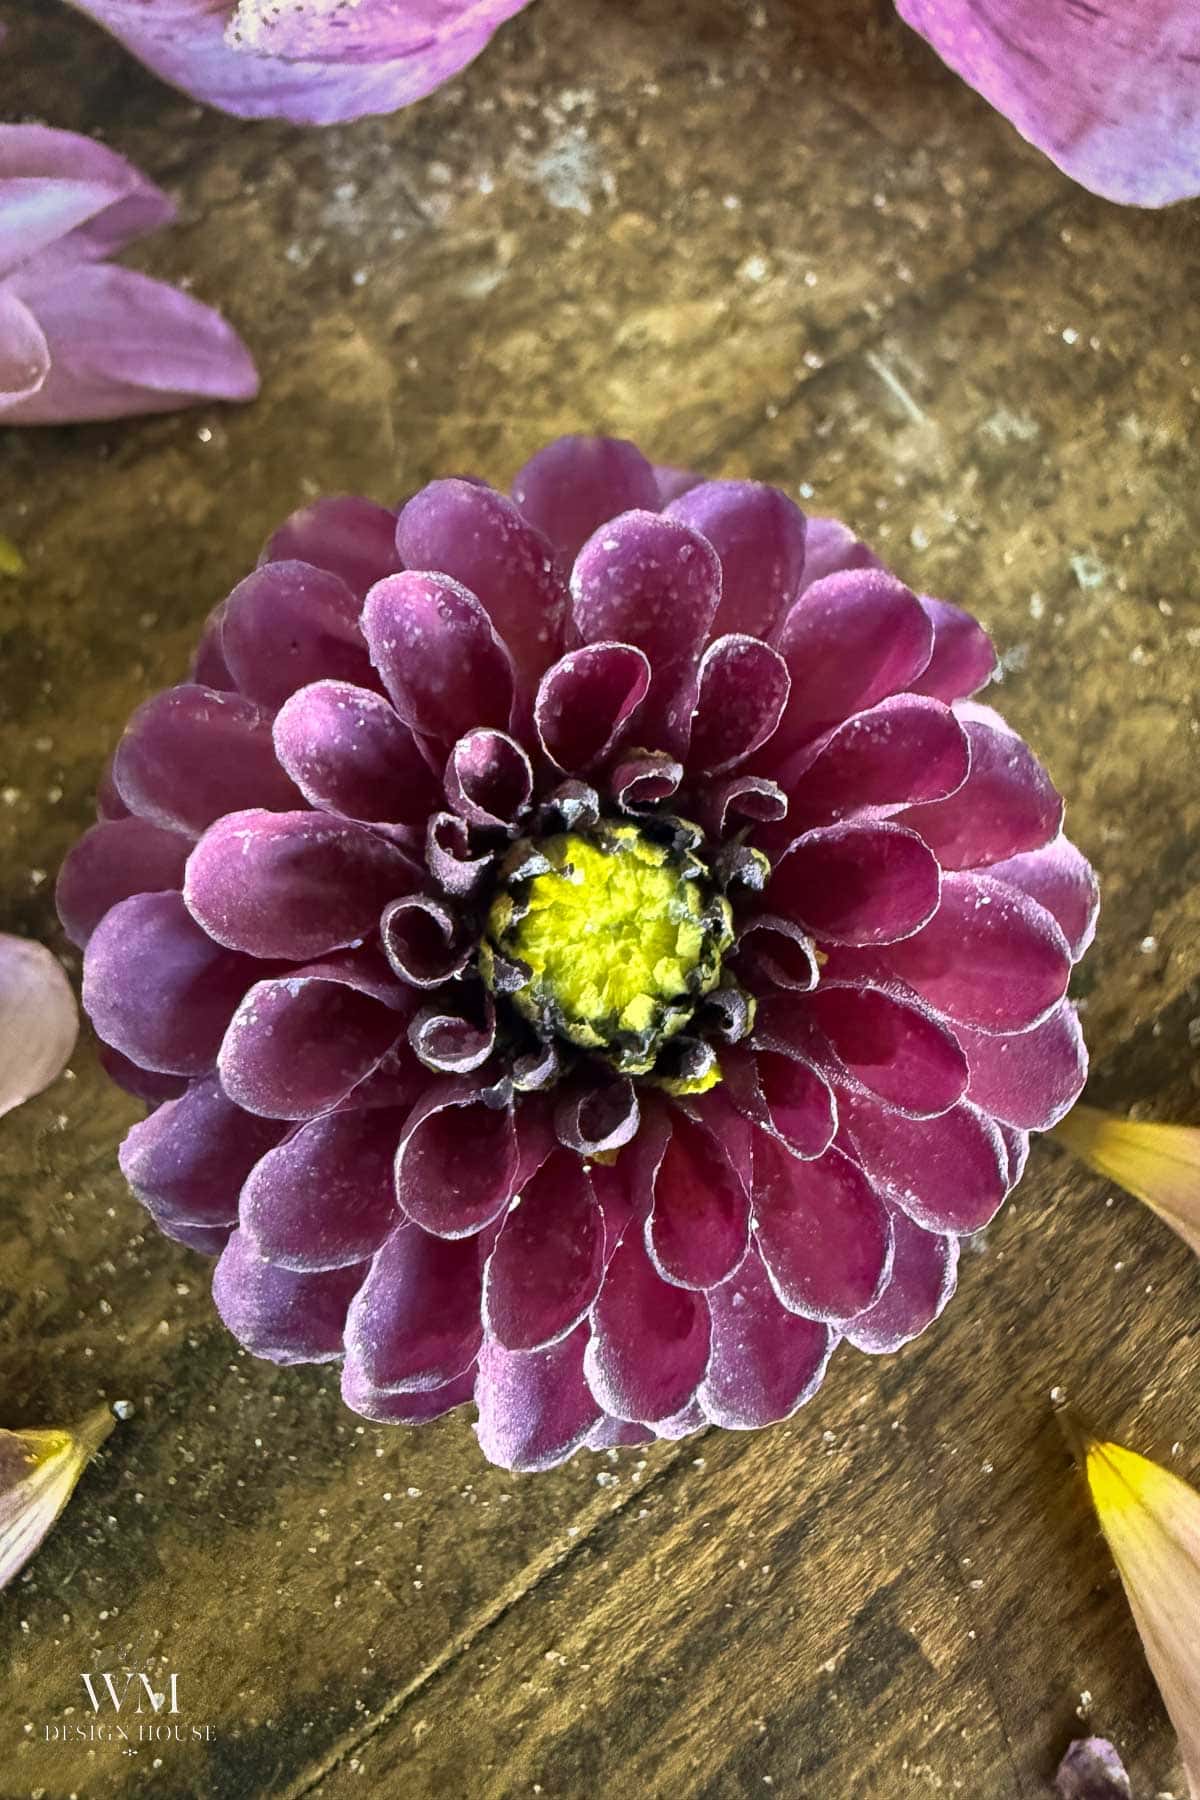
- Wait, and check earlier than you think you need to. This is narrower than most advice out there suggests. In my own testing, five days left the petals over-dried and starting to fall off, while two days came out nearly perfect. I have settled on two days for smaller blooms and three days for larger ones, checked by carefully uncovering one petal edge, which should feel like a corn flake, crisp with no give, not brittle or shattering.
- Excavate gently. There are a few ways to do this, and I use all three depending on the flower. Tip the container slowly to pour the silica off rather than digging in. Once you have done this a few times and have a feel for where the blooms are sitting, a small spatula makes it faster to dig them out directly. Either way, finish by holding the bloom upside down and brushing the last crystals from between the petals with your soft brush. My favorite finishing trick is a small handheld air blower, the same kind sold for cleaning computer keyboards (I use one from Atenge). Set it to the lowest setting and keep it several inches back from the flower, since too close or too strong will bend or tear the petals. However you get there, this step is fussy and takes a few minutes per flower, and it is worth every second.
The Faster Microwave Version
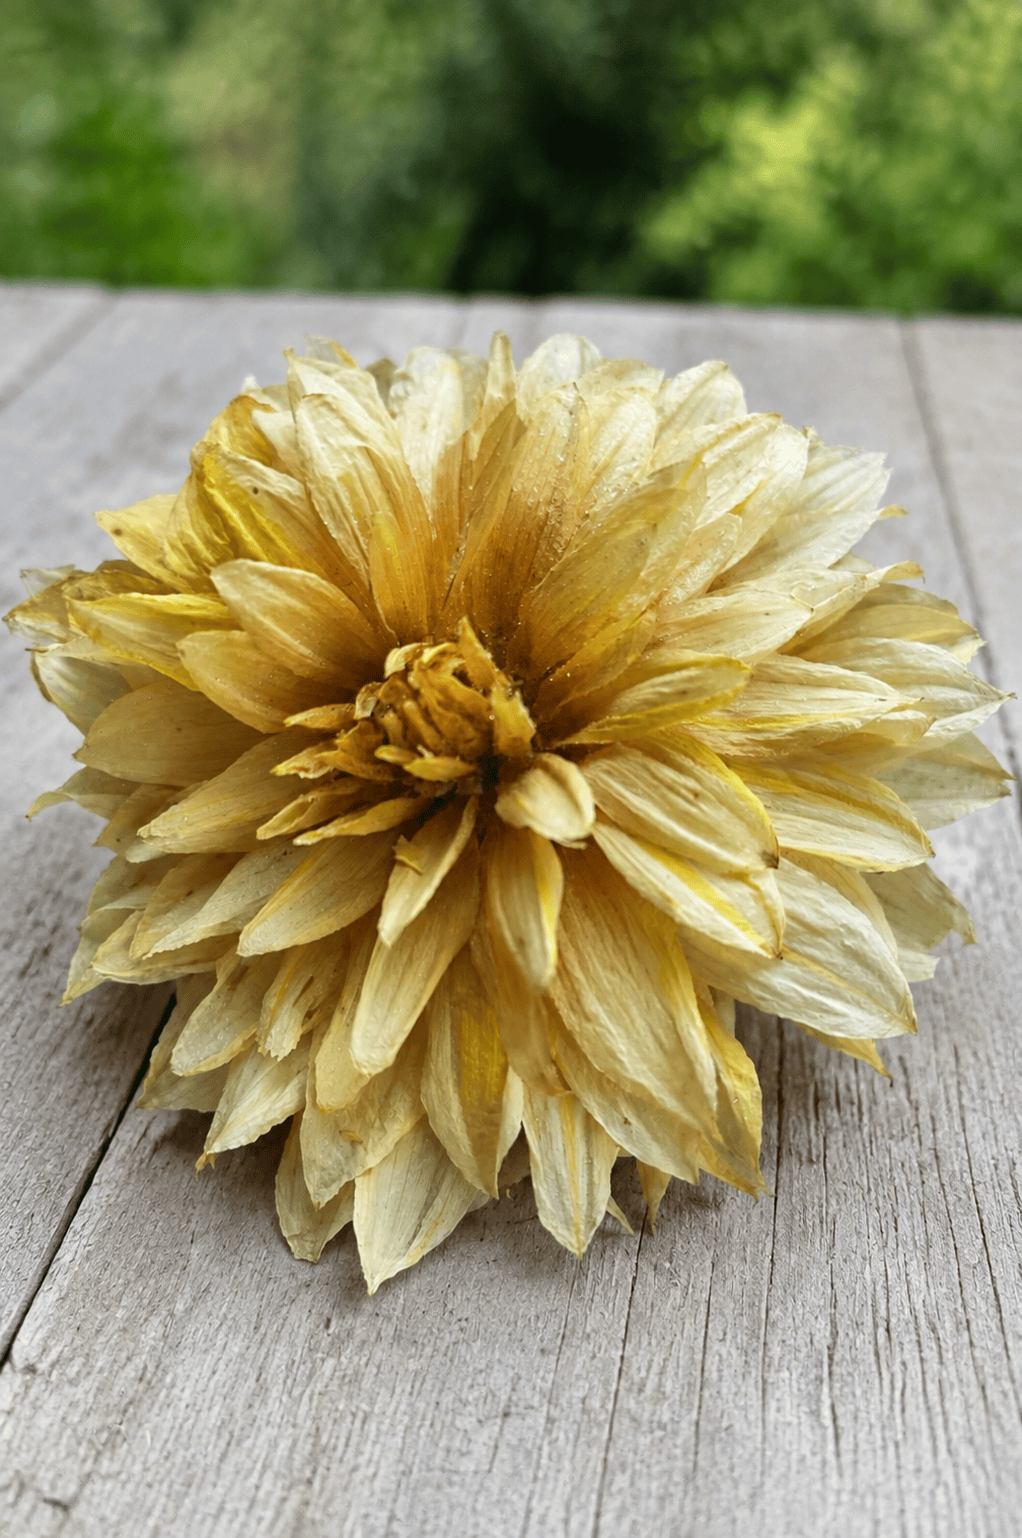
I have tested this one myself, and I will give it to you straight: it is a real shortcut, but it comes with a real trade-off. Set the silica and bloom in a microwave-safe container, uncovered or with the lid ajar, place a separate glass of water in the microwave alongside it, this helps moderate the heat. Heat at low power in thirty-second bursts. Most dahlias need somewhere between one and three minutes total. Then let the container sit and cool completely, at least twenty minutes, before you uncover the flower.
Here is the part most posts leave out. On a pale bloom, the microwave noticeably darkens the petals, more of a toasted, aged yellow than a preserved color, and the flower comes out flatter than a tray-dried one, since the quick burst of heat does not let the silica settle in and support the petals the same slow way a full tray does. I would not use this method on anything cream, white, or blush. Save it for dark, saturated colors where a little extra warmth in the tone barely shows, and even then, treat it as a genuine trade of some shape and color for speed, not a free shortcut.
A few Silica Notes
- Silica gel is reusable indefinitely. When the crystals turn green, spread it on a baking sheet and dry it in a 250°F oven for about an hour, until the orange returns.
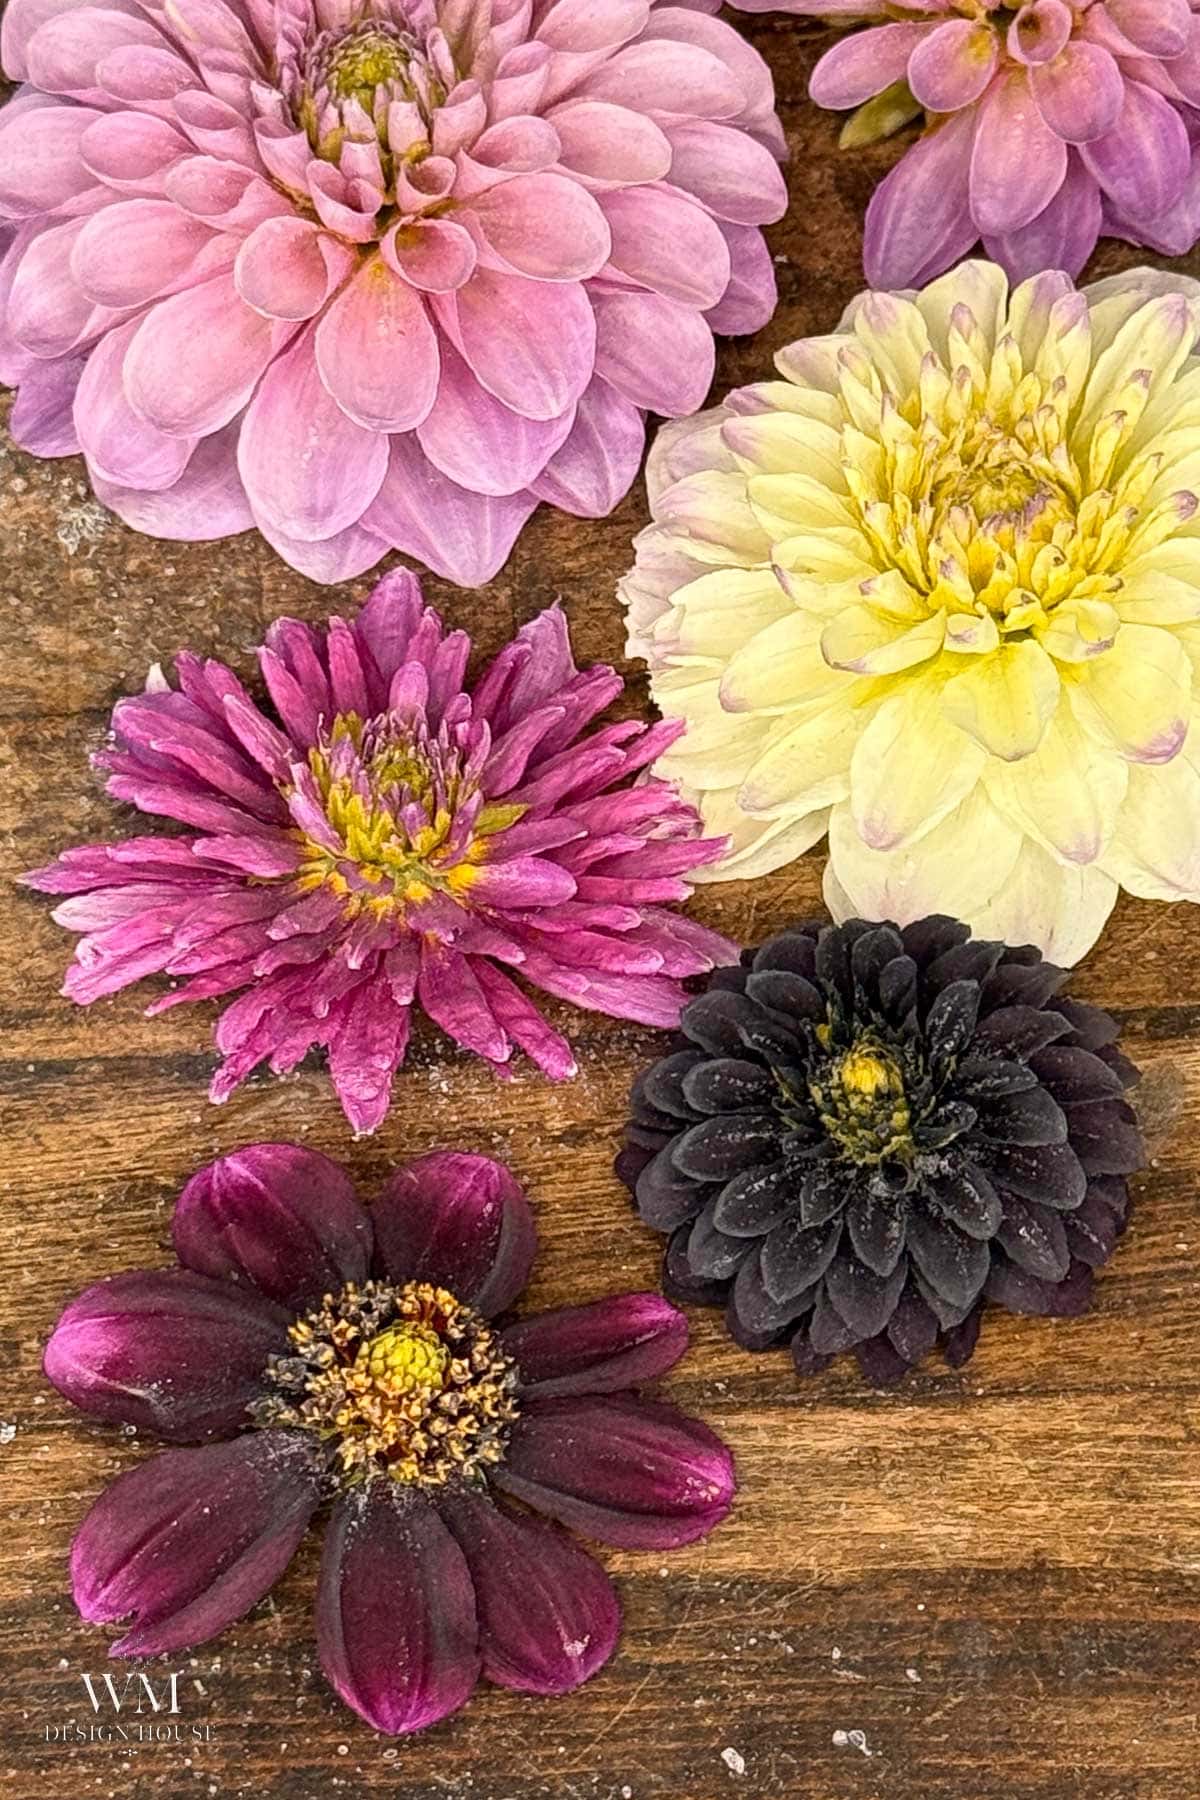
- A finished bloom will be lighter, slightly smaller, and feel like tissue paper. That is correct.
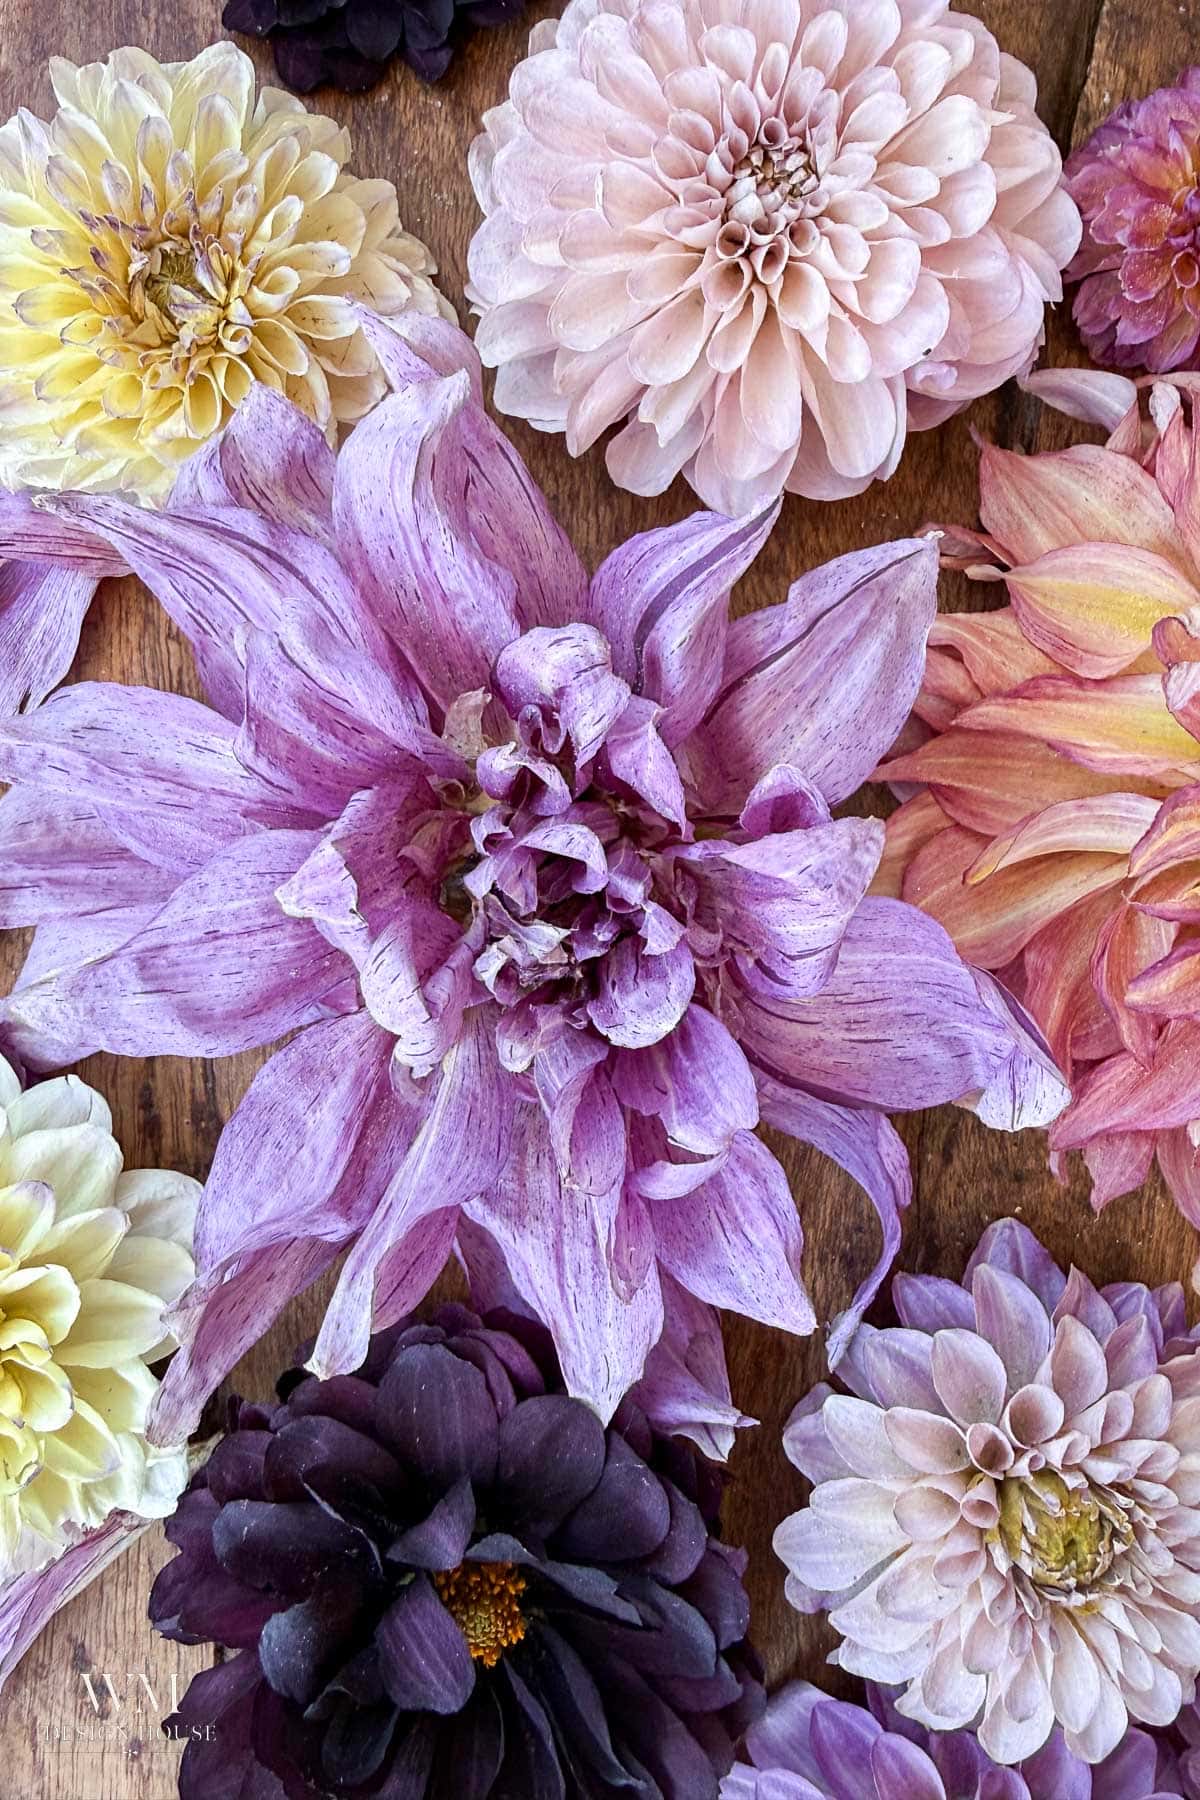
- Dark reds, deep burgundies, and hot corals hold their color best. Soft blush and cream tones will warm up a shade or two, which honestly suits a fall arrangement.
Method 2: Air Drying, the Free Version
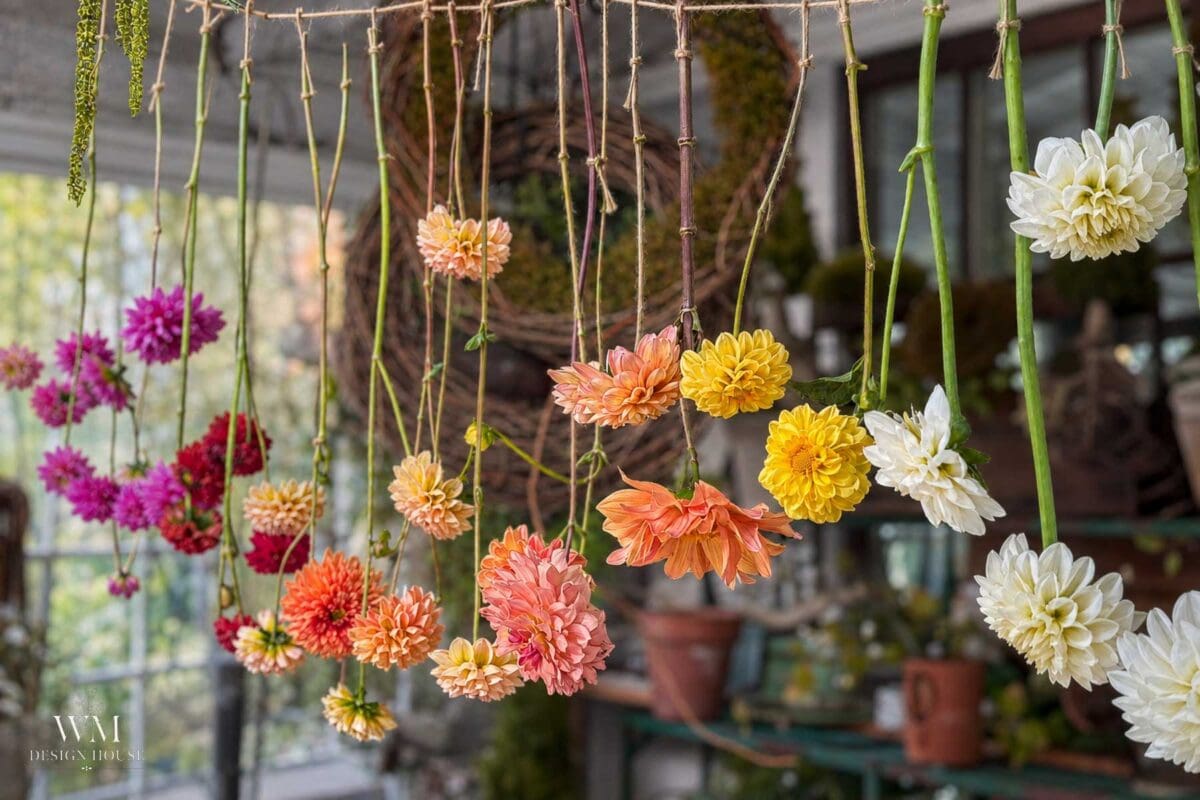
Air drying costs nothing and needs minimal supplies, but it treats every dahlia form differently, and it is worth knowing exactly what you are going to get before you commit a whole bundle to it. And the best part for me is watching them evolve in the She Shed.
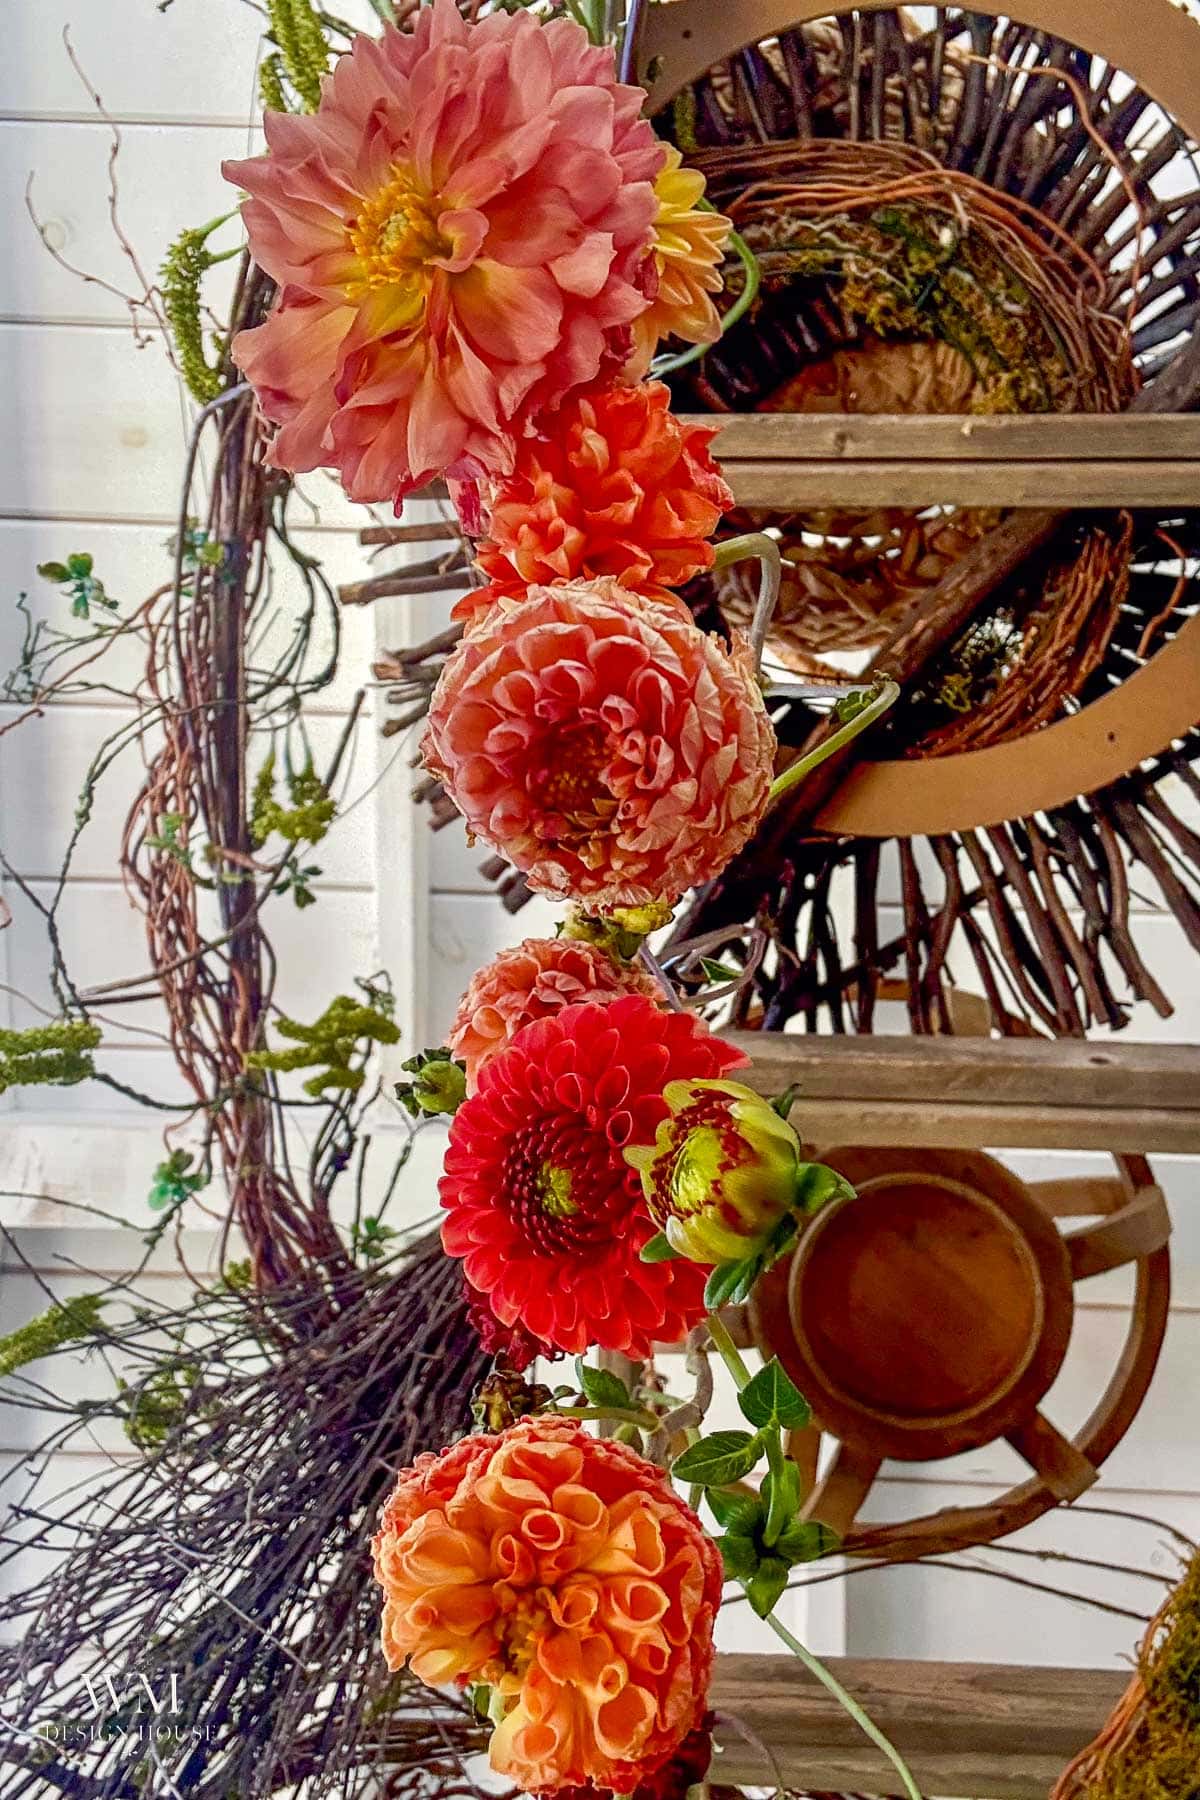
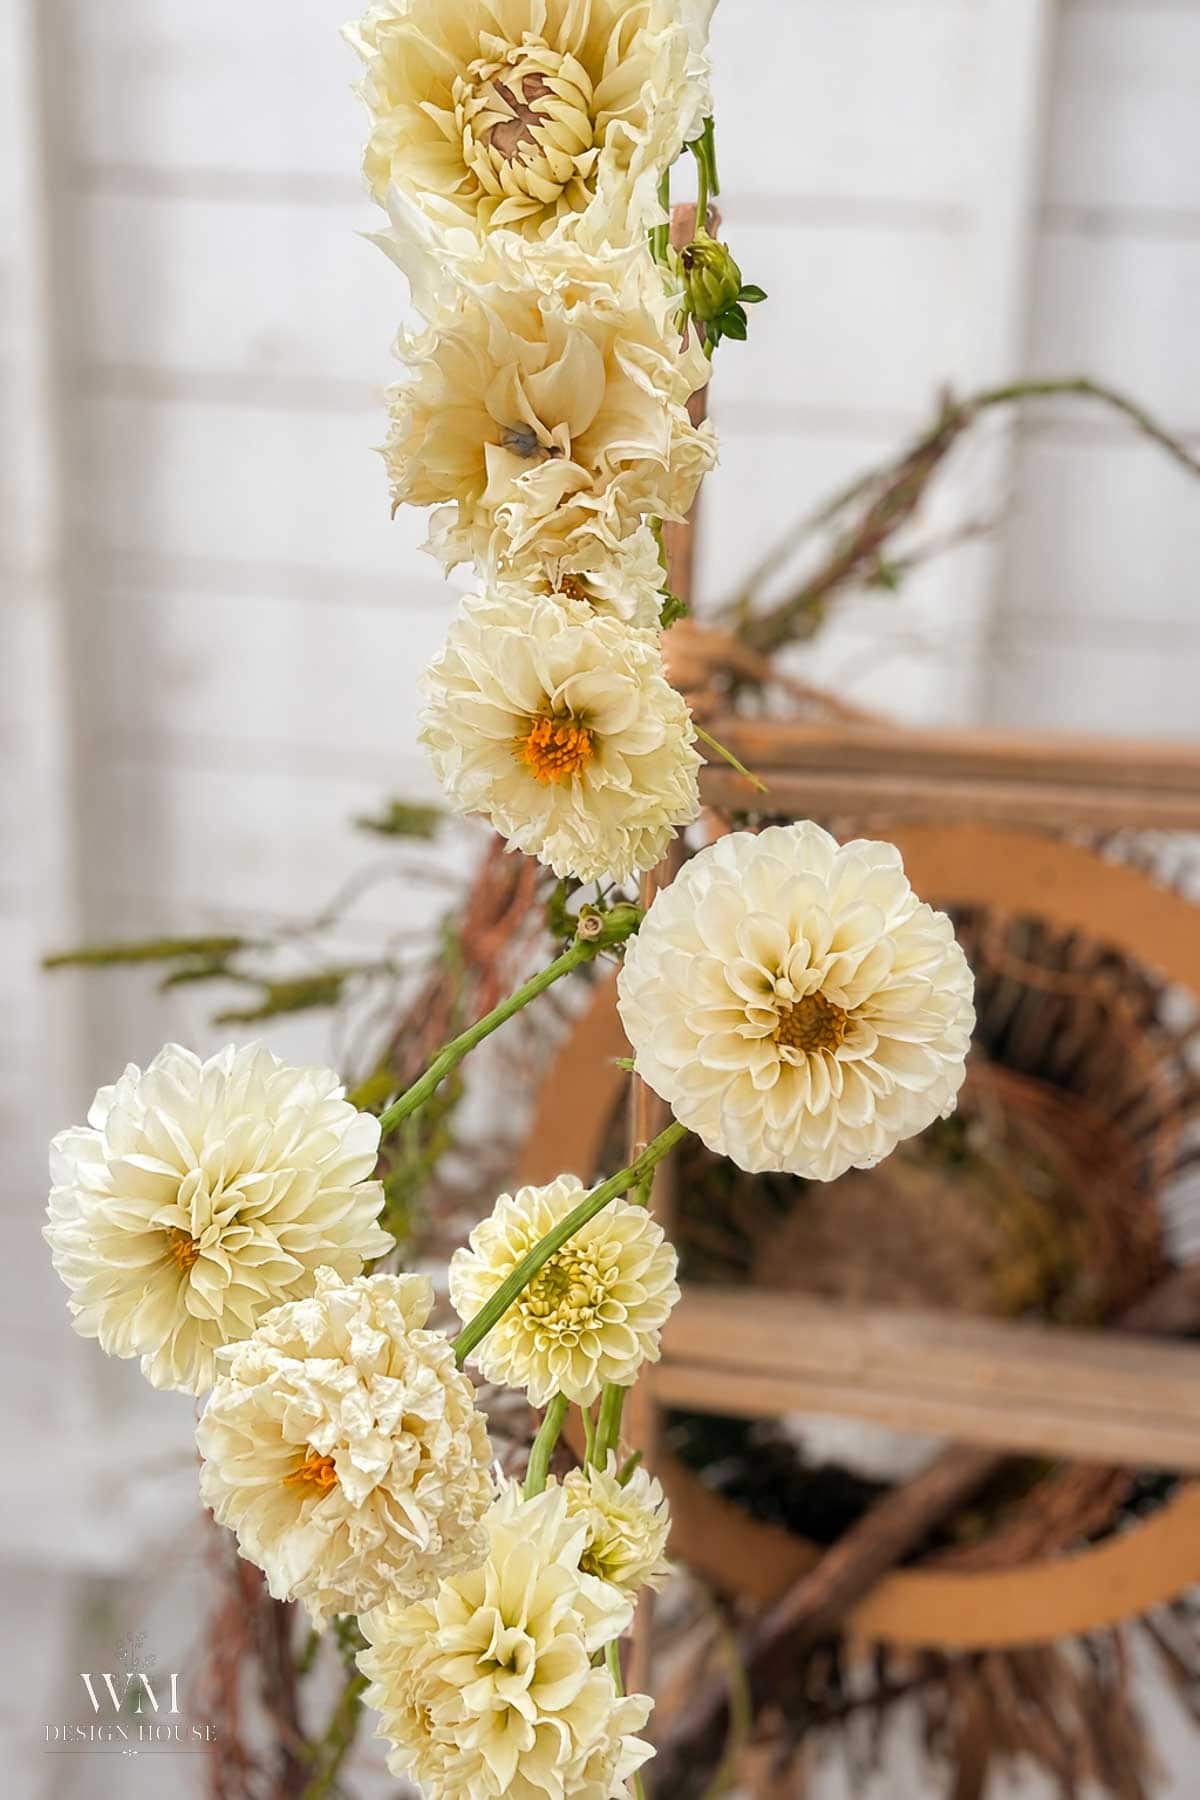
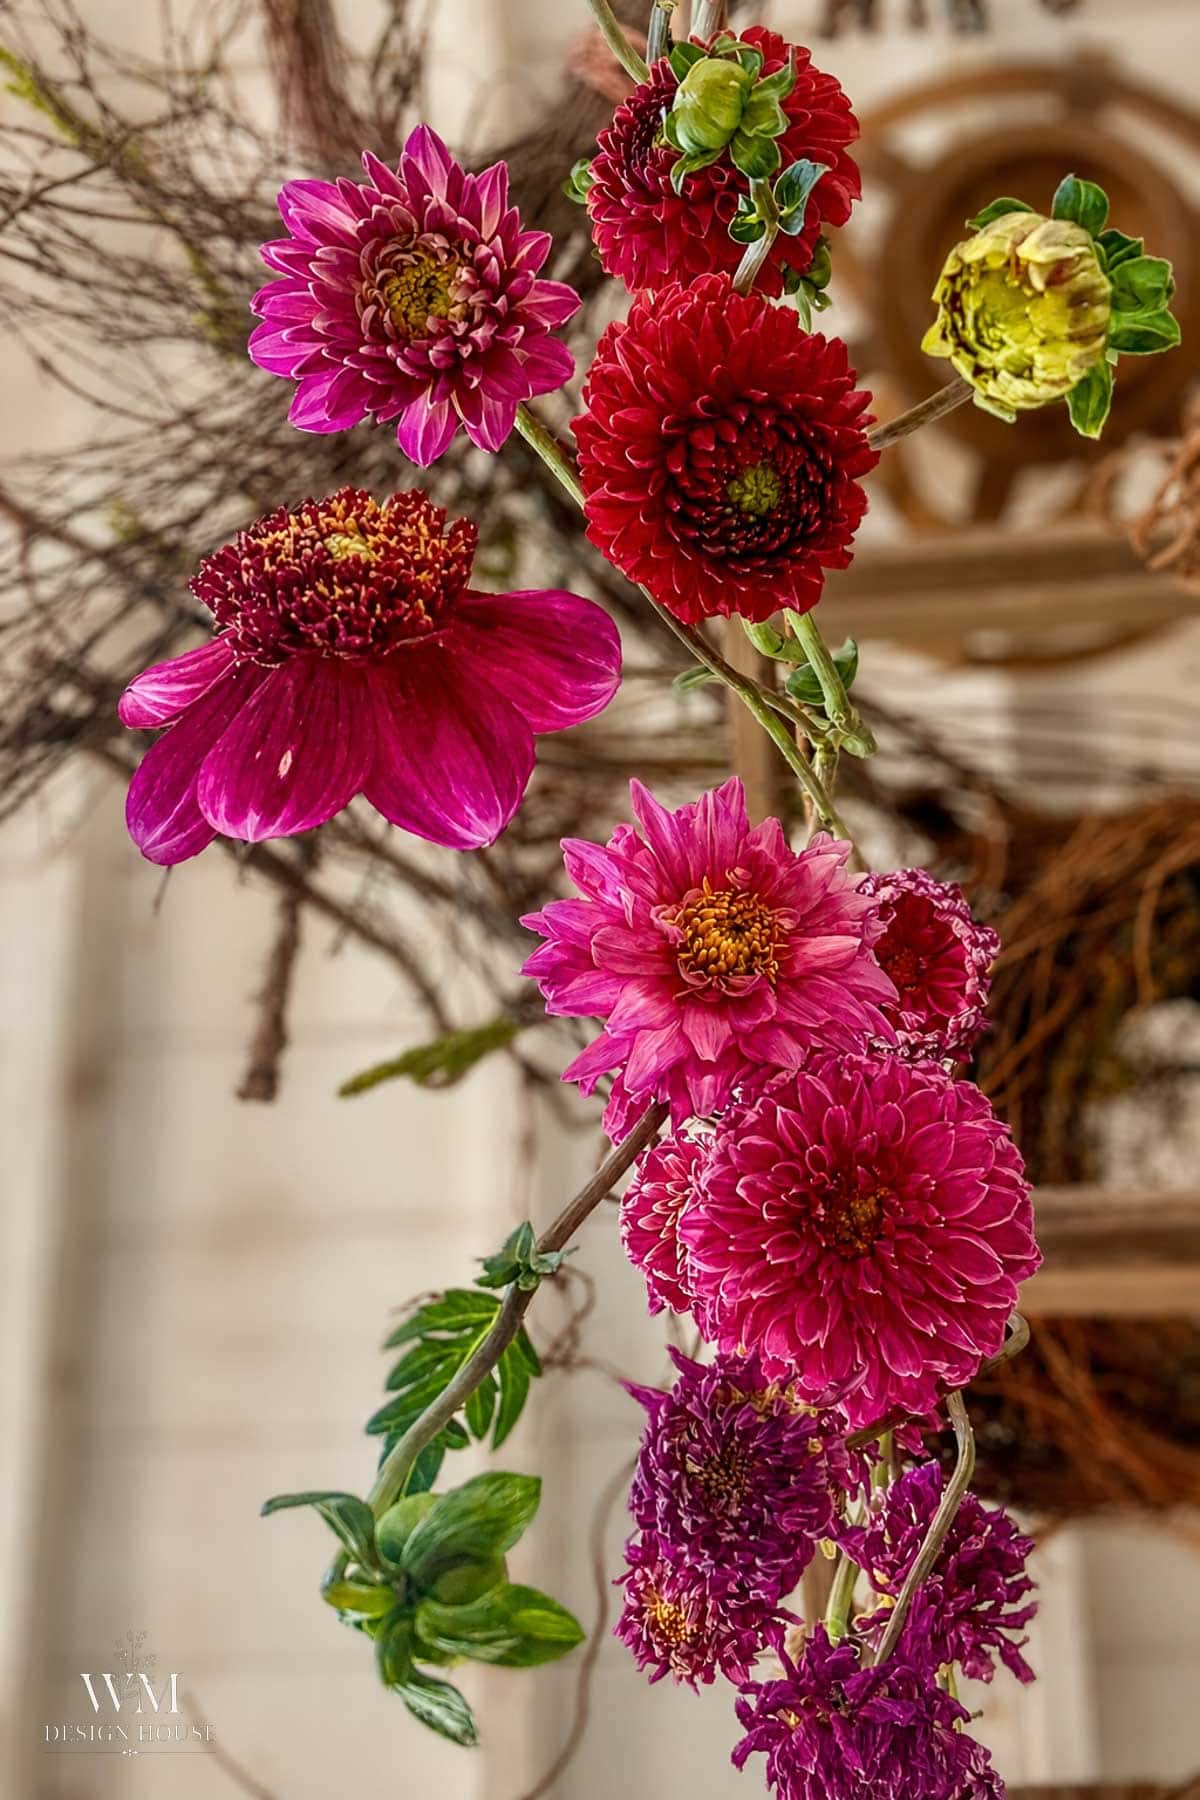
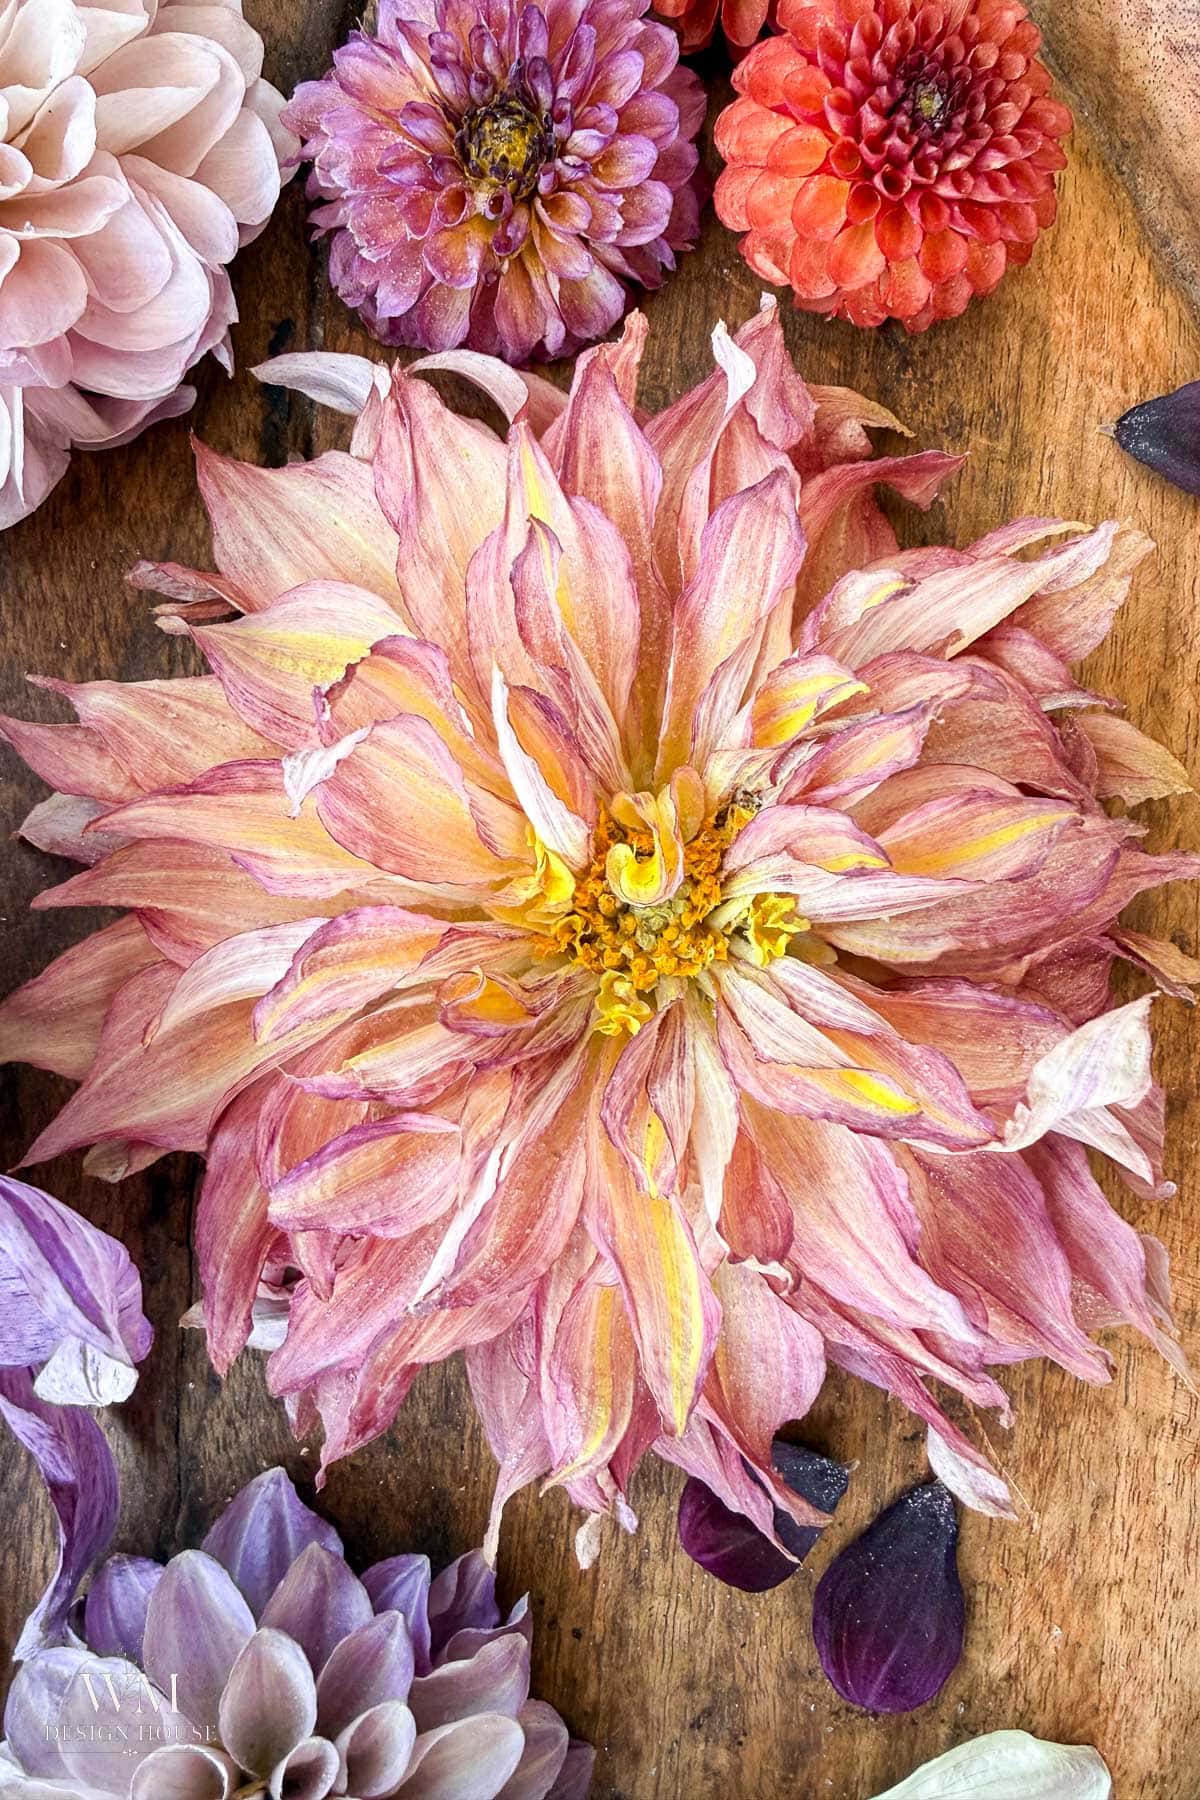
Ball and pompon dahlias change the least amount, but their petal edges do ruffle. Their petals are short, tightly rolled, and packed into a sphere, so there is minimal gravity to pull out of shape. Large decorative and dinnerplate types are a bigger transformation. They lose a good amount of their fresh volume and the petals crinkle and ruffle as the moisture leaves, going from smooth and glossy to something closer to crepe paper. I happen to love that look. The color actually deepens and holds beautifully, and there is something wonderfully textural about a wrinkled Café au Lait that a silica-dried one simply does not have.
What You Need to Naturally Dry Dahlias
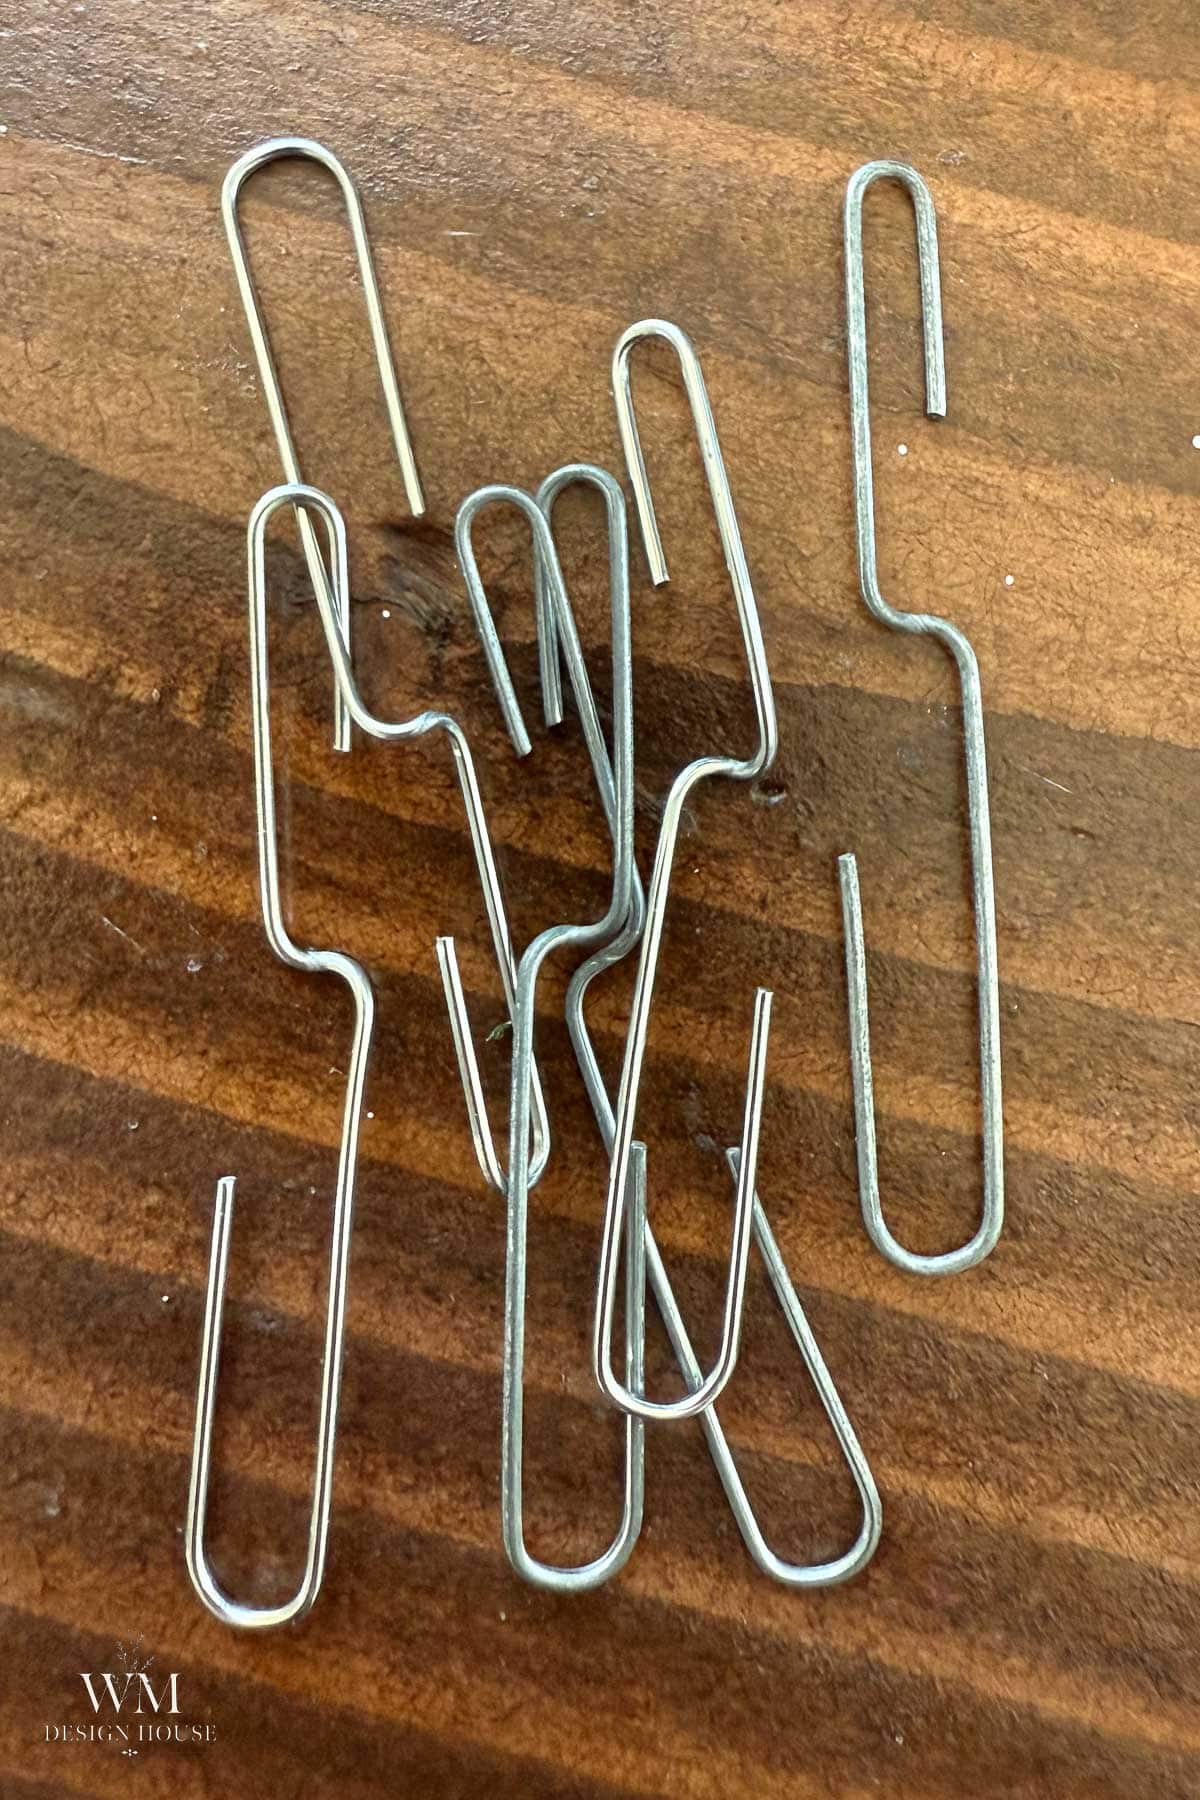
- a box of paper clips
- A hanger, a drying rack, or a length of dowel.
- A dark, dry space with real air movement. A closet, an attic, or the corner of a spare room. Not a bathroom, and not a kitchen. My She Shed does double duty here. I have an old ladder hung from the ceiling that has become the unofficial flower drying rack for the whole garden.
How to Hang Dahlias to Dry
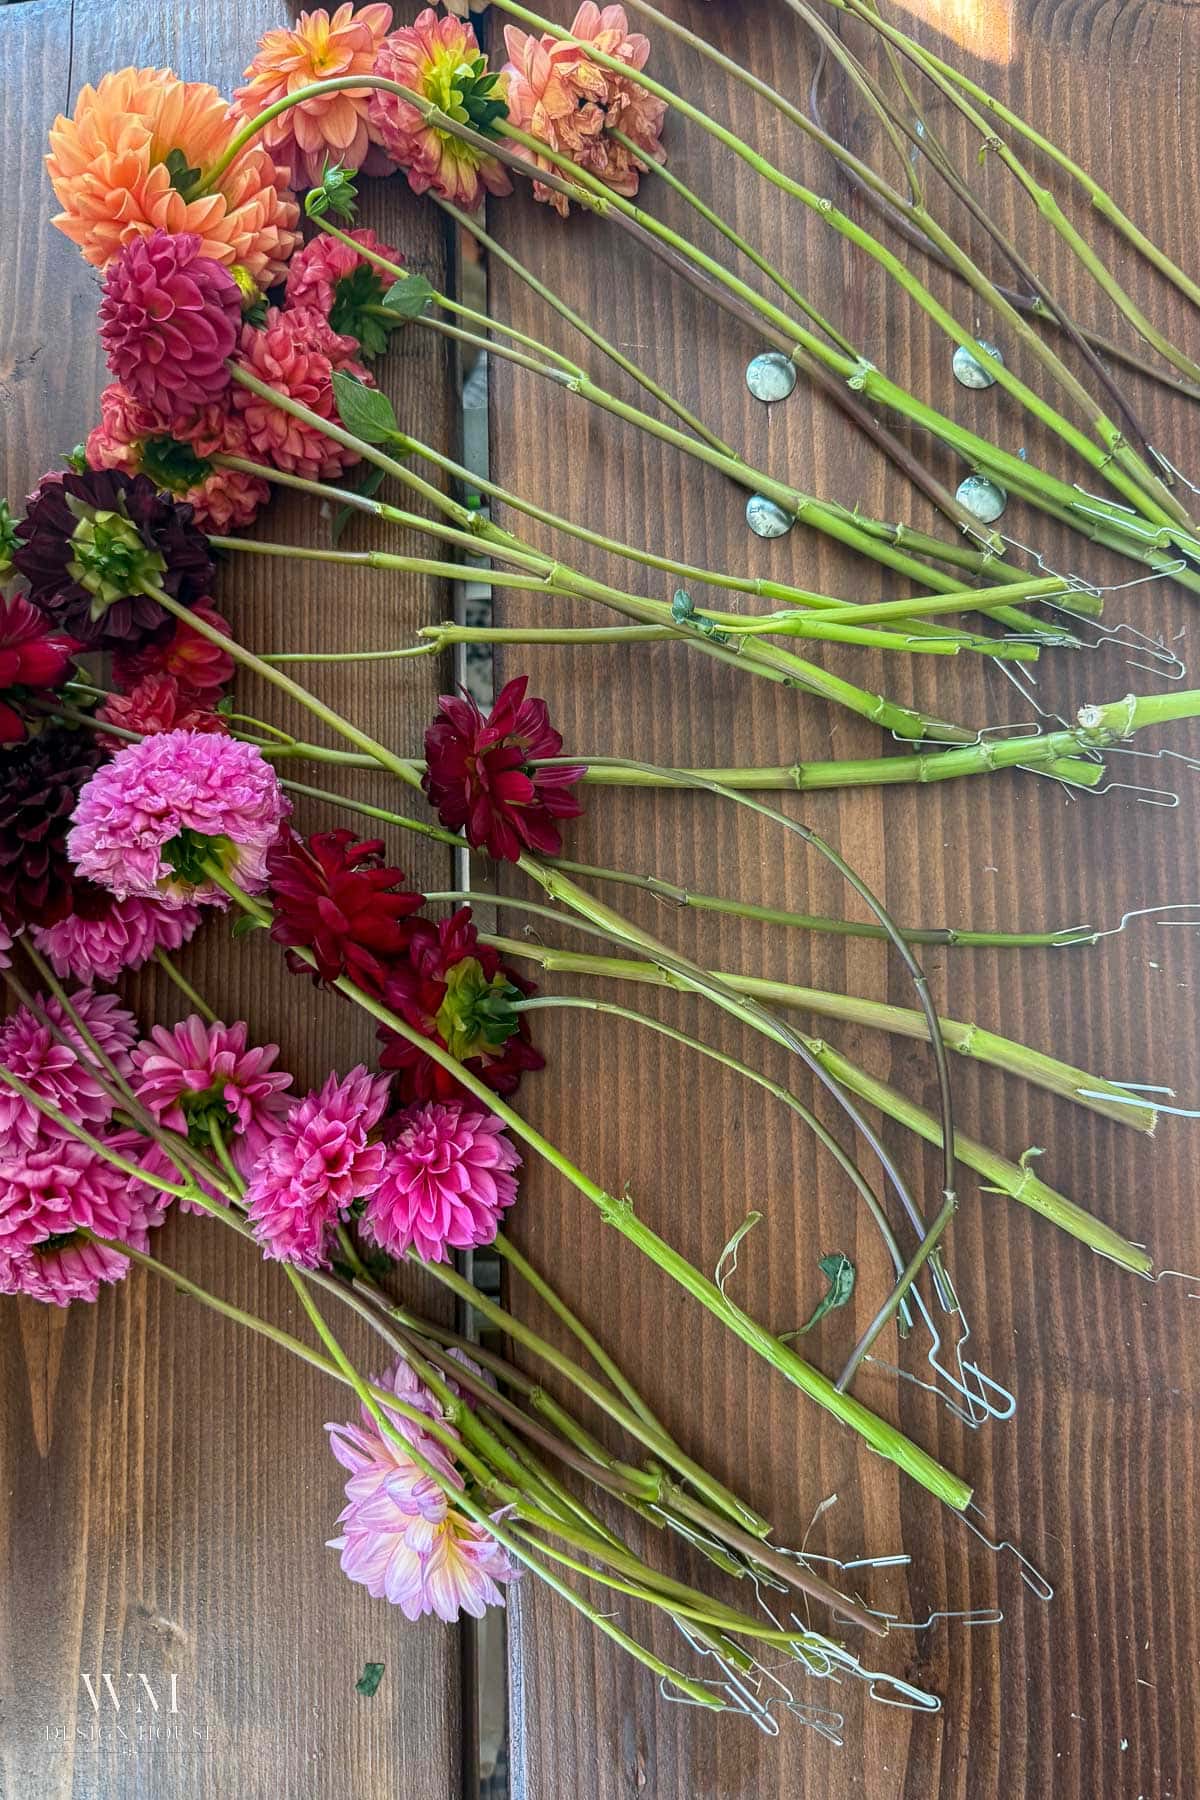
- Strip every leaf from the stem. Leaves hold moisture, mold first, and turn an unpleasant gray green.
- Hang each flower individually. Overcrowding is the number one cause of moldy centers. The blooms should not be touching.
- Open up a paperclip into an “S”, place one end through the end of the stem and hang the other end over the rope.
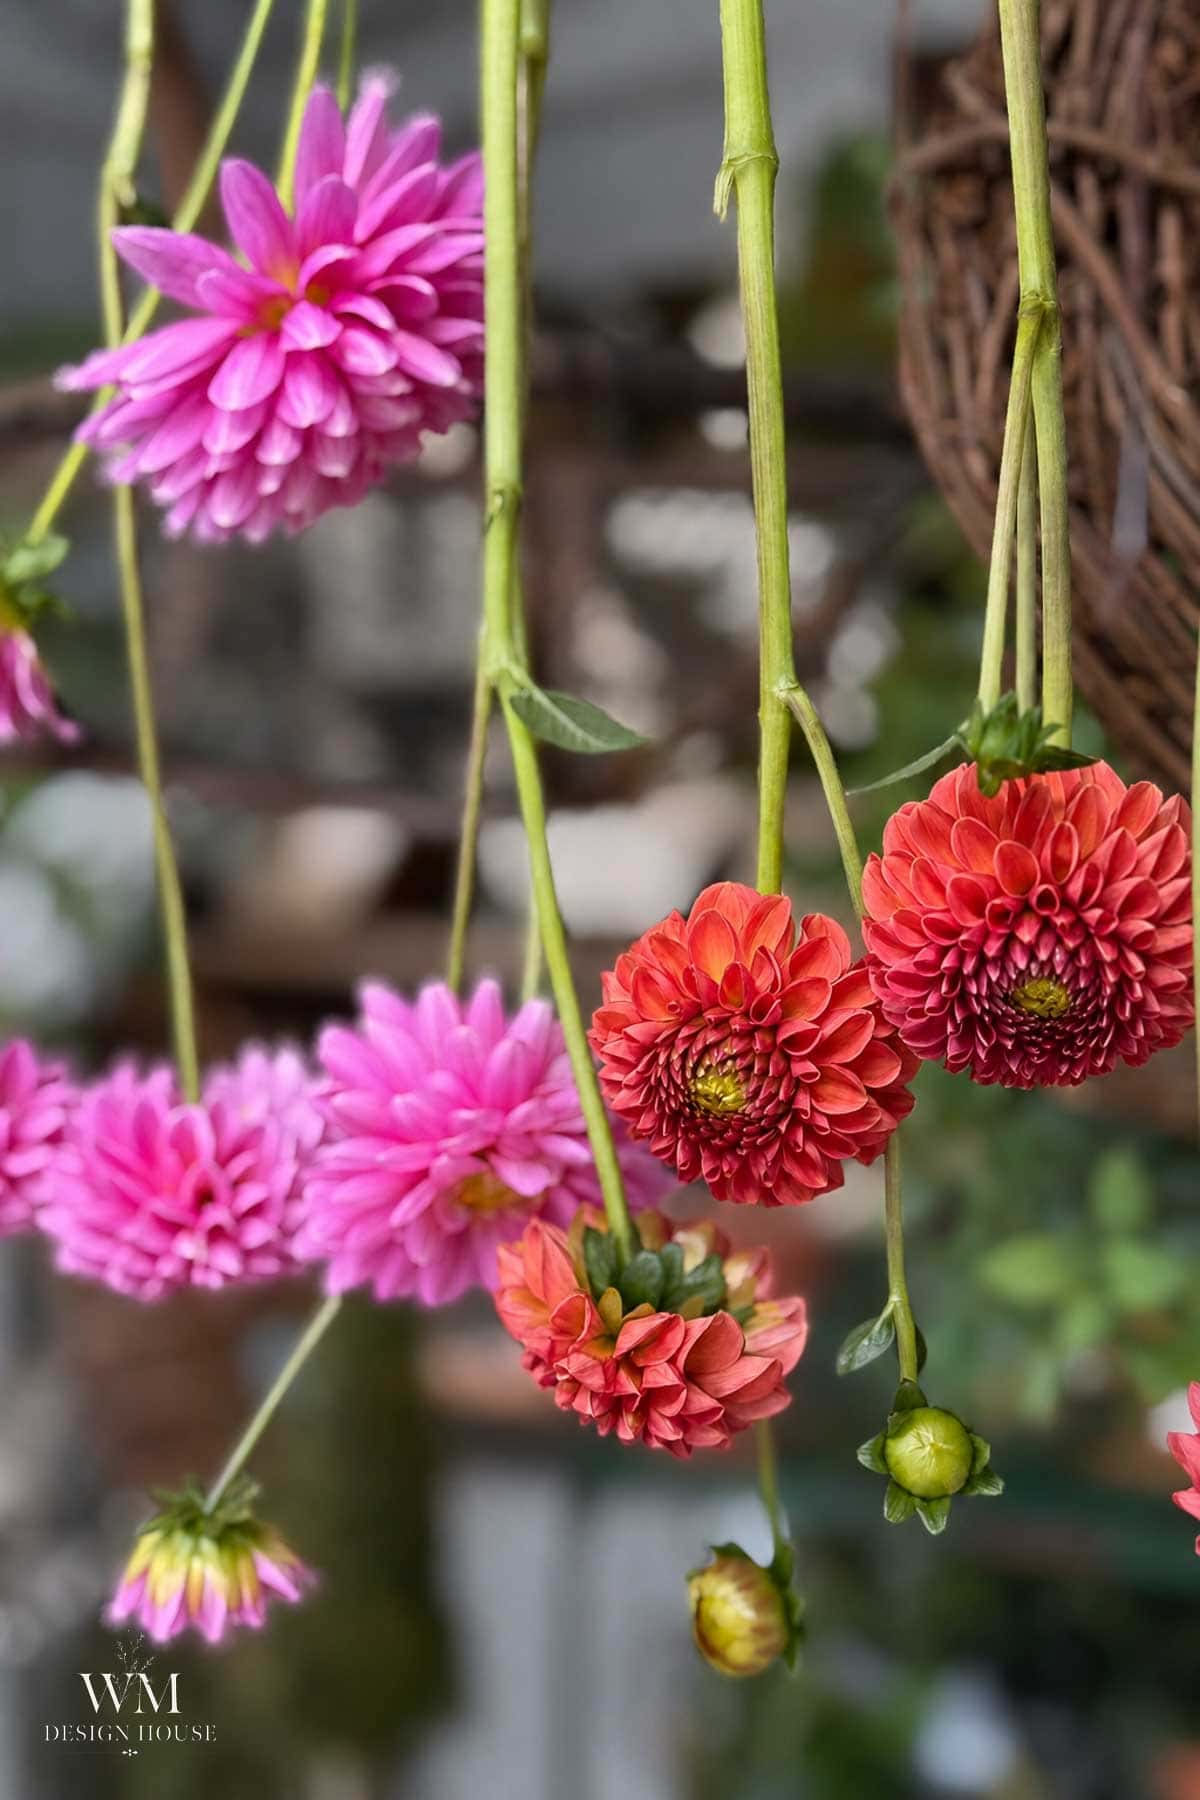
- Ideally you want to hang upside down in the dark. Darkness preserves color. Mine were in the shed, which did get daylight. Hanging the flowers inverted keeps the heads from flopping forward as the stems weaken.
- Give it two to four weeks. They are finished when the stem snaps cleanly instead of bending.
What to Expect
Ball and pompon types shrink only slightly and keep their tidy round shape, just a touch smaller and a shade darker.
Large decorative and dinnerplate types are the bigger change. They lose real volume, the petals ruffle and crinkle, and the color deepens and intensifies rather than fading. It is not a flaw, it is a different look entirely, moodier and more textural than a fresh bloom, and one I genuinely prefer for a lot of my fall arrangements.
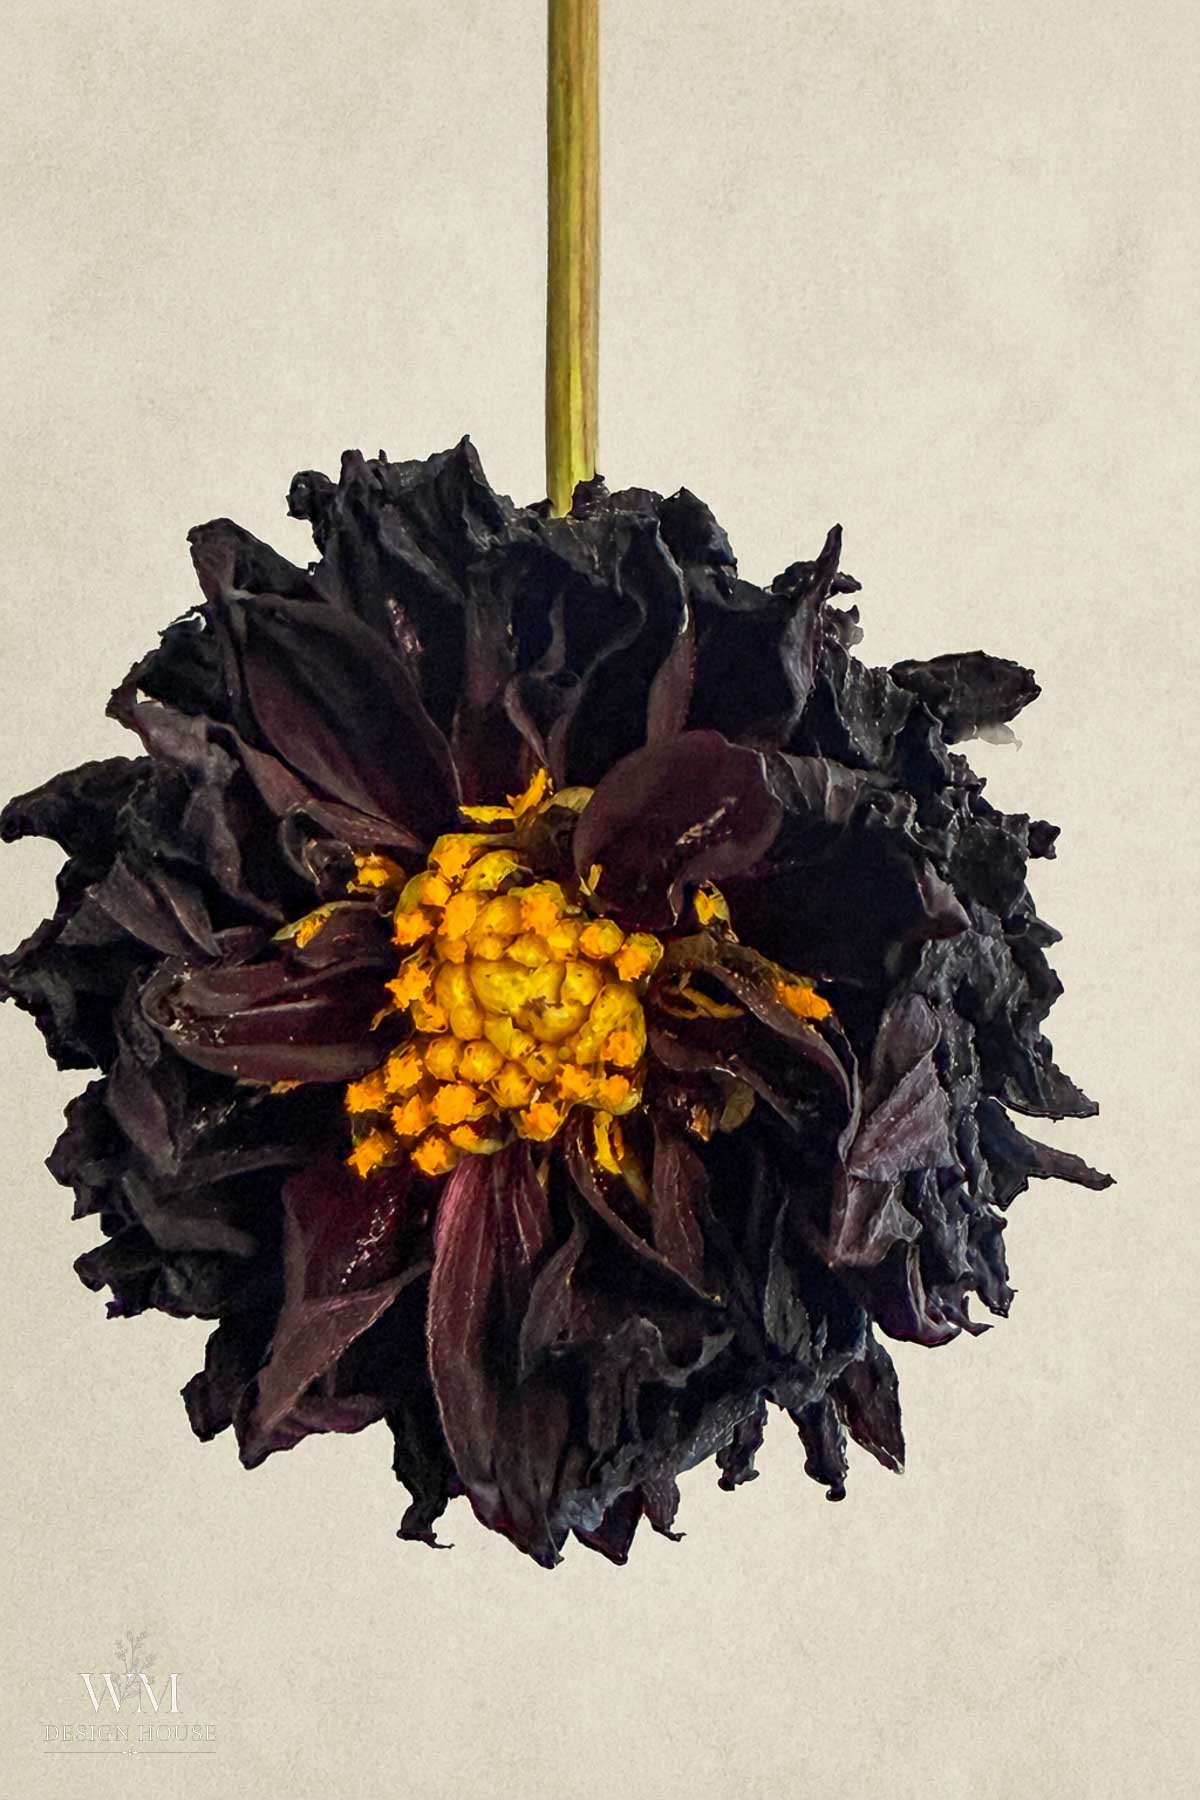
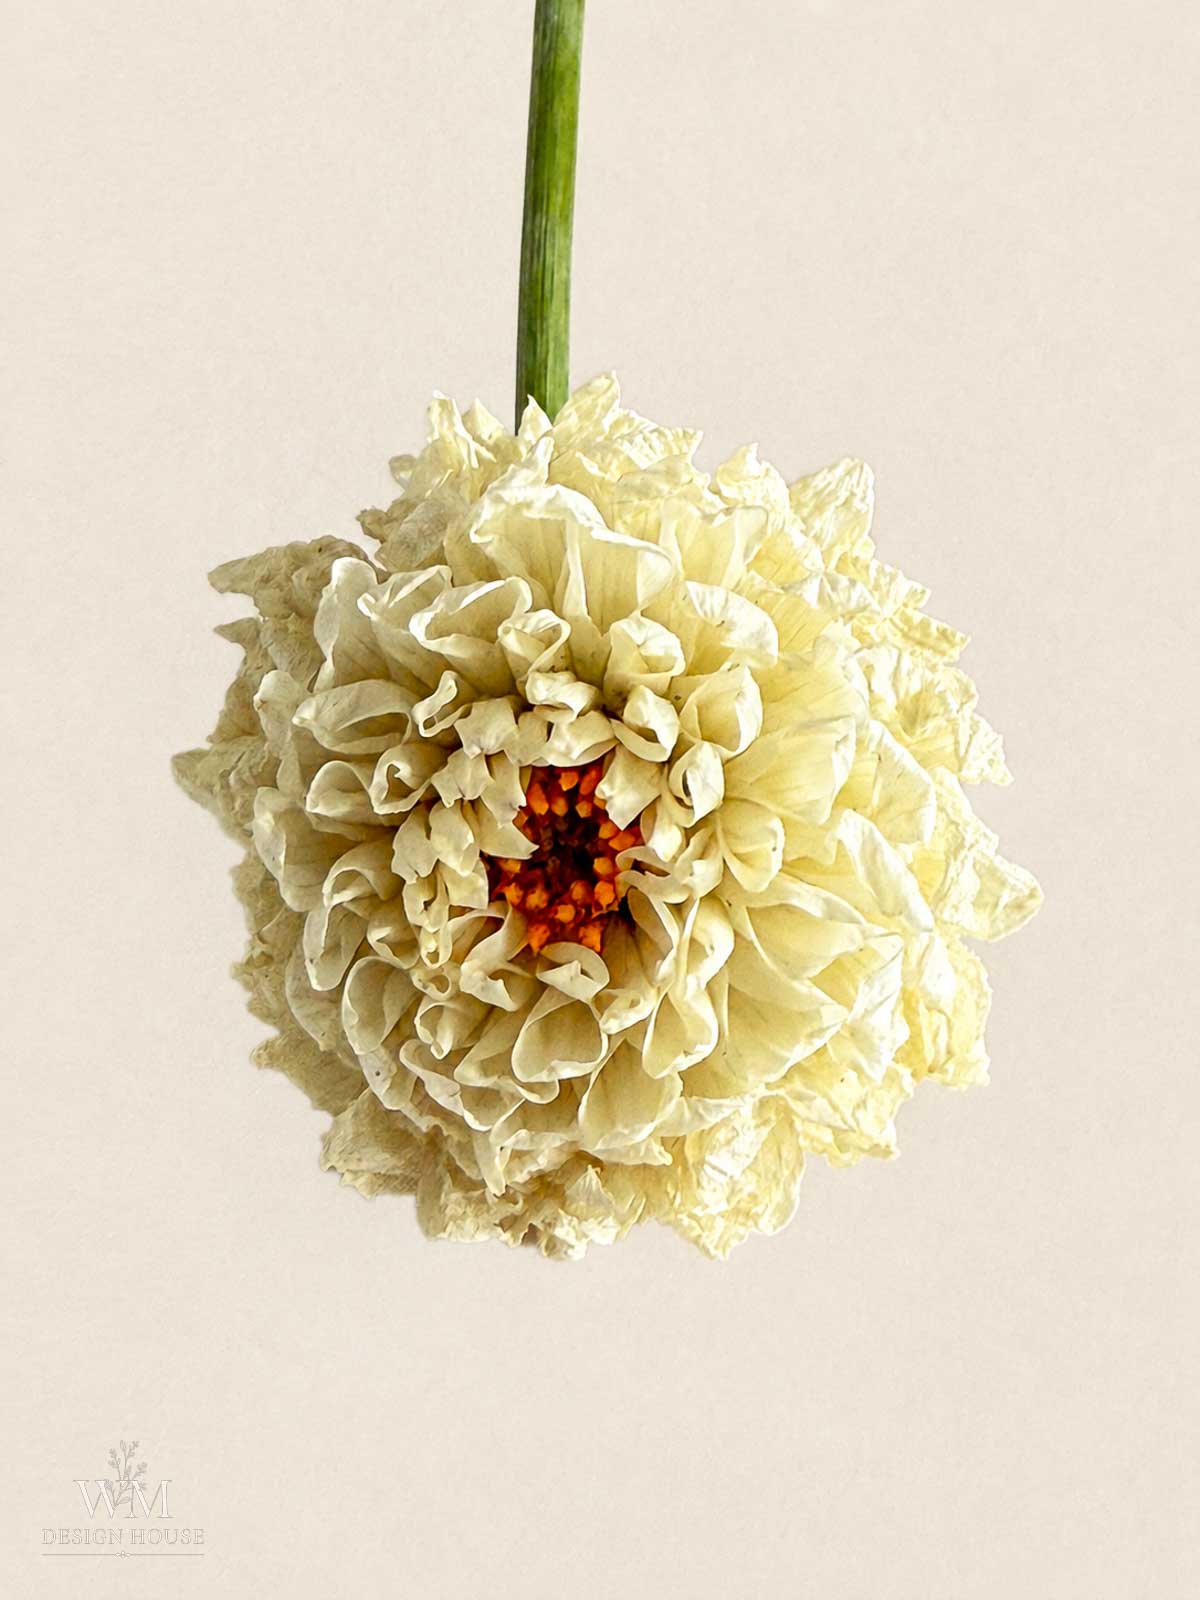
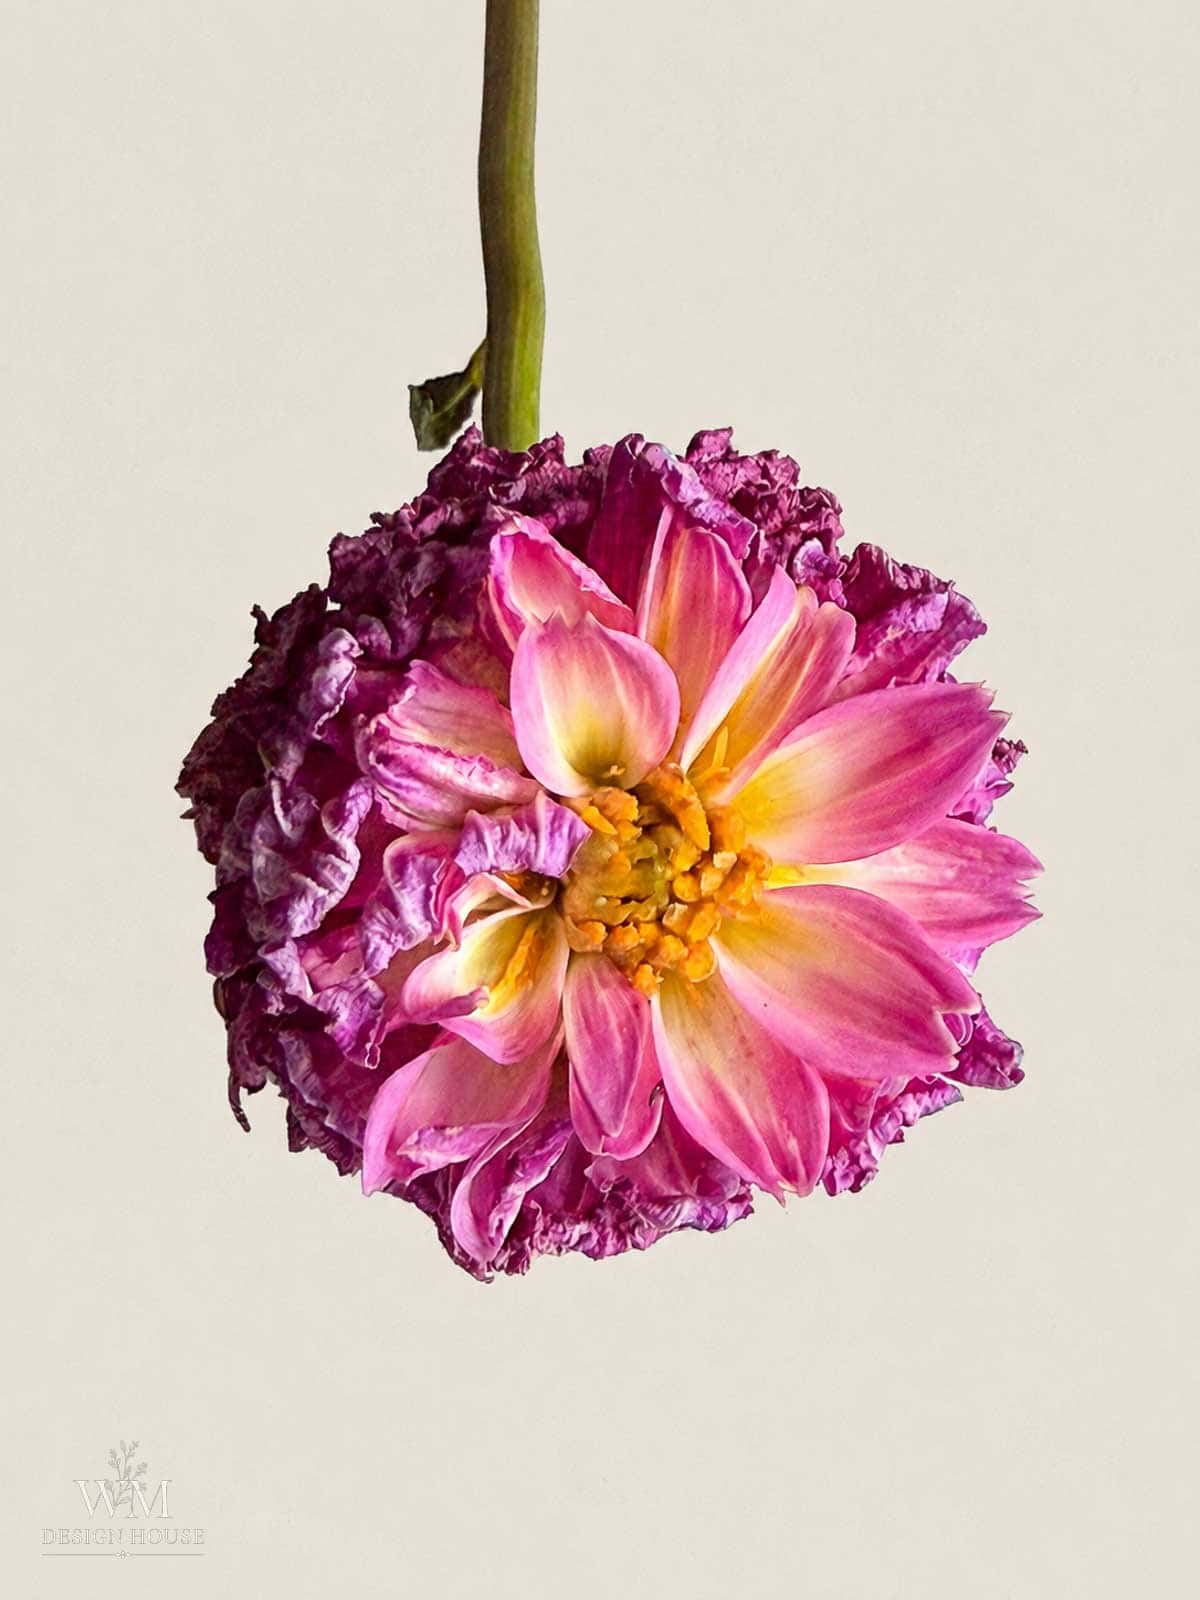
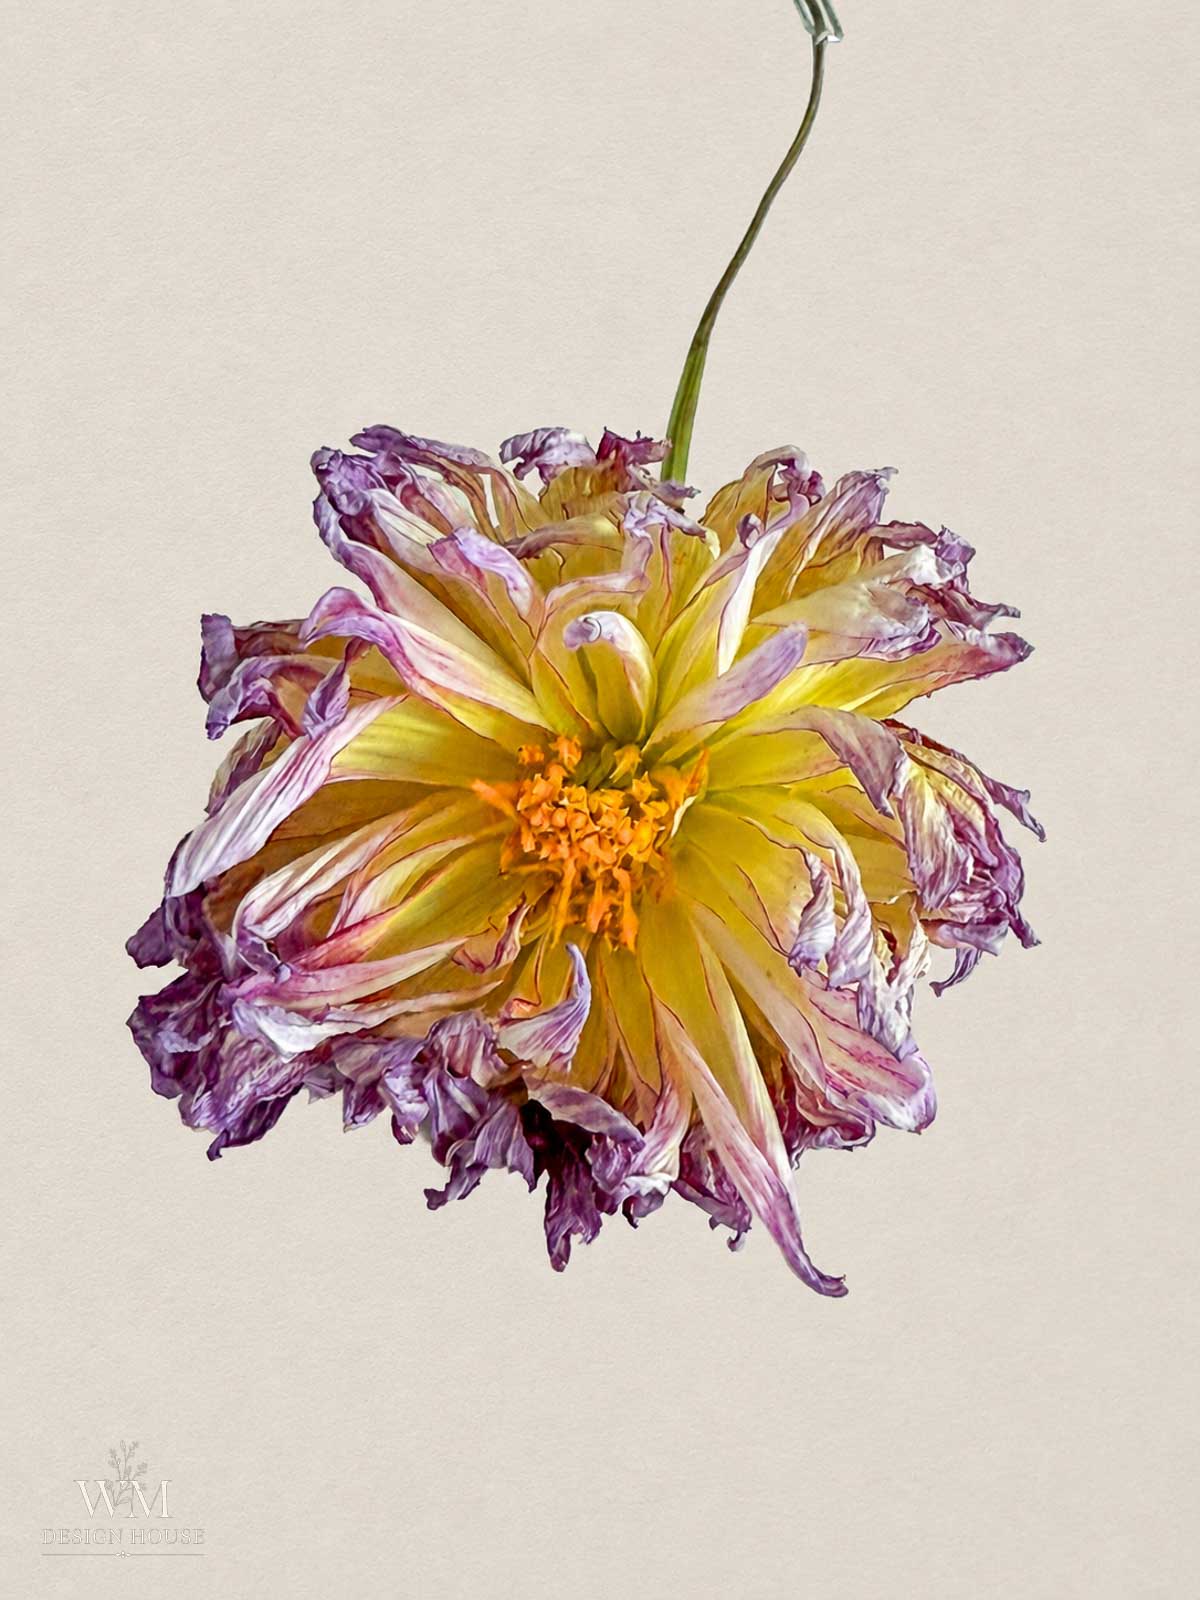
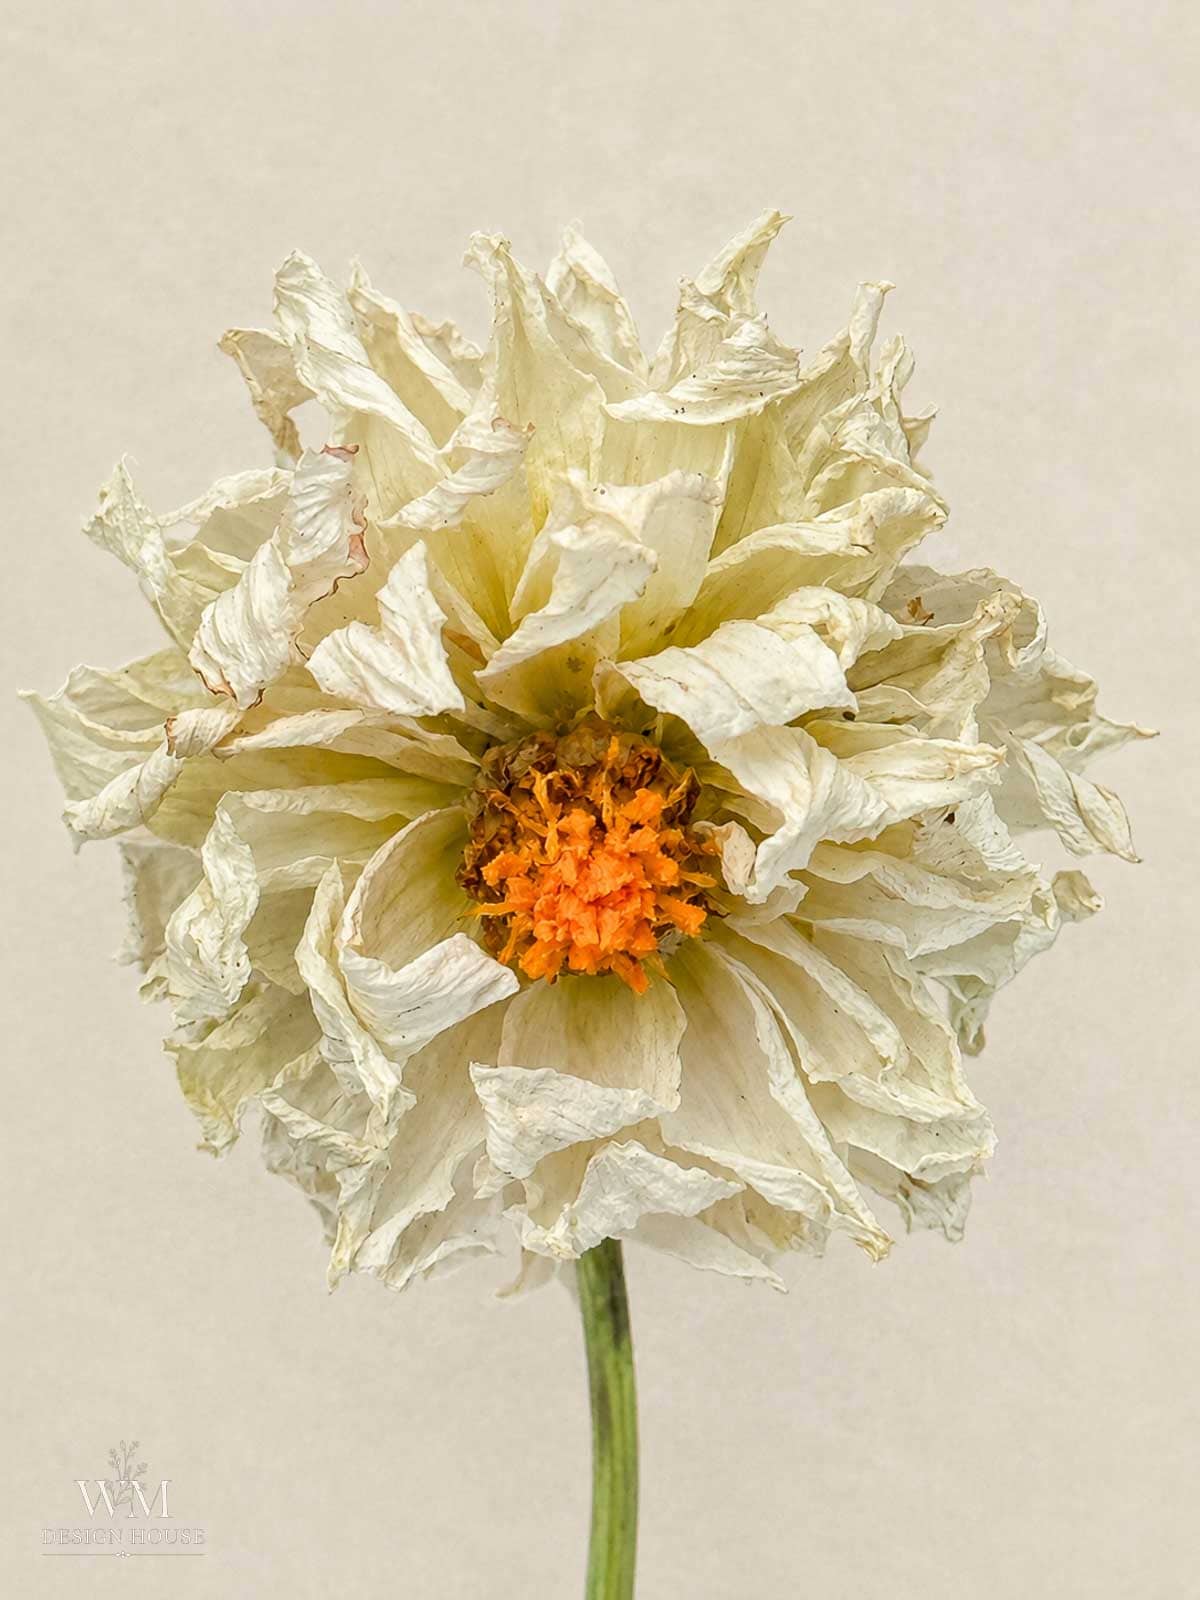
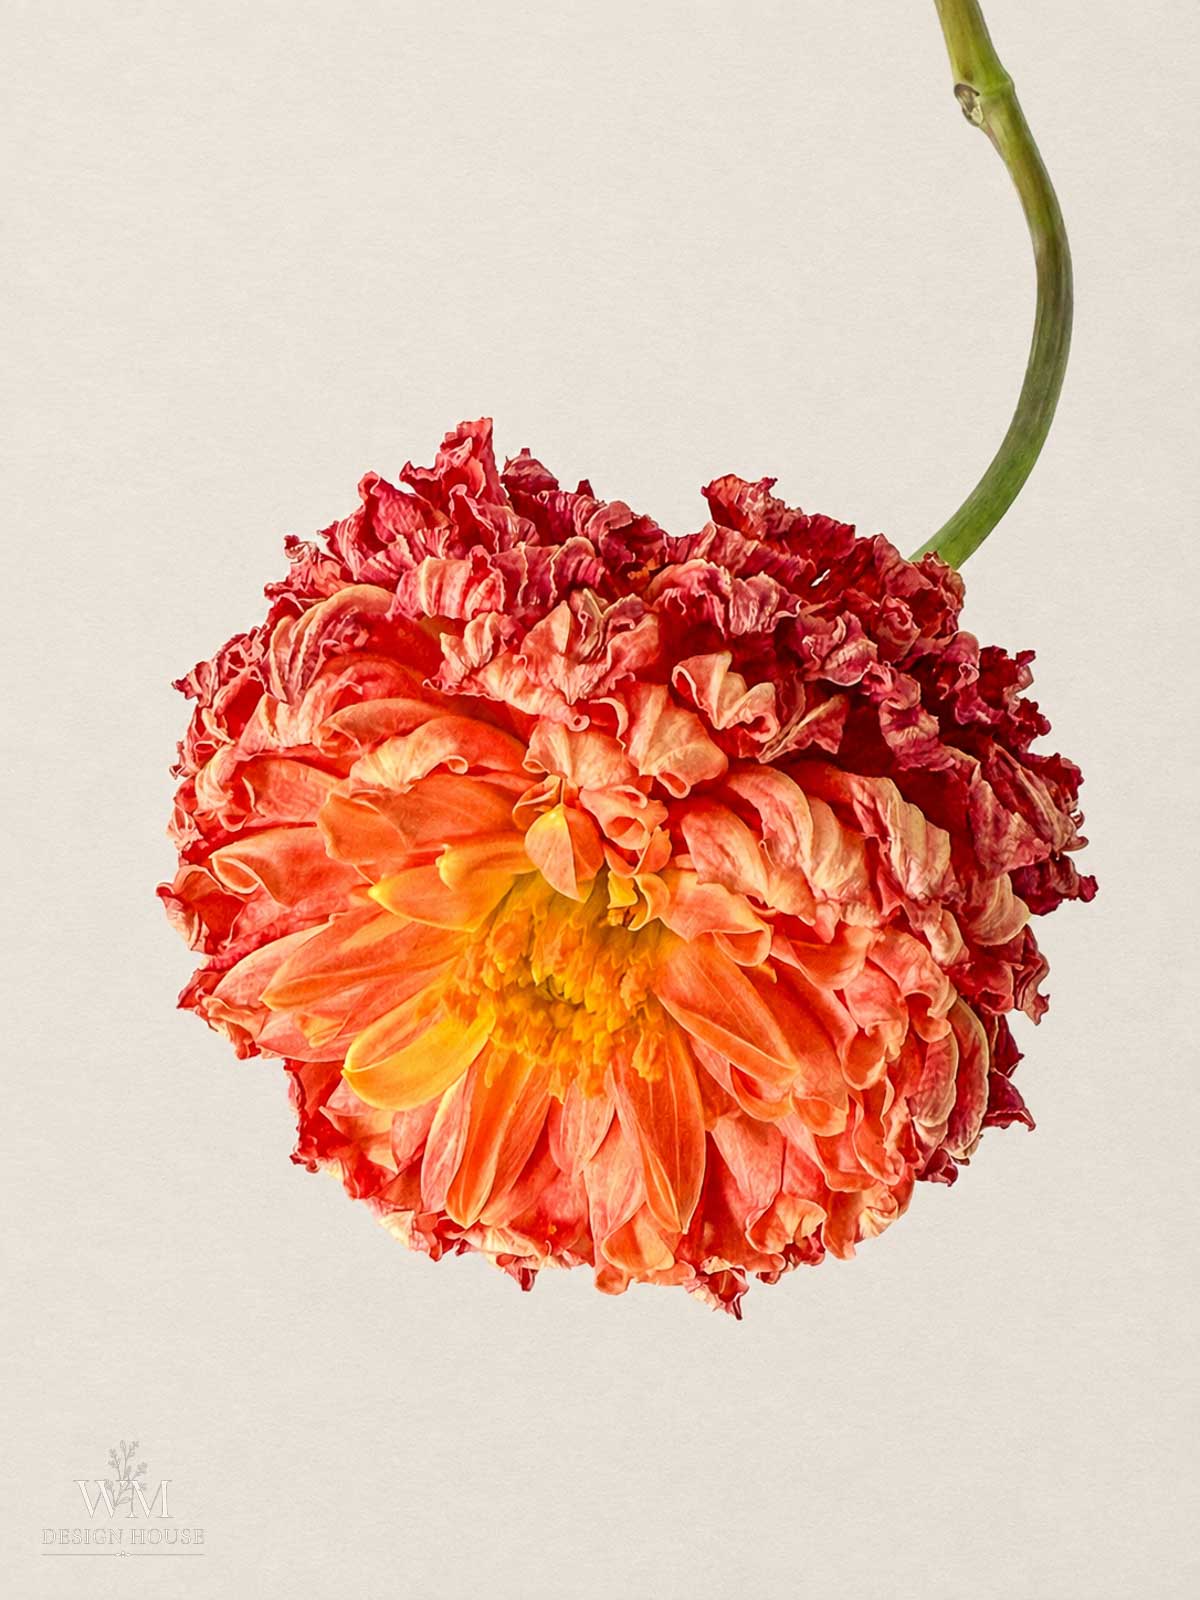
If you want a dahlia that looks exactly like it did the day you cut it, silica gel is the method that delivers that. If you are happy trading a bit of shape for texture and richer color, hang it. Both are good outcomes, not a consolation prize for skipping silica.
Method 3: Pressing, for Flat Botanical Art
Pressing gives you something completely different from the other two methods. Not a flower for a vase, but a flat botanical specimen for cards, framed art, or a keepsake piece.
The honest caveat: this method belongs to single, collarette, and anemone dahlias, the forms with one or two flat rings of petals around an open center. A dinnerplate or ball dahlia is simply too thick to press whole, and yes, you technically can take one apart petal by petal and reassemble it afterward, but I am not willing to do that, and I suspect you are not either, so we will skip that method.
How to Press Single and Anemone Dahlias Whole
- Lay each bloom face down on a sheet of wax or parchment paper, giving every flower room of its own.
- Arrange the petals exactly how you want them, because this is how they will stay.
- Fold a second sheet of wax or parchment paper over the top, then sandwich the whole thing between cardboard and stack it inside a flower press, or under a pile of heavy books with a brick on top.
- Check in after two or three days. You will start to see a faint, almost ghostly mirror image of the flower coming through the top sheet of paper. That is completely normal, it is just moisture releasing, and it is oddly satisfying to watch develop.
- Swap in fresh paper at that point if the original sheets feel damp. This one step prevents nearly all mold.
- Leave it two to four weeks total, checking occasionally. A bloom is finished when it feels papery and flat with no give left in the center.
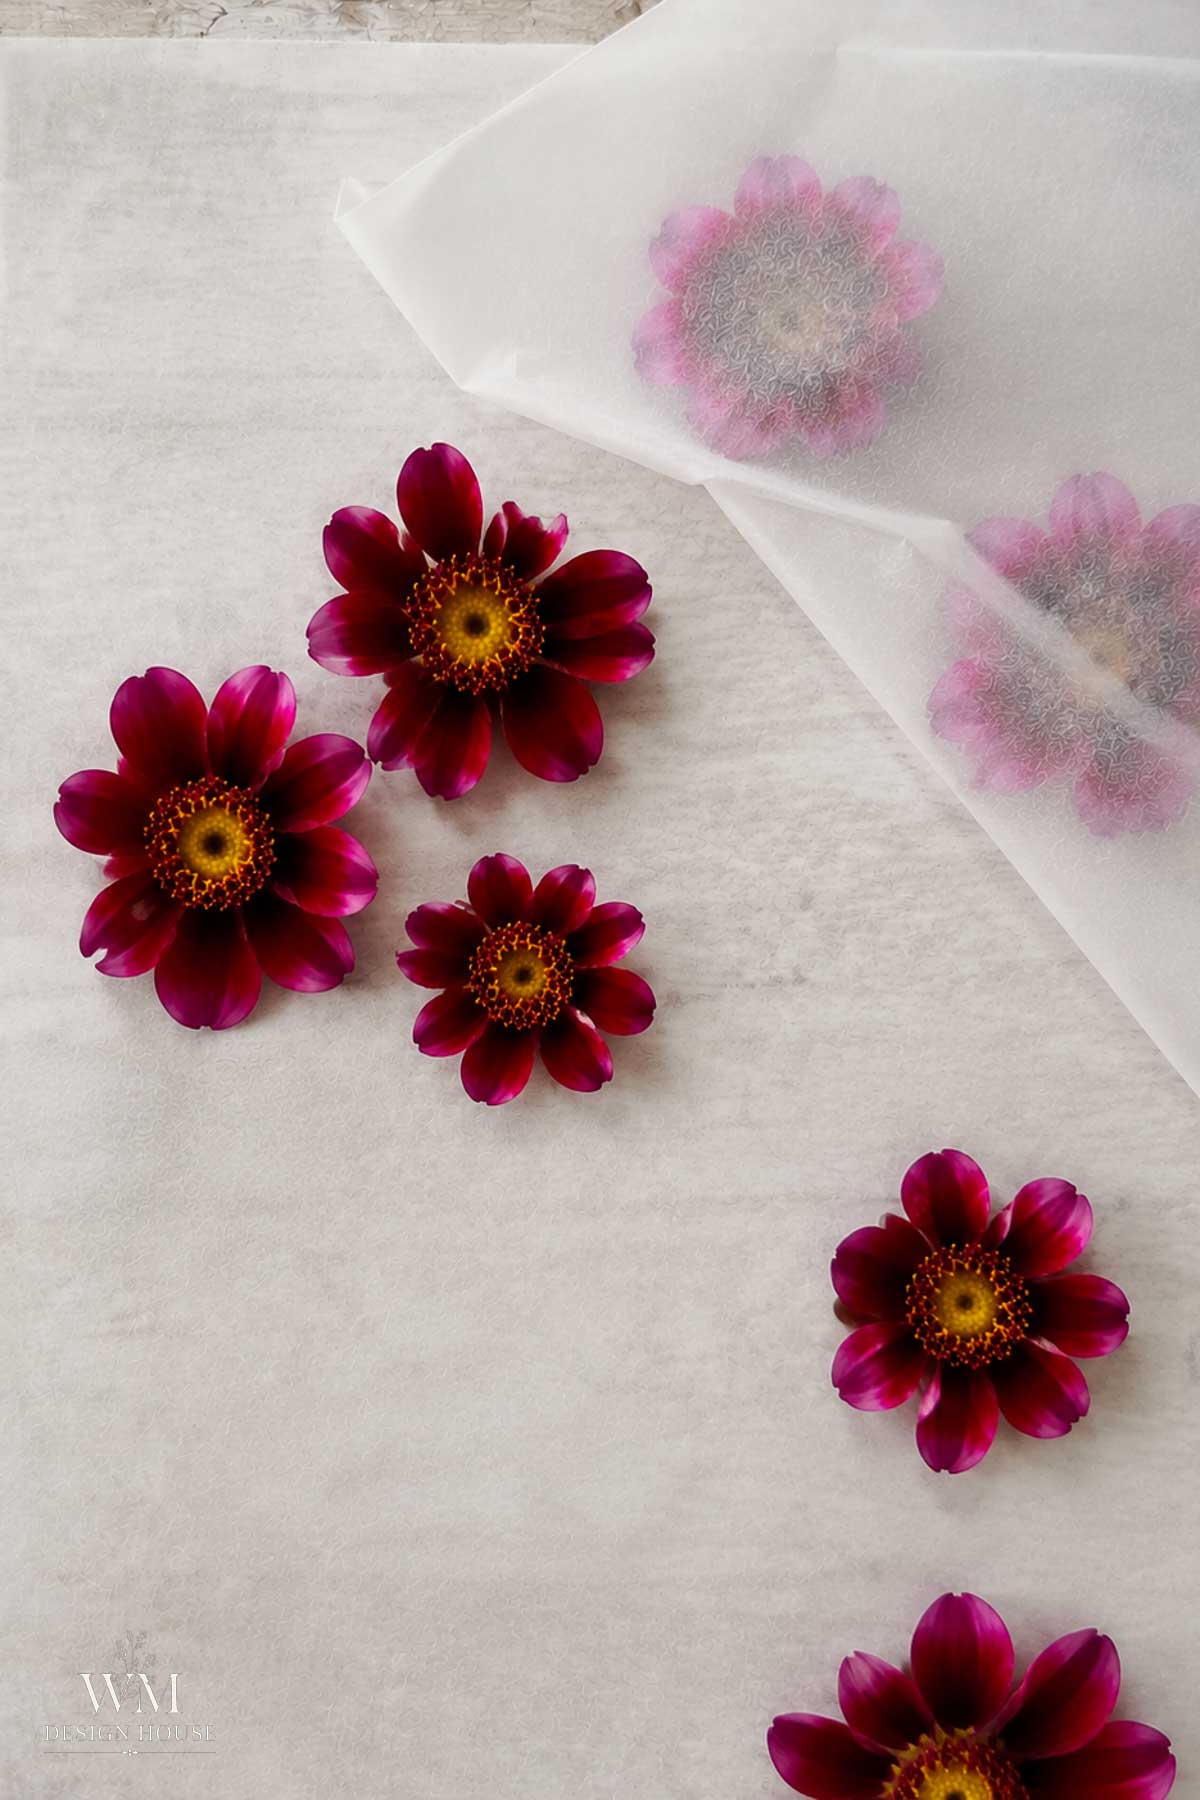
Make a card with your pressed dahlias
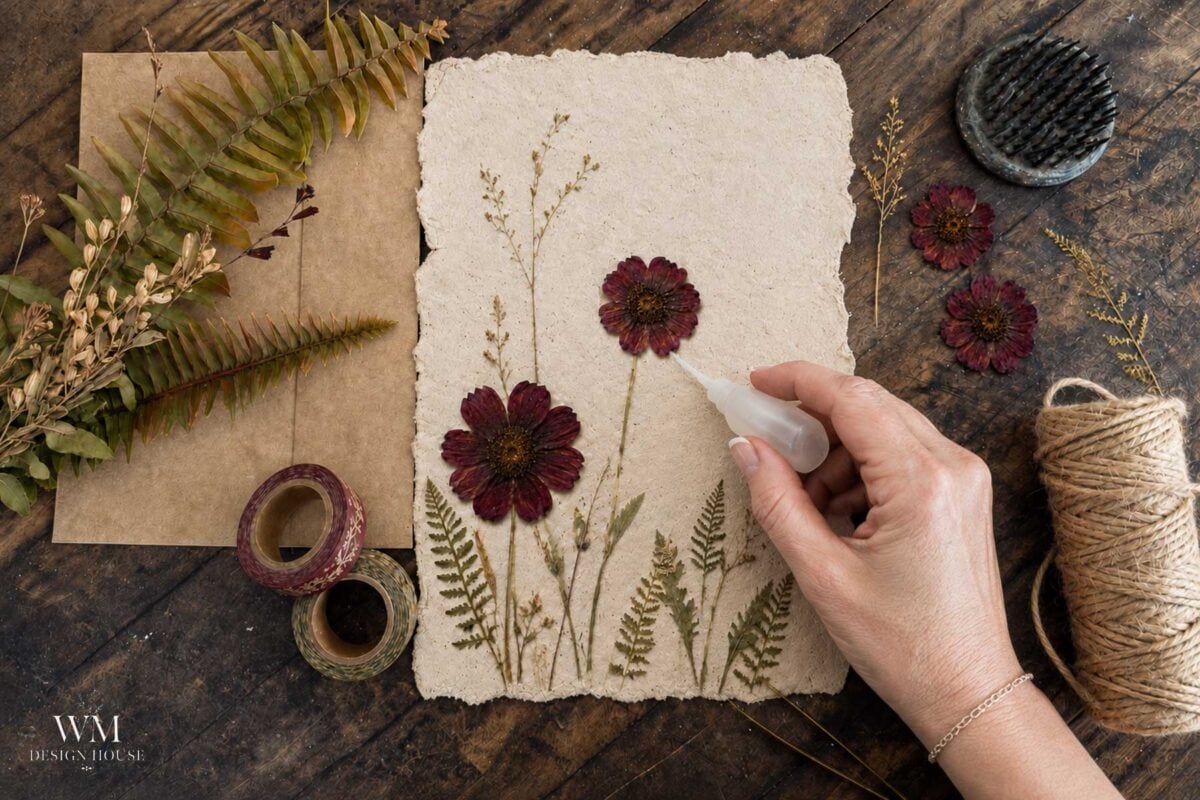
Once they are finished, this is where pressing really pays off. Arrange the pressed blooms on a sheet of handmade or deckled-edge paper with a few foraged fern fronds and pressed wildflower sprigs tucked around them, the way you would build a small bouquet. Tie the finished piece with a length of jute twine or a bit of washi tape and you have a one-of-a-kind botanical print, ready to gift as a card or frame as its own small piece of wall art.
How to Keep Dried Dahlias Looking Good
Getting them dry is the project. Keeping them lovely is the maintenance, and it is very little work.
- Seal them. A light mist of unscented hairspray or a clear floral sealant from about ten inches away stops shedding and firms up the petals. Two thin coats beat one heavy one.
- Keep them out of direct sun. Sunlight is what actually fades dried flowers, far more than time does. A sunny windowsill will bleach a dahlia in a season.
- Keep them away from humidity. Dried flowers reabsorb moisture from the air. Bathrooms, above the stove, and near a dishwasher are all bad spots.
- Dust with air, not a cloth. A hairdryer on cool, held well back, or a soft makeup brush. Never a damp cloth.
- Store the extras properly. A lidded box in a dry closet, with tissue between the layers, and a silica packet tucked in the corner.
What to Do With Your Dried Dahlias
Once you have a shoebox of dried dahlias, the fun starts. A few of my favorite ways to use them:
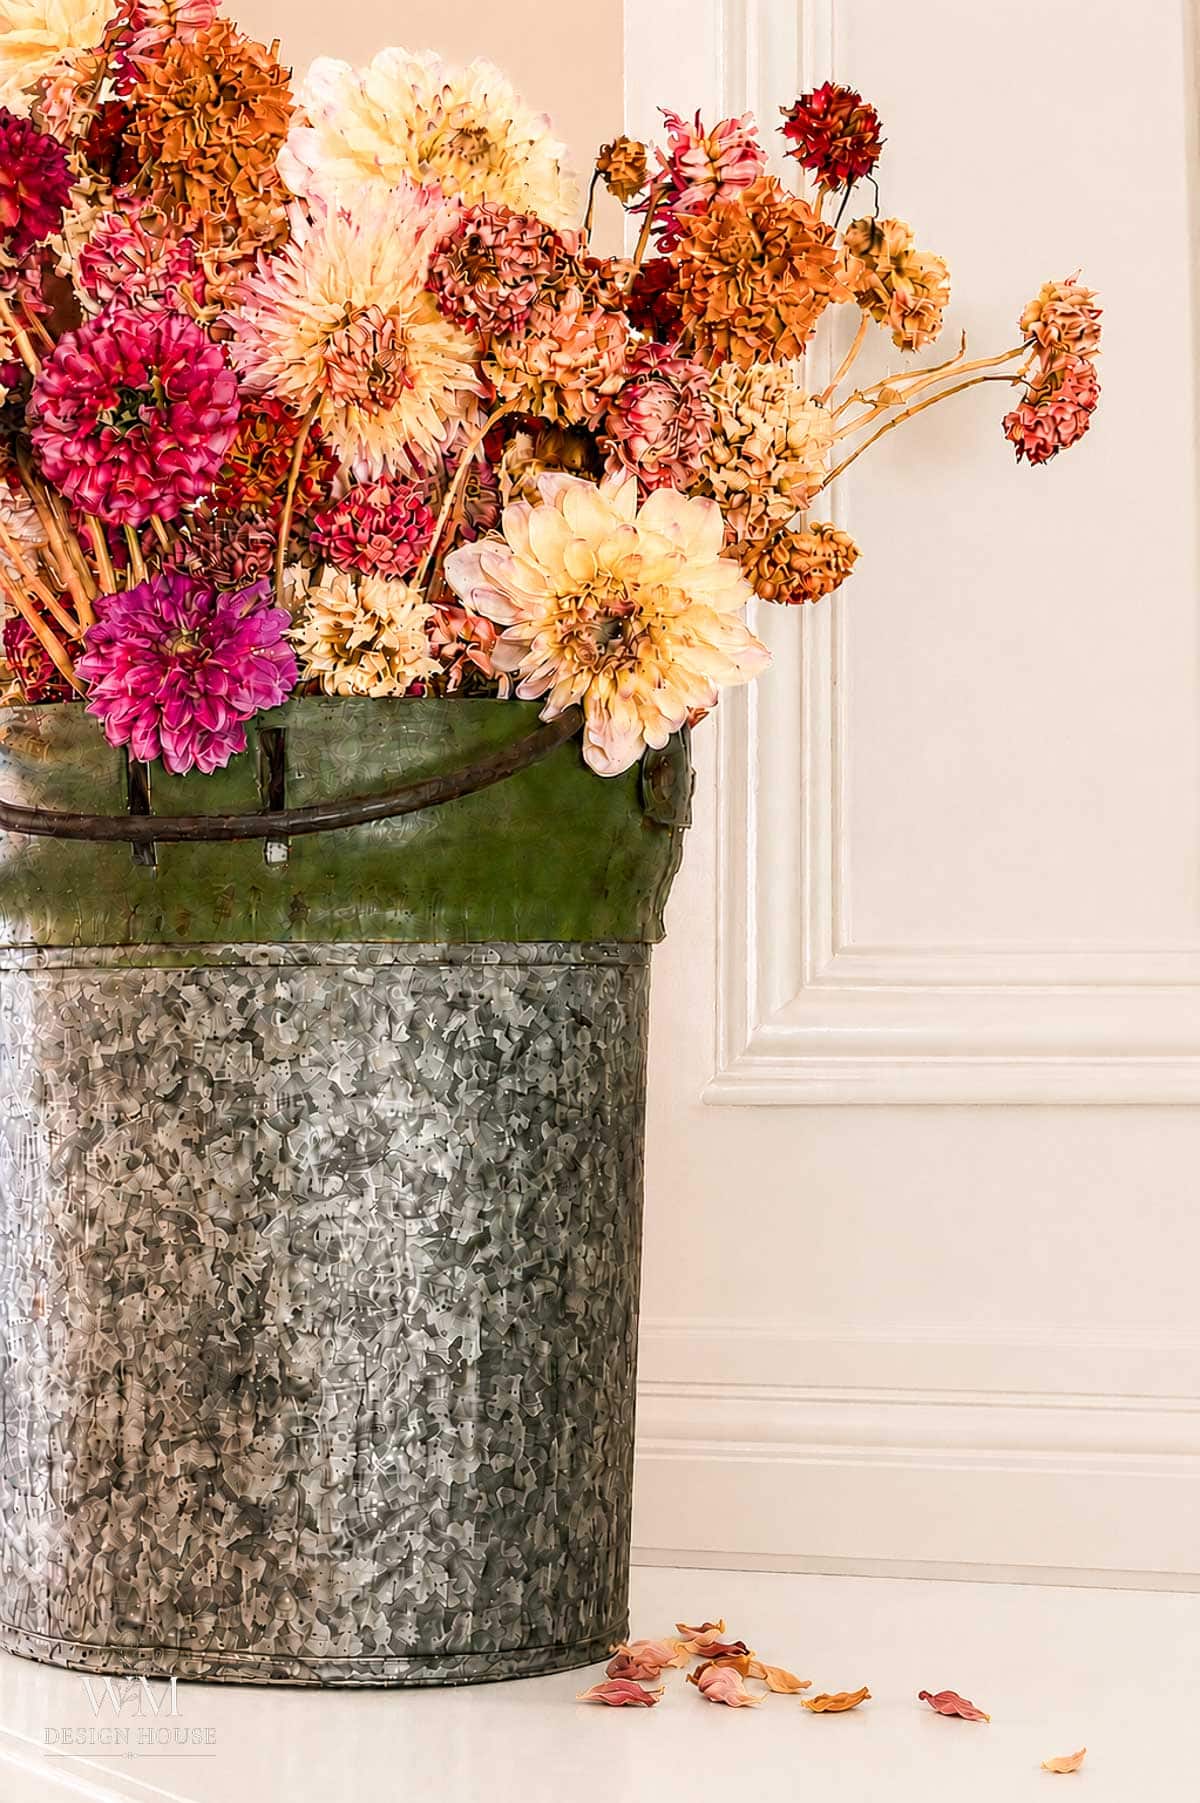
- Massed in a low bowl or footed compote as a permanent centerpiece. Silica dried dinnerplates are stunning this way and need nothing else.
- Mixed into an arrangement with grasses, seed heads, and foraged branches.
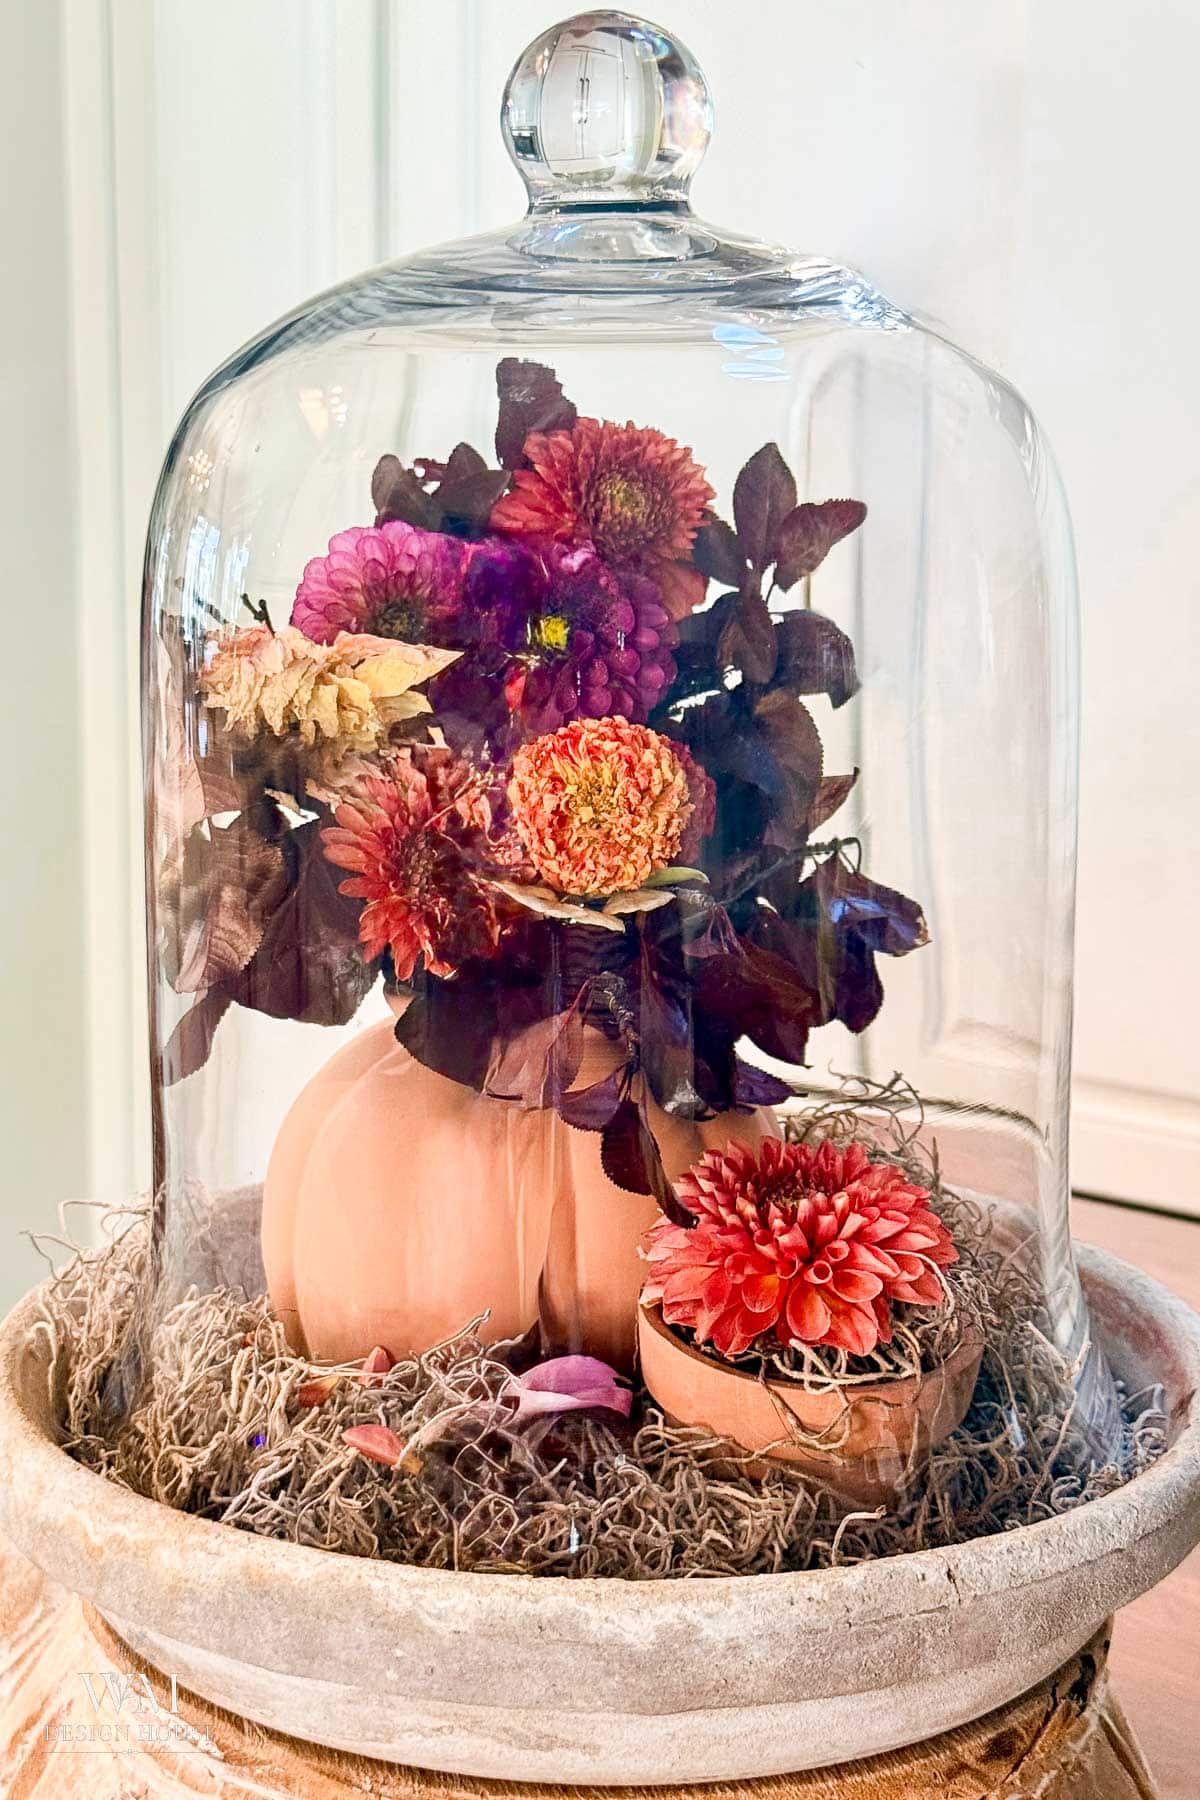
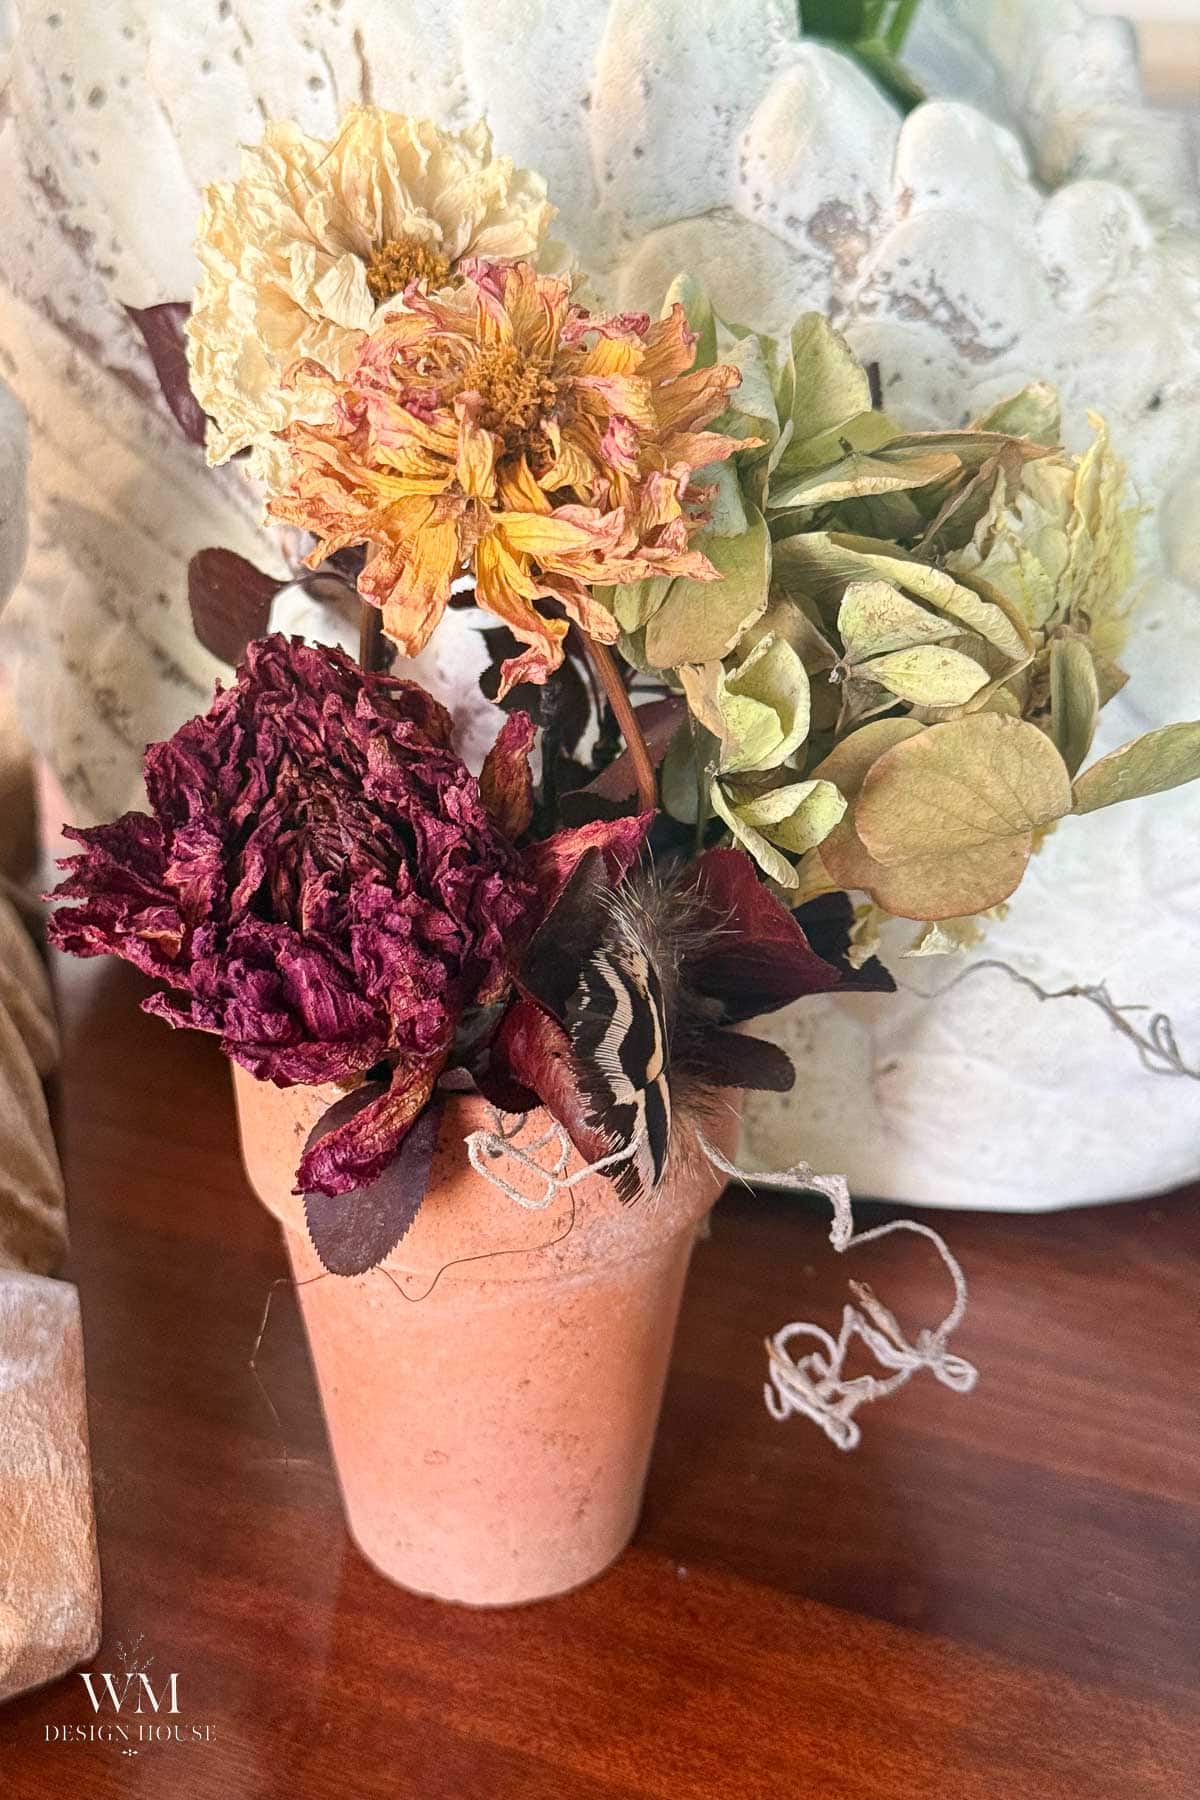
- Under a glass cloche, a small arrangement in a terra cotta pot.
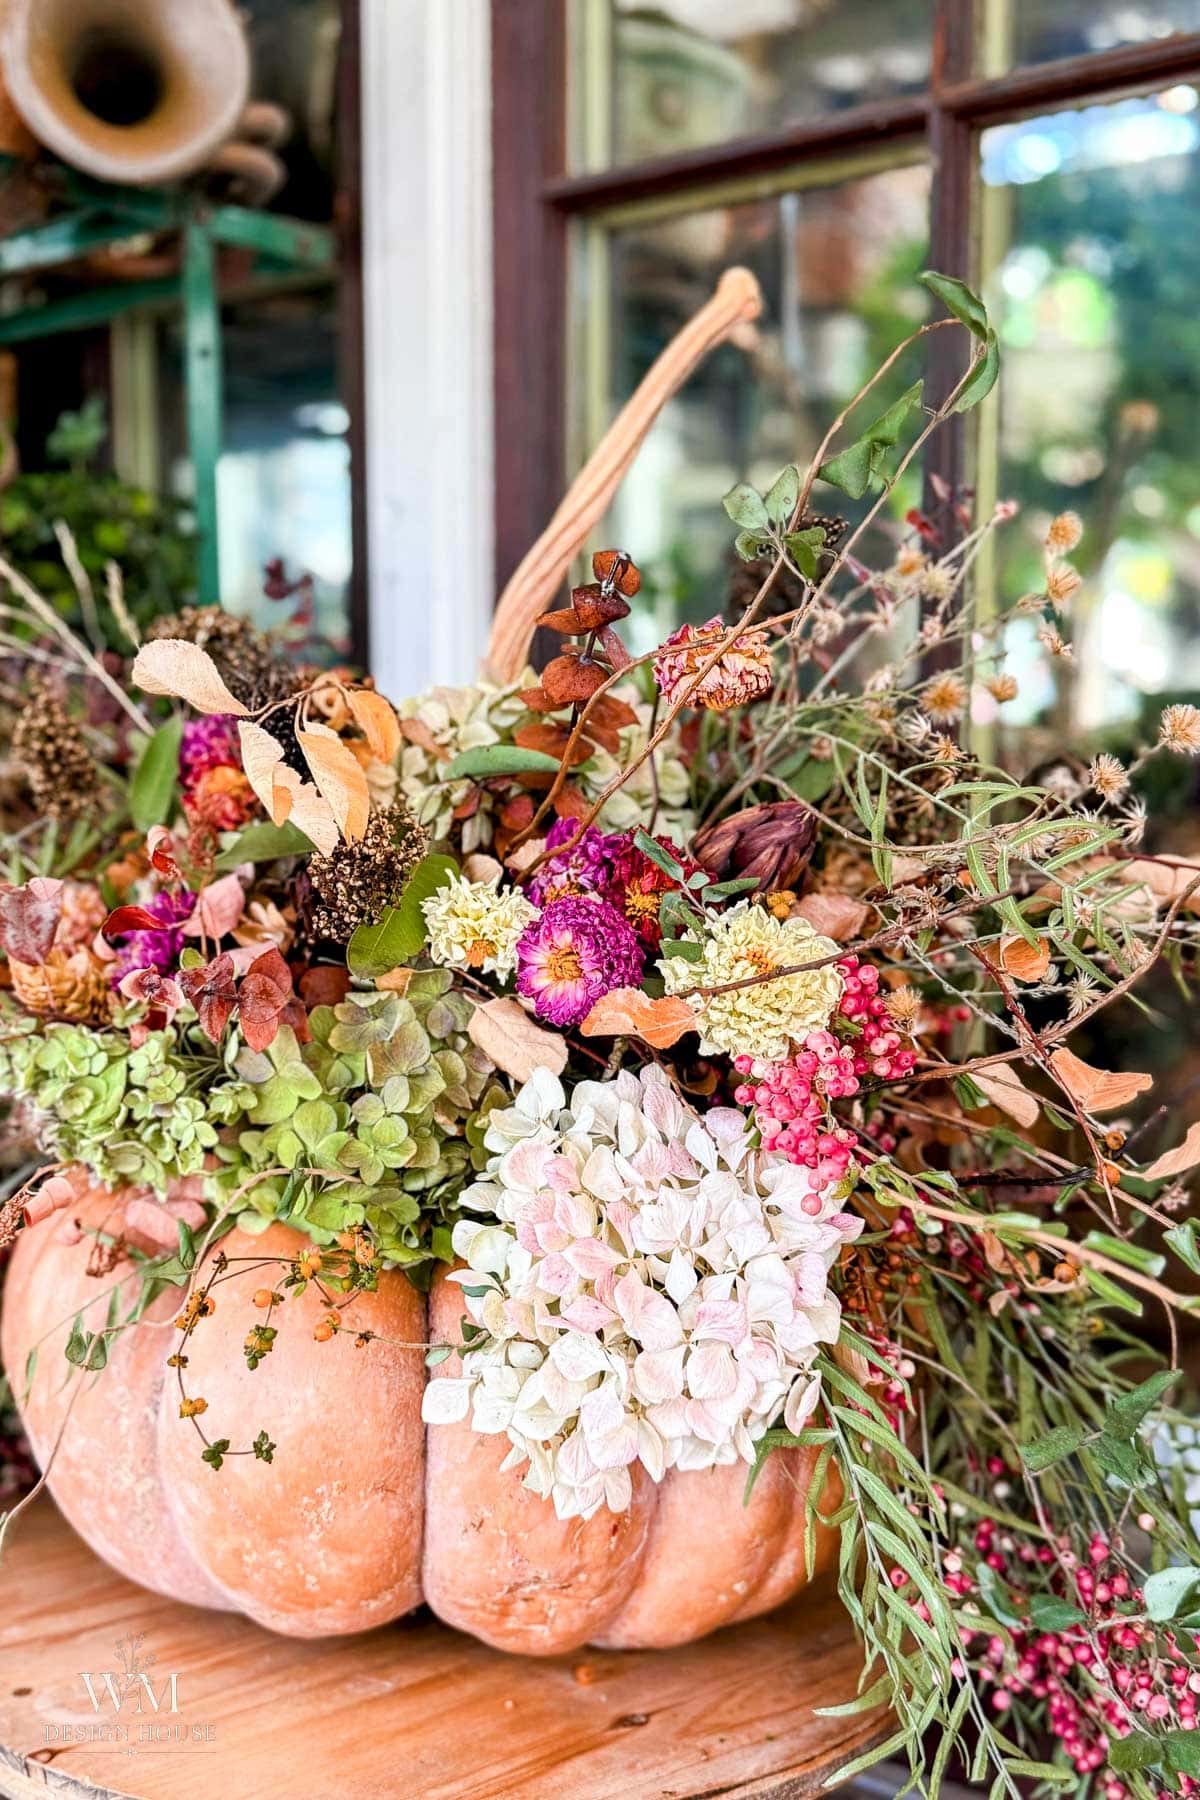
- Wired into an autumn wreath alongside hydrangeas and dried grasses.
- Arranged with foraged ferns and pressed wildflowers on a sheet of handmade paper, tied off with twine, for a rustic botanical print or one-of-a-kind card.
- Pressed and framed in a simple wood or brass frame, or grouped as a set of three.
- Glued to place cards for a Thanksgiving table, one bloom per setting.
- Tucked into clear glass ornaments for the Christmas tree.
- Combined with dried hydrangeas to fill a real or faux pumpkin. This is exactly how I used a batch of my air dried dahlias in my dried flower pumpkin centerpiece, which has become one of my favorite fall projects.
A Few Final Tips
- Label everything. Write the variety and the date on the silica container and on your storage box. By January you will not remember which pale pink was which.
- Dry a test bloom of every new variety before you commit a whole batch. Dahlias vary enormously in how they behave.
- Do not wash your dahlias. Water is the enemy of every one of these methods. Shake out debris and blow off dust instead.
- Work in batches by form, not by color. Blooms of a similar thickness finish at the same time, which makes checking them much simpler.
- Save your failures. A dahlia that shattered is a bag of gorgeous confetti or potpourri, and loose petals dry on a tray in two to four days.
- Start at the peak, not at the tail end. The best drying blooms come from the middle of the season when the plant is strongest. In my Southern California garden that means starting in July, right when the plants are at their best, rather than waiting for tired, heat-stressed blooms later on. If frost marks the end of your season instead of summer heat, the same rule applies, just shift the calendar to your own peak bloom time.
- And if you’re wondering whether your own dahlias need digging up each fall or can stay put, that comes down entirely to your growing zone.
How to Dry Dahlias with Silica Gel
Equipment
- 1 Airtight plastic or glass container At least 2 inches deeper than the bloom1
- Small scoop or measuring cup
- 1 Soft artist's paintbrush
- 1 Small spatula For archiving blooms out directly once you know where they are settled (optional)
- 1 Handheld air blower The kind sold for cleaning computer keyboards, for afaster finish (optional)
- 1 Pair of floral snips
- 1 Dust mask
- 1 Pair of gloves
Materials
- Fresh dahlia blooms cut at three quarters open
- Silica gel for flower drying indicating type
- Unscented hairspray or clear floral sealant

Instructions
- Cut dahlias mid morning, once the dew has dried, choosing blooms that are about three quarters open.
- Trim each stem to one inch below the flower head.
- Pour a one inch bed of silica gel into the bottom of the container.
- Set the blooms face up on the bed, not touching one another.
- Spoon silica gel slowly around and over each bloom, working from the outside toward the center so the crystals sift between the petals and support them.
- Cover the blooms with at least one inch of silica gel. Do not press down.
- Seal the container, label it with the date, and store somewhere cool and dark. Check at two days for smaller blooms and three days for larger ones. Do not leave them much longer than that, since extra time past this window is what causes petals to over-dry and shatter.
- Excavate the blooms by pouring the silica off slowly, digging gently with a small spatula, or clearing crystals with a handheld air blower on its lowest setting, then finish by brushing any remaining crystals from between the petals with a soft brush.
- Mist lightly with hairspray or floral sealant from about ten inches away and let dry.
Notes
- Recharge saturated silica gel by baking it at 250°F for one hour, until the crystals return to blue.
- Wear a dust mask and gloves while handling silica gel.
Frequently Asked Questions
You can, and gardeners did it this way for generations. A common old recipe is one part borax to two parts cornmeal, and plain uncooked rice ground fine in a blender also works. The trade-off is time and quality. These substitutes are coarser and much slower, taking two to three weeks instead of the two to three days silica gel needs, and the heavier grains can bruise delicate petals. Rice in particular tends to leave the color a little duller. For a bloom you care about, silica is worth the one-time cost, especially since you can reuse it forever.
Almost always trapped moisture at the base of the bloom. Dahlias have a dense, fleshy center that stays wet long after the outer petals feel finished, and if it is still damp when you take it out, it will darken and eventually soften. The usual causes are pulling the flower out too early, packing blooms too closely together, or drying in a humid room. The safe window with silica is narrower than you would expect, in my own testing five days left blooms over-dried and shattering while two days came out nearly perfect, so if your center is still soft, add half a day to a full day next time rather than several more days. Also give each bloom real space and make sure your silica is fully recharged and orange before you start.
Not with good results, unfortunately. Drying preserves the flower exactly as it is, so a bloom with a soft neck or curling petal edges will dry into a wilted-looking flower. If you have blooms that are past their best, strip the petals and dry them loose on a tray instead. In two to four days you will have beautiful biodegradable confetti, which is lovely for weddings, gift wrap, or scattering on a table.
Occasionally, yes. Dried plant material can pick up pantry moths or carpet beetles, particularly if it is stored somewhere warm and undisturbed for months. The fix is simple. Before storing a batch long term, seal it in a bag in the freezer for forty-eight hours, then let it come back to room temperature while still sealed so no condensation forms. After that, store in a lidded box rather than an open basket.
They can, though dahlias are trickier than hydrangeas because the petals are denser and take up less color. Floral spray paint or floral tint gives the most even result on a dried dahlia. I have written up the full process of dyeing dried blooms in my post on dyeing dried blue hydrangeas, and the same technique applies here, just expect to need a lighter hand and more than one pass.
Two to three years in good condition if you keep them out of direct sunlight and away from humidity, and much longer than that if you are not fussy. Silica dried blooms tend to hold their looks longer than air dried ones because they start out with better color and shape. You will notice them gradually softening in tone rather than falling apart. When a bloom finally starts to look tired, break it up for potpourri and pull a fresh one from your storage box.
Save Those Blooms
Every year I tell myself I will dry more than I do, and every February I am glad for the ones I managed. There is something quietly satisfying about a bowl of dahlias on the table in the dead of winter, especially the ones you grew yourself.
If you try any of these three methods, I would love to know which one worked best for your varieties. Leave me a comment below and tell me what you dried, and if you share a photo, mention @wmdesignhouse or tag #wmdesignhouse so I can come see.
And if you’d rather enjoy some of this year’s dahlias fresh before you start drying the rest, I’ve got a few of my favorite arrangement ideas here.
Happy drying, friends.


Shop the Post
More about me!

Hello, I’m Wendy – a dedicated homemaker with a deep passion for decorating, gardening, cooking, and crafting. I find joy in harmonizing beautiful elements to fashion a space that is both comfortable and inspiring. I will help you create a beautiful home, one project at a time.
What a great post! Now, if I could only figure out how to keep the deer away, I’d have dahlias for row crops