
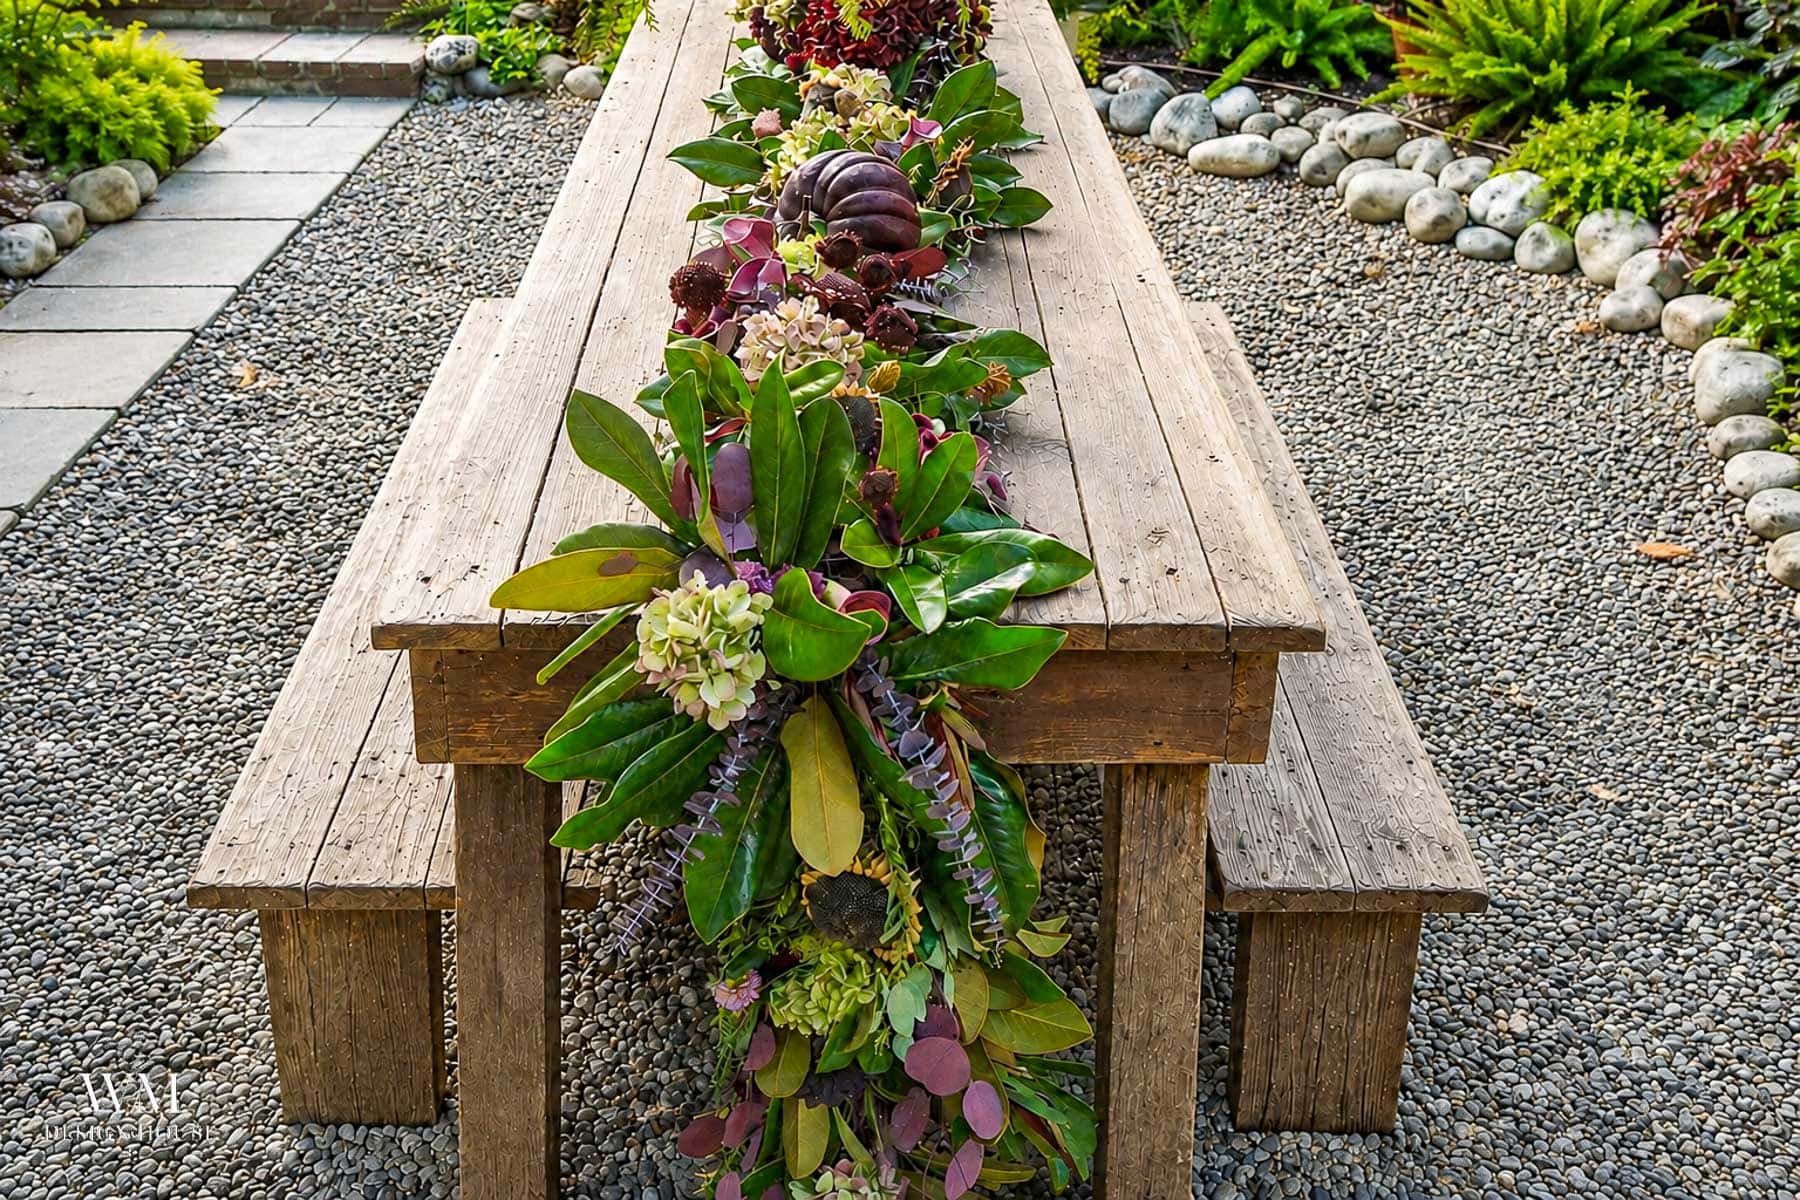
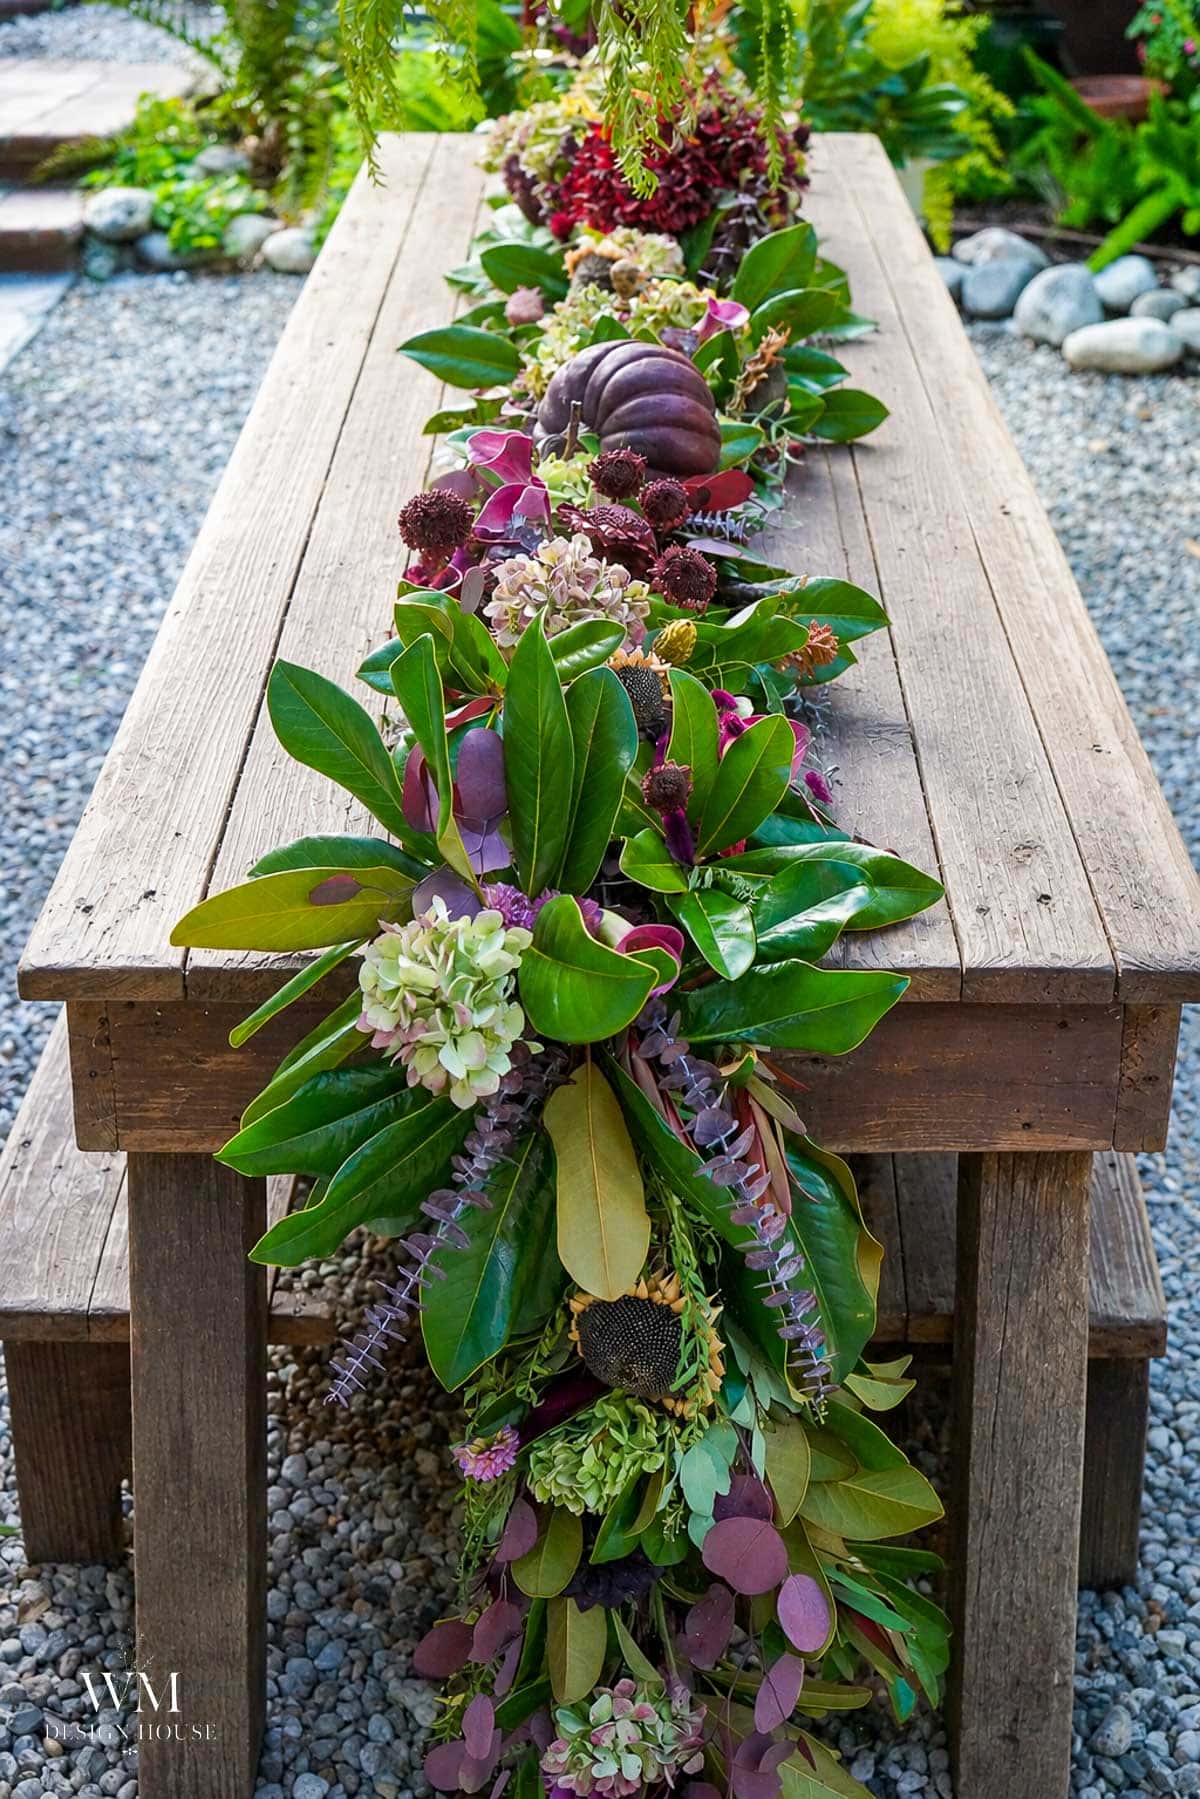
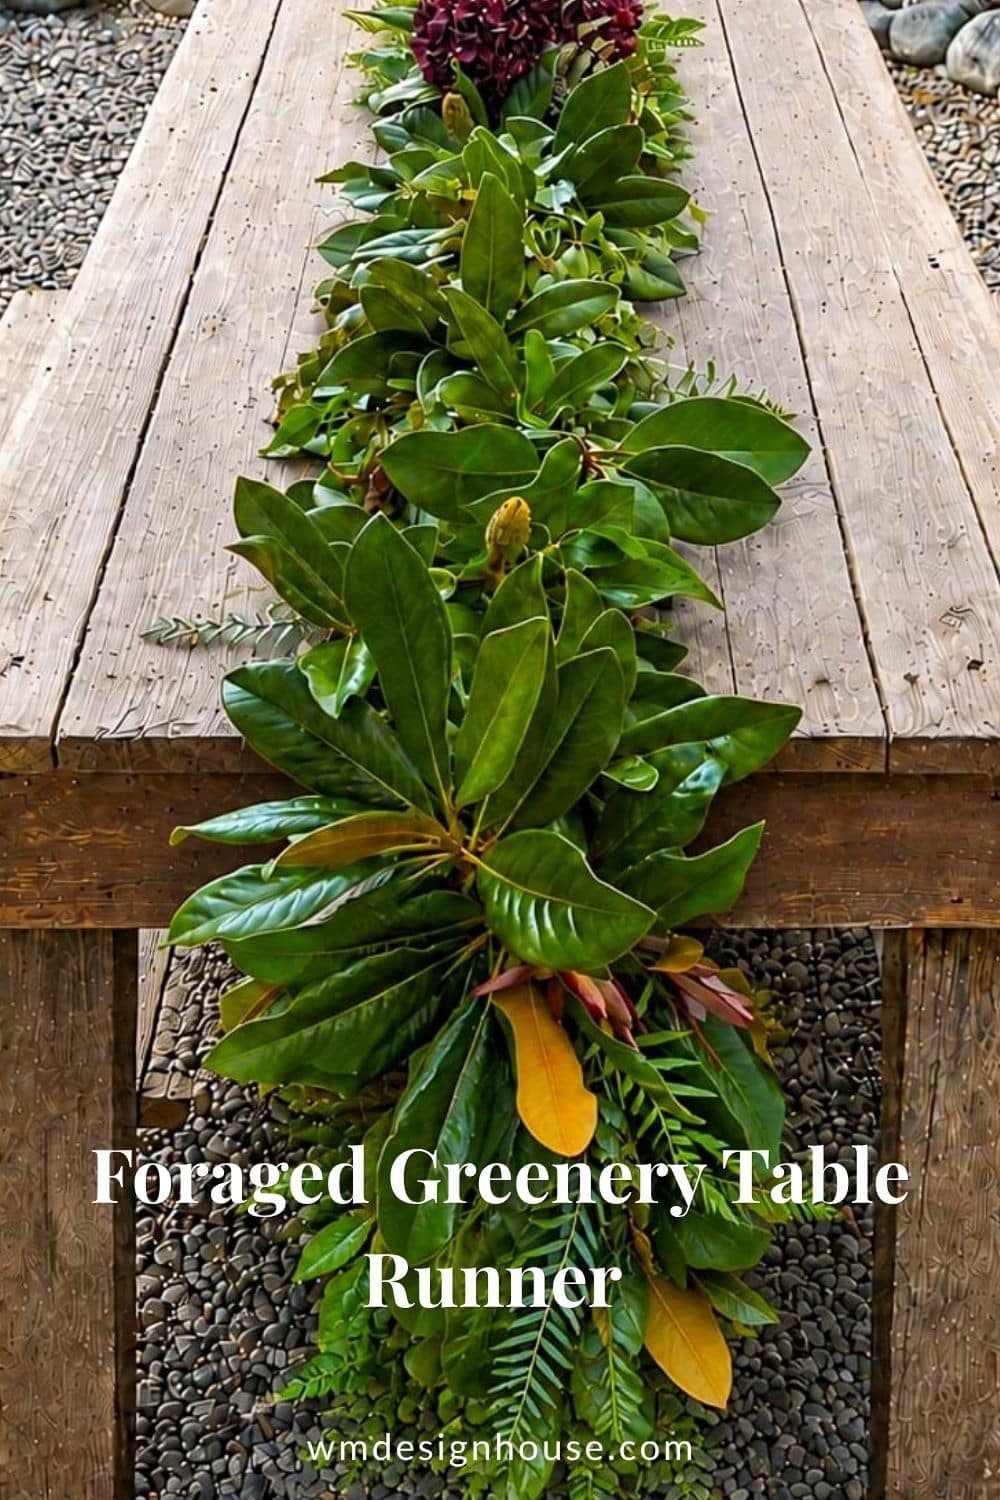
A greenery table runner is the one thing I make every fall that costs almost nothing and gets more compliments than anything I have ever bought. There is a nine foot table on my patio that I stared at all summer waiting for the right moment to dress it, and this is what finally happened once the heat settled down and I was able to entertain outside again.
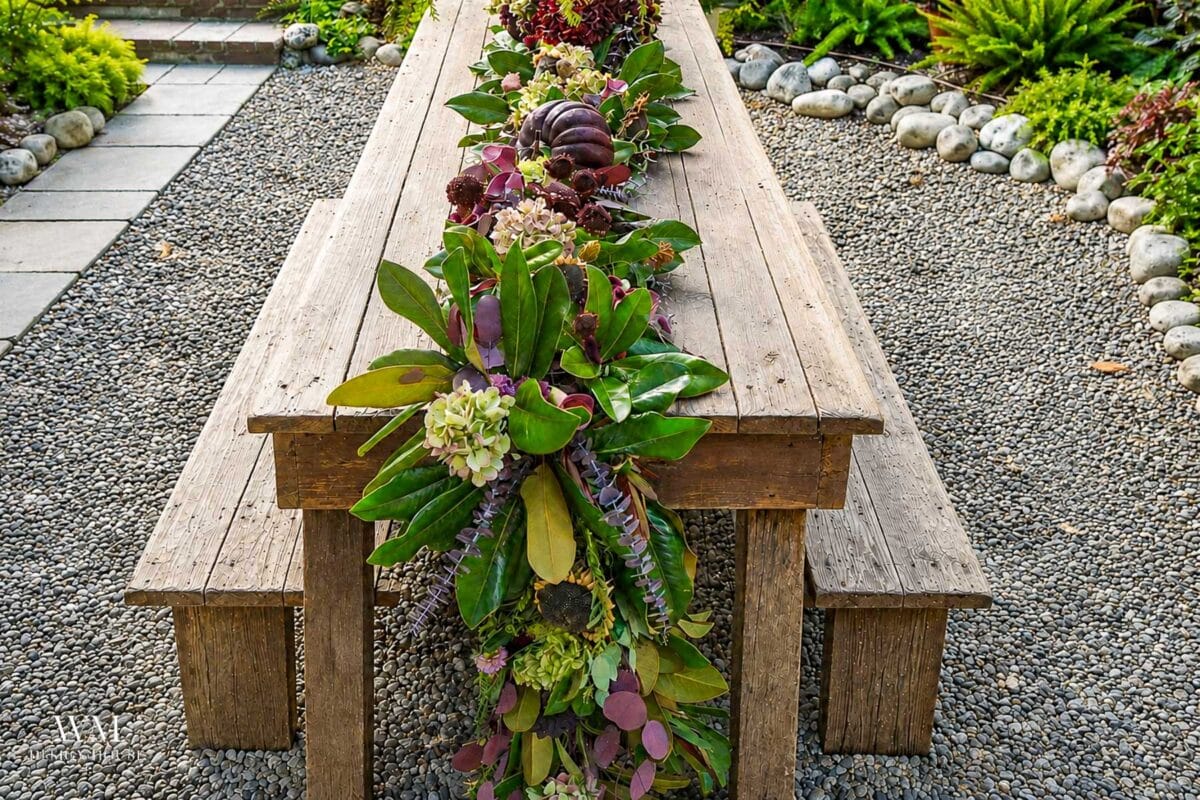
It is magnolia I cut myself, five kinds of foraged greens, dahlias and hydrangeas I dried from my own cutting garden, and a few plum pumpkins nestled down into it. Deep, moody, and a little bit wild. It cost me about forty dollars and an afternoon, and I did not buy a single stem of the greenery.
Before we get into it, I am so glad you are here. It is time for the Hand Crafted Society gals to share our creations with you, and this month we are working with foraged and found materials, which is very much my love language.
On my blog WM Design House, I may sometimes use affiliate links, which means a small commission is earned if you purchase via the link. The price will be the same whether you use the affiliate link or go directly to the vendor’s website using a non-affiliate link. Read my full disclosure policy here.
Why a Greenery Table Runner Beats a Fabric One
A fabric runner is lovely, but it is one note. It looks the same in September as it does in November, and then it goes in the wash.
• It costs almost nothing. If you can forage the greens, most of the runner is free.
• It is completely yours. You are working with what you gathered rather than what came out of a package, so no two are ever alike.
• It fills a long table for a fraction of what a store bought runner costs, and runners in this style are not cheap.
• It changes as it dries. A fabric runner cannot do that.
• There is no washing, no ironing, and no storing something you use eight weeks a year.
Choosing a Moody Fall Color Palette
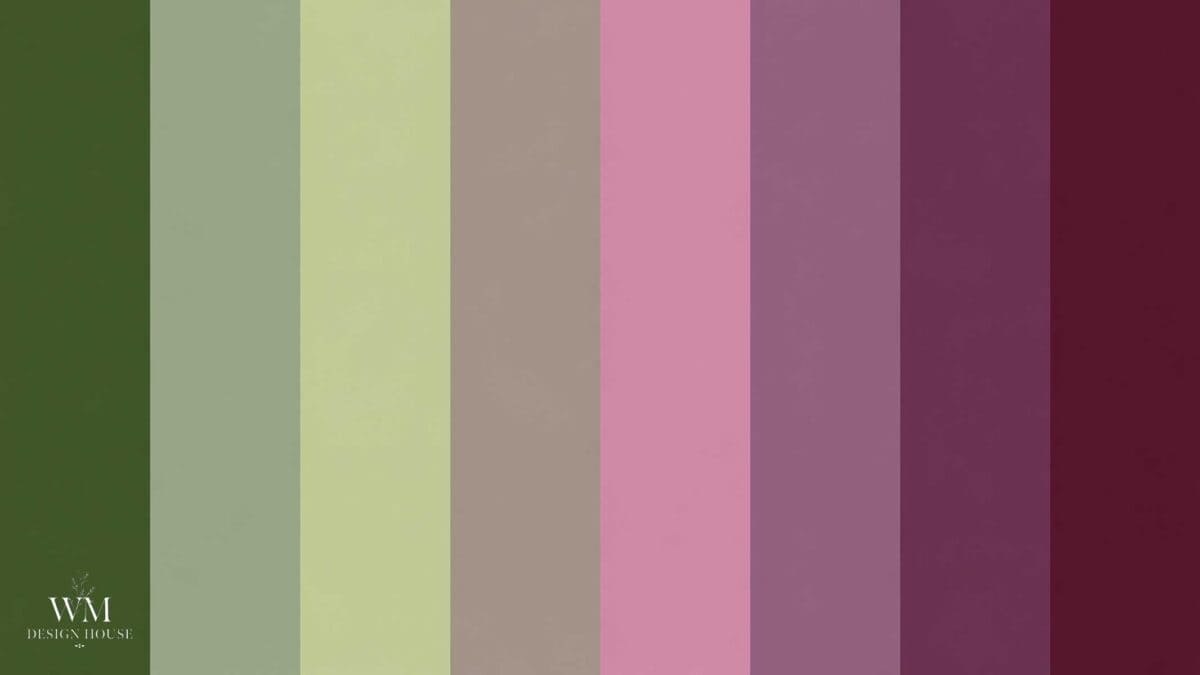
The reason this runner looks the way it does is not the technique. It is the palette.
Most fall decor leans orange and gold. I went the other direction this year, into burgundy, plum, and deep dried reds, with the greens left dark and glossy to match. It reads richer and a little more grown up, and it looks especially good against bare wood.
• Pick one deep color and commit to it. Mine is burgundy. Everything either is burgundy or supports burgundy.
• Let the greens stay dark. Magnolia, bottle tree, and pepper berry are all deeper than florist greenery, which is exactly what you want here.
• Keep one soft natural tone in the mix so it does not go flat. My antique green hydrangeas do that job, and they are the reason the burgundy never feels heavy.
• Skip orange entirely. One orange pumpkin will pull the whole table back toward standard fall.
Supplies You will Need
Most of this you already have, and the rest you can gather on a walk. Of course you can choose other greenery and use the same concept to build your runner, I just cut what was available to me at the time. For instance, I will do the same thing for Christmas, but use Magnolia with pine branches and pinecones.
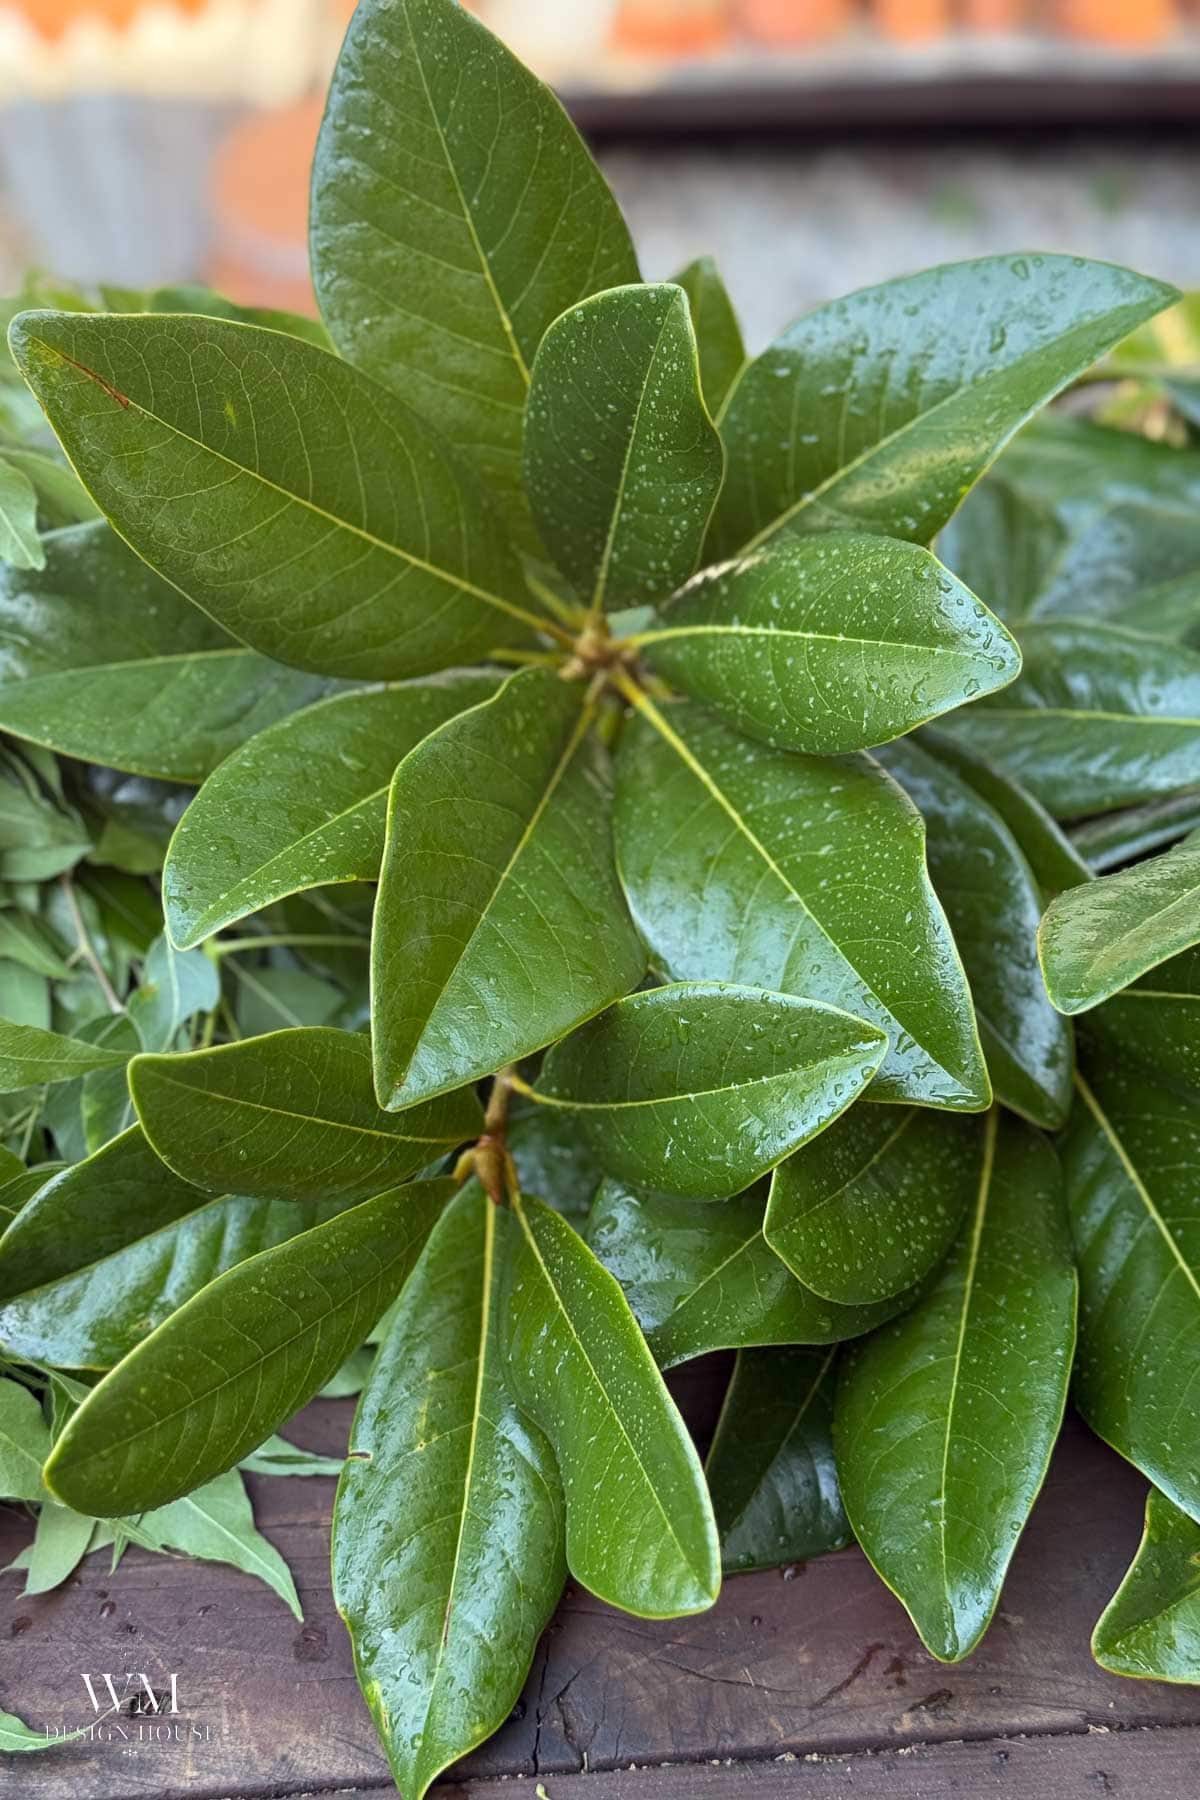
- Magnolia branches, the backbone of the whole thing
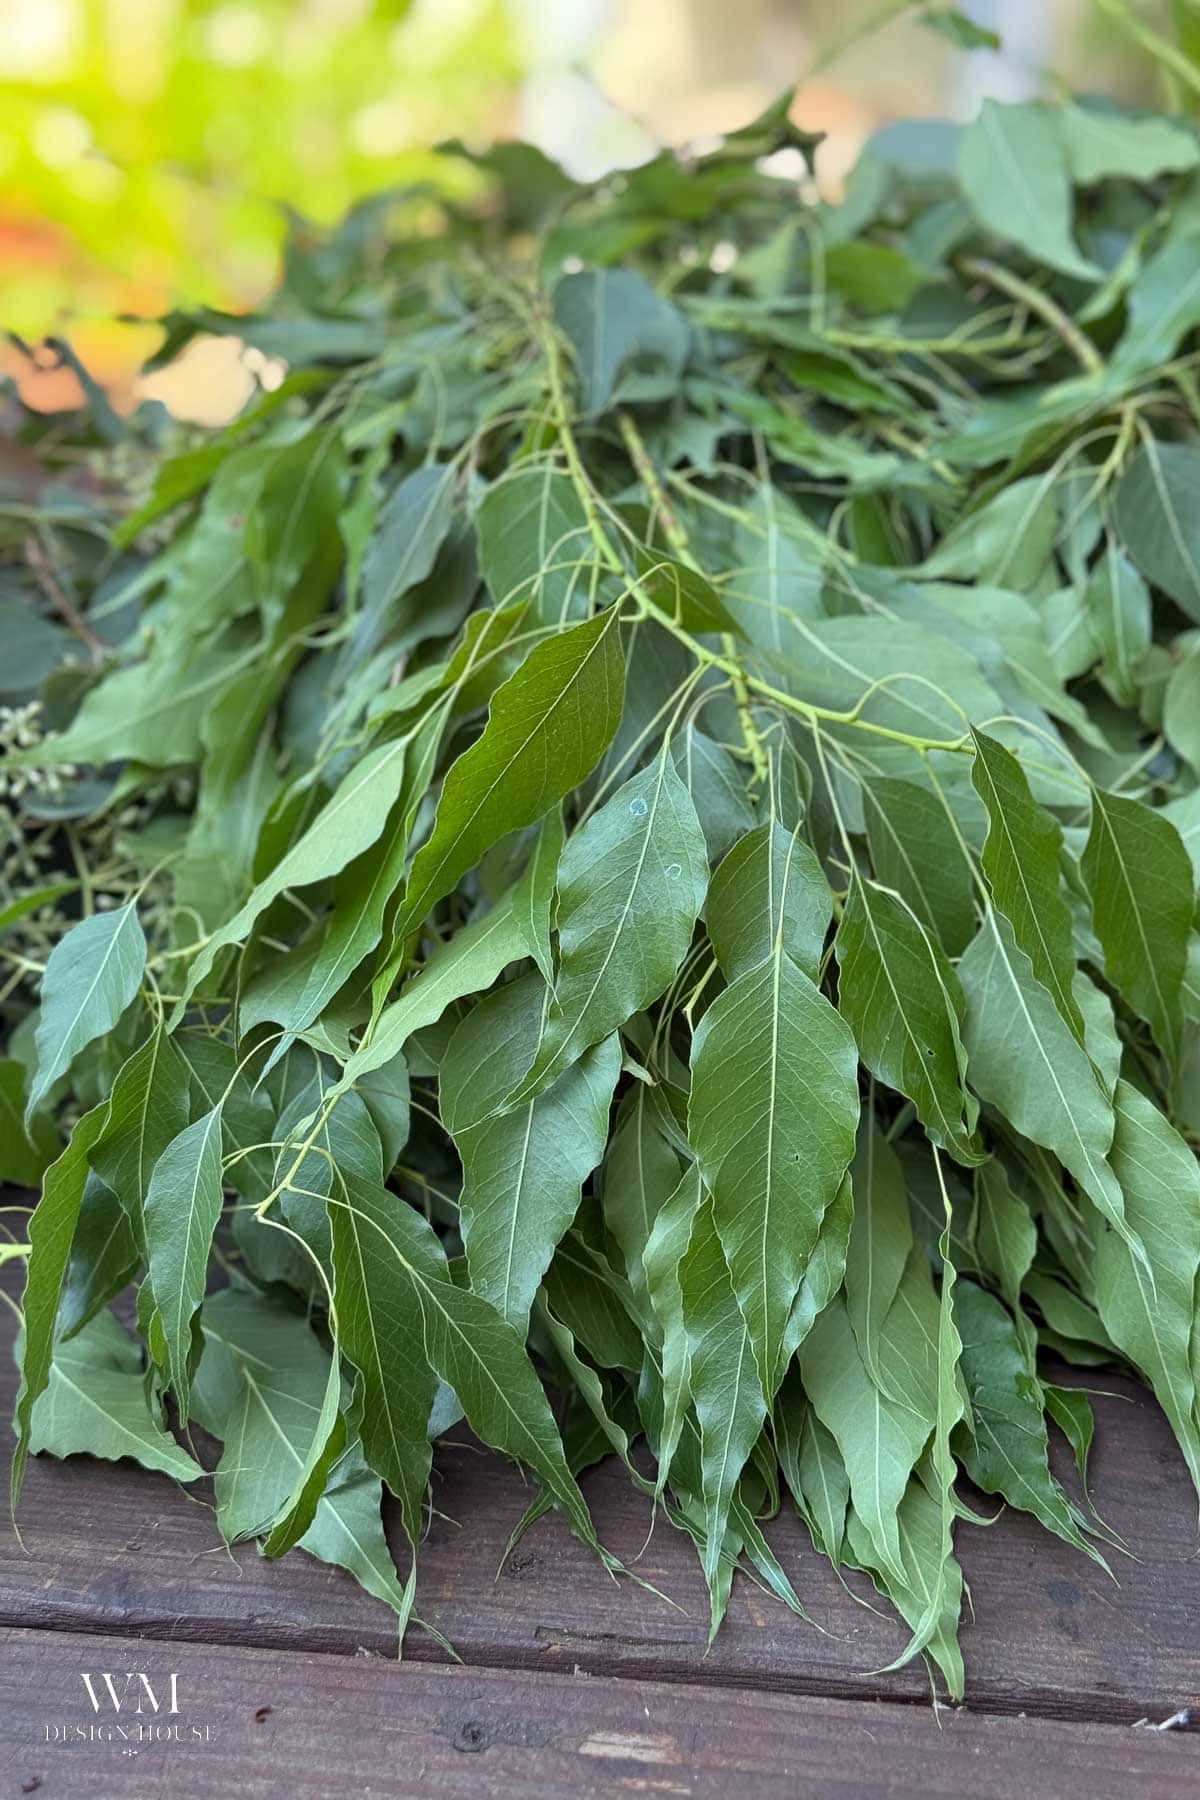
- Silver dollar eucalyptus
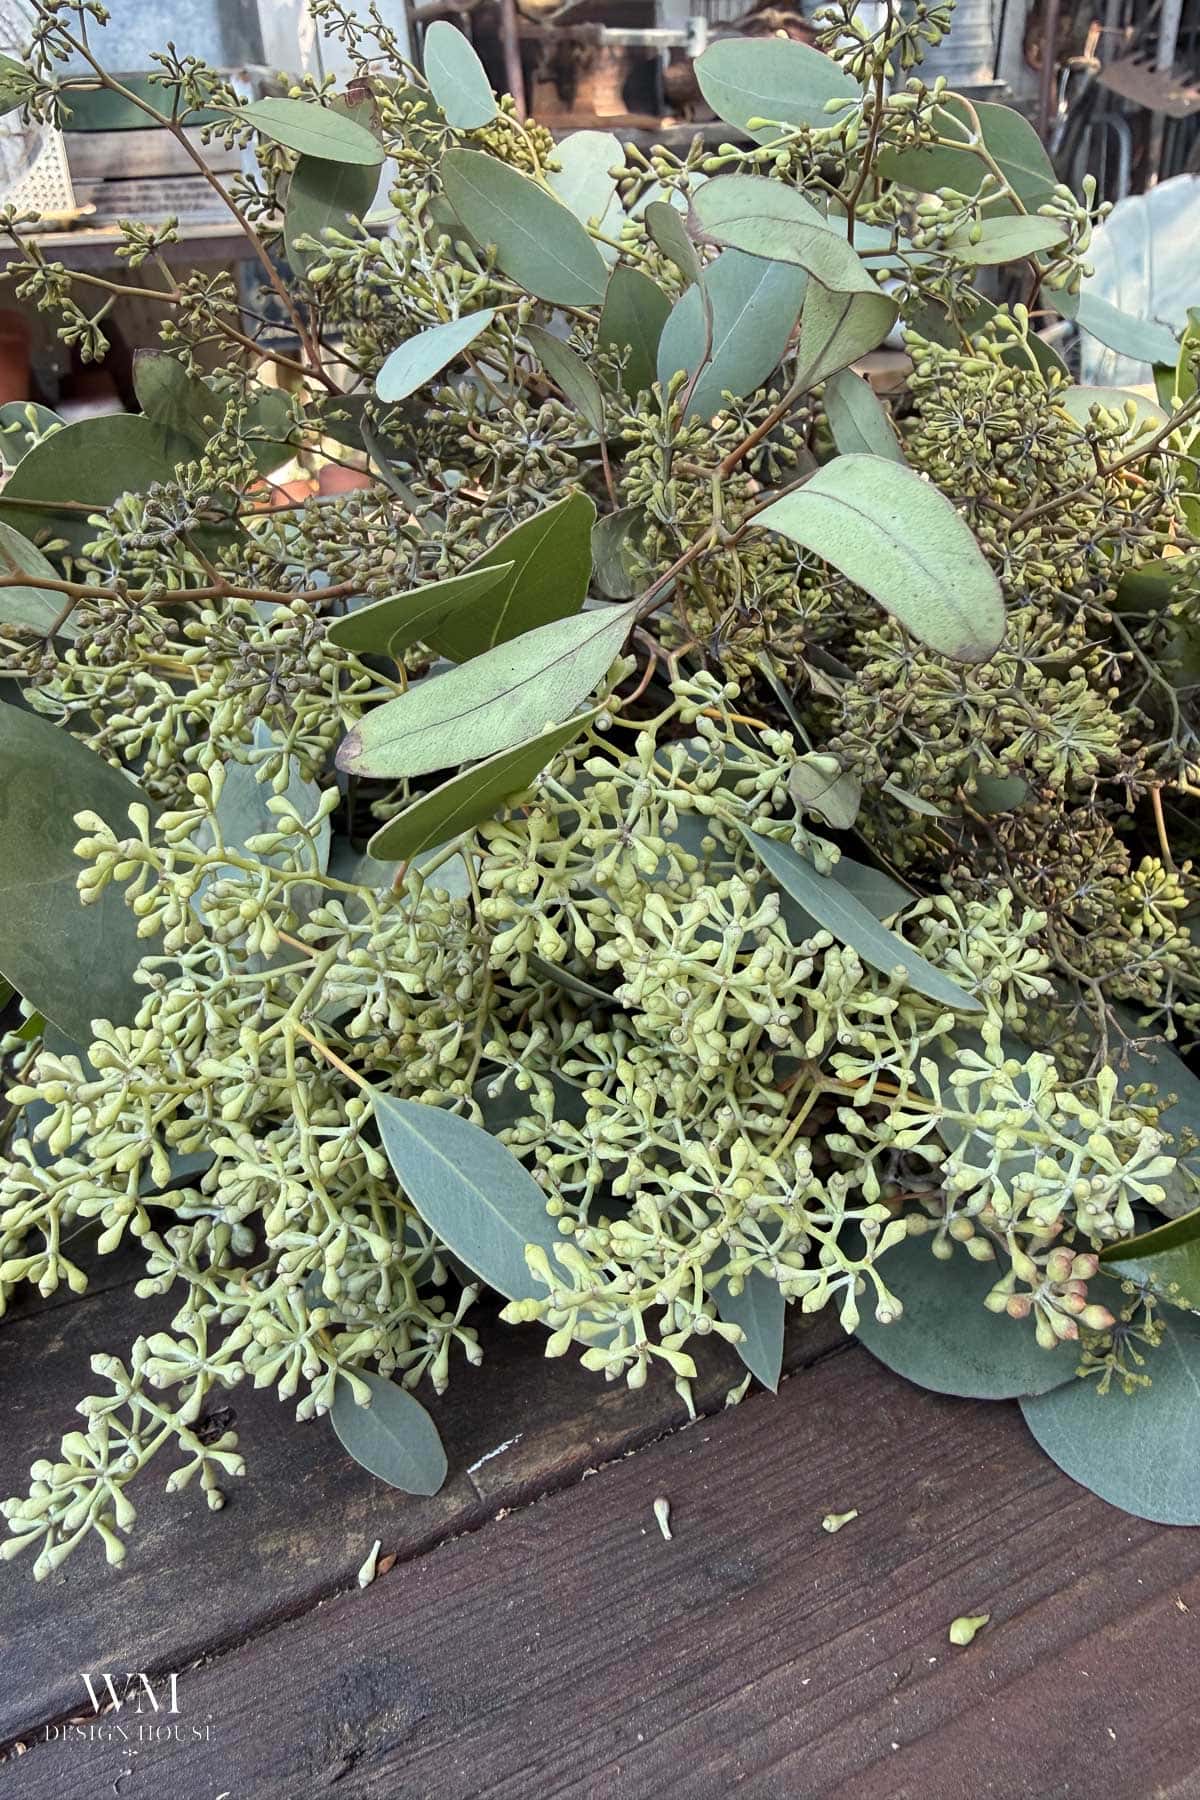
- Seeded eucalyptus
- Bottle tree greens
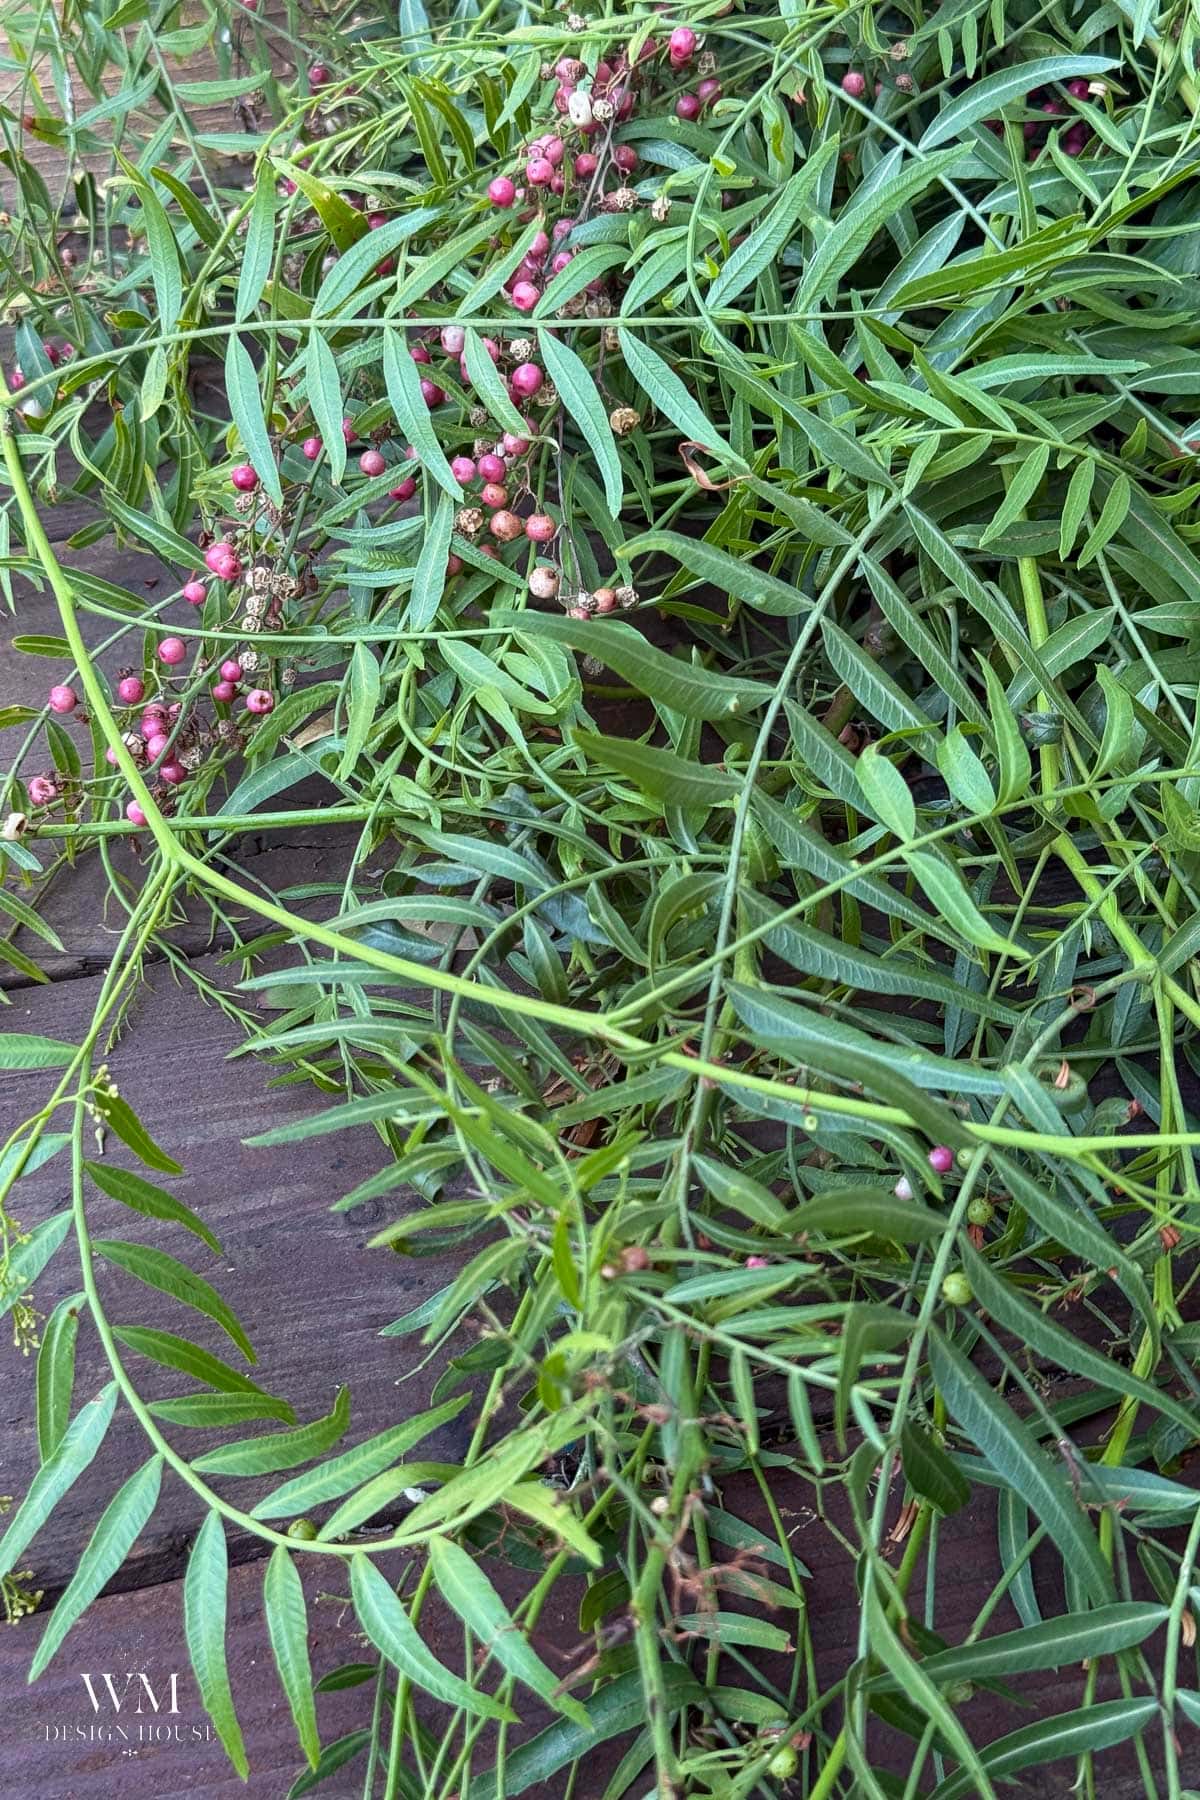
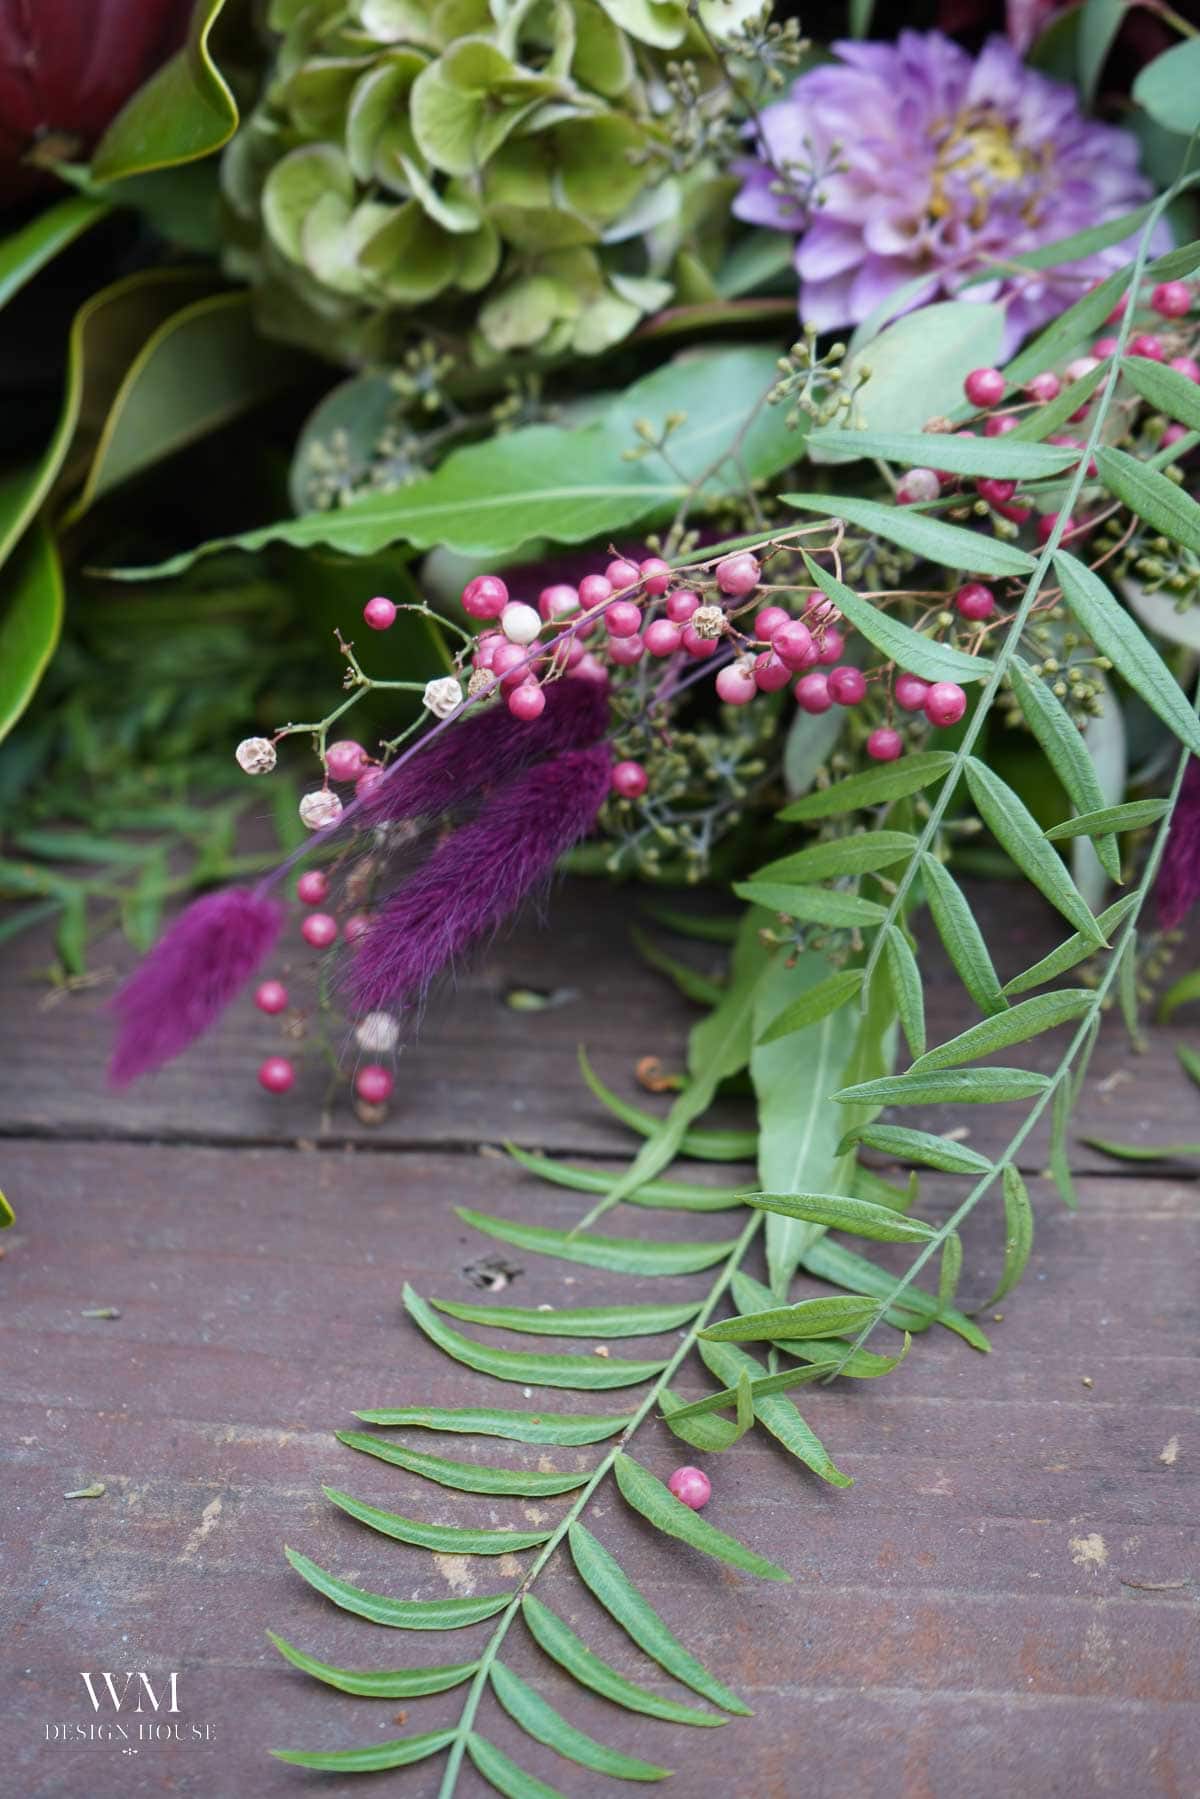
- Pepper berry branches with the pink berries still on
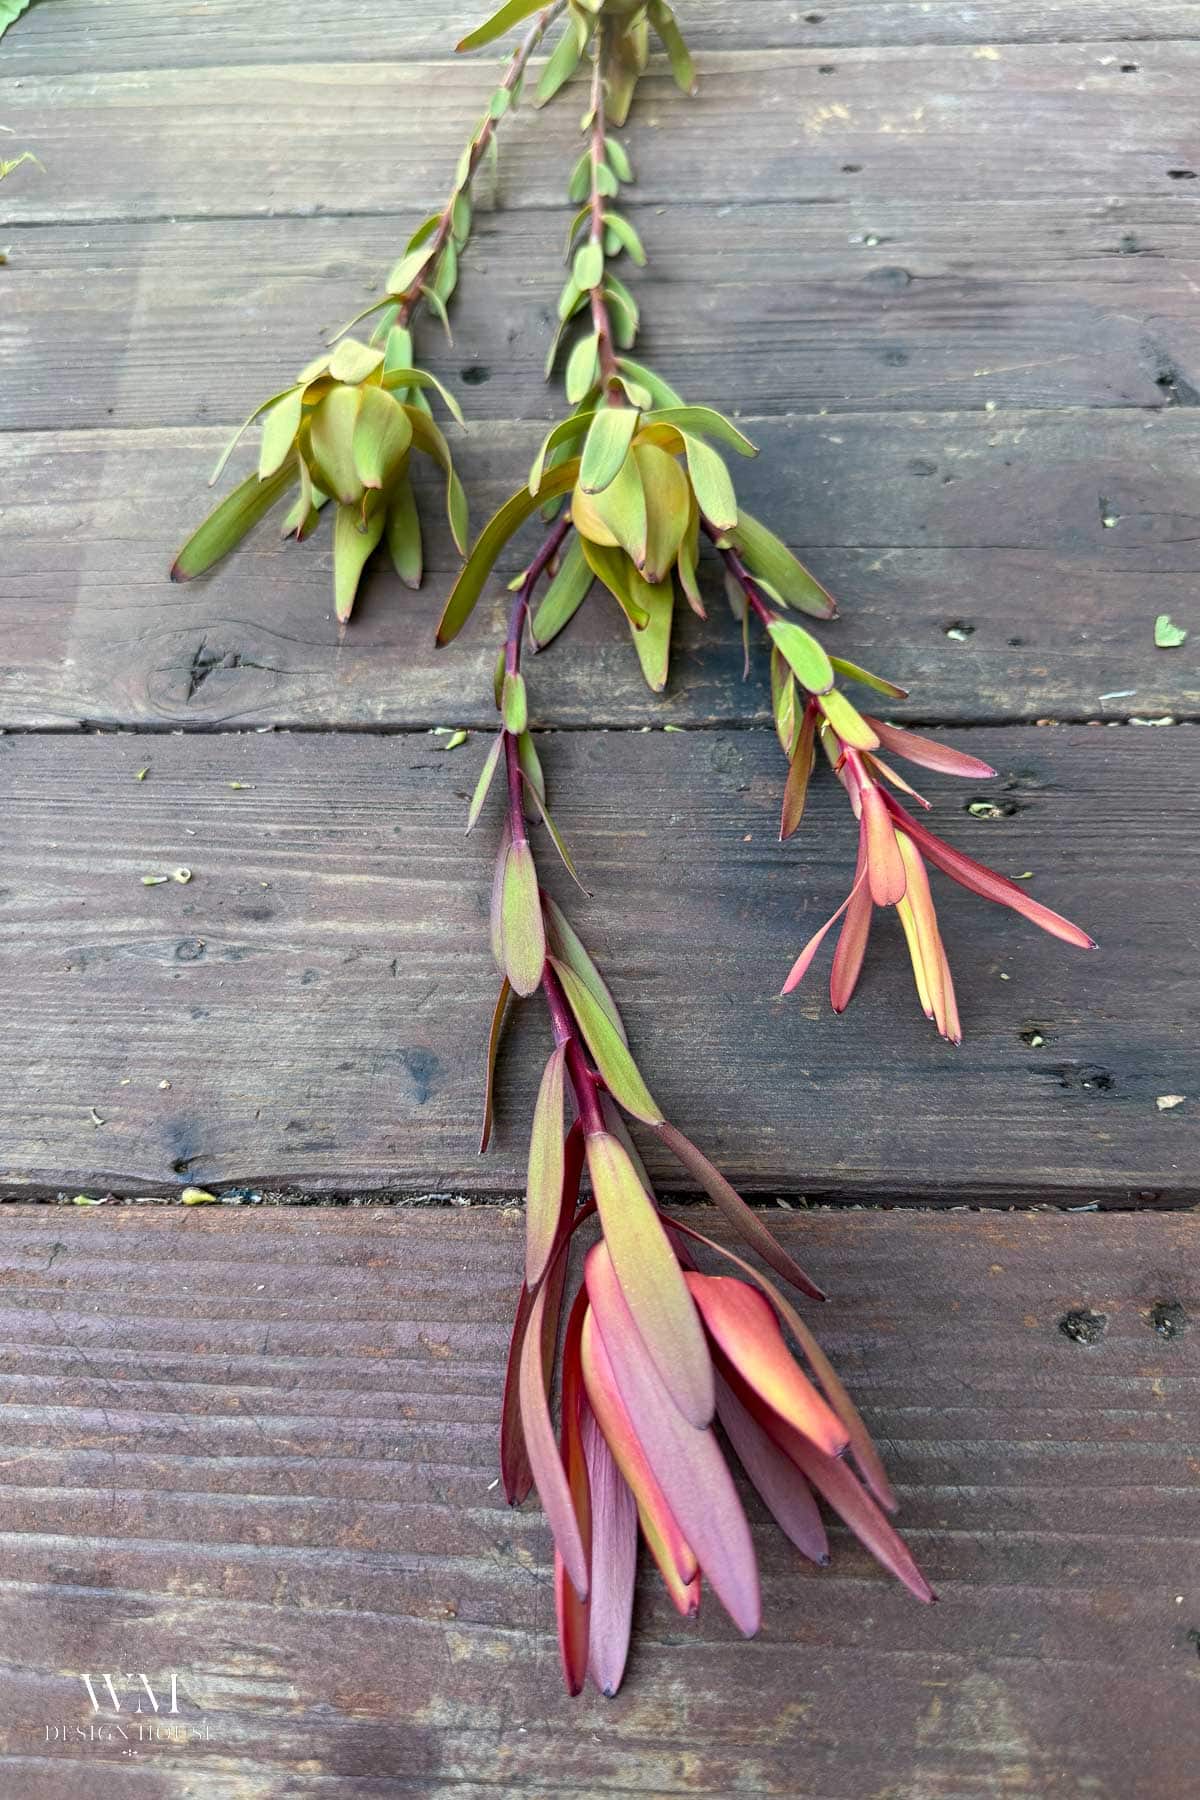
- Leucadendron, about 12 stems
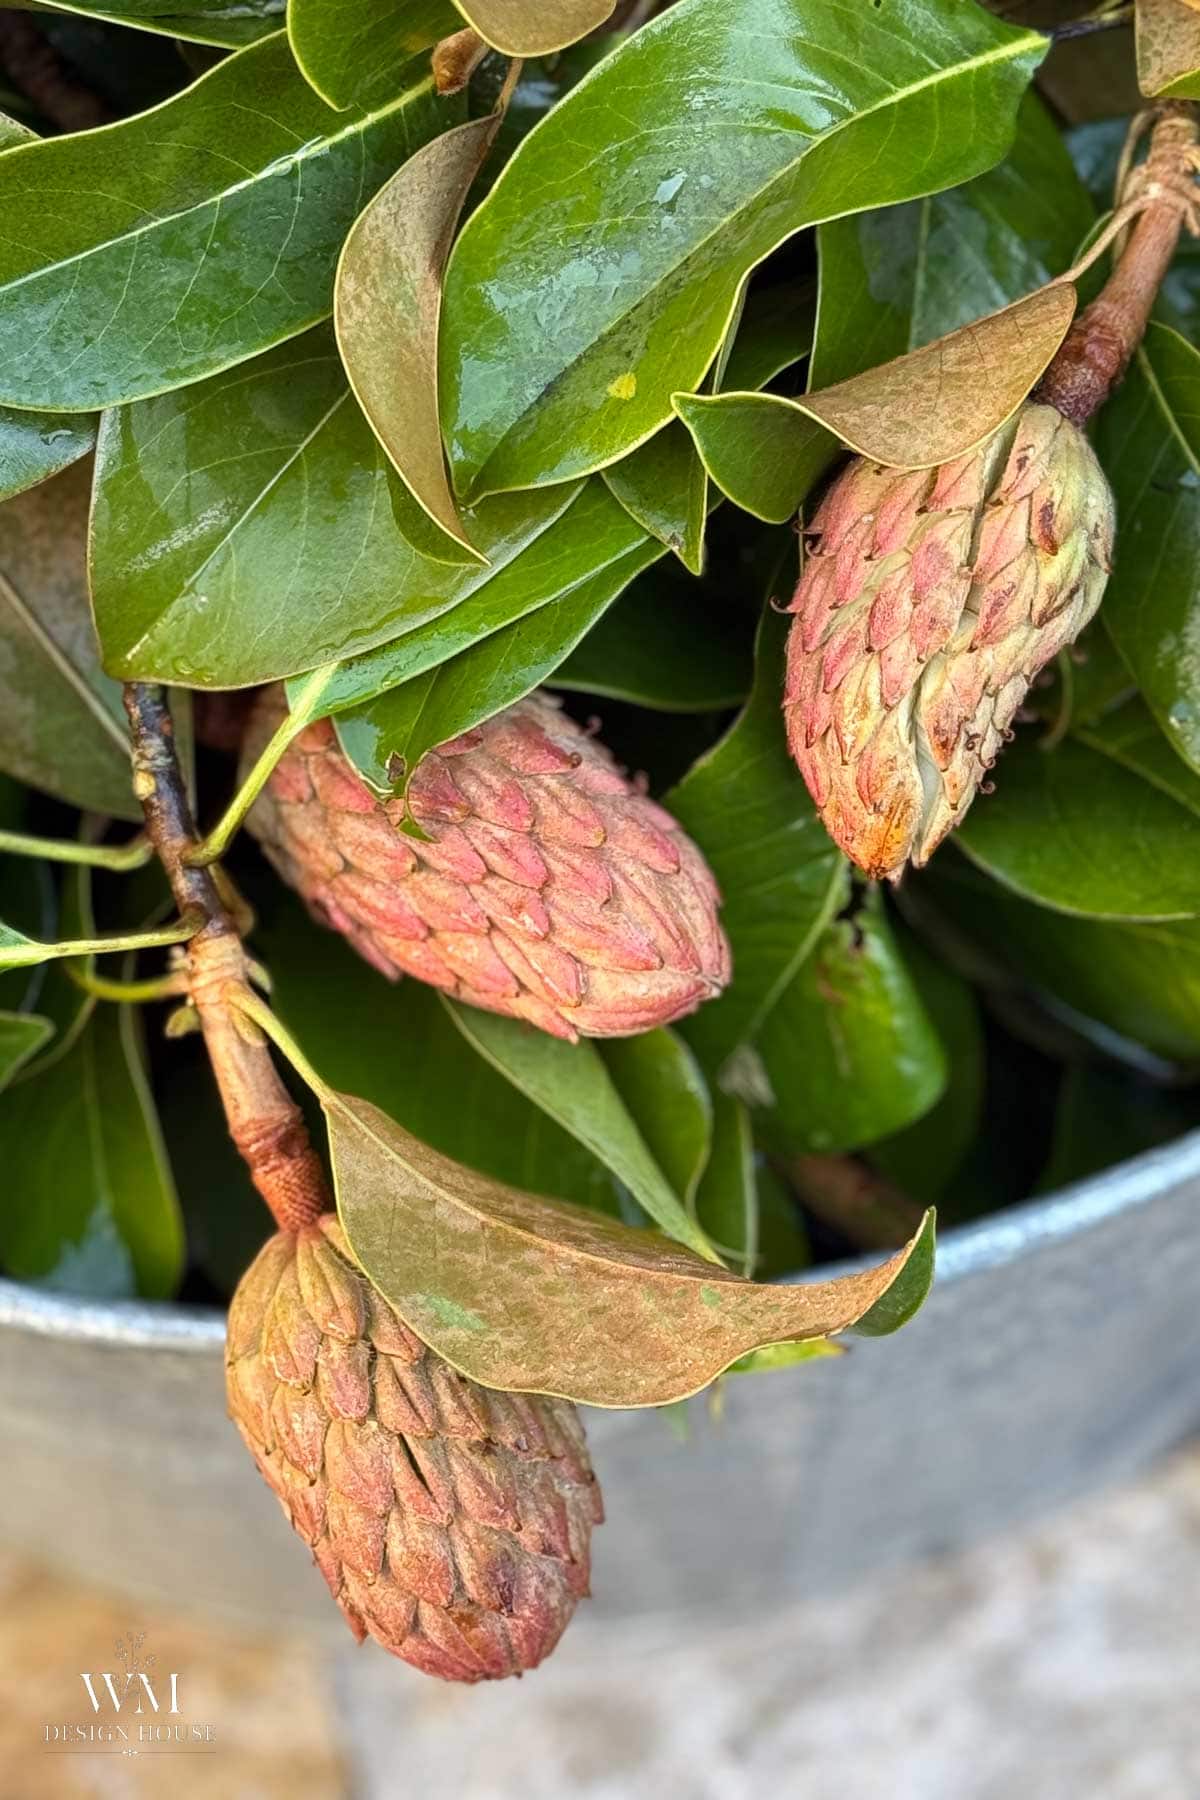
- Magnolia seed pods if your tree has them
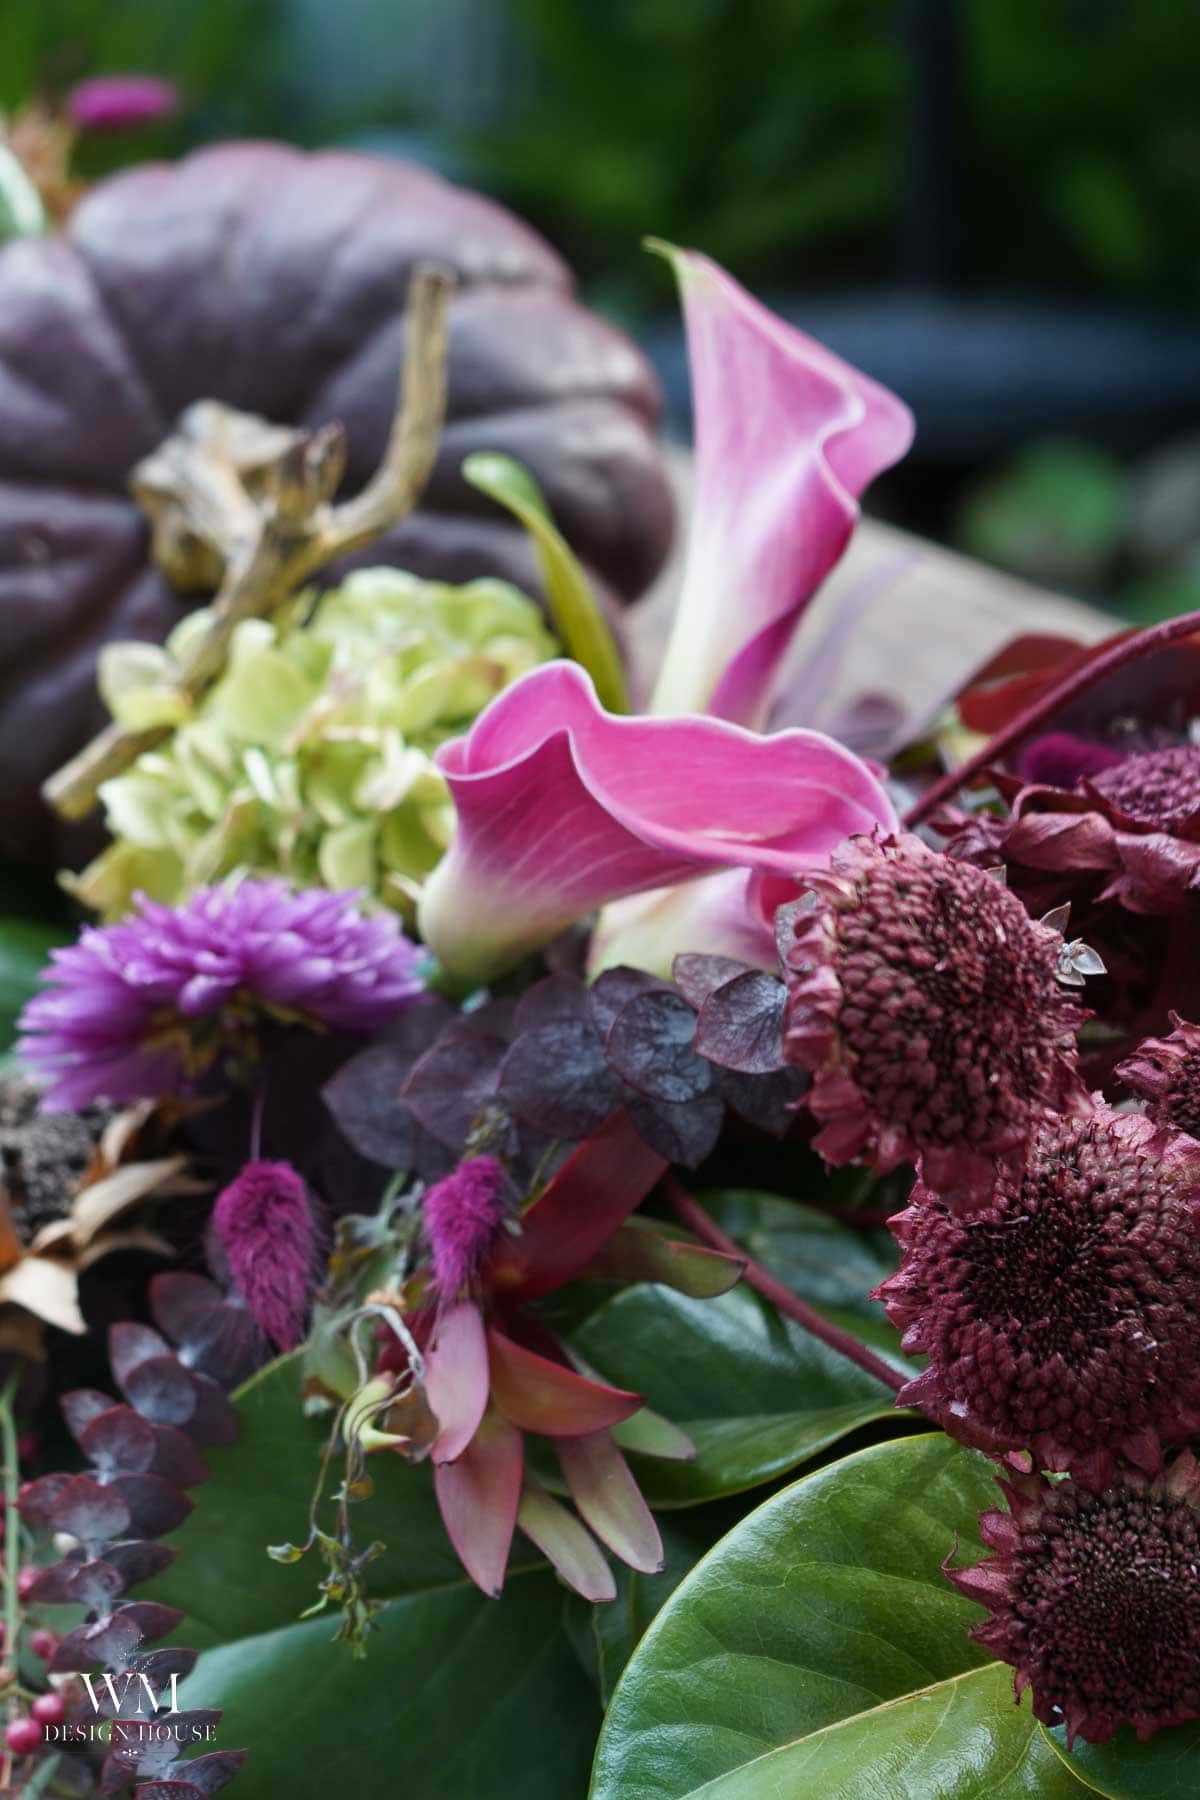
- Dried dahlias, hydrangeas, and sunflowers
- Small plum pumpkins
- Dried red eucalyptus
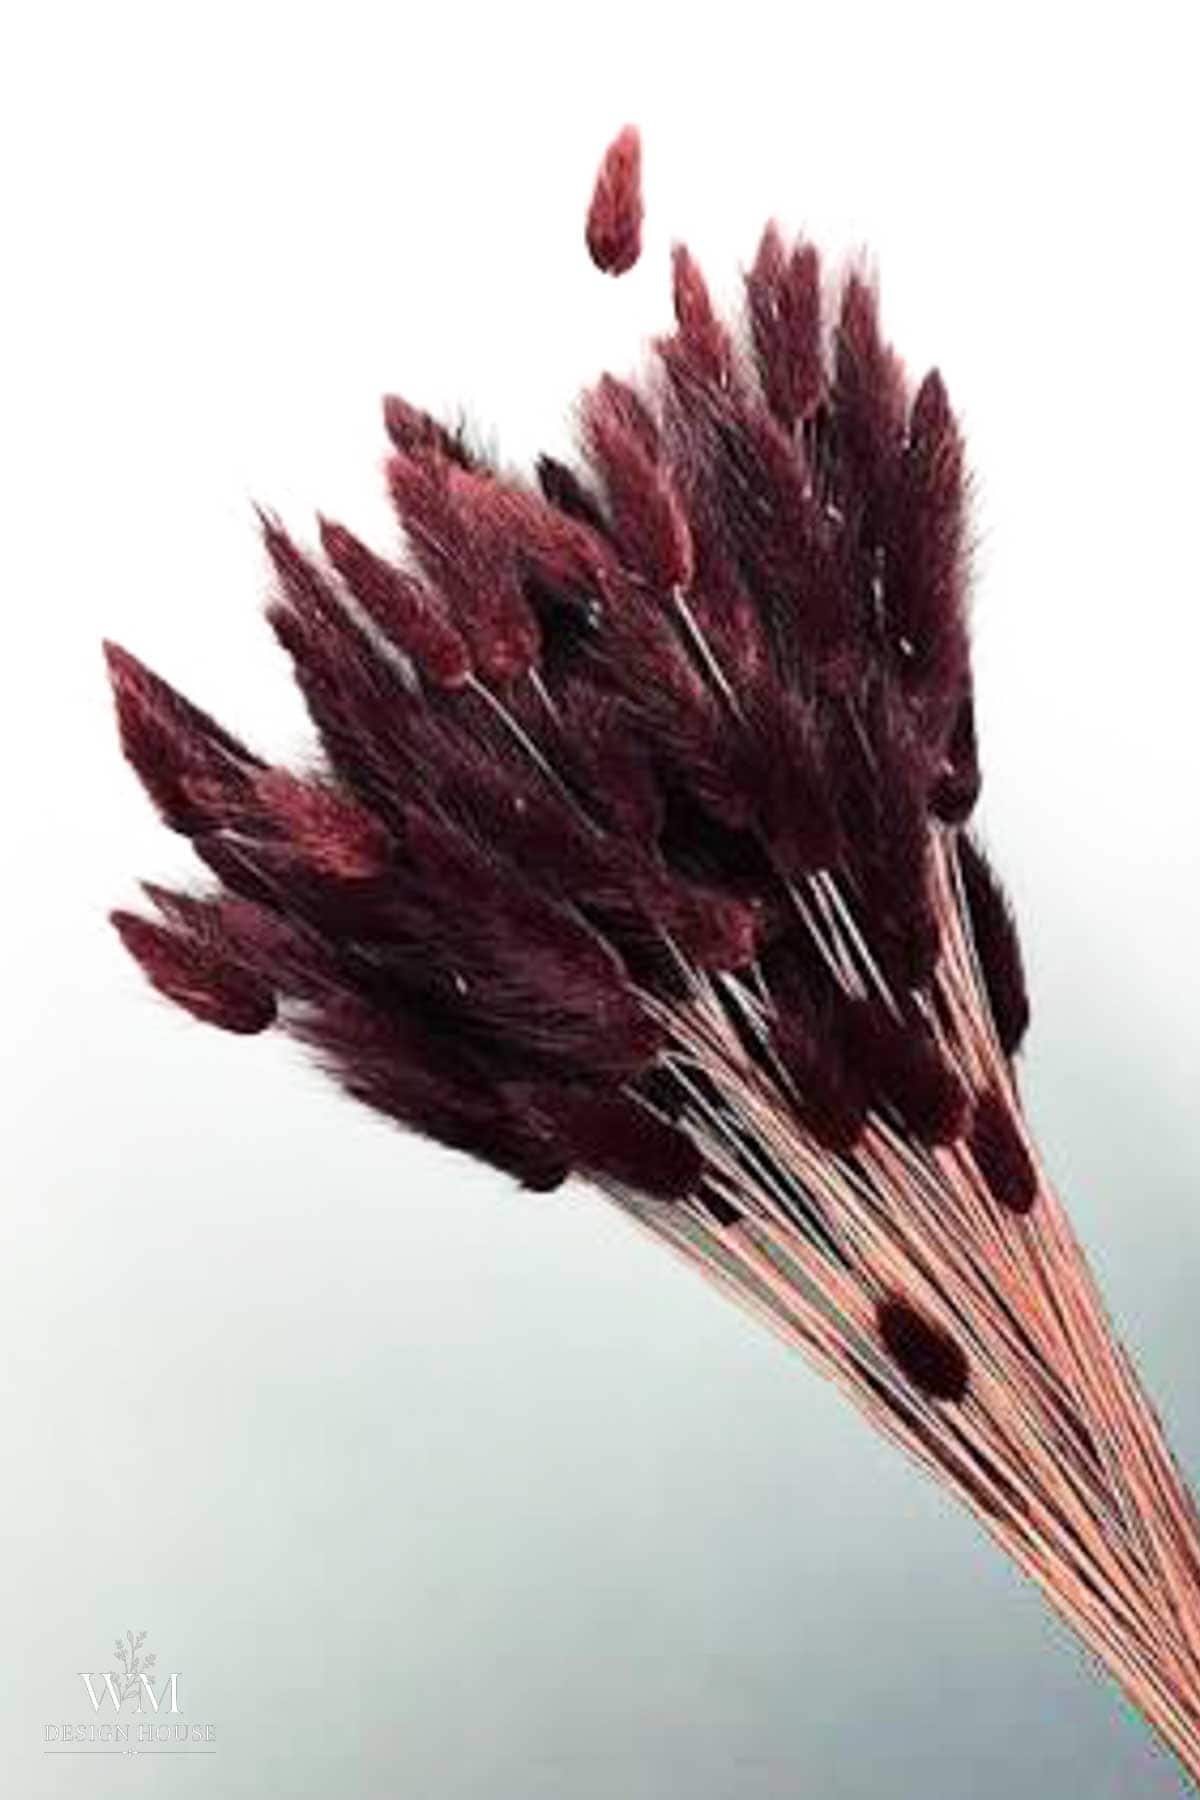
- Dried bunny tails
- Three faux red hydrangeas
- Fresh calla lilies and floral water tubes, optional
- Half inch sisal rope, about 12 feet
- One brick and a planter or heavy pot if you are only putting the cascade on one end of the table.
- 22 gauge floral paddle wire
- Garden clippers and wire cutters
- Leaf shine spray
Tip from wendy:
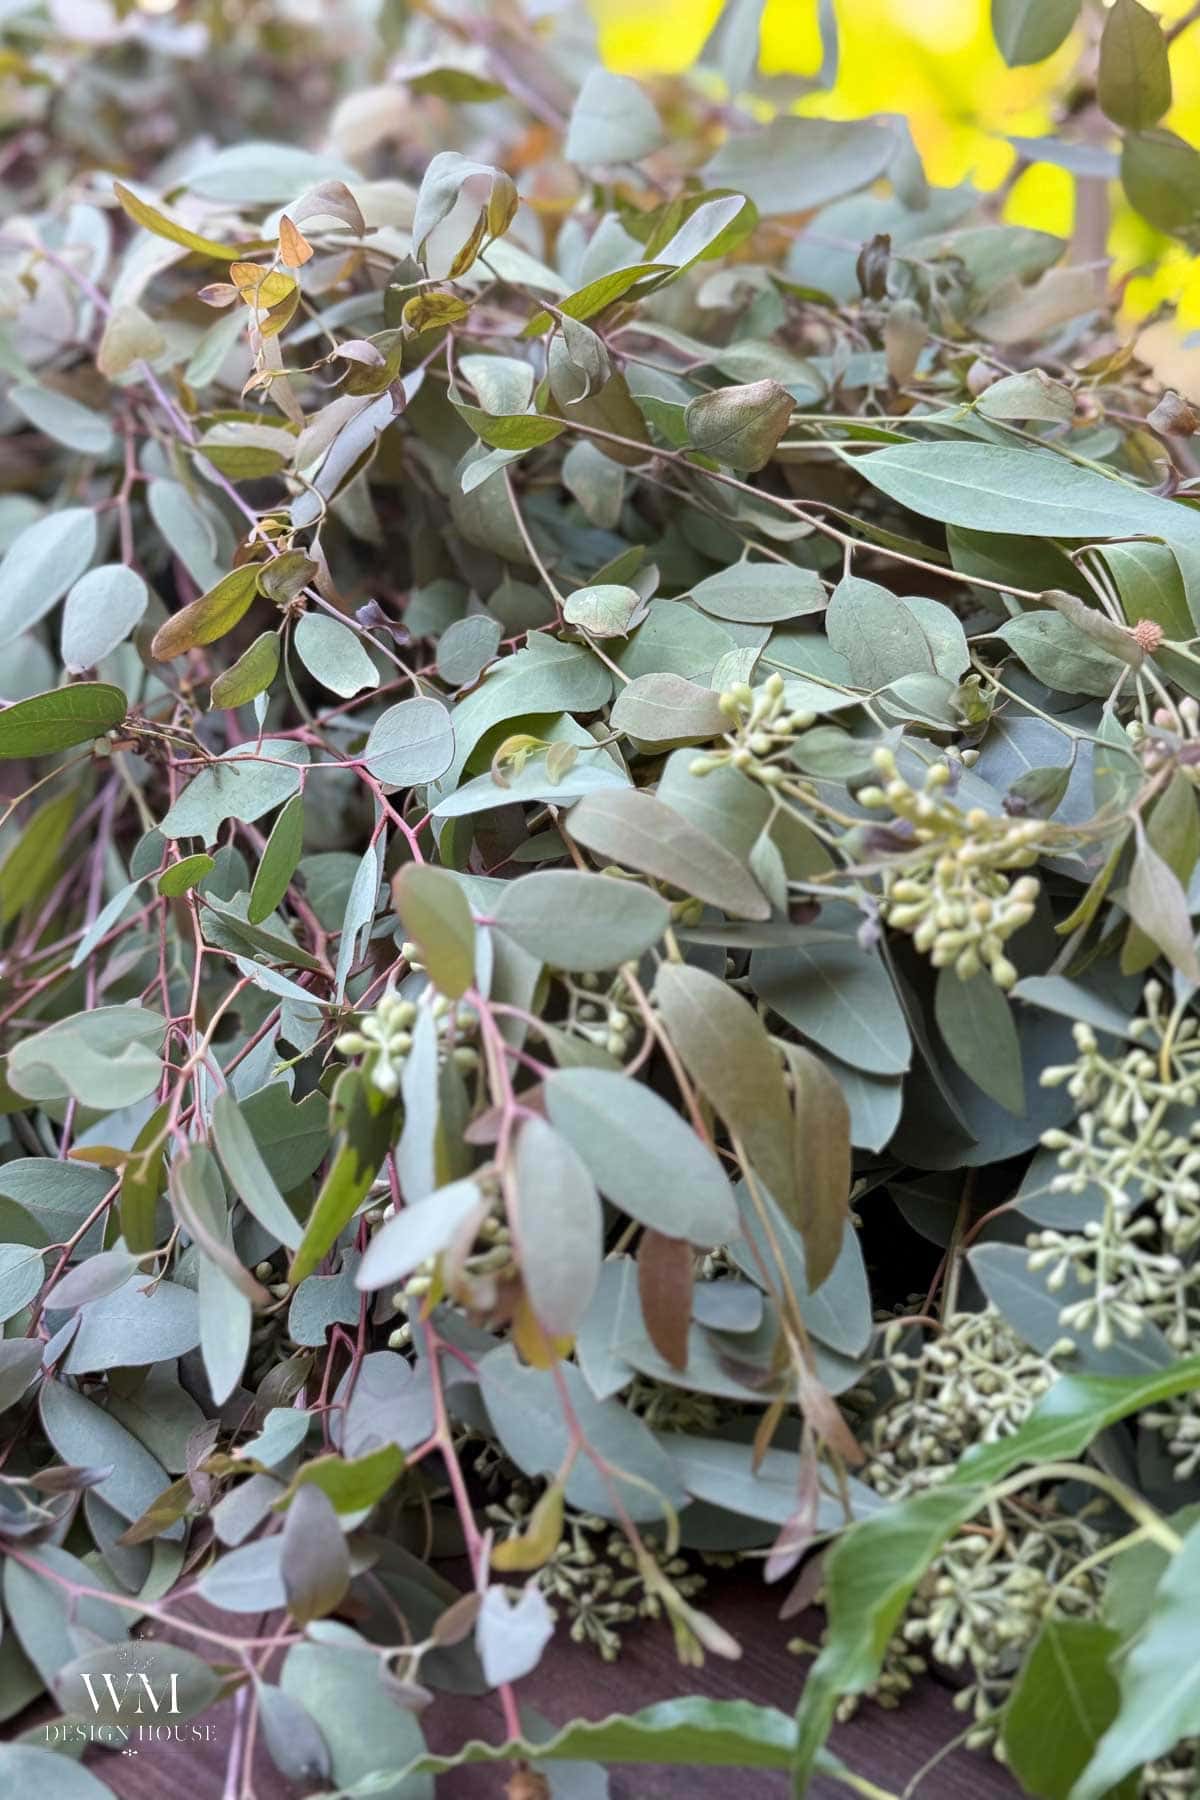
Use at least two kinds of greenery, never one. You want something with big glossy leaves and something wispy and trailing. One kind alone reads flat no matter how much of it you use. Two kinds is the whole secret, and it is the same trick I used on my eucalyptus wreath.

Gathering the Greens
Half the joy of this project is the gathering, and it is also why the runner costs so little.
Magnolia
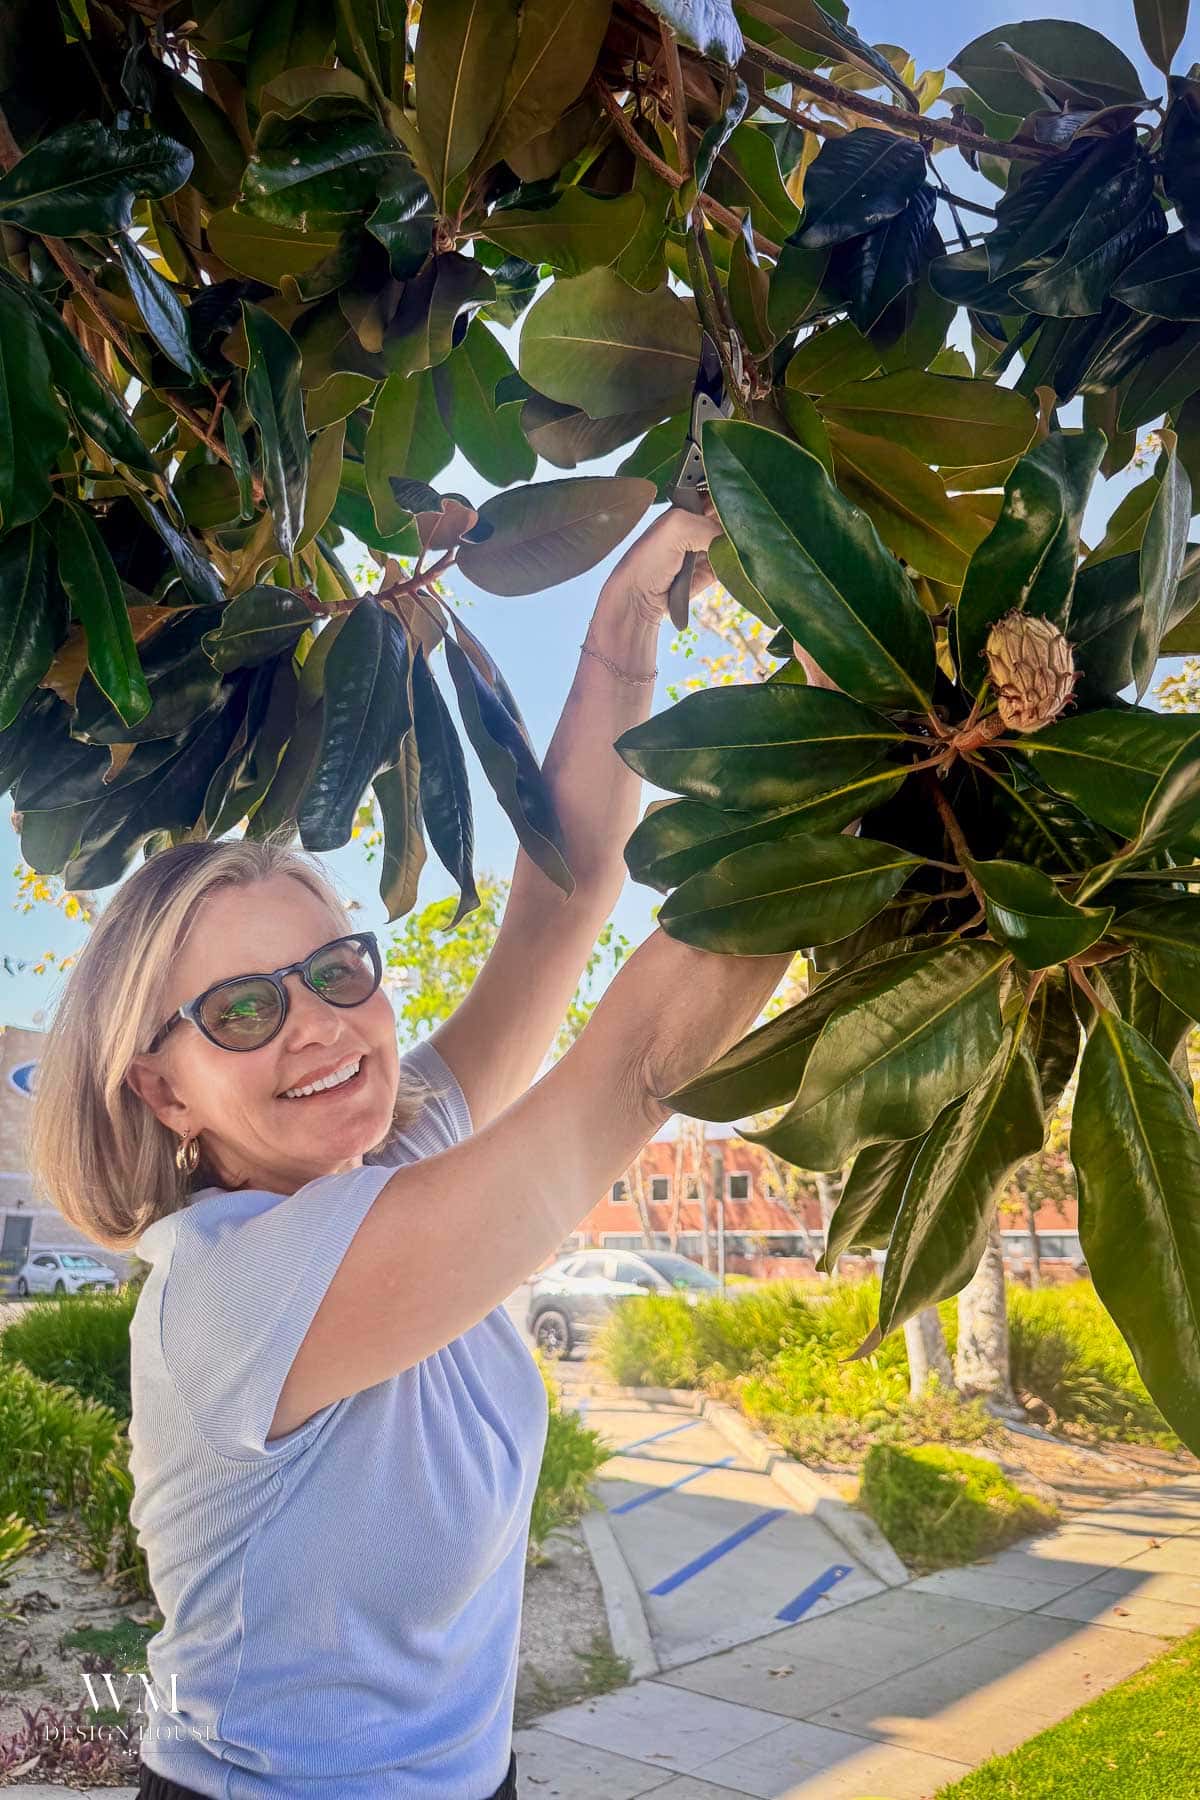
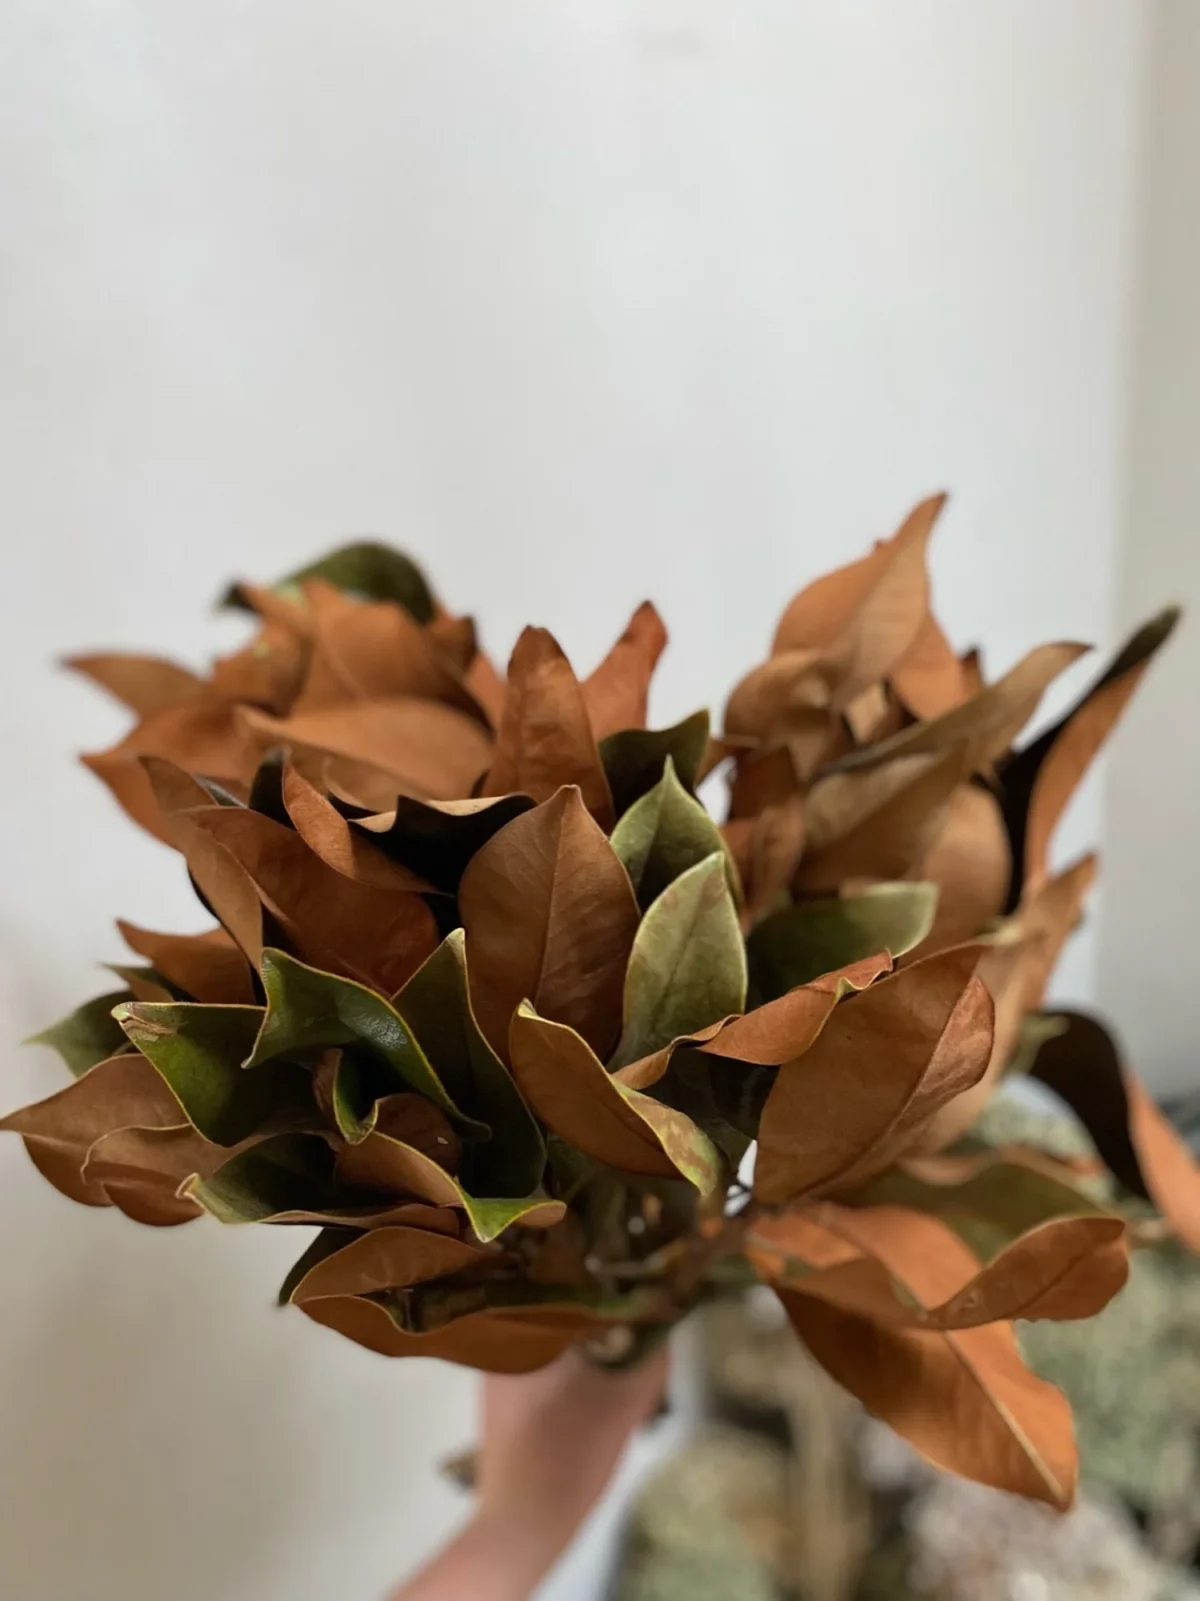
The magnolia came from a tree at my office, and I asked before I cut a single branch. That matters. Magnolia is the most useful green you can put in a runner because the leaves are big enough to cover a lot of table fast, and the brown suede underside gives you a second color for free. Turn a few leaves over as you build and you get warmth without adding anything.
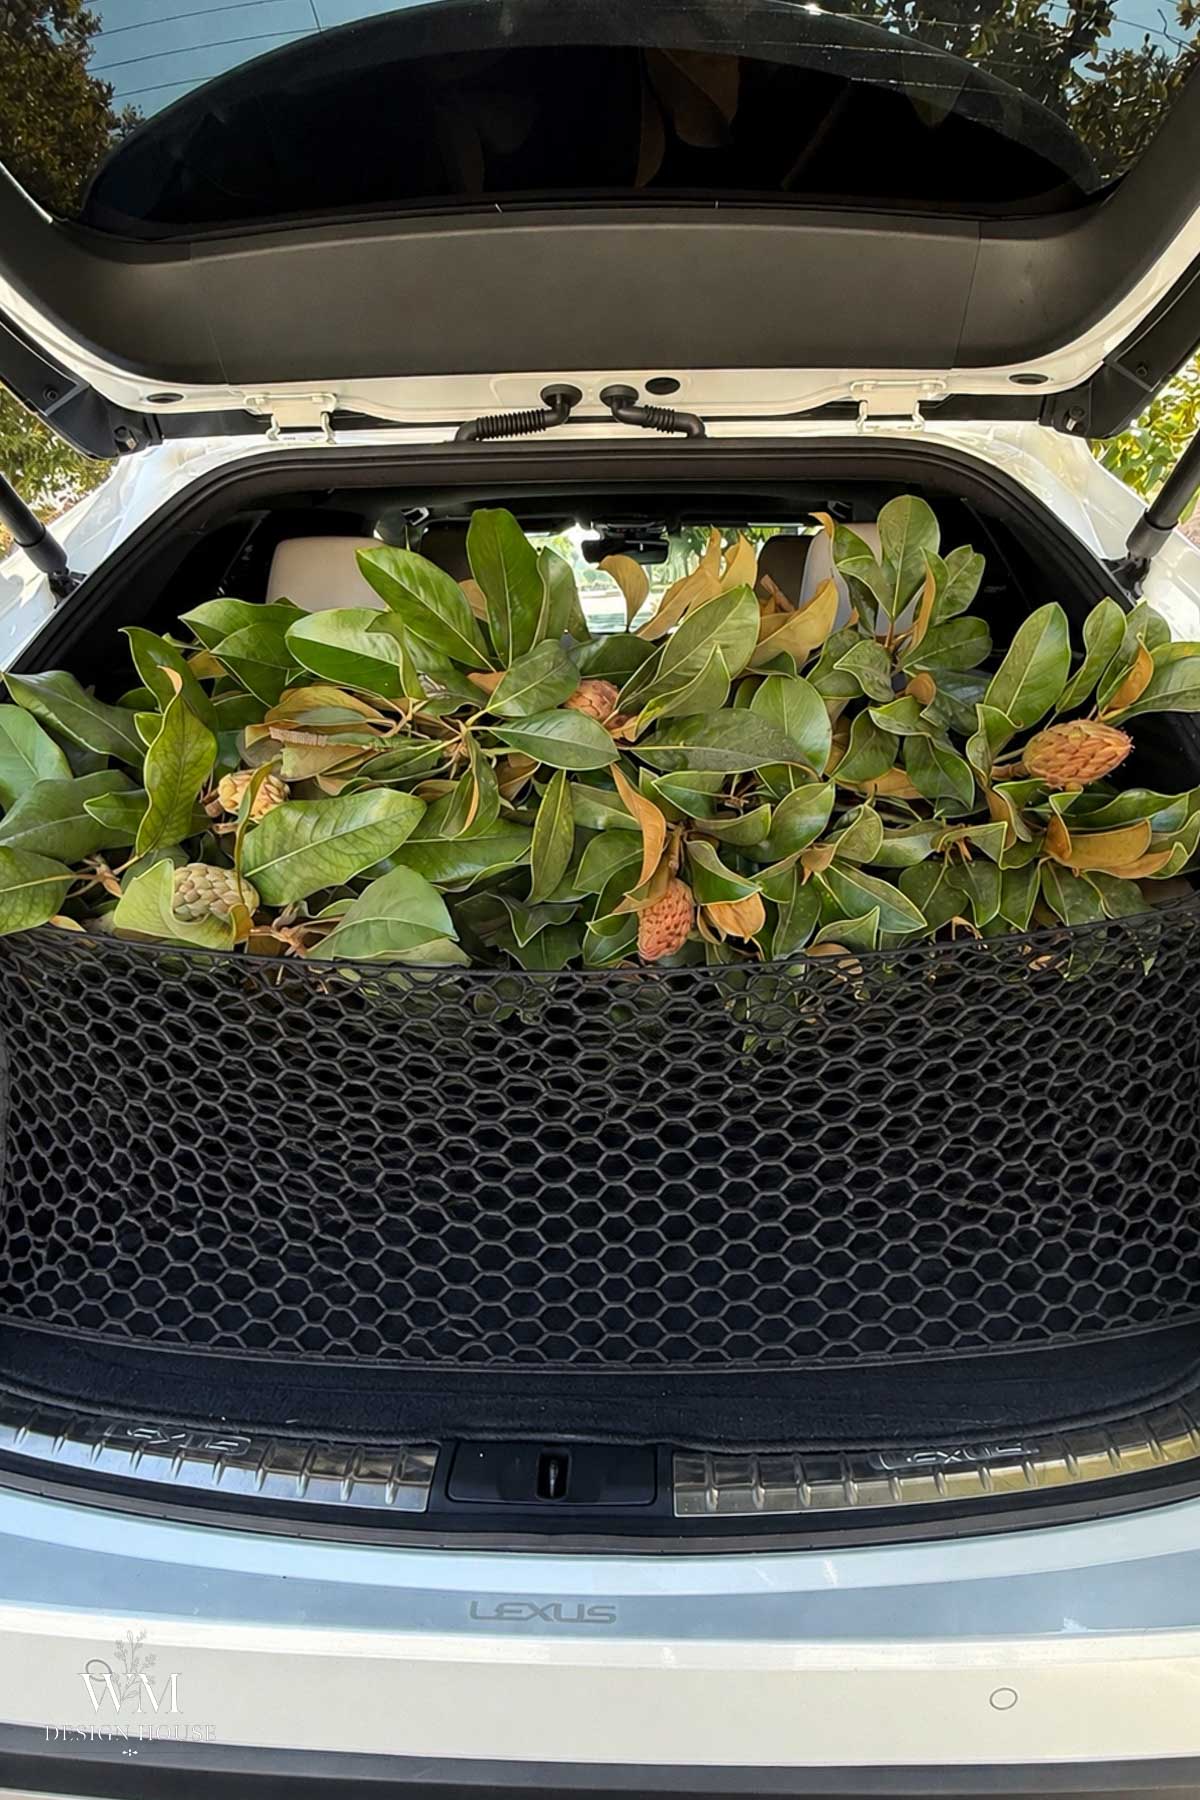
Eucalyptus, bottle tree, and pepper berry
If you live in Southern California the way I do, greenery is everywhere. Eucalyptus lines the roads, bottle tree and pepper trees edge the parks, and there is usually something worth cutting along any trail. I never head out on a walk without clippers, and this is exactly why.
Cut longer branches than you think you need and strip the lowest few inches of leaves so you have a clean stem to wire. Take a little from several trees rather than a lot from one, stay off private property without asking, and leave the plant looking like you were never there.
Leucadendron
I had about a dozen stems of leucadendron and spread them through the bundles. The tips shade from green into red, which is a color transition you cannot fake with anything else, and the stems are stiff enough to hold their shape once everything else settles.
Nothing to forage nearby
No magnolia tree nearby? Do not skip this project. Pick up a few bunches from the floral department at the grocery store or ask your local florist what they have. Greenery is almost always the least expensive thing in the cooler, and the eucalyptus at Trader Joe’s is lovely.
The Leaf Shine Trick
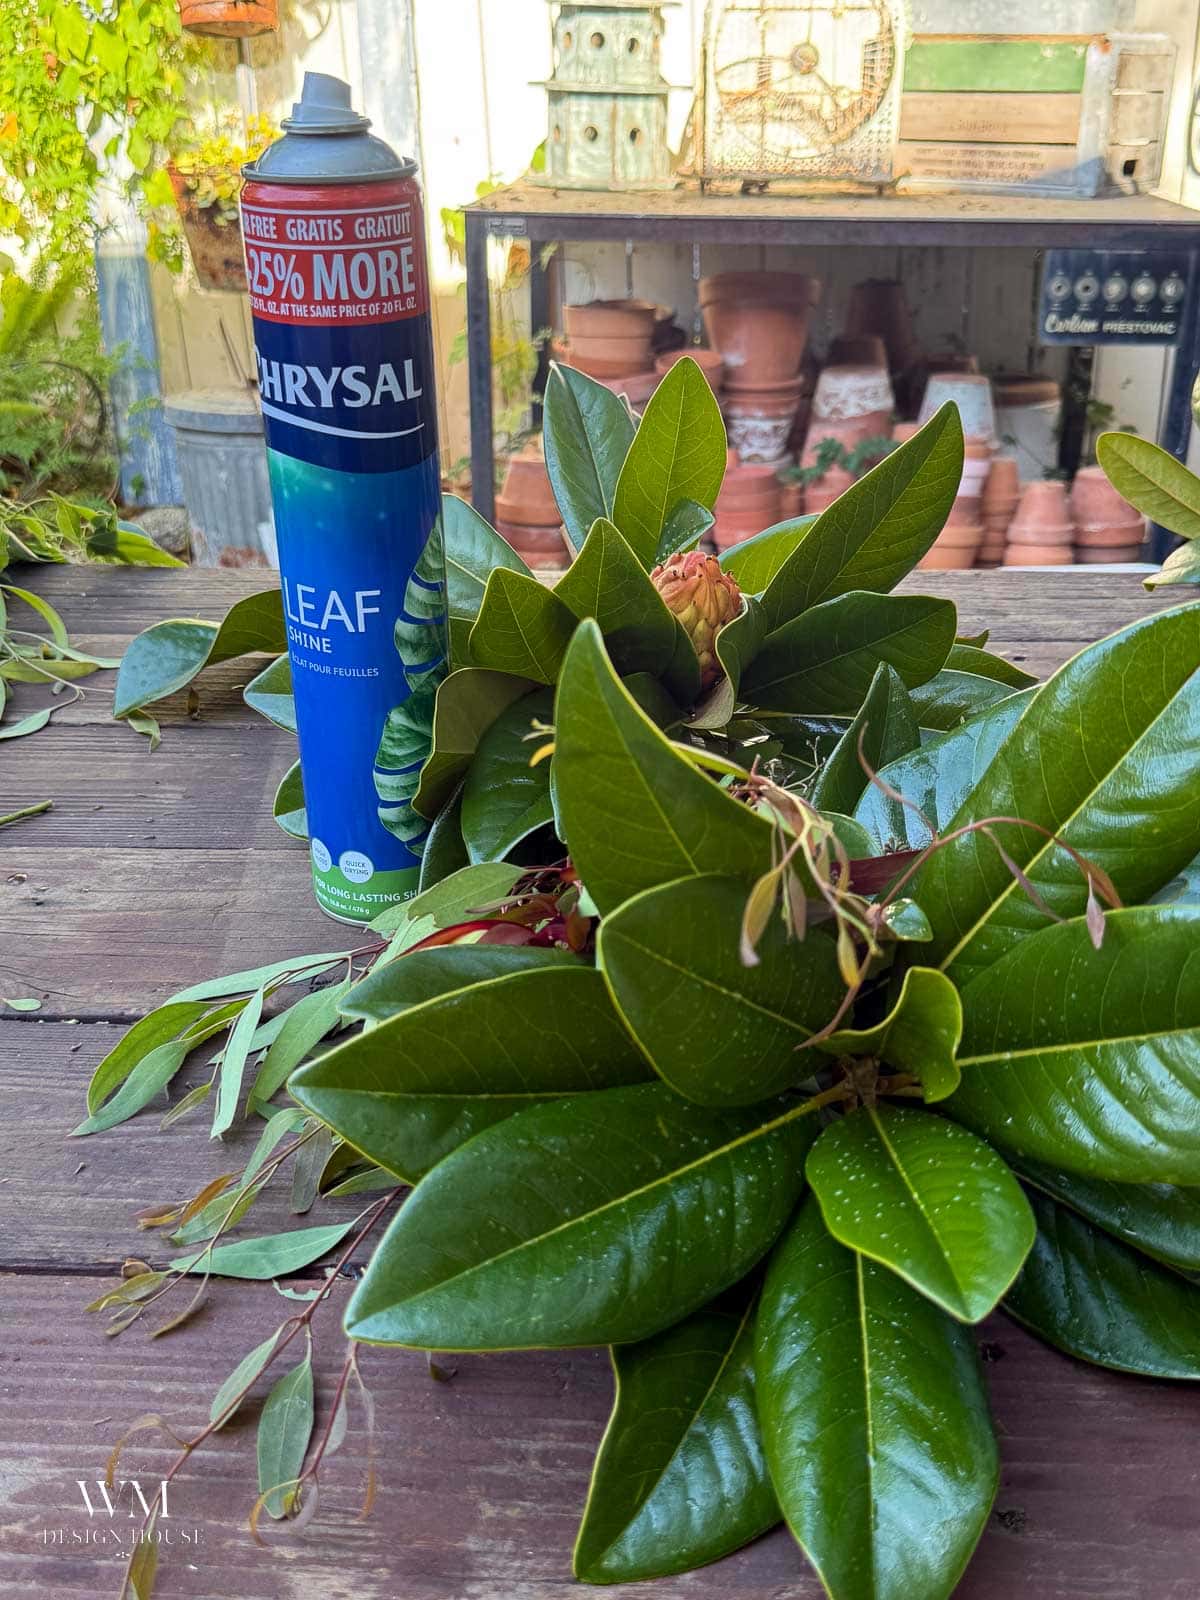
This is the step nobody tells you about. Before the magnolia goes anywhere near the table, I spray the leaves with leaf shine, the same aerosol florists use on houseplants.
Fresh magnolia is already glossy, but it dulls within a day or two as it starts to dry. Leaf shine keeps that wet, deep green look for weeks and it makes an enormous difference in photographs. One light pass on the top surface is enough. Skip the undersides, since the matte brown is doing its own job.
How to Make a Greenery Table Runner
Give yourself about an hour and work directly on the table so you can see the shape as it comes together.
Step 1 – Laying your sisal rope
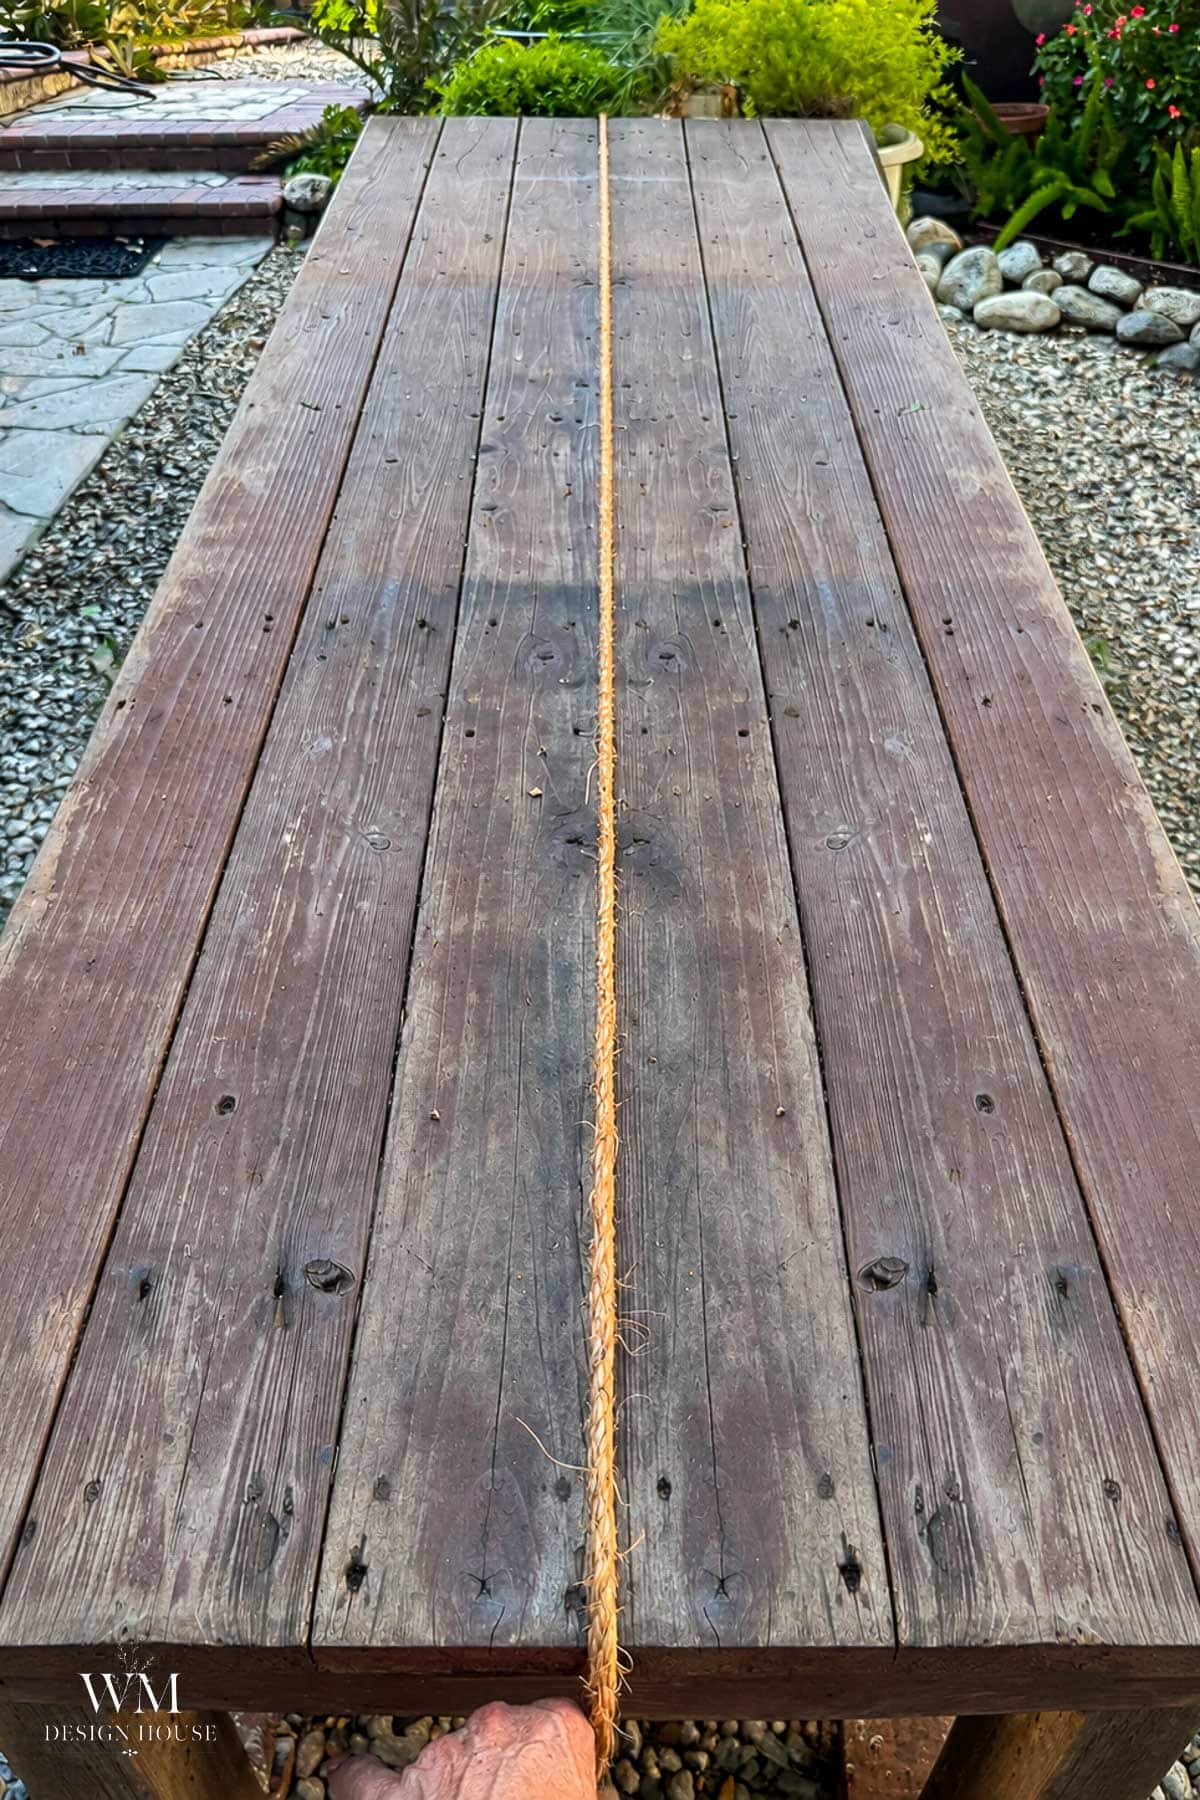
- Run a long piece of sisal rope the length of your table, plus a few feet on each end.
- I happen to have a planter sitting at one end of my table, so I tied the rope around a brick and dropped the brick inside it, then hid the brick under a few magnolia branches. Any heavy thing will do. Set it just past the end of the table and let the greenery cover it.
- If both ends of your table are open, anchor one end the same way and let the runner cascade over the other. Or skip the anchor entirely and let it spill over both ends, which is the prettier option if you have the greenery for it.
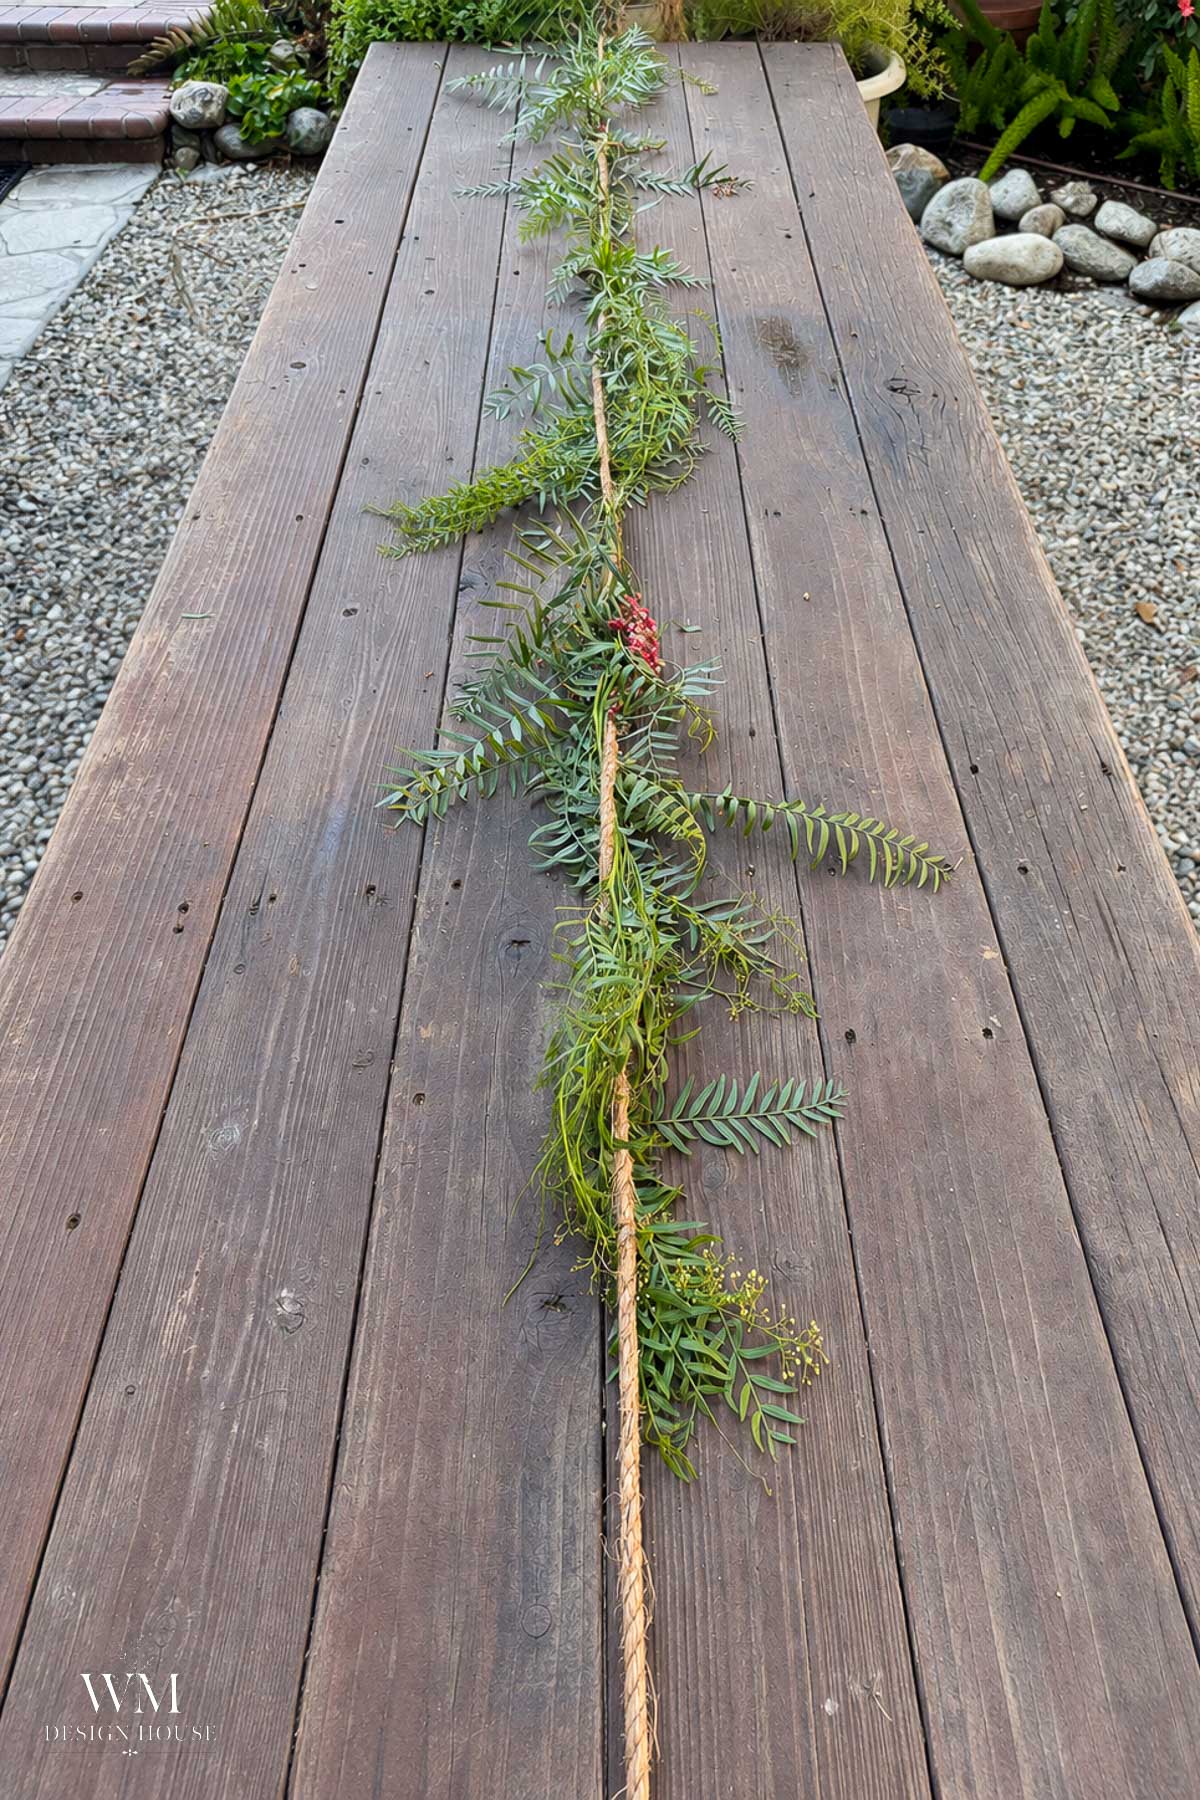
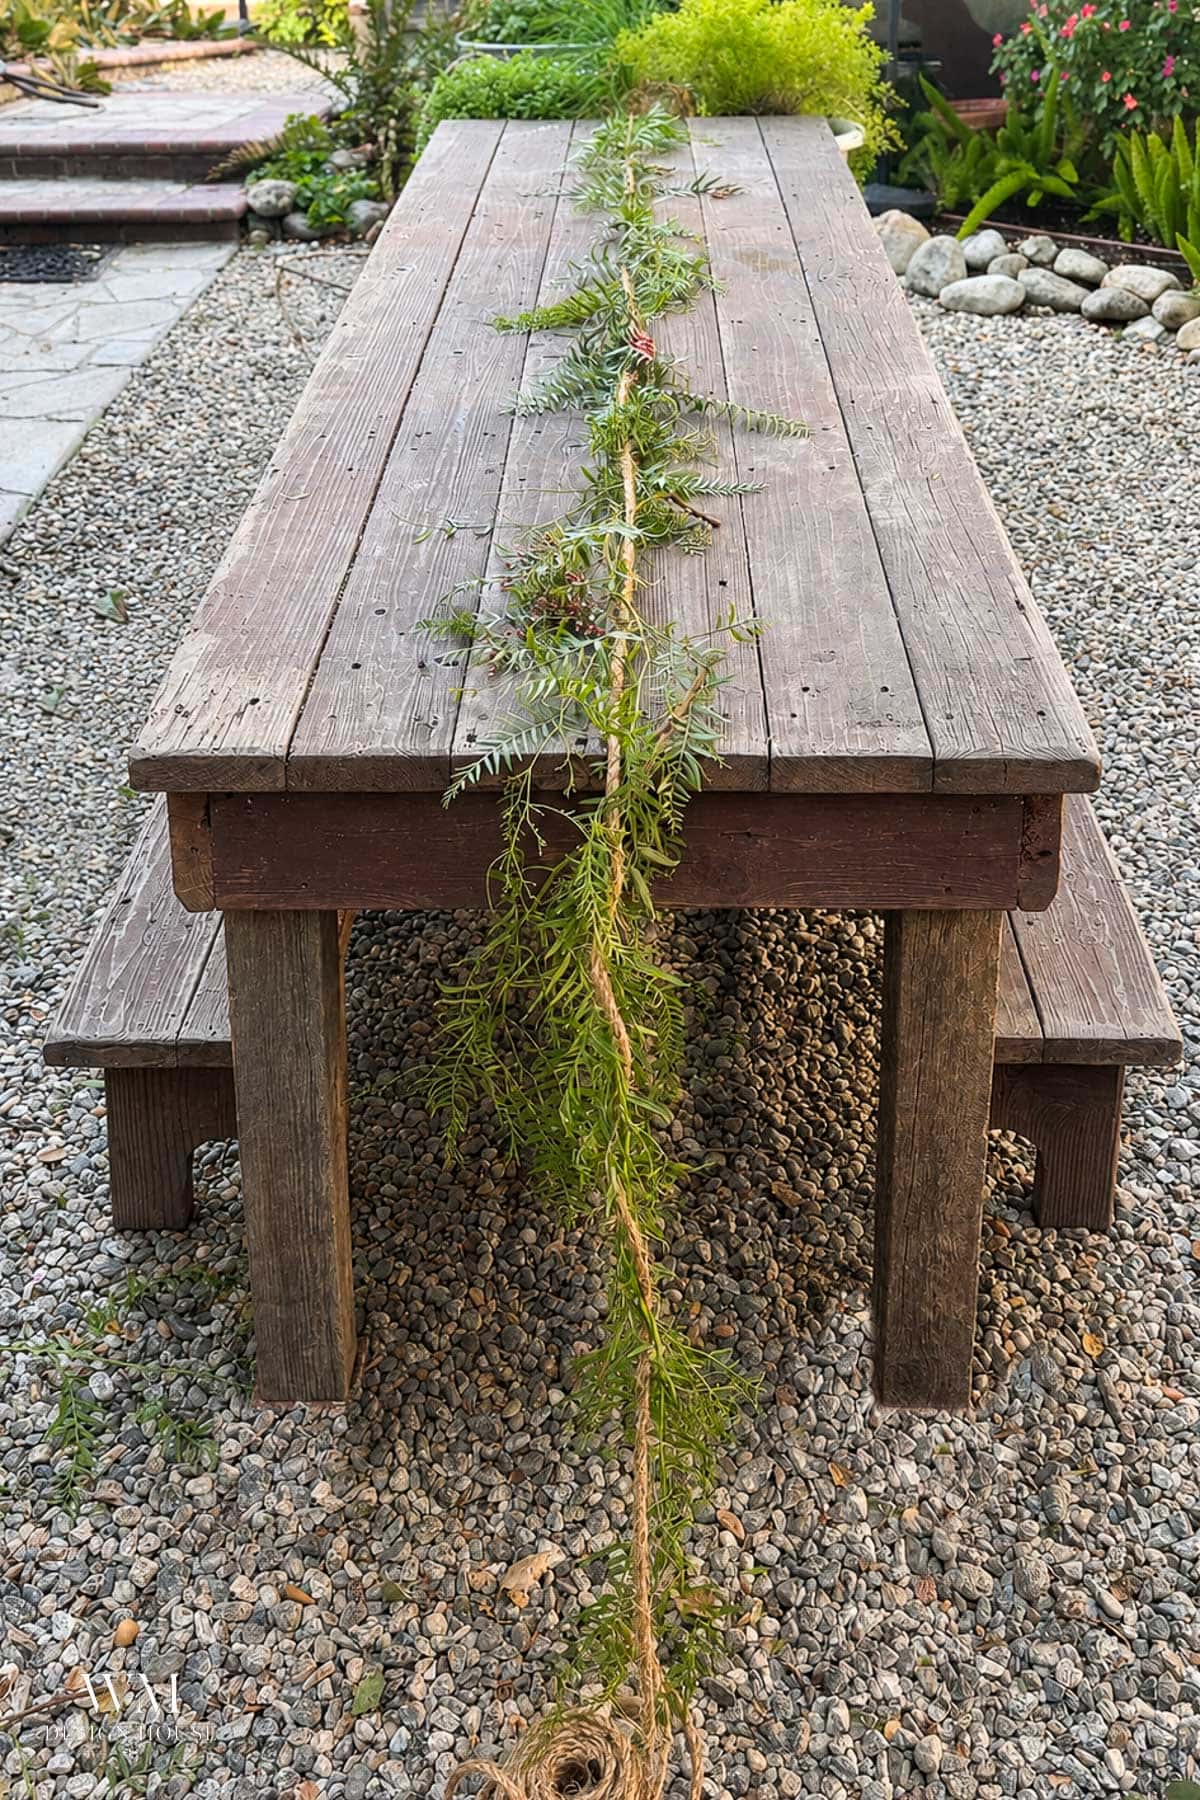
Step 2 – Wind pepper berry around the rope
Wrap the pepper berry branches loosely along the length of the rope before anything else goes down. Any small gap that opens up between bundles later will read as intentional greenery rather than bare cord.
Step 3 – Build your bundles
Gather three to five stems, mix at least two kinds of greenery, fan them slightly, and wire the bases together with paddle wire. Each bundle finishes about 18 inches long. For a nine foot table I made eight, which works out to roughly one bundle per foot of table.
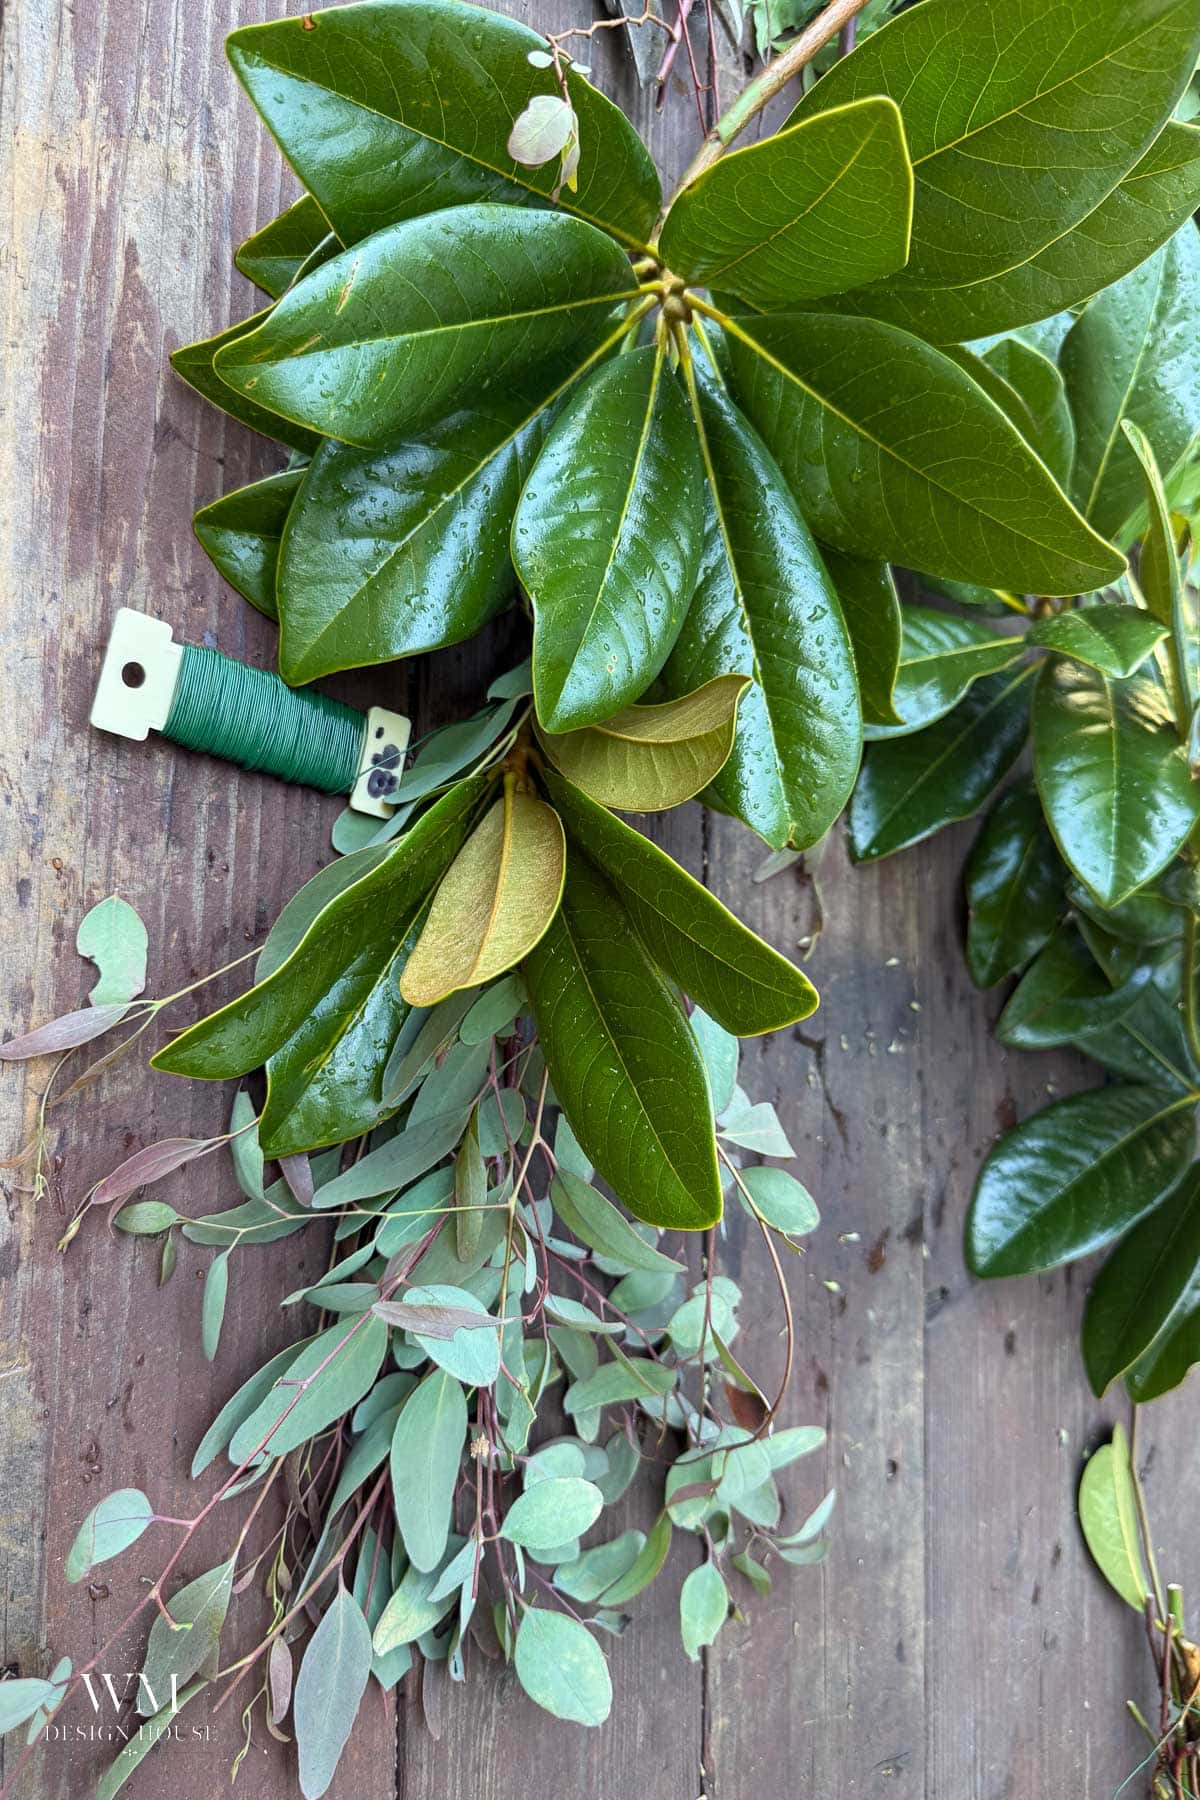
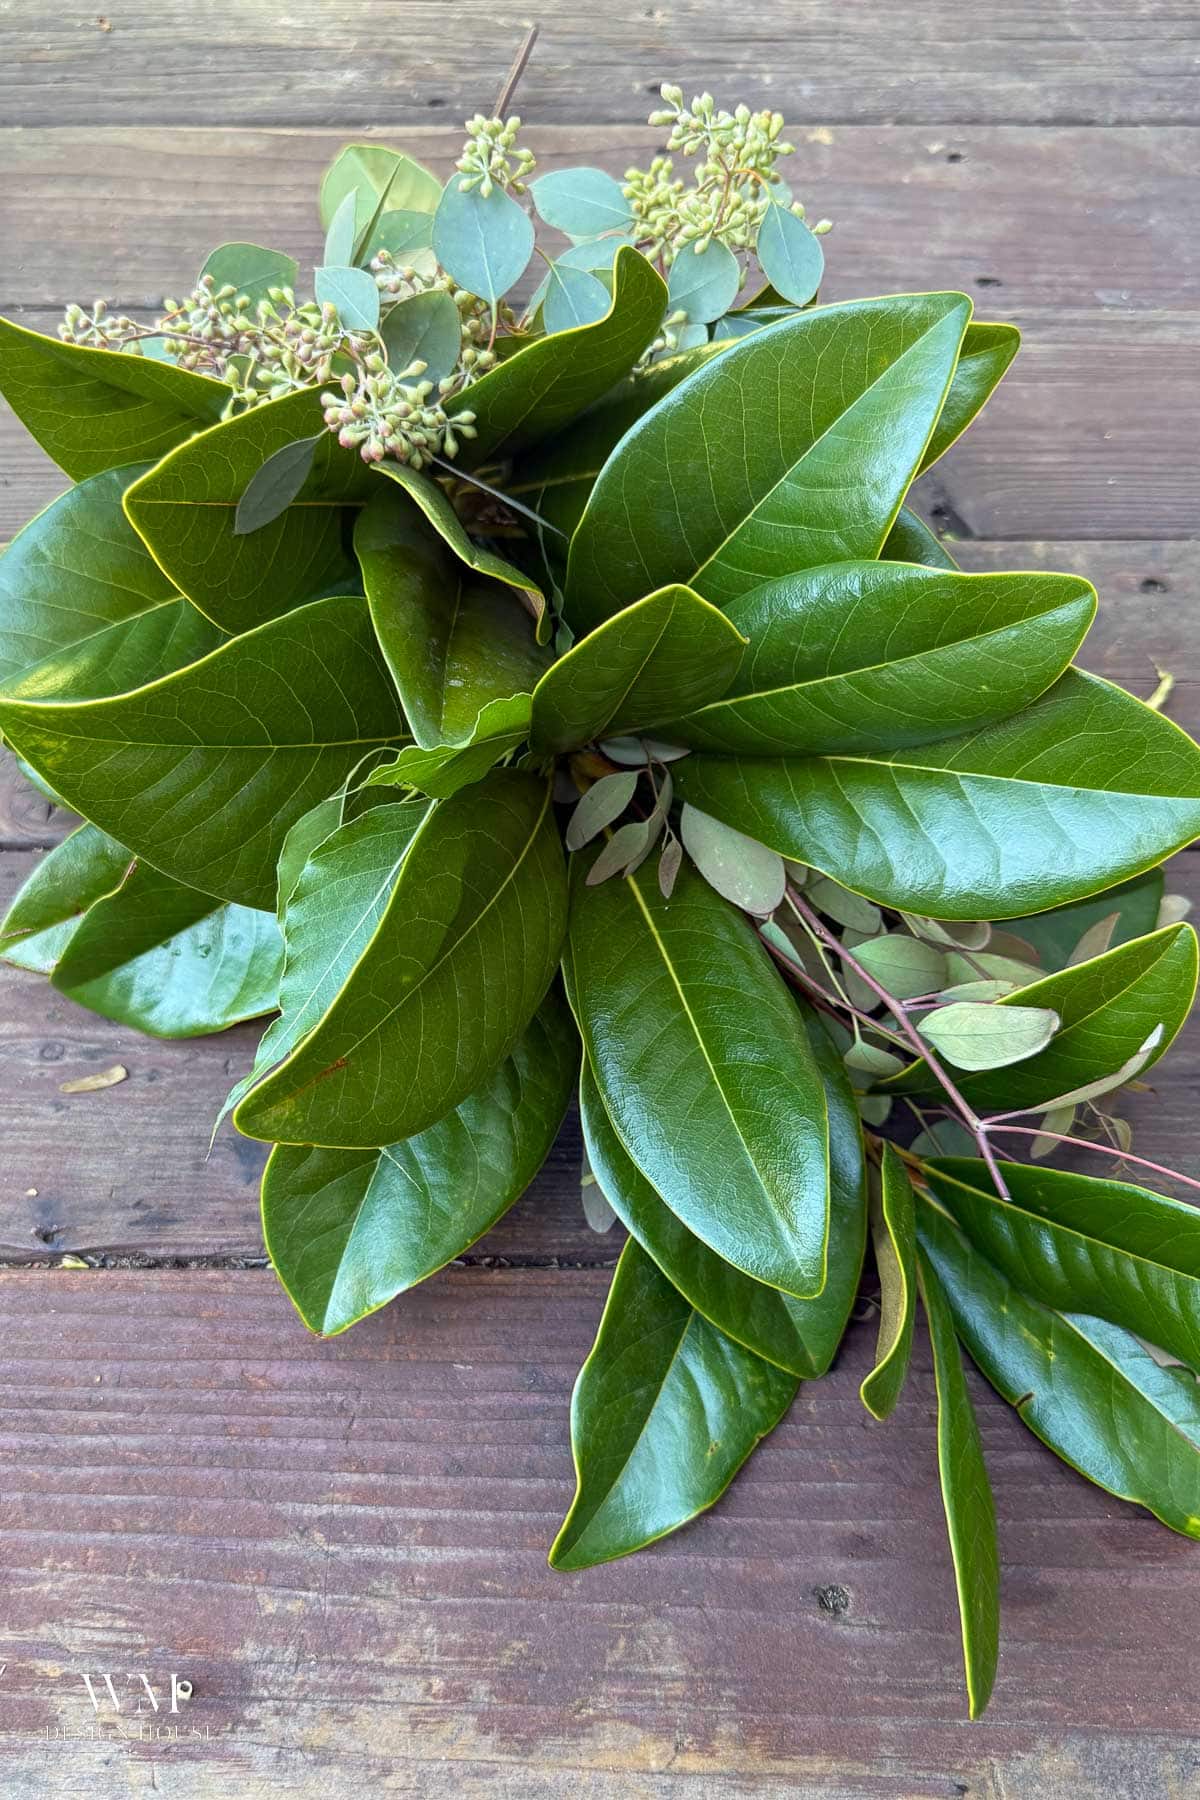
Step 4 – Set your centerpiece first
Place the large arrangement where you want it before you lay a single bundle. Everyone else builds the garland and drops the centerpiece on top afterward, which is exactly why theirs always looks added on. Anchor first, build around it, and the whole runner reads as one continuous piece.
Step 5 – Place your bundles
Working outward in both directions, set each bundle on top of the rope so its leaves cover the wired base of the one before it. Keep the rope hidden underneath the whole way down.
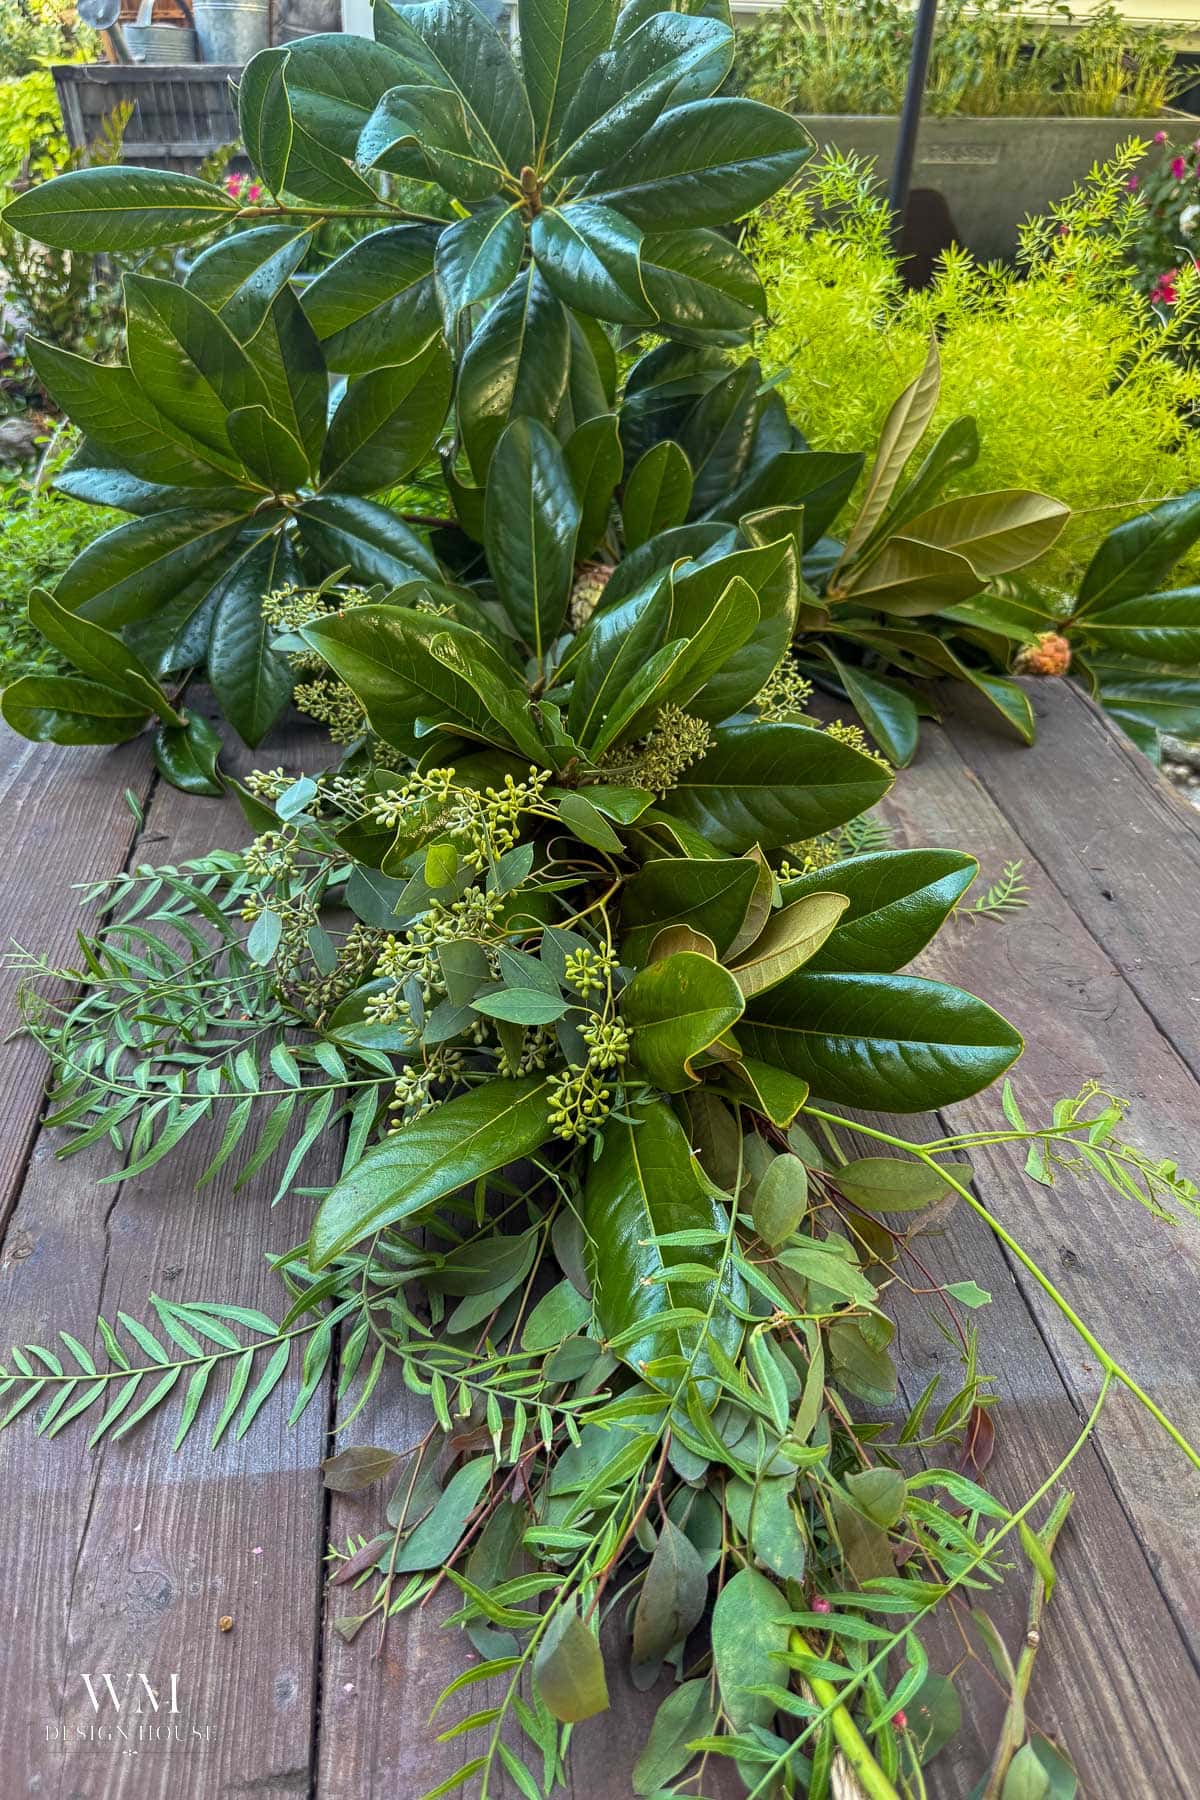
Step 6 – Wire the ends and let them hang
When you reach each end of the table, wire the last bundles directly to the rope so they spill over the edge instead of stopping flat. This is the single thing that makes a homemade runner look like it came from a florist, and almost nobody does it.
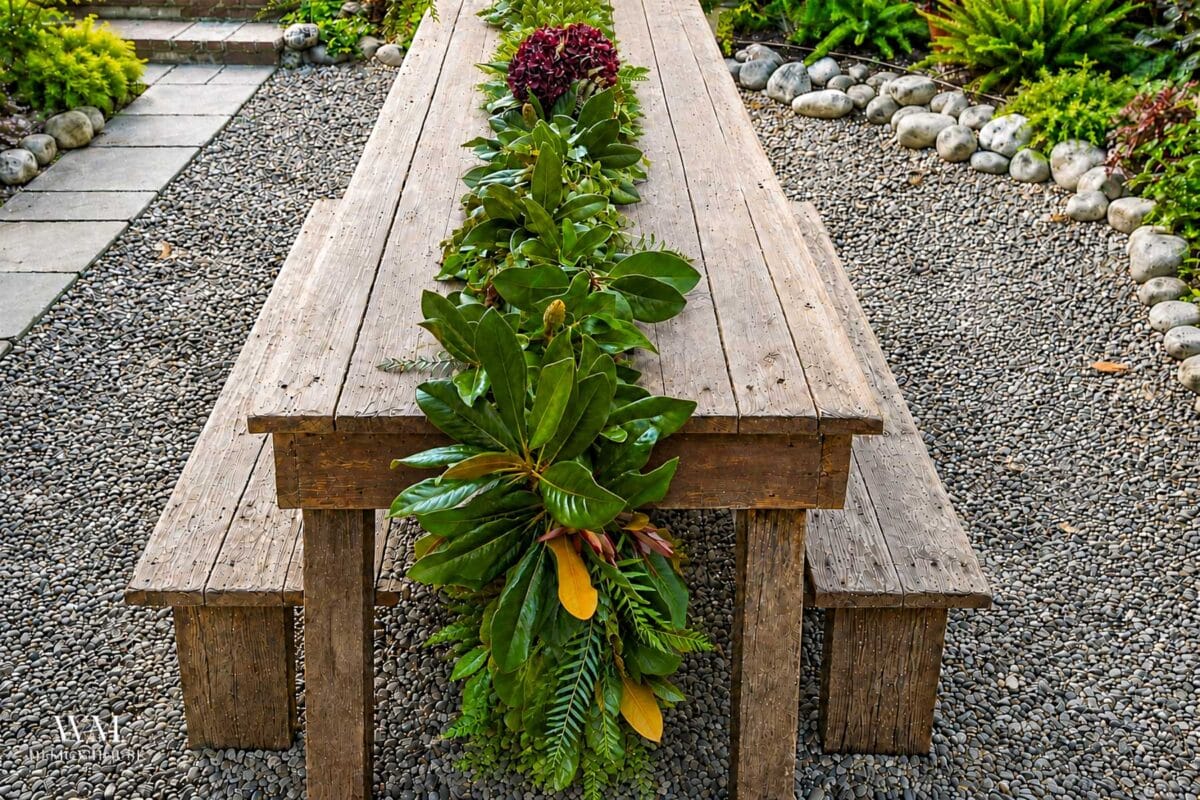
Step 7 – Decorating your green runner (Optional)
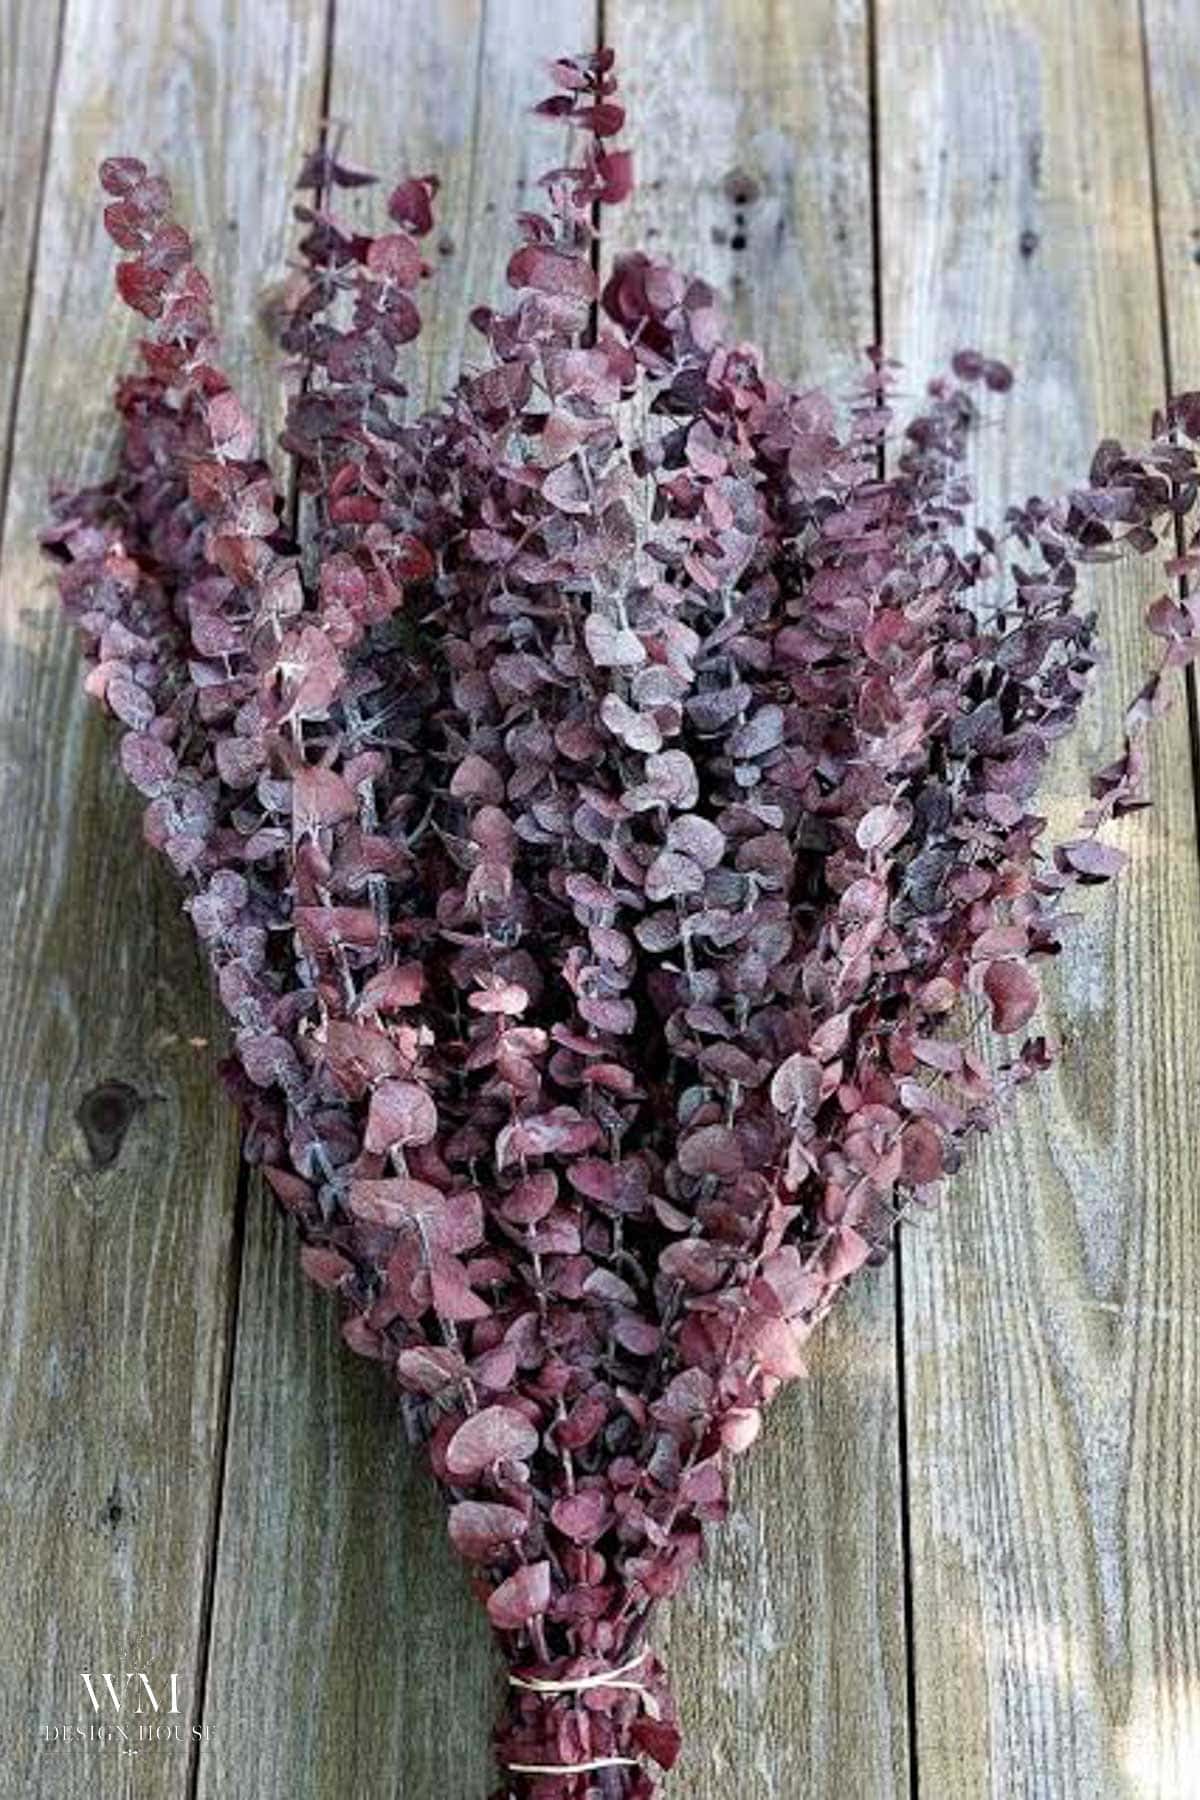
Add the dried red eucalyptus. This goes in before anything else so it weaves through as another layer of greenery rather than sitting on top. The deep color starts pulling the whole runner toward burgundy.
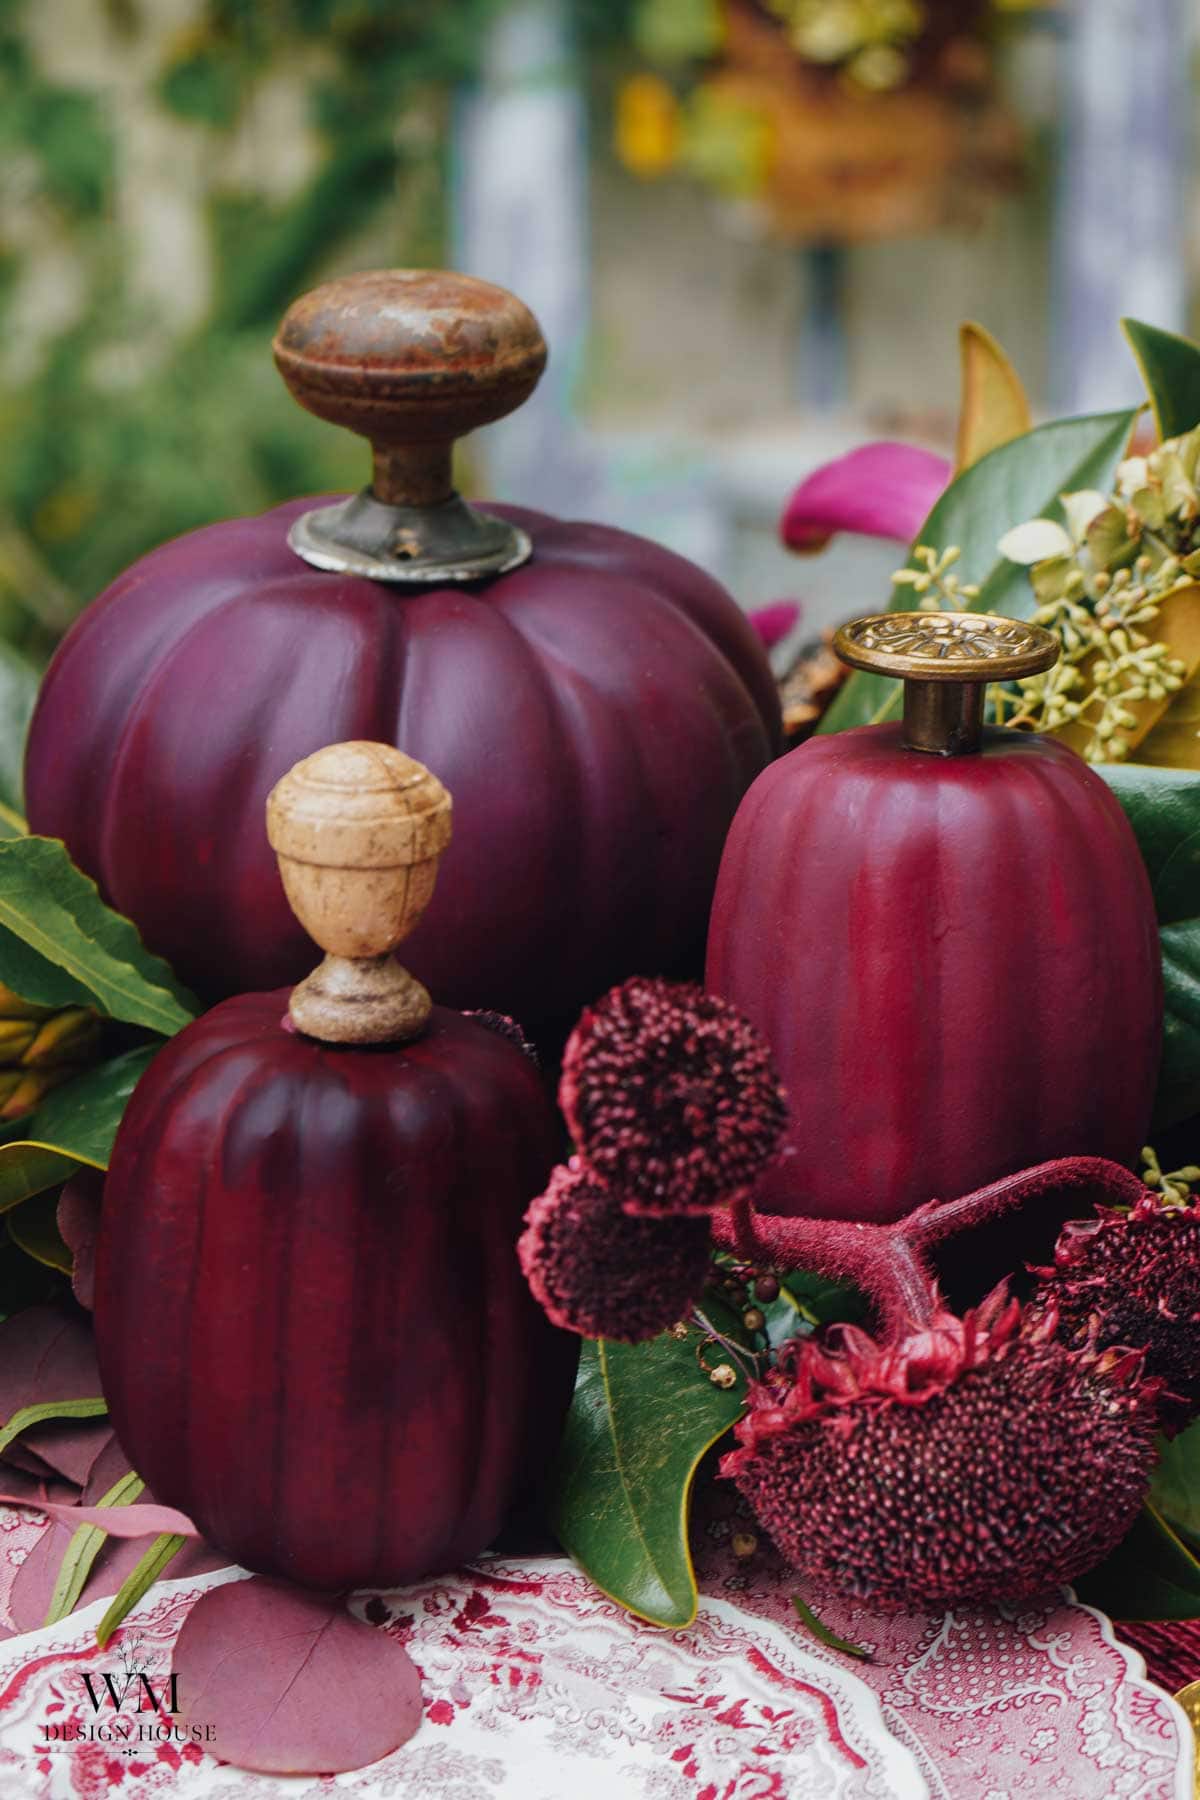
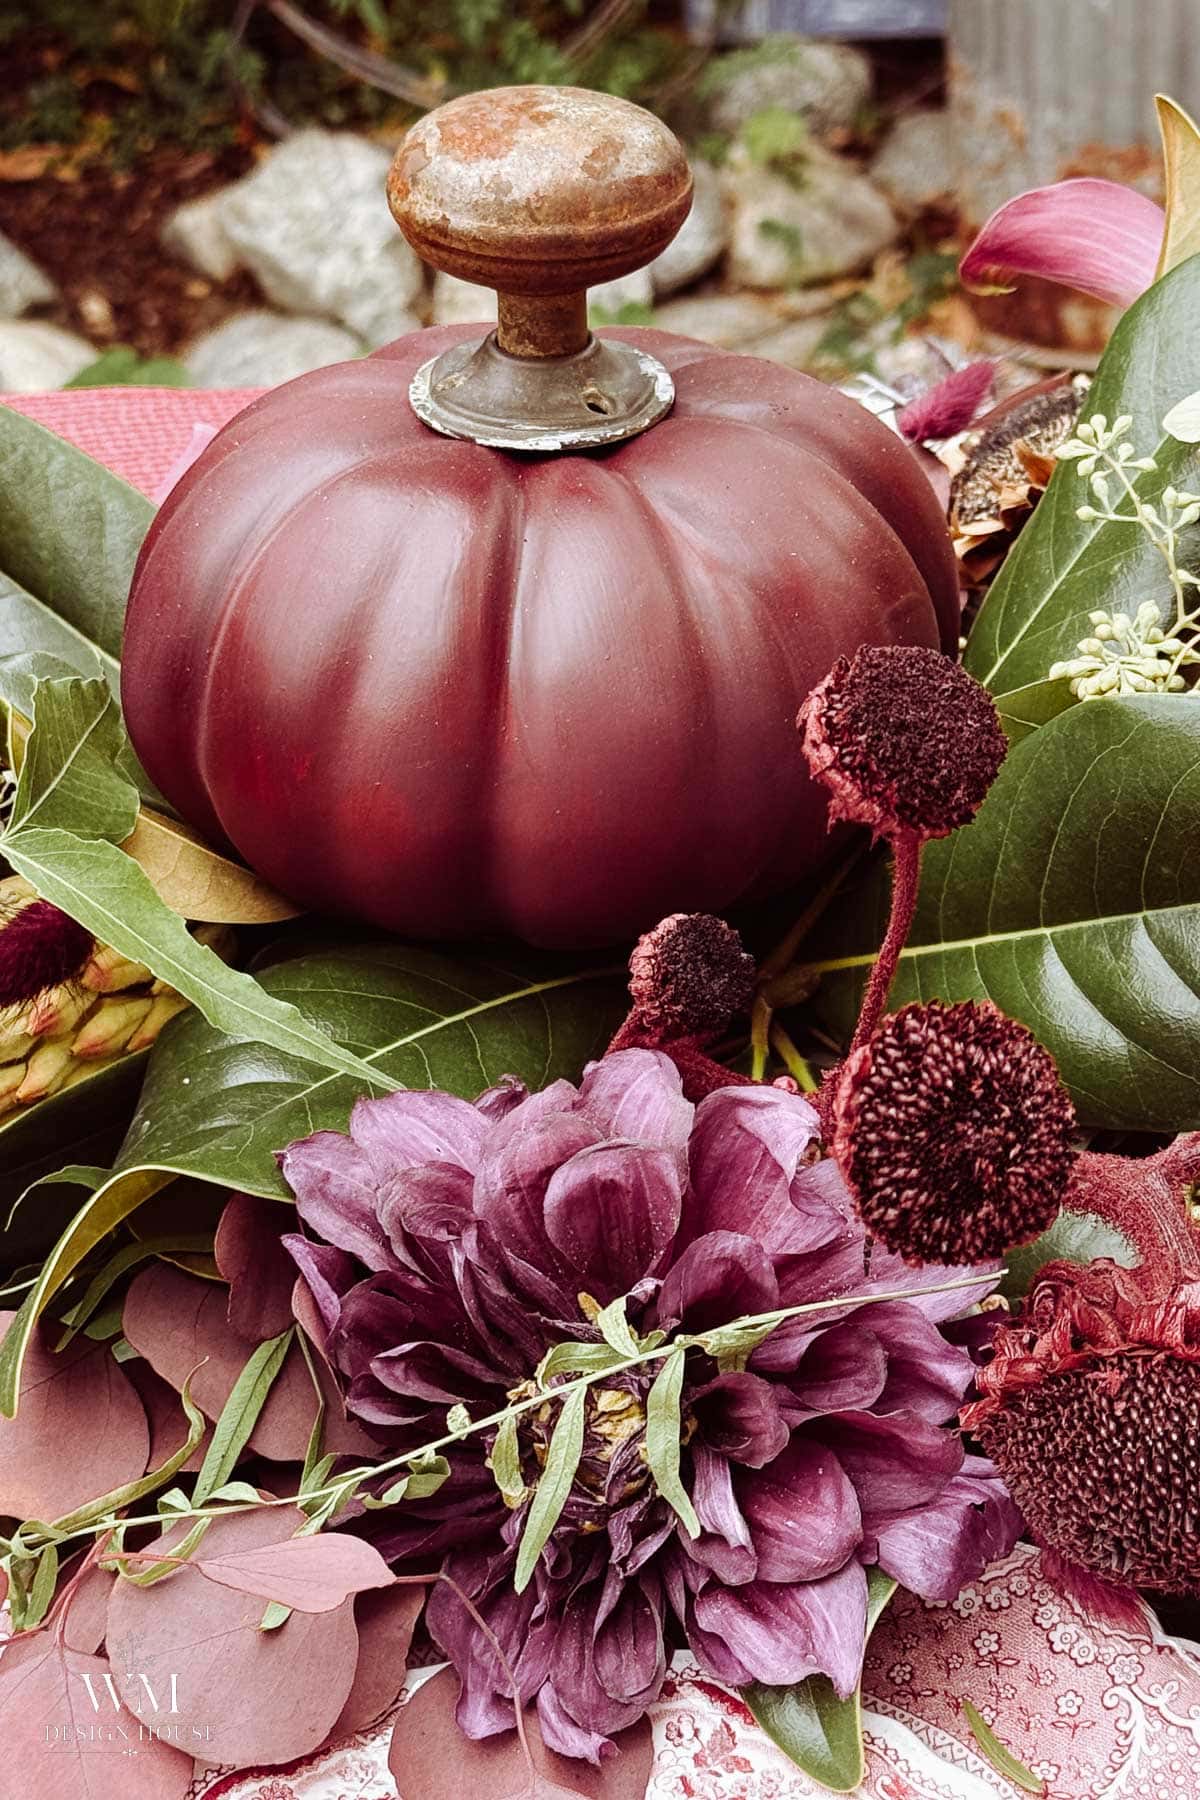
Place your largest pieces first. Pumpkins next, nestled down into the greenery so the leaves come up around them and they look settled rather than set on top. Work from biggest to smallest all the way through. Everything you add after this fills in around what is already placed, which is why the big things go first.
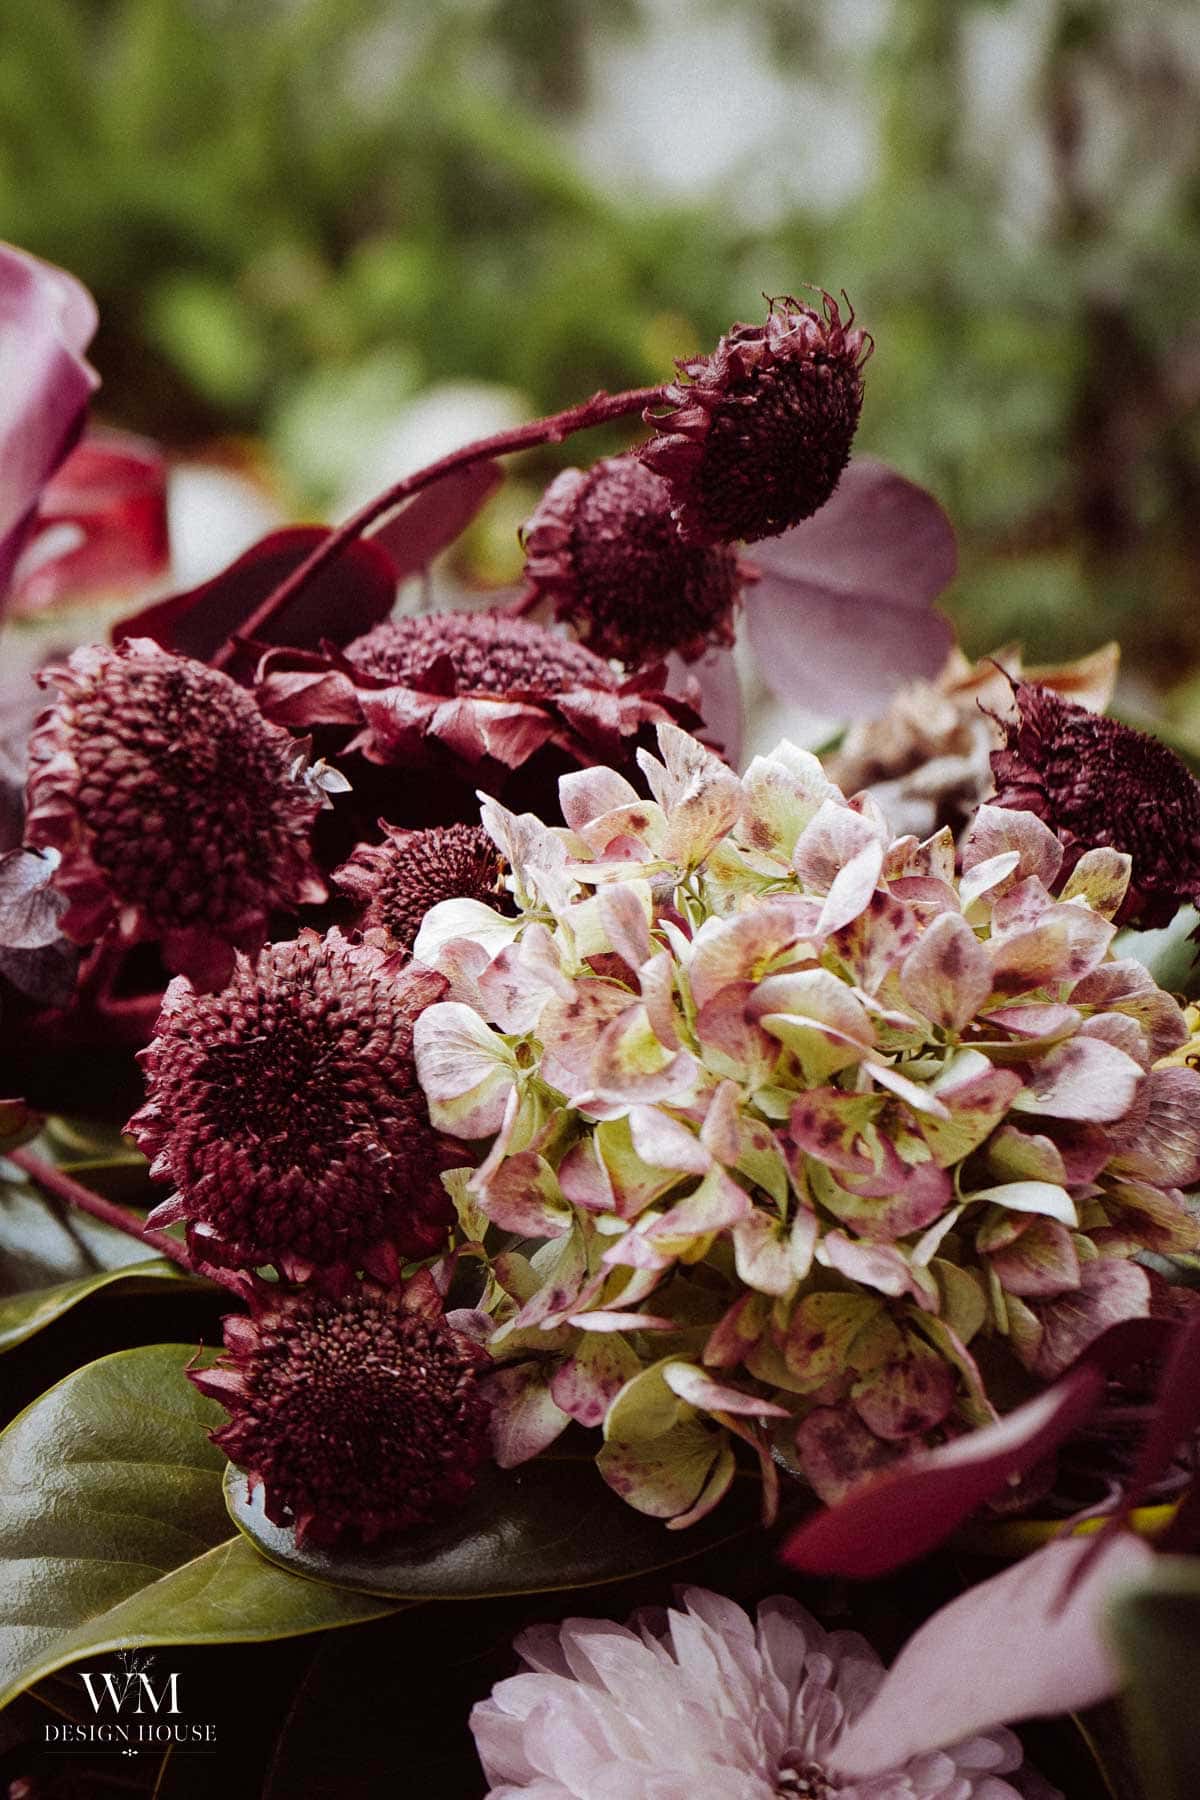
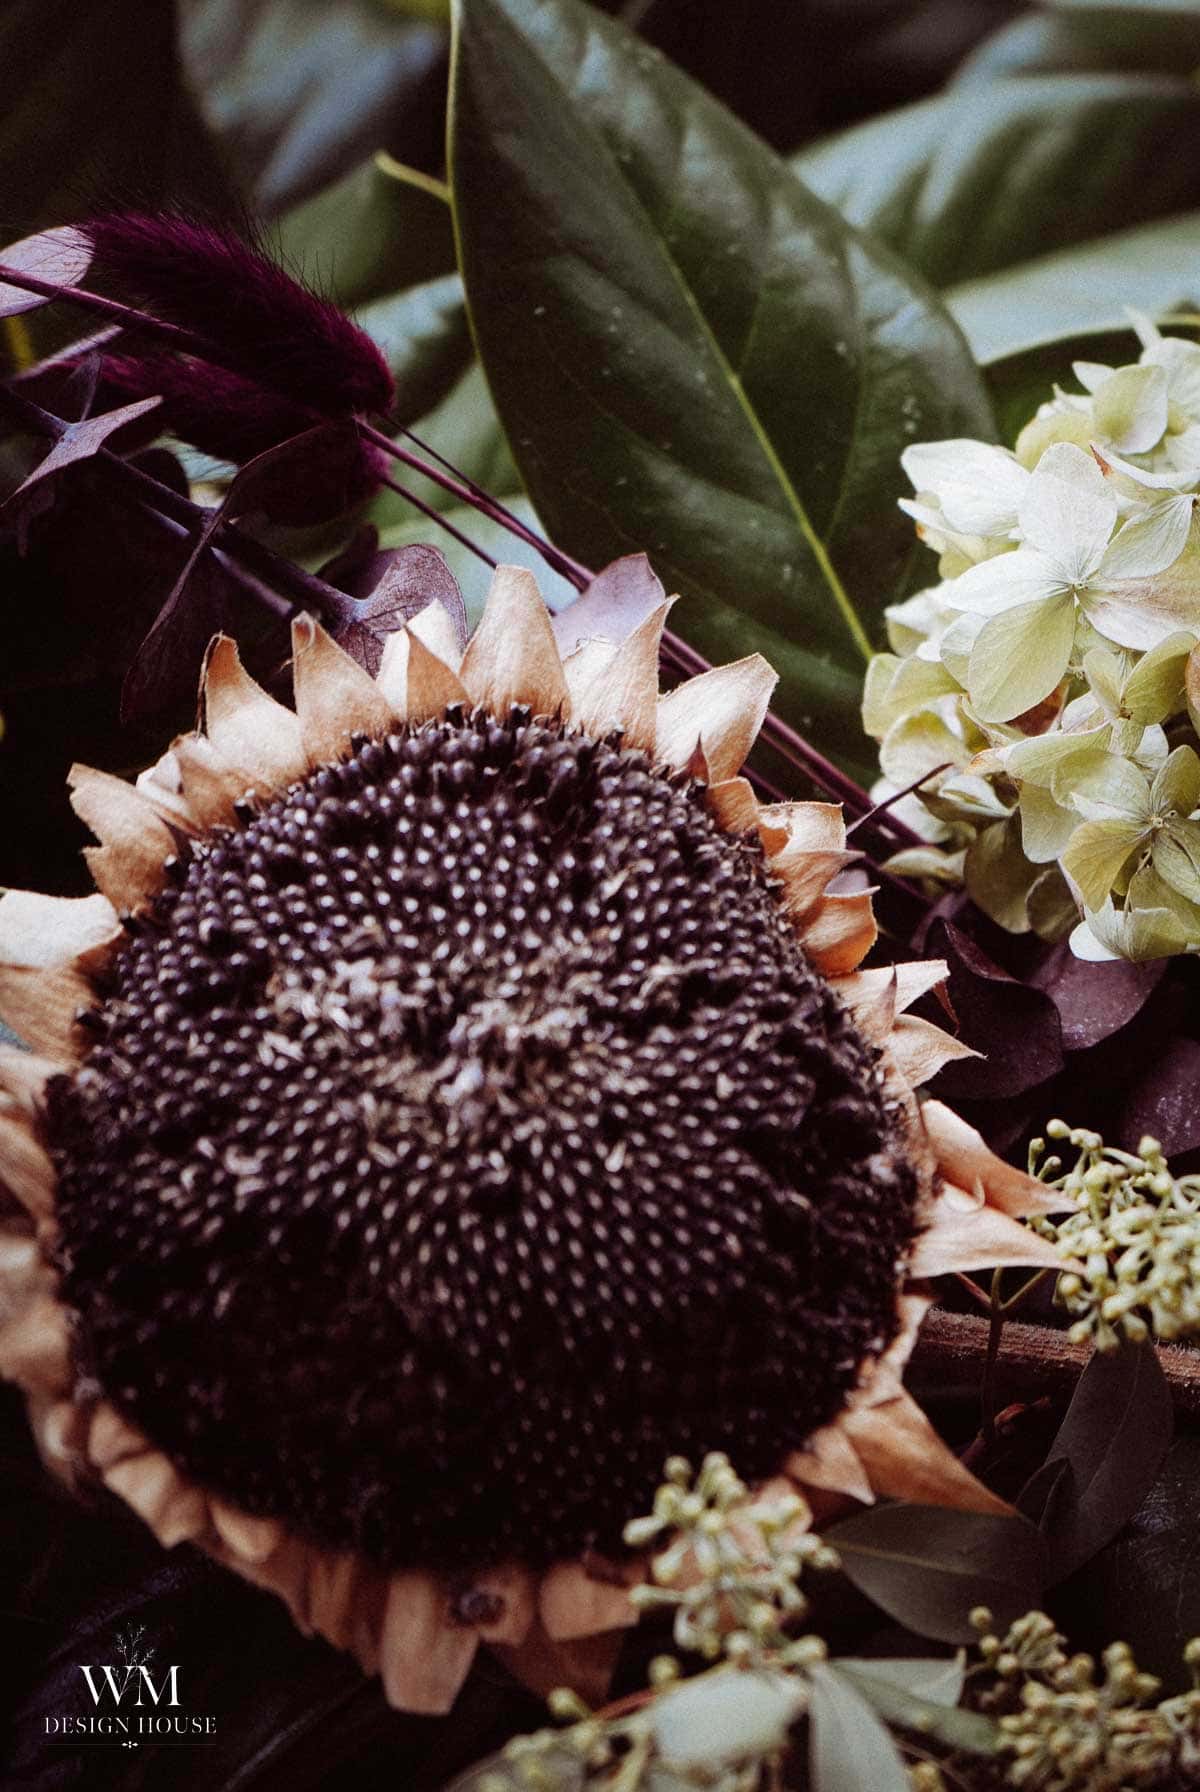
Then the dried sunflowers, hydrangeas, and bunny tails. Sunflowers next since they are the largest of the dried flowers, then hydrangeas to fill, then bunny tails tucked in for texture. Cluster two or three together in a few spots rather than spacing them evenly.
Dahlias last, then the fresh callas. Save the dahlias for the end and give them the best spots, right where people will be sitting. They are what everyone looks at first. Add the callas in water tubes at the very last minute.
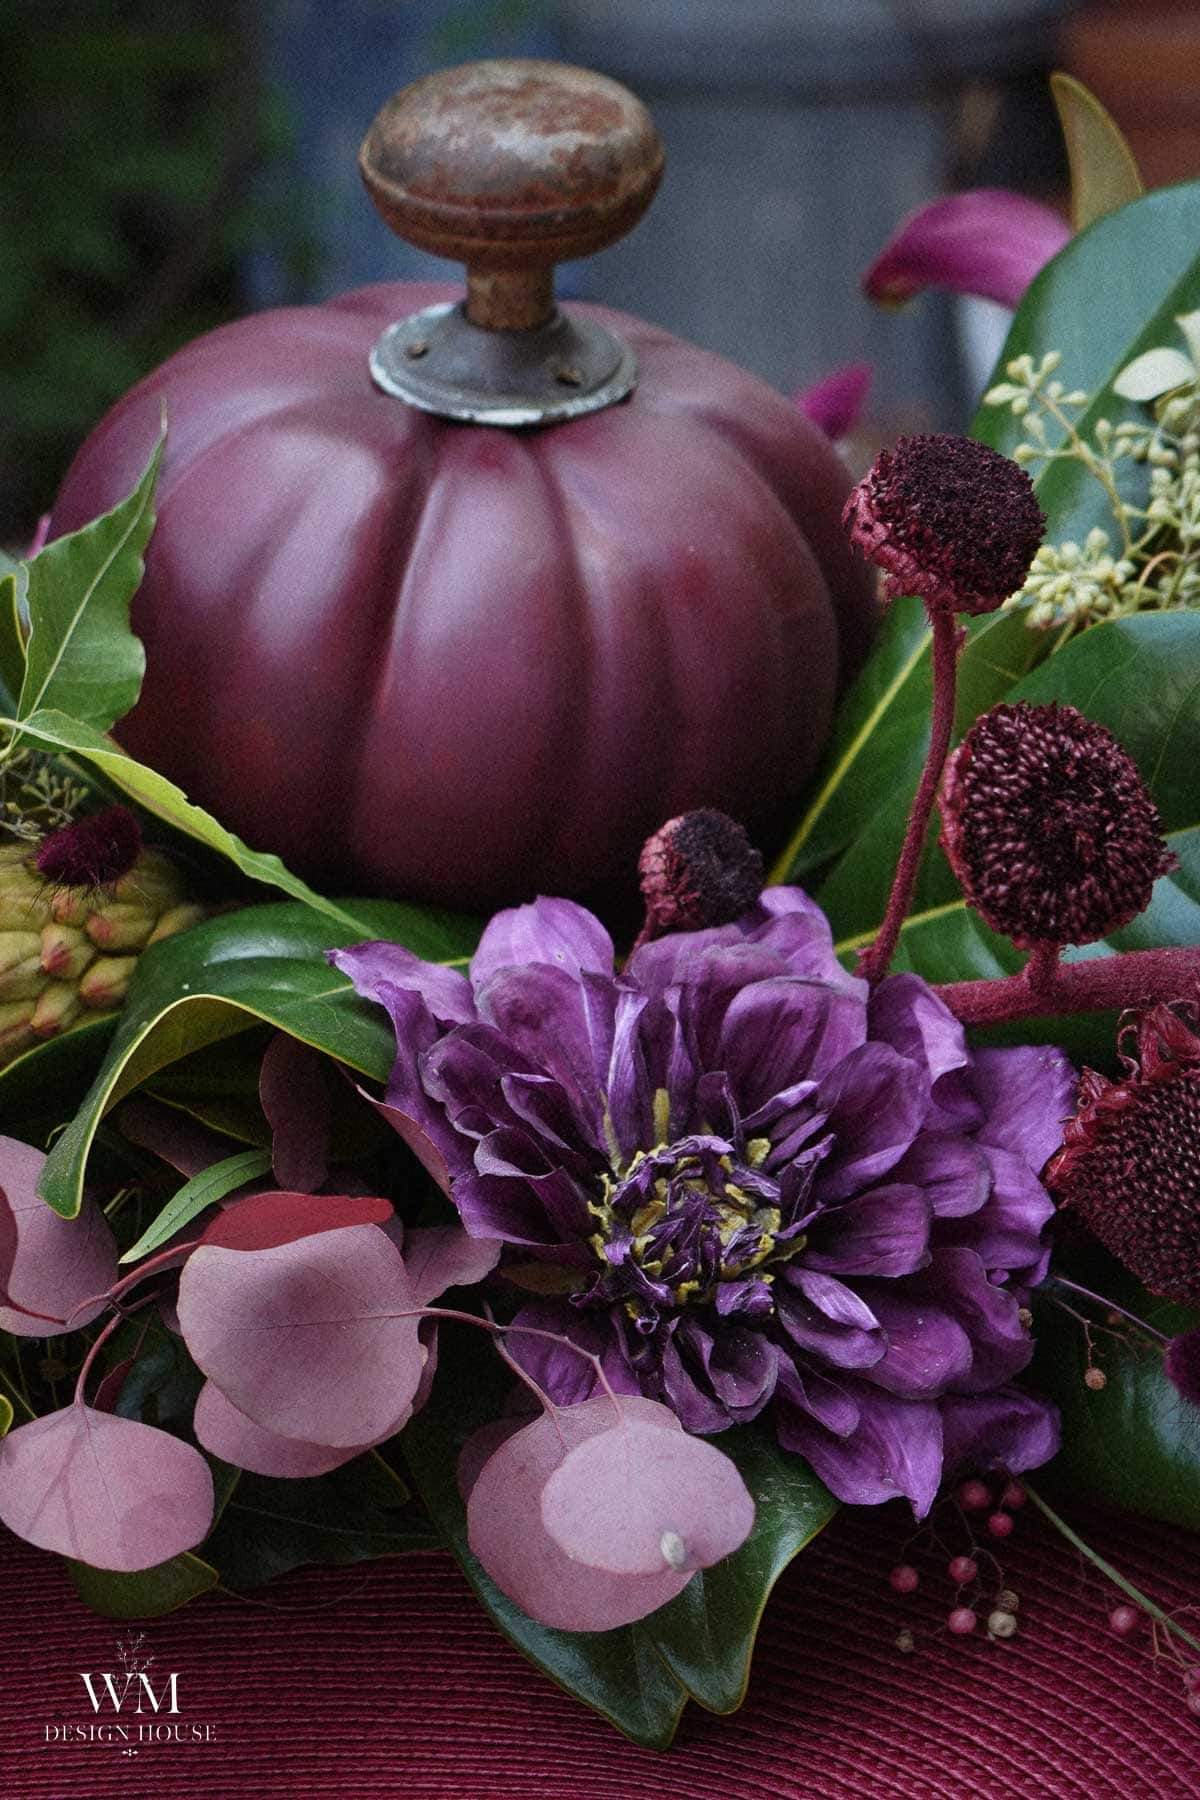
Step back and look down the length. Walk to the end of the table and check the line. Runners are almost always too flat in the middle and too heavy at the ends. Adjust until it feels even.
Tip from wendy:
Build the runner right on the table, not on the floor. The bundles are only wired at the ends, so the middle is held together by nothing but overlap and gravity. It will not survive being carried.
Dried Flowers From the Garden
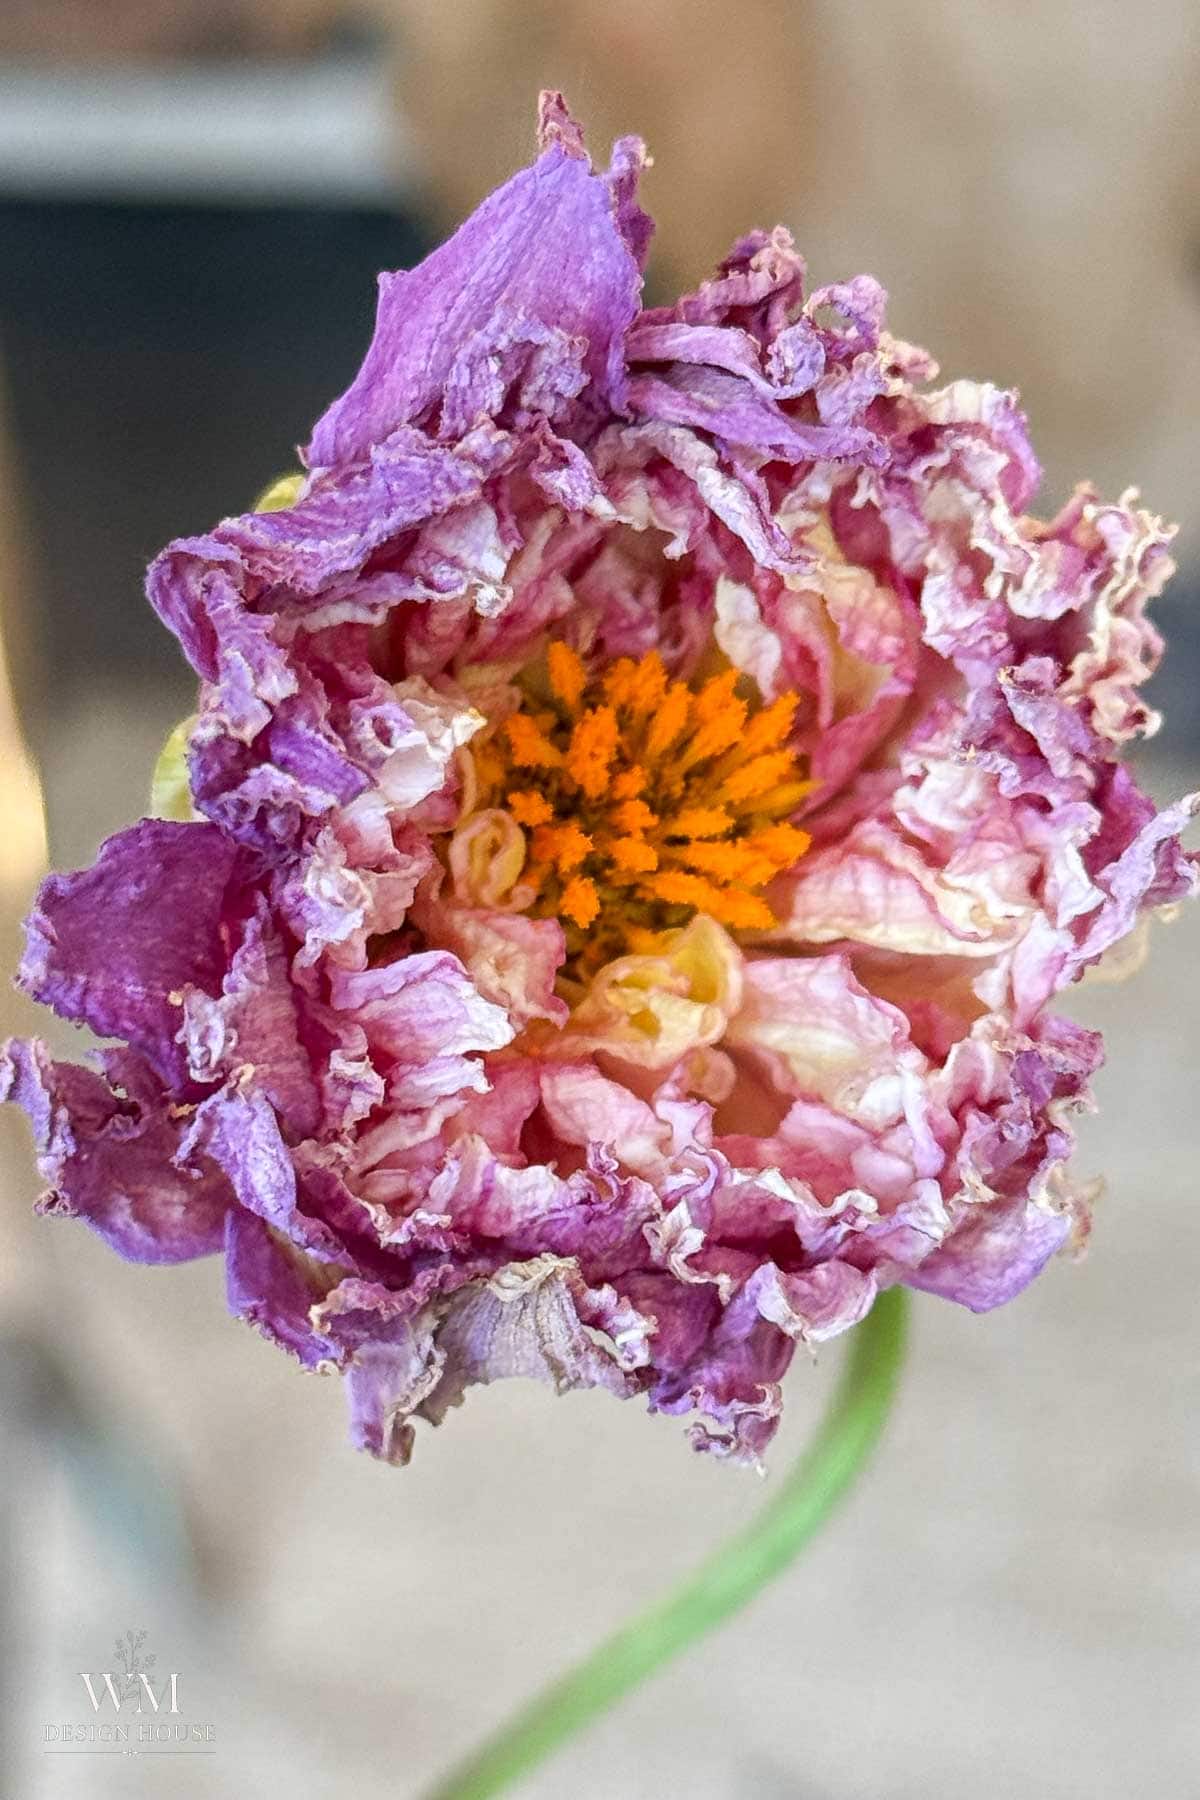
These are the pieces I look forward to every year. I dry dahlias all through September and they have become my favorite thing to tuck into anything fall. For this runner I used deep red and pink varieties to stay inside the palette.
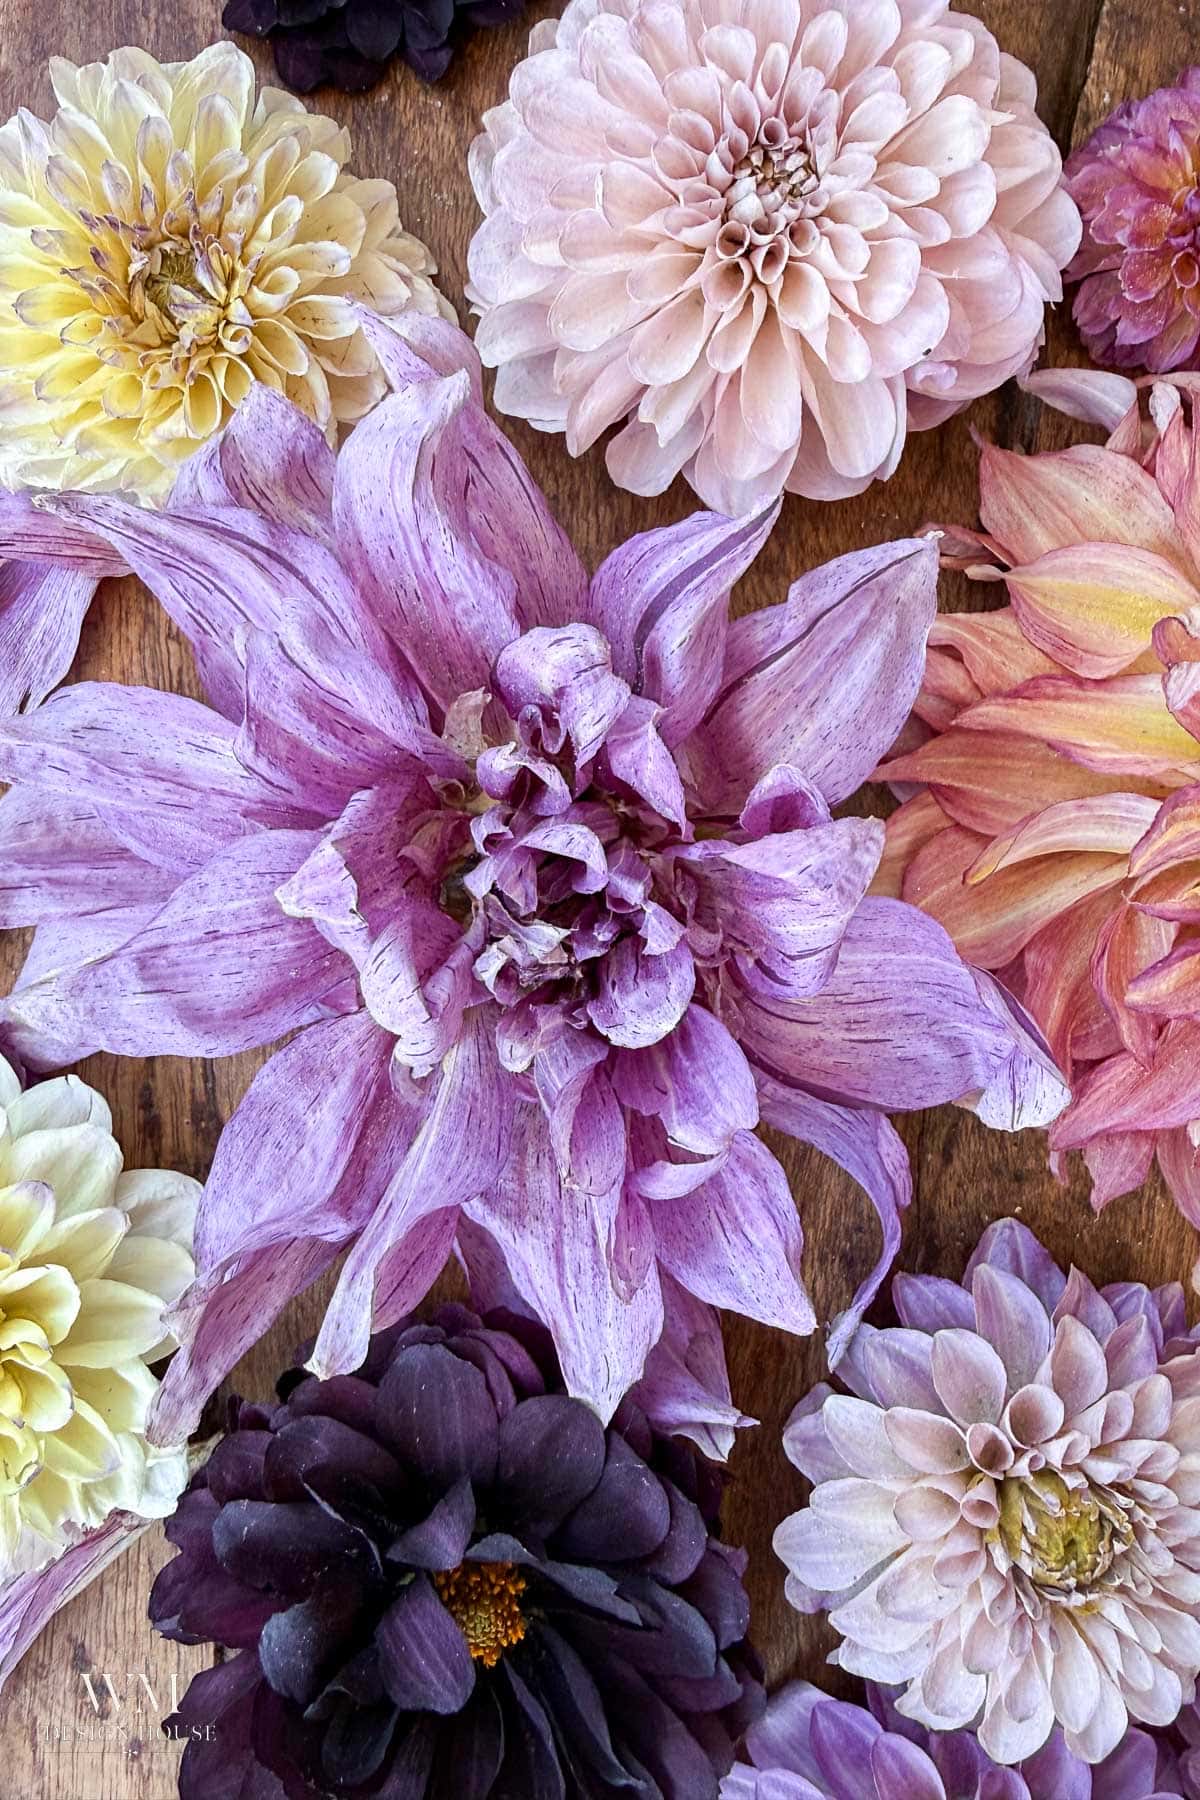
The blooms need to hold their own against all that greenery, so I used a mix. Ball and pompon dahlias hold their shape best and take handling well, so those went in first. The dried dinnerplates are more delicate, but they are also the most dramatic thing in the runner, so I placed those last.
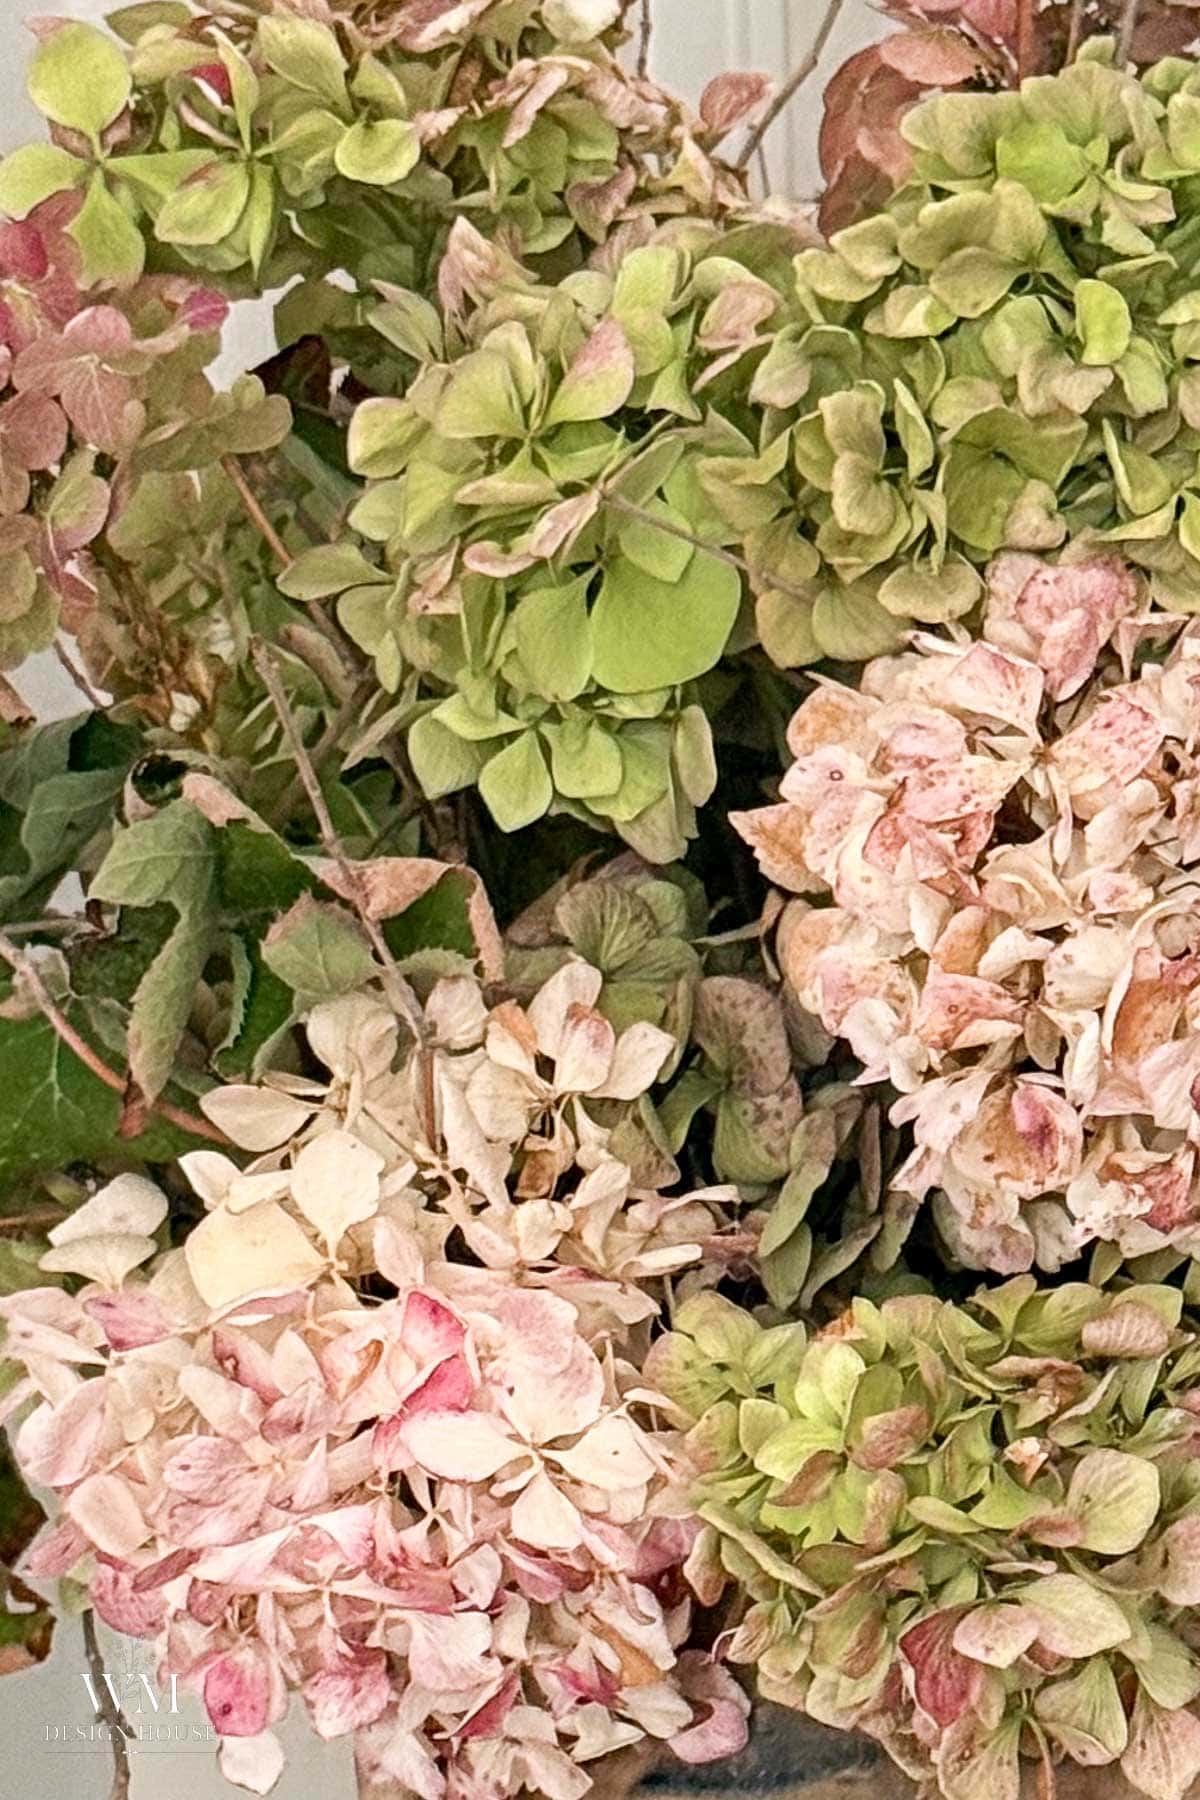
Hydrangeas dry with almost no effort and hold their shape for years, which makes them the most forgiving dried flower you can build with. The antique green ones are what keep this runner from going too dark. I simply cut them at the right time and put them in a vase with only one inch of water in the house and let them dry naturally.
The burgundy sunflowers are dried from my garden as well, spray painted to bring them into the palette. That is its own small project and I am saving it for the table post in a couple of weeks.
Adding Fresh Flowers in Water Tubes
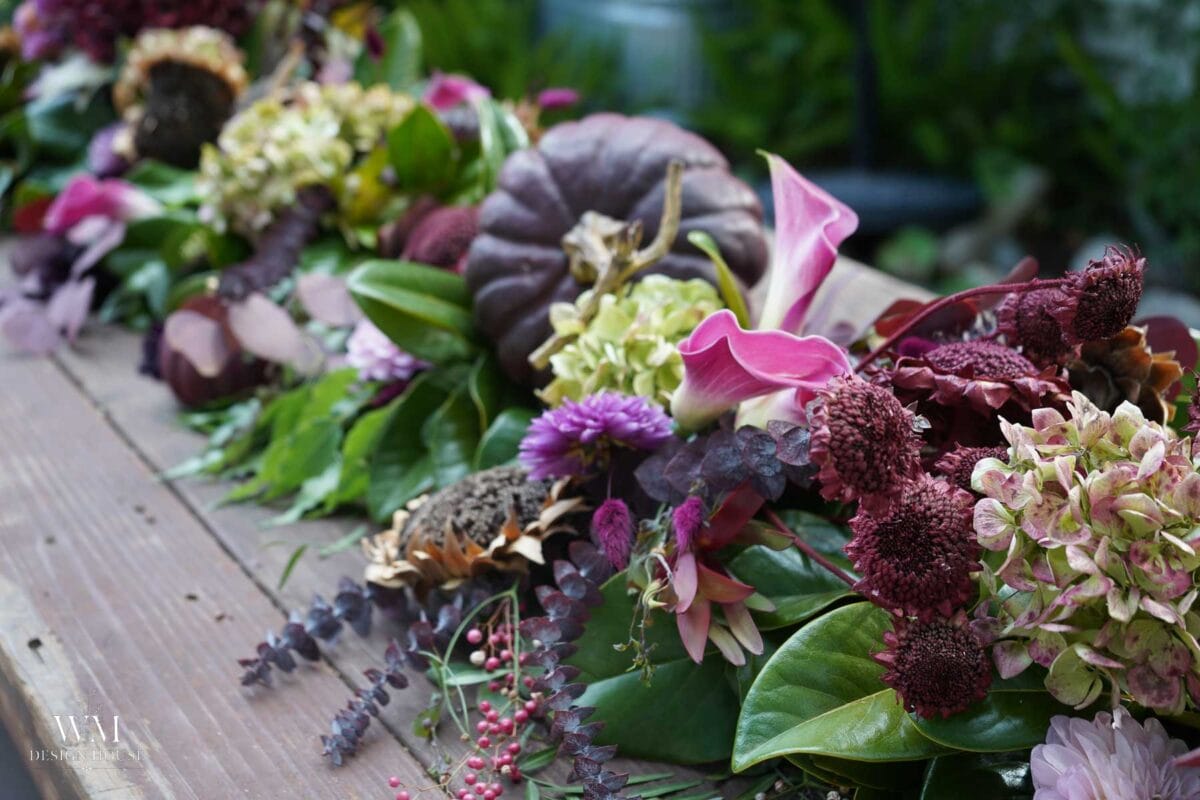
At the last minute I added fresh pink calla lilies, each one in a small floral water tube pushed down into the greenery so the tube disappears completely.
Water tubes cost a couple of dollars for a bag of them and they solve a problem most people give up on. You get real fresh flowers in a runner that has no water source anywhere, and nothing else in the arrangement needs watering.
• Cut the stem short, on an angle, and push it firmly through the rubber cap
• Bury the tube at an angle so the greenery hides it from every seat at the table
• Top the tubes off every couple of days
• Pull the callas when they are done and the runner underneath is completely unchanged
That last point is the real advantage. The fresh flowers are a swap-out layer. Callas now, something else in November, and the runner keeps going.
What It Cost
About forty dollars for nine feet, and that is with a centerpiece included.
Free: all of the greenery, cut on walks and from the office magnolia. The dahlias, hydrangeas, and sunflowers, all grown and dried in my own garden. The pumpkins, which are foam ones from last year that I repainted.
Purchased: spray paint, sisal rope, dried red eucalyptus, dyed bunny tail grass, and faux hydrangeas for the centerpiece. Yes, faux. The centerpiece needed a bloom I did not have anything real for, and mixed in among this much fresh and dried material nobody can tell.
For comparison, a nine foot faux garland in this style runs well over a hundred dollars and looks like exactly what it is.
How Long It Lasts
Here is the honest answer, because I am writing this while the runner is still on the table.
Day five and it still looks wonderful. Nothing has wilted, because a runner built from magnolia and eucalyptus does not really wilt. It dries. The magnolia is deepening toward that brown suede color, the eucalyptus is softening, and the whole thing is getting more muted and more autumn as the week goes on.
• No water, no misting, no maintenance on the greenery at all
• Keep it out of direct afternoon sun, which will fade the burgundy faster than anything else on the table
• If a few leaves drop, sweep them up and keep going. Drying material sheds a little and that is normal.
• The only thing needing attention is the water tubes, if you used them
I will come back and update this post in November with how it actually held, because I would rather tell you what happened than guess.
A Word About Candles
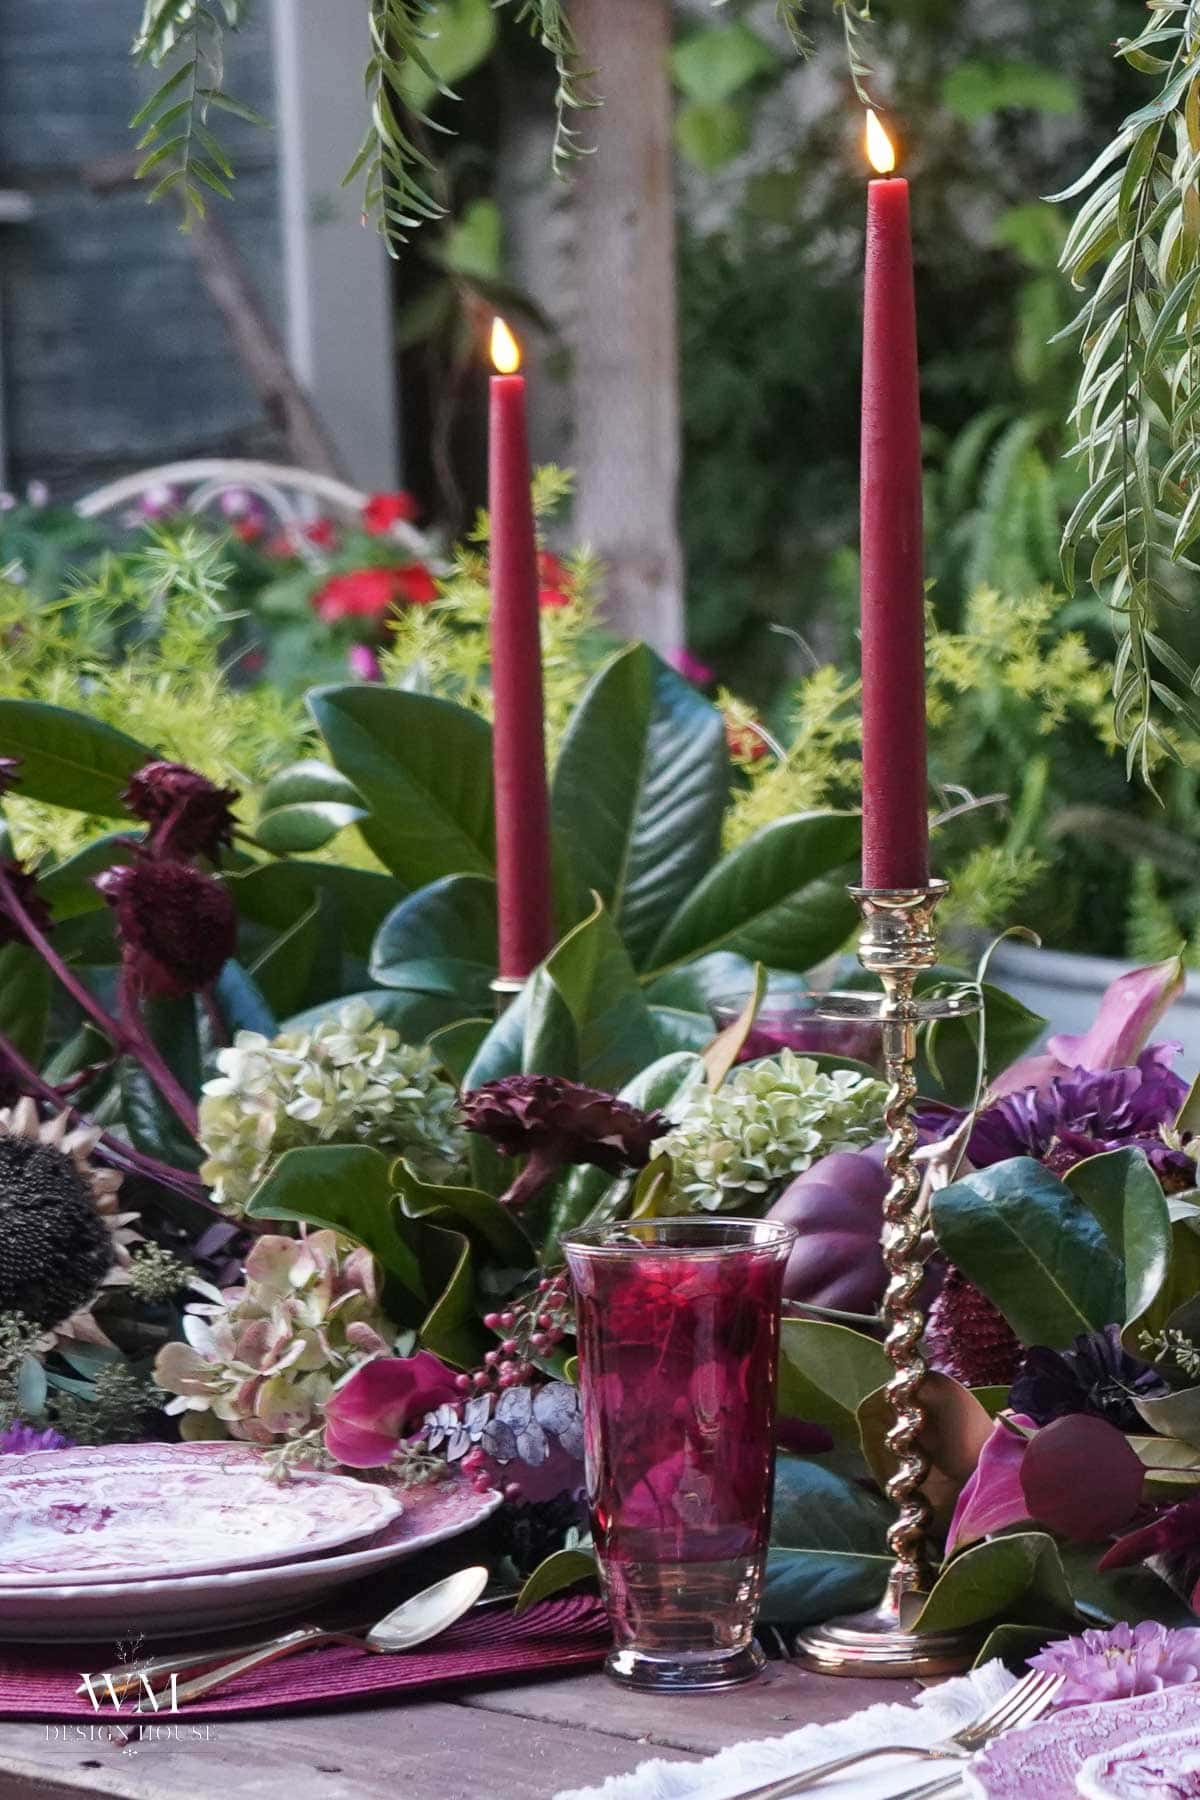
A runner like this practically begs for taper candles down the middle, and I am not going to tell you not to do it, because I did it.
While the greens are fresh they are fairly forgiving. By week three you are dealing with dry material, and dried botanicals catch quickly. Keep flames at least six inches clear of the greenery, use tall holders or hurricane glass that lift the flame well above the runner, and never leave a lit table unattended. If your evening is going to run long or there are children at the table, good LED tapers have gotten convincing enough that nobody notices.
Styling Your Moody Fall Table
The runner is doing the work, so everything else can be quiet.
• Keep the linens plain. A natural or cream napkin lets the burgundy be the whole color story.
• Set anything tall to the sides rather than the center so people can see each other across the table.
• Bare wood underneath is better than a tablecloth. The contrast is the entire look.
• Go warmer with your glassware. Amber and smoke pick up the deep tones in a way clear glass does not.
If you want more ideas for the rest of the table, I put together a whole post on setting a stunning fall tablescape.
Frequently Asked Questions
Build it no more than a day ahead. Fresh greens are at their glossiest in the first 24 hours and the bundles settle once they are on the table, so building in place the morning of is ideal. If you must work ahead, make the bundles a day early, lay them flat in a cool spot, and assemble on the table the day of.
Magnolia, eucalyptus, olive, and bay are the strongest performers because their leaves are thick and waxy. Skip anything soft and thin like hydrangea foliage, ferns, or basil, which collapse within hours. If you can crease a leaf easily between your fingers it will not last on a table.
Fresh cut stems can weep a little sap in the first day, and pepper berries will mark a light finish if one gets crushed. If your table is precious, run a narrow strip of kraft paper or burlap underneath the rope before you start. On weathered outdoor wood like mine it is not a concern.
Shake each bundle firmly before it goes down, which knocks off anything already loose. Most shedding happens in week two as things dry, and a soft dry paintbrush run along the base of the runner clears it in about a minute without disturbing the arrangement.
Yes, and this is why I build one every year. The method does not change at all. Swap the palette: bare branches and white pumpkins for Thanksgiving, or cedar, pine, and a few brass bells for Christmas. Same rope, same bundles, same anchor.
More Fall Projects You Will Love
How To Dry Dahlias the Easy Way
How to Use one Eucalyptus Wreath for 4 Seasons
More Handcrafted Society Foraged Projects
My talented friends in the Hand Crafted Society have been working with foraged and found materials this month too, and I cannot wait for you to see what they made. Every one of them takes this in a completely different direction.
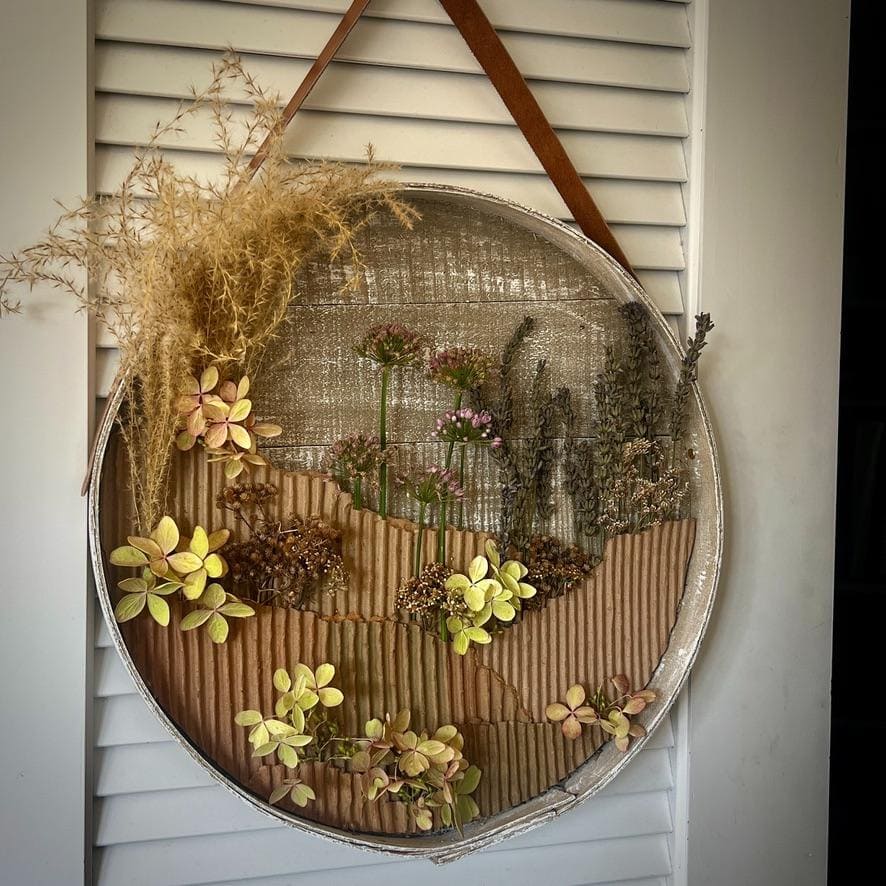
Fall Texture Added to A Cheese-Box
Diane from South House Designs transformed a simple vintage cheese-box lid into a beautiful hanging display, layering corrugated cardboard with delicate dried grasses, hydrangeas, and garden clippings. It’s rustic, whimsical, and such a lovely way to turn gathered treasures from nature into art!
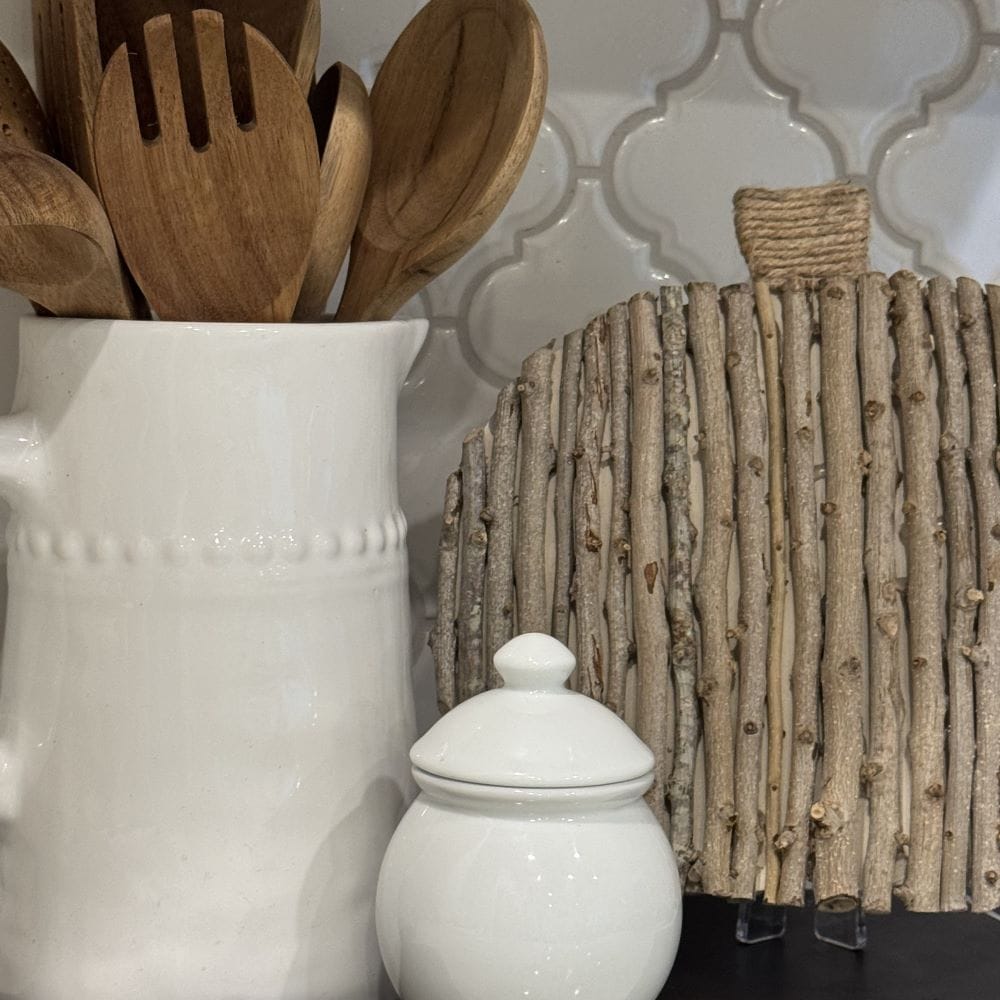
DIY Twig Pumpkins
Donna from An Organized Life transformed an inexpensive wood pumpkin with foraged twigs from her yard to create a textured, natural piece of fall decor.
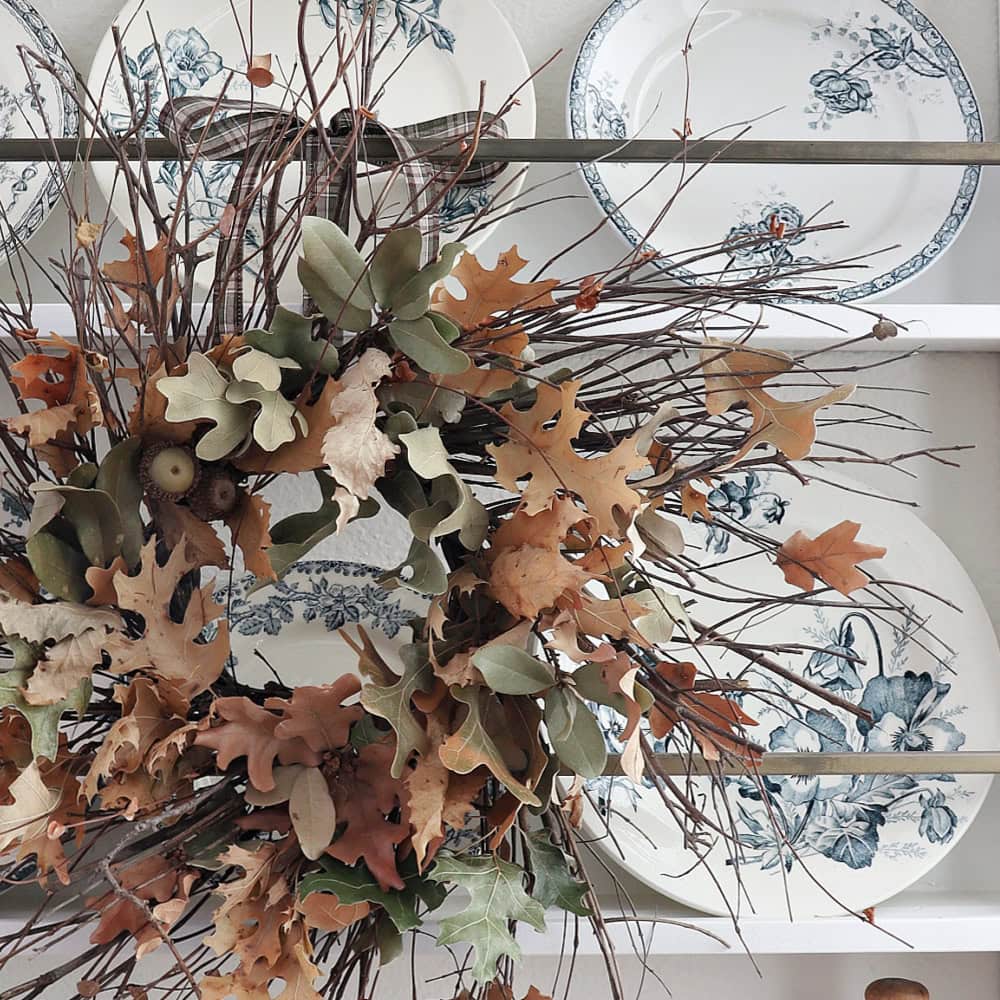
A Foraged Leaf Wreath DIY
Michelle from Thistle Key Lane celebrates what nature has to offer using fallen leaves to create a beautiful foraged wreath.
A Foraged Wreath Using Queen Anne’s Lace
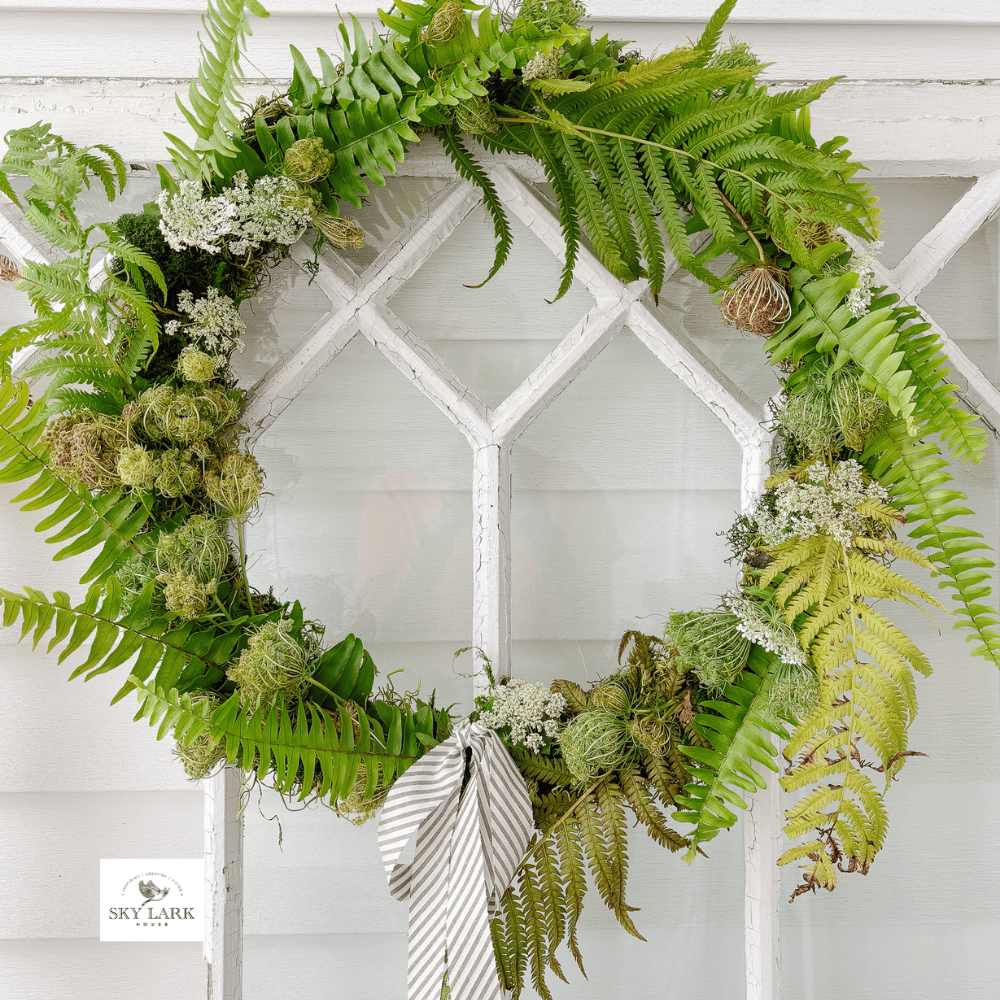
Anna from Skylark House makes an easy and affordable wreath using foraged Queen Anne’s Lace and ferns.
Wrapping Up
There is something about setting a table with things you grew and gathered yourself. Every branch on this runner has a story attached to it, right down to the magnolia I asked permission to cut and the dahlias I dried back at the start of the month, and I find myself telling those stories to whoever sits down.
That is worth more to me than anything I could have ordered, and it cost me a walk, an afternoon, and forty dollars.
So grab your clippers, take the long way home and see what your own table wants to wear this fall!


Shop the Post
More about me!
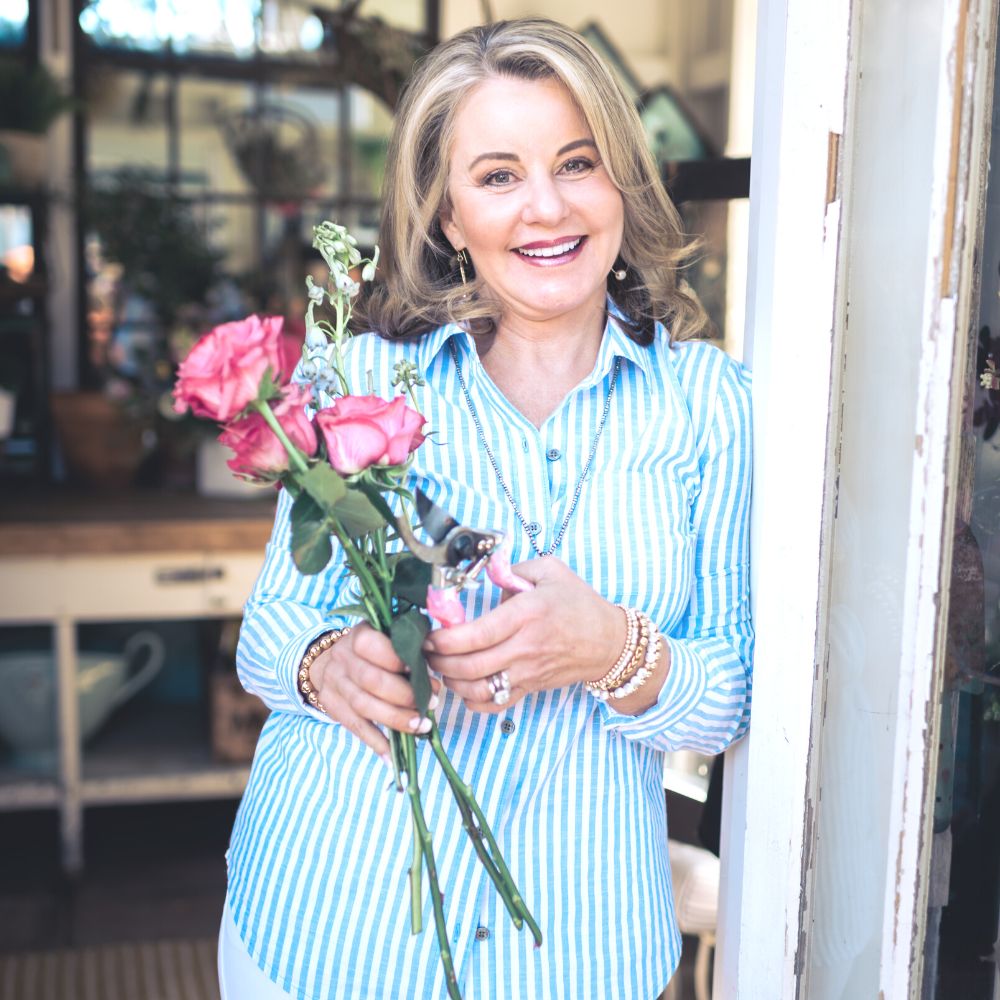
Hello, I’m Wendy – a dedicated homemaker with a deep passion for decorating, gardening, cooking, and crafting. I find joy in harmonizing beautiful elements to fashion a space that is both comfortable and inspiring. I will help you create a beautiful home, one project at a time.
Wendy, you always create the most beautiful tablescapes and you make it looks so easy.
Wendy – Your table runner is beautiful! I love how you incorporated the deep purple colors. Thanks for sharing the leaf shine trick – I will be using it in the future. Always fun and inspiring participating in the HCS with you!
Wendy your table runner is fabulous with or without the flowers! I can’t get over how beautiful all the colors are together! You are so talented my friend!
It turned out so beautiful! Thanks for sharing!
This is absolutely stunning Wendy. I love moody blooms for fall and this is beyond amazing. Your magnolia packed car made me chuckle and I’m glad to see I’m not the only forage crazed person out there. My family is so over it help collect wherever we are without skipping a beat. Can’t wait to see it in November. XO- MaryJo
Absolutely BEYOND! I am so in love with this runner — and the whole setting!
Wow! Wendy, your creativity blows me away! This table runner is absolutely gorgeous! I’m loving the moody colors and enjoyed seeing how you created it! Thanks for sharing your expertise and tricks with us.