
How to dry persimmons was the first thing I looked up this fall, because a friend left me with more persimmons than any one household can eat fresh. Dried persimmons solve that problem beautifully. The slices turn sweet and a little chewy, they keep for months, and they happen to be one of the prettiest things you can hang on a Christmas tree. I dried mine two ways, in the dehydrator and in the oven, so you can use whichever you have.
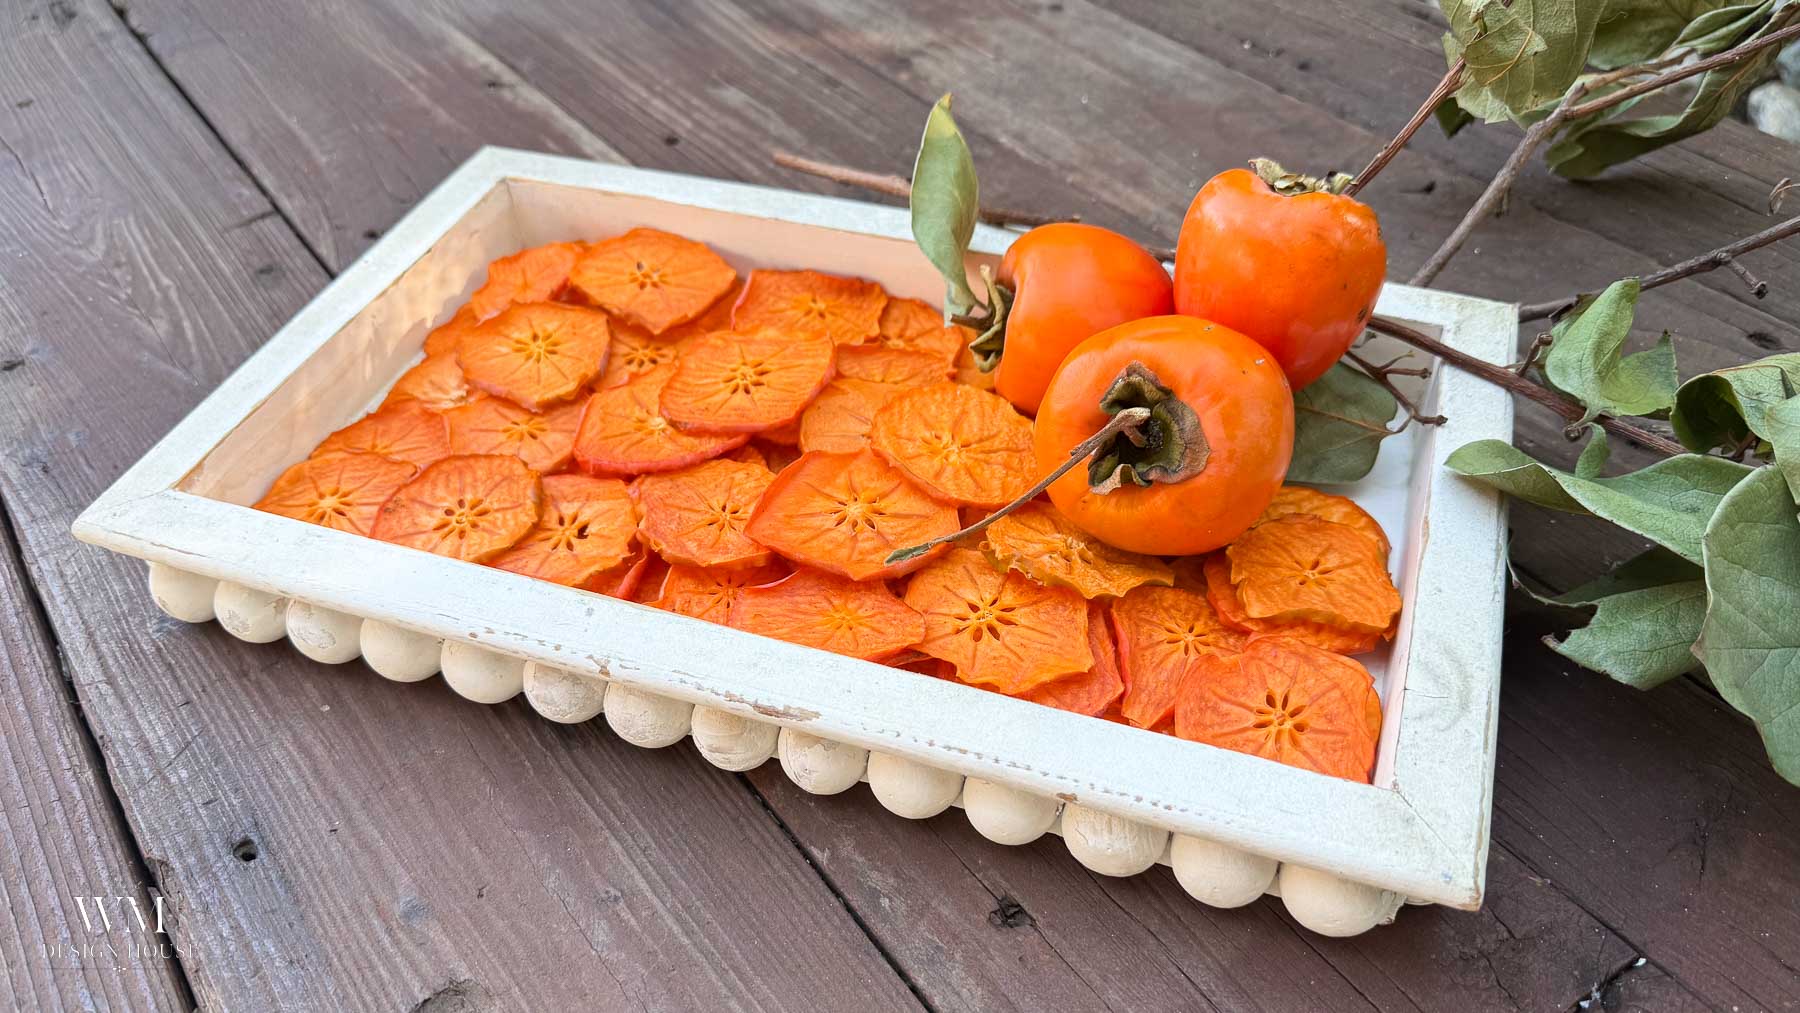
Here in Southern California our persimmon season runs from about October into December, which lines up perfectly with the holidays. If you have a tree or a generous neighbor, this is the week to start.
On my blog WM Design House, I may sometimes use affiliate links, which means a small commission is earned if you purchase via the link. The price will be the same whether you use the affiliate link or go directly to the vendor’s website using a non-affiliate link. Read my full disclosure policy here.
Why Dry Persimmons?
Fresh persimmons ripen all at once and do not keep long. Drying concentrates the sugar, so the slices taste like honey and apricot with no added sugar at all. A dried slice also holds its star pattern in the center, which is why I save the best looking ones for decorating. The rest go in a jar for snacking, cheese boards and tea.
Which Persimmons to Dry
There are two kinds you will see at the market and both can be dried, but they behave differently. I dried both this year, and the result surprised me.
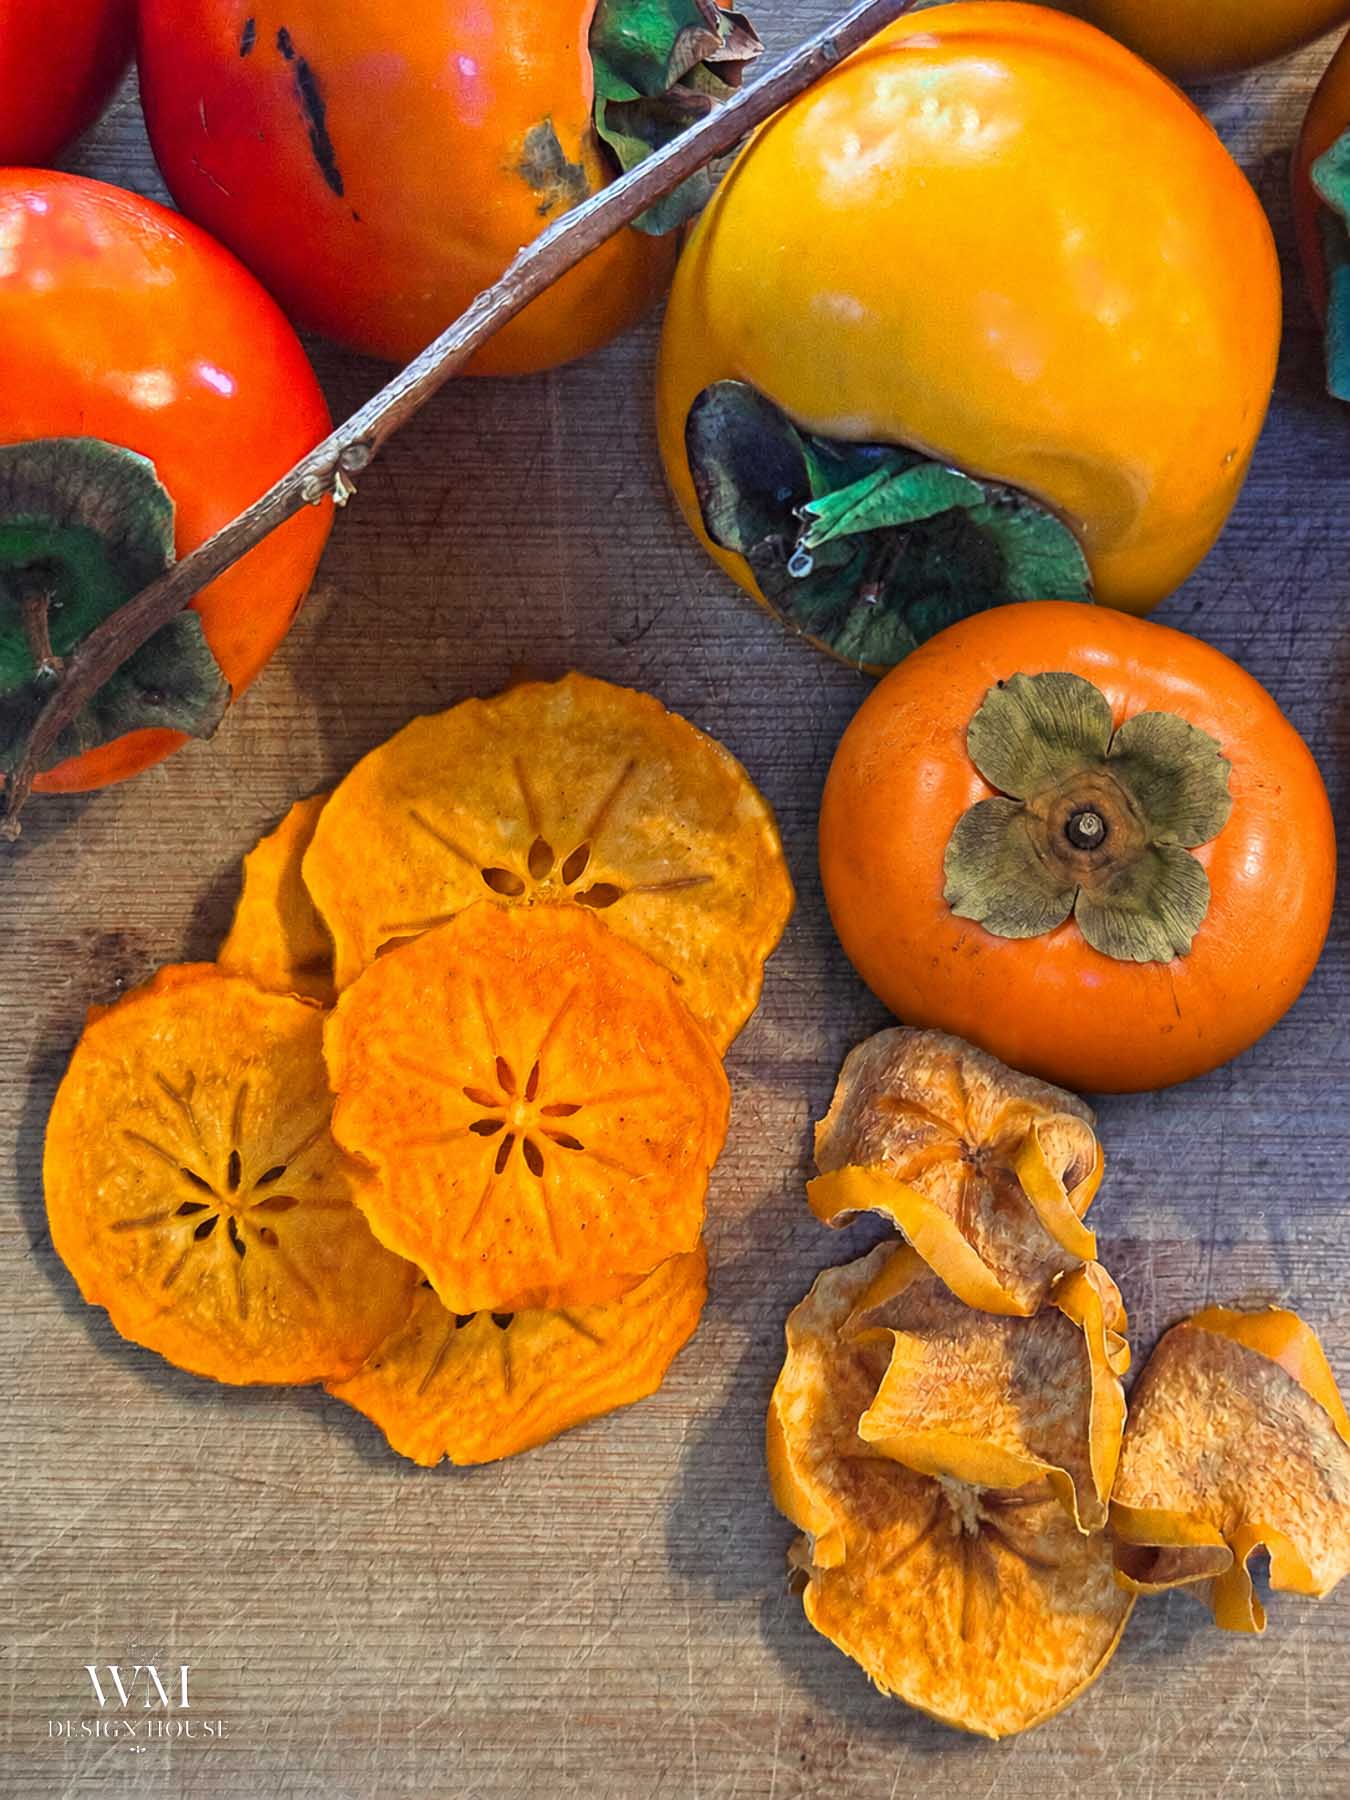
- Hachiya persimmons (on the left) are the taller, acorn shaped ones. Every tutorial will tell you they are only for hanging whole, but sliced while still firm they dried the most vibrant, glowing orange of the two, and they are the ones you see in all of my photos.
- Fuyu persimmons (on the right) are the squat, tomato shaped ones most people reach for. Mine browned as they dried and never had the color of the Hachiyas. They still taste delicious, so use them for snacking, but for anything you plan to decorate with, dry Hachiyas.
Whichever you use, pick fruit that is firm, bright orange and free of soft spots. Firm fruit slices cleanly; soft fruit turns to jam under the knife.
Supplies You Will Need
- 6 firm Hachiya persimmons (one medium persimmon gives about 8 to 10 slices)
- Sharp knife or a mandoline set to 1/4 inch
- Cutting board and a small spoon for seeds
- Food dehydrator with trays, or your oven and a sheet of parchment paper
- Cookie sheet for finishing the slices on the counter
- Glass jar with a tight lid for storage
Tip from wendy:
Chill the persimmons in the refrigerator for 30 minutes before you slice them. Cold fruit is firmer, so it holds its shape on the mandoline and you get clean, even slices instead of ragged ones. This matters most with Hachiyas, which soften fast once they start to ripen.
How to Prep Persimmons for Drying
- Wash and dry the fruit. Pull off the leafy green calyx on top.
- Leave the skin on. It is thin, it is edible, and it holds the slice together once it dries. Peeled slices tend to curl and break.
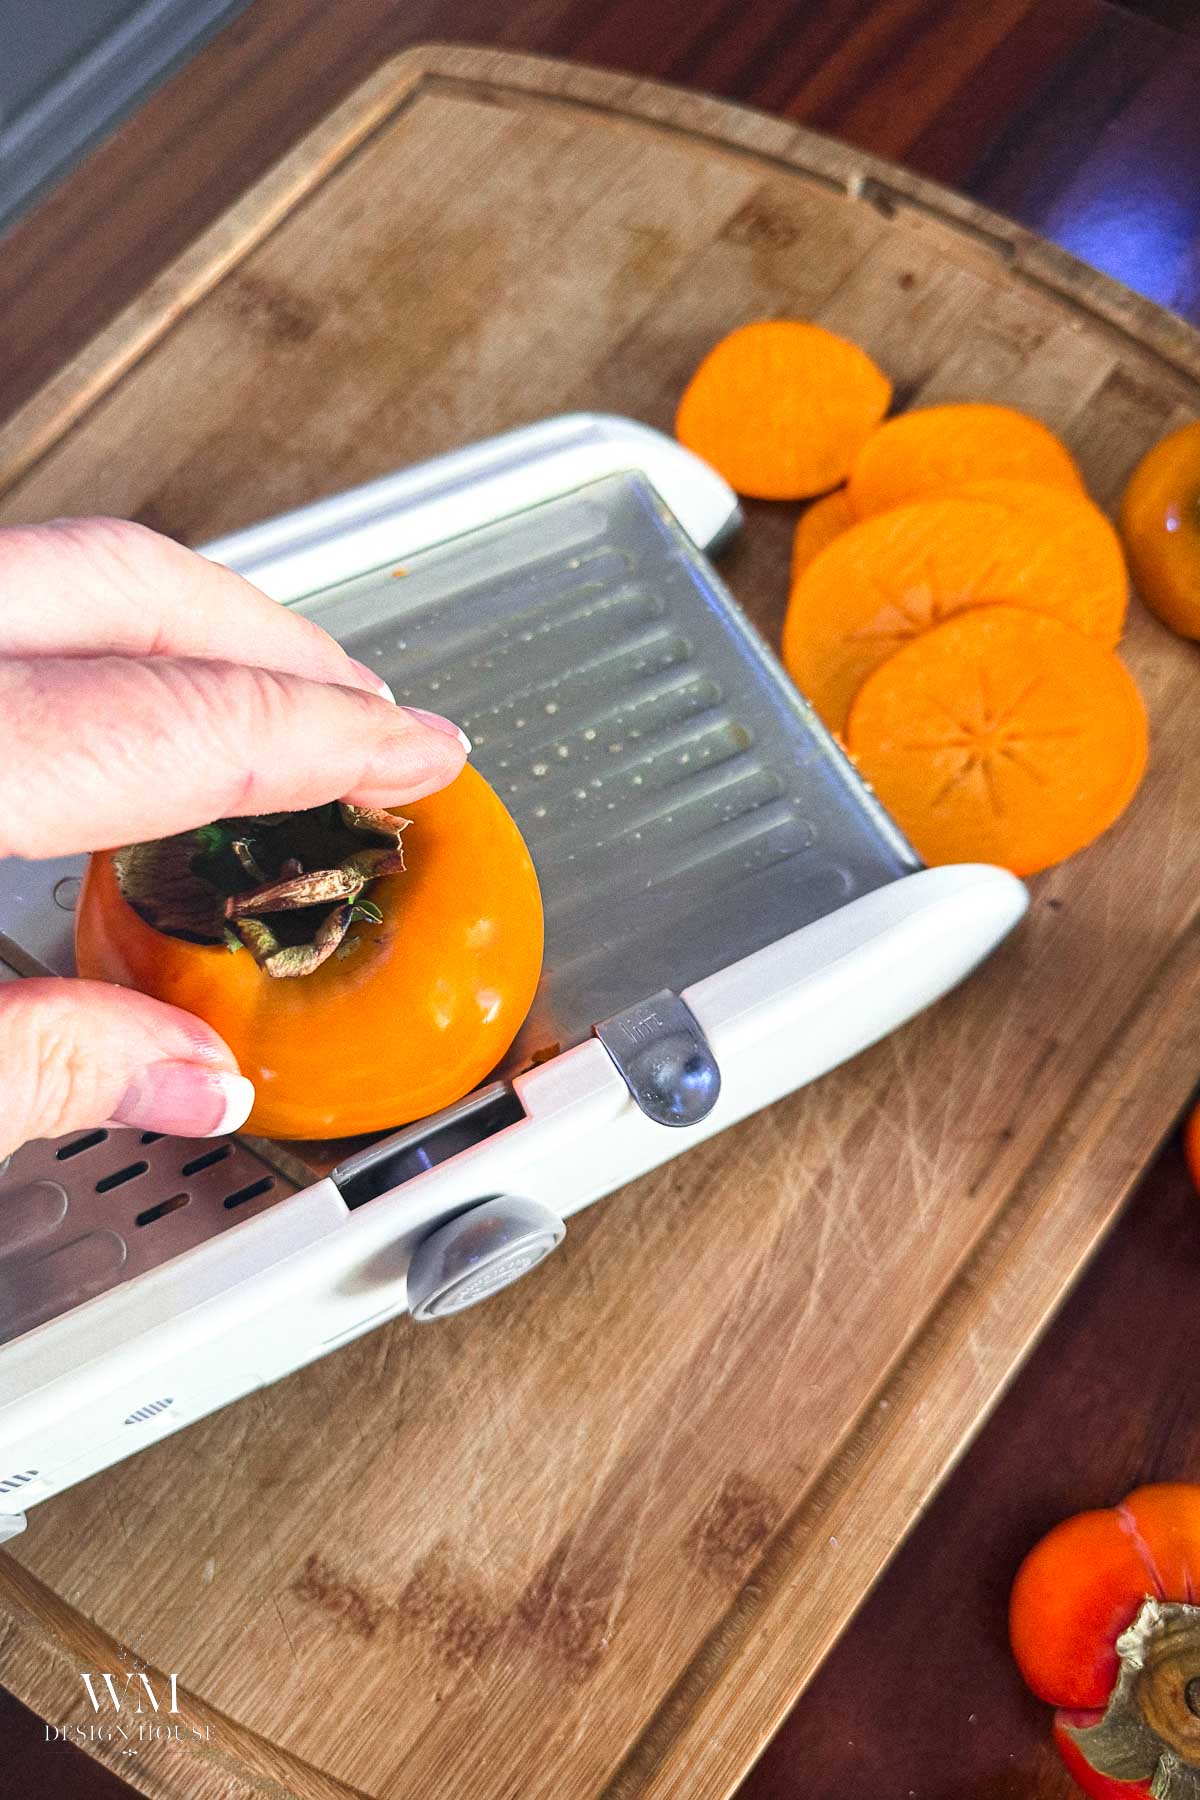
- Slice across the fruit so every slice shows the star in the center. Aim for 1/4 inch. Thinner slices dry crisp (best for decorating), thicker slices stay chewy (best for eating). I slice mine using a mandoline as you get very even slices every cut.
- Flick out any seeds with the tip of a knife.
- Pat the slices dry with a towel. No lemon dip needed; persimmons do not brown the way apples do.
Method 1: How to Dry Persimmons in a Dehydrator
This is my preferred method because the slices dry evenly and I can walk away.
Lay out the slices
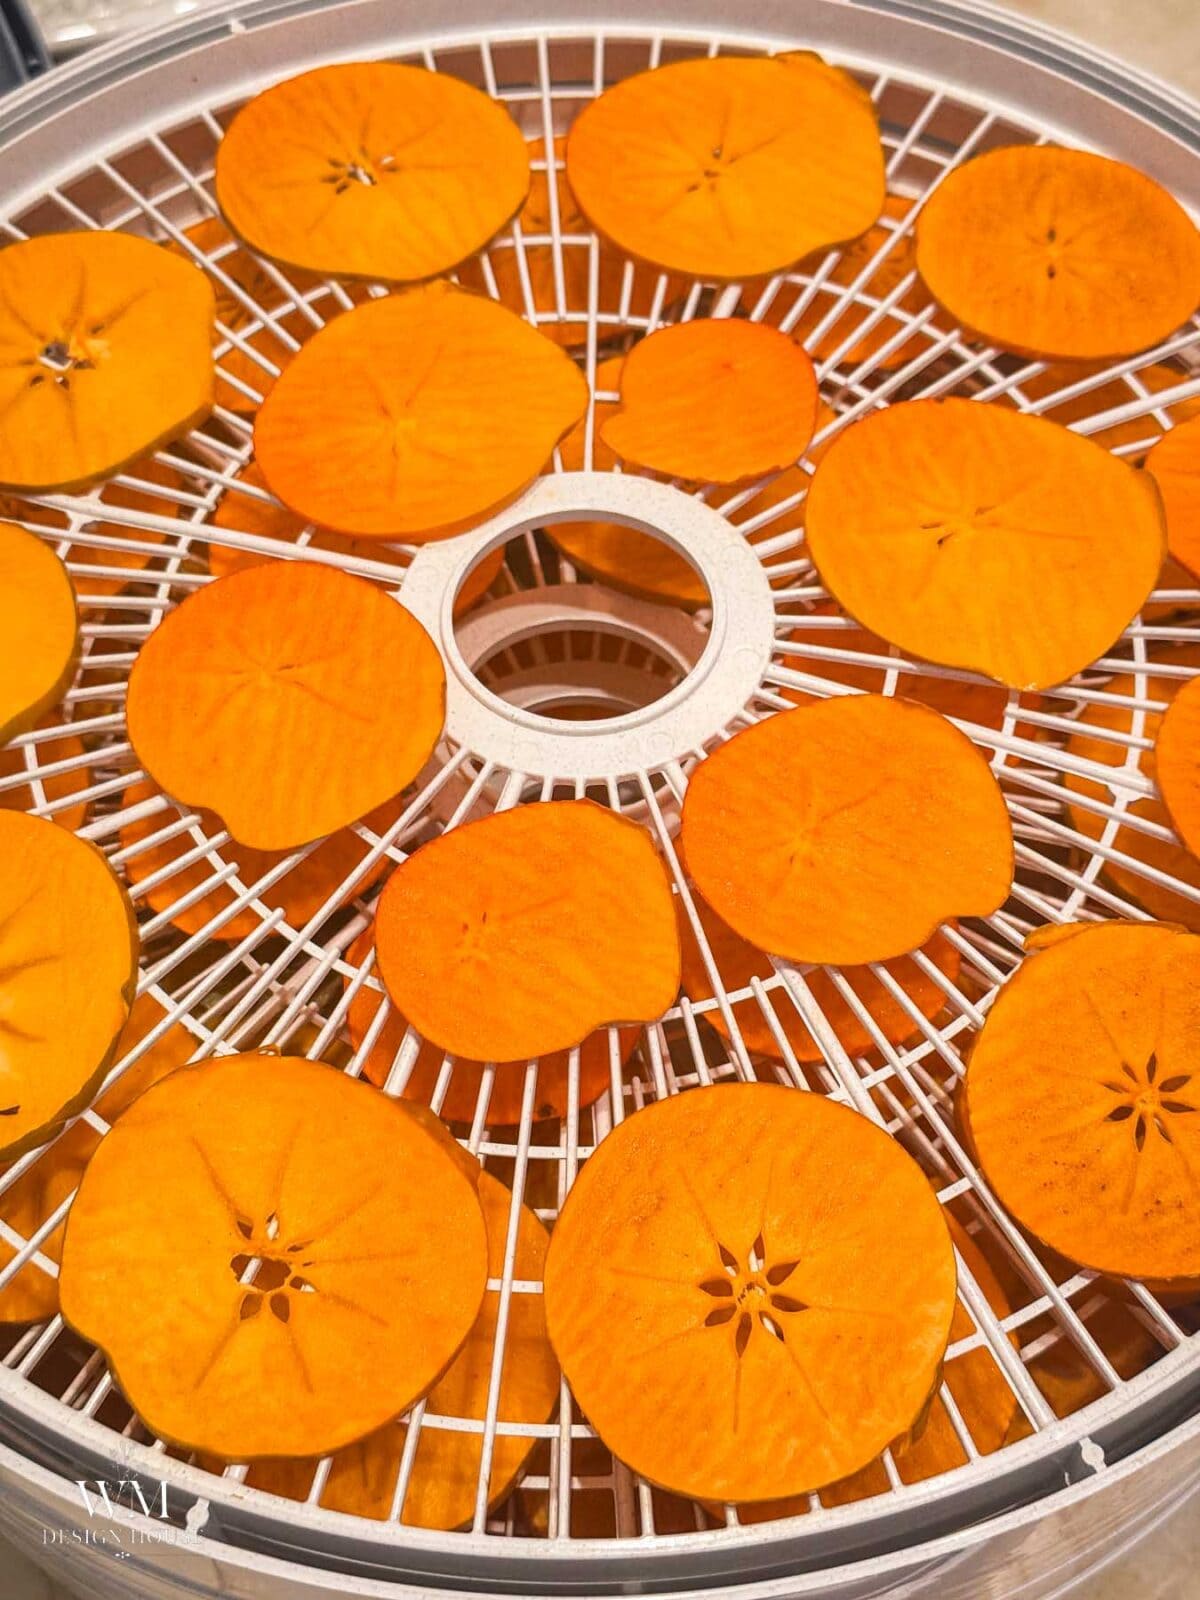
Arrange them in a single layer on the dehydrator trays with a little space between each one.
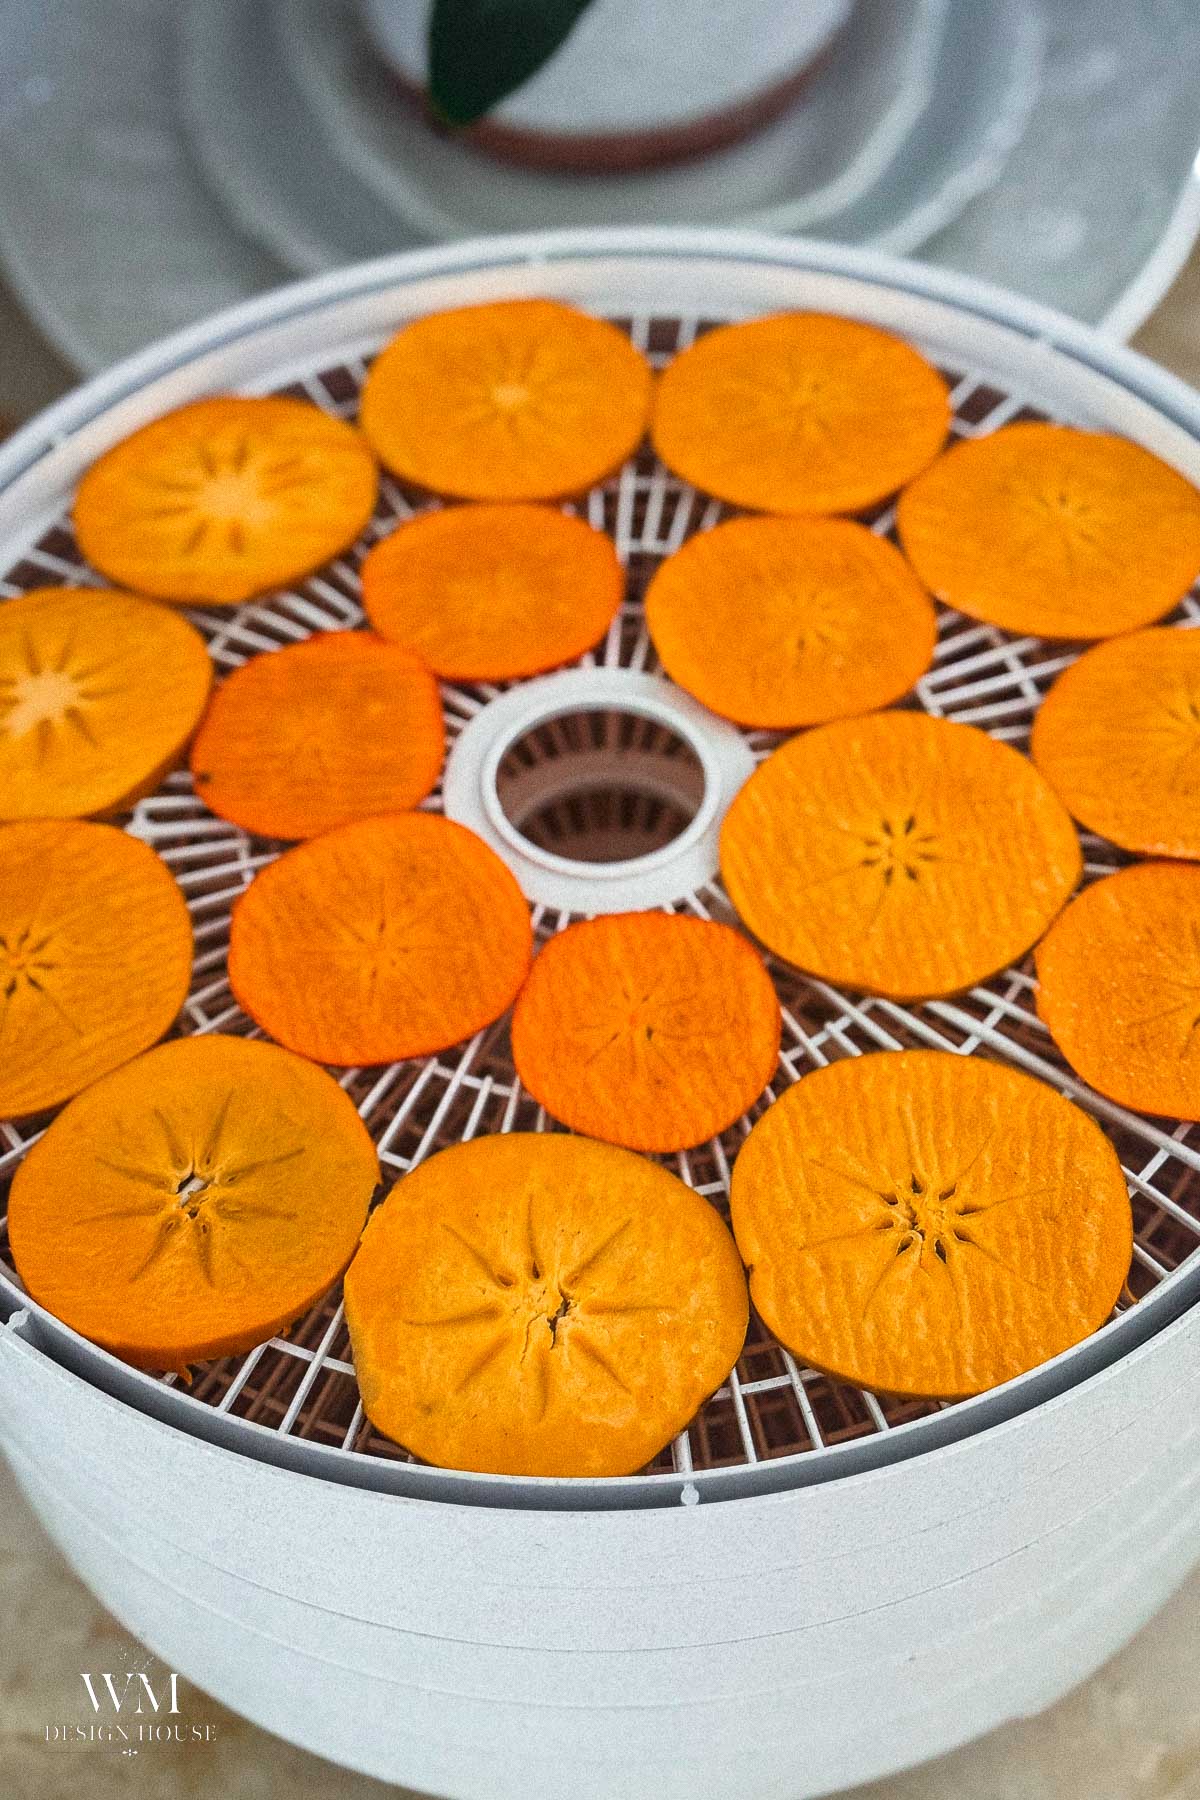
Set the dehydrator to 135°F
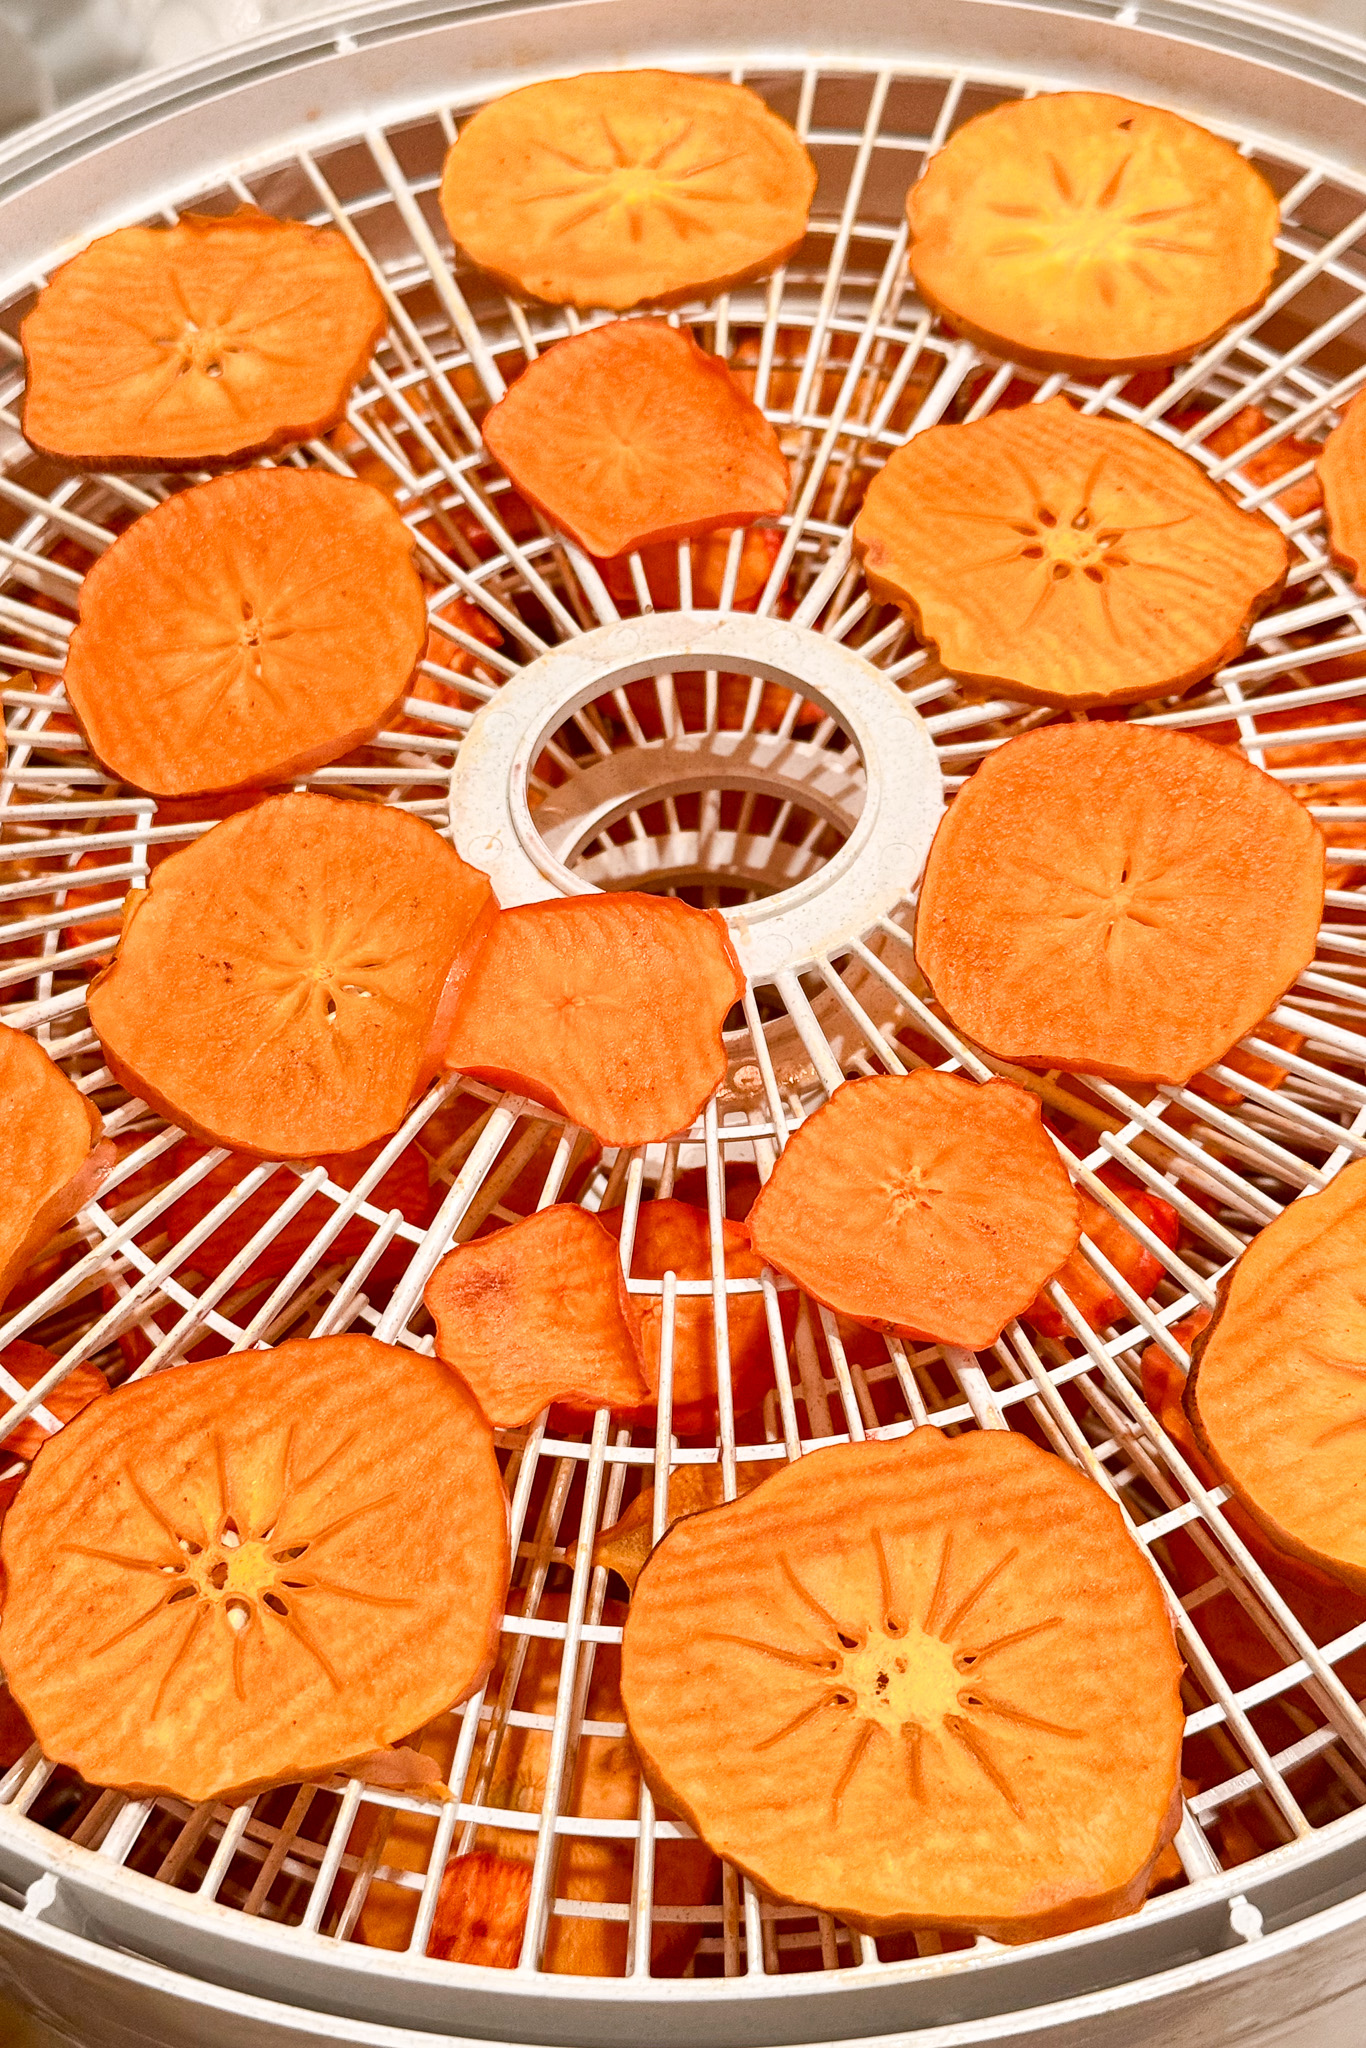
Dry for 3 to 4 hours, rotating the trays once halfway through if your machine dries unevenly. My dehydrator is a Nesco Snack Master and it works beautifully. The 3 to 4 hour window is for 1/4 inch slices; thicker slices need longer.
Pull them early and finish on the counter
Take the slices out while they are still slightly pliable and lay them in a single layer on a cookie sheet to finish drying on the counter for a day or two. This is my trick for keeping the color bright; the slices that stay in the dehydrator until crisp go dull.
Method 2: How to Dry Persimmons in the Oven
No dehydrator, no problem. The oven takes a little more attention but works just as well.
Set the oven to 175°F
Or as close to it as your oven goes.
Lay parchment directly on the rack
Skip the cookie sheet. Without it, air moves under the slices and they dry faster and more evenly. Arrange the slices in a single layer without touching.
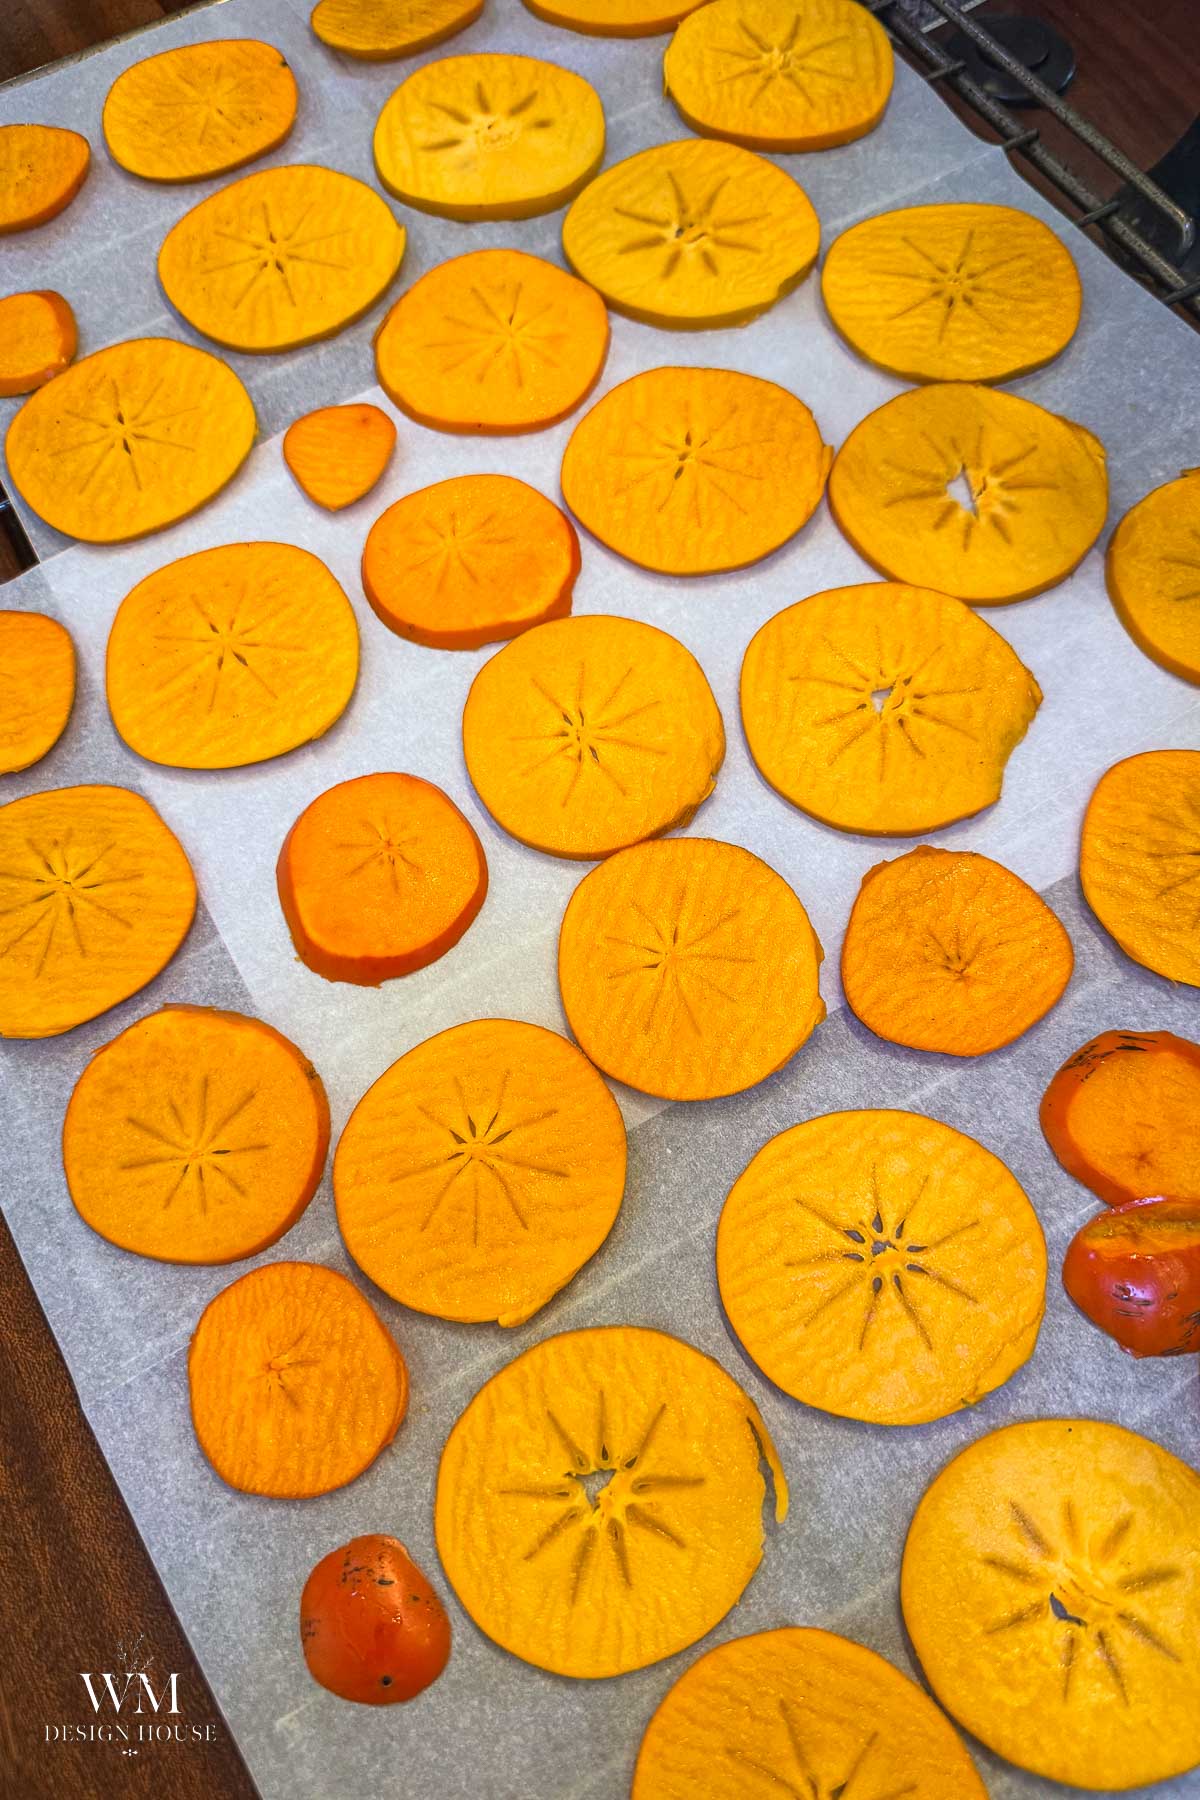
Bake 2 to 3 hours, flipping every 30 minutes
Flipping keeps both sides drying evenly.
Pull before they brown
Take them out while still slightly pliable and finish them on a cookie sheet on the counter the same way as the dehydrator batch.
Tip from wendy:
Skip drying on a rainy or humid day. The slices pull moisture back out of the air while they finish on the counter, so they take longer, stay tacky and are more likely to mold in the jar. A dry, sunny day is the whole reason this works so well here in Southern California.
How to Tell When They Are Done
- For snacking: leathery and pliable, no wet spots when you press the center, bends without breaking.
- For decorating: dry to the touch with no give in the center, lighter and firmer than the snacking slices, but not so brittle that they crack when you bend them a little.
Let the slices cool completely on the rack. They firm up as they cool, so judge them cold, not warm.
Then condition them: put the cooled slices in a jar, close it loosely, and shake once a day for about a week. If you see any moisture on the glass, give them another hour of drying. This step is what keeps a whole jar from molding because of one damp slice.
How to Store Dried Persimmons
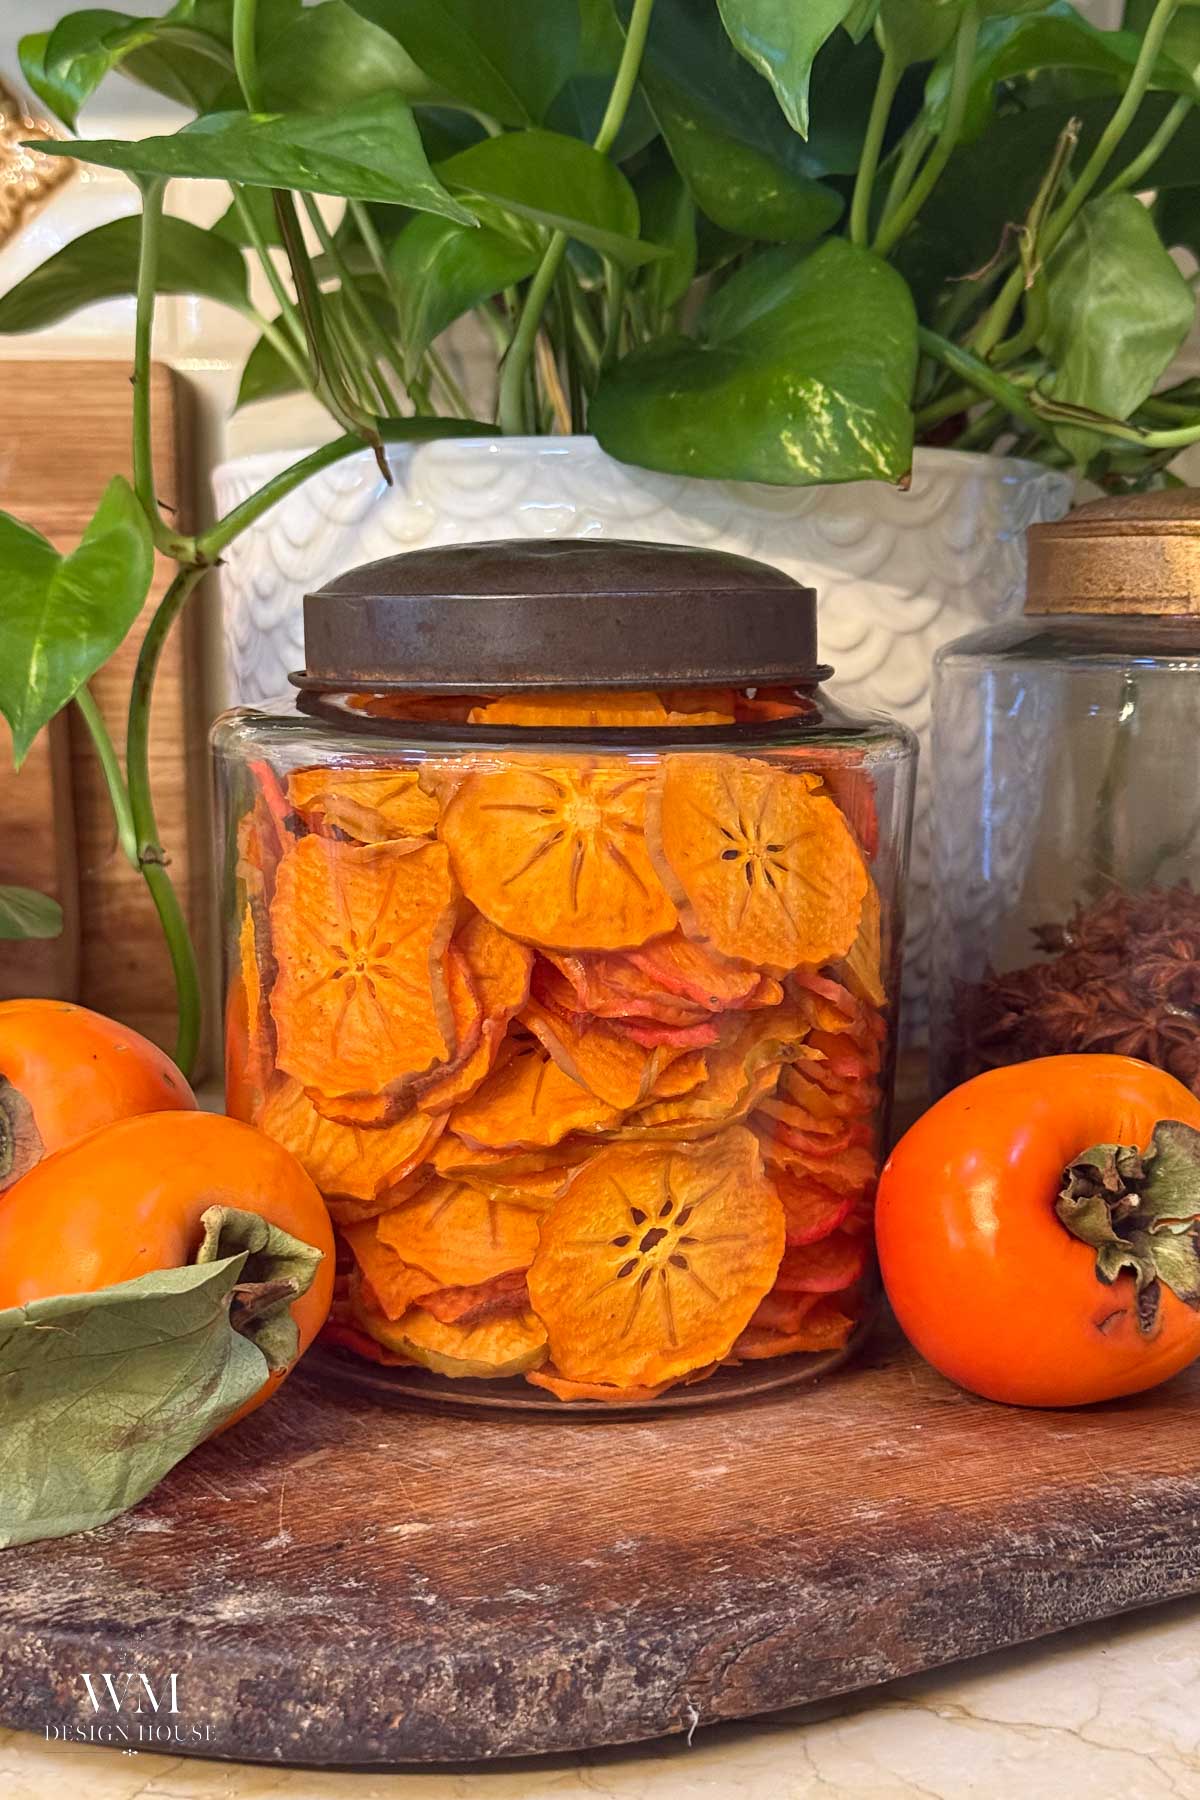
Store fully dried slices in an airtight jar in a cool, dark cupboard. Chewy slices keep about two to three months at room temperature and up to a year in the freezer. Crisp decorating slices keep for a year or more, and I reuse mine on the tree the following Christmas.
Ways to Use Dried Persimmon Slices
- Snack straight from the jar, or tuck a few in lunch boxes.
- Cheese board. They pair with a sharp cheddar or a creamy blue.
- In a mug. Drop a slice into black tea or mulled wine.
- In the kitchen. Chop into granola, oatmeal or scones.
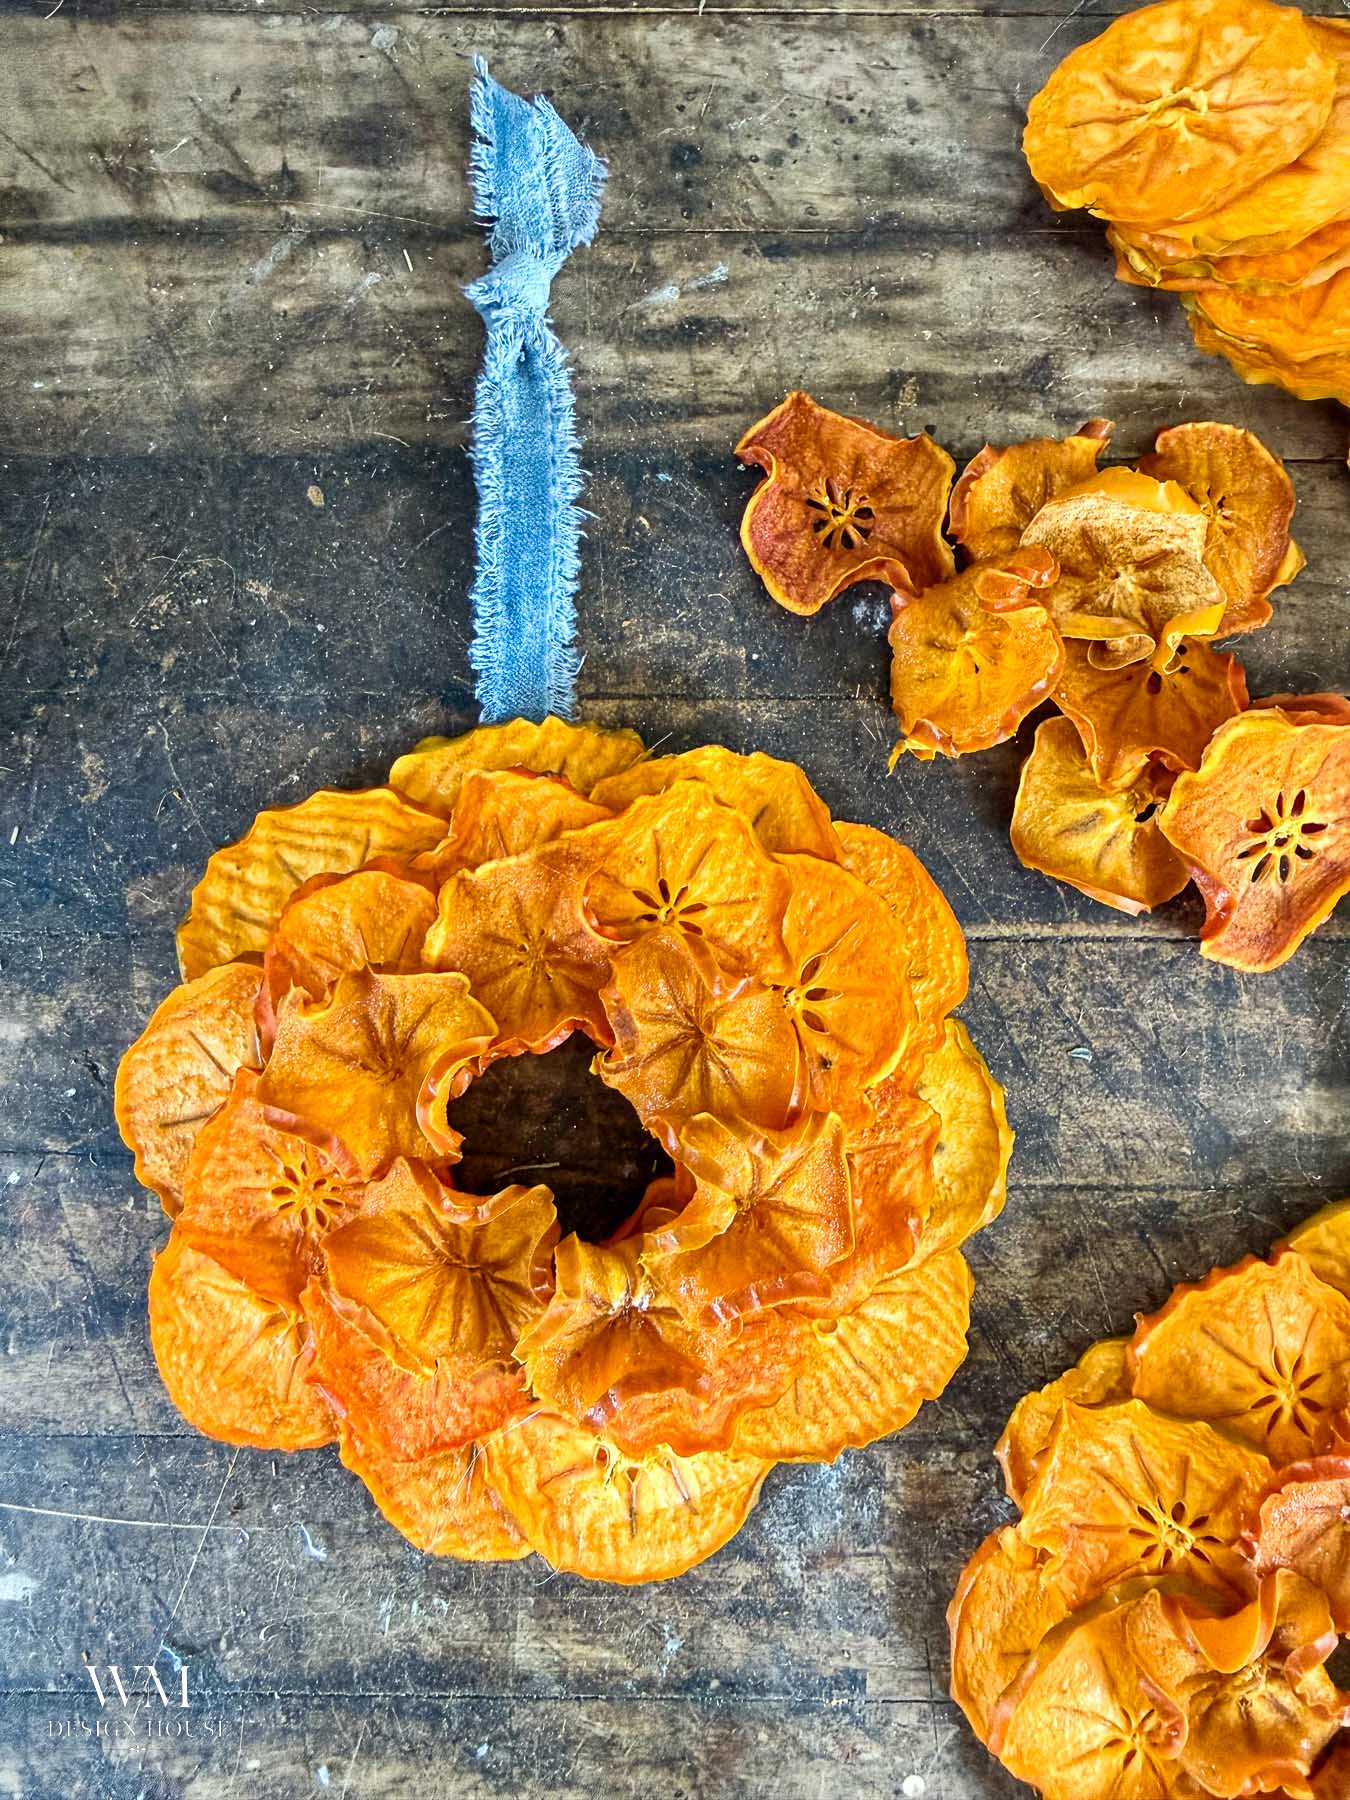
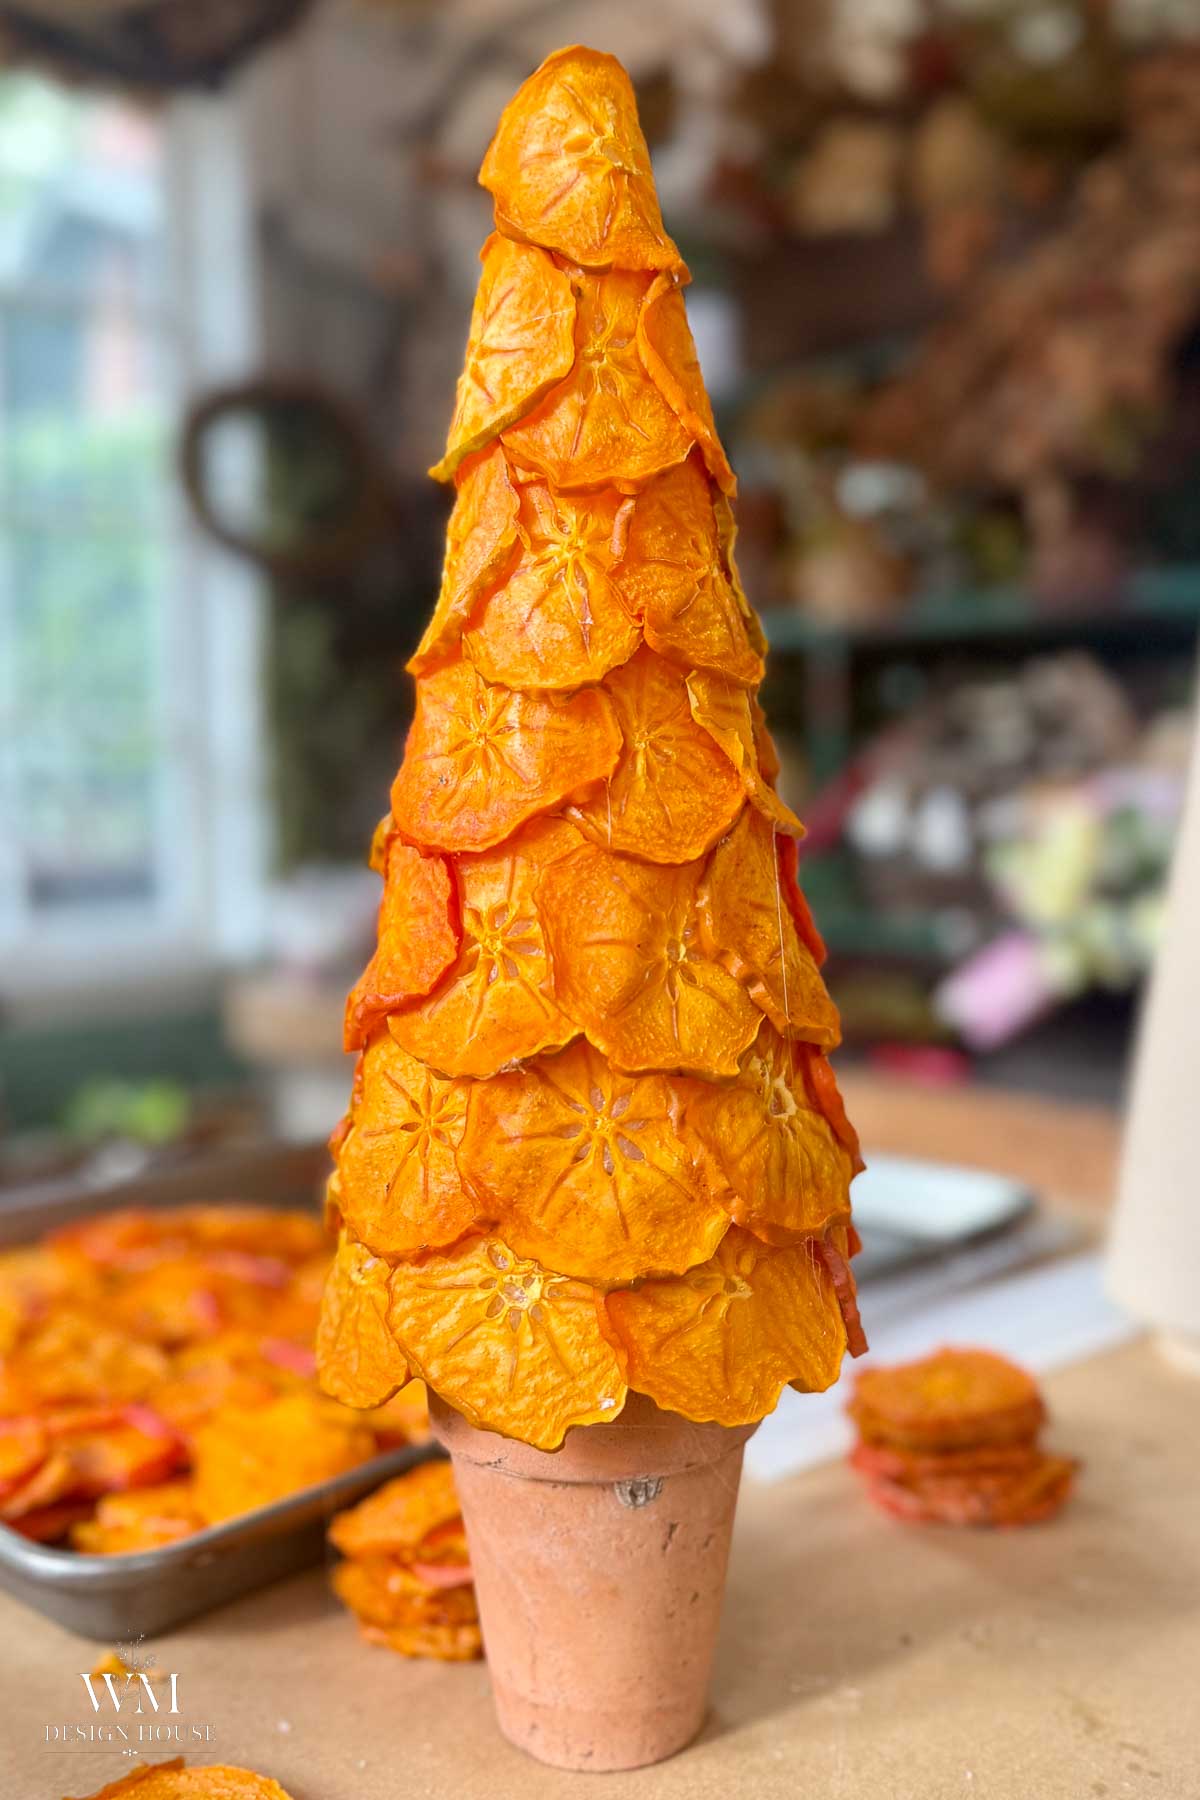
- Christmas decorating. The crisp slices with the star centers are made for the holidays. I covered a cone tree in them and glued a few into small wreaths, and that full set of projects is coming soon. Until then, the same ideas work with my dried orange slices.
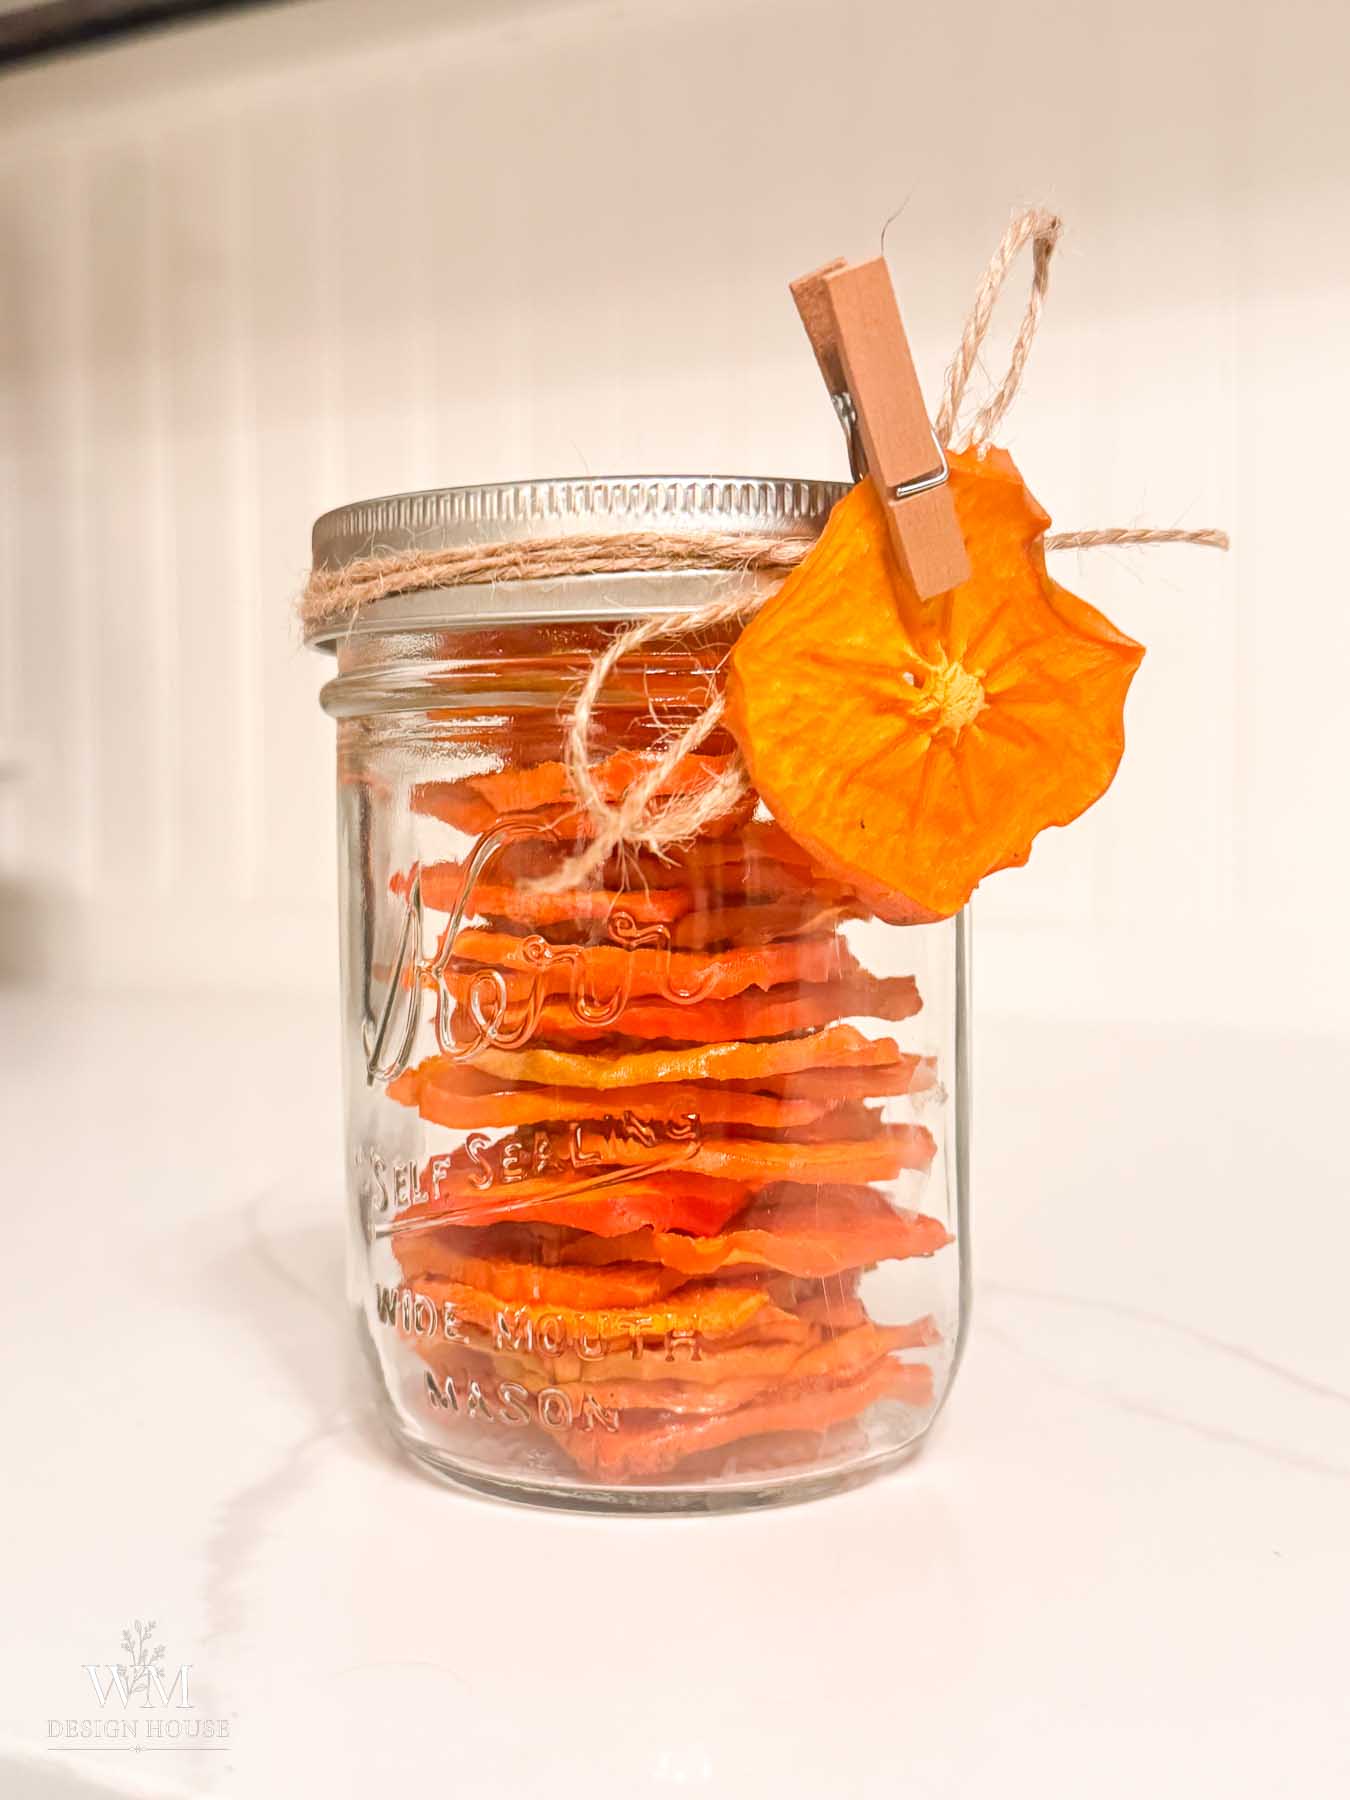
- Gift packaging. Fill a mason jar with chewy slices, tie it with twine, and clip one crisp slice on the front as the tag. It is the easiest hostess gift of the season and the jar is the wrapping.
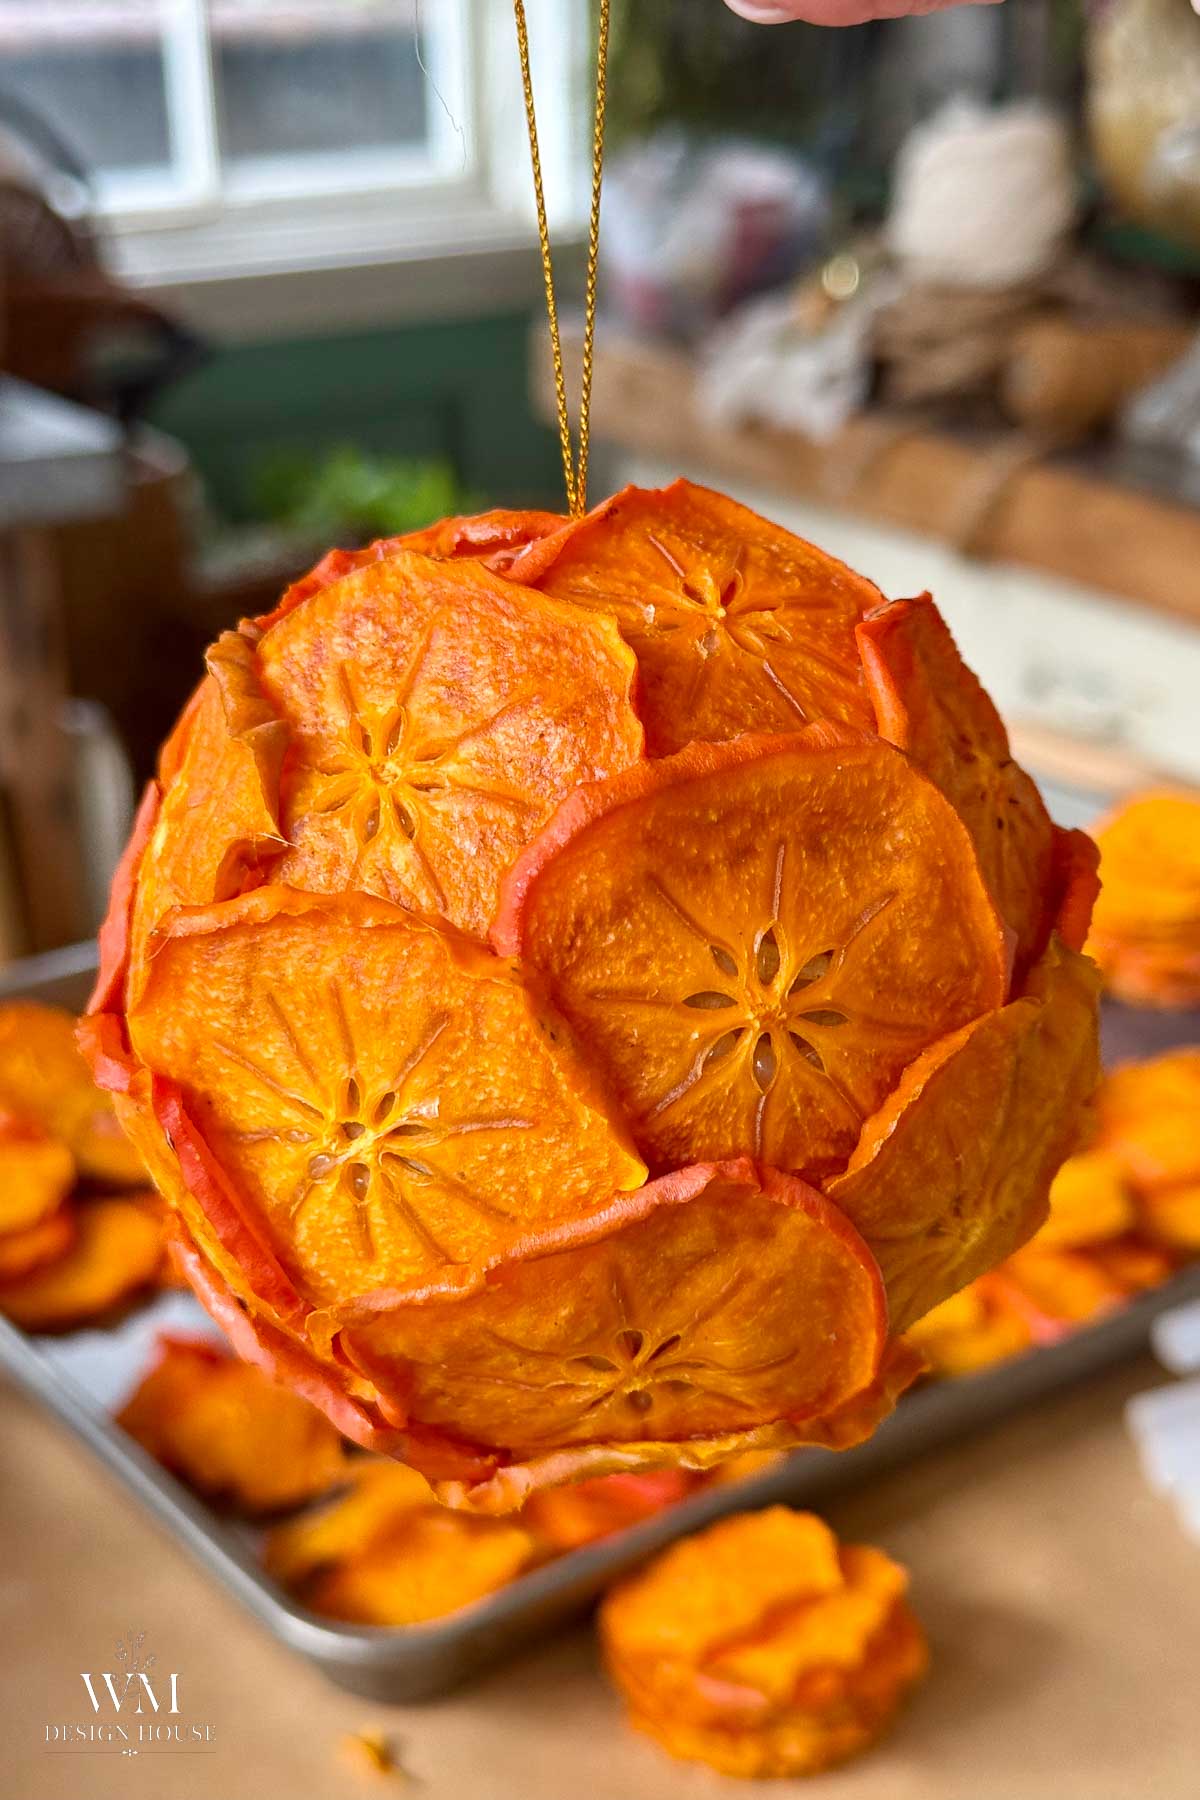
- Ornaments. Glue a few crisp slices together so they overlap, tuck a loop of twine or ribbon into the back, and hang it on the tree. The slices are so light the branches never droop, the light comes through the star in every slice, and they pack away flat to use again next year.
More Ways to Preserve the Season
If you like preserving what the season hands you, the same patience works for these:
- 3 Ways to make dried orange slices.
- How to dry pumpkin stems and reuse them.
- How to bake pinecones for crafts.
- Three ways to dry dahlias.
- How to preserve fall leaves with glycerin. [confirm this URL]

How to Dry Persimmons (Dehydrator and Oven)
Equipment
- 1 Mandoline or sharp knife
- 1 Oven or dehydrator
- 1 Cookie Sheet
- 1 roll of parchment paper
Materials
- 6 Hachiya Persimmons Orange/red

Instructions
- Wash persimmons, remove the leafy top, and slice crosswise 1/4 inch thick. Remove any seeds and pat dry.
- Dehydrator: arrange in a single layer, dry at 135°F for 3 to [4] hours, rotating trays halfway. Pull while slightly pliable.
- Oven: arrange on parchment paper laid directly on the oven rack. Bake at 175°F for 2 to 3 hours, flipping every 30 minutes. Pull while slightly pliable.
- Finish drying in a single layer on a cookie sheet on the counter for [a day or two], then condition in a loosely closed jar for one week, shaking daily. Store airtight in a cool, dark place.
Frequently Asked Questions
Hoshigaki is the Japanese method of peeling whole Hachiya persimmons, hanging them on strings and massaging them every few days for about a month until they turn soft and sugar frosted. It is beautiful and slow, and it needs dry air, which is why it works well in Southern California. This post covers sliced persimmons only, but if you have Hachiyas and patience, hoshigaki is the project for them.
Yes, if your air fryer has a dehydrate setting around 135°F. Use a single layer and check every hour, since the fan dries the edges faster than an oven. Most air fryers only hold one tray, so it is best for a small batch.
Sticky usually means they were pulled too soon or stored before they were fully cool. The surface sugar stays tacky while there is moisture inside. Put them back in the dehydrator or oven for another hour, cool them completely, then store.
A powdery white coating that brushes off and tastes sweet is natural fruit sugar coming to the surface, and it is a sign of a well dried persimmon. Fuzzy, raised or greenish spots are mold, and that slice (and anything it touched) should be tossed.
Yes. The astringency in a firm Hachiya comes from tannins, and drying breaks most of them down, which is why the slices taste sweet even though the fresh fruit would make your mouth pucker. If a slice still tastes chalky, it needed more time; let it sit on the counter another day.
Fully dried, conditioned slices do not. Chewy slices that still have some give keep longer in the refrigerator, and either kind freezes well in a zip bag for up to a year.
Wrapping Up
Drying persimmons asks very little of you: a sharp knife or mandoline, an afternoon with the dehydrator or oven, and a few days of patience on the counter. In return you get a jar of sweet, chewy slices for snacking and a stack of orange, glowing ones ready for the Christmas tree. If you try it, I would love to know whether your Fuyus browned the way mine did or whether you had better luck, so leave a comment and tell me how your batch turned out.



More about me!

Hello, I’m Wendy – a dedicated homemaker with a deep passion for decorating, gardening, cooking, and crafting. I find joy in harmonizing beautiful elements to fashion a space that is both comfortable and inspiring. I will help you create a beautiful home, one project at a time.