
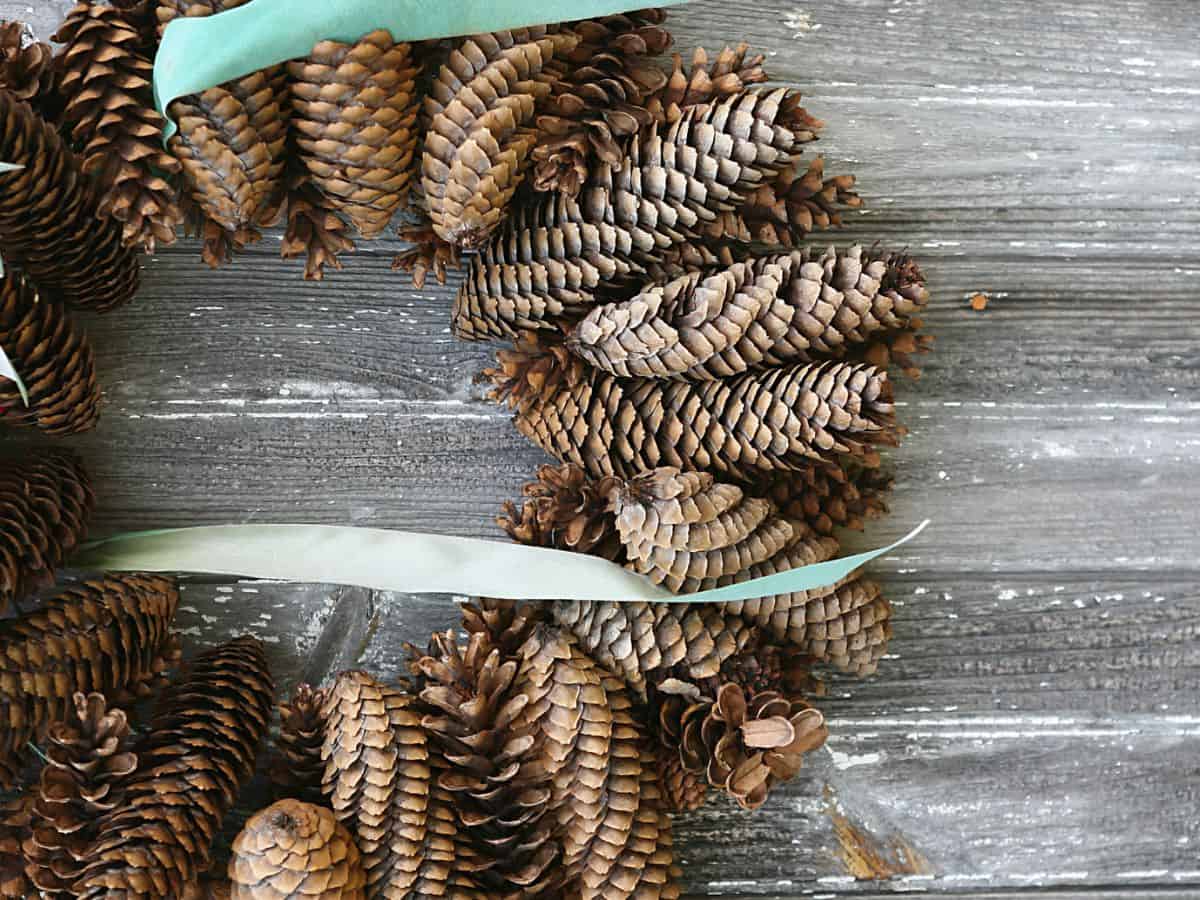
In this post, I will guide you on the safe process of baking pine cones and prepare them for your crafting and decorating projects!
The Short Answer
Bake pine cones at 200 degrees F for 30 to 60 minutes on a foil-lined baking sheet. The heat kills insects and larvae hiding in the scales, dries out the moisture that causes mold, and melts the sticky sap into a clear glaze. Large or damp cones need the full hour. Keep reading for how to clean them first and what to expect while they bake.
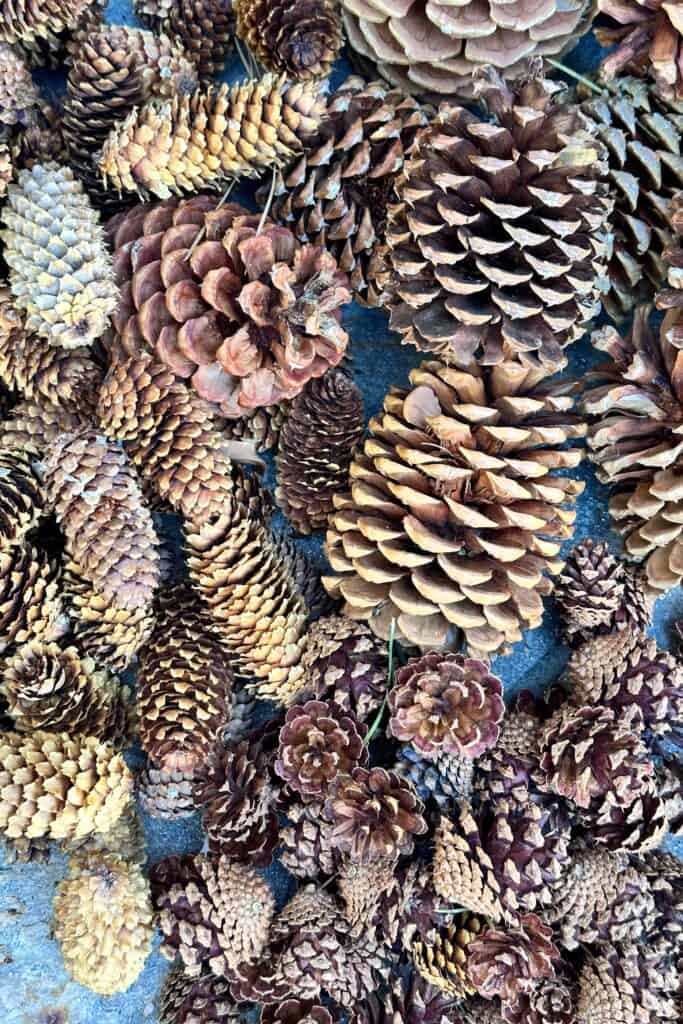
During a recent drive to the mountains, I collected a variety of pine cones in different shapes and sizes, and I can’t wait to craft with them.
I had never seen so many different types of pine trees in one place before, let alone the variety of fresh pine cones. I was in my glory, thinking of all the pine cone craft projects I could make.
If you bring pinecones into your home, It is important to clean and bake them first. (In my opinion, cleaning the pine cones is not enough without baking them) The heat is what kills the critters inside.
On my blog, WM Design House, I may sometimes use affiliate links, which means a small commission is earned if you purchase via the link. The price will be the same whether you use the affiliate link or go directly to the vendor’s website using a non-affiliate link.
Different Types of Pine Cones and How They Bake
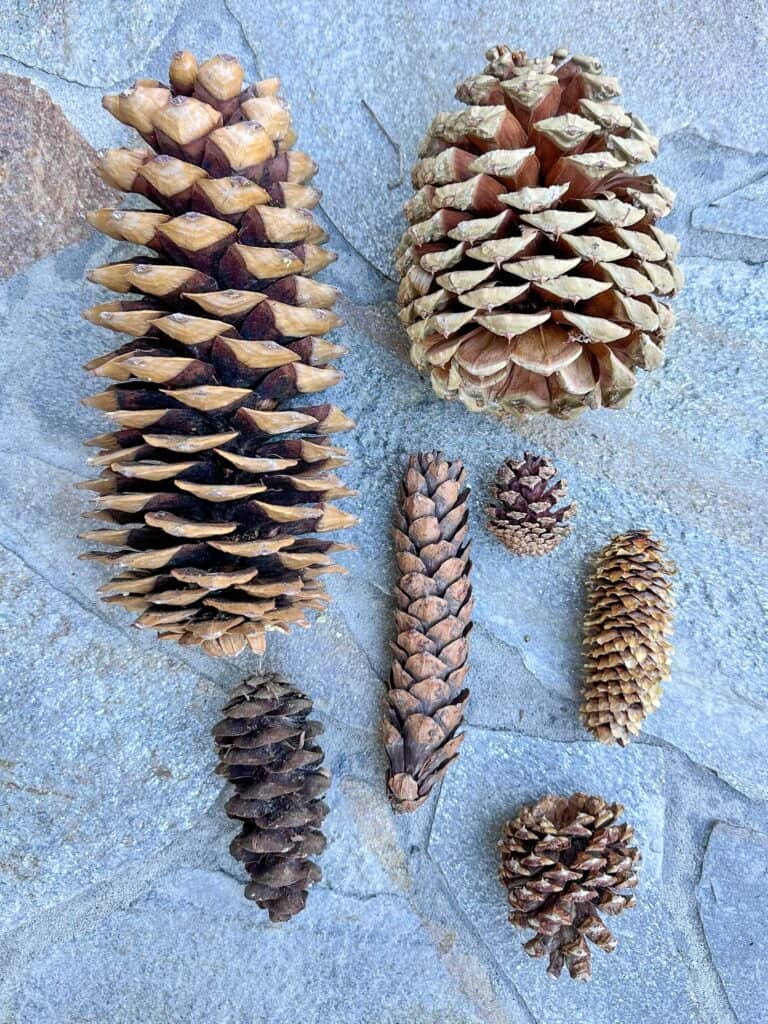
Every cone in the photo below came home from our trip, and not one of them behaves the same way in the oven. Sort your pile before you turn the oven on, because size and sap content are what change the timing.
Sugar pine, the long one
This is the showpiece, and it holds a world record. Sugar pine grows the longest cones of any conifer on earth, most of them 10 to 20 inches, with the occasional monster reaching 26. They hang from the tips of the highest branches like elongated ornaments, which is why you almost always find them on the ground rather than picking them.
The tree earns its name from a sweet resin that crystallizes on the bark. John Muir, who spent his life among these mountains, ate it and declared he preferred it to maple sugar. He called the sugar pine the king of the conifers. When you have one of these leaning against your mantel in December, that is what you are looking at.
One identifying note: sugar pine cones are mostly straight. Western white pine cones are similar in length but curve noticeably, so the straightness is your tell. In the oven, these carry the heaviest sap load of anything in the pile, concentrated at the stem end. Line your pan generously, only expect two or three to fit at a time, and give them the full hour.
Jeffrey pine, the fat barrel-shaped one
This is the workhorse cone of the Eastern Sierra and probably the one you will come home with the most of. Broad, heavy, and squat, with scale tips that curl inward rather than out. There is a wonderful trick for confirming it: press the cone into your open palm. Jeffrey pine is gentle, because those prickles point back toward the stem. Do the same with a ponderosa cone and it will stab you. Foresters teach it as gentle Jeffrey, prickly ponderosa. If you want a second confirmation, put your nose into a crevice in the bark of the tree it fell from. Jeffrey pine smells like butterscotch or vanilla.
These are resinous too, though not on the sugar pine level. Give them the full hour and expect a soft glossy finish.
Lodgepole pine, the little round ones
Small, tight, barely more than an inch, and often still sealed shut with resin. Here is the part that surprises people: the smallest cones can take the longest to open, and a few never fully do. They are perfect for filling a bowl or wiring onto a wreath base where you want texture rather than a statement.
The long, narrow ones
Slender and cylindrical with thin overlapping scales that lie flat against each other. They dry much faster than they look like they should, usually 30 to 40 minutes, and they open the most dramatically of anything on the tray.
Prickly or smooth
Run your thumb down the scales before you gather an armful. Some varieties carry a sharp barb on the tip of every single scale. Those are the ones you want gloves for, both in the woods and later at the sink.
Tip from wendy:
Bake in batches by size. This is the tip I wish someone had given me. Line the cones up smallest to largest on the counter and run them through in groups, so you are not pulling a one-inch cone out of a sixty-minute bake next to a large pinecone.
Do You Need to Soak the Pine Cones Before Baking?
Before baking your pine cones, it’s essential to ensure they are clean. There are two different methods to achieve this:
How to Clean Pine Cones with Soap and Water:
- Soak in Soapy Water: Fill a small bucket or large bowl with warm water and add a few drops of dish soap. Place pine cones in the soapy water. This will help remove dirt. Let them soak for 30 minutes to an hour.
- Scrub (if necessary): If your pine cones have any visible dirt or sap, gently scrub them with a small brush or an old toothbrush. Be careful not to damage the scales of the pine cones.
- Rinse: After soaking, rinse the pine cones thoroughly with clean water to remove the soap.
- Air drying: Lay the pine cones on paper towels on a cookie sheet and allow them to air dry before baking.
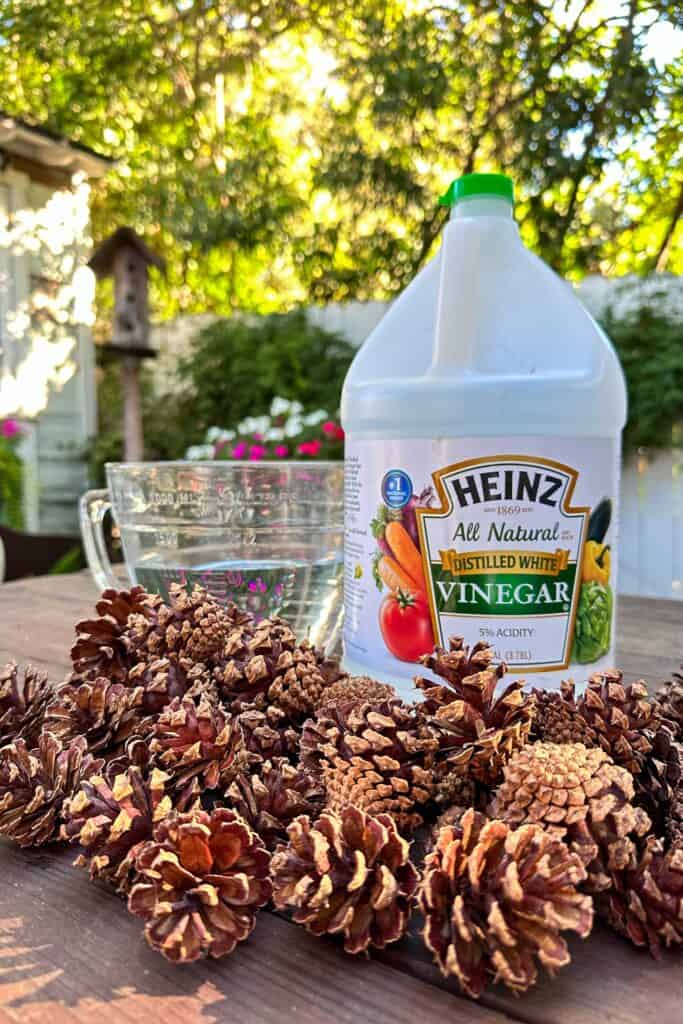
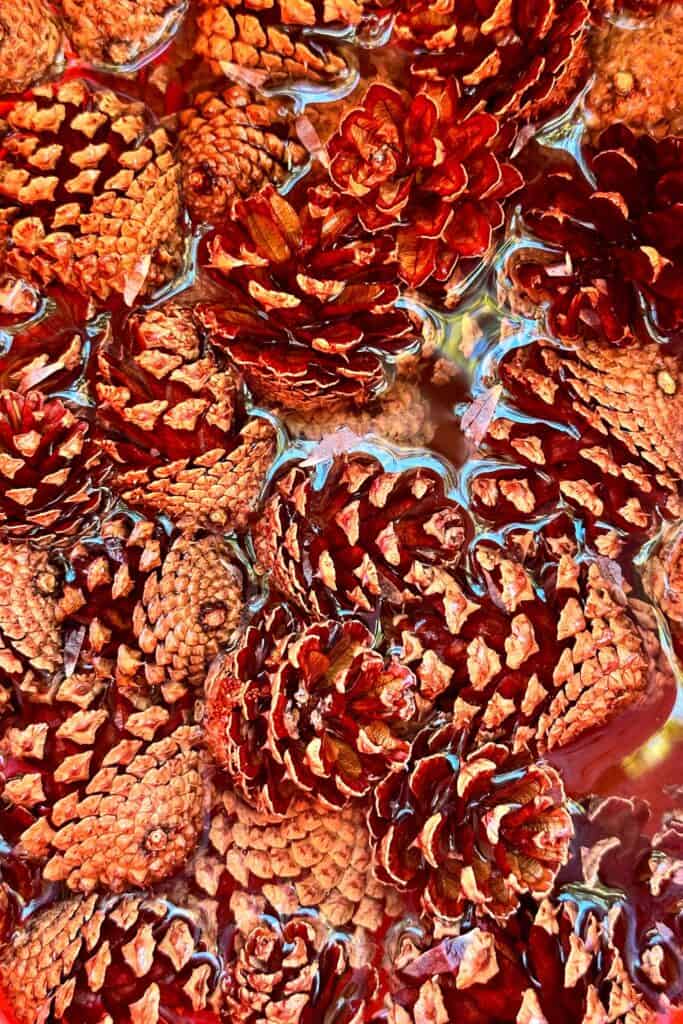
How to Clean Pine Cones with Vinegar and Water before baking them:
- Vinegar Solution: Mix a cup of vinegar and hot water in a large bowl or container.
- Soak the Pine Cones: Submerge the pine cones in the vinegar and water solution in a large bucket. Make sure they are fully covered. Let them soak for 30 minutes to an hour. The vinegar will help disinfect and soften the pine cones.
- Scrub (if necessary): If your pine cones have stubborn dirt or sap, gently scrub them with a soft brush or toothbrush while in the vinegar solution. This will help remove any remaining debris.
- Rinse: After soaking and scrubbing (if needed), remove the pine cones from the vinegar solution and rinse them thoroughly with clean water.
- Air-Dry Method: Allow the cones to dry on paper towels before baking.
Baking Pine Cones
Supplies Needed to Bake Pine Cones
- Parchment paper or aluminum foil
- Cookie sheet
- Collected Pine Cones
How To Bake Pine Cones
- Preheat oven to 200 degrees.
- Line the cookie sheet with parchment paper or foil.
- Place pinecones in a single layer on an old baking sheet.
- Bake the pinecones for 30 to 60 minutes, adjusting the time based on their size and moisture level. Keep in mind that larger pinecones might need more time in the oven.
- Remove the pinecones and allow them to cool and air dry.
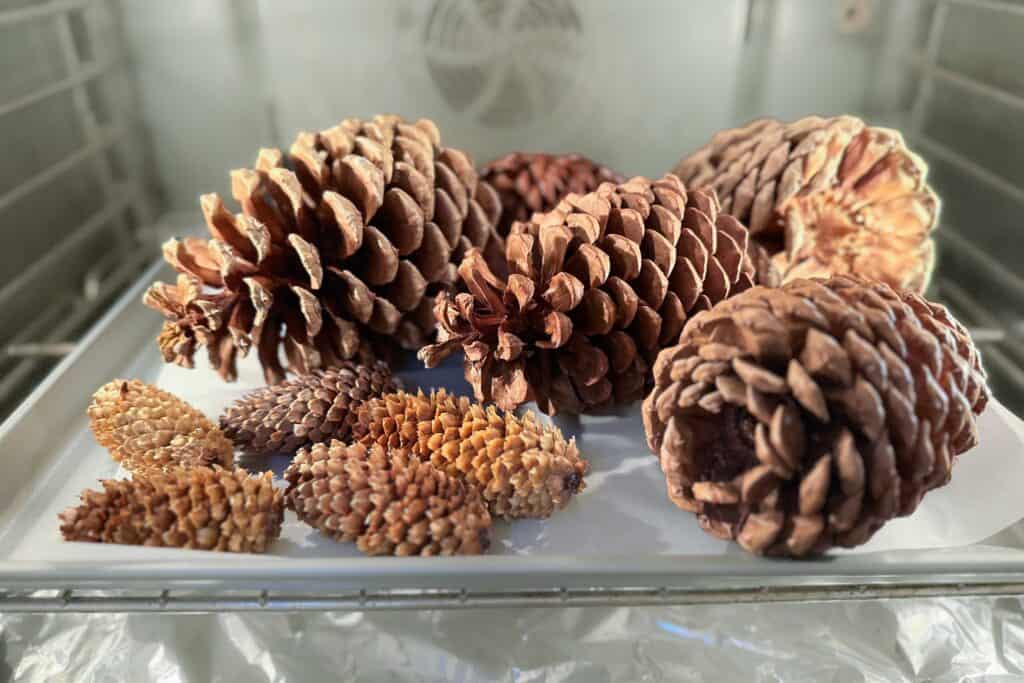
What to Expect While Your Pine Cones Bake
The first time I baked pine cones I was not sure whether I had ruined them. Here is what is normal.
They will open up. Cones close tight when they are wet from soaking. As they dry in the oven they slowly unfurl and end up fuller than they started. If a cone is still closed after an hour, it needs more time, not more heat.
The sap will melt. Any sap in the scales liquefies and either drips onto the foil or spreads across the cone and hardens as it cools into a soft glossy sheen. This is why you line the pan, and it is why baked cones look richer than the ones you picked up off the ground.
Your kitchen will smell wonderful. Warm pine and resin. No candle required.
Stay in the room. Pine sap is flammable. At 200 degrees the risk is very low, but do not walk away and do not raise the temperature to speed things along. If you smell smoke or see scorching, the oven is too hot. Turn it down and check every 15 minutes.
Let them cool completely. Leave the cones on the pan for at least 30 minutes. The sap is still tacky while warm and will lift the foil right along with the cone if you rush it.
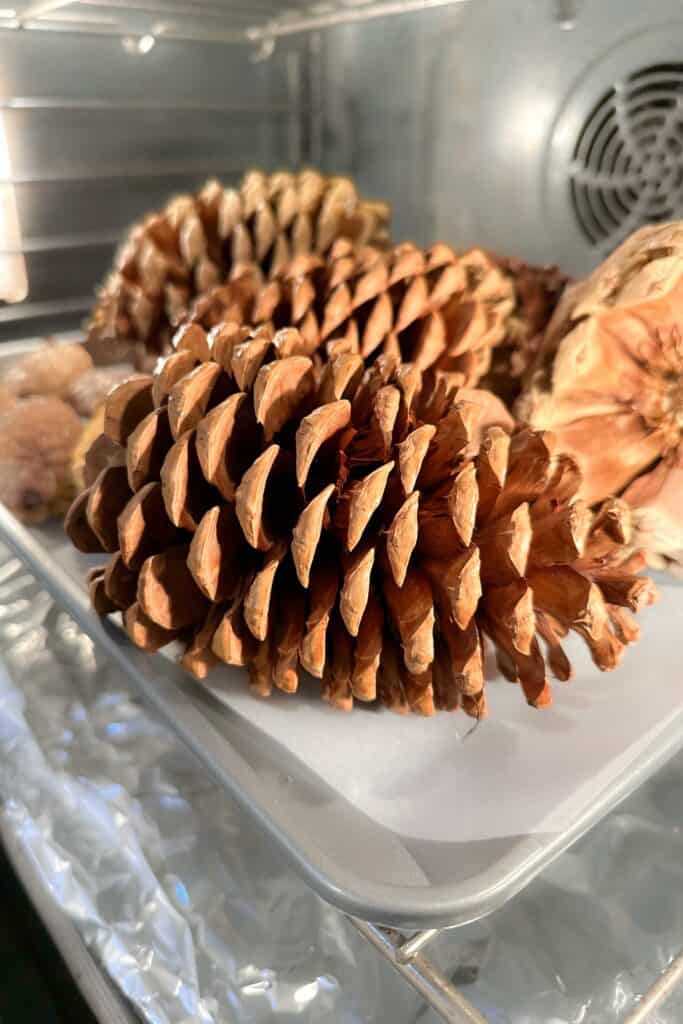
Why are we Baking Pine Cones?
Baking pinecones is important for several reasons, especially when you plan to use them in crafts or decorations:
| Sanitization: Pinecones often harbor insects, larvae, and microorganisms, some of which can be harmful or unwanted in your home. Baking pinecones helps kill any insects and larvae that might be hiding inside, preventing potential infestations. Dehydration: Pinecones can contain excess water, and this moisture can lead to mold growth or unpleasant odors if left untreated. Baking helps remove this moisture, preventing mold and ensuring the pinecones stay fresh. Stability: Baking pinecones helps stabilize them, reducing the risk of them opening up, shedding, or disintegrating over time. This is important for long-lasting crafts and decorations. Cleanliness: Baking helps remove dirt, dust, and natural resins or saps that may be present on the pinecones. Clean pinecones are more aesthetically pleasing and easier to work with in craft projects. Scent Enhancement: Baking can enhance the natural scent of pinecones, making them a delightful addition to your decor, especially during the holiday season. Crafting: Baked pinecones are less likely to attract little bugs, which is crucial if you’re using them in craft projects for indoor use. |

How to Bake Pine Cones for Crafts
Equipment
- 1 baking sheet
- 1 Roll of parchment paper or foil
- 1 Deep bowl or large bucket
- 1 Scrub brush
- 1 Roll of paper towels
- 1 Pair of gardening gloves
- 1 Pair of tongues or oven mitts
Materials
- Foraged pine cones as many as fit in a single layer
- 1 cup white vinegar
- Warm water enough to submerge the cones
- A few drops of dish soap only if you use the soap method instead of vinegar

Instructions
- Sort by size. Line the cones up smallest to largest and plan to bake them in batches. A one-inch cone and a twelve-inch cone need very different times in the oven.
- Shake them out. Do this outside. Knock off loose needles, dirt, and any hitchhikers before the cones come anywhere near your sink.
- Mix the soak. Combine 1 cup of white vinegar with warm water in a bucket or deep bowl, enough to fully submerge the cones.
- Soak for 30 to 60 minutes. The cones will float, so weigh them down with a plate. They will also close up tight as they absorb the water. That is normal and they will reopen in the oven.
- Scrub if needed. Work an old toothbrush gently between the scales on any cone with stubborn dirt or sap. Be careful not to snap the scales.
- Rinse and air dry. Rinse with clean water, then lay the cones on paper towels and let them air dry before they go in the oven.
- Preheat and line. Heat the oven to 200 degrees F and line your baking sheet with foil or parchment. Do not skip the lining. The sap will melt and drip.
- Bake 30 to 60 minutes. Arrange the cones in a single layer with space between them. Check every 15 minutes. Small cones may need the full hour, and large resinous ones almost always do. Stay in the room while they bake.
- Cool completely on the pan. Give them at least 30 minutes. The melted sap is still tacky while warm and will lift the foil right along with the cone if you rush it.
- Store them dry. Move the cooled cones to a cardboard box or an open basket. Sealed plastic traps moisture and invites mold
Notes
| PASTE INTO THE NOTES FIELD The cones will close when wet and reopen as they dry. If one is still shut after an hour in the oven, it needs more time, not more heat. Pine sap is flammable. At 200 degrees the risk is very low, but do not walk away and do not turn the temperature up to speed things along. If you smell smoke or see scorching, the oven is too hot. The sap makes them prettier. It melts, spreads across the scales, and hardens as it cools into a soft sheen. Baked cones look richer than the ones you picked up off the ground. Your kitchen will smell like warm pine and resin. No candle required. |
FAQ’s Often Asked About Pine Cones
Here is my advice: never leave home without gardening gloves, clippers, and a ziplock bag. You never know when you are going to come across a few pinecones. You can find pinecones in various places like:
Wooded Areas: Pinecones naturally fall from pine trees in forests, parks, mountains, and woodlands.
Local Parks and Hiking Trails: Public parks and hiking trails often have pine trees that drop pinecones on the ground.
Your Yard: If you have pine trees on your property, pinecones may litter your yard during Autumn.
You can, but only a few at a time and only if your air fryer goes as low as 200 degrees. The circulating fan dries them faster, so start checking at 15 minutes. I still prefer the oven because I can do a whole basket at once.
Years, as long as they stay dry. Store them in a cardboard box or a basket rather than a sealed plastic bin, which traps any remaining moisture and invites mold. I keep mine in the she shed and pull the same cones out every Christmas.
No. Microwaves heat unevenly and pine sap is flammable, so you can end up with a scorched pocket inside a cone that looks perfectly fine on the outside. The oven is slow on purpose.
Bake first, always. Paint will not stick to sap, and bleaching a cone that still has bugs in it just gives you pale bugs. Bake, cool completely, then decorate.
Usually not. Cones sold for crafting have already been heat treated and often scented or sealed, and baking them again can melt an added coating. If you bought them at a farm stand or nursery rather than a craft store, treat them like foraged cones and bake them.
What DIY Projects Can I Do with My Beautiful Pine Cones?
The Christmas tree is already in place, and we’re just waiting to add a few ornaments. I’m excited to use some free decor items, like pinecones, which I’ll clean and bake before trying out a variety of craft projects.
This year, I’m going for a woodland theme, incorporating pinecones for a rustic touch and making other holiday decorations.
Here are a few ideas you can make this year.
- How to make a pine cone wreath
- Use pine cones as winter decor
- Make the cutest DIY pine cone tree
- Create some love with this heart shaped pinecone wreath
- Learn how to decorate a Natural looking Christmas tree.




I hope you found this article helpful in walking you through the pinecone baking process. With this knowledge, it’s time to dive into your holiday projects and bring your Christmas creations to life!

More about me!

Hello, I’m Wendy – a dedicated homemaker with a deep passion for decorating, gardening, cooking, and crafting. I find joy in harmonizing beautiful elements to fashion a space that is both comfortable and inspiring. I will help you create a beautiful home, one project at a time.
Connect with Wendy

Shop the Post

I always enjoy picking the pinecones up at the farmhouse but then never do anything with them! This is the year! Thanks for the tip! pinned
You certainly did find some beautiful pinecone shapes. In our area, I only see the long and narrow variety, but I am loving your full and roundish ones! My mom has a pine tree next door to her home, and she gave a bag to me last year to craft with. I did not clean them, but I did bake them. Now, I feel like I should have known to clean them… oh well, this years loot will be cleaned and baked thanks to your direction Wendy! I sprinkled a few in baskets, and our mantel for filler. Thank you so much for sharing your knowledge with us!
Oh, Cara, you have the long and skinny pinecones, the only kind I can’t get around here, LOL.
I can buy them, but they are rather expensive. I am looking forward to enjoying them on our Christmas trees.
I can’t wait to see what you do with them.
Never though or up to now heard of baking pinecones. I grew up with pinecones and pinenuts.
Thank you for sharing your links with us at #286 SSPS Linky. See you again next week.
You learn something new everyday! have a great week.
This is great information. I pinned this to use later!
Thank you Susan for your love and support! You are a doll.
This is great to know Wendy! Thanks so much for the instructions! Now, hopefully I’ll hit the mother load as well! I love pine cones!! XO
Thank you, Susan. I am glad you found it informative. I hope you have a successful pinecone hunting day.
I will keep my fingers crossed for you.
Excellent guide for preping pine cones. When we lived by Fort Benning, my husband would bring home giant ones. I definitely needed to clean them well if for no other reason than to kill off the hidden bugs.
Thank you, Linda, I am glad you found it informative. We certainly don’t want to bring those critters inside our homes. Have a beautiful week.
Wendy,
I’ve never baked pinecones before. Great idea. I’ll share with my readers on Sunday’s DRA.
Thank you so much, Rachel.
Hi Wendy! Love this post. I love to incorporate pine cones into my decor during the holidays. Especially when I can find them in my backyard! Thanks for the tip on baking them.
Thank you, Anna, I will be coming out with a few DIY pinecone projects, so be on the lookout.