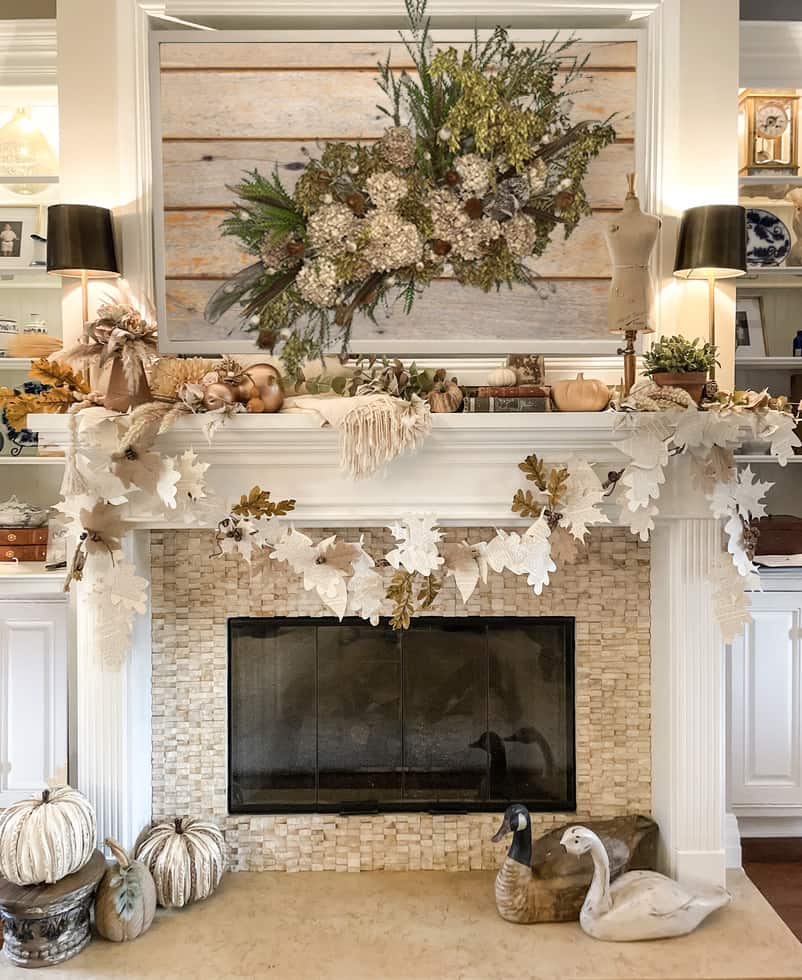
How to Make the Prettiest Dried Floral Wall Arrangements for Fall
Elevate your home decor this fall with our step-by-step guide to creating stunning wall art using dry flowers.
Fall is just around the corner, and what better way to welcome the season than with a charming and trendy home decor update?
If you’re looking for a creative project that adds a touch of nature’s beauty to your space, you’re in for a treat.
Say hello to dried floral wall arrangements! These beauties capture the essence of autumn and bring a dash of everlasting elegance to your surroundings.
Unlike their fresh counterparts, dried flowers are here to stay, showing off their prettiness all year round. In this blog post, I’m thrilled to guide you through crafting your own dried floral wall arrangement step by step. Let’s dive in and get those creative juices flowing!
On my blog WM Design House, I may sometimes use affiliate links, which means a small commission is earned if you purchase via the link. The price will be the same whether you use the affiliate link or go directly to the vendor’s website using a non-affiliate link.
Benefits of Dried Floral Wall Arrangements
Let’s start by exploring the wonders of dried floral wall arrangements.
These unique pieces of wall art boast a host of advantages that make them stand out from the crowd.
First off, they’re incredibly low maintenance. No more fretting over wilted petals or constant watering – dried flowers are delightfully fuss-free. Plus, they’re eco-friendly and sustainable.
By embracing dried blooms, you’re making a stylish and environmentally conscious choice that reduces waste and conserves resources. It’s a win-win for your space and Mother Earth.

Choosing the right-dried Flowers
Now, onto the exciting part – choosing the stars of your dried floral show!
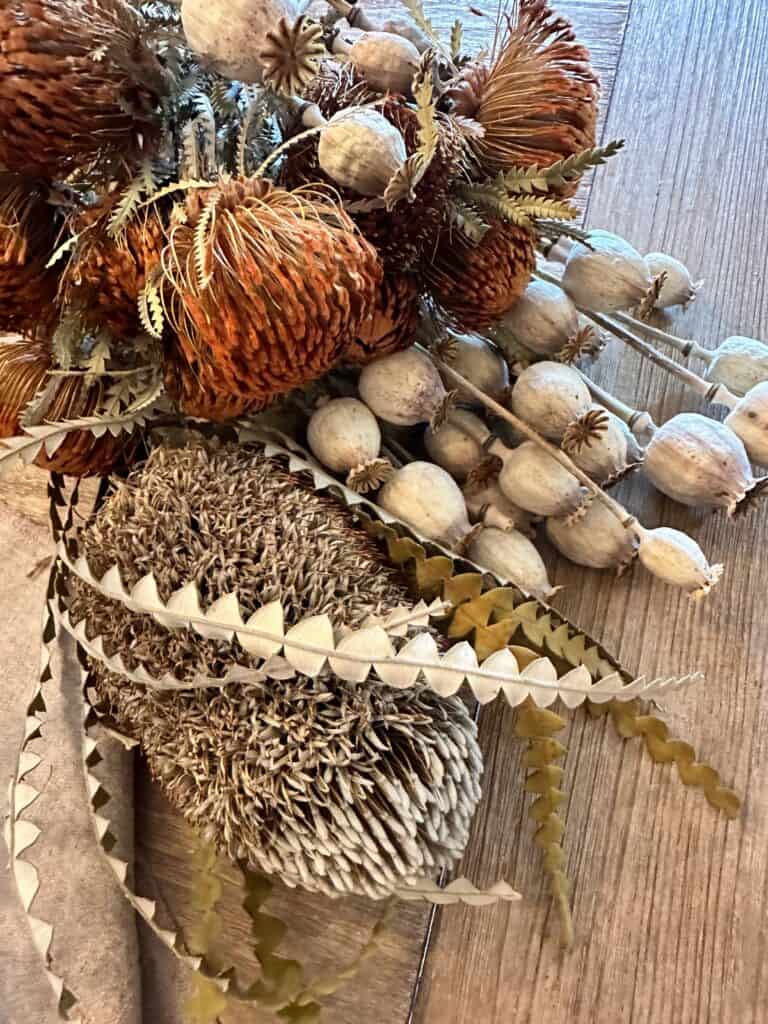
With various textures, colors, and shapes to pick from, your arrangement can genuinely reflect your unique style. Here are some of my favorite dried flowers:
Dried greenery and pods
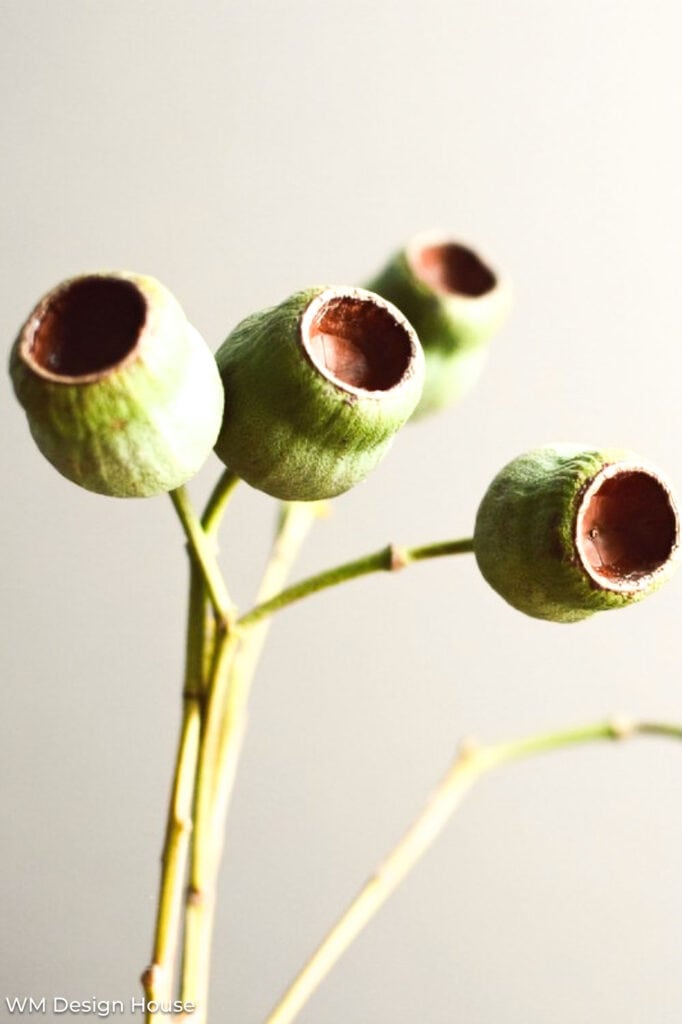
- Eucalyptus: With its soothing fragrance and silvery green leaves, dried eucalyptus adds a touch of nature to arrangements.
- Eucalyptus pods: This is the pod of the eucalyptus, and they dry beautifully.
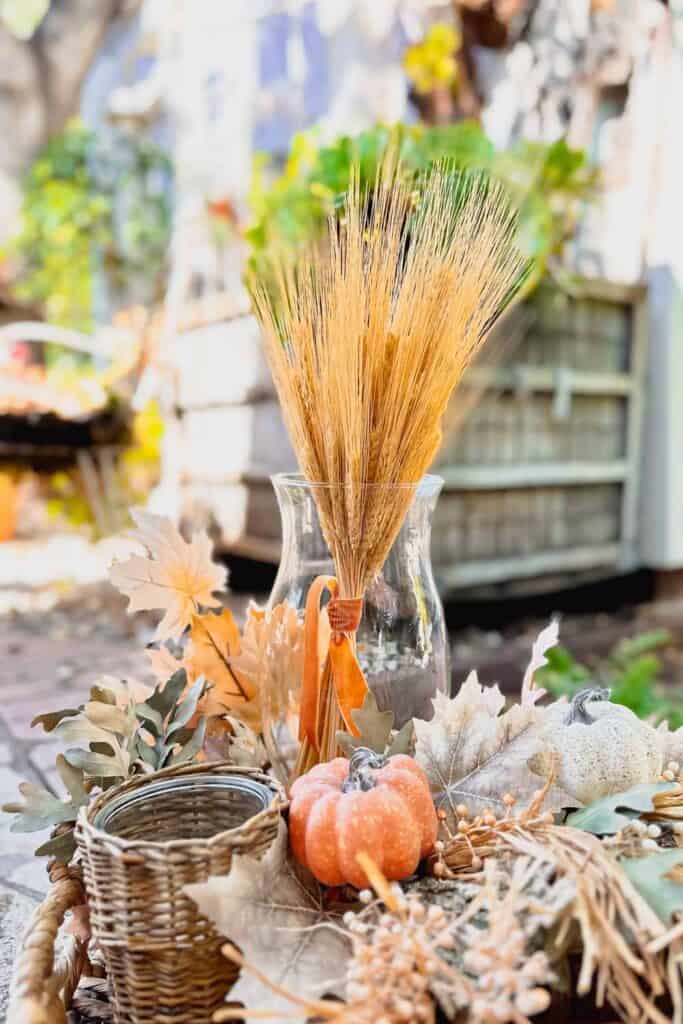
- Wheat: Tall wheat stems bring a rustic and natural charm to arrangements, perfect for farmhouse or country-style decor.
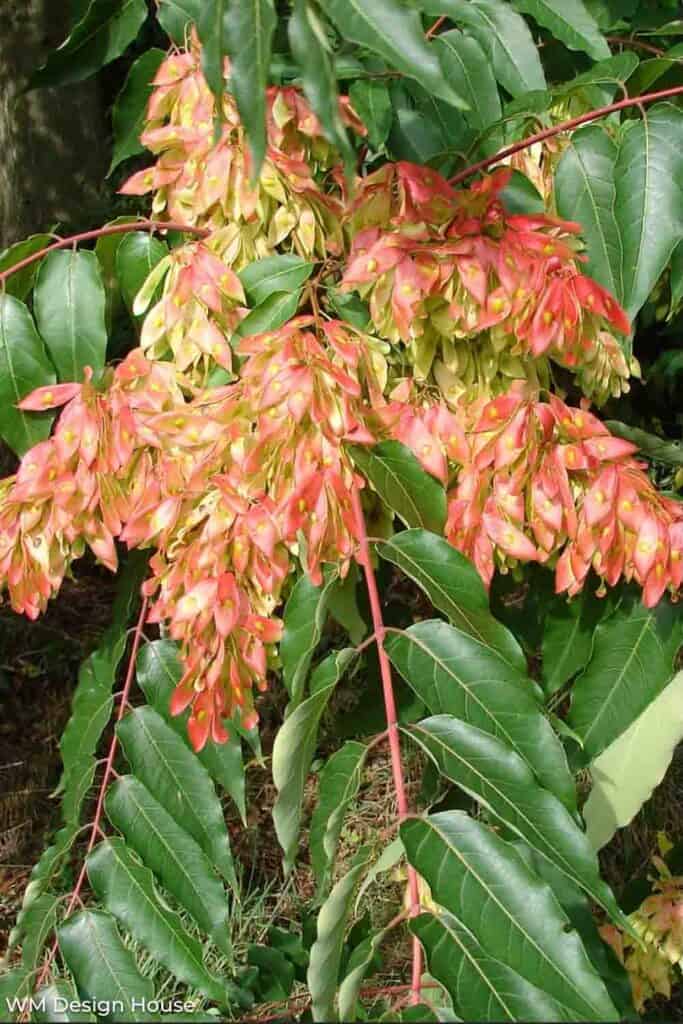
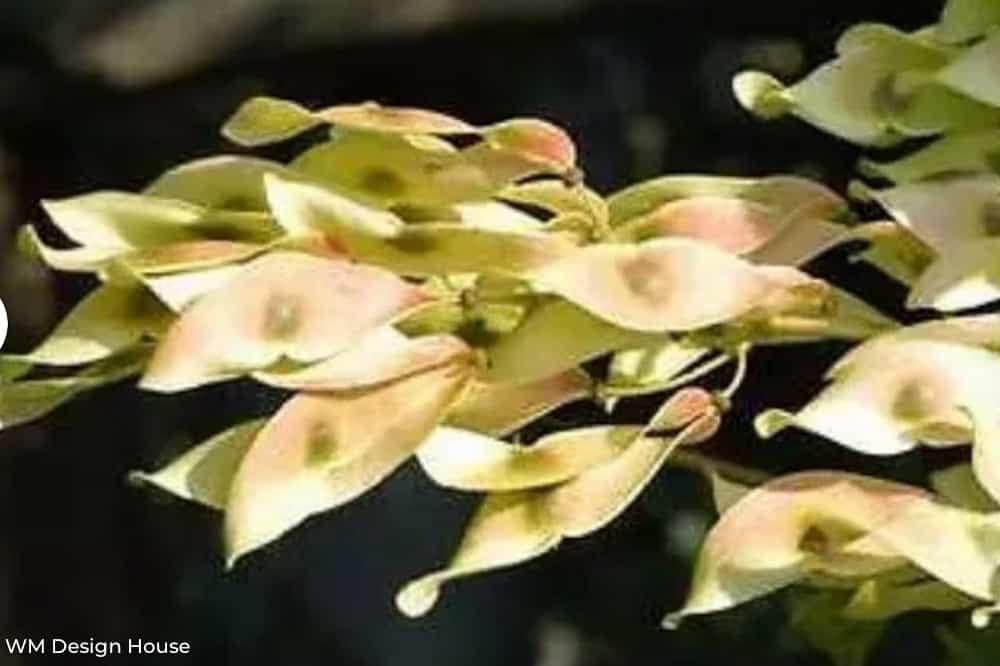
- Tree of Heaven: The spotted leaves on this tree are perfect for dried flower wall hangings. They are delicate yet strong.
- Grevillea: These thin oak-like stems can go into your arrangement fresh and dry well on the wall. The thin, spiky greens add great texture to any arrangement.
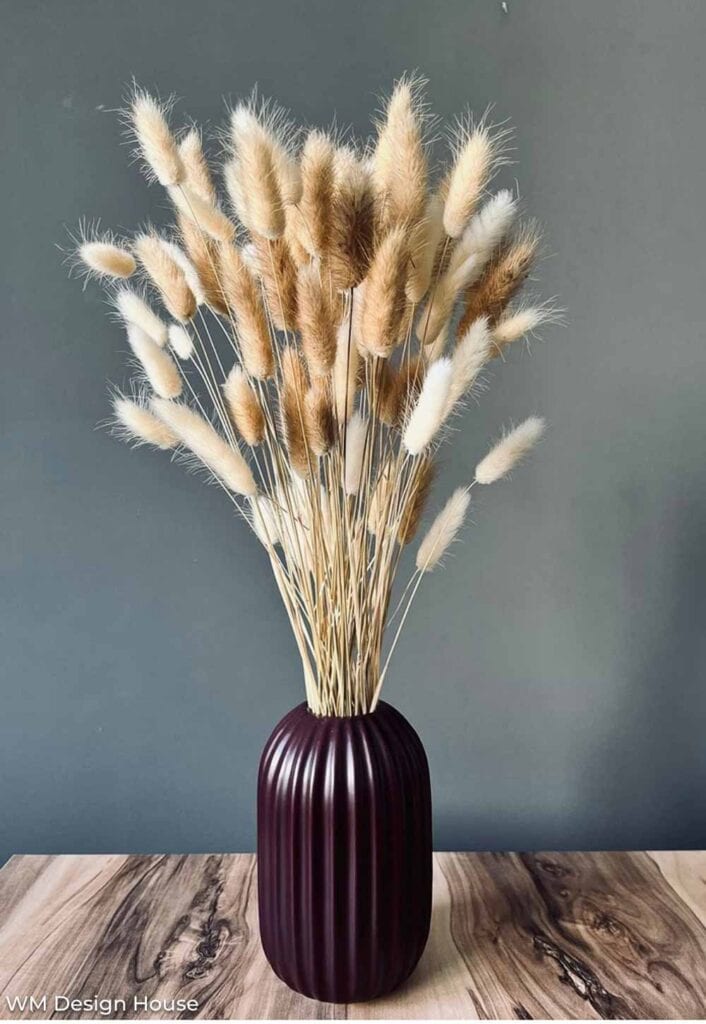
- Bunny Tails: These fluffy dried flowers are perfect for a fall arrangement and come in various colors.
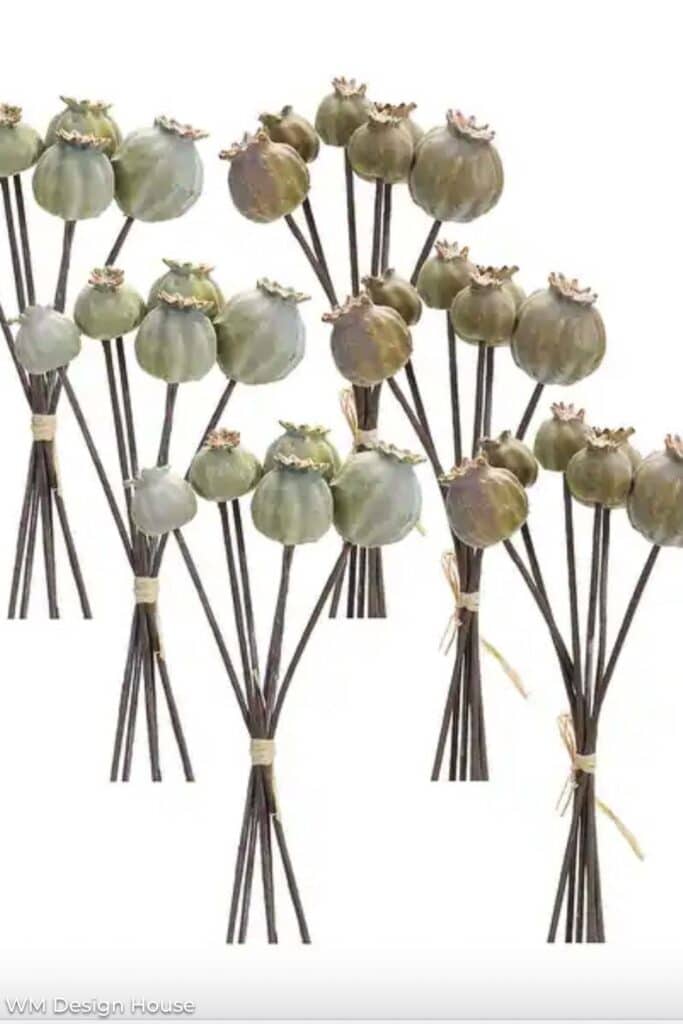
- Poppy Pods: This is the pod that a poppy produces before seeding. They dry nicely and add great interest to all floral bouquets and arrangements.
Dried flowers
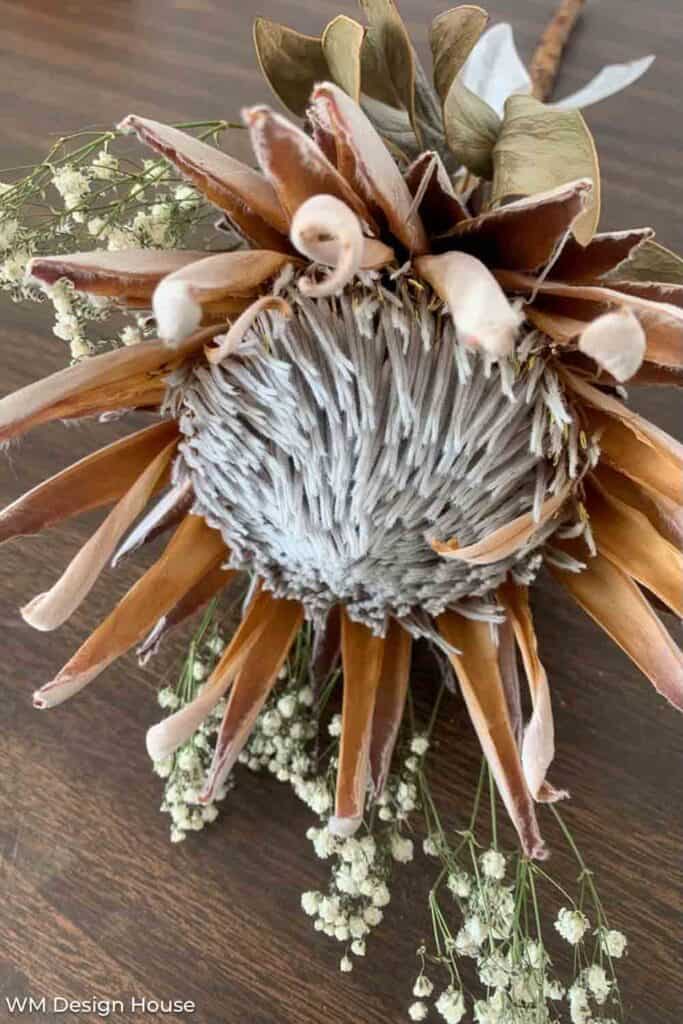
- Protea: With their unique appearance and bold colors, dried protea flowers make a striking focal point in arrangements.
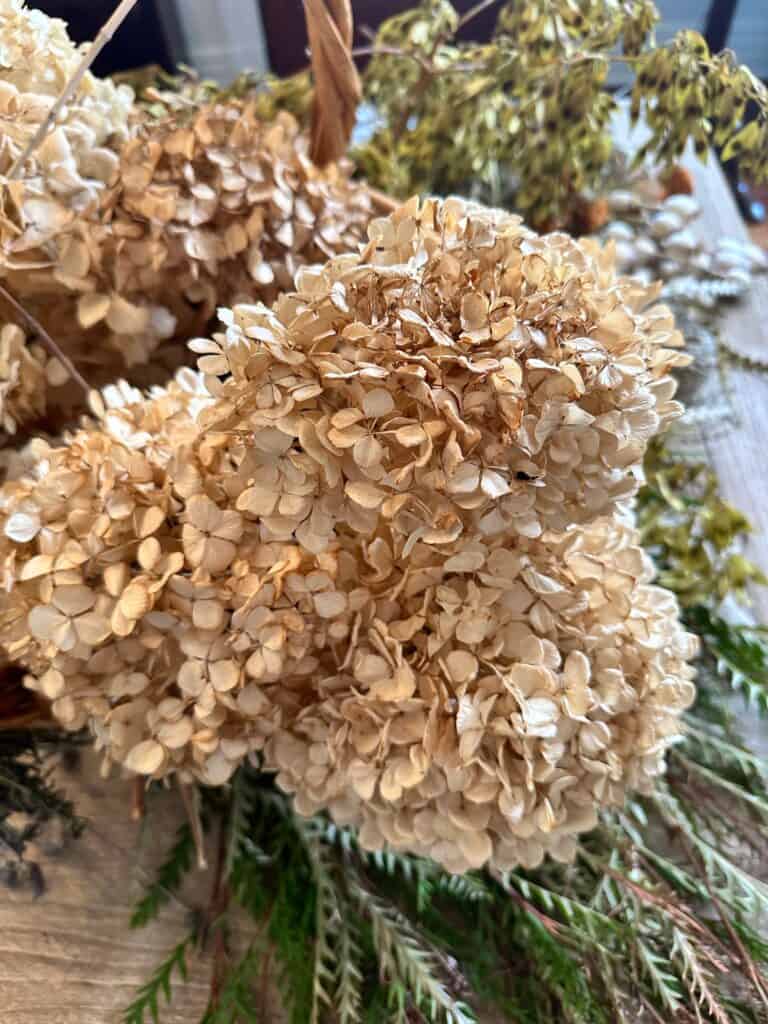
- Hydrangeas: Their delicate petals dry nicely, and many will keep their color. The longer you have them, they tend to lose their color, but I love the natural look you get with these beautiful blooms.
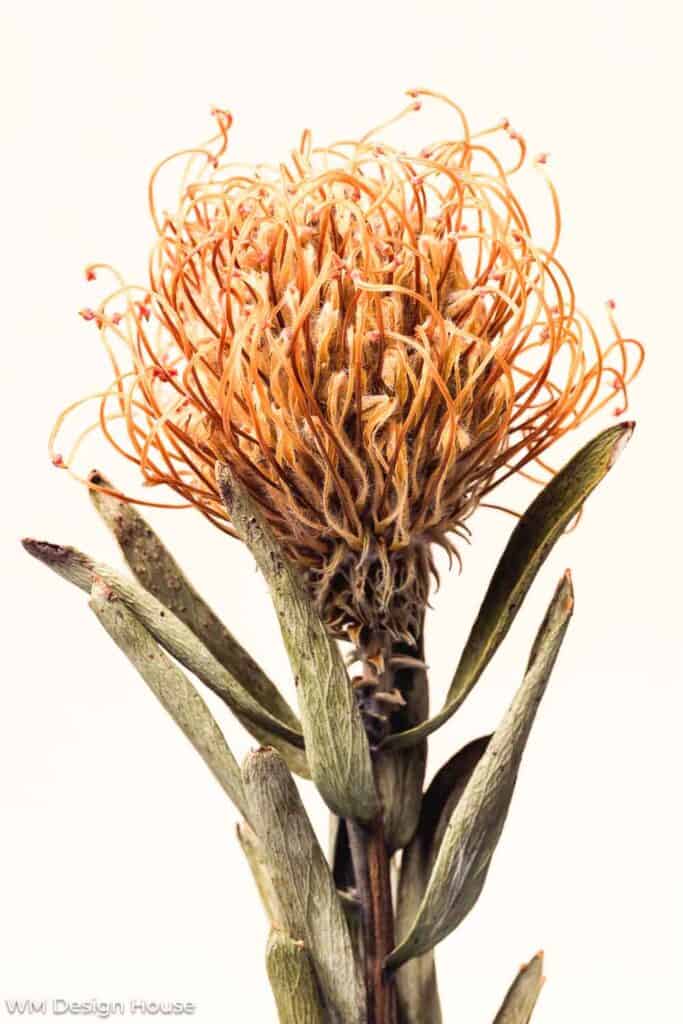
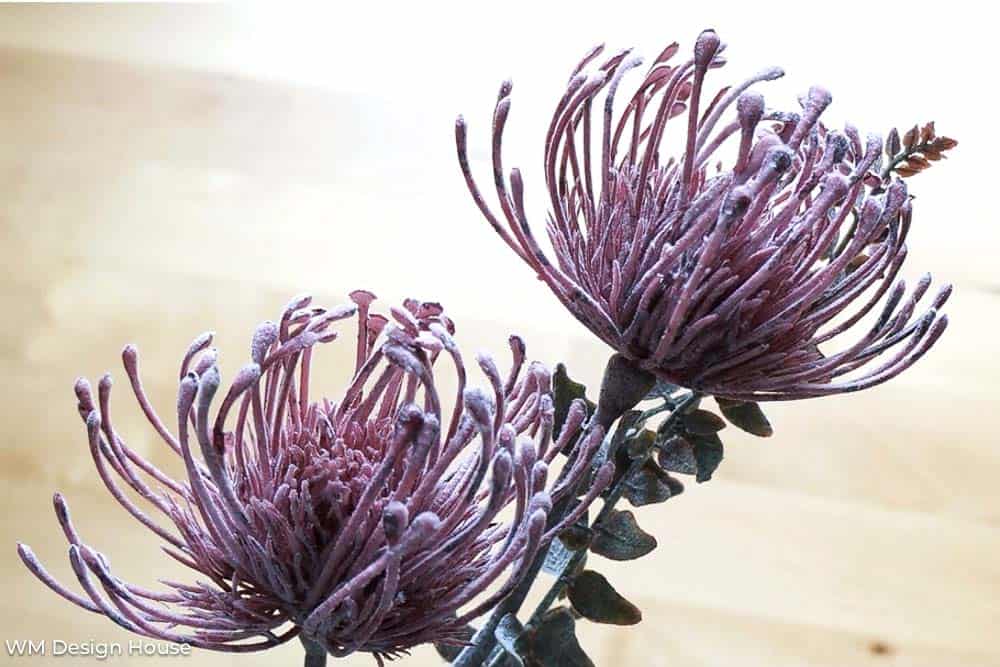
- Pincushion: The spider-like flowers dry well and add great texture and color to any arrangement.
- Straw Flowers: Strawflowers come in vibrant colors and hold their shape beautifully, making them a great addition to arrangements.
- Roses: Dried roses maintain their romantic appeal and can be used in various colors to fit different color schemes.
- Achillea (Yarrow): The dried yarrow adds a feathery texture and comes in various warm and cool colors.
Your dried flower choices should complement your design aesthetic and color palette. Mixing various textures, shapes, and sizes will add depth and visual interest to your dried floral arrangement.
Gathering materials
It’s time to roll up our sleeves and gather our materials.
You can either dry your own flowers or find them at craft stores or local flower markets.
I bought the Tree of Heaven branches and the Grevillea fresh and let them dry at home.
Here’s what you’ll need:
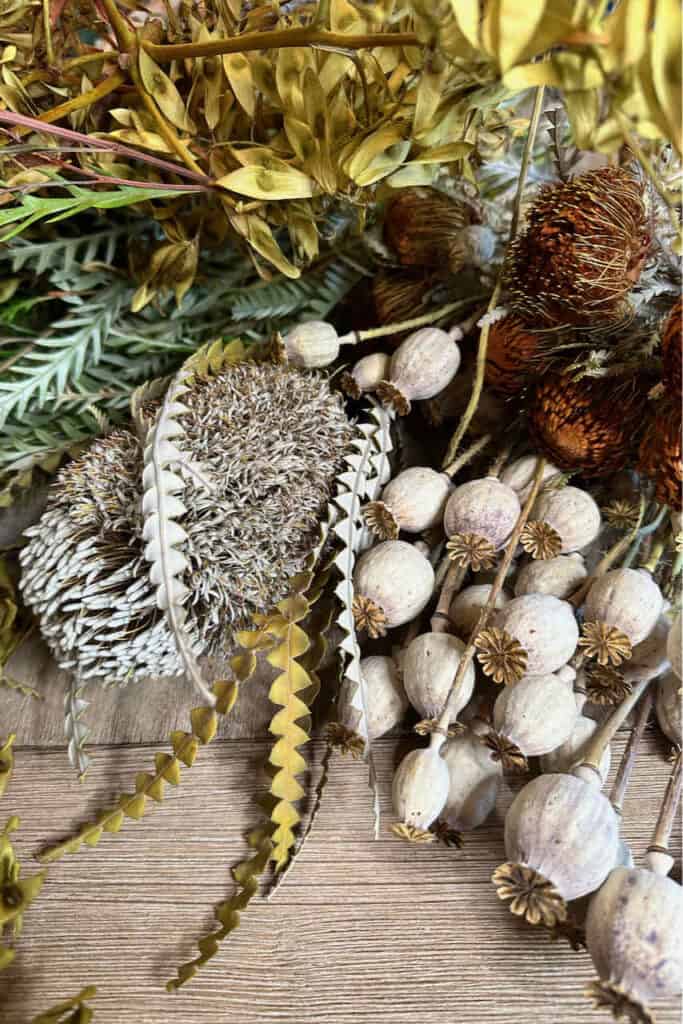
- Dried flowers: Choose a variety of colors and textures for interest in your statement piece. For my arrangement, I used:
- Poppy pods
- Protea
- Hydrangeas
- Tree of Heaven
- Pincushion flowers
- Grevillea
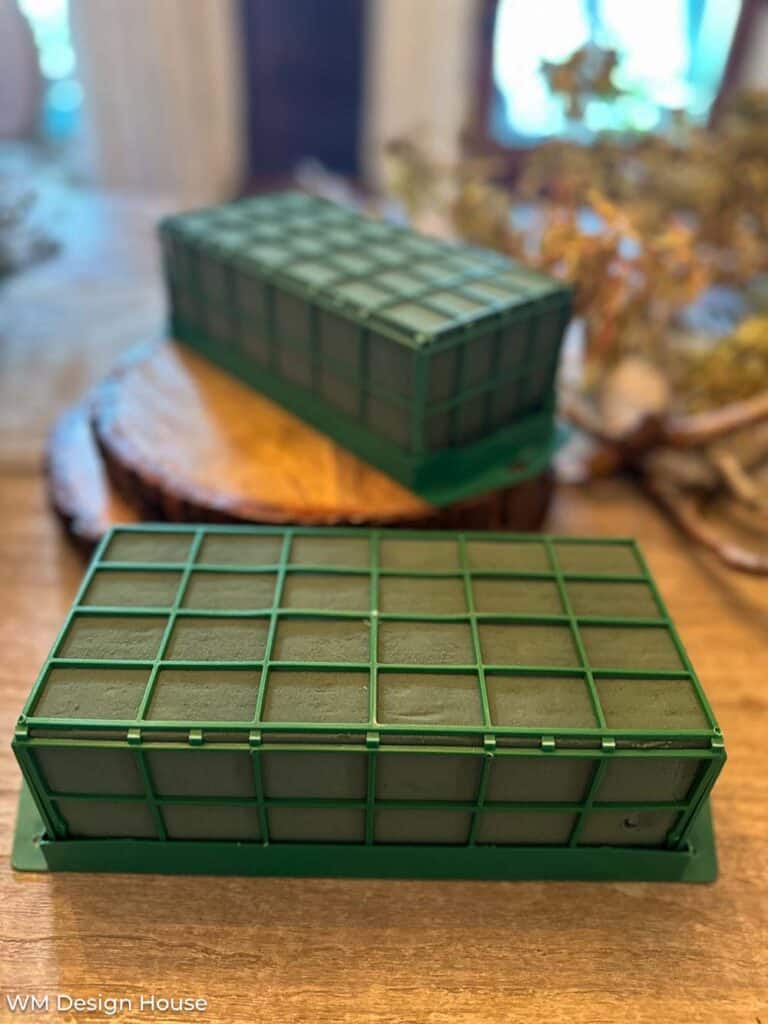
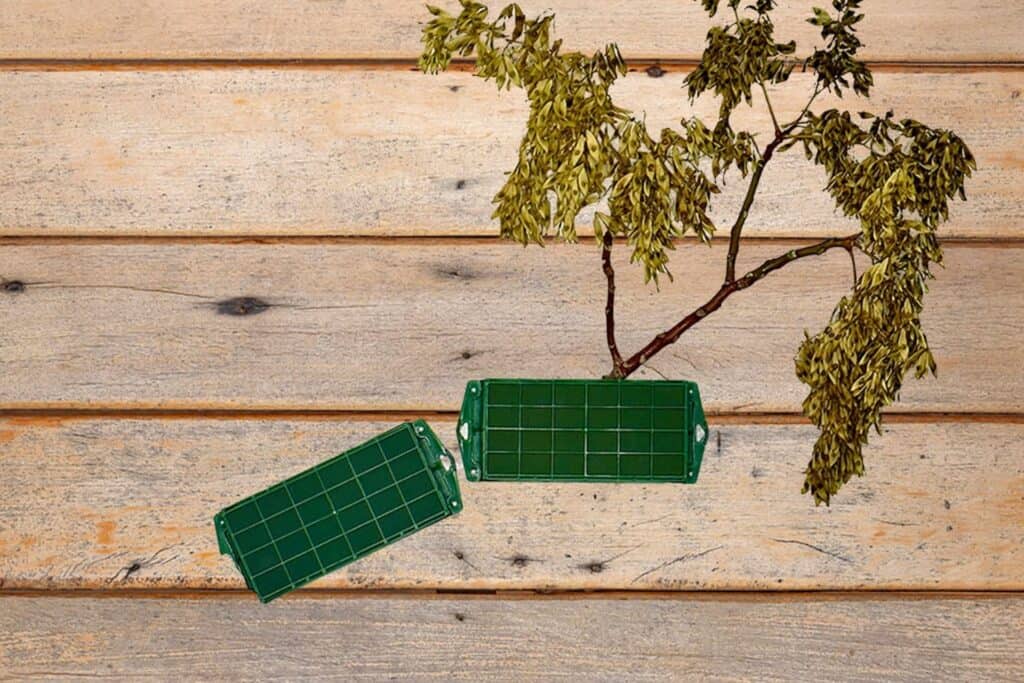
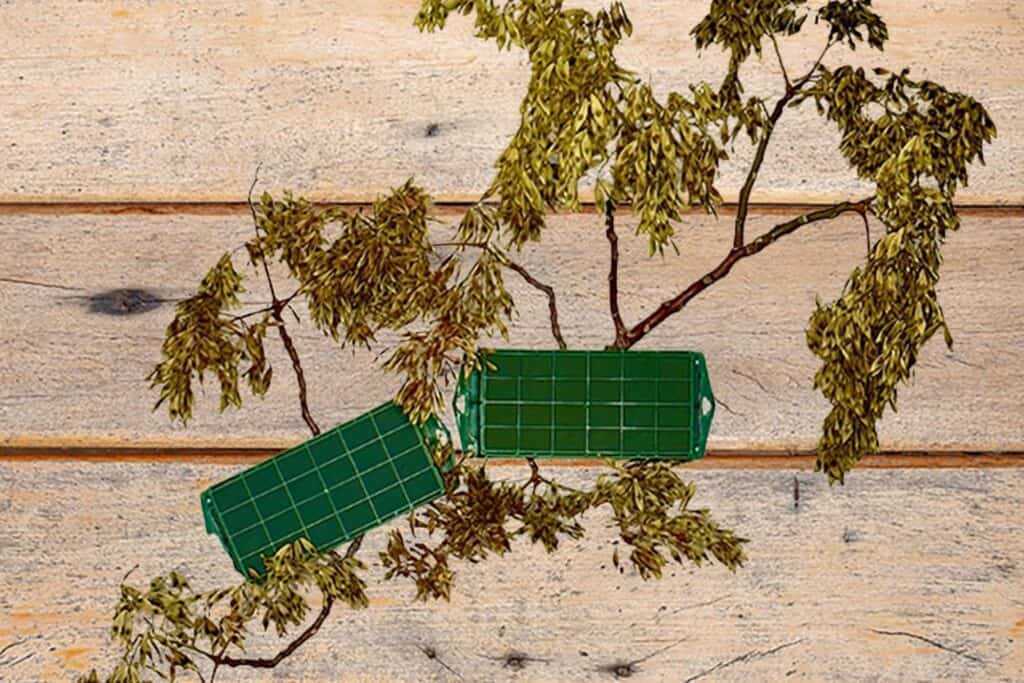
- Two floral foam blocks in a cage will be your arrangement’s foundation.
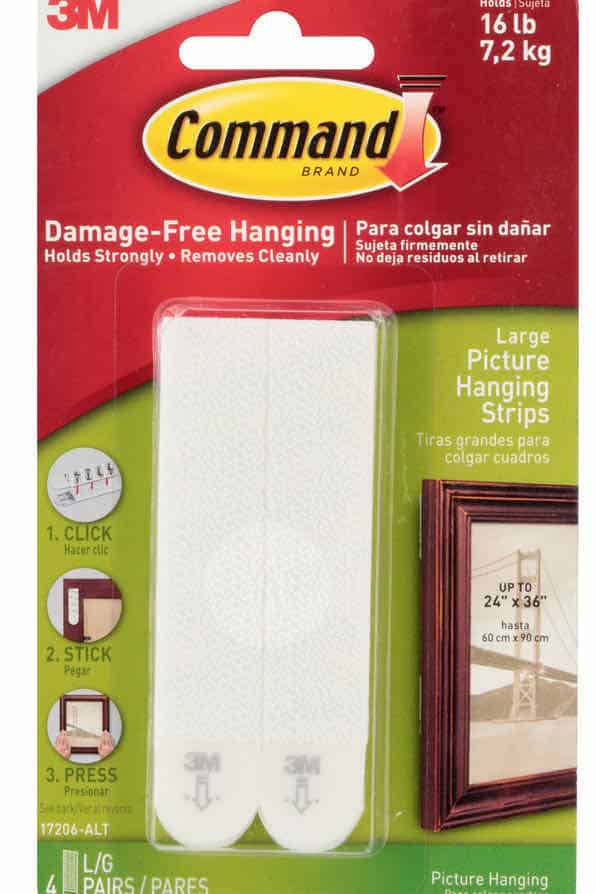
- Command picture hanging strips: To secure your creation to the wall.
- Floral clippers: A must for precise trimming.
- Hair Spray: A little spritz will help preserve your masterpiece.
Planning your design
Before we dive into the crafting process, it’s essential to have a plan.
Envision your arrangement’s look, including the layout, color scheme, and overall vibe.
Balance and symmetry are key here, so keep those in mind as you dream up your creation.
Step-by-Step Instructions
Once you have your materials and a plan for your design, the fun can begin! Follow these step-by-step instructions to see how I created the prettiest dried floral wall arrangement for fall.
1. Preparing dried flowers
First up is preparing your dried flowers. Here are some tips to make this process go smoothly:
- Handle with Care: Dried flowers can be delicate, so handle them gently by their stems.
- Avoid Crushing: Prevent accidental crushing or squeezing to maintain shape and texture.
- Prune Excess Parts: Use clean pruning shears to carefully trim loose parts off.
- Protect Your Flowers: Give your arrangement a light spritz of hairspray to help them hold their beauty.
2. Secure the foundation
Attach three Command picture holders to the back of your floral foam blocks in the cages, then secure them to the wall where you want to display or hang your arrangement.
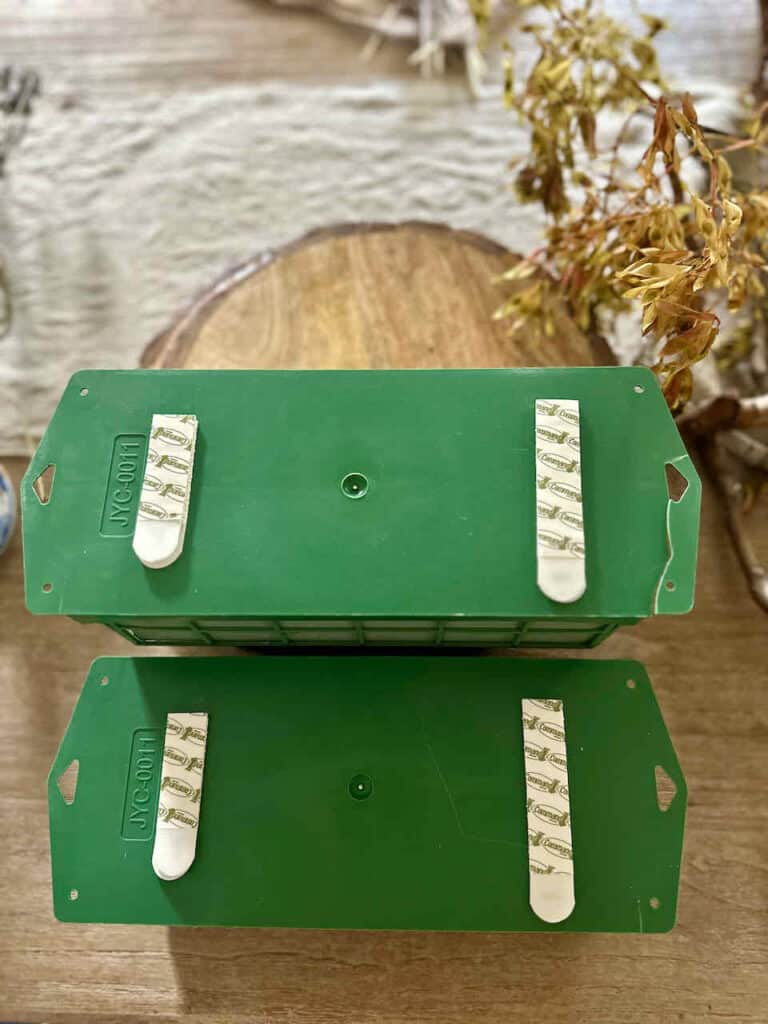
Think through the size and shape of the arrangement before you start.
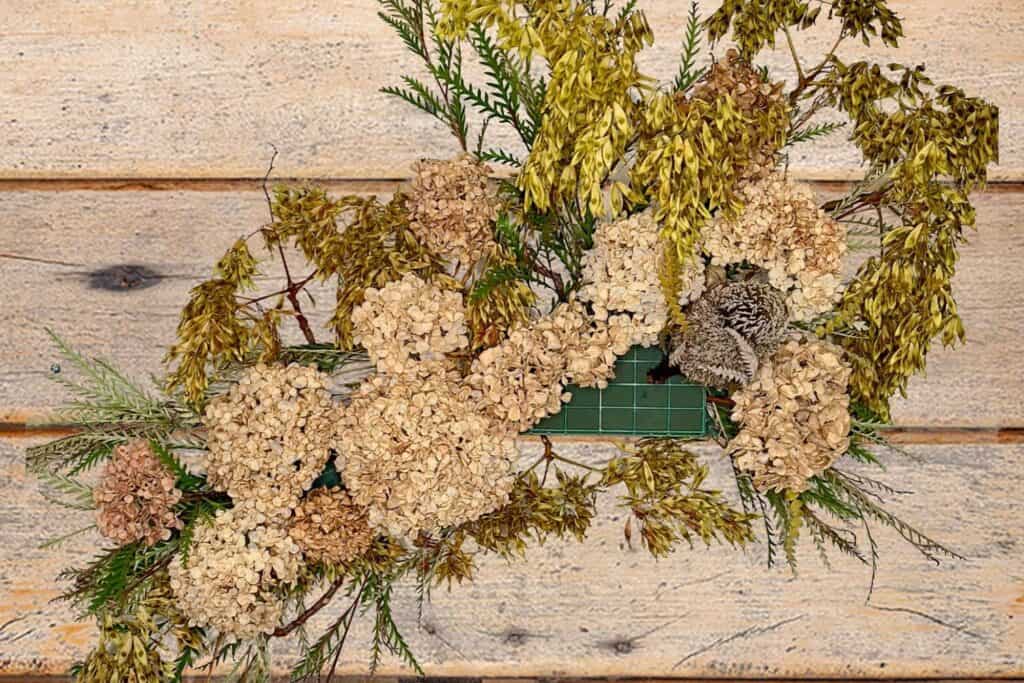
3. Building the base
Create a base using your greenery or base flowers by inserting them into the floral foam blocks secured onto the wall.
I used the branches of the Tree of Heaven along with the Grevillea to create my base.
Here is where you want to establish the shape of your arrangement. See more about this below in achieving balance.
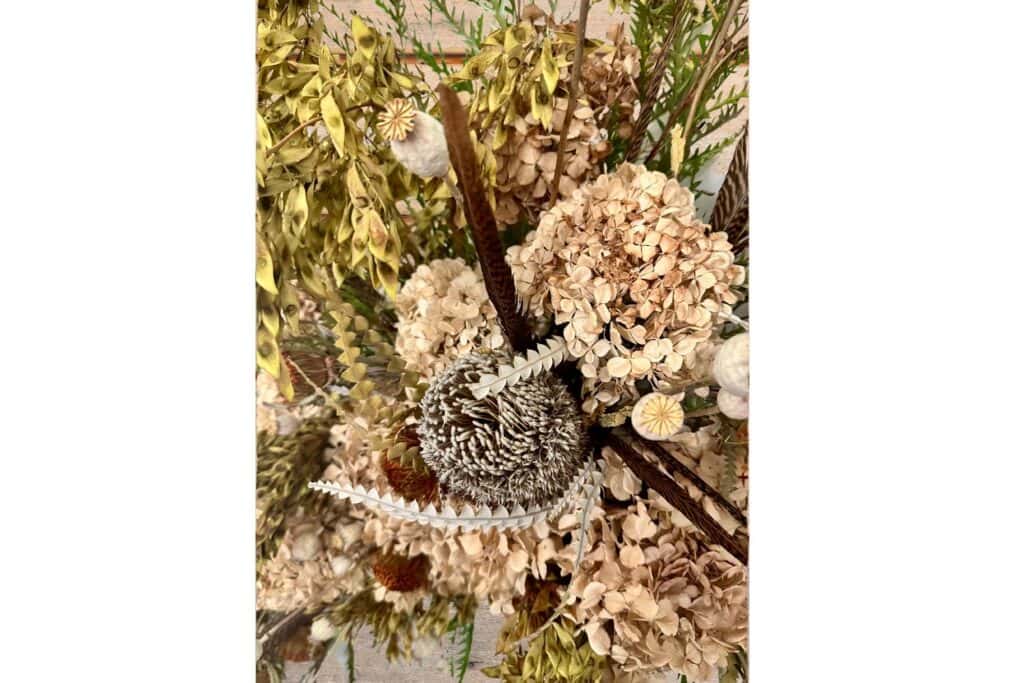
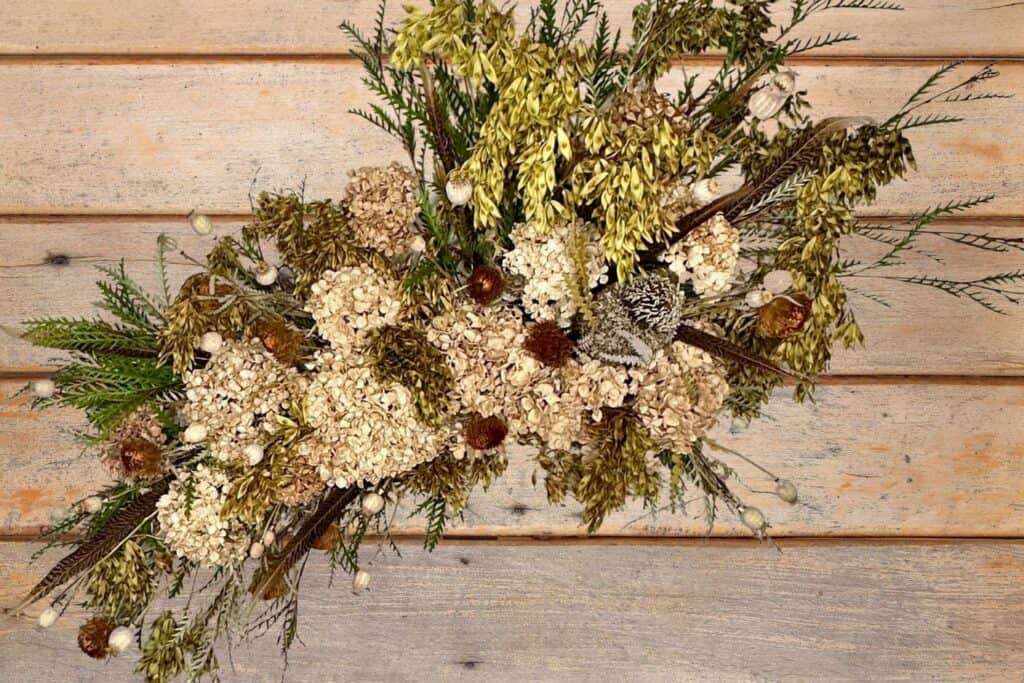
4. Creating layers
Introduce layers to add dimension and visual interest to flower arrangements. I incorporated pincushion flowers, a single large Protea, and hydrangeas at various depths and heights to achieve this effect.
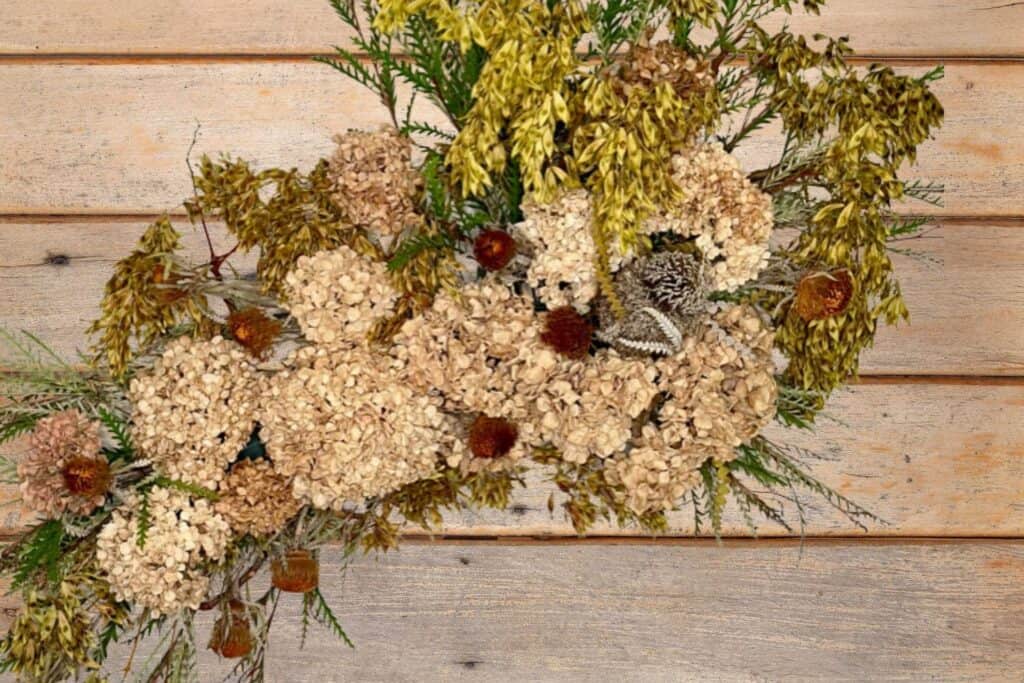
5. Adding Details
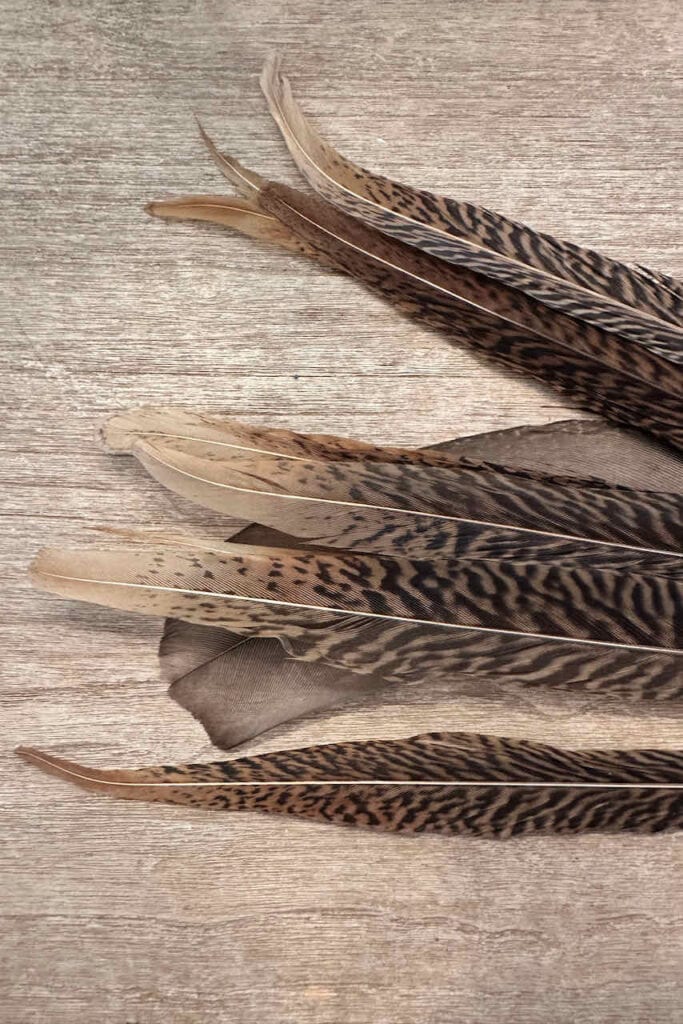
Enhance the arrangement by adding textured items like pods and feathers for detail, color, and texture.
You could also add some ribbon or a bow for additional texture.
Achieving Balance
Whether using dried or fresh flowers, consider these design factors when creating floral arrangements to achieve a beautiful balance.
- Symmetry and Asymmetry: Balance can be achieved through symmetry (mirroring elements on both sides) or asymmetry (distributing elements unevenly but still achieving balance).
- Focal Point: Establish a focal point that draws the viewer’s attention. Place larger or more vibrant flowers at this point to create a visual anchor.
- Size and Proportion: Use a mix of different-sized flowers and foliage. Balance larger flowers with smaller ones to avoid overwhelming or underwhelming sections.
- Color Harmony: Distribute colors evenly throughout the arrangement to create a cohesive and balanced color palette.
- Texture and Shape: Incorporate a variety of textures and shapes to add interest. Mix feathery leaves with bold blooms and spiky stems for a dynamic arrangement.
- Height Variation: Arrange flowers at different heights. Taller flowers can be placed toward the center or back, while shorter ones are positioned near the front.
- Negative Space: Allow for some negative space within the arrangement. This allows the eye to rest and enhances the arrangement’s overall balance.
- Grouping and Repetition: Group similar elements together and repeat certain flowers or colors throughout the arrangement for cohesiveness.
- Step Back: View the arrangement from a distance to assess its overall balance. Adjust any elements that seem too dominant or lacking.
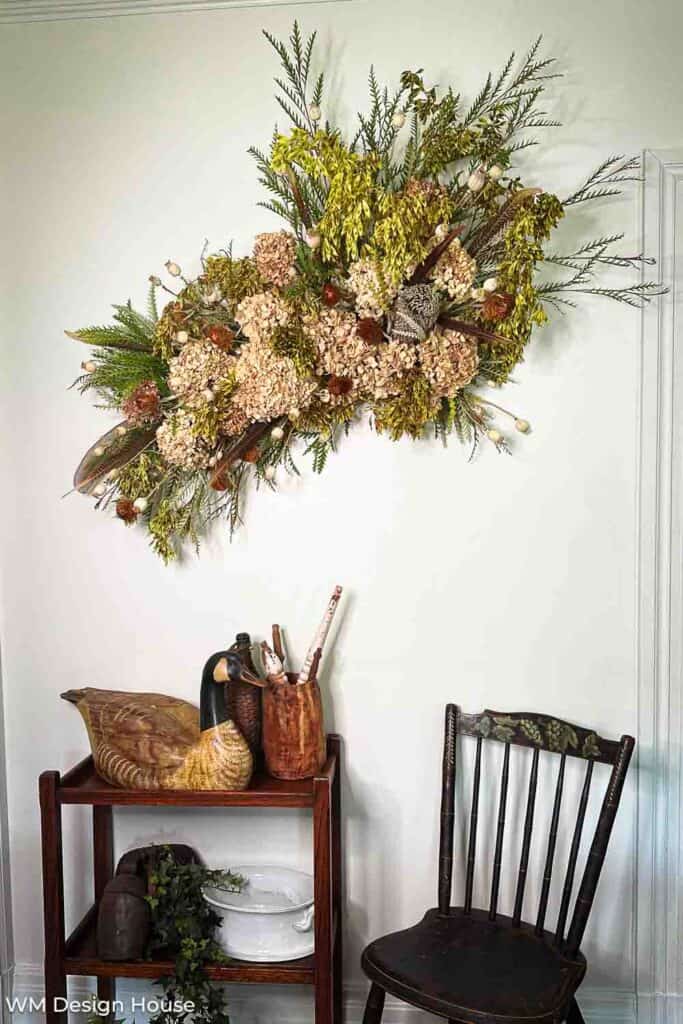
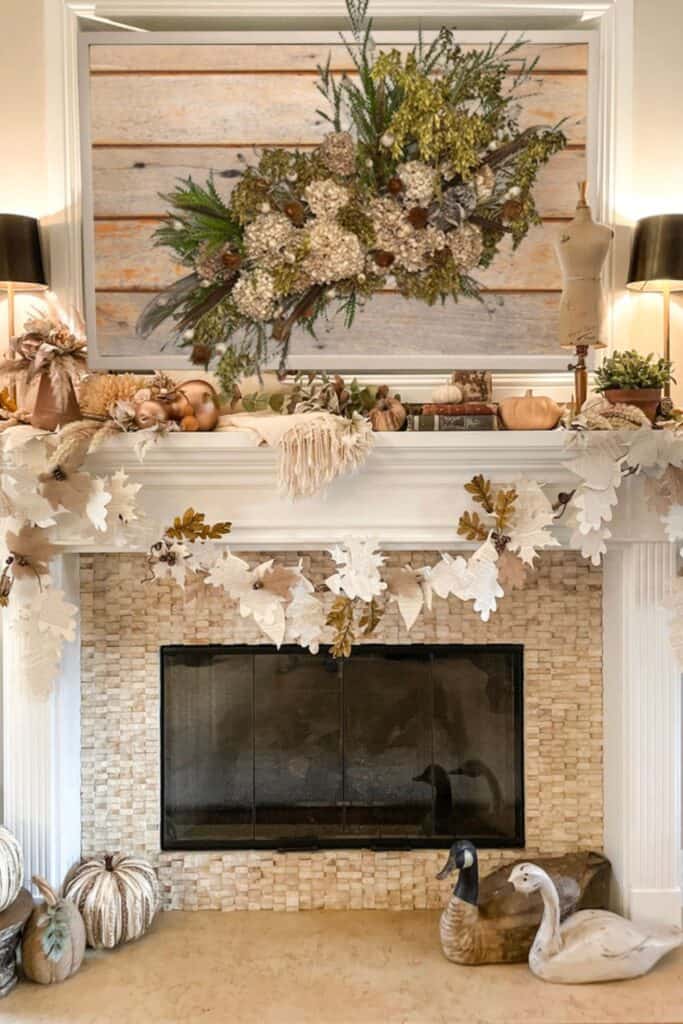
Displaying Your Creation
Your masterpiece deserves to shine in the perfect spot! Consider showcasing your dried floral wall arrangement in the living room, bedroom, or hallway. Just remember to avoid direct sunlight and excessive humidity to keep it looking stunning over time.
I started with the arrangement in the dining room and then decided to move it to the family room, where we sit more often, and we could enjoy its beauty.
Conclusion
And there you have it – your guide to crafting the prettiest dried floral wall arrangement for fall!
By embracing the charm and longevity of dried flowers, you’re adding a touch of everlasting beauty to your home.
From choosing the perfect blooms to arranging them carefully, you’re now armed with the knowledge to create a stunning decor piece that reflects your style and creativity.
So, let your imagination bloom as you embark on this delightful DIY journey.


Fall DIY’s
Fall is just around the corner, so it’s time to start thinking about all the fun DIY crafts and decor projects you can make to get in the spirit. Whether you want something simple or elaborate, I am here to inspire you. Click the button to see all of my fall projects.


LOVE this! You are a true wizard with your florals!!!
Thank you so much, Diane. I do love my flowers.
Wow, I love this floral arrangement in both rooms. I also learned something new, hairspray? What a great idea. I will have to give this a try. You are amazing at creating floral arrangements Wendy! So talented!
Thank you, Cara! Yes, the hairspray is quite helpful. It does not stop all of the shedding, but it does stop much of it.
I have been in Washington for several days and found so many beautiful things I could have used in this arrangement. I will make a few arrangements for
my girlfriend, who has a home here so she can enjoy it. I hope you are enjoying the long weekend.
Thank you, Rachel. Sorry, I have been gone for a few days and just trying to catch up.
Thank you, Renae! THis was a fun project for me. I hope you are enjoying the long weekend.
This is absolutely stunning, Wendy! So clever and it looks amazing above your beautifully decorated fireplace!
Thank you, Missy! I appreciate your kind words so much!
Thank you so much, Kim! You are such a supportive friend.
Oh my gosh. I LOVE this idea. I am sharing this link in my monthly Sky Lark House Unboxing post!
Thank you so much Anna! Very sweet of you to share.
This is genius and so beautiful Wendy! I would like to share it on my Saturday Morning Gather tomorrow.
Thank you so ch Michele. Very sweet of you to share.
Just gorgeous! Wendy, where are your lamps on the mantel from? Are they cordless? Have a great weekend.
Hi Miche. I bought those lamps so long ago from Pottery Barn. They are not cordless, but I have an outlet on the mantel so that is helpful. Have a great weekend.
What a gorgeous arrangement. Having it on the wall is a new concept for me. Great step-by-step and so much information on the individual florals. Really unique and attention getting. I love seeing all your creations!