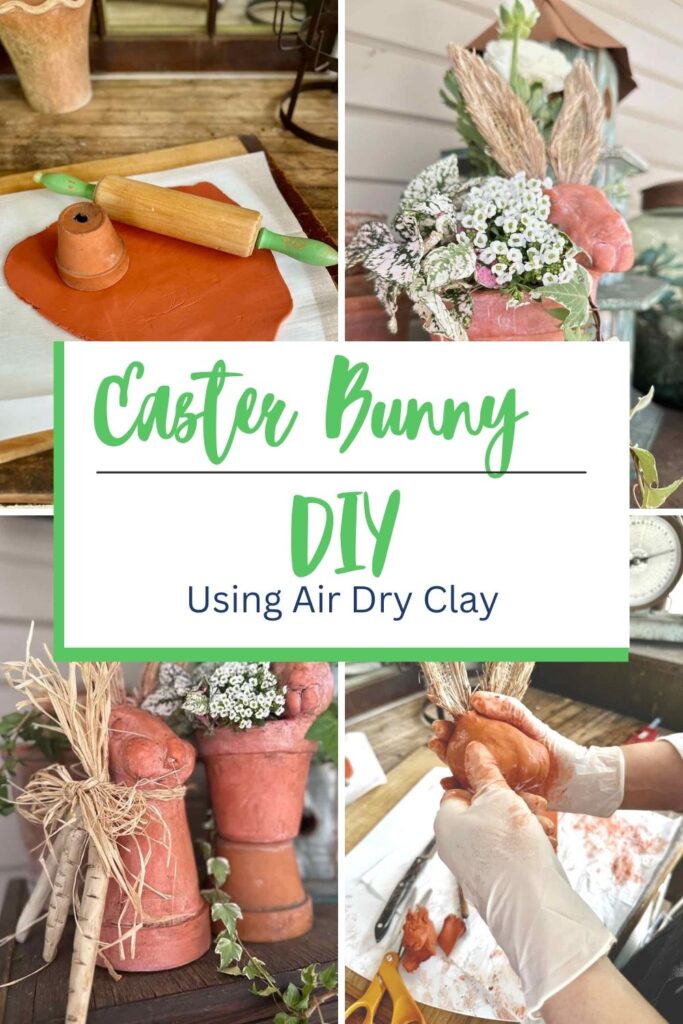
Adorable Easter Bunny DIY Craft Using Air Dry Clay
Let’s make a DIY Easter bunny for our Easter table or the garden.
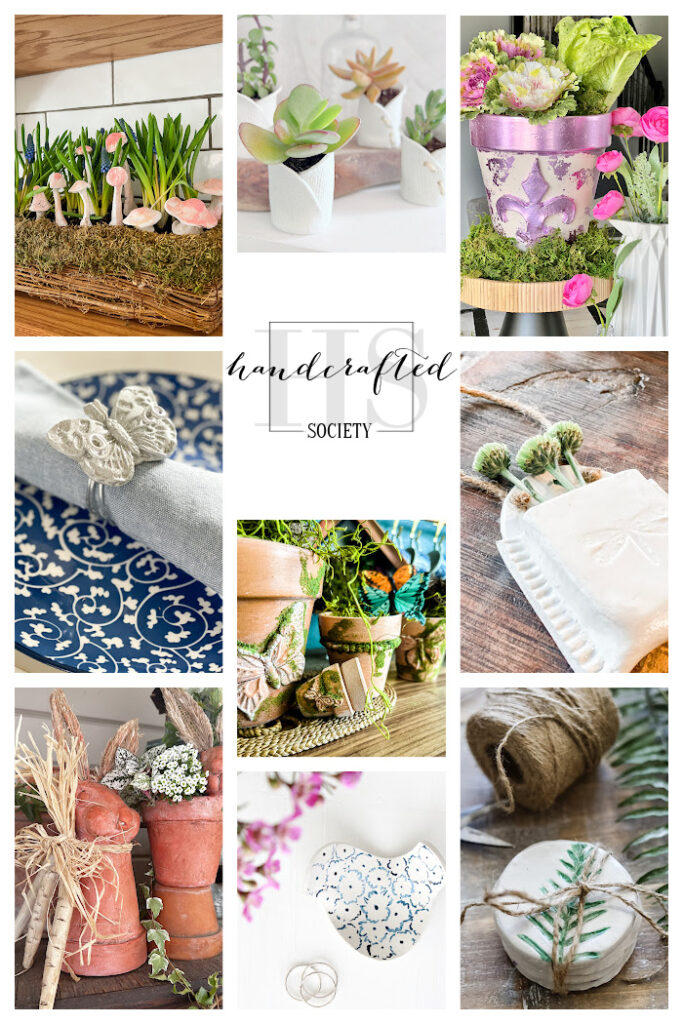
Today is the Handcrafted Society Post for March. Regina @savedfromsalvage chose air dry clay for our medium this month. We all were instructed to create an item with the clay and stlye our project.
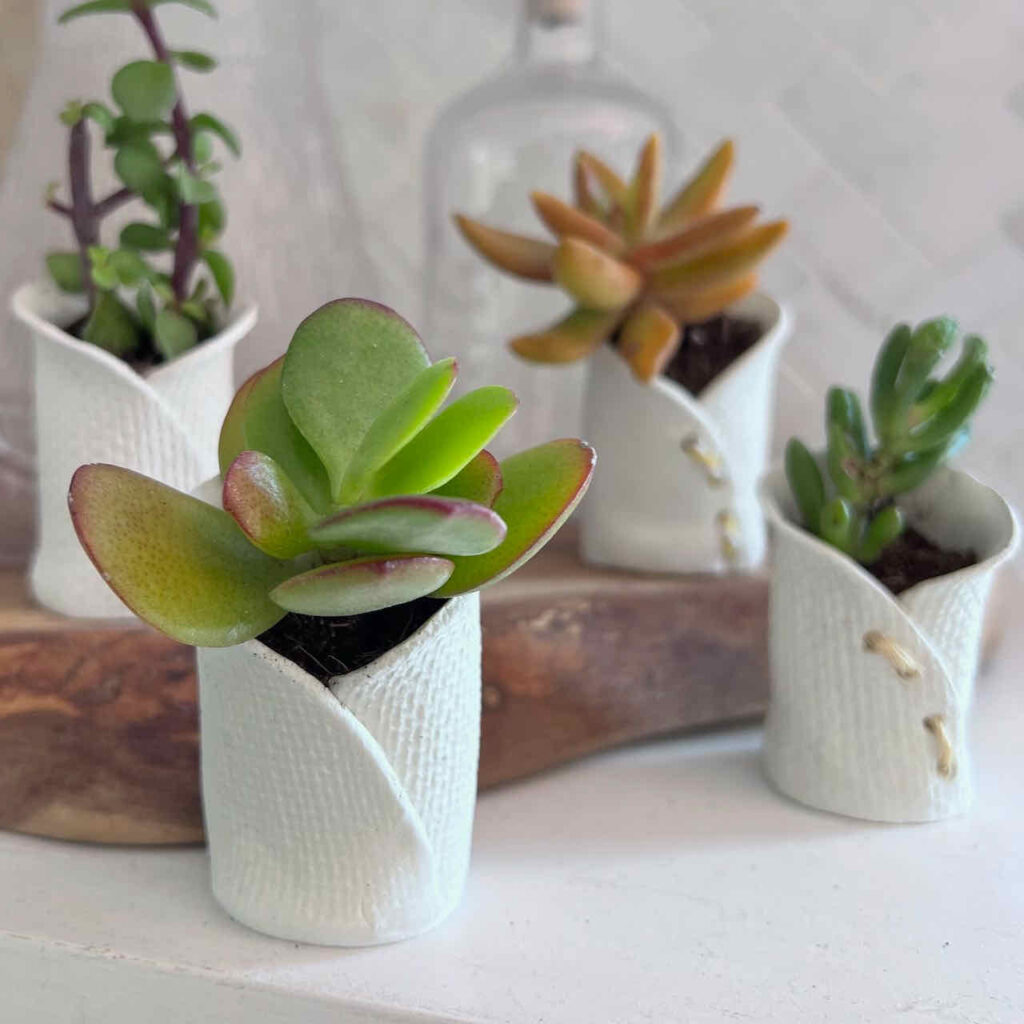
If you are coming over from my friend Diane’s @southhousedesigns, welcome! Didn’t you just love her sweet clay pots for her succulents.
Have you ever worked with air dry clay? I have to admit, this was only my second time, and I chose to make these adorable Easter bunny DIY projects.
You know how much I love to craft and decorate my home. Typically crafting is easy for me. However, this was a new experience, and I faced a few challenges, but there sure were a lot of laughs along the way.
This is not typical for me, so it was a good lesson. Sometimes it’s a good idea to practice before you jump in feet first, but that is not my typical style. Secondly, you can’t excel at everything, so sculpting may not be my go to craft.
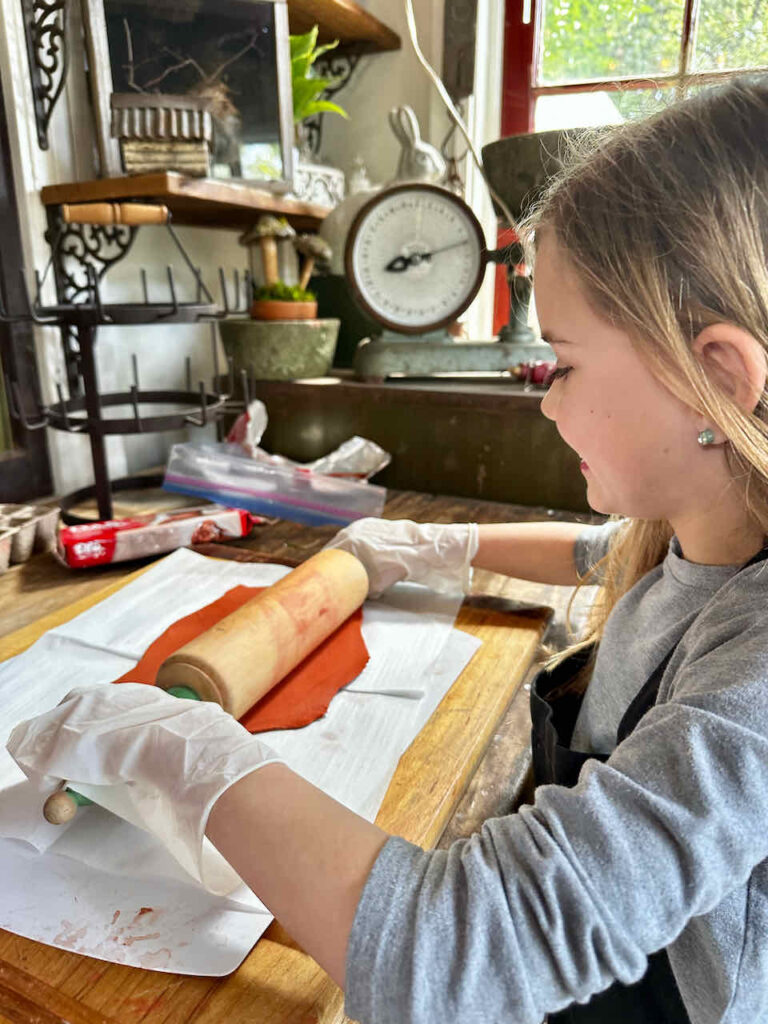
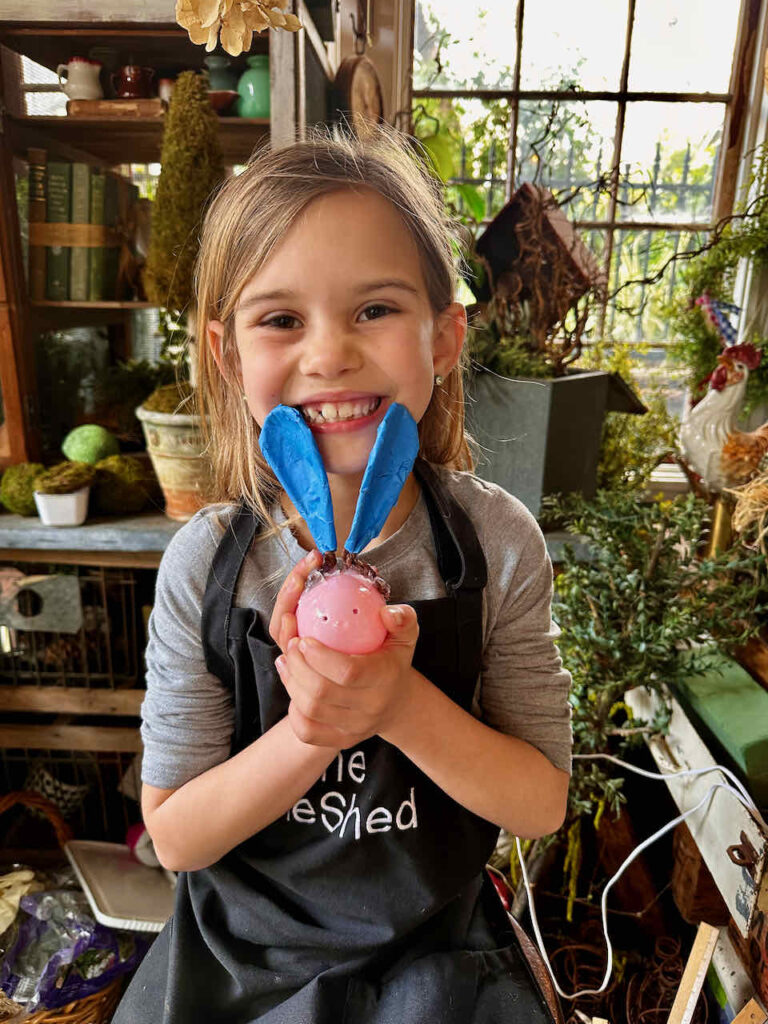
However, I enjoyed the bunny crafts, and the best part was my granddaughter joined in on the fun with me for round two. Yes, that’s right, there were four rounds of this Easter craft project.
Ultimately, I am happy with the FINAL results and will enjoy these little Easter bunnies on my Easter table or sitting by the front door. I may even put one of them in my granddaughter’s Easter baskets.
Supply list to make an air dry clay Easter bunny DIY
You can purchase most of these items at the craft store. I have included links to purchase the supplies for your convenience if that makes it easier for you. I always appreciate you using my links when you can.
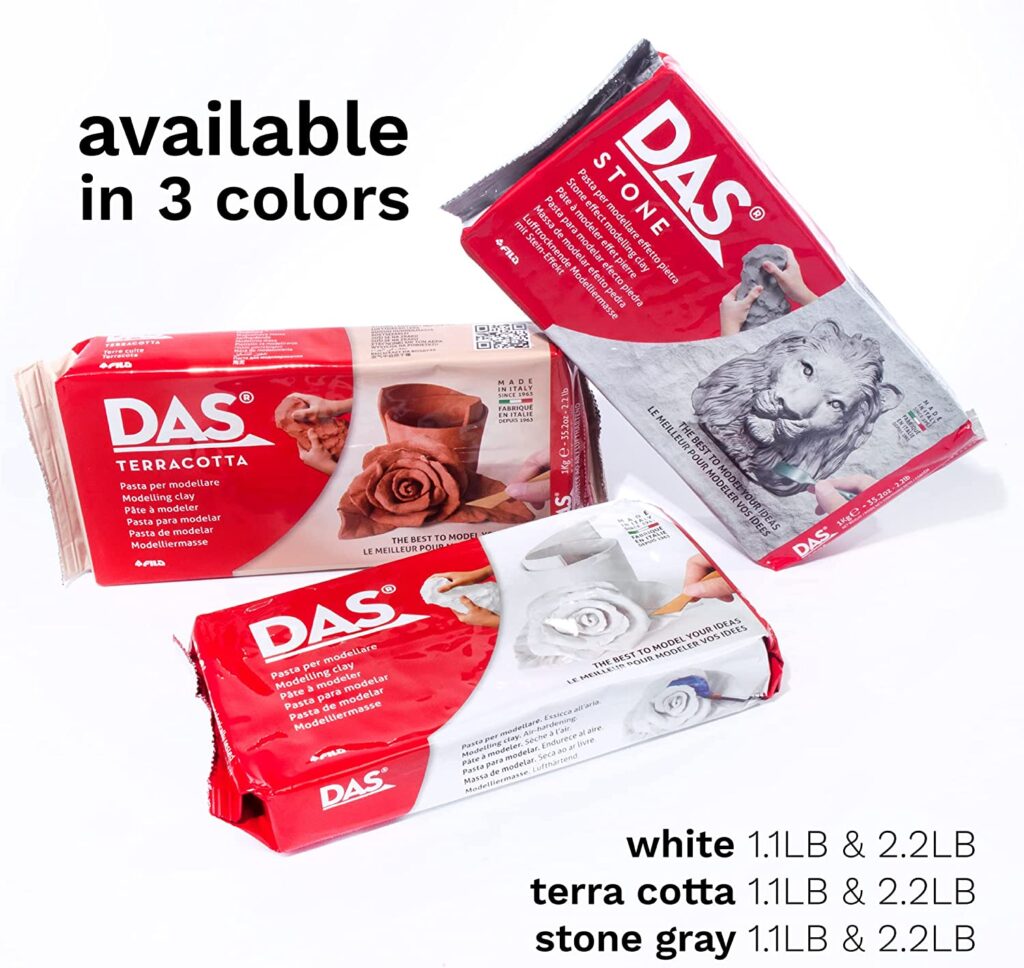
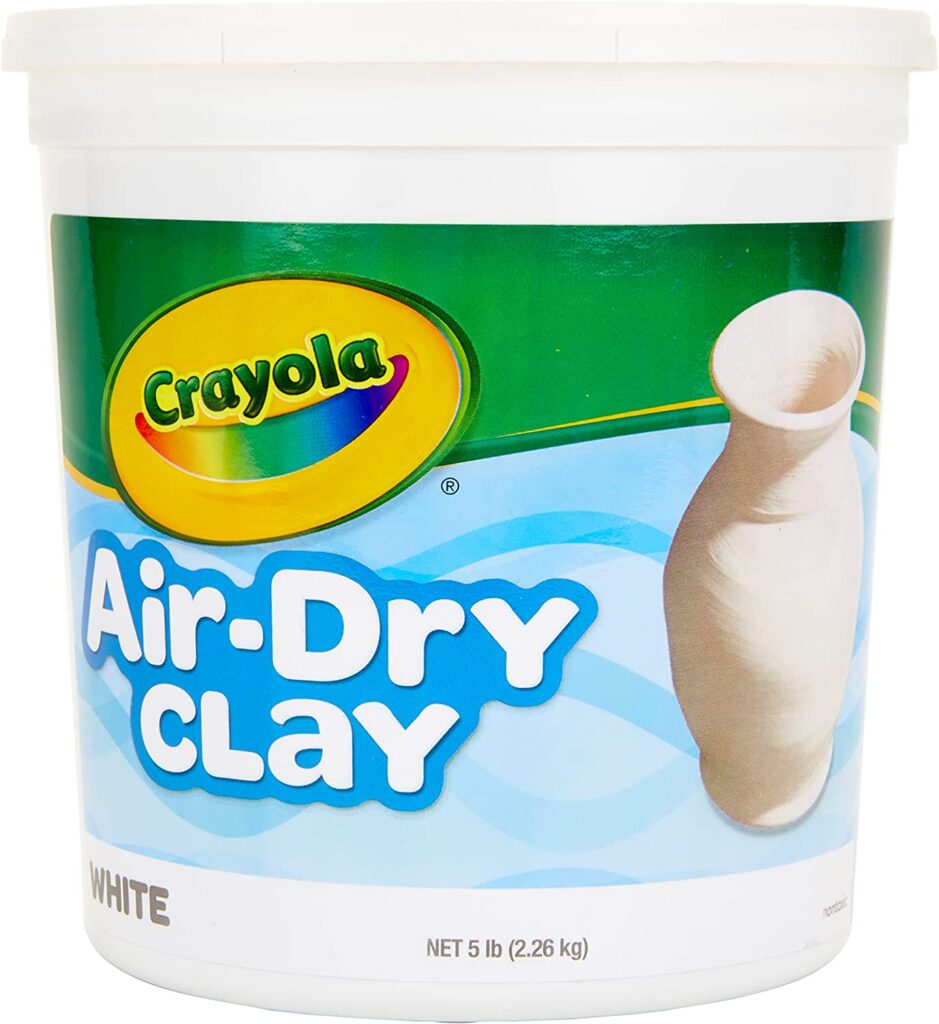
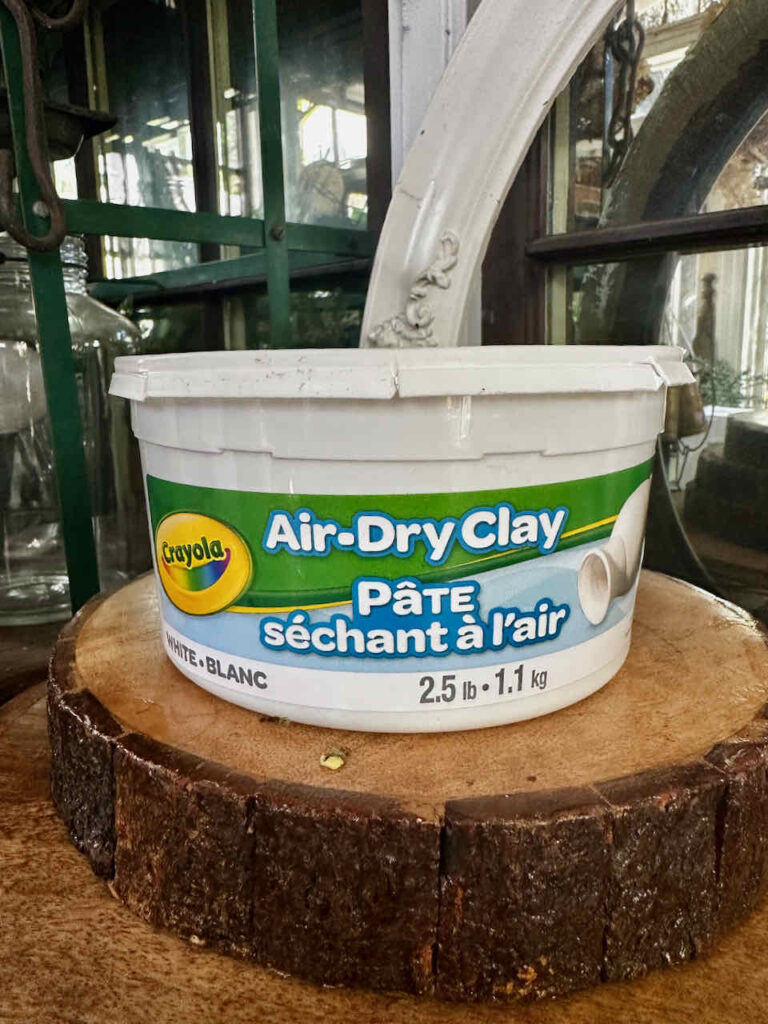
- Air dry clay- This clay comes in different colors. I chose the terracotta color for the bunnies and white for the carrots.
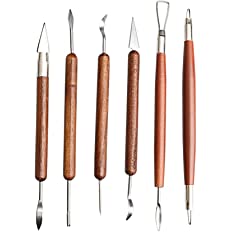
- Clay sculpting tools
- A smooth mat to work on
- Rolling pin
- Small paring knife
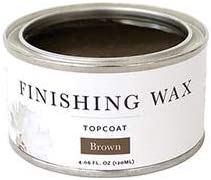
- White wax
- Clear wax
- Dark wax
- Waxing brush
- A glass of water
- Hot glue & glue gun
- Dollar tree plastic Easter egg
- Set of bunny ears or wire and masking tape
- 1 Clay flower pot, adjust the size according to the size of the rabbit head you are making
- An inspirational picture or object for reference
- Ruler
- latex gloves or finger protectors
- Craft paint (if you prefer to use this instead of wax)
Disclosure policy-On my blog, I may sometimes use affiliate links, which means a small commission is earned if you purchase via the link. The price will be the same whether you use the affiliate link or go directly to the vendor’s website using a non-affiliate link.
Directions to make an Easter bunny DIY
I will walk you through my steps to create these bunnies and carrots, even though I changed the face of the second bunny.
The basic process is the same, with or without changes.
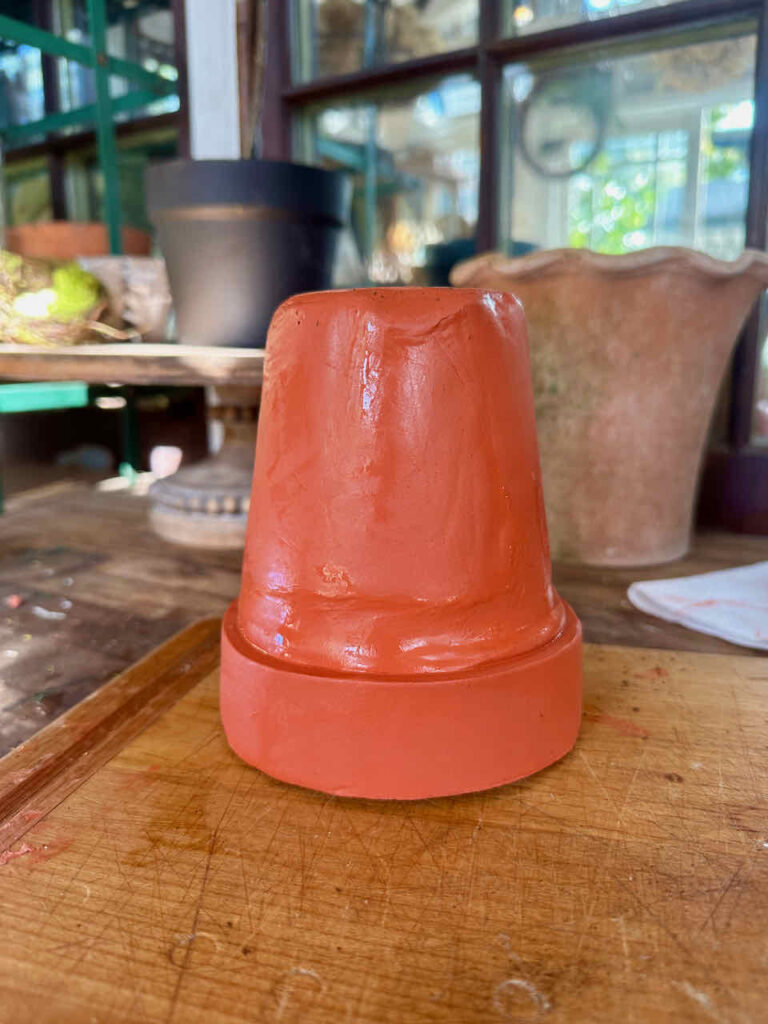
Covering the flower pot for the base of your Easter bunny
- Once you have chosen the size of your flowerpot, you will use it for your rabbit’s body. You will want to cover the pot in clay.
- Select an amount of clay that looks like it will cover the pot
- Work it with your hands until it is pliable
- Roll the clay out until it is approximately 1/4 ” thick
- Cut a piece that will fit around the base of the pot and the bottom
- Lay the clay onto the pot and, smooth it out, cut off any access.
- Dip your fingers in water to smooth the clay.
- Roll out another piece of clay using a ruler, and cut a long piece to wrap around the entire top edge of the flower pot.
- Use your fingers and some water, and smooth out the seams and edges
- Put your pot aside to dry.


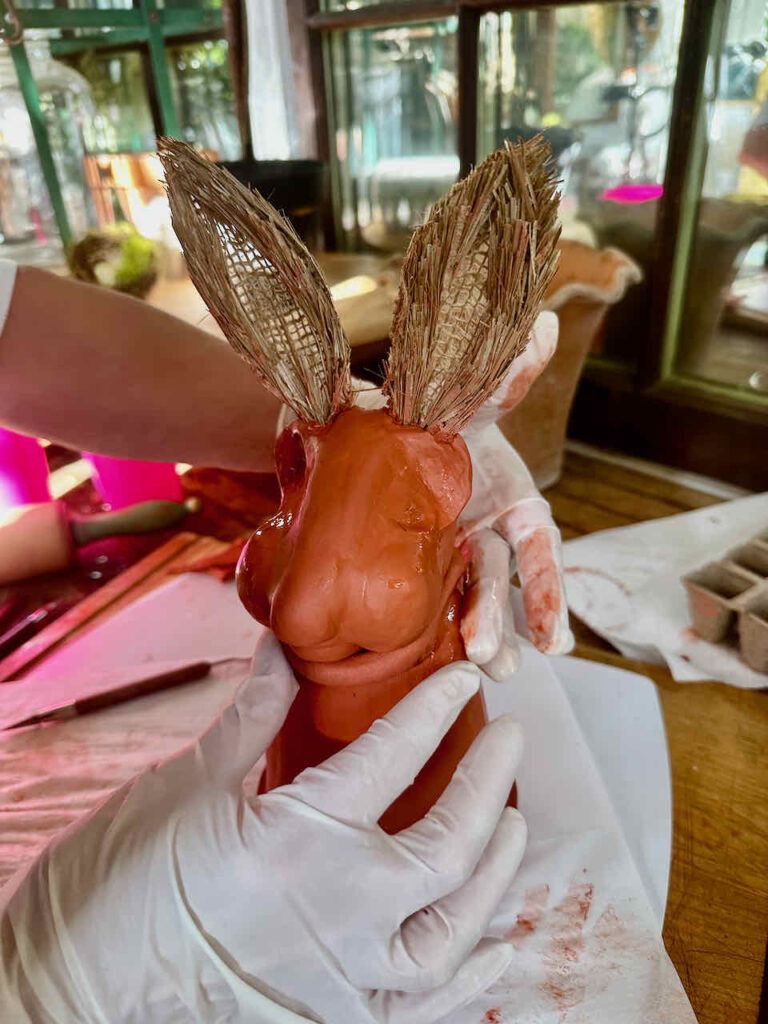
Creating the head and bunny face
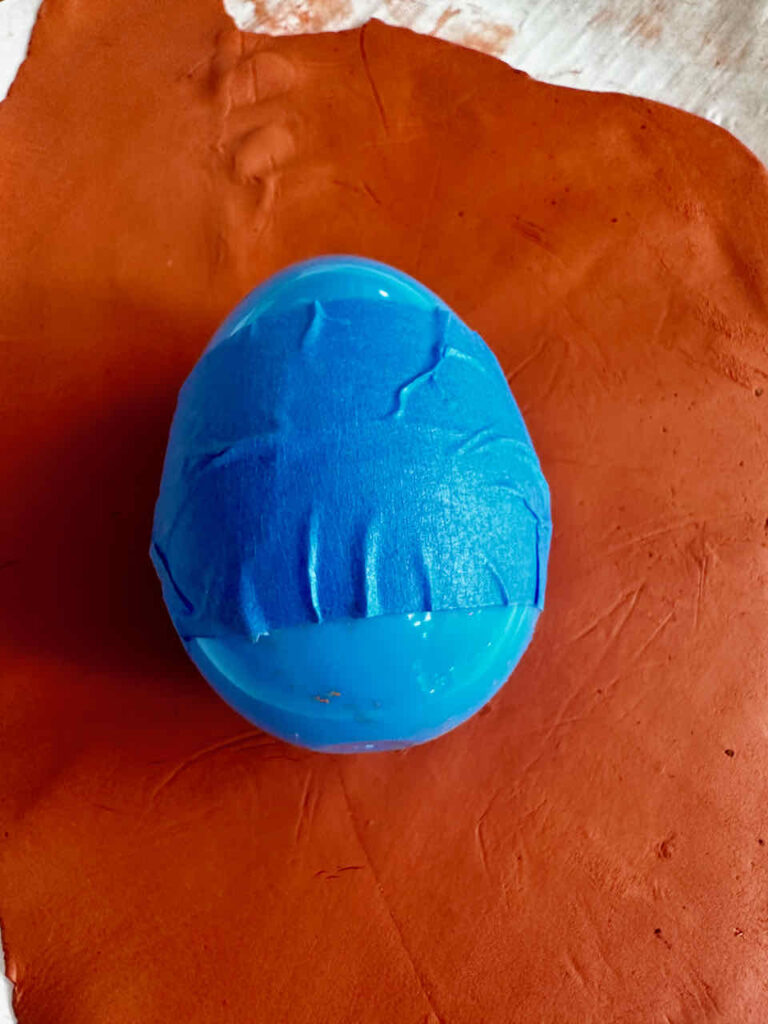
- Start with a plastic Easter egg.
- Cover the seam with masking tape.
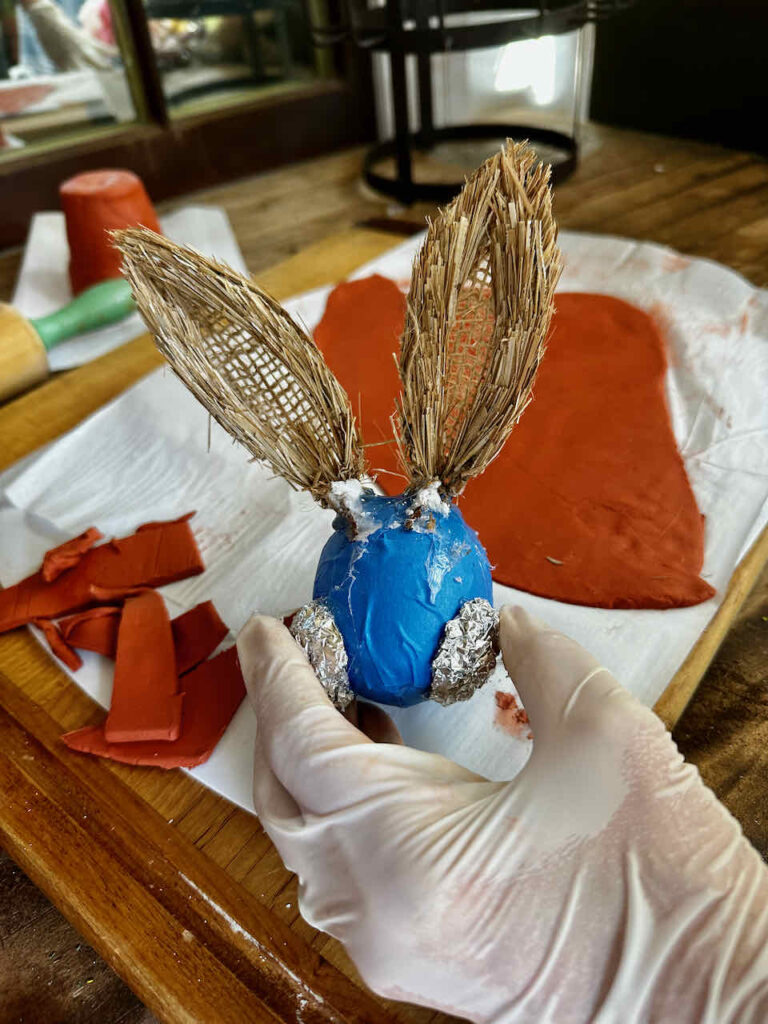
- Choose your bunny ears. Here is a great way to make your own. (Twist the wire into the shape and size of the ear you want, then cover the ear with masking tape). Be sure to leave a tail on the wire so you can bend it and glue it onto the Easter egg.
- Hot glue your bunny ears onto the top of the egg that is lying flat on the table. (the pointed end of the egg will be the nose of the rabbit)
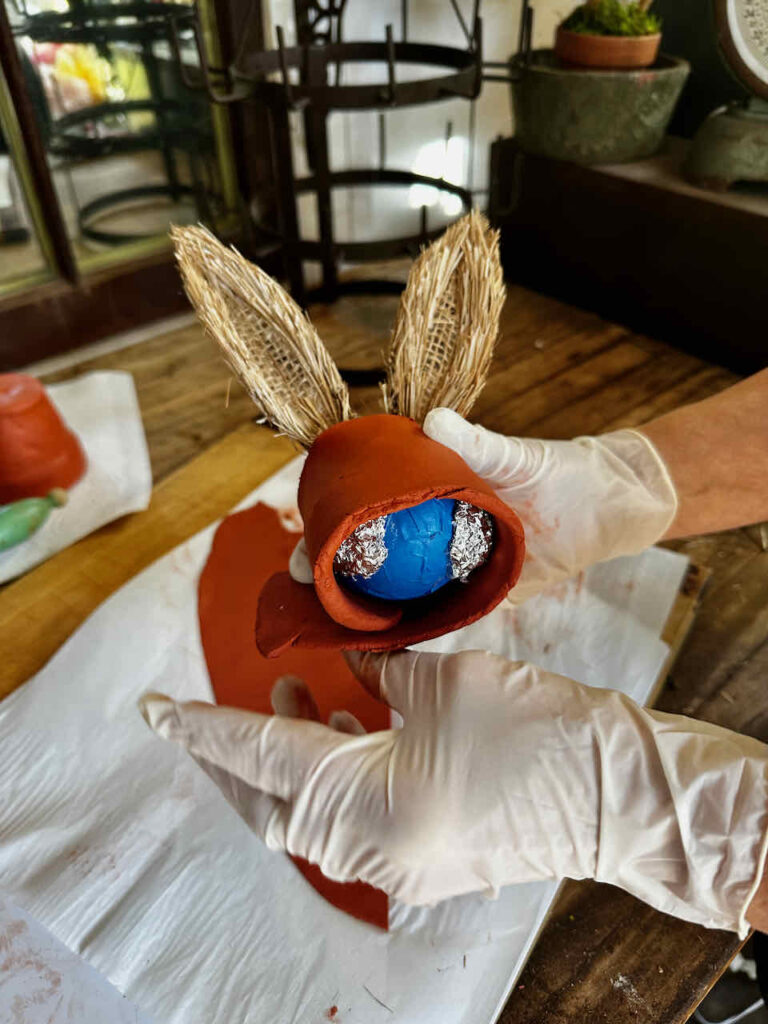
- The first bunny (with the big checks) was created by hot-gluing some foil circles onto his face. Gather a handful of clay and work with it until it is pliable.
- Roll the clay out until it is 1/4″ thick.
- Place a piece of the rolled clay over your Easter egg to cover it ( this may take two pieces, one in front of the ears and one behind the ears)
- Cut off any excess clay
- Smooth with your hands and some water.
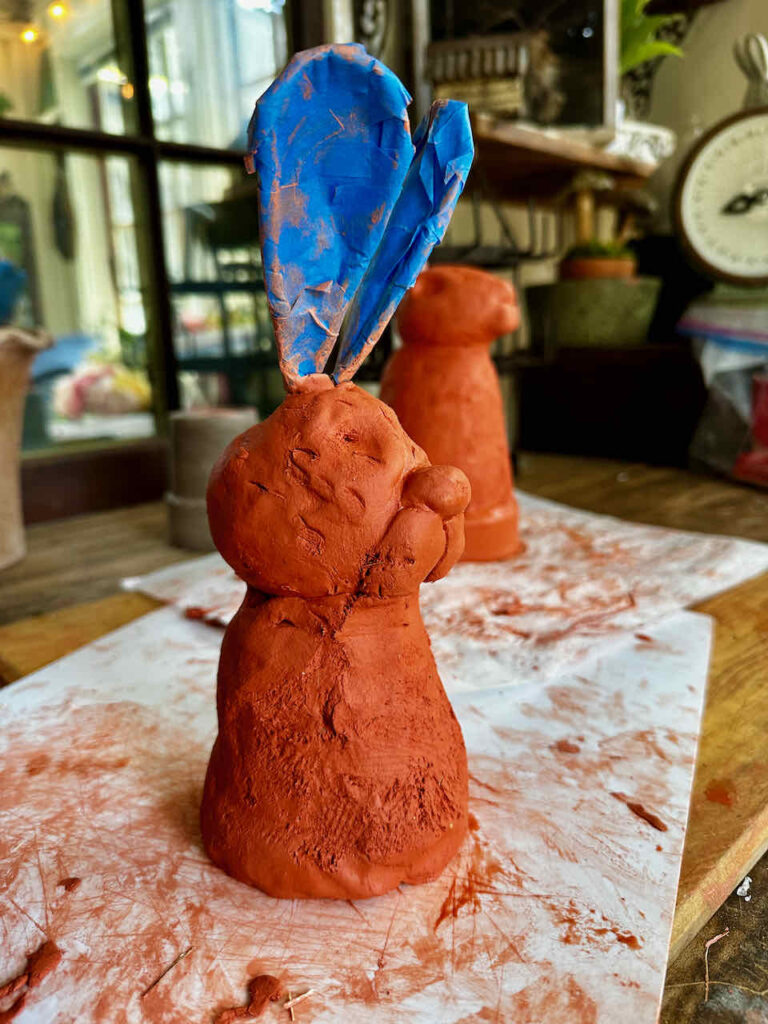
- For bunny number two, I did not add the foil cheeks. Instead, I added three small balls of clay on the pointed end of the Easter egg to create a nose and mouth.
- Use water and your sculpting tools to adhere these pieces to the Easter egg.
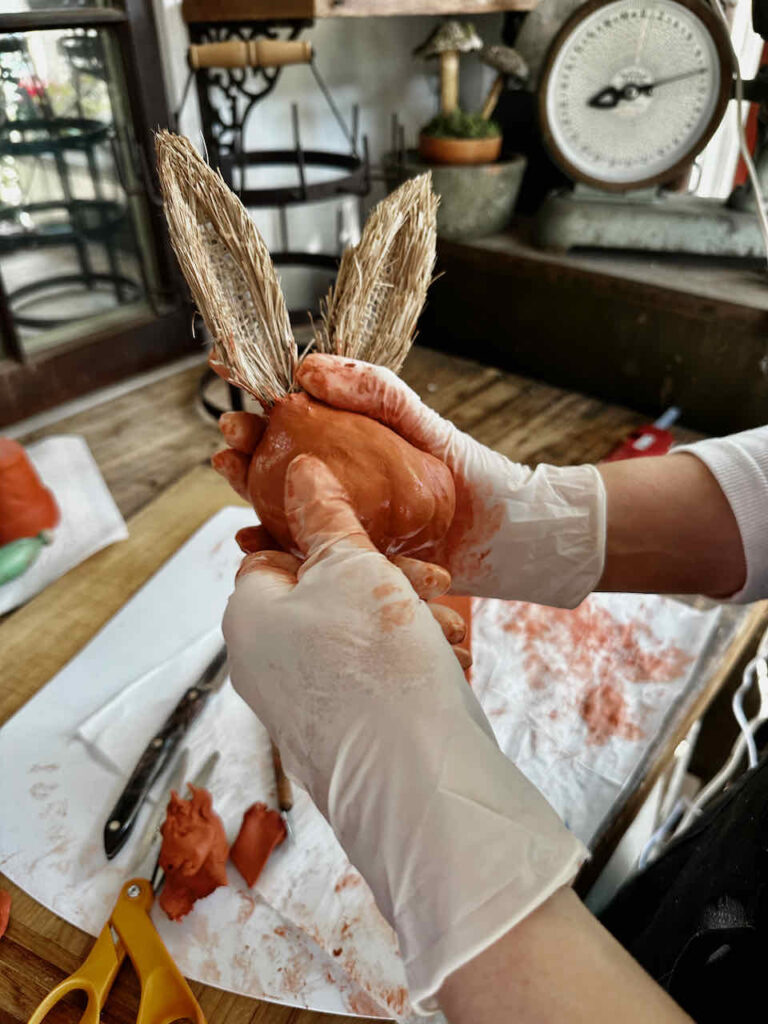
- Lastly, dip your fingers in water to smooth and mold the face.
Making the eyes for the adorable little Easter bunny DIY
- Make an indent on either side of the head using the knuckle of your index finger.
- Roll a small piece of clay for both rabbits to create an arch or eyebrow
- Attach this small piece of clay (1/2″ long piece of rolled clay about 1/4″ in diameter) using water and your sculpting tools.
- Roll a smaller ball of clay to create the eyeballs and flatten them.
- Attach them to the eye sockets with a little bit of water. You can also make the eyes and hot clue them on after they dry.

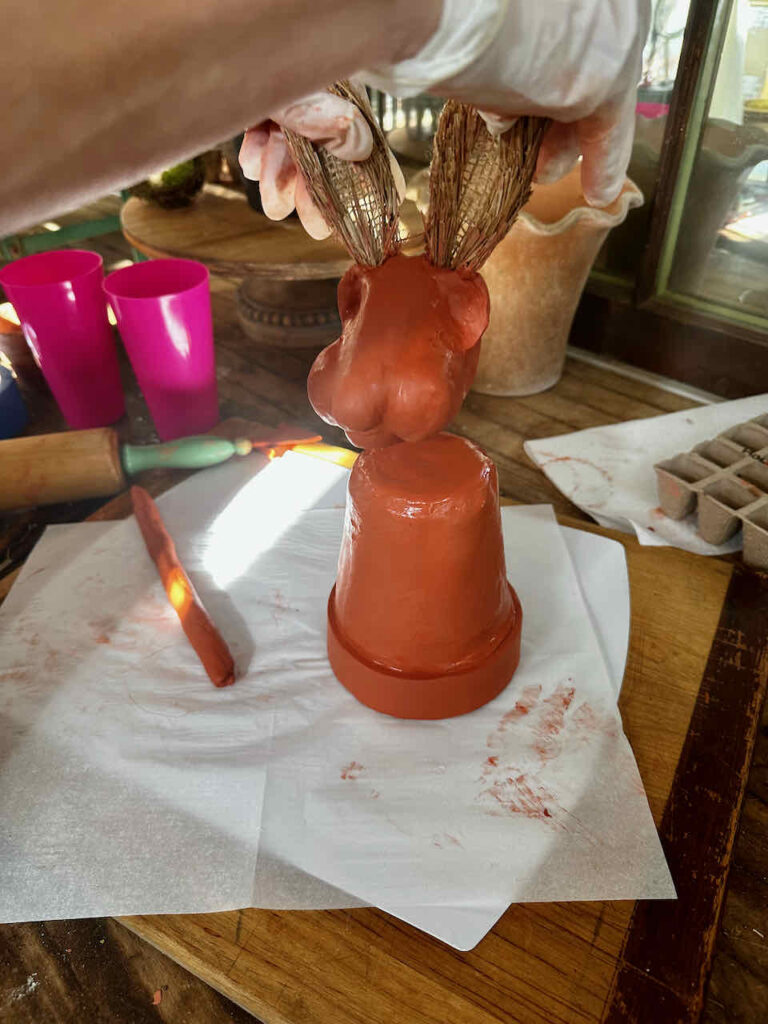
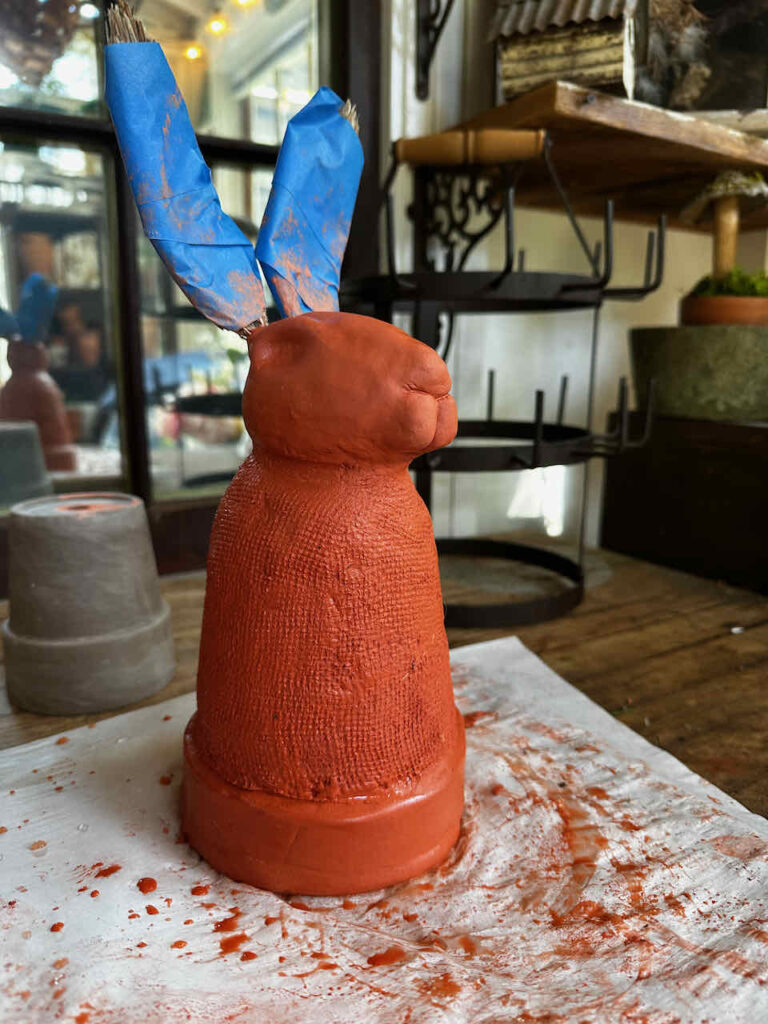
Attach your bunny head to the bottom of the flower pot
Lightly press the rabbit head onto the bottom of the flowerpot (your flower pot is turned upside down)
Roll out a piece of clay long enough to wrap around the rabbit’s neck.
Using your sculpting tools, smooth out and attach the two parts. Smooth up to the head and down to the body.
Using your fingers with some water, smooth out the transition of the clay between the head and the clay pot.
Allow your rabbit to dry for 24 hours.
Putting a finish on your Easter bunny DIY
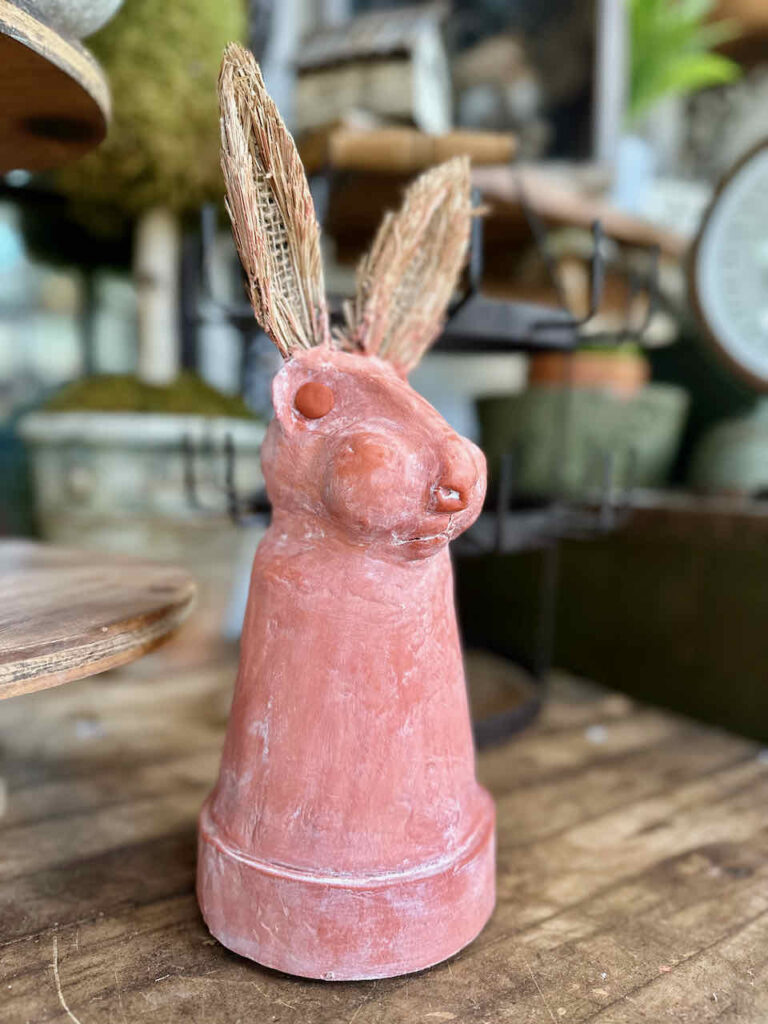
I wanted my rabbit to look aged, so I tried white wax.
It was a bit bright, so I added some dark wax and was much happier.
You can also thin white paint with water to give your rabbit a whitewash look.
When I finished the first rabbit, he looked a bit ridiculous! He looked like a cartoon with those extra large cheeks and nose.
That was not the look I was going for.
I decided to try it again and see If I could come up with a more realistic-looking rabbit. This time, I had my sweet granddaughter by my side, encouraging me, and we laughed together.
I placed this little guy on the flowerpot, and he looked like a pinhead. His head was clearly not the right size. (honestly, he looks more like a horse)
Ugh, can you sense my frustration yet? The two of us laughed and had a wonderful time despite the crazy rabbits we had created.
Madison loves to craft with me, and it makes my heart dance when she says, ” what can we make today, Iya”?
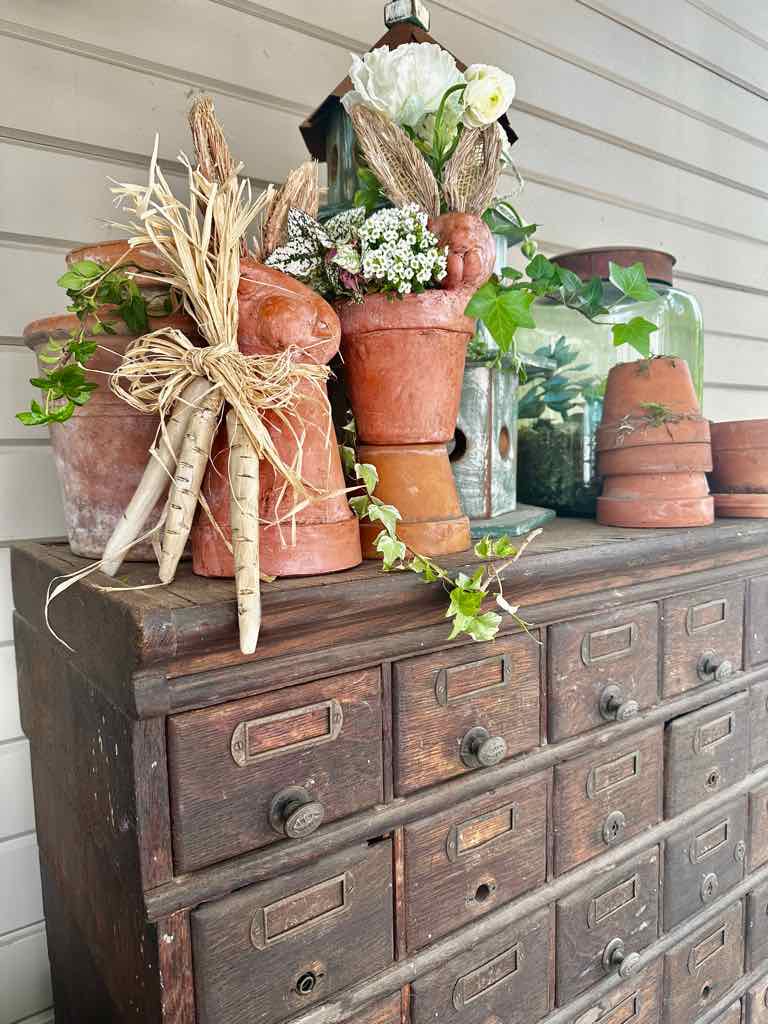
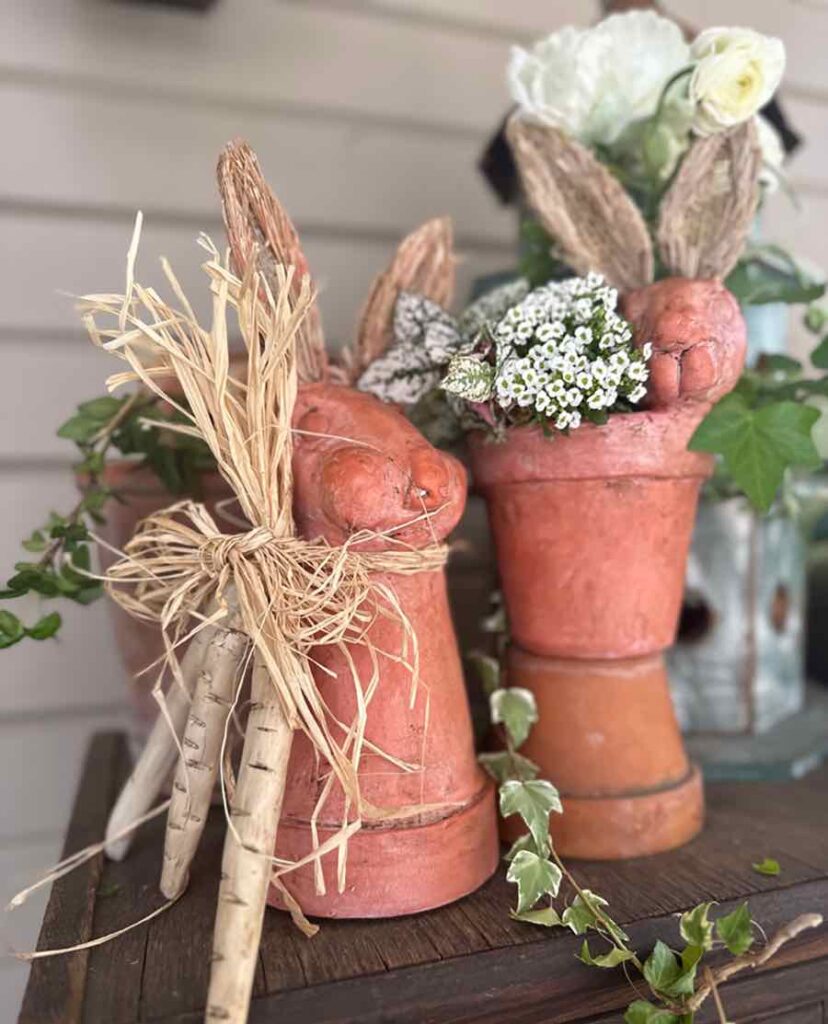
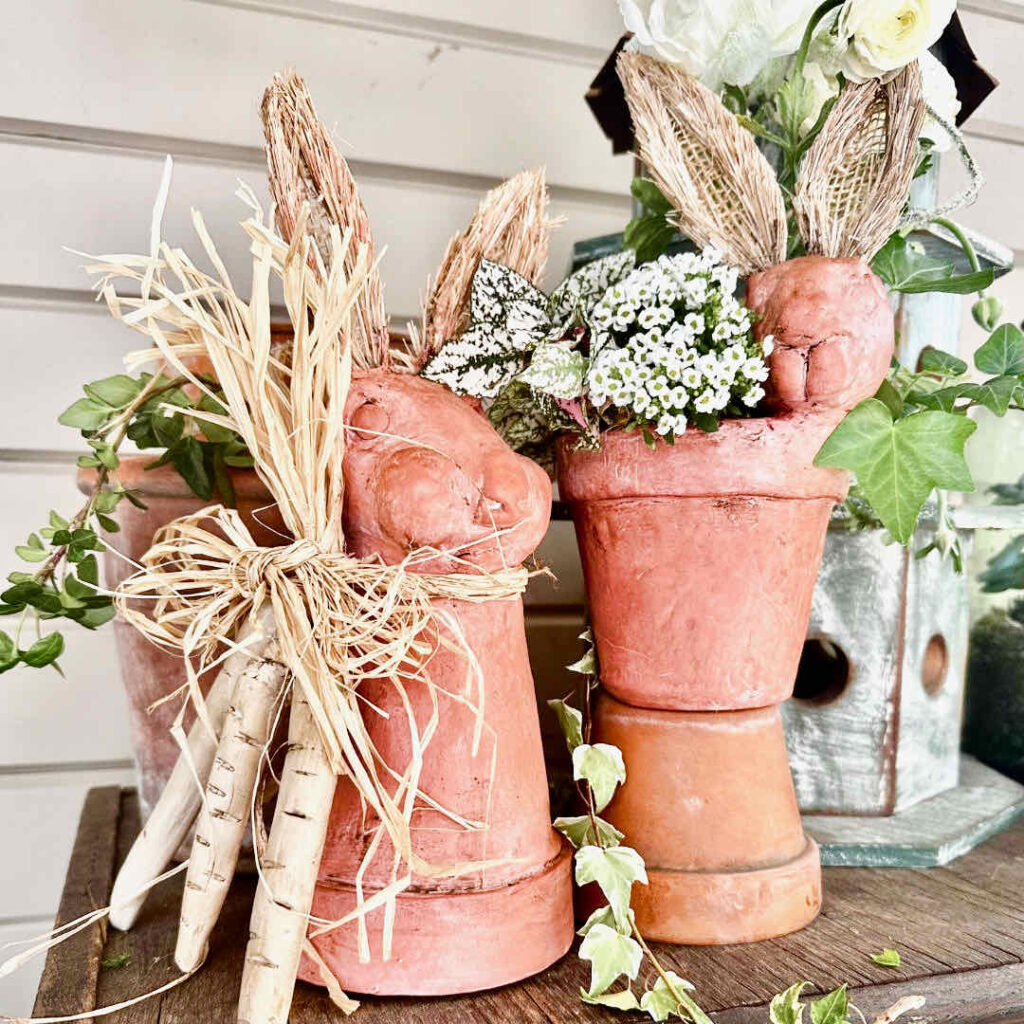
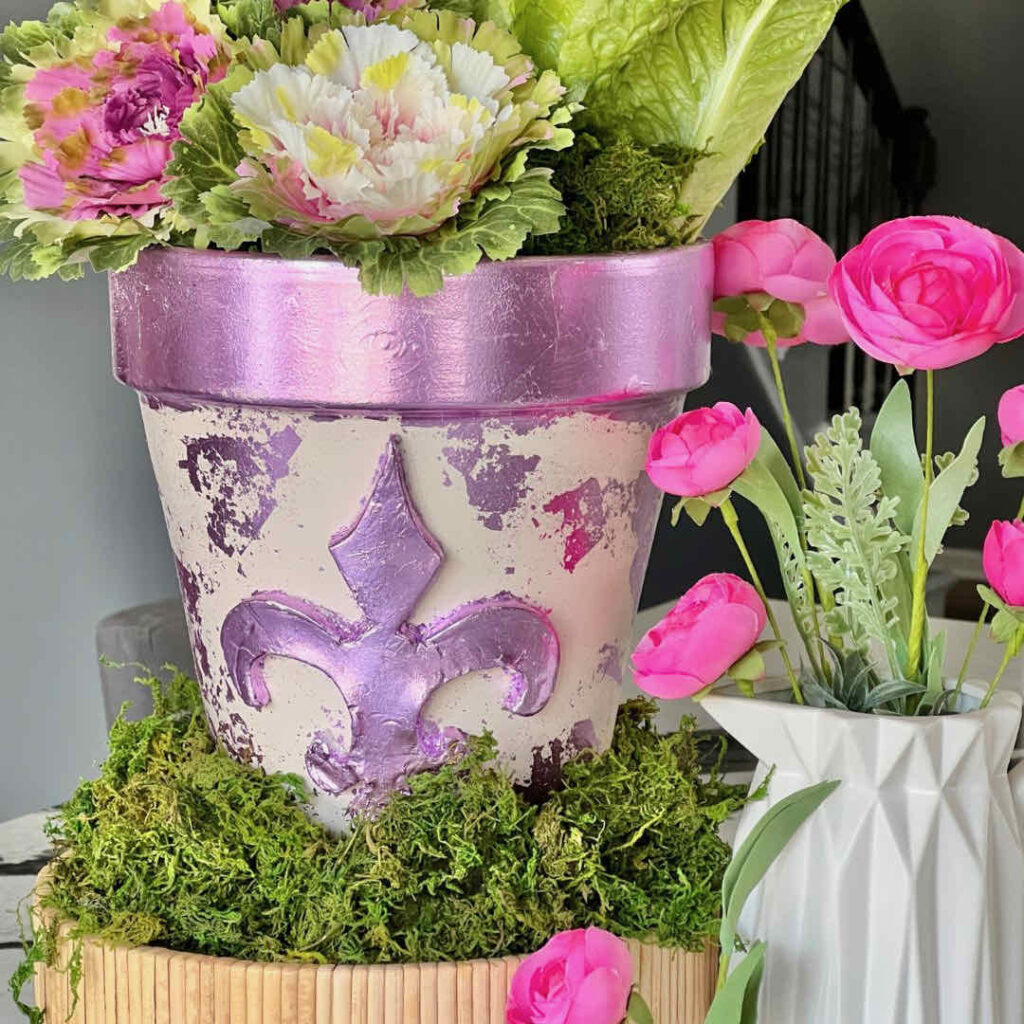
A few hours later, I had another idea (idea #4 for this Easter bunny DIY), let’s put this cute bunny on the side of a flower pot…. added a few flowers, and he was much better.
Like they say, flowers make everything better.
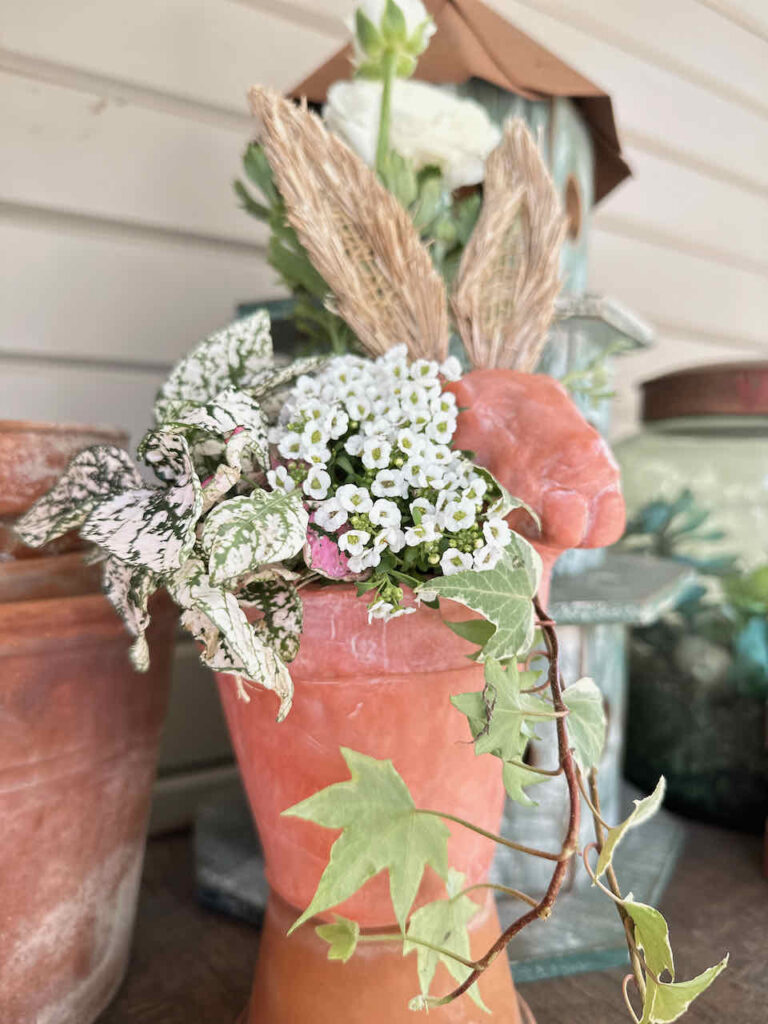
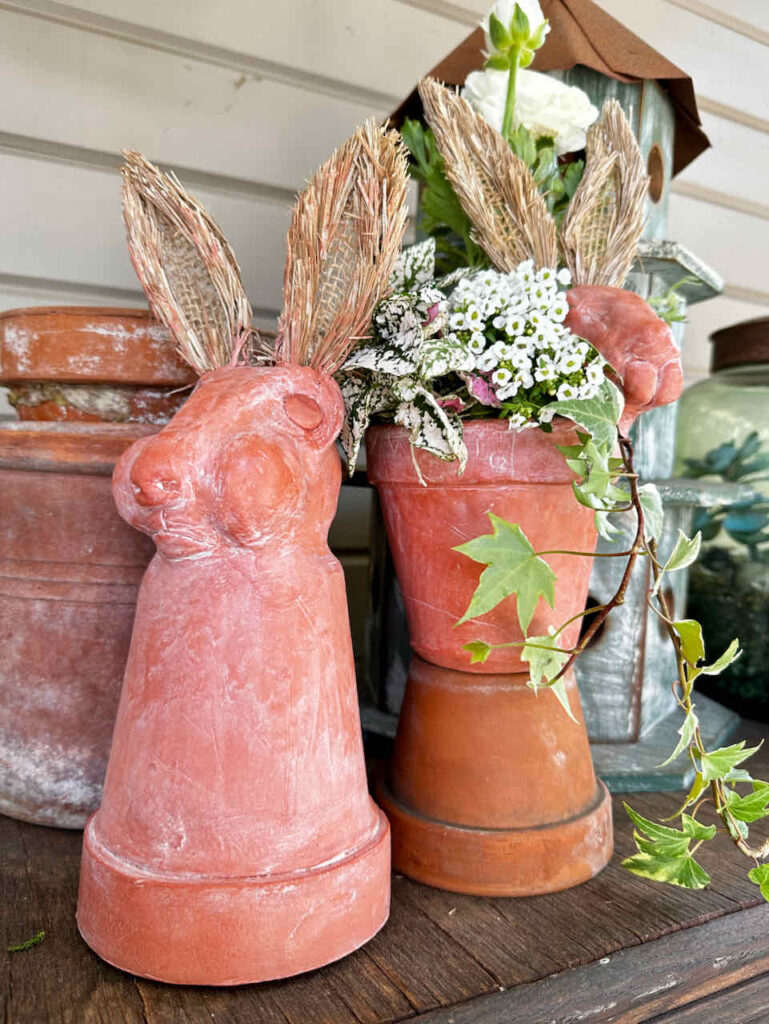
And then, I remembered the great Easter crafts my friend Michelle @thistlekeylane makes. She always has creative ideas.
She had recently made these adorable Easter clay carrots, and wouldn’t my bunny look adorable with a few carrots around his neck?
(I thought that this would distract from his silly face a bit)
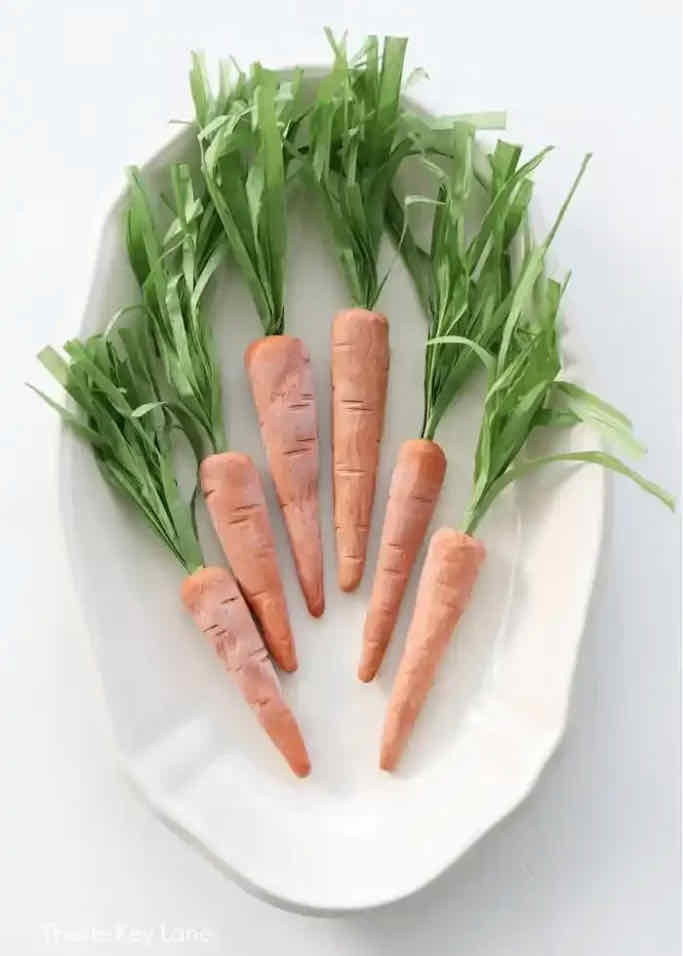
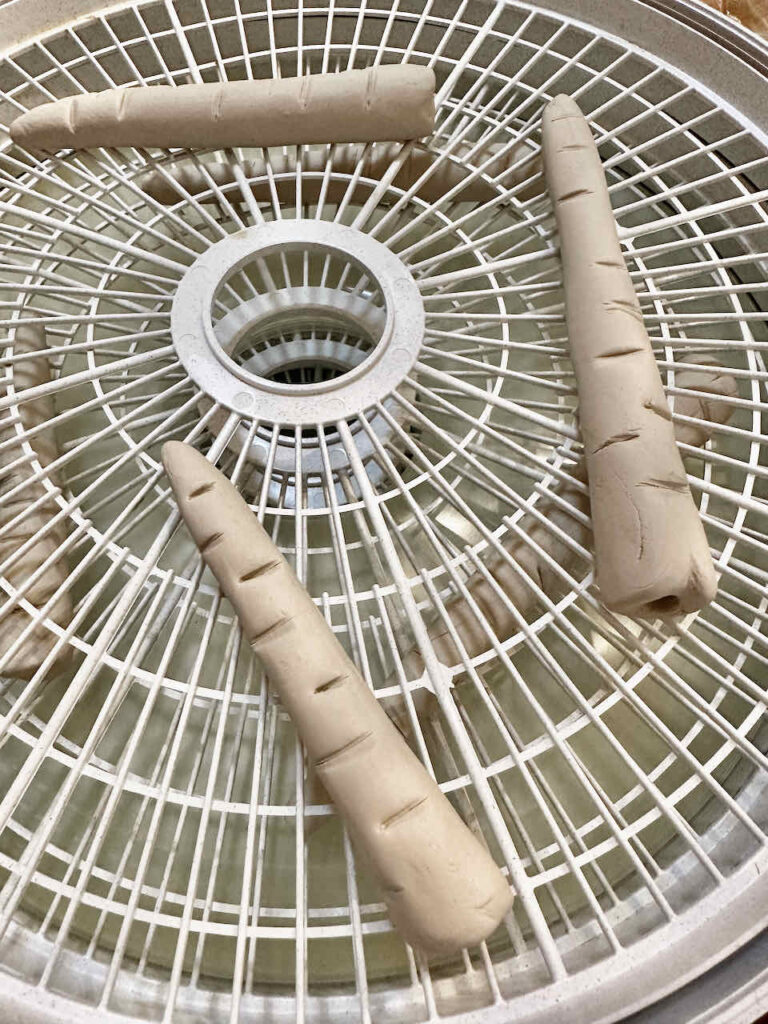
How to make clay carrots
This is an easy Easter craft.
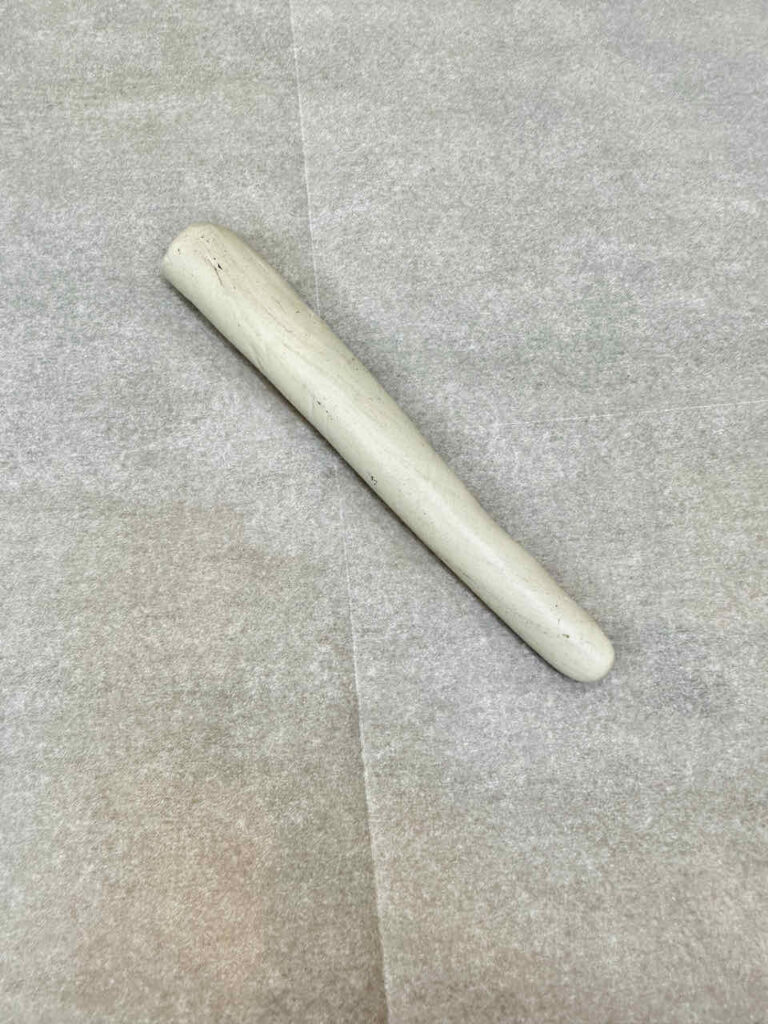
- I used white air dry clay.
- Roll out enough clay to make the shape of a carrot.
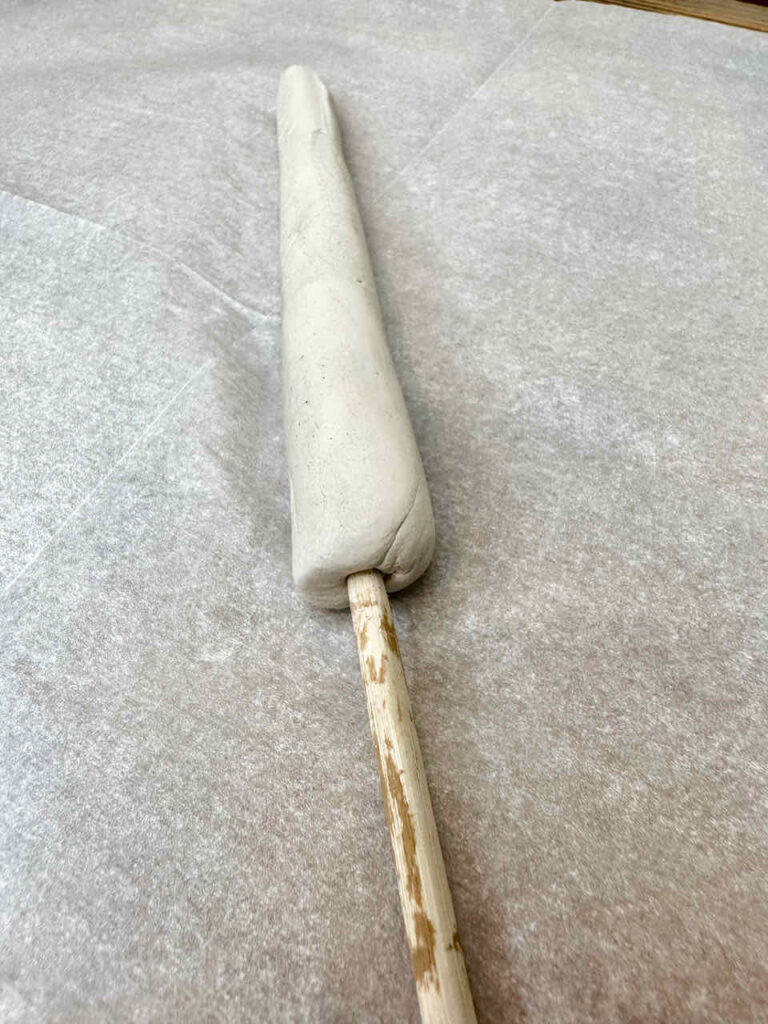
- Poke a hole at the end of the carrot using a chopstick or a wooden dowel.
- I created some texture in the carrot using the side of a plastic fork.

I needed them to dry quickly, so I placed them in the dehydrator and let them dry for several hours.
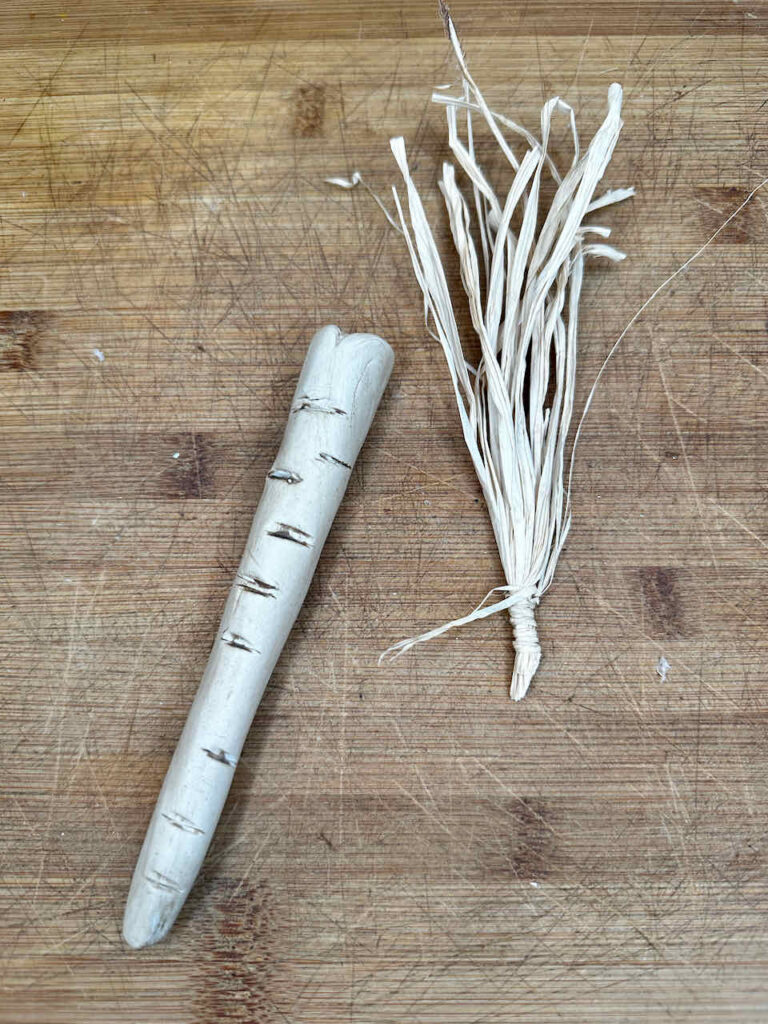
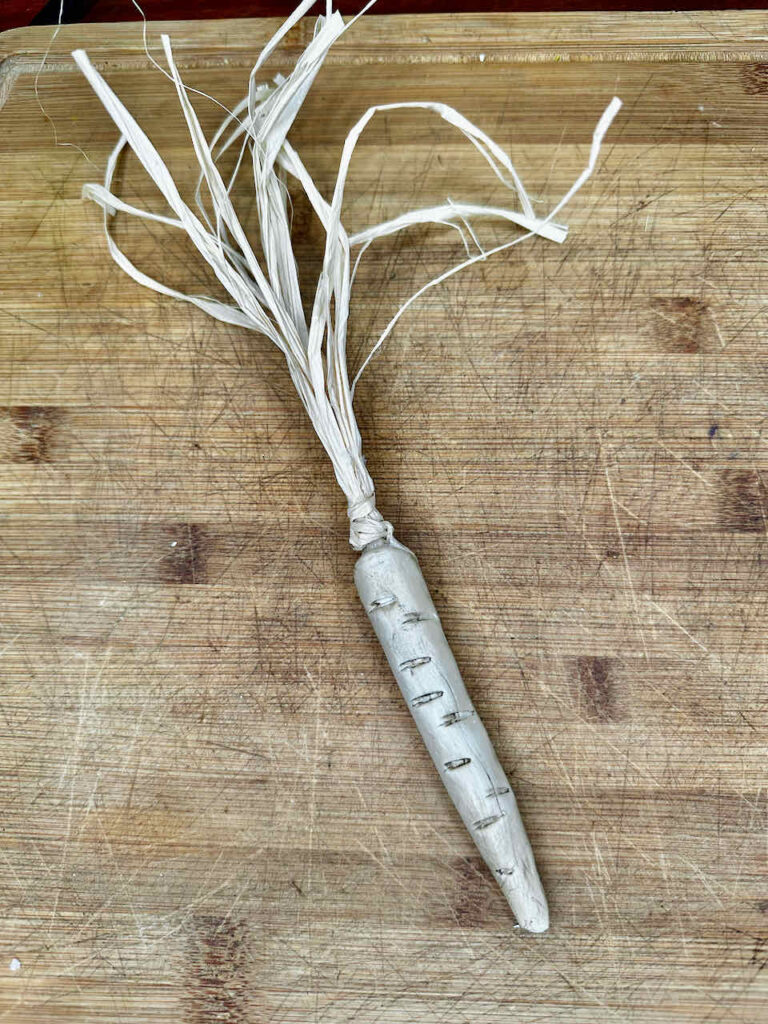
Finally, I waxed them using Annie Sloan dark wax. I wanted a natural look, so I wrapped bunches of raffia together for my carrot tops. Place a tiny bit of hot glue in the hole at the top of the carrot and insert your raffia.
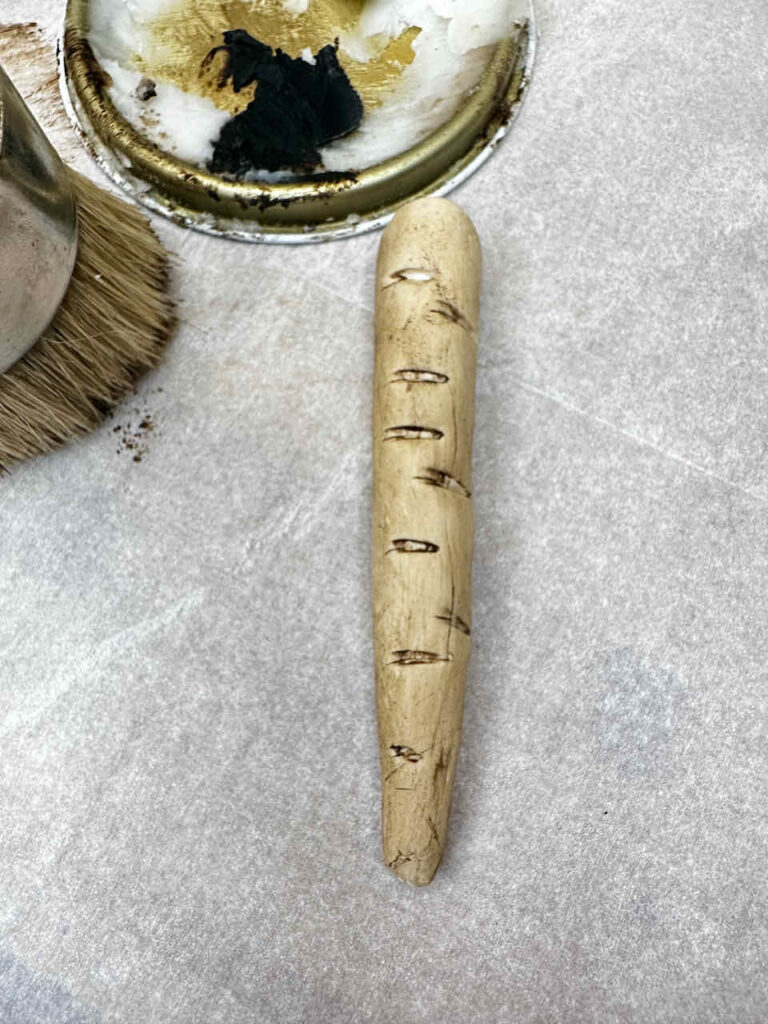
Lastly I added a small amount of the dark wax over the white wax to age the bunnies a bit more.
That about wraps it up for me with my air dry clay project. I hope you enjoyed it and had a few giggles along the way.
Next up is my friend Michelle @thistlelkeylane, so be sure to stop by her blog to see what she created with her air dry clay. I will give you a hint, it is blue and white and would make a lovely handmade gift.
Be sure to stop by to see the rest of my friends posts today to see what they created with their air dry clay!


Easter Bunny DIY using Air Dry Clay
Equipment
- 2.5 lbs. Air dry clay This clay comes in different colors. I chose the terracotta color for the bunnies and white for the carrots.
- 1 Large plastic Easter egg
- 1 Smooth mat to work on
- 1 Rolling Pin
- 1 Small paring knife
- 1 White wax This is an optional step
- 1 Dark Wax This is an optional step, I wanted my rabbits to looked age and this wax does the trick.
- 1 Waxing brush
- 1 Glass of water
- 1 Hot glue gun and glue sticks
- 1 Set of bunny ears or wire and masking tape to make your own
- 1 Clay flower pot, adjust the size according to the size of the rabbit head you are making Adjust the size according to the size of the rabbit head you are making.
- 1 An inspirational picture or object for reference
- 1 Ruler
- 1 latex gloves or finger protectors
Instructions
- Covering the flower pot for the base of your Easter bunny Once you have chosen the size of your flowerpot, you will use it for your rabbit's body. Once you have chosen the size of your flowerpot, you will use it for your bunnies body. You will want to cover the pot in clay1. Select an amount of clay that looks like it will cover the pot2. Work it with your hands until it is pliable3. Cut a piece that will fit around the base of the pot and the bottom4. Lay the clay onto the pot and,smooth the clay out and cut off any access5. Dip your fingers in water to smooth the clay6. Roll out another piece of clay using a ruler, and cut a long piece to wrap around the entire top edge of the flowerpot7. Use your fingers, some water, and smooth out the seams and edges8.Put your pot aside until you are ready to attach the rabbit head
- Creating the head and bunny face1. Start with a plastic Easter egg2. Cover the seam with masking tape3. Choose your bunny ears. Here is a great way to make your own. (Twist the wire into the shape and size of the ear you want, then cover the ear with masking tape). Be sure to leave a tail on the wire so you can bend it and glue it onto the Easter egg.4.Hot glue your bunny ears onto the top of the egg that is lying flat on the table. (the pointed end of the egg will be the nose of the bunny)5. The first bunny (with the big checks) was created by hot-gluing some foil circles onto his face. Gather a handful of clay and work with it until it is pliable6. Roll the clay out until it is about 1/4" thick7. Place a piece of the rolled clay over your Easter egg to cover it ( this may take two pieces, one in front of the ears and one behind the ears)8. Cut off any excess clay9. Smooth with your hands and some water10. For rabbit number two, I did not add the foil cheeks. Instead, I added three small balls of clay on the pointed end of the Easter egg to create a nose and mouth11. Use water and your sculpting tools to adhere these pieces to the Easter egg12. Lastly, dip your fingers in water to smooth and mold the face.
- Attach your bunny head to the bottom of the flower pot1.Lightly press the bunny head onto the bottom of the flowerpot ( your flowerpot is turned upside down)2. Roll out a piece of clay long enough to wrap around the bunnie's neck3.Using your sculpting tools, smooth out and attach the two parts. Smooth up to the head and down to the body4.Using your fingers with some water, smooth out the transition of the clay between the head and the clay pot.
- Aging your clay pots with dark or white wax1. Place a small amount of dark wax on a waxing brush or an old rag. 2. Brush the wax onto your flowerpot, bunny rabbit's head or carrot. 3. Using a rag, wipe off any excess wax. 4. Let this dry for 24 hours. Once dried,. You can buff it for a shinier finish if desired.

Shop the post

I think your bunnies turned out perfectly Wendy! Cute faces, and what an excellent idea. I cannot say clay is my favorite to work with, I have only tried one project and it was ok… but these are too cute! Thank you for sharing!
Thank you Cara, I can’t say it is my favorite either, lol! I had way different ideas when I started this project.
Well, I loved this project Wendy and will be featuring your rabbits tomorrow for Whimsy Home Wednesday! Thank you for sharing your inspiration!
Thank you so much Cara, you are so sweet and aways so supportive.
These ideas are so lovely. Spookily I picked up a small pack of air dry clay just the other day so these ideas are shared at just the right time.
Oh, I cannot wait to see what you create Julie! I hope you found some good inspiration in my post.
Oh my goodness! Such an adorable idea! Pinned 🙂
xoxo
Wendy, I love how you did this! I never would have thought of this. This is true talent! And your girl is so precious!
You know our crazy minds never shut down! We are always dreaming something crazy up, right?
Oh my gosh, I keep laughing at your stories all along the way! Like you said, the wonderful memories of bunny crafting with Madison makes it all worth it.
Besides, your final rabbit is quite charming.
Thank you Diane, I will not forget this project, that is for sure.
Now I can say that I am friends with an amazing sculptor! What a fantastic project! You do love a challenge and it turned out beautifully! I love that it was a family affair! Beautiful! (pinned!)
Haha, wait until I show you the videos! A sculptor, I am not. :)))))
How cute, Wendy! I love the carrots added to your rabbit too. So adorable for the spring.
Thank you so much, Tammy. The carrots certainly made it!
Woah!! So cool, Wendy!! What a creative idea. Love the clay carrots too.
I think these turned out great, Wendy!! ? Even though challenging we had fun laughing together!
We sure did! oh the things we go through….
Thank you Renae! It was a bit of a challenge for me, lol
I hope my granddaughter will be into crafting in a few years. What messes we will make together. I love how your bunnies turned out. In fact I’m quite impressed with how you just jump in and made it work! Your carrots look amazing and now I know how cute they look made with white clay and dark wax. You rock Wendy!
Thank you so much, Michelle. I sure had a tough time getting through the rabbit creating, lol.
Thank you for allowing me to make some fun carrots to help spruce them up.
Wendy
Such cute ideas. I love the bunny and carrots.
Thank you so much, Rachel.
Adorable and Penned! Thanks so much.
Thank you so much for stopping by! I appreciate you taking the time to comment.
Wendy I love the bunny ! How fun is that! What really got me was the carrots! Such a sweet project for this time of year! I already have the clay so I should get right to it! 🙂
Oh, the laughs we have had over this one! I am glad you liked it Susan. Thank you friend.
You know I chuckled through this entire post knowing your struggles. They are ADORABLE.
Oh, the laughs we have had over this one! Laughter is so good for the soul, my friend.