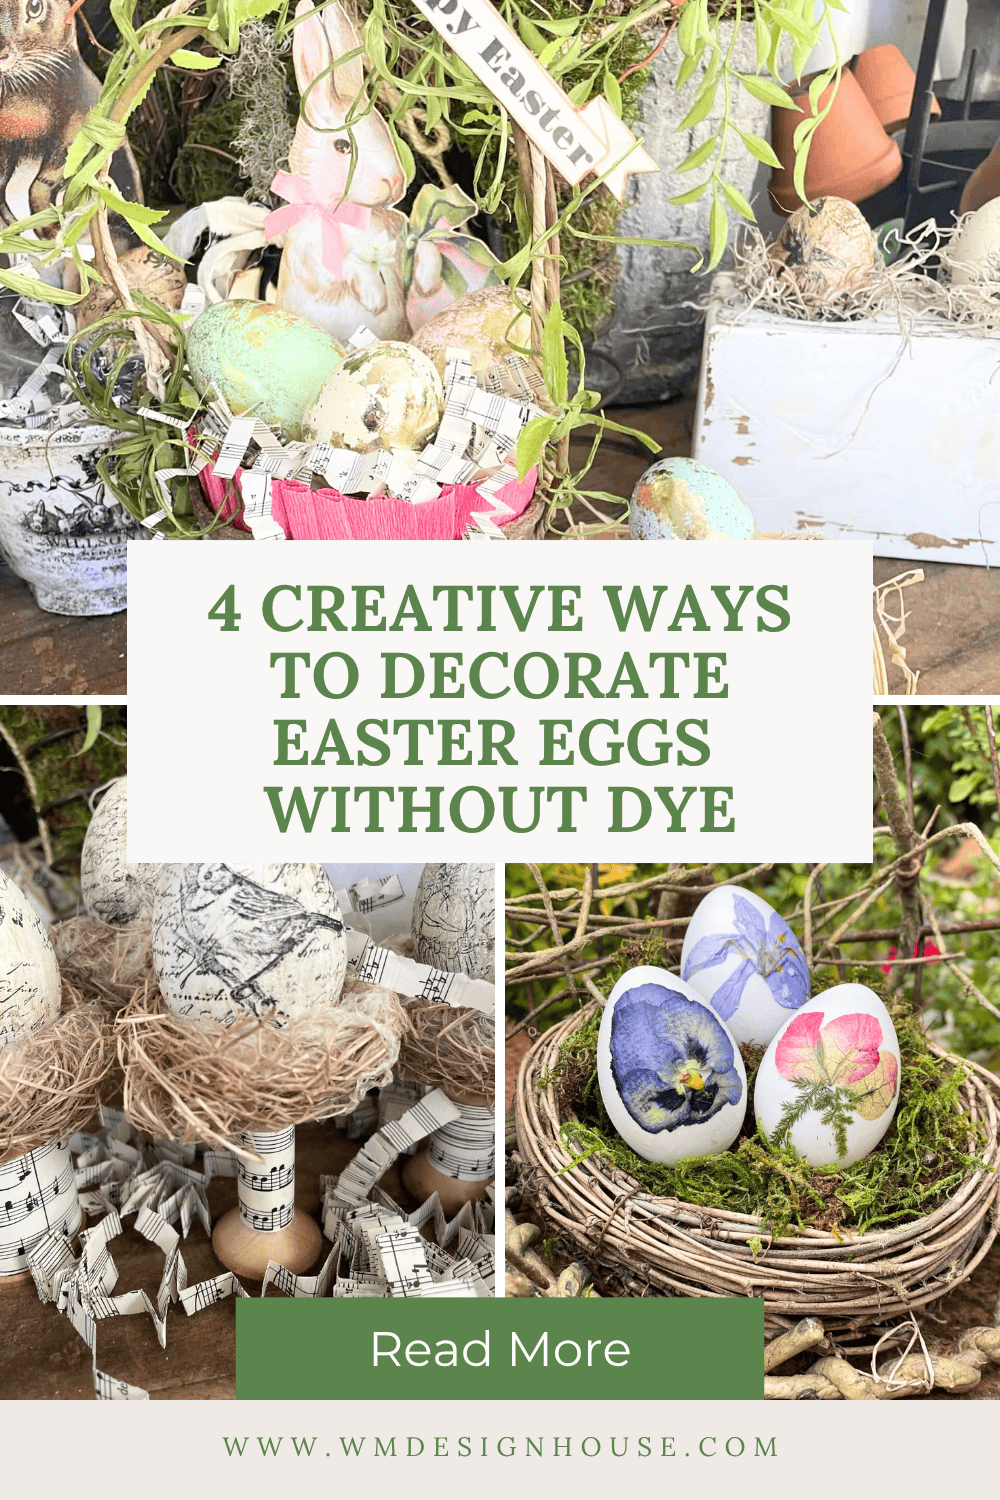
4 Stunning DIY Easter Egg Decorating Ideas To Try This Year
These four stunning Easter egg decorating ideas are simple, elegant, and easy to recreate using faux eggs and everyday craft supplies. No dye needed!
On my blog WM Design House, I may sometimes use affiliate links, which means a small commission is earned if you purchase via the link. The price will be the same whether you use the affiliate link or go directly to the vendor’s website using a non-affiliate link. Read my full disclosure policy here.
4 Stunning DIY Easter Egg Decorating Ideas
Easter is fast approaching, and you know what that means! So, it’s time to get going on making some beautifully decorated Easter eggs.
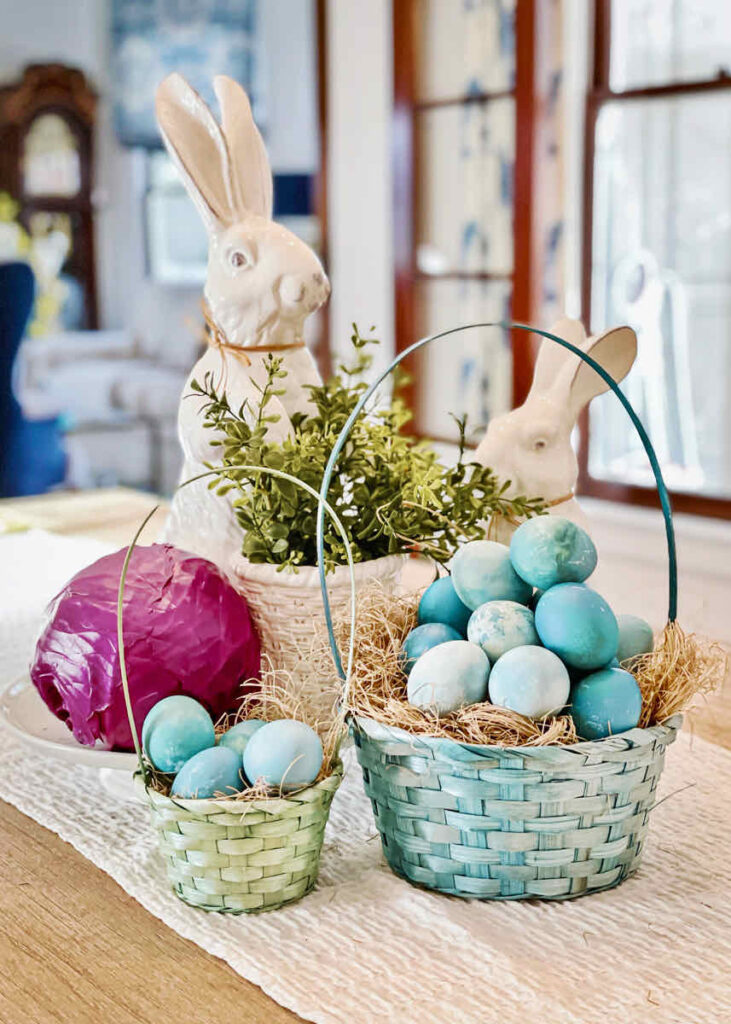
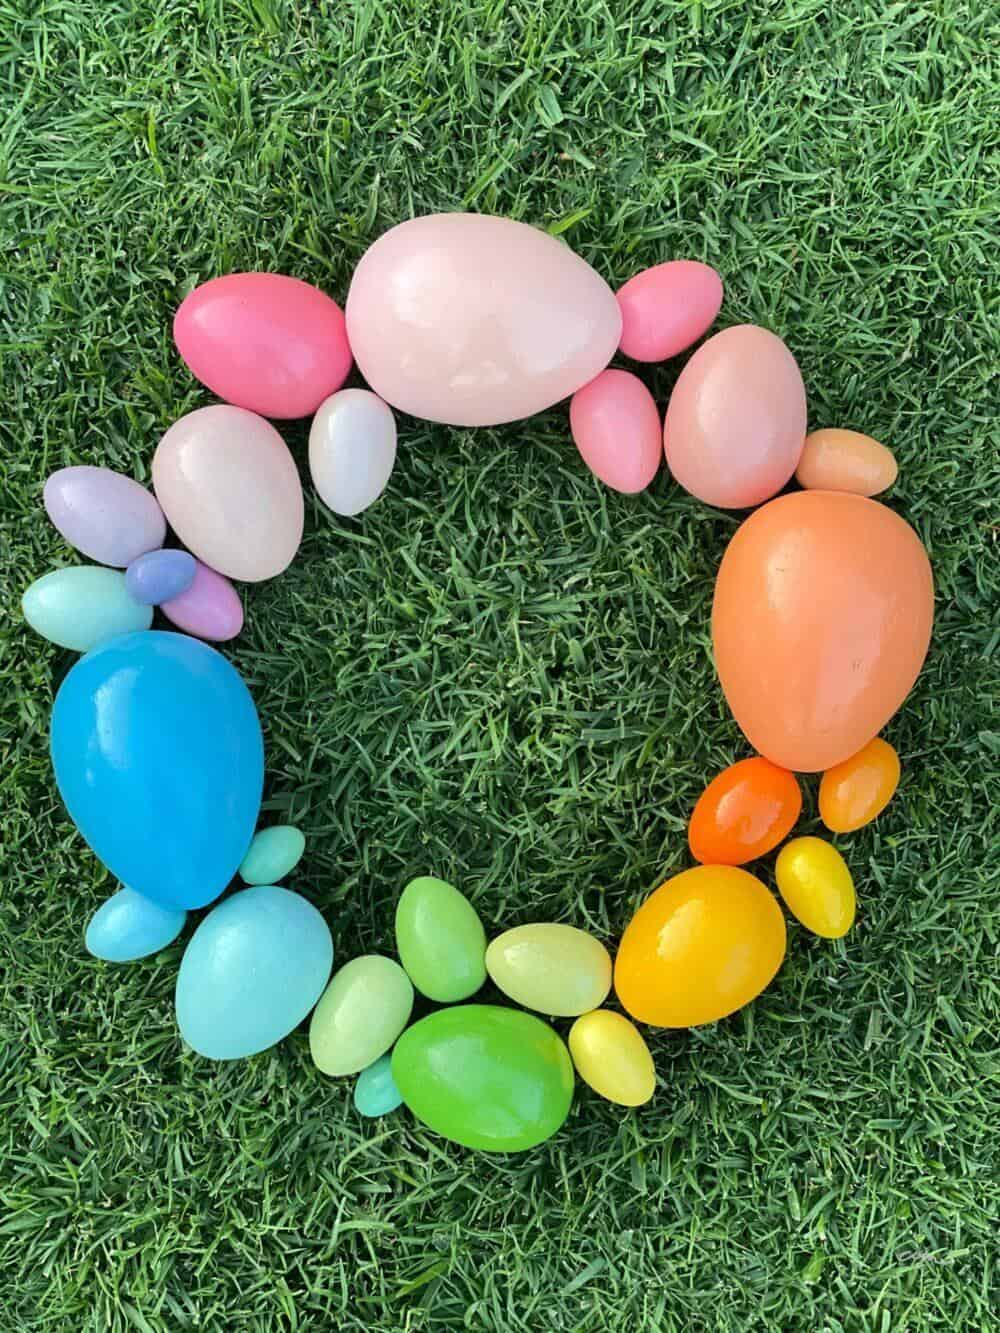
There are so many fun ways to decorate eggs. You can use spices and vegetables to dye eggs naturally, create beautiful blue dyed eggs with cabbage., or even use old silk ties for a one-of-a-kind look.
But today, I’m sharing decorating ideas for Easter eggs that don’t use any dye at all. They’re not your traditional Easter egg designs. Instead, these four simple and beautiful ideas use dried flowers, feathers, gold leaf, and stamping to create truly unique Easter decor.
The best part? You don’t need any special skills or fancy supplies. If you can use a paintbrush and a little glue, you can make these.
Why You’ll Love These DIY Easter Eggs
Budget Friendly
These one-of-a-kind Easter eggs look designer, but are really inexpensive to make! Most of the supplies are things you may already have or can easily find at the craft store or thrift shop.
Simple to Make
These simple Easter egg decorating ideas are perfect if you want to skip the messy, traditional egg dye process.
Easily Reusable
Using faux eggs means you can bring them out every spring. No more wasted eggs!
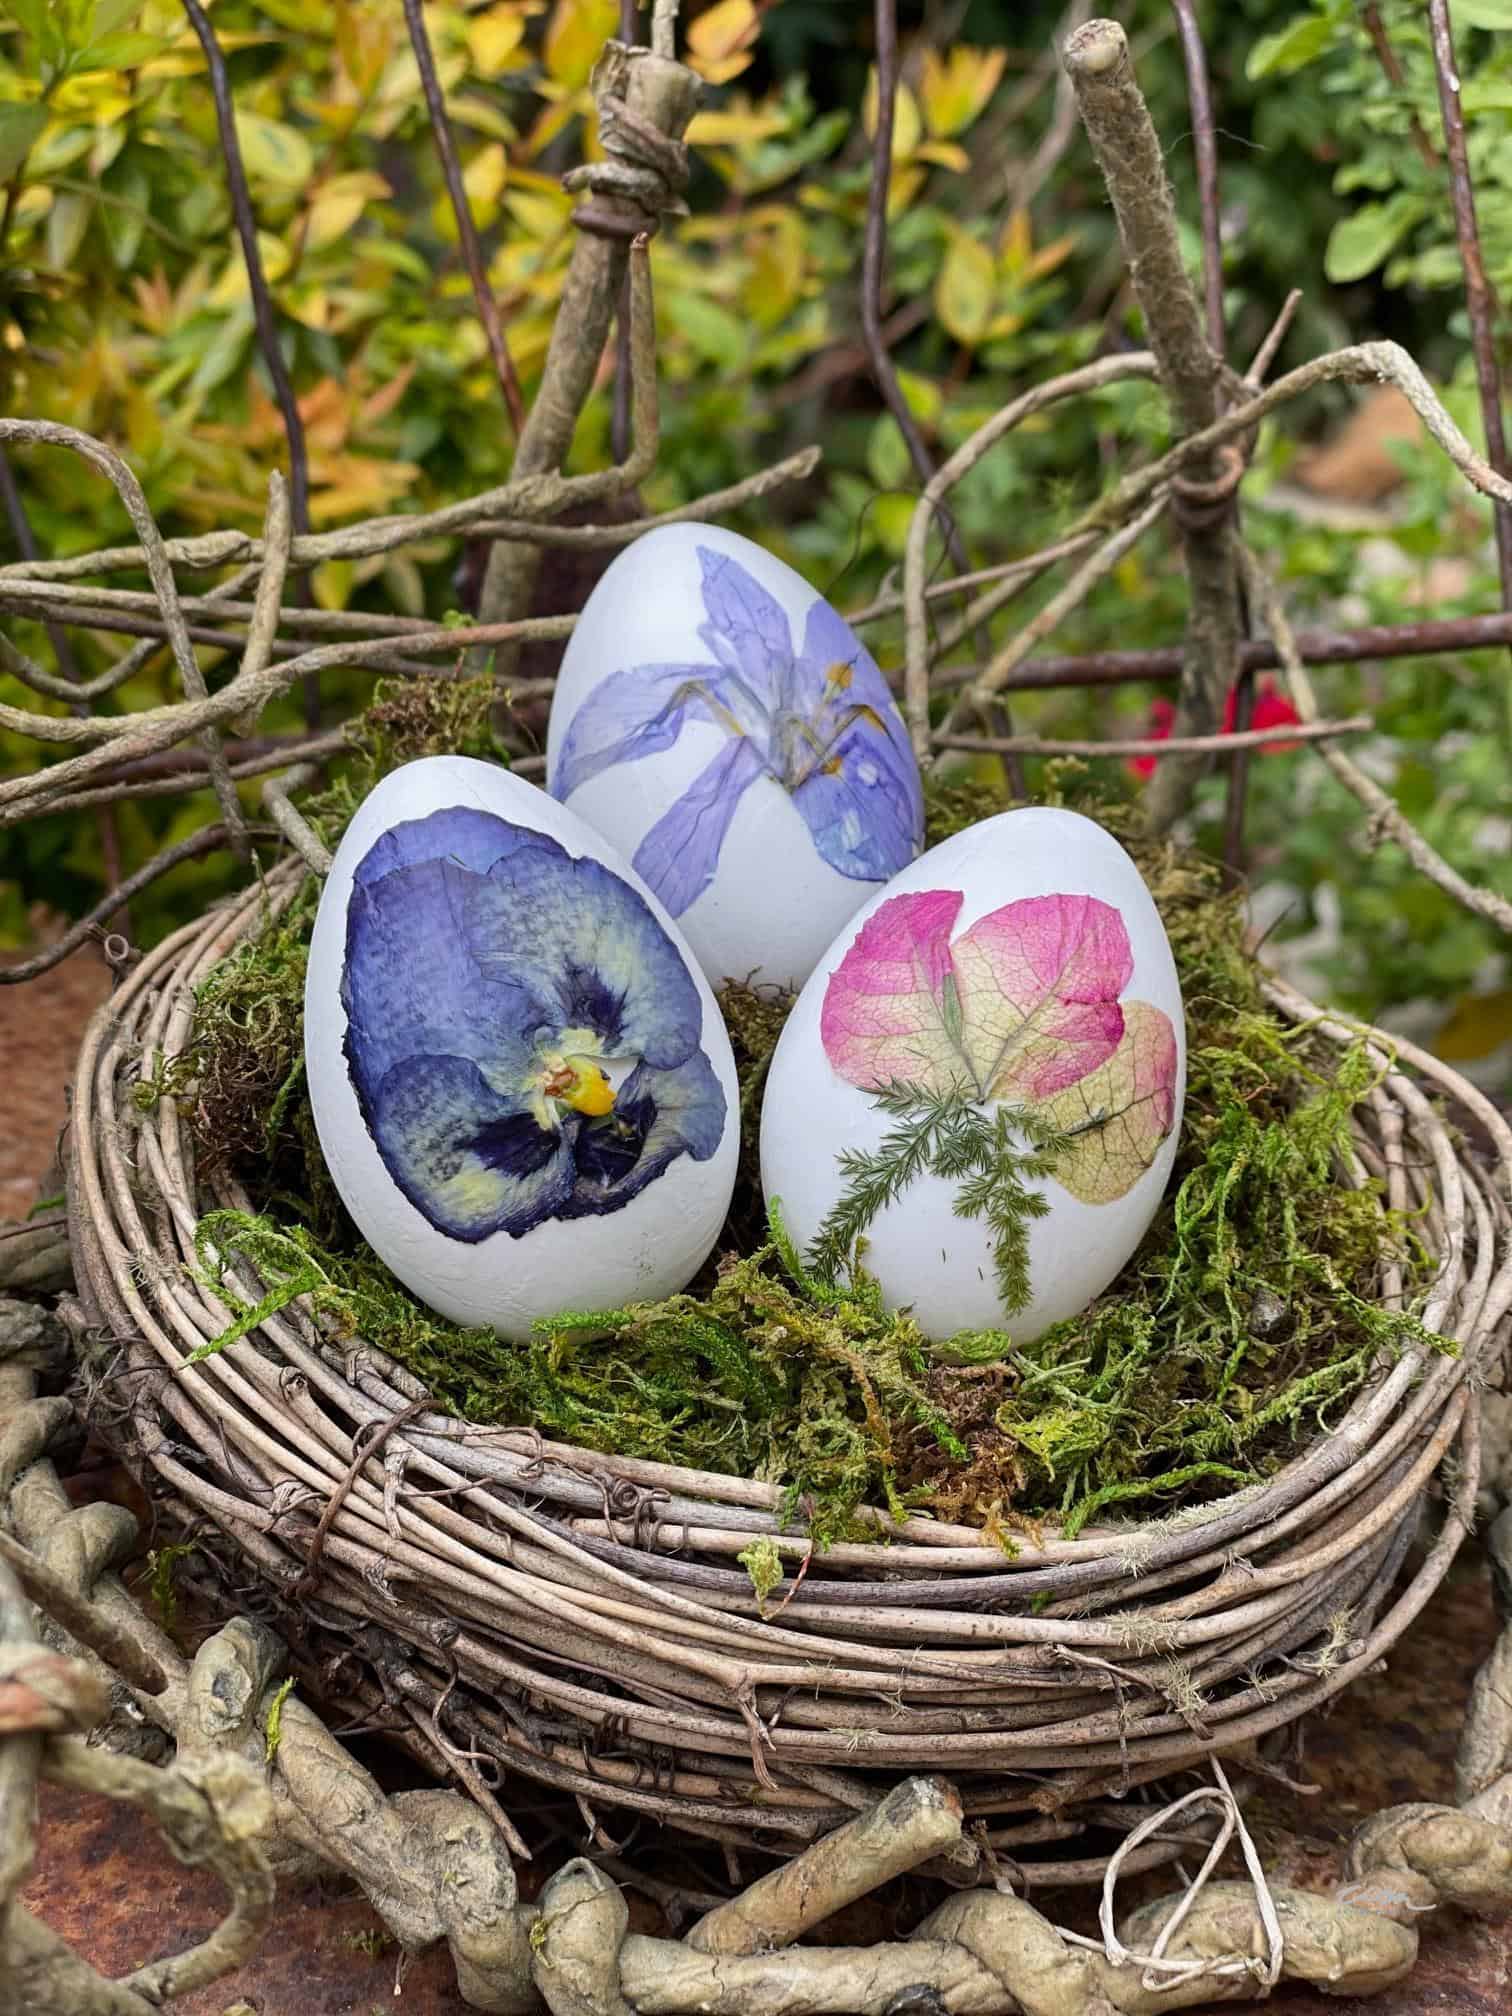
Easter Decorating Ideas with Dried Flowers
These dried flower eggs are one of my favorites. They have a soft, vintage look and feel like something you might find at a little antique shop.
Here’s everything you need to make this Easter egg design.
Supplies Needed
How to Decorate Eggs with Dried Flowers
Step 1: Gather Your Flowers
To make these pretty Easter eggs, you will need an assortment of fresh flowers for decorating.
I picked mine while I was out for a walk (shhh… don’t tell anyone), and gathered a few more from my yard.
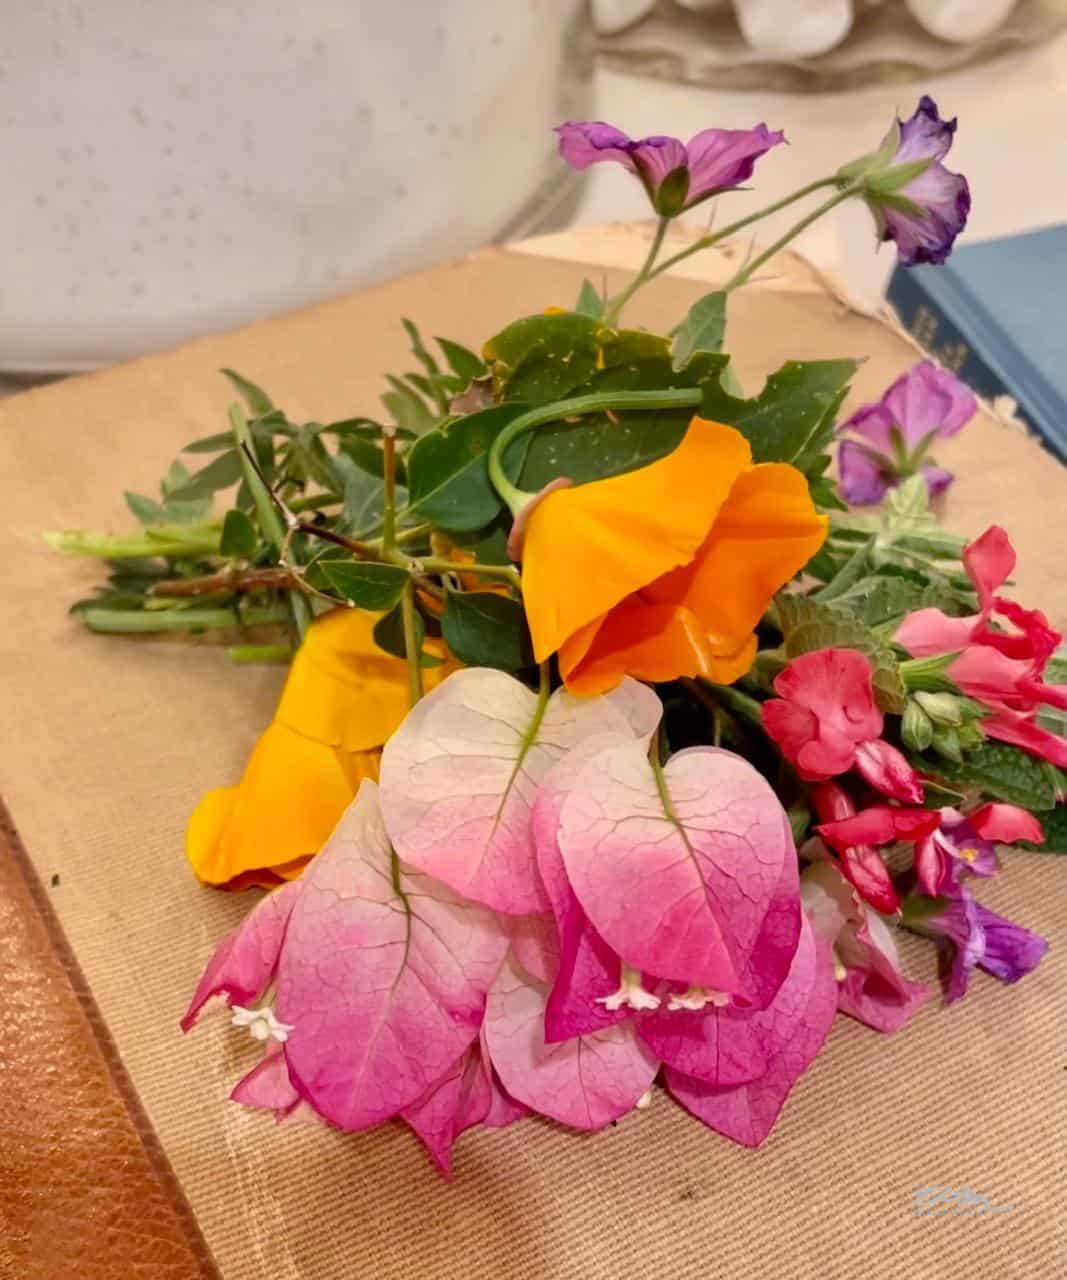
I used pansies, bougainvillea, iris, poppies, fern, and a few other small flowers, but you can use just about anything you like.
Step 2: Dry Your Flowers
Next, you need to dry your flowers before you can attach them. There are several ways to dry flowers. Here are a few methods you can use.
Drying Flowers in Books
This is likely the most popular way to press flowers, and it is also the easiest. First, choose the heaviest book you can find, such as a dictionary.
Place the flower between two pieces of waxed paper and place them underneath the book on a hard surface. Depending on the size of the book, you can press multiple flowers at once. However, be sure to space them out to not touch each other.
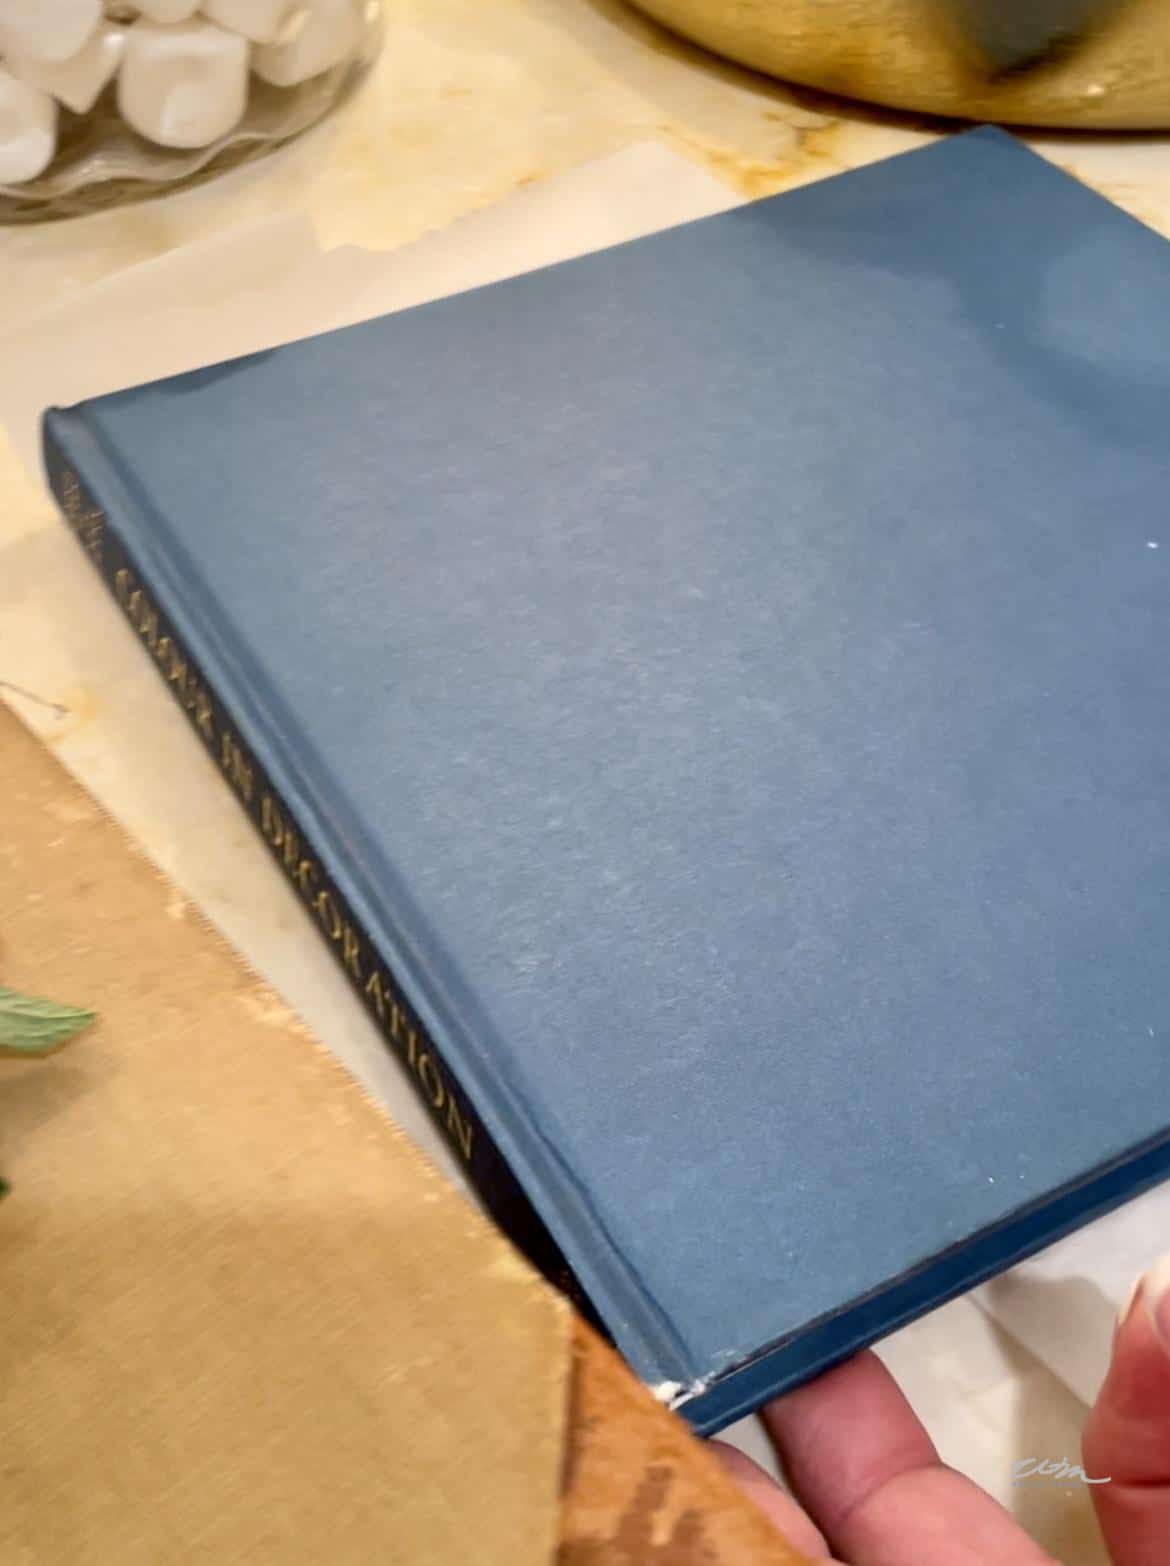
Use more books, or perhaps a brick, to weigh down the books. Be sure not to disturb the arrangement of the flowers upon closing.
Let them dry for 4-7 days. When removing, use a pair of tweezers, or very carefully use your fingers, as a completely dry flower is very delicate, and you don’t want them to break.
Tip from wendy’s craft room:
Try different types of flowers. Some work better than others. For example, try to avoid woody flowers or have a large bulky center or stem.
Drying Flowers with a press
There are also other ways to dry flowers, such as using an actual flower press or using the iron to dry and flatten the flowers.
You can even use a microwave to dry flowers. You can purchase a microwave flower press, but you can easily make one yourself as well.
Use two ceramic tiles and rubber bands to hold them together.
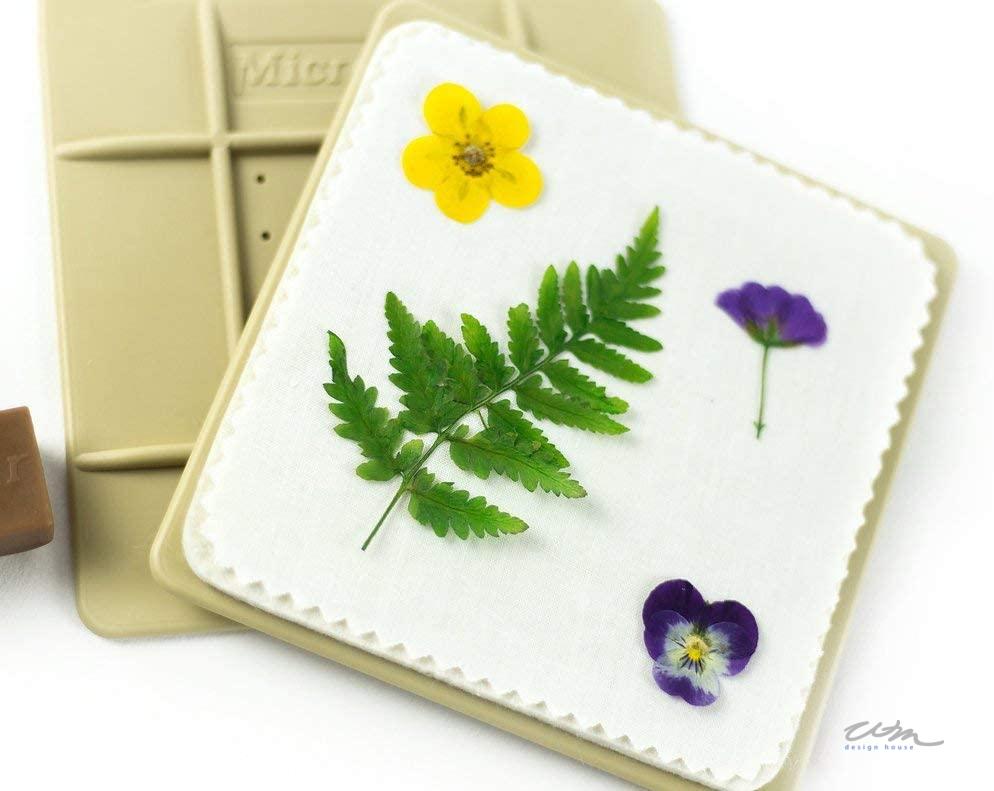
When using homemade press-like tiles, add a piece of cardboard inside each of the tiles and then a piece of paper. Finally, place the flower in the middle and sandwich everything together.
Using a low temperature (a high-heat setting can turn the flowers brown), heat for 30 seconds at a time, and repeat this process until they are dry and flat. Allowing everything to cool between each heat cycle.
When the flowers are dry, complete the process using the book method or traditional flower press. They should dry within two days.
Step 3: Attach the Dried Flowers
Now that you have dried flowers, it is time to apply them to your eggs. This is a simple process.
Start with applying some matte mod podge to the egg to apply the flowers.
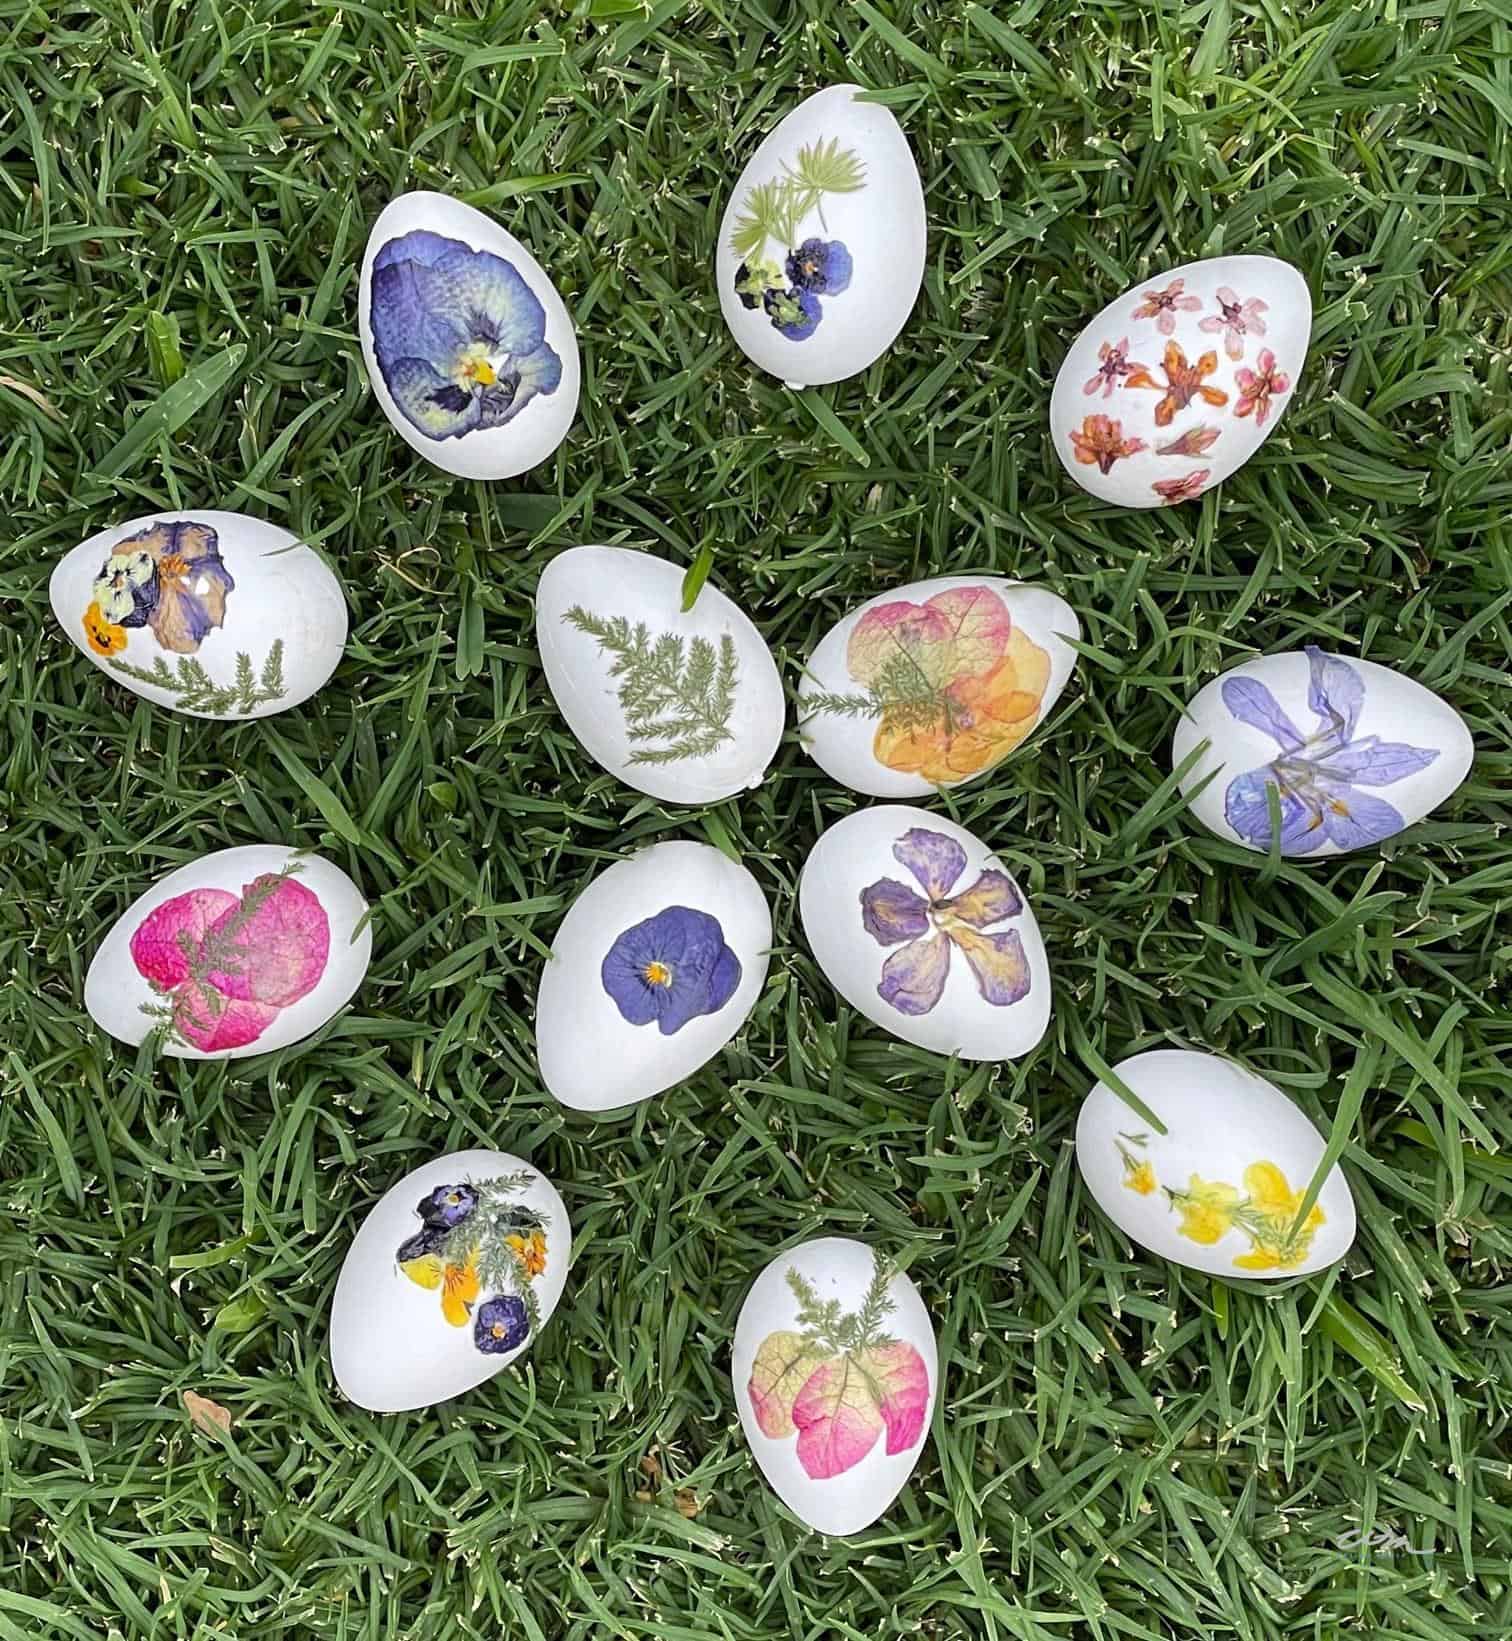
Then add some Mod Podge to the back of your flower. Pick up the flower and attach it to an egg using your brush.
Let them dry until the Mod Podge is clear and not tacky.
Tip from wendy’s craft room:
Note that eggs have a curve, so you want to use pliable flowers that can be molded to match the shape of an egg.
Easter Egg Decorating Ideas with Feathers
These feather eggs are indeed the easiest of egg decorating ideas. You will use much the same process used to apply the dried flowers.
Here’s how to make these fun feathery eggs.
Supplies Needed
How to Decorate Easter Eggs with Feathers
Step 1: Apply Mod Podge
First, paint a thin coat of Mod Podge onto the egg where you want to place the feather.
Step 2: Add Your Feather
Place the feather onto the egg, and then with your brush, brush a coat of Mod Podge over the feather.
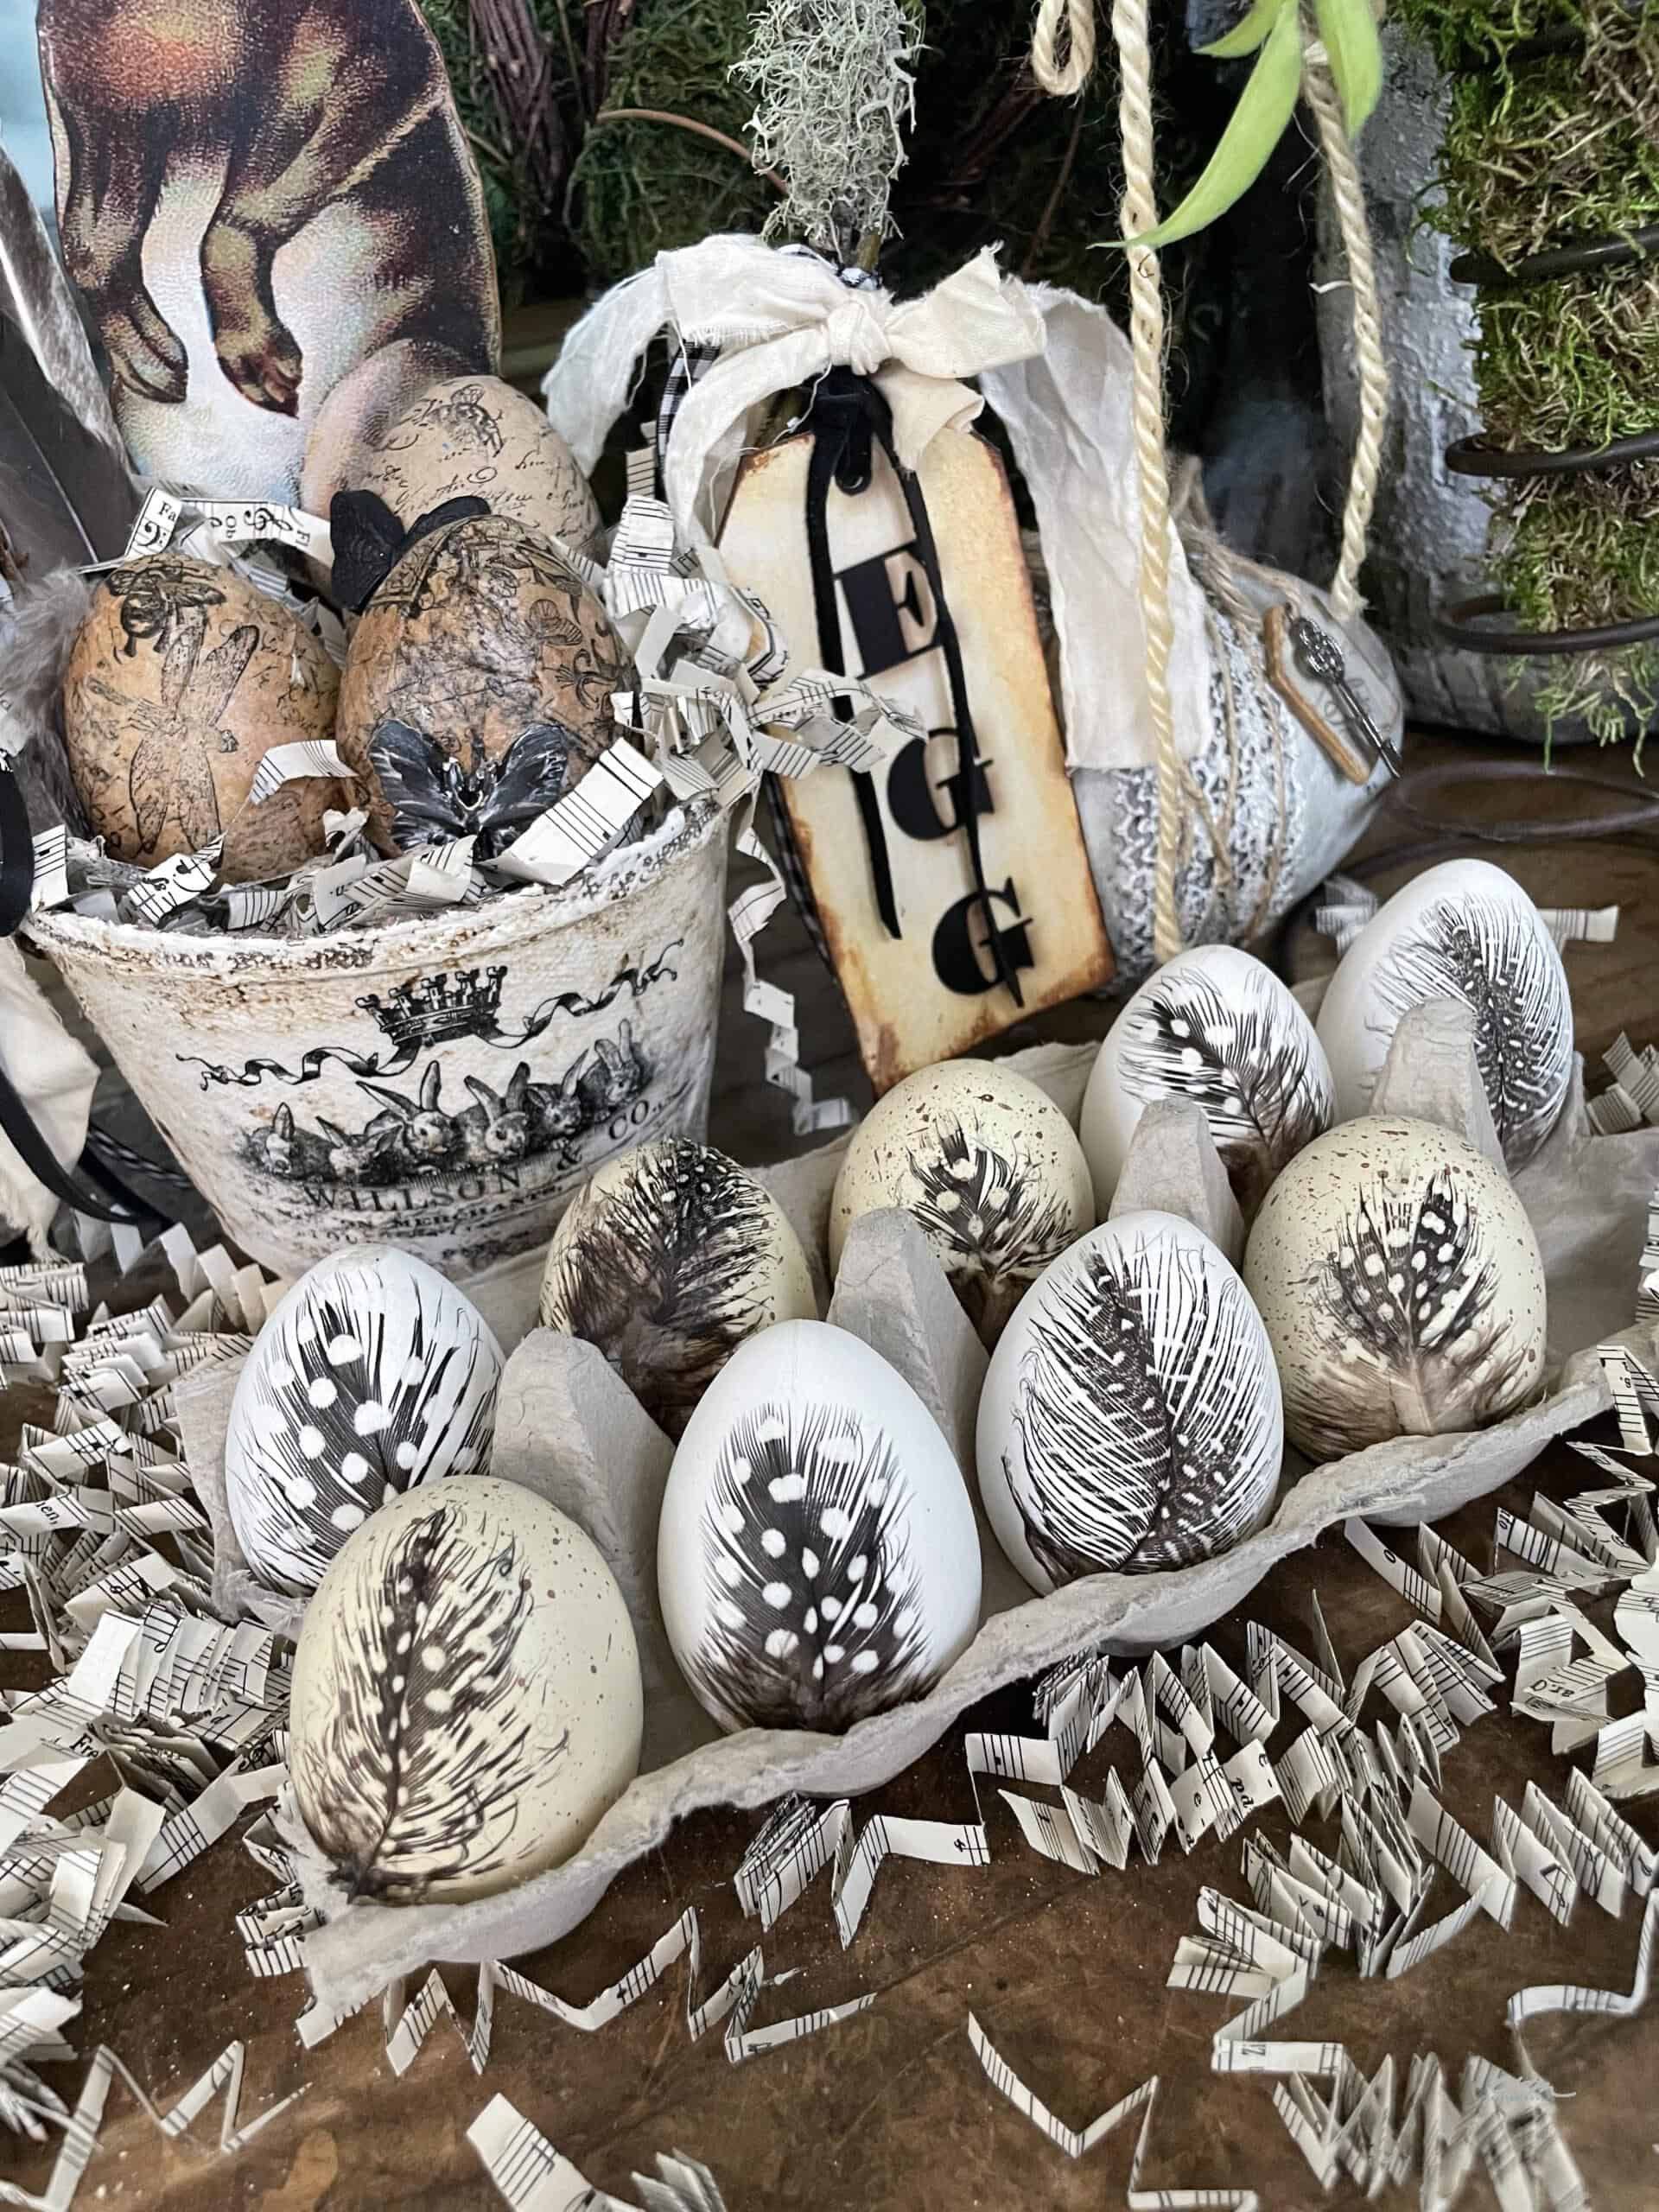
Be sure you brush in the direction of the feather. Then let them fully dry and you’re ready to display them!
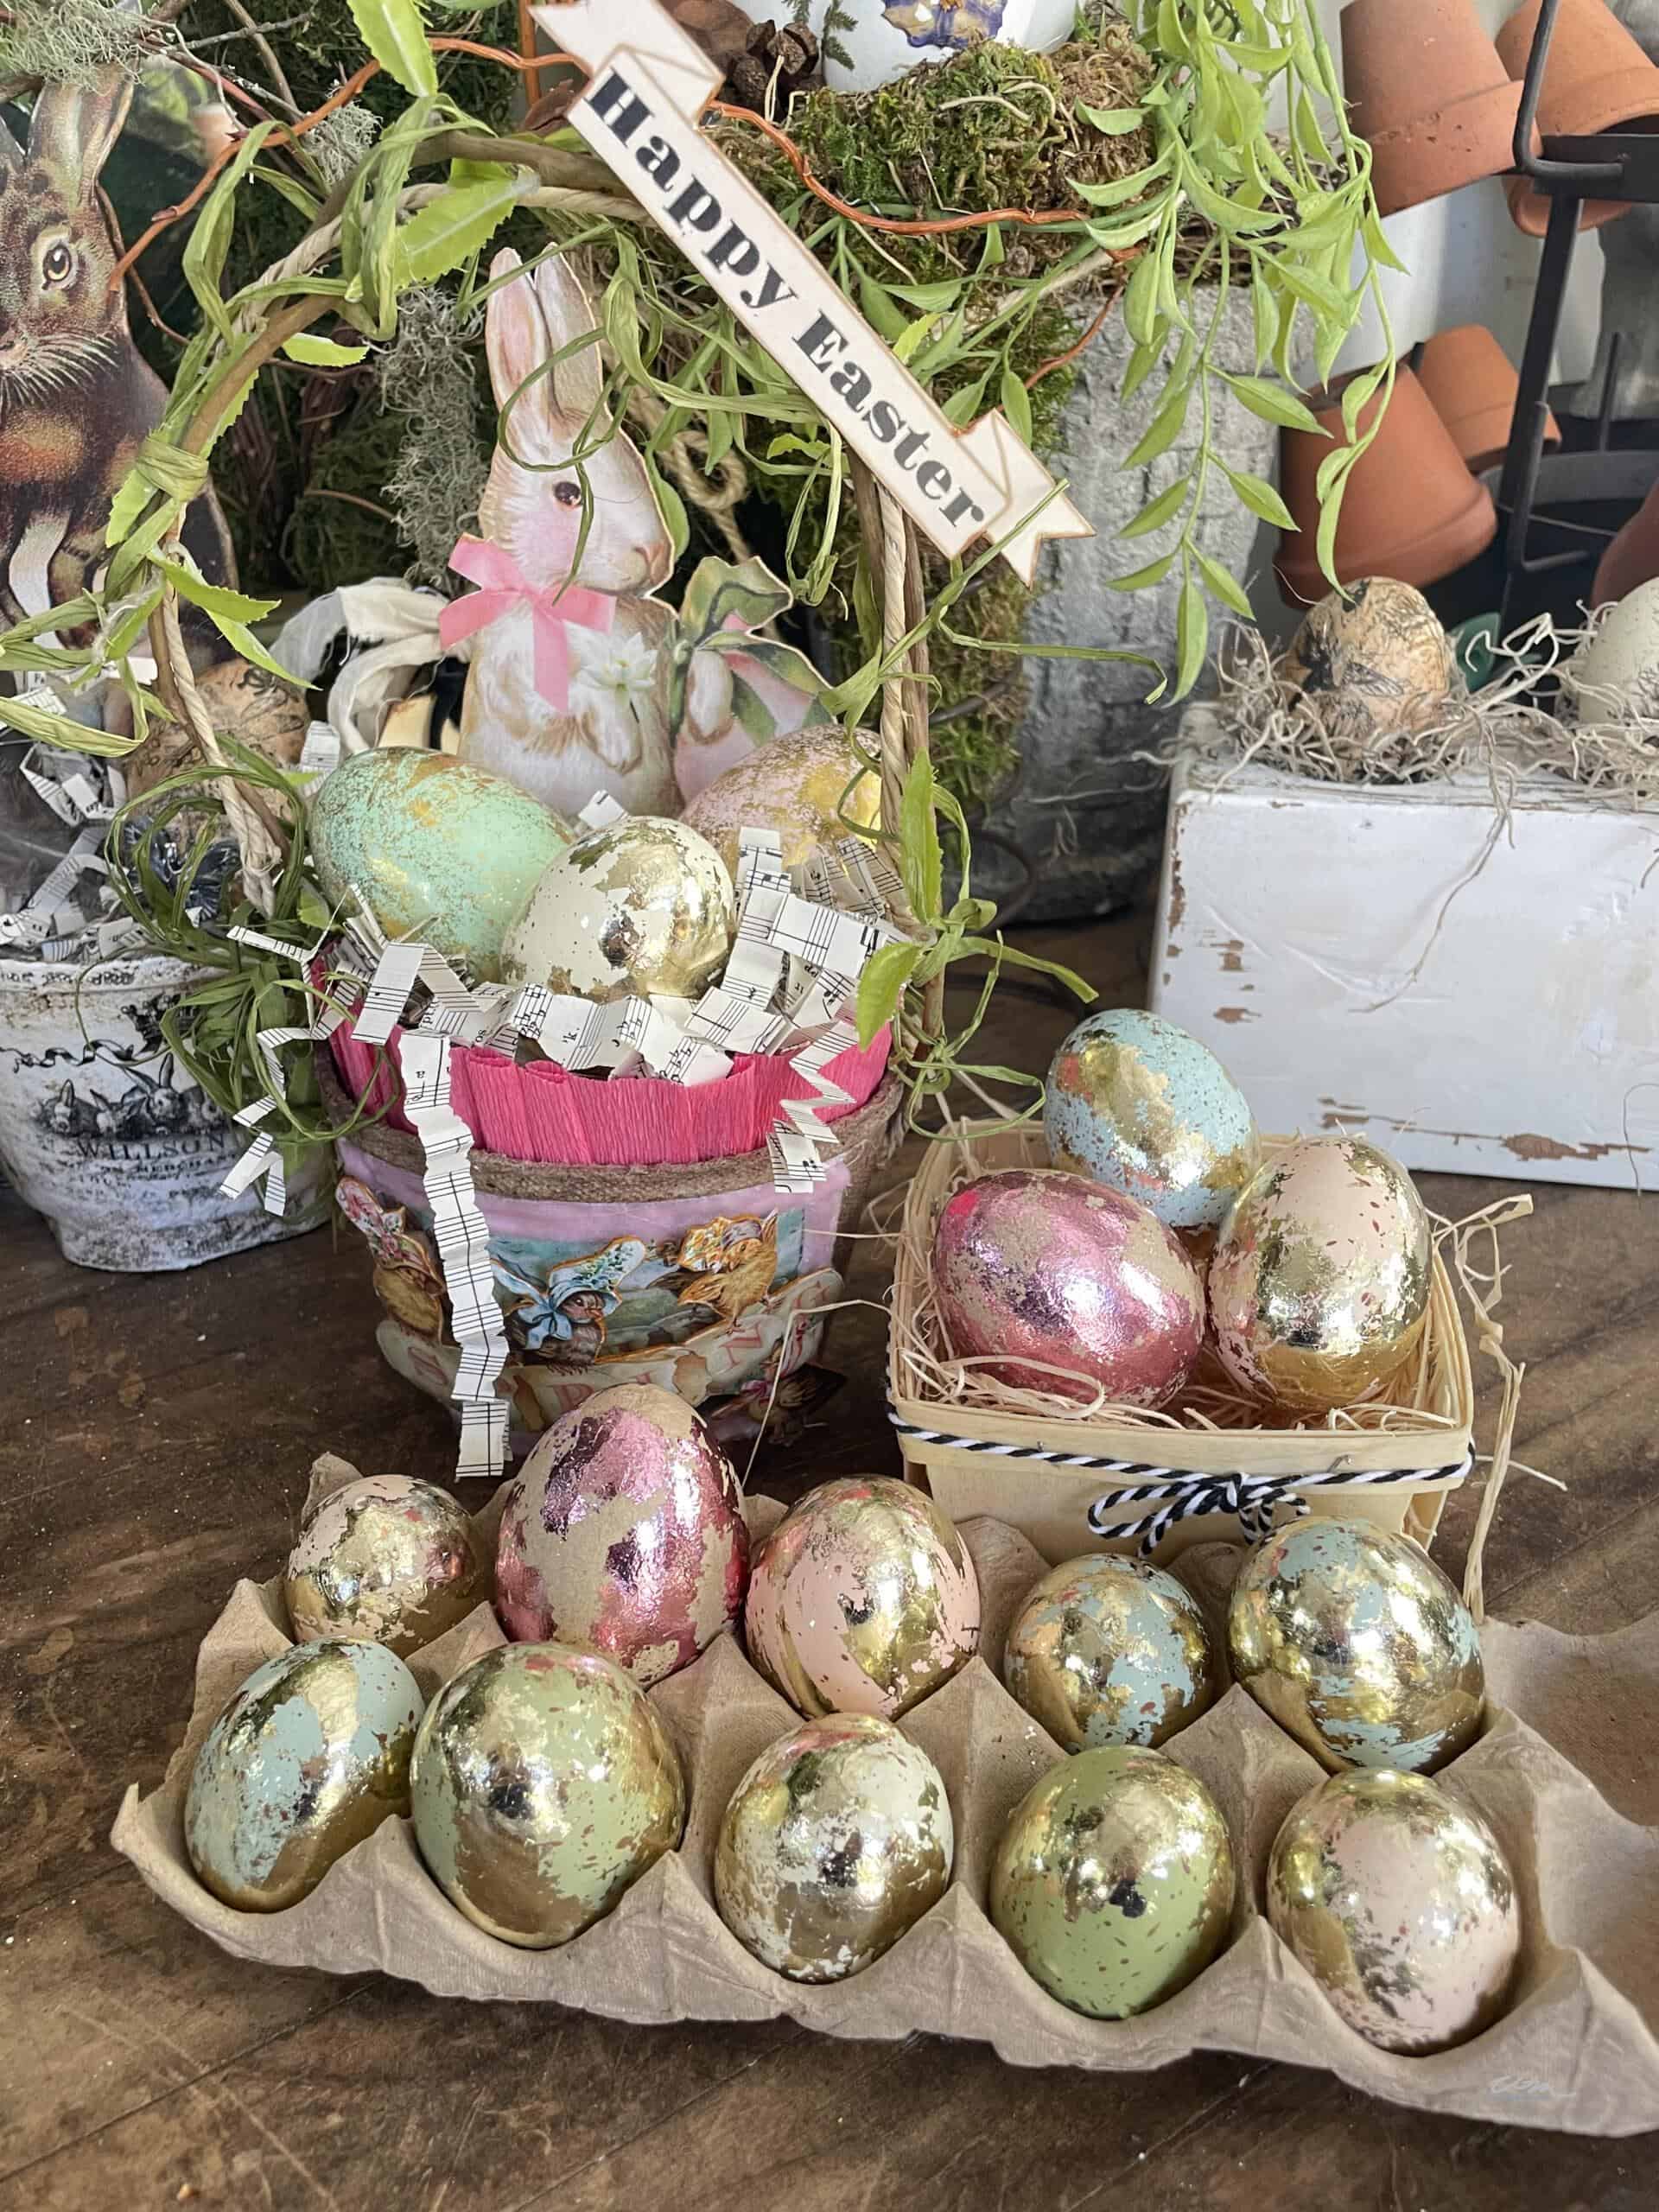
Easter Egg Decorating Ideas with Gold Foil
I love how elegant these eggs look. This unique Easter egg idea is a super fun and fast craft, but fair warning… it does get messy!
Supplies Needed
- Faux eggs of your choice (I used speckled eggs.)
- Gold Foil in gold
- Foil in pink
- Adhesive for gold foil
- Sponge
- Chip brush
How to Decorate Easter Eggs with Gold Foil
Step 1: Apply the Foil Adhesive
Using a sponge, I put a little bit of adhesive onto the sponge and blotted it onto the egg where I wanted the gold foil to adhere.
I did not cover the entire egg as I wanted you to see parts of the original egg as well.
Remember, you can always add more, but you can’t take it off. Let the adhesive dry for about 20-30 minutes before moving on to the next step.
Step 2: Apply Your Gold Leaf Foil
Once the adhesive has dried for 20-30 minutes, simply place the sheet of gold foil onto the egg and wrap it around. You most likely will need two sheets per egg.
Step 3: Brush Off the Excess Foil
Now comes the messy part. Take a dry chip brush and brush off the excess foil. This process is called burnishing and will leave your gold foil smooth and shiny.
For a full tutorial, you can go to my YouTube channel WM Design House.
Easter Egg Decorating Ideas with Hand Stamping
I think these may just be my favorite of these Easter egg decorating ideas! Not only are they easy, but these would also be a fun craft to try with small children or even grandchildren.
Supplies Needed
- Faux eggs of your choice
- White chalk paint
- Ink pad
- Rubber stamps
- Dark wax
How to Decorate Easter Eggs with Hand Stamping
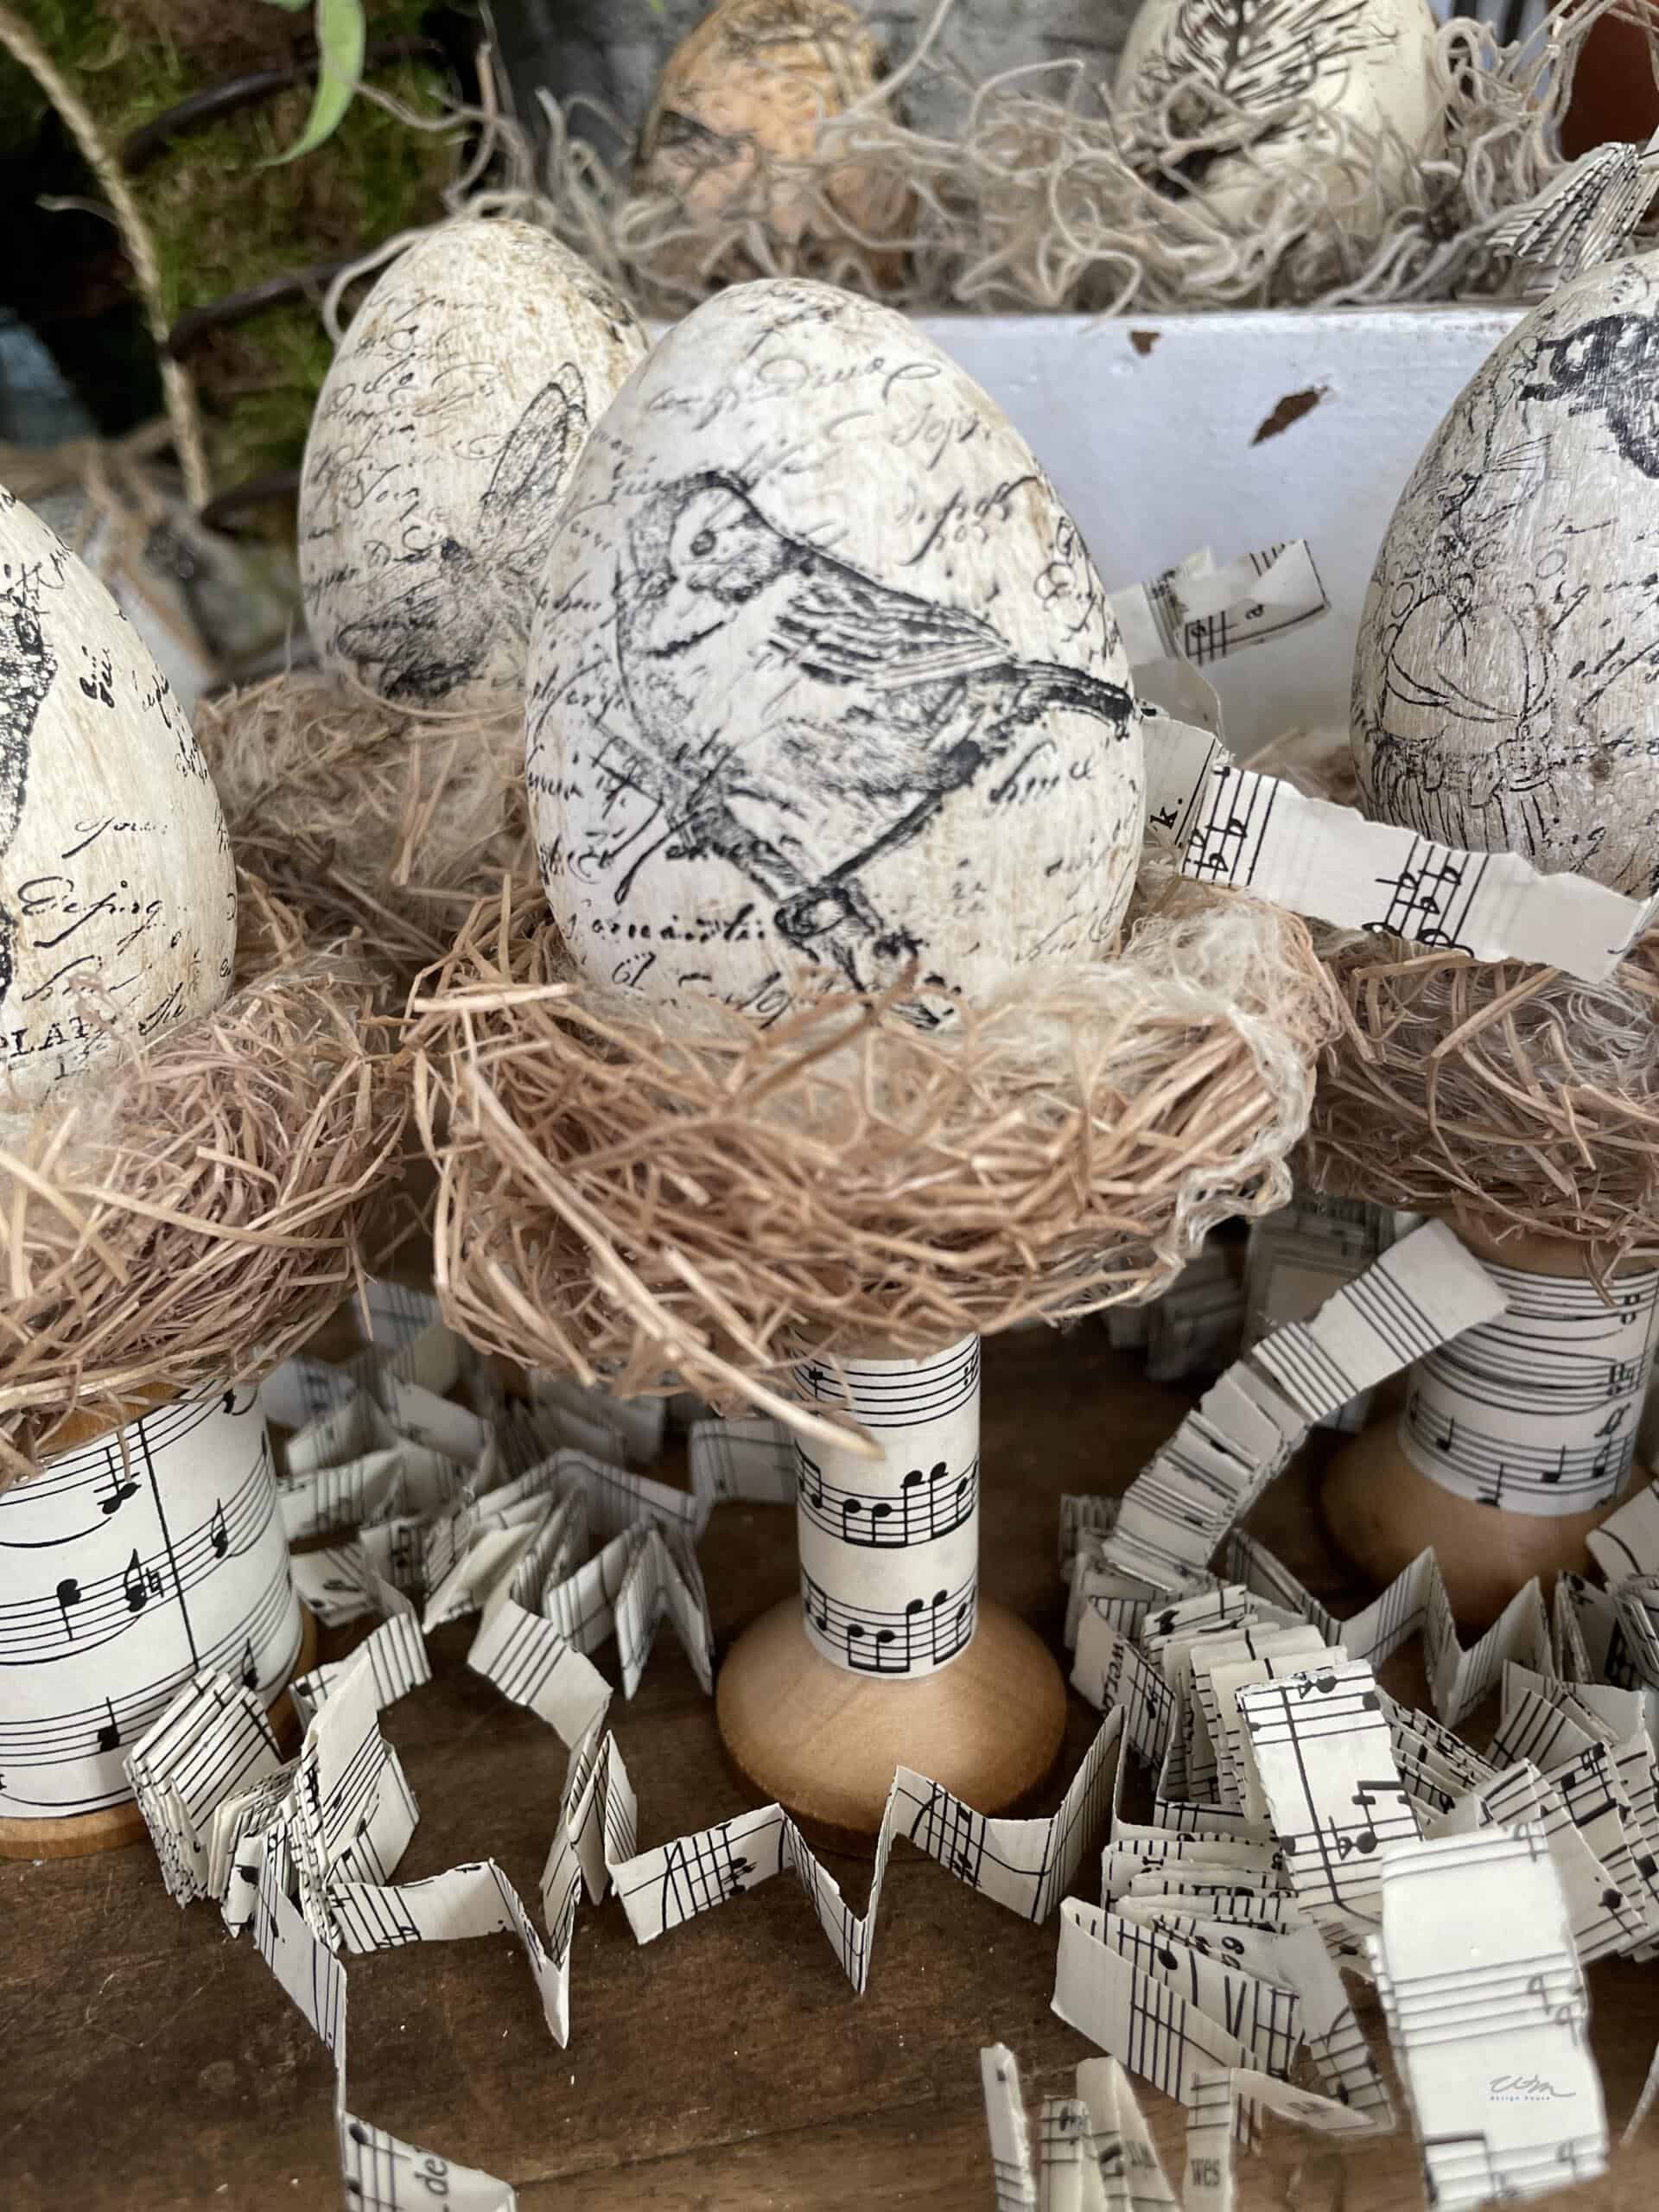
Step 1: Paint Your Eggs
I started with a basic egg and gave it two coats of white chalk paint.
Step 2: Stamp on a Design
Then, using Stazon ink pad, imprint the egg using rubber stamps until you get the desired look you want.
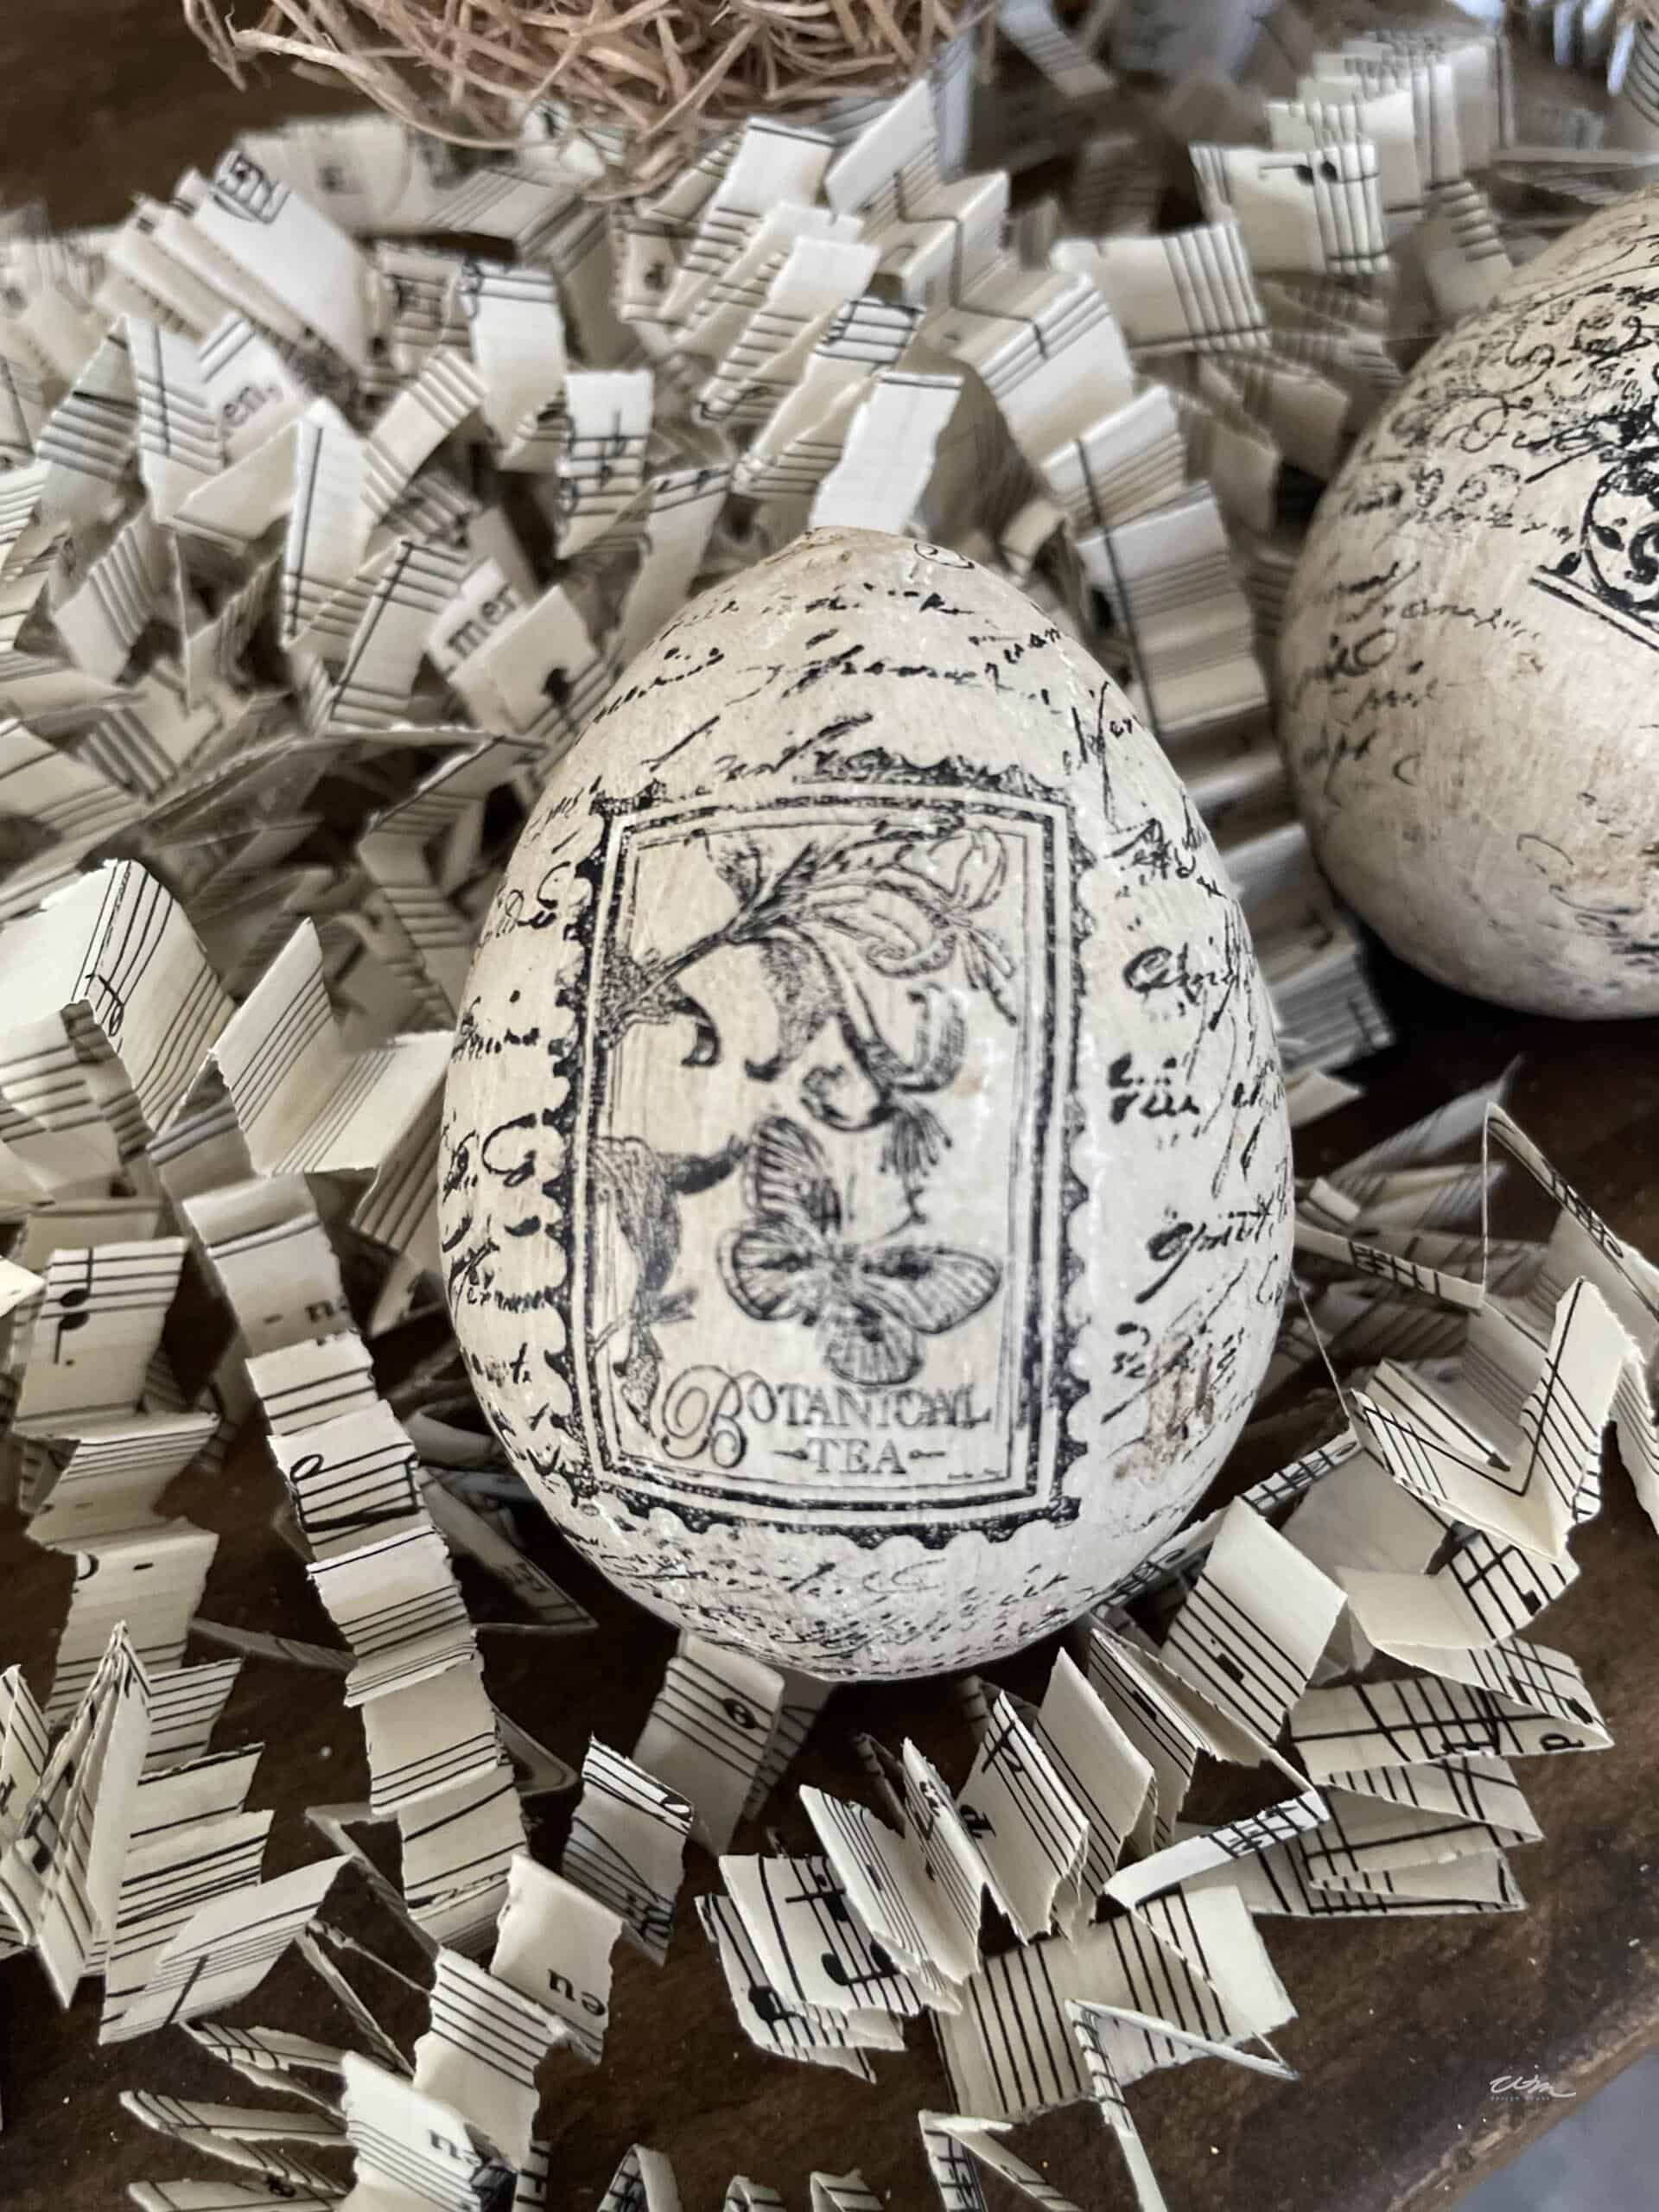
Step 3: Antique Your Egg
Once the ink is dry, which is rather quickly, you can antique the egg using a dark wax.
This is an easy process; just put a little bit on a cloth and rub the egg until you have the desired look you want.
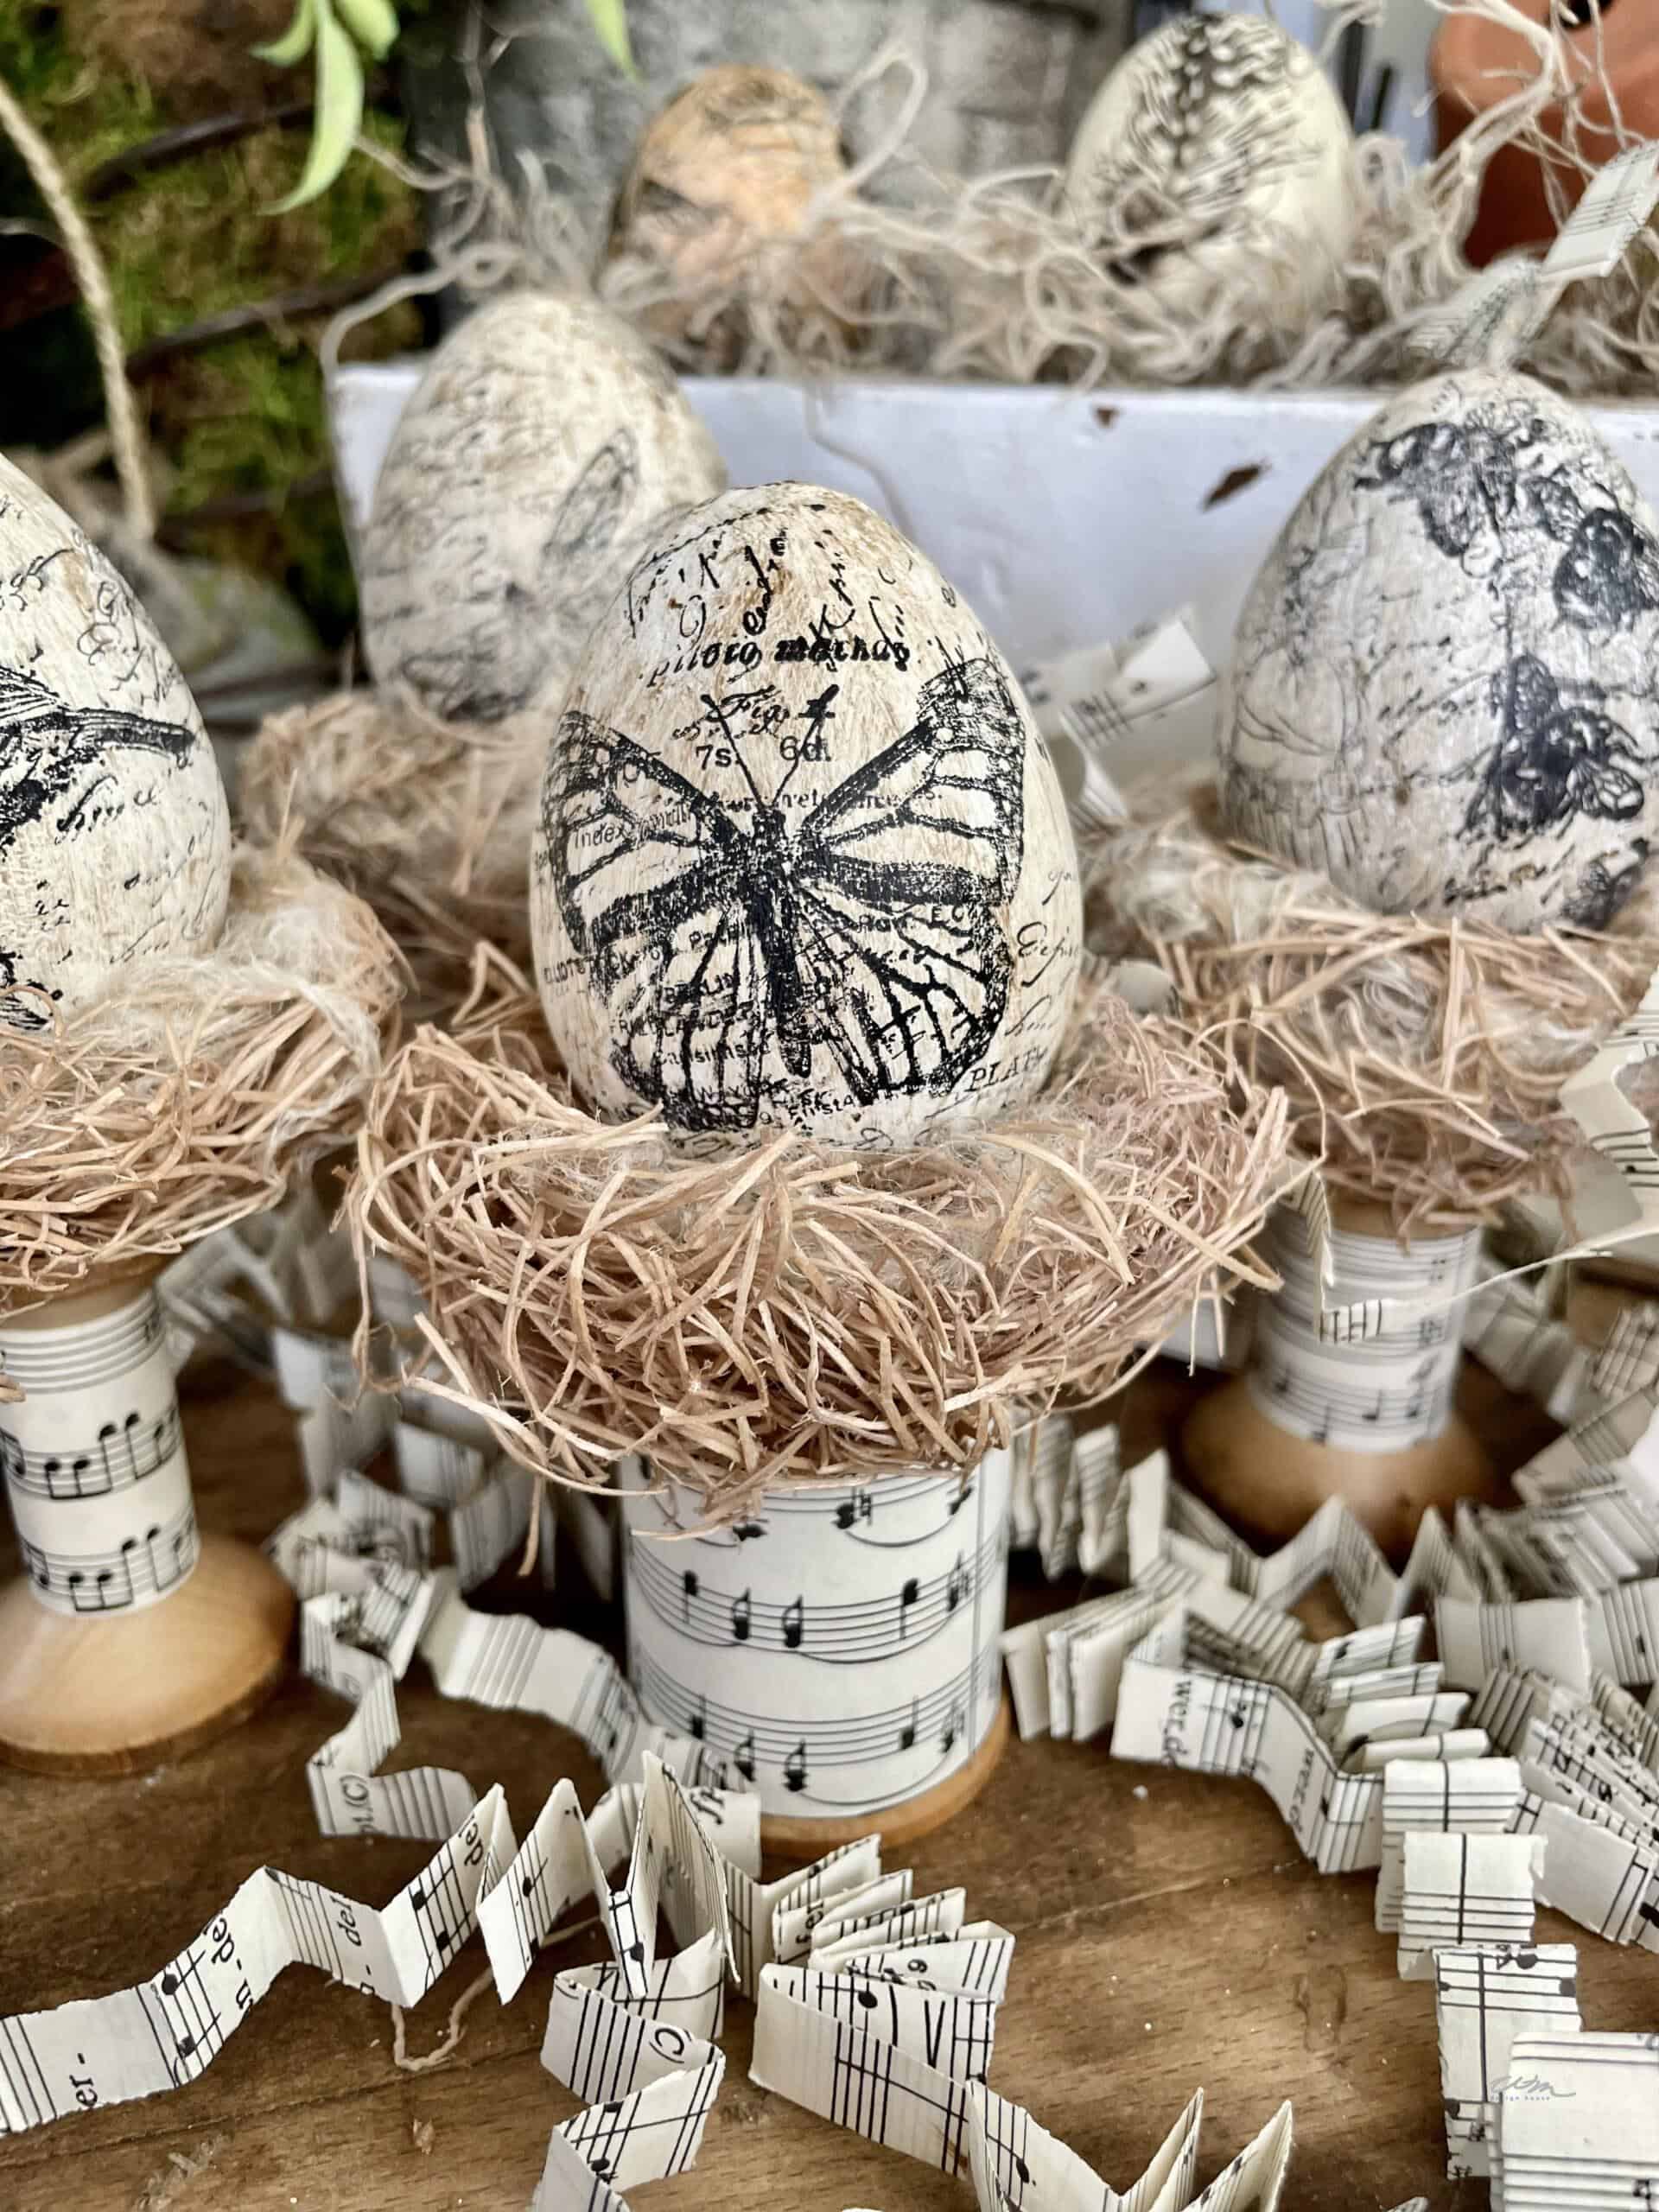
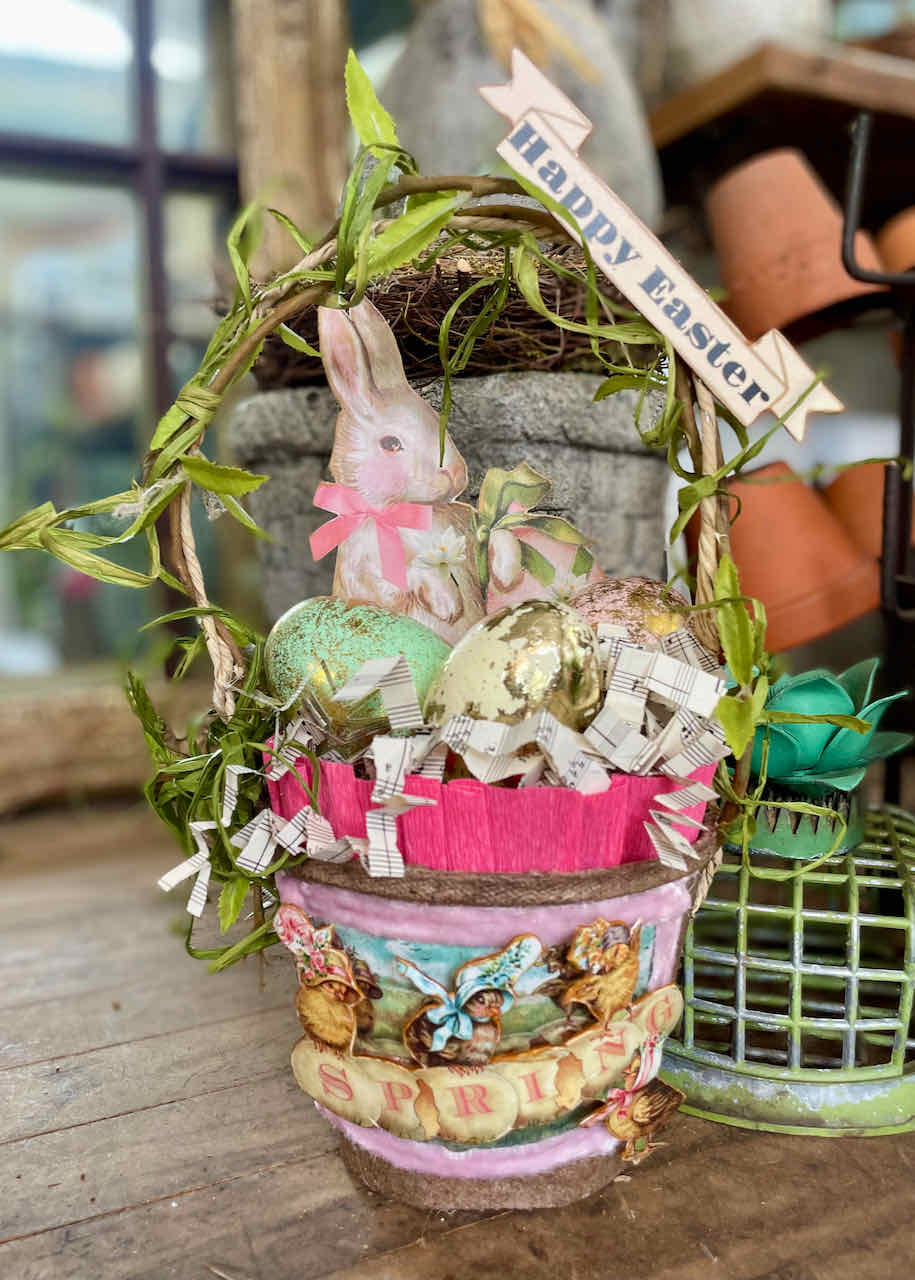
To display your eggs, you can create a small nest using a mixture of thread, spanish moss, some yarn and a bit of spray adhesive.
Then I glued the nest to a large wooden spool (a thread spool), placed the egg on top, and wrapped the spool with leftover sheet music from my DIY decoupage bunnies.
You can see the full tutorial for these eggs on my YouTube channel WM Design House.
Creative Ways to Display Your Easter Eggs
These decorating ideas for Easter eggs use natural textures and soft colors to create a beautiful, timeless look for spring.
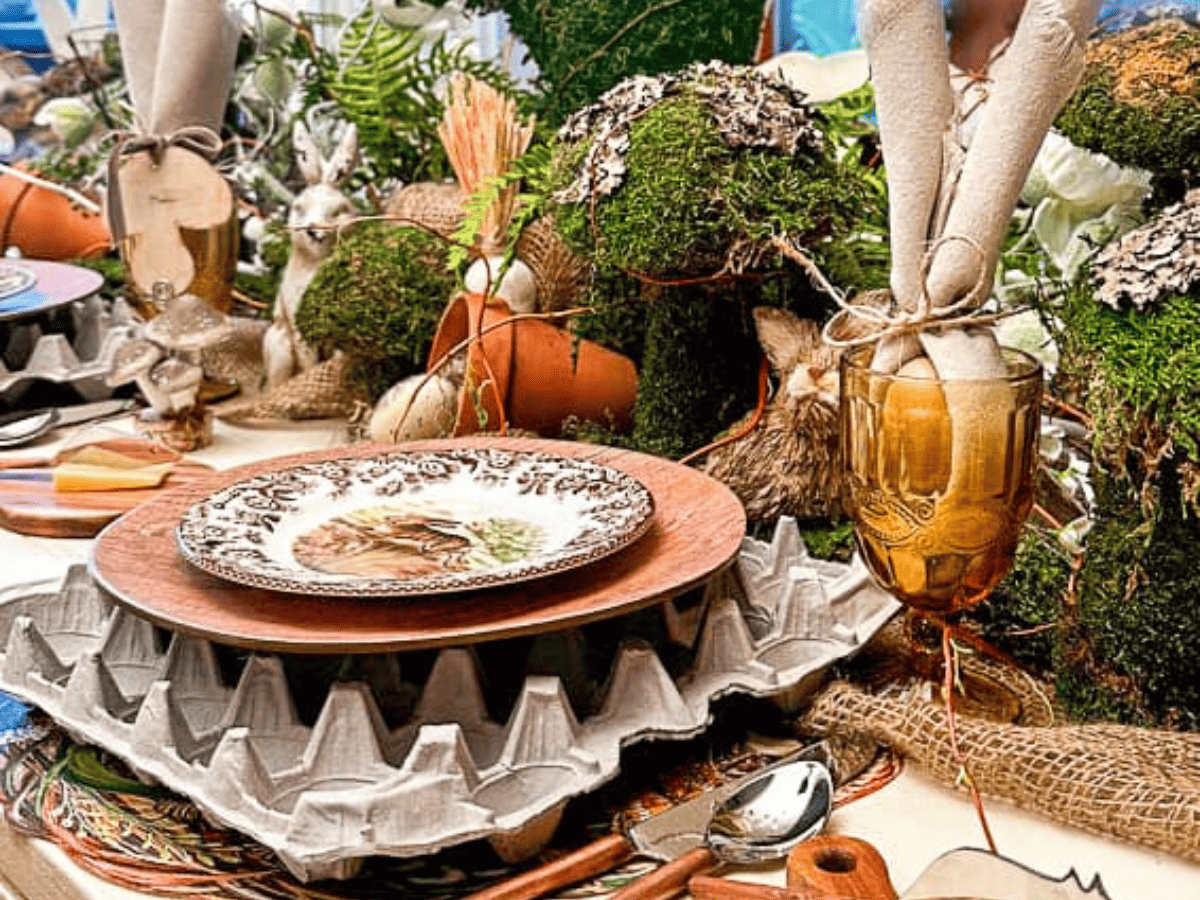
Once your eggs are finished, styling them is where everything really comes together. I love placing them in a wooden bowl with a bit of moss to create a vignette on my coffee table or tucking them into an egg crate for something a little more casual.
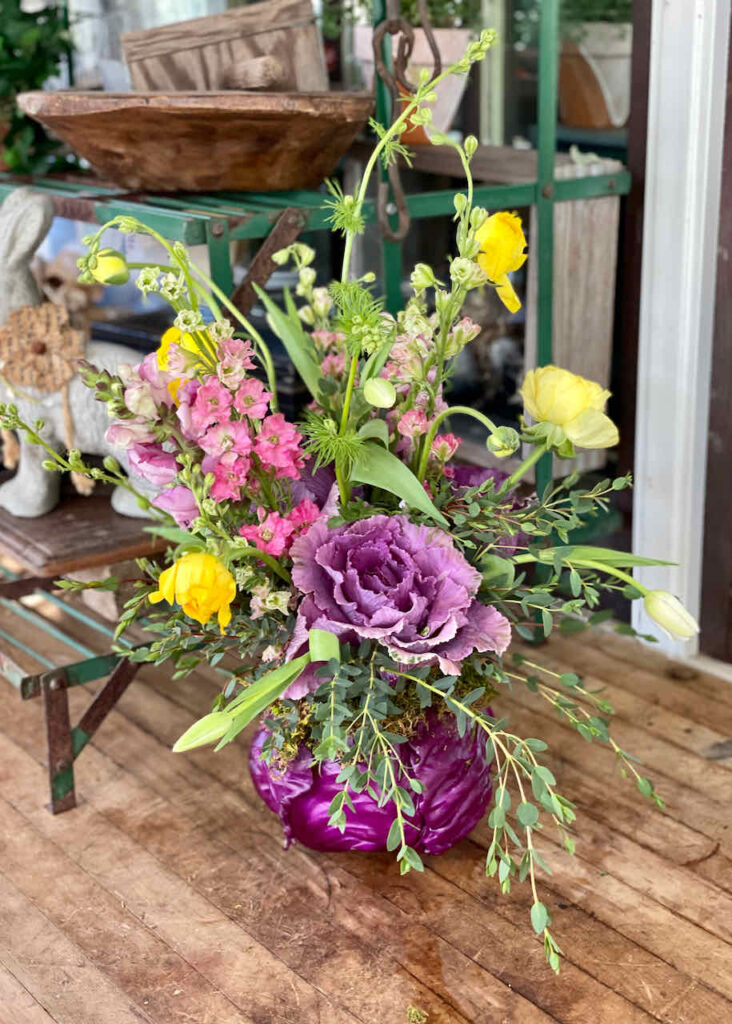
They also look beautiful layered into an Easter tablescape with candles and greenery, or added to a basket filled with spring flowers. You can even display a few on a shelf for a simple seasonal touch.
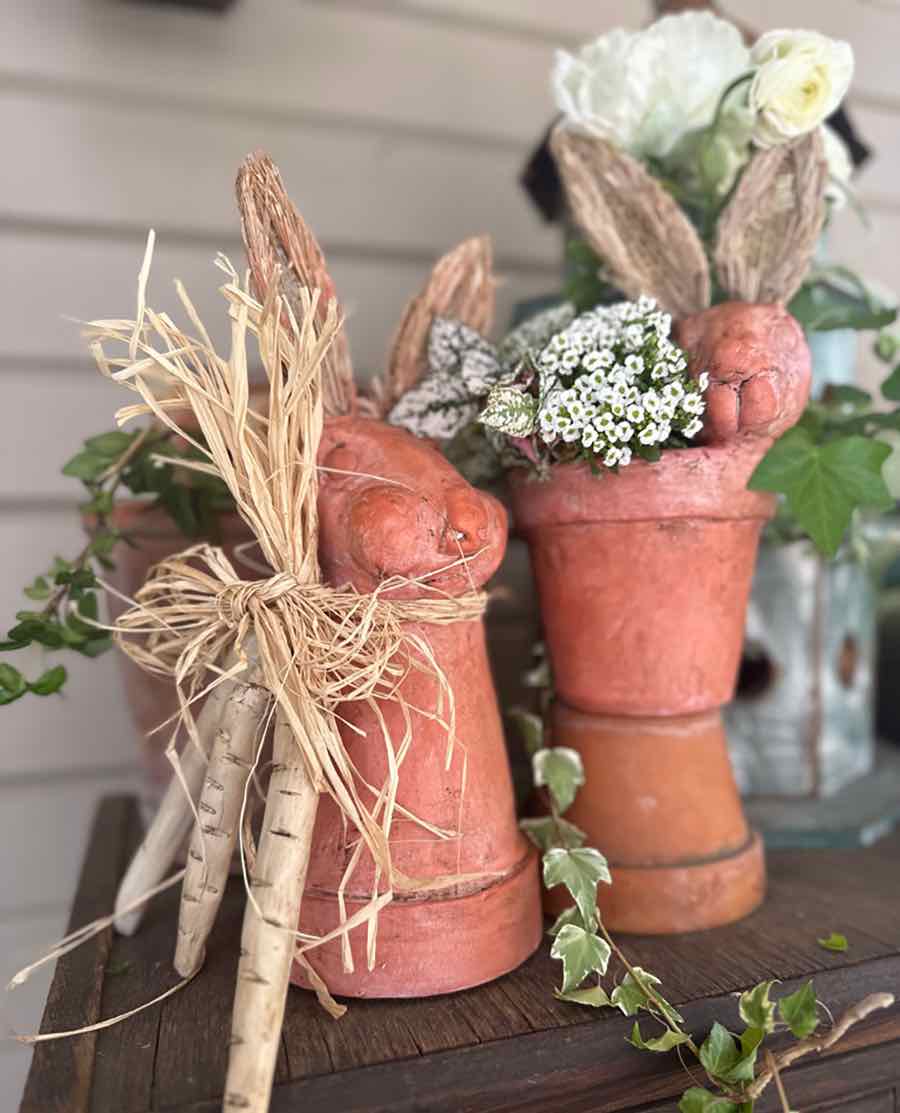
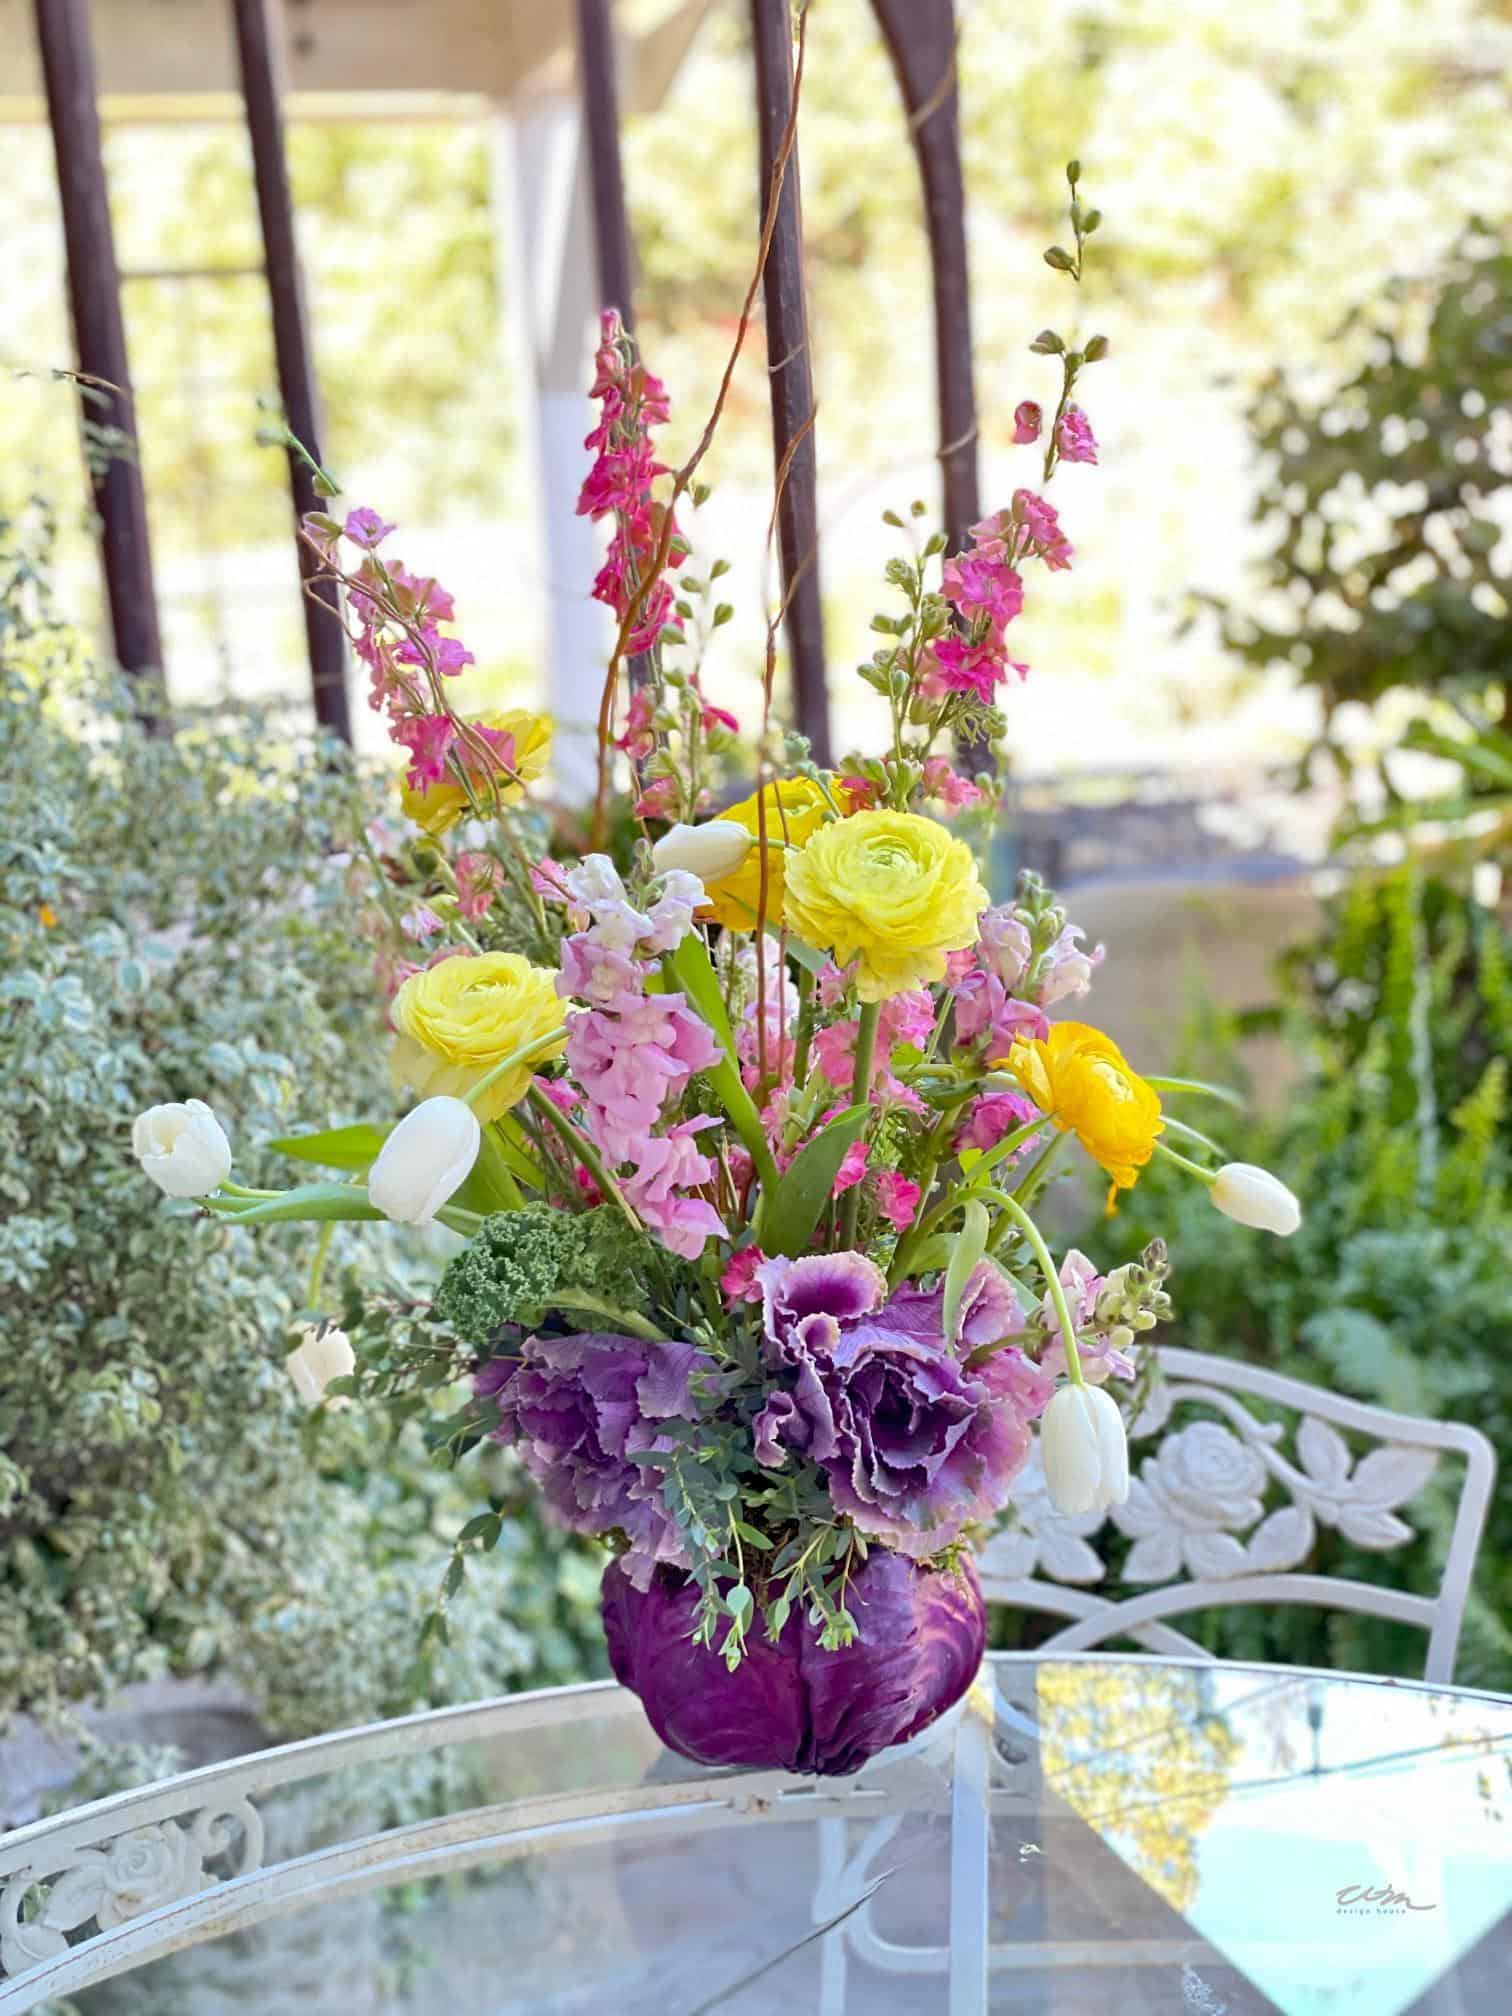
More Easter Crafts You’ll Love
If you love these easy DIY Easter egg designs, you might also enjoy some of my other favorite Easter and spring DIY projects.

Wrapping Up
These Easter egg decorating ideas are simple, beautiful, and such a fun way to add a handmade touch to your spring decor.
Whether you try one or all four of these egg design ideas, I hope this inspires you to create something that you’ll enjoy bringing out year after year.
Happy decorating,


More about me!

Hello, I’m Wendy – a dedicated homemaker with a deep passion for decorating, gardening, cooking, and crafting. I find joy in harmonizing beautiful elements to fashion a space that is both comfortable and inspiring. I will help you create a beautiful home, one project at a time.

Wendy these are all so beautiful! Happy Easter.
Ethel Sloan says:
Your comment is awaiting moderation. This is a preview; your comment will be visible after it has been approved.
April 8, 2022 at 6:48 pm
These are beautiful decorated eggs – Makes me want to try to make all the various examples.
Easter is one of my favorite holidays and all these would be beautiful with a small looped piece of ribbon to hang on an Easter egg tree in a home!
These are beautiful decorated eggs –
Makes me want to try to make all the various examples
Easter is one of my favorite holidays and all these would be beautiful with a small looped piece of ribbon to hang on an Easter egg tree in a home!