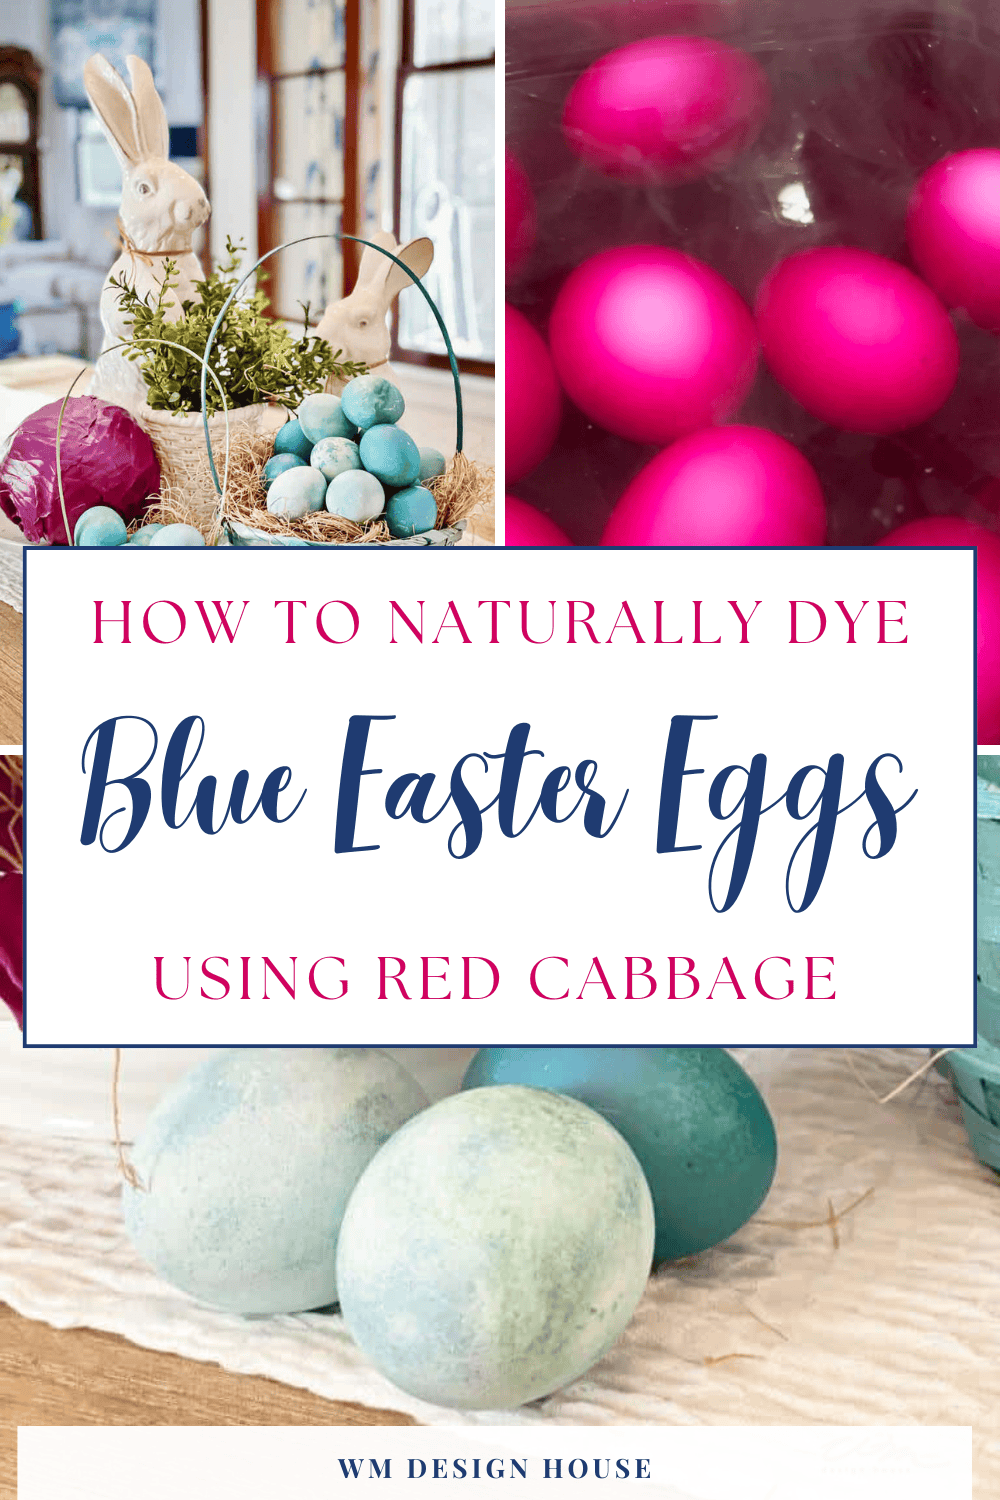
The Best Way to Dye Easter Eggs Blue Using Cabbage
Celebrate Easter with something new! Get creative this holiday and give your Easter eggs a unique twist by dying them blue using cabbage.

On my blog WM Design House, I may sometimes use affiliate links, which means a small commission is earned if you purchase via the link. The price will be the same whether you use the affiliate link or go directly to the vendor’s website using a non-affiliate link. Read my full disclosure policy here.
Naturally Dyed Blue Easter Eggs with Red Cabbage
Peter Cottontail will be hopping down the bunny trail soon, so today I’m sharing a fun project you can try for a simple, natural way to dye eggs for Easter. These beautiful blue Easter eggs get their stunning color from, wait for it, red cabbage!
I know it sounds a little odd, but trust me, the results are magical. This is one of those fun little science-meets-art moments that’s perfect to do with kids or grandkids.
And the best part? It’s completely non-toxic and all-natural.
So grab some eggs and get ready to learn how to easily dye blue Easter eggs using red cabbage. Plus, I’m sharing a few other fun tricks for dyeing eggs in beautiful natural colors using simple ingredients you might already have at home.
A Bit of Easter Egg Science
So how does red cabbage make blue Easter eggs? Red cabbage is full of a pigment called anthocyanin, which changes color depending on pH.
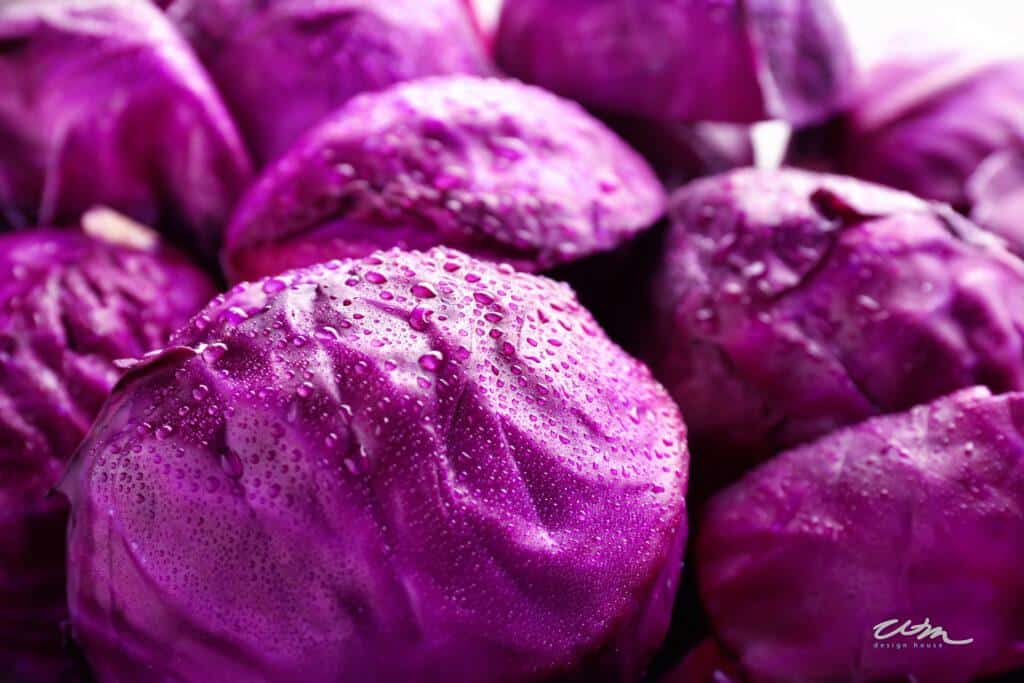
When you add vinegar to the cabbage dye, it becomes just the right acidity to turn your eggs a soft to vibrant blue, depending on how long you let them sit in the dye bath. It’s like a mini chemistry lesson right in your kitchen!
Materials You’ll Need for Red Cabbage Dyed Eggs
How to Make Blue Easter Eggs with Red Cabbage
Step 1: Boil the Eggs
Hard boil your eggs and set them aside to cool.
Or, if you’d prefer a quicker method, you can cook your eggs in an Instant pot.
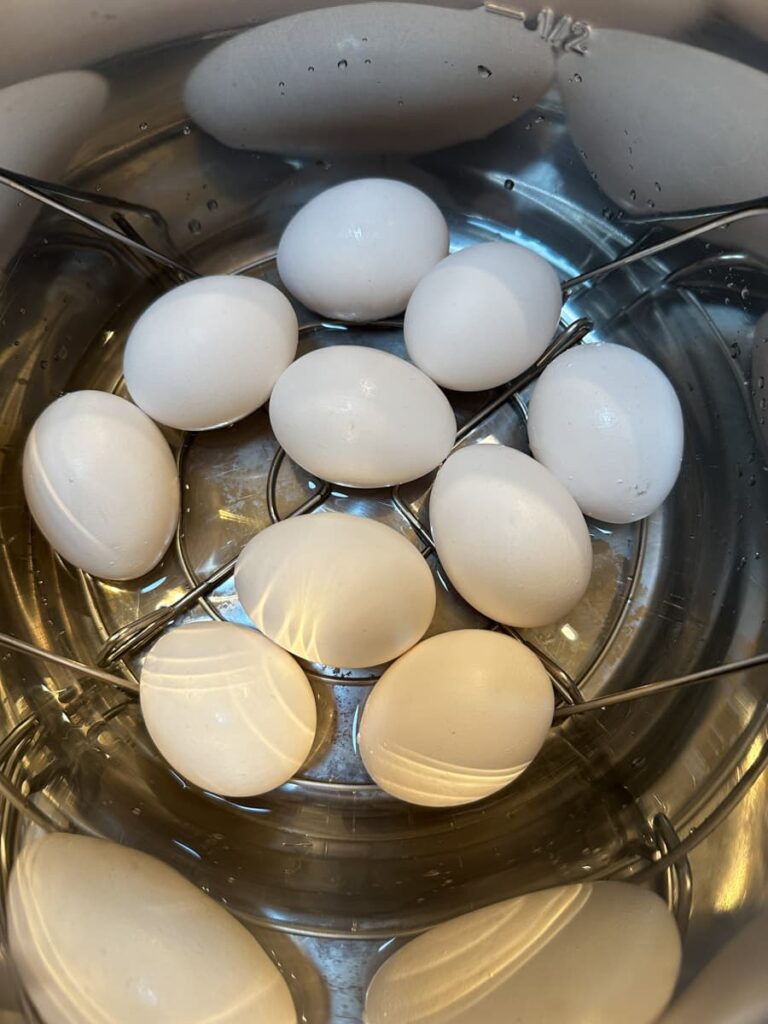
To hard boil eggs in the Instant Pot, start by pouring one cup of water into the bottom of the pot. Place a trivet or steamer basket inside and gently arrange the eggs on top.
Next, set the Instant Pot to high pressure and cook for five minutes. Once the timer goes off, let the pressure naturally release for five more minutes before doing a quick release.
Immediately transfer the eggs to an ice water bath for another five minutes to stop the cooking process and make peeling a breeze.
This method is quick, consistent, and perfect for prepping eggs for dyeing!
Step 2: Chop the Cabbage
While your eggs cool, roughly chop one head of red cabbage.

Don’t worry about making perfect cuts! You’re just breaking it down so it can release all the color into the water.
Step 3: Simmer the Dye
Next, it’s time to simmer your dye. Add the chopped cabbage to a deep pot with 6–8 cups of water. Bring the mixture to a boil, then lower the heat and simmer for about 25 minutes.
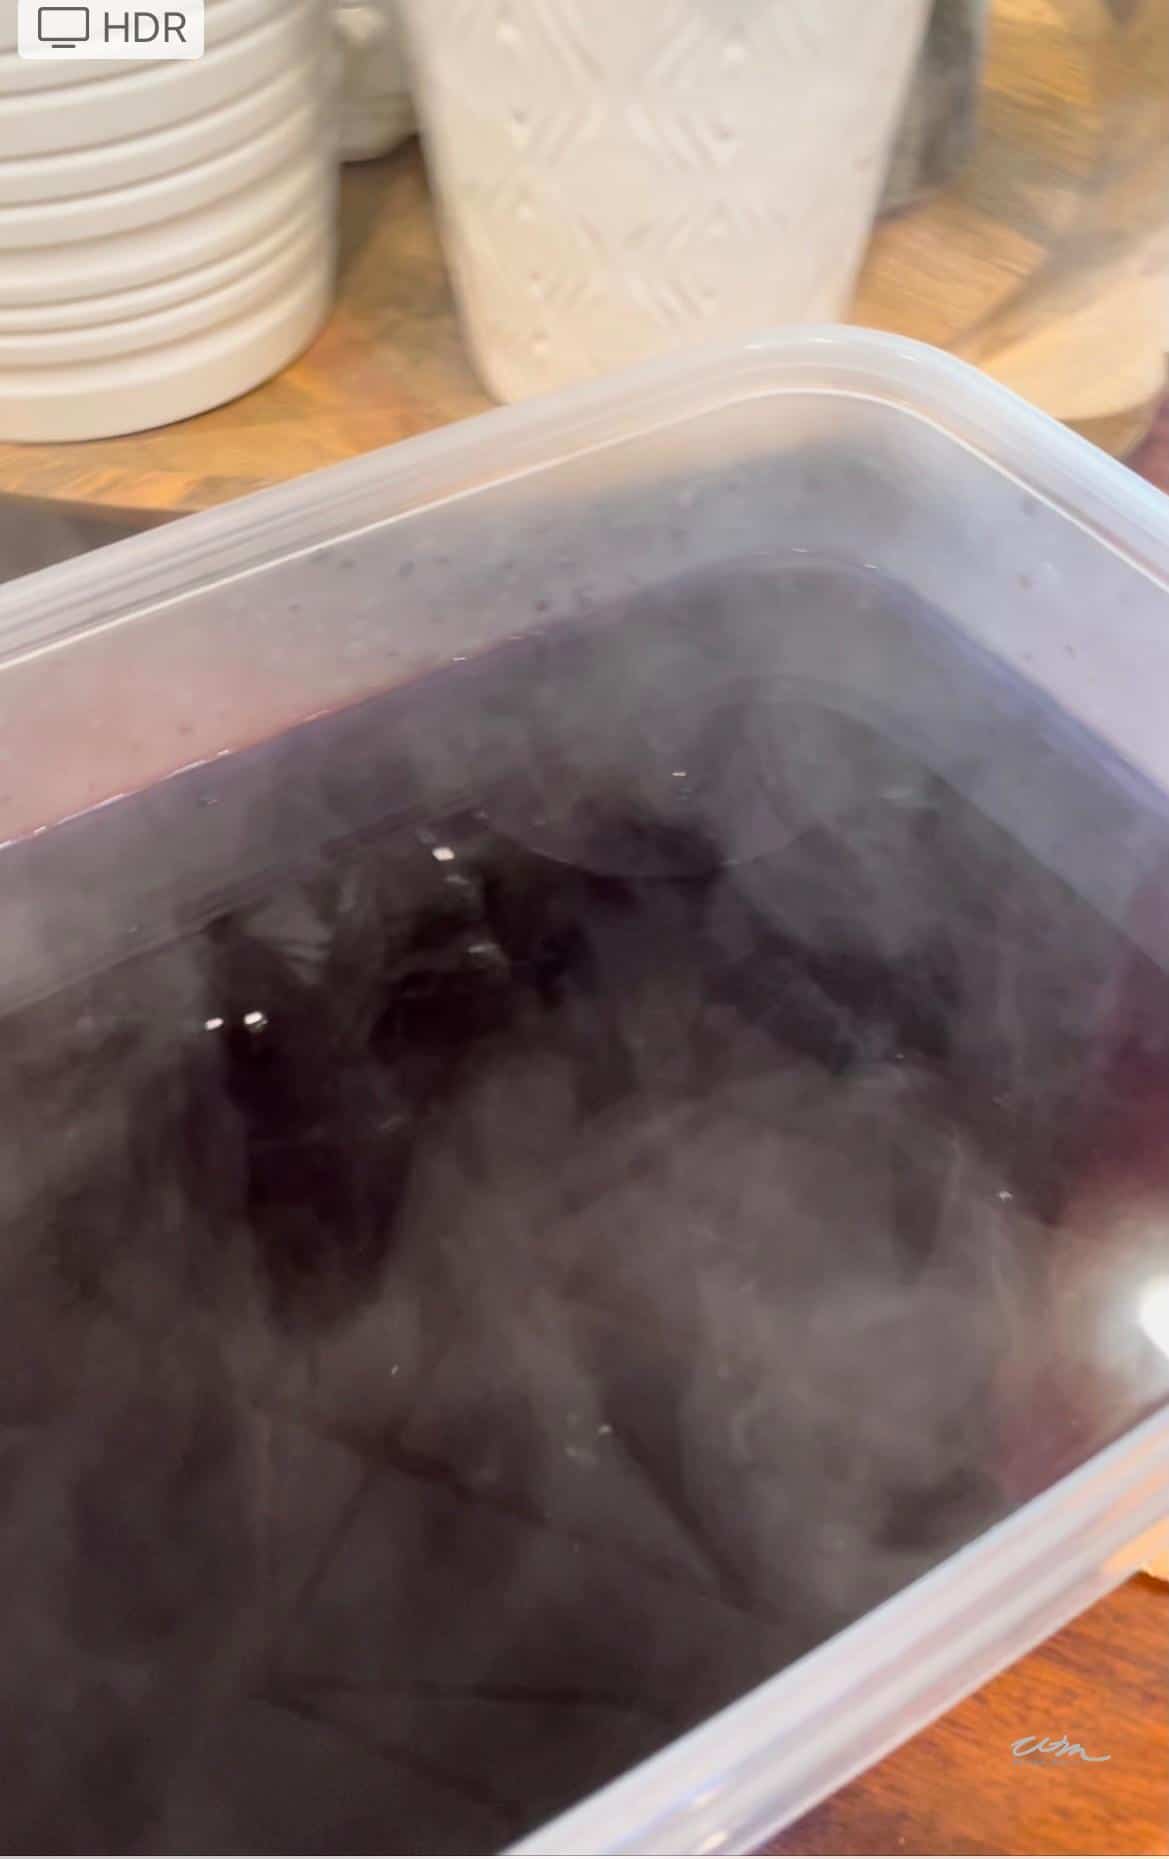
Once it’s done boiling, remove and discard the cabbage, but keep that beautiful purple liquid. Carefully pour it into a shallow, disposable plastic container that you don’t mind staining.
It’s important to note that this dye can leave marks, so using something inexpensive is a good idea. You can also use a glass or ceramic dish if you prefer, just make sure it’s one you’re not too attached to, just in case the color lingers.
Then stir in 1 tablespoon of white vinegar per cup of cabbage dye, and let it cool completely.
Step 4: Dye the Eggs
Once the mixture is cool, it’s time to make some gorgeous blue Easter eggs!


Use a spoon or tongs to carefully place your eggs in the cooled dye. For light blue tones, soak for 2–4 hours. Or, for deeper shades, leave them in the fridge overnight.
Once you’re done, gently remove the eggs and pat them dry with a paper towel. Be sure to avoid rubbing them so the color stays even!
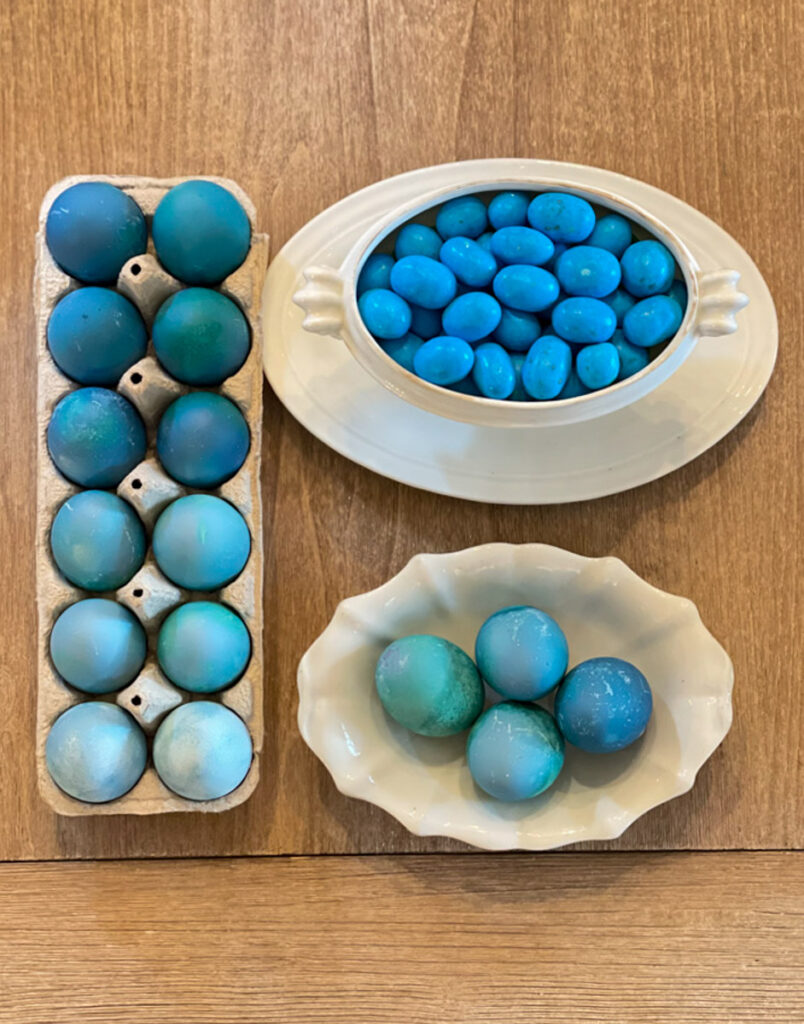
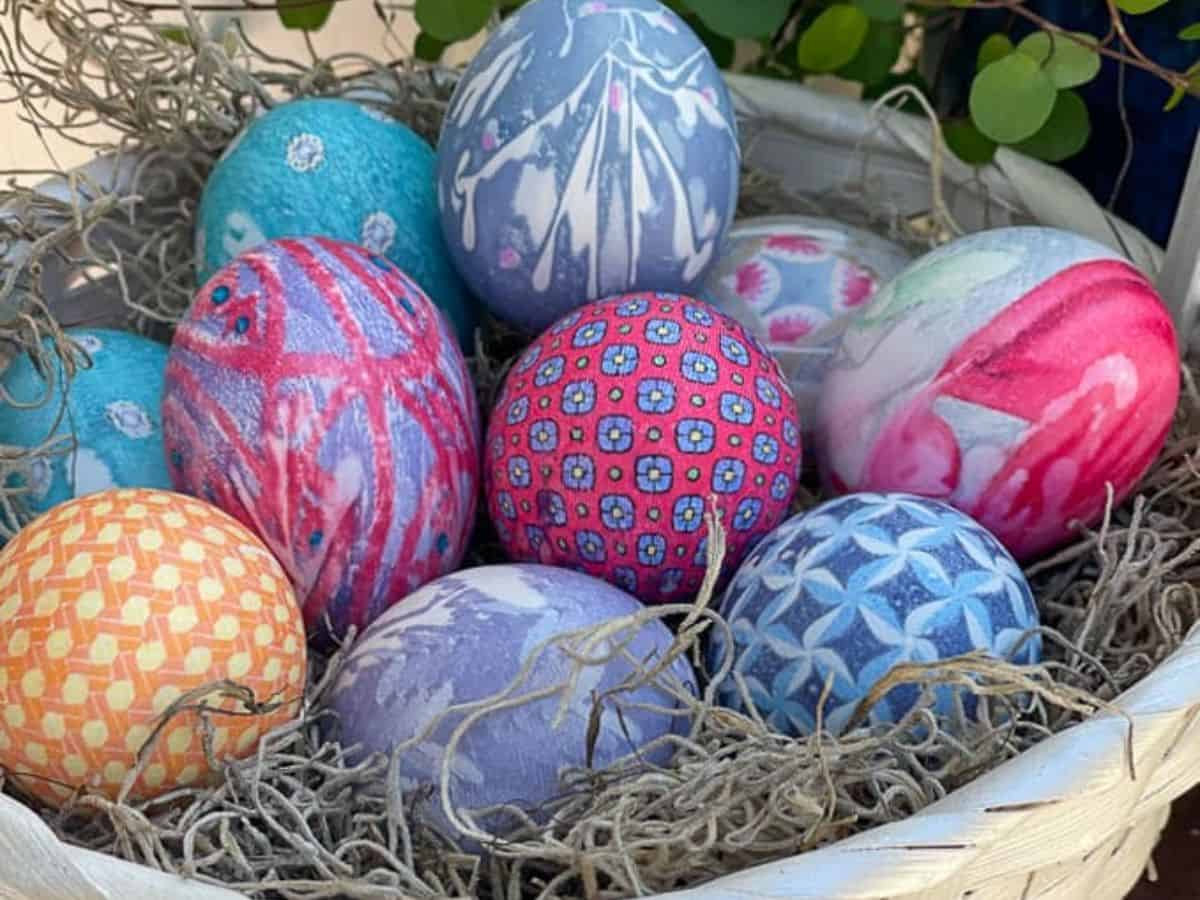
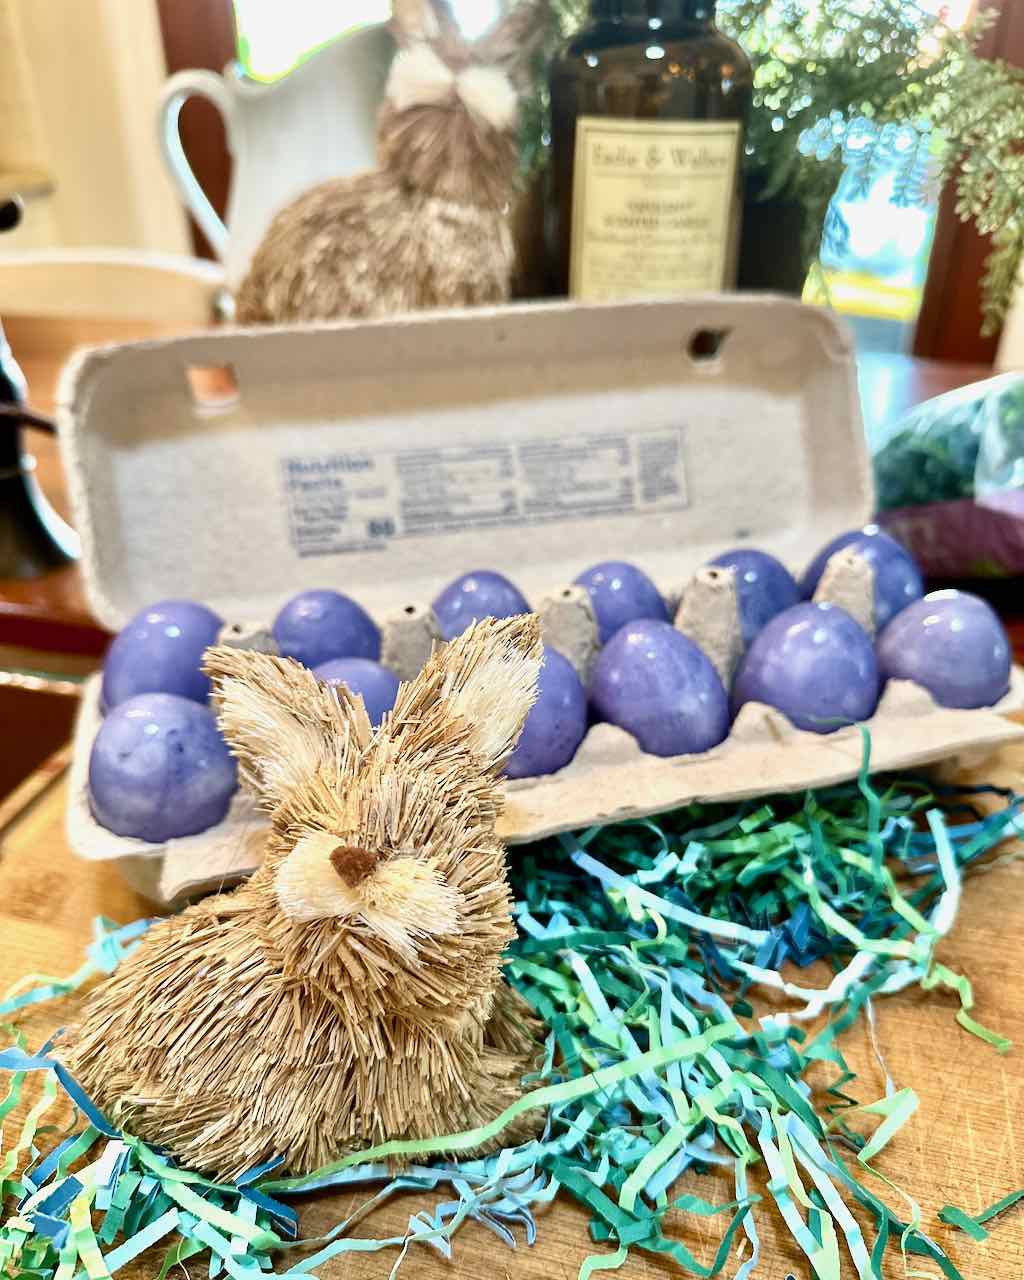
Take a peek at how my blue Easter eggs turned out after dyeing. Aren’t they pretty?
Beautiful Ways to Display Your Blue Easter Eggs
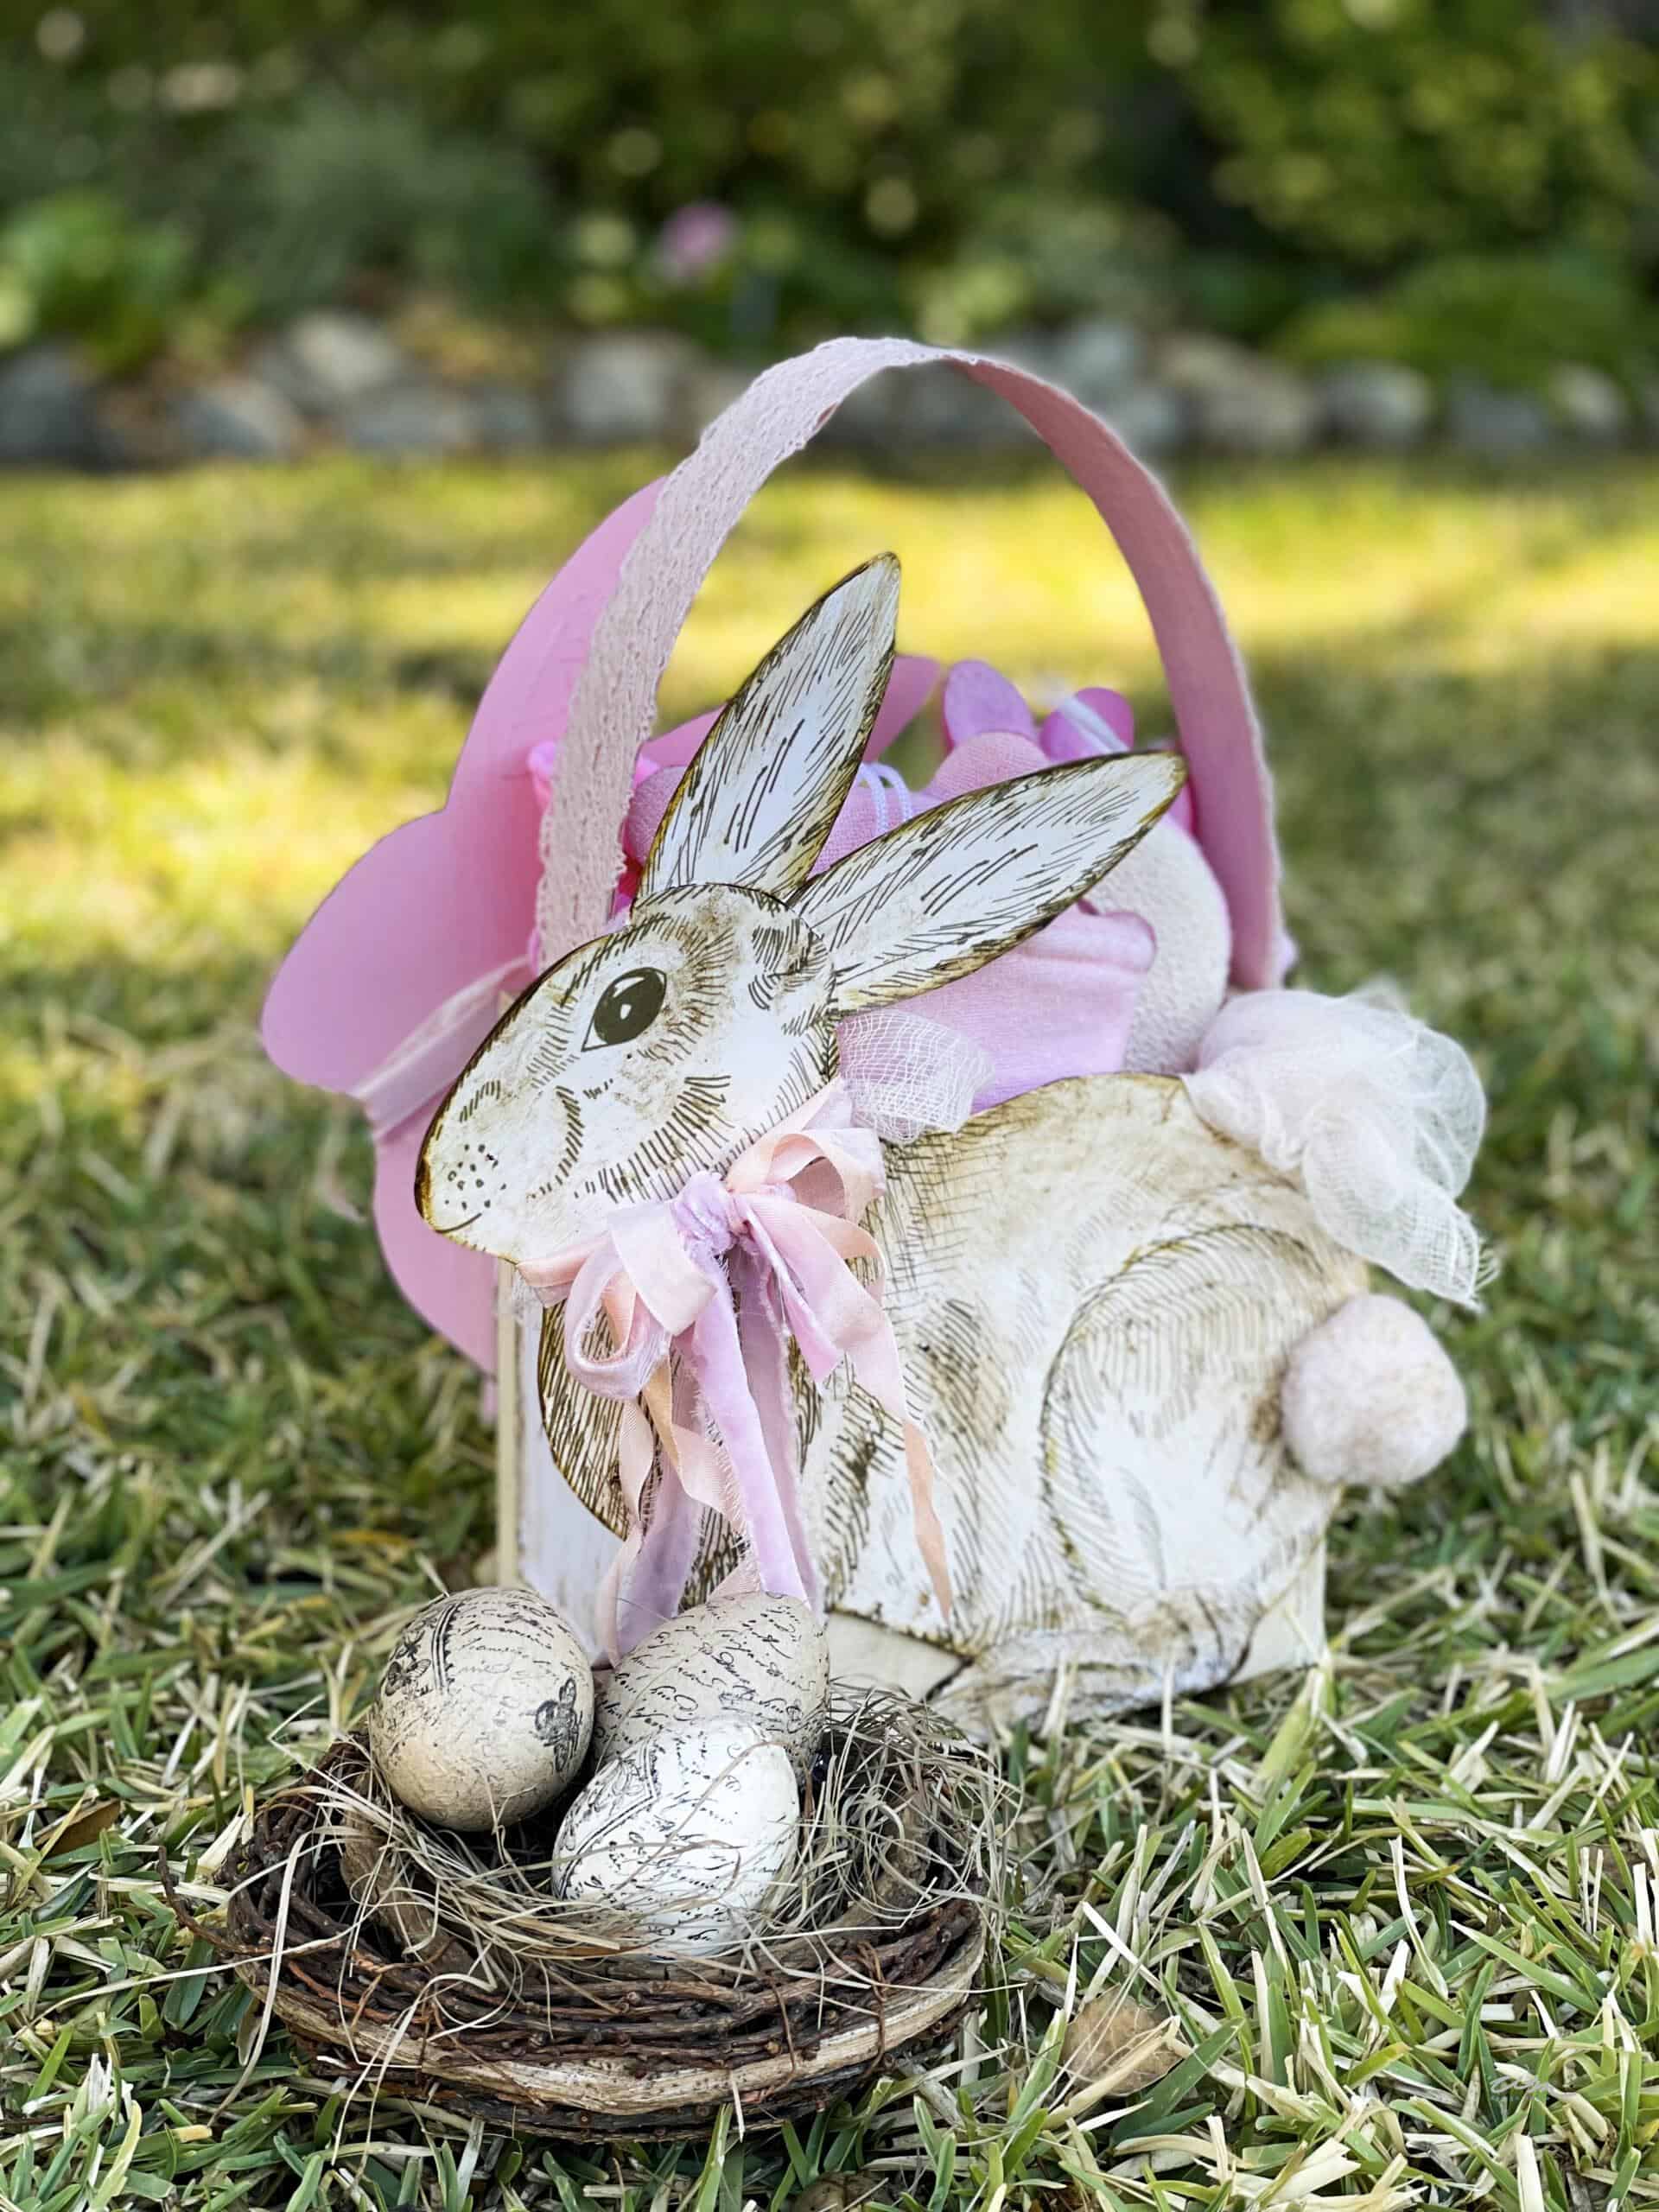
Once your blue Easter eggs are dry and ready, it’s time to have some fun styling them around your home! These naturally dyed eggs make the prettiest little decorations for Easter and spring.


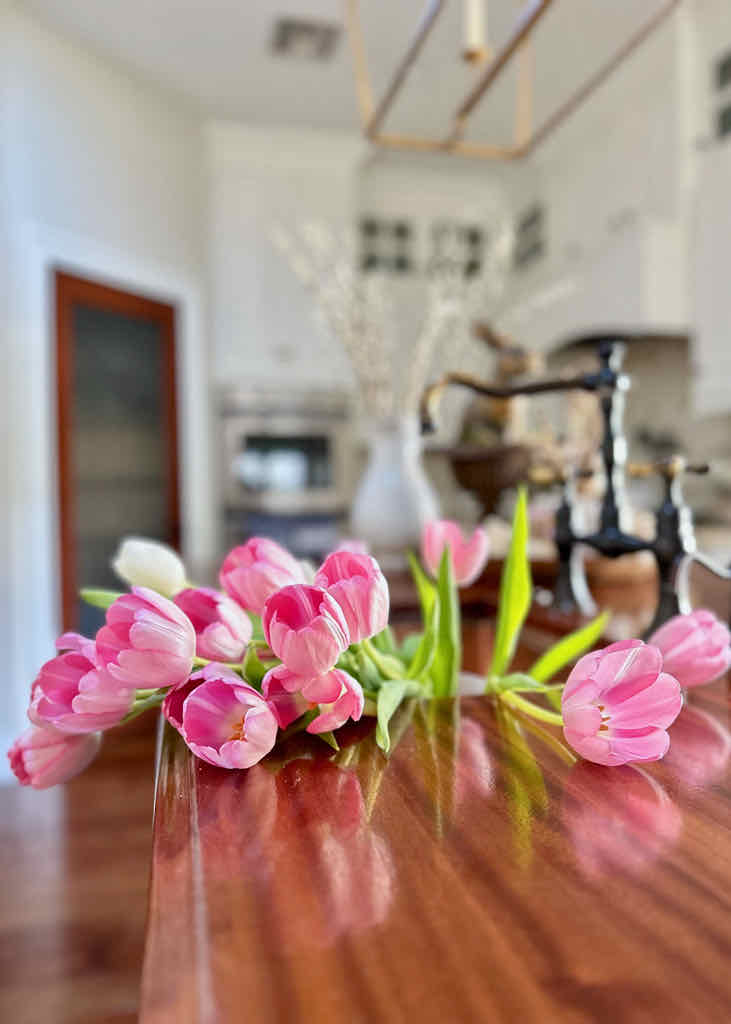
You can tuck them into a sweet Easter basket and use it as part of a spring vignette in your living room or on your coffee table. They also look lovely displayed on your spring mantel alongside a few bunnies, fresh flowers, or a garland.
Try arranging them in a shallow bowl on your kitchen island for a simple touch of seasonal charm, or add them to your Easter tablescape as part of a beautiful DIY Easter centerpiece to wow your family and friends.
Can You Eat Naturally Dyed Easter Eggs?
If you plan to eat your dyed eggs, here’s an important safety tip: be sure to refrigerate them within two hours of dyeing!
Hard-boiled eggs shouldn’t sit out at room temperature for more than two hours total, including dye time and display.
Once refrigerated, they’re good for up to one week, so if you’re using them in your decor, it’s best to make a second batch just for looks, or be sure to pop them back in the fridge if you’re saving them to enjoy later.
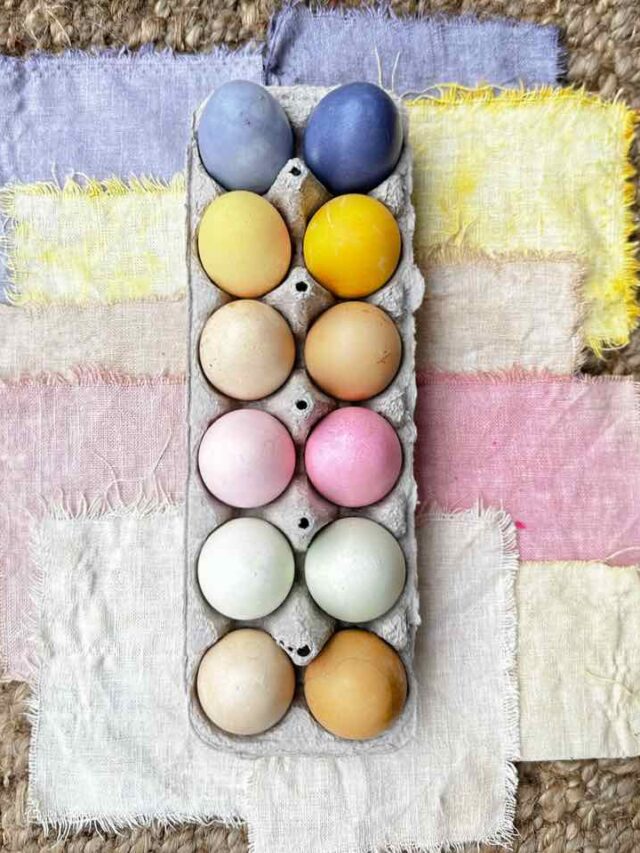
More Natural Easter Egg Dye Ideas
Want to try other colors using natural ingredients? Here are a few more ideas for dying eggs naturally.
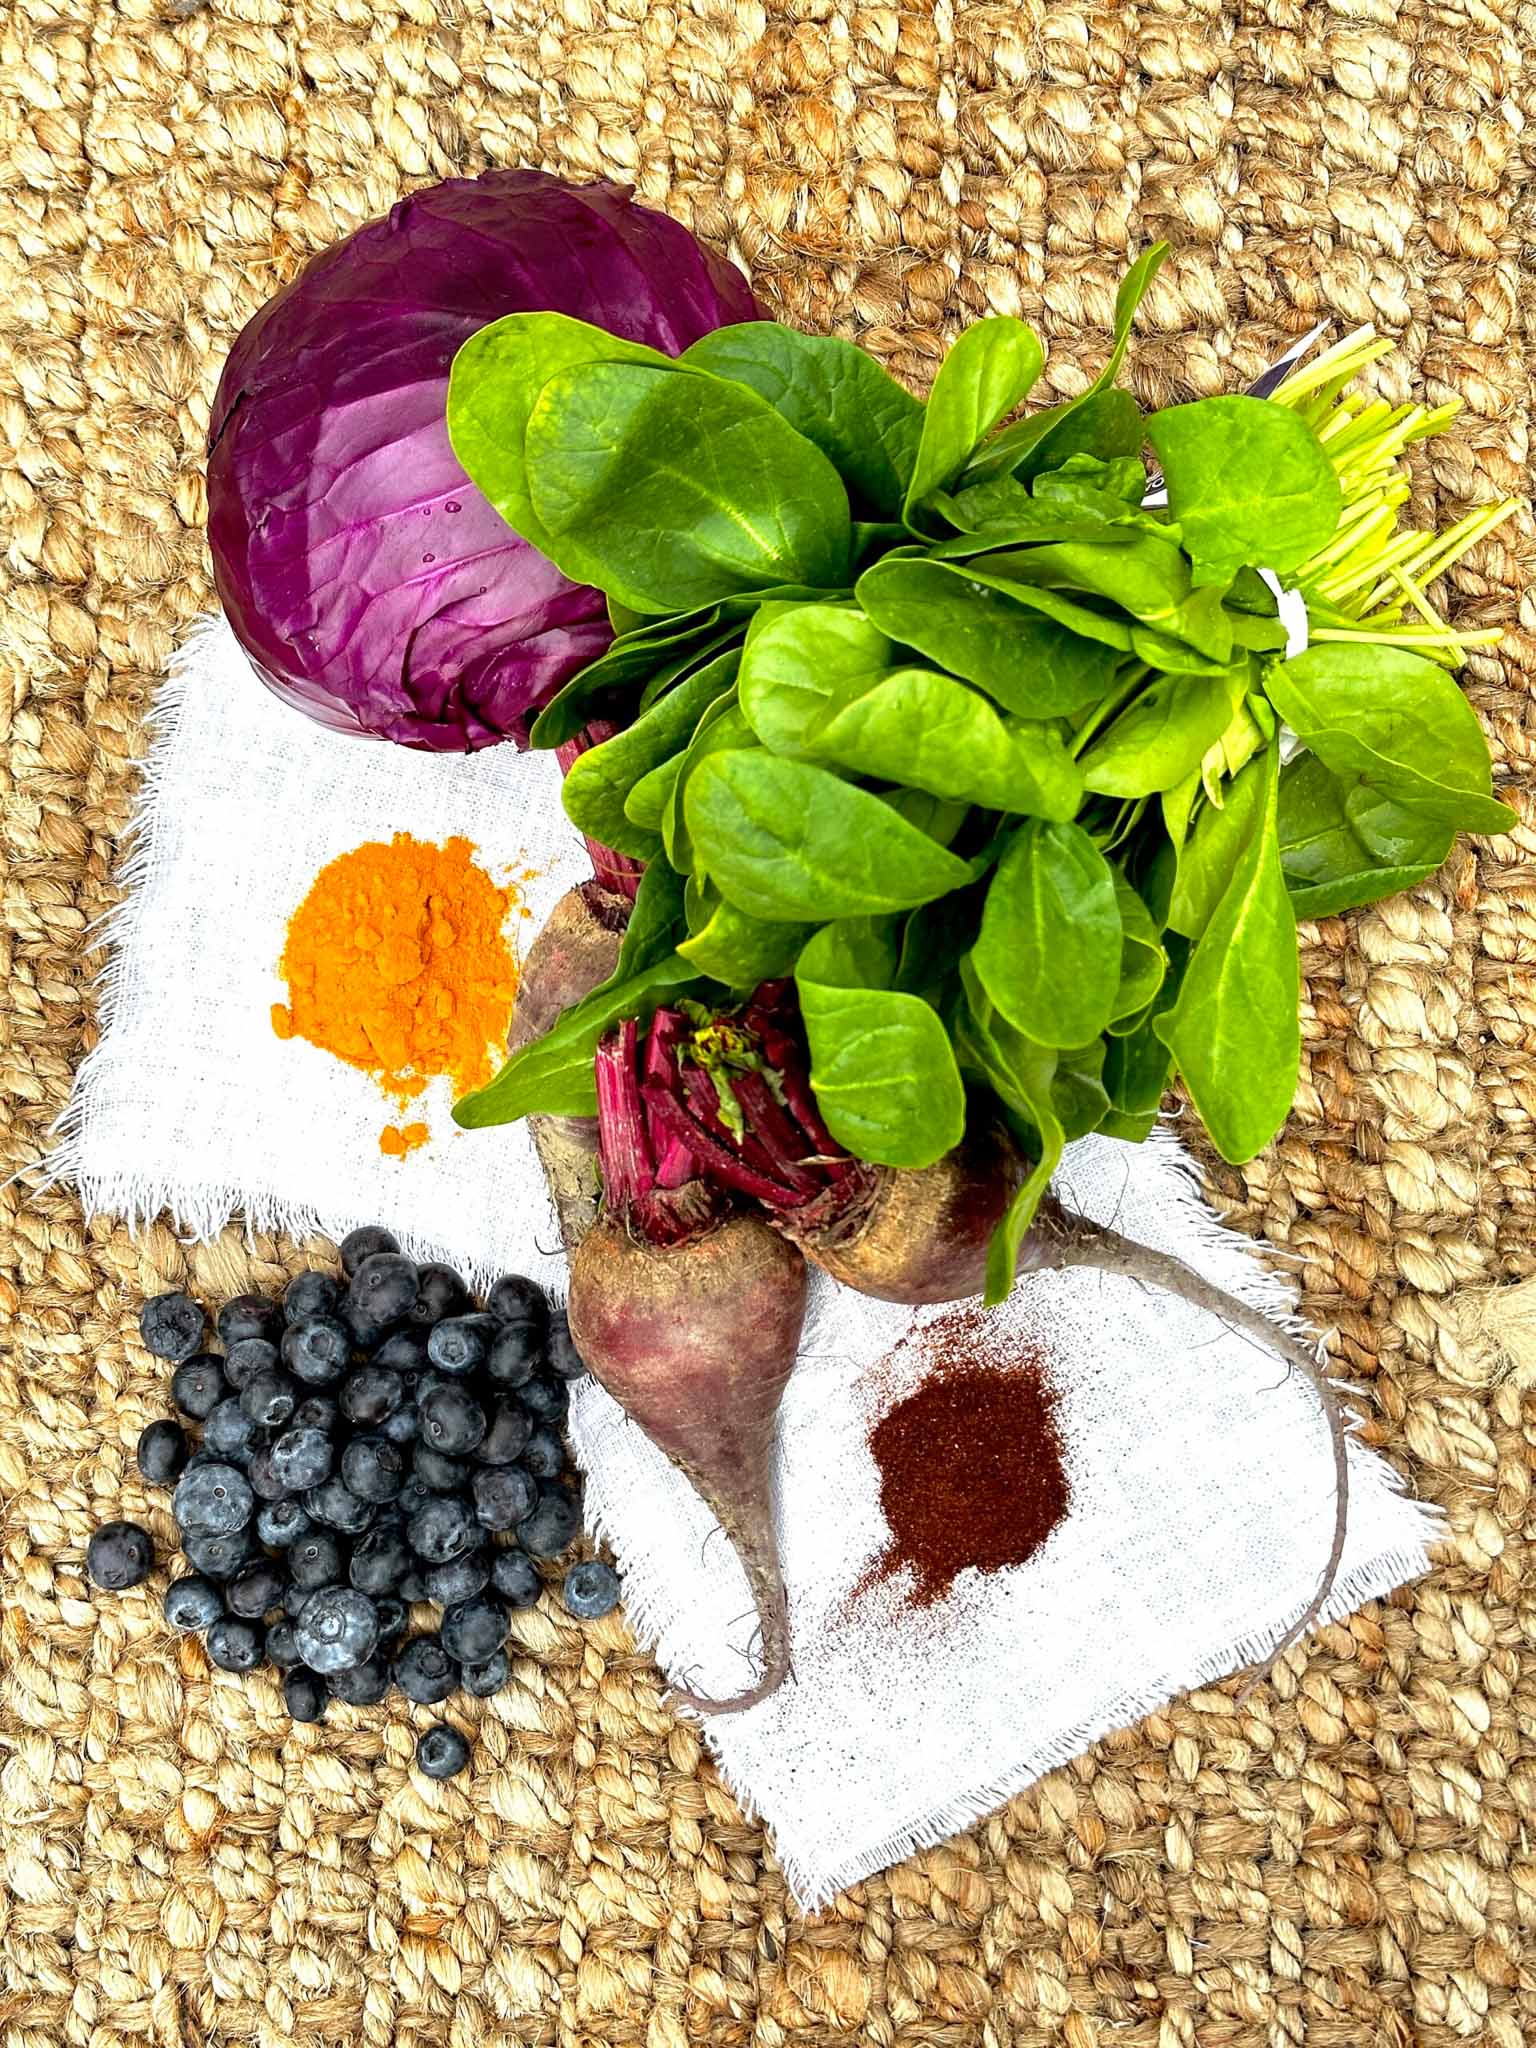
Pink Eggs
Soak 4 cups of chopped beets in 1 quart of water and 2 tablespoons of vinegar. Let your eggs sit in the liquid for 30 minutes or longer.
Orange Eggs
Boil 4 cups of yellow onion skins in 1 quart of water with 2 tablespoons of vinegar for 30 minutes. Soak your eggs in the strained dye overnight for brighter tones.
Yellow Eggs
Add 3 tablespoons of turmeric to water and boil for 30 minutes. Allow the dye to Cool, then soak the eggs until you get the desired yellow. (Note, be sure you wear gloves—turmeric stains everything!)
Deep Blue Eggs
Another way to get gorgeous robin egg blue color is by using blueberries!

Simply simmer 4 cups of blueberries in water for 30 minutes, then strain out the fruit and soak your eggs in the juice for 30 minutes or longer.
If you’d like more detailed directions for this method, my friend Jen over at @midwestlifeandstyle has a great post with easy step-by-step instructions to follow.


Other Easter Egg Ideas from WM Design House
If you enjoyed these tips for decorating Easter eggs, you might also love some of my other favorite egg crafts.

How to Dye Easter Eggs with Old Silk Ties
Four Ways to Decorate with Easter Eggs
Final Thoughts
If you’re looking for a creative, chemical-free way to decorate for Easter, these blue Easter eggs are a beautiful and meaningful option.
Plus, it’s an easy project that creates sweet memories for you and the littles ones in your family. Something Peter Cottontail would surely approve of!
As always, if you try making your own blue Easter eggs we would love to see them! Just be sure to mention us @wmdesignhouse on Instagram or leave a comment below and let us know how they turn out.
Happy Easter!


More about me!

Hello, I’m Wendy – a dedicated homemaker with a deep passion for decorating, gardening, cooking, and crafting. I find joy in harmonizing beautiful elements to fashion a space that is both comfortable and inspiring. I will help you create a beautiful home, one project at a time.