How to Make an Easy Fall Throw Pillow
How to create a beautiful fall throw pillow out of the lid of a candle. You never know what you can make out of the most unusual things.
Last year my girlfriend gave me this beautiful candle She had picked it up at Marshall’s.
The jar was a brilliant blue ( my favorite color) and had this lovely wood top carved into a pumpkin! and the candle smelled divine.
However, I kept looking at the lid of this candle and thinking, there must be something I can do with this fun pumpkin lid.
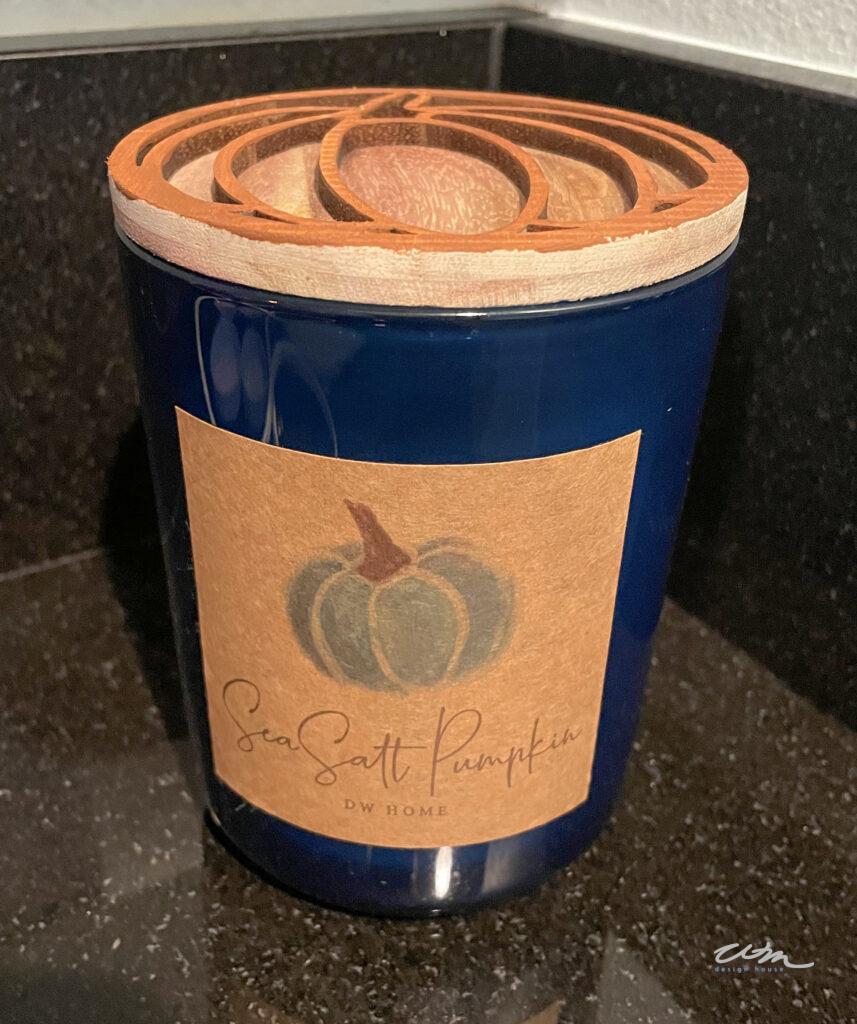
Suddenly the light bulb went on, and I knew I could stamp an easy fall throw pillow
I can use this lid as a stamp.
And so the story began.
Off we went to collect my supplies
Here is what you will need
- Blank pillow case cover
- Either a pumpkin stamp, stencil or cookie cutter.
- Acrylic paint in a mossy green, golden brown, burnt sienna,, and a paprika color.
- A small paintbrush set
- Some water
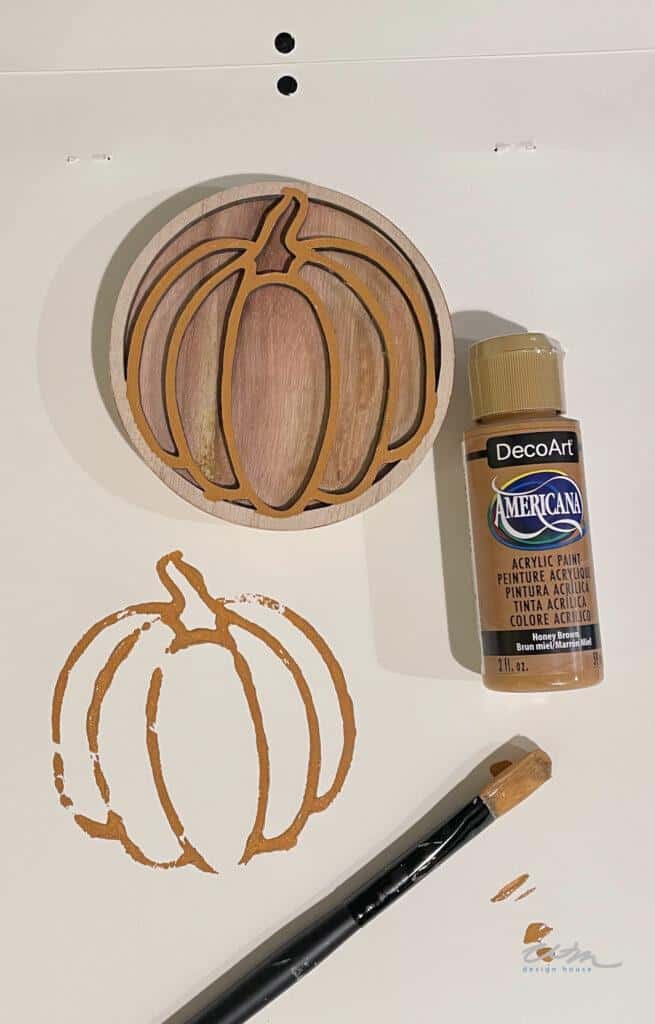
Before you start to paint, be sure to put a piece of foil or wax paper inside of the pillow so the paint does not bleed through to the back side of the pillow.
I painted some paint onto the pumpkin lid and stamped the pumpkins onto the pillow cover.
Of course, you may not be able to find this candle, but you could use a stamp, a stencil or even a cookie cutter to create a pumpkin shape.
I simply repeated this process several times until I have an entire pile of pumpkins. You can see that I piled my pumpkins all in the lower left corner as I felt it was pleasing to the eye. I even laid a few of the pumpkins on top of each other so they looked as natural as possible.
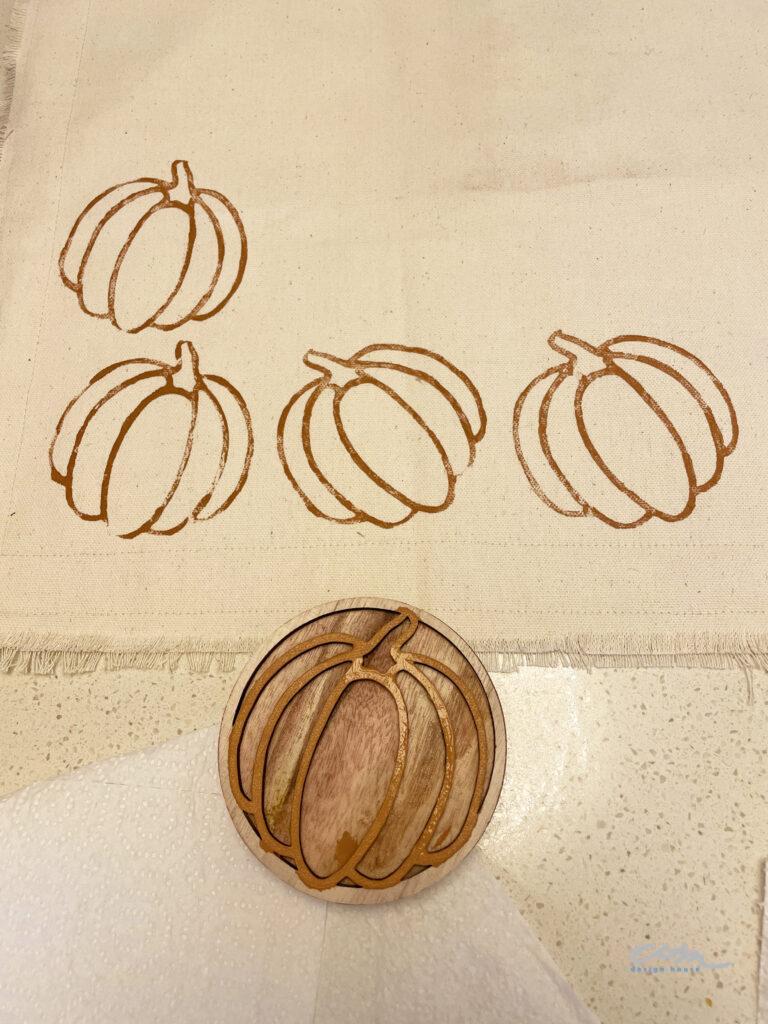
How to Paint an Easy Fall Throw Pillow
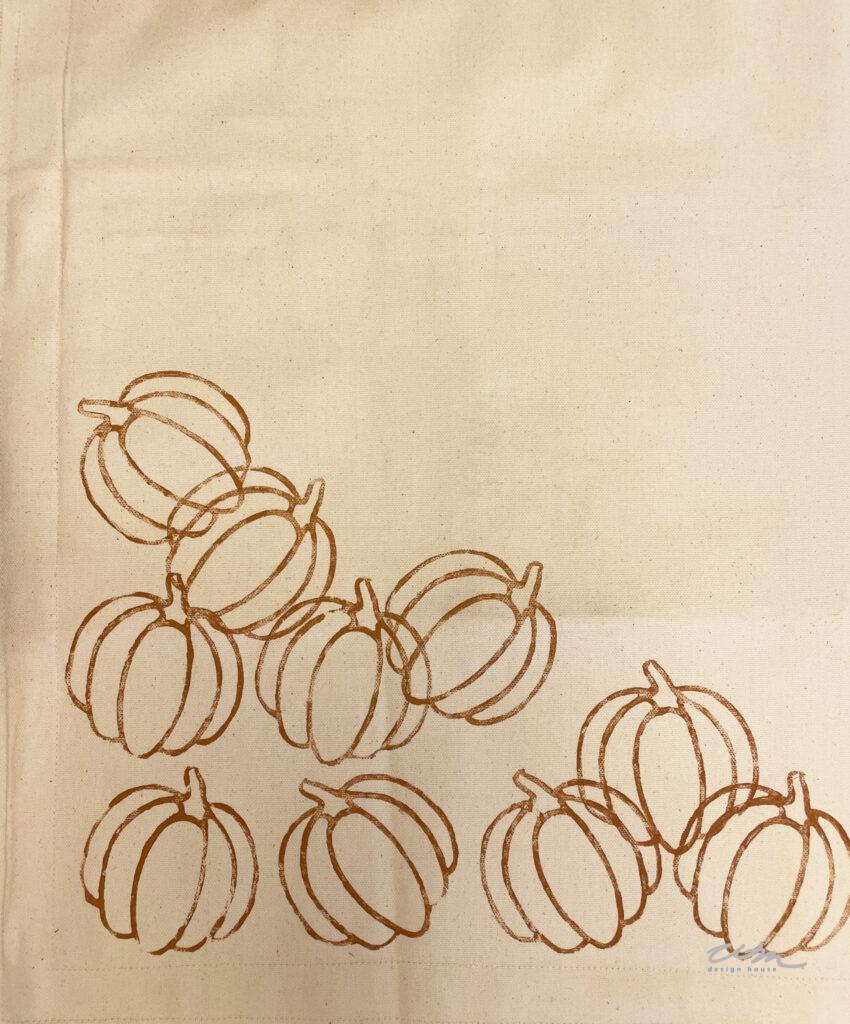
I used an assortment of colors that I listed above on my paint palette and then mixed the colors together to create the look I wanted. I made each pumpkin look different.
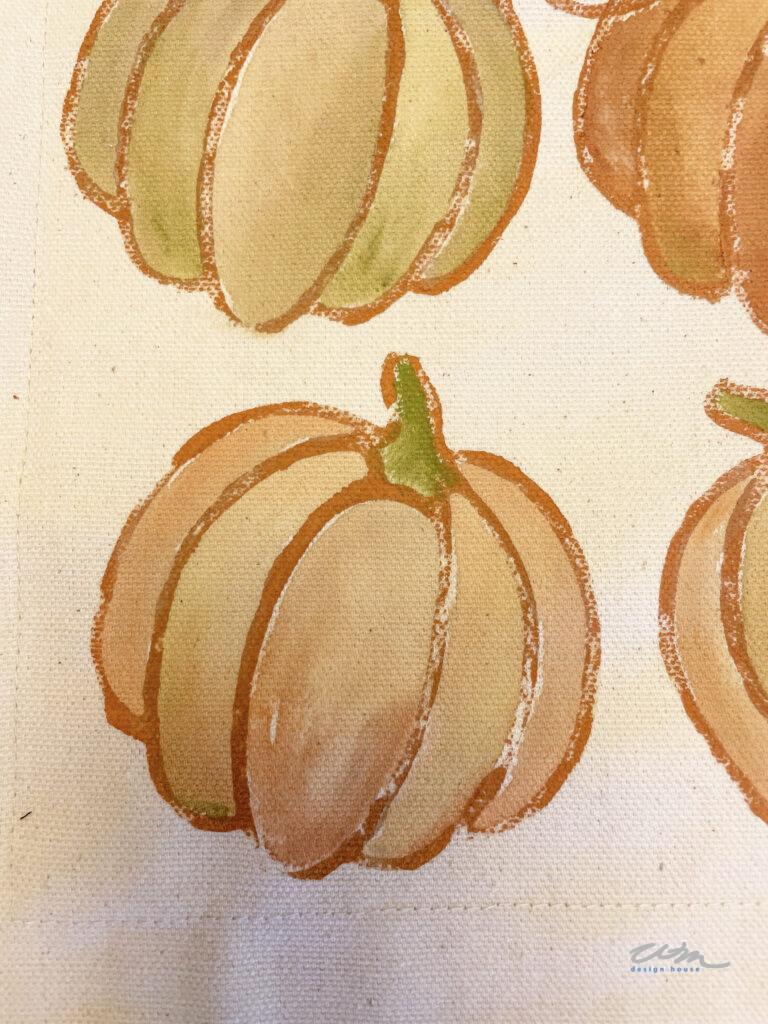
Secondly, I create shading by adding a darker color to one side of the pumpkin and adding more water to give it a more translucent look. I also shaded a few of the pumpkins darker in the center.
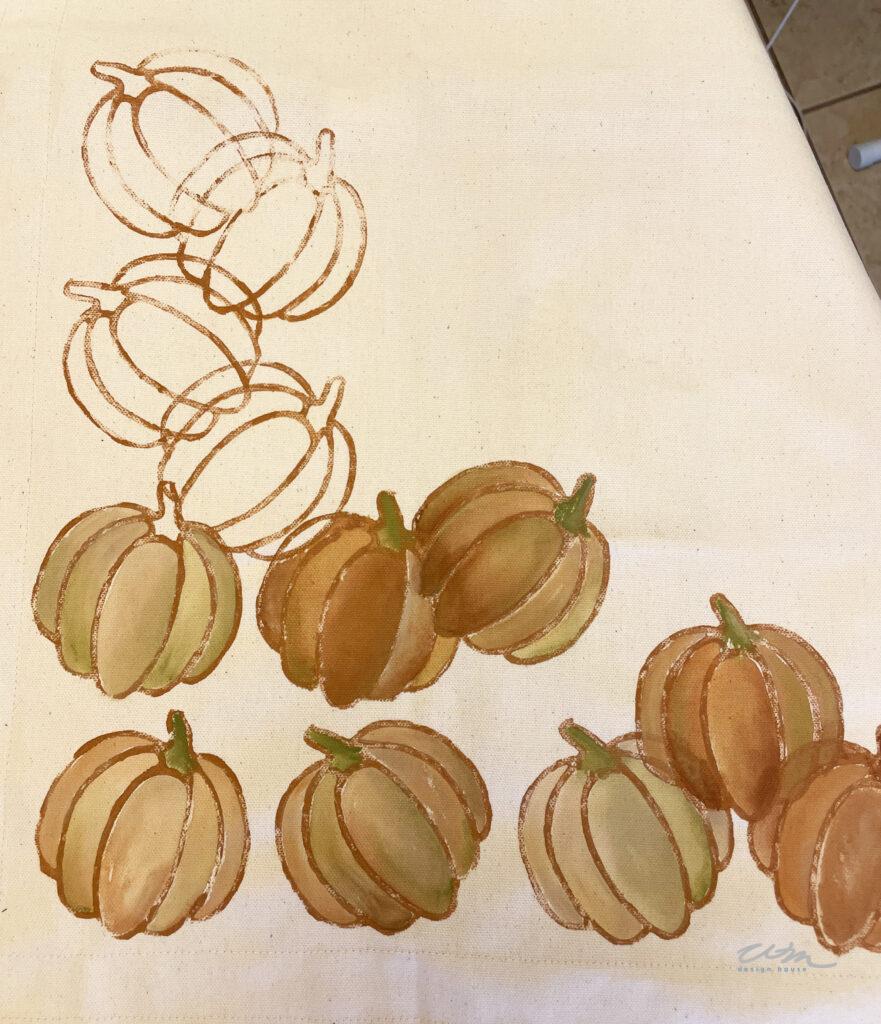
Once you have finished the painting process, let the pillow dry overnight before using it.
The Quest for the Perfect Pillow Insert
This can drive you crazy! But the foam is out, at least for me.
If money is tight and there’s only one option, it might be best to use a fake-down alternative. They look just as good (if not better) than real feathers without all those pesky allergies that come from the down.
Of course, my first option would be down feathers, if you do not have any allergies and they are in the budget for you.
How to style your Fall Throw Pillow
There are many different shapes and styles of pillows.
Square pillows are just what the name implies—square lol!
Lumbar pillows provide support to your lower back. They’re called lumbar because they help that area of our spine, and can even alleviate pain in our backs.
With so many shapes and sizes available for throw pillows, there is sure to be enough variety out there no matter where you need some extra cushioning.
Square pillows tend to come in a variety of sizes from 16″ to 30″ as well as lumbar pillows.
I’ve been buying the inserts from my favorite pillow shops for a while now and I can tell you that they are worth every penny. However, sometimes you find the perfect pillow and it comes with the inners. Just be sure to remove the inners and use your feather inners.
You get exactly what your insert needs so there’s no guessing about sizes or anything, it just makes life easier on yourself in general by not having to store any extra inserts around!
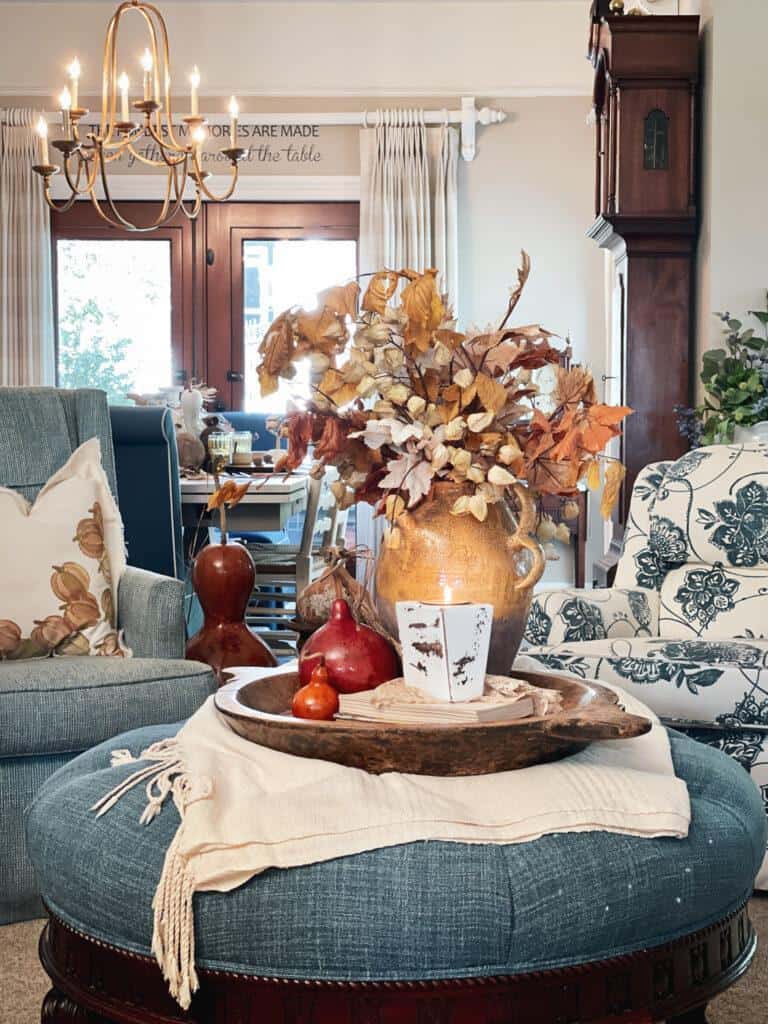
Mixing up your Throw Pillows
Mixing throw pillows is all about making sure you have fun and don’t overthink it. Follow these formulas for the perfect mix!
- When shopping for your home, it’s important to start with a color scheme so you know what styles and brands fit into the look. I like to use 2-3 colors max (and mix them in) alongside some neutrals – this helps me find lots of different options to create the look I want.
- Mixing up your pillows is the key to keeping a couch feeling casual and comfortable. It’s ok if none of them match, but I prefer choosing different patterns for an all-over less formal vibe or a more laid-back style with mixing textures (think: plaid against chevron), divisions into colors/ themes such as simple stripes versus geometric shapes thrown in there just because they look good together.

Lastly, Mix up the Sizes of Your throw Pillows
The key to getting that designer look is using the right size pillow. You want your sofa and chairs to look like they cost thousands of dollars, but you can’t do it without big comfy cushions!
For really elegant couches or loveseats try 20″ or larger pillows—these will give the appearance of a very expensive couch. You can then add a variety of smaller size pillows as well.
I hope you enjoyed this post. If so, you may also like:
How to decorate your home with Amazon finds.
How to decorate your porch on a budget

-
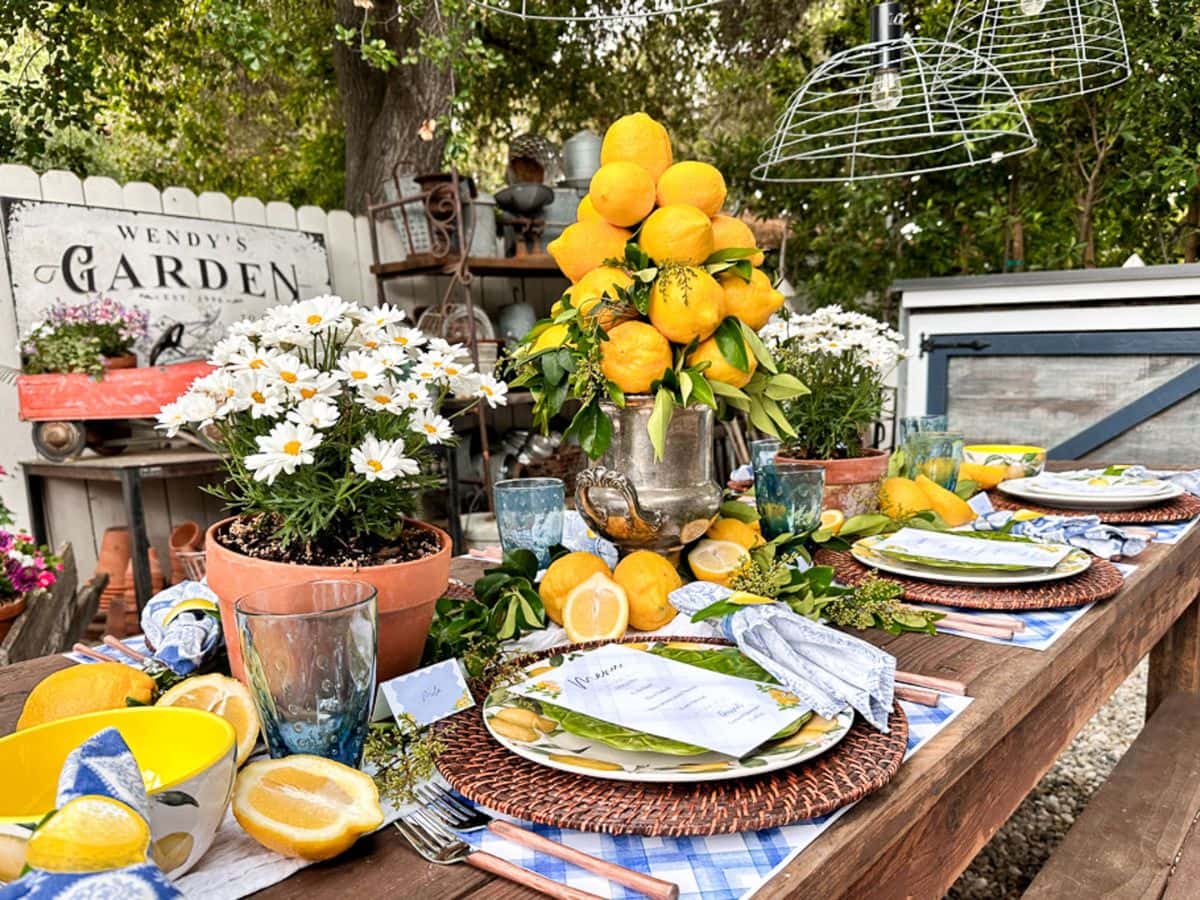
Summer Tablescape with Lemons and FREE Lemon Printables
Join me in creating a stunning summer lemon tablescape! With just a few simple items and my free printables, you’ll have a refreshingly beautiful setup that will impress your friends and family.
-
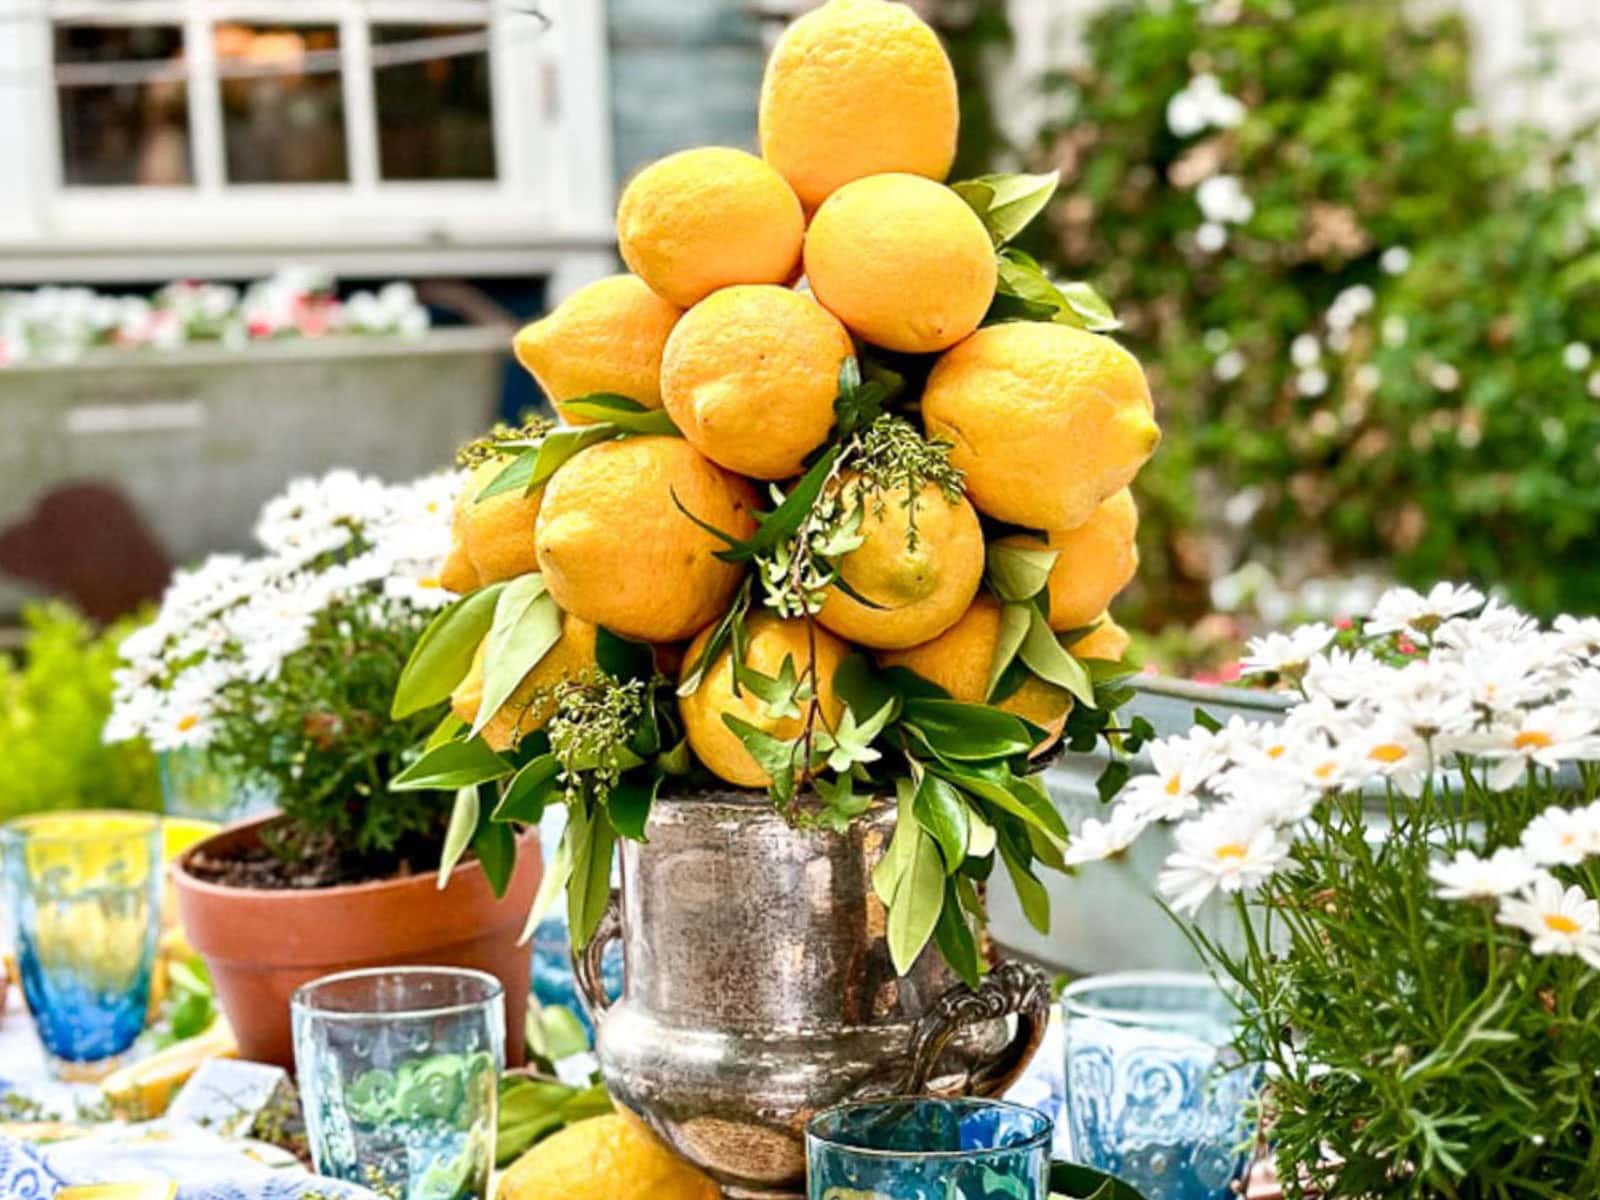
How to Make a Stunning DIY Lemon Centerpiece
Learn how to create a beautiful and fresh DIY lemon centerpiece that will brighten up any table. Using simple materials and easy steps, you can add a vibrant touch of citrus charm to your home decor.
-
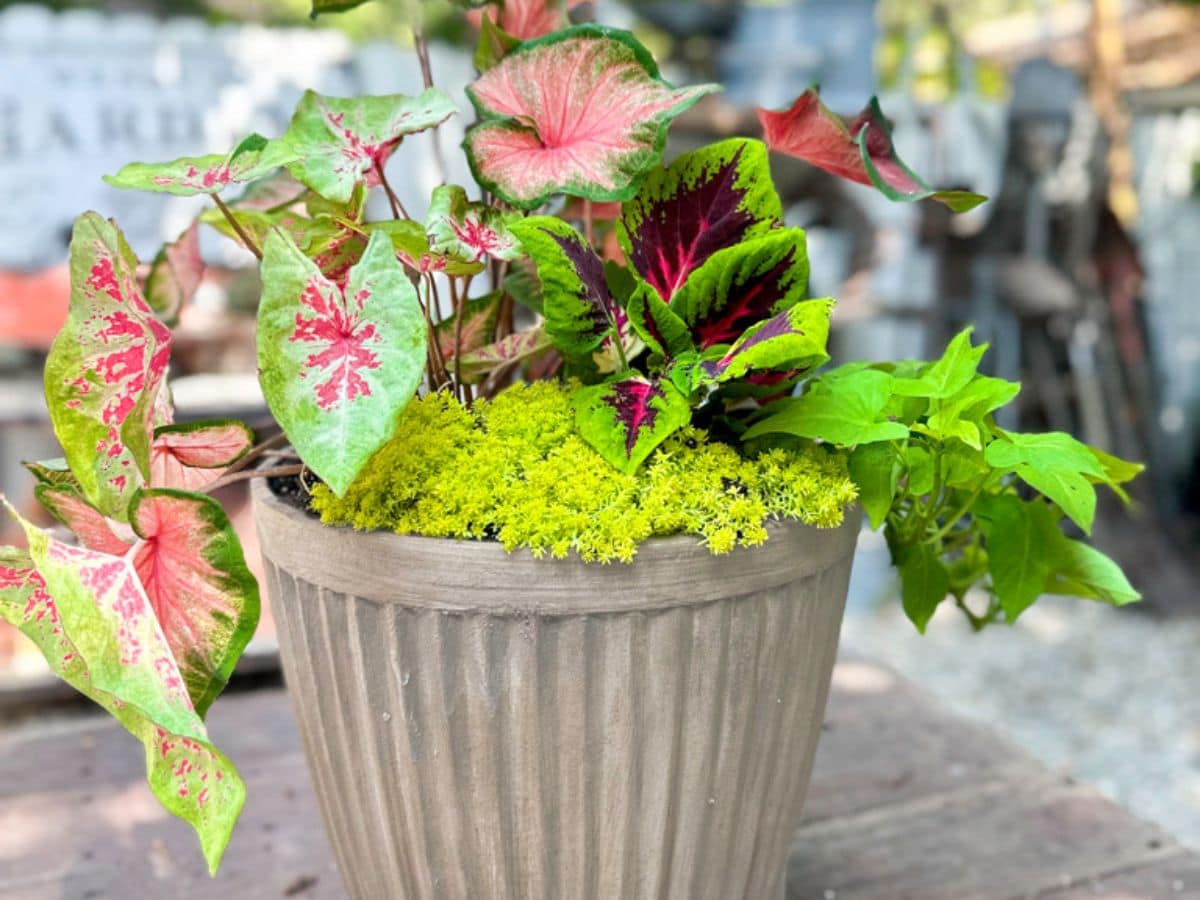
DIY Cement Planter: Pottery Barn dupe, fluted Concrete Pots
Create fluted concrete pots with our DIY cement planter tutorial. This easy Pottery Barn dupe adds an economical decor to your garden.





Wendy your creativity never ceases to amaze me! I love this idea. Thank you for linking up in my weekly link party and I’m happy to share that I am featuring you this week! https://www.ourtinynest.com/2022/11/02/wednesday-link-party-320/
Have a great week!
I am so excited Nicolle. Thank you so much. I will be sure to link up again this week. XO
Wendy, what a great idea for a fall throw pillow! I just love how these turned out! I just love your creativity! I’d love to share your pillows in my Saturday roundup tomorrow! Thanks so much for sharing such a lovely idea!
That is so sweet of you Kim, thank you so much. I need to get back to doing my Saturday shares. maybe next week. We have our granddaughters
for the weekend, so we are a bit pre occupied. In a good way!
love this! It came out great. I love the colors and the composition you used. Pinning this. I hope to create my own pillow some day. Thanks for the inspiration. XO- MaryJo @ masterpiecesmylife.com
Thank you so much MaryJo, I am so glad you enjoyed the post.
I love how your pillows turned out!
Thank you Joanne, it was such a crazy thought, but it worked out well. Happy Fall.
Wendy, love your pillow project. It’s very creative, but not too hard. Another question: where did the living room rug come from? I’m looking for something like that. Thanks.
Such a creative use for a really cool candle lide! Great post overall! ~Missy
Thank you so much Missy.
This is so pretty! Such a great idea! I’m visiting you from Linda’s link-up. Many blessings to you this autumn season! 🙂
How wonderful. Thank you for stopping by Cheryl, it is so nice to e-meet you.
What a great way to reinvent a candle lid!! Love your creativity my friend 🥰 Pinned!
Thank you, Cindy, I try to look at things in a different light when I can.
Wendy, this is so beautiful and clever! Next you could try making a stamp with celery or a potato! Love the look of those as well.
It is always a joy to see your creativity. I am still in awe of the rusty pumpkin buckets.
Thank you so much Elizabeth, I am glad you like it. I just saw a post from Reinvented Delaware with the celery, I loved it and need to try it. I am so grateful for you sharing some ideas with me, one can never have too many.
Hey there… Just wanted to let you know I enjoy your posts every week you’re so creative and inspirational I don’t quite have the creative edge and energy you do but you do inspire me every week to try little things. Hope to see you again soon and a visit up to your area with the gang! Much love Jan
Thank you so much Jan, that means so much to me. I am working very hard to get this business going and I am making some traction.
Were you up for the shower last week? I was out of town. Would love to see you, let e know when you are in town.
Wendy, that lid made the perfect stamp. The pillow turned out so pretty.
Thank you Tammy, It was a great stamp. I have tried to find others, but no luck yet.
Wendy,
I love how your mind works. This turned out so cute and I’ll share it on Sunday.
Haha! this darn mind and my ADD never shut off :))))))
HI Wendy! I just love receiving your beautiful emails/blog. Thank you!
I send my love and blessing to you and your entire family. I miss you! Hopefully someday soon we can connect.
In this crazy world we are living in, to see the beauty you create is above and beyond comforting and heartwarming.
Happy Fall!
Hello sweet Kerry, how are you?
How is your family?
Thank you for your sweet words of encouragement. To be honest, I cringe at sending e-mails.
I never want to be a bother or send info that may not be interesting to people.
So you were a true blessing to me today. I tend to get a few unfollows every week and just feel so bad.
You know me, always up to something new, I can never just sit still.
Are you still in the area? I would love to connect with you sometime.
Wishing you a wonderful season ahead celebrating the birth of Jesus. XO
I love your creative ideas and style! Thanks for sharing!
Thank you so much! YOur words of encouragement are greatly appreciated.