Easy DIY Candle Holders Using Birch Tree Branches
Did you know that birch trees are often associated with renewal and rebirth? In many cultures, birch trees symbolize new beginnings and hope. Let’s harness that energy to create beautiful and rustic DIY candle holders for our homes.

On my blog WM Design House, I may sometimes use affiliate links, which means a small commission is earned if you purchase via the link. The price will be the same whether you use the affiliate link or go directly to the vendor’s website using a non-affiliate link. Read my full disclosure policy here.
DIY Budget Friendly Candle Holders
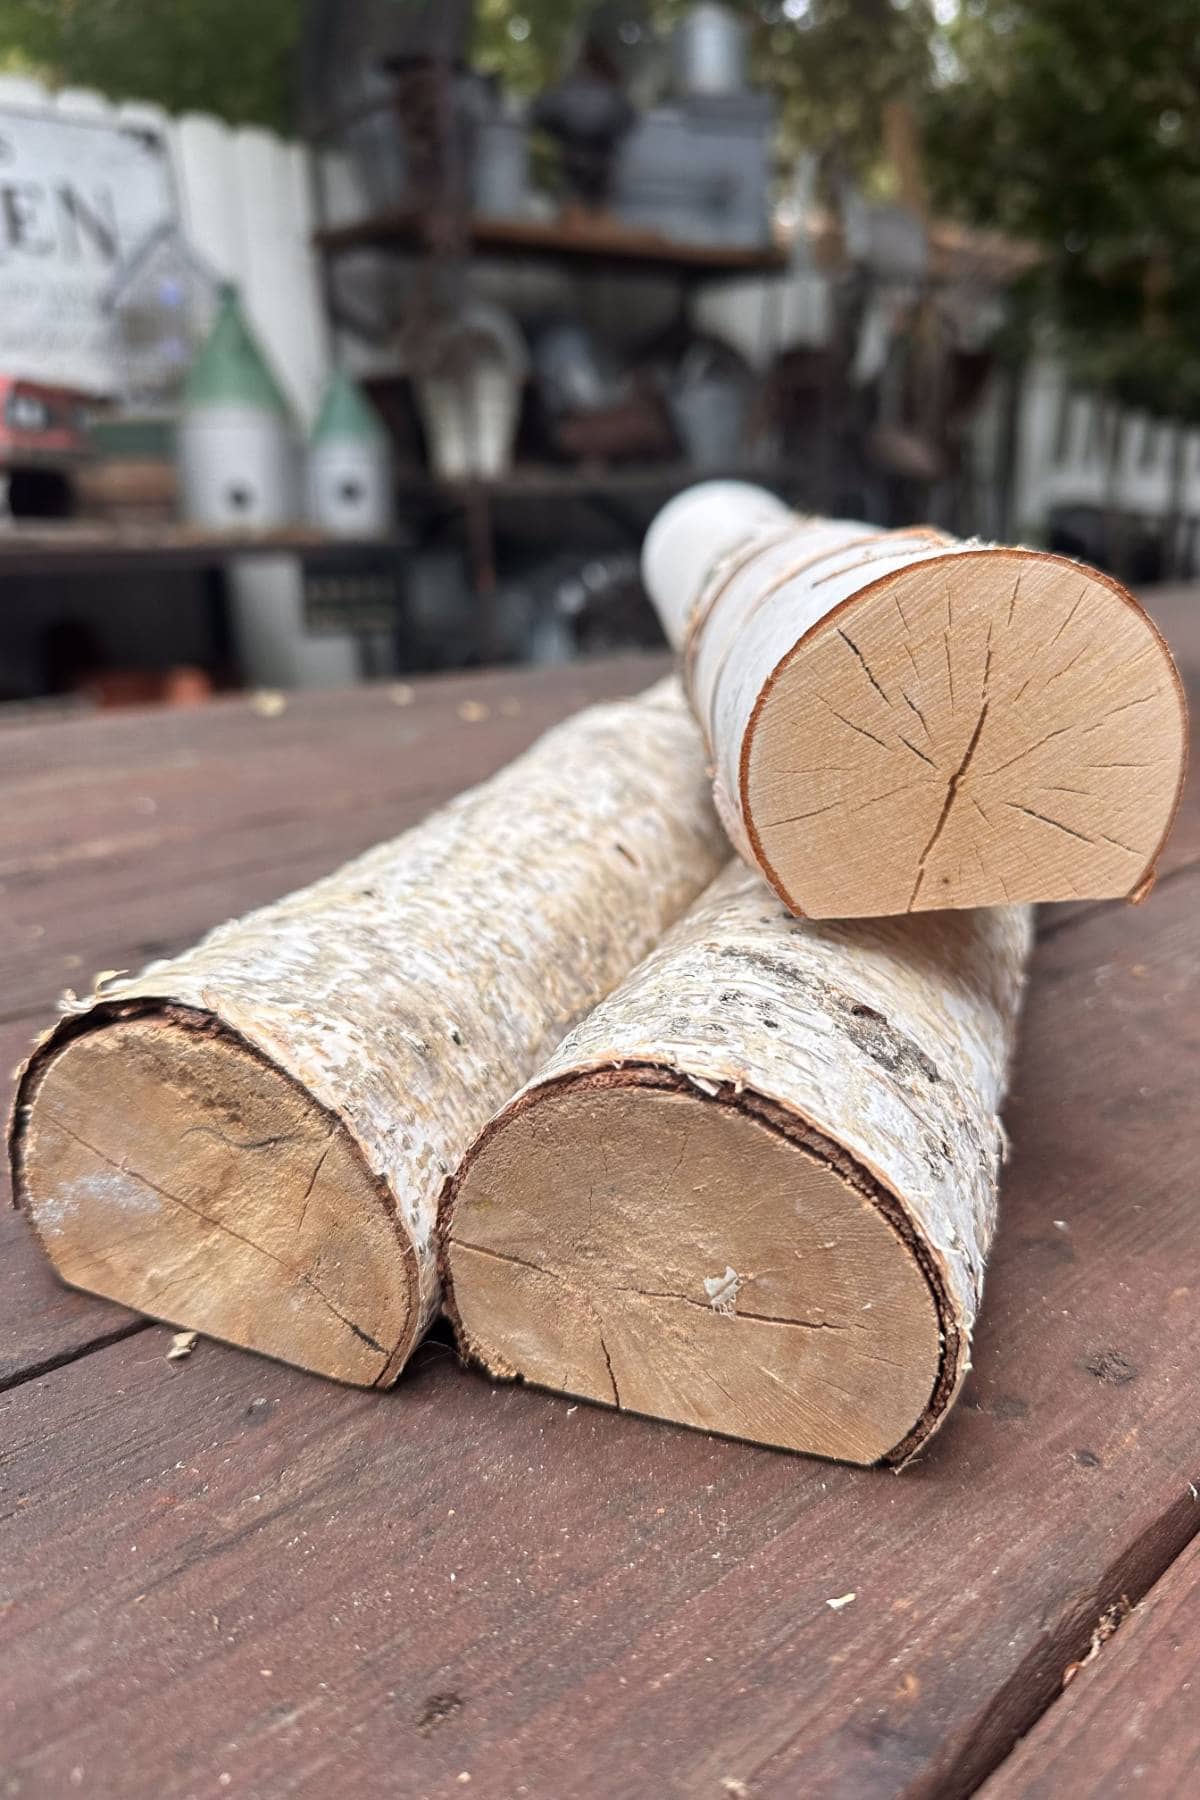
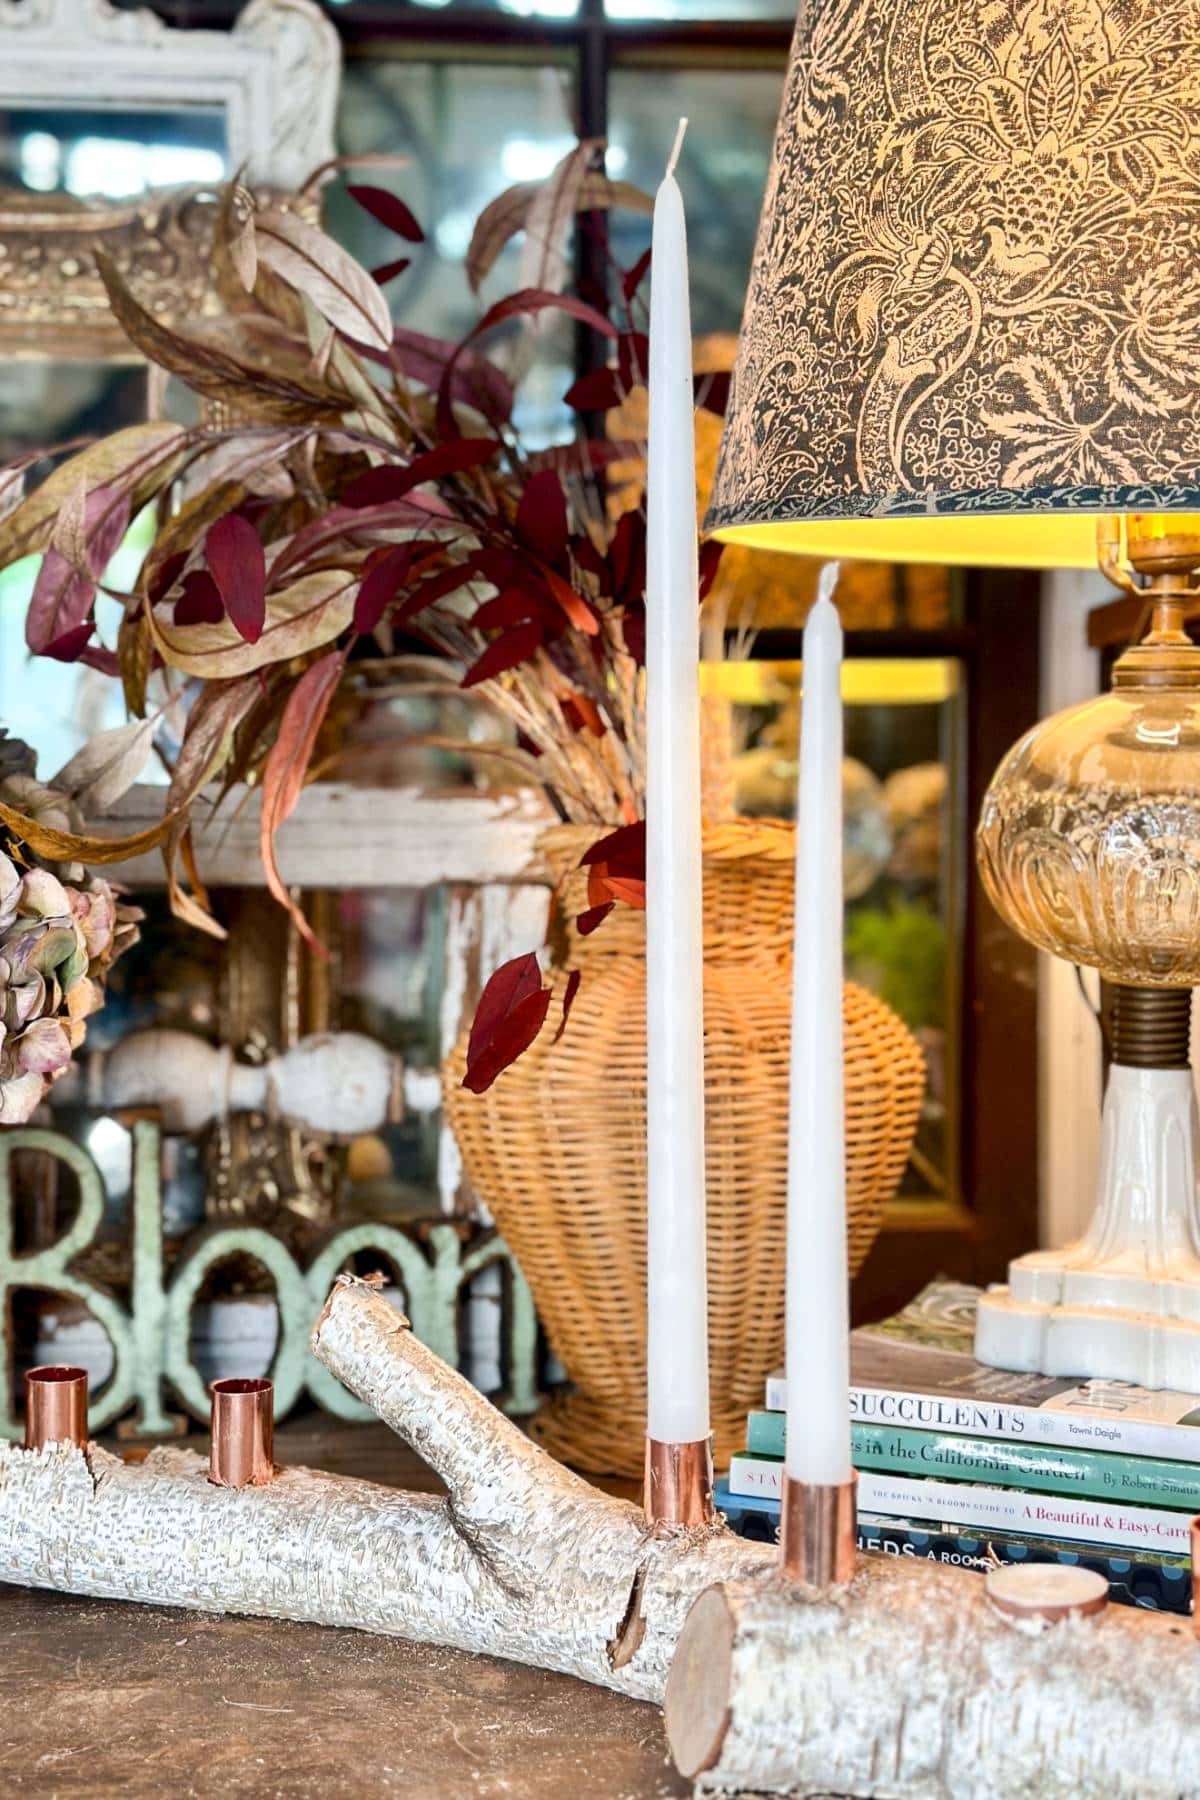
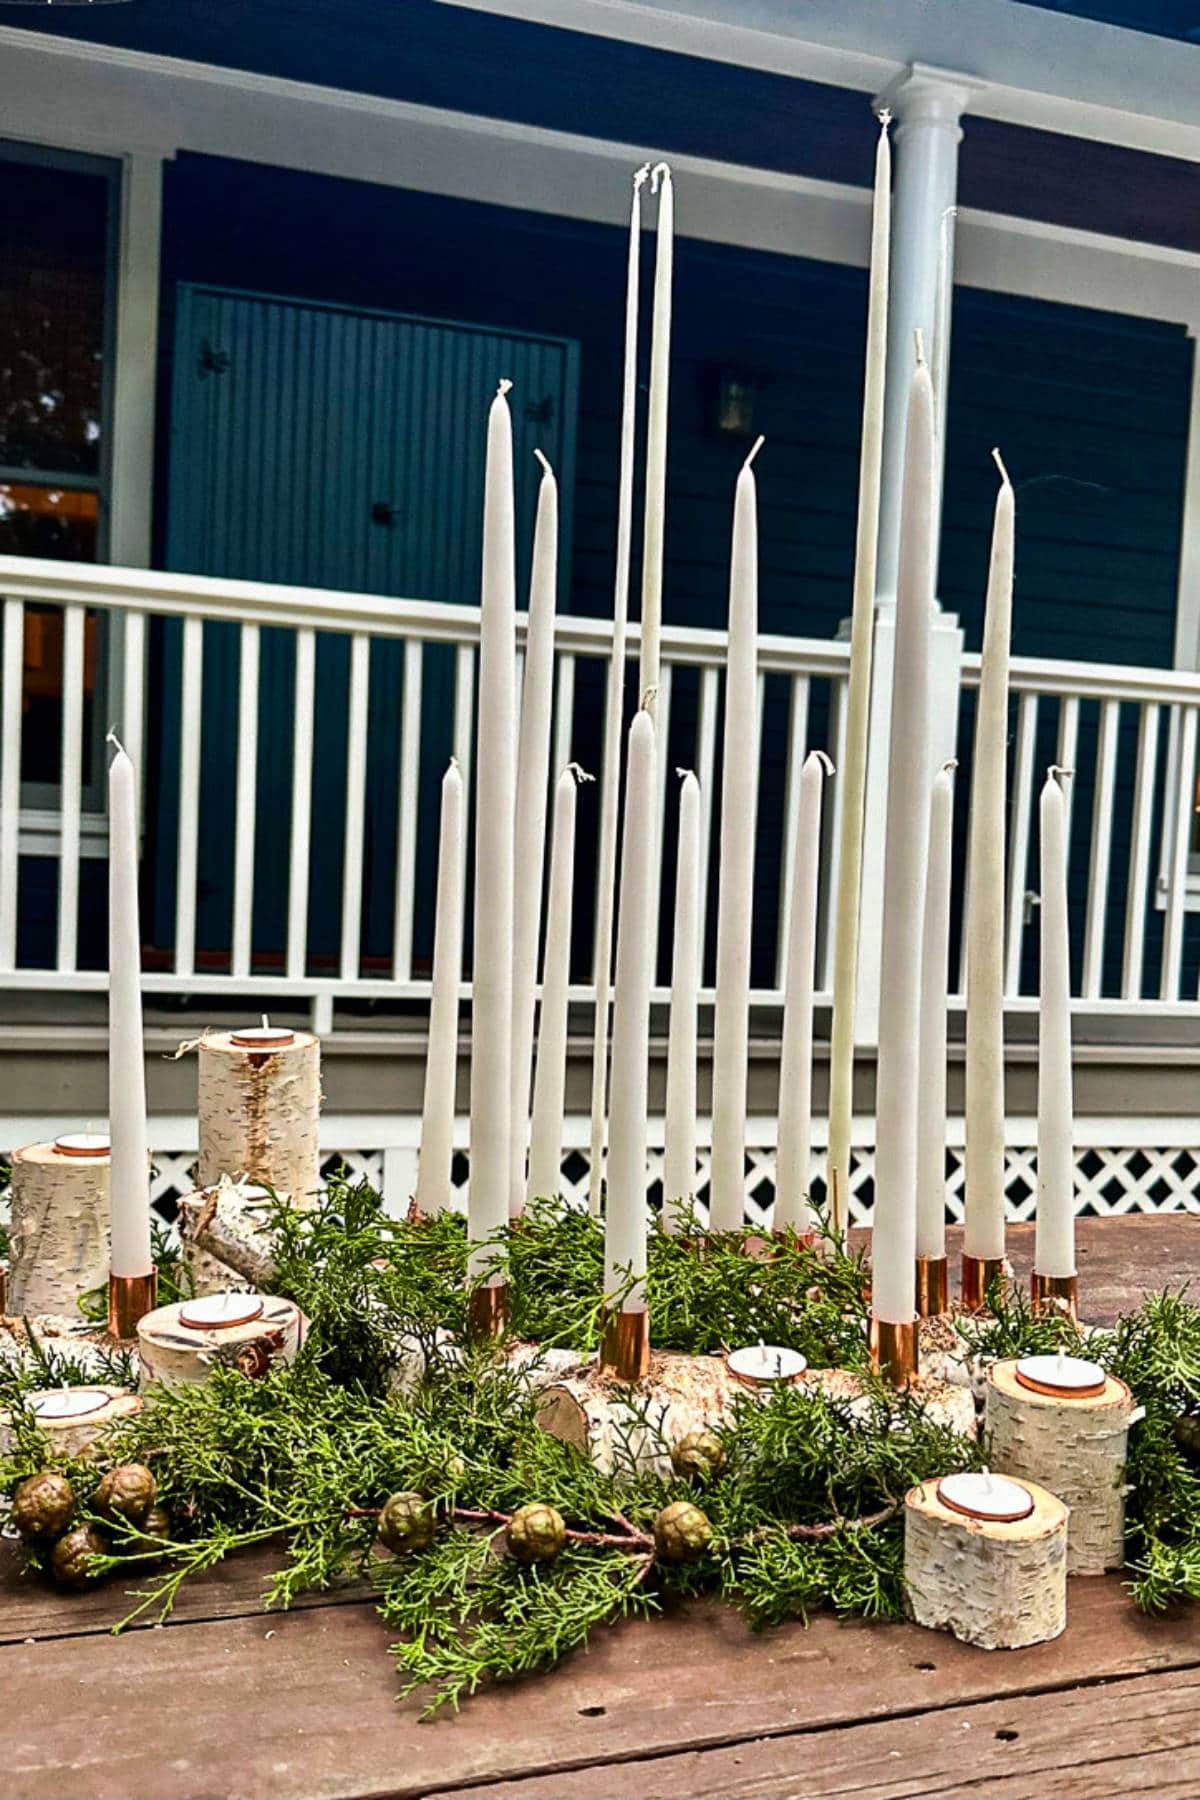
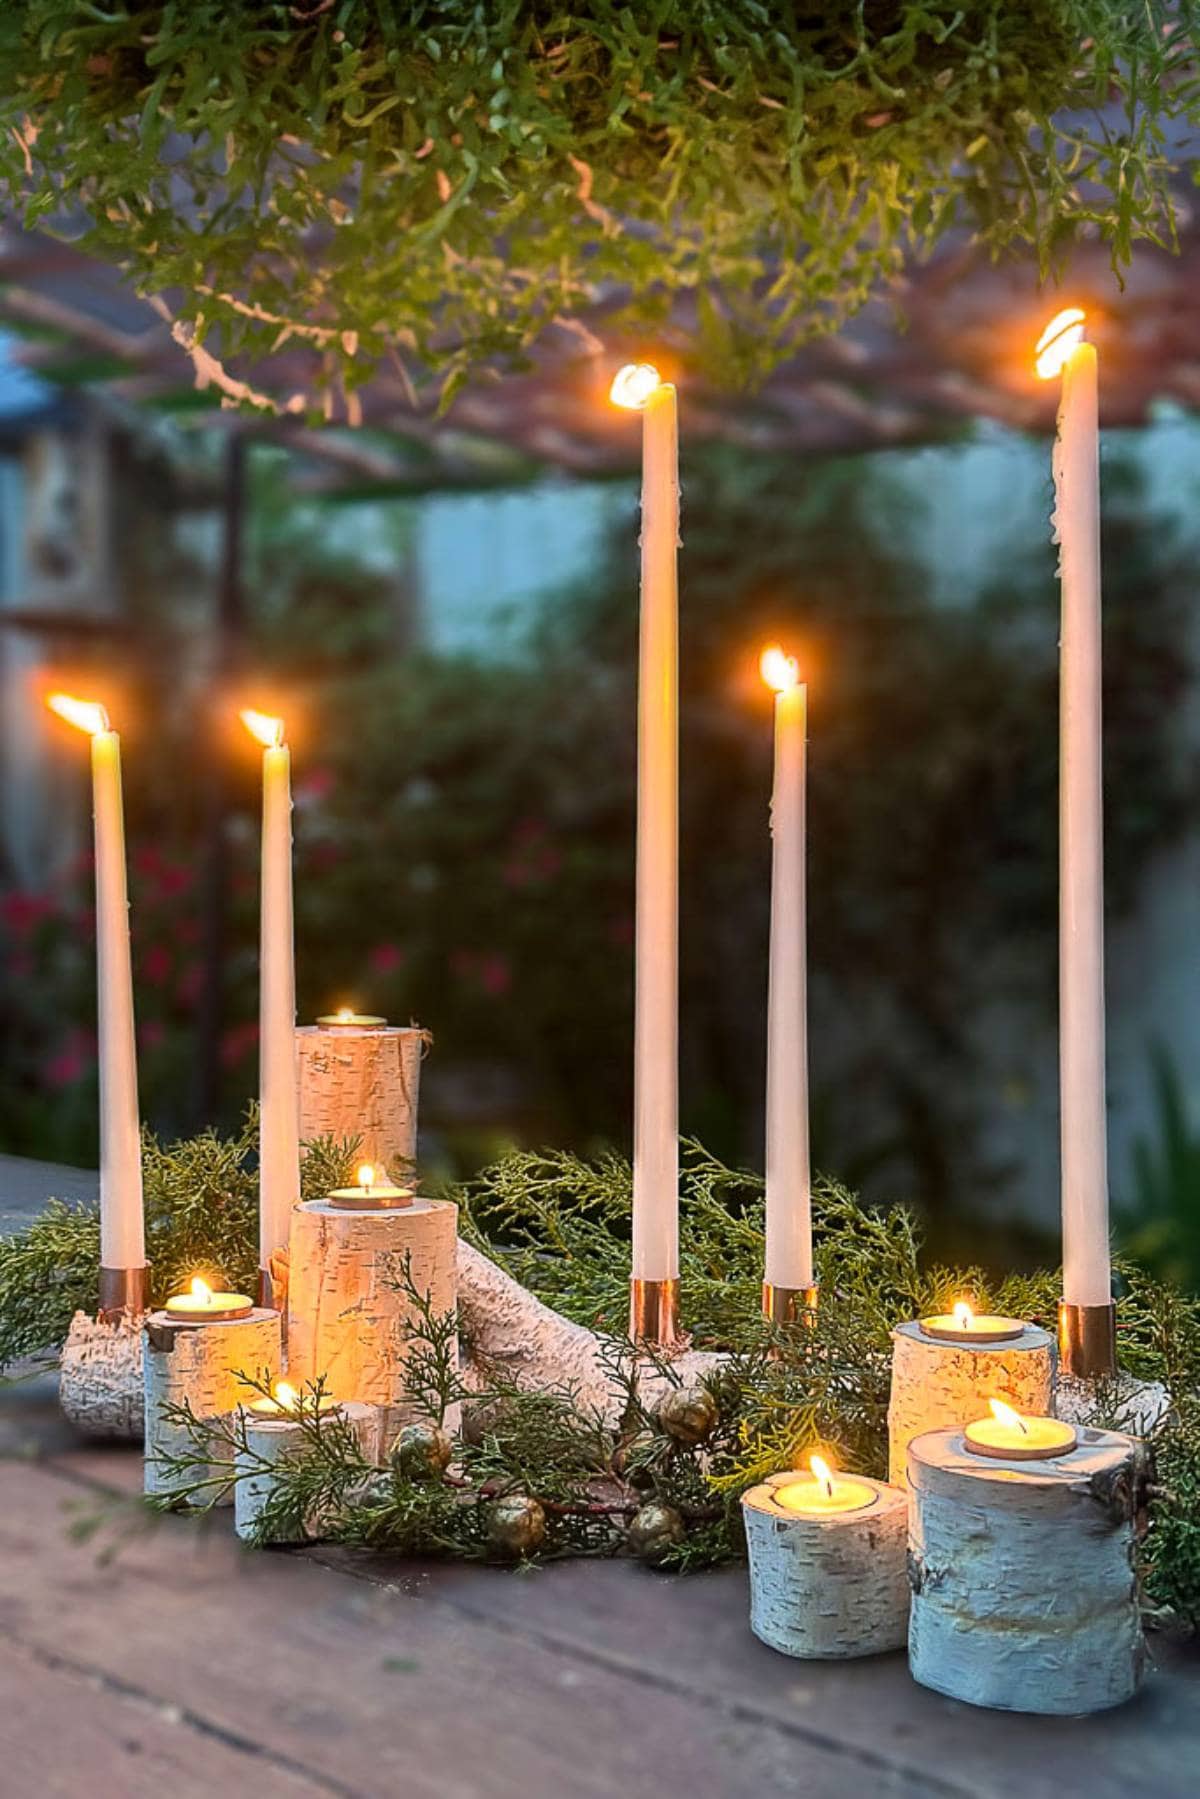
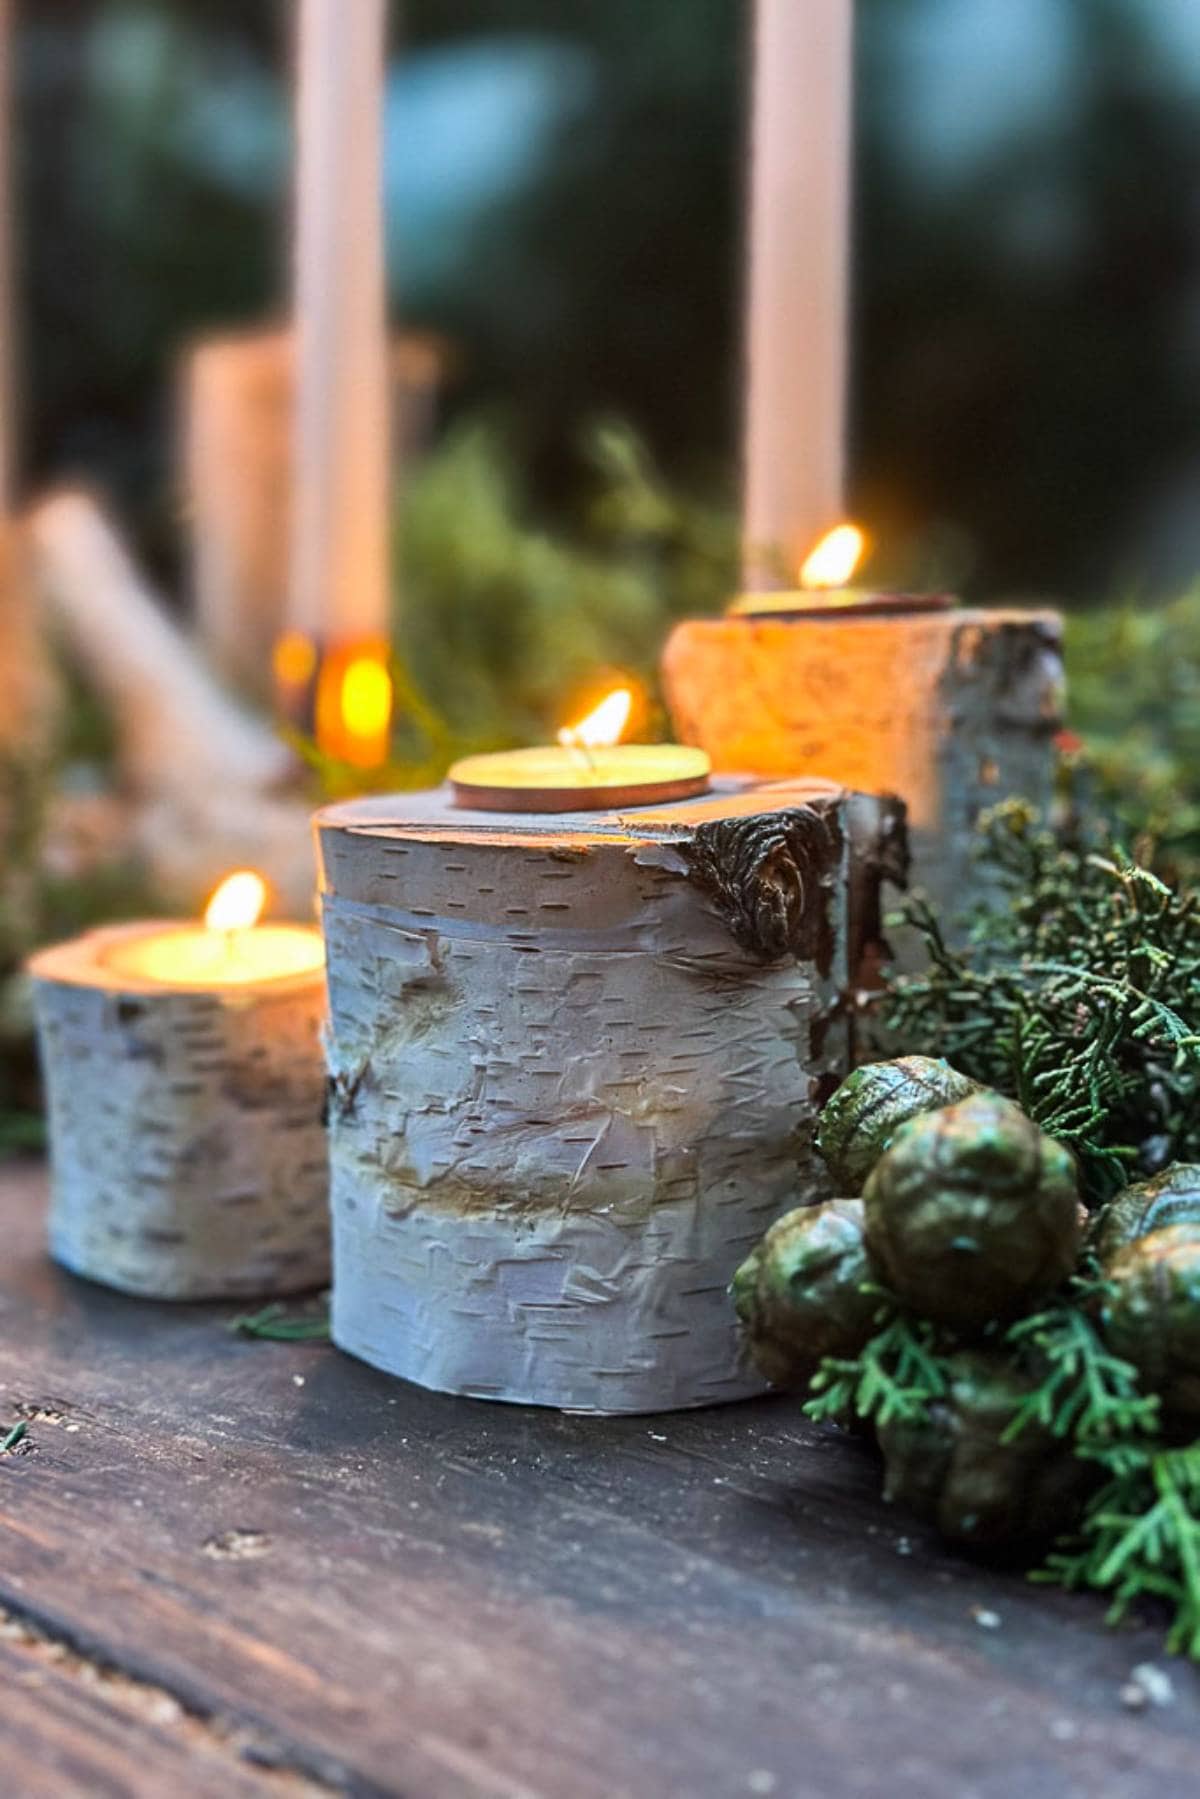
I love the natural beauty of birch logs and wanted to create wooden candle holders for my dining room table. You can add accents like copper or glitter for a more elegant touch. This unique candle holder makes a perfect holiday centerpiece and works beautifully on your dining table or your coffee table.
Now, let’s dive into these DIY candle holder ideas! With the right tools, you’ll find this project is simple and suitable for various skill levels.
Pinterest Challenge
Today is the Pinterest Challenge dedicated to birchwood candle holders. If you are not familiar with this challenge. Several of us bloggers get together and are given an image from our friend Cindy @countyroad407 to inspire us, and we are to recreate our version to share with you all.
If you have come over from @thistlekeylane, welcome. I loved Michelle’s faux birch candle arrangement in a terra cotta pot, and I am sure you did as well.

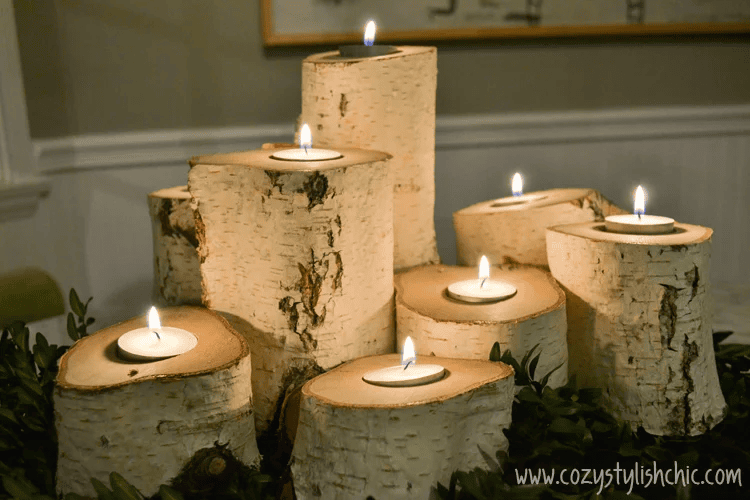
This month, our image comes from Jeanne at Cozy, Stylish & Chic. She has created a simple and beautiful arrangement of birch wood candle holders.
Materials You’ll Need to Make DIY Candle Holders
Additional Tools You’ll Need
You can pick up most of these supplies at your local hardware stores, or use my links to purchase the supplies needed,
Step-by-Step Instructions For Birch Log DIY Candle Holders
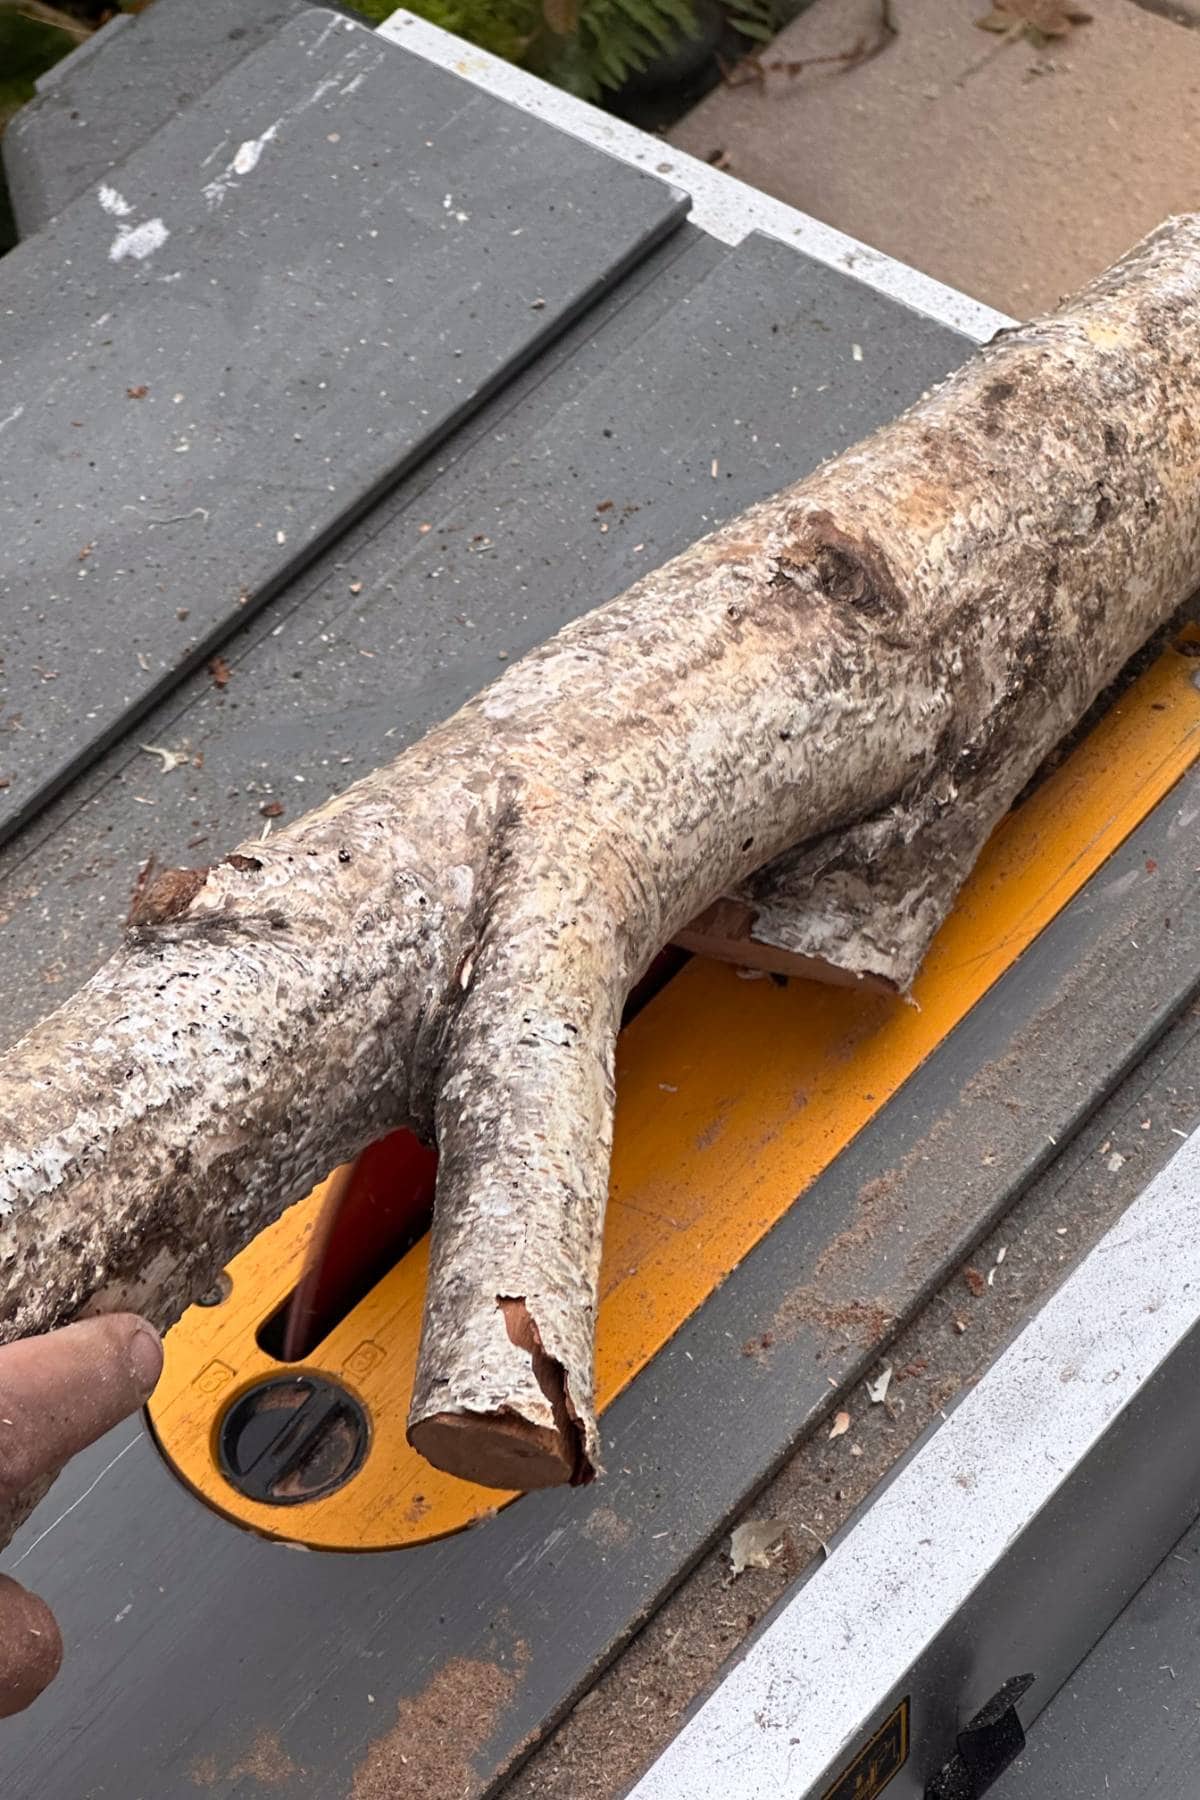
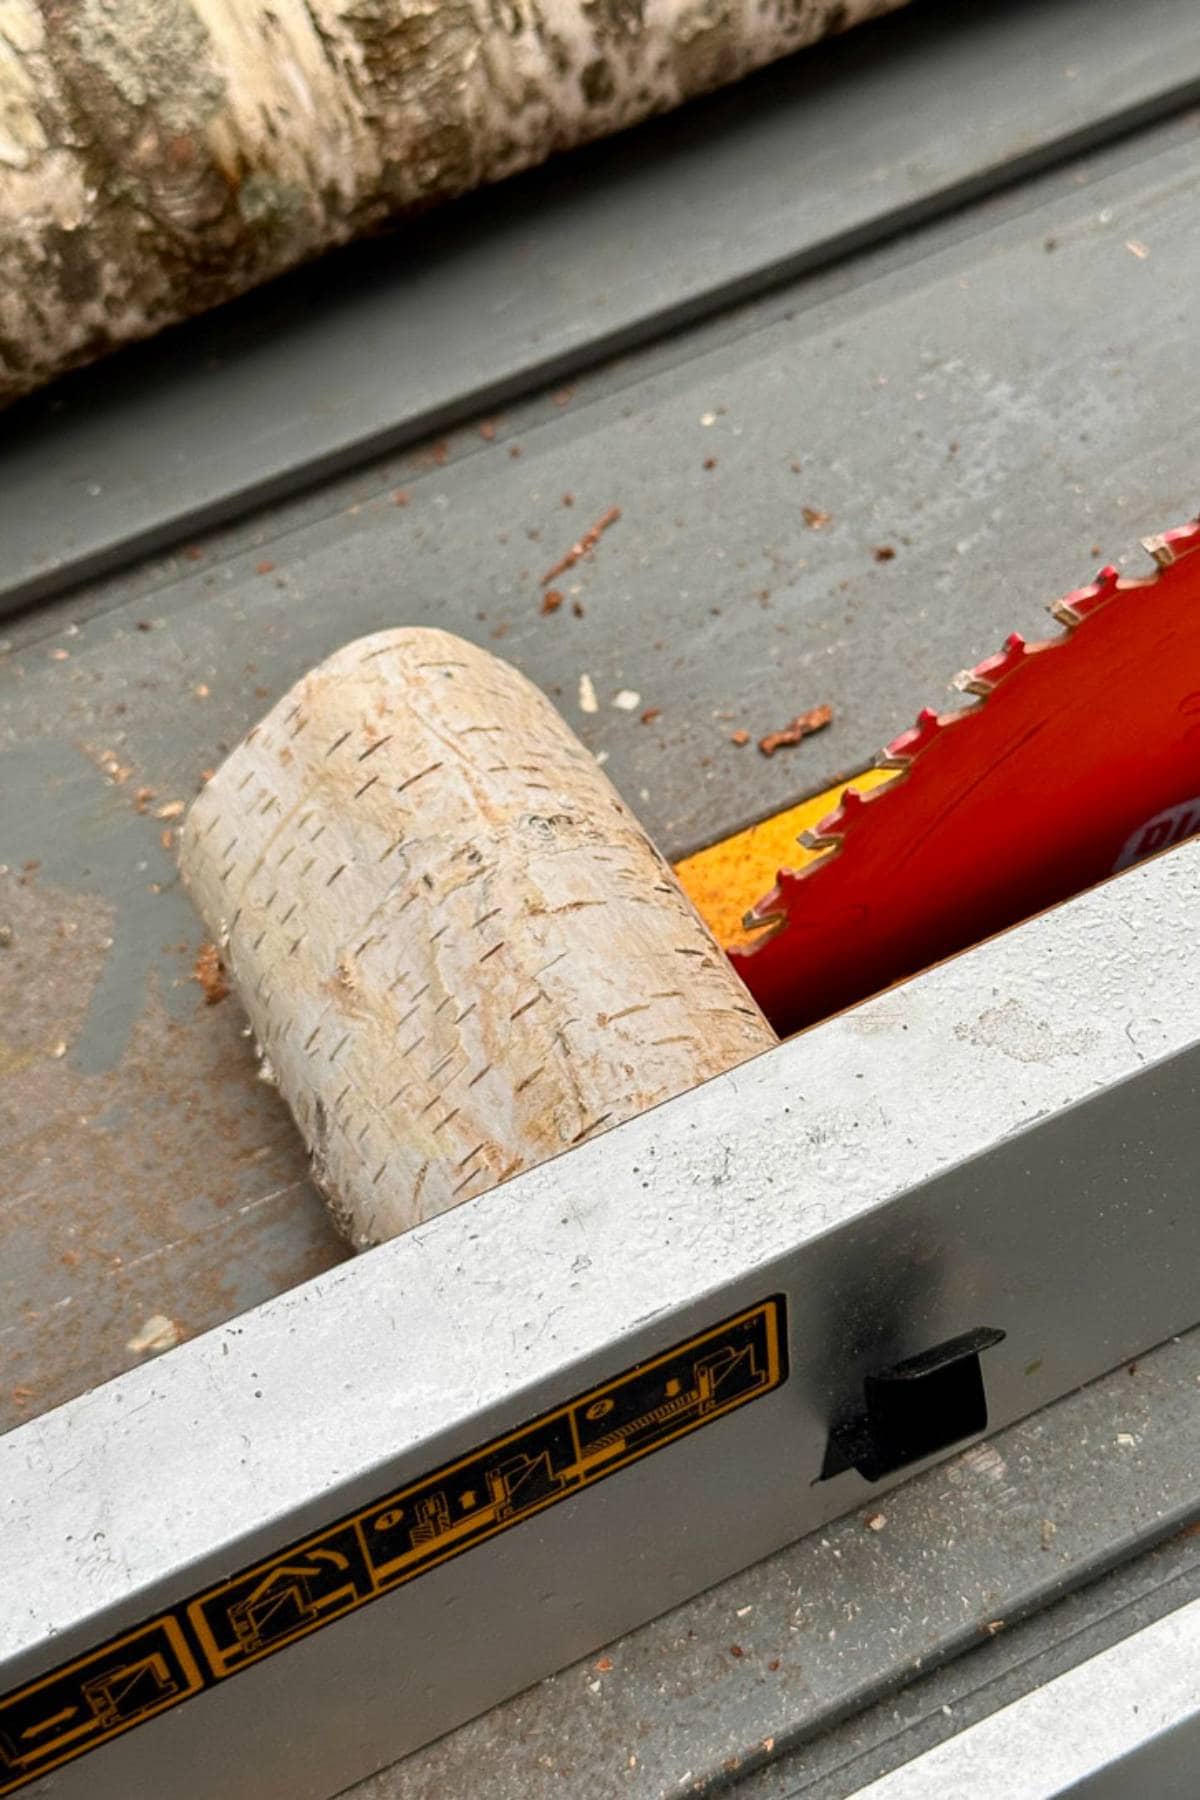
Step 1: Preparing the logs:
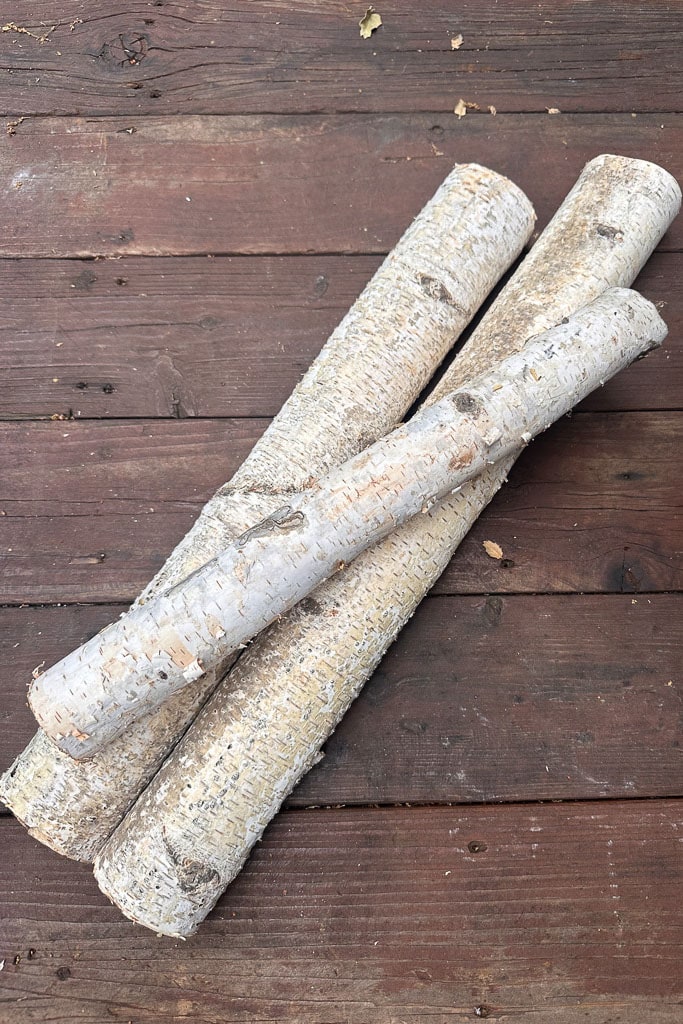
You will use a table saw and cut off the bottom edge of a log approximately 12-15″ long so that the log will lay flat on the table.
Tip from wendy’s craft room:
Ensure Proper Blade Height: Set the blade height so it’s no more than 1/4 inch above the material you’re cutting. This minimizes exposure to the blade and reduces the risk of kickback while allowing for a clean cut.
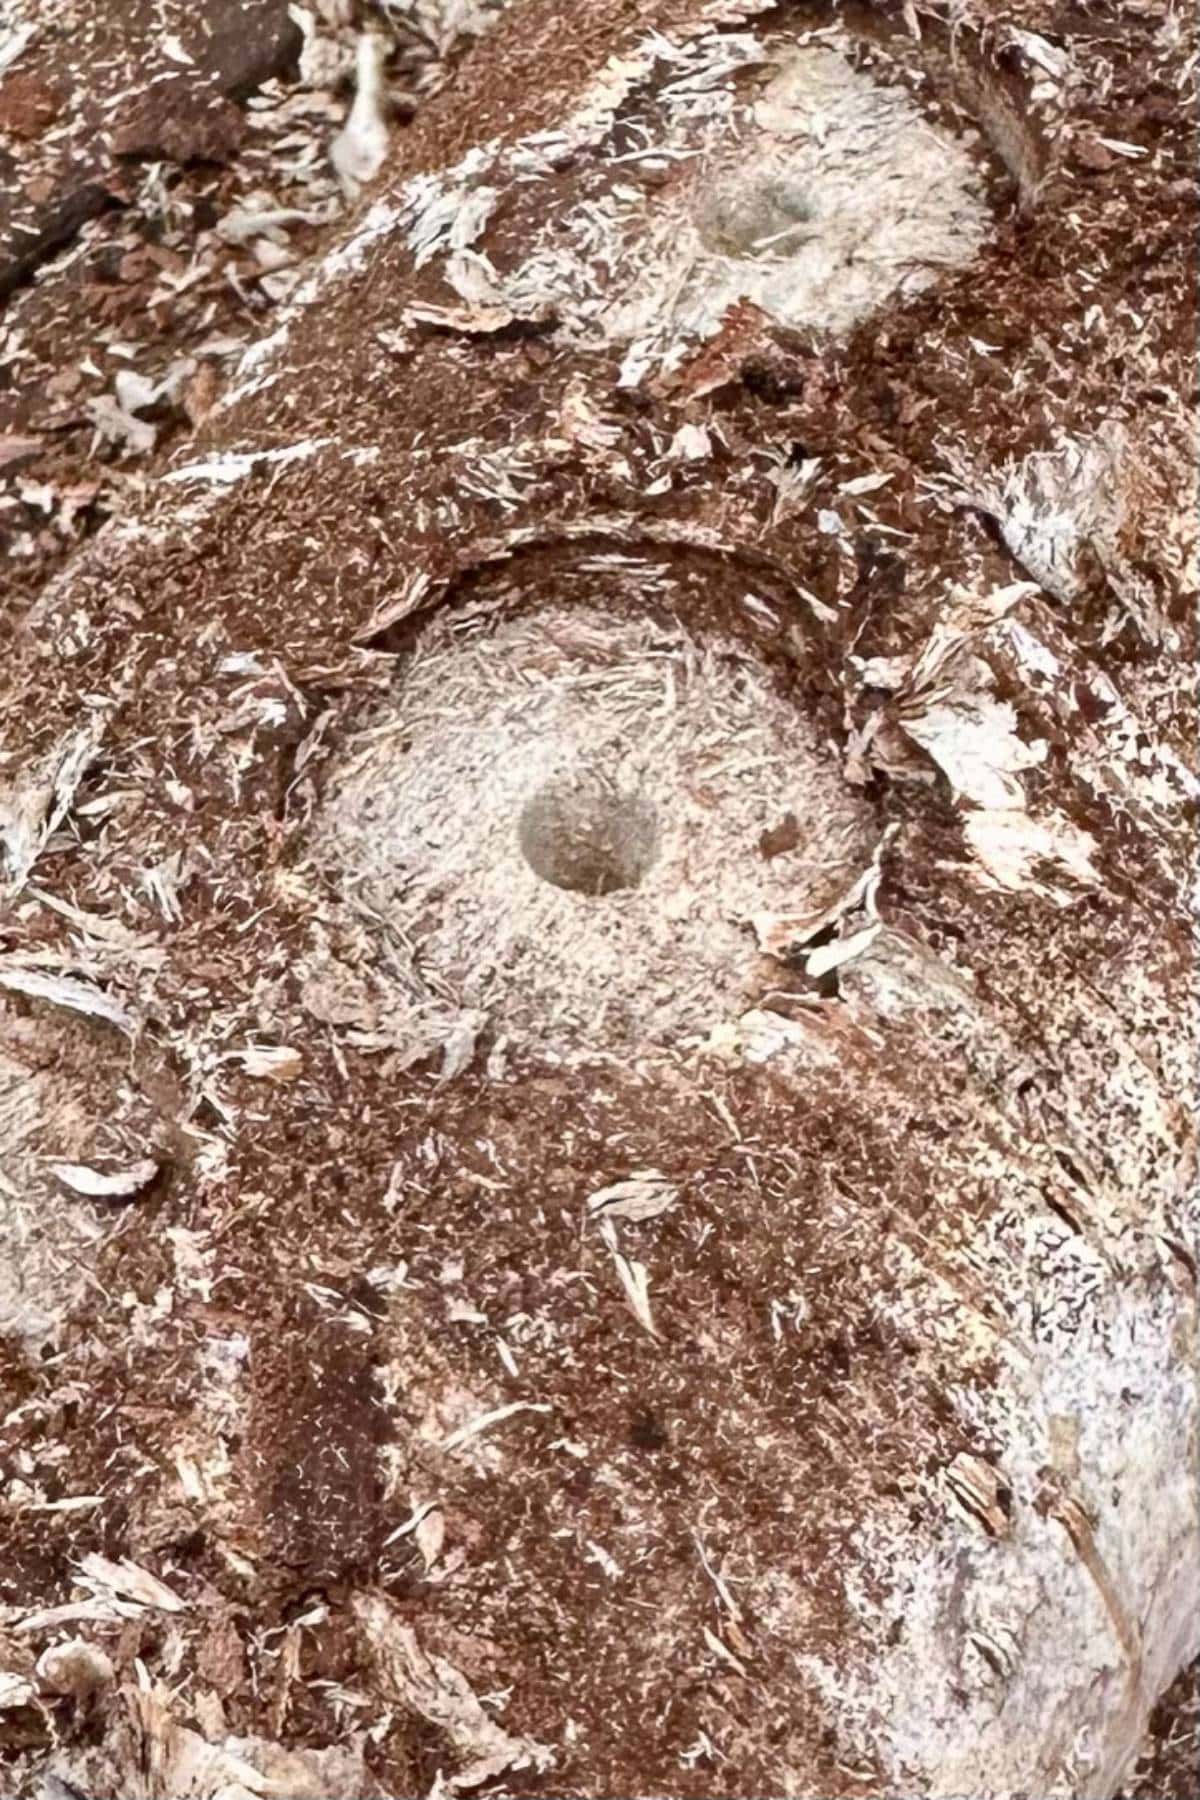
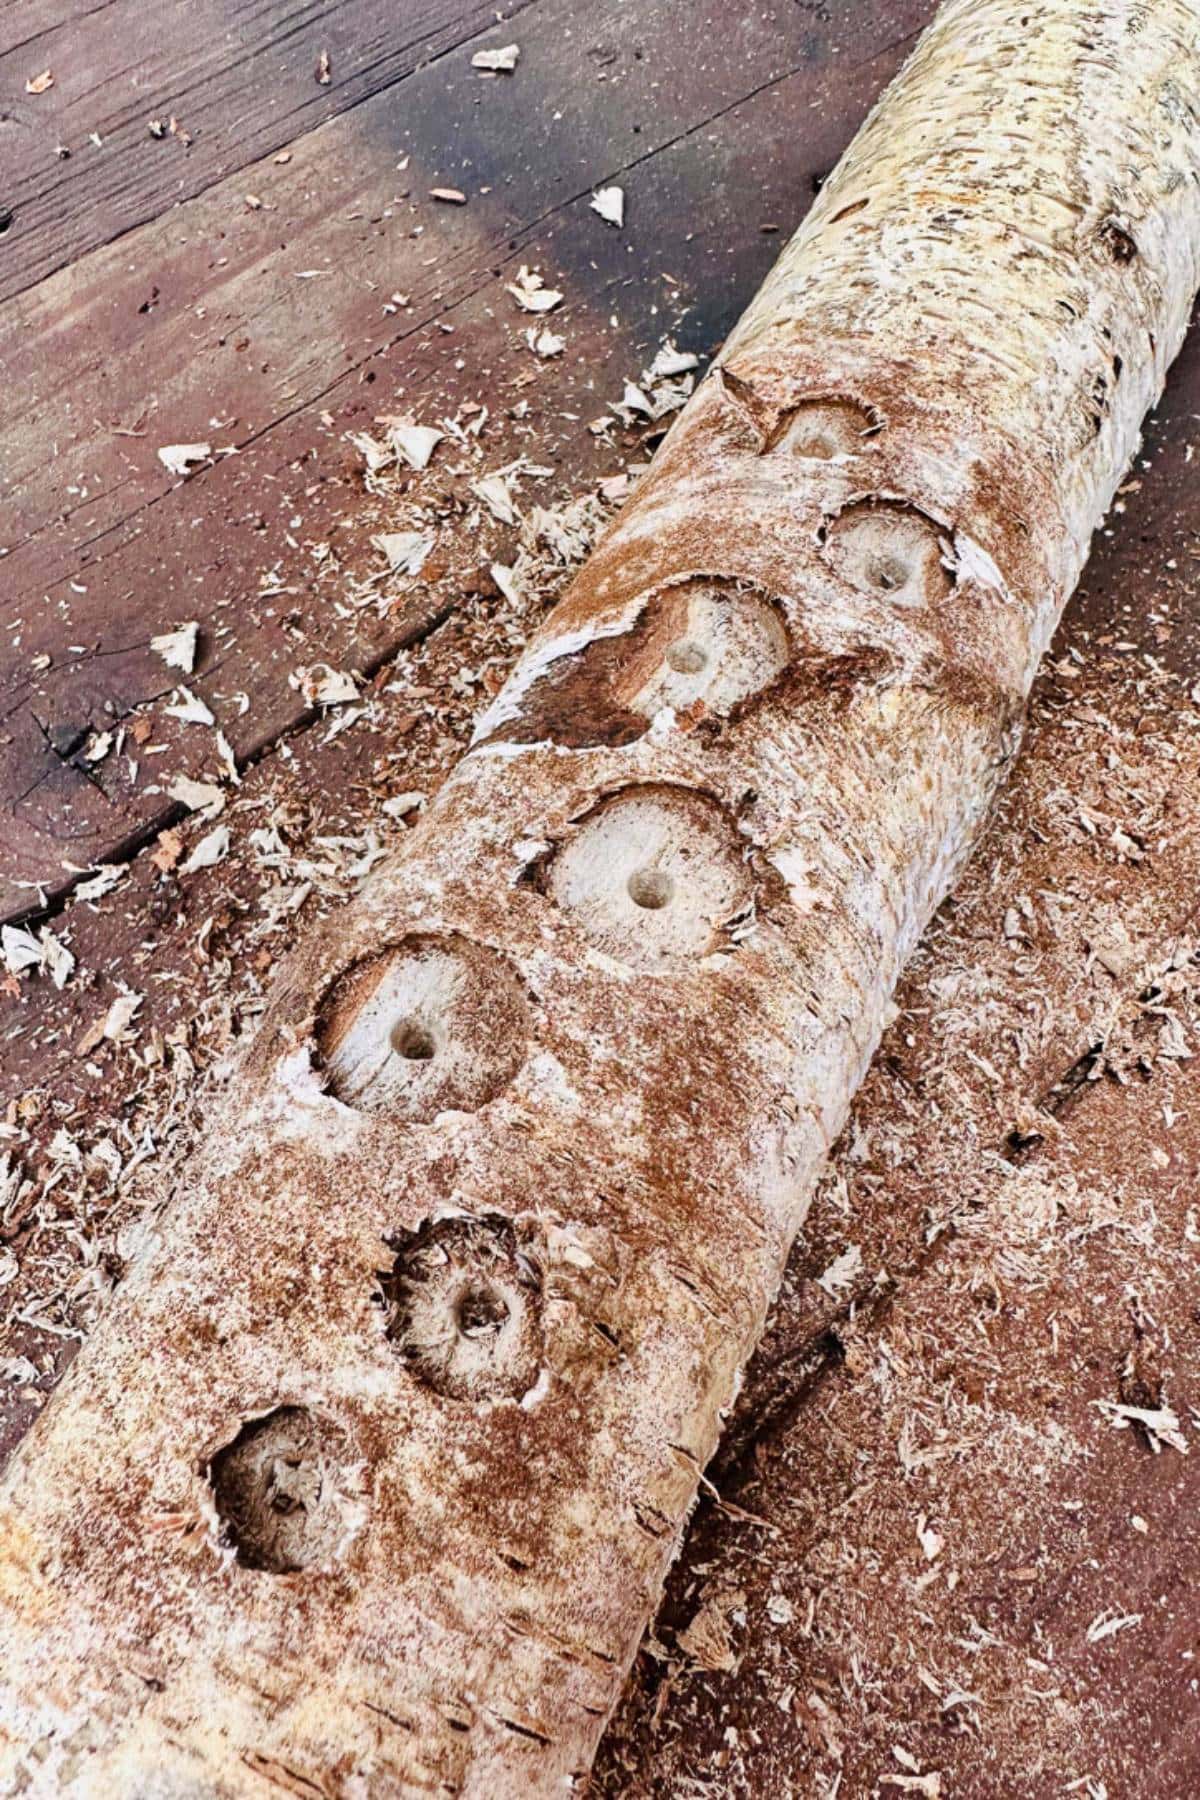
Step 2: Drilling the holes:
Use a wood spade drill bit (the best tool that matches the diameter of your copper pipe), and drill a hole about 1/4 to 1/2 inch deep.
Make sure to keep the drill as level as possible for accuracy.
Tip from wendy’s craft room:
Before working on the final piece, I practiced on a scrap log to ensure I had the correct drill bit size and technique. This helped me feel more confident when drilling into my final log.
Step 3: Attach the Copper pipe pieces:
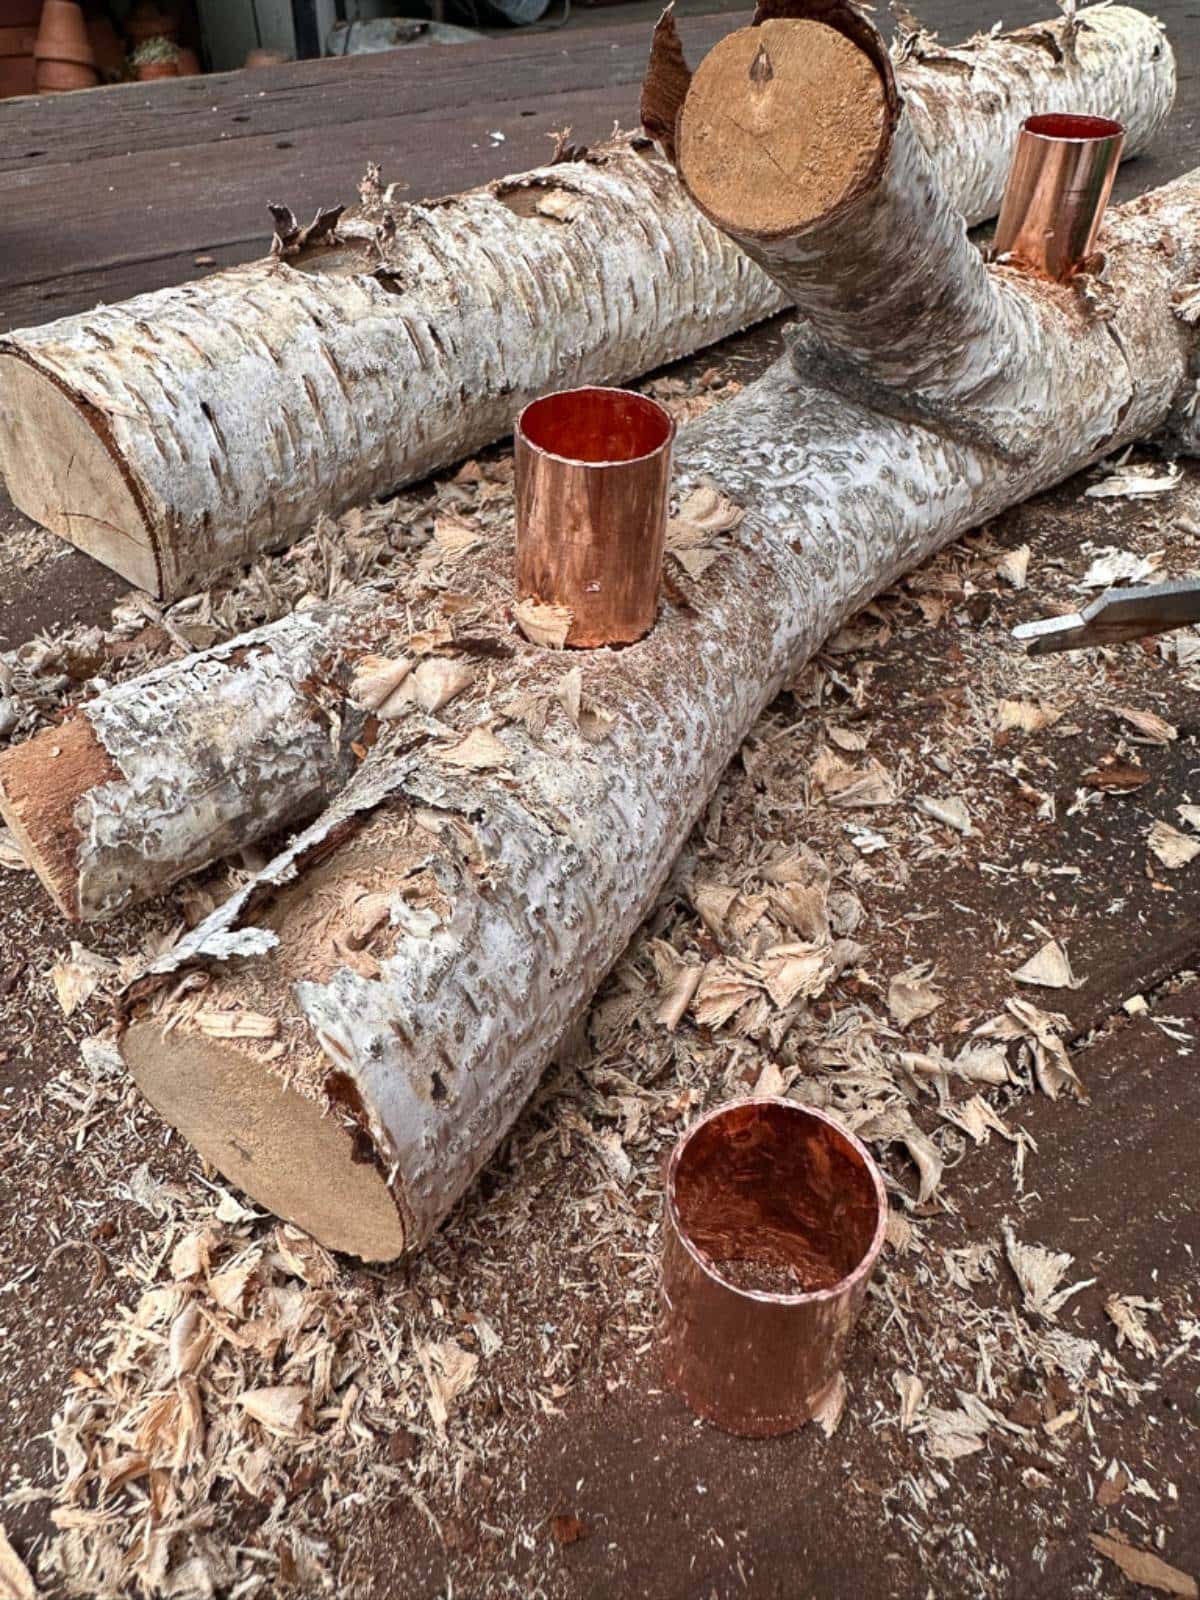
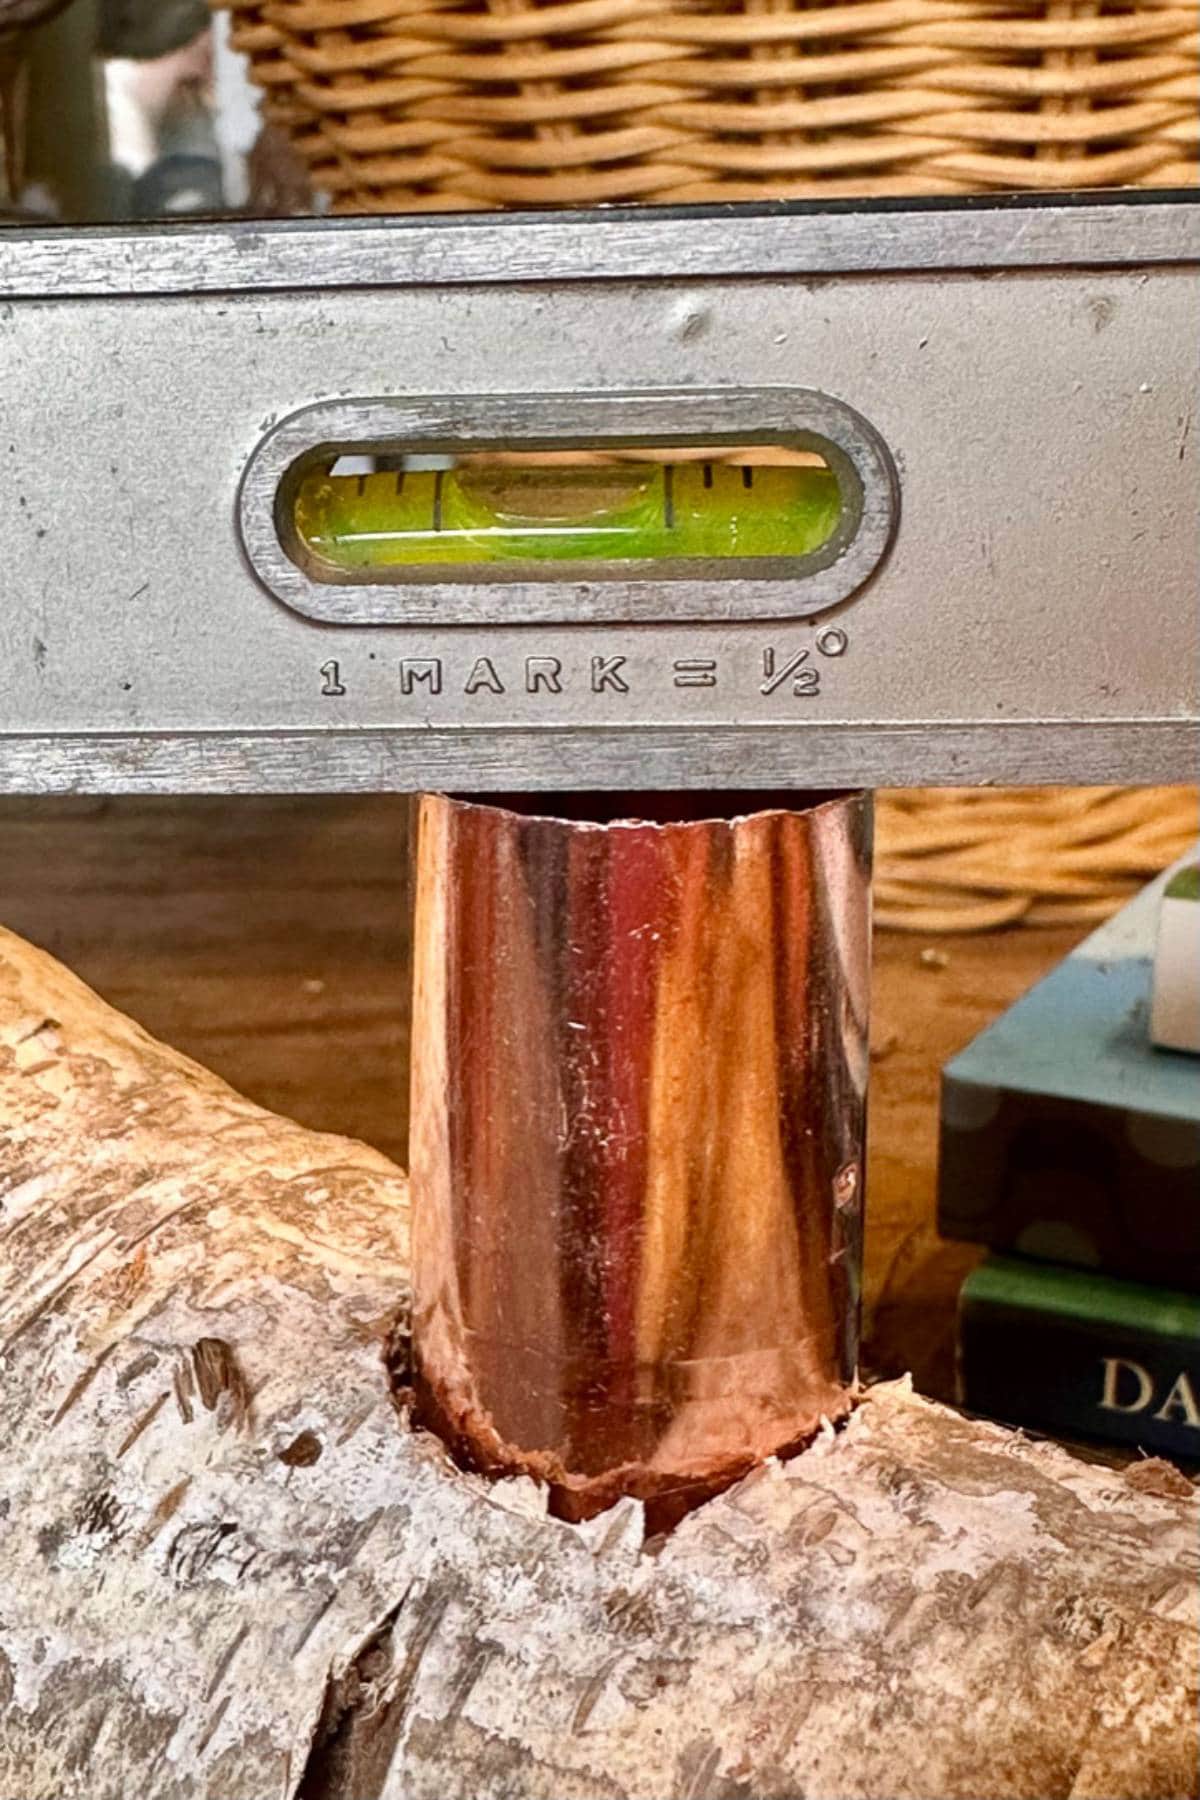
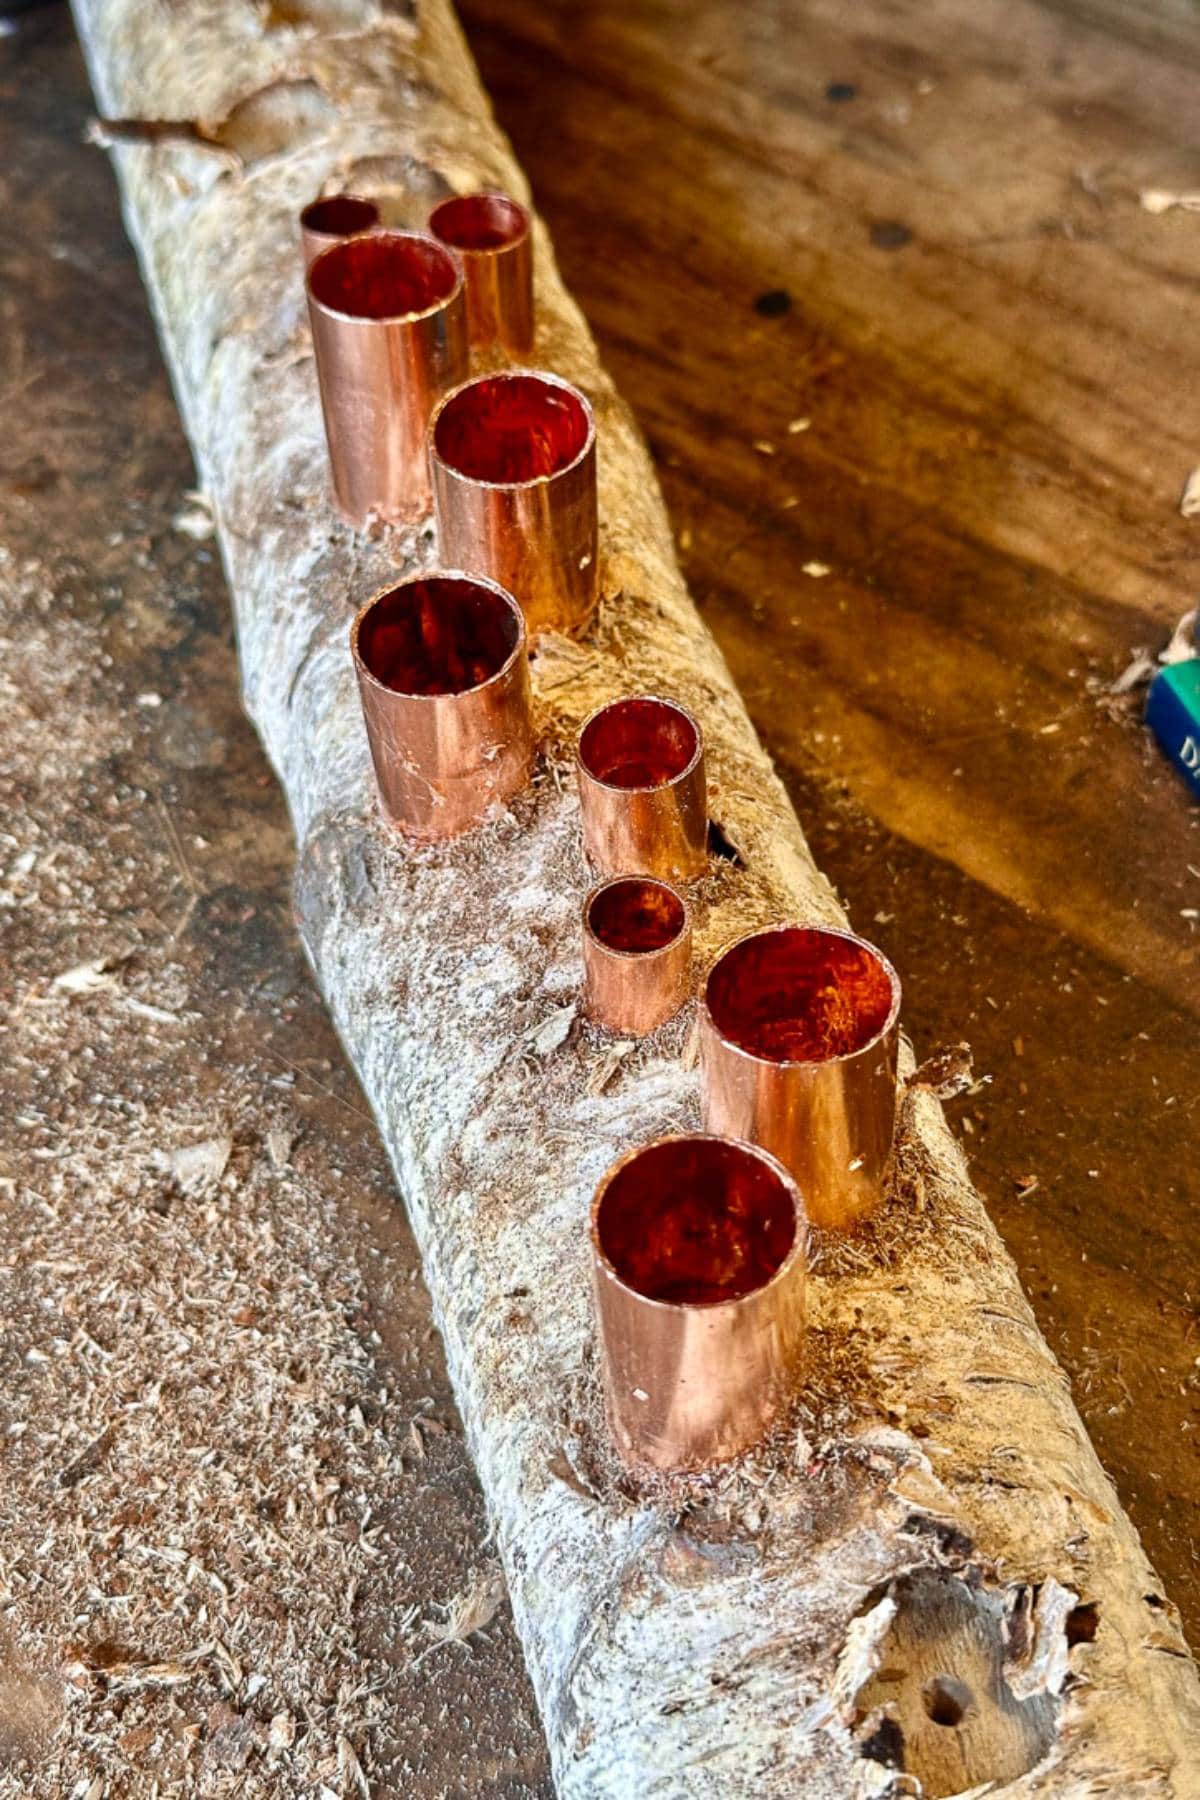
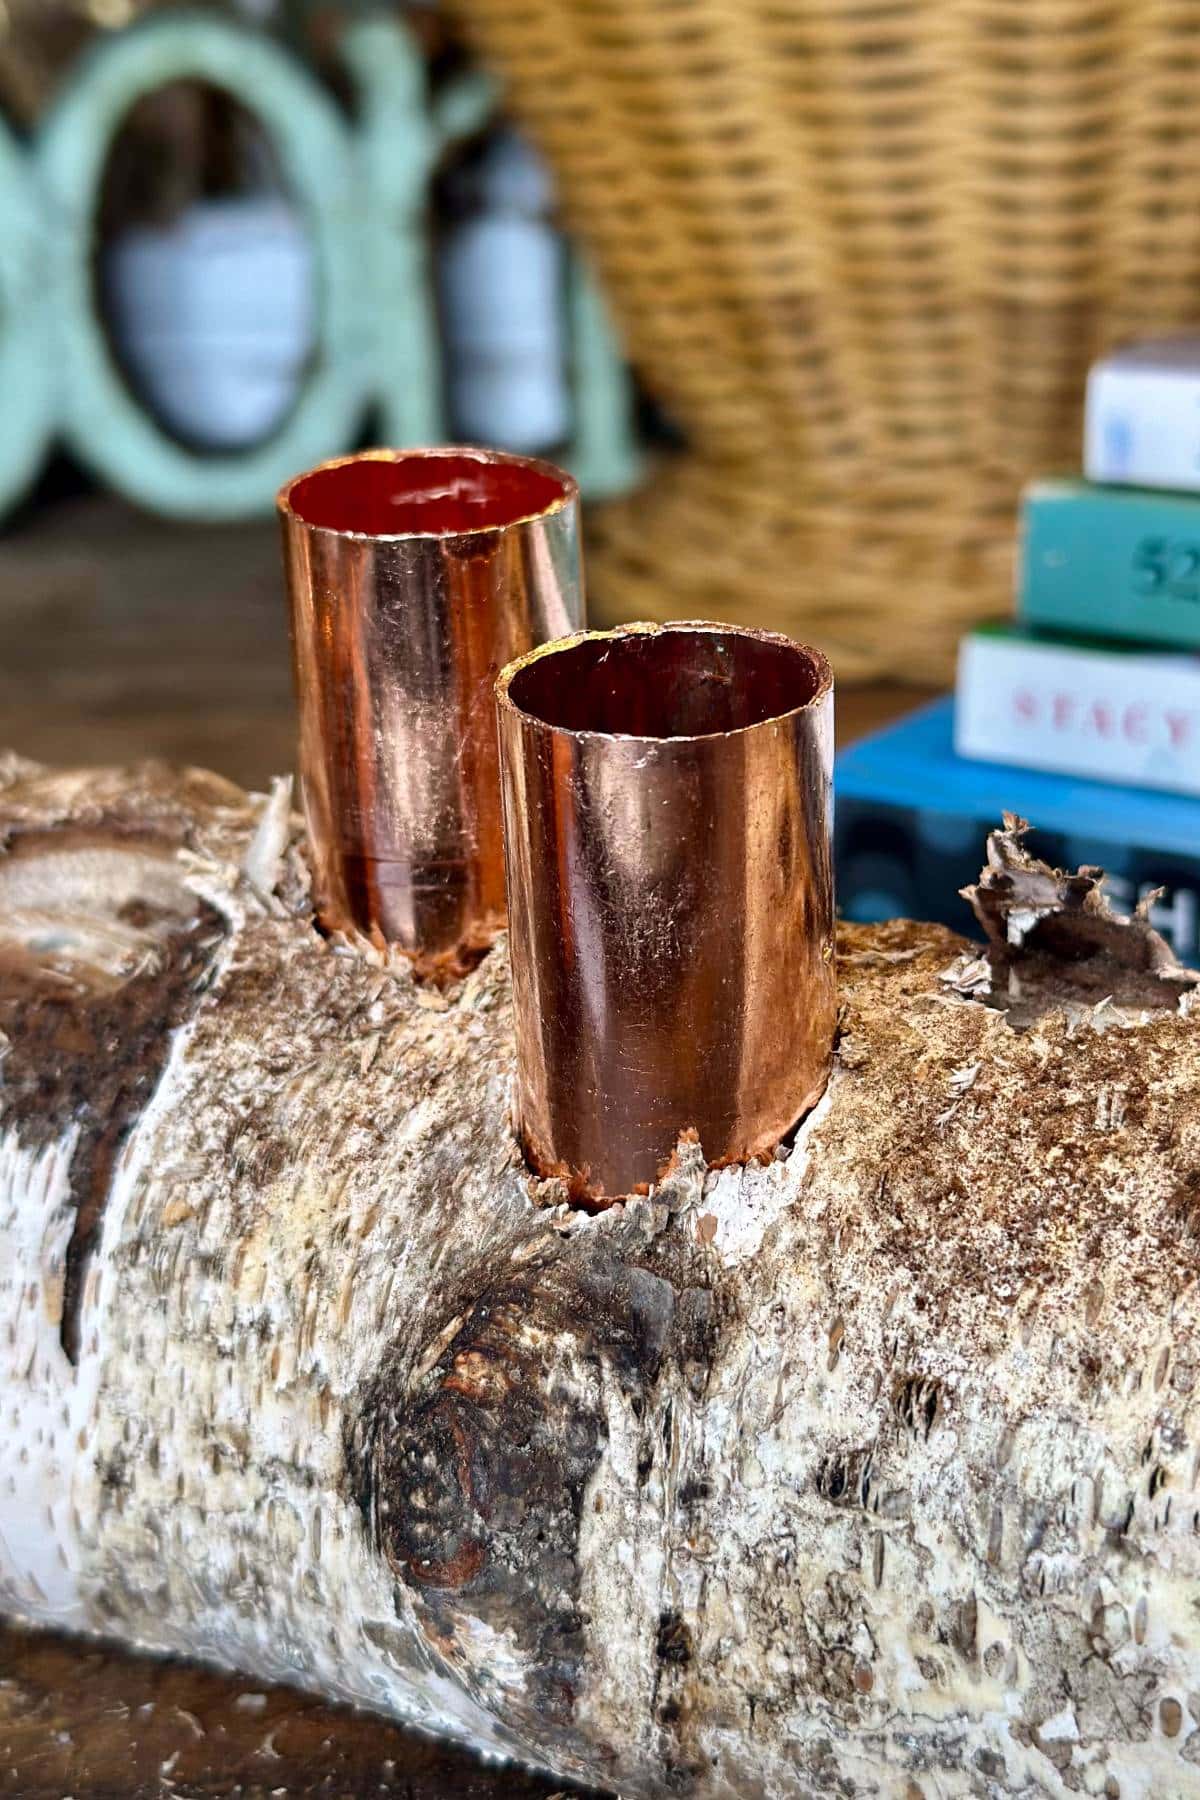
I added a small 2.5″ piece of copper pipe for the long taper candles.
Place a small amount of hot glue into the hole you drilled, add a small amount of sawdust, and then add a little bit more hot glue.
Next, place one end of the pipe into the hole. Place the level on top, adjust the pipe until it is level, and hold it until the glue dries.
Step 4: Add glue and sawdust on the outside edge:
Next step, add a small line of glue around the outside edge of the copper pipe where it meets the wood log and sprinkle it with sawdust.
This will help secure the pipe in place on your log.
Tip from wendy’s craft room:
Always prioritize safety when working with candles—Be especially careful when lighting the candles, as the birchbark can catch fire easily. Lastly, never leave candles unattended. Safety should always come first.
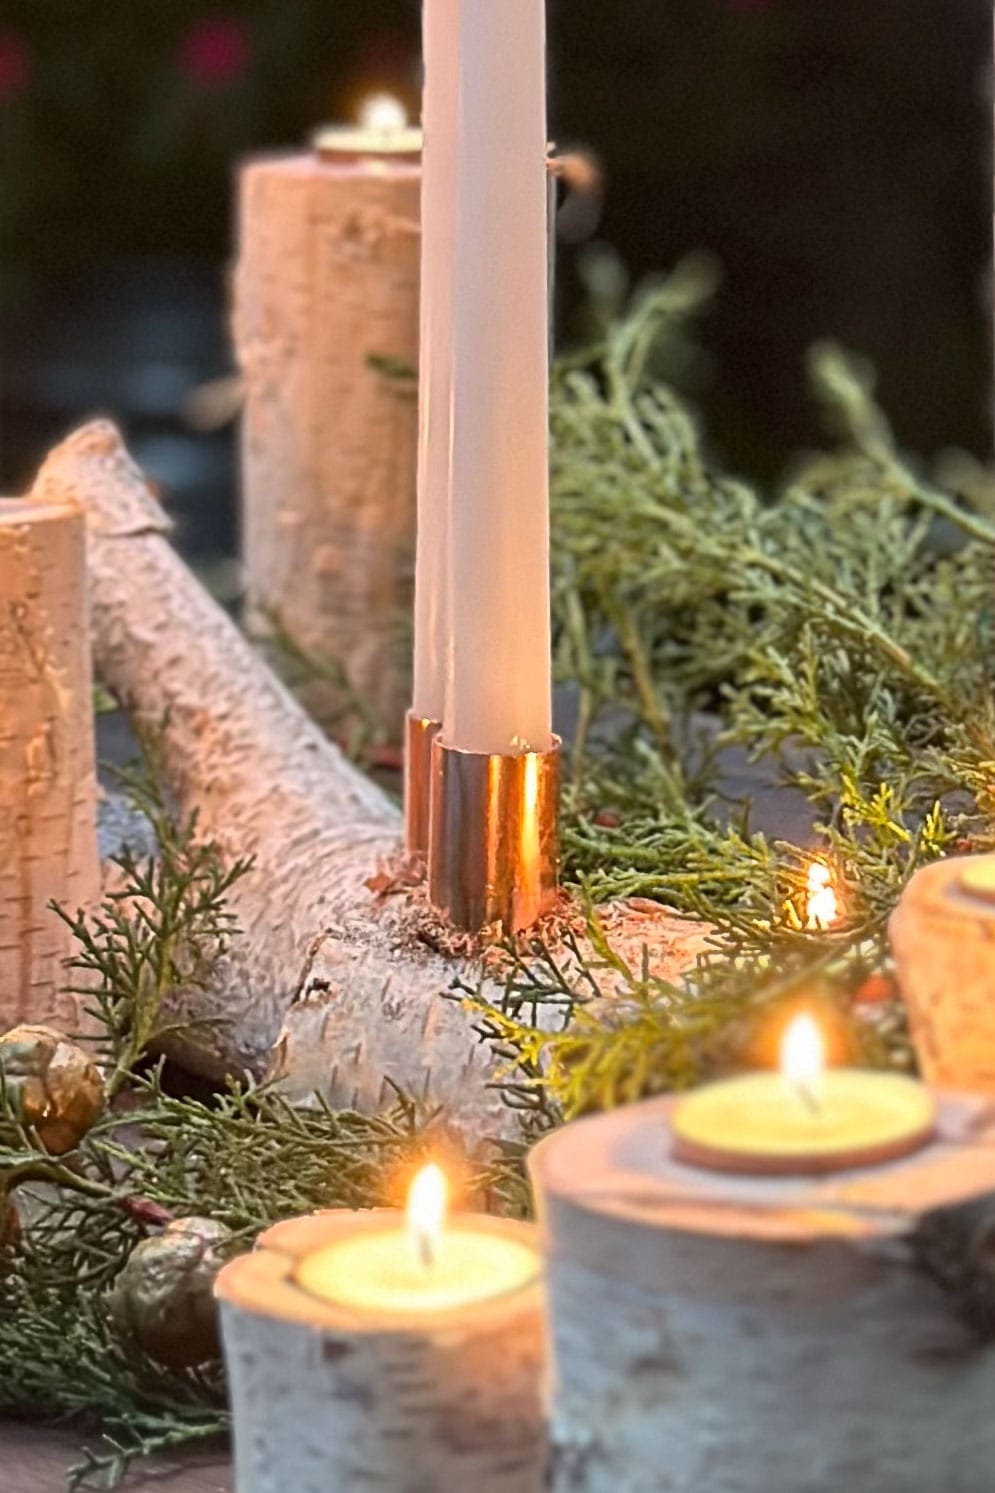
Step 5: Adding the candles:
Wrap a small piece of plastic wrap around the base of the candle. Then, add a few squirts of low-temperature hot glue into the copper pipe. Insert the candle into the pipe, holding it until the glue dries.
Make sure the candle stays straight while the glue sets.

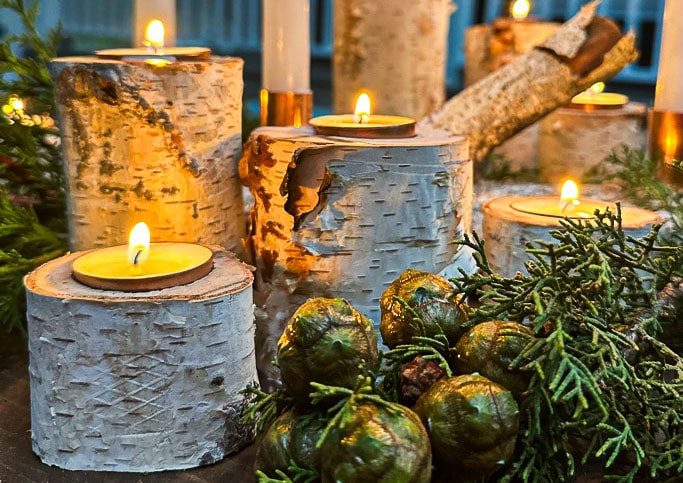
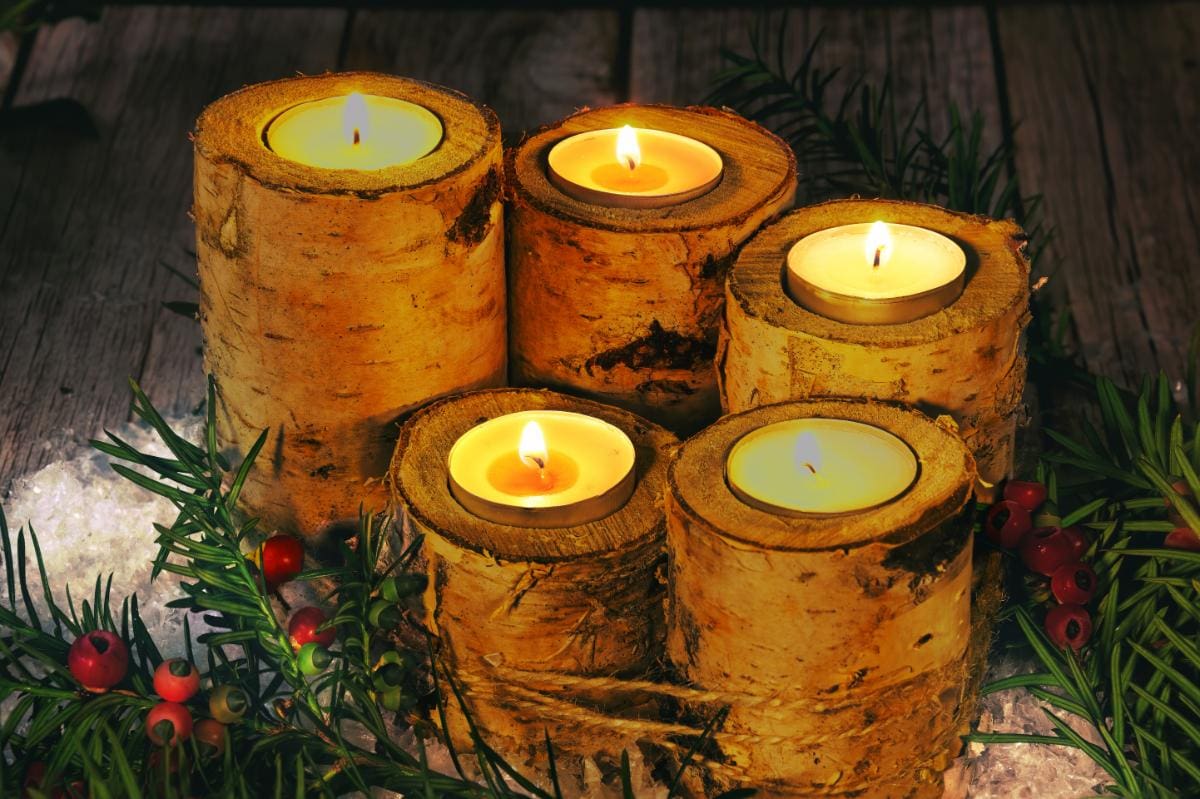
Step-by-Step Instructions For Birch Log Tea Light DIY Candle Holders
I love this easy DIY project that adds a beautiful, natural look to your table setting. Create a few of these to complement your log candle holders perfectly!
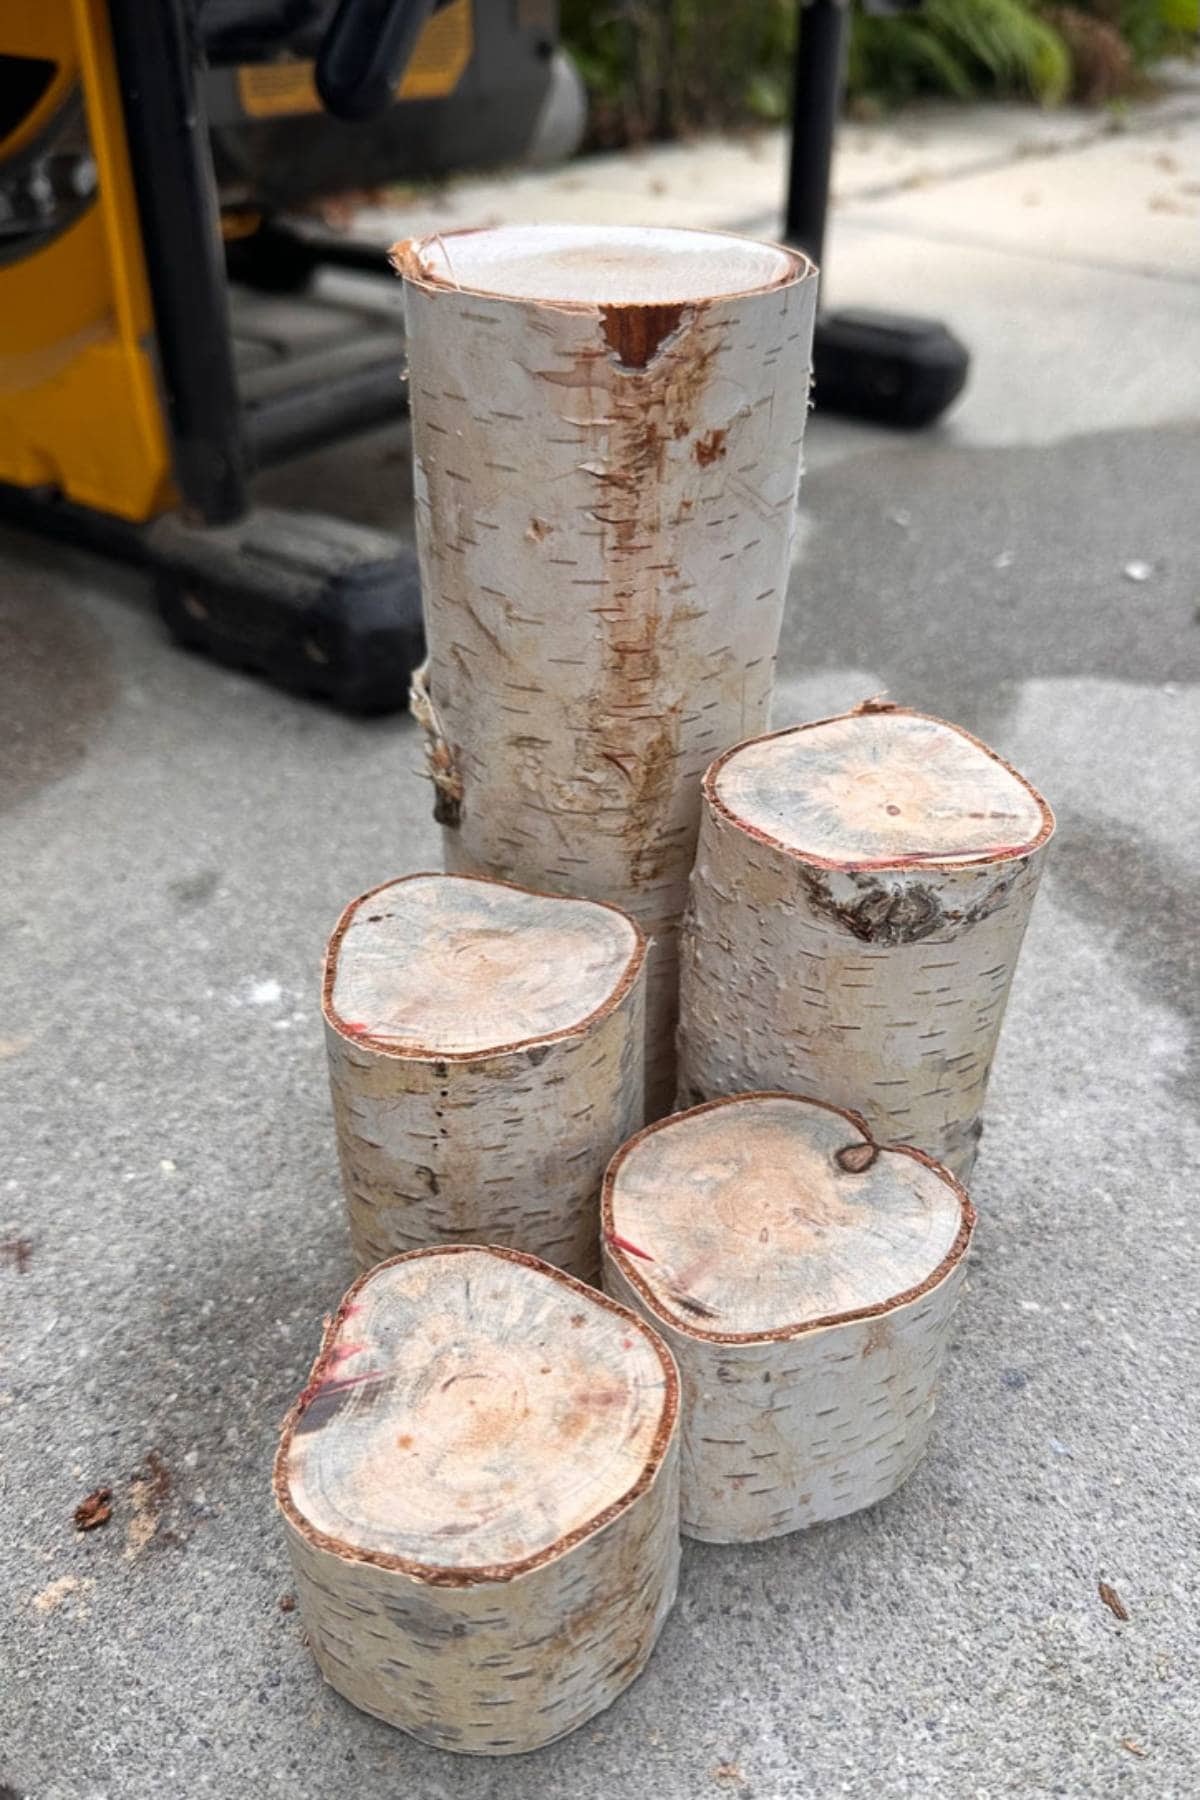
Step 1: Preparing the logs:
Use a table saw to cut small pieces of logs into various heights to create these candle holders. I cut mine to 2″, 3″, 4″, and 7″ tall.
Ensure each piece is cut at different heights and that both ends are flat so the holders sit level on the table.
Step 2: Drilling the holes:
Use a wood spade drill bit (the best tool that matches the diameter of your tealight) and drill a hole about 1/2 inch deep.
Make sure to keep the drill as level as possible for accuracy.
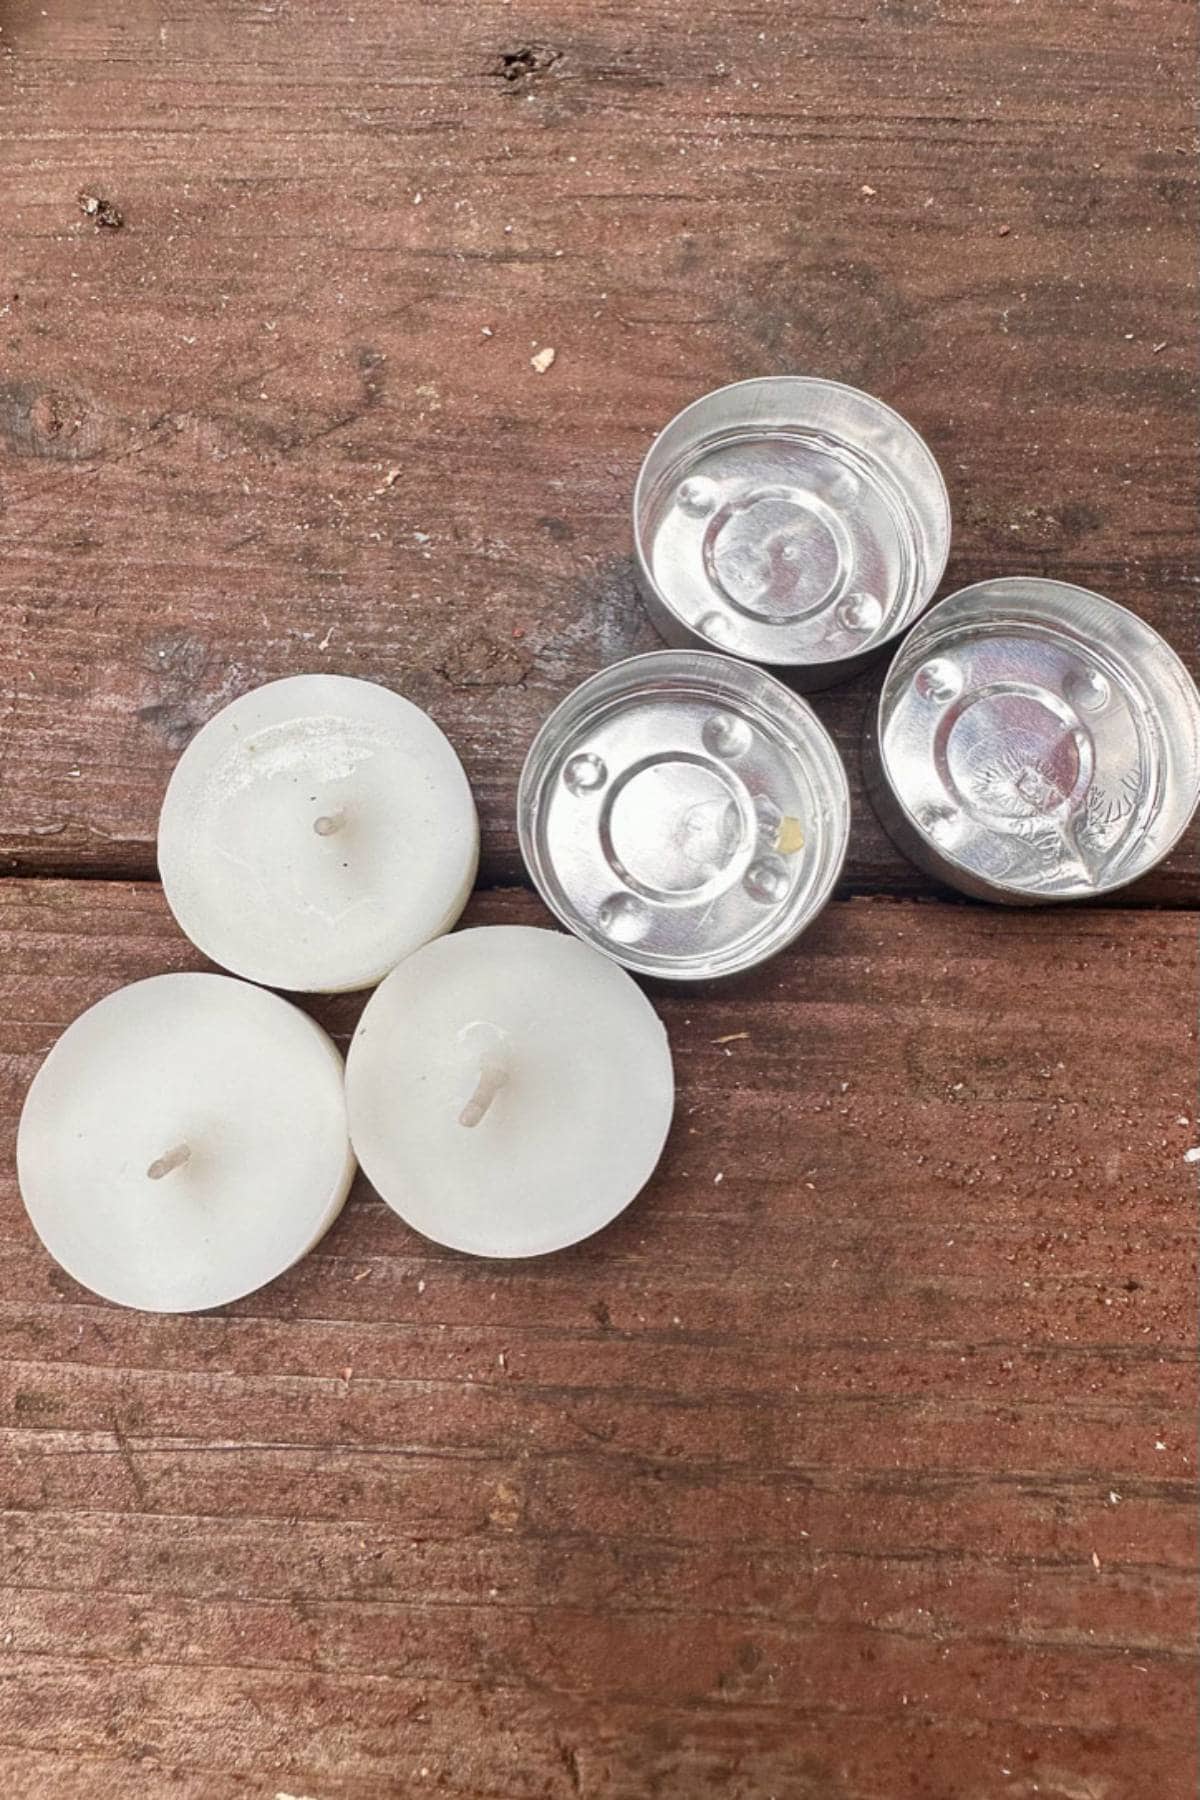
Step 3: Add a coat of spray paint:

Step 4: Adding the candles:
Replace the wax back into the cups and place them inside of the holes you drilled in the logs.
How to Make DIY Candle Holders out of Birch Logs
Learn how to create beautiful DIY candlestick holders using birchwood logs. This easy step-by-step tutorial will guide you through each step.
Materials
- Birch logs
- Small pieces of copper pipe to fit your candles
- Assortment of taper candles
- Tea light candles
- Copper spray paint
- Sawdust
Tools
- Best Tools:
- Hot glue gun
- Glue sticks
- Drill
- Drill bits
- Extension cord
- Table saw
- Small level
Instructions
- Preparing the logs: Use a table saw to cut small pieces of logs into various heights to create these candle holders. I cut mine to 2", 3", 5", and 6" tall. Make sure each piece is cut at different heights, and ensure both ends are flat so the holders sit securely on the table.
- Drilling the holes: Use a wood spade drill bit (the best tool that matches the diameter of your tealight)and drill a hole about 1/2 inch deep. Make sure to keep the drill as level as possible for accuracy.
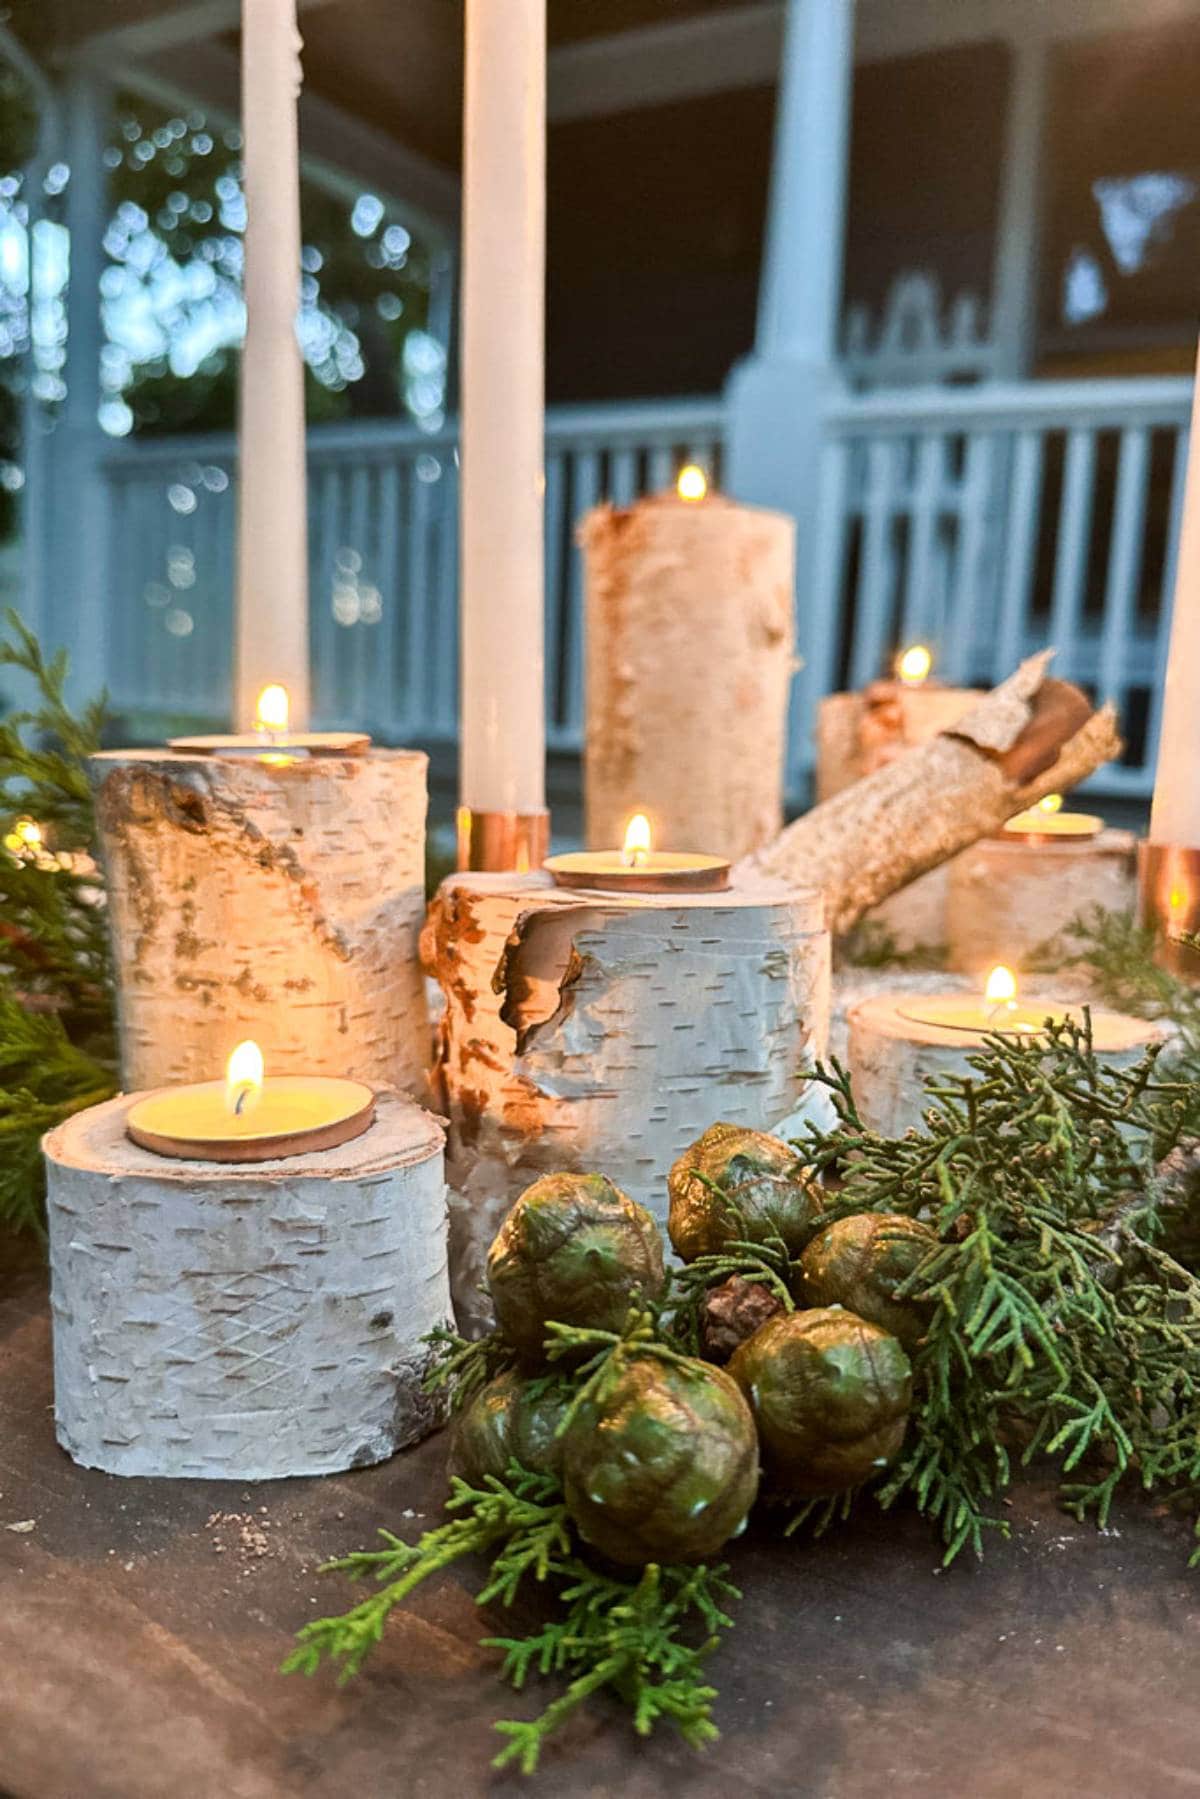
- Add a coat of spray paint: Tea lights usually come in silver, but I wanted a copper look. A quick coat of spray paint can quickly fix that! Remove the wax from the tea lights and spray paint the silver cups.
- Adding the candles: Replace the wax back into the cups and place them inside of the holes you drilled in the logs.
Optional Christmas DIY Ideas
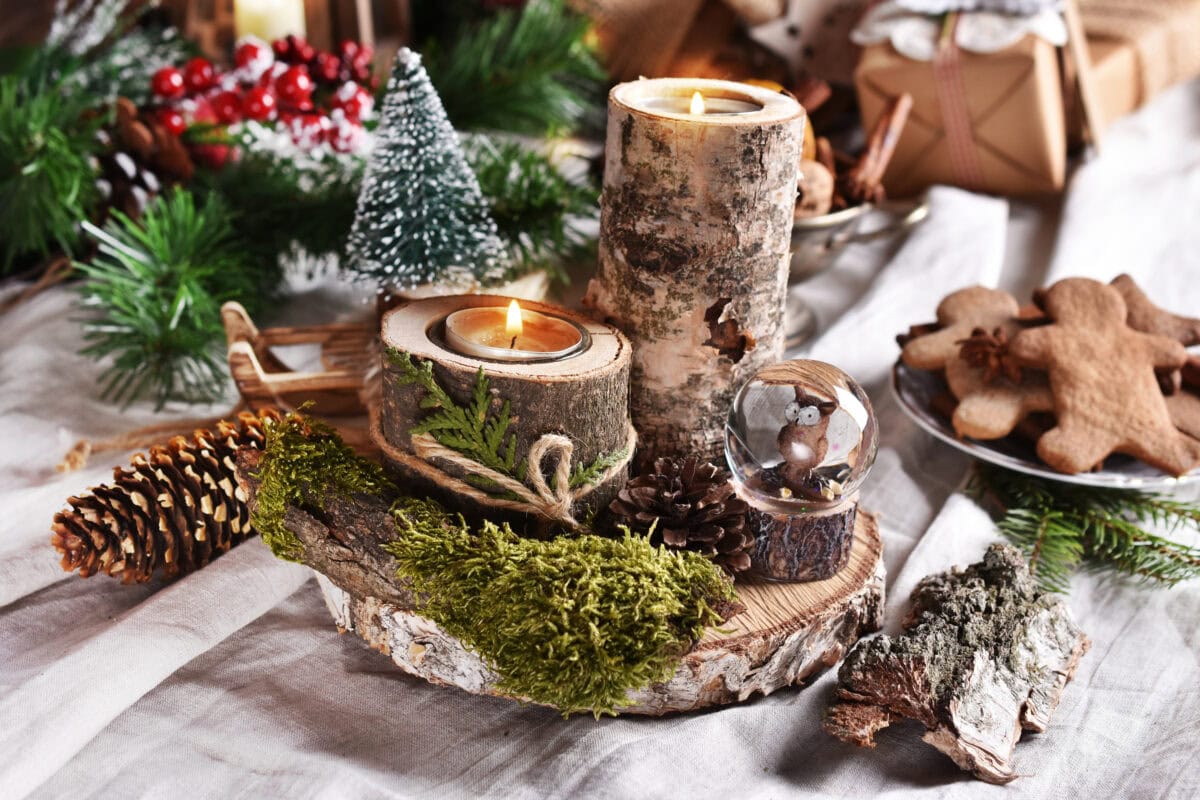
Painting or staining: You could apply a light brown stain to the wood for a warm, natural finish and then enhance it with berries and greenery for a charming touch.
Design a beautiful vignette: Create a display on a wood slice by incorporating a few candles, some moss, pinecones, and other natural elements for a cozy, rustic display.
Tip from wendy’s craft room:
You can use these DIY candle holders in many different ways, so think outside the box. Here are a few suggestions:
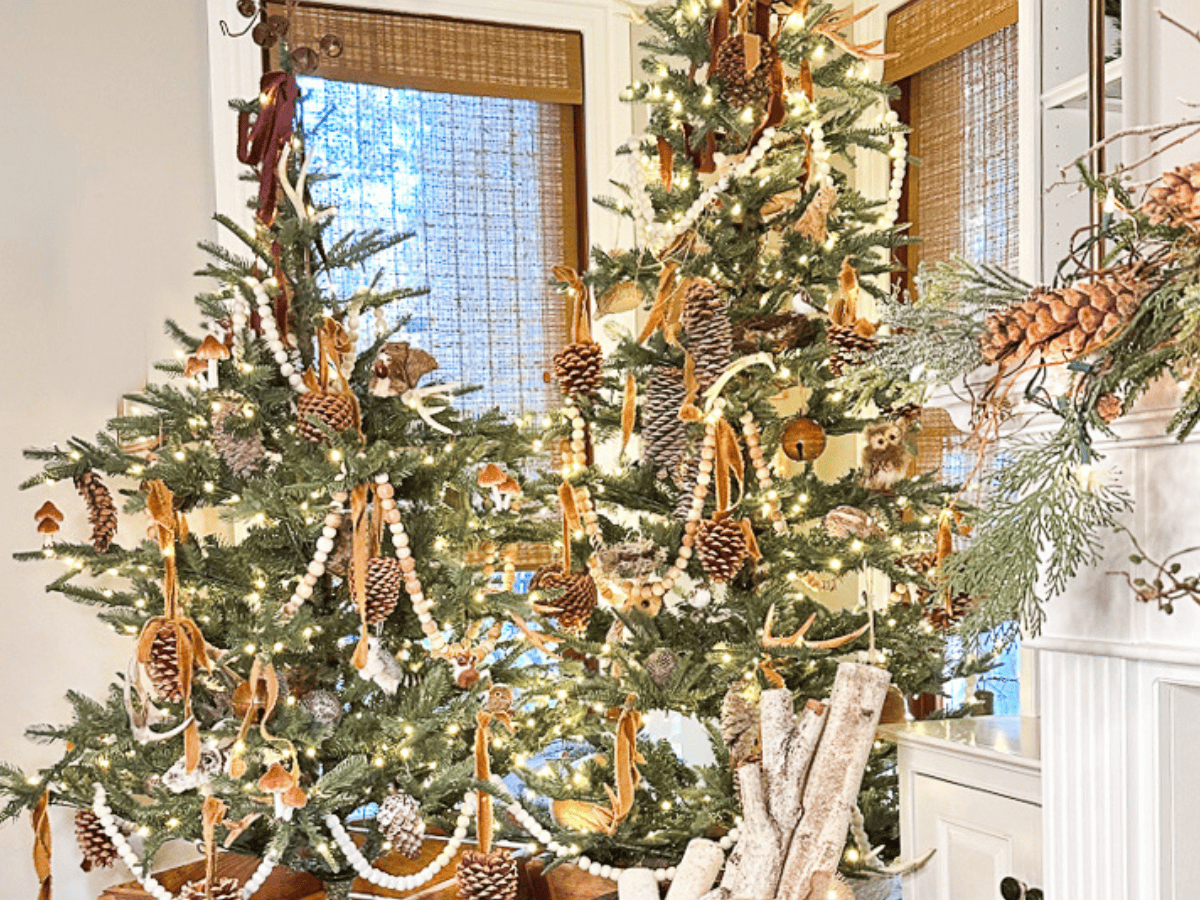
- Mantle Display: Stack a few birch candle holders on your living room mantle, pairing them with fresh greenery or garlands for a natural, cozy touch. The combination of the birch and greenery creates a warm, rustic vibe, perfect for any season.
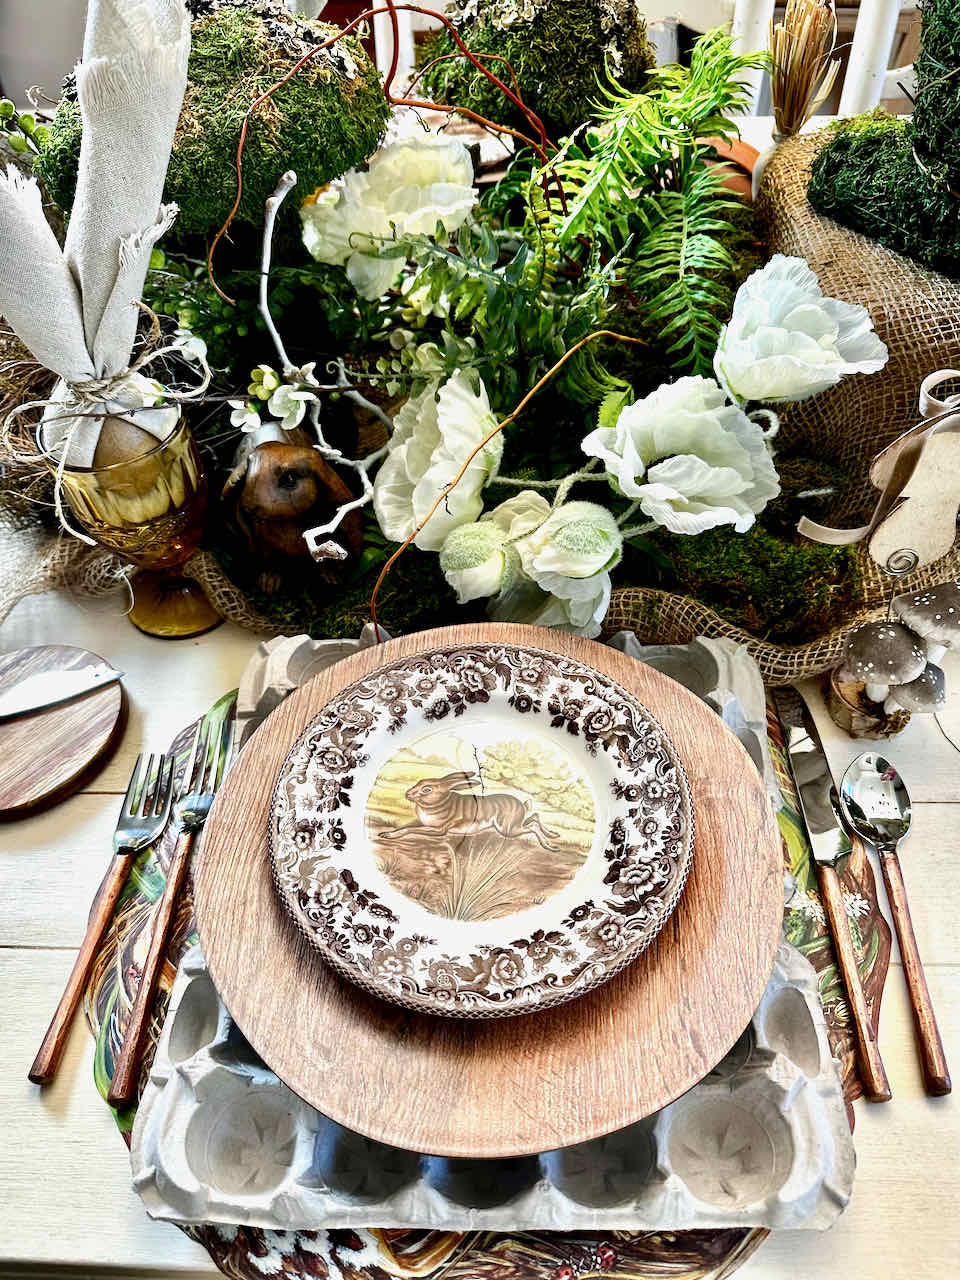
- Table Centerpiece: Arrange several birch tea light holders along the center of your dining table. Add pinecones, moss, or seasonal accents like small pumpkins for fall or ornaments and faux snow for winter to create a stunning and simple centerpiece.
- Bathroom Decor: Add a few birch candle holders to a tray in your bathroom for a spa-like atmosphere. Surround them with small pebbles, eucalyptus branches, or a dish of bath salts to complete the look.
That’s all from me for now, but there’s plenty more inspiration to explore! Be sure to visit my friend Lora at @lorabloomquist to see how she crafted a beautiful fall arrangement using her birch candle holders.
Lastly you can click on the links below to see all of the other fabulous bloggers birch log candle projects.
I hope you enjoyed this fun project and I have inspired you to get crafty.

Other Tutorials from WM Design House
If you love this DIY candle holder, you might also enjoy some of my other favorite fall projects:
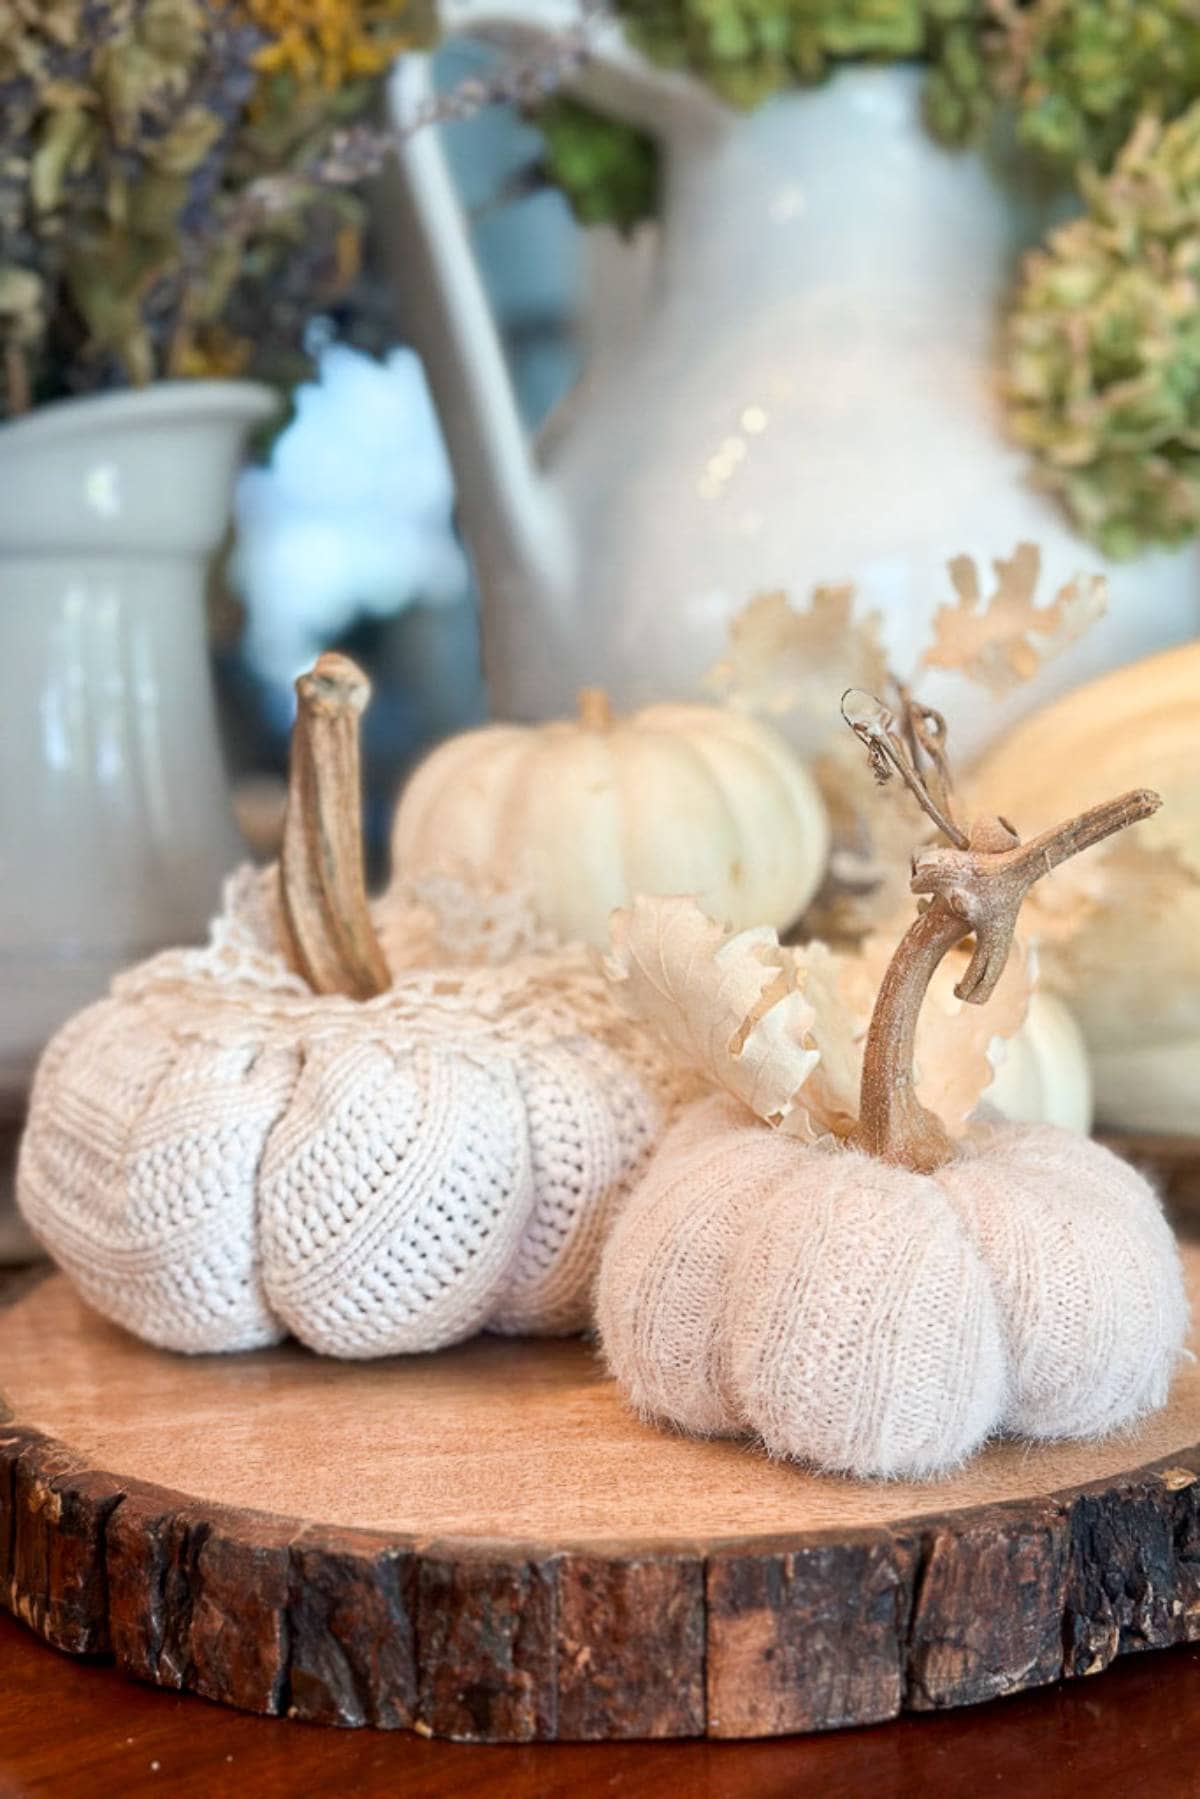
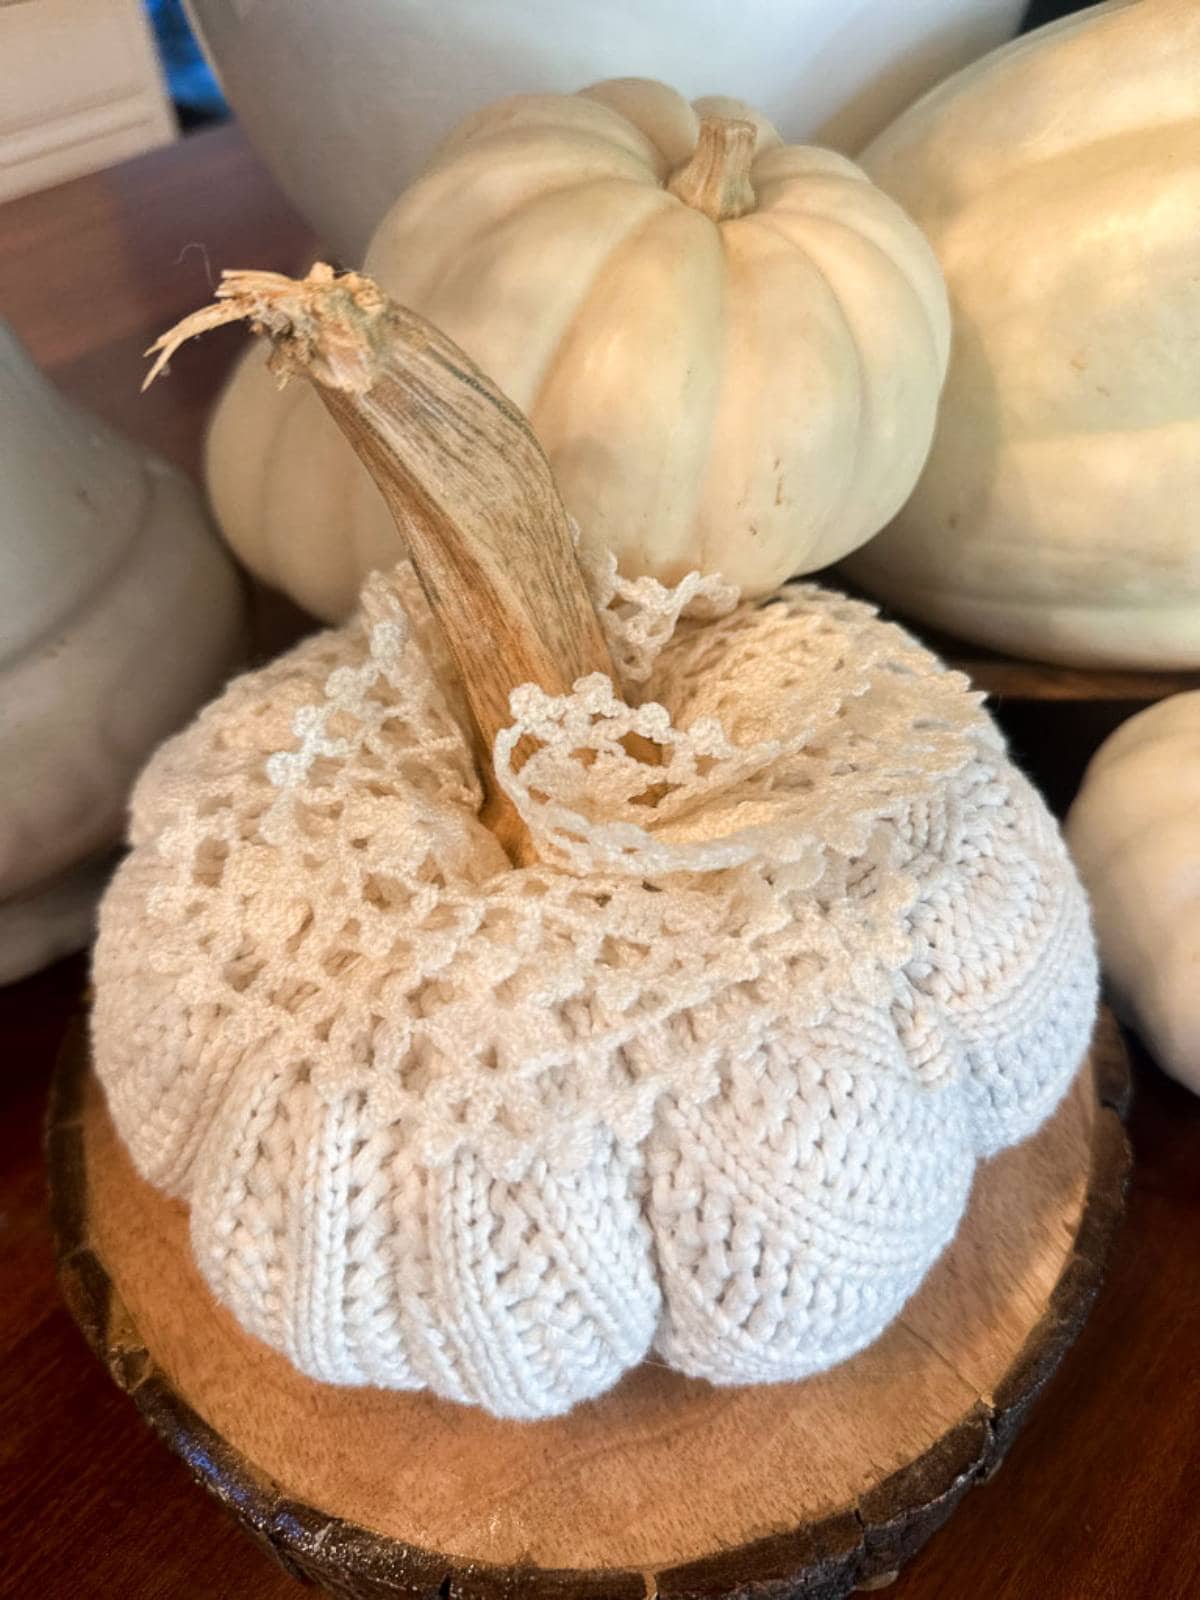
Sweater Pumpkins: How to Make the Cutest Pumpkins with Vintage Lace
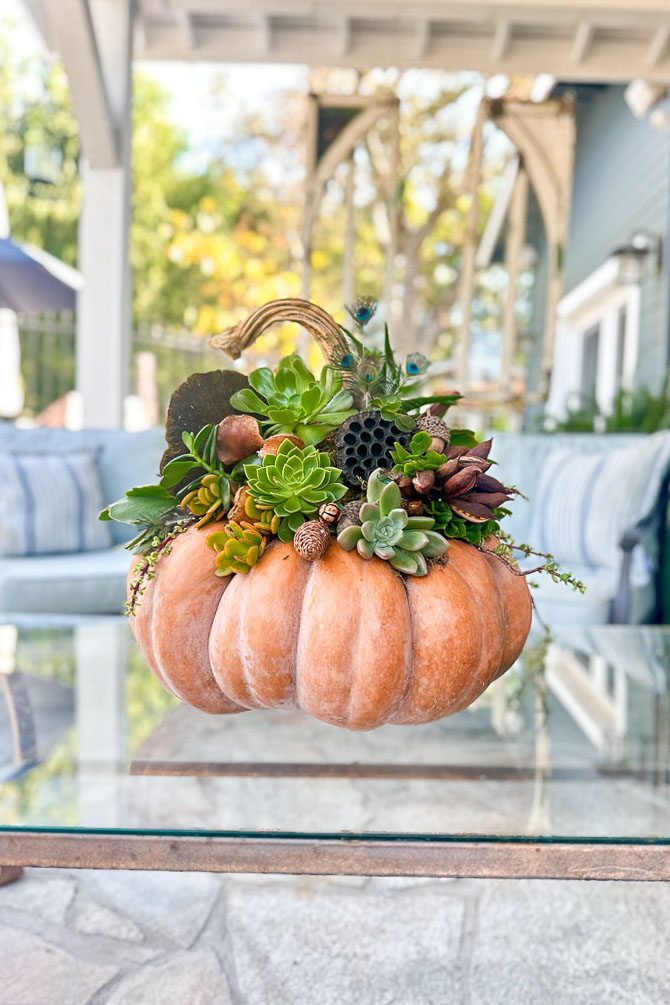
Easy Succulent Pumpkin Centerpiece: A Step-by-Step Guide
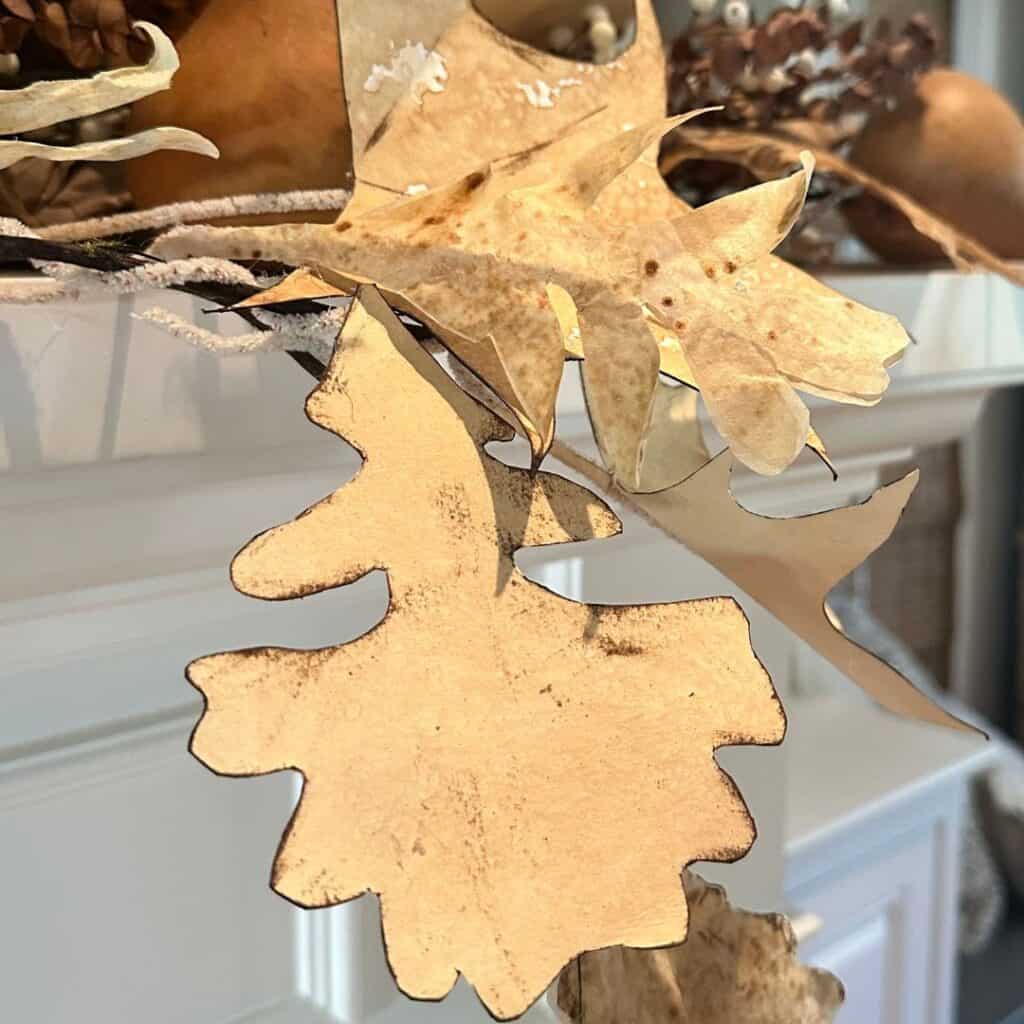
Simple DIY Fall Leaf Garland Made with Coffee Paper + Filters


Did you make this craft?
We would love to see what you have created, so mention us @wmdesignhouse or tag us using #wmdesignhouse so we can see your creations!
More about me!

Hello, I’m Wendy – a dedicated homemaker with a deep passion for decorating, gardening, cooking, and crafting. I find joy in harmonizing beautiful elements to fashion a space that is both comfortable and inspiring. I will help you create a beautiful home, one project at a time.


Perfect for the holidays!
These are beautiful! Would be such a good centerpiece for a winter wedding. Thanks for sharing!!!
Thank you so much. Yes, the would be stunning for a Christmas wedding!
These turned out beautifully! So perfect for the holidays.
It’s simply stunning Wendy, the copper adds such an elegant touch to the rustic branches! Love it! Pinned xx
Thank you, Cindy!
I would love to make one of these too! I love the addition of the copper tubes. And I think it looks stunning in so many places! Glad you could join us. pinned
Great idea to use sections of copper pipe to hold the taper candles, Wendy. And I love how you paired the horizontal and vertical birch branch candles together. So pretty!
Excellent tutorial Wendy! Using the copper pipe for the candle holders is a brilliant idea! I may try this with an oak log. Thanks so much for the inspiration! Pinning!
Looks great, Wendy. Love the natural vibe! 🍁
Thanks so much, Kathy!
Wendy, my son was looking for a similar arrangement for his rehearsal dinner centerpiece. I LOVE the idea of using copper tubing to hold the candles in place. Truly brilliant~ pinning and highlighting in my IG stories.
This is a stunning project, Wendy! LOVE the copper tubes you used to hold the tapers…such a pretty touch!
These are beautiful Wendy! I love your creativity!