
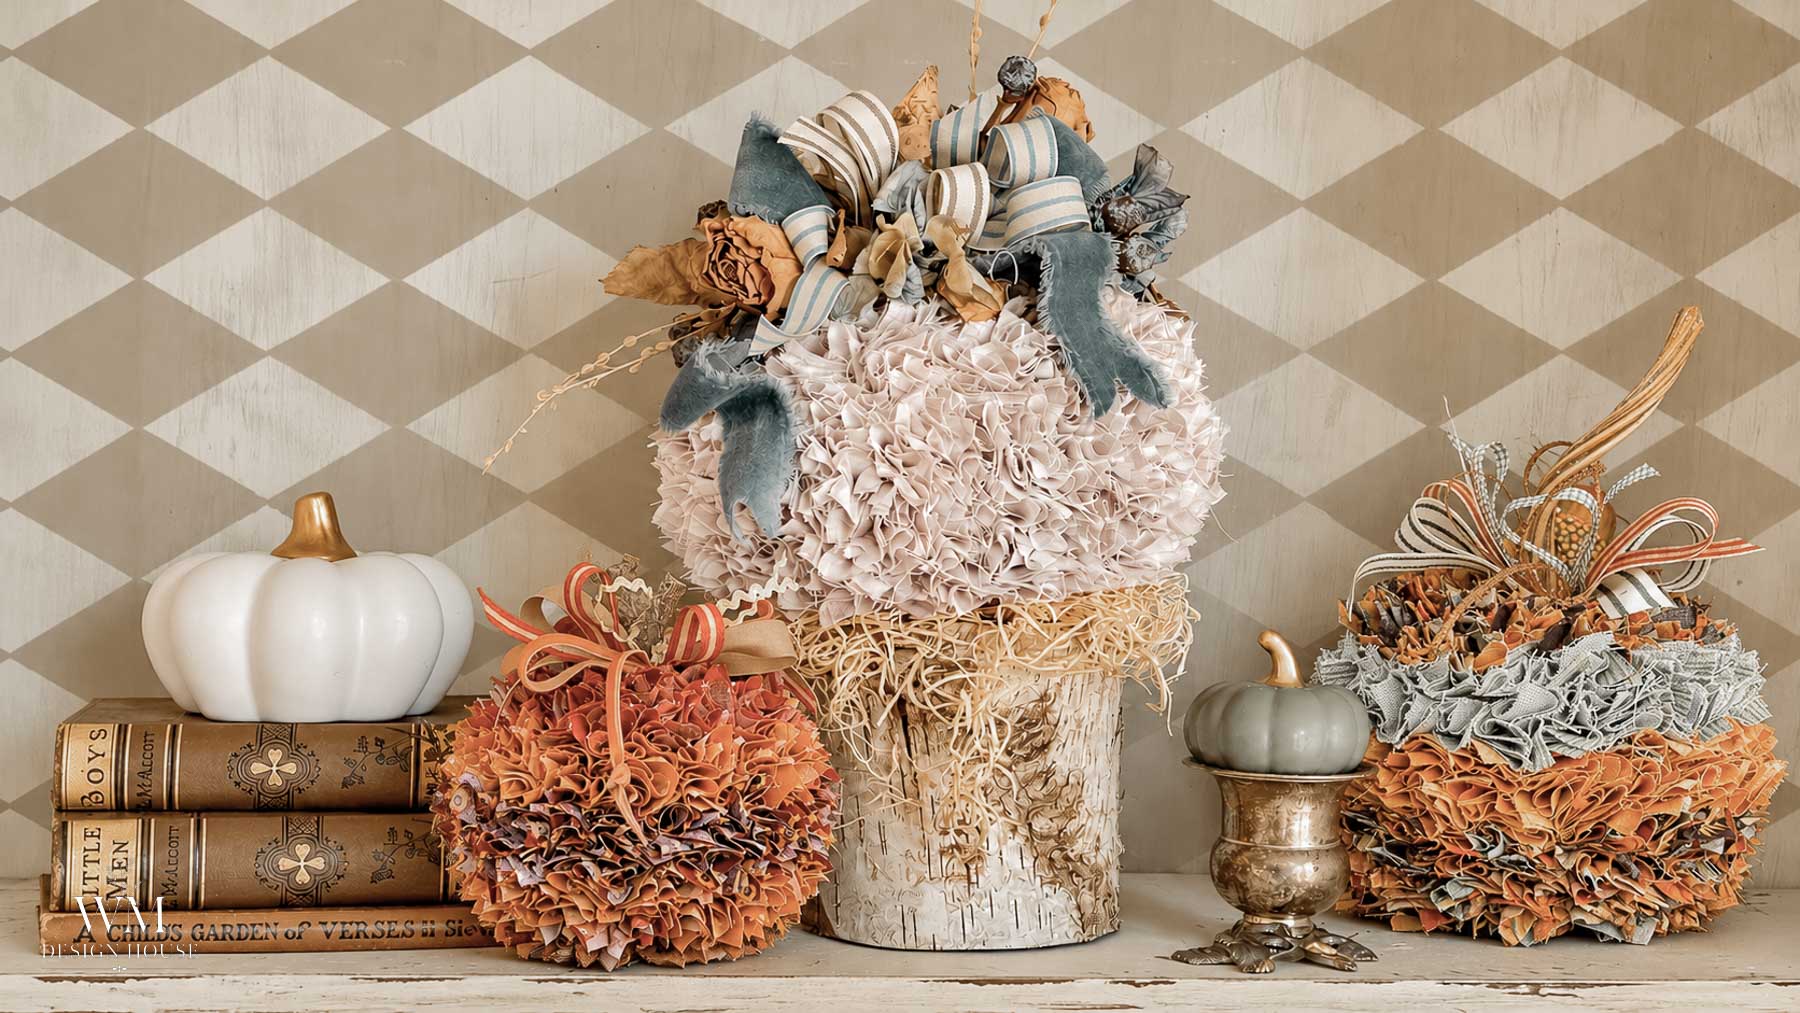
Learn how to make no sew fabric pumpkins with a foam pumpkin, a pile of fabric squares, and a knitting needle. There is no thread, no stitching, and no sewing machine. You simply poke each square into the pumpkin until it is covered in soft, ruffled fabric.
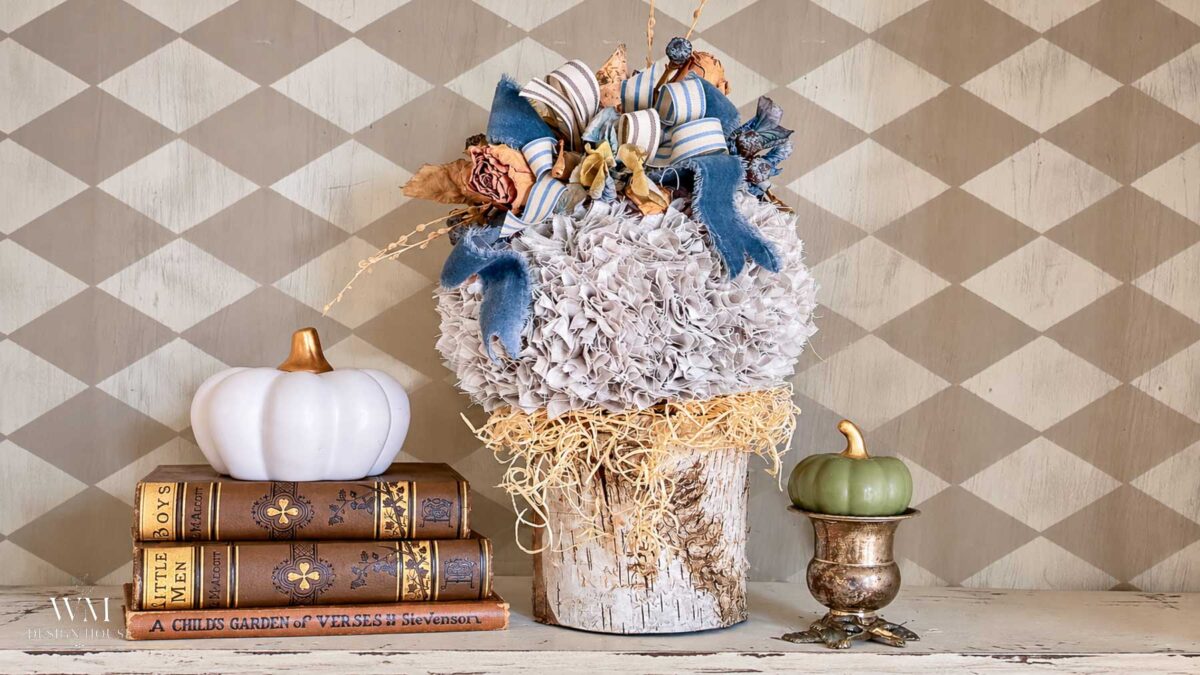
This is one of those relaxing projects you can settle into with a cup of coffee or work on in front of a movie. There is a nice rhythm to it once you get going, and you can pick it up and put it down whenever you have a few minutes.
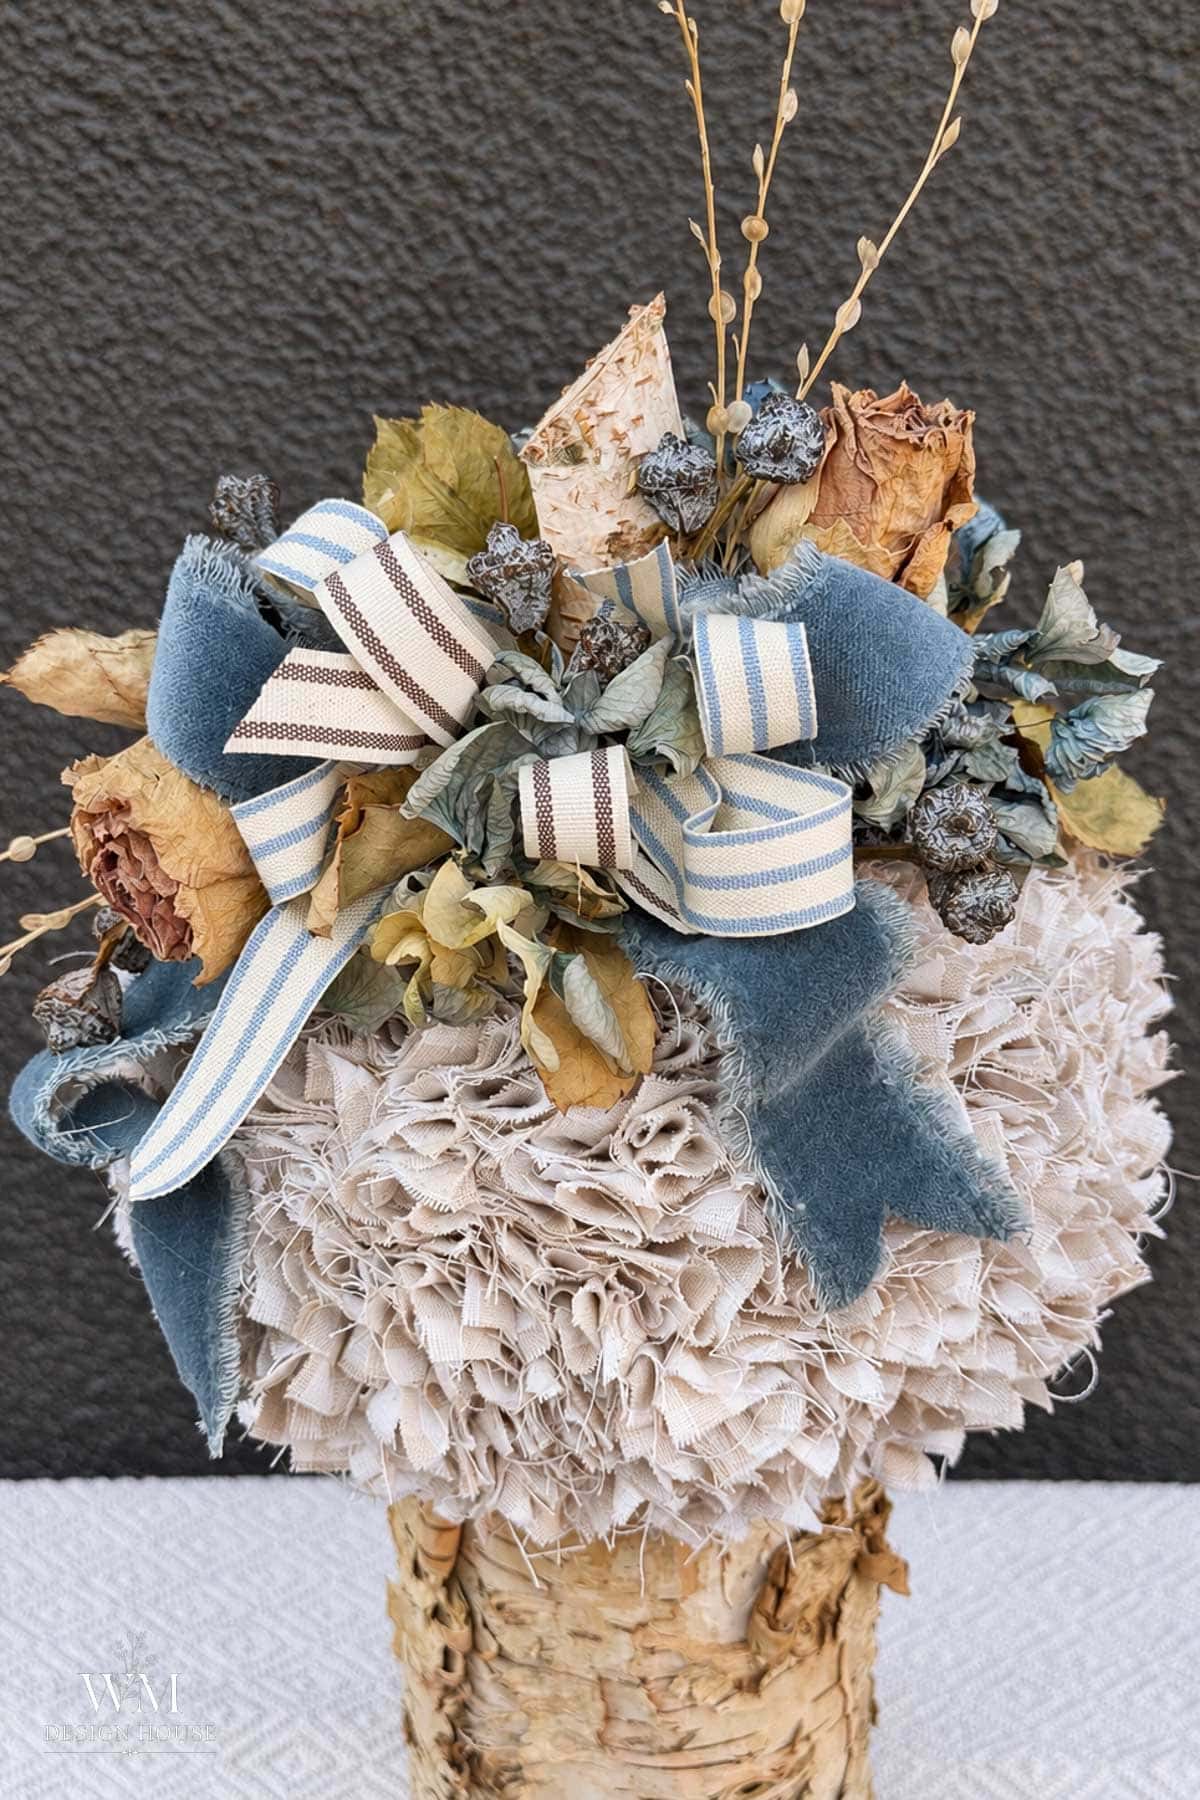
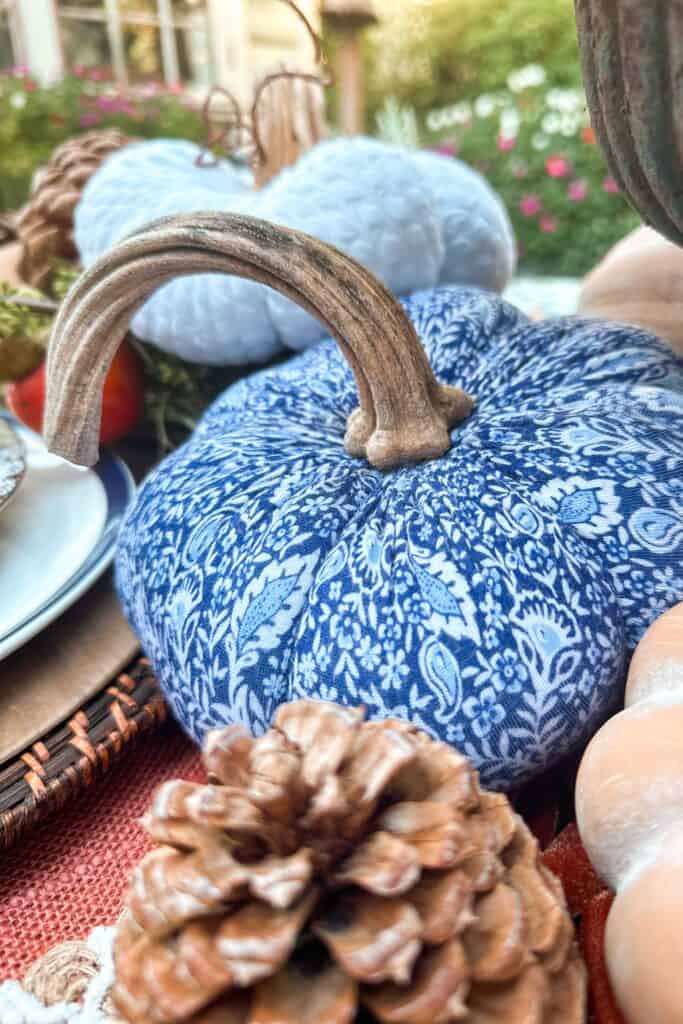
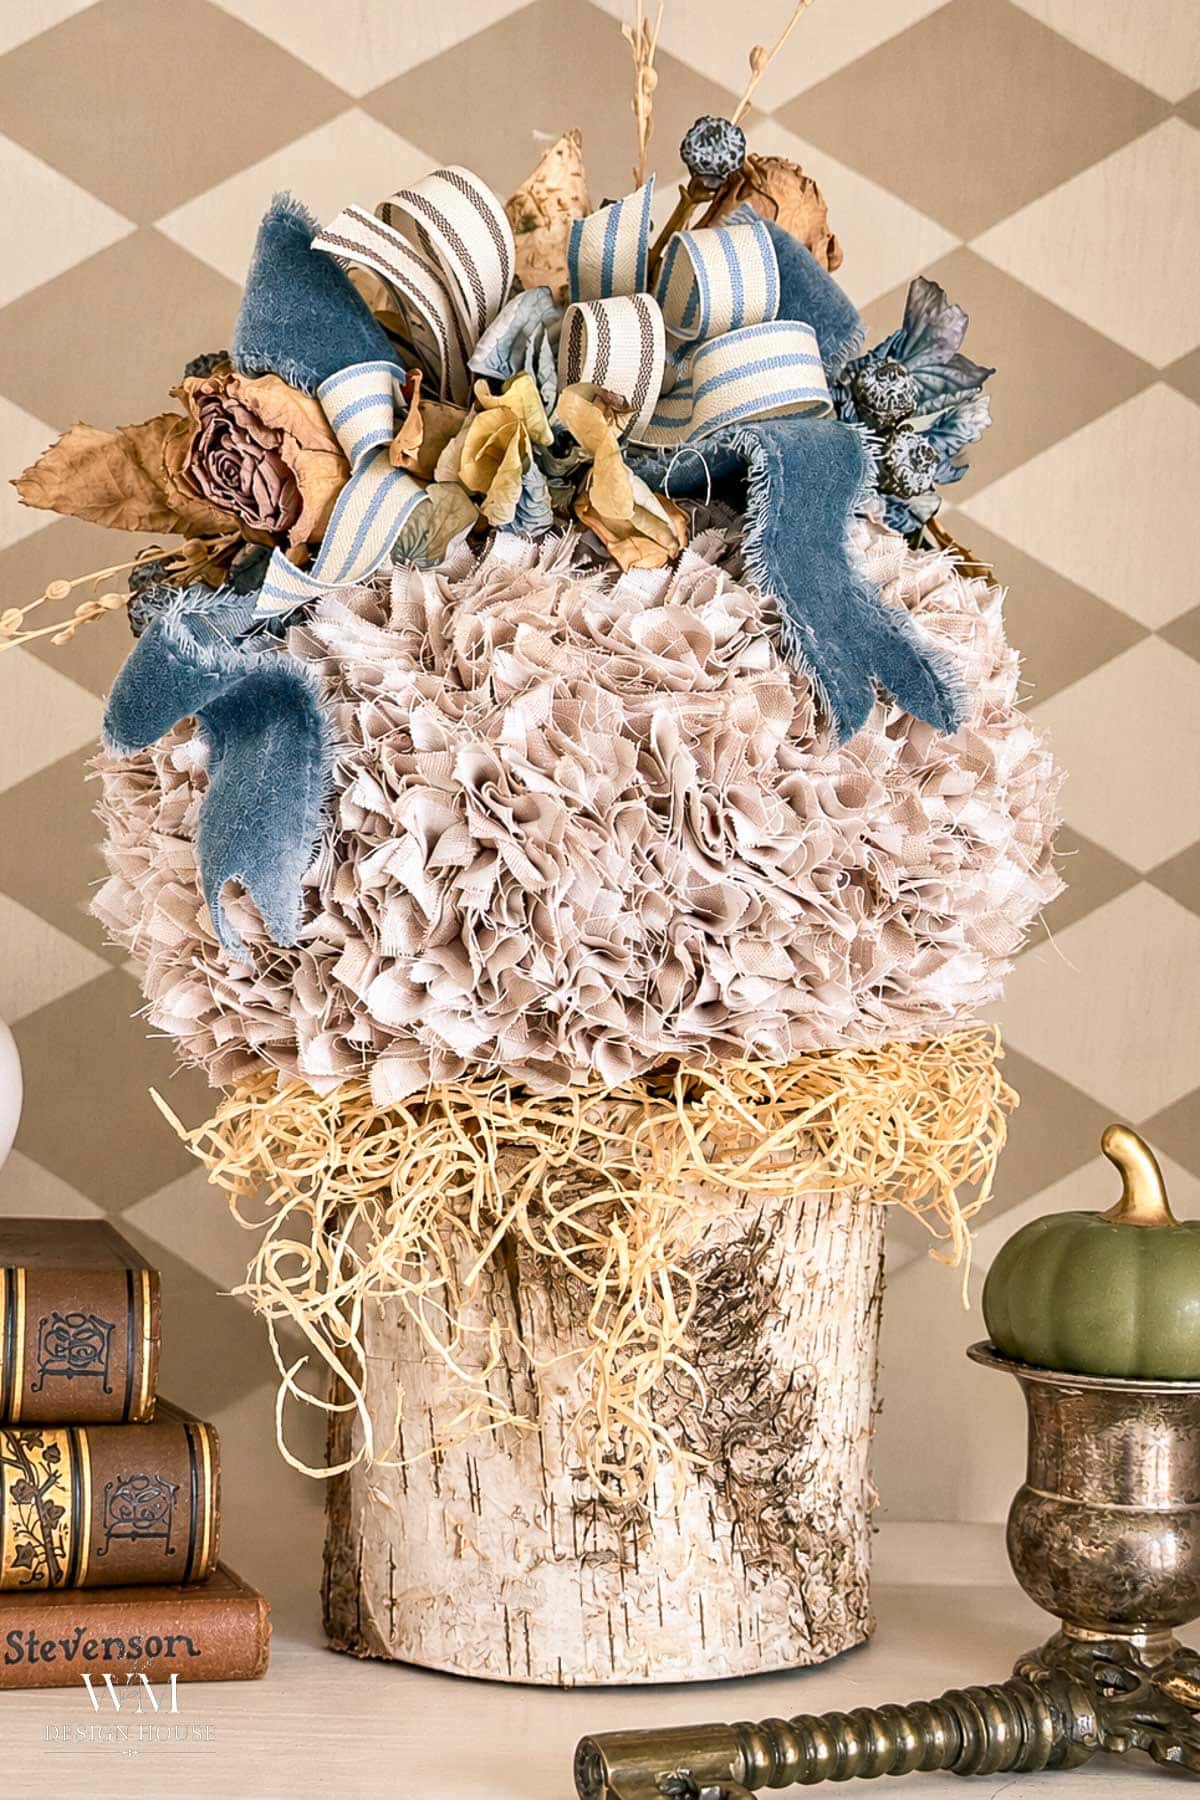
My friend Kathy taught me how to make these on a recent trip to Northern California. We sat and worked on them side by side, and before long we had a whole patch between us. I made mine in a neutral tan and white check and topped it with dried hydrangeas from the garden and a blue velvet bow. Kathy made the more colorful ones, and you will see those at the end.
On my blog WM Design House, I may sometimes use affiliate links, which means a small commission is earned if you purchase via the link. The price will be the same whether you use the affiliate link or go directly to the vendor’s website. Read my full disclosure policy here.
Jump to RecipeWhy You Will Love These No Sew Fabric Pumpkins
- Truly no sew. If you can poke a knitting needle into foam, you can make this.
- Simple supplies. A foam pumpkin, fabric, and something to poke with.
- Easy to carry around. Take it with you and work on it a little at a time.
- Neutral or colorful. One method works with any fabric you love.
- Lasts for years. Foam and fabric will not rot like a real pumpkin.
Supplies for A Rag Pumpkin
- 6 inch foam pumpkin (mine came from Hobby Lobby)
- 1 1/4 to 1 1/3 yards of 100% cotton fabric (I used a taupe and white check)
- Rotary cutter and cutting mat
- Plastic knitting needle
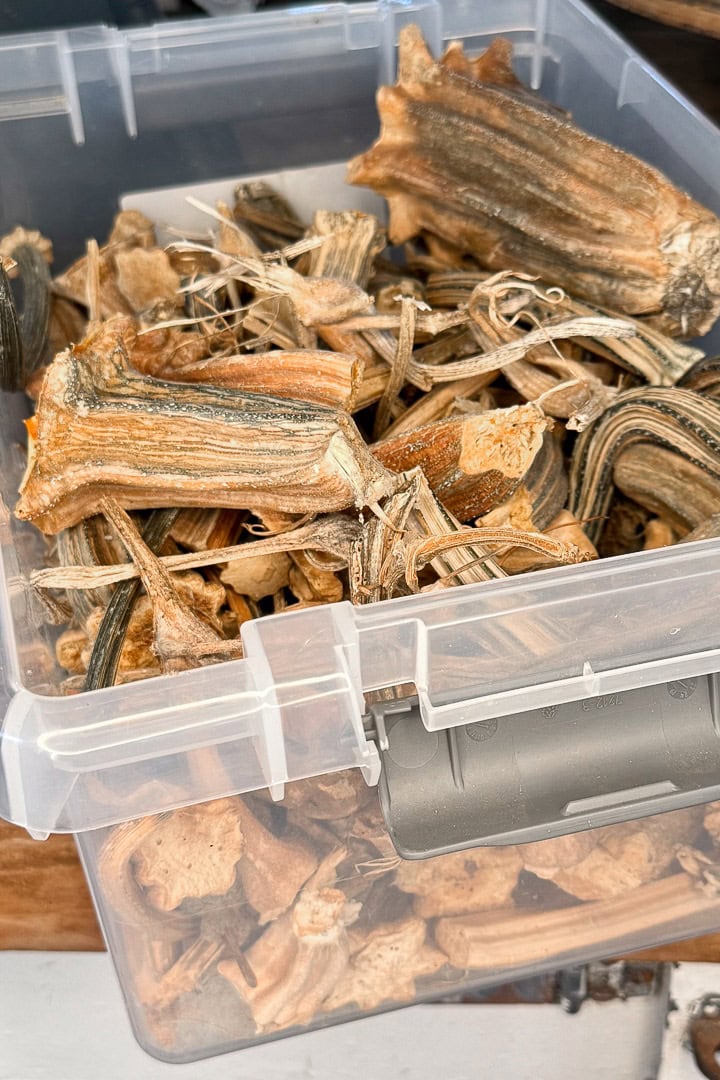
- A piece of birch wood cut on an angle, or a dried pumpkin stem
- Hot glue gun and glue sticks
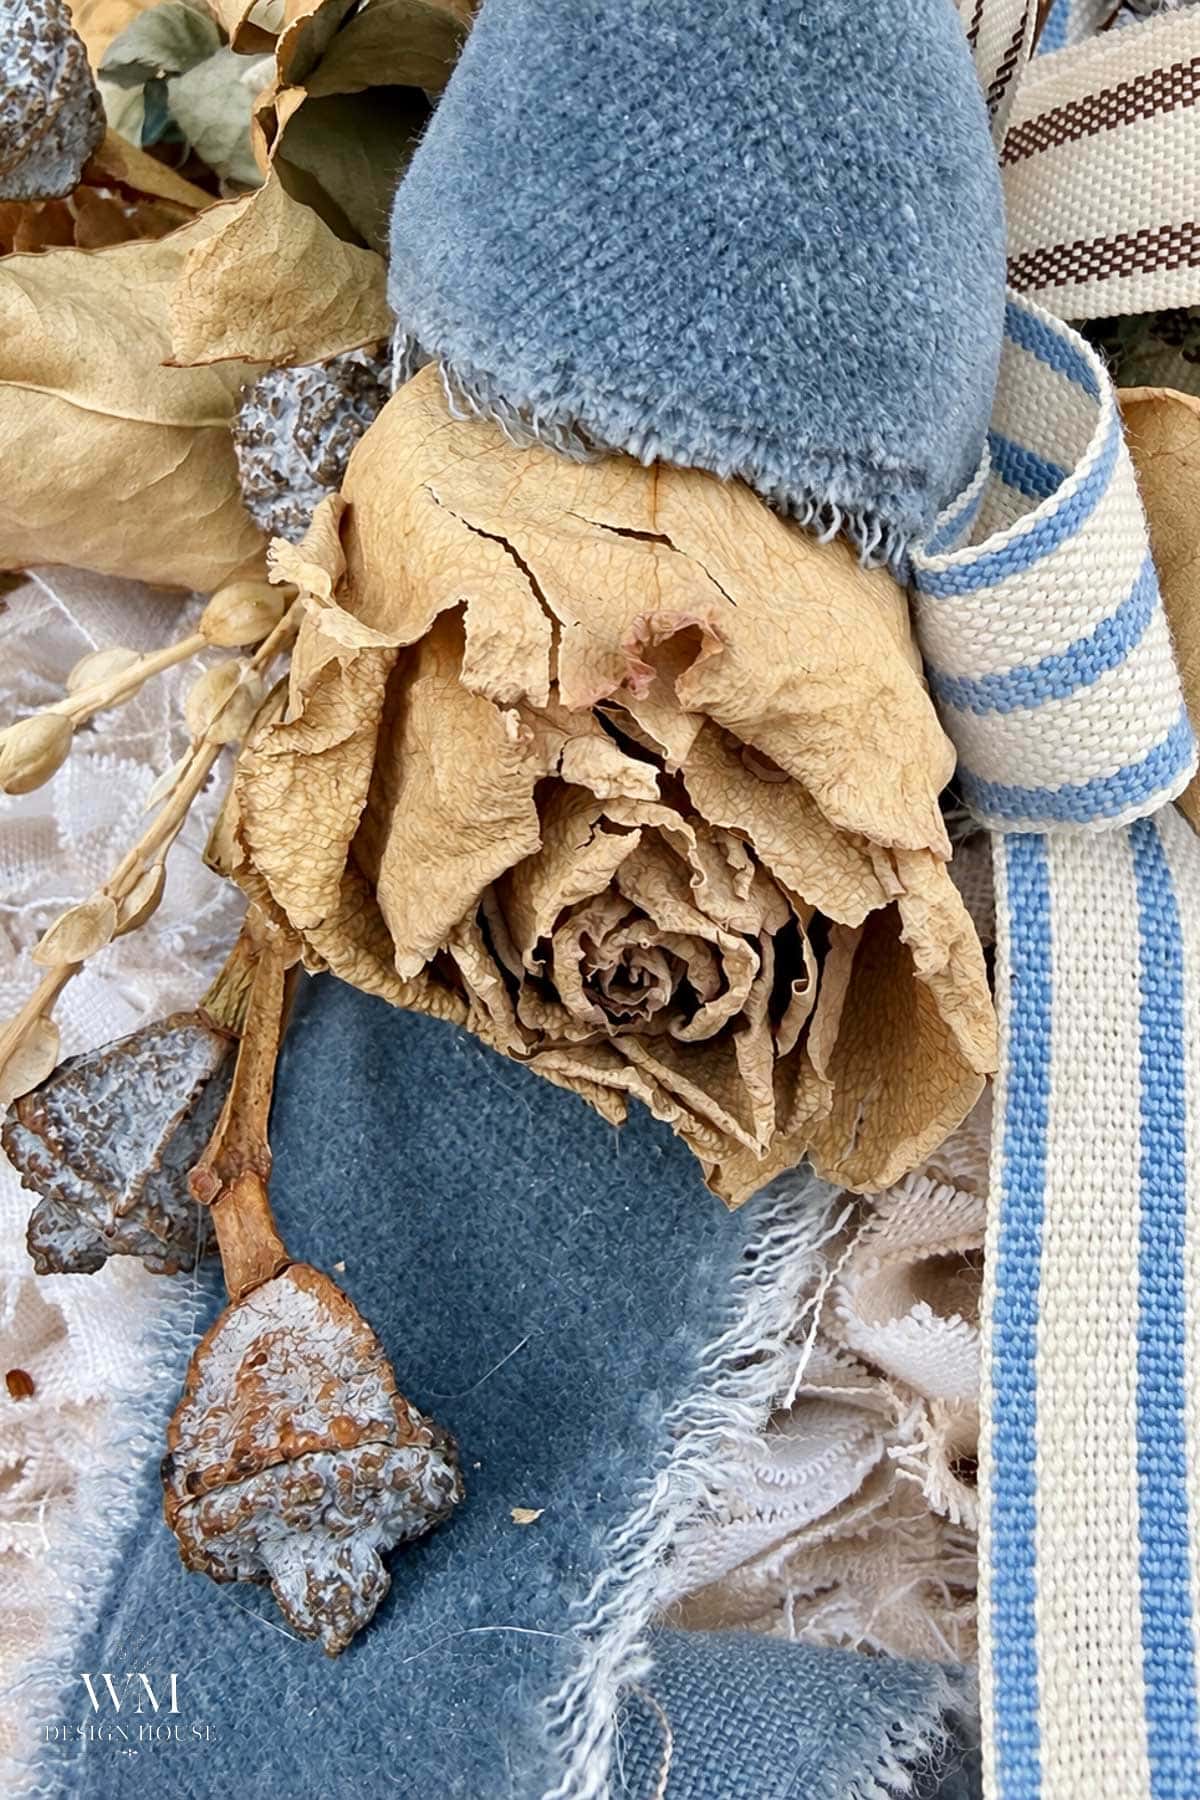
- Dried hydrangeas
- Ribbon, including velvet ribbon for the bow
- Dried eucalyptus pods (Eucalyptus globulus, also called blue gum)
Tip from wendy’s craft room:
Choose a fabric with lines. A check or a stripe gives you a built-in cutting guide, so you can cut a yard of fabric into 2 inch squares quickly without measuring every cut.

How to Make No Sew Fabric Pumpkins Step by Step
Here is exactly how I made my no sew fabric pumpkin, from cutting the squares to dressing up the top. Once you see how simple it is, you will want to make a whole patch.
Step 1: Cut the Fabric into 2 Inch Squares
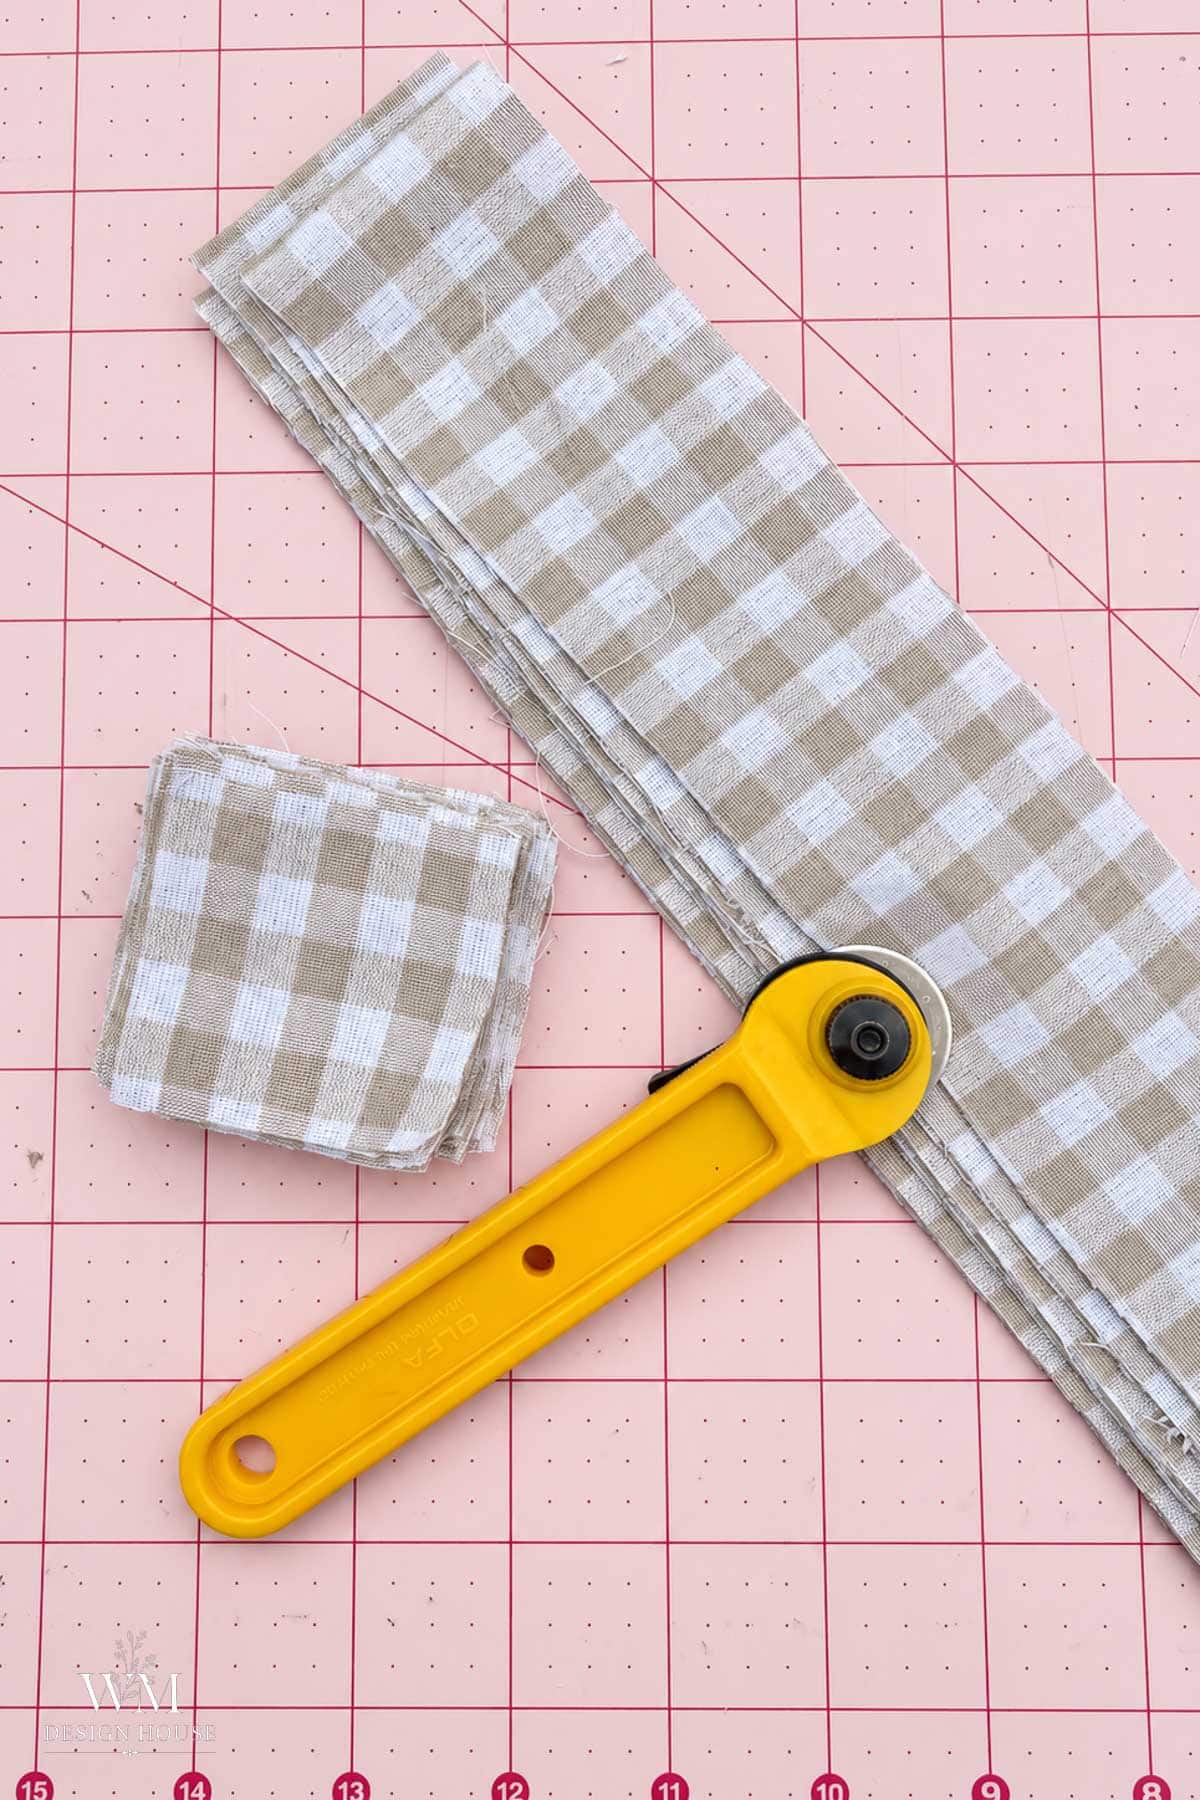
Using a rotary cutter and mat, cut your fabric into strips and then into 2 inch squares. You will need 1 1/4 to 1 1/3 yards of 100% cotton fabric for a 6 inch pumpkin.
I used a checked fabric, which made cutting very easy because I could follow the lines. Any pattern with lines, like a check or a stripe, is easier to cut than a solid.
Step 2: Remove the Plastic Stem
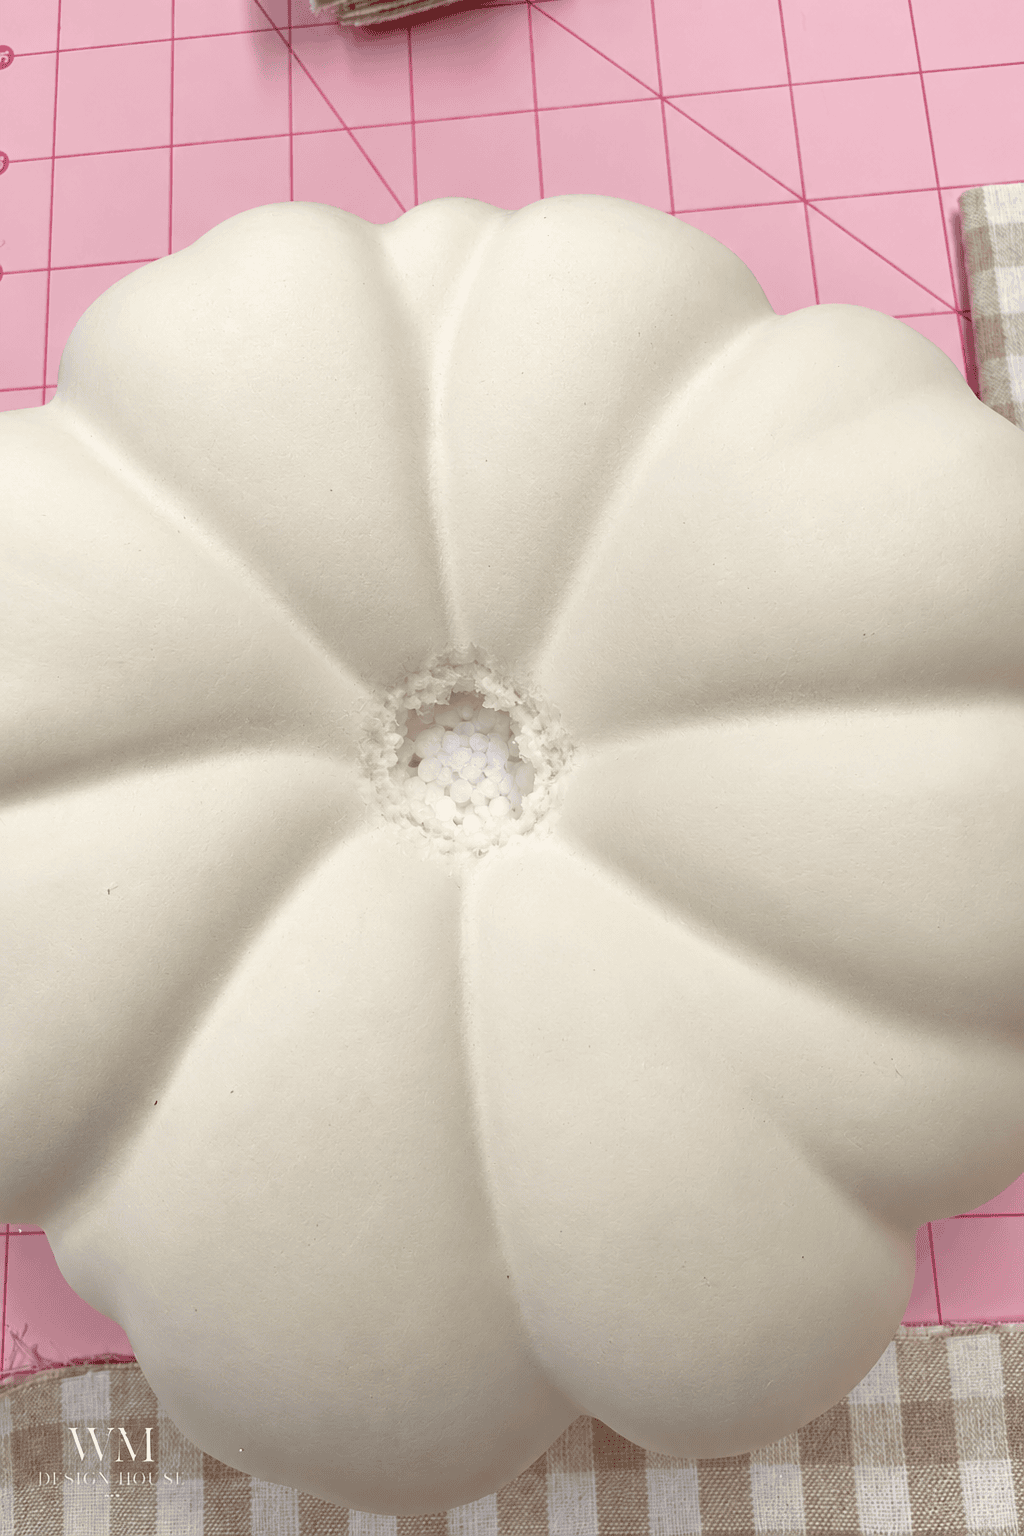
Pull the plastic stem off the foam pumpkin. You will replace it with something prettier at the end.
Step 3: Poke the Squares into the Pumpkin
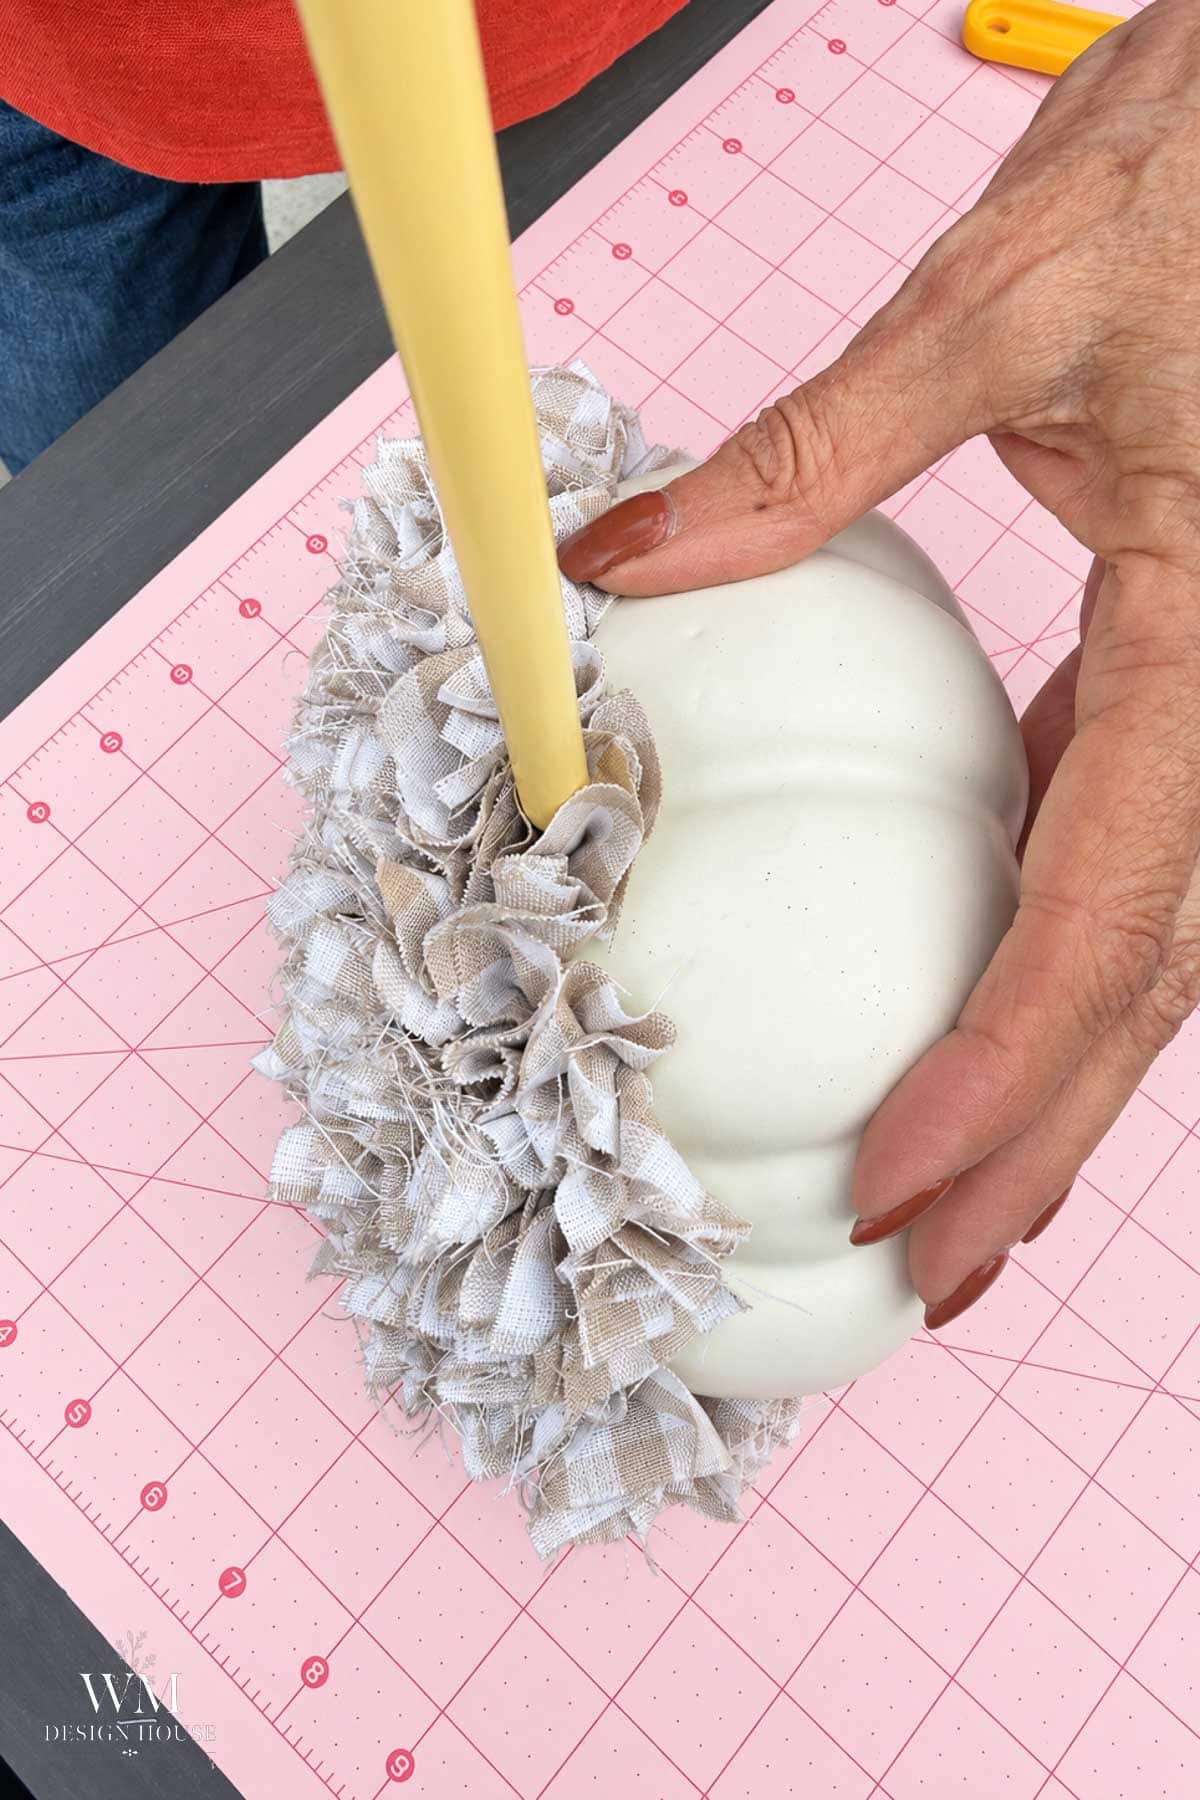
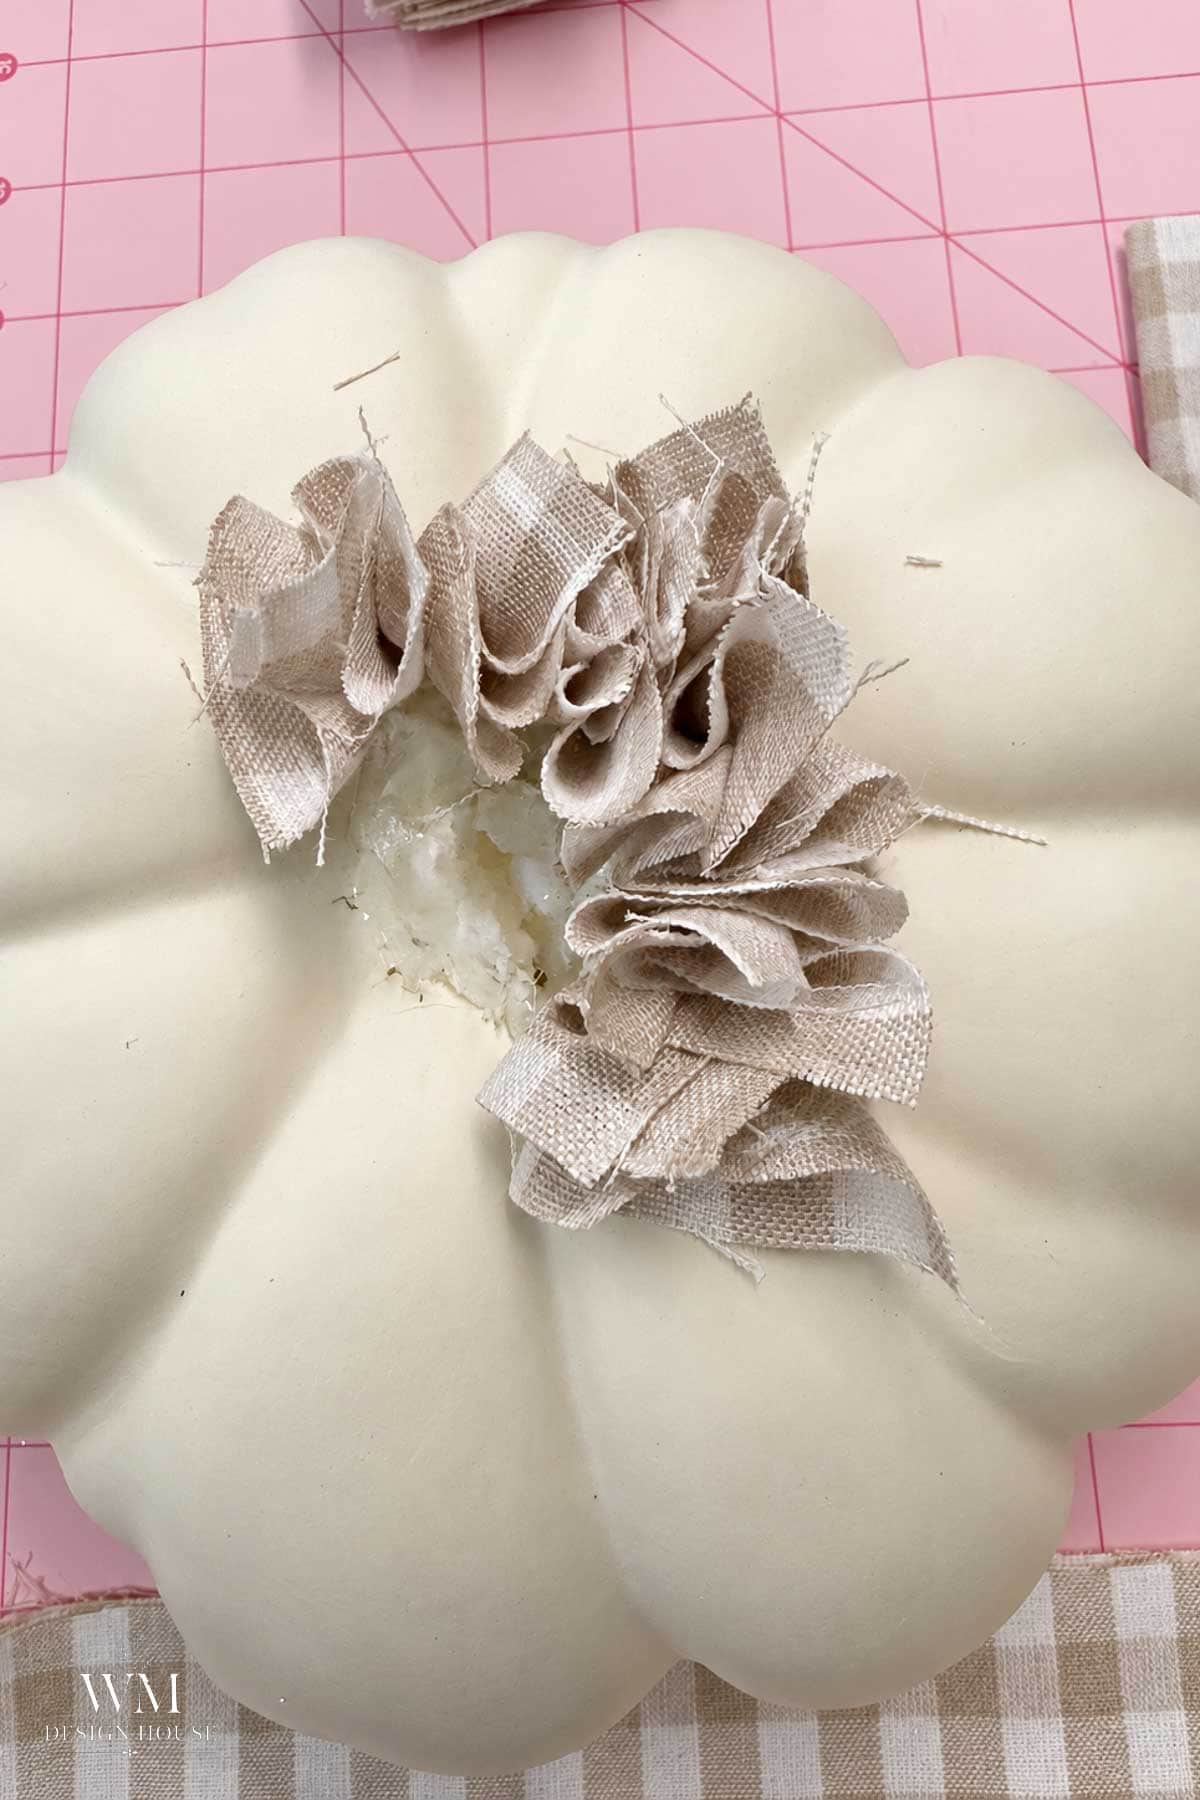
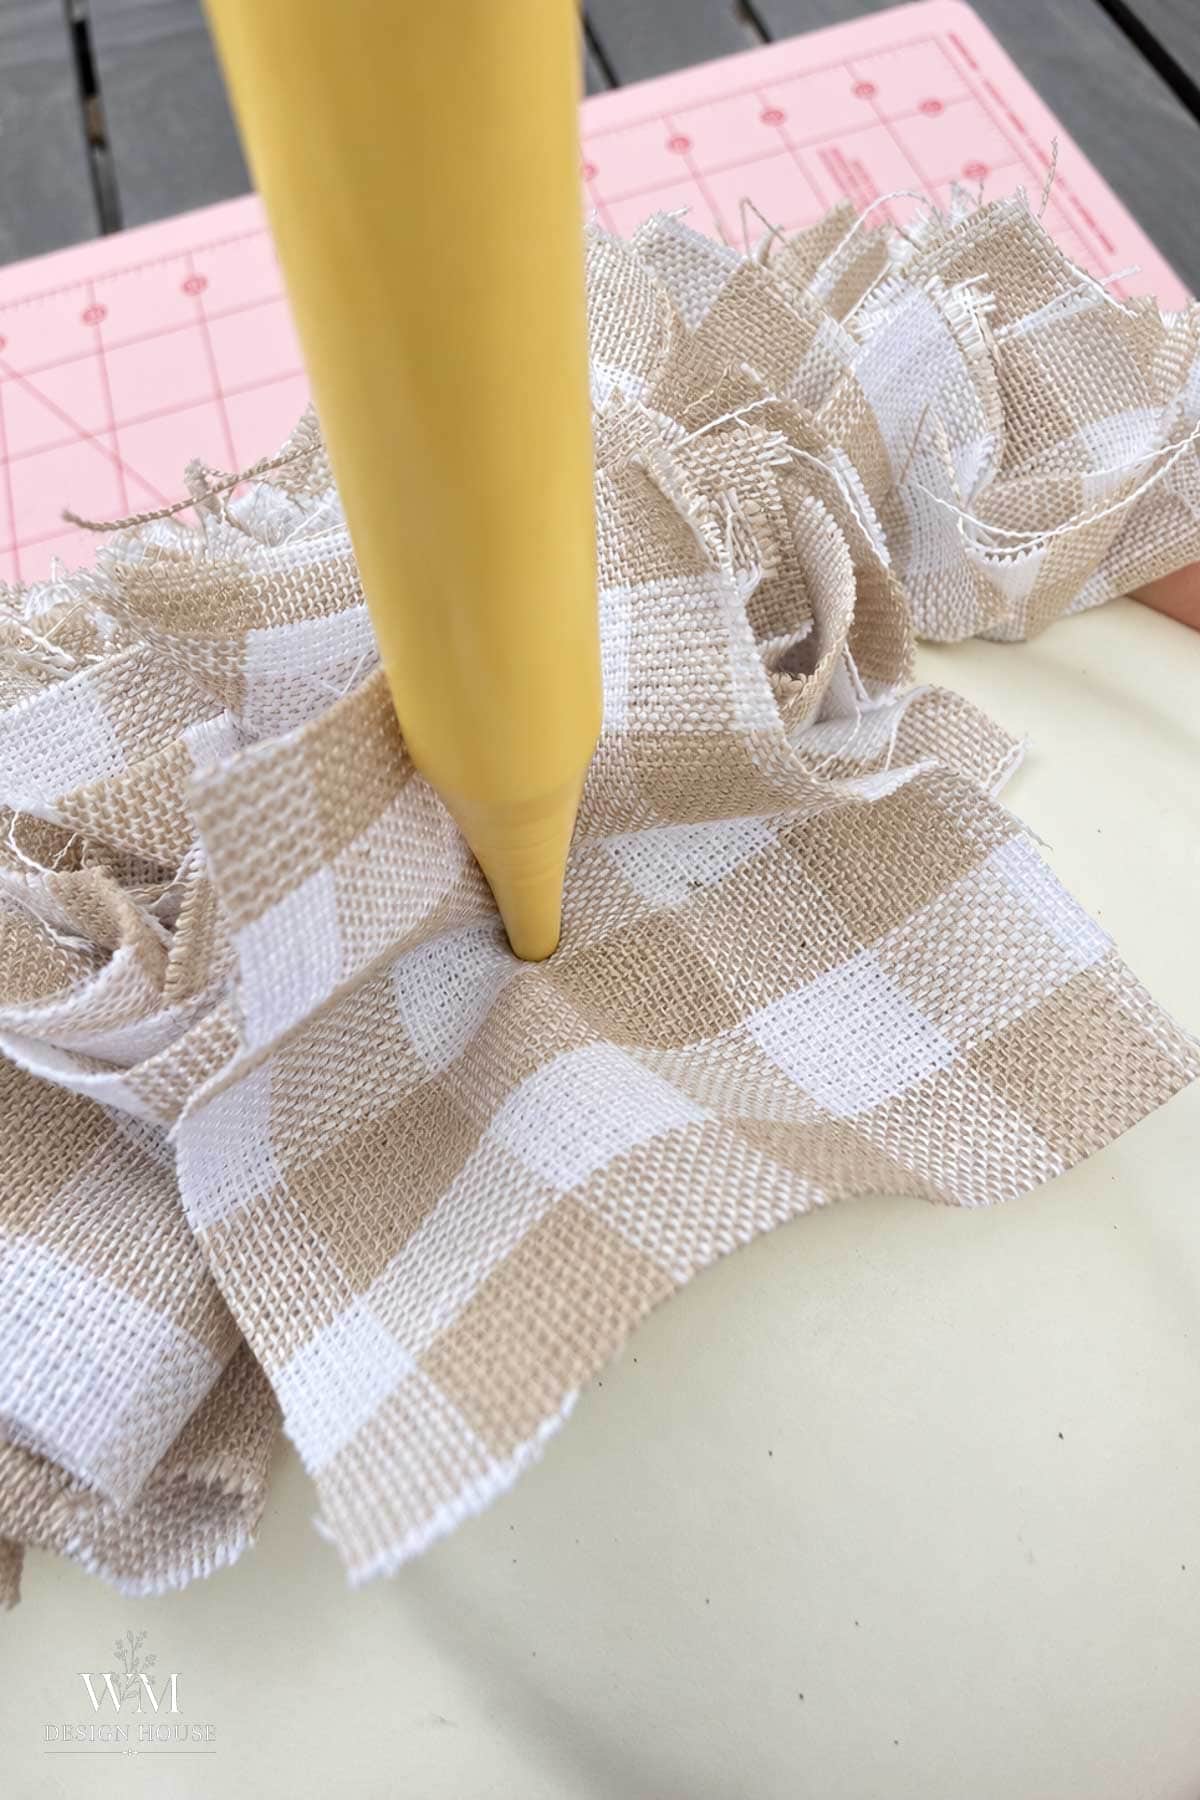
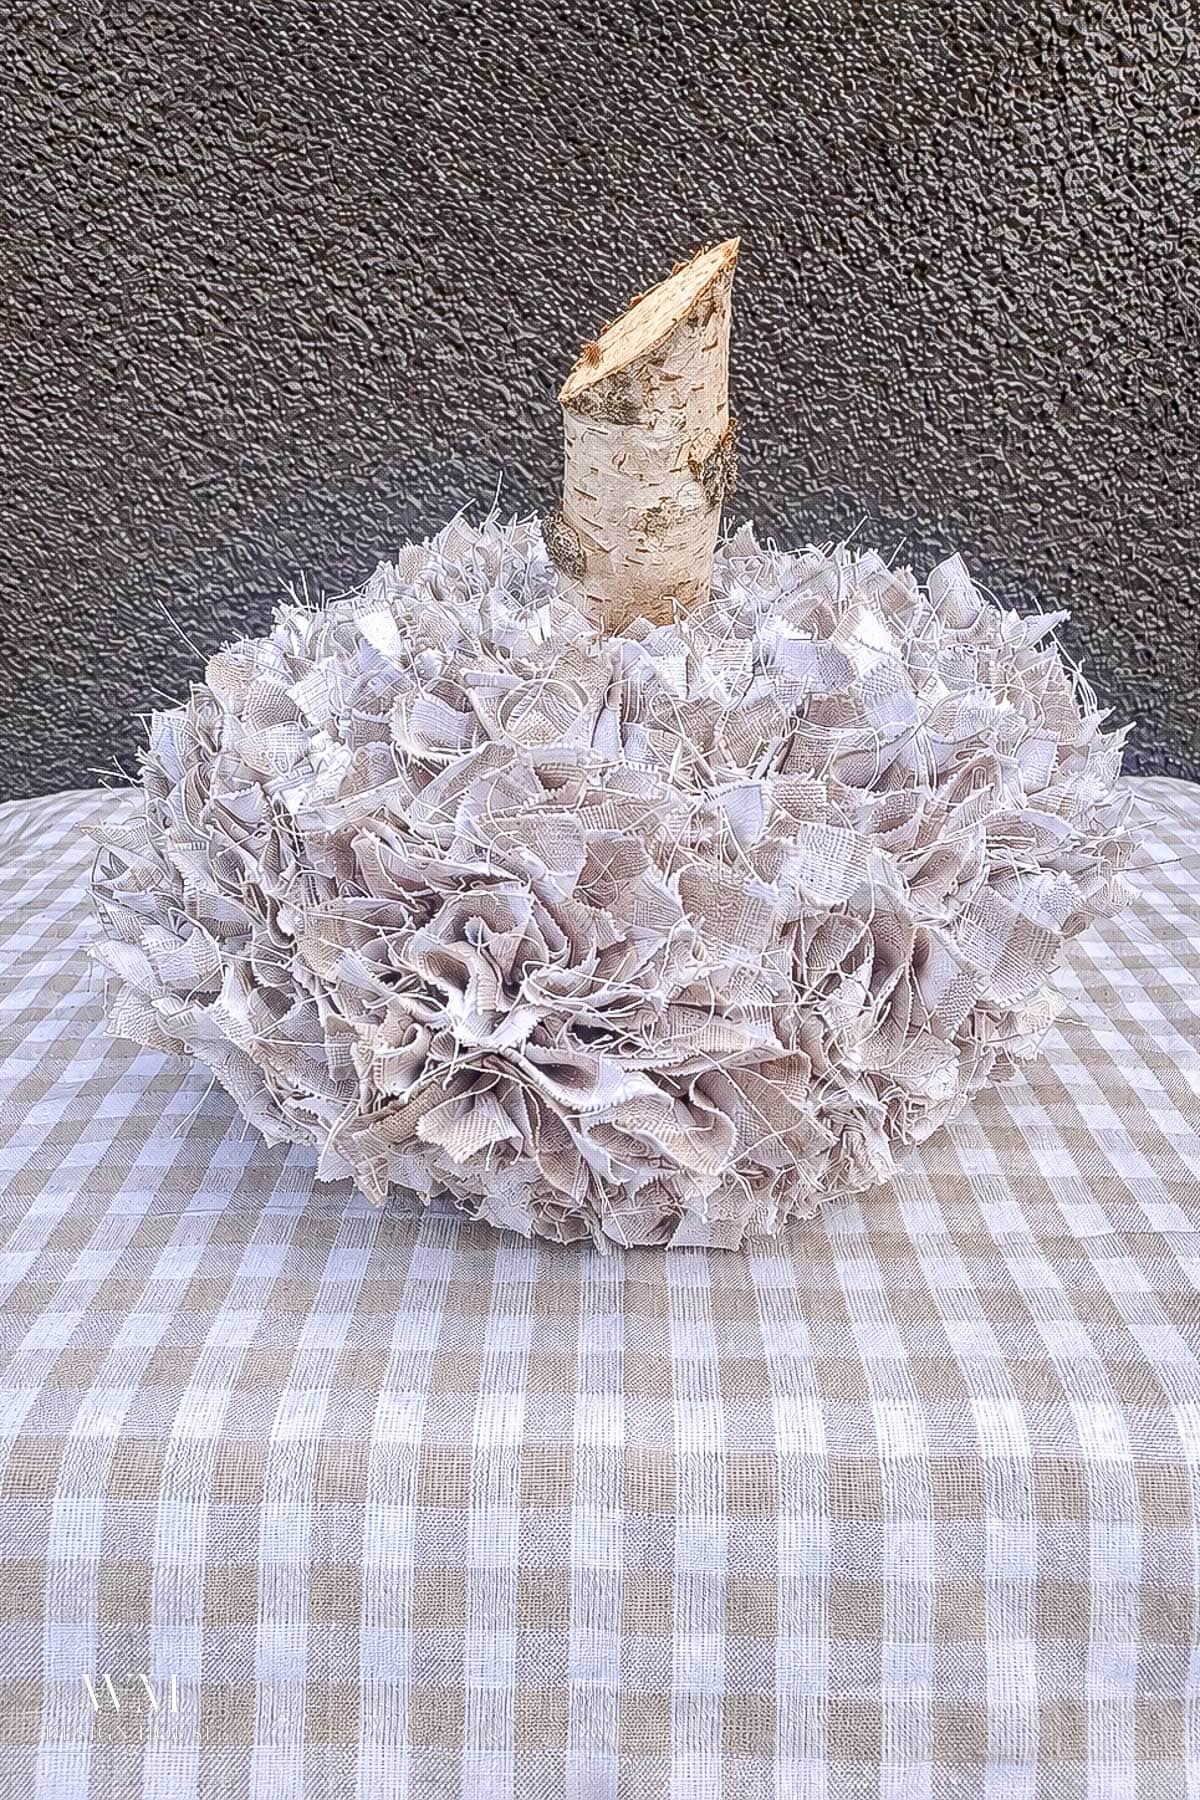
Start at the top of the pumpkin. Place the tip of a plastic knitting needle in the middle of a fabric square and poke it into the foam. The center of the square stays tucked in the pumpkin and the edges ruffle up around it.
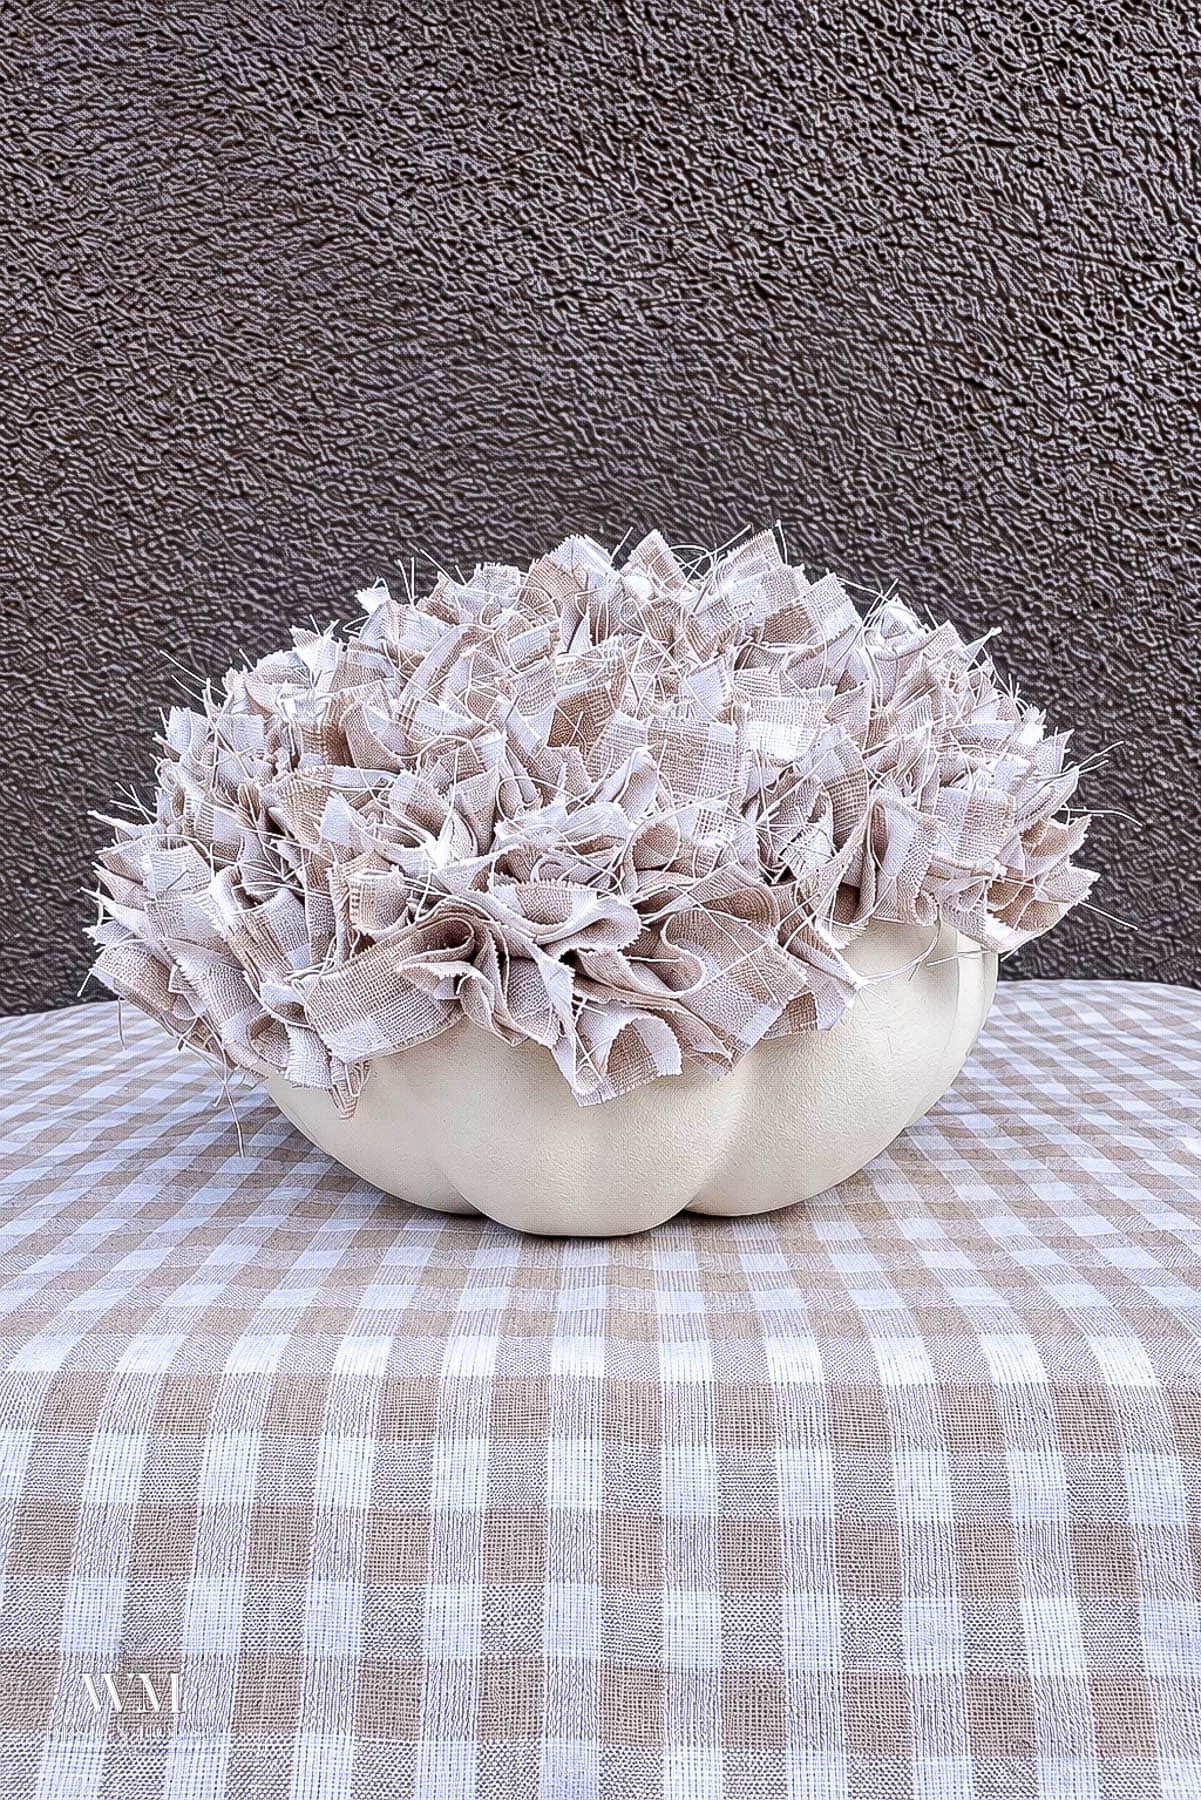
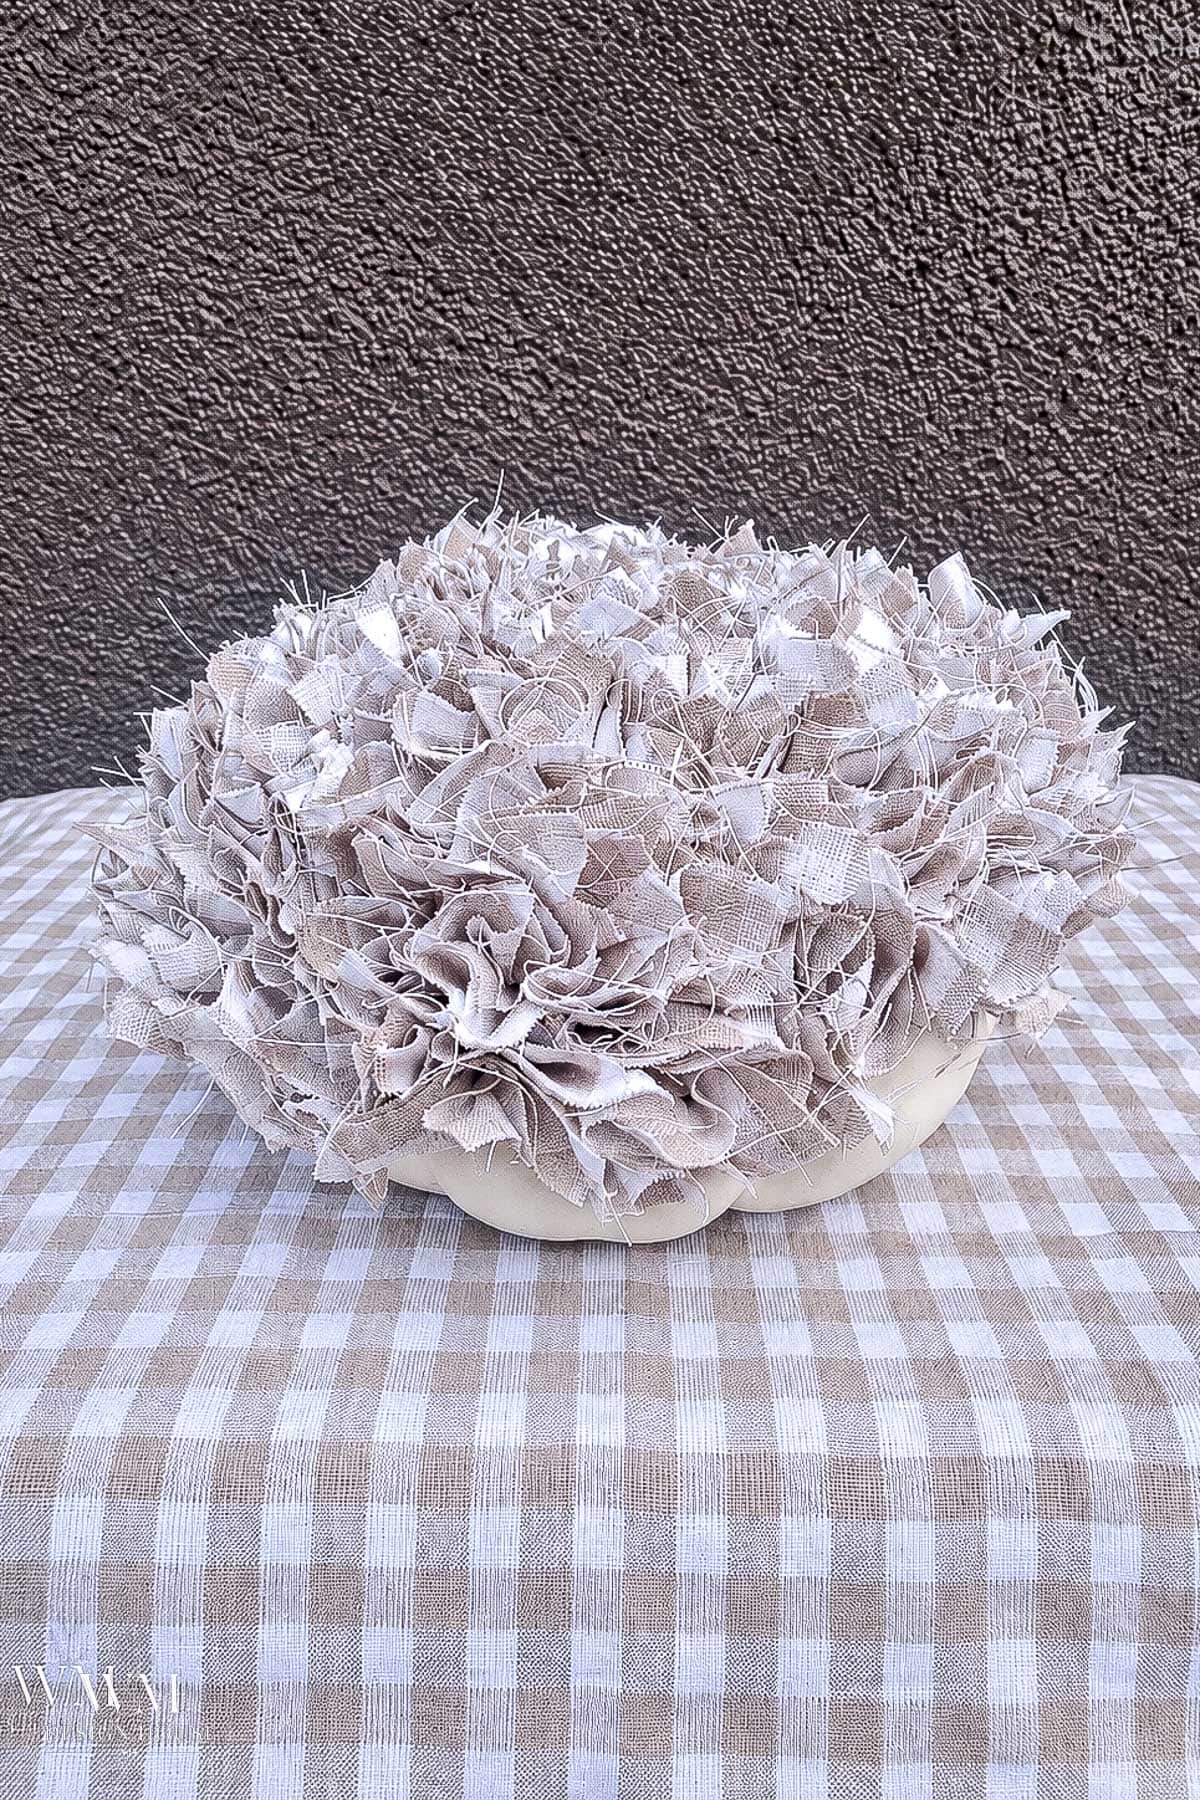
Continue all the way around, working from the top down and keeping the squares close together so no foam shows. This is the part that takes a while, which is exactly why it is a good project to do with a friend. Kathy and I talked our way through it.
Step 4: Leave the Bottom Bare
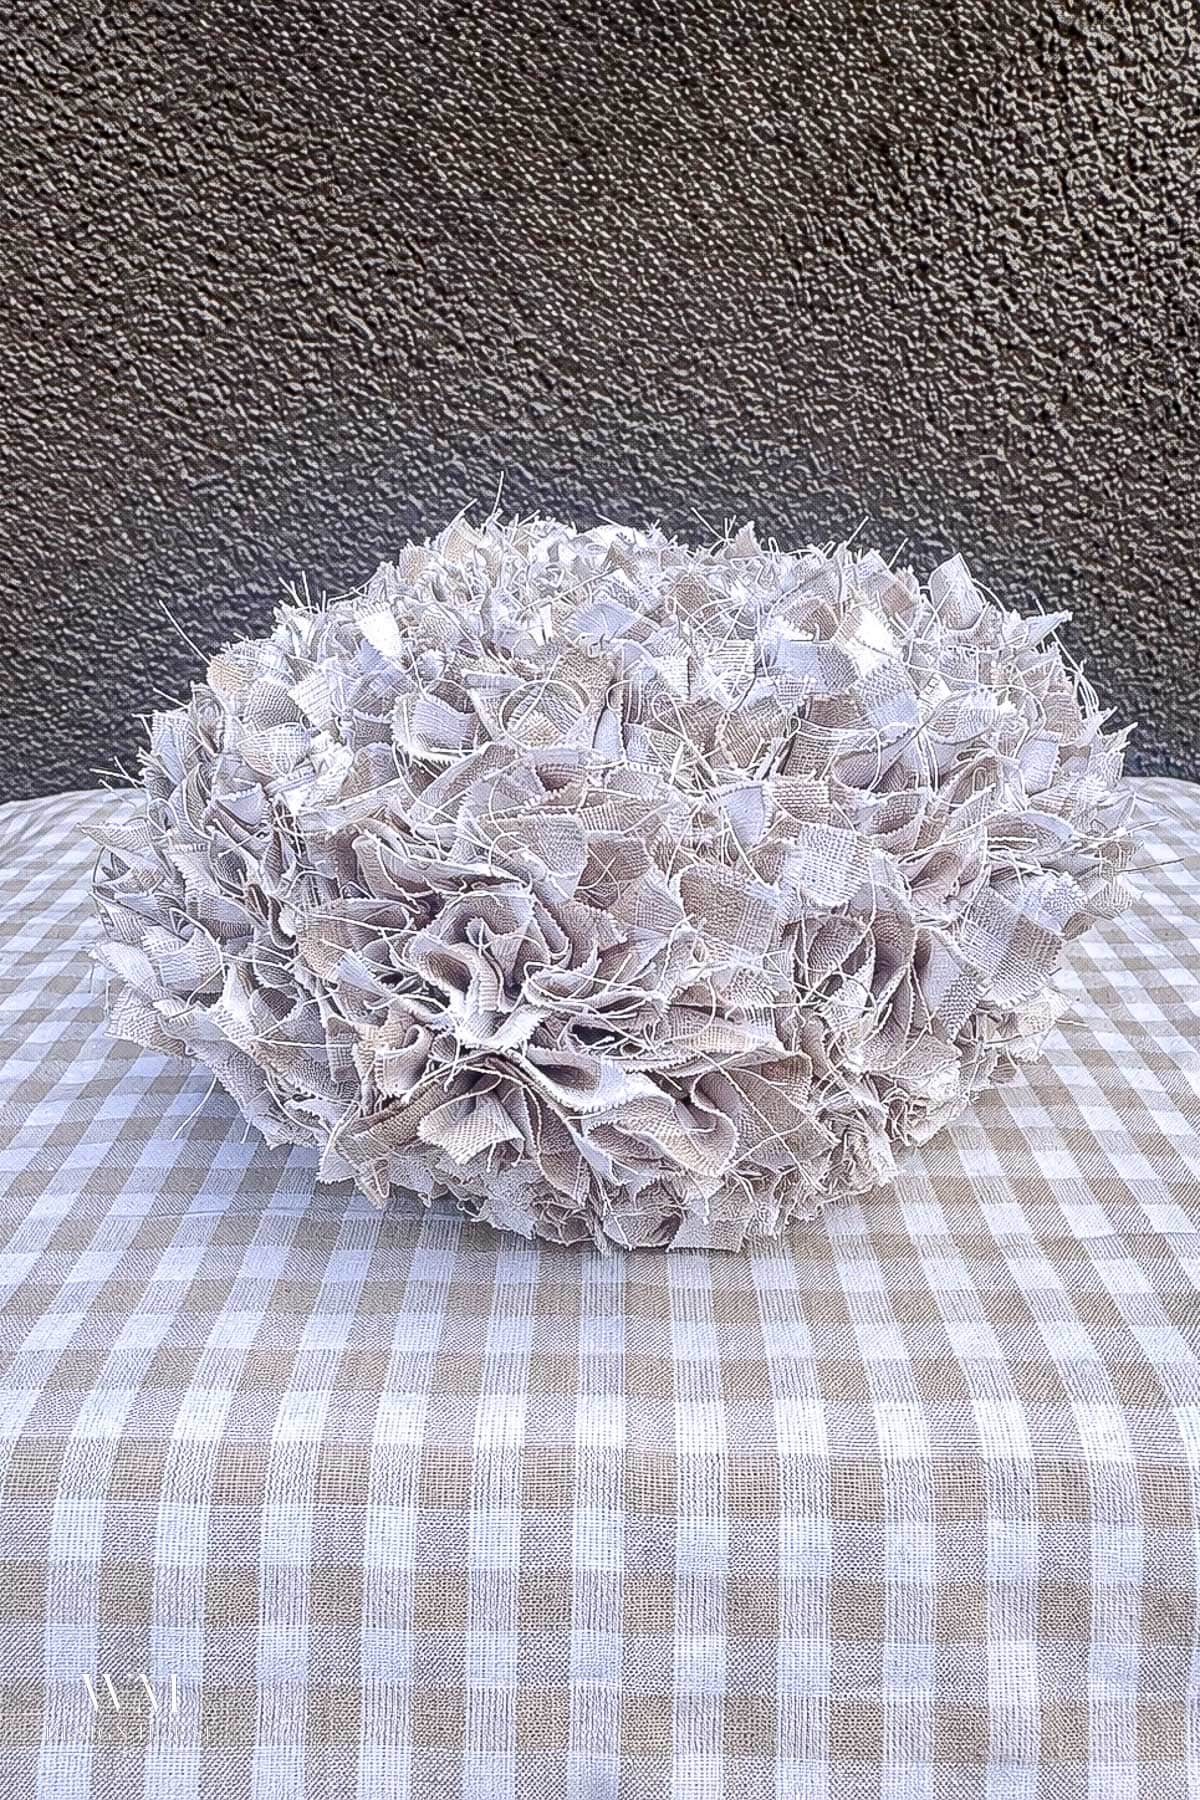
Stop when you reach the underside. Do not cover the bottom of the pumpkin, so it can sit flat.
Step 5: Add a Stem
I cut a piece of birch wood on an angle and hot glued it in place as a stem. You can also use a real pumpkin stem. I save mine every year, and I have a full post on how to dry pumpkin stems from pumpkins you would otherwise toss.
Step 6: Decorate the Top
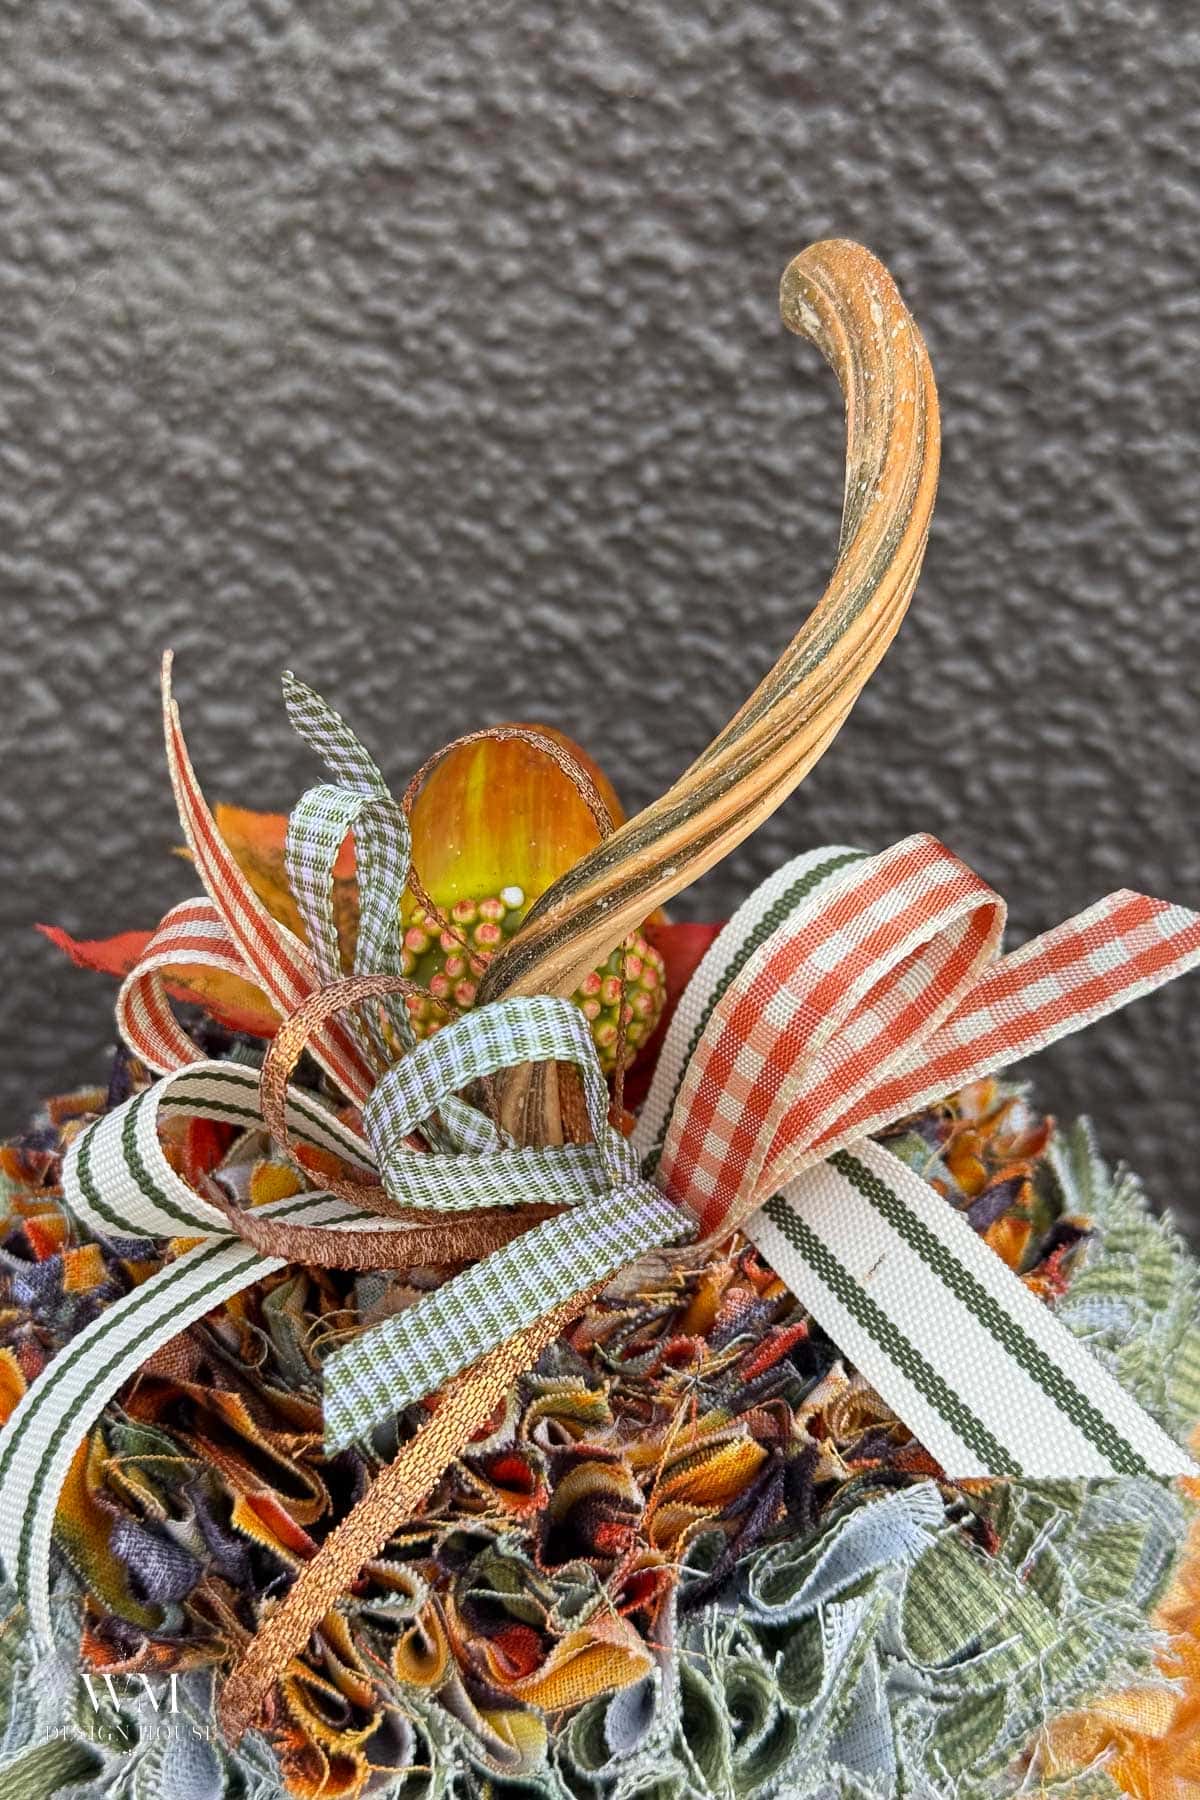
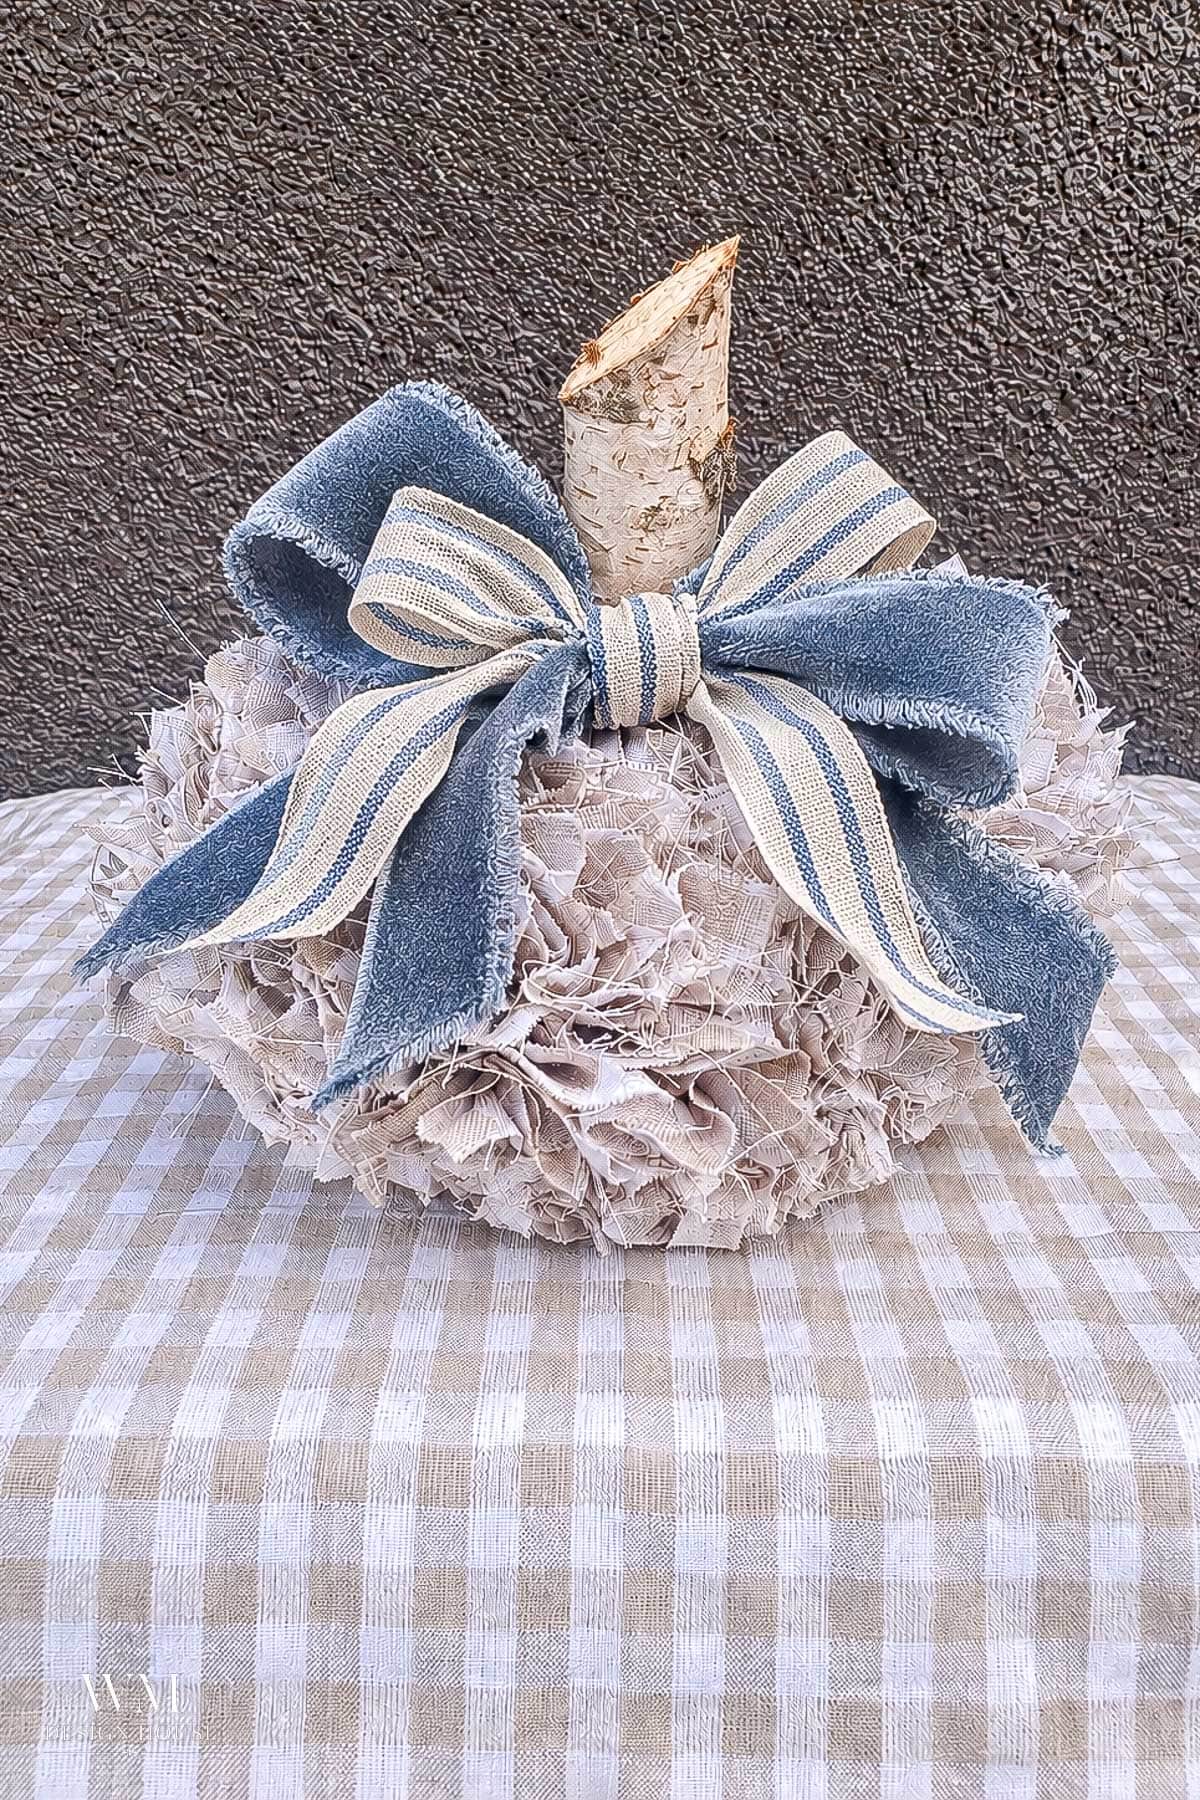
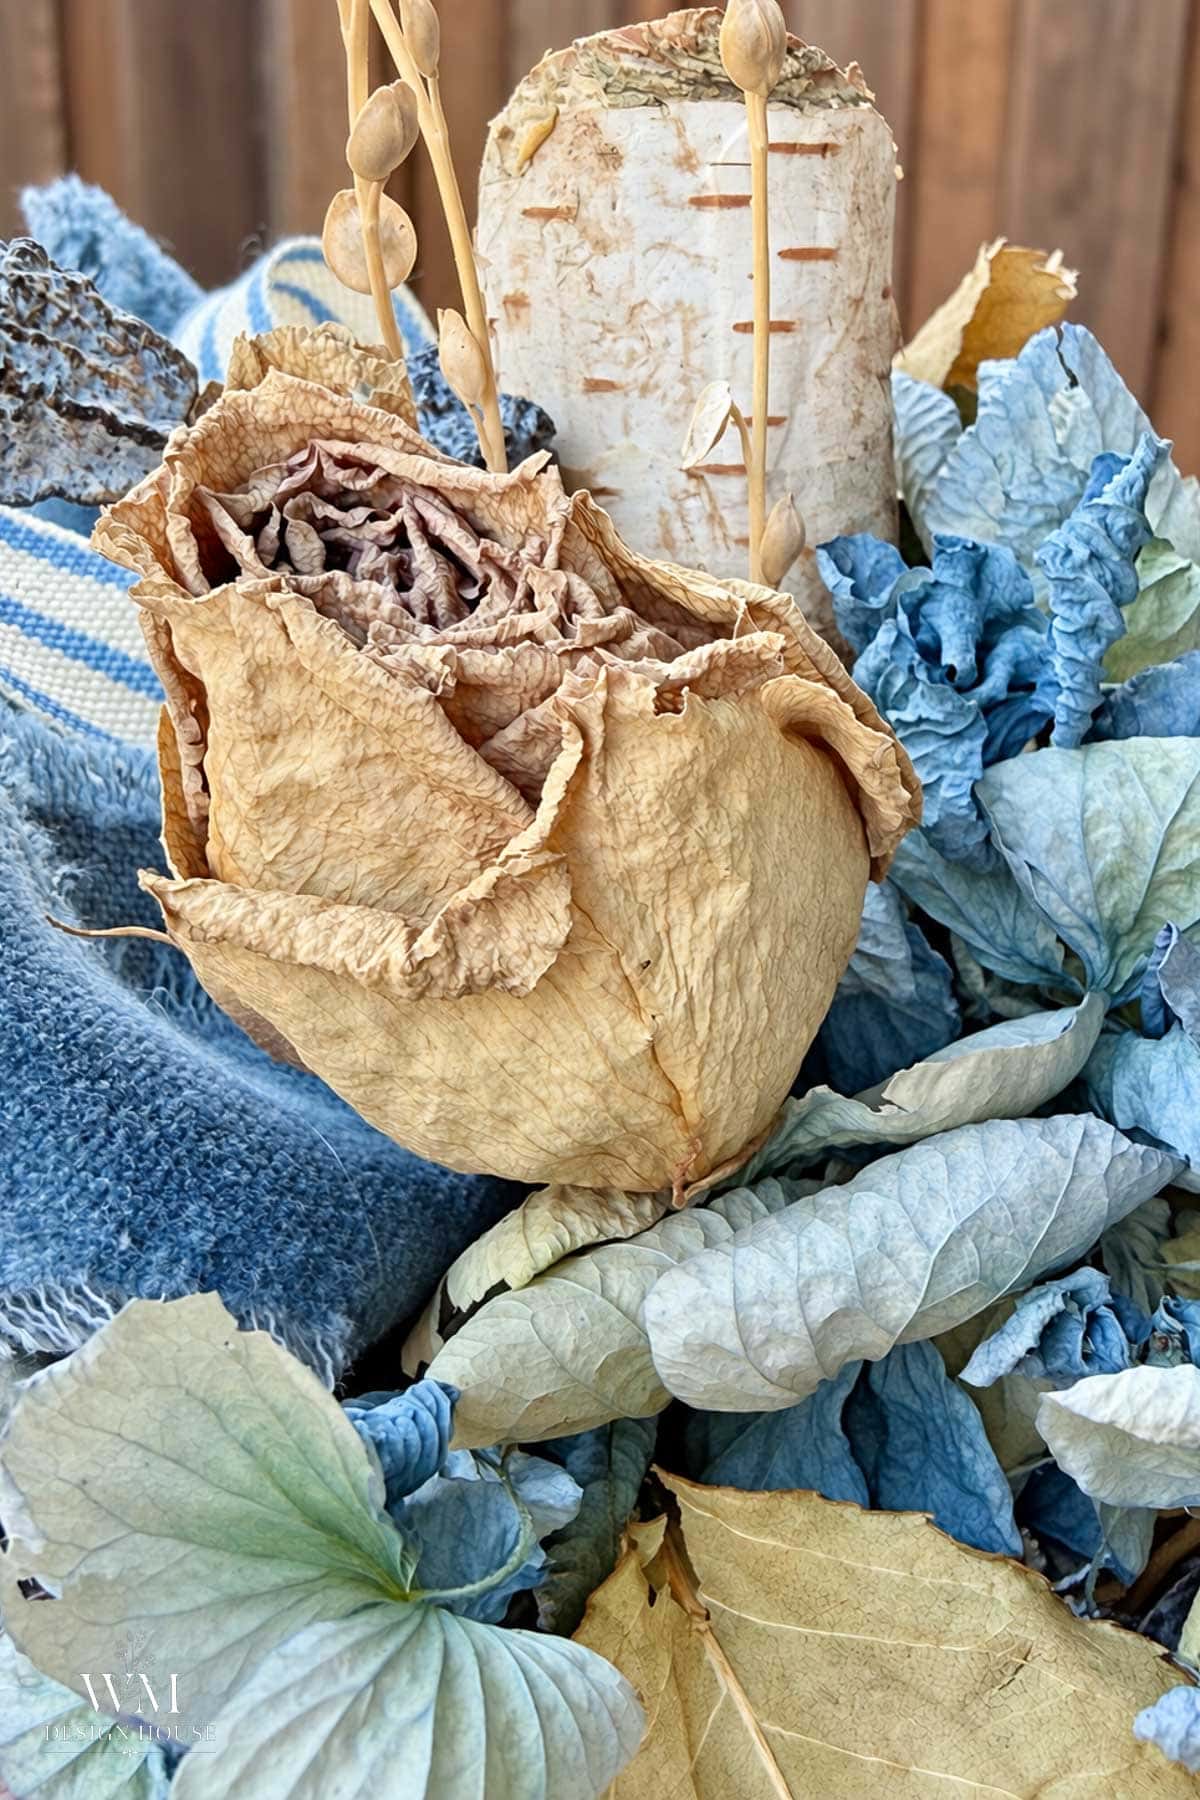
This is the fun part. Using a hot glue gun, I added dried hydrangeas, ribbon, a few dried eucalyptus pods, and a bow made with velvet ribbon. If your hydrangeas have faded, you can dye dried hydrangeas to bring the color back.
Rag Pumpkin Variations
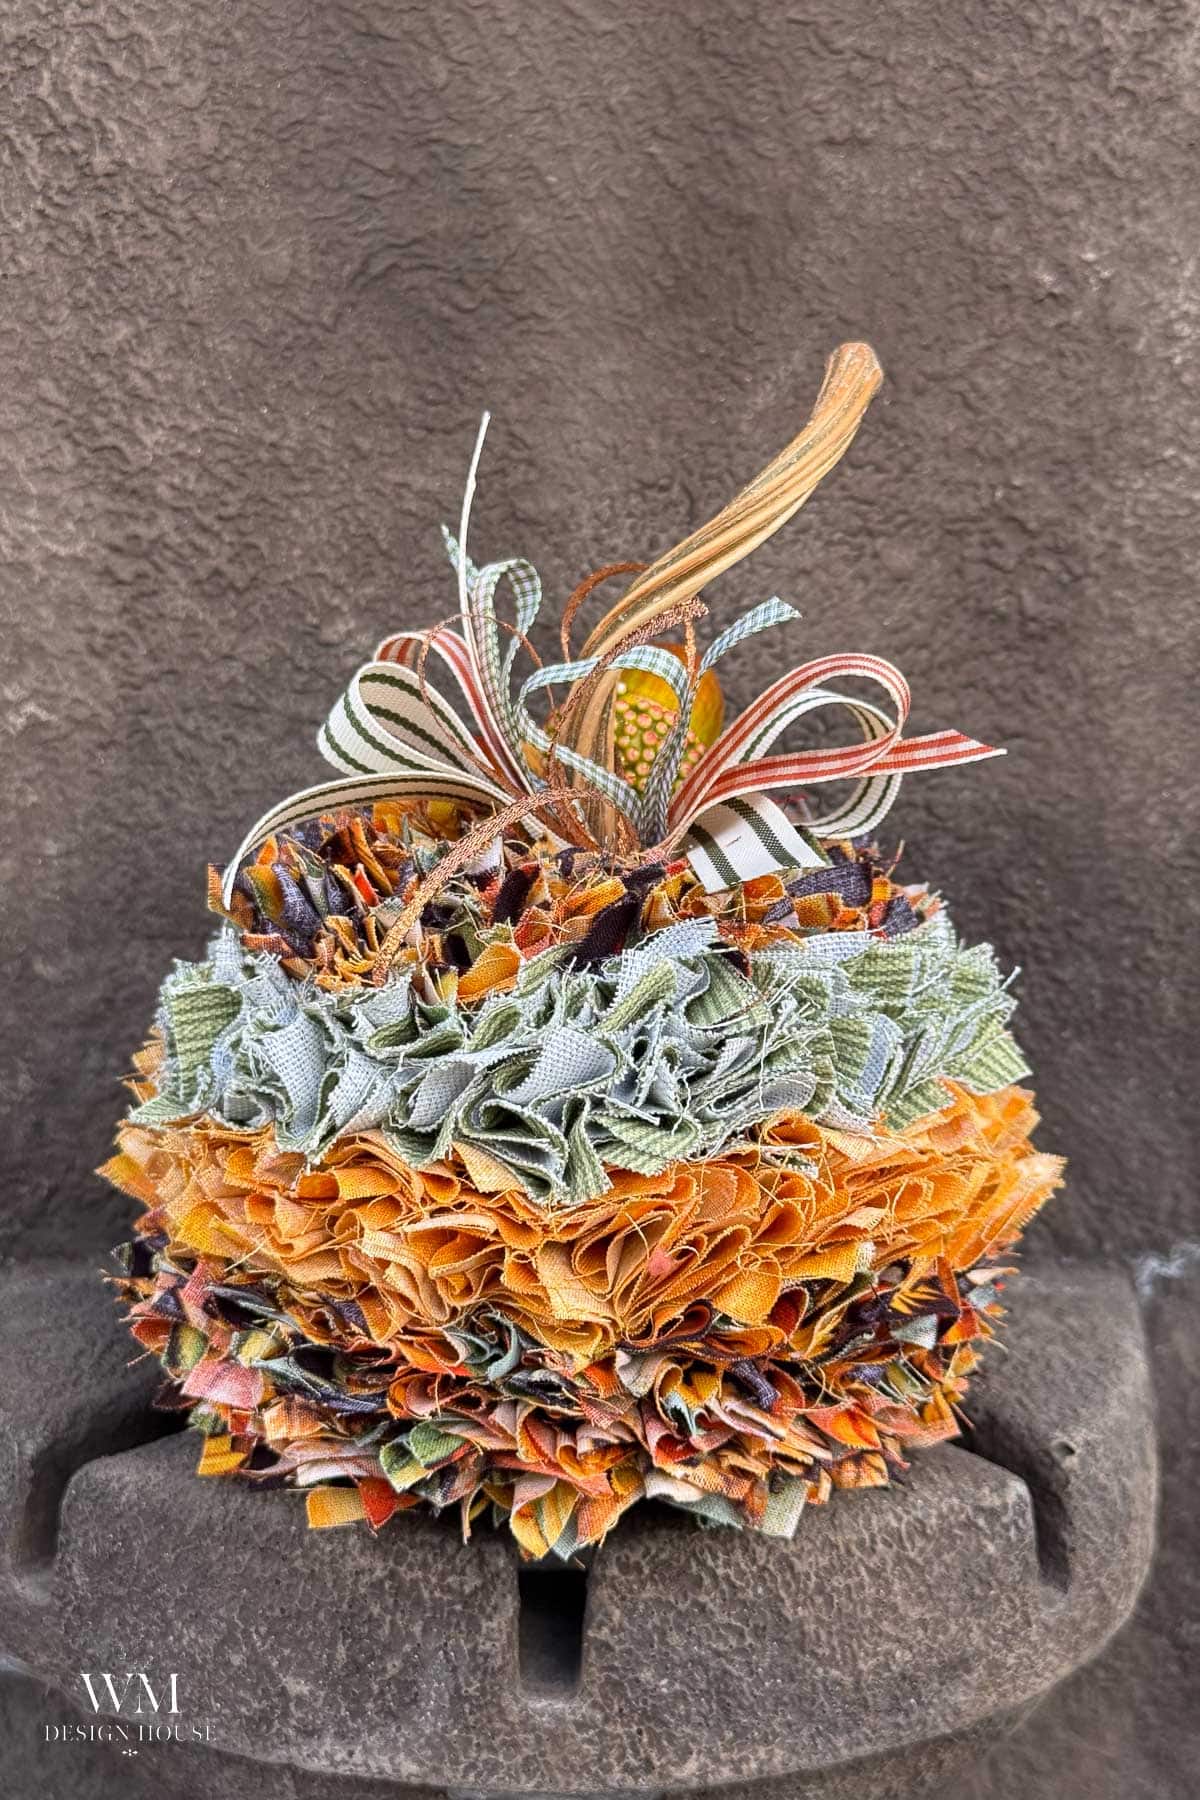
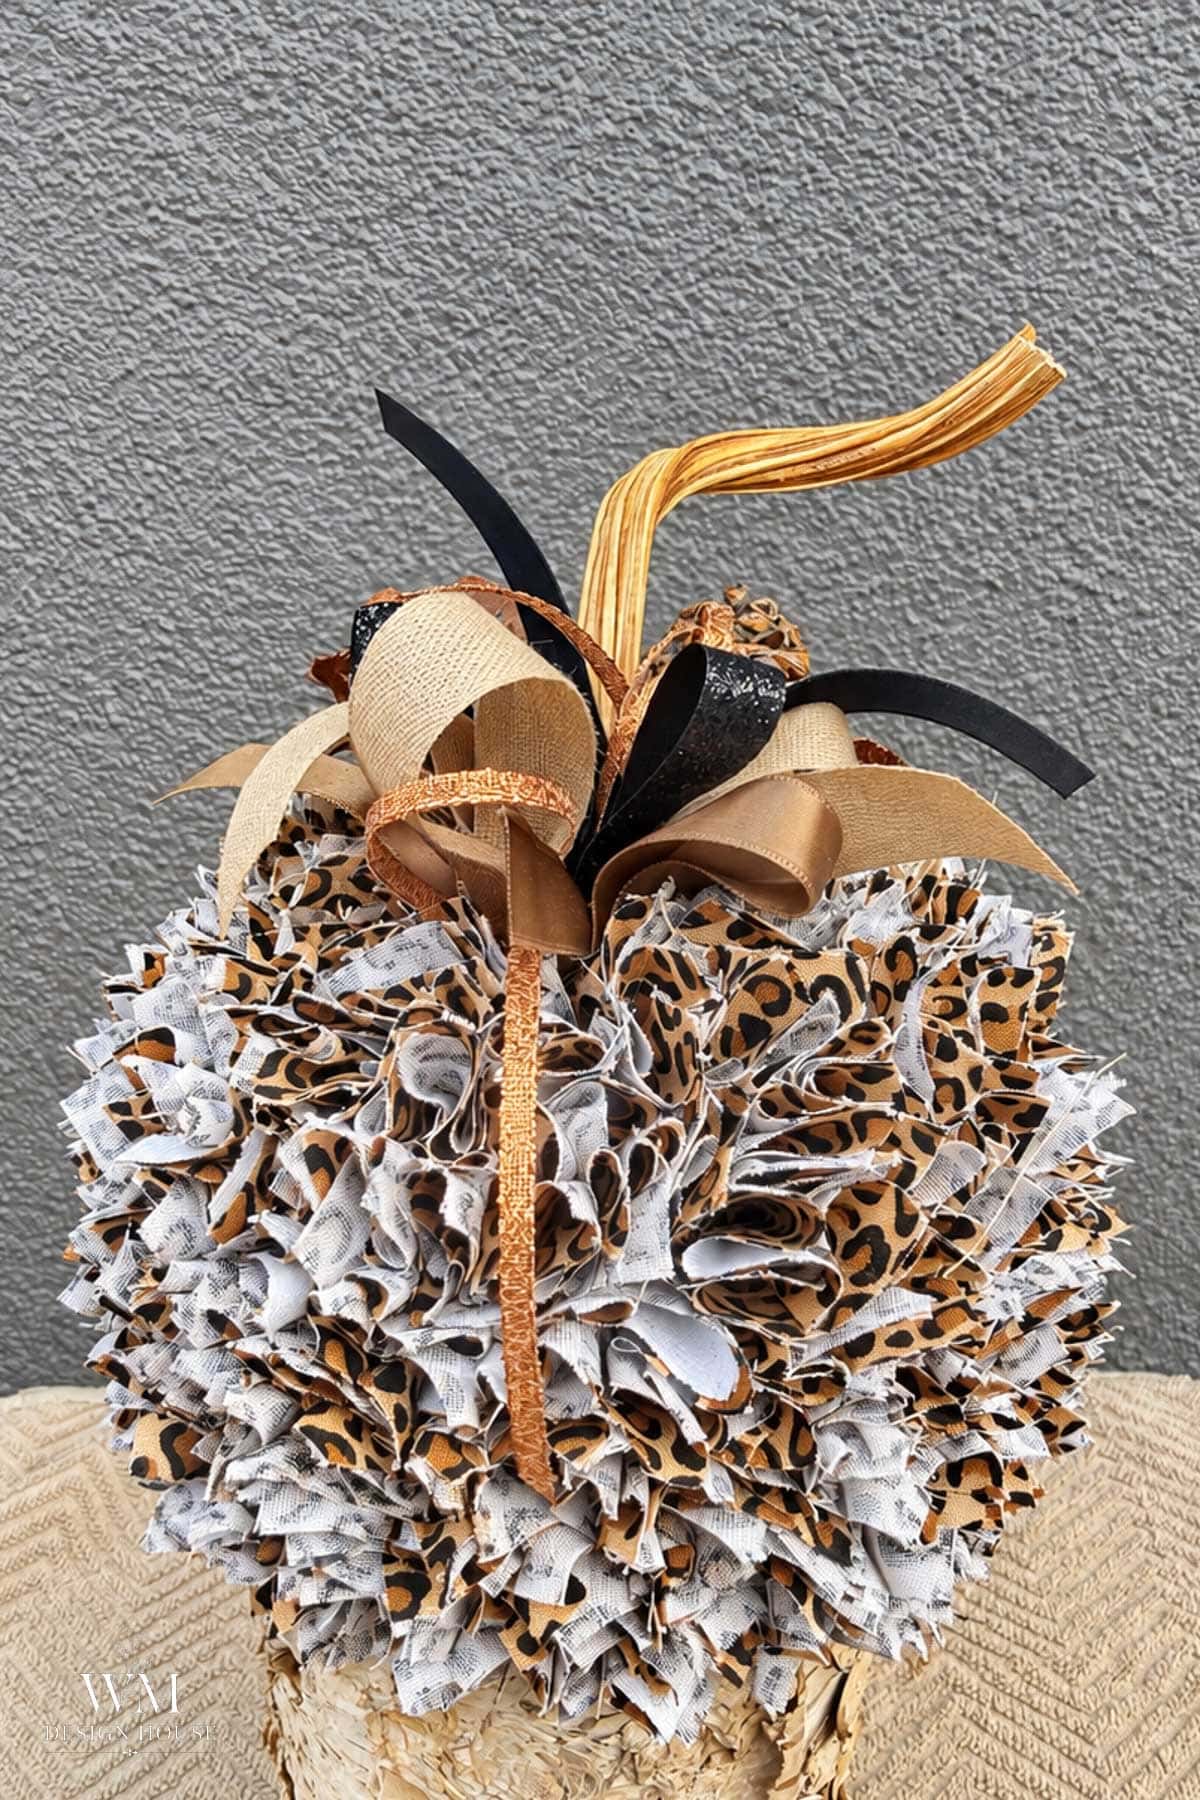
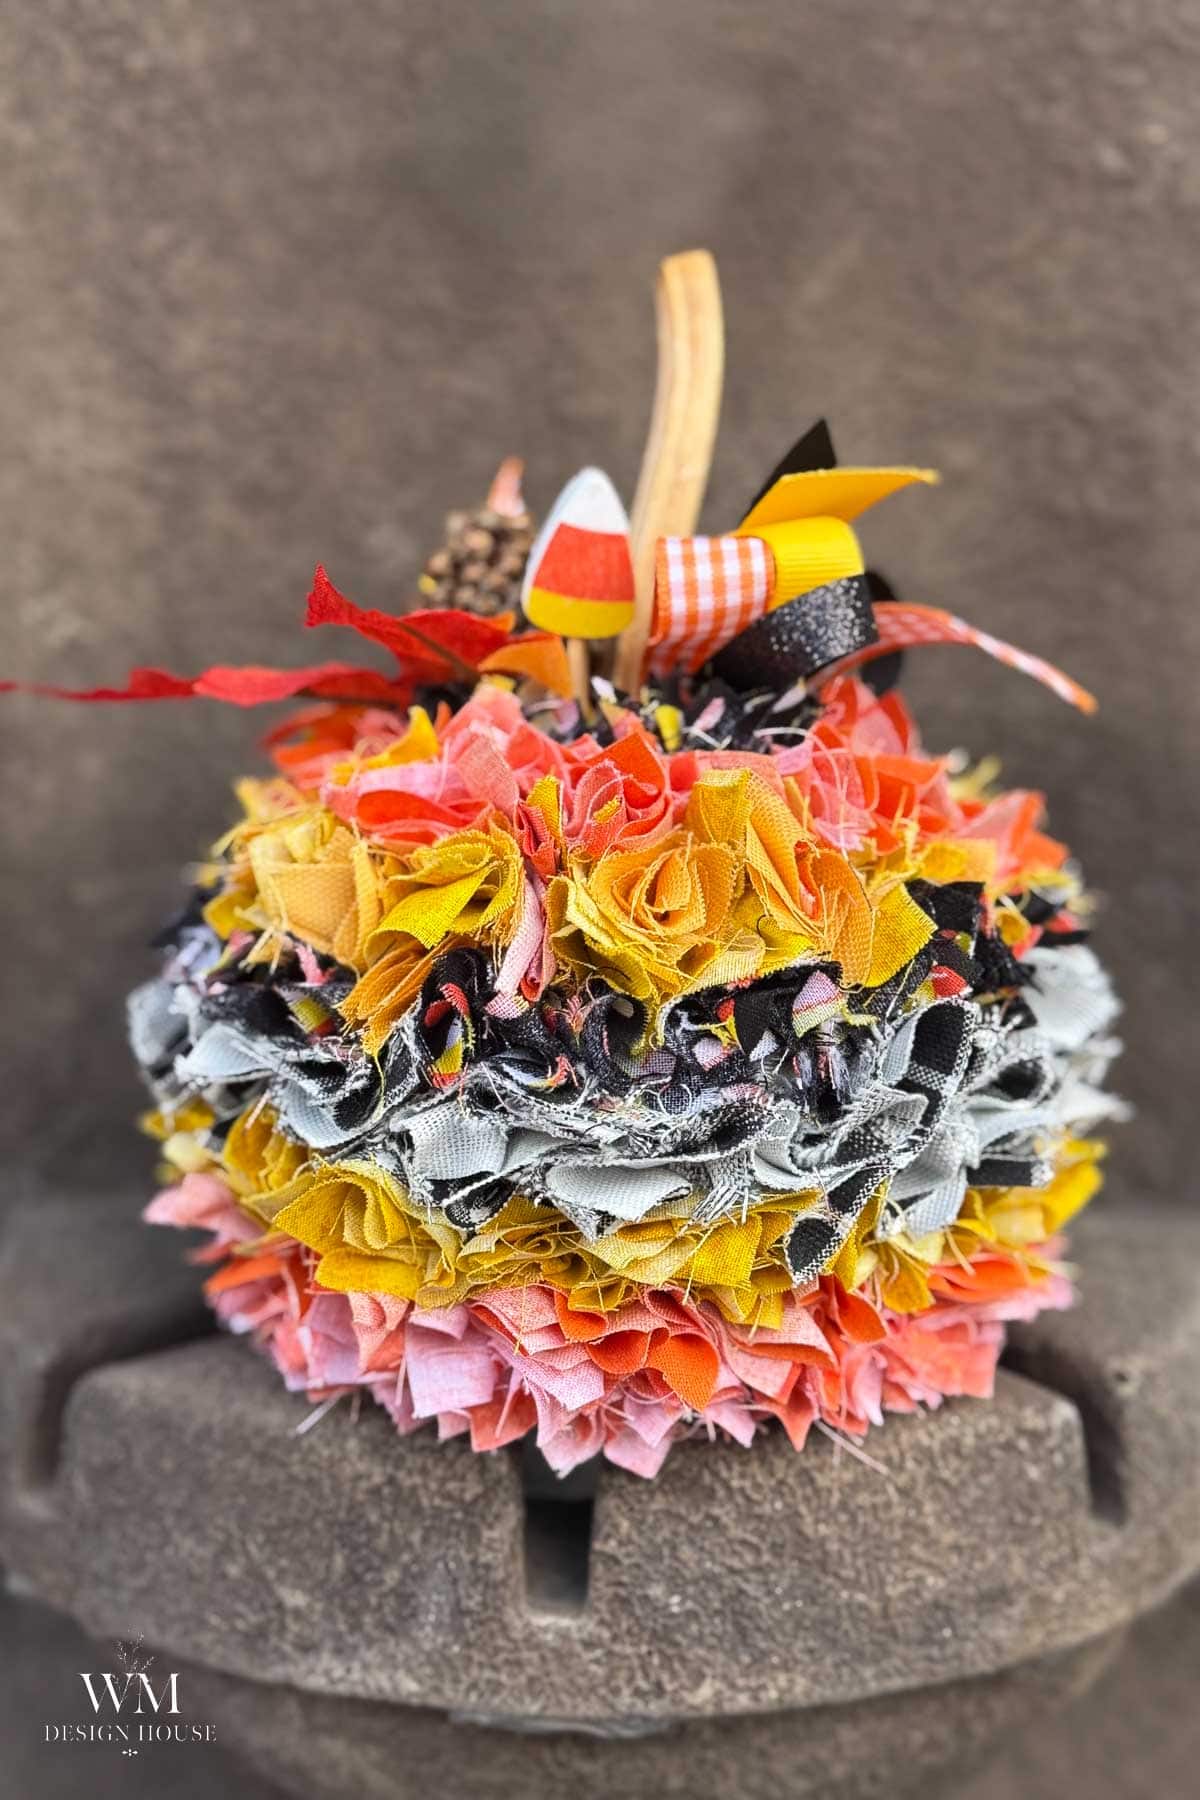
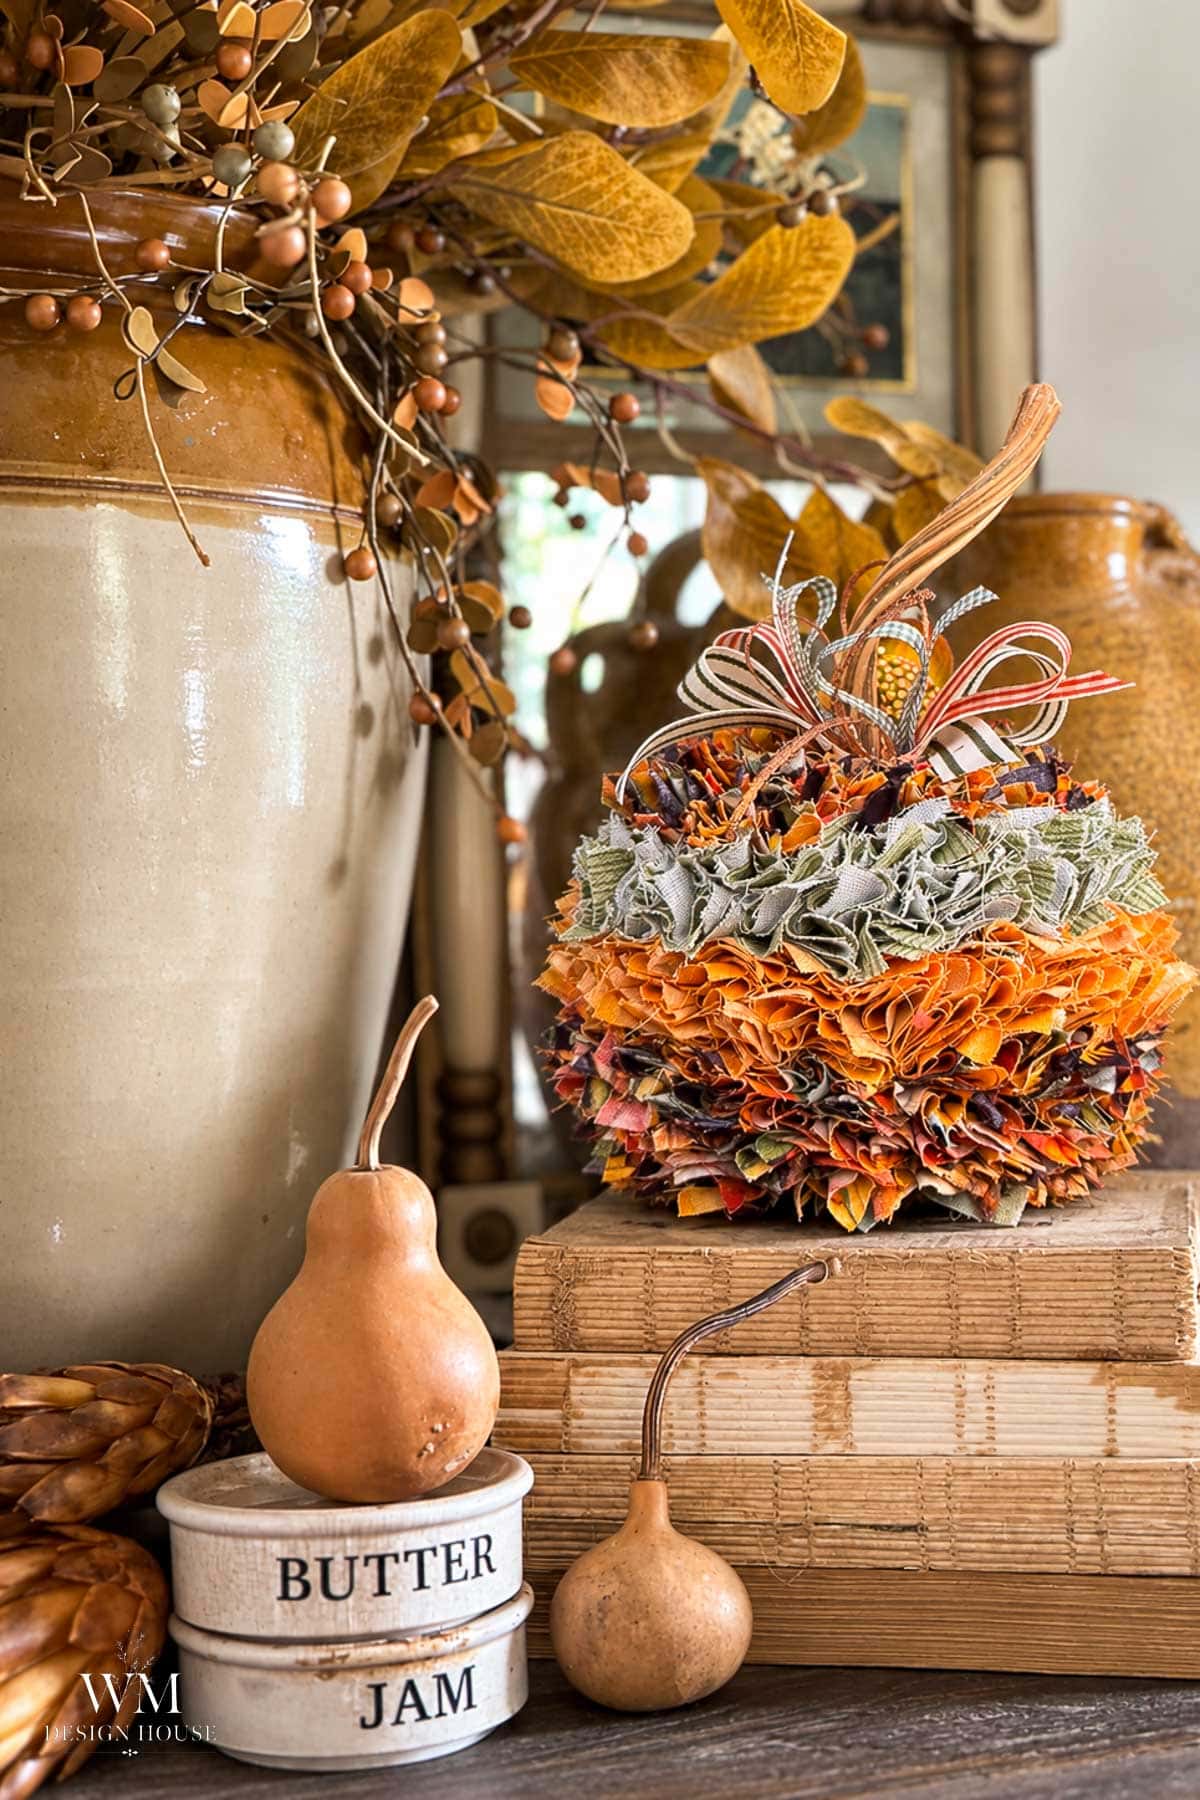
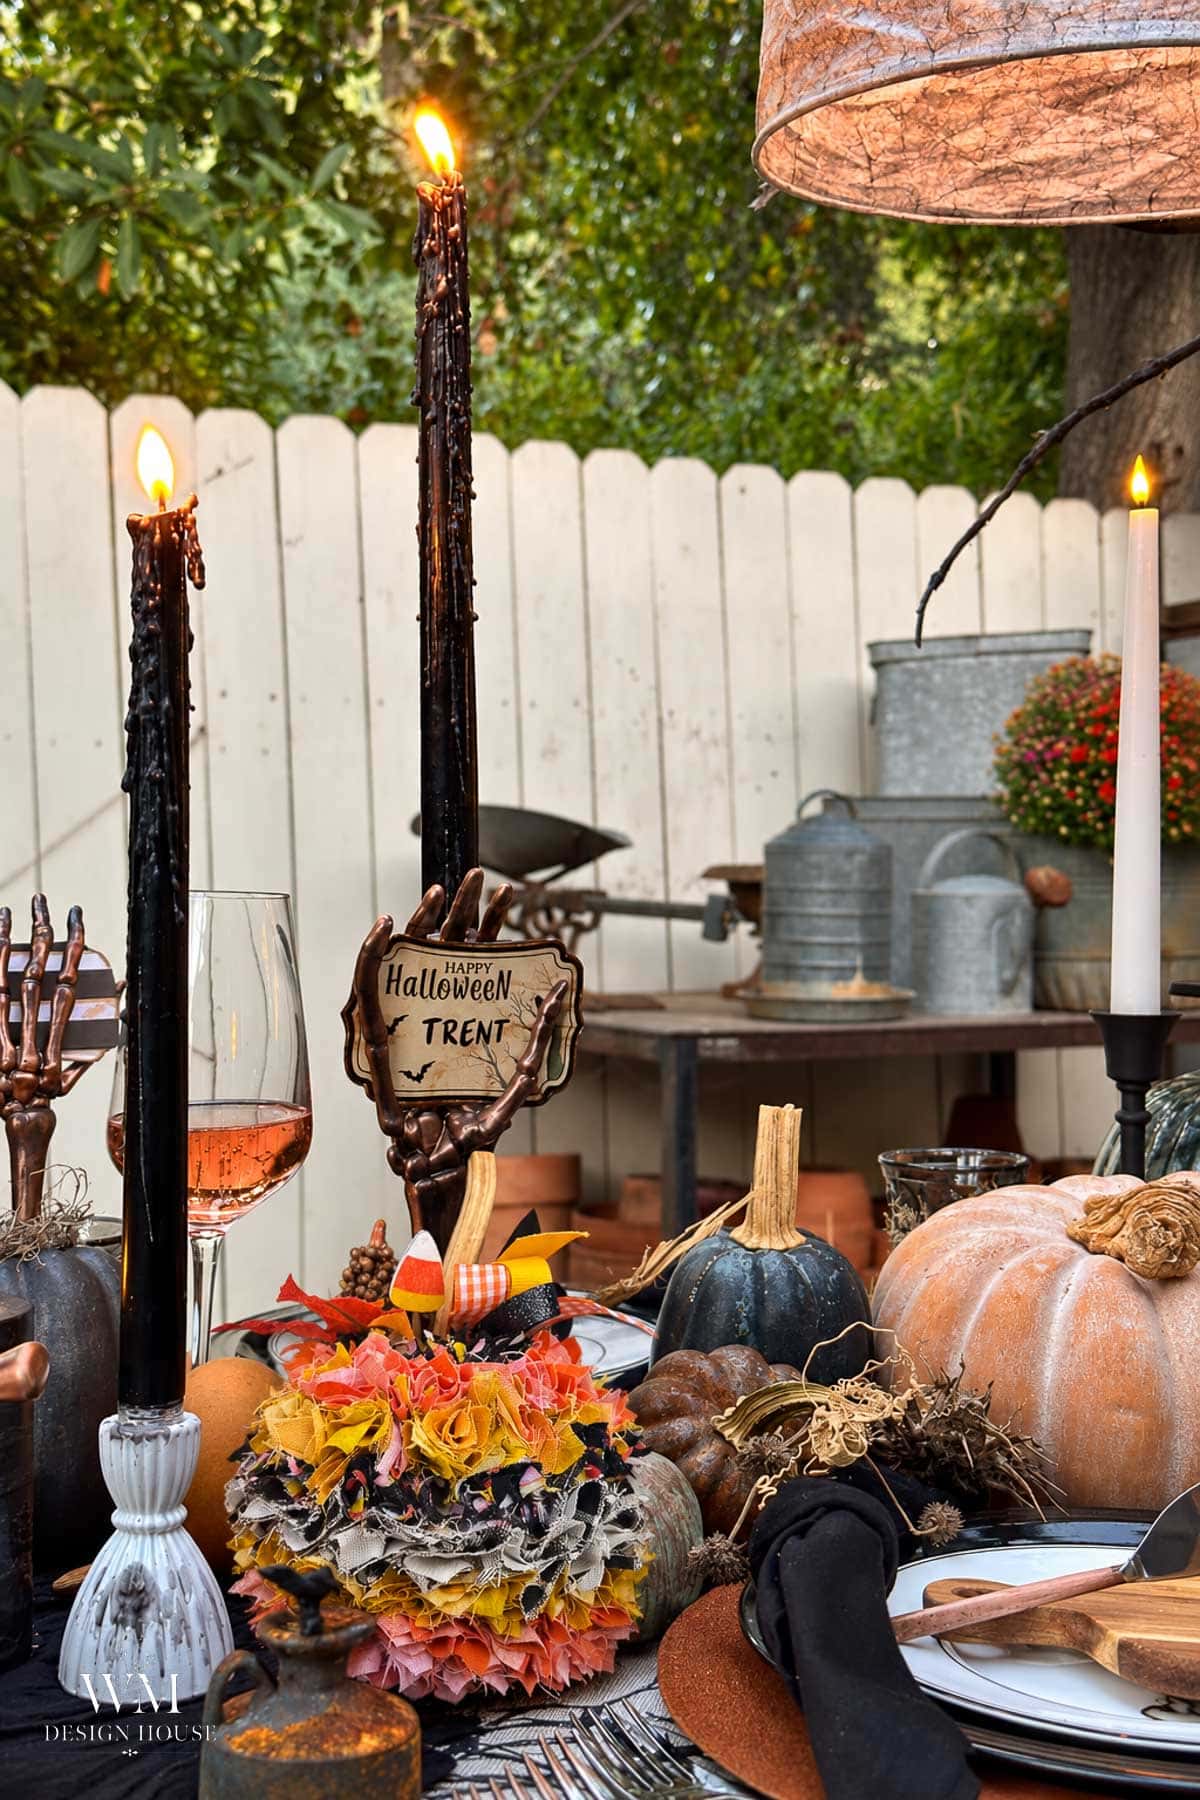
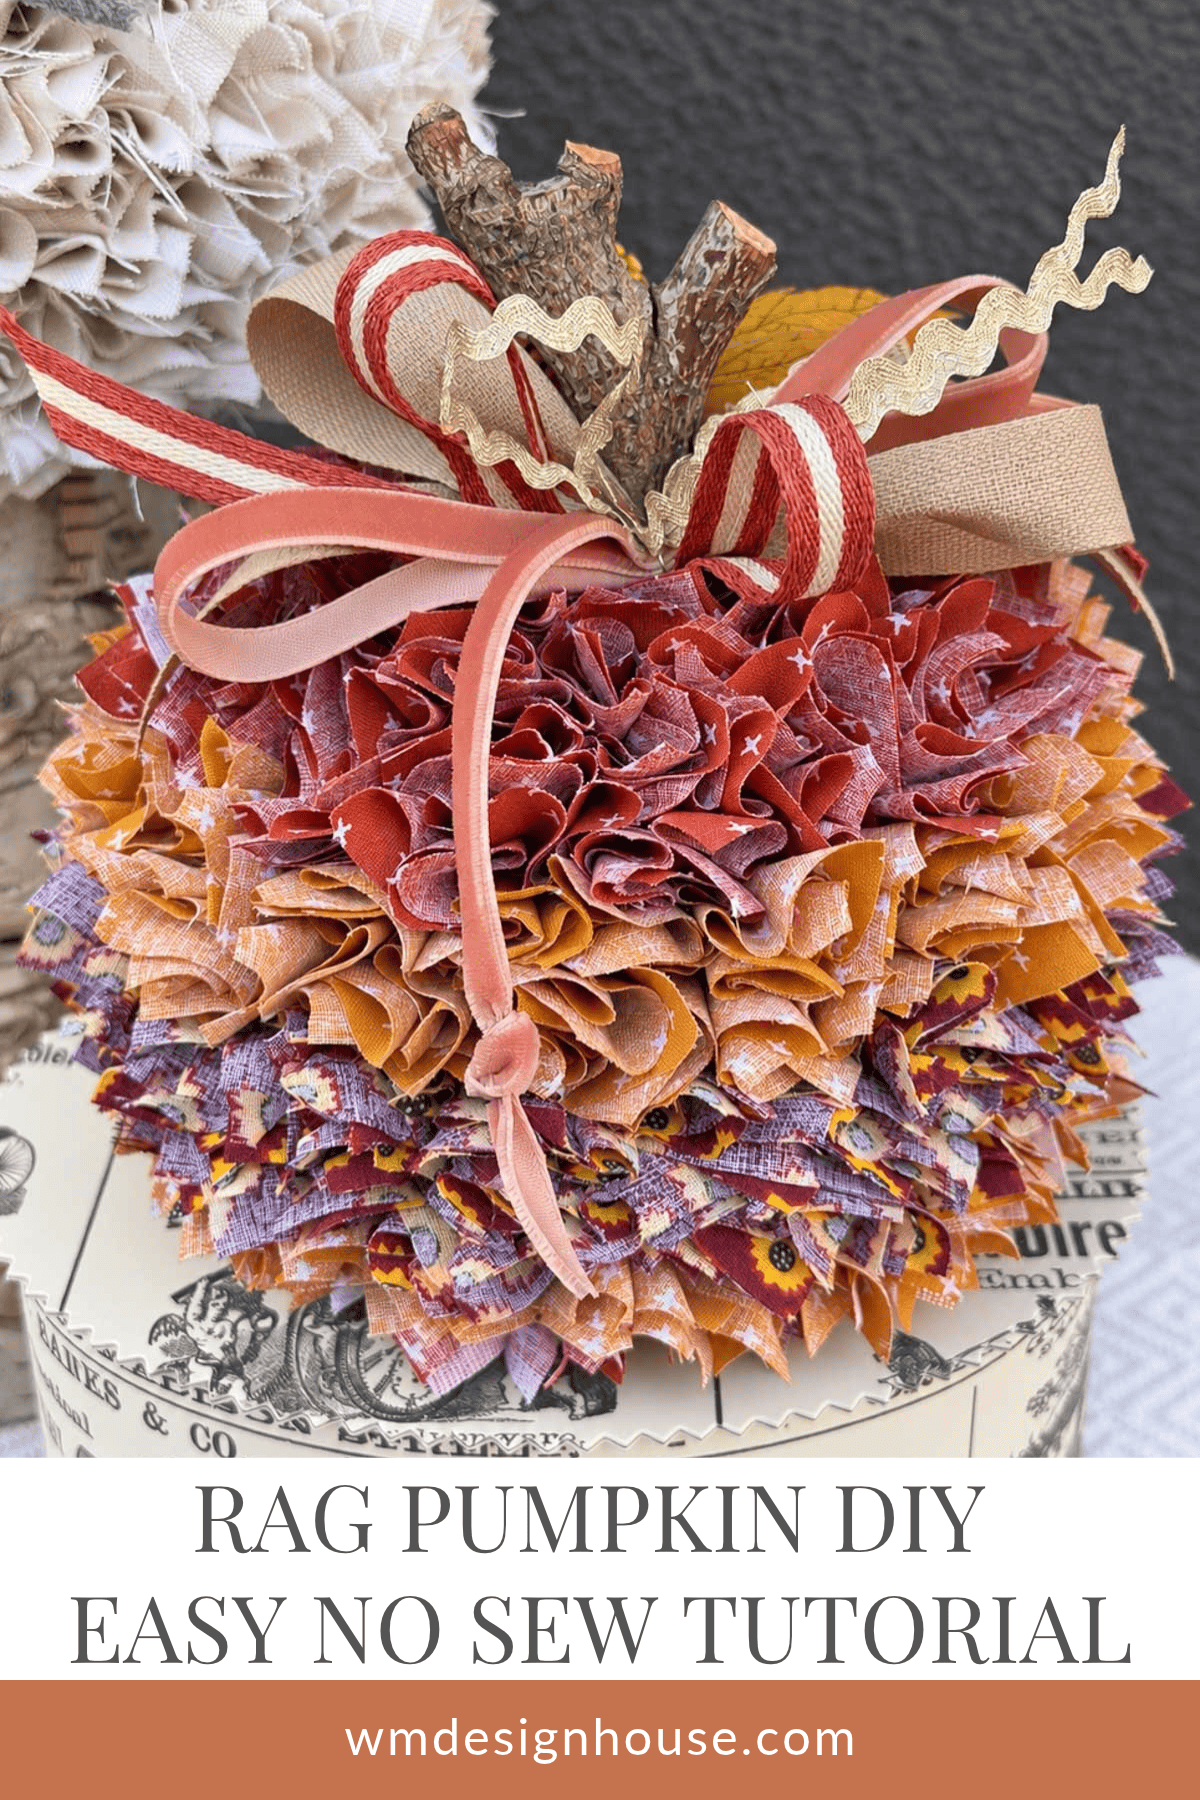
.While I worked on my neutral pumpkin, Kathy made the colorful ones. The method is exactly the same. Only the fabric changes, and seeing her pumpkins next to mine is the best proof of how different they can look.
Fall colors. Mix an assortment of colors or patterns for a more traditional look.
Stripes. Kathy used a different fabric for each row to make bands of color around the pumpkin.
Bold prints. Her leopard print pumpkin is fun and completely unexpected.
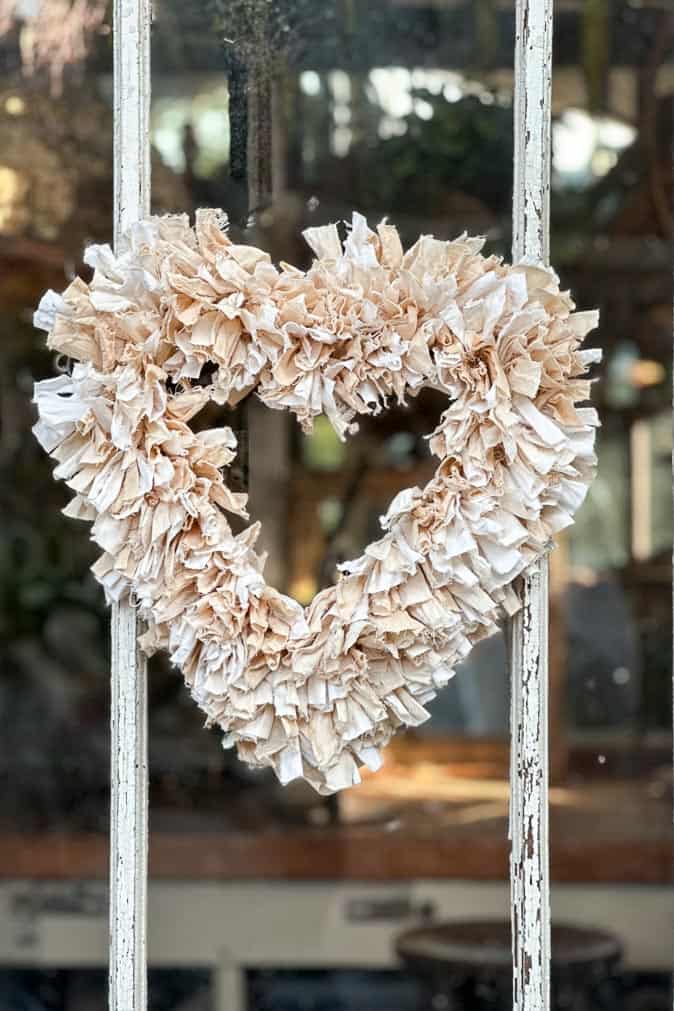
Prefer a smooth, stitched look? How to Make Simple and Easy Fabric Pumpkins hand-sewn fabric pumpkins use thrifted fabric and a simple running stitch. And if you like this raggedy texture, you will love my Easy DIY Rag Wreath: How to Make a Neutral Heart rag heart wreath.
Styling Pumpkin Decor Around Your Home
Decorating with pumpkins is easy to live with because it works from early fall straight through Thanksgiving.
- A few ideas:
- Set it on a birch log or a candlestick to give it height.
- Pair it with a stack of vintage books on a shelf.
- Use one as a centerpiece on your Halloween tablescape.
- Work it into your fall shelf decor for soft texture.
- Repeat the dried hydrangeas nearby. I have plenty of ideas for decorating with hydrangeas.
More Fall Pumpkin Crafts You Will LOVE
- DIY Sweater Pumpkins with Vintage Lace
- How to Make Twine Pumpkins
- DIY Terra Cotta Pumpkin Dupe
- 23 Easy Pumpkin Crafts for Fall
No Sew Fabric Pumpkins
Equipment
- 1 pair of scissors
- 1 Cutting mat
- 1 Rotary cutter
- 1 Plastic knitting needle
- 1 Glue gun with glue sticks
Materials
- 1 foam pumpkin 6 inch
- 1 1/4 to 1 1/3 yards 100% cotton fabric
- 1 piece of birch wood or a dried pumpkin stem
- Dried hydrangeas flowers or leaves
- Assorted ribbons
- Dried eucalyptus pods Eucalyptus globulus
- Small pinecones

Instructions
- Cut the fabric into 2 inch squares with a rotary cutter and mat.
- Remove the plastic stem from the foam pumpkin.
- Starting at the top, place the knitting needle in the middle of a square and poke it into the pumpkin.
- Continue all the way around, working from the top down.
- Leave the bottom uncovered so the pumpkin sits flat.
- Hot glue a piece of birch wood or a dried pumpkin stem to the top.
- Decorate with dried hydrangeas, ribbon, eucalyptus pods, and a velvet bow.
No Sew Fabric Pumpkin FAQS
Skip the water. Take the pumpkin outside and give it a gentle shake, or use a hair dryer on the cool setting to blow away dust.
Store each one in its own box or bin with room around it so the fabric and the dried flowers on top do not get crushed. Keep it somewhere cool and dry.
I would not. Poking holes in a real pumpkin breaks the skin, and it will start to rot within days. A foam pumpkin lasts for years.
Poke it back into the same hole. If the hole has stretched and the square will not stay, add a tiny dot of hot glue to the center of the square before you push it in.
Anything long with a blunt, narrow tip will work, such as a wooden skewer with the point snipped off, a chopstick, or a pencil.
Final Thoughts
These no sew fabric pumpkins take some patience, but there is nothing difficult about them. Cut, poke, repeat, and then have fun dressing up the top. They are even better made with a friend, so invite someone over, pour the coffee, and make an afternoon of it.
Happy crafting!

Shop the Post


More about me!

Hello, I’m Wendy – a dedicated homemaker with a deep passion for decorating, gardening, cooking, and crafting. I find joy in harmonizing beautiful elements to fashion a space that is both comfortable and inspiring. I will help you create a beautiful home, one project at a time.