
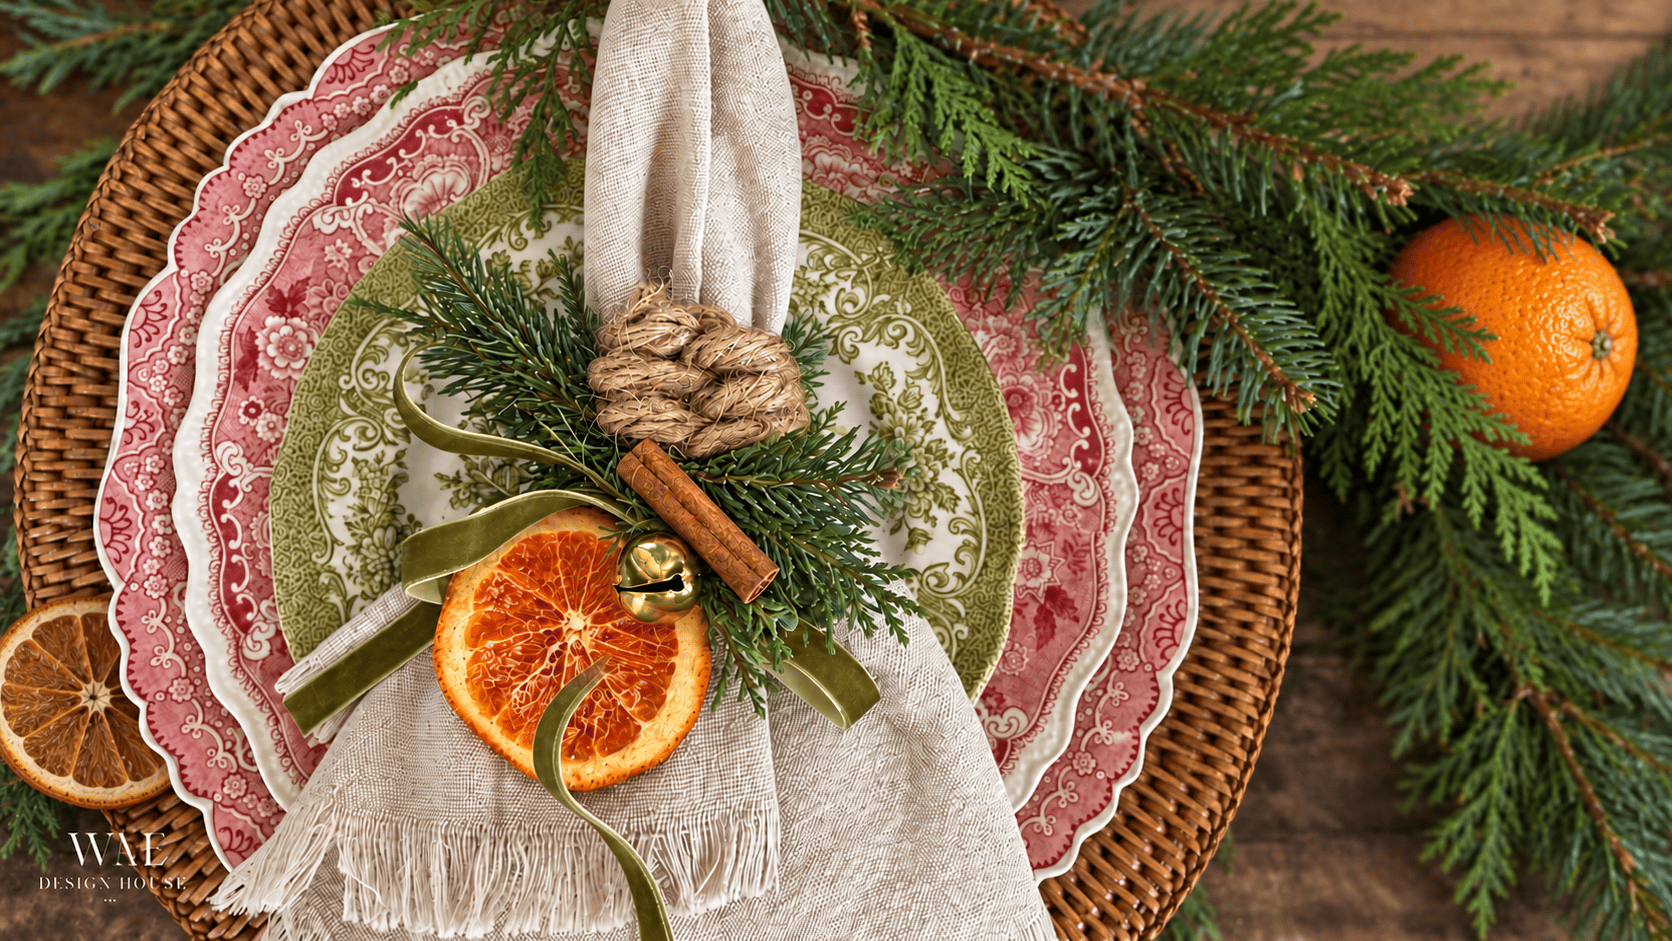
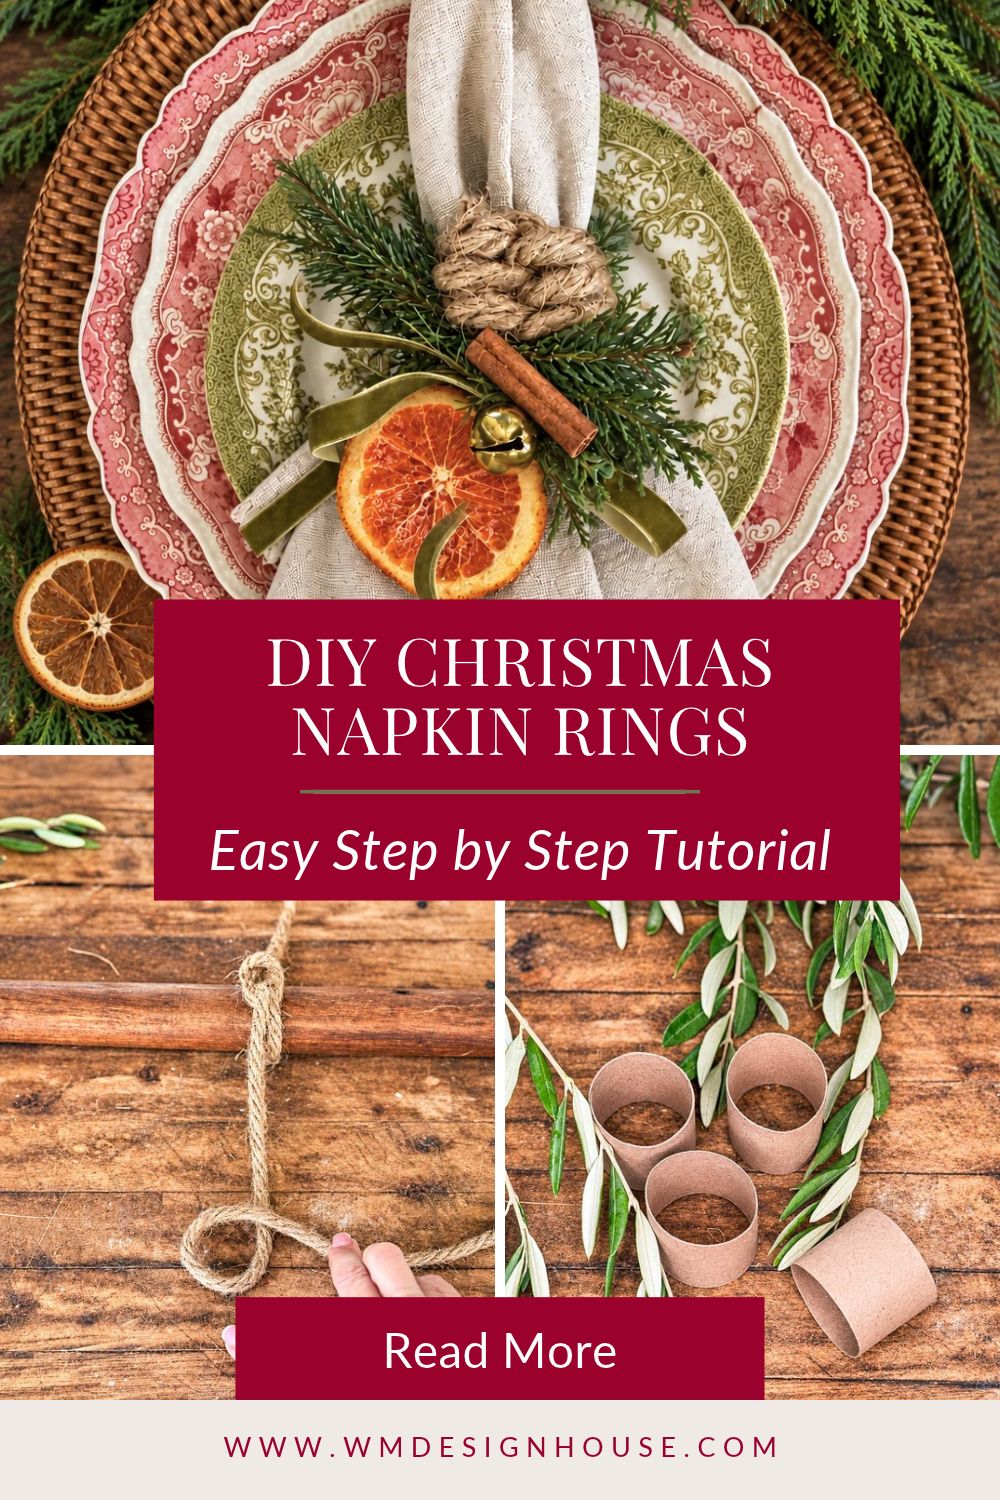
DIY Christmas napkin rings do not get much easier than this. A cardboard tube from the recycling bin, a little jute rope, one chunky leaf knot, and a dried orange slice with a gold bell. They look like something from a boutique, and each one takes about 10 minutes.
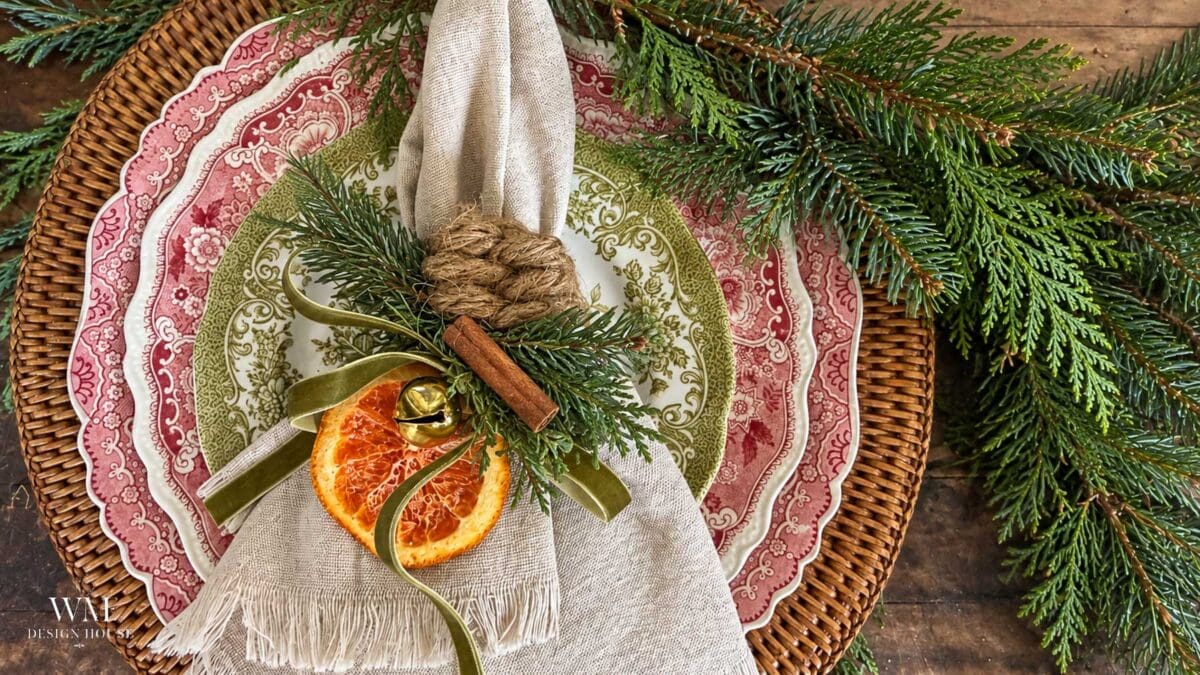
The leaf knot is the star here. It looks impressive, but it is really just one loop and a row of simple left and right turns. After the first one, your hands remember it.
On my blog WM Design House, I may sometimes use affiliate links, which means a small commission is earned if you purchase via the link. The price will be the same whether you use the affiliate link or go directly to the vendor’s website using a non-affiliate link. Read my full disclosure policy here.
Before we get into it, I am so glad you are here. It is time for the Hand Crafted Society gals to share our creations with you, and this month we are working with knots and fiber, which gave me the perfect excuse to learn a new knot.
Why You Will Love These DIY Christmas Napkin Rings
- The base is free. One toilet paper tube makes three rings.
- One knot to learn. The leaf knot is the only knot in the whole project.
- They are sturdy. The tube holds its shape, so napkins slide right in when you set the table.
- You can dress them up or down. Keep it simple with an orange slice and a bell, or add dried flowers and ribbon.
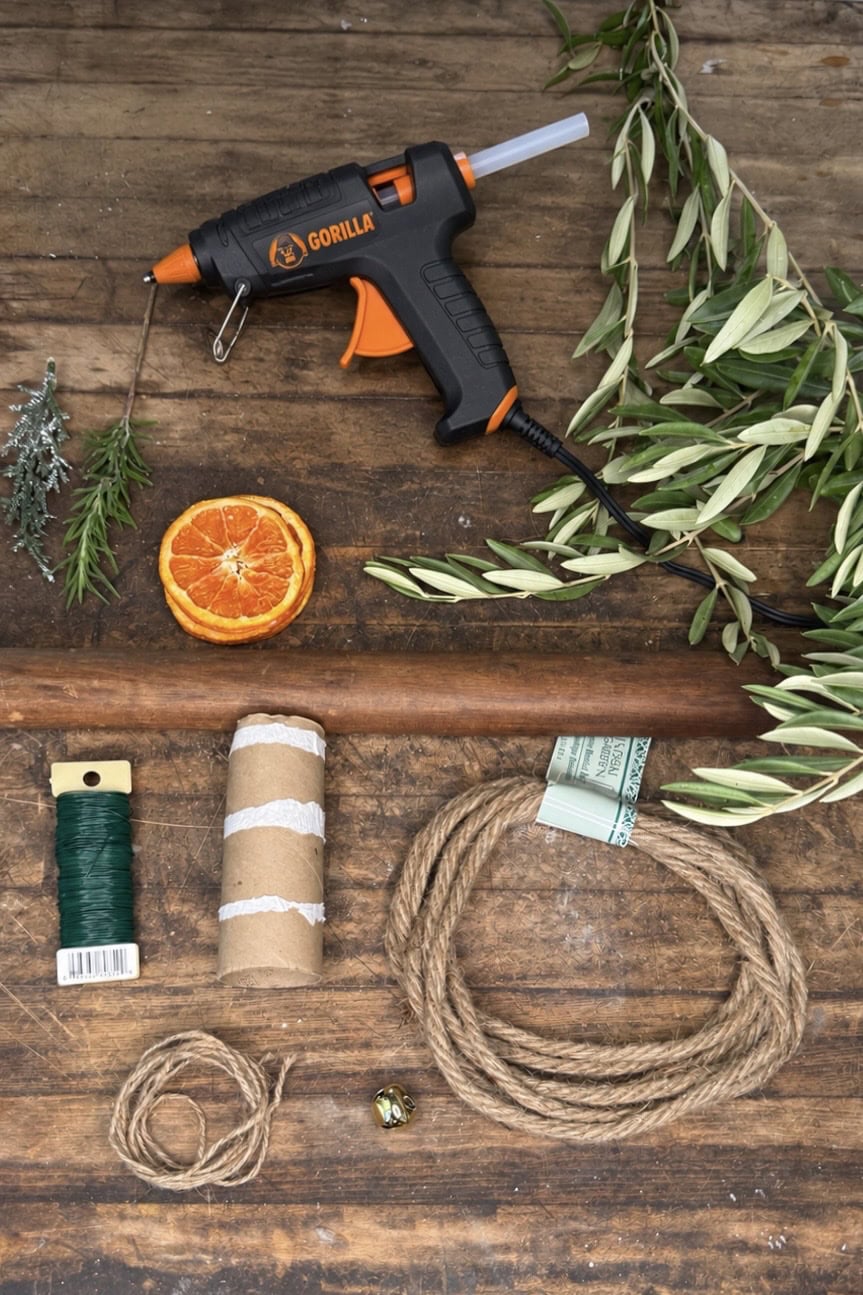
Supplies You Will Need
- Soft jute rope, 3/8 inch thick
- Empty toilet paper tubes (each tube will make three rings)
- Hot glue gun and glue sticks
- Dried orange slices, one per ring
- Small gold jingle bells, one per ring
- Thin craft wire 22-24 gauge
- Velvet ribbon, 3/8 inch wide
- Dried hydrangea (optional)
- Cinnamon sticks (optional)
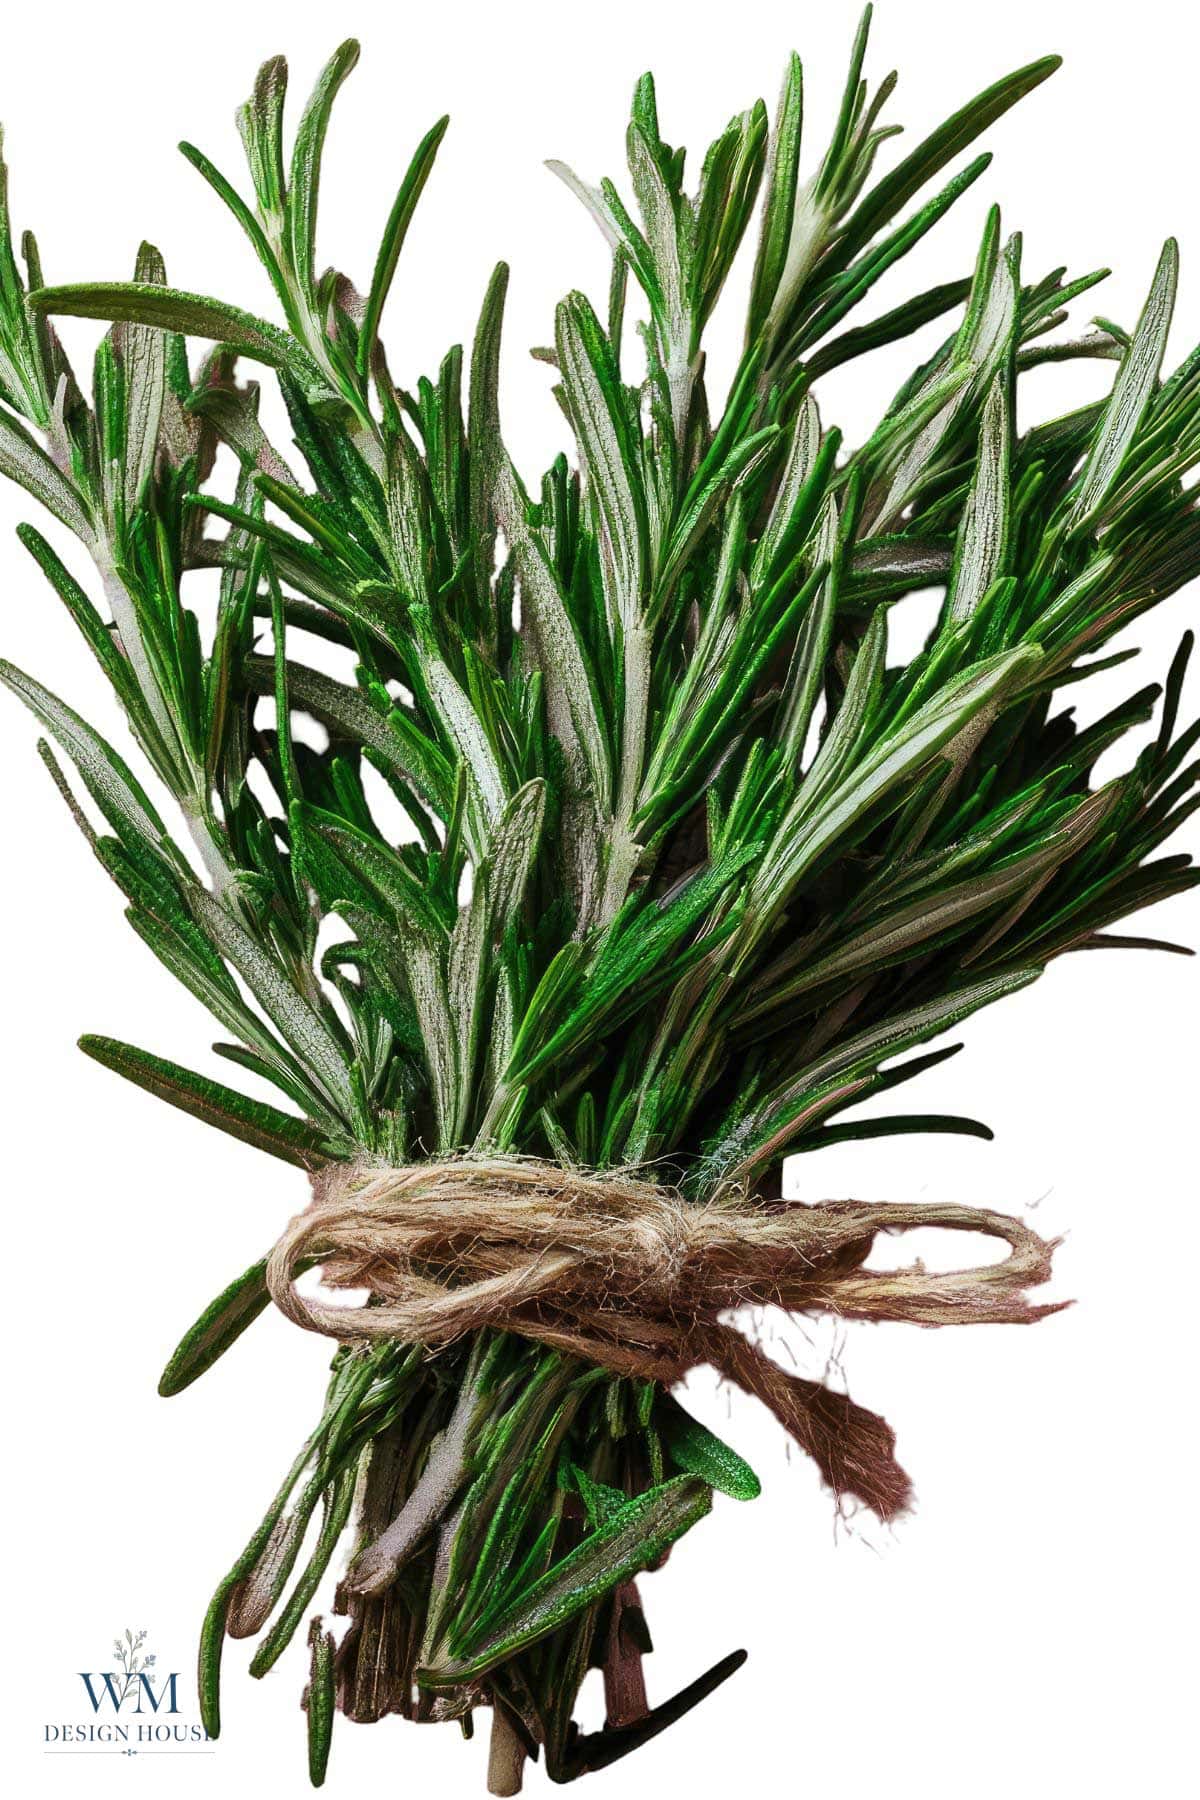
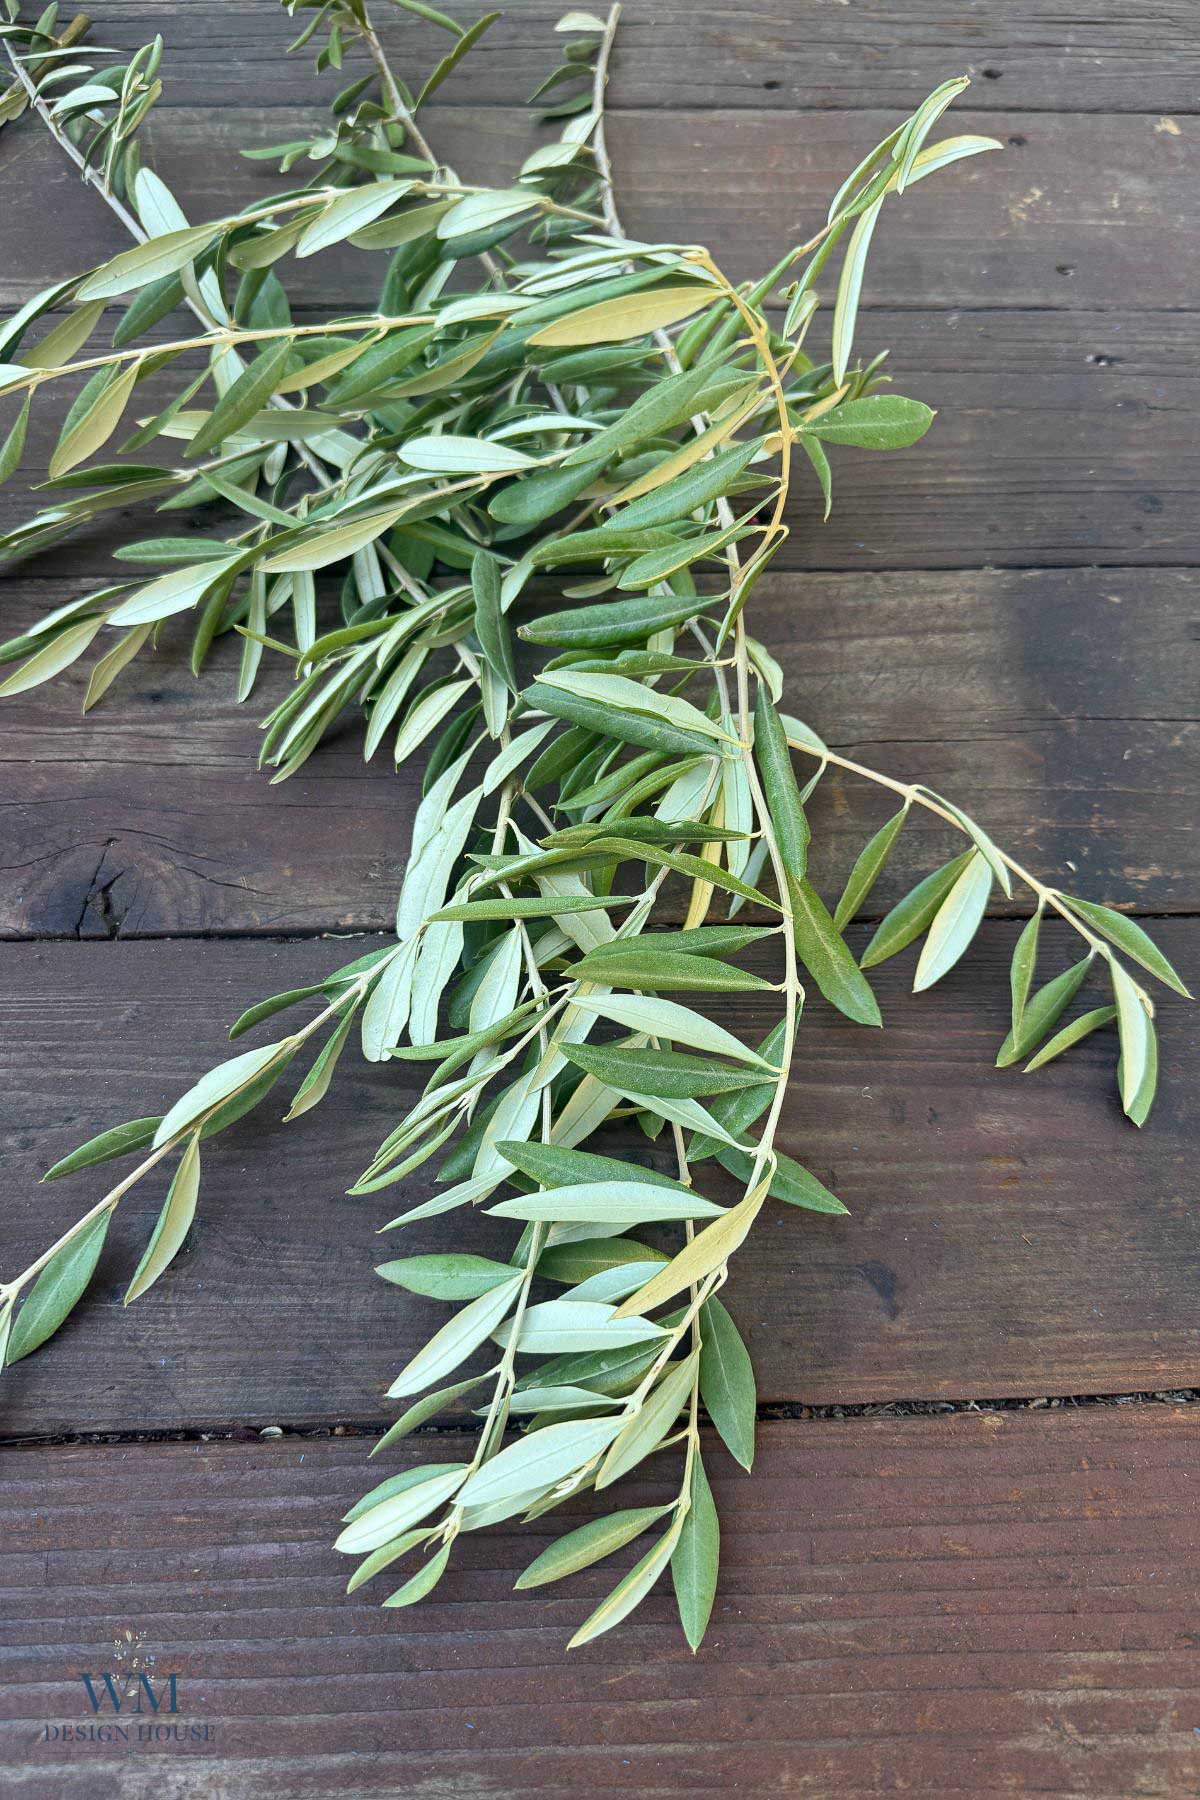
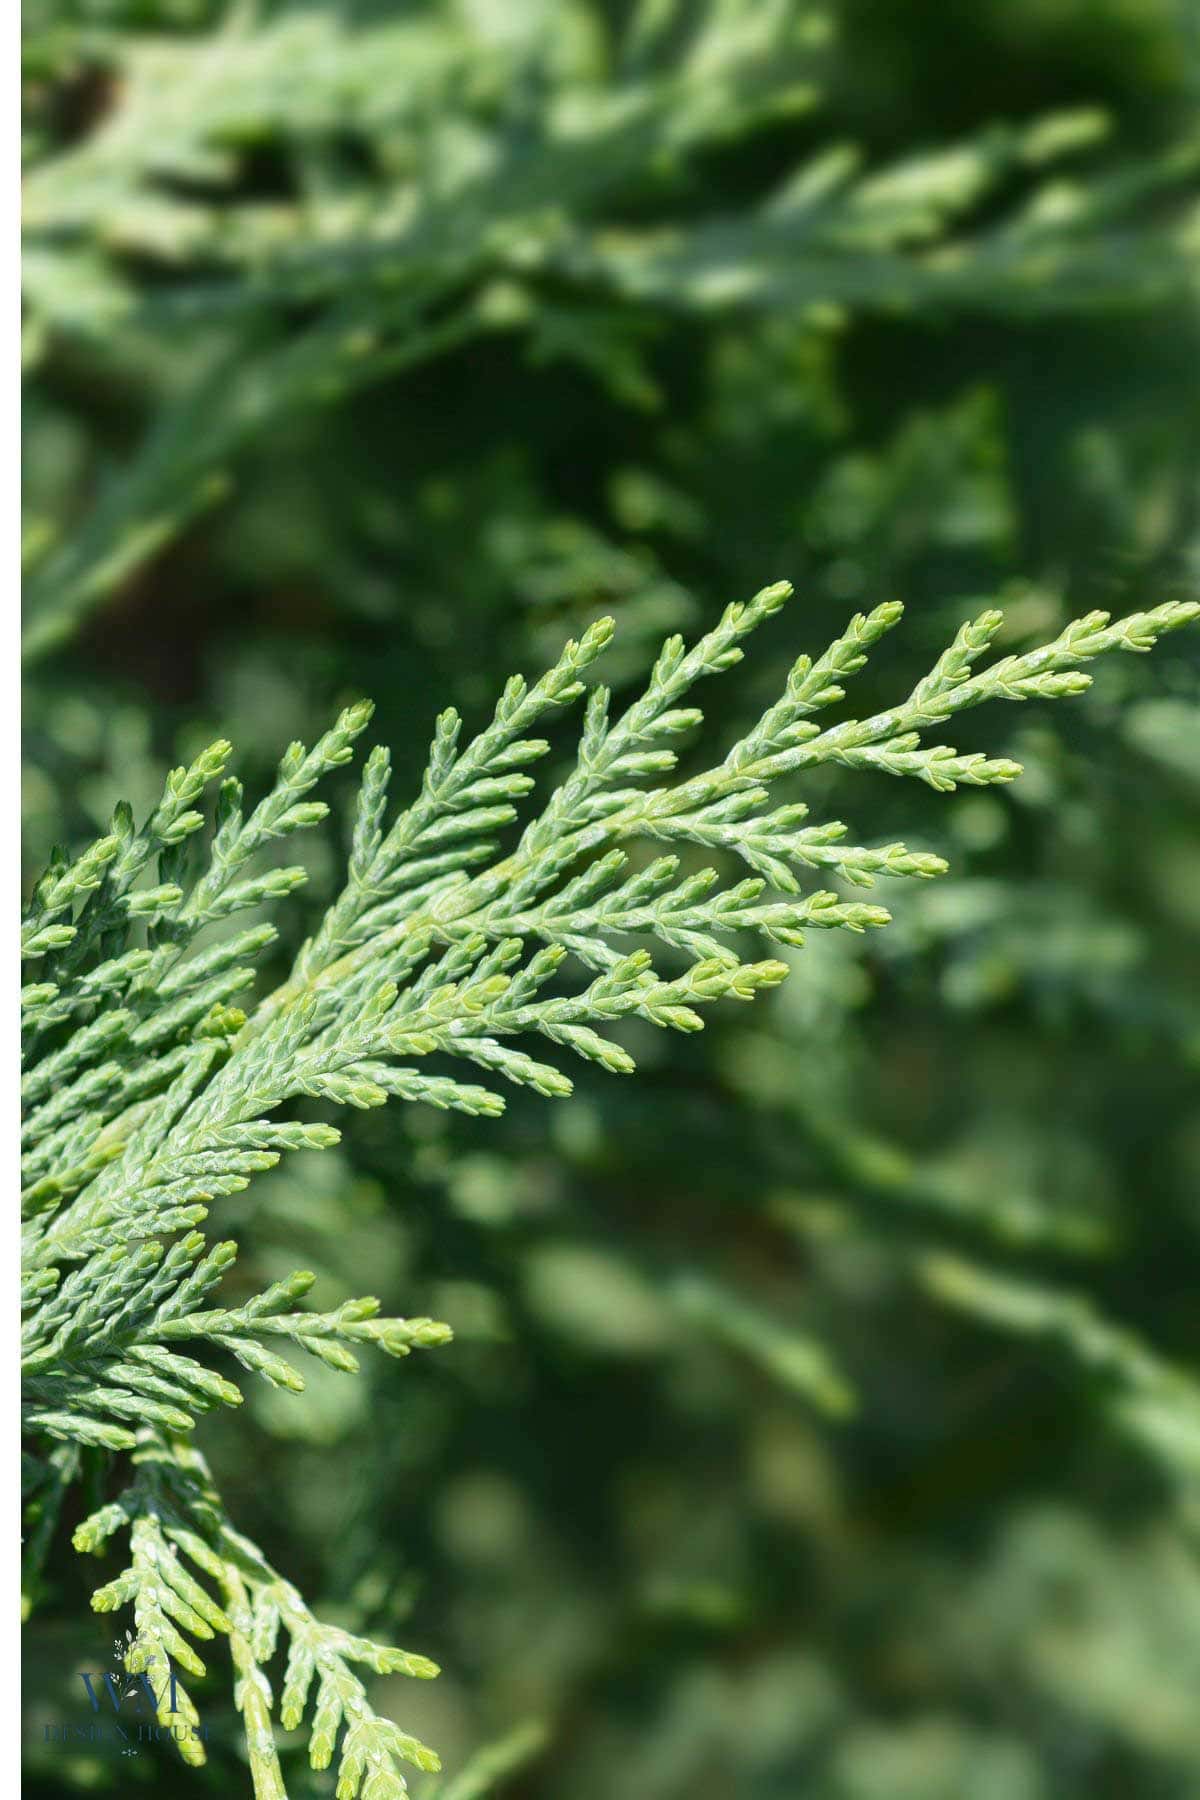
- Fresh greenery (I used olive branches, cedar and pine)
- Sharp scissors
- Clear tape
- A broom handle or wooden dowel to hold your rope
- Cloth napkins
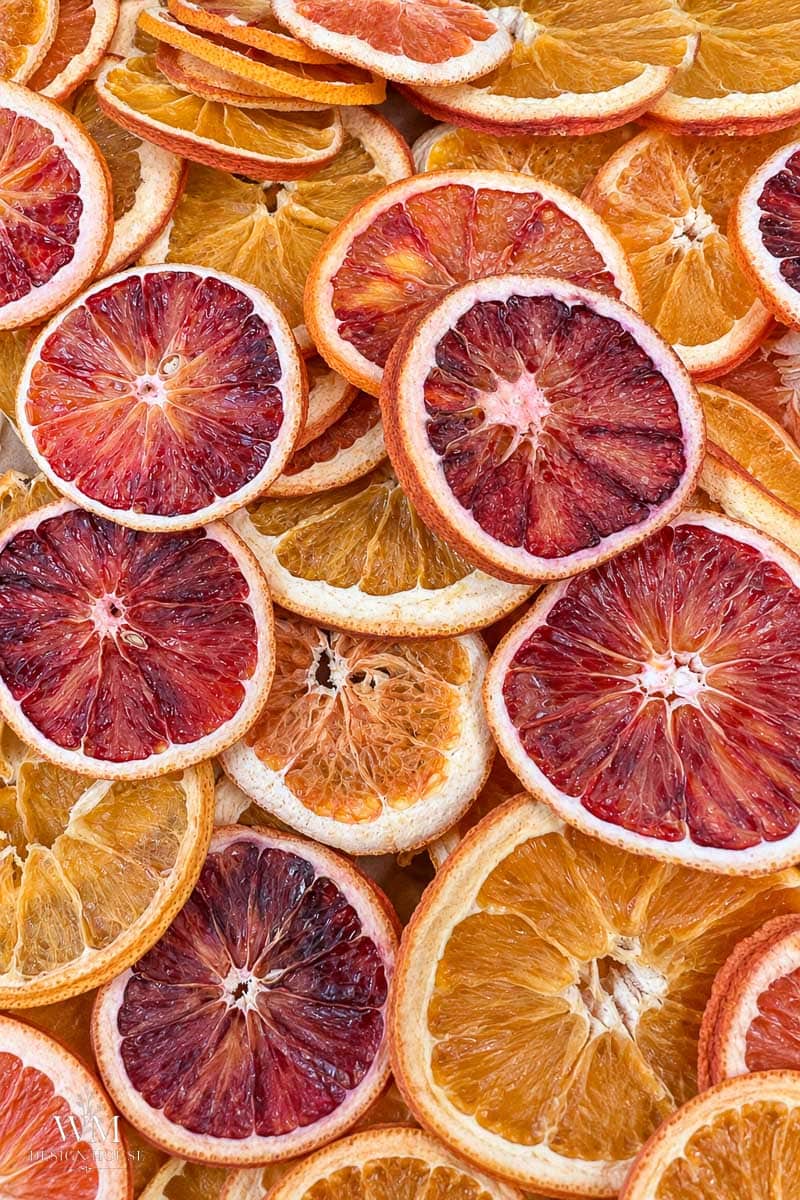
Need to make your orange slices first? I share three easy drying methods in my post on how to make dried orange slices.
Tip from wendy:
Tape before you cut. Soft jute frays the second it is cut. Tape first, then cut through the tape.

How to Make Knotted Rope Christmas Napkin Rings
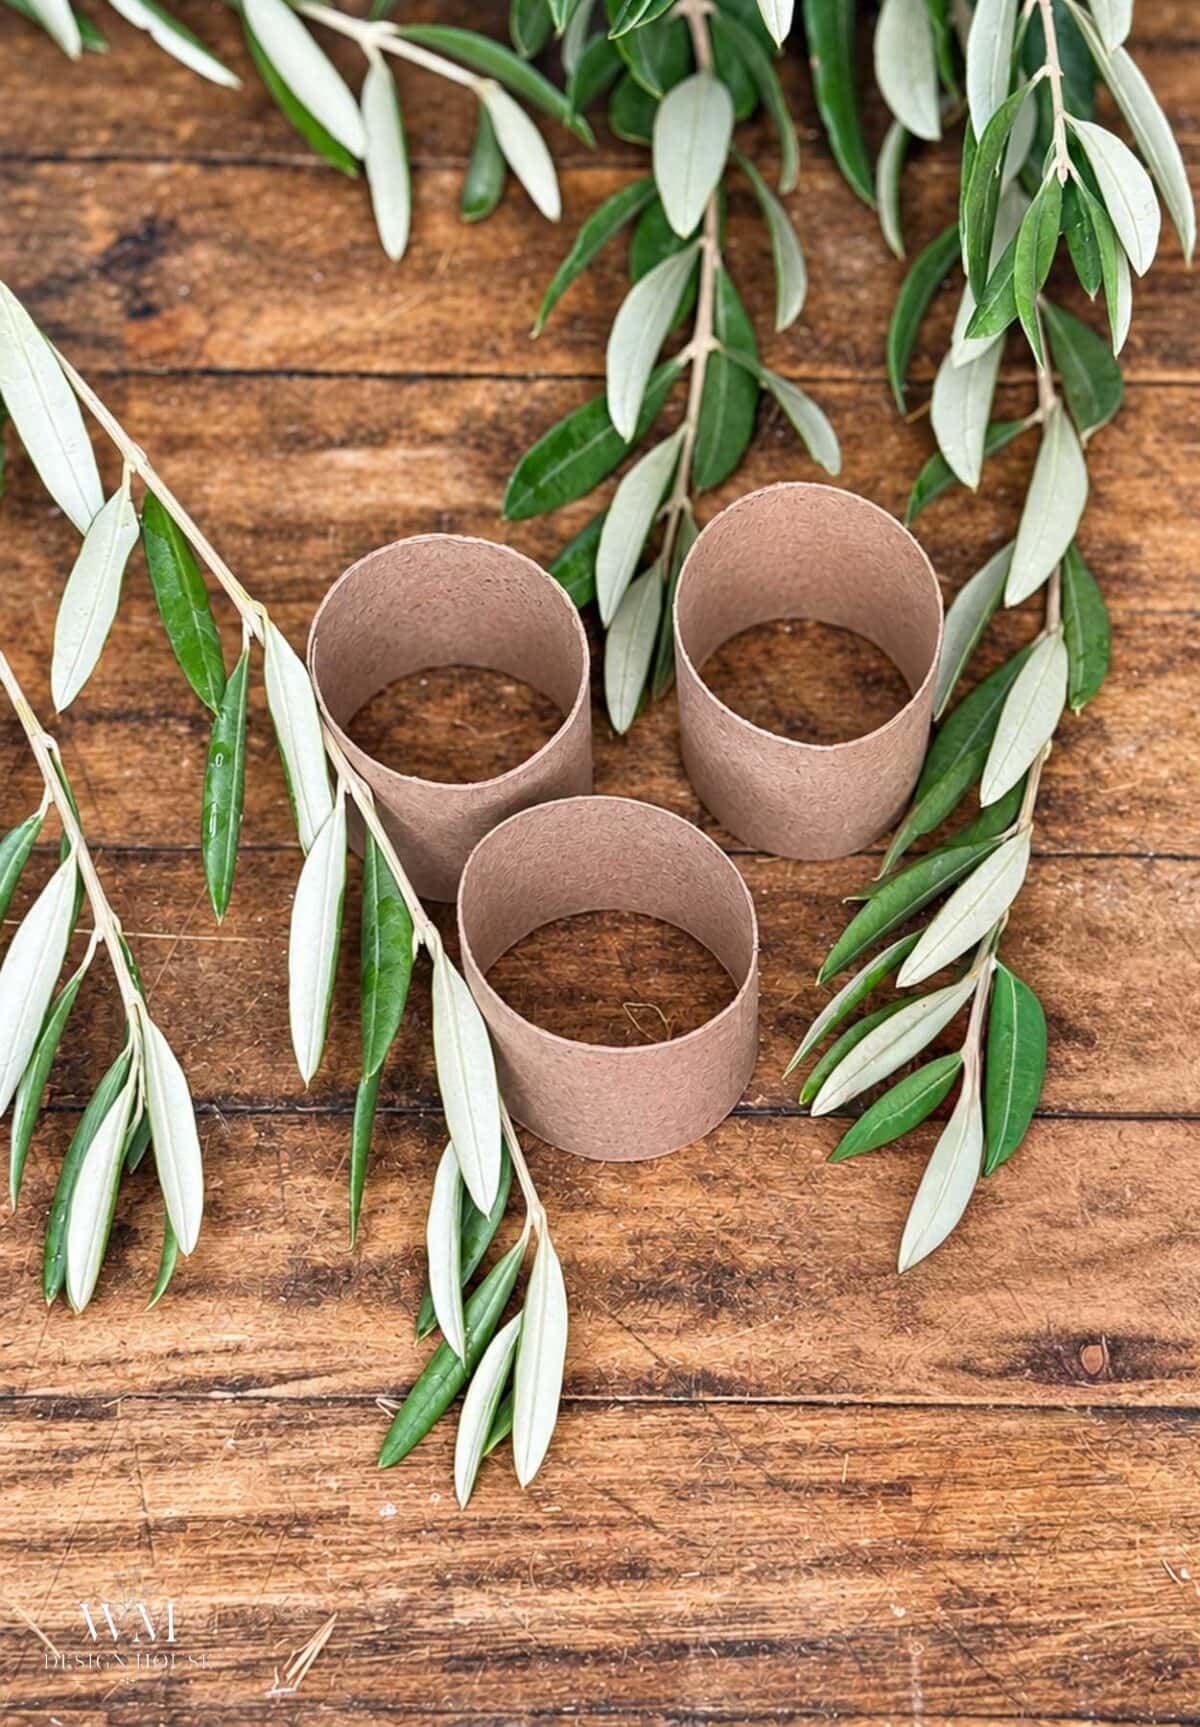
Step 1: Cut the Tube
Cut a ring about 1.25 inches wide from a toilet paper tube. Flatten the tube gently, snip, and pop it back into a circle. One tube gives you three rings.
Step 2: Wrap the Ring with Rope
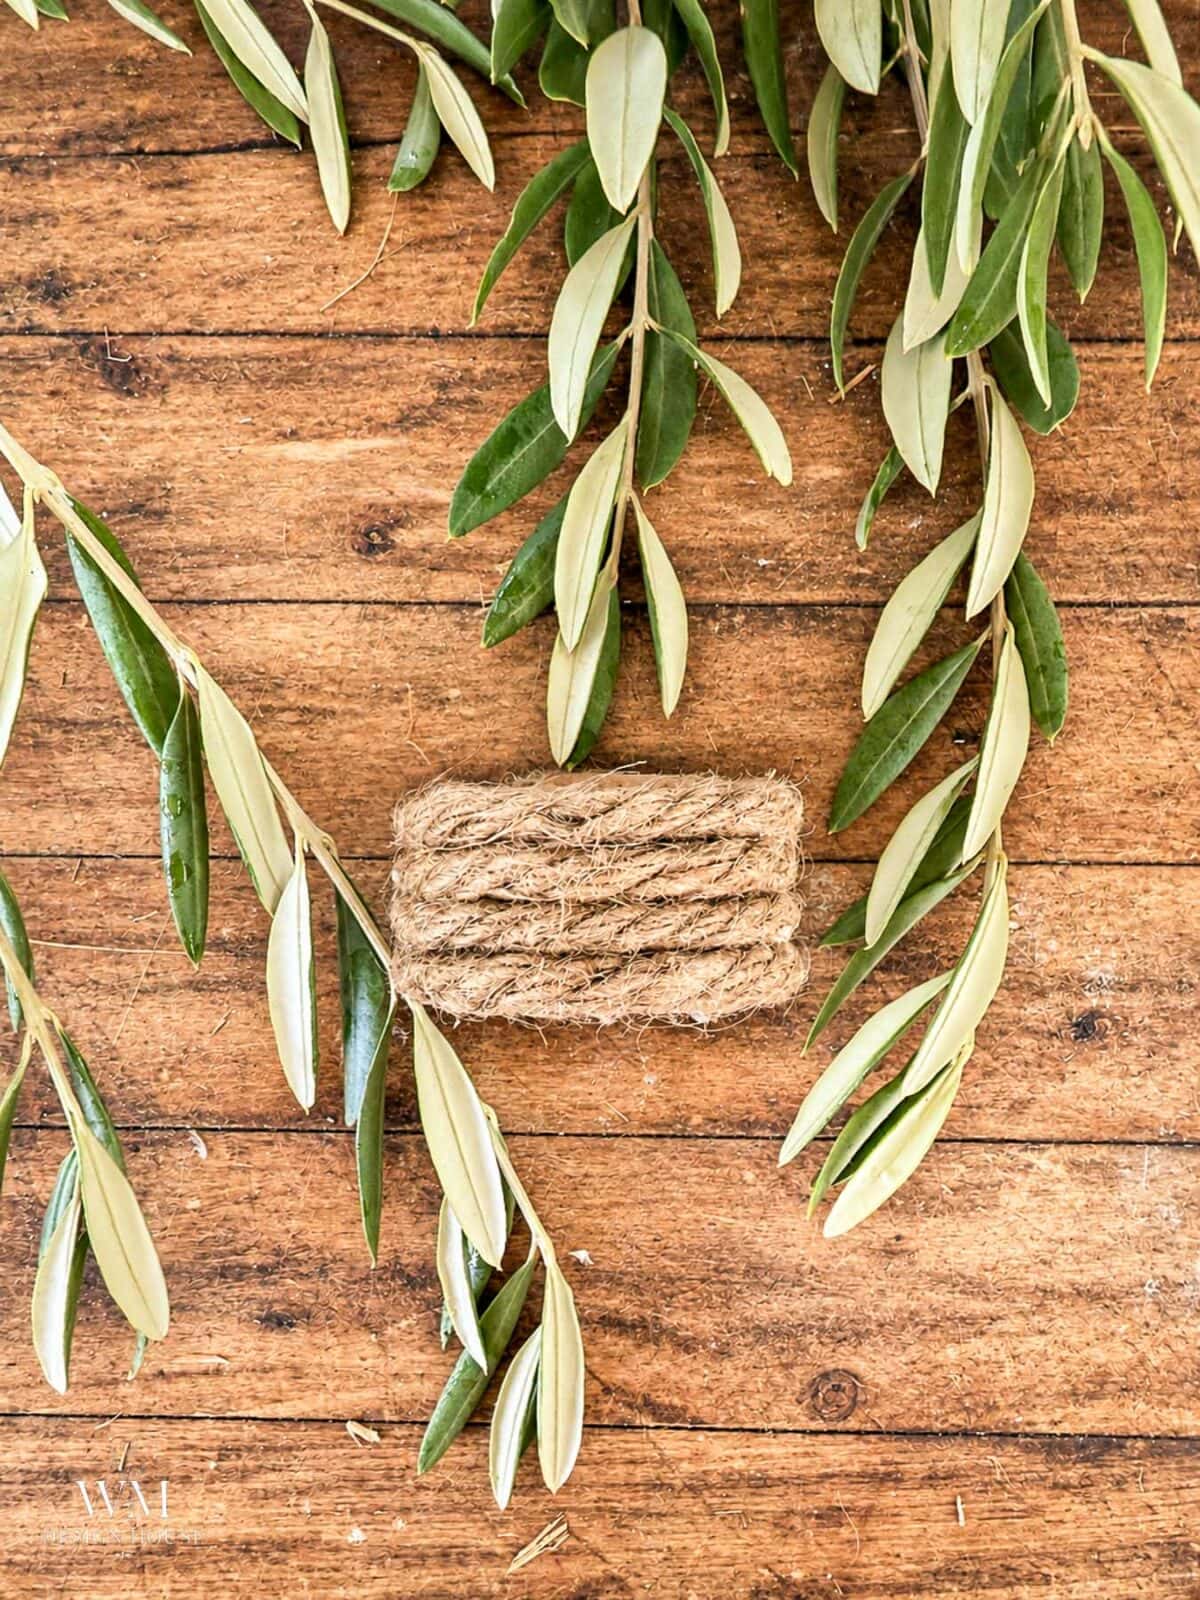
Cut a piece of rope about 25″ long. Wrap a small piece of tape around the rope before each cut to stop the jute from unraveling.
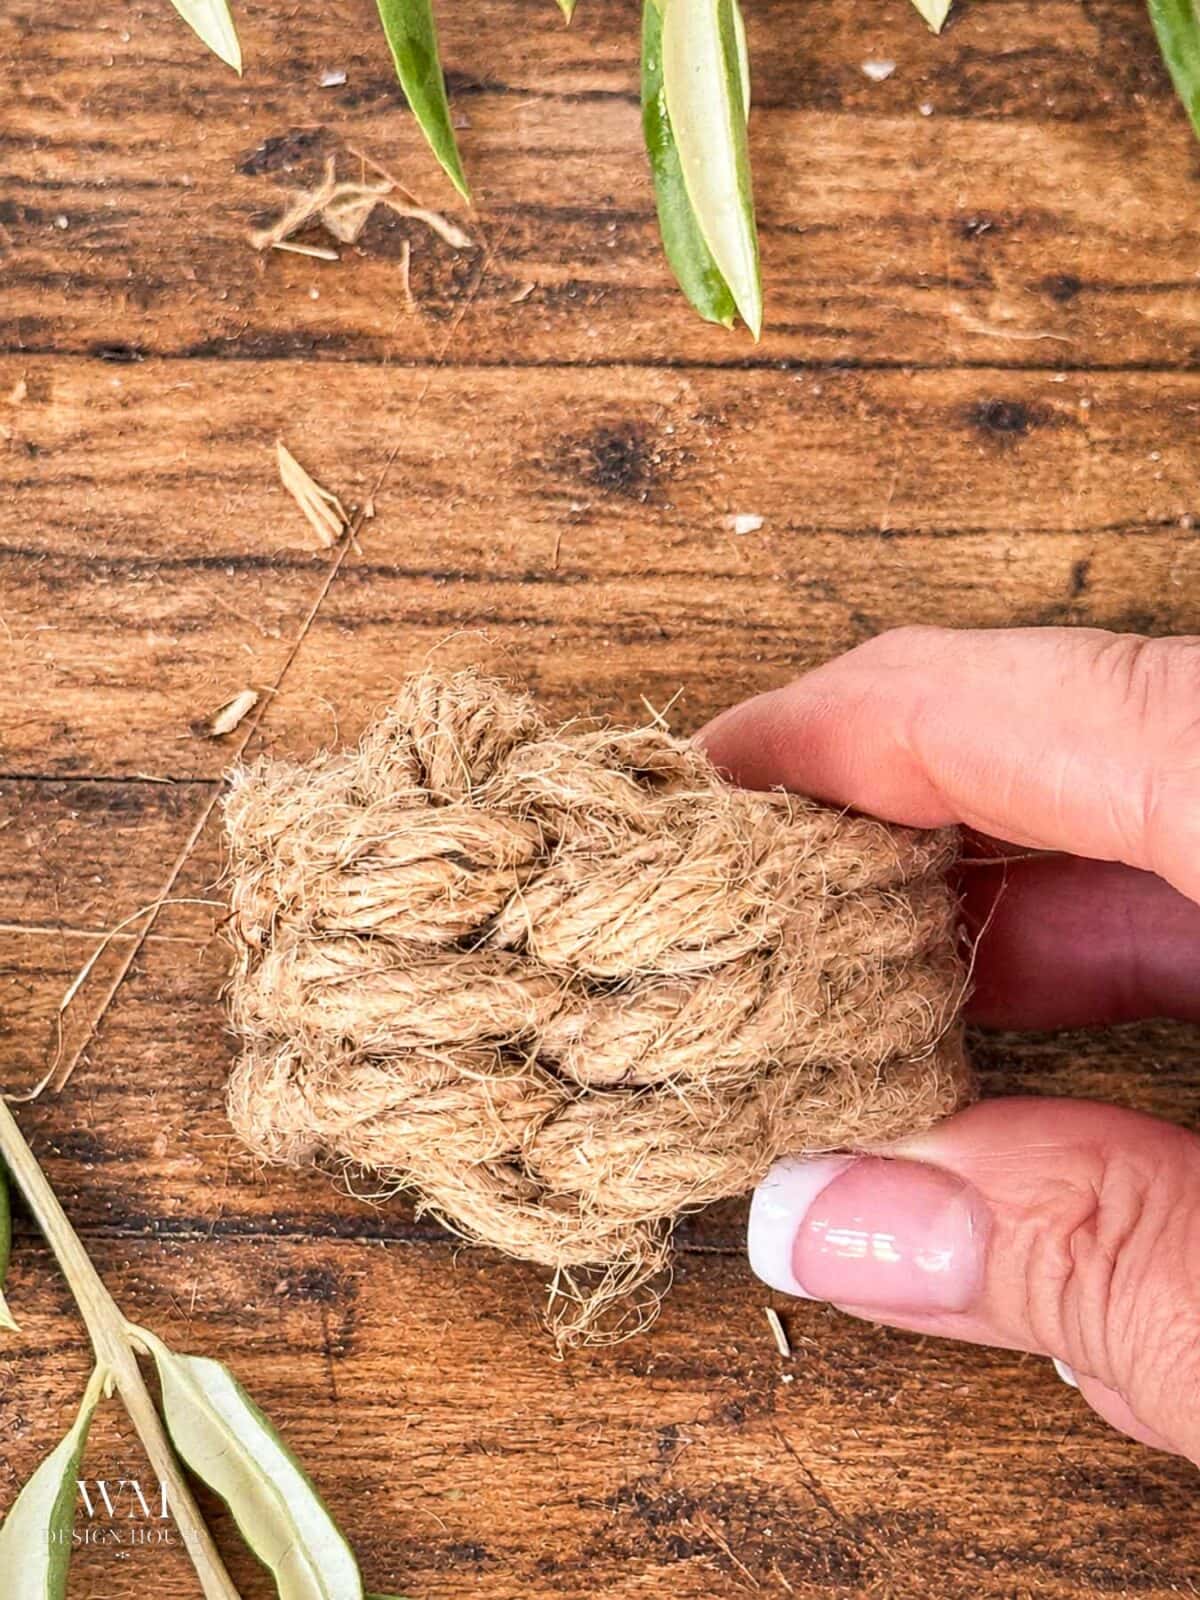
Glue one end of the rope to the cardboard ring. Wrap the rope around the ring four times, keeping each wrap snug against the last so no cardboard shows. Glue down the other end.
Have rope left over? Use it for my DIY rope wreath.
Step 3: Tie the Leaf Knot
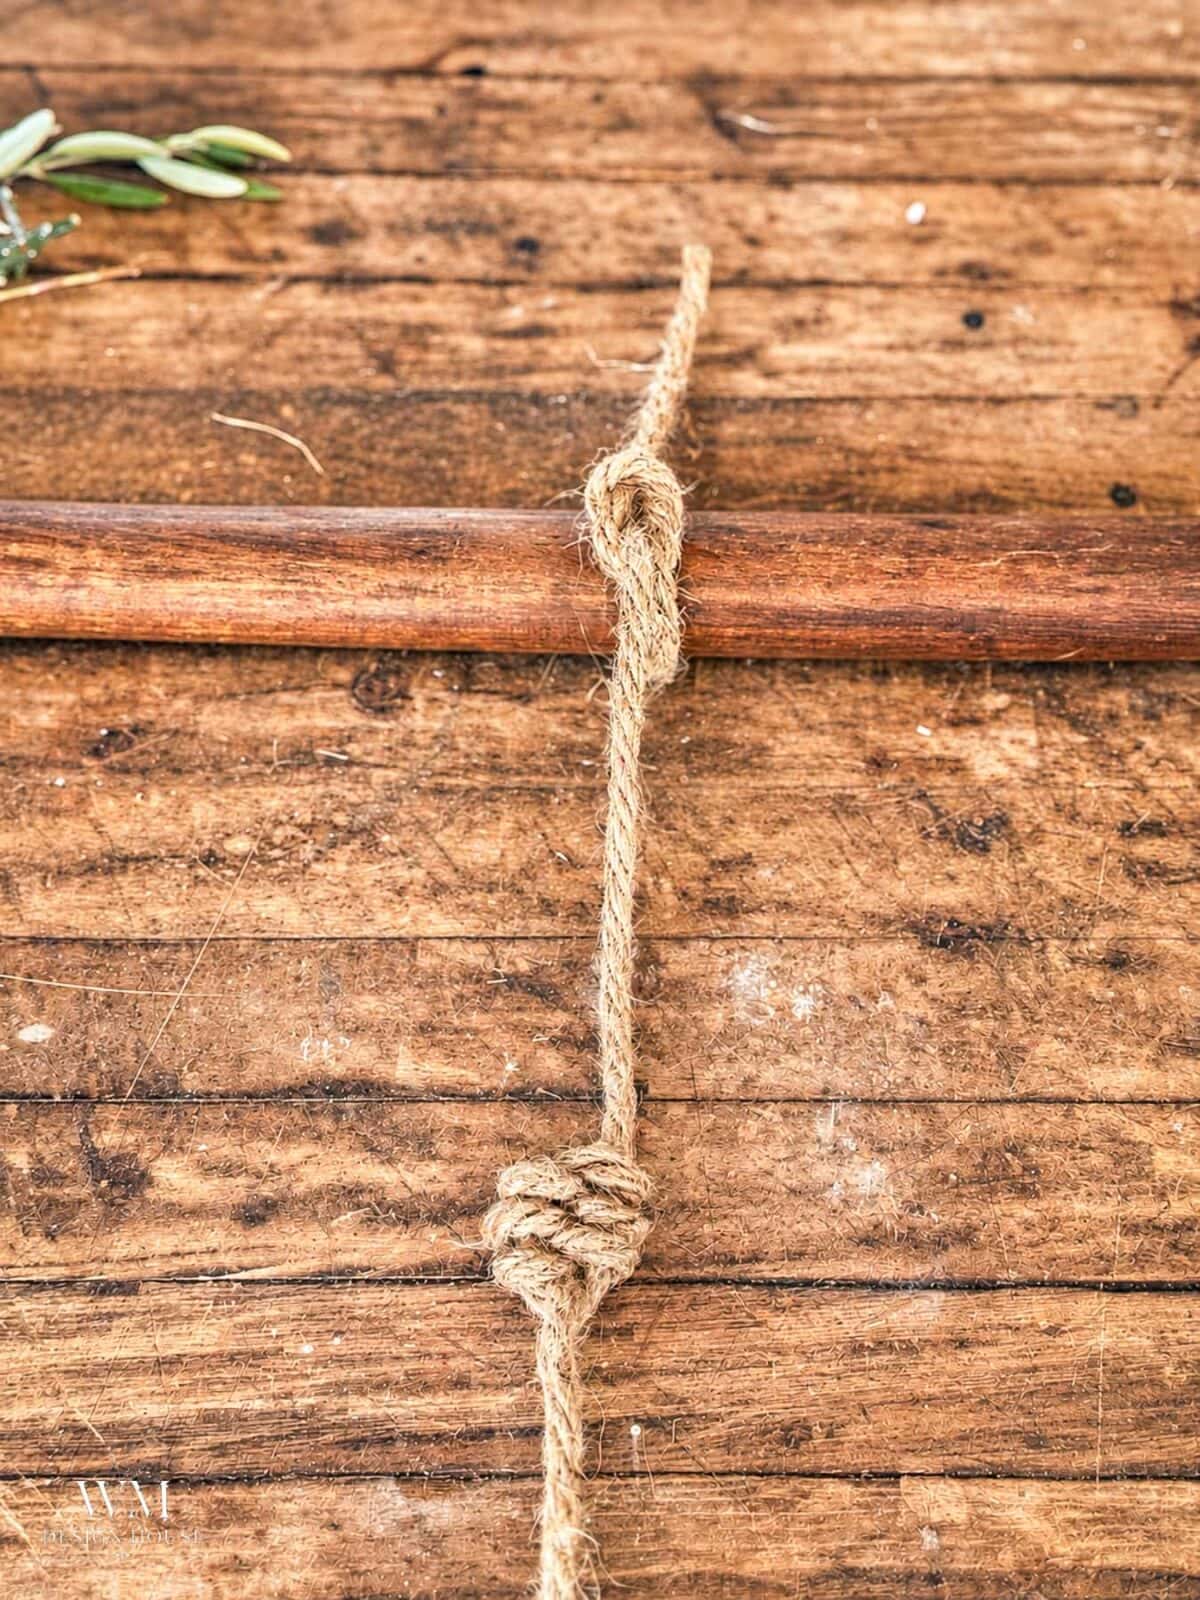
Cut a second piece of rope about 20″ long and tie one end around a broom handle.
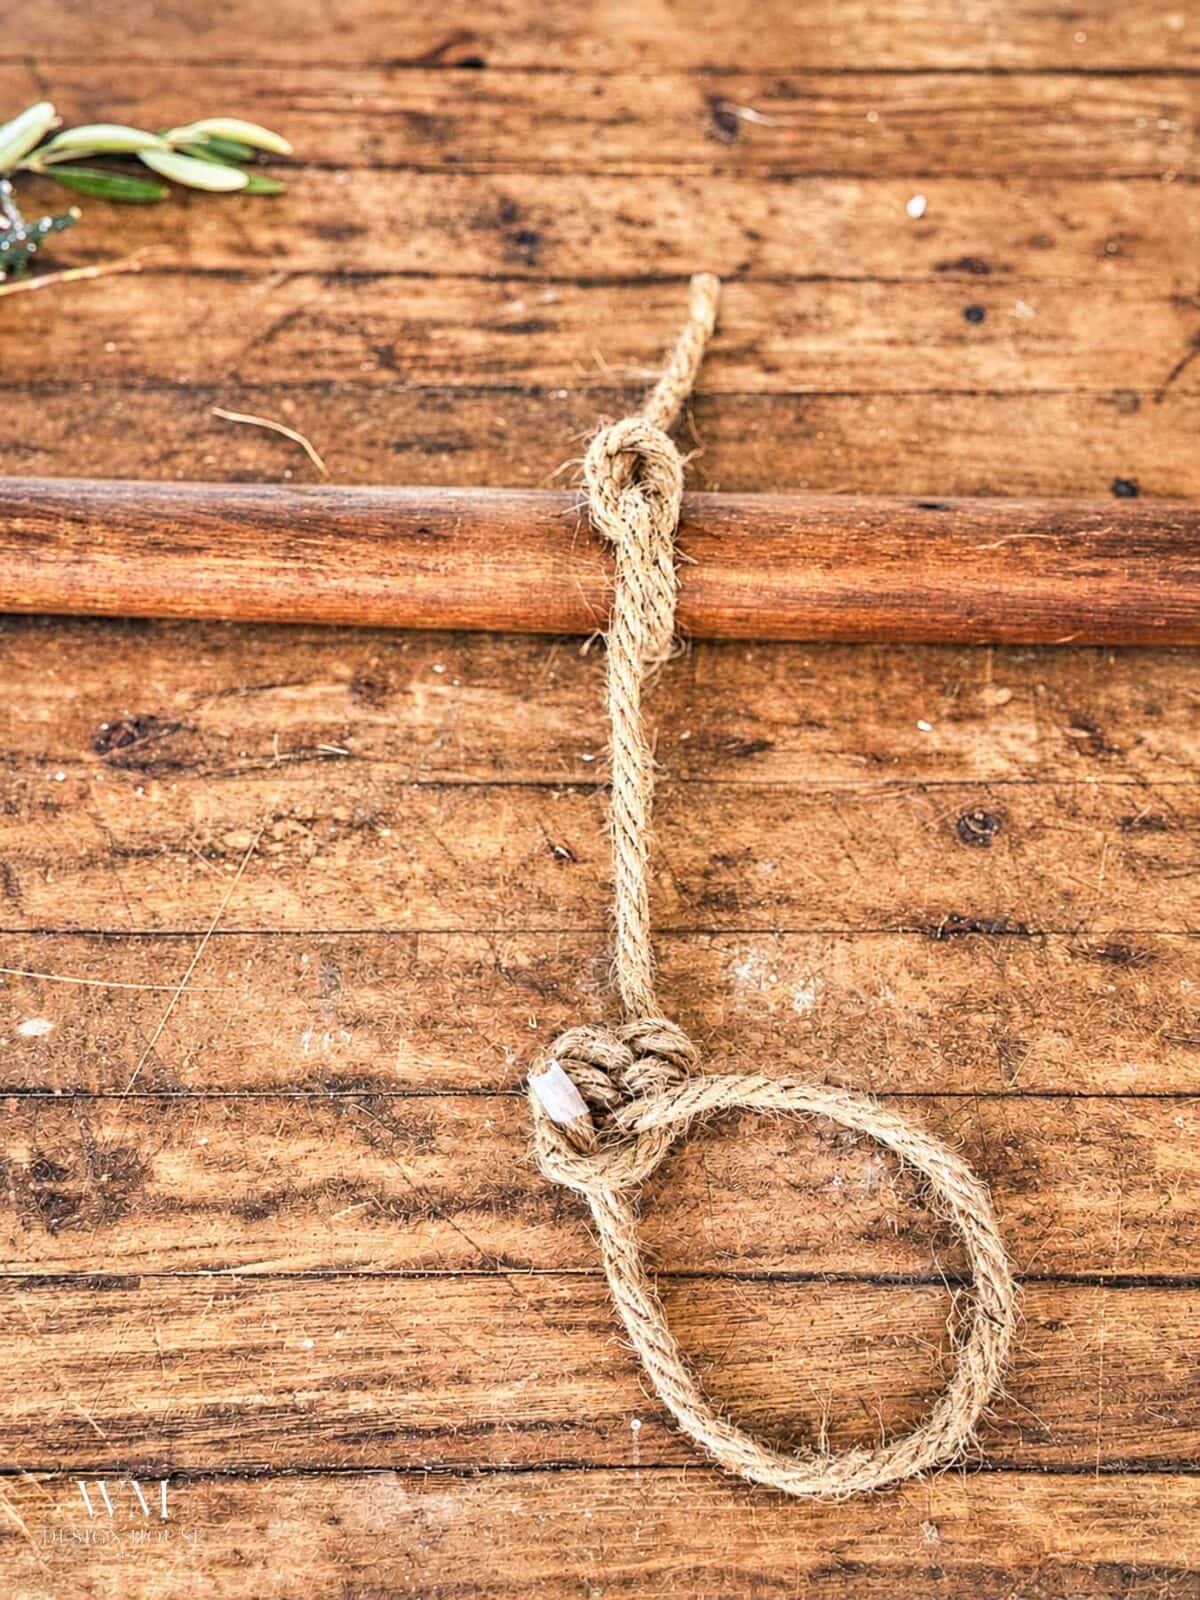
- Make a loop. Bring the working end of the rope behind the long part of the rope to form a loop. The size of this loop sets the size of your finished knot, so make it about as long as you want the knot to be.
- Wrap the left side. Bring the end over and down through the loop, making one full turn around the left side of the loop.
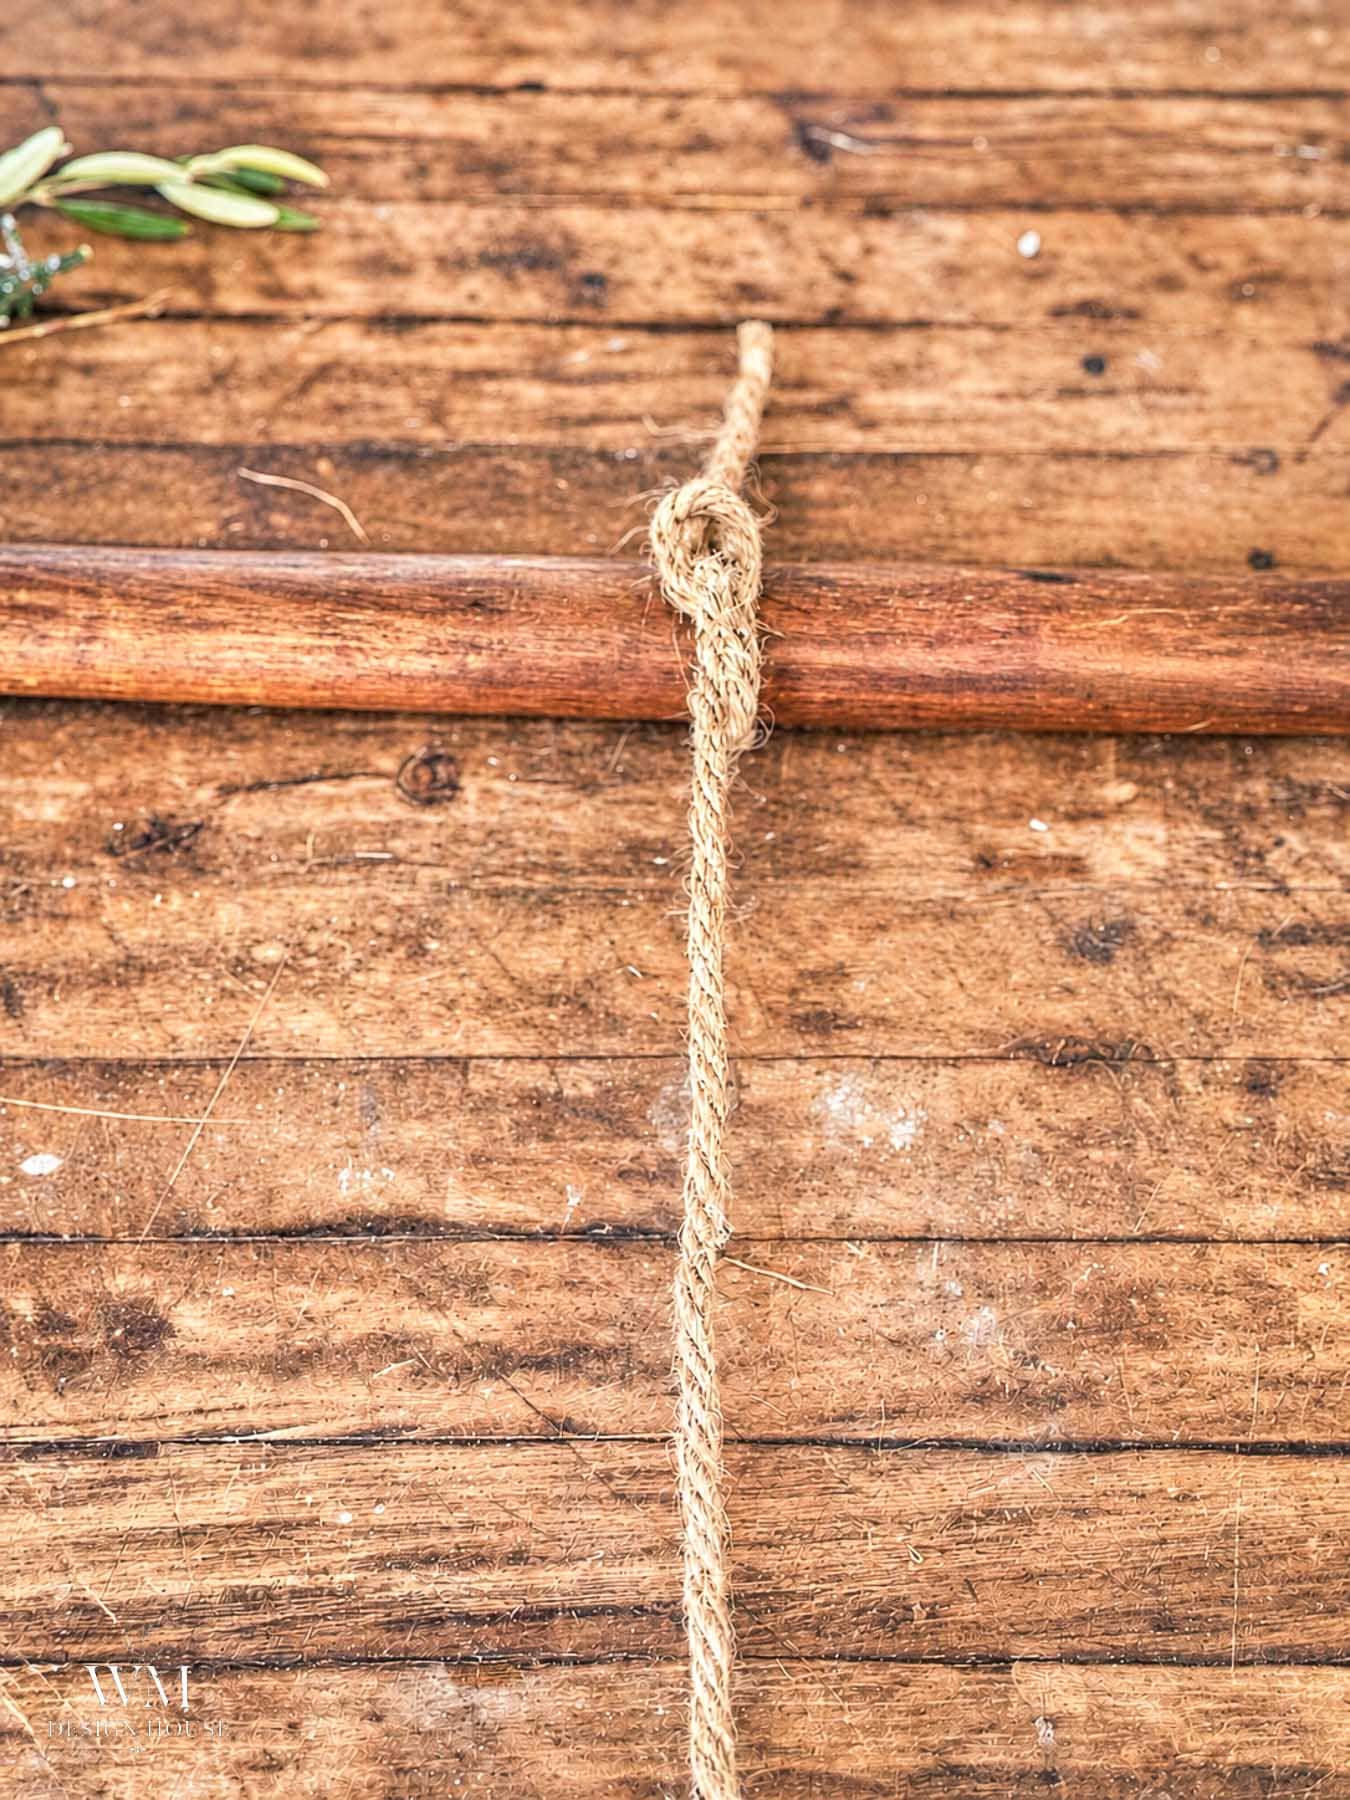
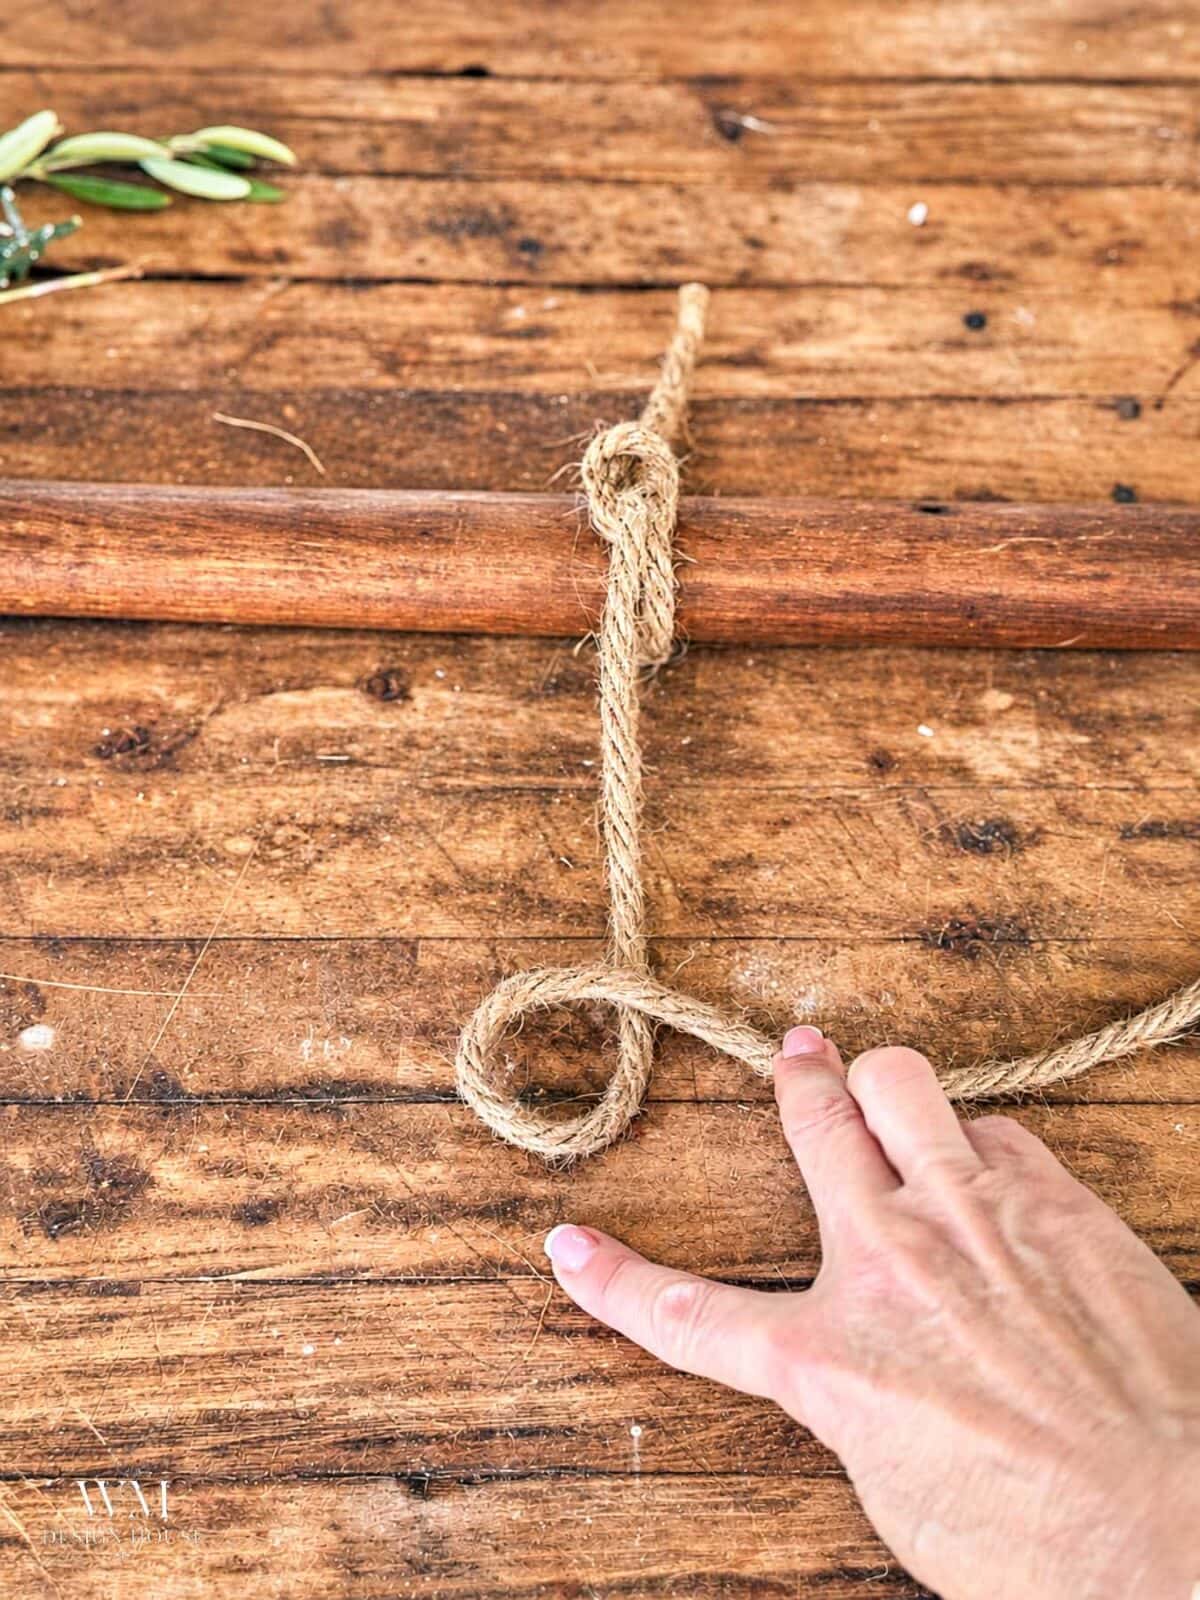
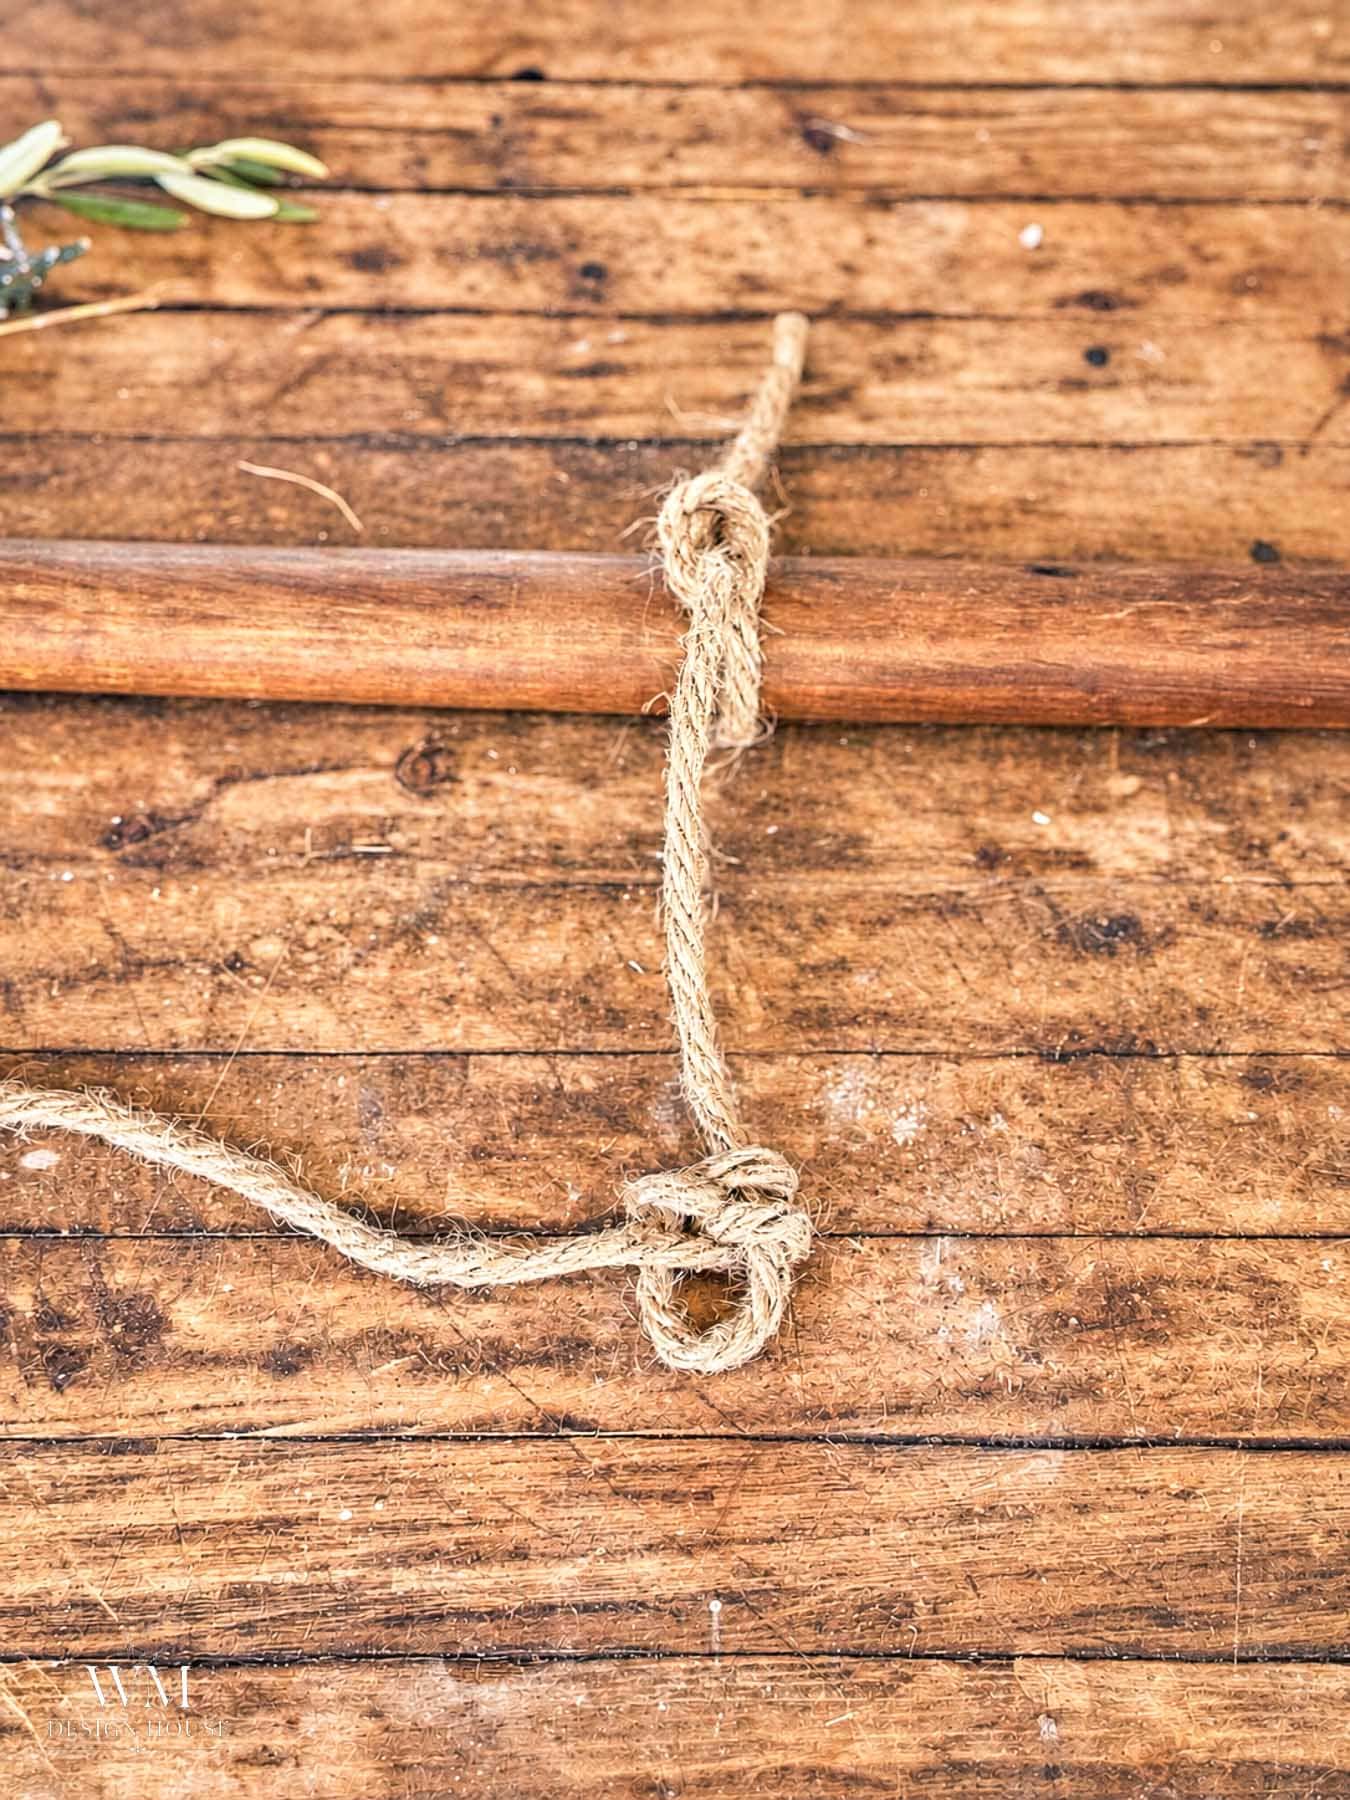
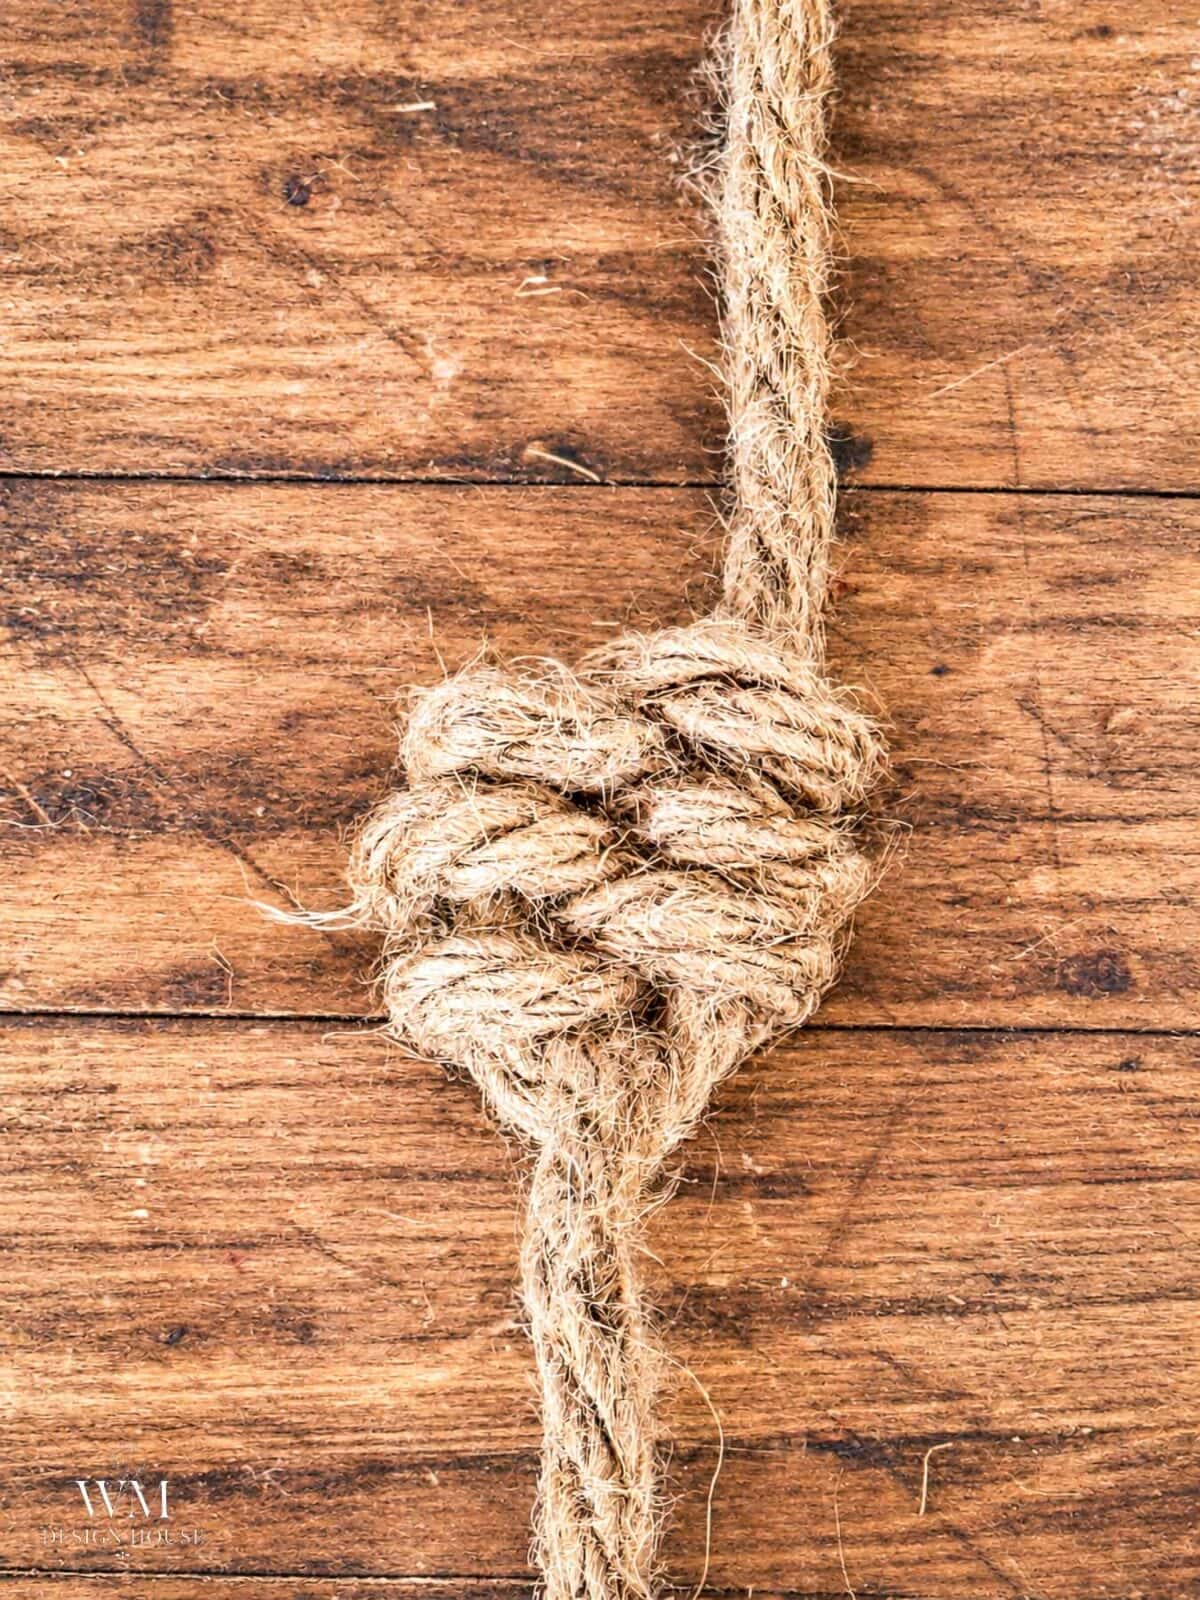
- Wrap the right side. Bring the end across and make one full turn around the right side of the loop.
- Keep alternating. Go left, then right, snugging each turn up against the last one before you make the next. Keep going until the loop is filled.
- Tighten. Give the knot a final snug and shape it with your fingers. Do not trim the tails yet. You will use them to attach the knot in the next step.
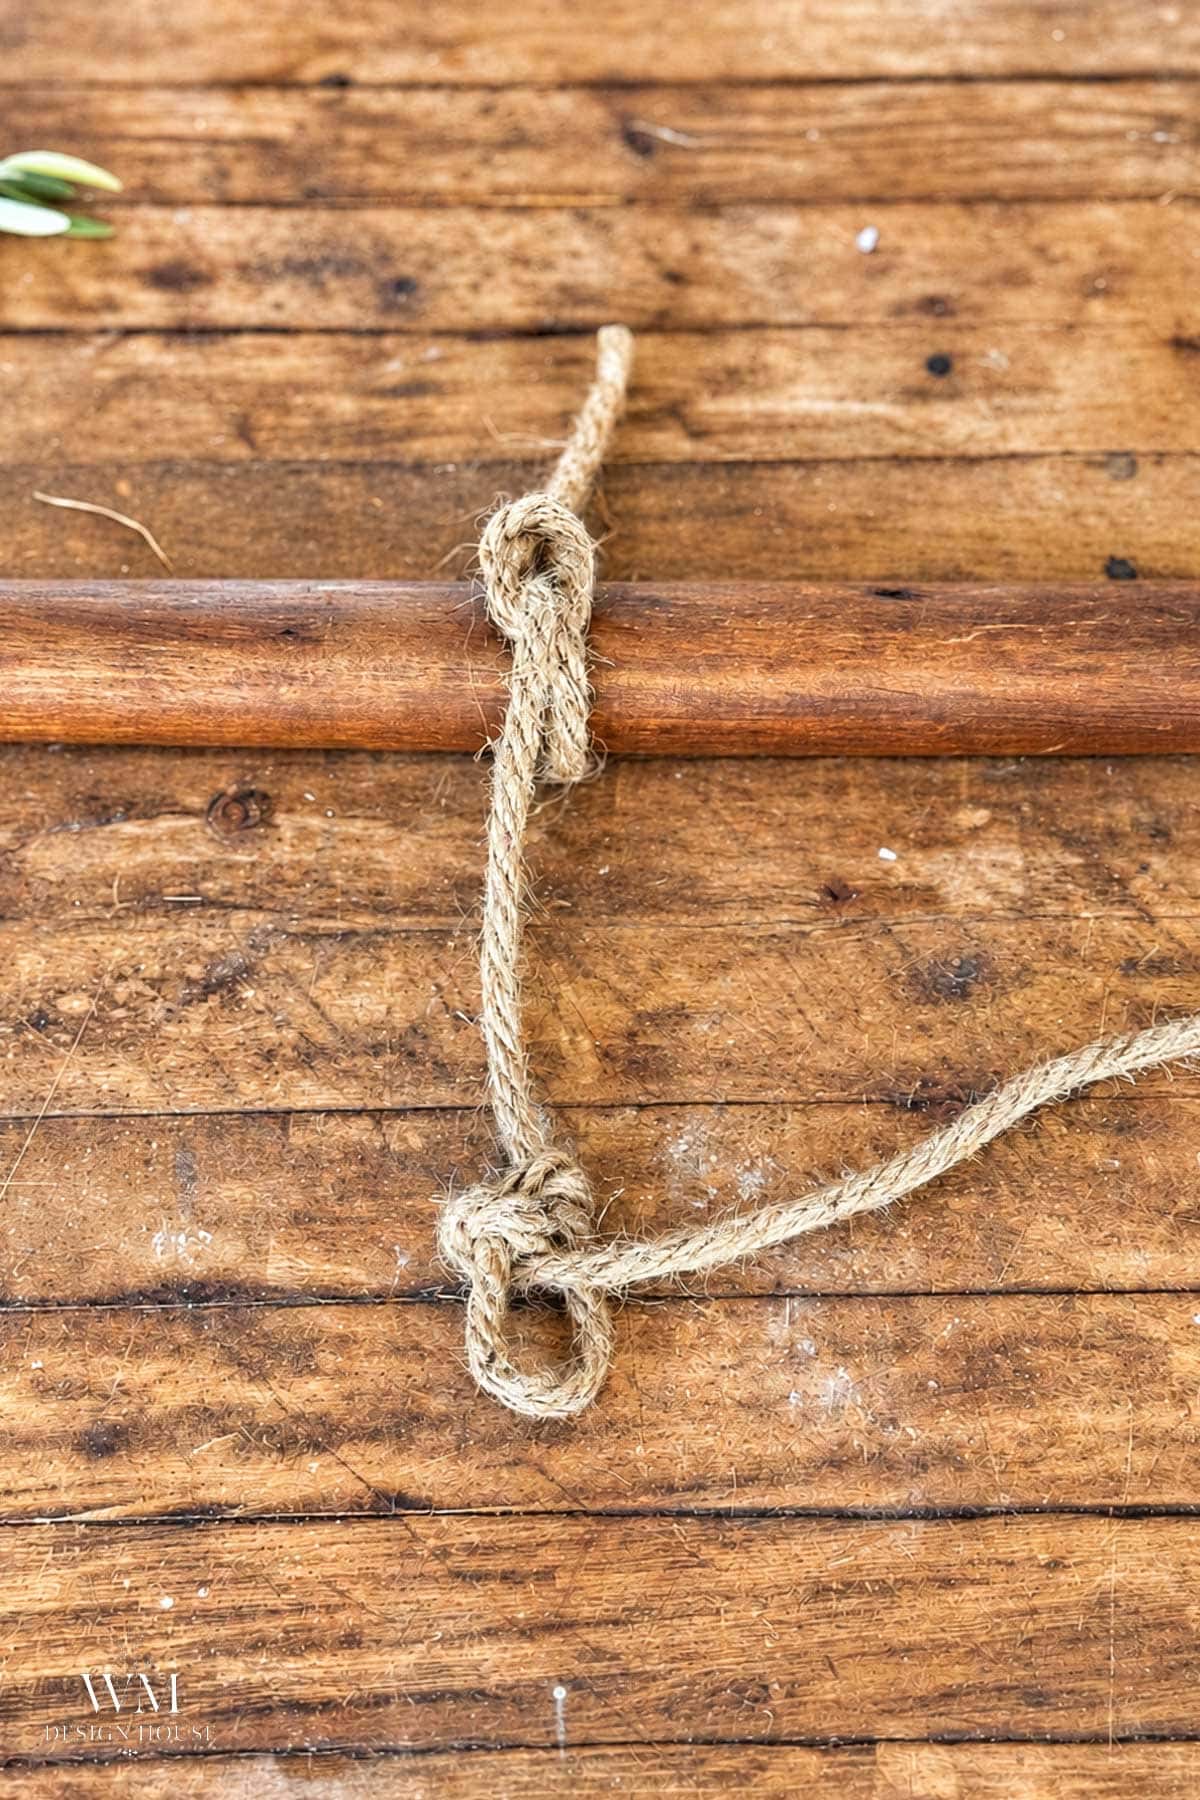
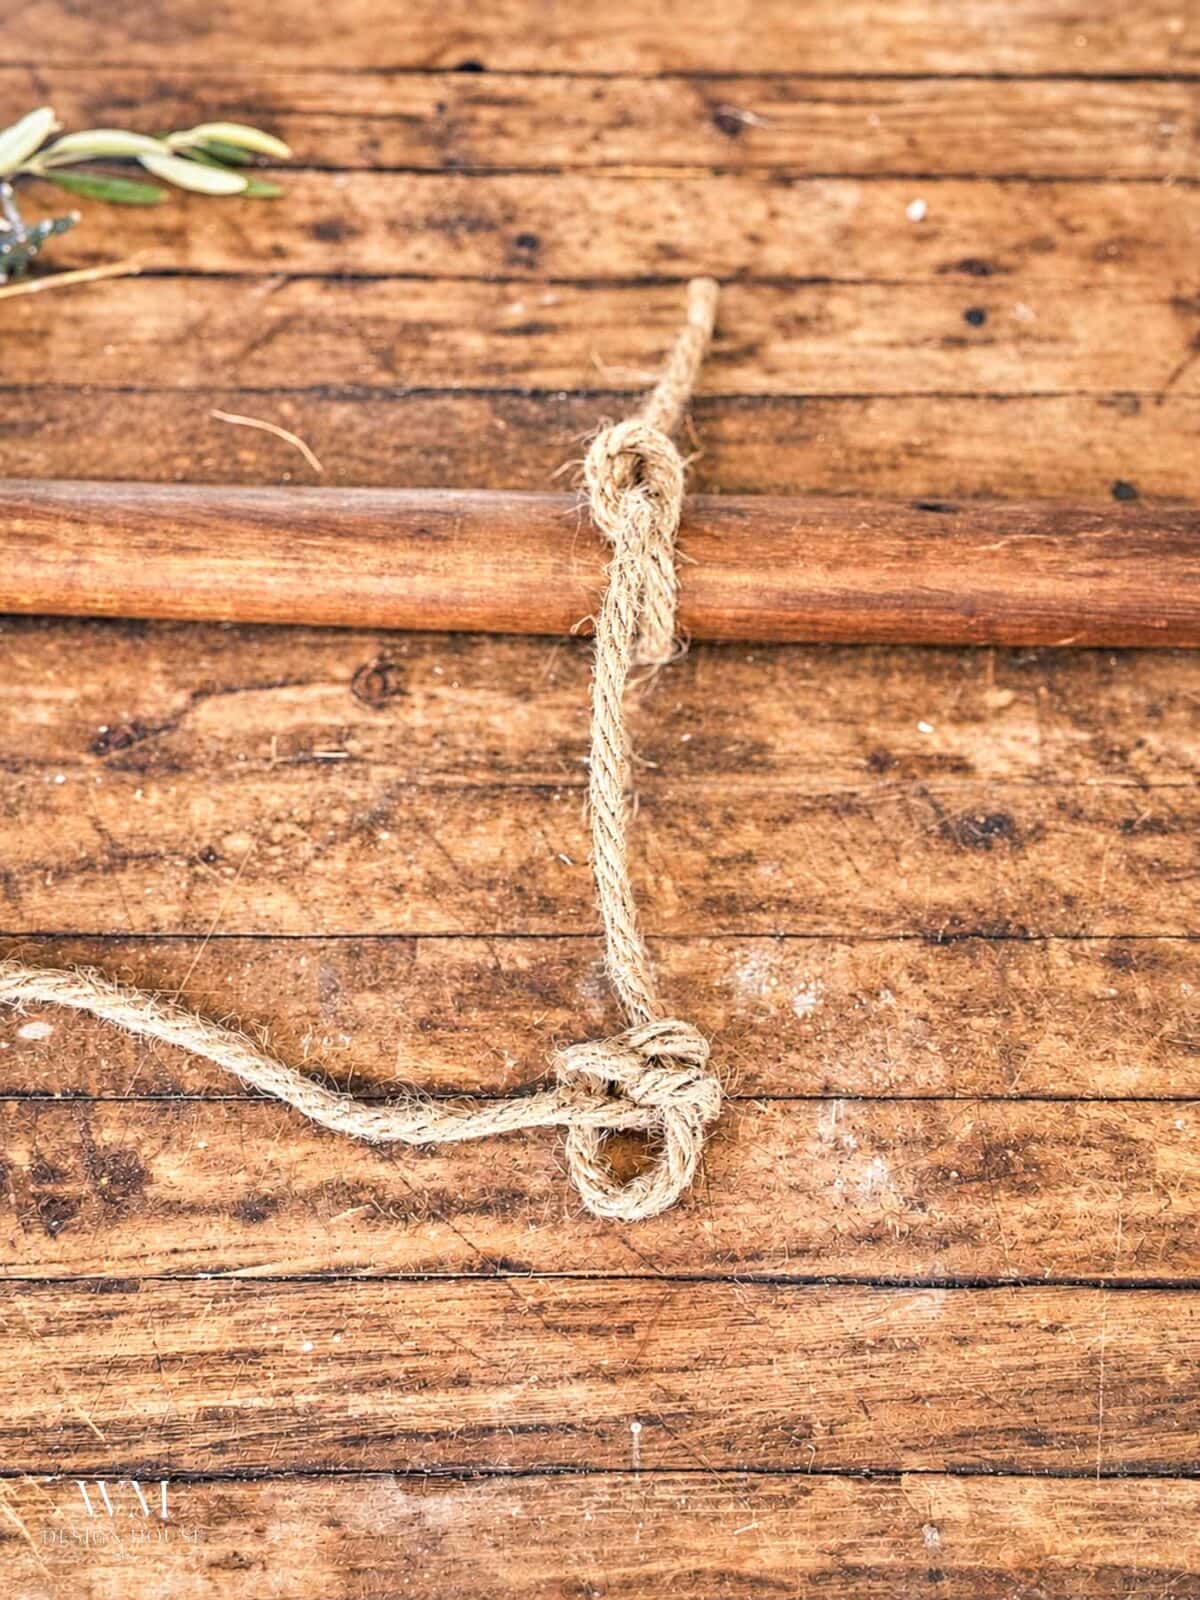
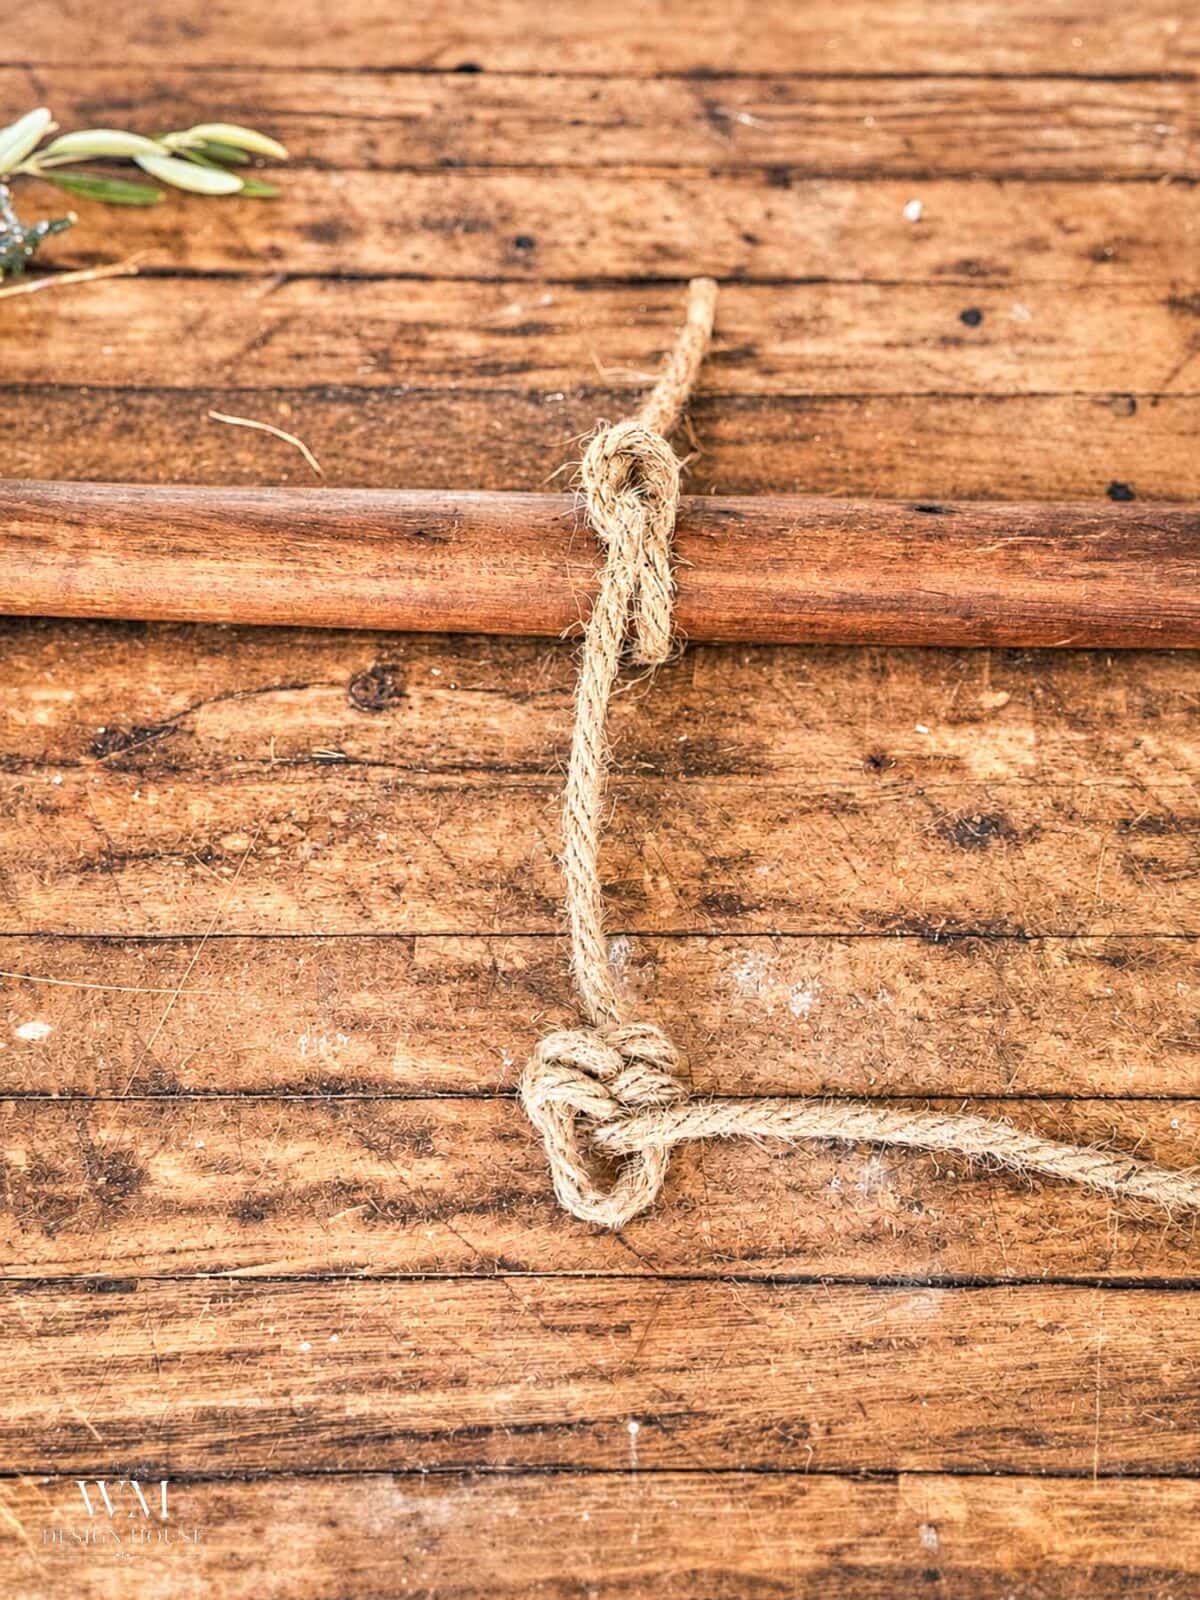
The left and right turns stack down the loop like the veins of a leaf, which is where the knot gets its name. Tightening as you go is the secret. If you wait until the end, thick jute will not slide into place.
Tip from wendy:
Tie all the knots first. Do every knot, then every wrap, then assemble. Batches go much faster.
Step 4: Glue the Knot to the Ring
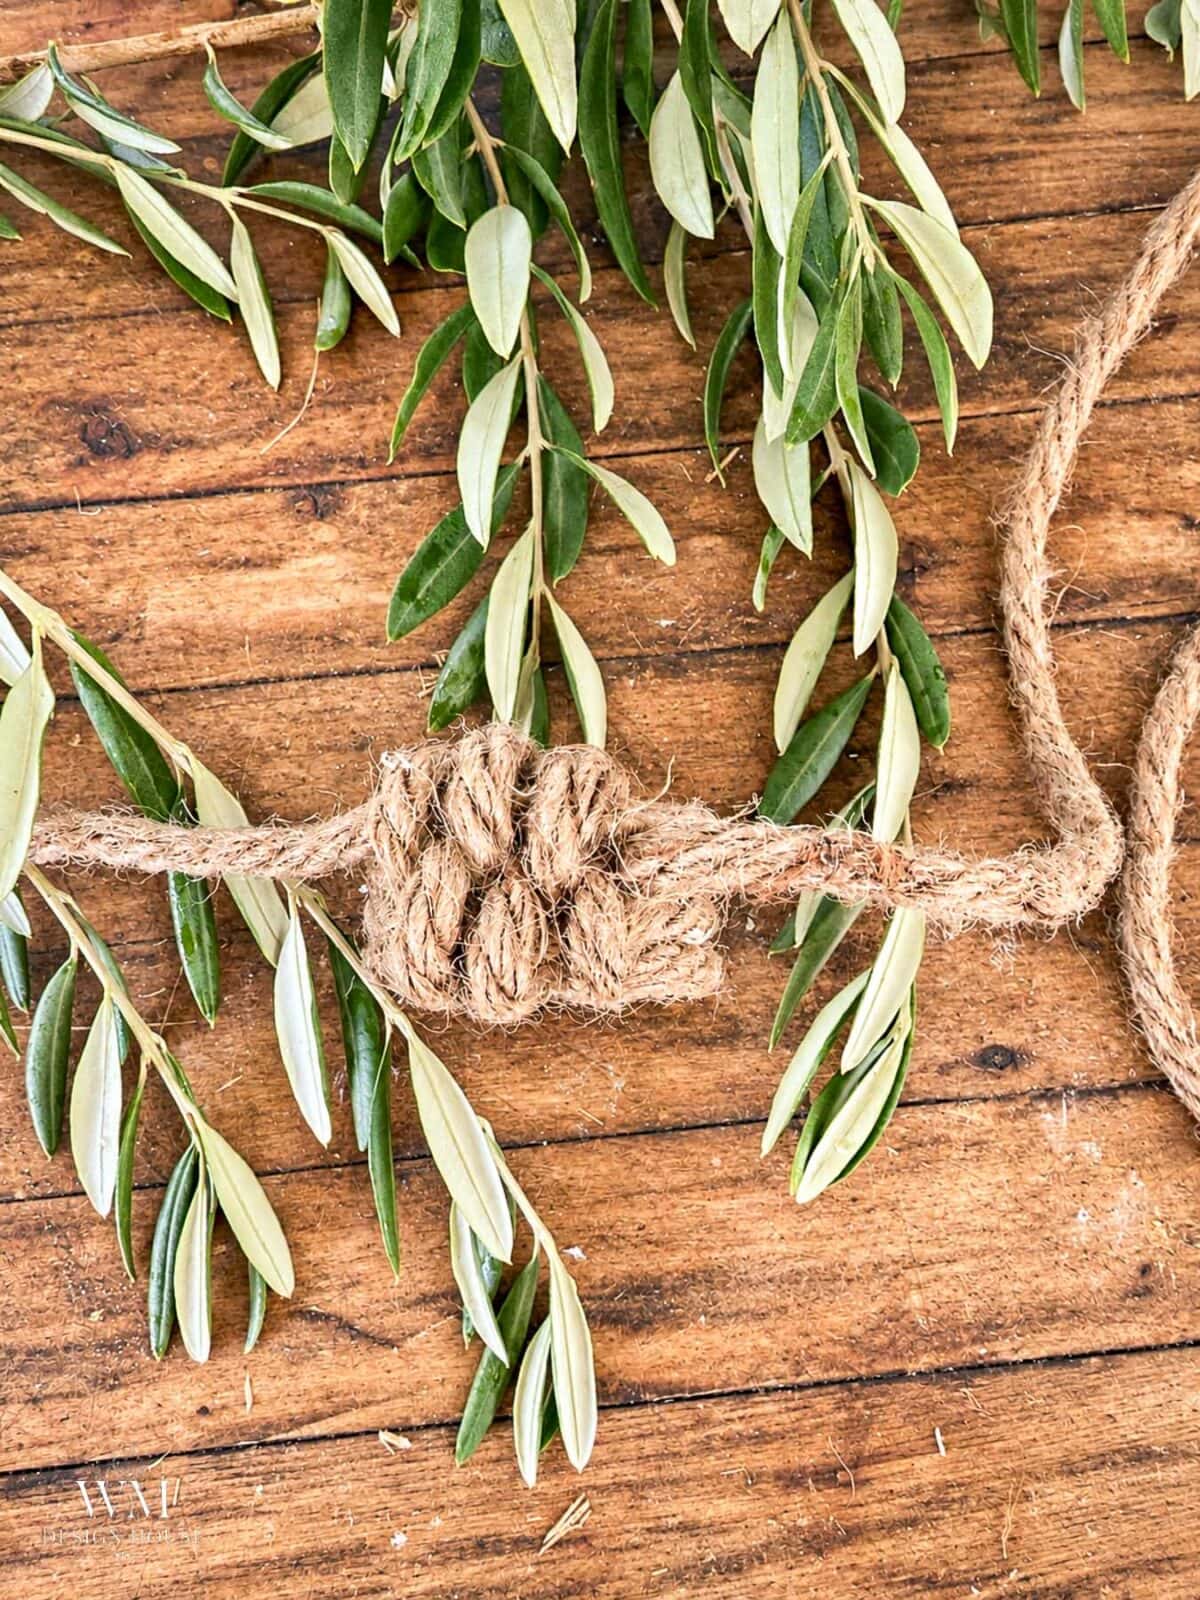
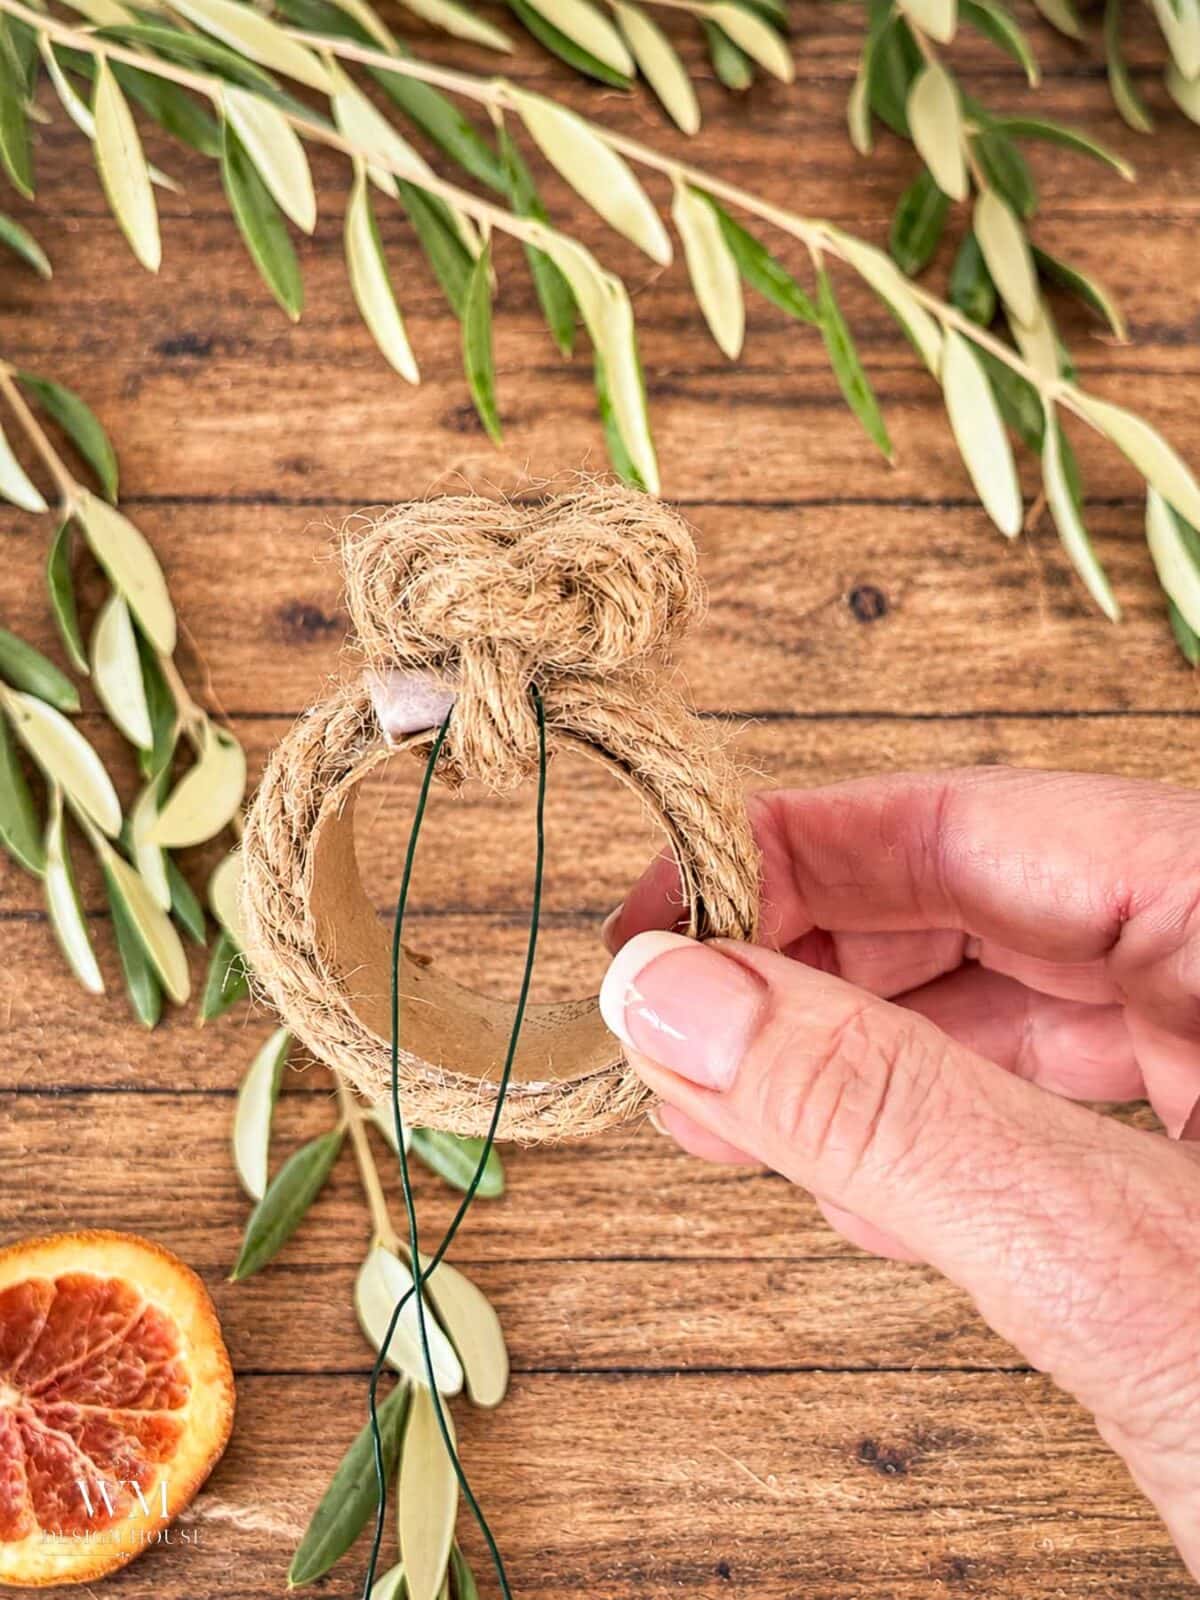
Trim the two tails of the knot, leaving enough to fold over the edges of the ring. Set the knot on top of the rope wrapped ring, tuck one tail inside each side of the tube, and hot glue the tails to the inside of the cardboard. The knot sits flat on top and the cut ends are hidden.
Tip from wendy:
Use less glue than you think. Hot glue soaks into jute and can show. A thin line is enough.
Step 5: Add the Dried Orange Slice and Bell
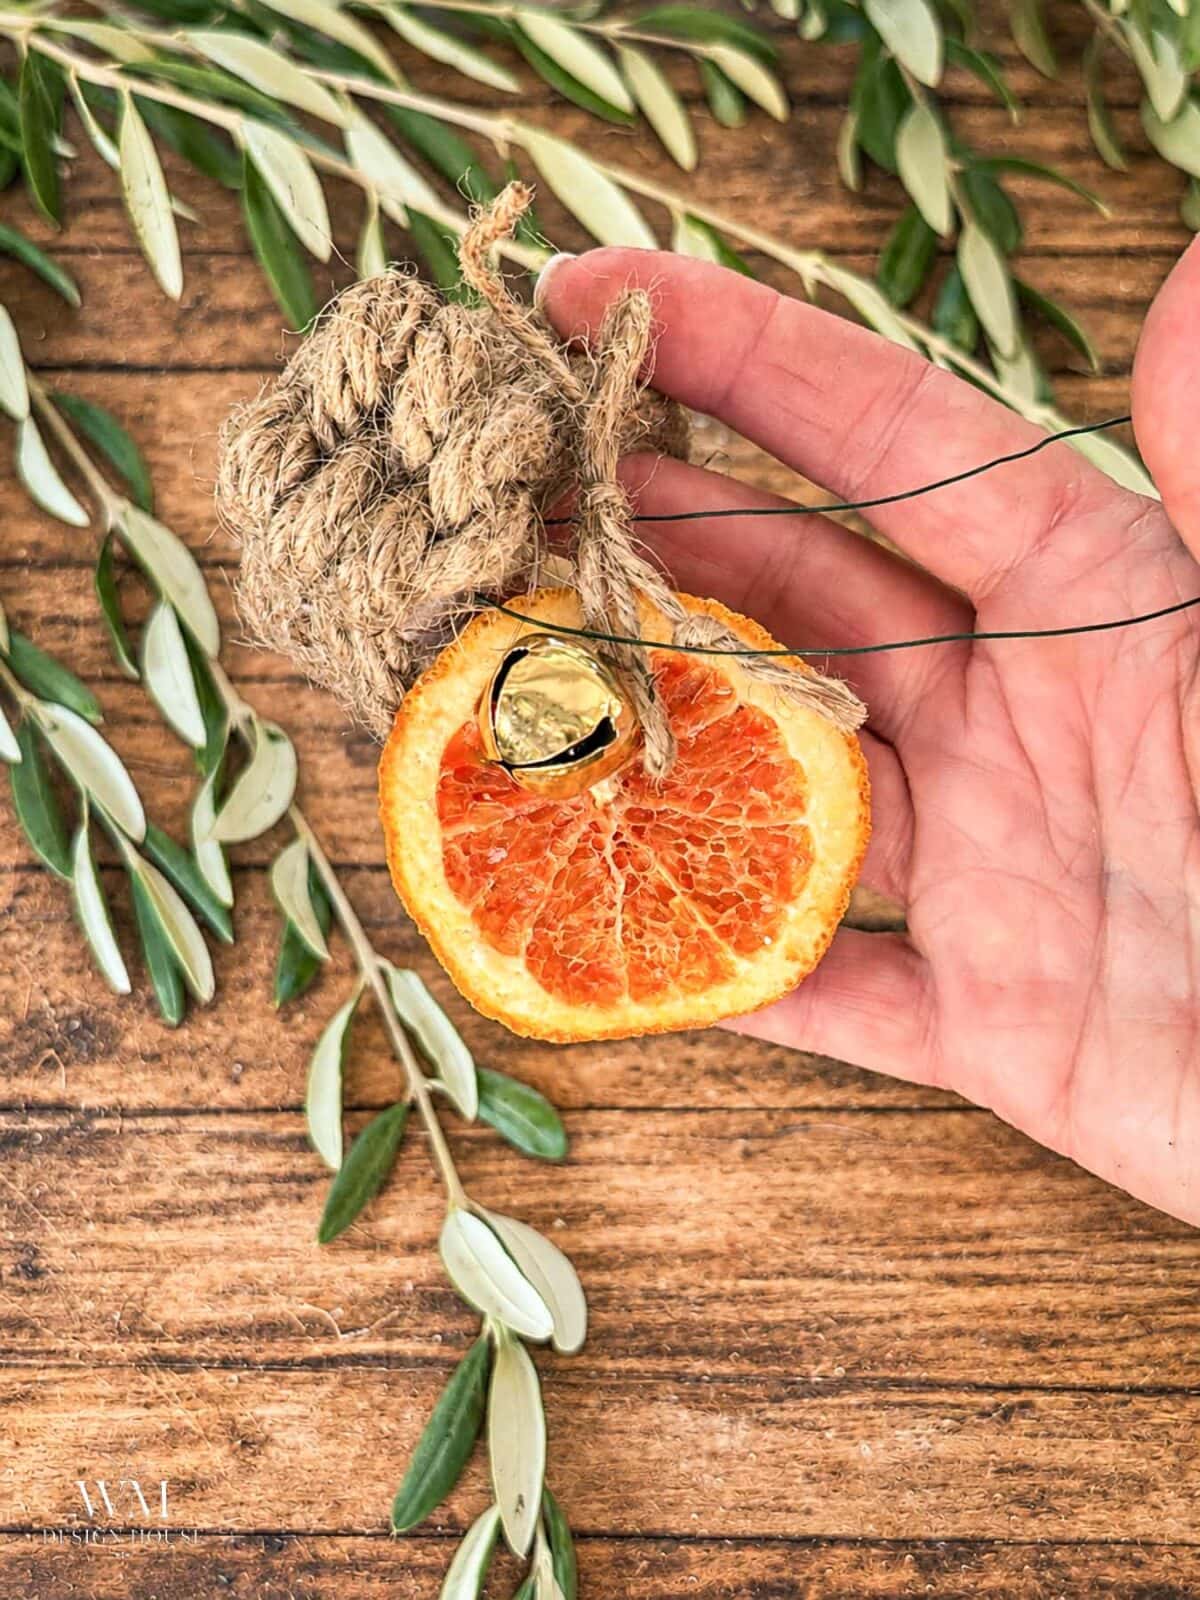
Cut a piece of thin wire about 8″ long. Push it through one corner of the leaf knot, then thread on the dried orange slice and the bell. Twist the wire ends together behind the slice and trim. The wire disappears into the jute, and the slice and bell hang just below the knot.
Tip from wendy:
Pick flat orange slices. A slice that dried flat lies better against the napkin than a curled one.
Step 6: Slide in the Napkin and Add Greenery
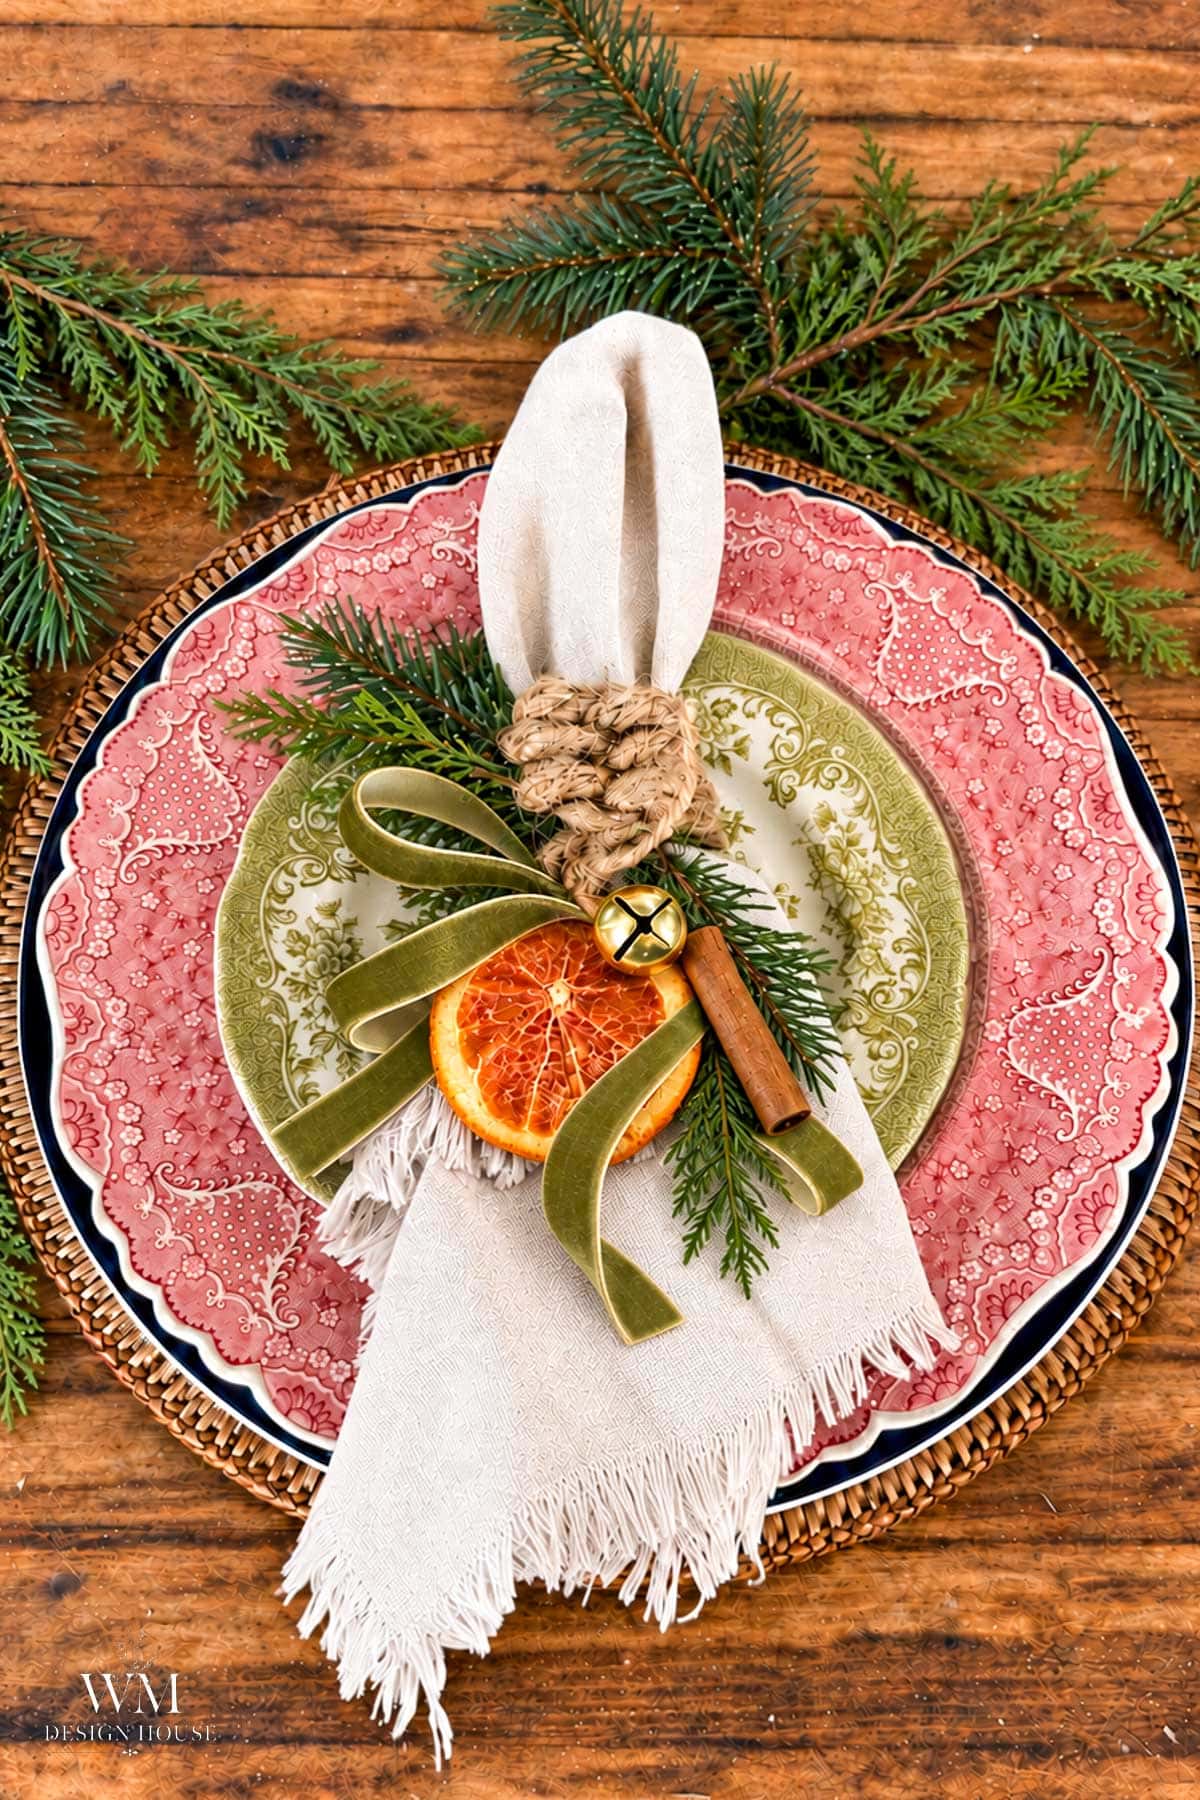
Pull a napkin through the ring and fluff the top. Tuck a small sprig of greenery between the napkin and the ring. I used cedar and pine, but rosemary or olive work just as well.
The Finishing Touch: Velvet Bow, Dried Hydrangea or Cinnamon Stick
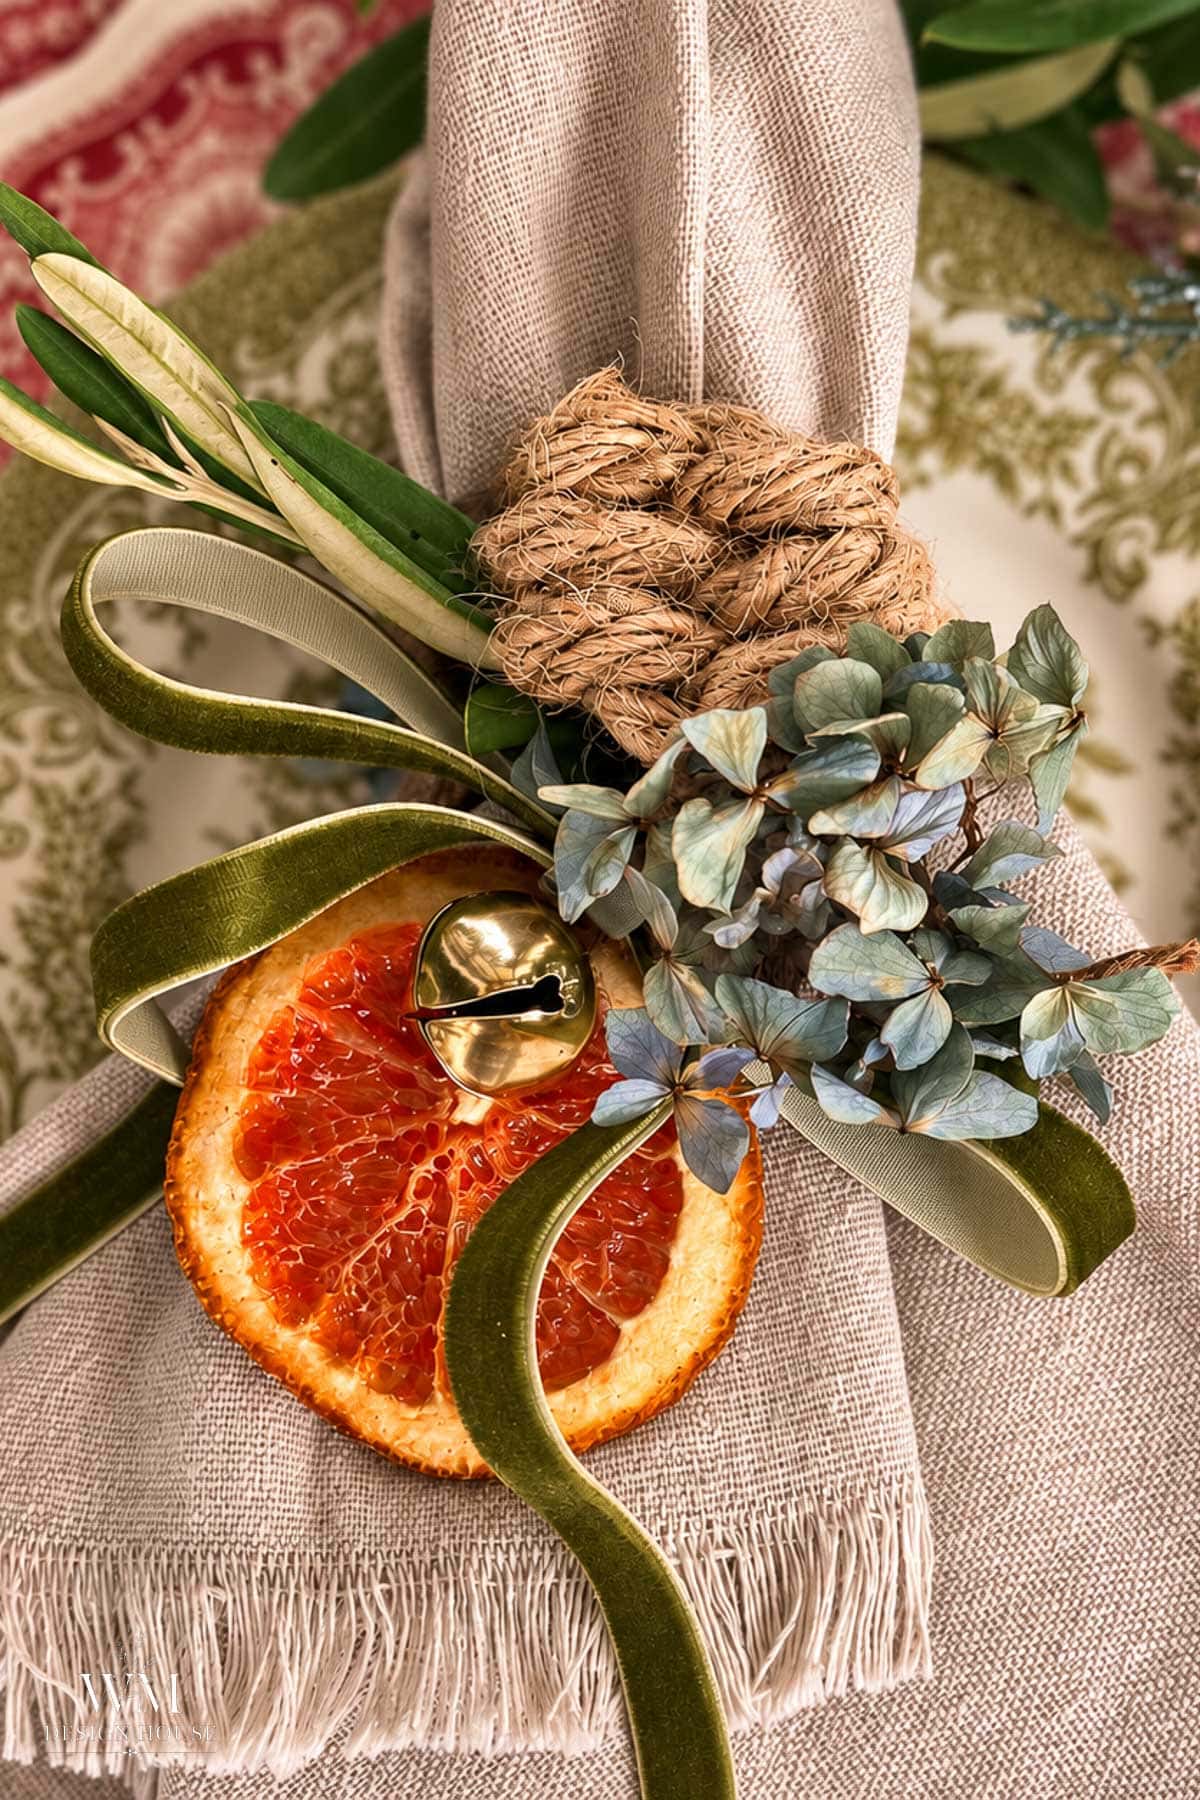
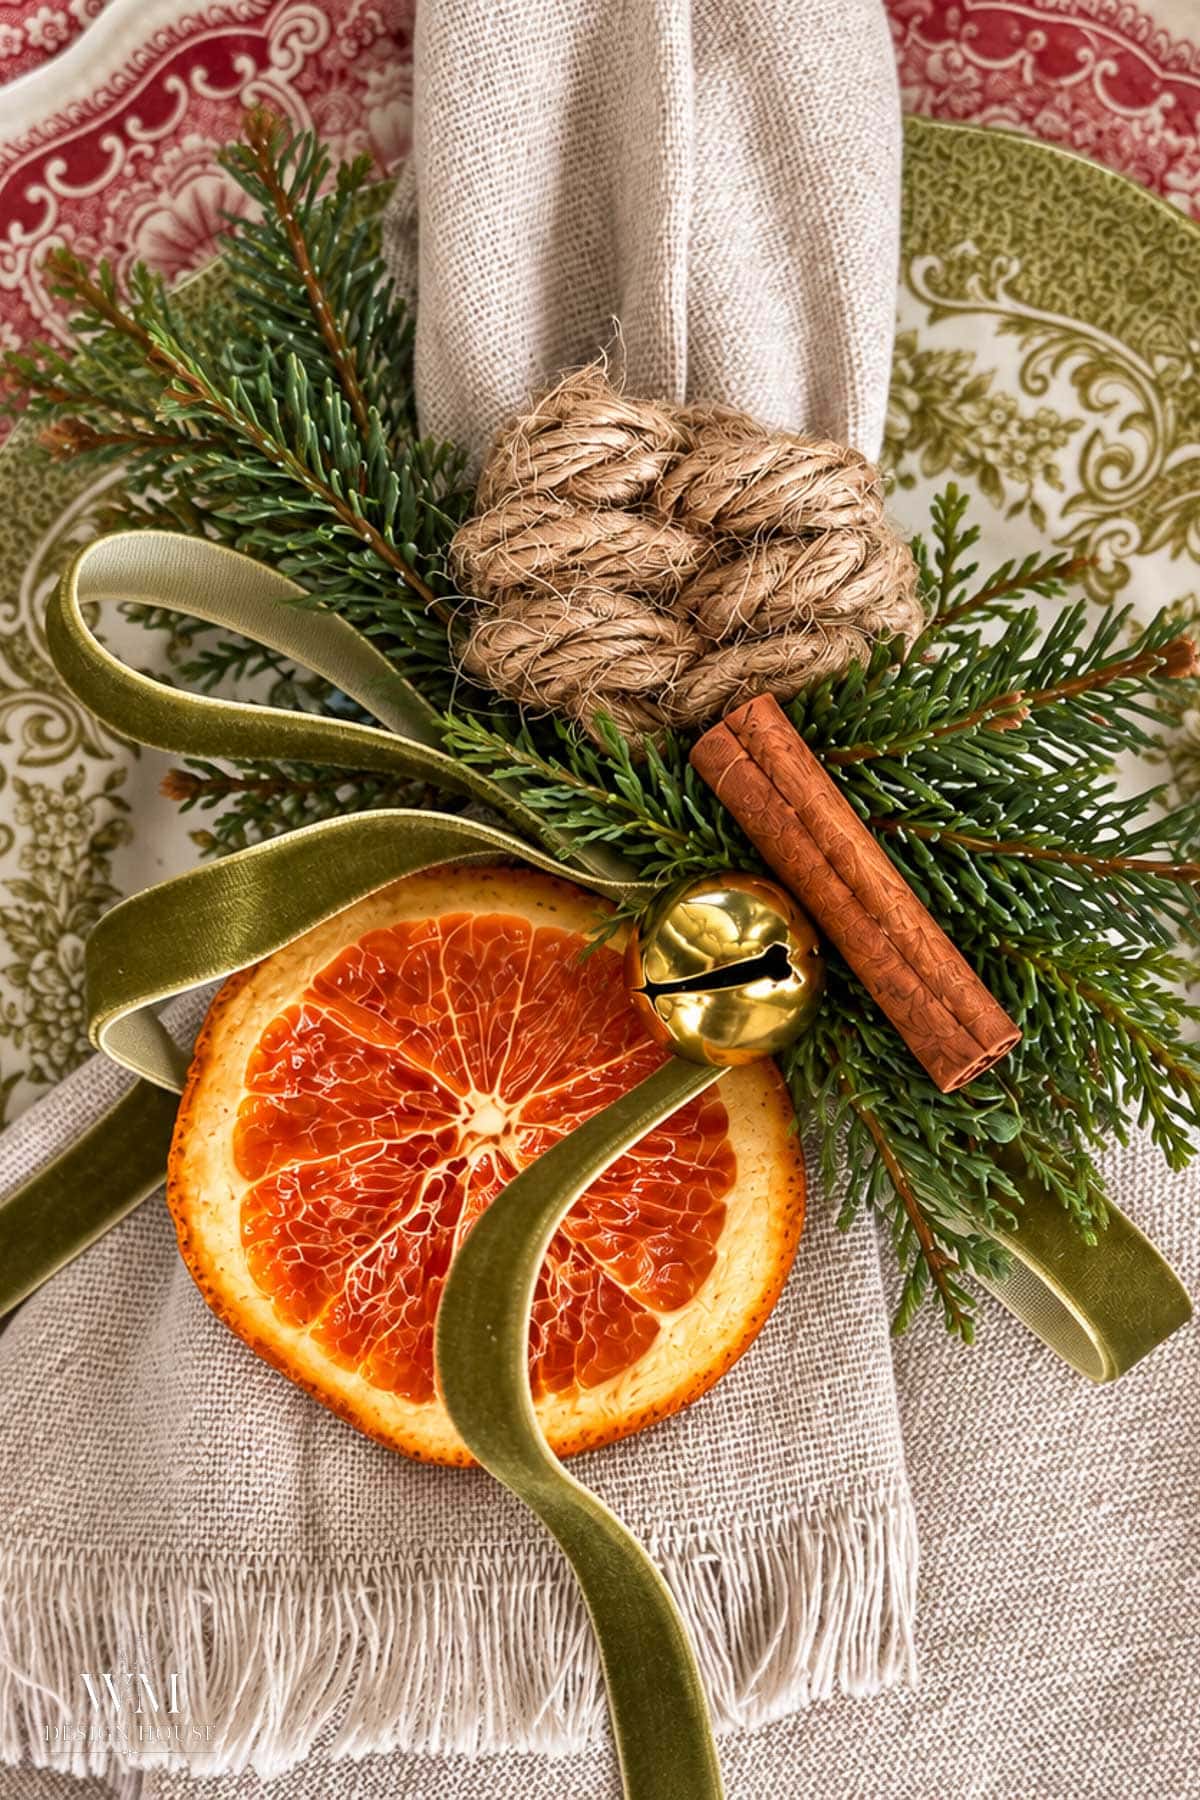
You can stop at the orange slice and bell for a simple, natural look. For my table, I finished each ring with a small bow of 3/8 inch velvet ribbon and a little sprig of dried hydrangea tucked in beside the knot. The soft blue of the hydrangea against the orange is such a pretty surprise at Christmas. Here is how I dye dried blue hydrangeas to get that color.
A cinnamon stick tucked under the knot is another easy option, and it adds a little scent to the table. I share more ideas in how to make your house smell like Christmas.
How to Style Them on Your Christmas Table
I layered mine on red and green transferware with a woven charger, which lets the natural rope stand out. Repeat the oranges elsewhere on the table so it all ties together. I have 13 ideas in my dried orange ornaments post.
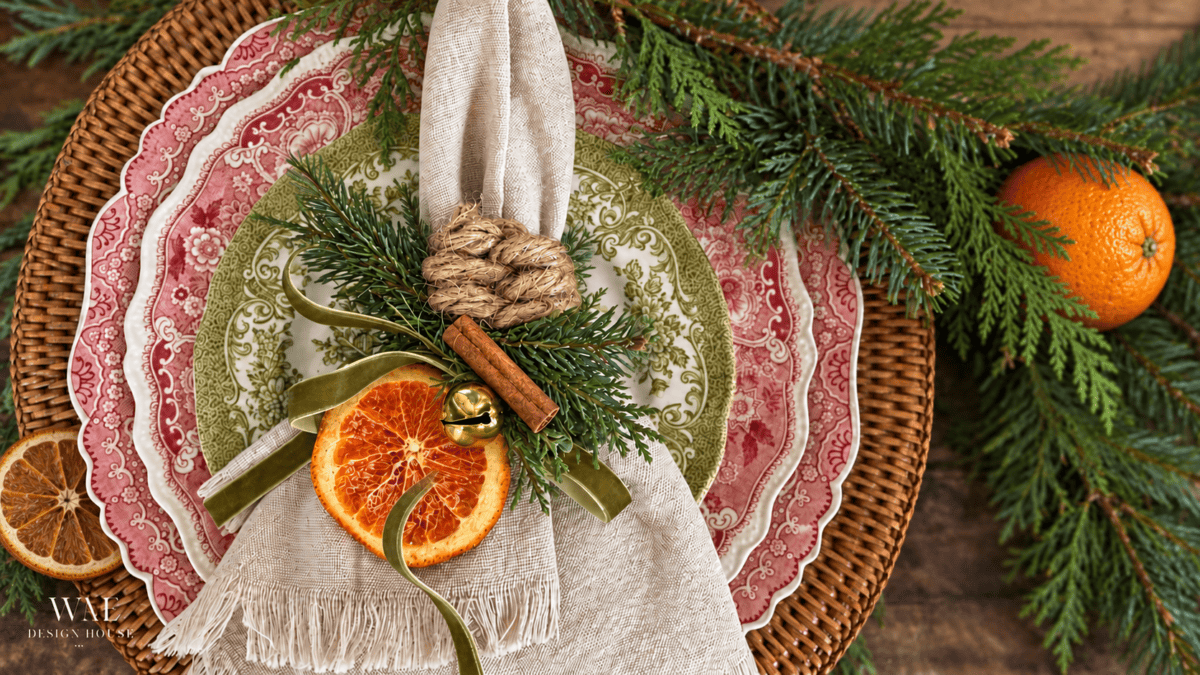
For the rest of the table, my rustic Christmas tablescape ideas are a good place to start, and these pair nicely with my DIY Christmas place card holders.
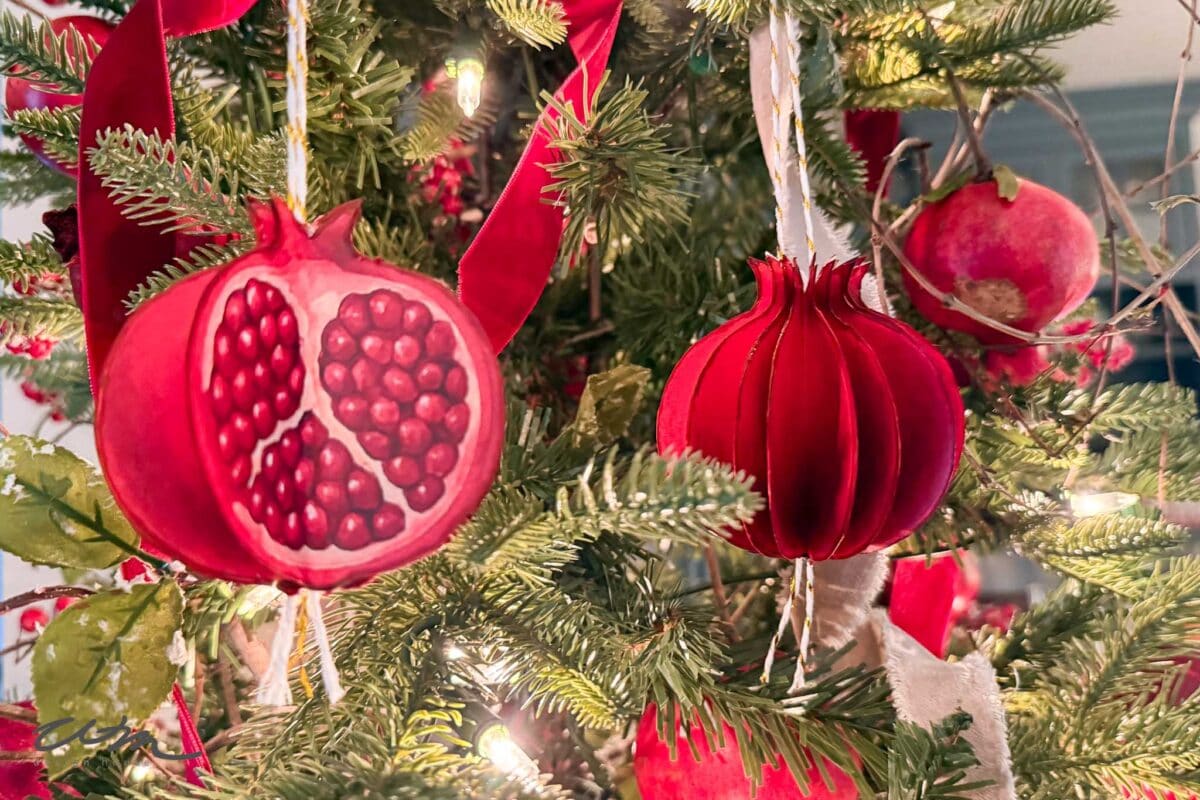
For more natural color, see my pomegranate Christmas decor.
More DIY Napkin Rings to Try
- Easy DIY Bunny Easter Napkin Rings
- Easy DIY Napkin Rings for a Garden Party
Frequently Asked Questions
Yes. Paper towel and wrapping paper tubes work the same way. Wrapping paper tubes are usually thicker, which makes an even sturdier ring.
A little, at first. Run your hand down the rope a few times before you start to pull off loose fibers, and give the finished rings a quick shake before setting the table.
The rope rings can be made weeks ahead. Add the orange slices any time, since they are already dried. Tuck in fresh greenery the day of your gathering so it looks its best.
Remove the greenery and store the rings in a box where they will not get crushed. Keep them somewhere dry. If an orange slice darkens over the year, snip it off and wire on a fresh one.
Cotton rope gives a softer, lighter look, and sisal gives a more rustic one. Stay close to the same thickness so the knot keeps its chunky shape.
Yes. Use a sturdy dinner size paper napkin and roll it loosely before sliding it through so it does not tear on the cardboard edge.

DIY Christmas Napkin Rings with Dried Oranges
Equipment
- 1 pair of scissors
- 1 Roll of scotch tape
- 1 Pair of wire cutters
- 1 Hot glue gun and glue sticks
Materials
- Soft jute rope 3/8 inch thick, about 44 inches per ring
- 1 Empty toilet paper tube
- 1 Dried orange slice
- 1 Small gold jingle bell
- Thin craft wire about 8 inches
- 1/2 yd. Velvet ribbon 3/8 inch wide
- 1 Small sprig of evergreen
- 1 Cinnamon stick optional
- 1 Cloth napkin

Instructions
- Cut the tube. Cut a ring about 1.25 inches wide from the toilet paper tube.
- Cut the rope. Wrap tape around the rope where you plan to cut, then cut through the tape to prevent fraying. Cut one piece about 26 inches and one about 18 inches. [CONFIRM lengths]
- Wrap the ring. Glue one end of the longer rope to the cardboard ring. Wrap the rope around the ring four times, keeping the wraps snug, and glue down the end.
- Start the leaf knot. With the shorter rope, bring the working end behind the long part of the rope to form a loop about the size you want the finished knot.
- Wrap left, then right. Bring the end over and through the loop, making one full turn around the left side. Make the next full turn around the right side.
- Fill the loop. Keep alternating left and right, tightening each turn before the next, until the loop is filled. Snug the knot and shape it with your fingers.
- Attach the knot. Set the knot on top of the wrapped ring. Tuck one tail inside each side of the tube, glue the tails to the inside of the cardboard, and trim any extra.
- Add the orange and bell. Push the wire through one corner of the knot, thread on the dried orange slice and the bell, twist the wire ends together, and trim.
- Finish. Tie on a small velvet bow. Slide the napkin through the ring and tuck in the evergreen sprig and cinnamon stick.
Notes
- Tighten the knot as you go. Thick jute will not slide into place if you wait until the end.
- Use a thin line of hot glue. Too much soaks into the jute and shows.
- For any other holiday, keep the rope ring and swap the decorations.
A Handmade Touch for Your Christmas Table
The beauty of these DIY Christmas napkin rings is that they work for any holiday. Keep the rope ring and the knot, then simply change out the decorations. Swap the orange slice and bell for a sprig of herbs or dried flowers at Easter or a few dried leaves and a pumpkin for Thanksgiving, and you have a whole new look.
I hope you enjoyed today’s Hand Crafted Society post. It is always such a joy to see everyone’s projects, especially as we get ready for the holidays. Be sure to visit the other talented makers below, and get your crafting done early this year so you can relax and enjoy the season.

More Hand Crafted Society Knotted and Fiber Projects
This month, my friends and I created projects using knots or fiber. I love this group’s creativity and always look forward to seeing what everyone makes. Be sure to click the links below to explore their beautiful projects!
Sisal Rope Wreath
Anna from Skylark House created this beautiful fall wreath using sisal twine. This is an easy and affordable project anyone can make and the results are spectacular.
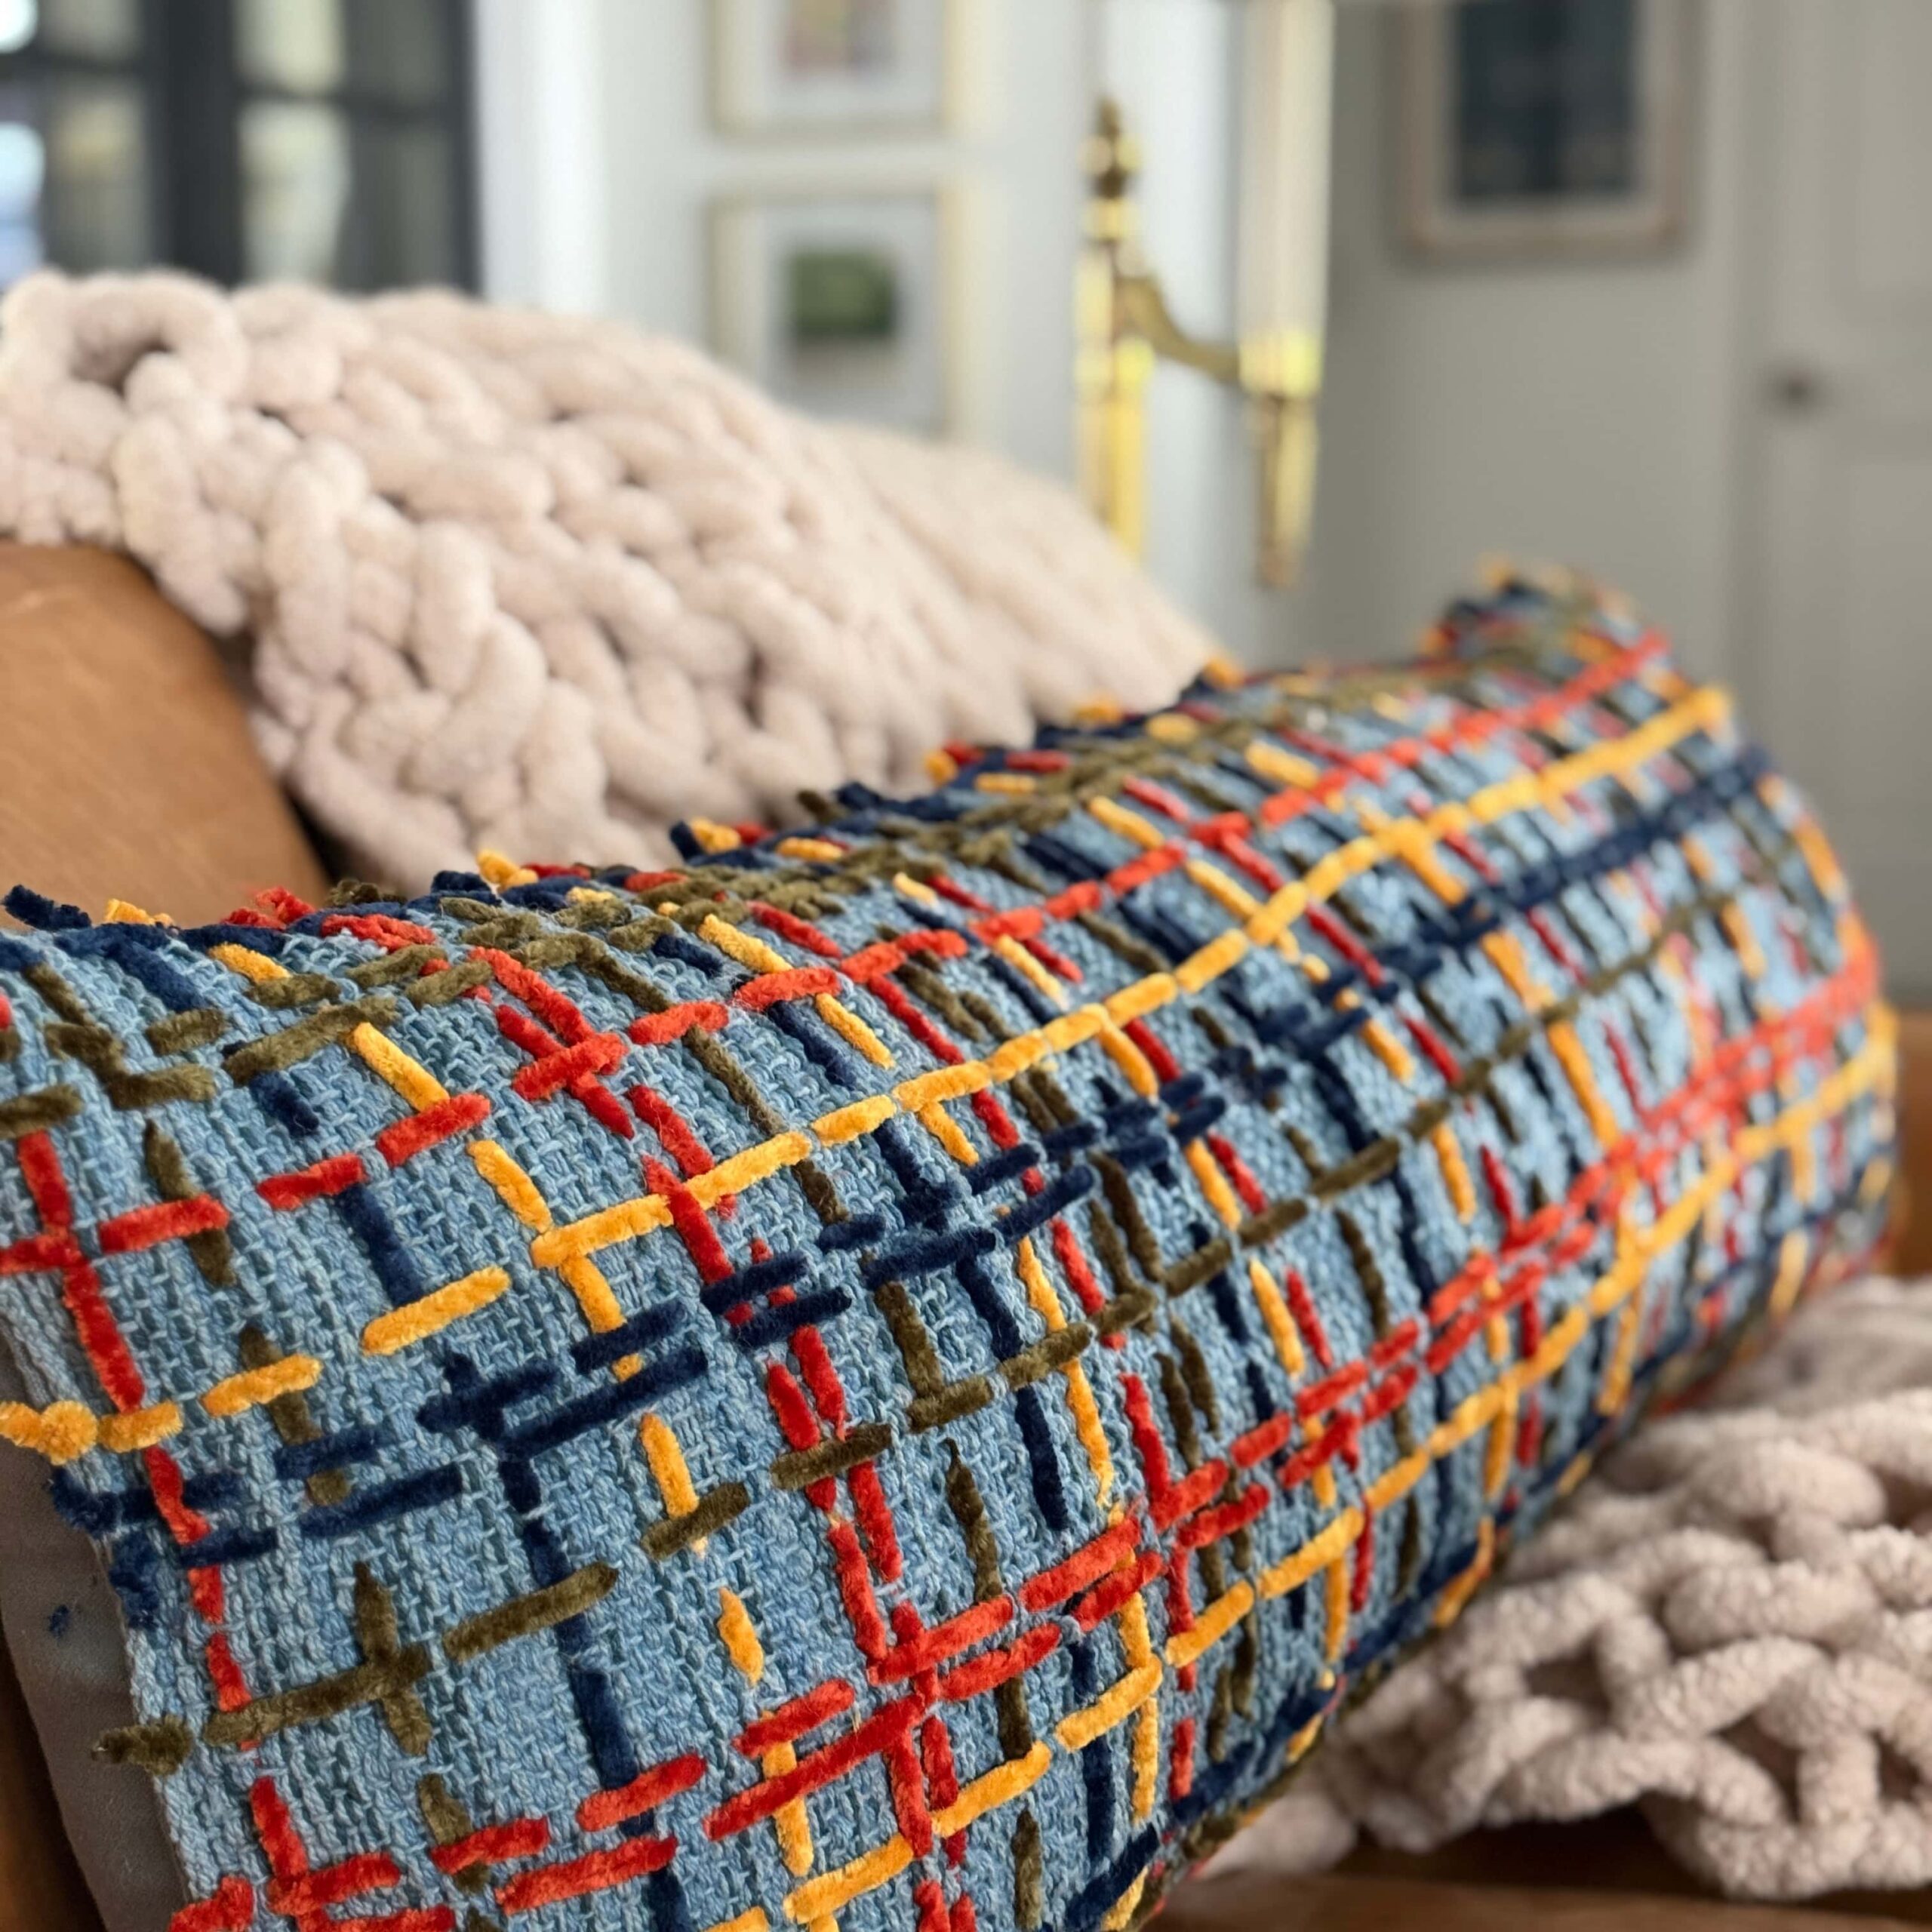
Designer Stitched Pillow
Missy from Sonata Home Design turned an ordinary pillow into a piece of art. I just love the color and texture this adds to the pillow.
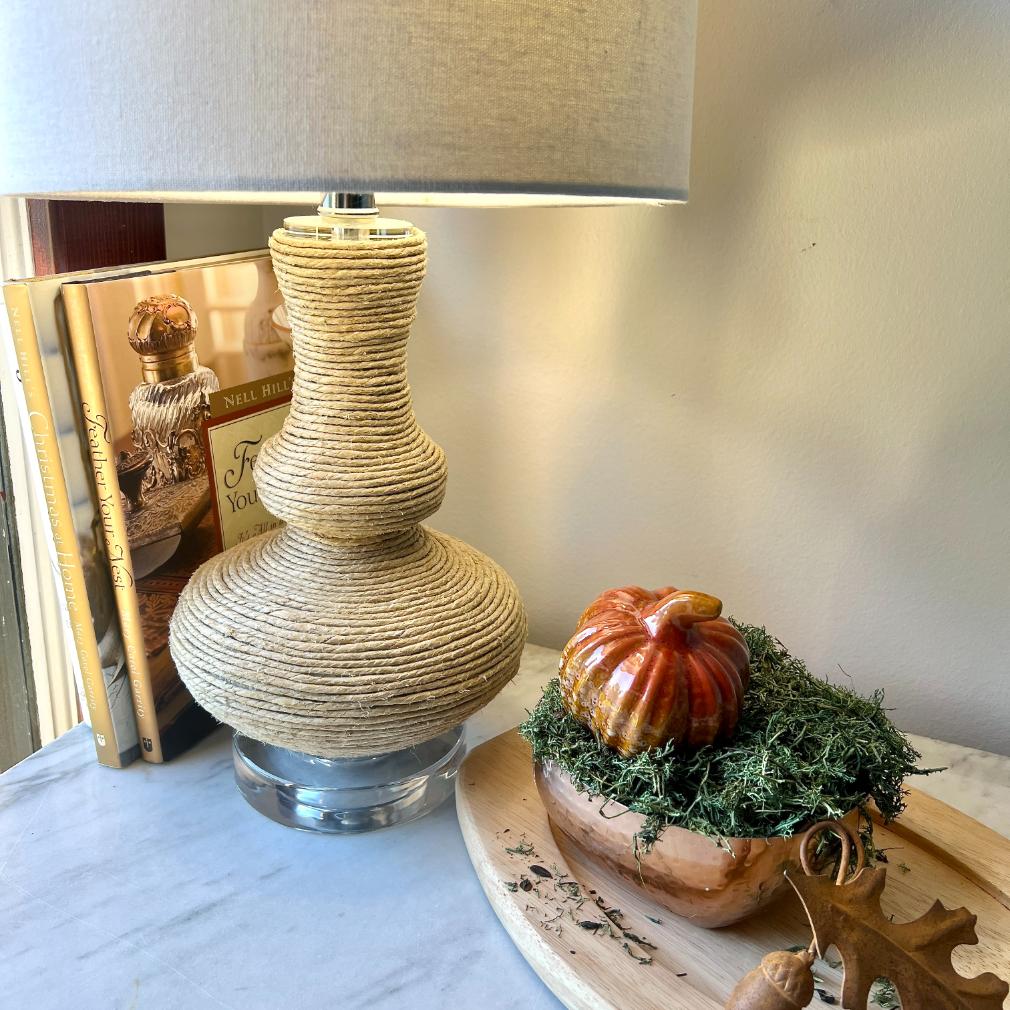
A Thrifted Lamp Gets A Makeover
Diane from South House Designs takes a thrifted lamp and a ball of twine and turns them into a high-end looking lamp.
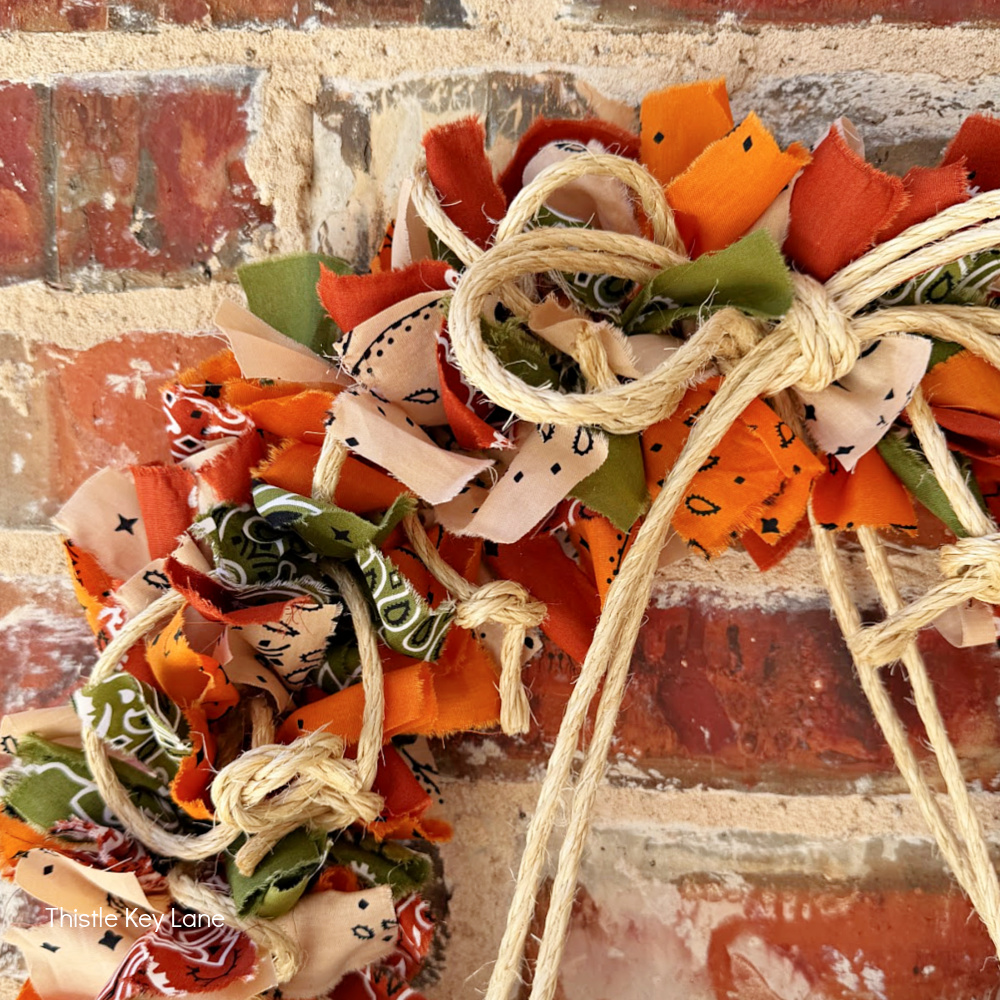
A Colorful Bandana Wreath
Michelle from Thistle Key Lane created a bandana fall rag wreath with a sisal rope accent. This is the perfect seasonal project when you want to add a little color to your decor.
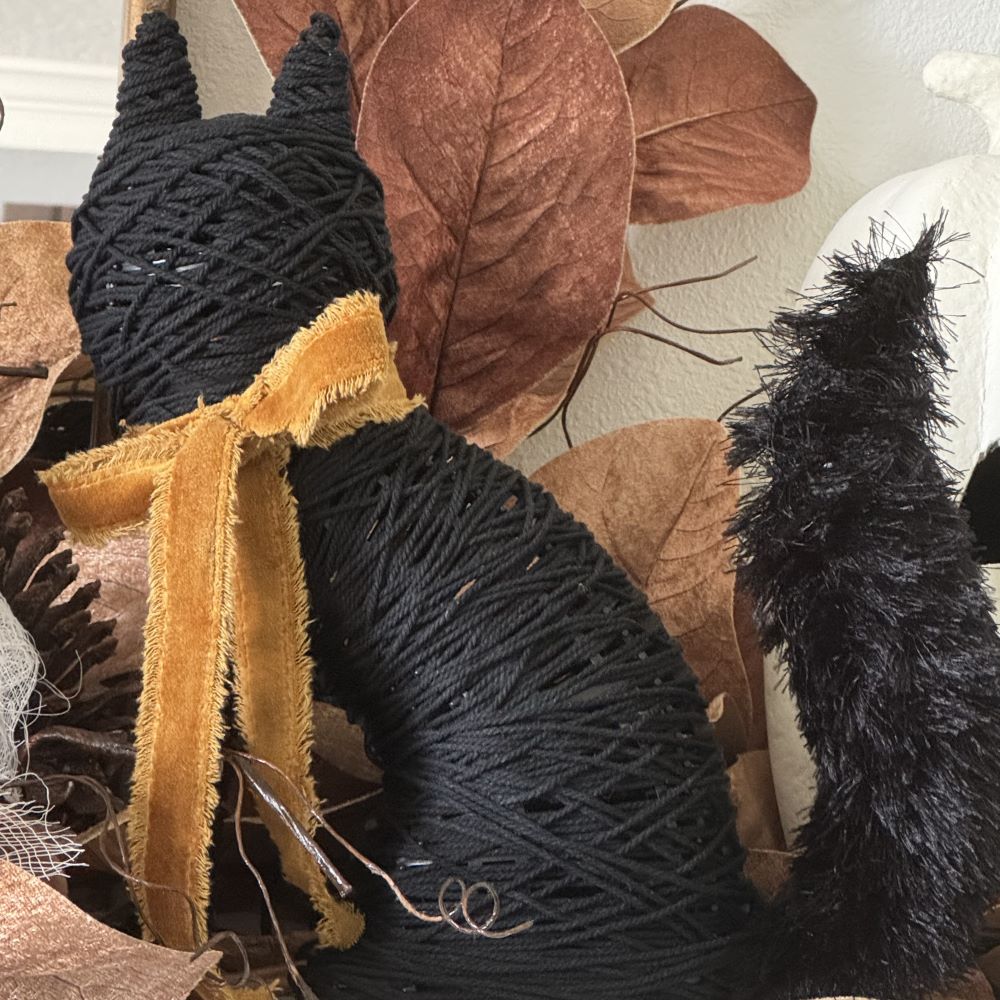
A Festive Cat
Donna from An Organized Season transformed a Dollar Tree tinsel cat into a festive Halloween decoration with macrame cord and eyelash yarn.
Pinecone Chair Swag
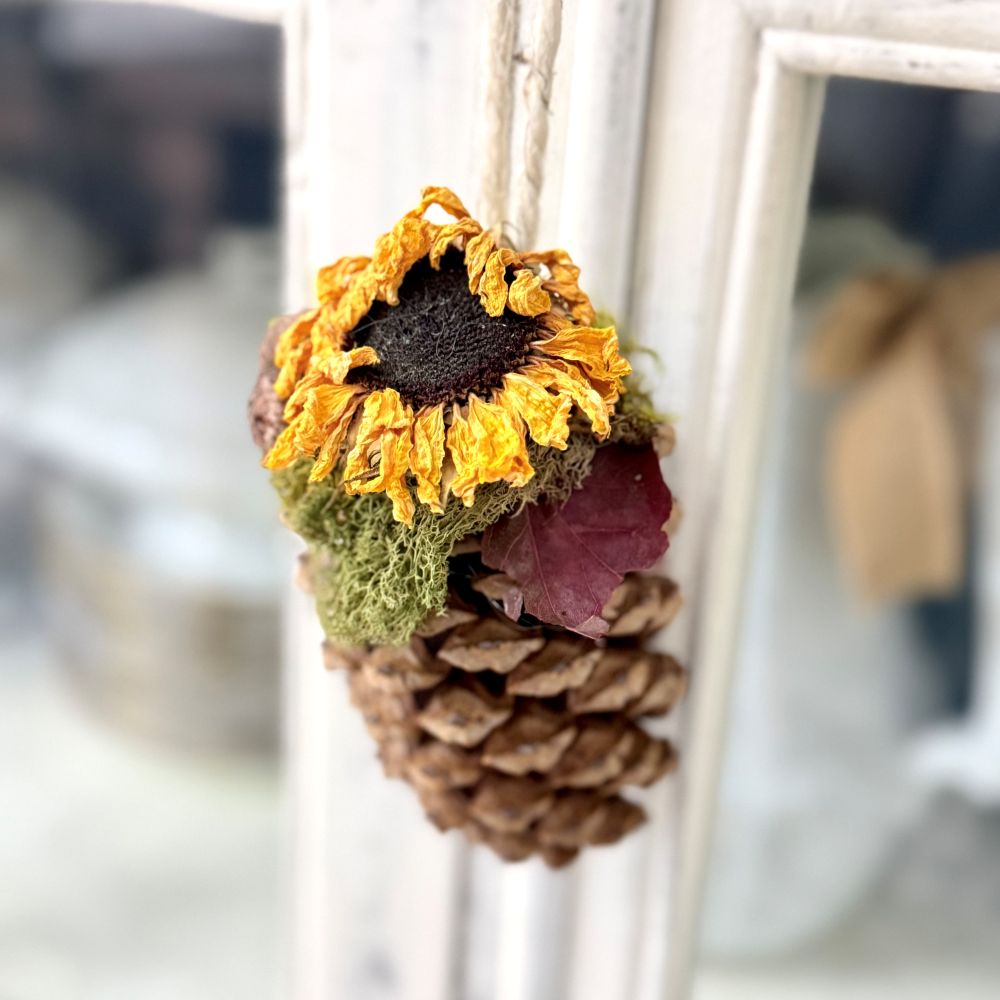
Tammy from White Lilac Farmhouse makes a chair swag that hangs right on the back of a chair. It’s perfect for your dining table, a front porch rocker, or even a few extra chairs set up for a fall get-together. It comes together fast, it’s budget friendly, and it adds that cozy farmhouse touch without much fuss.

Shop the Post
More about me!

Hello, I’m Wendy – a dedicated homemaker with a deep passion for decorating, gardening, cooking, and crafting. I find joy in harmonizing beautiful elements to fashion a space that is both comfortable and inspiring. I will help you create a beautiful home, one project at a time.