DIY Easter Centerpiece with Sweet Chocolate Bunnies
Looking for a sweet way to dress up your table this spring? This DIY Easter centerpiece combines fresh flowers and faux chocolate bunnies for a charming (and calorie-free!) display that’s sure to steal the show.

On my blog WM Design House, I may sometimes use affiliate links, which means a small commission is earned if you purchase via the link. The price will be the same whether you use the affiliate link or go directly to the vendor’s website using a non-affiliate link. Read my full disclosure policy here.
Pinterest Challenge
It’s time for another Pinterest Challenge—our monthly get-together where a group of blogger friends and I team up to share fun and creative ideas!
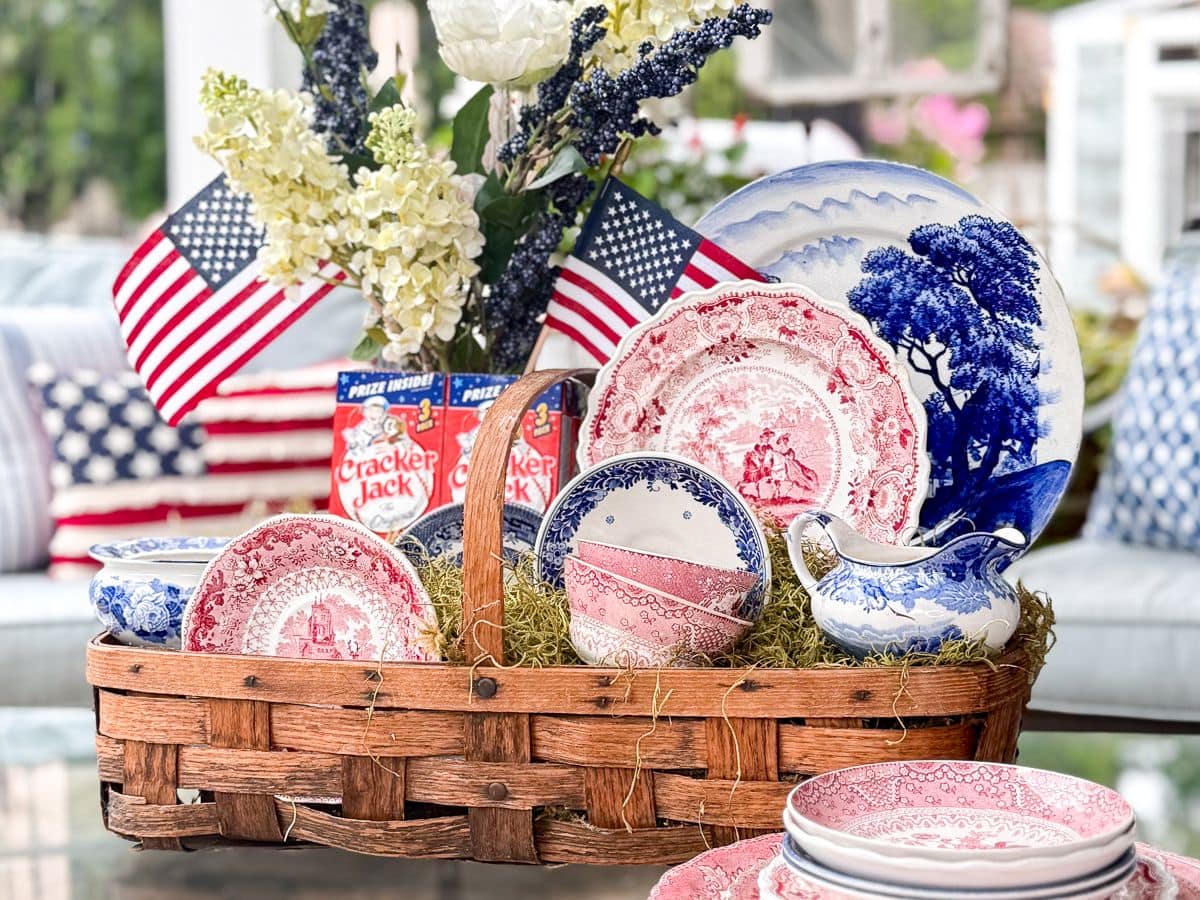
Our sweet friend Cindy at @countyroad407 starts us off with an inspiring image and we all add our own spin.

This month’s inspiration from Emily @lecultivateur showcases beautiful flowers in shades of pink in a basket surrounded by other Easter decorations.
I’m so excited for you to see how we’ve each recreated it!

If you have come over from my friend Niky’s @houseonsilverado, I am sure you loved her pretty in pink table decorations.
Dress Up Your Easter Table Setting With A Charming Easter Centerpiece DIY
Easter will be here before we know it, and if you’re hosting this year and looking for some decorating ideas to dress up your table, I’ve got a pretty idea for you. I’m sharing a simple DIY Easter centerpiece made with fresh spring flowers and the cutest bunnies—but not just any bunnies.

These faux chocolate bunnies look just like the real thing, minus the calories, and the best part is they’ll last for years to come. So grab your crafting supplies and let’s get creative together!
Materials You’ll Need to Make A DIY Easter Centerpiece
Additional Tools You’ll Need
How to Choose Flowers for Your Easter Table Decor
To create this DIY centerpiece for my Easter table, I used a mix of real and faux flowers, including tulips, peonies, roses, and ranunculus in all different shades of pink and bright, cheery yellow. They add the perfect pop of color to my Easter tablescape and bring in that fresh spring feeling that I love this time of year.


When you’re picking flowers for your own centerpiece, think about what colors or styles you’re drawn to. You could choose blooms that match a specific theme or color palette for your table.
Or do what I did with my DIY blue hydrangea centerpiece and pull in colors that already work with your home. This arrangement matched perfectly with the new wallpaper in our dining room and it made everything feel so tied together.
But most importantly, just have fun with it and pick flowers that make you smile!
If you still need a few ideas to get you started, here are some more spring flowers that would work beautifully with a variety of different Easter table settings:


- Lilies – Especially Easter lilies, symbolizing purity and renewal.
- Daffodils – Bright yellow and cheerful, they symbolize rebirth and happiness.
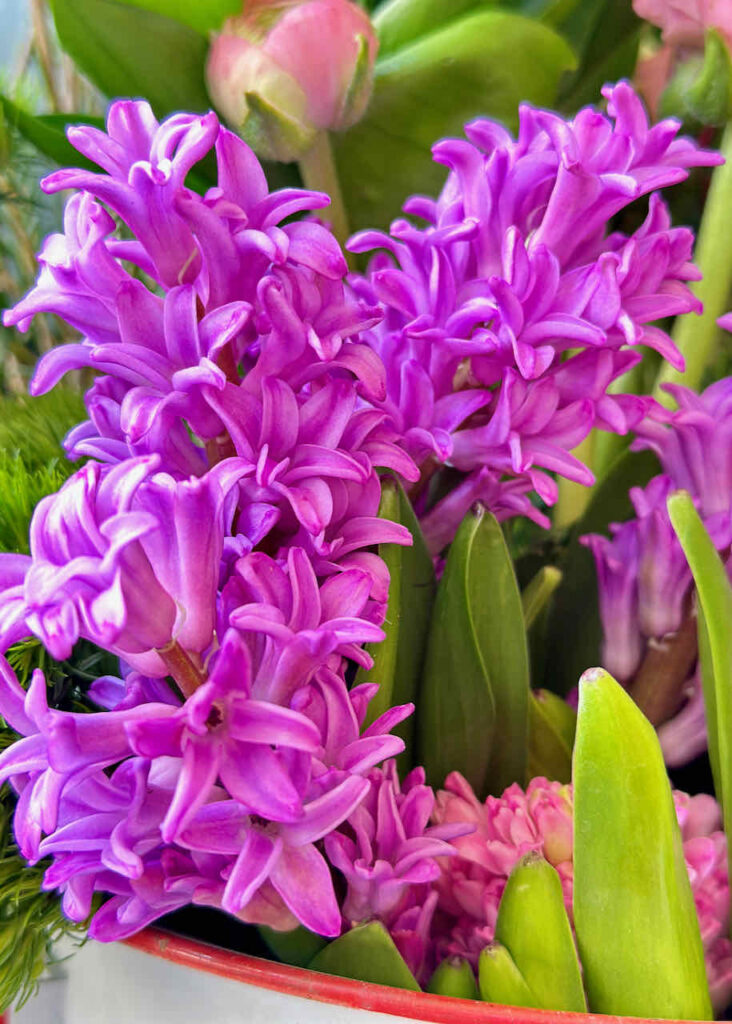
- Hyacinths – Fragrant and colorful, they add elegance and a lovely scent to the arrangement.
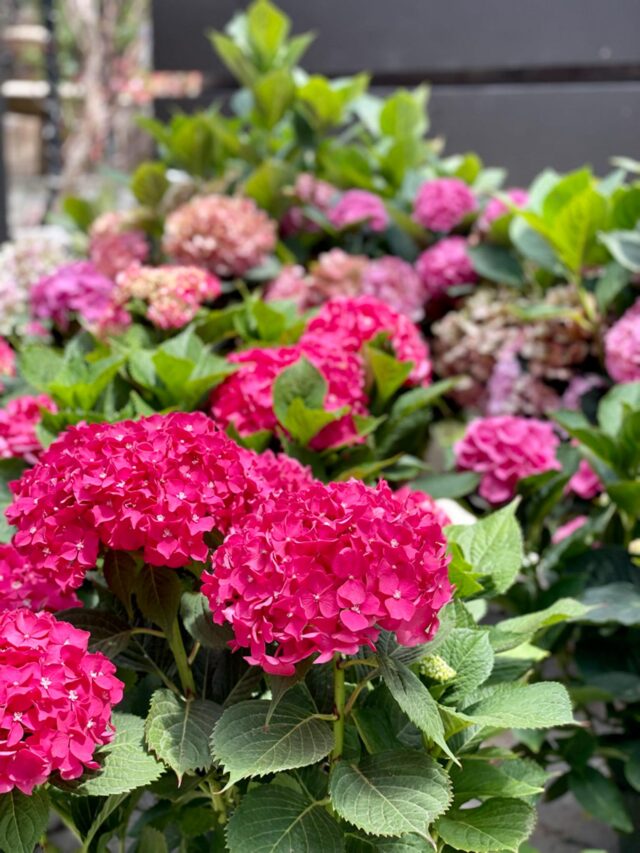


- Hydrangeas – Provide fullness and texture in shades of white, blue, pink, and purple.
- Cherry Blossoms – Beautiful and delicate branches that embody spring.
- Roses – Soft pastel roses can add a classic and timeless beauty to your centerpiece.
And don’t forget to add in some spring greenery. Mixing these flowers with greenery like eucalyptus or ferns can create a balanced and natural look for your Easter table!
Tip from wendy’s craft room:
Use faux flowers for a re-usable centerpiece! Get a head start on your Easter decorating by using faux flowers for most of your arrangement. That way, it’s all ready to go ahead of time. When Easter rolls around, just tuck in a few small vases of fresh flowers to add that extra special touch for entertaining.
How to Make A DIY Easter Centerpiece with Chocolate Bunnies
Let me show you how I put together this sweet little DIY Easter flower arrangement. It’s super simple and adds such a pretty touch to your table for the holiday.
Step 1: Spray Paint Your Bunnies
First, start by spray painting your bunnies. Make sure to do this outside or in a well-ventilated area for safety.


Hold your can of spray paint about 6 to 8 inches away from your bunnies and use light, even strokes to avoid drips. Let the first coat dry completely before adding a second coat.
Continue spraying additional coats as needed until each one is evenly covered and no spots are showing through. The goal is to give your bunnies a smooth, chocolate-like finish.
When you’re done, you’ll have adorable realistic-looking chocolate bunnies for the perfect simple Easter table decorations.
Tip from wendy’s craft room:
Go thrifting for your bunnies! Visit your local thrift store in early spring to start collecting Easter bunny figurines. You can also check out craft stores or even the Dollar Tree for some budget-friendly finds.
Step 2: Create a Base for Your Centerpiece
To start, grab a flat dough bowl to use as your base. If you’re using faux florals, secure a piece of Styrofoam to the bottom of the bowl with hot glue.


Once that’s in place, cover the foam with moss to give the arrangement a natural, finished look.
Then use a hot glue to attach the moss, and add a few floral pins if needed to help keep everything nice and secure.
Tip from wendy’s craft room:
Choose a short base! Opt for a low-profile container to ensure your centerpiece enhances, rather than obstructs, conversation. This way your friends and family can enjoy the floral arrangement without needing to move it, keeping the table beautifully decorated throughout the meal.
Step 3: Add Your First Bunny
Next, it’s time to add your first painted chocolate bunny. Pick the spot where you’d like it to go and gently press it into the moss-covered foam.

Once you’re happy with the placement, use a hot glue gun to secure it so it stays put. This little bunny sets the tone for the whole arrangement, so take your time finding just the right spot.
Step 4: Arrange Some Greenery
Once your first bunny is in place, add two large bundles of ivy on either side. You can simply press the ivy stems into the floral foam to secure them, or use a few floral pins if you want to make sure everything stays in place.

You can also cut your ivy stems apart to spread them out more if you’d like.

Once all of your greenery is in place, add your second rabbit or any other Easter decorations you want might want to use in your arrangement.
Step 5: Add Your Faux Flowers
To finish your DIY Easter centerpiece, gradually add faux flowers to your arrangement.

Start by adding your focal flowers. Place larger flowers like roses, peonies, and ranuculus in the center, slightly angled outward. Keep them low to maintain the centerpiece’s profile.

Next, start filling in your centerpiece with smaller blooms. Tuck flowers like tulips and daffodils around your focal points, nestling them into the ivy and moss.

Try to space them out evenly to create a balanced, natural look. Keep working around your dough bowl, filling in the empty spaces as you go.

If you’d like, you can also mix in a bit of extra greenery to add more texture and depth to your DIY Easter centerpiece.

I also added a few curly willow branches for a more natural, whimsical touch. I love using it in many of my floral arrangement because it adds that little something extra.
Tip from wendy’s garden:
As you design your arrangement, rotate it regularly and style both sides. This ensures a balanced, complete look from every angle, making your centerpiece visually stunning no matter where it’s viewed from.

How To Add Fresh Flowers To Your Centerpiece
To add an extra touch of spring, I tucked a few small bud vases filled with fresh flowers right into the arrangement.


I nestled them behind the greenery so the vases stayed hidden, letting just the blooms peek through.

It’s such a simple detail, but it really added another layer of beauty without taking away from the overall look. I also scattered a few of those little vases down the rest of the table to tie everything together and create a fresh, thoughtful feel.

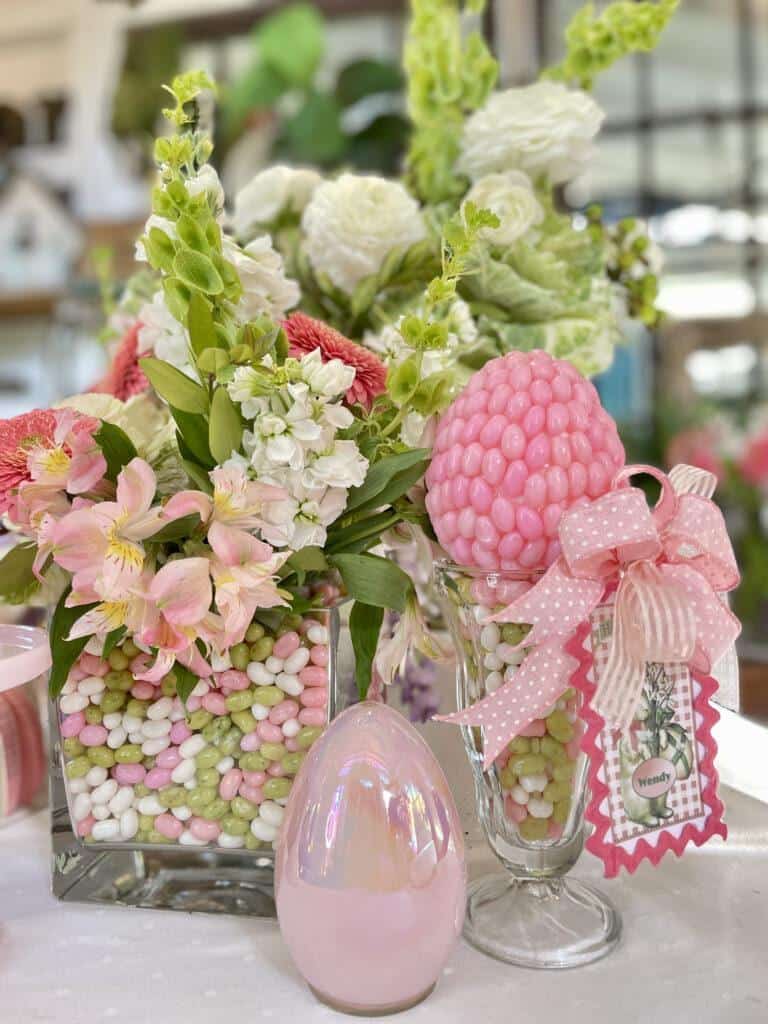
Here’s how the finished centerpiece looks on my Easter table. Along with the main arrangement, I added a few more faux chocolate bunnies down the center of the table and paired them with small white pear bud vases filled with bright yellow tulips. It’s such a cheerful combination that helps the whole table come to life.
Other DIY Easter Centerpieces from WM Design House
If you love this Easter centerpiece, you might also enjoy some of my other favorite seasonal arrangements.
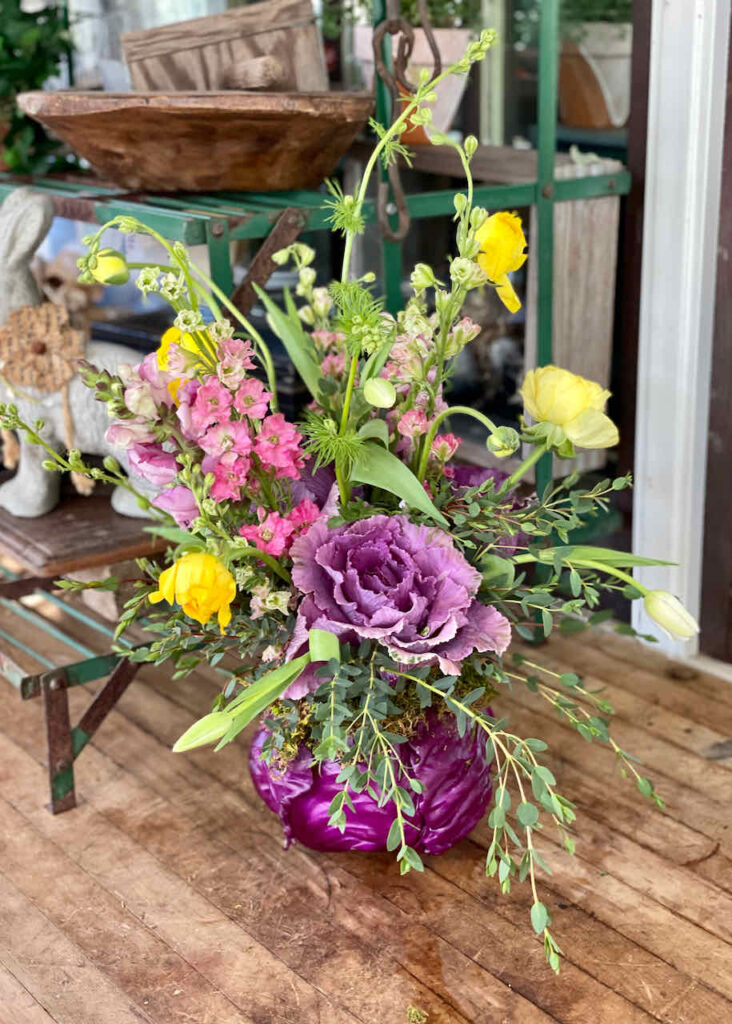
Easter Centerpiece in a Cabbage Vase
Easter Table Decor Ideas
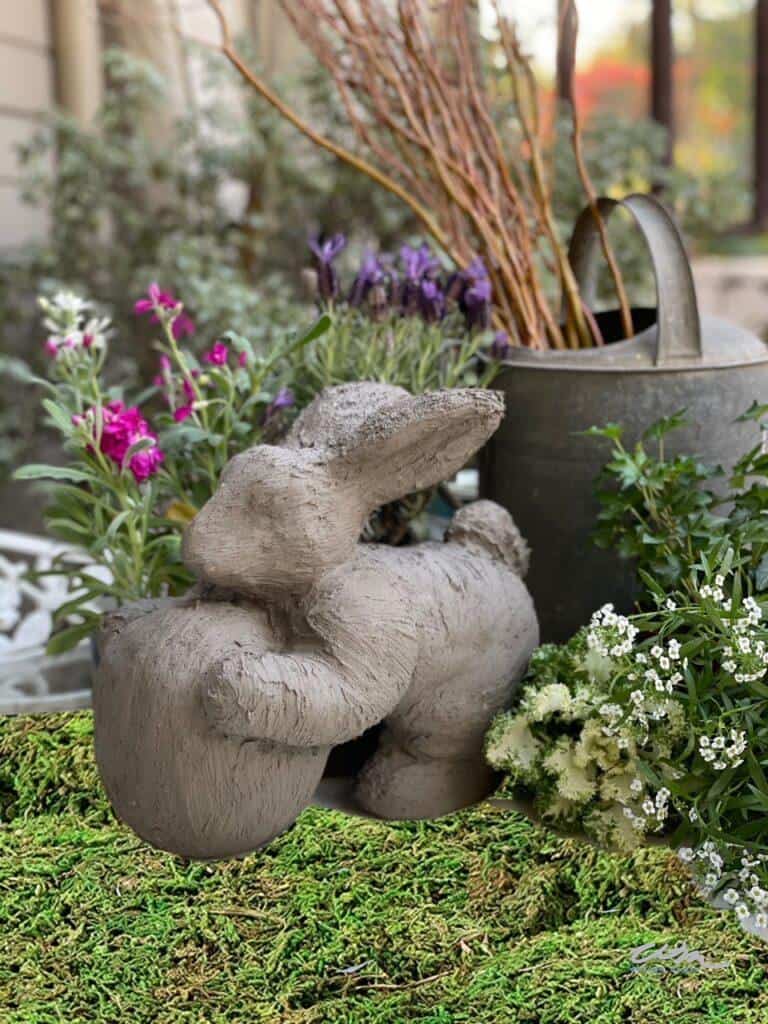
DIY Cement Bunny Rabbit
Wrapping Up
And that’s it! This DIY Easter centerpiece is such a fun and simple way to bring a little spring magic to your table. With a mix of fresh and faux flowers, some playful faux chocolate bunny touches, and a bit of greenery, you can create something that feels both charming and timeless.
I hope this inspires you to get creative and have fun putting your own spin on it.
That’s all from me, but there’s still plenty of Easter inspiration to explore! Up next is my dear friend Diane @southhousedesigns. You won’t want to miss the creative way she mixed fresh and faux flowers together for her Easter celebration.
Happy Easter, friend!


Did you make this craft?
We would love to see what you have created, so mention us @wmdesignhouse or tag us using #wmdesignhouse so we can see your creations!
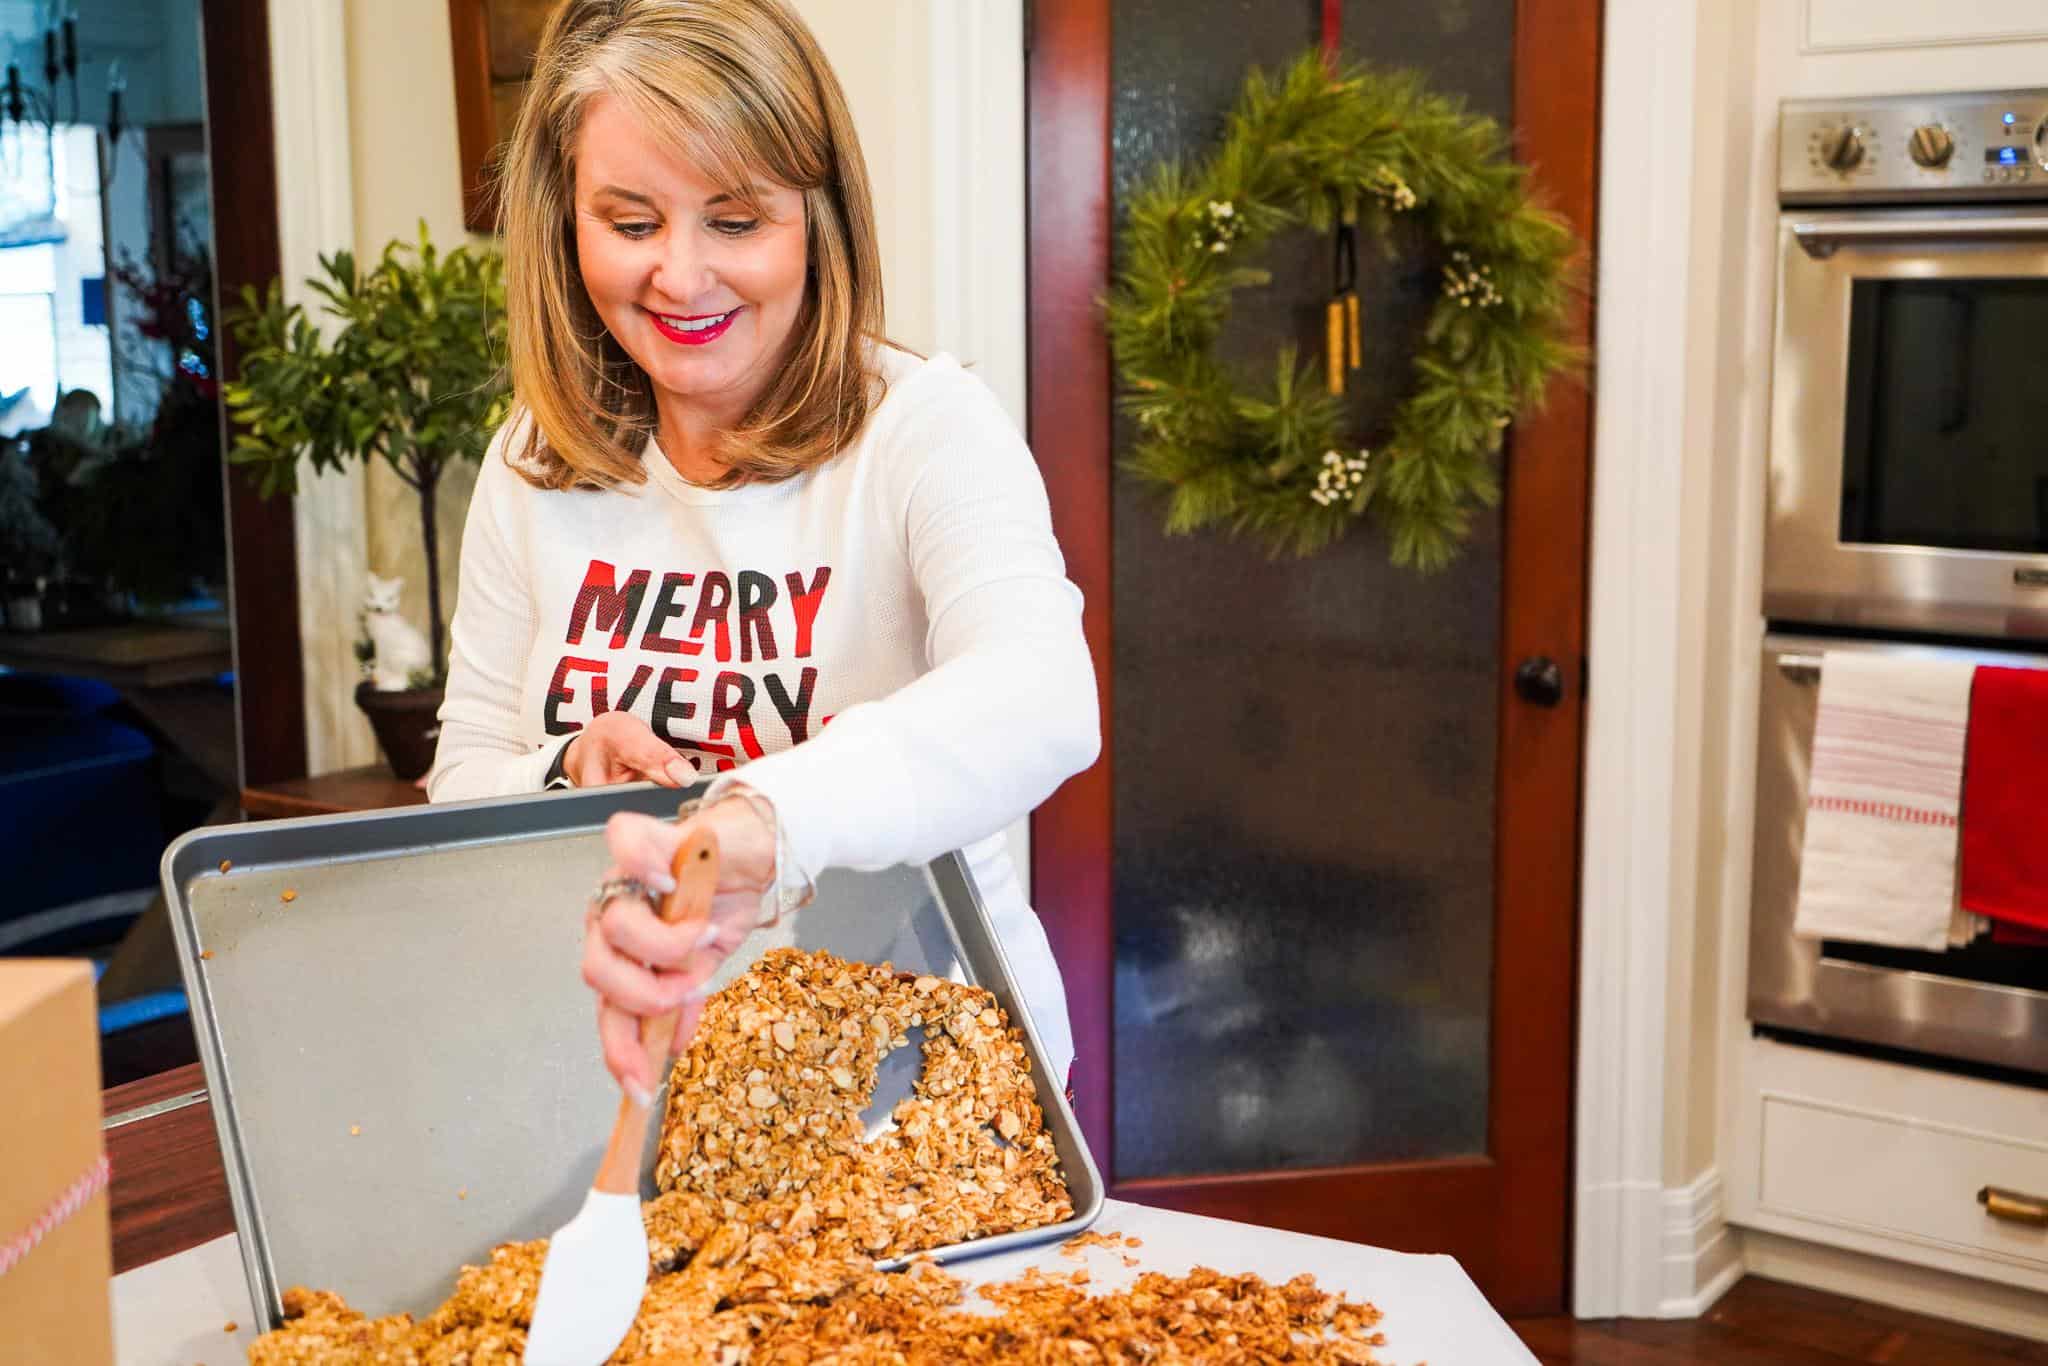
More about me!

Hello, I’m Wendy – a dedicated homemaker with a deep passion for decorating, gardening, cooking, and crafting. I find joy in harmonizing beautiful elements to fashion a space that is both comfortable and inspiring. I will help you create a beautiful home, one project at a time.
Connect with Wendy

DIY Easter Centerpiece
Equipment
- 1 Glue Gun
- 1 Pair of wire cutters
Materials
- Large dough bowl
- Two large bunches of faux ivy
- Faux flowers of your choice
- Styrofoam
- Moss
- Curly willow twigs
- Small vases
- Easter rabbit figurines
- Brown spray paint
Instructions
- Step 1: Spray Paint Your Bunnies
- First, start by spray painting your bunnies. Make sure to do this outside or in a well-ventilated area for safety.
- Hold your can of spray paint about 6 to 8 inches away from your bunnies and use light, even strokes to avoid drips. Let the first coat dry completely before adding a second coat.
- Continue spraying additional coats as needed until each one is evenly covered and no spots are showing through. The goal is to give your bunnies a smooth, chocolate-like finish.
- When you’re done, you’ll have adorable realistic-looking chocolate bunnies for the perfect simple Easter table decorations.
- Step 2: Create a Base for Your Centerpiece
- To start, grab a flat dough bowl to use as your base. If you’re using faux florals, secure a piece of Styrofoam to the bottom of the bowl with hot glue.
- Once that’s in place, cover the foam with moss to give the arrangement a natural, finished look.
- Then use a hot glue to attach the moss, and add a few floral pins if needed to help keep everything nice and secure.
- Step 3: Add Your First Bunny
- Next, it’s time to add your first painted chocolate bunny. Pick the spot where you’d like it to go and gently press it into the moss-covered foam.
- Once you’re happy with the placement, use a hot glue gun to secure it so it stays put. This little bunny sets the tone for the whole arrangement, so take your time finding just the right spot.
- Step 4: Arrange Some Greenery
- Once your first bunny is in place, add two large bundles of ivy on either side. You can simply press the ivy stems into the floral foam to secure them, or use a few floral pins if you want to make sure everything stays in place.
- You can also cut your ivy stems apart to spread them out more if you’d like. Once all of your greenery is in place, add your second rabbit or any other Easter decorations you might want to use in your arrangement.
- Step 5: Add Your Faux Flowers
- To finish your DIY Easter centerpiece, gradually add faux flowers to your arrangement.
- Start by adding your focal flowers. Place larger flowers like roses, peonies, and ranuculus in the center, slightly angled outward. Keep them low to maintain the centerpiece’s profile.
- Next, start filling in your centerpiece with smaller blooms. Tuck flowers like tulips and daffodils around your focal points, nestling them into the ivy and moss.
- Try to space them out evenly to create a balanced, natural look. Keep working around your dough bowl, filling in the empty spaces as you go.
- If you’d like, you can also mix in a bit of extra greenery to add more texture and depth to your DIY Easter centerpiece.
- I also added a few curly willow branches for a more natural, whimsical touch. I love using it in many of my floral arrangement because it adds that little something extra.
Wendy,
You have done it again! I love the idea of spray painting the bunnies chocolate. I am so inspired to do this! Gorgeous look!
Beautiful Easter table and centerpiece Wendy! I really need to get on board with the chocolate bunnies! It’s an absolutely darling idea, as well as the hidden vases for your fresh flowers! So clever!
Wendy, wow… Your centerpiece arrangement is stunning! I love how ethereal the flowers look and the bunnies are adorable!! Looks like they are standing out in a meadow. 🙂
Enjoy your beautiful centerpiece and happy spring to you,
Big hugs,
Barb 🙂
Love how you mixed faux and real. And love those real ranunculus in that pretty coral pink. Chocolate bunnies are so fun, and a great way to repurpose tacky thrift store bunnies. Such a pretty Easter table, and love the new wallpaper:)
I love what you’ve done and how the entire table looks amazing. You’ve inspired me to use a metal green leaf container I found at a thrift store for a bunny centerpiece similar to yours. It’s much smaller but those chocolate-looking bunnies are so cute. I made some but forgot about them. Thanks for joining us. Happy Spring. pinned
Soooo cute Wendy! Love those chocolate bunnies!!! And we both mixed the real and faux, but ini completely different ways.
Wendy, your take on this month’s PC is truly inspiring. Thank you so much for your step by step instructions to create the dazzling centerpiece.
Wendy
What a beautiful centerpiece! I’ve always wanted to make the chocolate bunnies. I’m saving your tutorial maybe for next year. Love your fresh flowers.