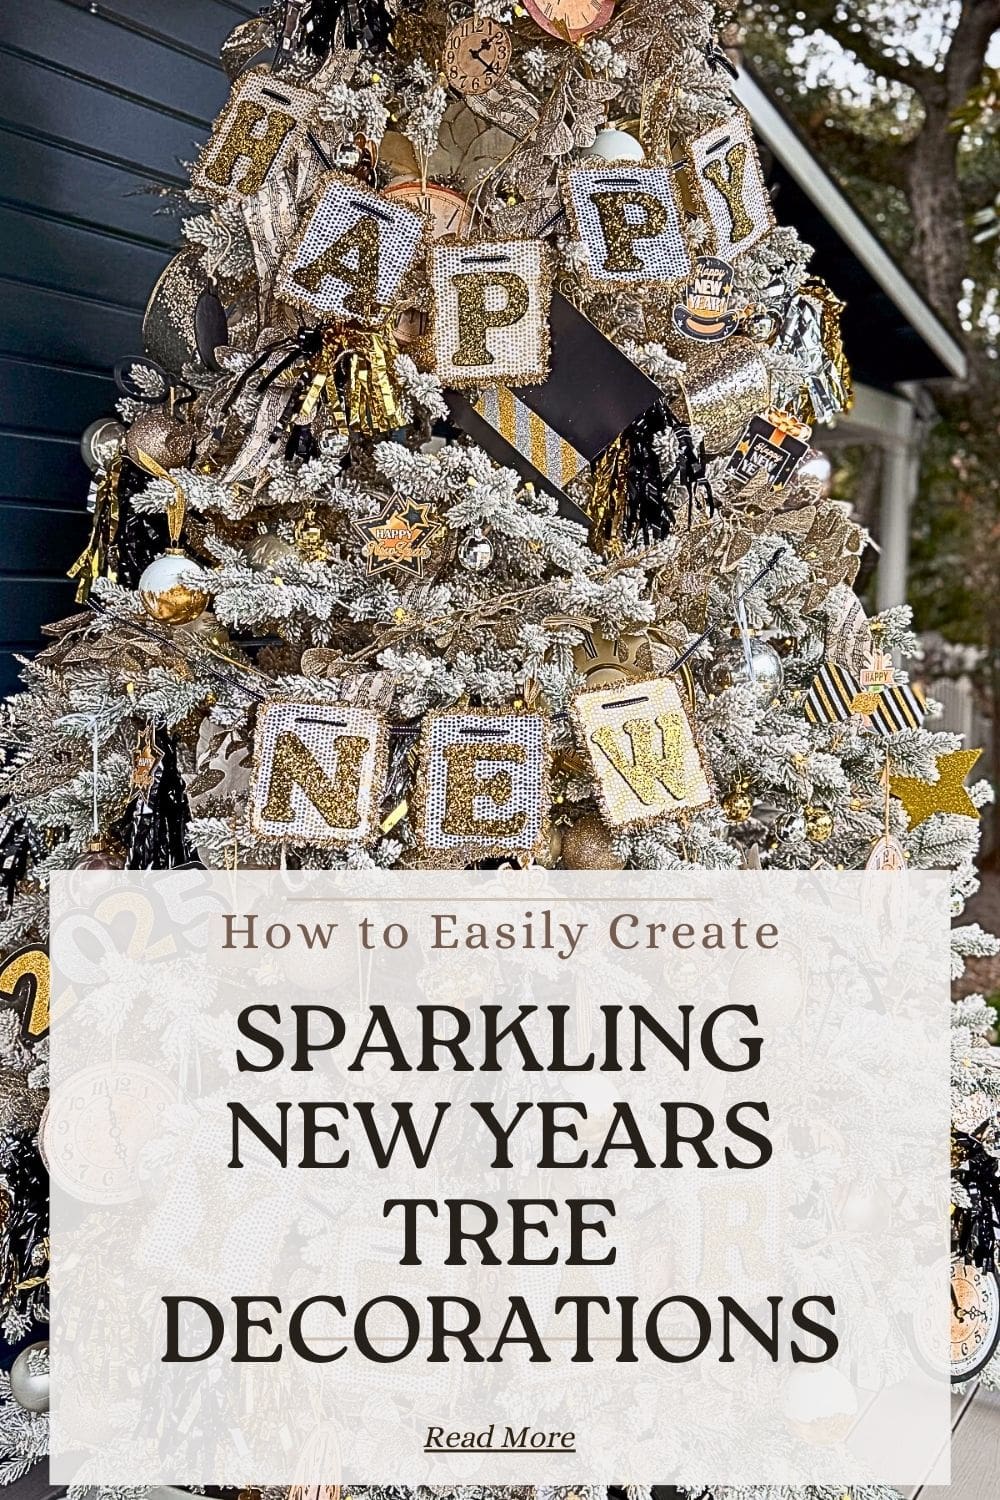
Creative New Year’s Tree Decorations for a Sparkling Celebration
New Year’s tree decorations are the perfect way to keep the magic going after Christmas! See how to easily transform your tree with DIY ornaments, a festive banner, and creative toppers so you can celebrate the New Year in sparkling style.
On my blog WM Design House, I may sometimes use affiliate links, which means a small commission is earned if you purchase via the link. The price will be the same whether you use the affiliate link or go directly to the vendor’s website using a non-affiliate link. Read my full disclosure policy here.
Ring in the New Year with Festive Tree Decorations
I don’t know about you, but I can’t believe how fast the holiday season flew by!
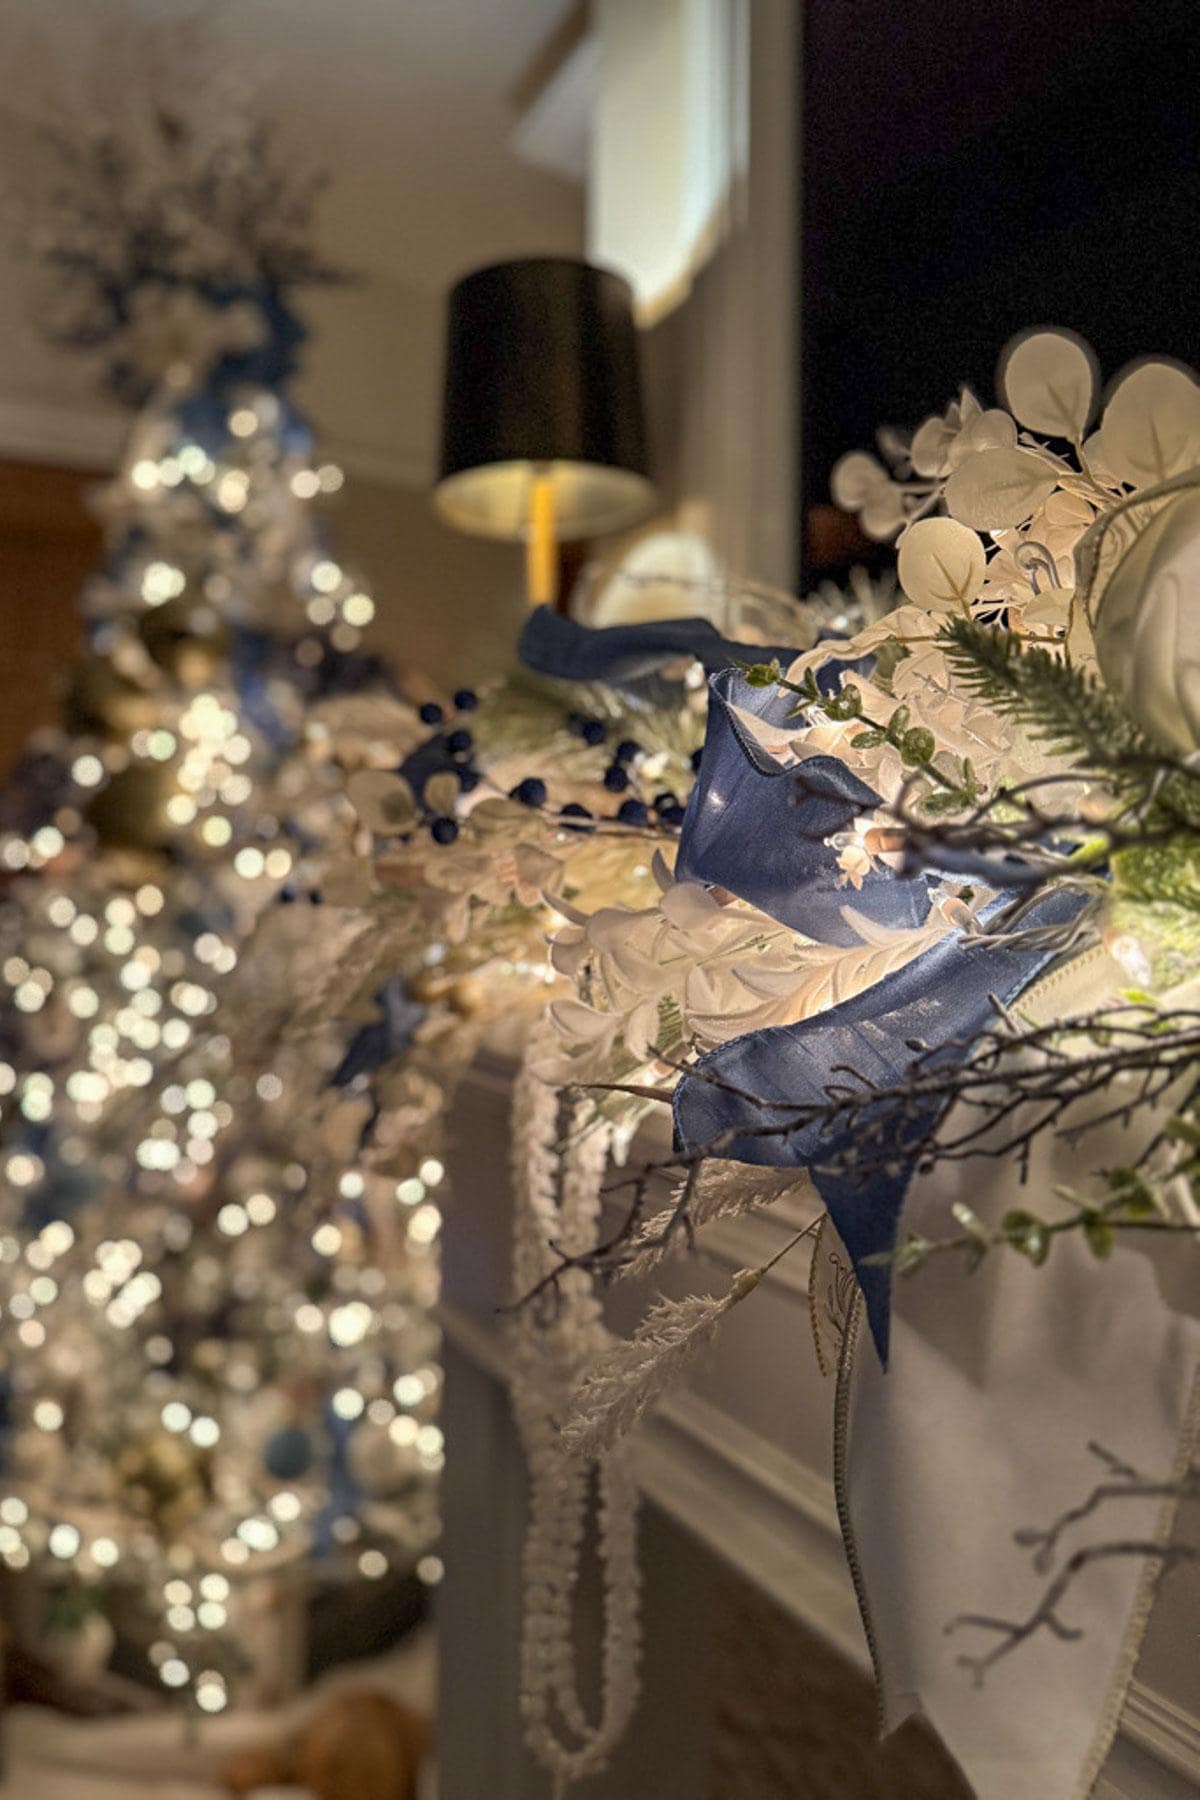
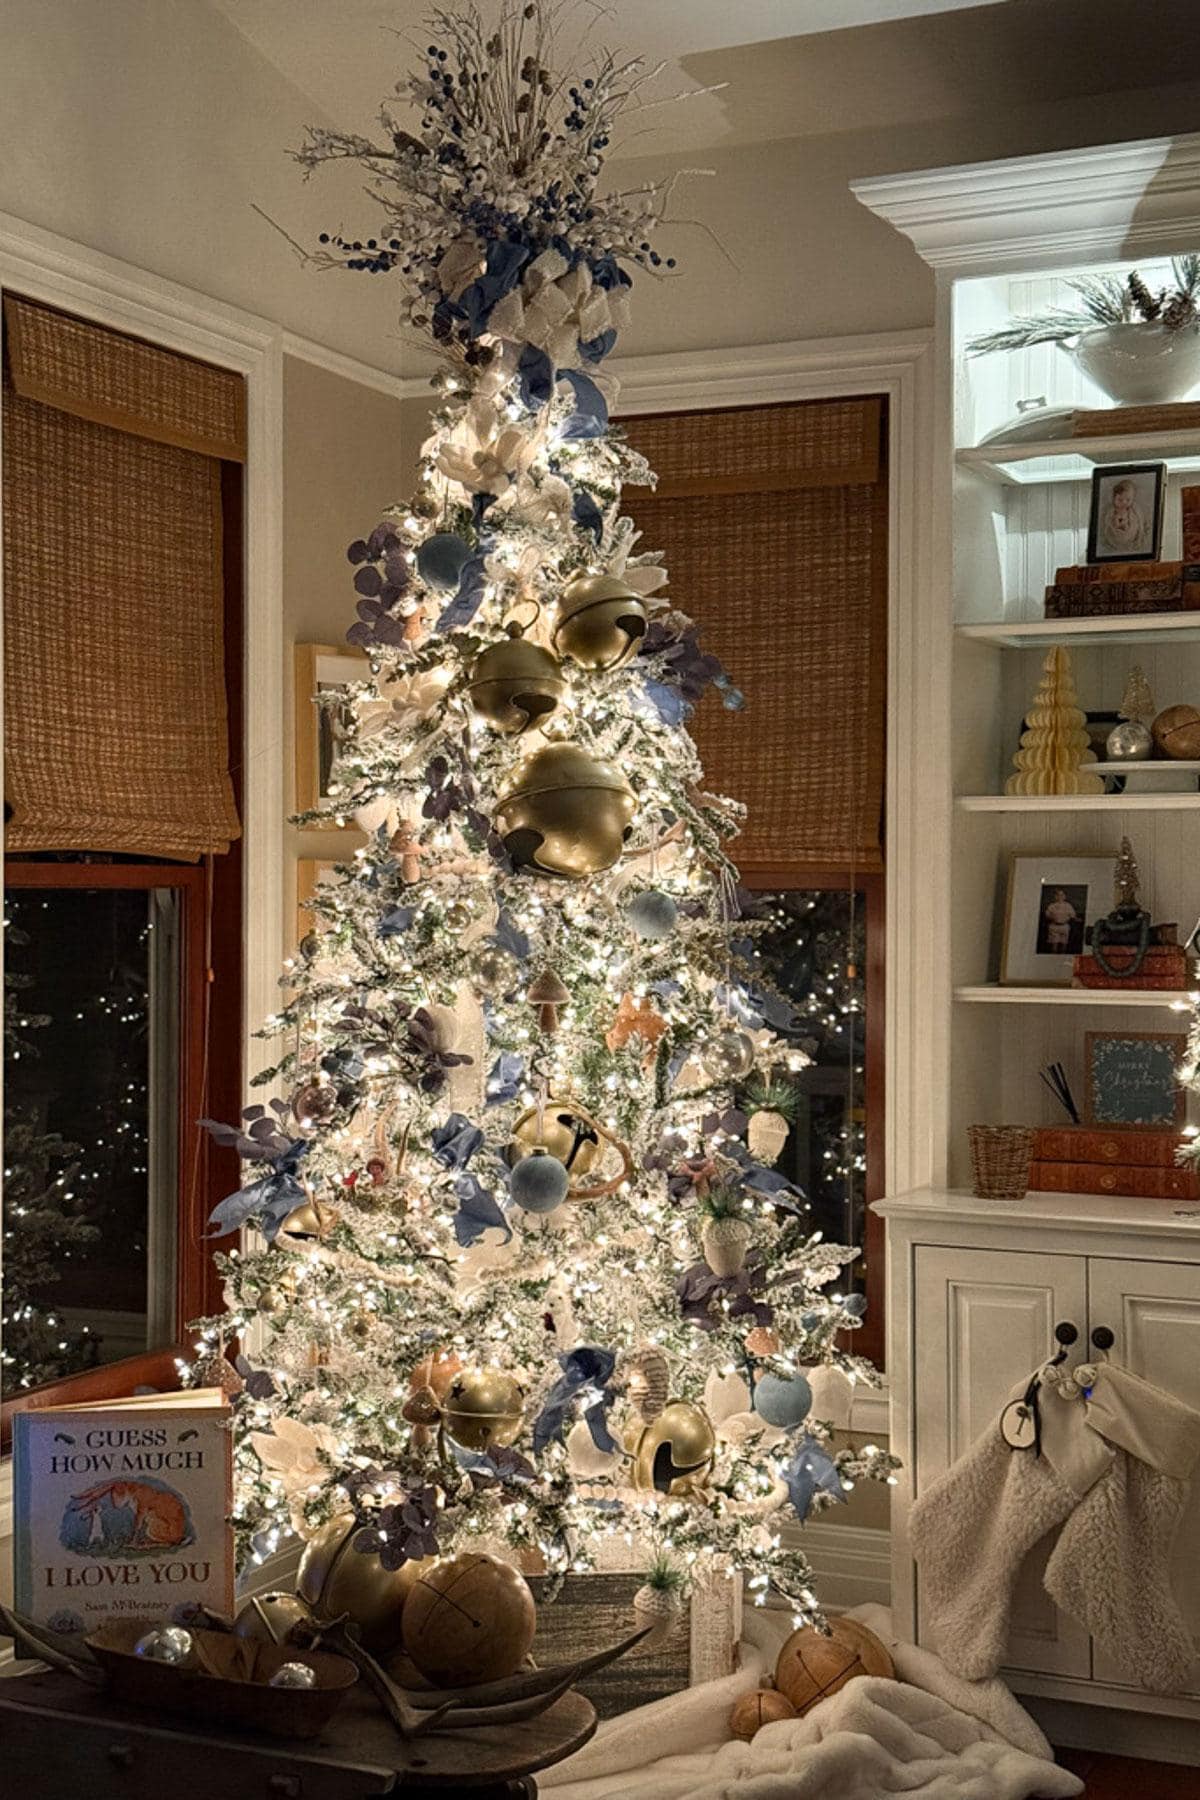
As I start packing away some of the blue and white Christmas decor I used to decorate our home this year, I can’t help but feel a little bittersweet about it all.
I love how cozy our home looks lit up at night for the holidays, so I’m not ready to say goodbye to the twinkle lights just yet!
That’s why I’m excited to show you how to keep the magic going by repurposing some of your decorations to give your Christmas tree a fun New Year’s makeover. It’s an easy way to celebrate and ring in the new year with some sparkle and style!
A New Year Tree for Your Countdown Party
This year, I decorated our home using classic Christmas decorations that felt warm, inviting, and perfectly suited to our traditional Southern California style.
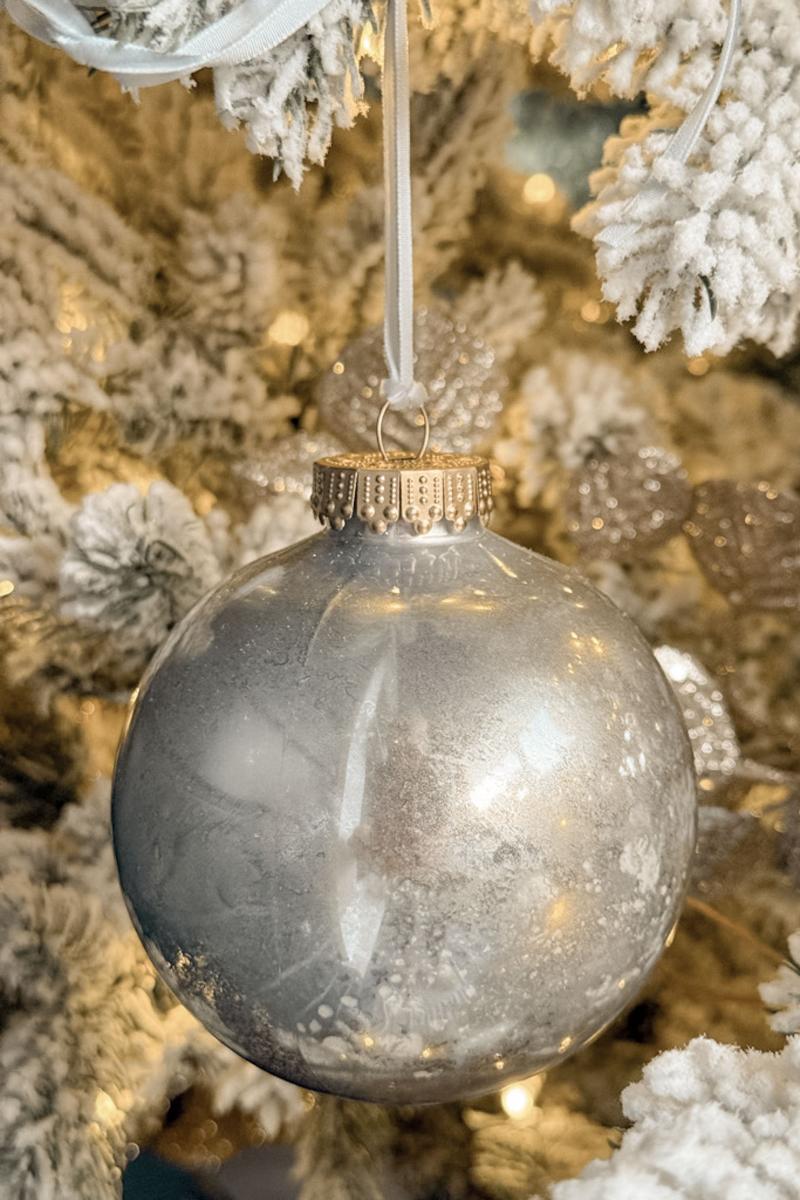
From the soft glow of lights on our blue and white Christmas tree to nostalgic accents like DIY mercury glass ornaments, every detail added a little extra magic to the season.
But now that holiday has passed, I’m showing you how to de-Christmas your tree without fully taking it down so you can keep the festive feeling going through the New Year.
I’m showing you how to quickly transform your tree for a perfect New Year’s countdown celebration. I’m including easy DIY ornaments with a New Year’s twist and a beautiful banner to trim your tree. Plus, I’m also sharing creative alternatives for tree toppers to replace your traditional star or angel.
So grab your favorite holiday drink, and let’s add some sparkling New Year’s decorations to your tree!
How to Repurpose Your Christmas Tree Decorations for New Year’s
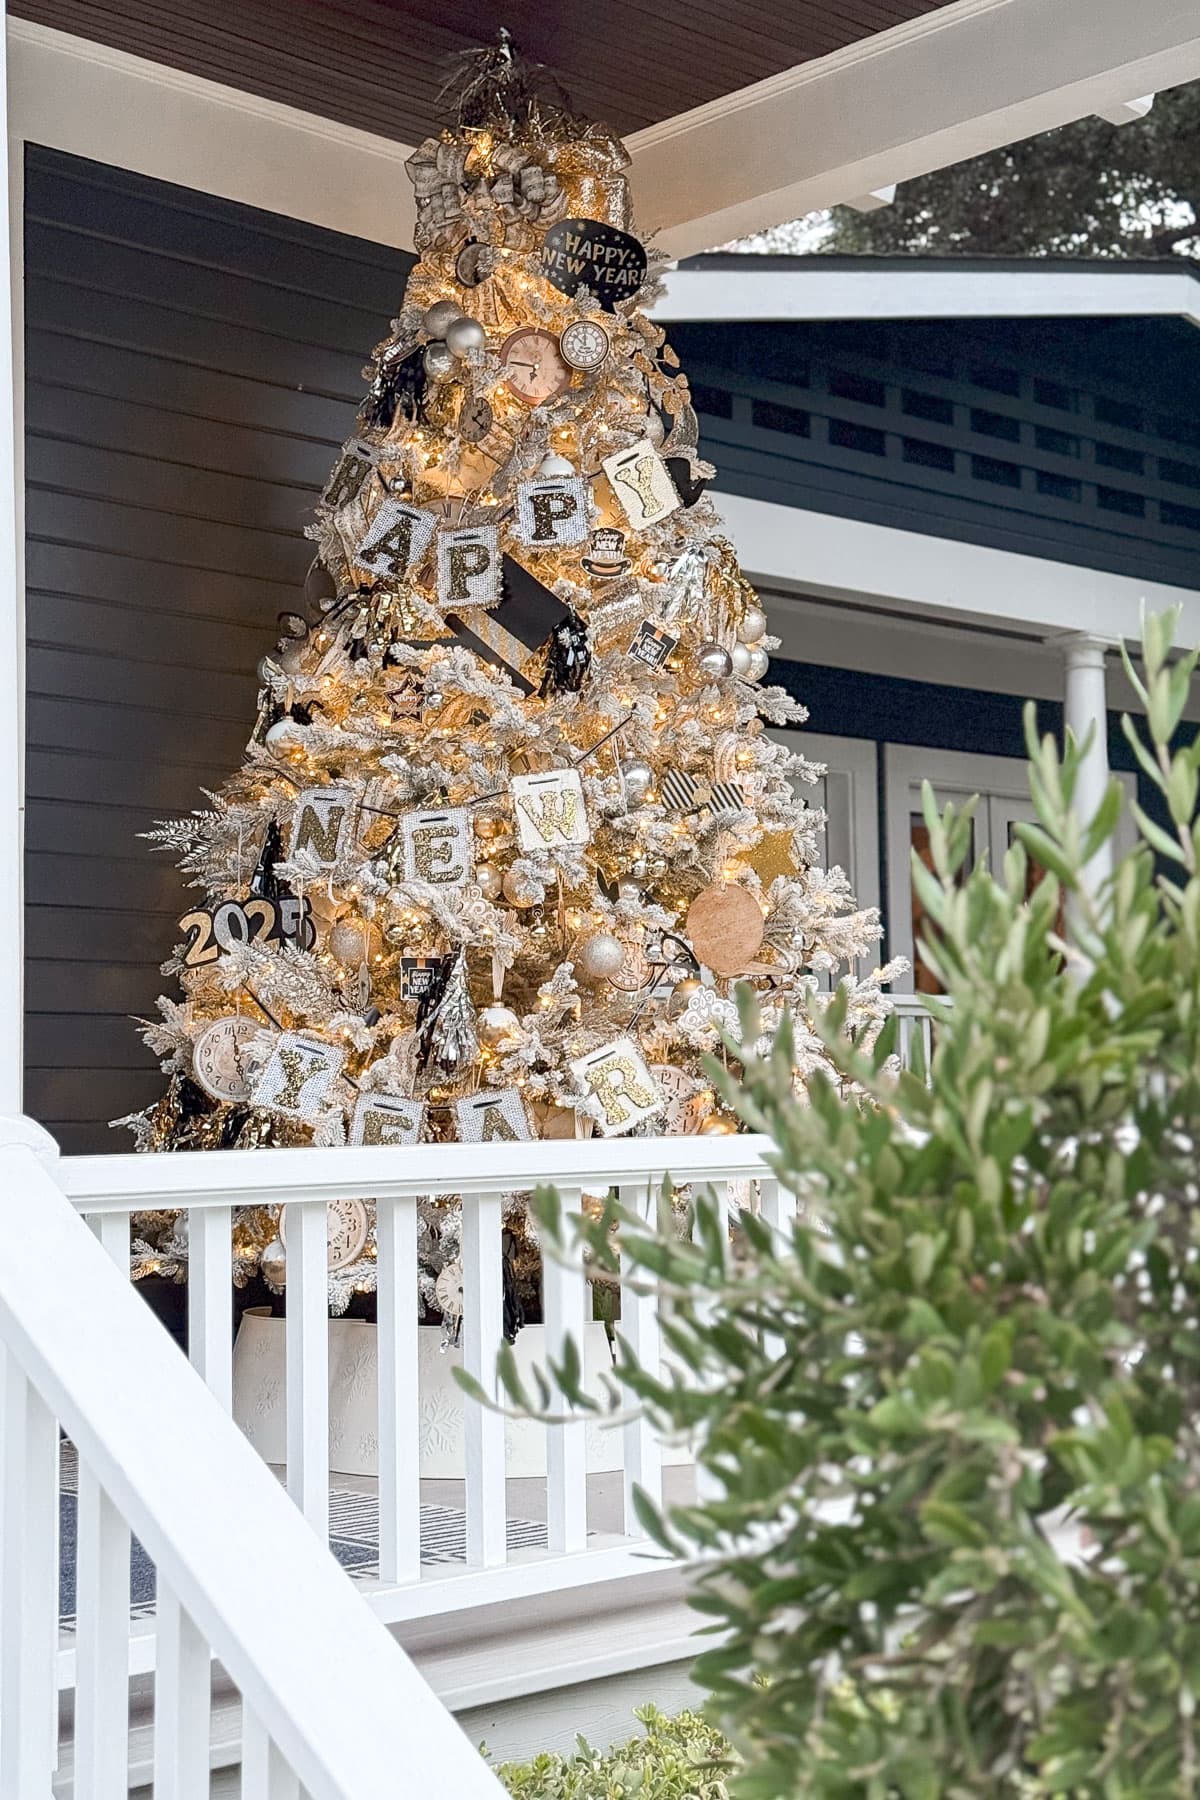
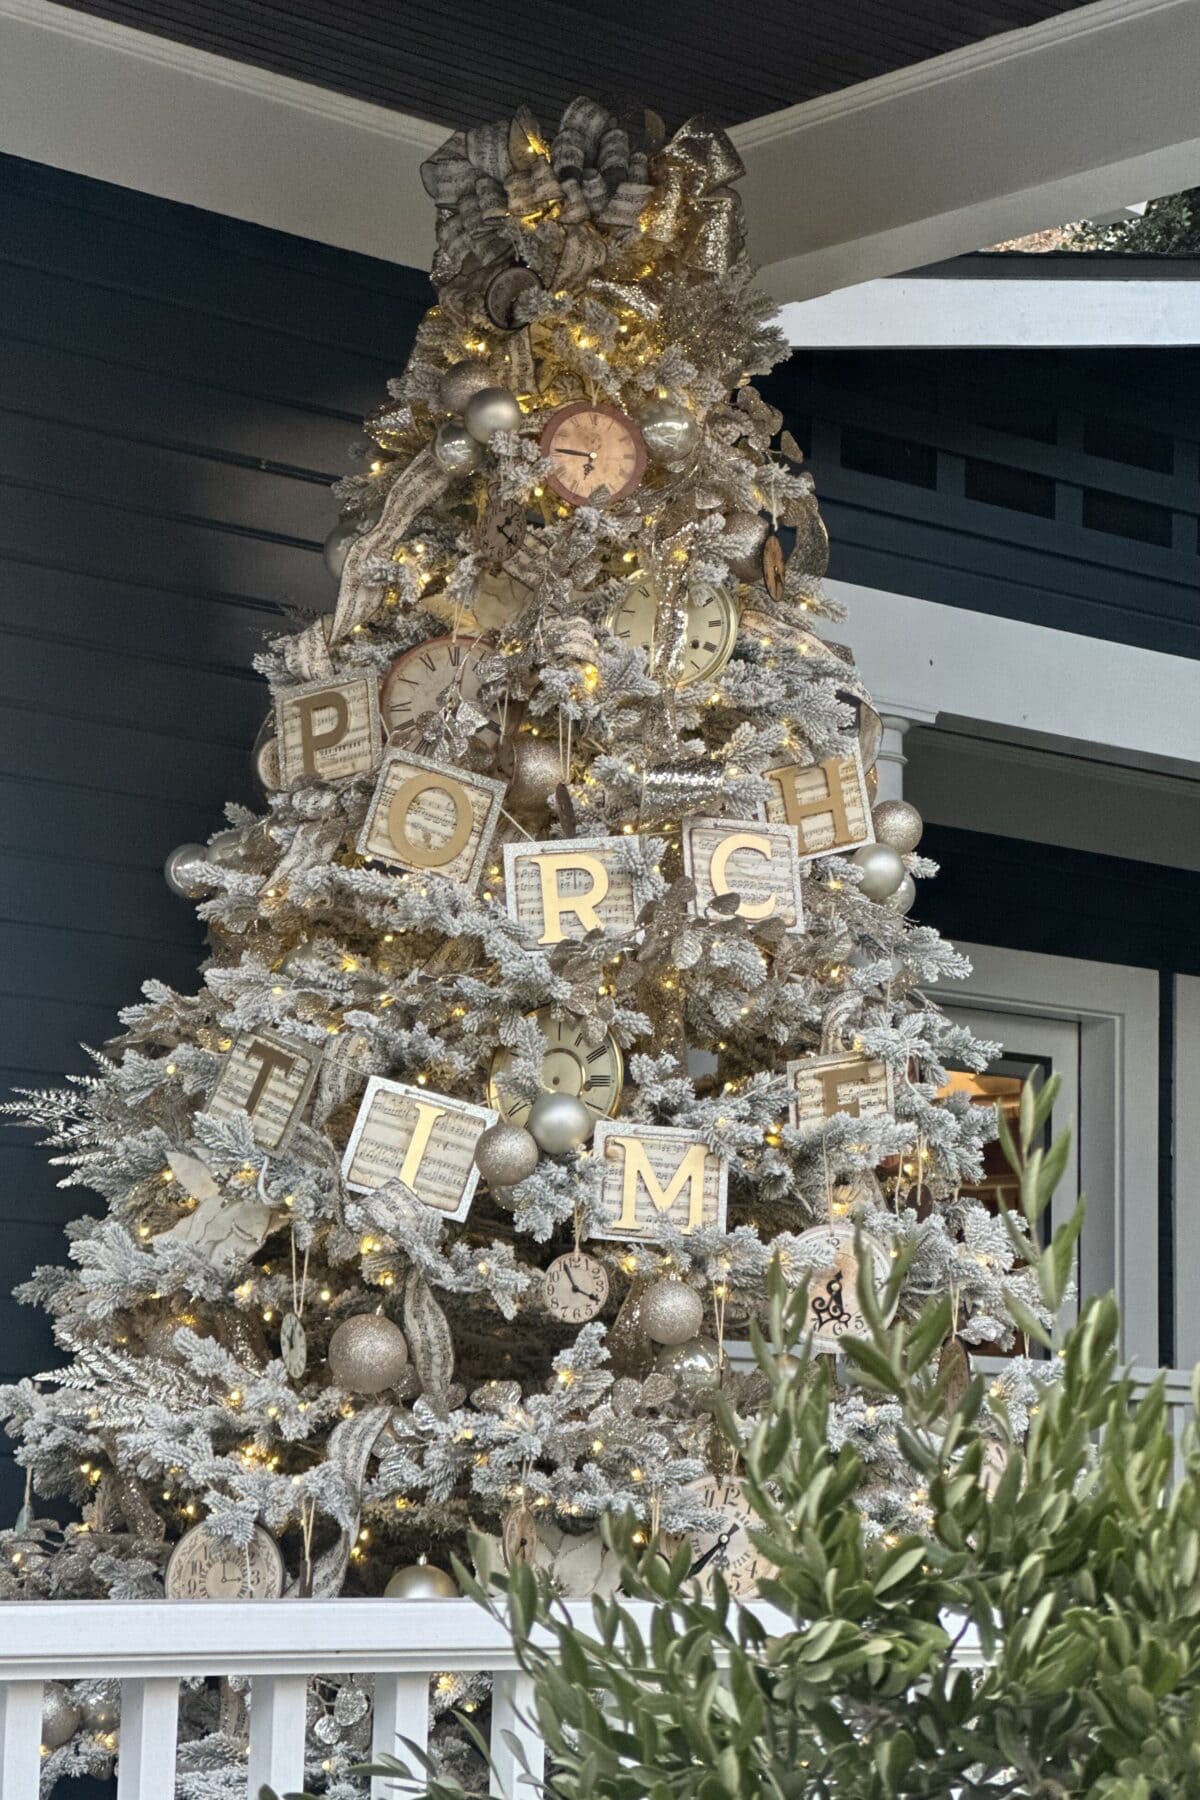
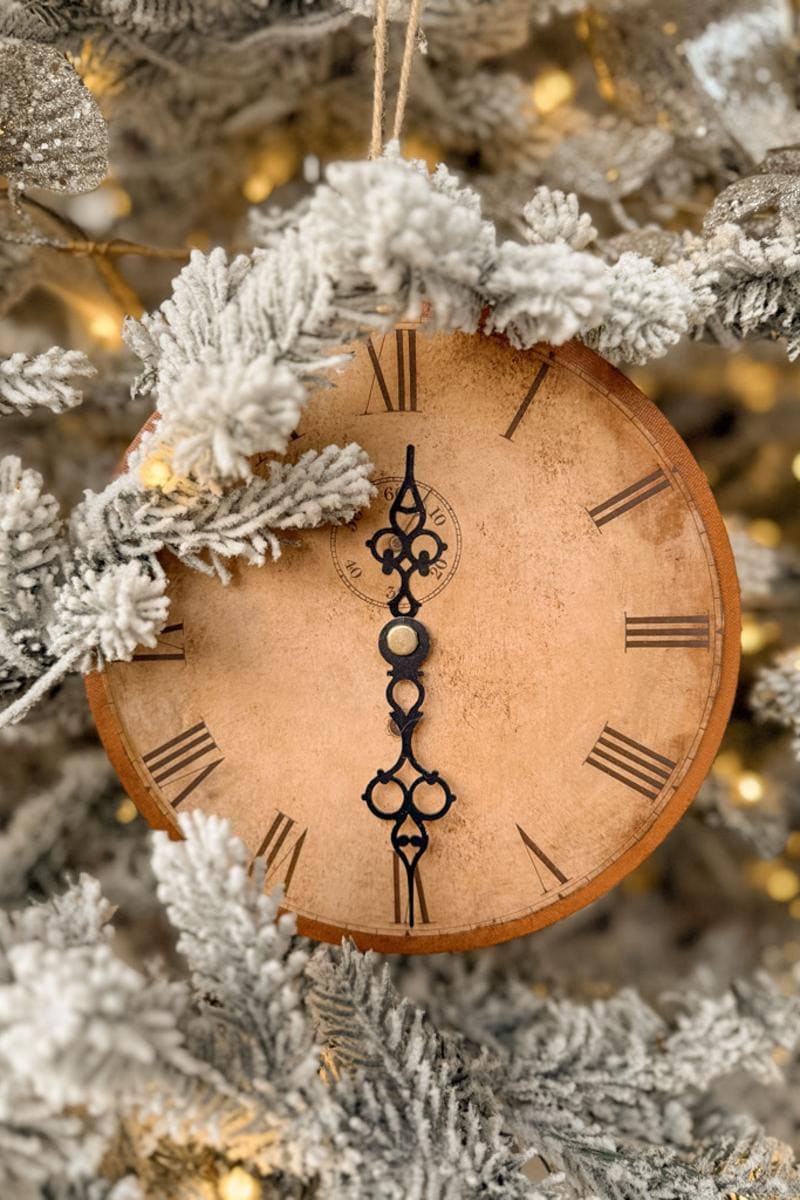
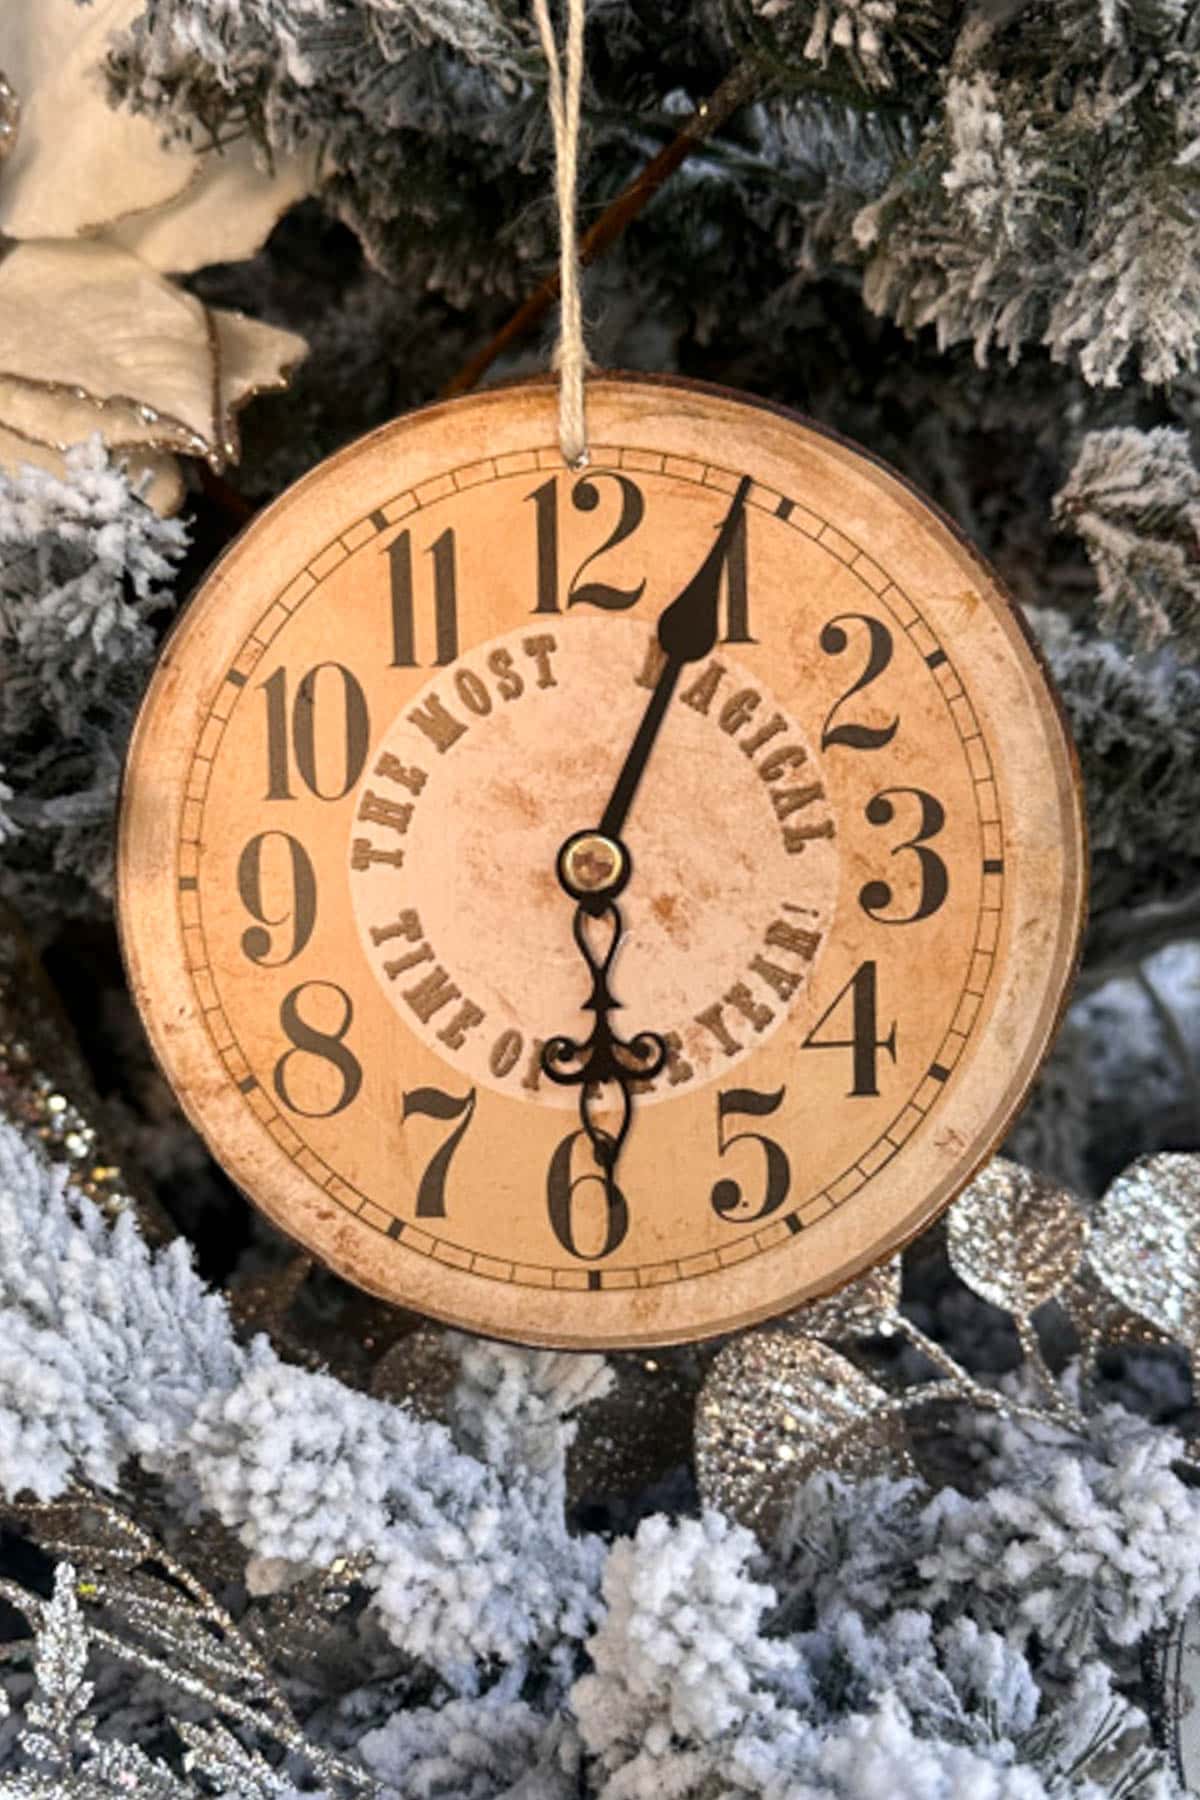
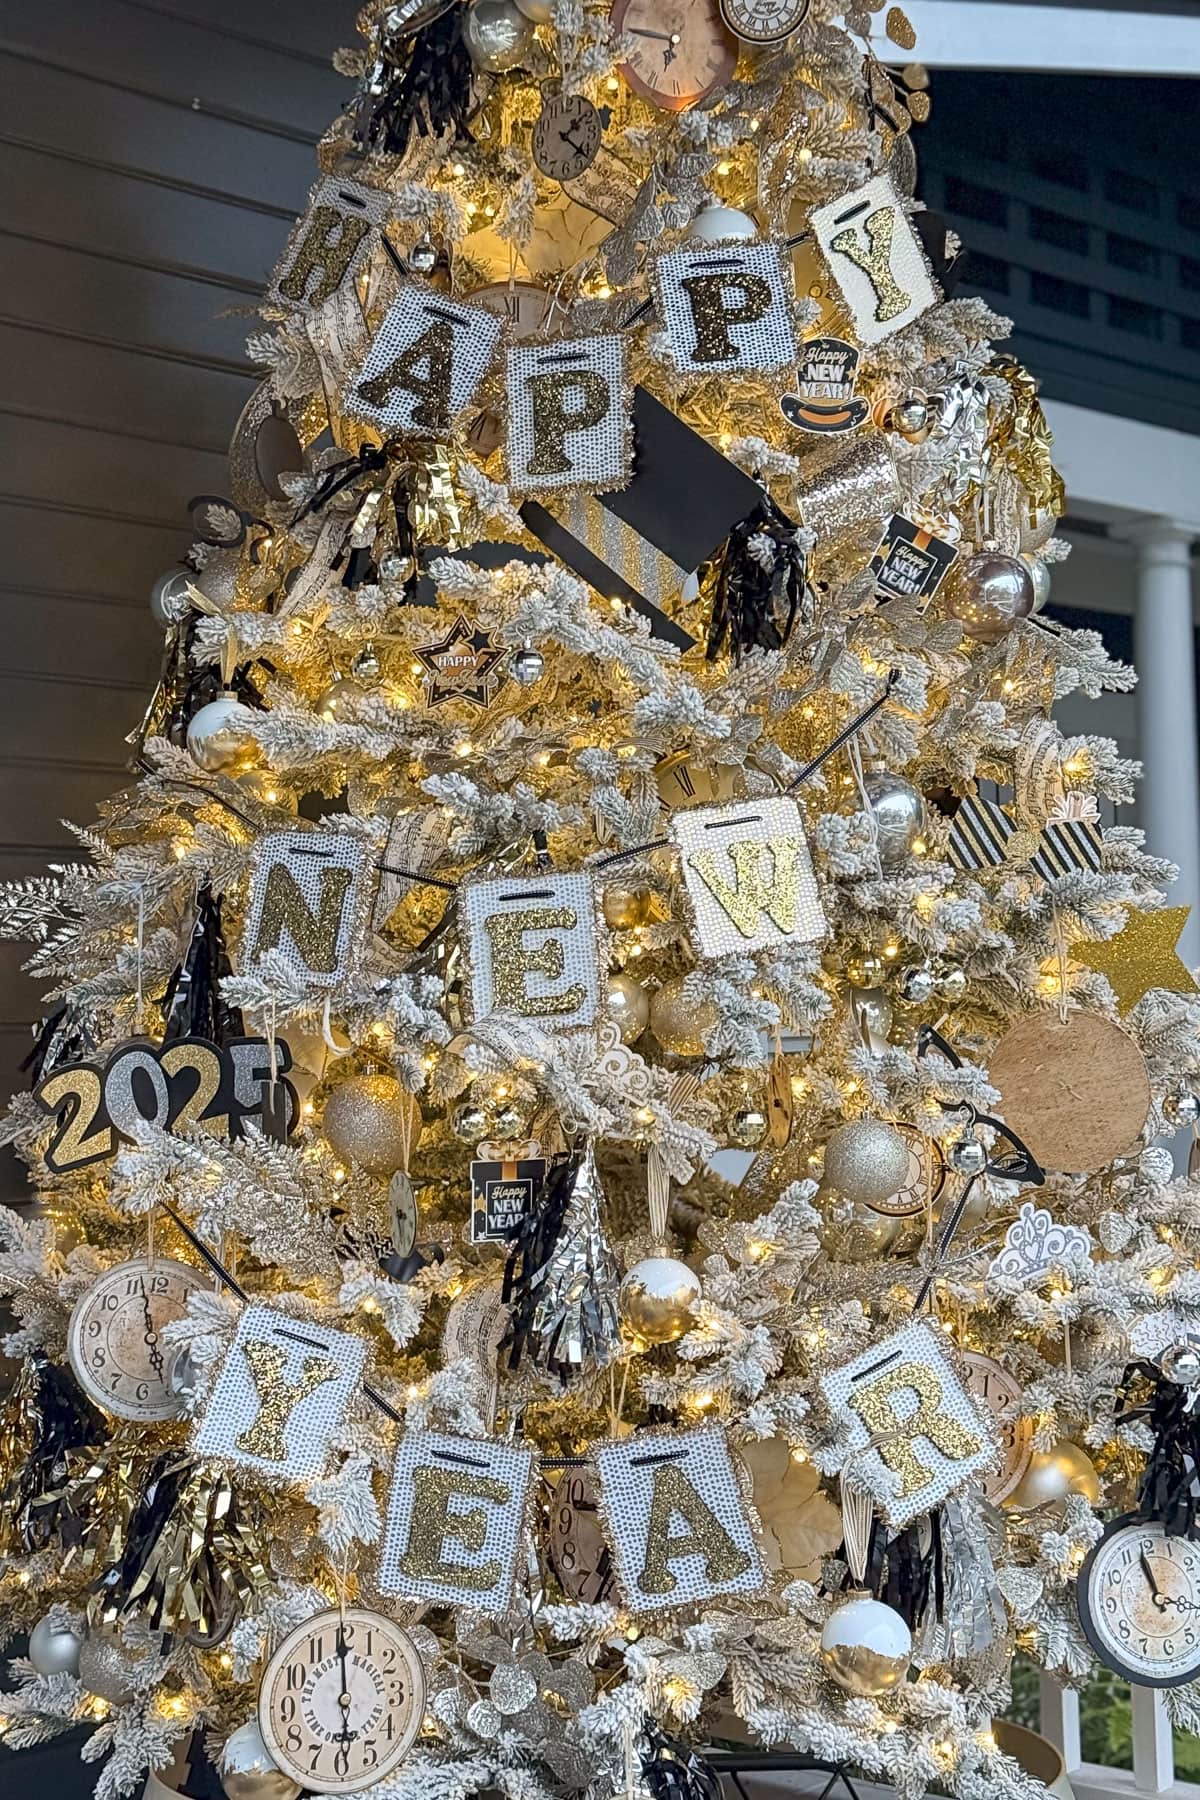
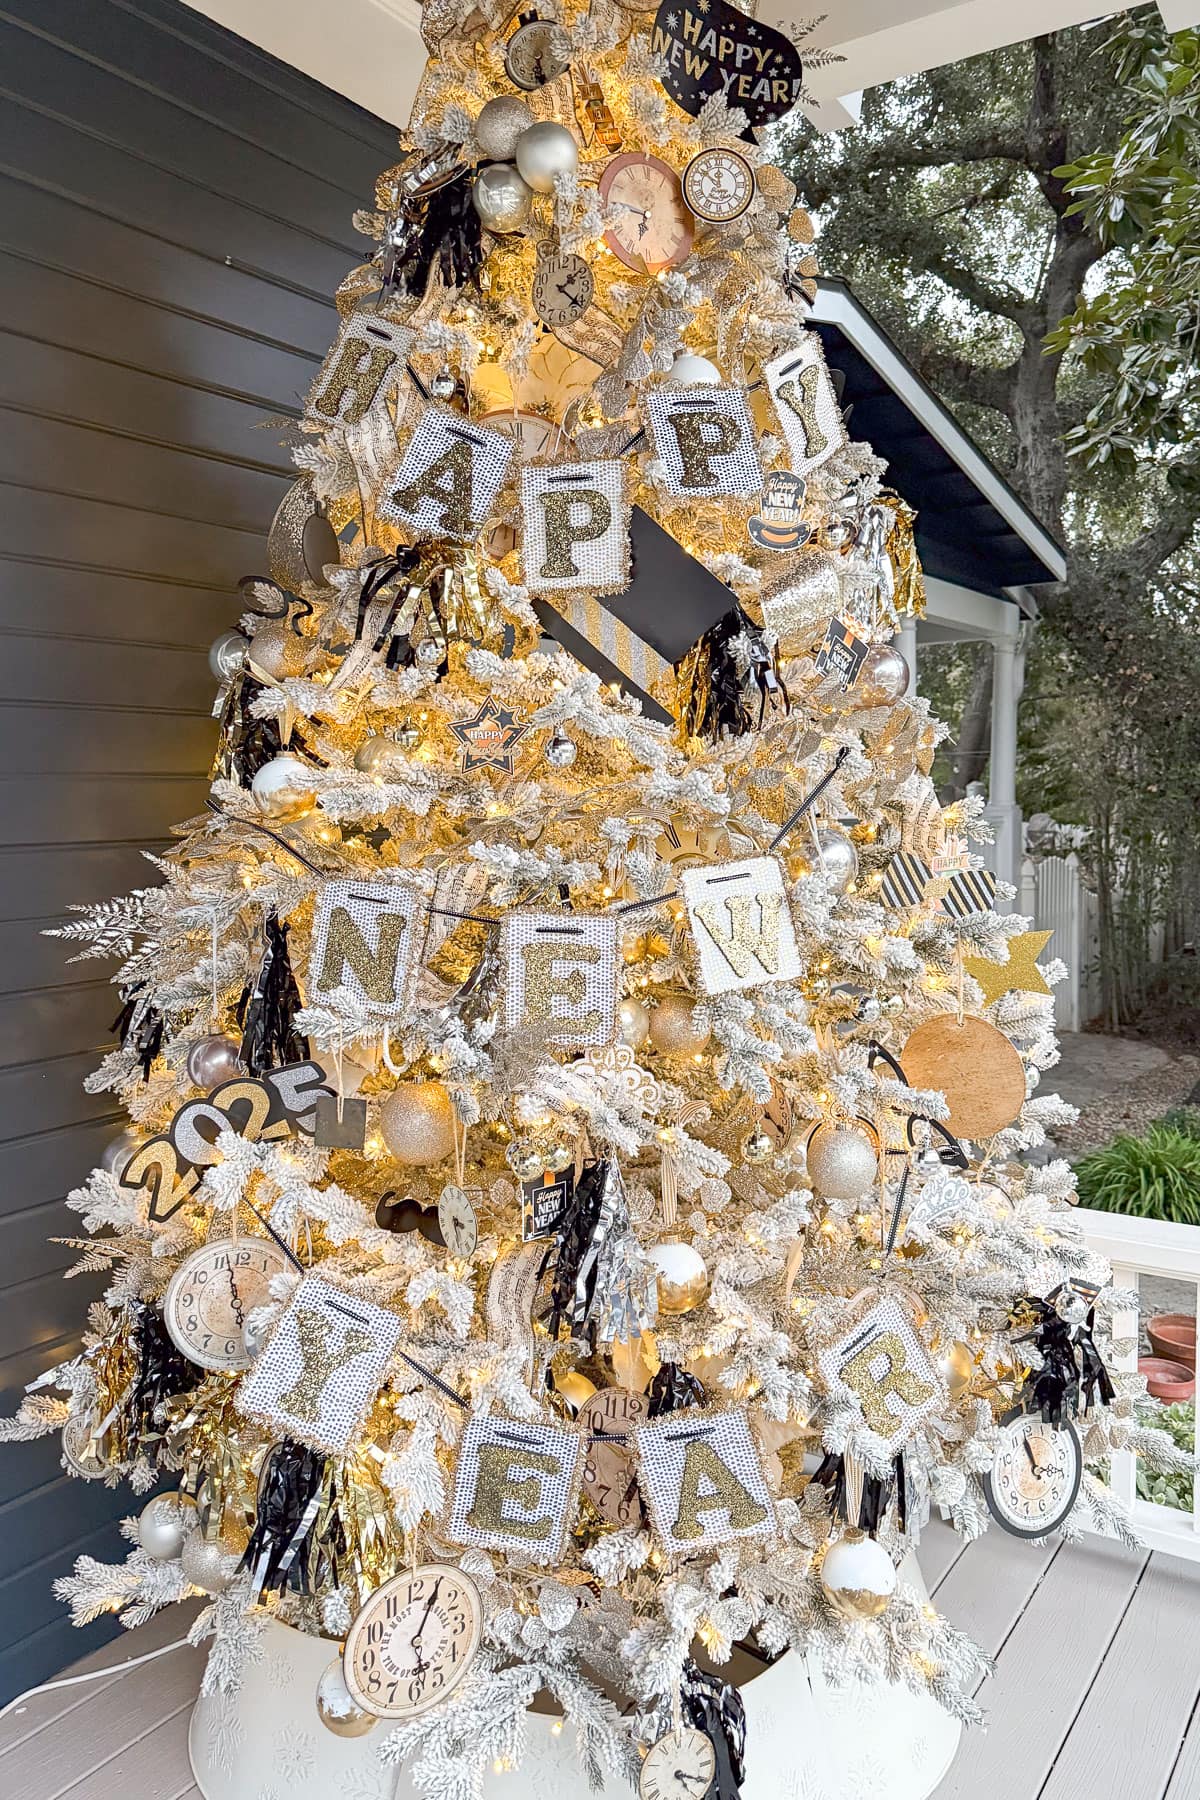
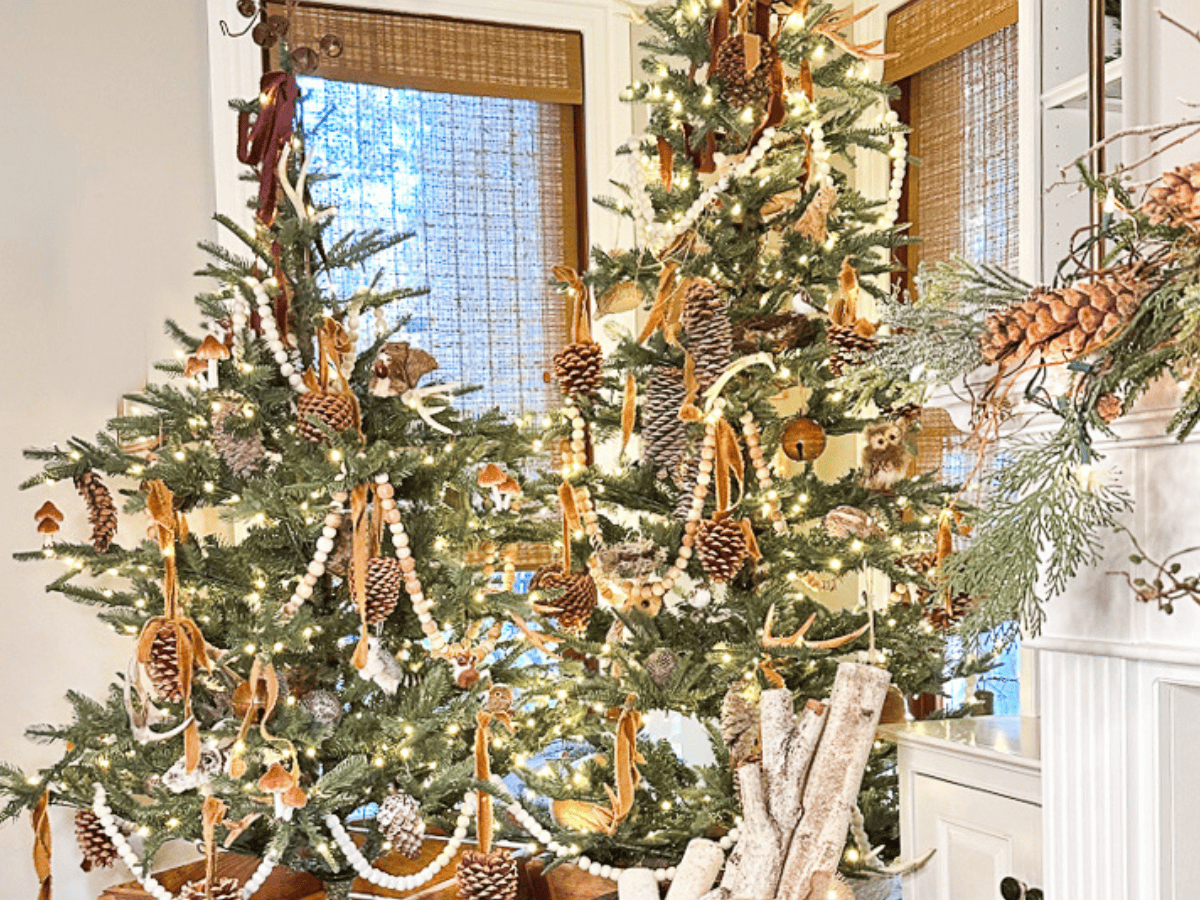
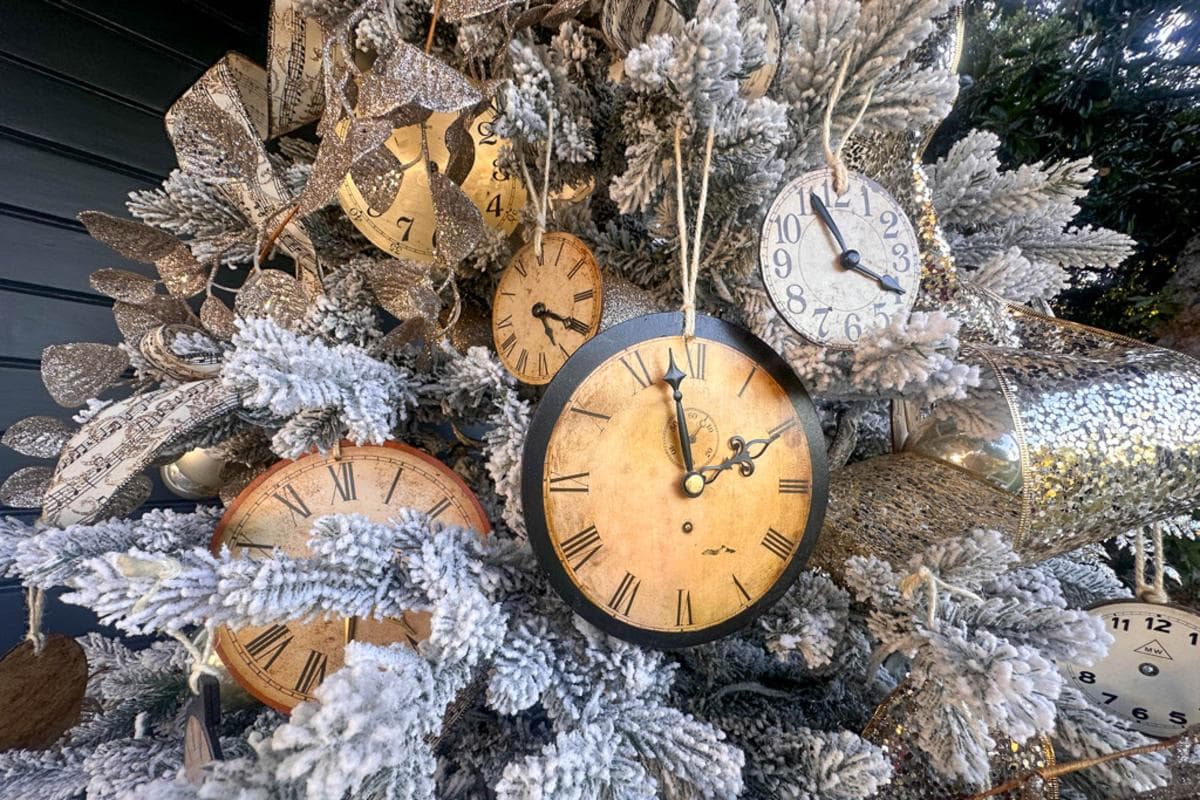
The first thing you’ll notice on our front porch is the beautiful flocked tree I decorated from King of Christmas. It’s a showstopper, decorated with a combination of DIY vintage clock-face ornaments, musical ribbon and other glittery touches.
As we ring in the new year, I’m giving it a festive makeover to transform it into a dazzling New Year’s Eve tree!
Here are some easy steps you can follow to transform your tree for the New Year and give it a fresh look. With just a few simple updates, you can create a sparkling tree that’s perfect for ringing in the year ahead!
Remove Overtly Christmas-Themed Decor from Your Tree
Since my tree was already decorated with neutral colors and had clock face ornaments, I didn’t need to change much. All I had to do was take down the Porch Time Banner, and it was ready for a New Year’s makeover.
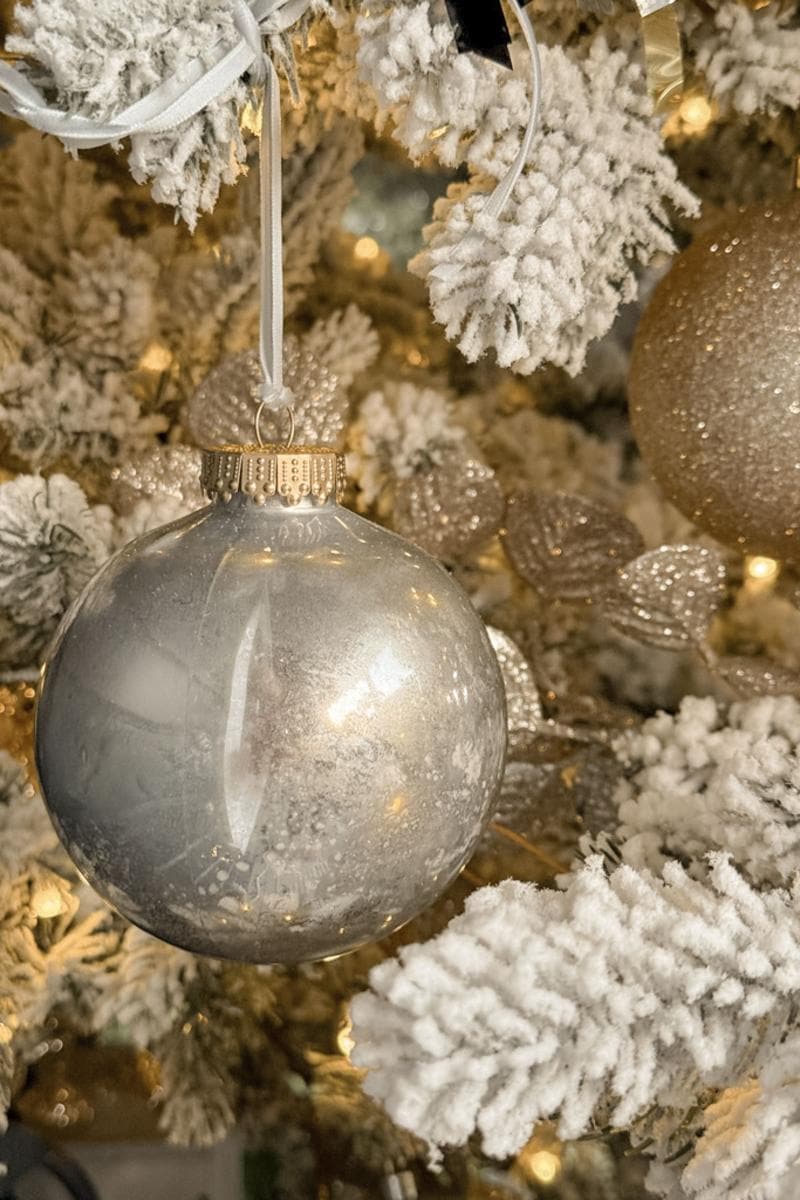
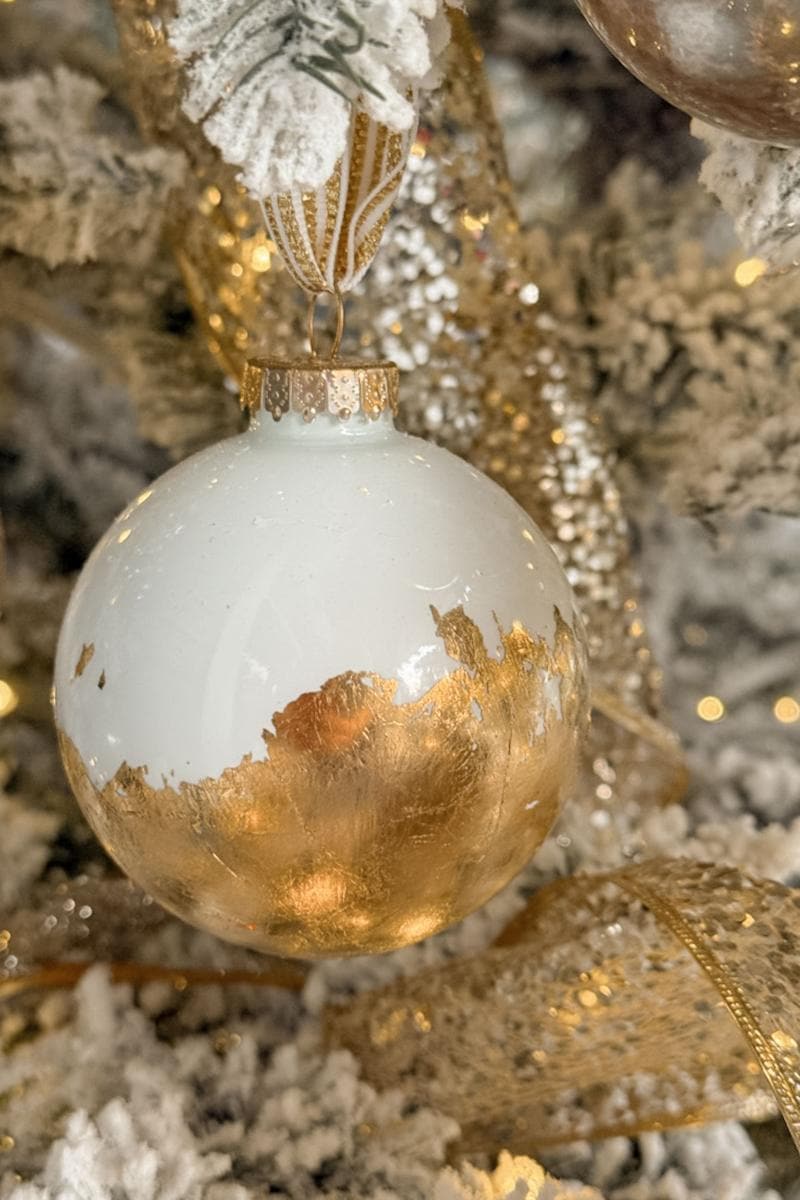
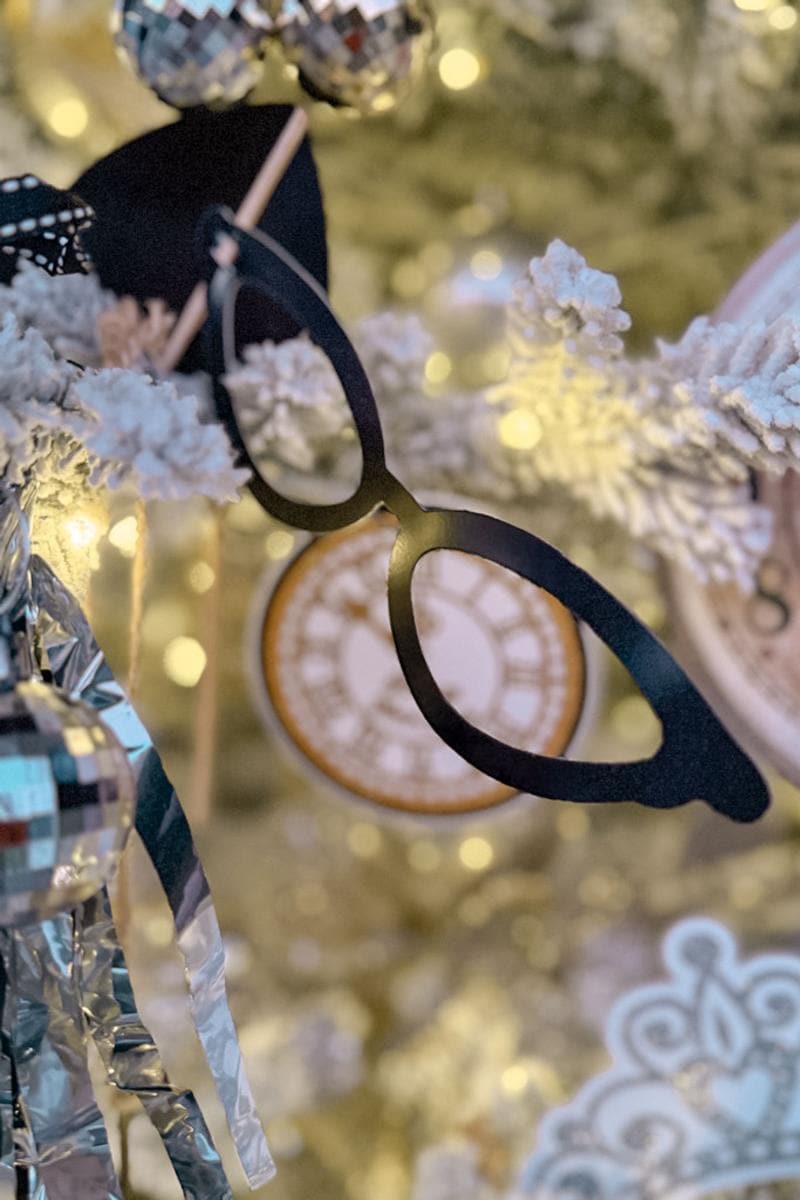
If you tree is decorated using more traditional Christmas colors, replace any holiday-themed ornaments like Santas or candy canes with decorations that symbolize the New Year. Think vintage clock faces, stars, or metallic ornaments in gold foil and white or silver mercury glass.

Add Sparkle with Metallic Accents
To give your tree a festive New Year’s glow, try adding metallic ribbon, tinsel, or garland—it’s such an easy way to make it sparkle!
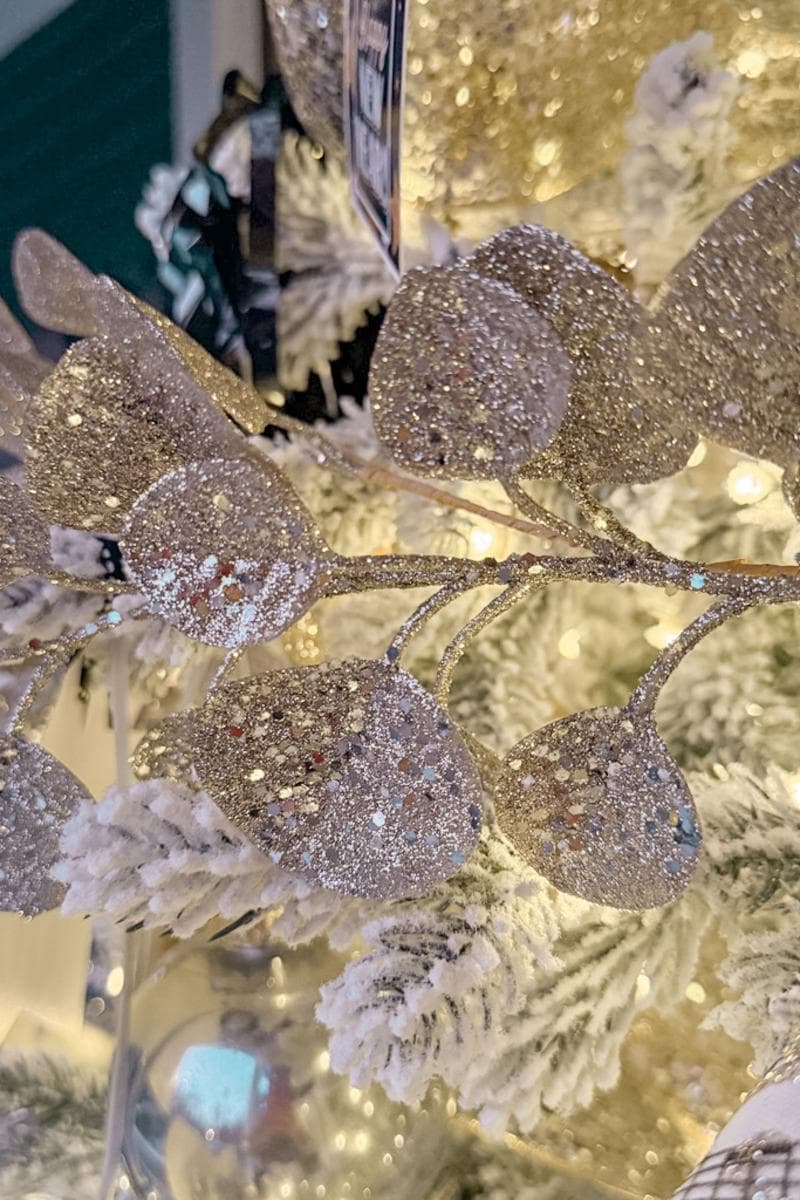
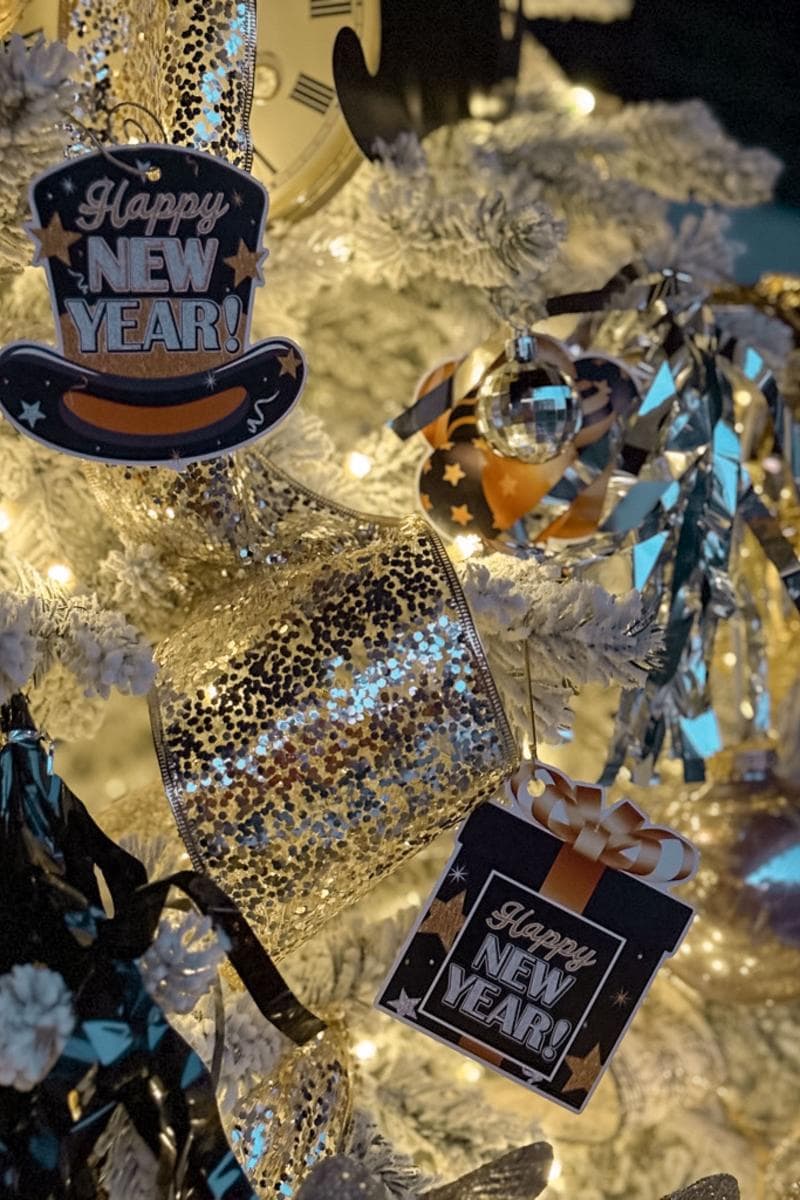
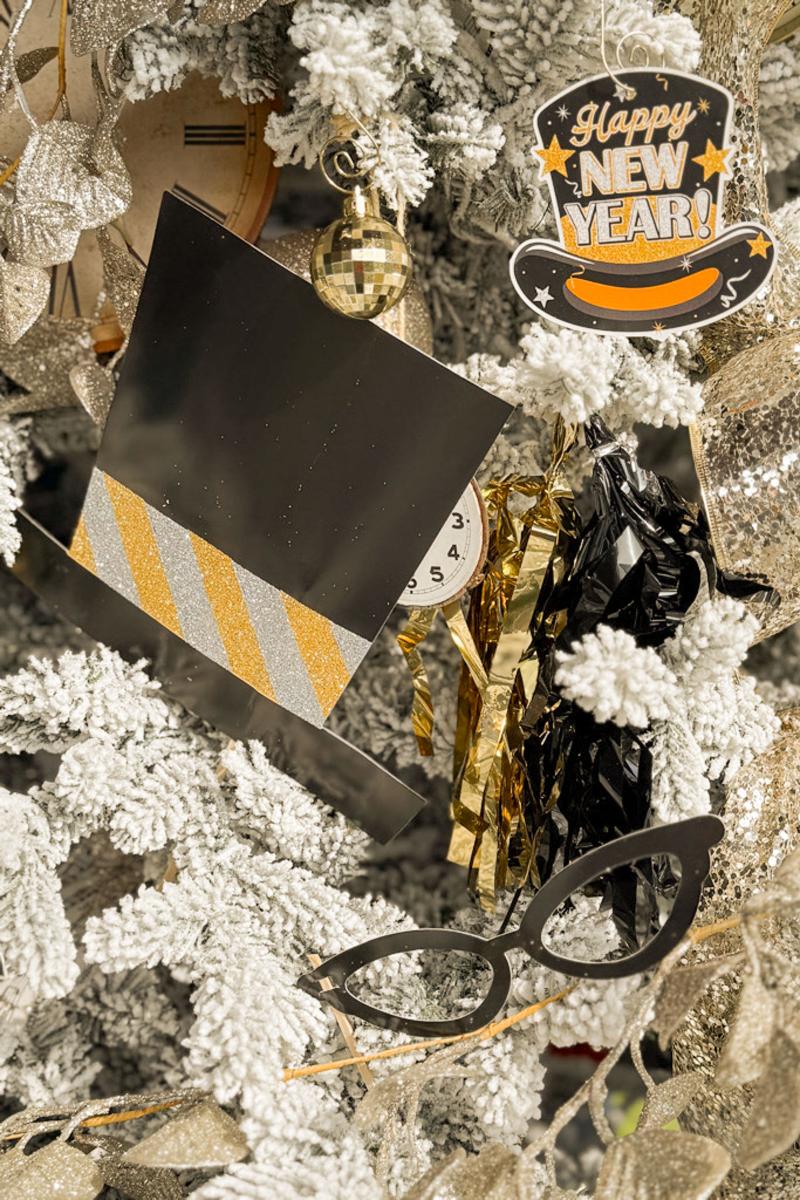
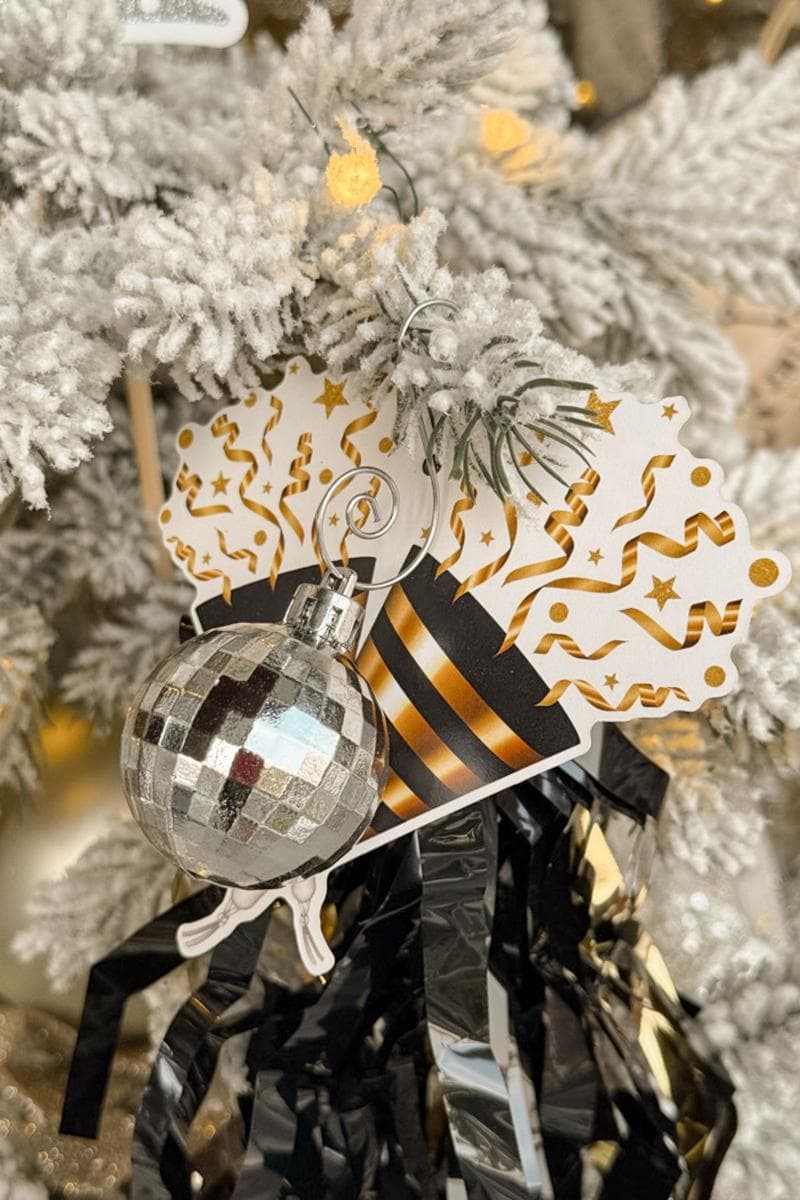
Gold and silver New Year tree decoration accents are perfect for enhancing a neutral palette. Get creative with unique touches like party horns with metallic foil streamers, silver glitter berry picks, or even small disco ball ornaments for a little extra shine.
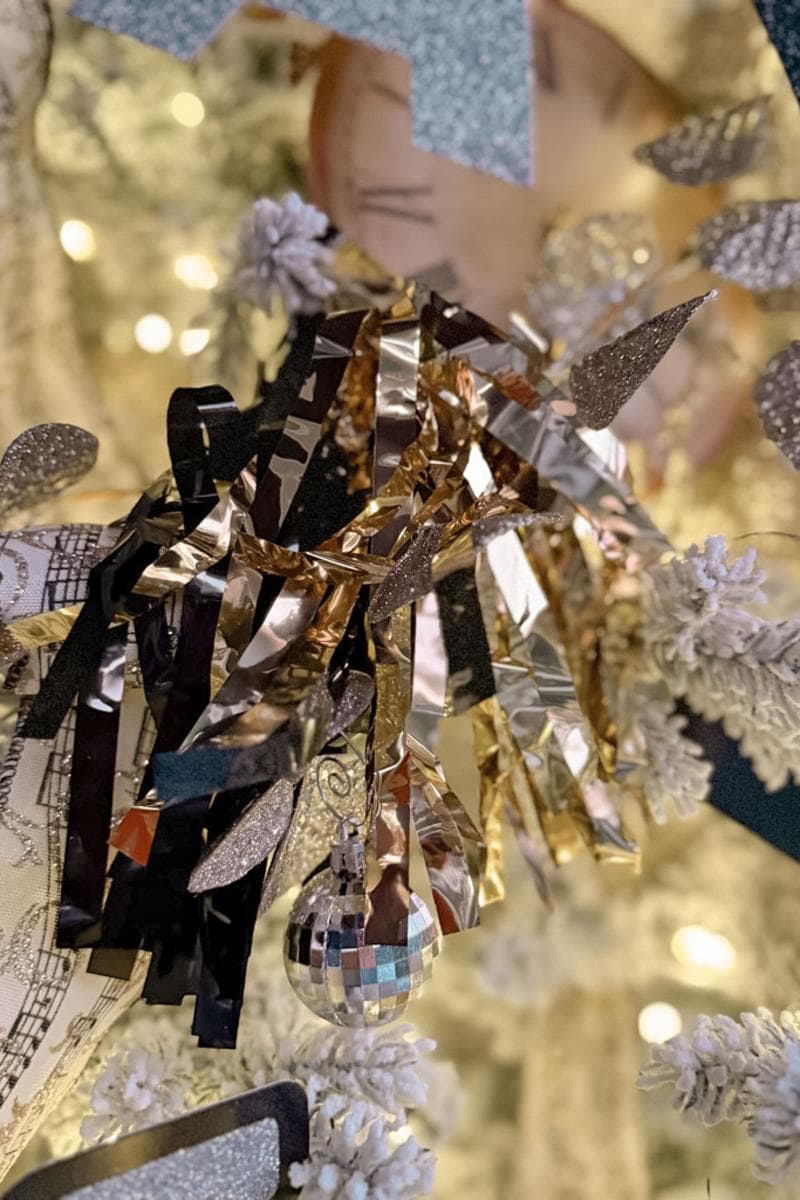
Incorporate Vintage Clock Ornaments
Highlight the countdown theme by adding clocks or clock face ornament decorations to your New Year’s tree. Whether you use vintage finds or create your own DIY pieces, they’re a fun and festive way to tie into the New Year’s celebration and make your tree feel extra special for the occasion!

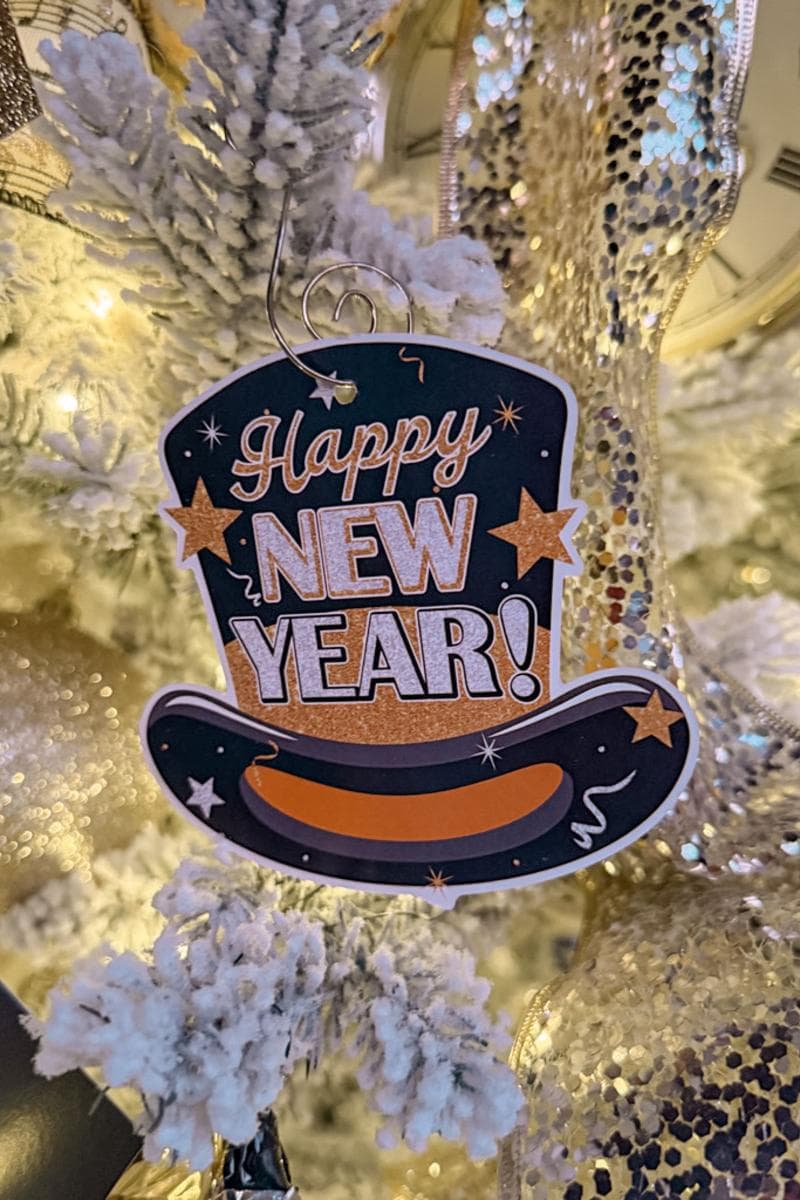
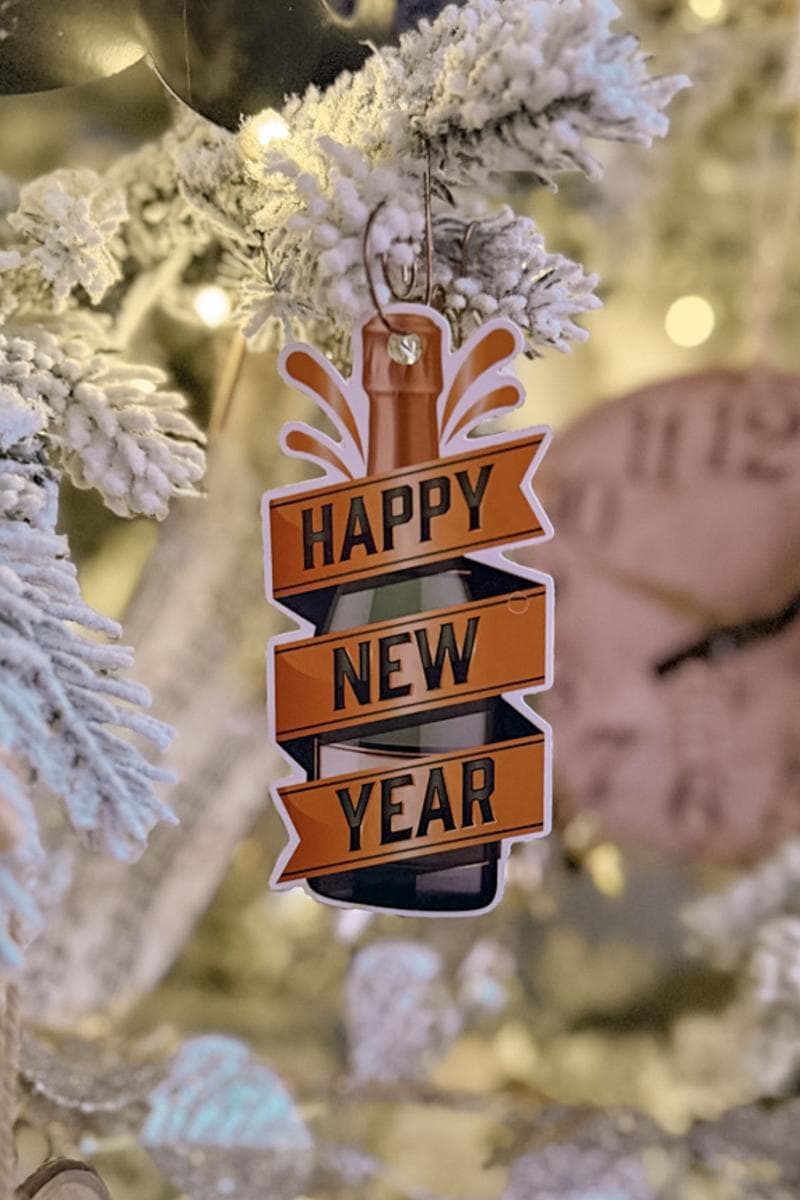
Add Inexpensive New Year’s Ornaments
Create or buy festive paper ornaments that capture the spirit of New Year’s Eve, such as champagne bottles, top hats, stars, or other celebratory designs.


Use Elegant Lighting
Swap out your multicolored Christmas lights for warm white or soft gold ones. These softer tones create a cozy look and make your New Year’s tree decorations really shine.
There’s something so magical about seeing the tree twinkle on the porch as the sun sets and the evening settles in.
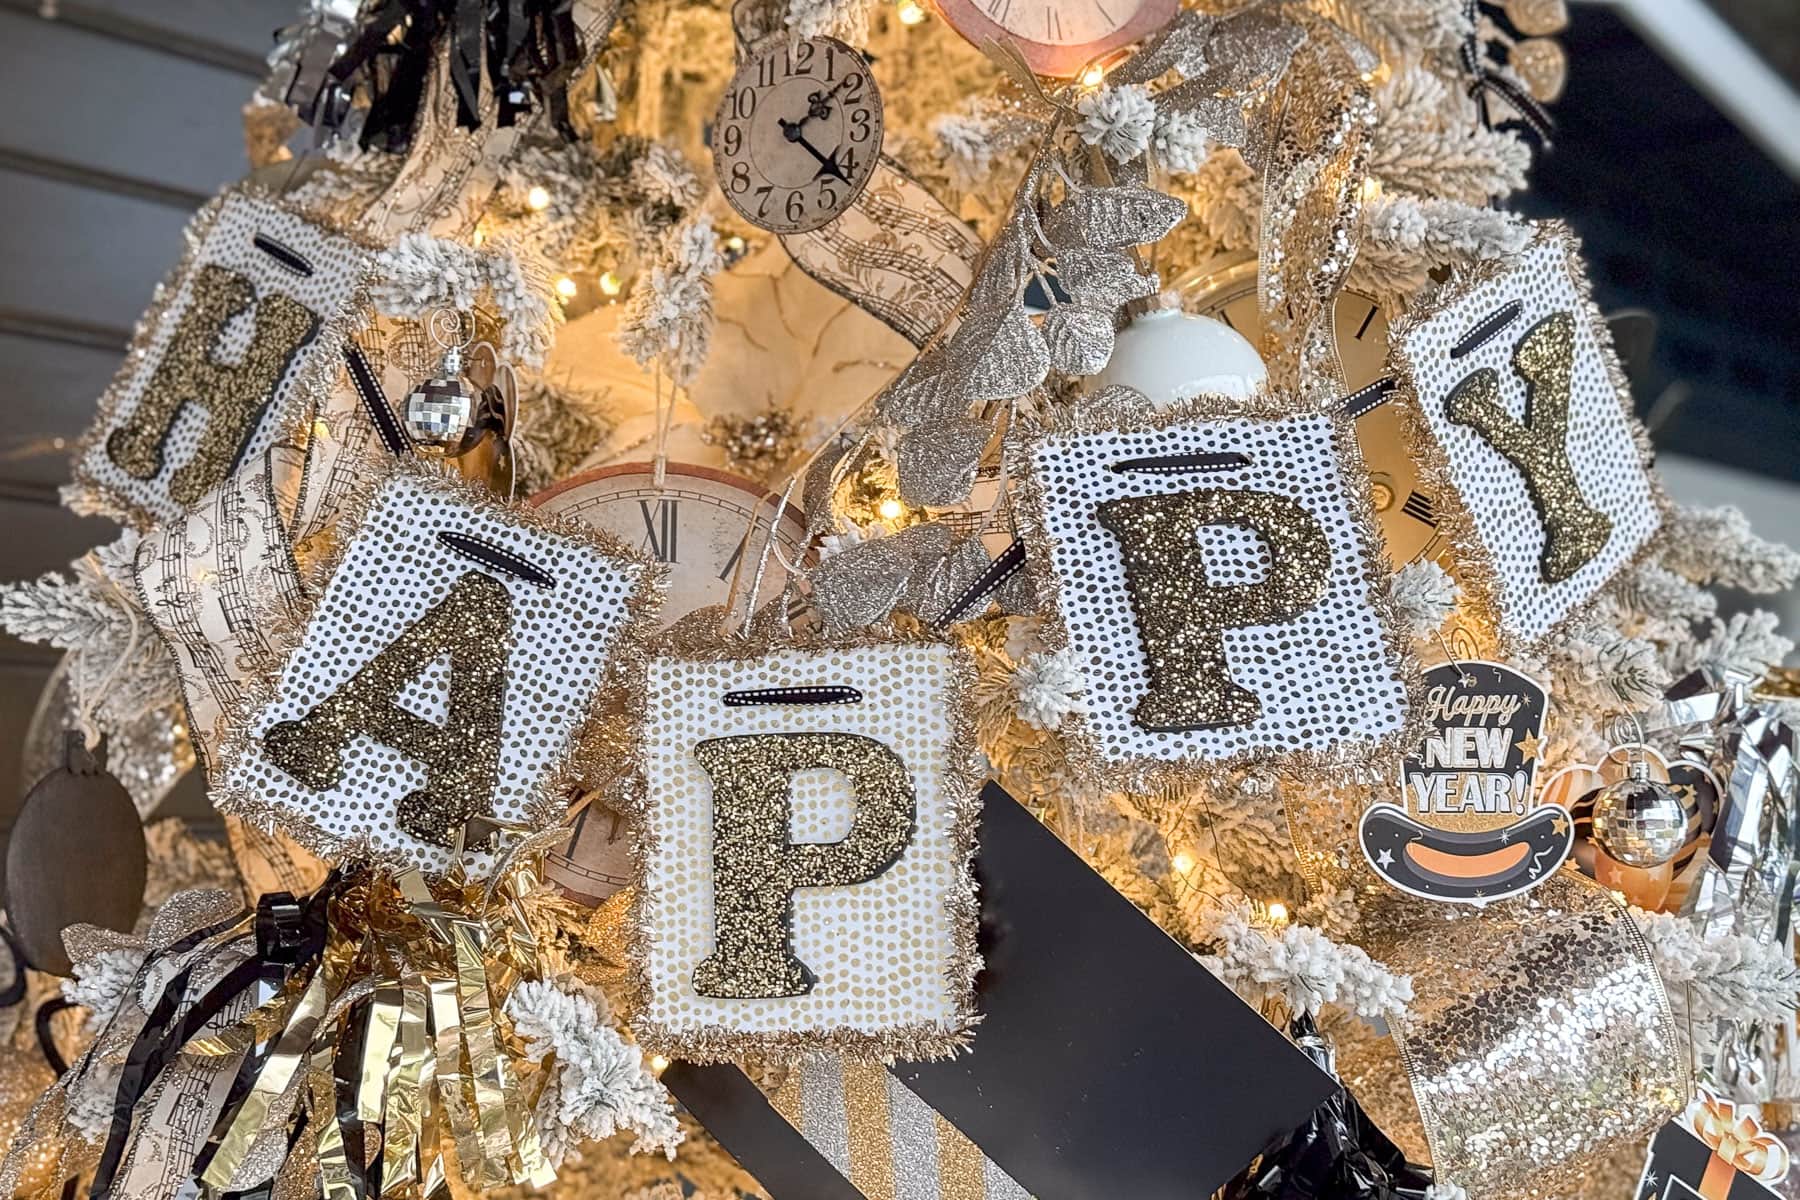
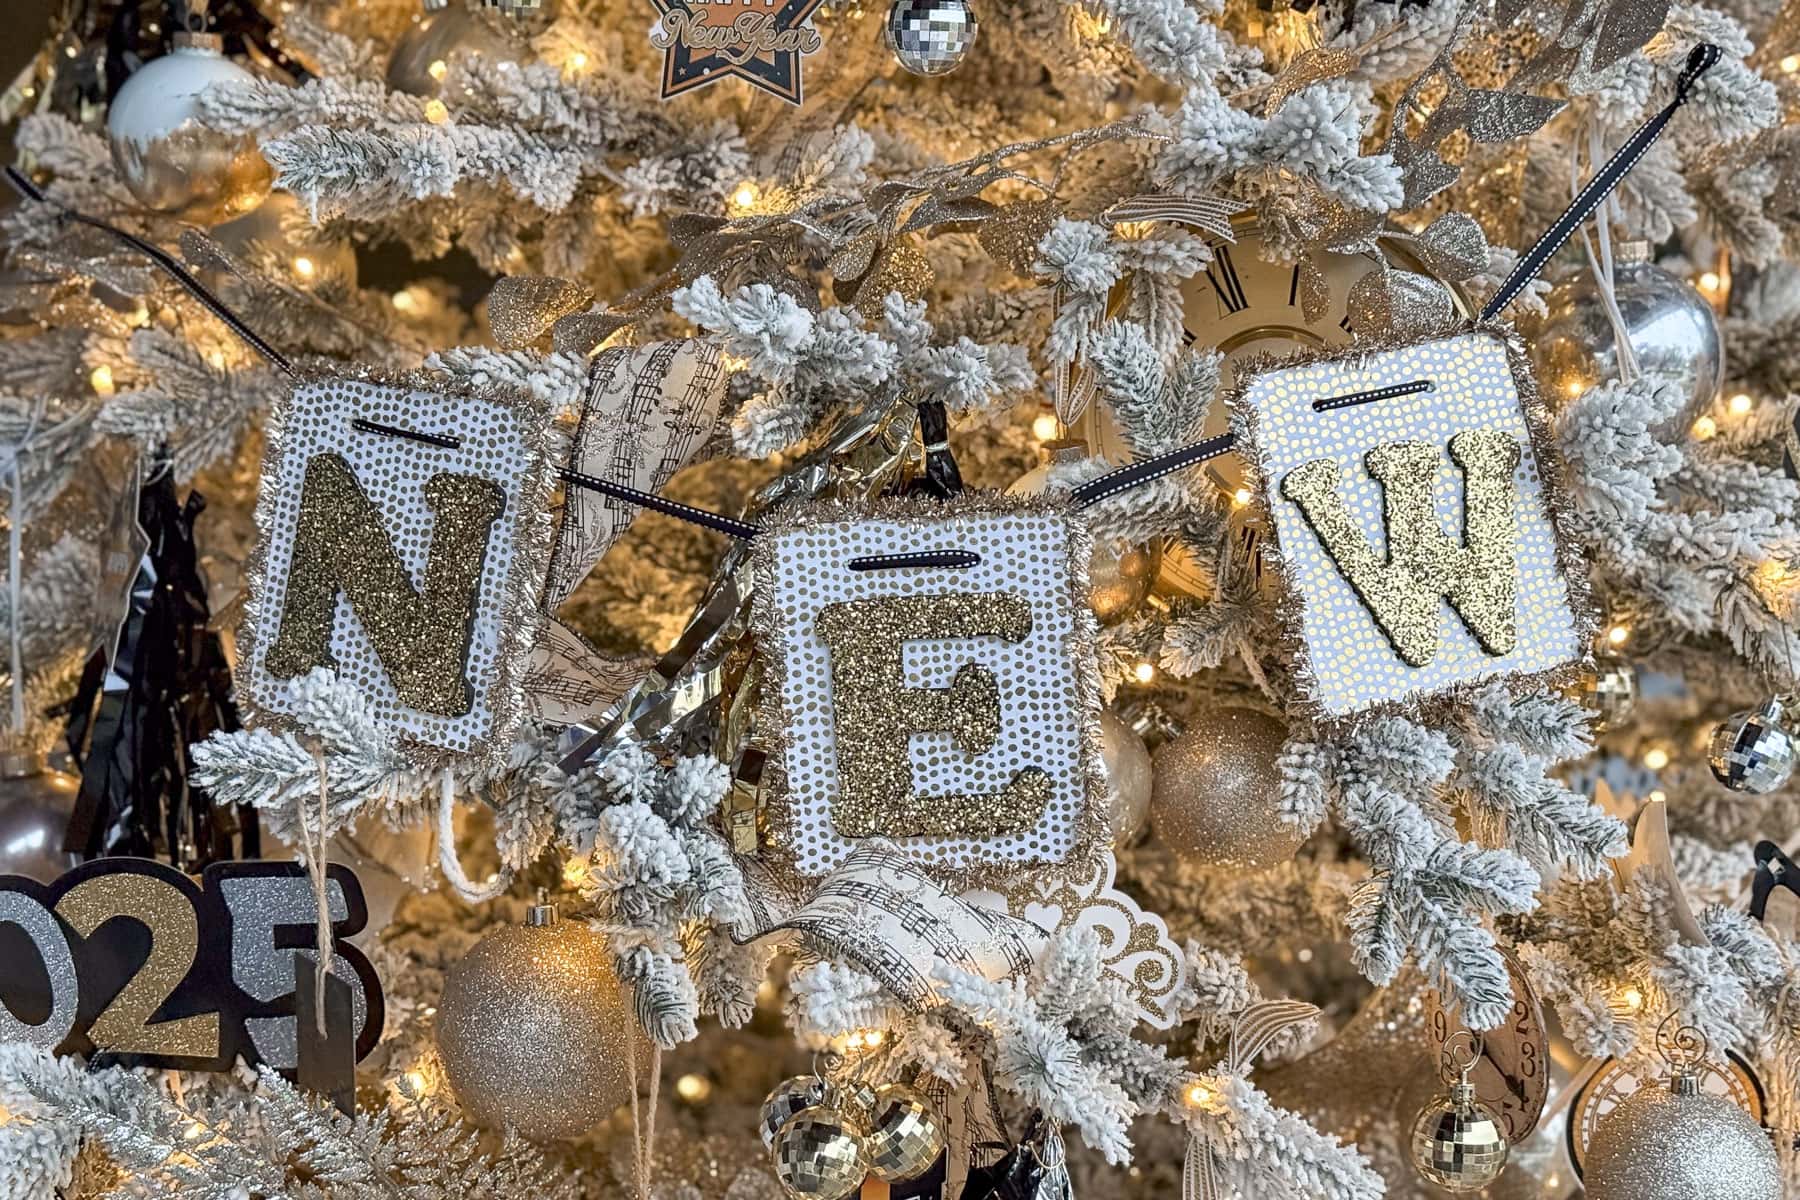
Crafting Beautiful New Year’s Tree Decorations: DIY Tree Banner
Creating your own decorations is one way to make your New Year’s tree feel extra special, and a festive banner is the perfect place to start!
Whether you choose a cheerful “Happy New Year” or something personalized like “Cheers to [insert the year here],” a banner adds charm and ties the whole look together.
Plus, it’s an easy DIY that makes a big impact on your tree’s overall style. Now, let me show you how I made mine!
Materials Needed to Make a DIY Banner
You can pick these items up at most craft stores, or click on the links to purchase them.
- 6 x 4 wood rectangles
- 4″ wood letters of your choice
- Clear glue
- Black spray paint
- Gold glitter
- Metallic trim
- Hot glue gun
- Glue sticks
- 3/8″ ribbon (5 yds)
- Scissors
- Sponge paint brush
Step by Step Directions to Make a DIY Tree Banner
Step 1: Drilling the Holes
Start by measuring the top edge of your wood rectangle pieces to find the center. Use a ruler to locate the exact middle and mark it lightly with a pencil.
Next, decide how far apart you want your holes to be and mark two spots evenly spaced from the center, close to the top edge. (About an inch in from each side works well.)
Before you drill, double-check to make sure the holes are evenly spaced and the same distance from the edge. Once everything looks good, place the wood on a secure surface and carefully drill straight through the marks using the correct-sized drill bit.
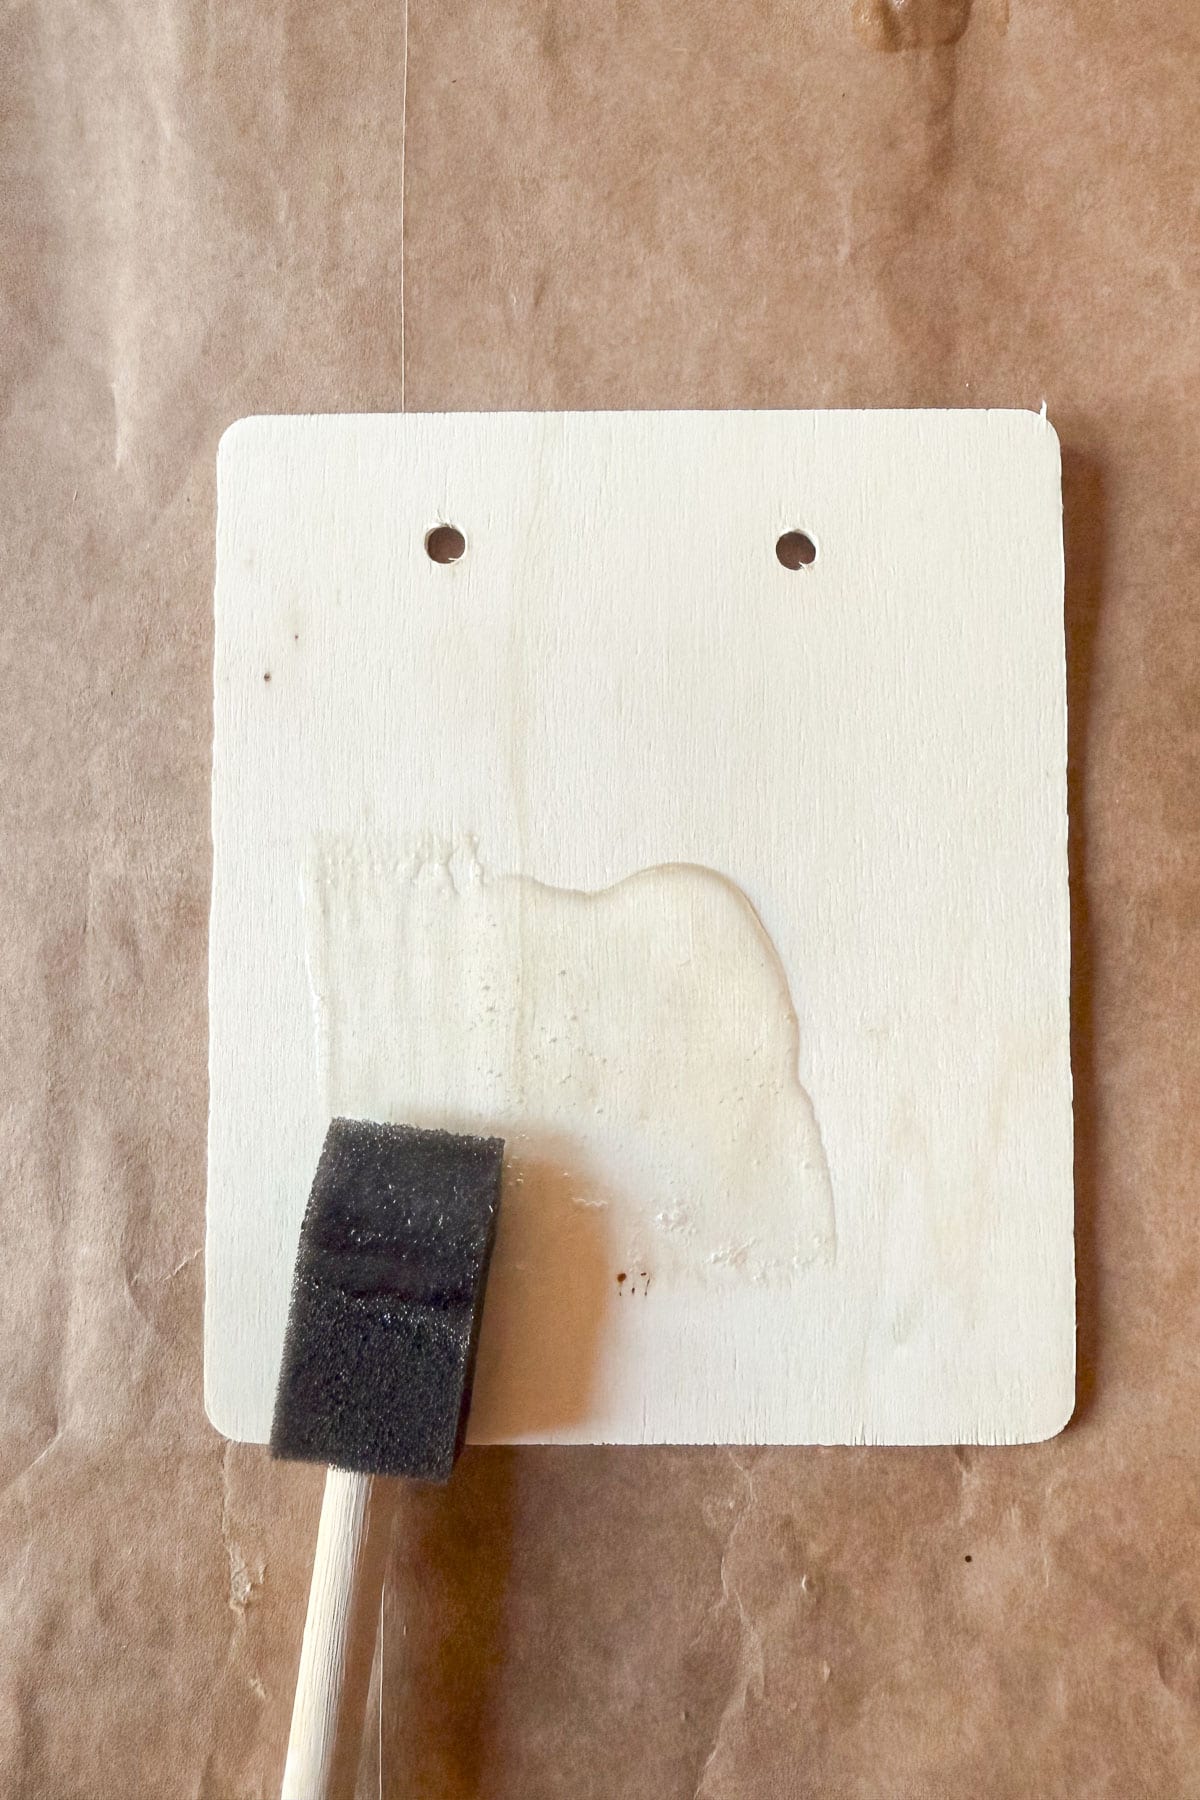
Step 2: Prepare the Base for Your Banner Letters
Start by cutting your cardstock slightly larger than your wood rectangles to ensure full coverage. Next, use a chip brush to apply a thin layer of clear glue onto each wood rectangle, spreading it evenly for a smooth finish.
 Laying down the glue
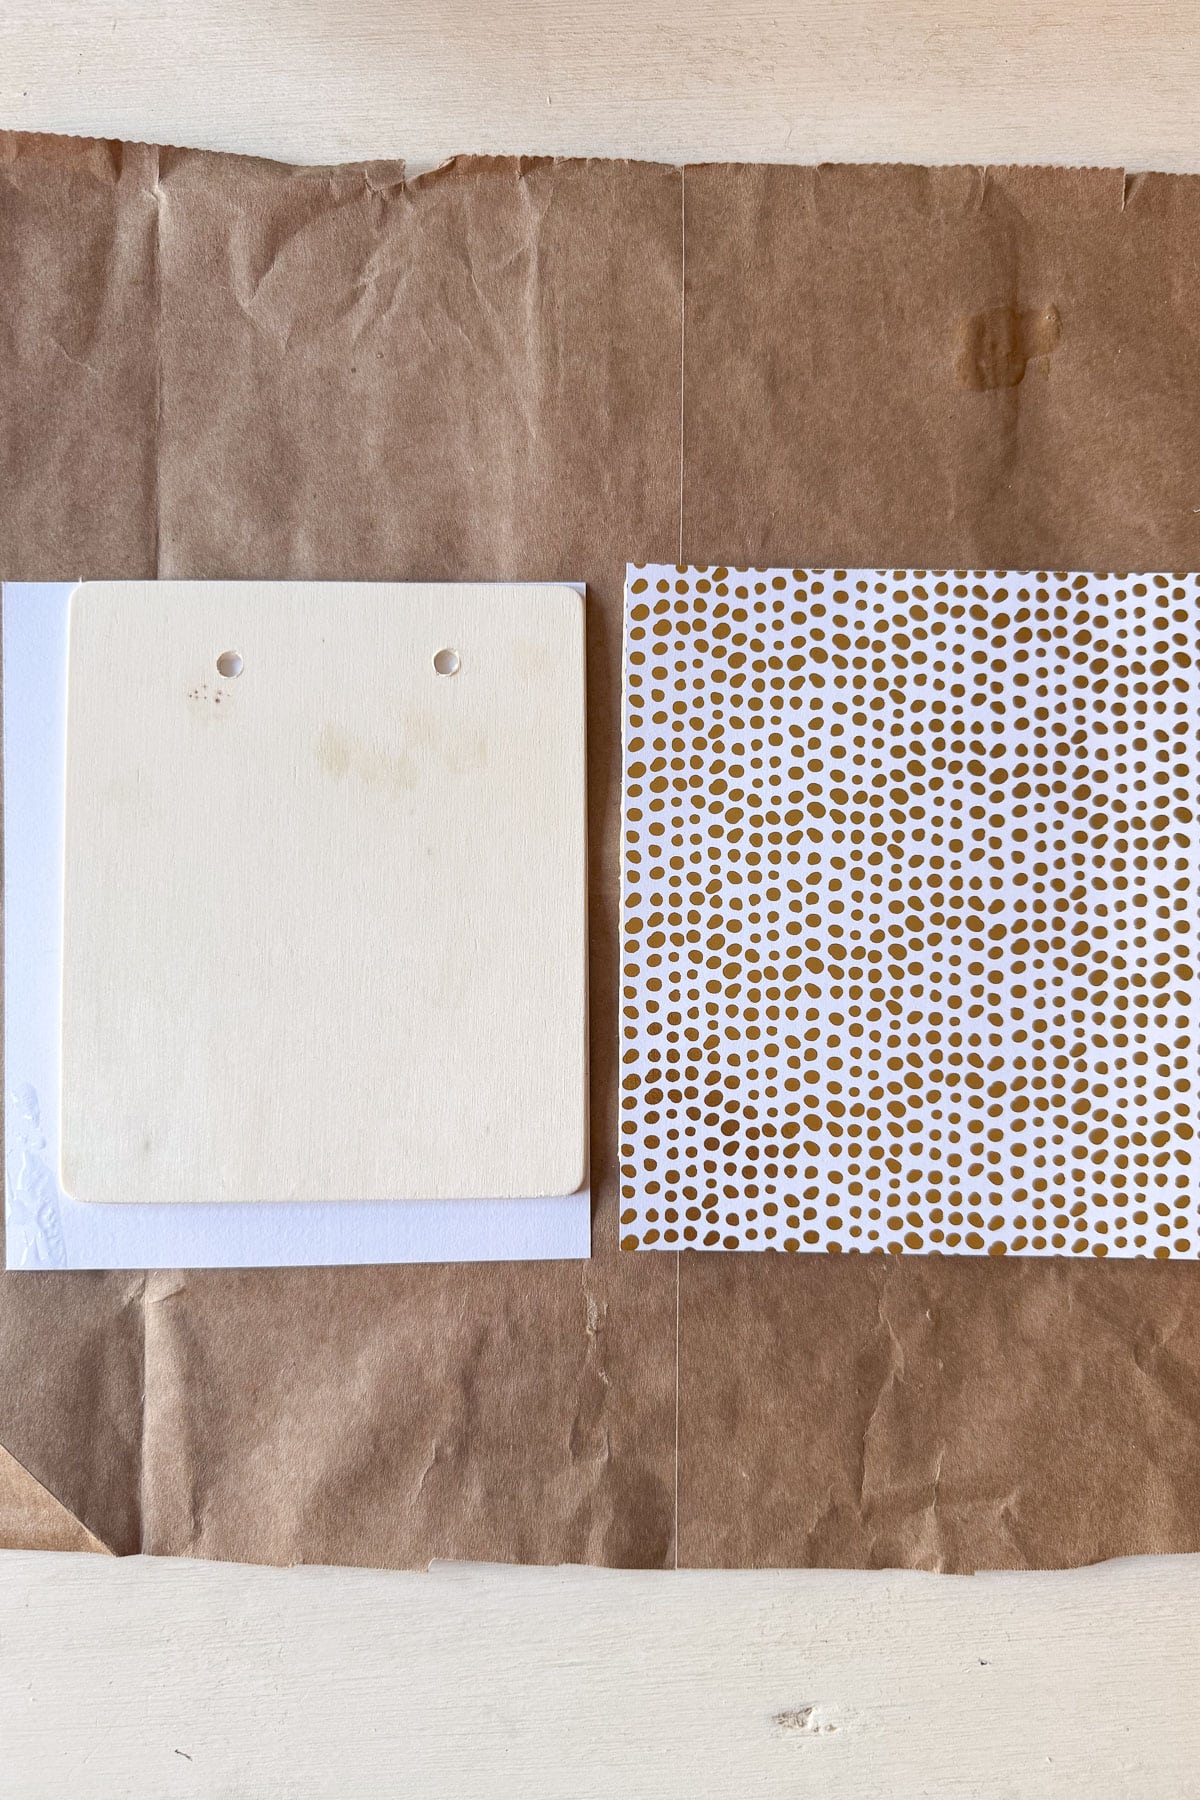 Gluing on the cardstock
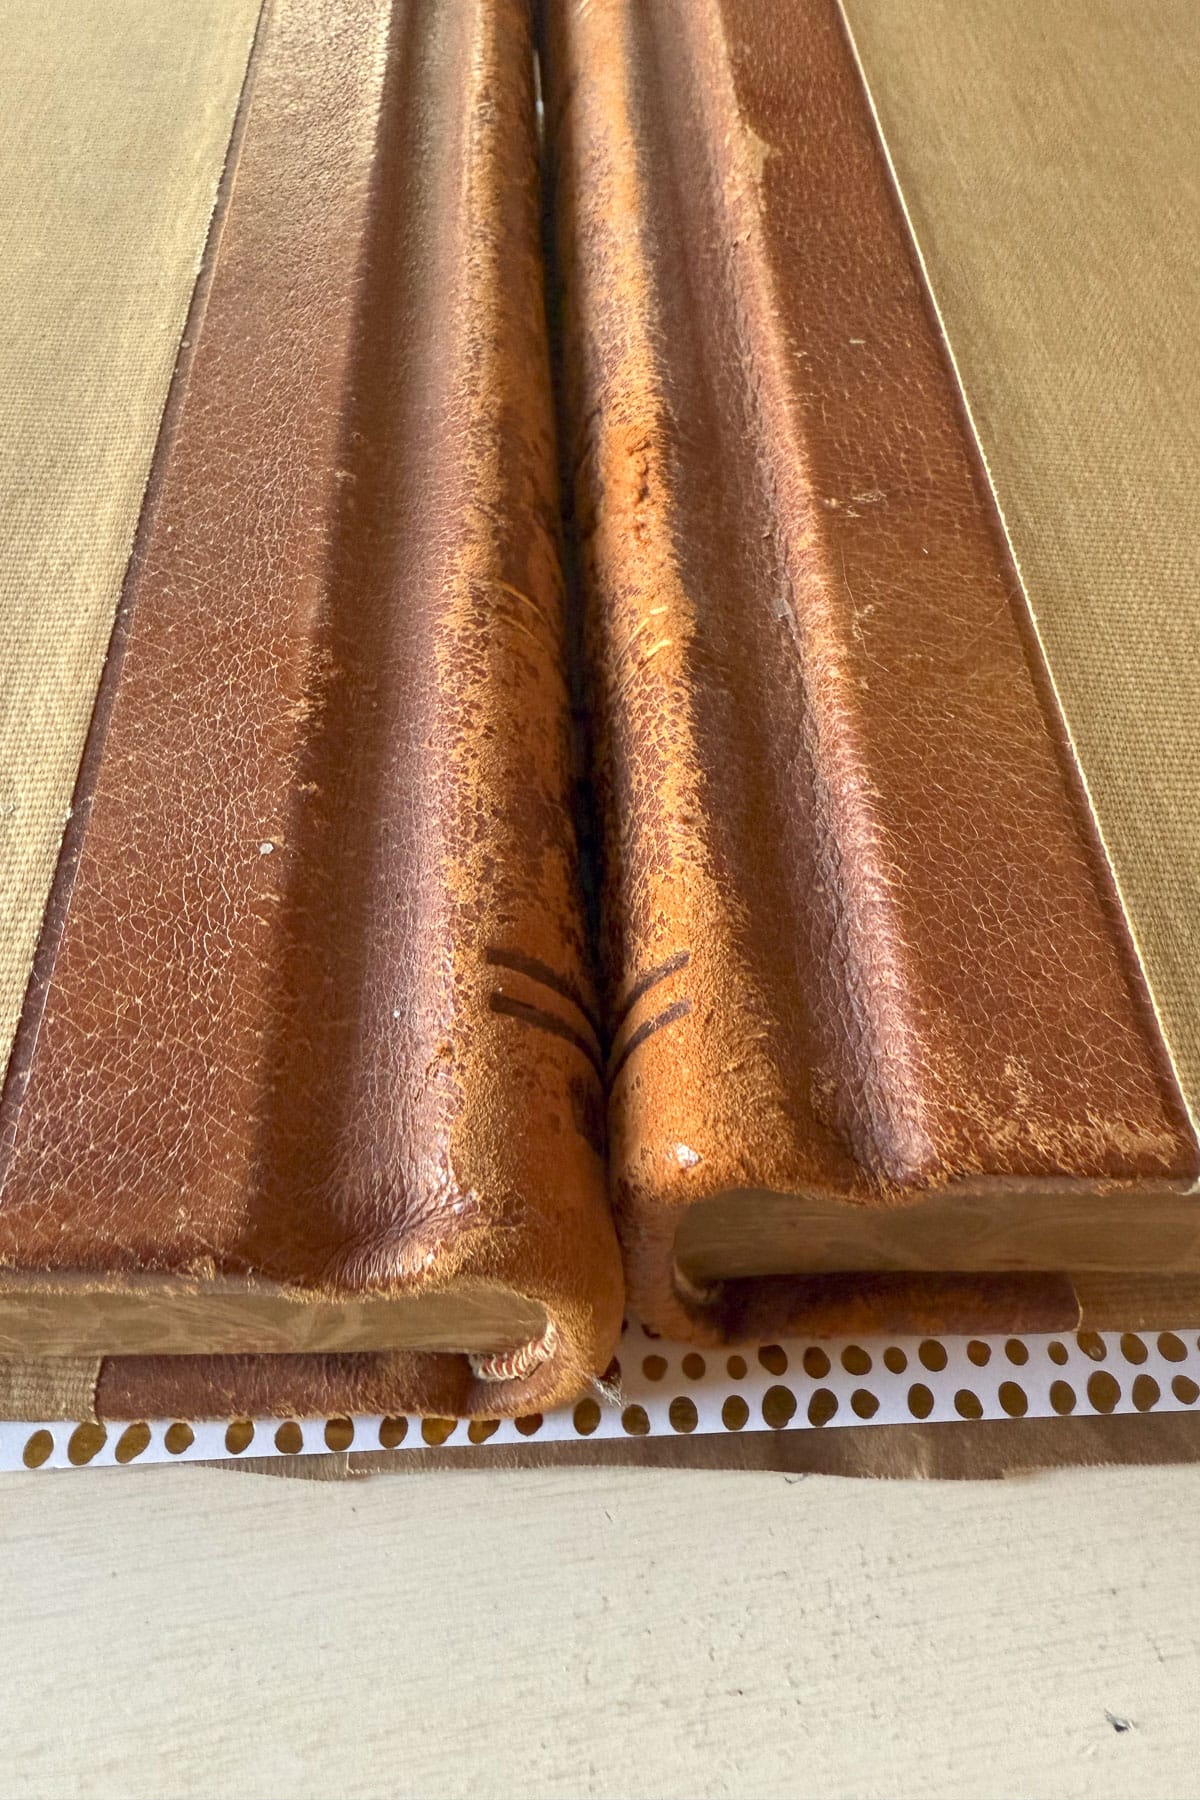 Weighing down each piece to dry
Carefully press the cardstock onto the glued surface, making sure it’s aligned, and then place a heavy book on top of the pieces to help them dry flat. Once the glue has dried, trim the edges of the paper around the wood pieces for a clean look.
Then, using a pencil, carefully poke through the pre-drilled holes in the wood to make holes in the paper as well.
Finally, grab a hot glue gun and attach the trim around the entire edge of each wood piece, giving your project a polished touch. These steps will help your banner pieces stand out as part of your New Year’s tree decorations!
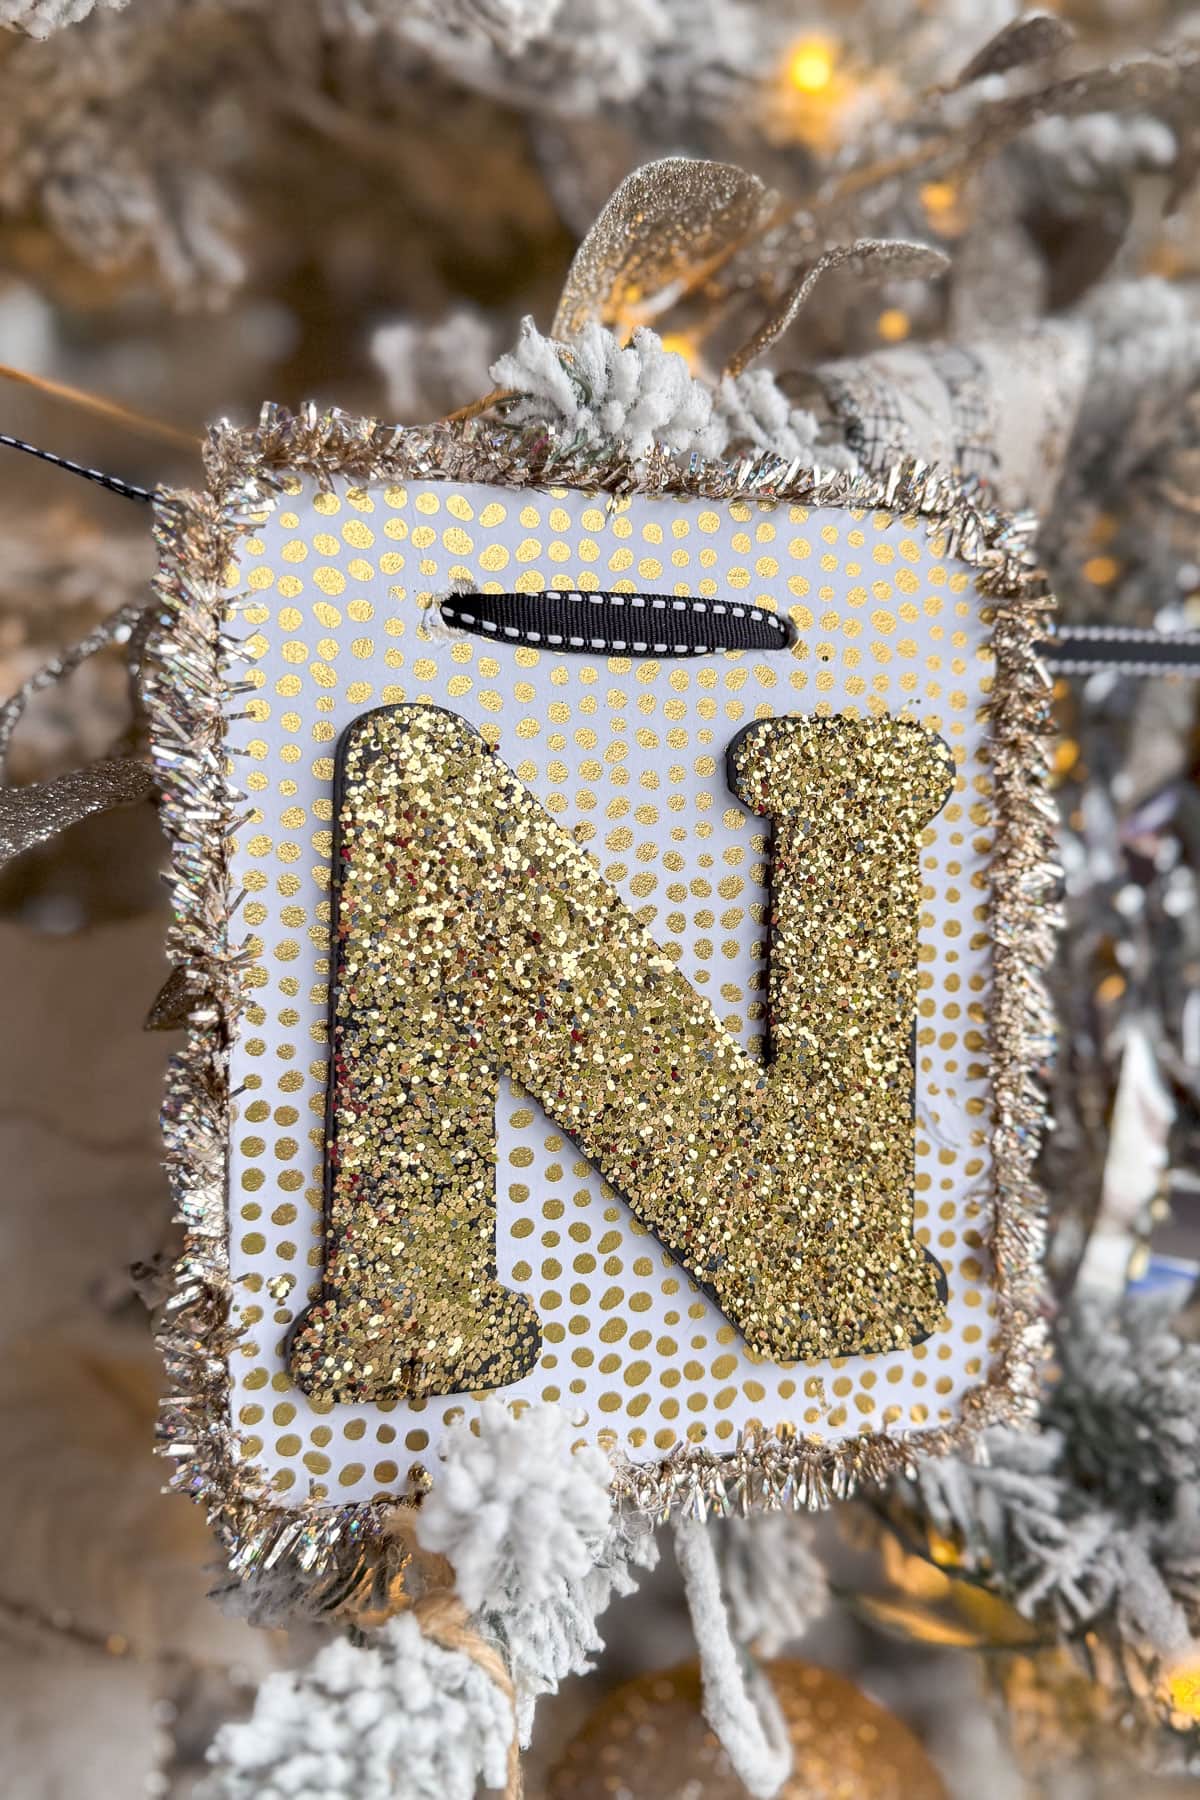
Step 3: Prepare the Letters for Your Banner
Start by spray painting the letters black, ensuring an even coat for a bold base color. While the paint is still wet, sprinkle gold glitter generously over the surface of the letters.


Allow them to dry completely before moving to the next step. If you want a heavier glitter effect, apply a layer of clear glue and sprinkle on more glitter, then let this layer dry as well.
Then, using a hot glue gun, attach each letter to a wood rectangle base.
Lastly, I took some metallic trim and hot glued it around the edge of each wood base for some extra sparkle.
Step 4: Stringing Your Banner Letters
String your ribbon through the holes in each letter to assemble your banner. Start by threading the ribbon from the back to the front of each hole, ensuring the letters face forward and hang evenly.
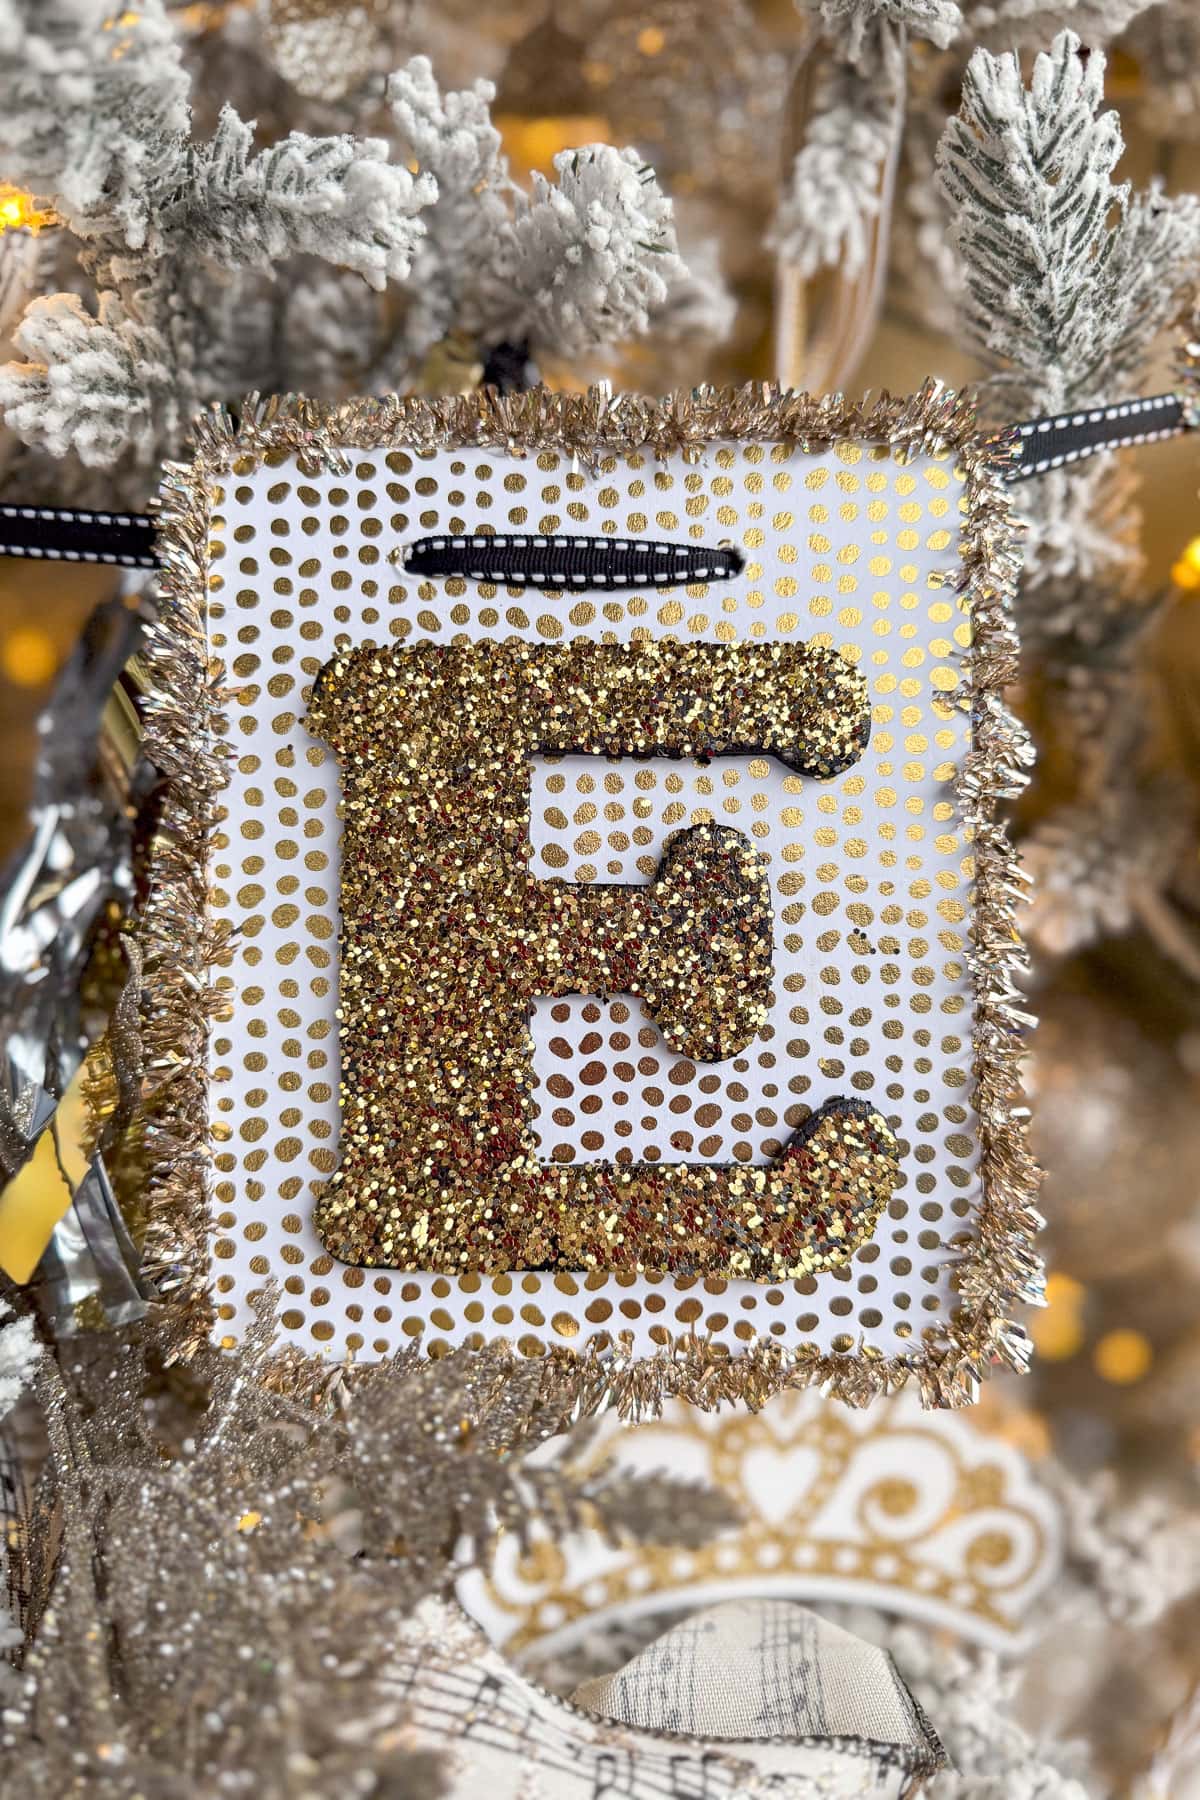
Don’t forget to leave enough ribbon on each end for easy tying or hanging, and adjust the spacing between the letters to create a balanced look that works perfectly for your tree.
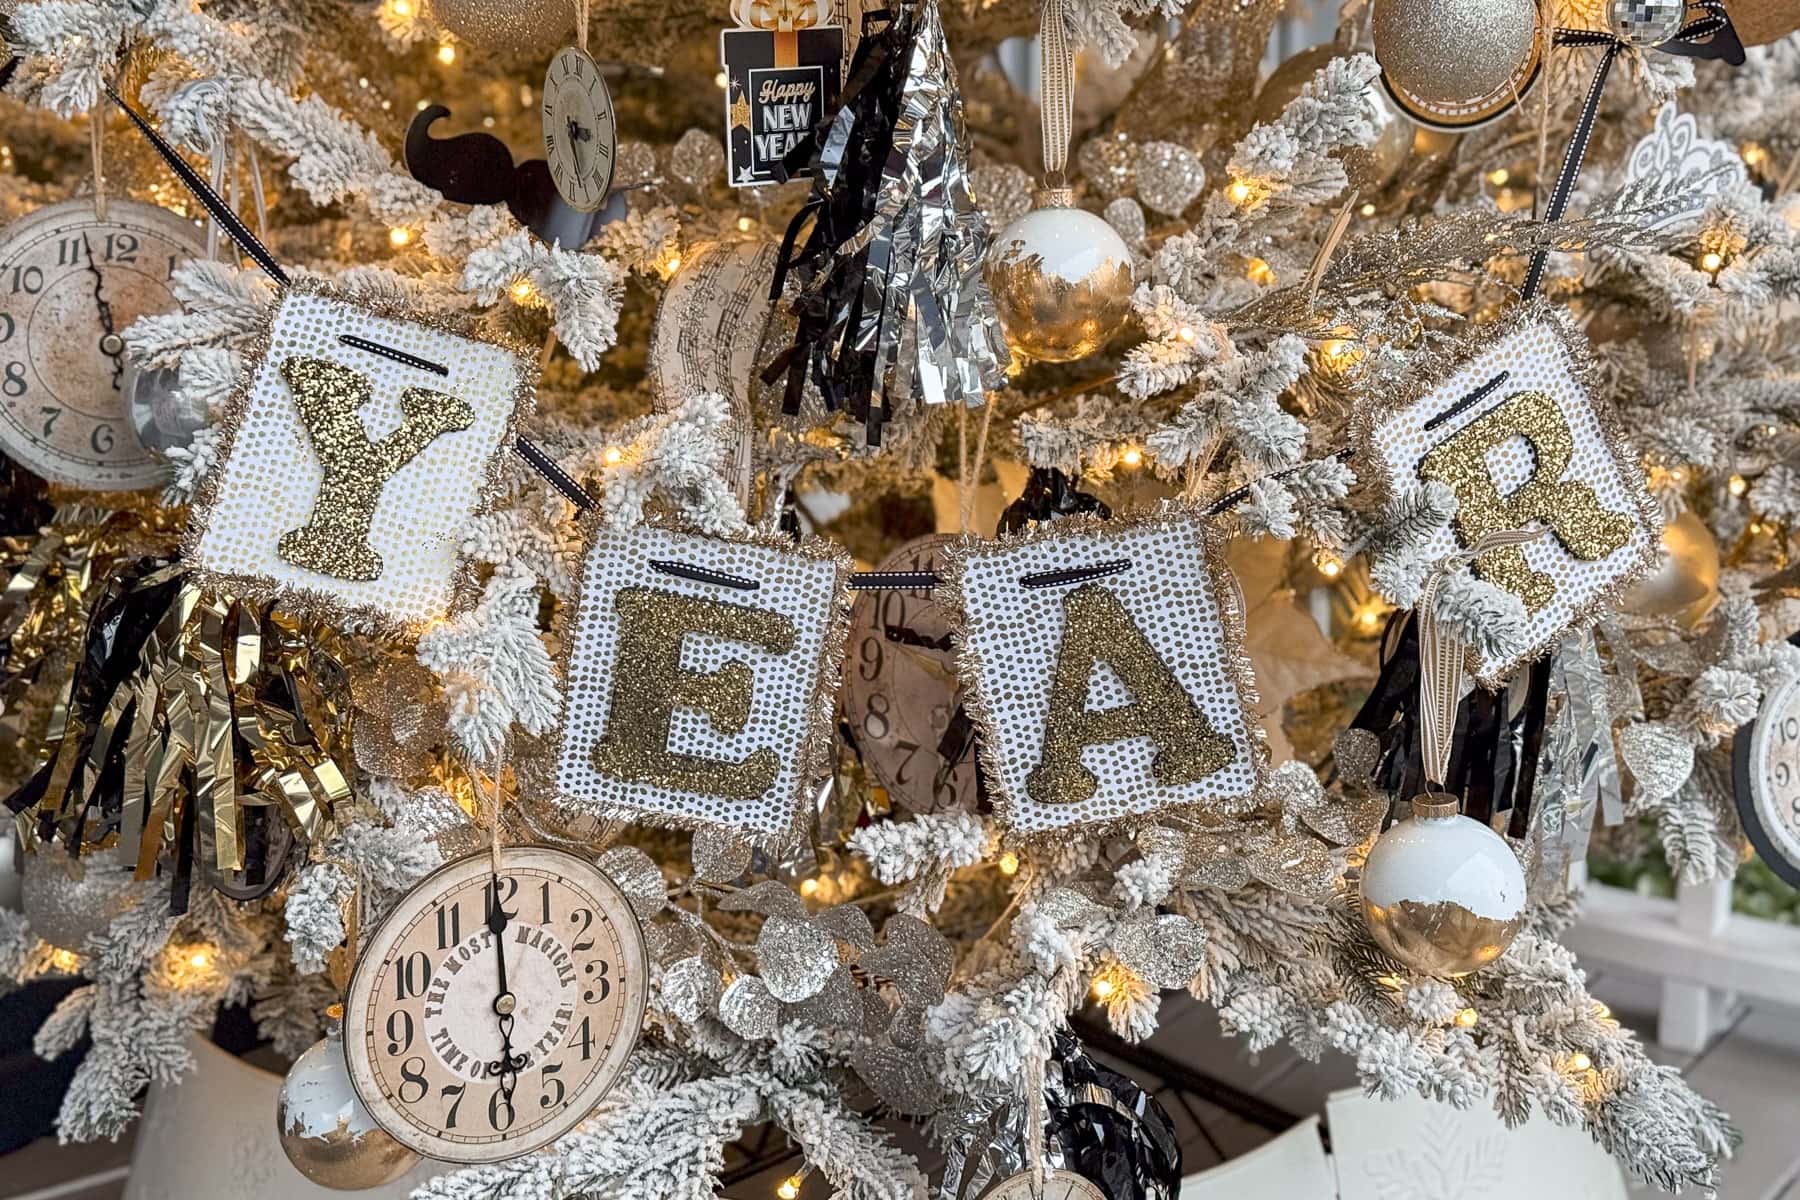
Once everything is in place, your festive banner is ready to shine as the star of your New Year’s tree decorations!
Tips for Hanging Your Banner
1. Plan Your Placement
Divide the tree into three sections for each piece of the banner: top, middle, and bottom. This ensures the words are evenly spaced and create a balanced look.
2. Drape in Gentle Curves
Attach each piece of the banner in soft, arching rows across the front of the tree. Use the branches as natural supports to secure the pieces.
3. Work from the Top Down
Begin with the top piece of the banner and adjust it to the desired height. Then, add the middle and bottom pieces, leaving enough space between rows for the words to stand out.
Tree Topper Ideas: Unique Decorations for Your New Year’s Trees
Lastly, change out your traditional angel or start Christmas tree topper for something fun and festive to celebrate the New Year.

You can use a sparkly disco ball or metallic picks that look like fireworks bursting from the top of your tree. This little change gives your tree a new look and makes it perfect for the New Year’s celebration.
Wrapping Up
Transforming your Christmas tree for the New Year is such a fun and simple way to enjoy the holidays just a bit longer. With just a few updates, like DIY ornaments, a sparkling banner, and a fresh topper, your tree feels ready to welcome the new year in style.
I hope these ideas inspire you to give your tree a New Year’s makeover with updated decorations to create a beautiful, festive space to celebrate.
For more winter and New Year’s decor inspiration, be sure to follow me on Pinterest. And, don’t forget to share and pin this post so you can save these ideas for later.
Wishing you a joyful and sparkling start to the new year!


More about me!

Hello, I’m Wendy – a dedicated homemaker with a deep passion for decorating, gardening, cooking, and crafting. I find joy in harmonizing beautiful elements to fashion a space that is both comfortable and inspiring. I will help you create a beautiful home, one project at a time.

So beautiful Wendy. I can just imagine how gorgeous your porch is when lit up at night. Wishing you a very blessed and Happy New Year!!
Such a great idea especially if you are hosting a New Year Eve party! Happy New Year, Wendy.
What a fun idea, Wendy! And your tree is absolutely stunning! You are alway so creative. Now I want to decorate a New Year’s tree next year. Thanks for the inspo!