Dried Orange Ornaments: 13 Creative DIY Ideas
Explore 13 creative and easy-to-follow methods for making stunning dried orange ornaments.
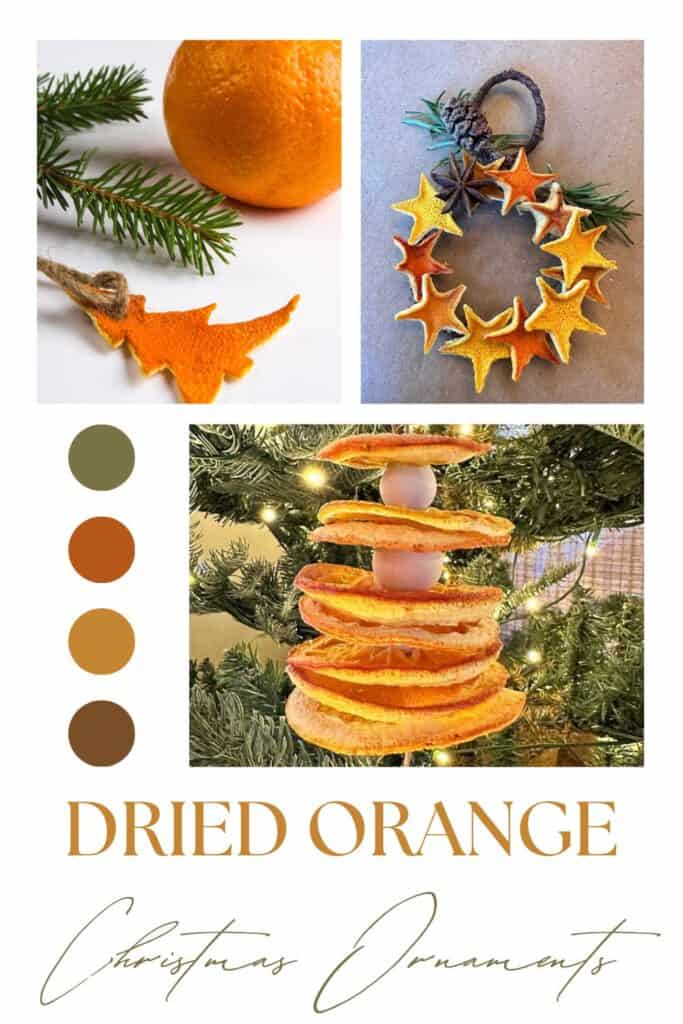
Dried oranges are a great way to add a pop of color to your holiday decor. and there are so many things you can do with them. Not only can you make tree decorations, but you can create a simple garland or a Christmas wreath.
Today, I am excited to share 13 creative ways to use dried oranges to make homemade ornaments.
Benefits of Dried Orange Citrus Ornaments
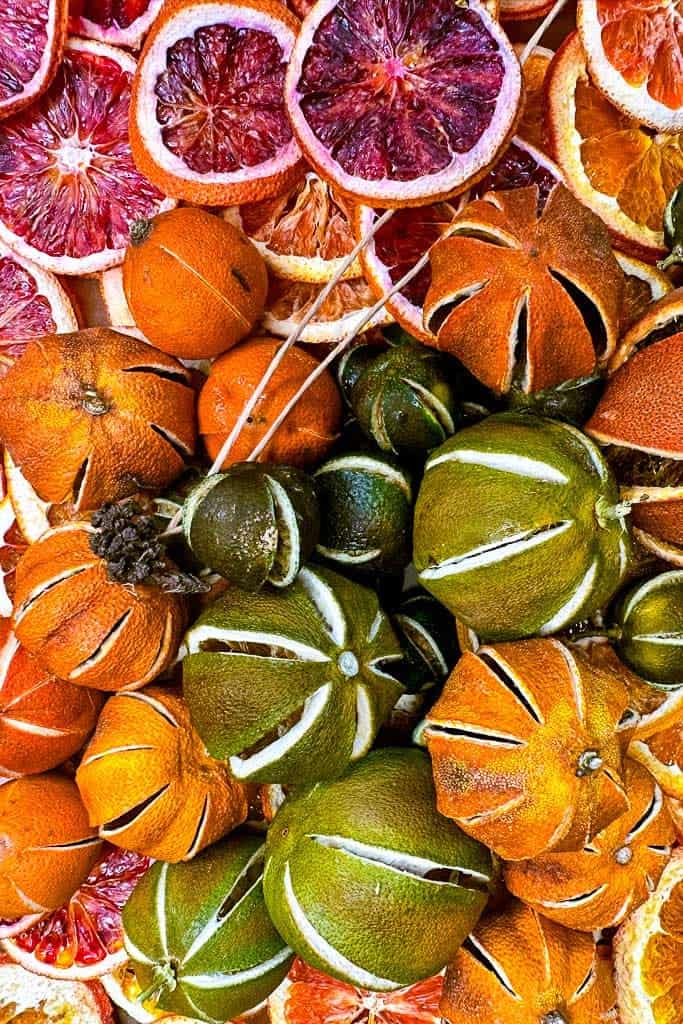
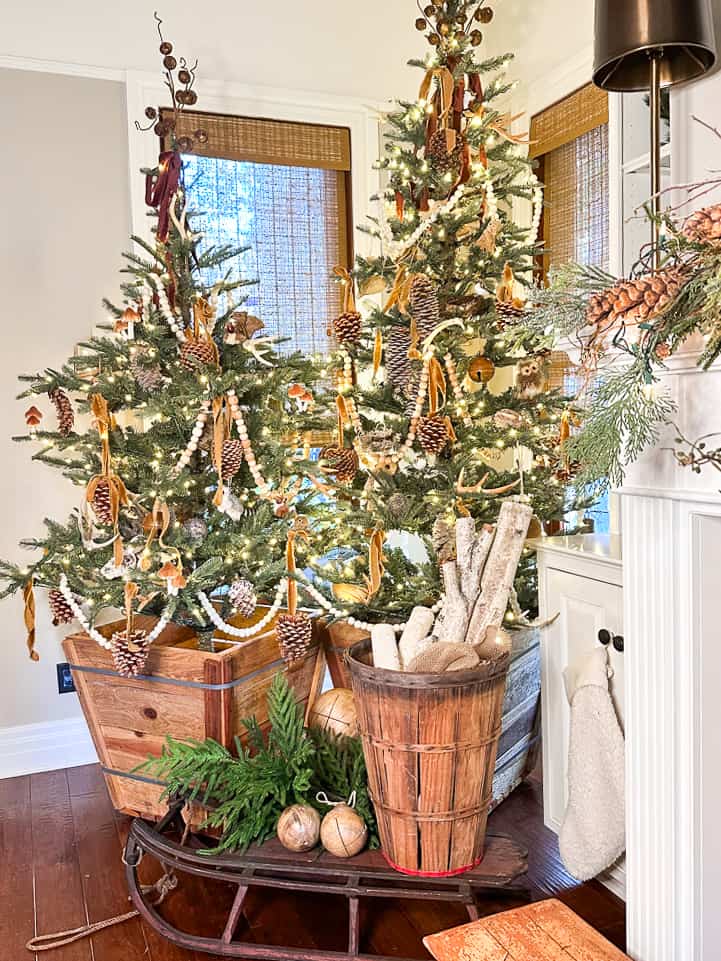
Not only are these Christmas decorations an easy DIY, but they are also eco-friendly and add a lot of cheer for minimal cost. The best part is that these ornaments offer a full sensory experience, bringing delightful colors, textures, and smells to your home for the holiday season.
On my blog WM Design House, I may sometimes use affiliate links, which means a small commission is earned if you purchase via the link. The price will be the same whether you use the affiliate link or go directly to the vendor’s website using a non-affiliate link. Read my full disclosure policy here.
Drying Orange Slices
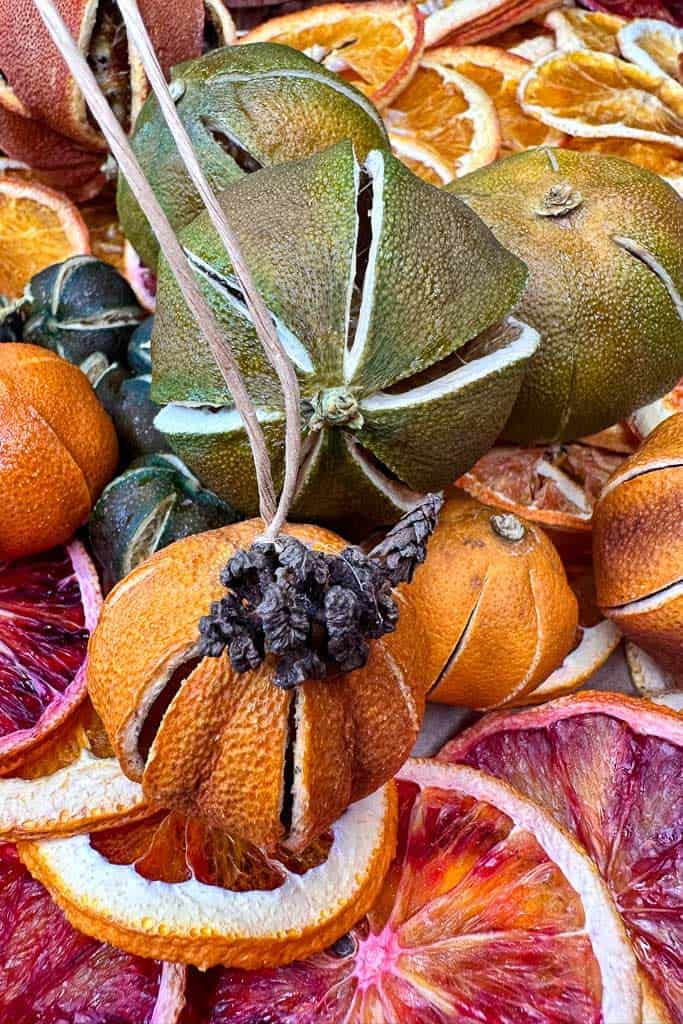
Before you can create these ornaments, you will need to dry oranges. Cara Cara oranges, blood oranges, and small navel oranges are the best oranges for my handmade ornaments. I love these three varieties for their bright orange colors.
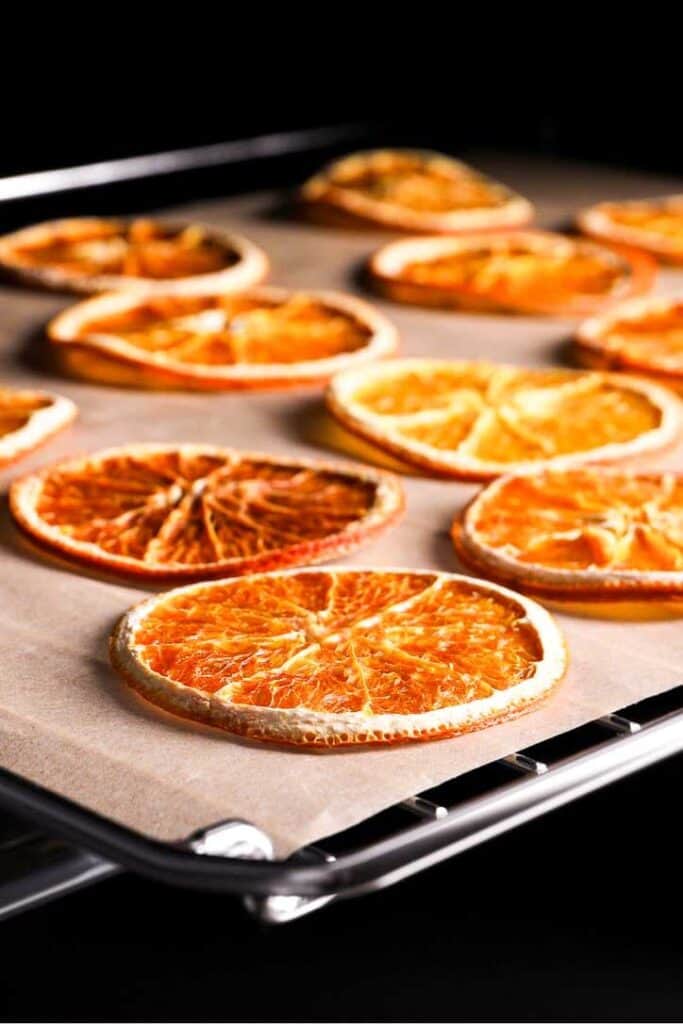
You can check out my recent blog post: 3 Easy Ways to Make Dehydrated Orange Slices. Here, you can learn the easiest ways to dehydrate citrus fruits. Whether you choose the oven, dehydrator, or air fryer methods, this informative post covers each technique in detail to ensure you get the best results during the drying process.
Once you have finished drying your orange slices, lay them in a single layer on a cookie sheet with parchment paper or a wire rack and let them air dry for 2-4 hours before crafting with them.
Once you have finished drying your orange slices, lay them in a single layer on a cookie sheet with parchment paper or a wire rack and let them air dry for 4-6 hours before crafting with them.
On my blog WM Design House, I may sometimes use affiliate links, which means a small commission is earned if you purchase via the link. The price will be the same whether you use the affiliate link or go directly to the vendor’s website using a non-affiliate link.
Supplies Needed
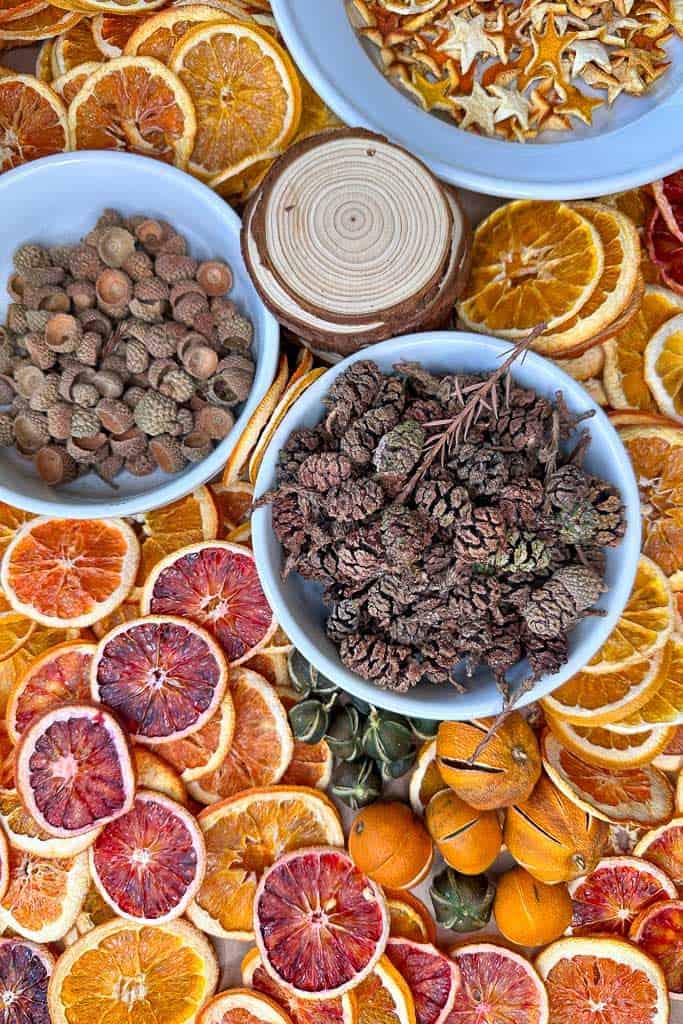
- Orange slices that have been dehydrated
- Bag of oranges and tangerines that are dried
- Hot Glue gun
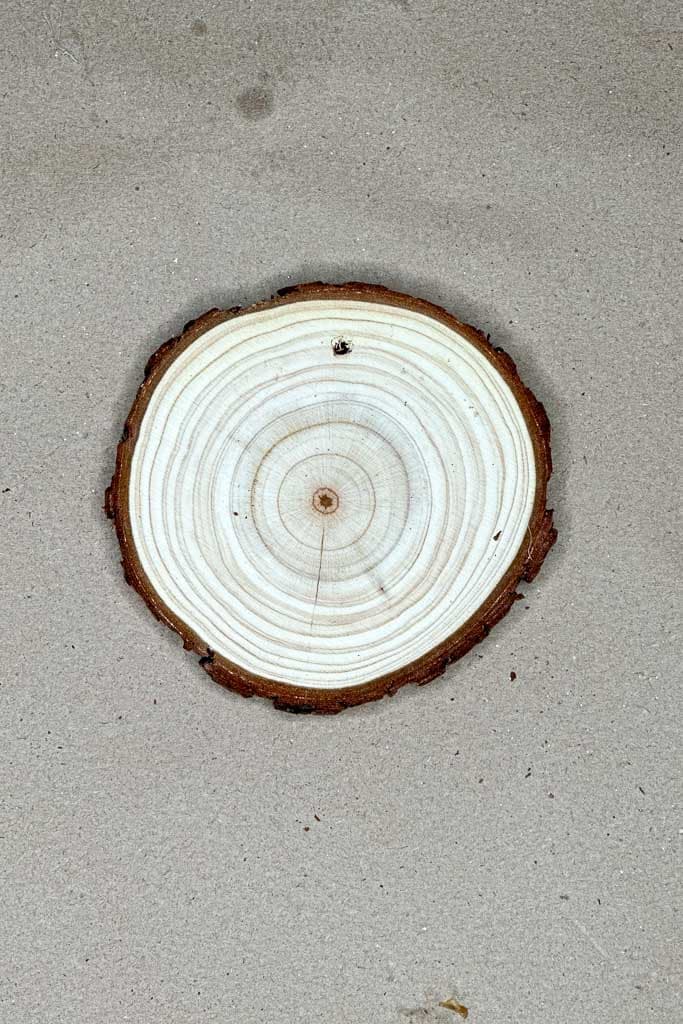
- Wood slices
- Anise star
- Grapevine wire
- Small pinecones
- Faux greenery
- Acorns
- Cinnamon Sticks
- Twine
- Scissors
- 3/8″ velvet ribbon
- Power drill
- 1/2″ wood beads
- 2″ wood disc for orange stacks
- Sharp knife
Dried Orange Slice Ornaments and More
Now, let’s explore the world of dried orange ornaments and uncover the secrets of creating beautiful, budget-friendly decorations that will transform your home into a festive wonderland for the Christmas season.
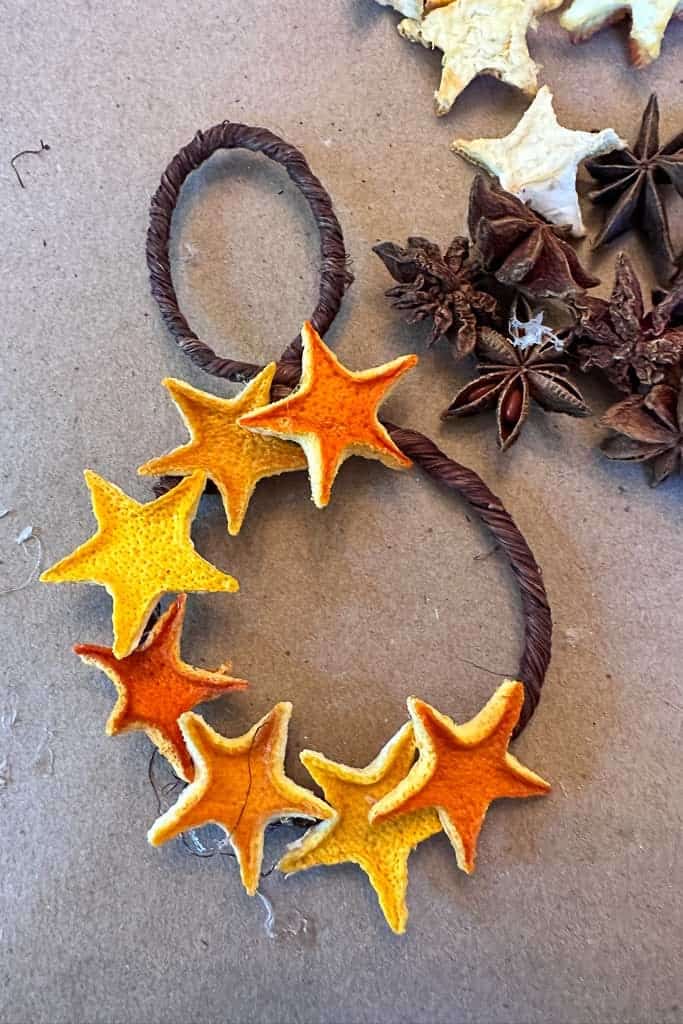
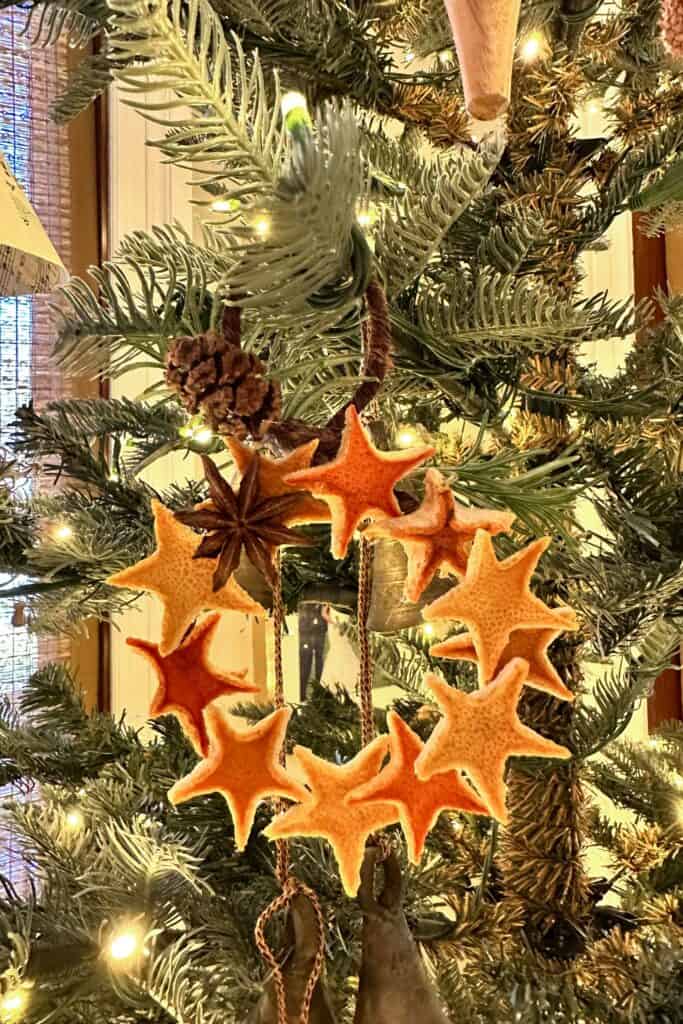
1. Orange Rind Star Wreath
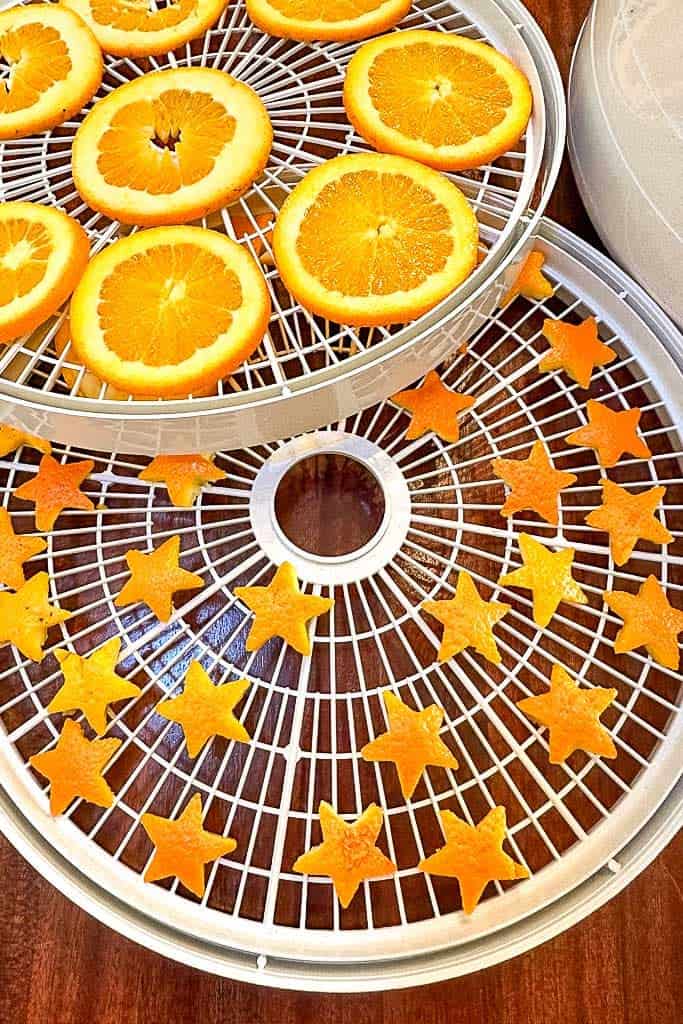
- Use a small cookie cutter to cut out small stars from the orange rind.
- Dehydrate the stars.
- Shape a small wreath out of grapevine wire.
- Hot glue the stars onto the wreath.
- Add velvet ribbon.
- Add small pinecones or an anise star for decoration.
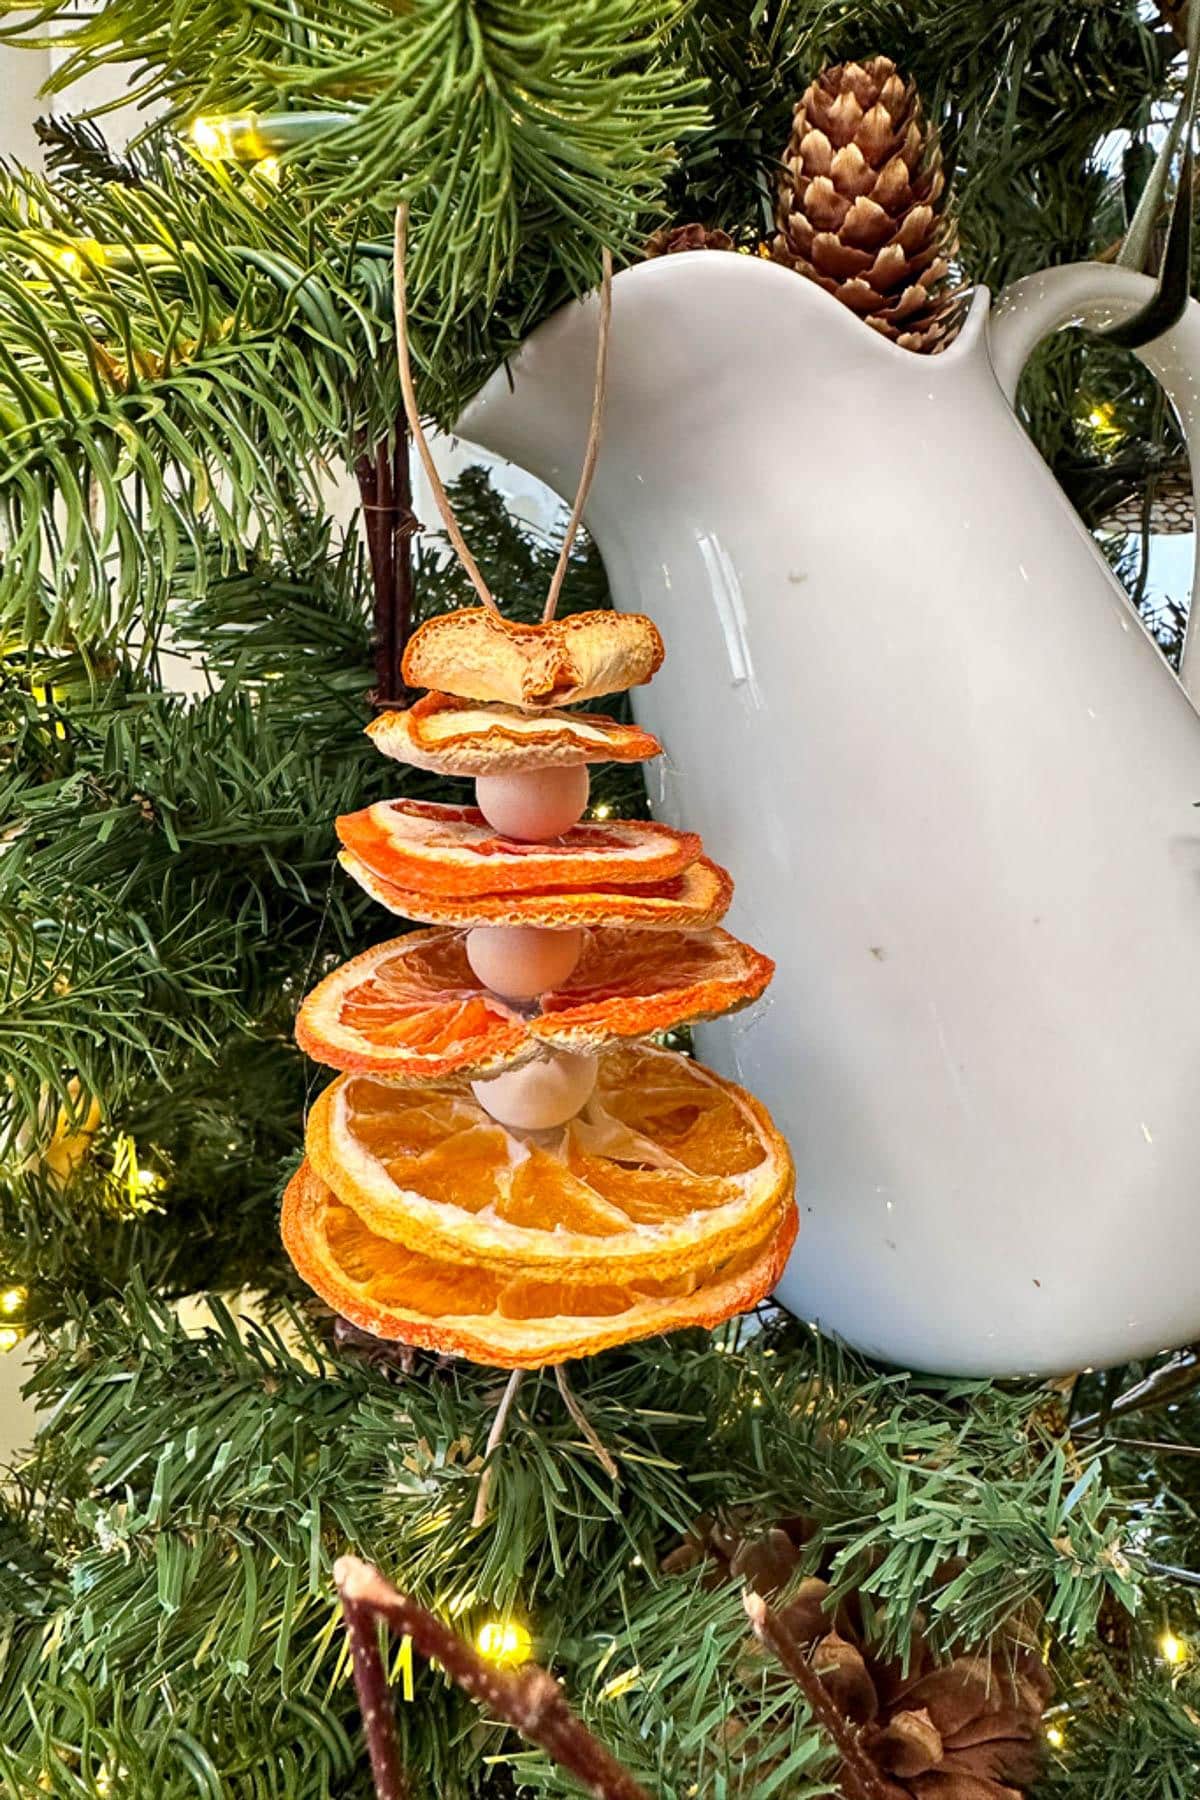
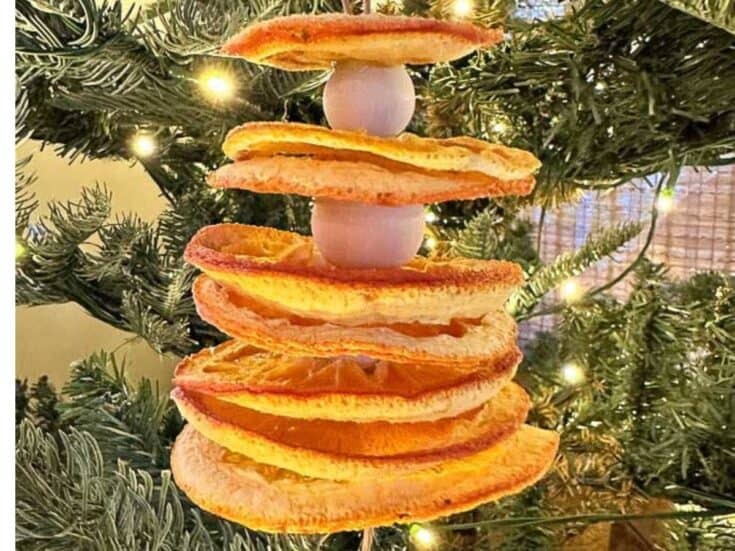
2. Stacked Orange Slices and Wood Beads
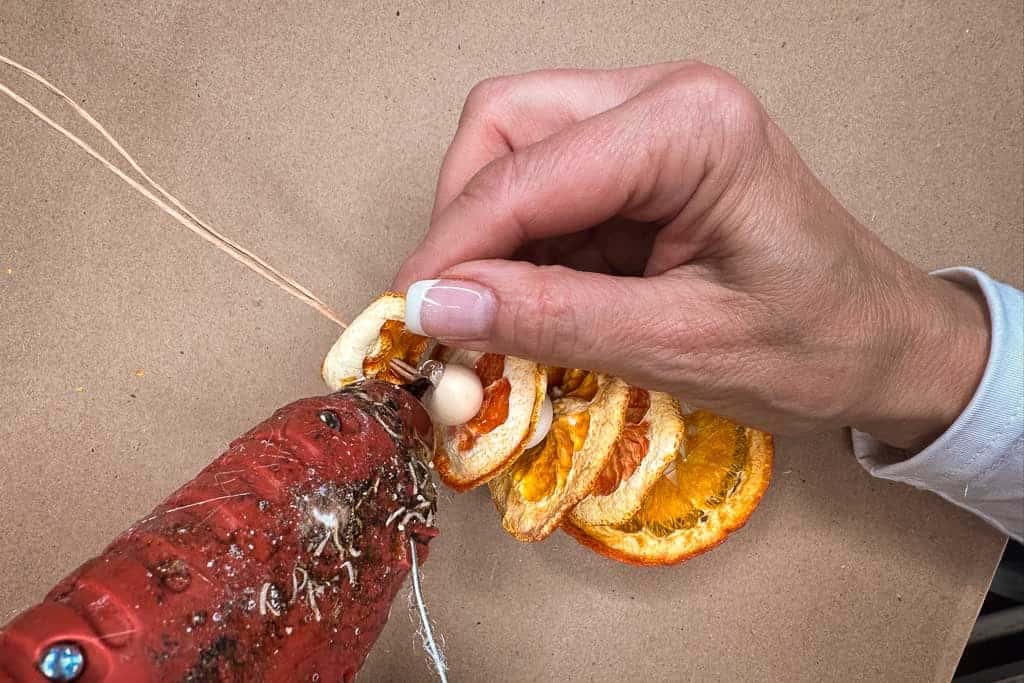
- Start with a 2″ wood round and drill a small hole in the center
- Using a thin twine or covered wire, fold it in half. Insert the folded end of the wire through the hole and tie the twine off underneath the wood round.
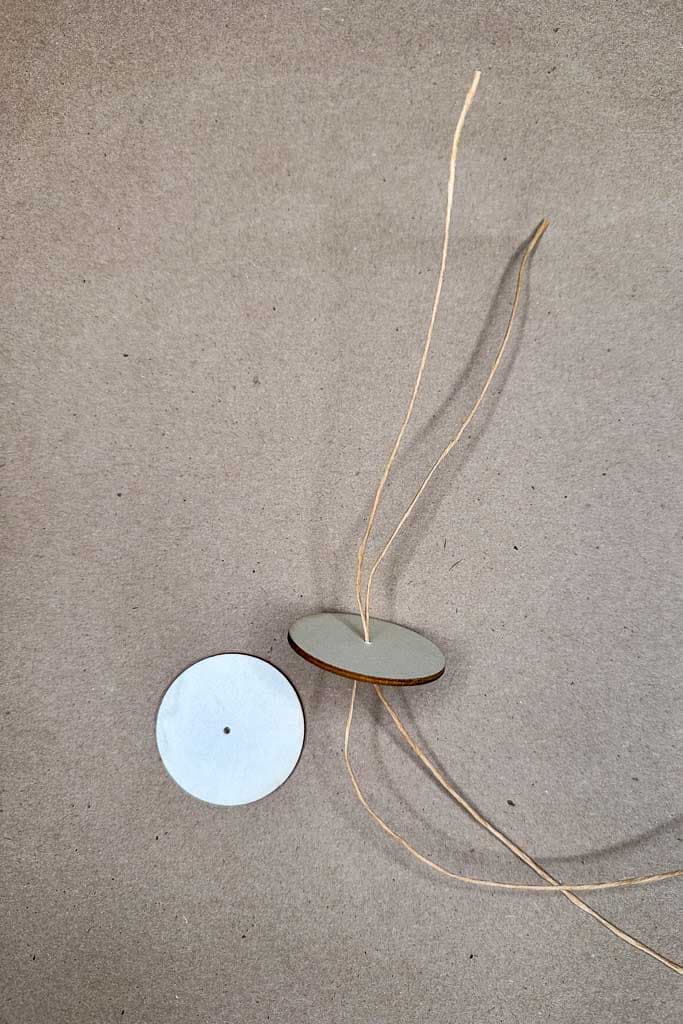
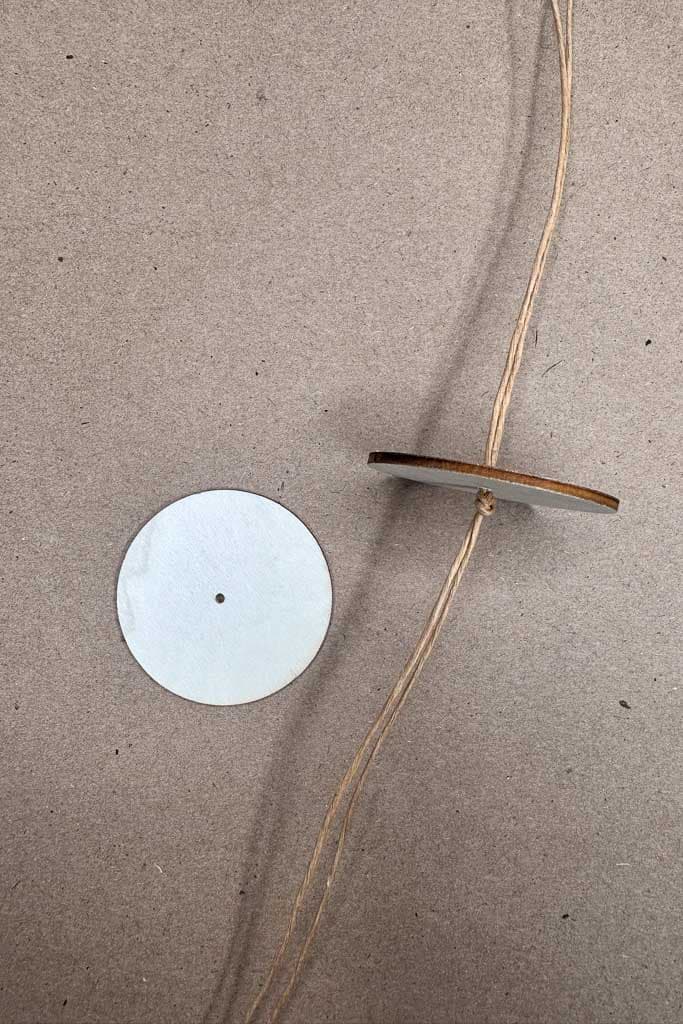
- Add a small amount of hot glue onto the wood round.
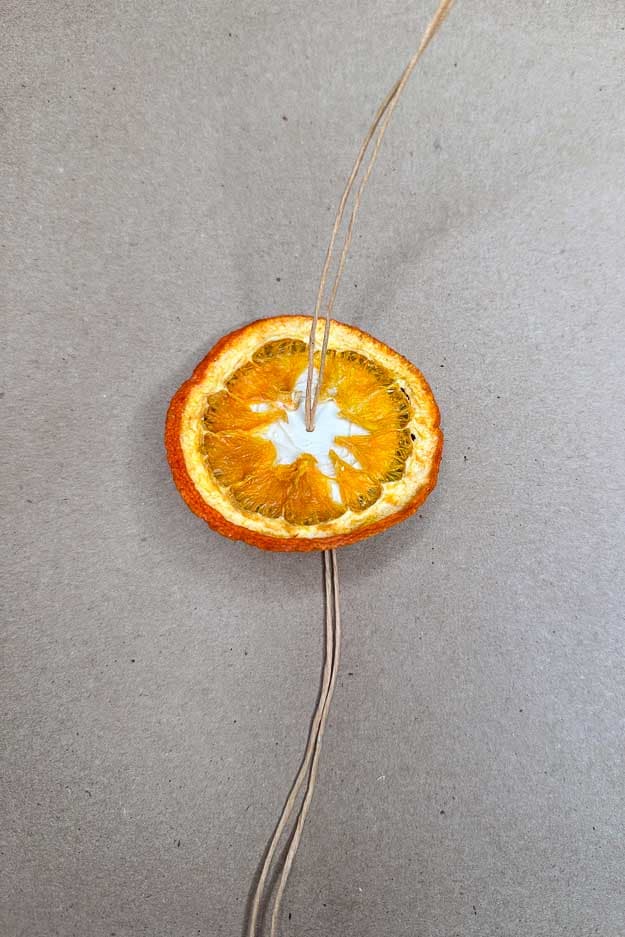
- Place a piece of orange on top of the round and hold the thick slices until the glue dries.
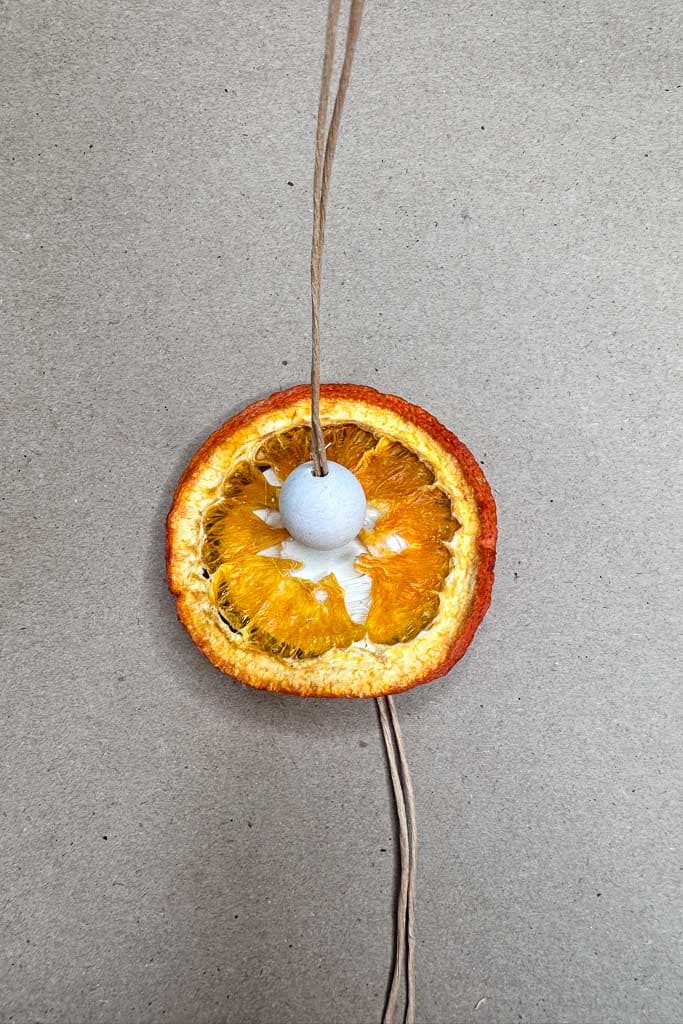
- Add a small amount of hot glue on top of the orange or wood slice and add a small wood bead.
- Continue this process until you have added 5-6 slices of oranges.

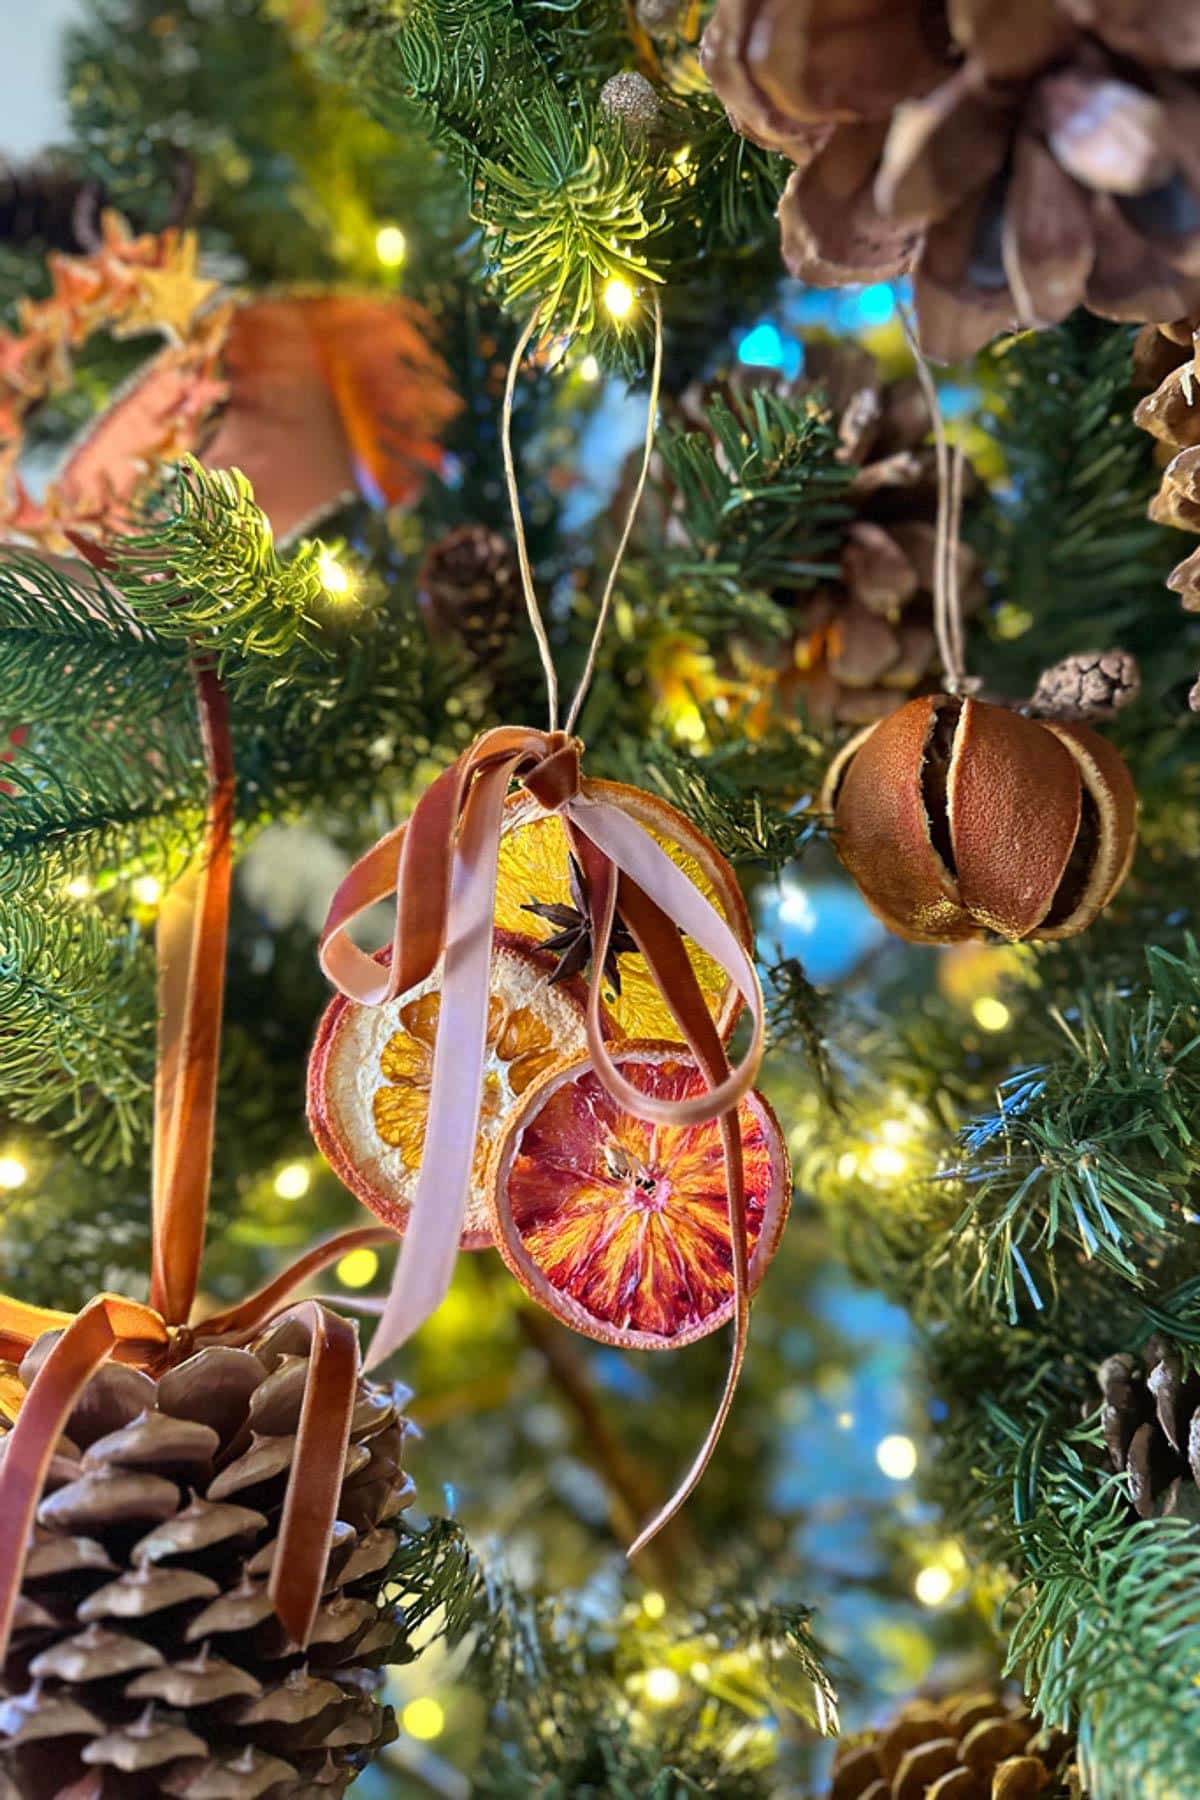
3. Layered orange Slices With A Flowing Bow
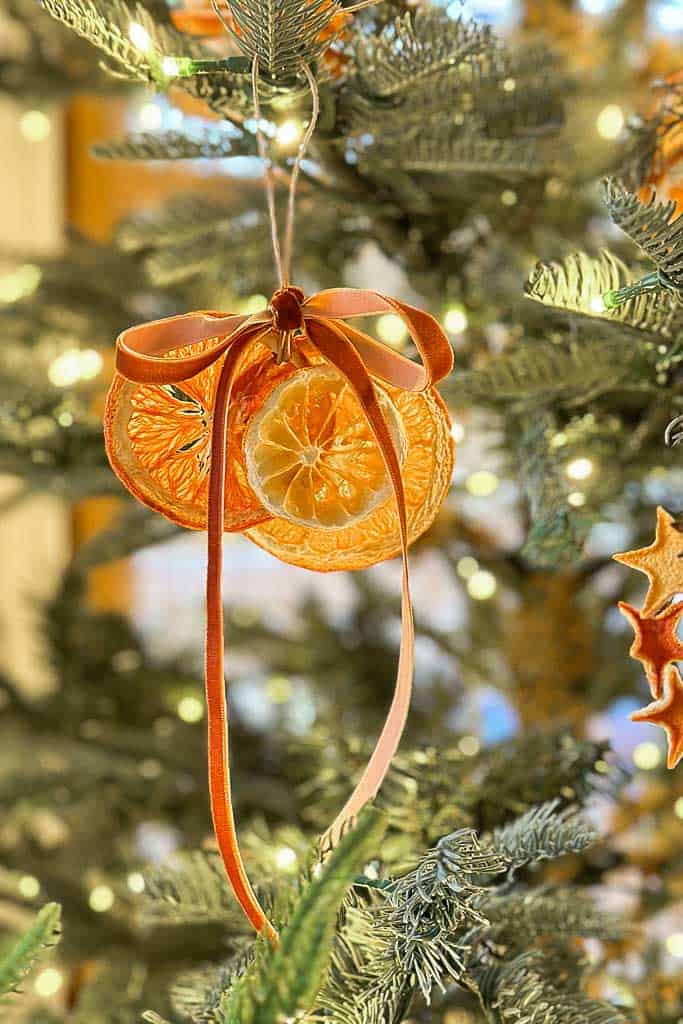
- Gather a few slices in varying shades of color and size and hot glue them together.
- Create a hole at the top of each dried orange slice and place a piece of twine through the hole to create an ornament hook to hang.
- Add a simple bow of velvet ribbon that gracefully drapes down over the orange slices.
4. Wood Slice with Orange and Greenery
- Start with a wood slice that has a hole in it to add a ribbon.
- Hot glue the slice of dried orange onto the wood slice.
- Decorate it with a cinnamon stick, a few dried pinecones and a sprig of faux Christmas greenery.
- Add a velvet ribbon to hang the ornament.

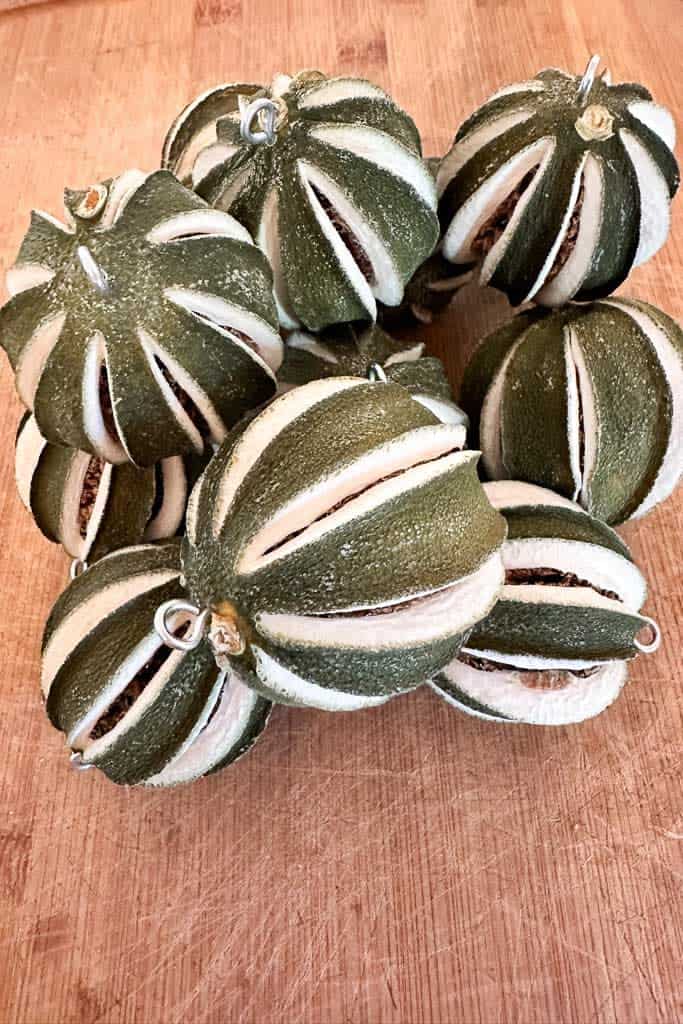
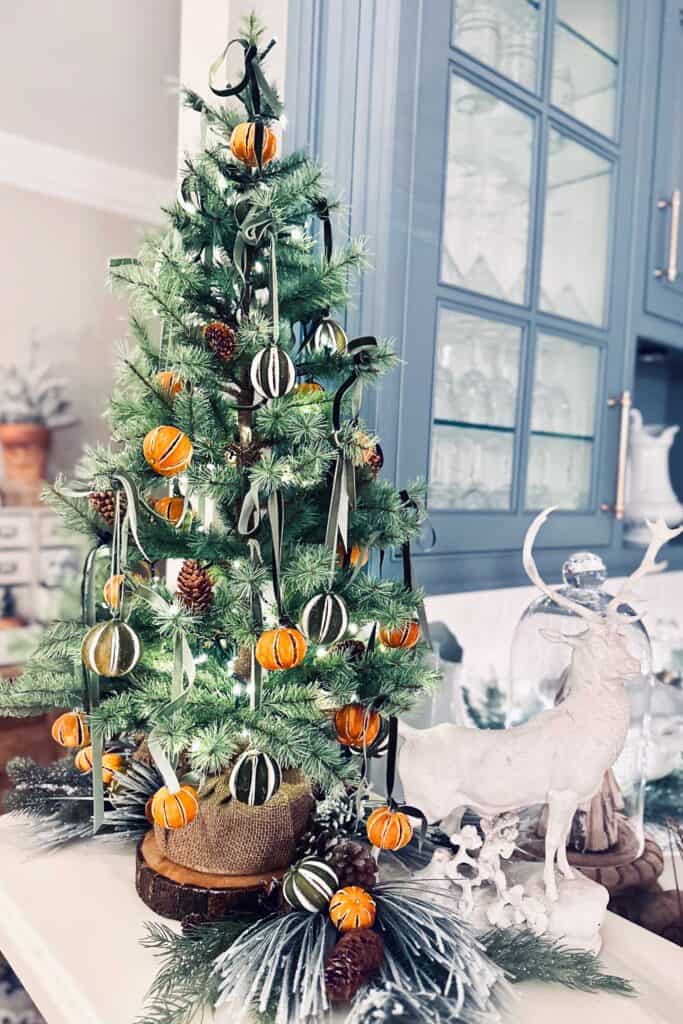
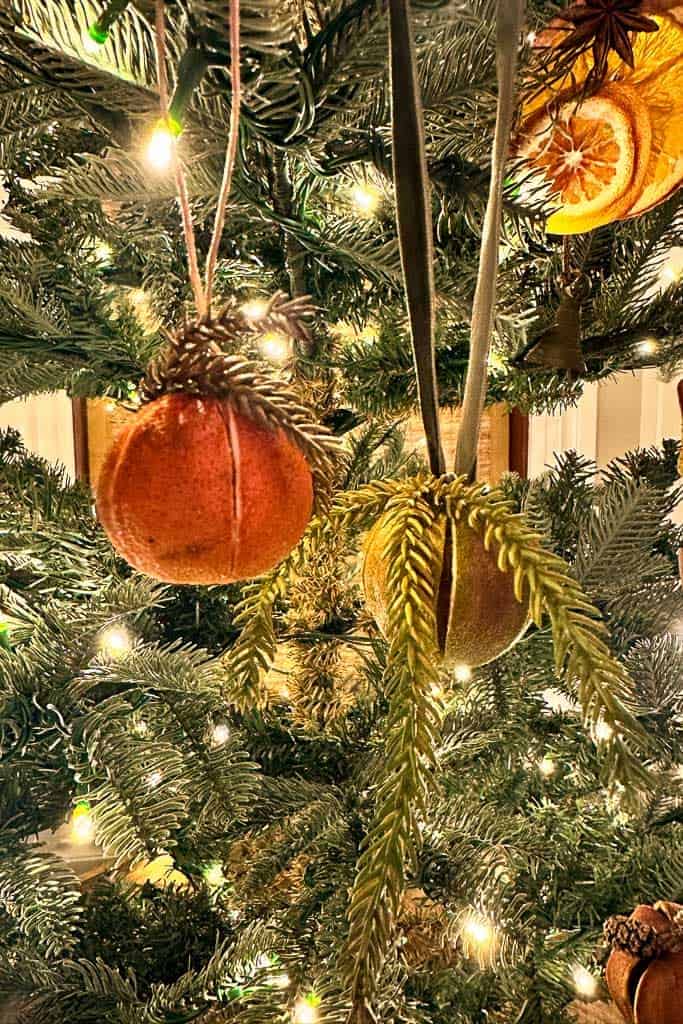
5. How to make dried orange ornaments with Whole Dried Oranges
- You can learn how to dehydrate whole oranges and hang them in your tree. They add a lot of color to your tree and smell so good.
- Add a small eyescrew to the top of the fruit. You can drill a small hole and then screw the eyelet into the hole. If the skin is not very thick, you may need to add a small amount of glue to the screw.
- You can leave them plain or decorate them with acorns, greenery, and pinecones.
- Hang with a thin velvet ribbon to display on the Christmas tree.
6. Anise Star And Orange Slice Wreath Ornament
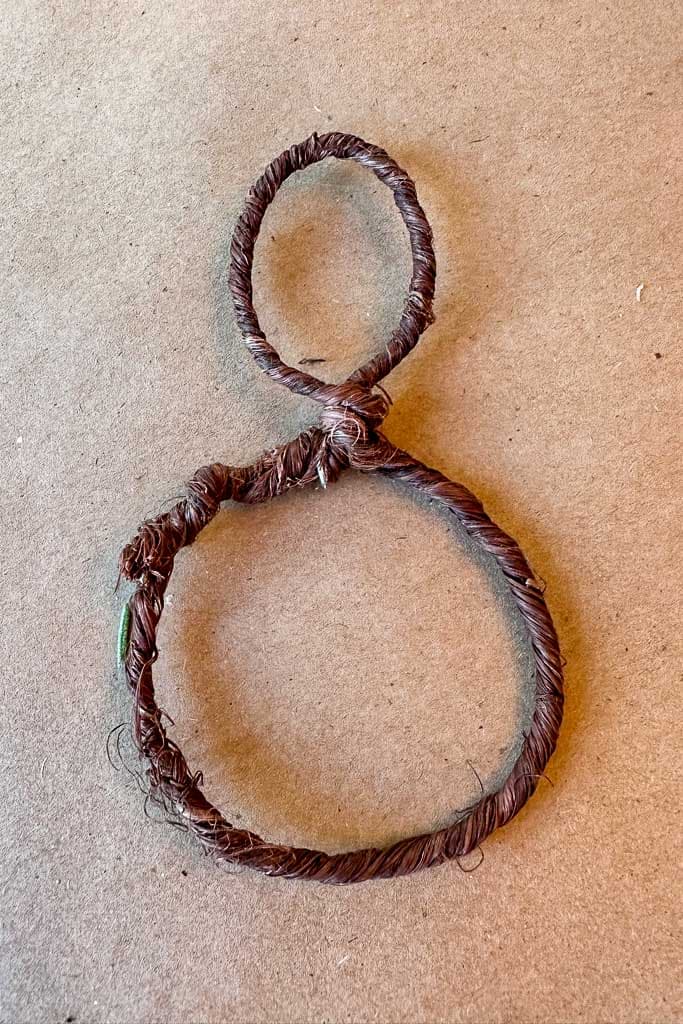
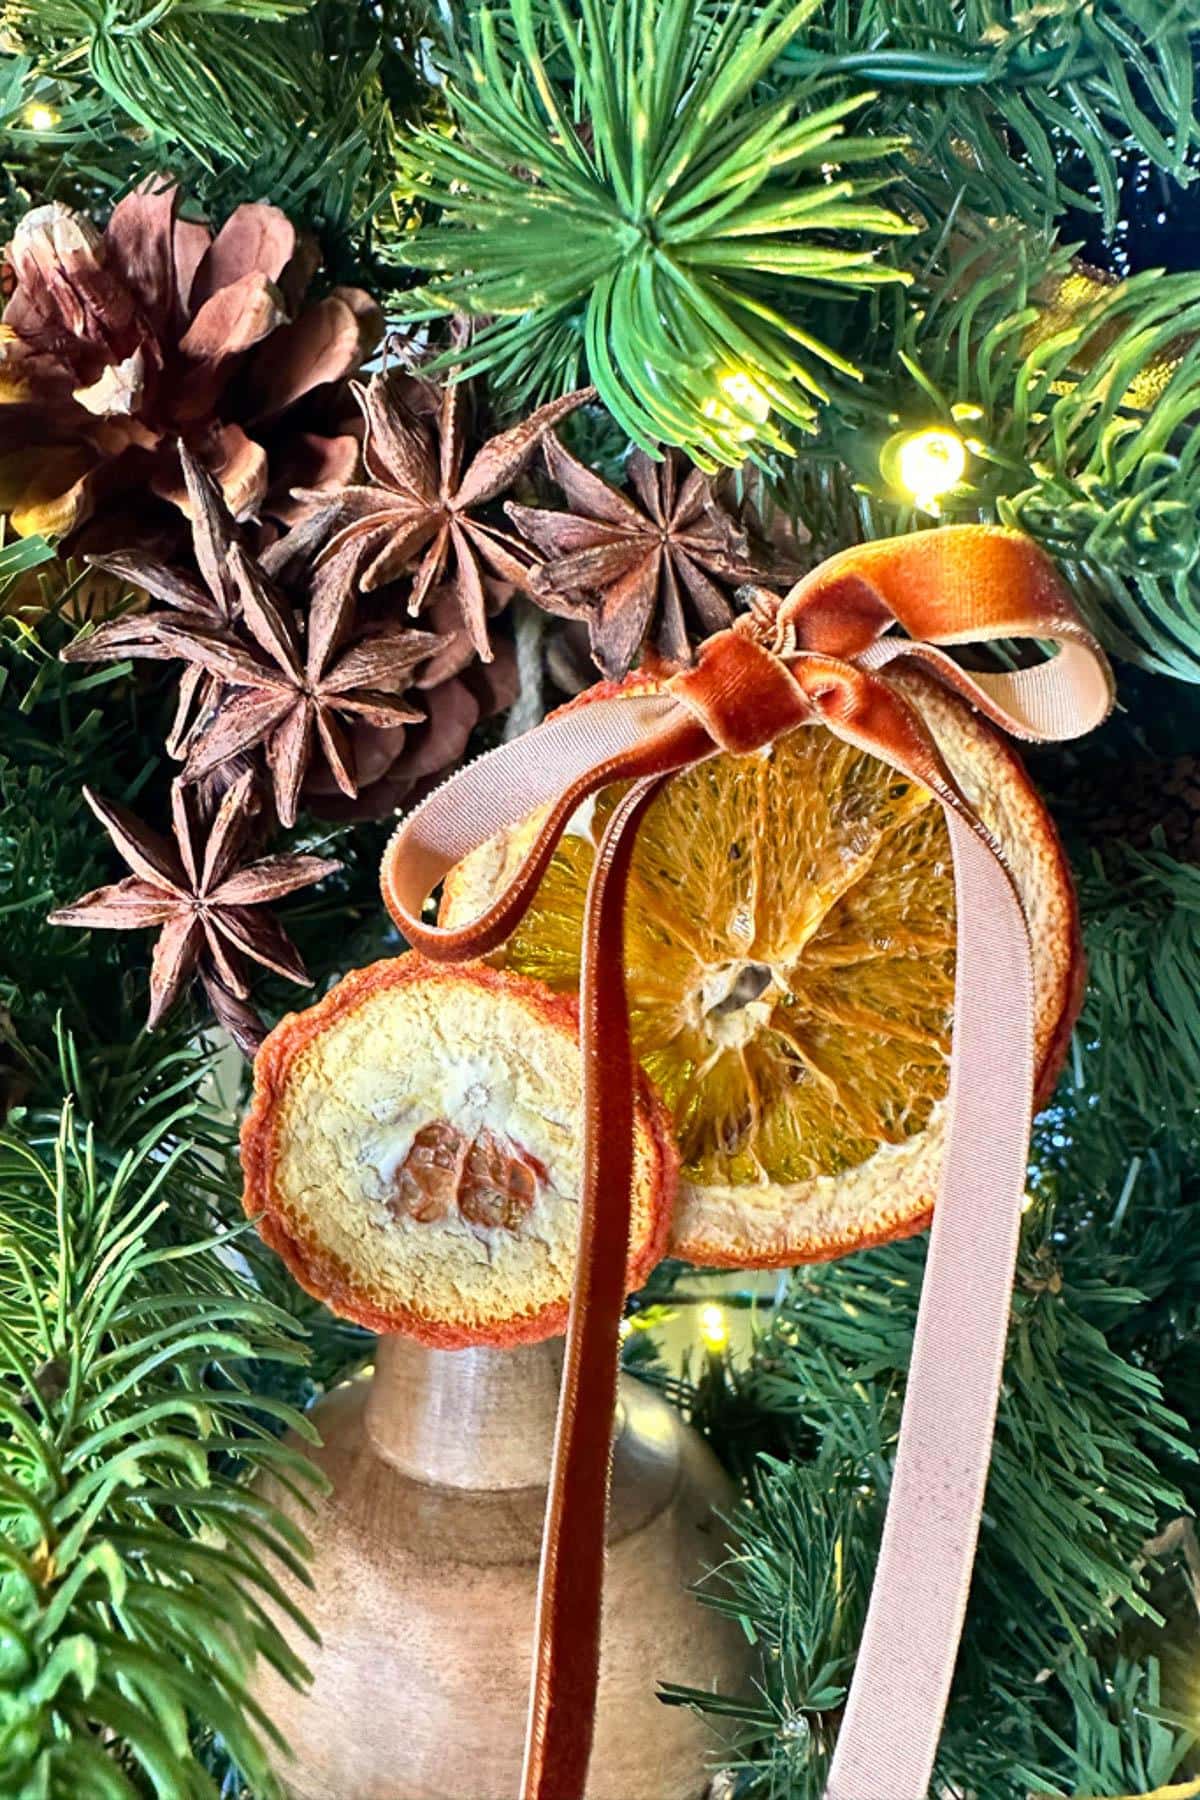
- Start by making a wreath shape out of the grapevine wire.
- Hot glue a few slices onto one side of the wreath.
- Add 5-6 star anise.
- Hang in your Christmas tree and enjoy.
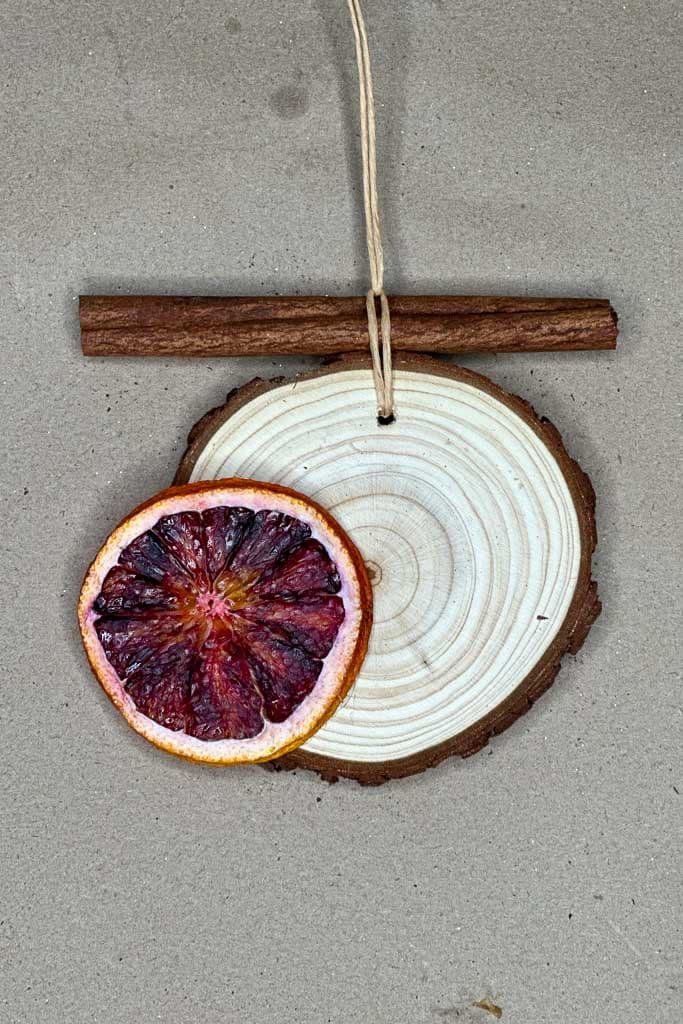
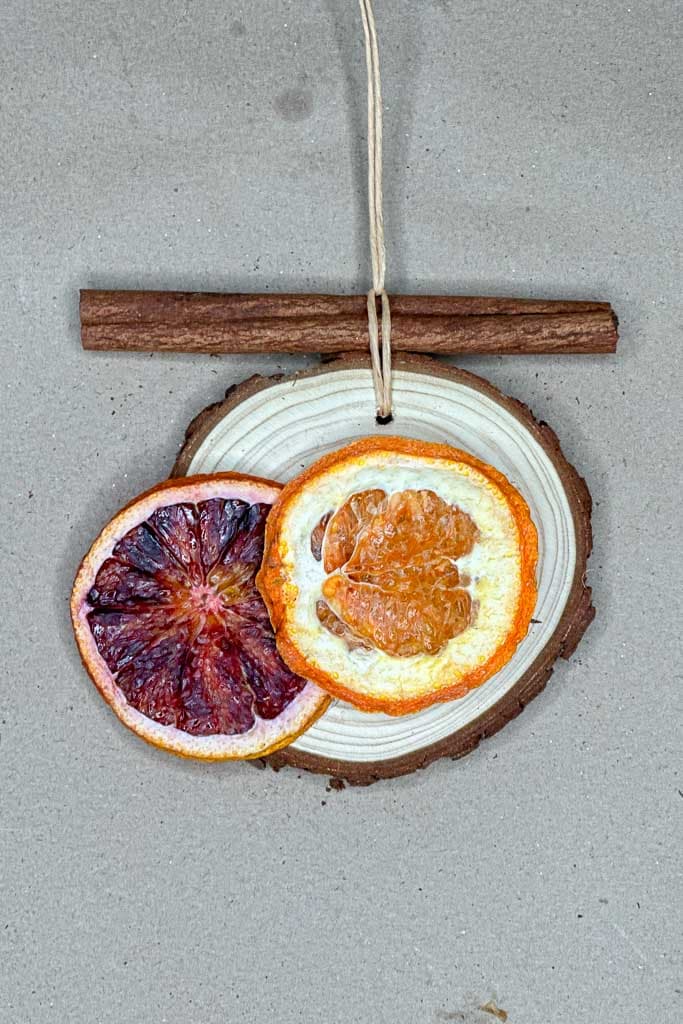
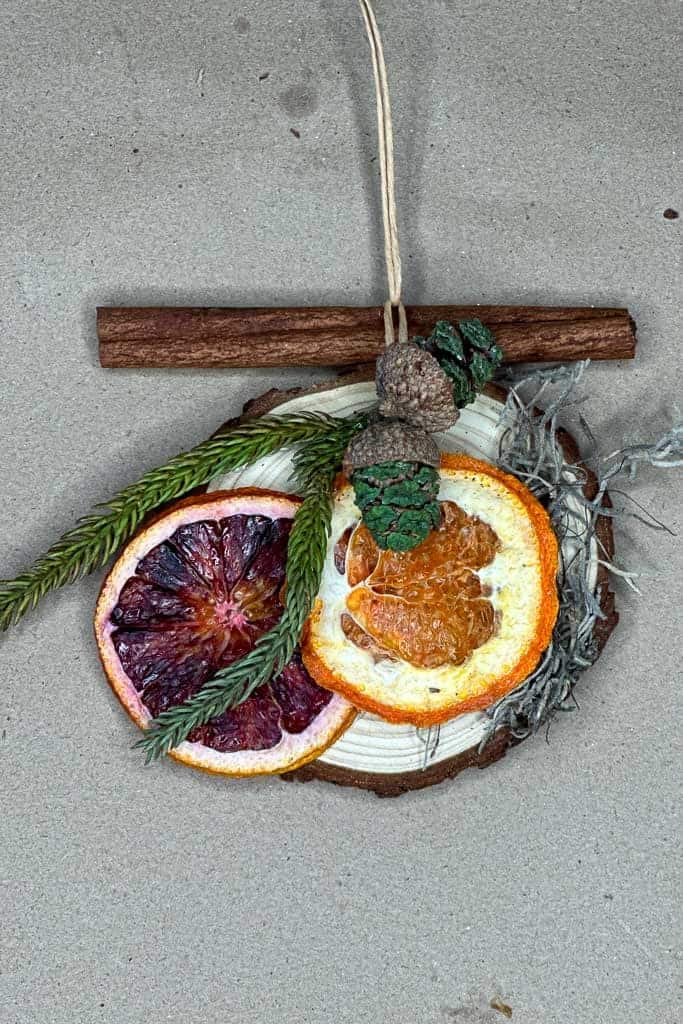
7. Blood Orange, Cinnamon, and Moss Wood Slice
- Gather a variety of orange slices. I used a blood orange slice and a slice of Cara Cara orange.
- Hot glue them onto a wood slice.
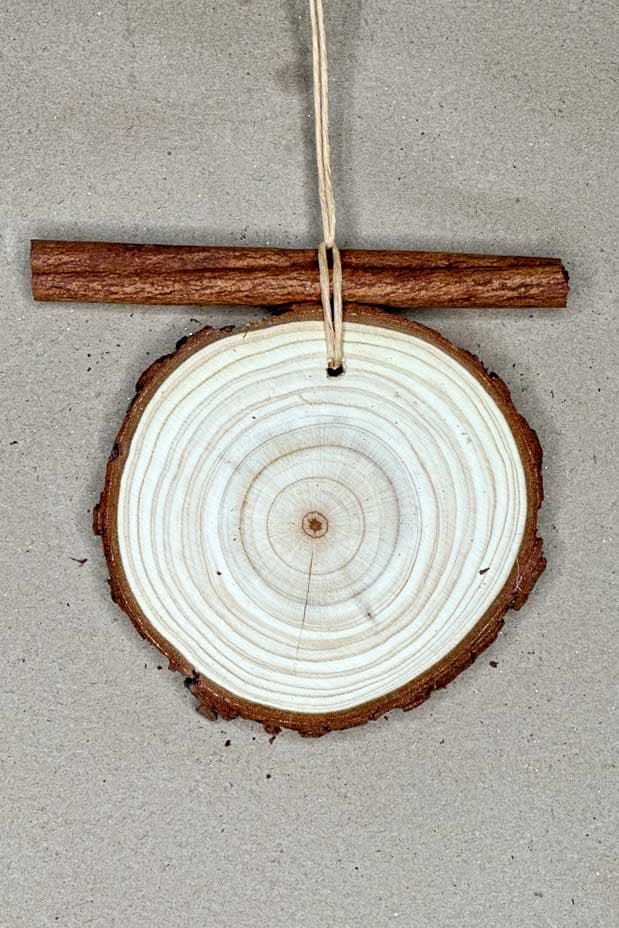
- Fold a piece of twine in half and place the loop end through the hole in the wood slice.
- Lay a cinnamon stick on top of the two strands of twine, put the two ends of the twine through the loop, and tighten.
- Add dried greenery, fresh pinecones or acorns, and a bit of Spanish moss.
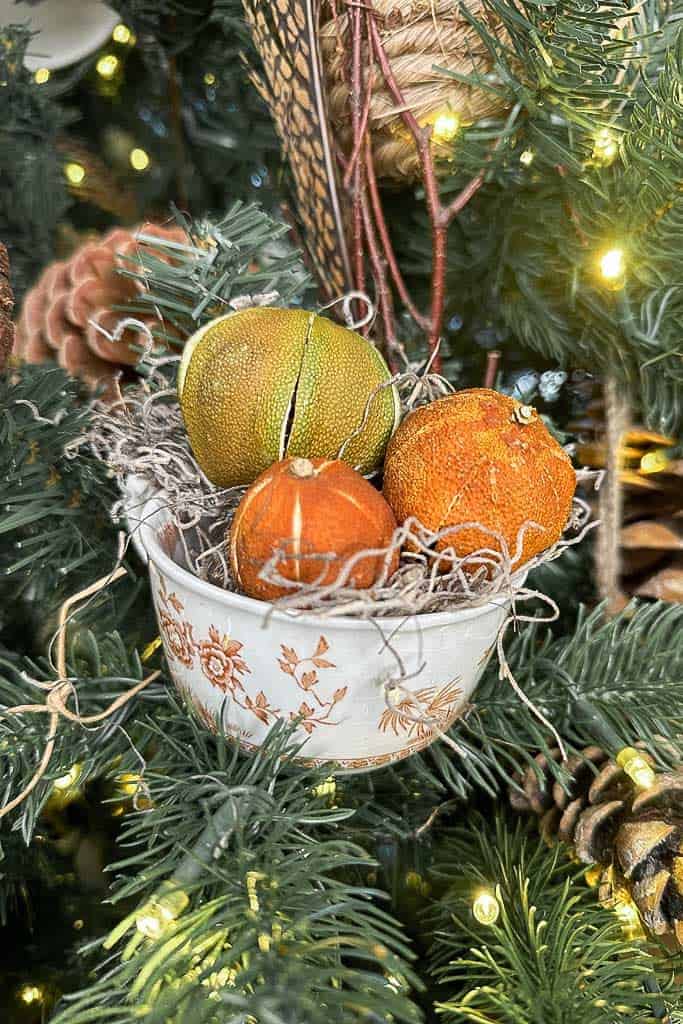
8. Dried Oranges In A Teacup
- Add a bed of Spanish moss to a teacup.
- Hot glue a few pieces of dehydrated fruit on top of the moss.
- Hang the tea cup on the Christmas tree.
9. Orange End Wreath
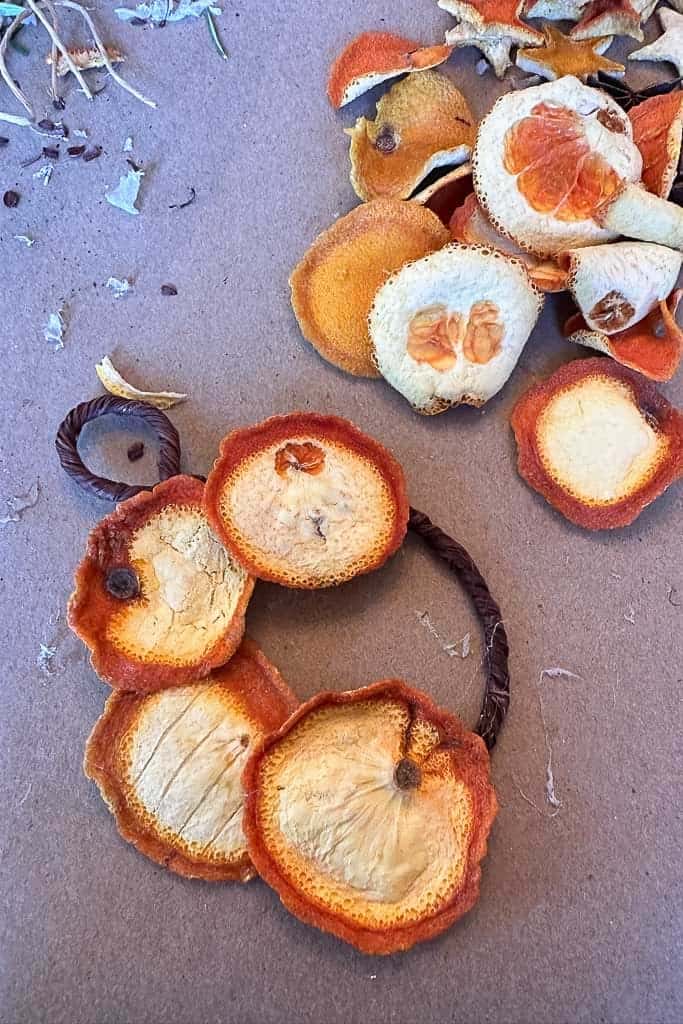
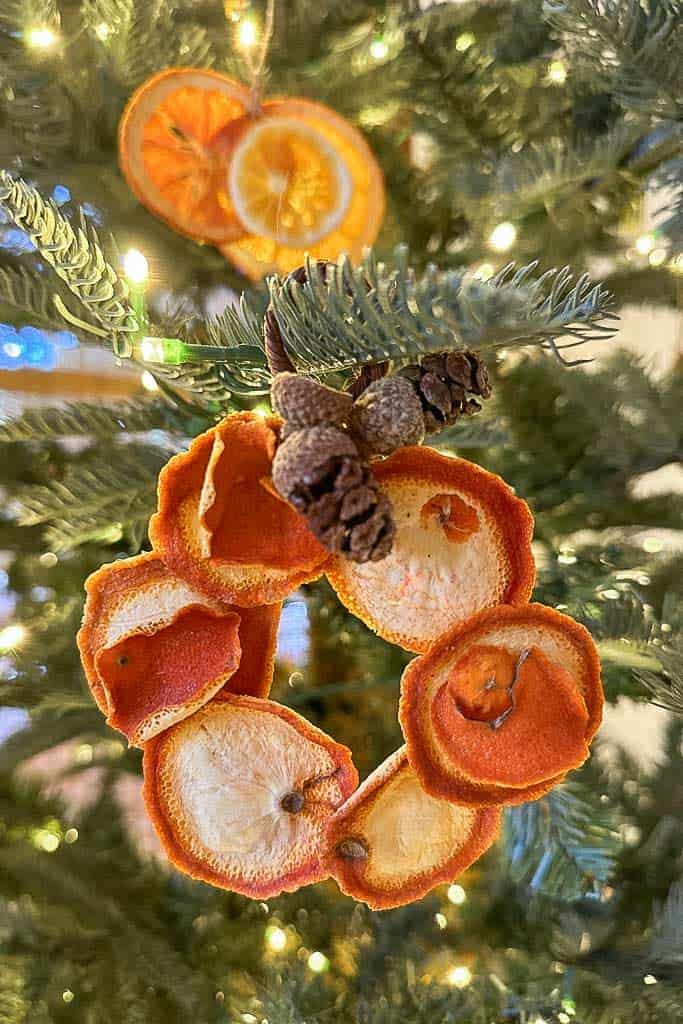
- When dehydrating your oranges, dry all parts and do not waste any of the oranges. I used the very ends or the buts of the orange slices for this wreath.
- Make a wreath shape from the grapevine wire as in #6 above.
- Hot glue the orange slices onto the wreath.
- To decorate the wreath, I glued a few small pinecones into the caps of acorns.
10. Bowl Of Fruit Tree Ornament
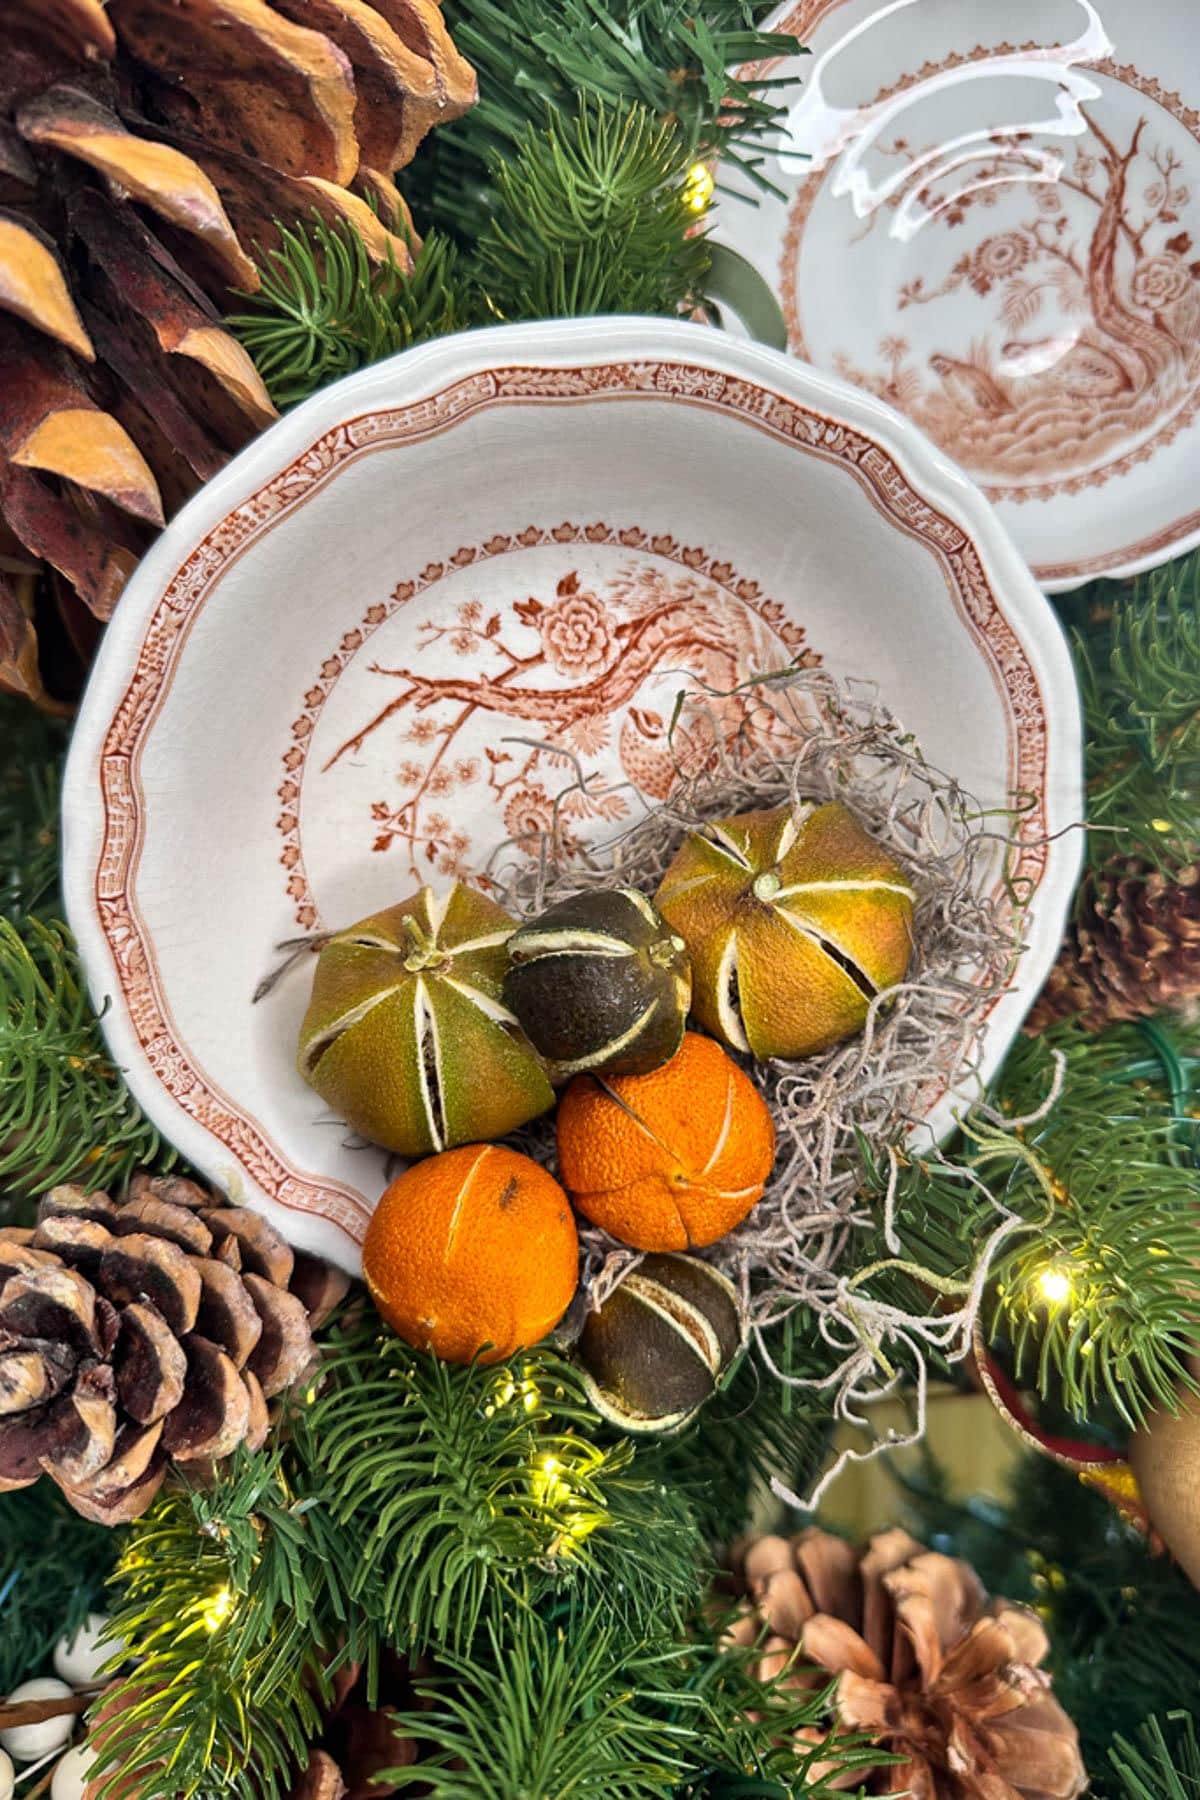
Have you ever hung dishes on your Christmas tree? it is so easy and fun to do.
I use these plate hangers with a hook on the back of my plate or bowls and then wire it onto the tree, it’s that easy!
After the holiday, the fruit will come out easily and the hot glue will peel right off the bowl.
Hot glue a bit of moss and dehydrated fruit into your bowl.
Hang the bowl on the tree.
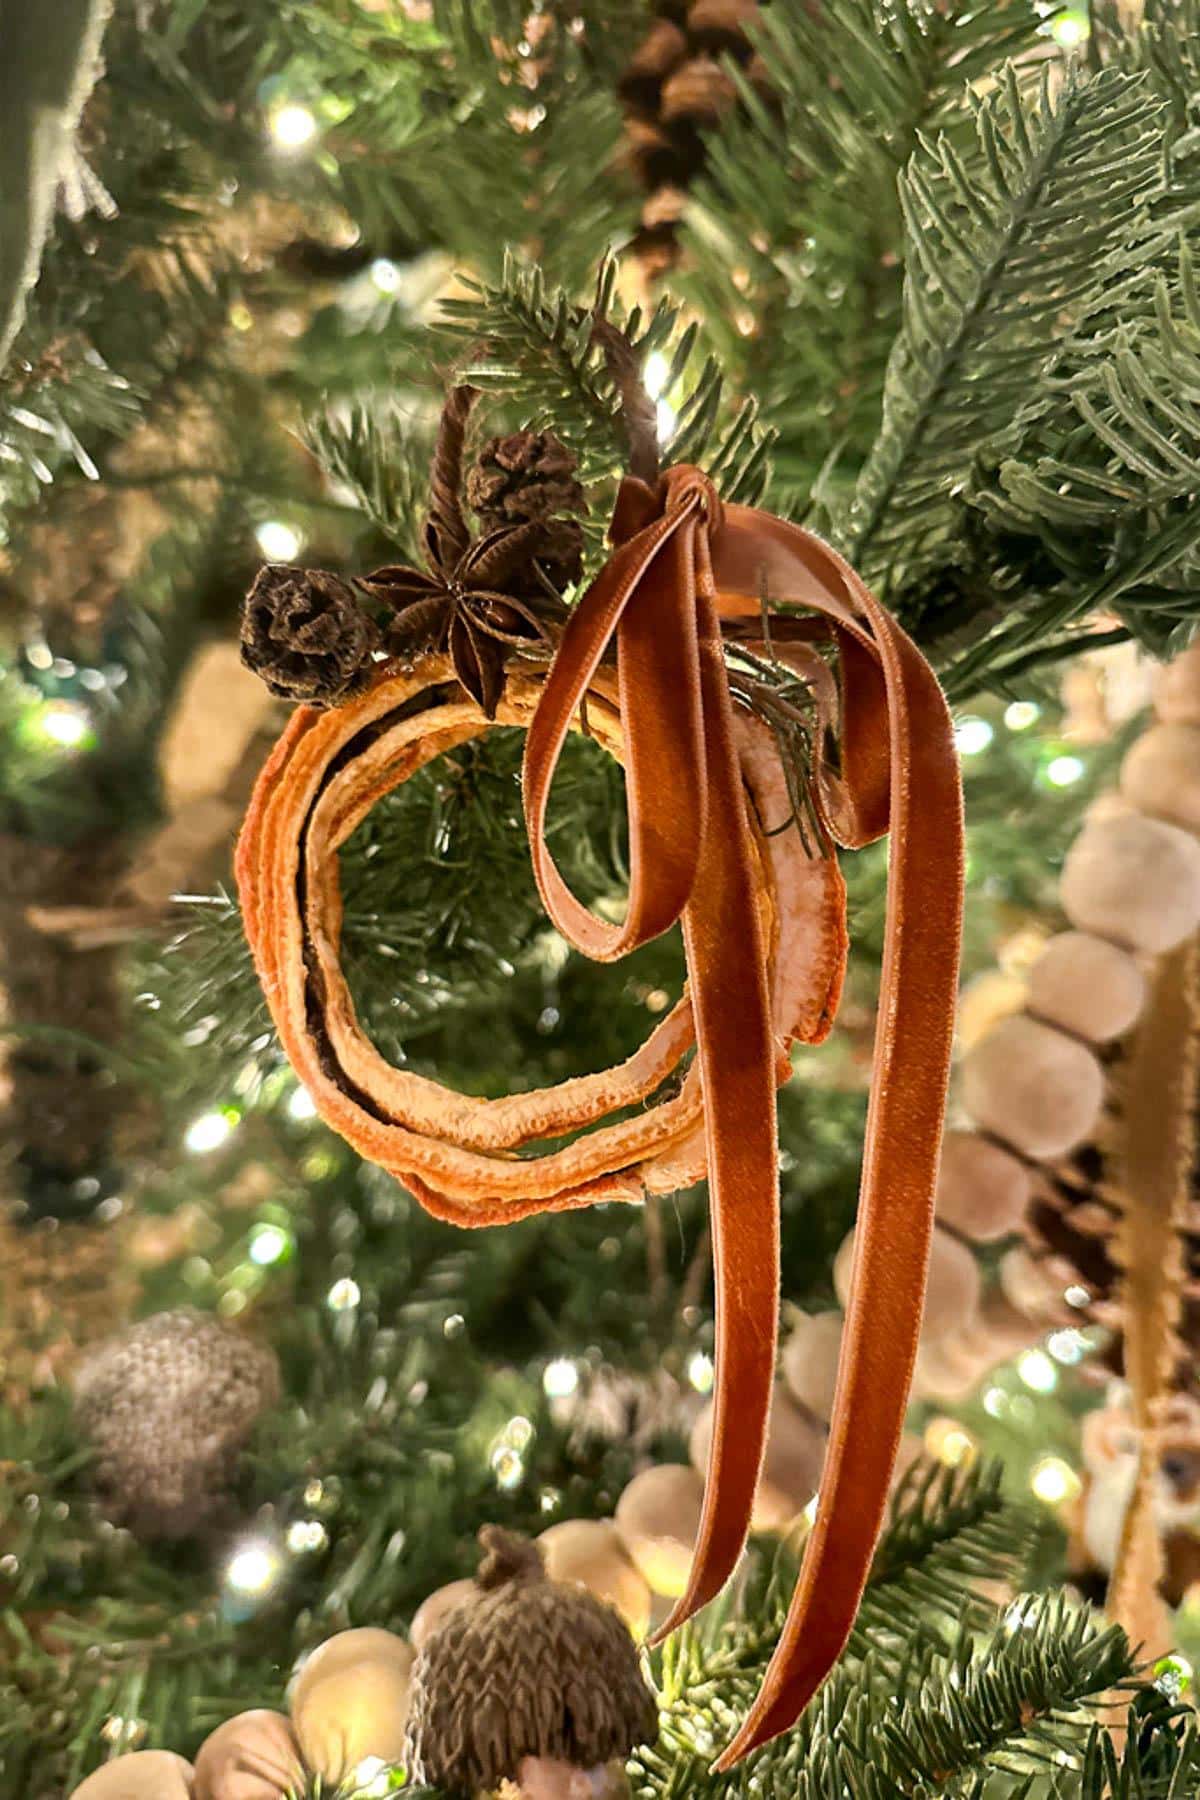
11. Dehydrated Orange Rind Wreath
This is one of my favorites. I took the rind of the orange slices that did not come out of the Mandolin whole, peeled the orange away from the rind, and dried them in the air fryer.
- Make a wreath shape out of the grapevine wire (same as #6).
- Hot glue pieces of the rind around the wreath on both sides.
- Add a few pinecones and an Anise star.
- Add a graceful velvet bow.
- Hang on the Christmas tree.

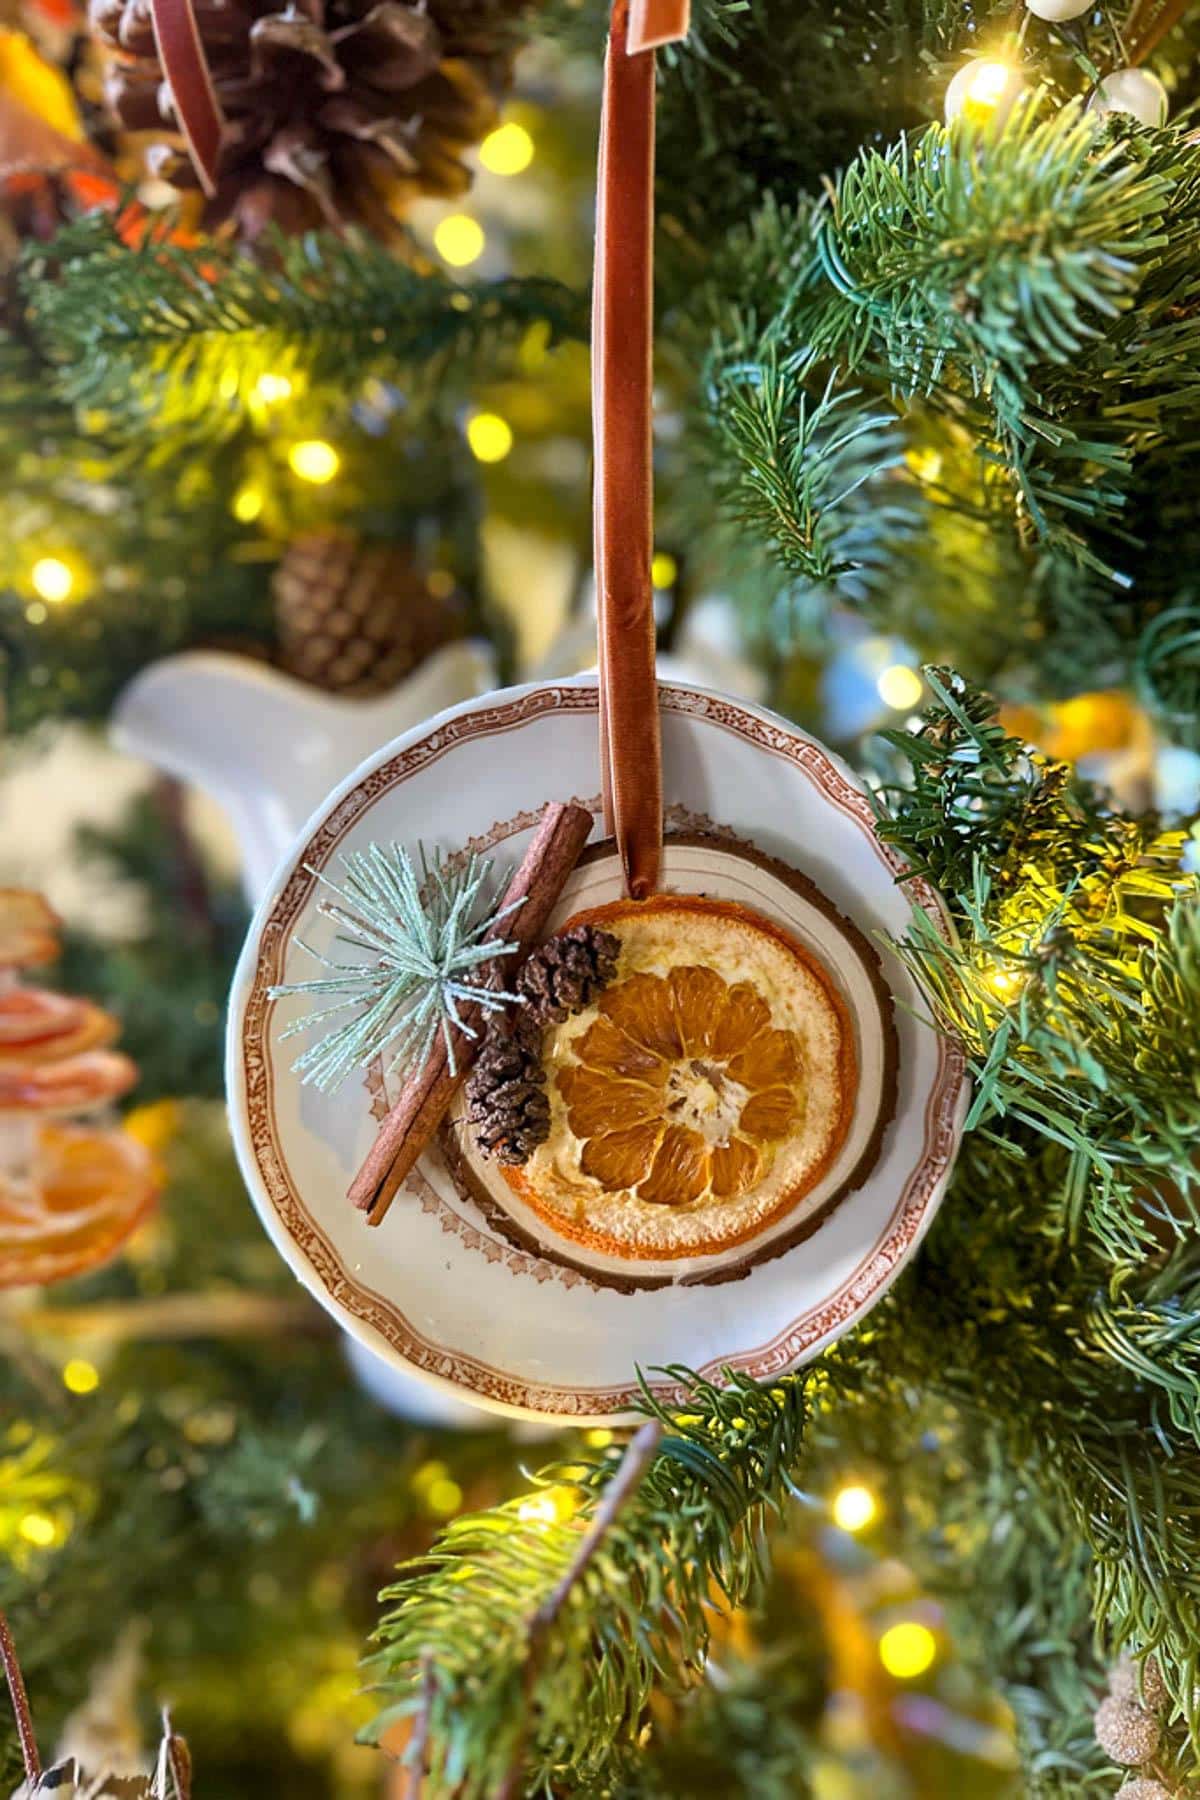
12. Saucer Dried Orange Ornament
- This was super easy, I took an ornament I had made on a wood slice with a small pine cone or two and hung it in front of a saucer to make it look like a frame.
- I made the same ornament as #4 and then hung a plate behind it. (see how to hang china on the Christmas tree in #10).
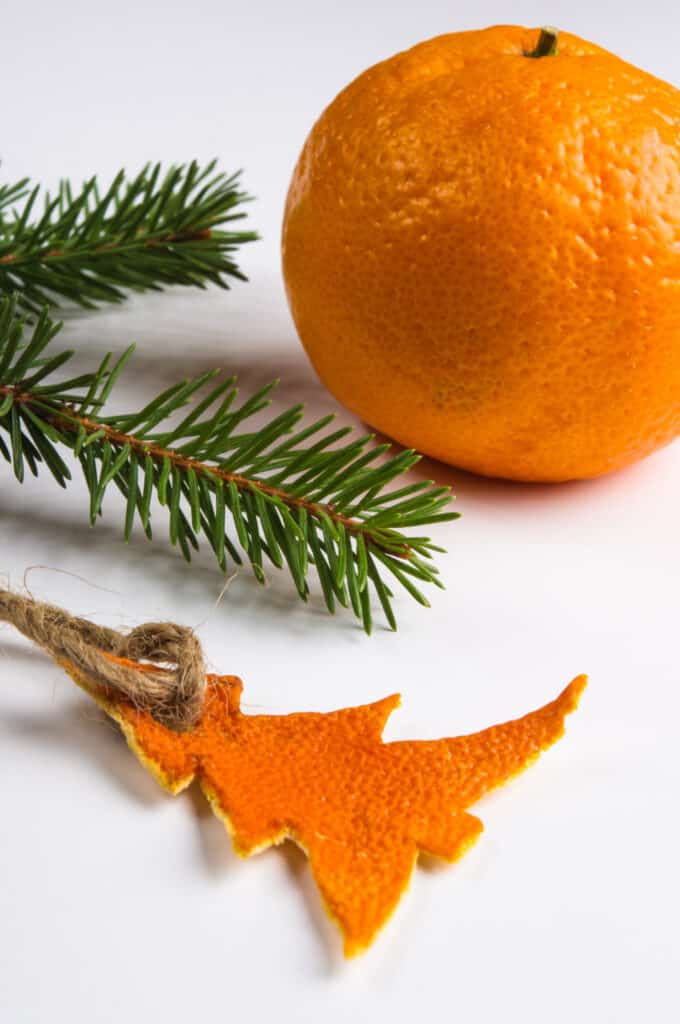
13. How to make dried orange ornaments with a cookie Cutter
- Using a small Christmas tree cookie cutter, cut out trees from the orange peel to make an easy natural ornament.
- Place a hole at the top of the tree with a wooden skewer.
- Dry the orange rinds. (try one of my three methods to dehydrate oranges)
- Weave a piece of twine into the tree’s hole and hang the ornament on your tree.
- Think outside of the box and try different shapes.
Tips For Dehydrating And Crafting Dried Orange Ornaments
- Slice Evenly: Use a mandolin to ensure even citrus slices which are approximately 1/4 to 1/8 inch slices. Thinner slices tend to dry faster.
- Remove Excess Moisture: Pat the orange slices gently with a paper towel to remove excess moisture before drying them.
- Oven Drying: Preheat your oven to a very low temperature, the lowest setting. Place the orange slices on a parchment-lined baking tray and bake for 2-3 hours, flipping them occasionally. Keep an eye on them to prevent burning.
- Dehydrator: Lay the slices evenly on the dehydrator trays. Be sure to spread them out in a single layer so they do not overlap. Dehydrate at 135 degrees for 4-6 hours.
- Air Fryer: Air Frying your oranges is an easy way to dehydrate them. Most air fryers even have a unique setting for dehydrating. Set the temperature to 135 degrees fo 6-8 hours.
- Decorative Additions: Once the slices are dried, you can leave them as they are for a simple, natural look or enhance them further. Consider adding a touch of glitter, painting the edges, or embellishing with cloves, cinnamon sticks, or other decorative elements.
- Seal for Preservation: To preserve the dried oranges for future use, consider spraying them with a clear sealer or applying a thin coat of clear varnish. This helps retain their color and prevents decay.
- Stringing or Hanging: Use twine, ribbons, or a piece of jute twine to string the dried orange slices individually or in combinations to create beautiful garlands or ornaments. You can also attach them to wreaths or use them as festive gift toppers.
- Storage: Store your dried orange ornaments in an airtight container in a cool, dry place to maintain their quality for future seasons.
Other Ideas to Use Dehydrated Oranges
You can use dehydrated oranges to decorate for the holidays in several other ways. Here are a few of my favorites for an old-fashioned Christmas.
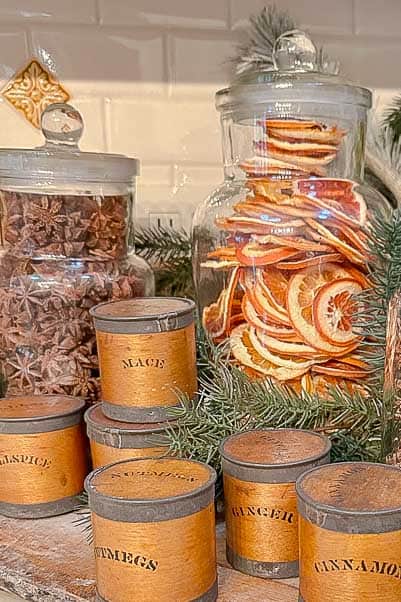
Stack dried oranges in a jar to display in the kitchen.
Make a Christmas garland to hang on the fireplace mantel.
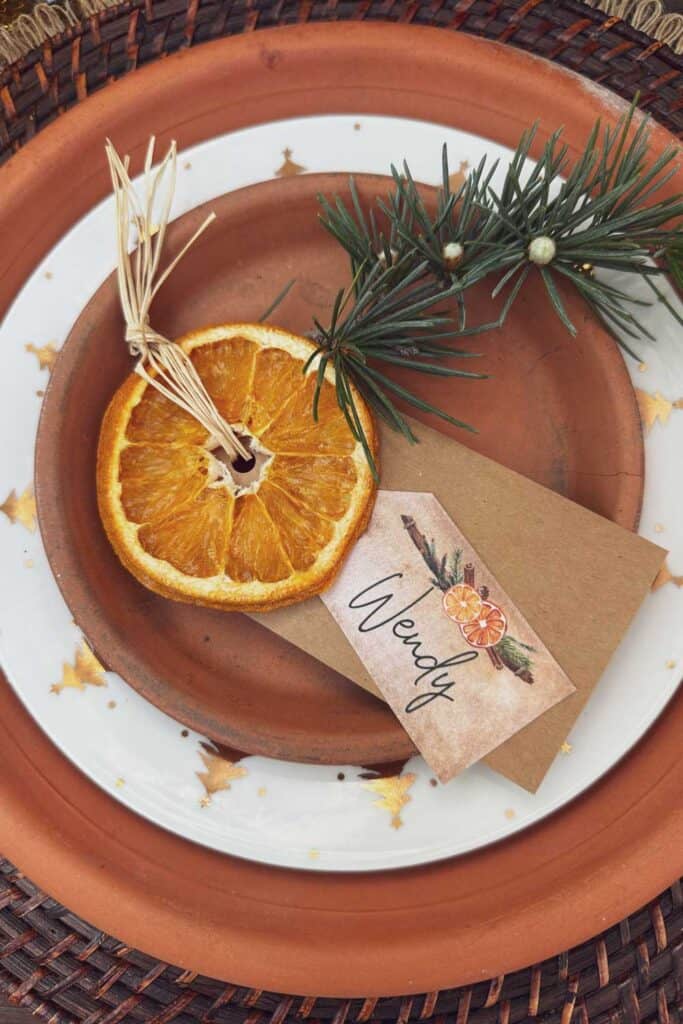
Use orange slices with place cards at the dinner table.
Serve orange slices with tea and dessert.
Use the orange slice to decorate the top of a gift.
Handmade gifts- make a decoration and give it to a friend or loved one.



How to Make Dried Orange Stacked Ornaments
Learn how to make 13 plus dried orange slice ornaments
Materials
- Coated twine
- 1- 2" wood disk with a hole in the center
- an assortment of dried orange slices
- 4- 1/2 " natural wood beads
Tools
- Scissors
- Hot Glue Gun
Instructions
- Start with a 2" wood round and drill a small hole in the center.
- Using a thin twine or covered wire, fold it in half. Insert the folded end of the wire through the hole and tie the twine off underneath the wood round.
- Add a small amount of hot glue onto the wood round.
- Place a piece of orange on top of the round and hold until the glue dries.
- Add a small amount of hot glue in the center of the wood disk and a small wood bead.
- Continue this process until you have added 5-6 slices of oranges with a bead between every one to two slices.
Drying oranges is one of my favorite things to do each year, I hope you give it a try. As you can see, there are endless ways to use the oranges to decorate your home for the holidays.
Happy Decorating,

Other Posts to Inspire You









Such a lot of gorgeous ideas. Thank you for sharing with us at Handmade Monday 🙂
You’ve shared so many ideas Wendy! I love the glass jar filled with the orange slices!
So many great ideas! It is impossible to choose a favorite! (Maybe the star wreath is my favorite? Guess I need to try them all!)
Wow, these are all beautiful ideas Wendy! I think my favorite are the clustered oranges scattered on top of one another with the velvet ribbon. Velvet ribbon is one of my favorite parts of Christmas, it just makes me feel all warm and fuzzy inside. It amazes me the ideas you always continue to come up with. I may have to give dried oranges another chance around here and see what I can come up with. Have a wonderful weekend!
Just popping back in to say I’m featuring this fantastic post tomorrow on Farmhouse Friday 328! I love it so much! Thank you for linking up. Merry Christmas! pinned again
Thank you so much for the feature Cindy! you are such a doll.
For heaven’s sake…I live in Florida! Why have I never done anything with oranges? You have inspired me, I have saved this post and I am going to be going all citrusy at Christmas next year!!
Thank you, Chloe! yes, I think you need to do that next year. I have more ideas coming for you.
Wishing you and your family a beautiful Thanksgiving.
You and your creative mind blow me away! I love each and every idea. I think I pinned everything! Hope you have a marvelous Thanksgiving. Don’t forget to wear your fat pants! 😉
Thank you, Cindy, you are too kind! Oh, I have been wearing my fat pants for weeks! I may never get out of them.
Wishing you and your family a beautiful Thanksgiving.
Wow, Wendy!! These are incredible!! Such a lovely yet frugal and eco-friendly way to create ornaments for the Christmas tree. The wood round ones are my favorite 🙂
Thank you so much, Rachel. I love to make ornaments to hang on my tree, and the dried oranges are so pretty with the lights shining through them. Wishing you and your family a beautiful Thanksgiving.