
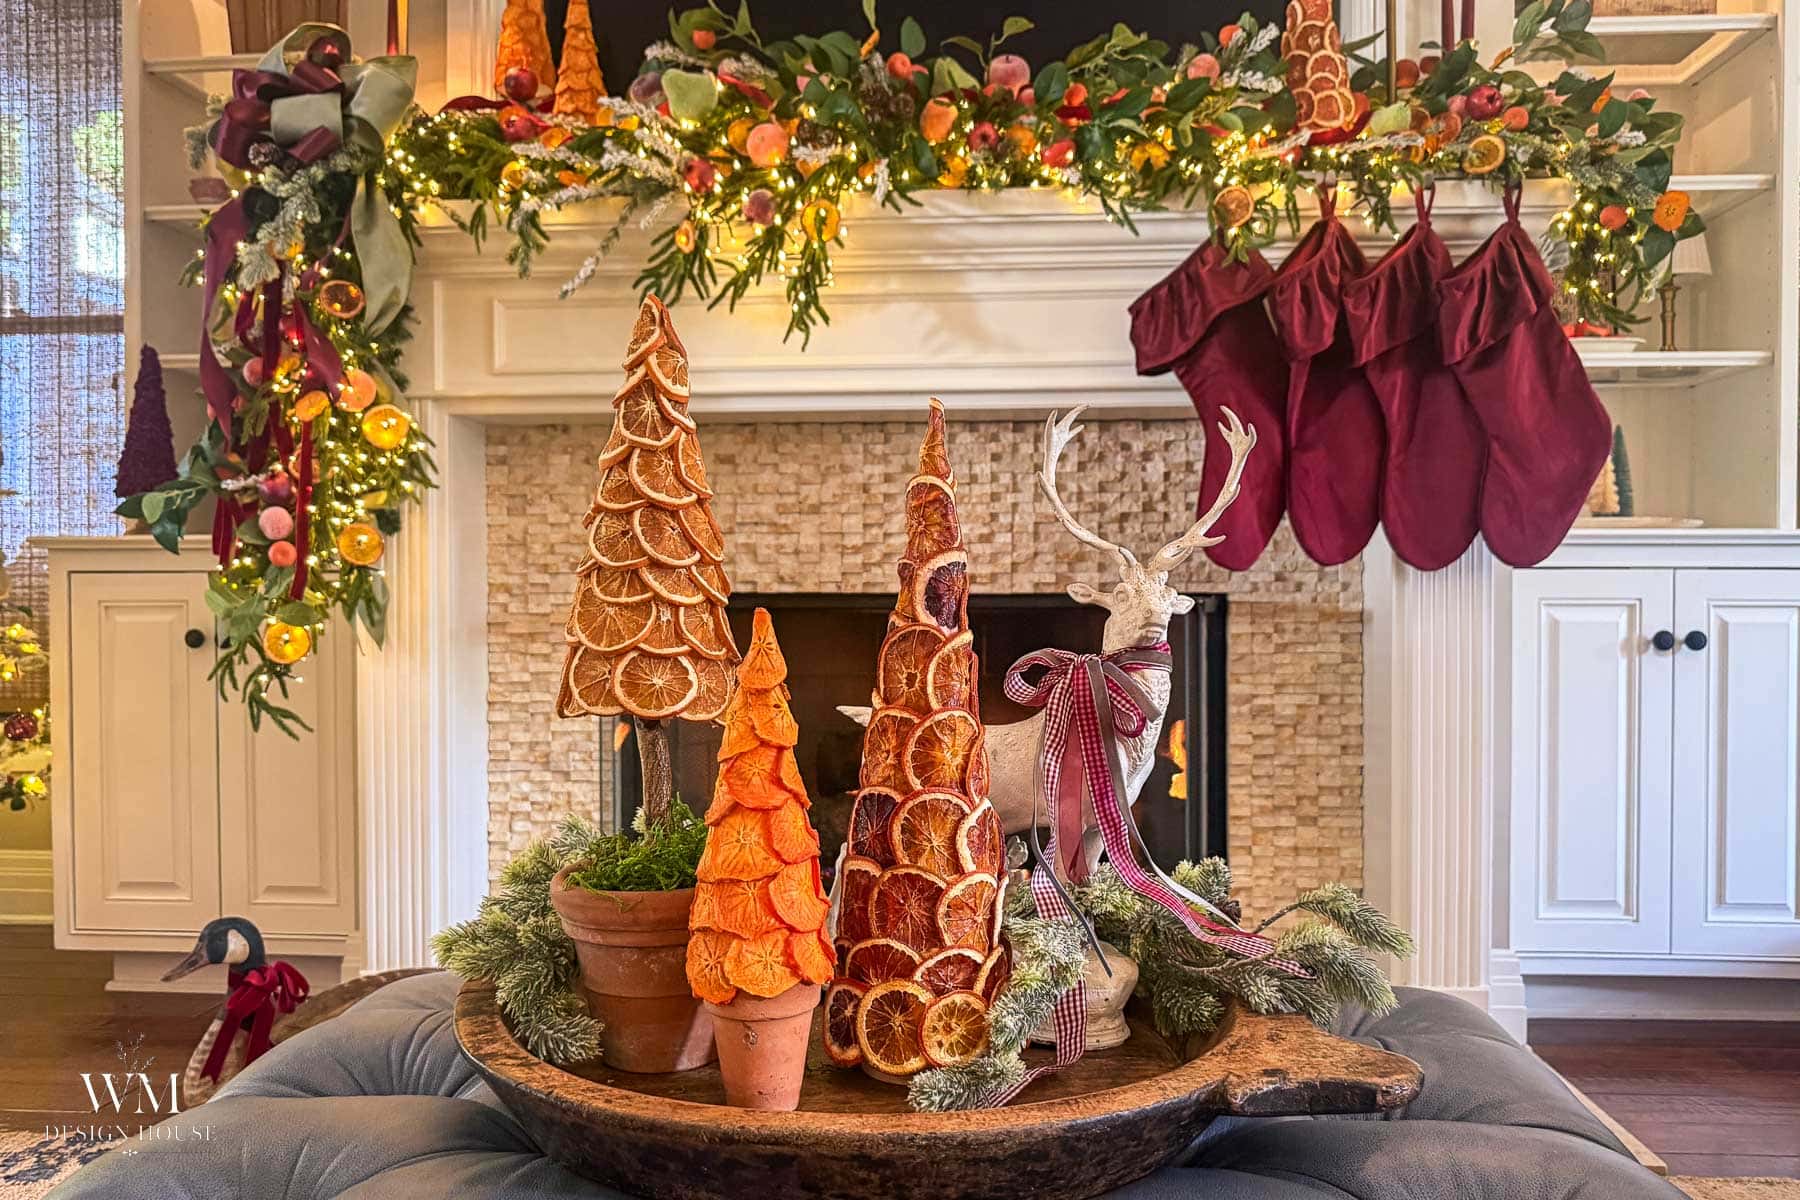
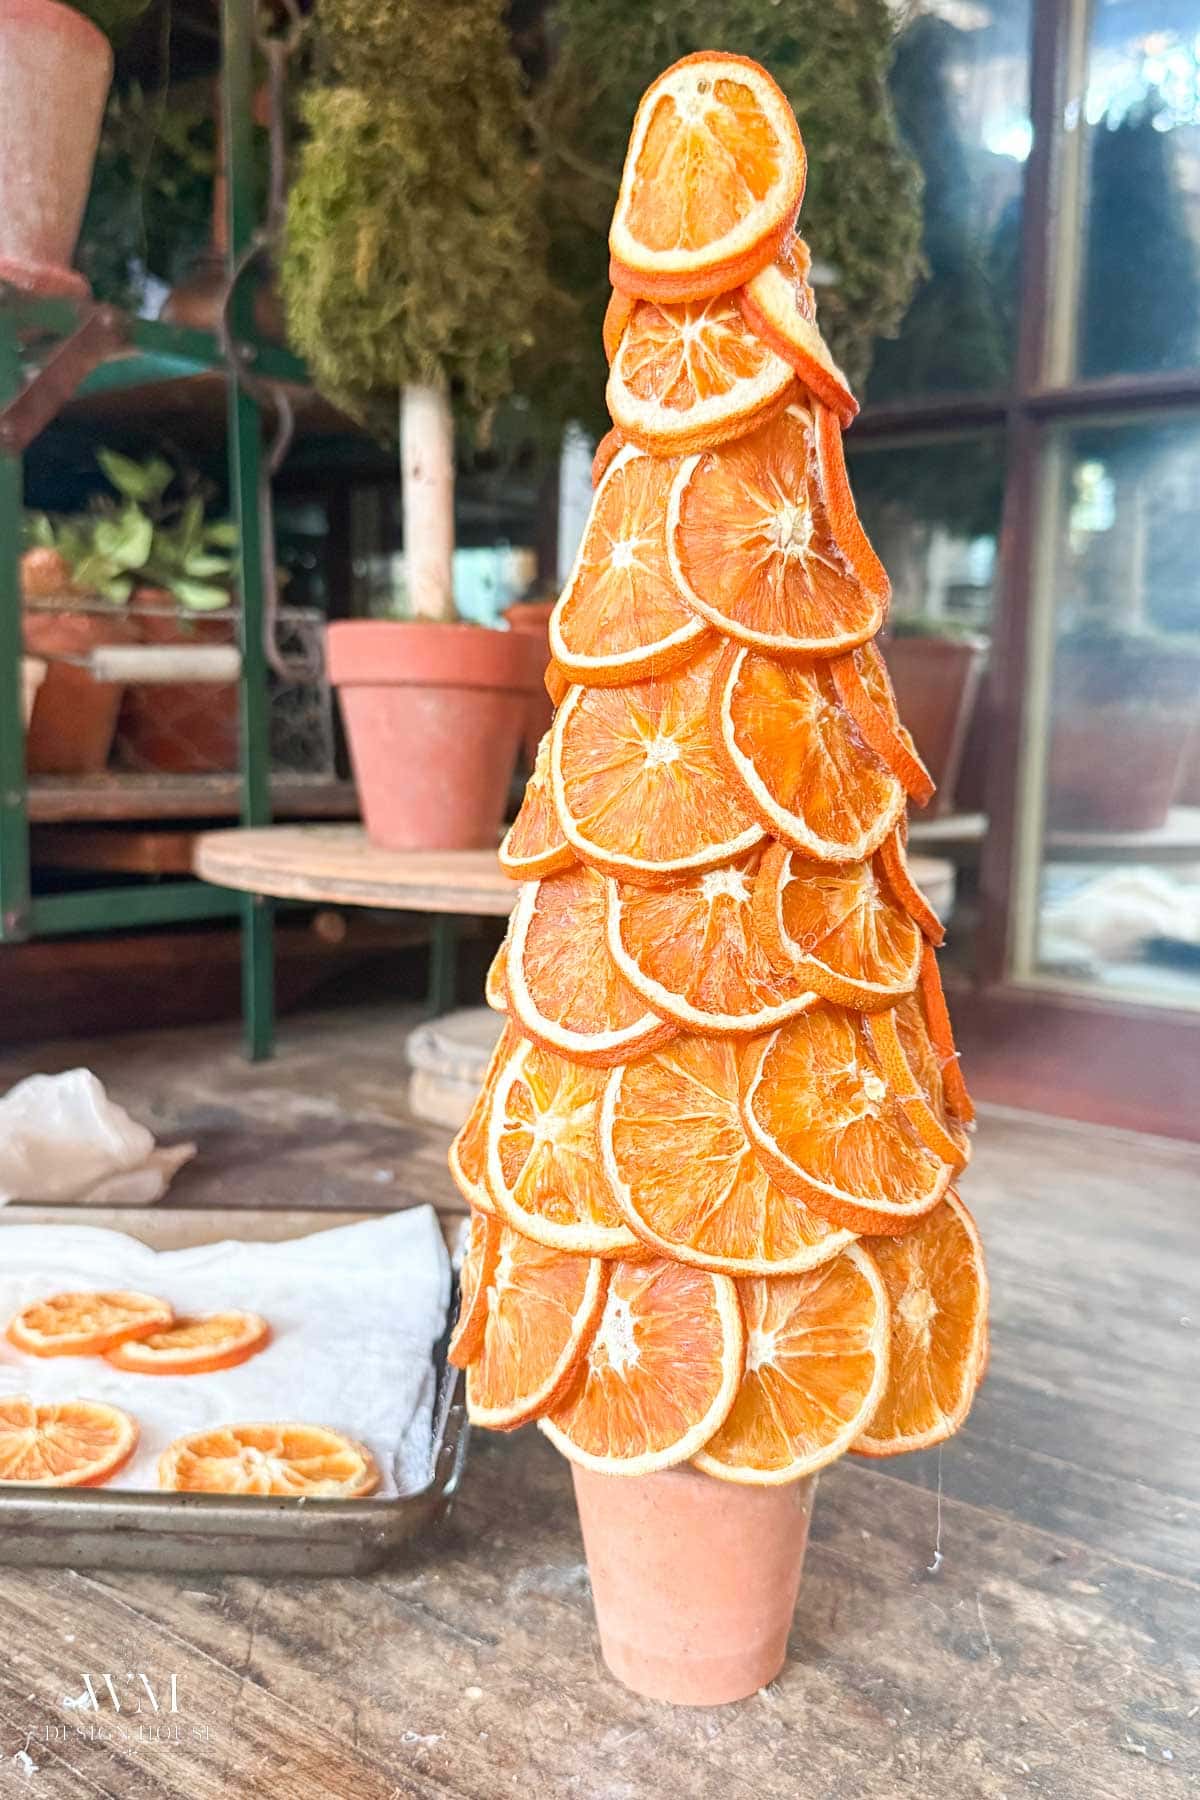
An orange slice Christmas tree is what happens when you have a tray of dried oranges on the worktable and a foam cone sitting on the shelf. You glue the slices on in overlapping rows, like shingles on a roof, and in about [[CONFIRM: 30 minutes]] you have a little tree that glows like stained glass when the lights are on.
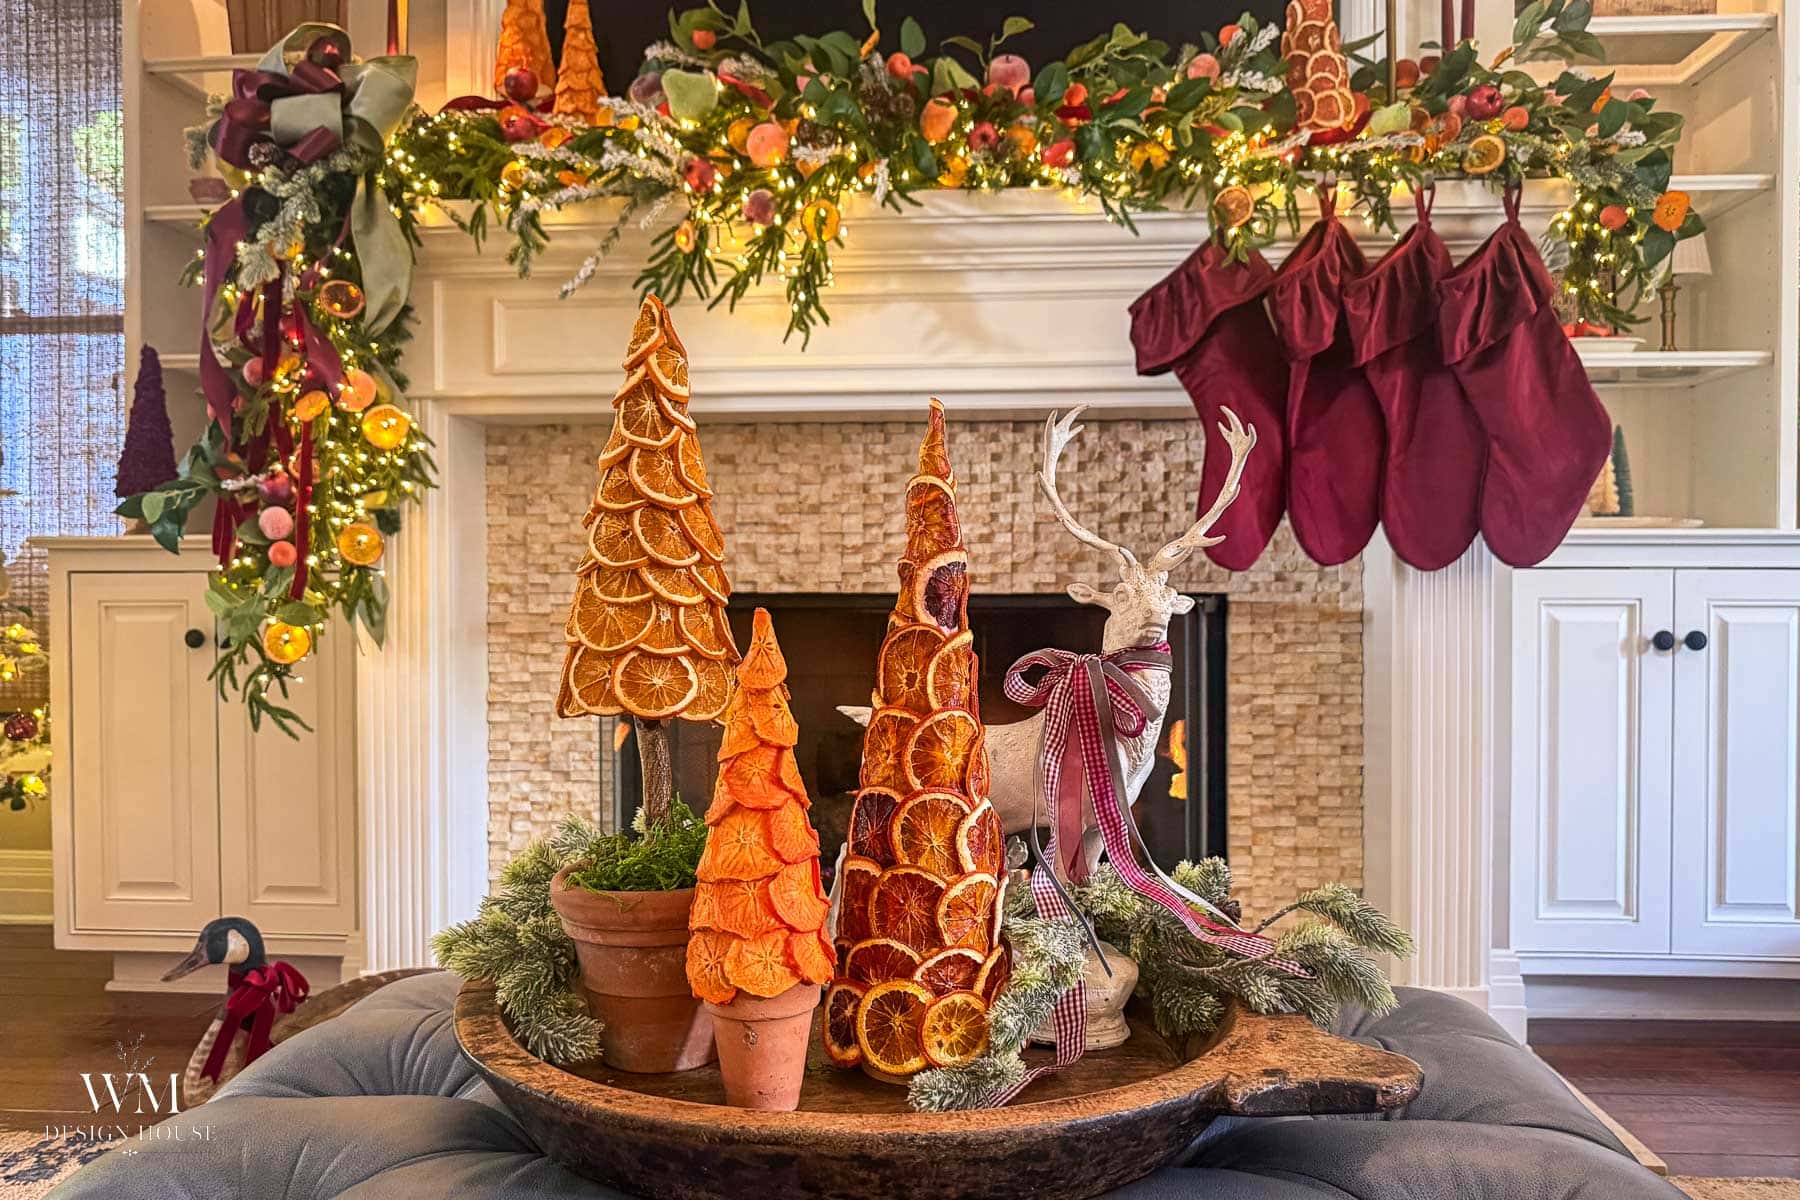
My Christmas decor this year is all about dried and sugared fruit, so I made these cone trees two ways: one covered in dried orange slices and one covered in dried Hachiya persimmon slices. Both start with the same foam cone and the same glue gun. I built them out in the She Shed, and I am going to walk you through each one, step by step.
On my blog WM Design House, I may sometimes use affiliate links, which means a small commission is earned if you purchase via the link. The price will be the same whether you use the affiliate link or go directly to the vendor’s website using a non-affiliate link. Read my full disclosure policy here.
Why Make a Dried Orange Slice Christmas Tree
- It uses what you already have. If you dry a batch of oranges for garlands or ornaments, you will have slices left over. This is where they go.
- It is all natural color. No paint, no glitter. The orange does the work, and it looks right at home next to greenery and moss.
- It is a true beginner project. If you can use a glue gun, you can make this tree.
- It works in any size. Make one, or make three in different heights and group them.
Supplies You Will Need
- Styrofoam cone, choose your size 6-10″ tall.
- Dried orange slices, about 45 for a 10″ tree.. Here is how to make dried orange slices three easy ways.
- Dried persimmon slices for the persimmon tree. I used my oven and dehydrator methods for dried persimmons.
- A small terracotta pot for the base
- Glue gun and glue sticks
- Scissors, for trimming slices to fill gaps
- Optional for a topiary version: a birch branch, a larger pot and moss
- Styrofoam ball to hold the topiary in place inside of the pot
Tip from wendy:
Sort your slices by size before you plug in the glue gun. Save the largest for the bottom rows and the smallest for the top, and the tree tapers on its own.
How to Make an Orange Slice Christmas Tree
These steps are for the dried orange tree. The persimmon tree follows the same order, with a few differences I cover in the next section.
If your oranges are stiff, place them between two warm and moist paper towels for around 10-15 minutes, this will allow you to bend the slices.
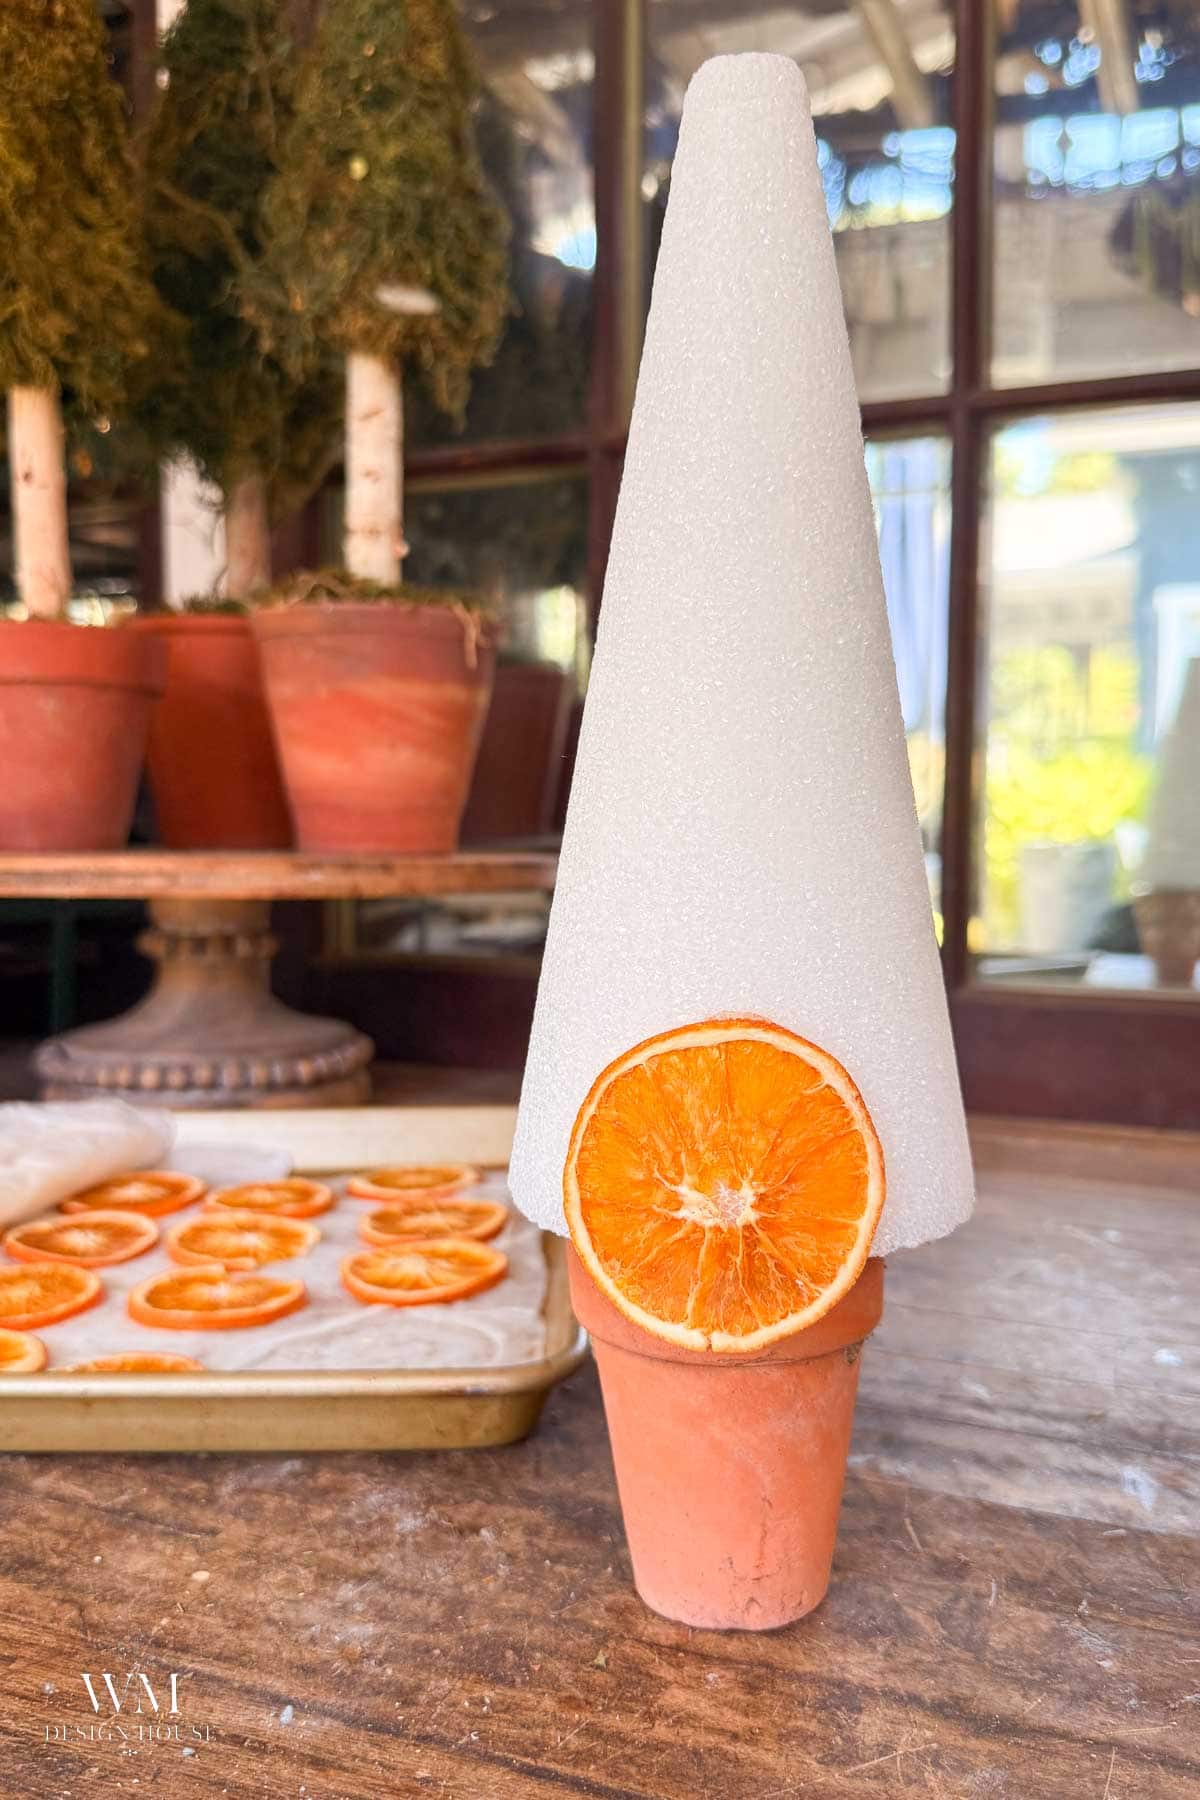
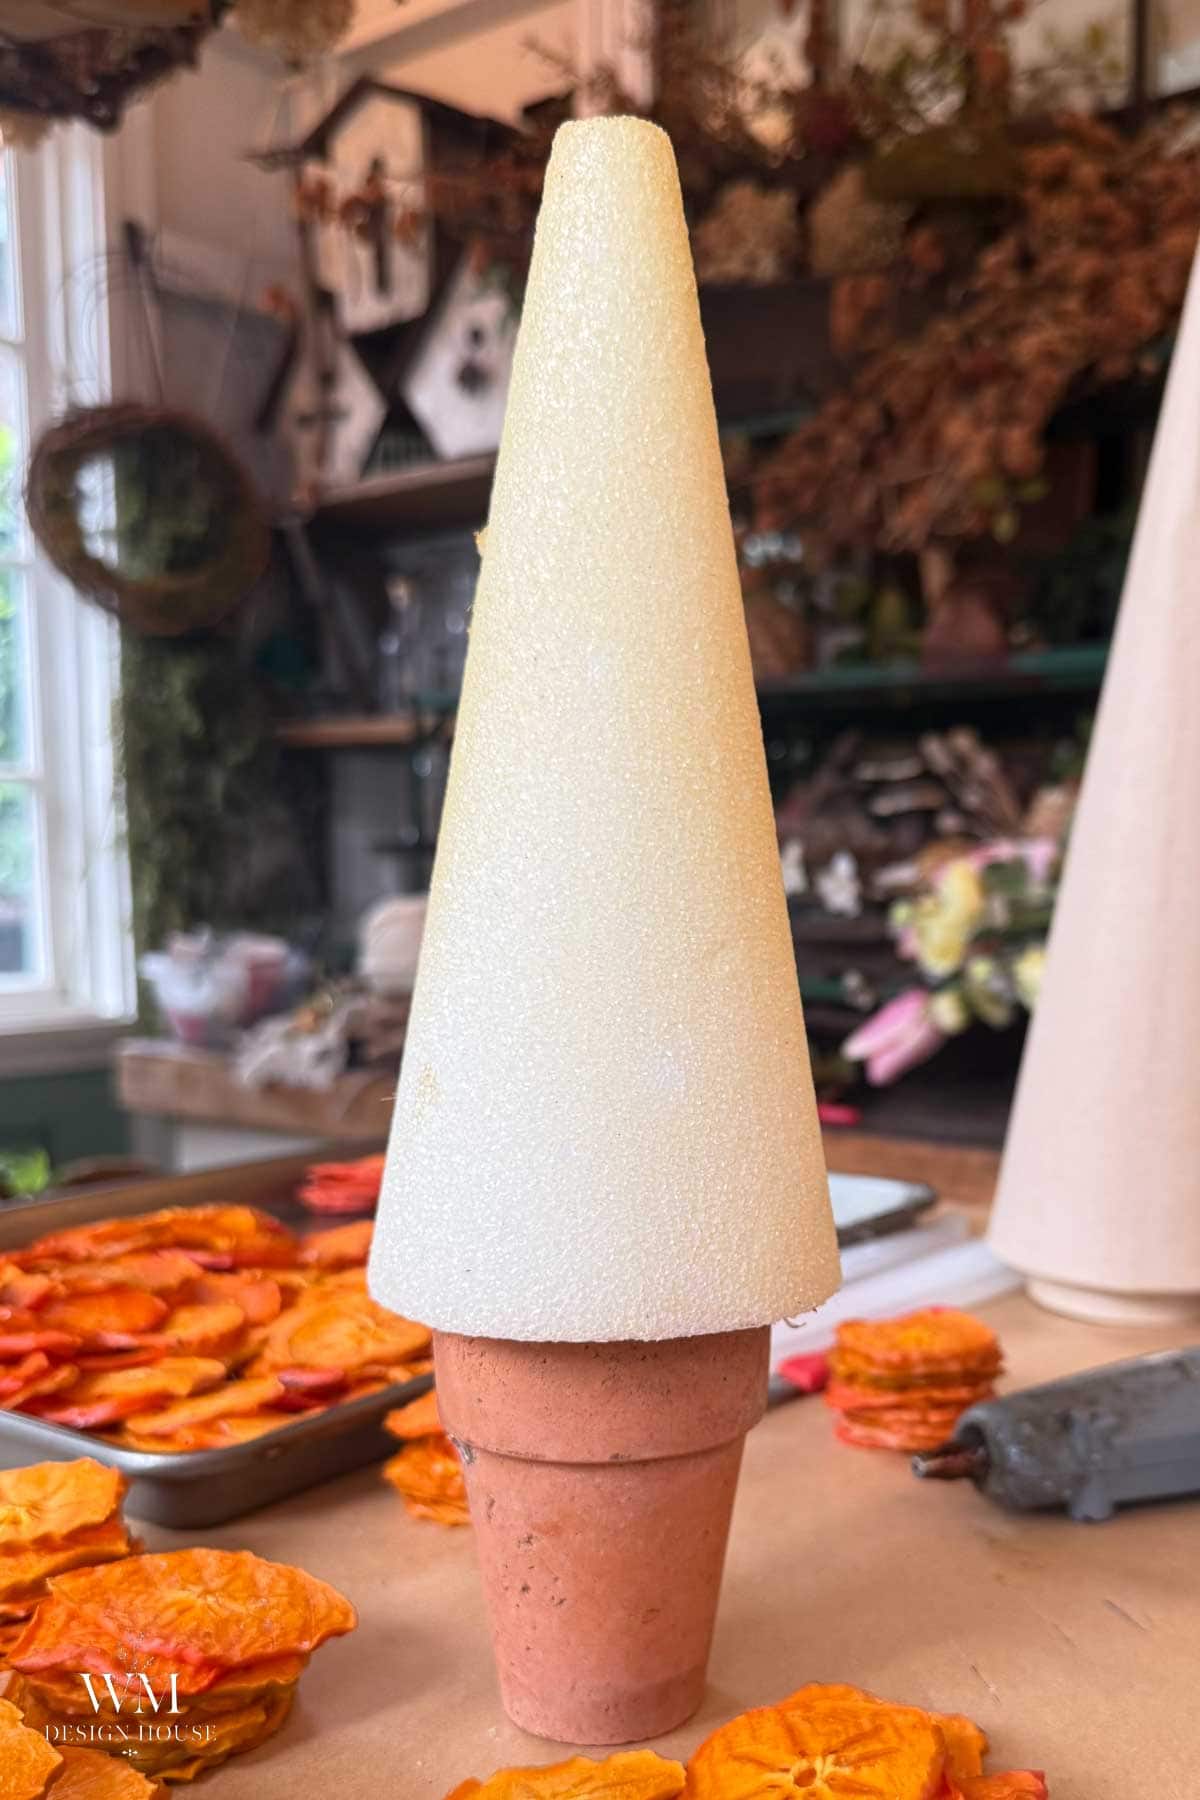
Set the cone on the pot
Turn the terracotta pot right side up and set the foam cone on top so it sits level. The pot gives the tree a little height and a finished base.
Glue on the first slice
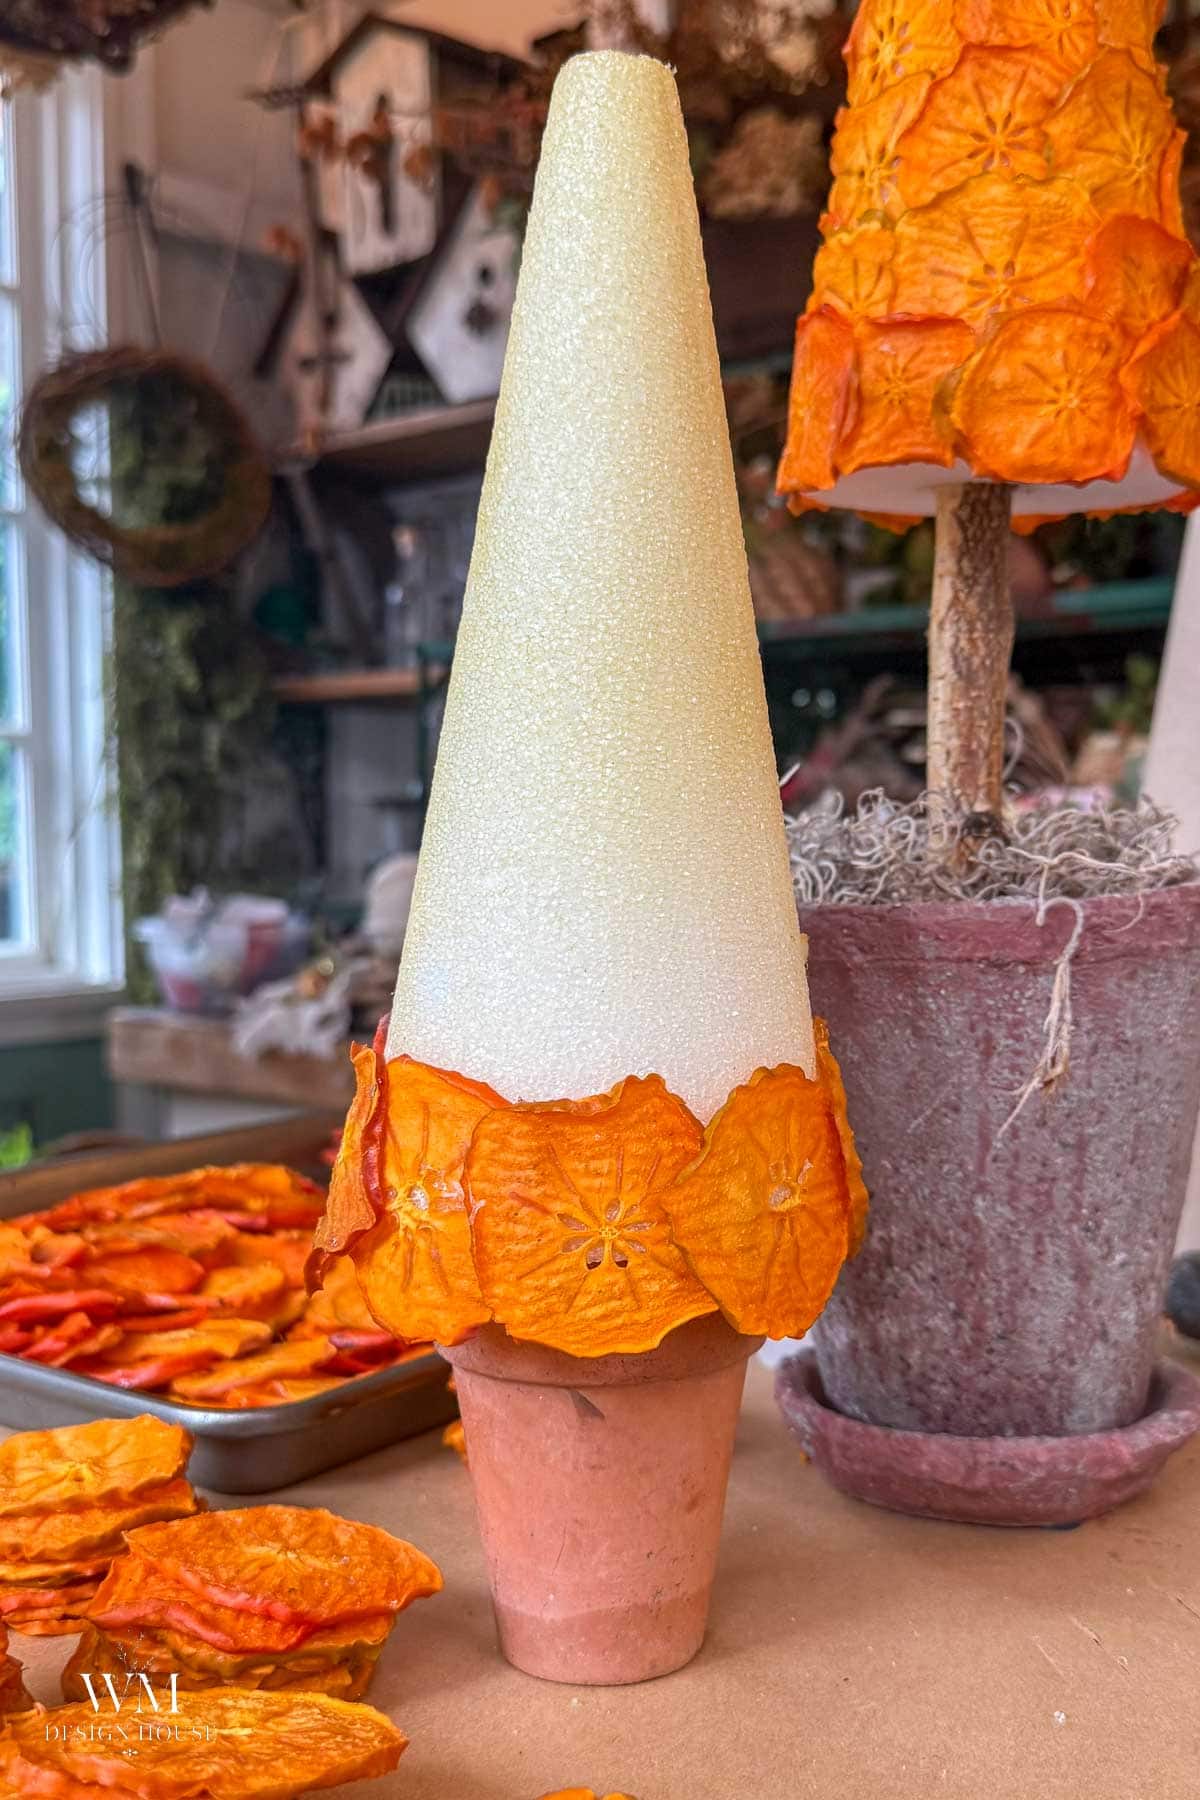
Run a line of hot glue across the back of one of your largest slices and press it onto the bottom edge of the cone. Let the slice hang a little below the foam so it covers the rim of the pot. Hold it for a few seconds until the glue grabs.
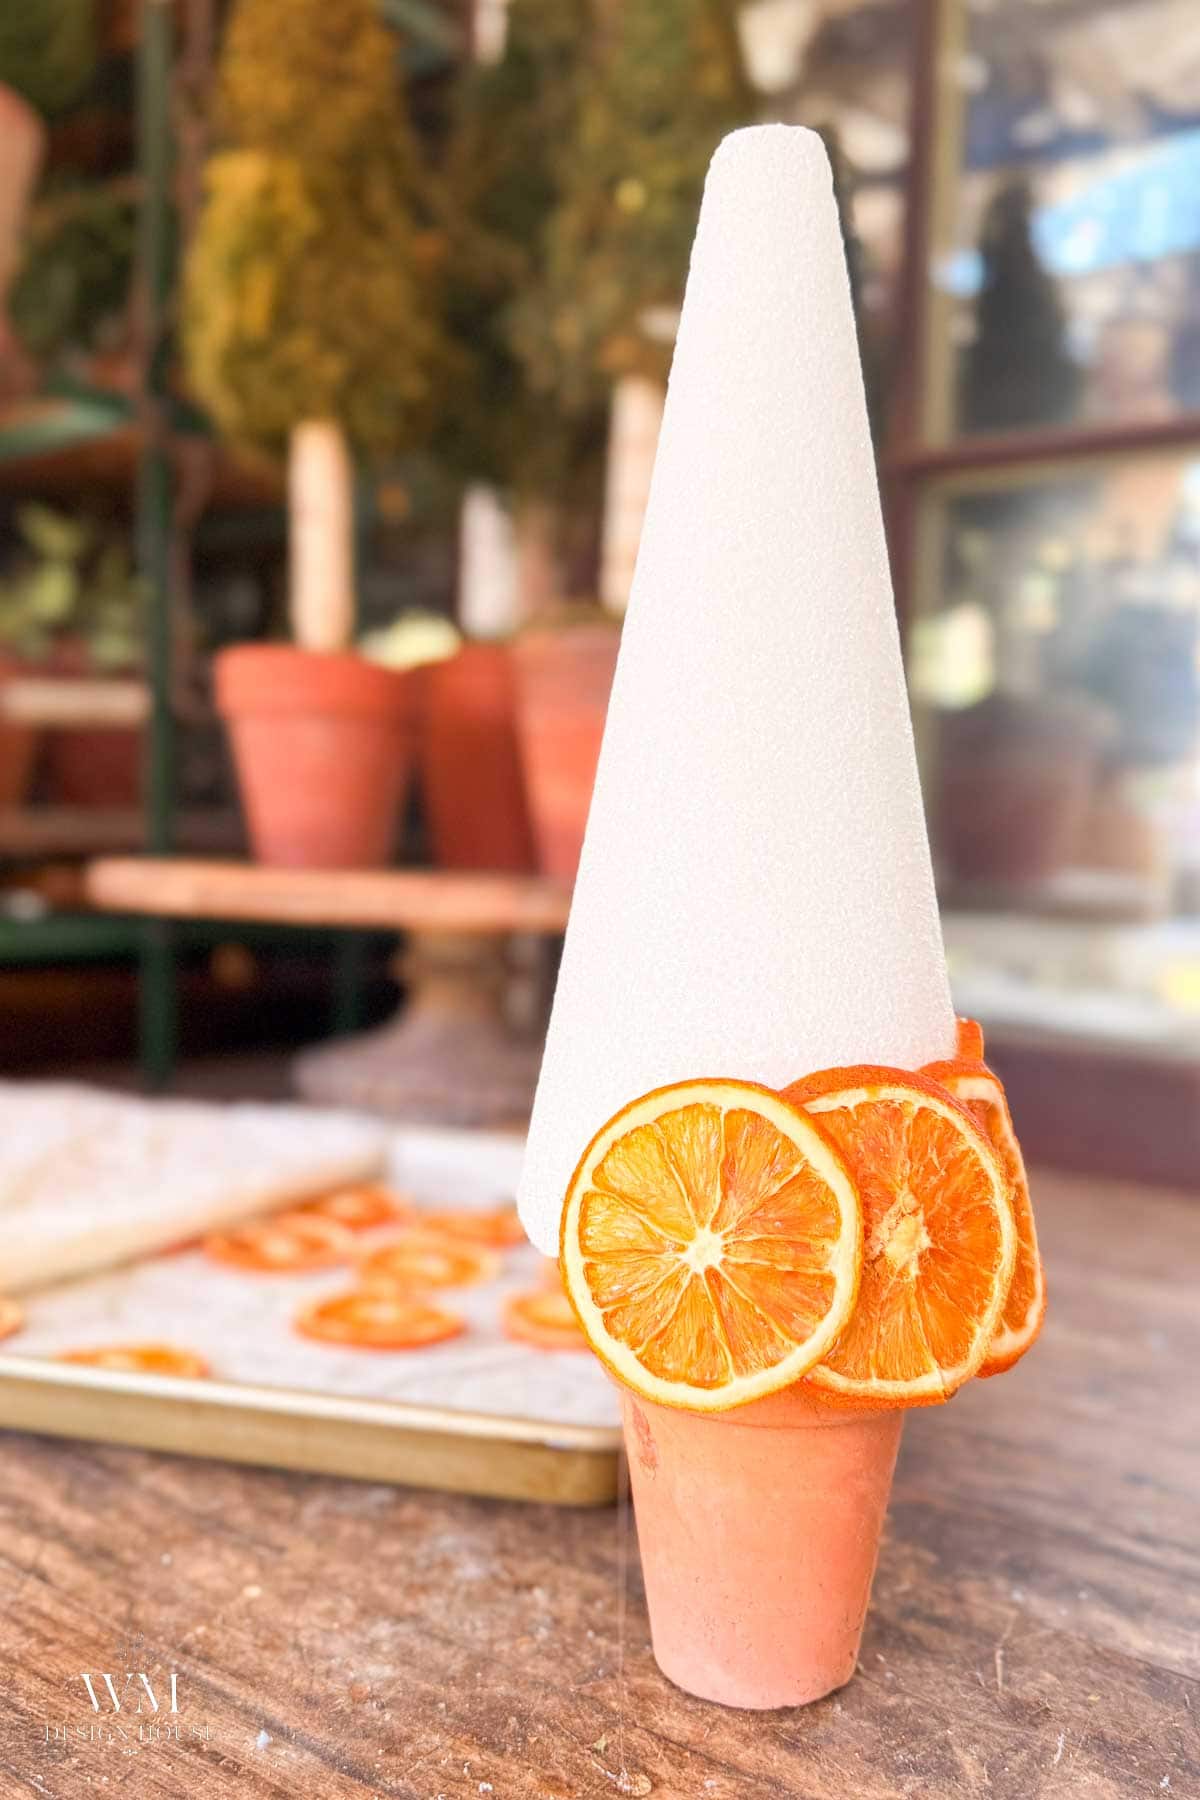
Finish the bottom row
Add the next slice so it overlaps the first by about a third, and keep going all the way around the cone. The overlap is what hides the white foam, so do not be shy with it.
Work your way up in rows
Start the second row so each slice sits over the seam between two slices below it and overlaps the row underneath. Angle each slice slightly upward as you go, so the rows climb the cone in a gentle spiral. Keep working your way up, switching to smaller slices as the cone narrows.
Cap the top
At the tip, wrap two or three of your smallest slices around the point, then glue one last slice standing upright on top. Step back, turn the tree, and tuck a half slice into any spot where foam is still showing.
Clean up the glue strings
Hot glue leaves fine strings behind. Pull off what you can with your fingers, then give the tree a quick pass with a hair dryer on low to melt the rest.
The Persimmon Version: A Dried Fruit Christmas Tree
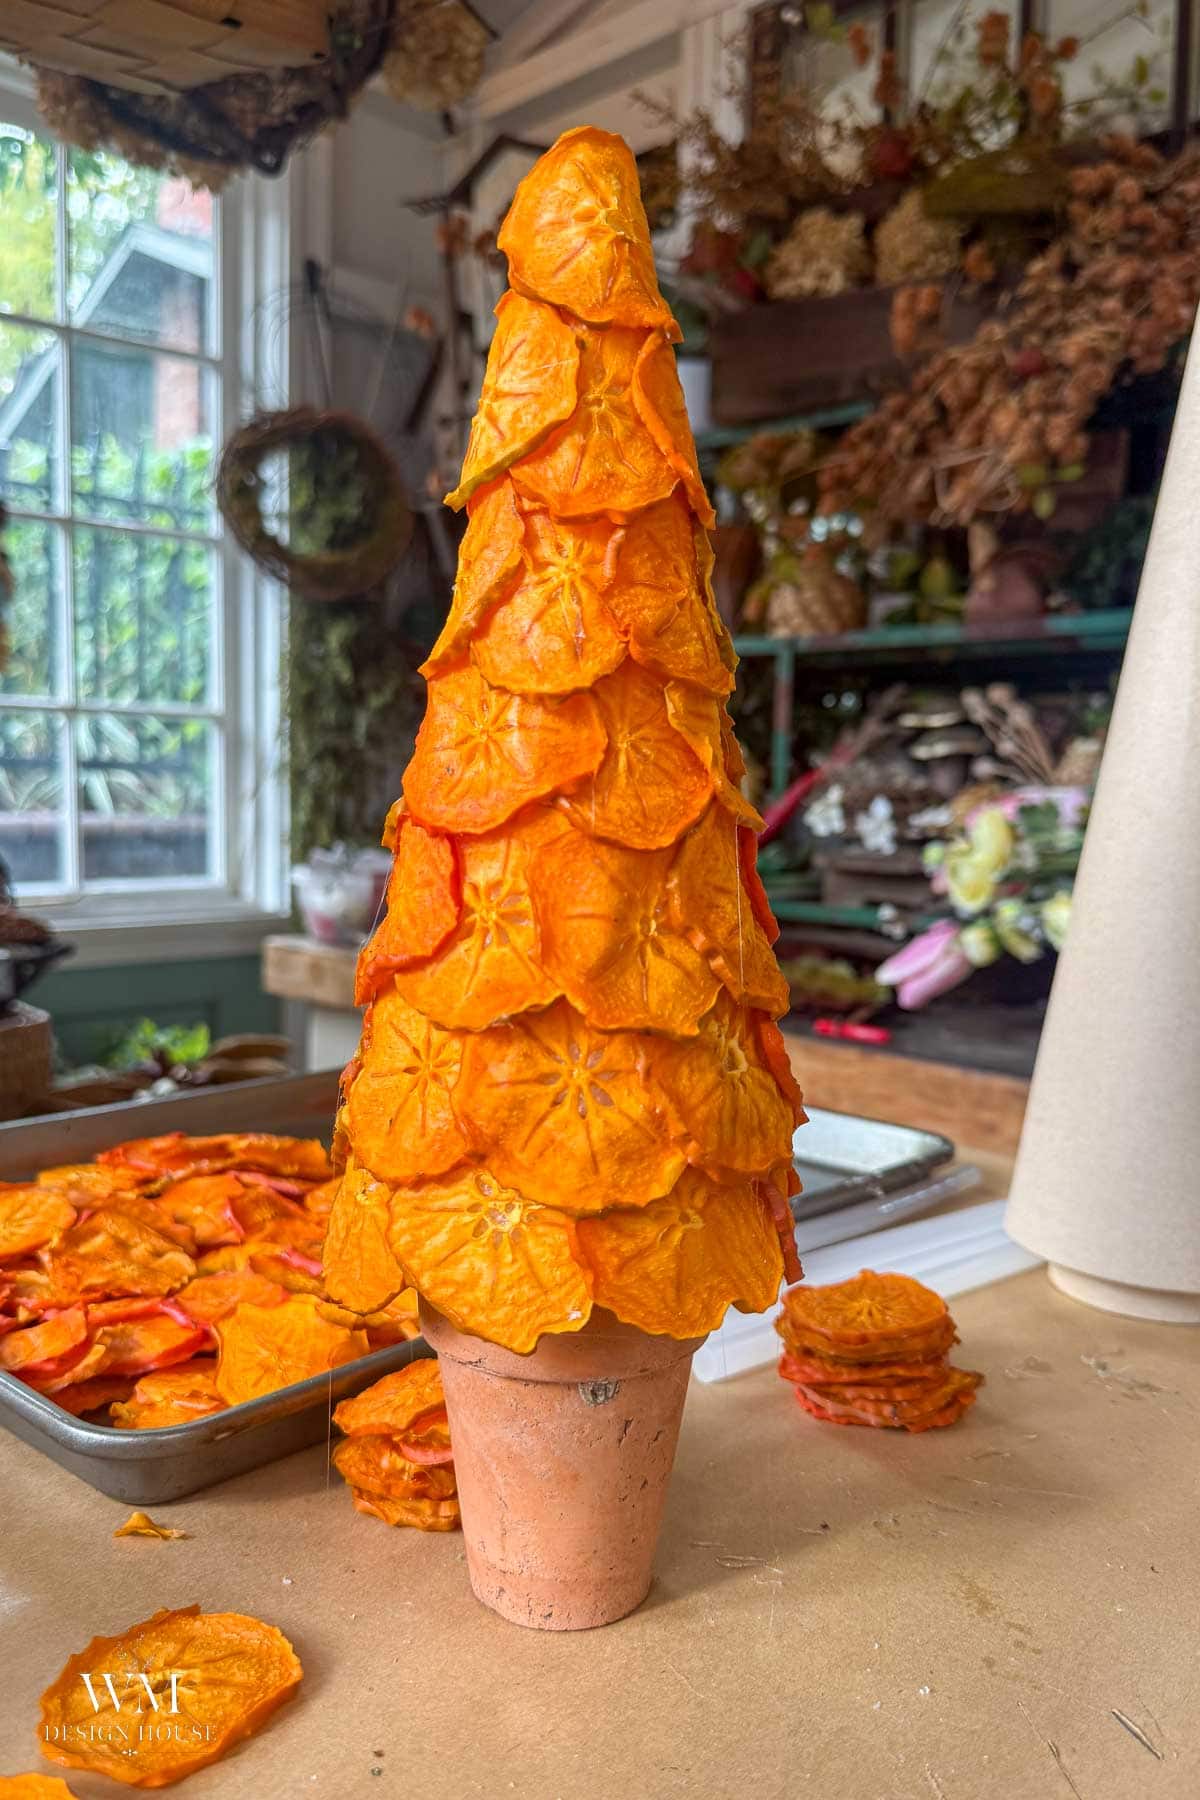
If you want a dried fruit Christmas tree that nobody else on the block has, use dried persimmons. I show you exactly how to dry persimmon slices in the oven or in a dehydrator and either method works for this tree. The slices dry to a deep orange with a little star in the center of each one, and the edges ruffle as they dry, so the finished tree has a softer, fuller look than the orange one.
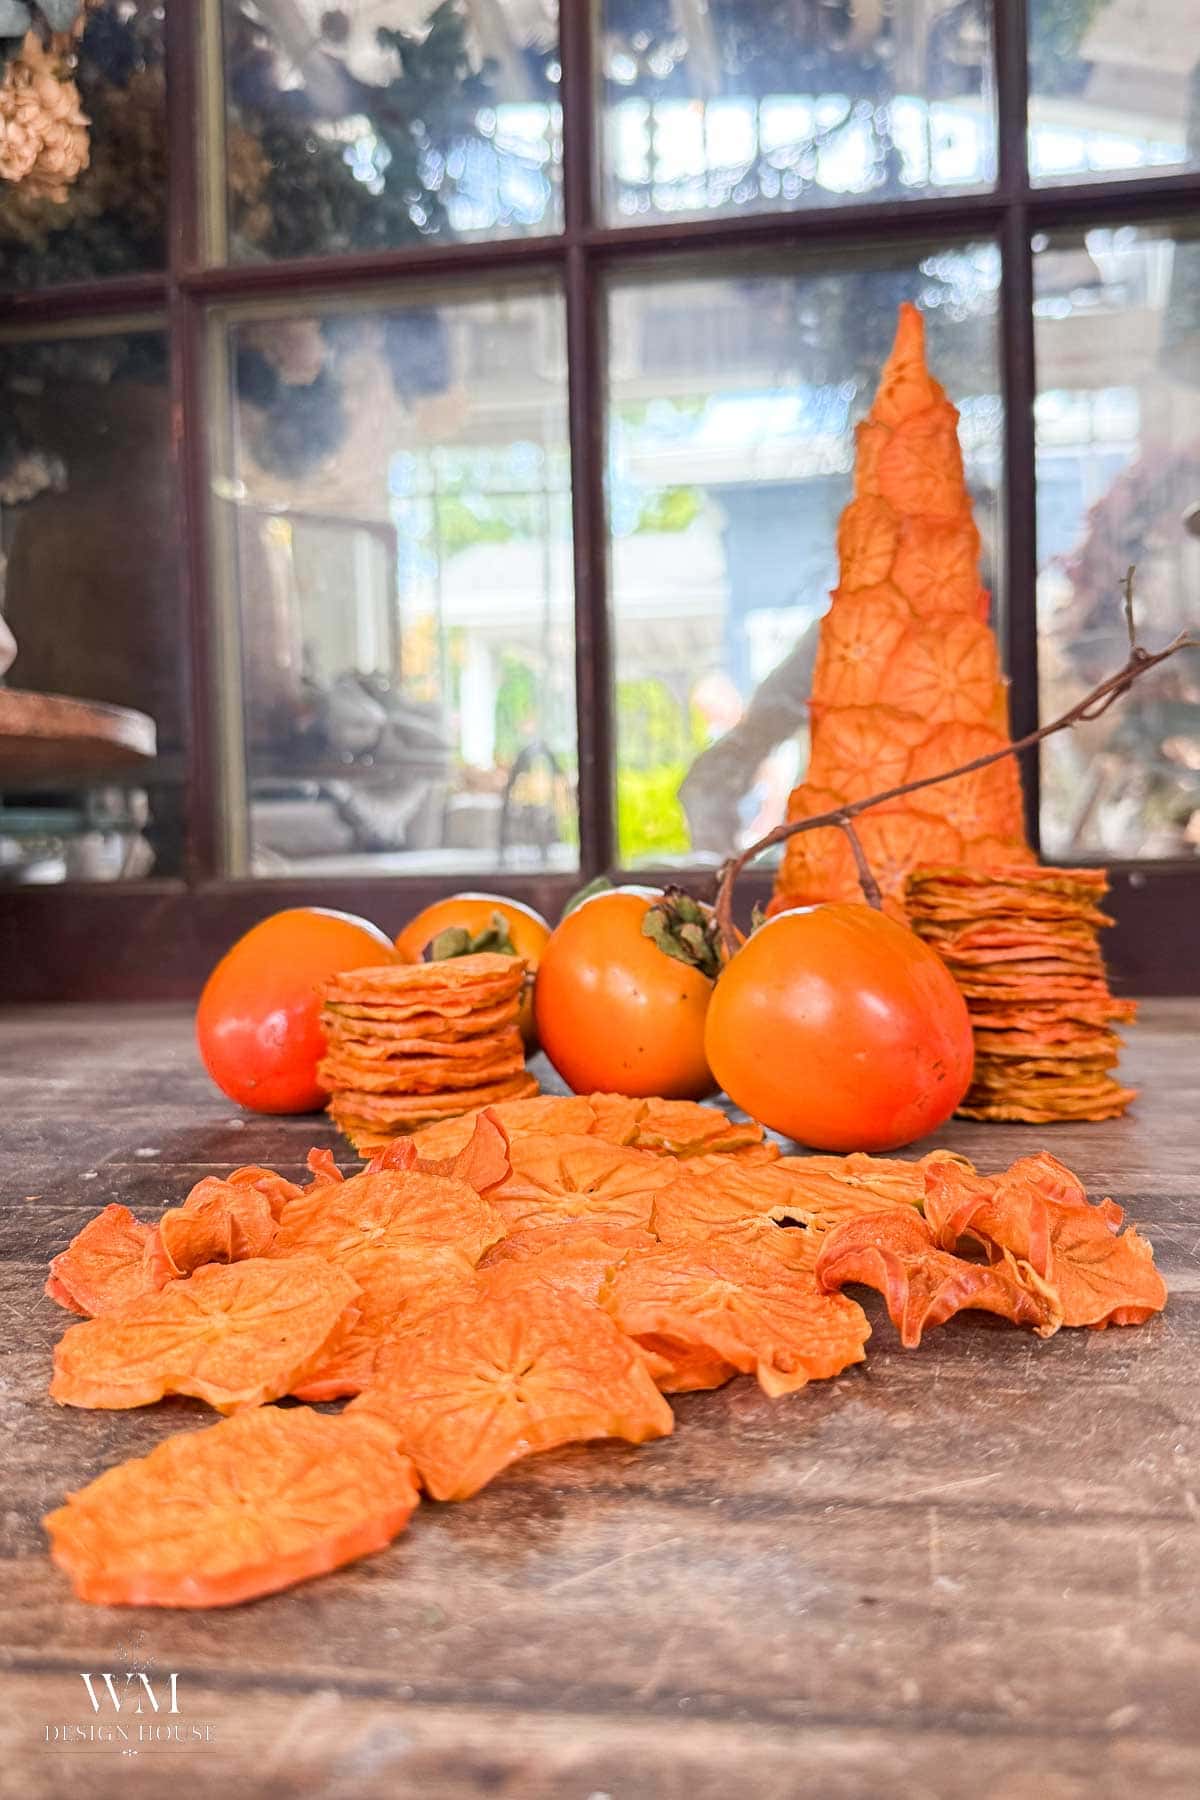
The steps are the same: cone on the pot, biggest slices on the bottom, overlap as you go, smallest slices at the top. Here is what is different.
- Use Hachiya if you can. I dried both Fuyu and Hachiya, and the Hachiya slices held their color much better.
- Overlap a little more. Persimmon slices are not perfectly round, so I overlapped them more than the oranges to keep the foam covered.
- Press gently. The persimmon slices are very flexible and easy to work with.
What to Expect
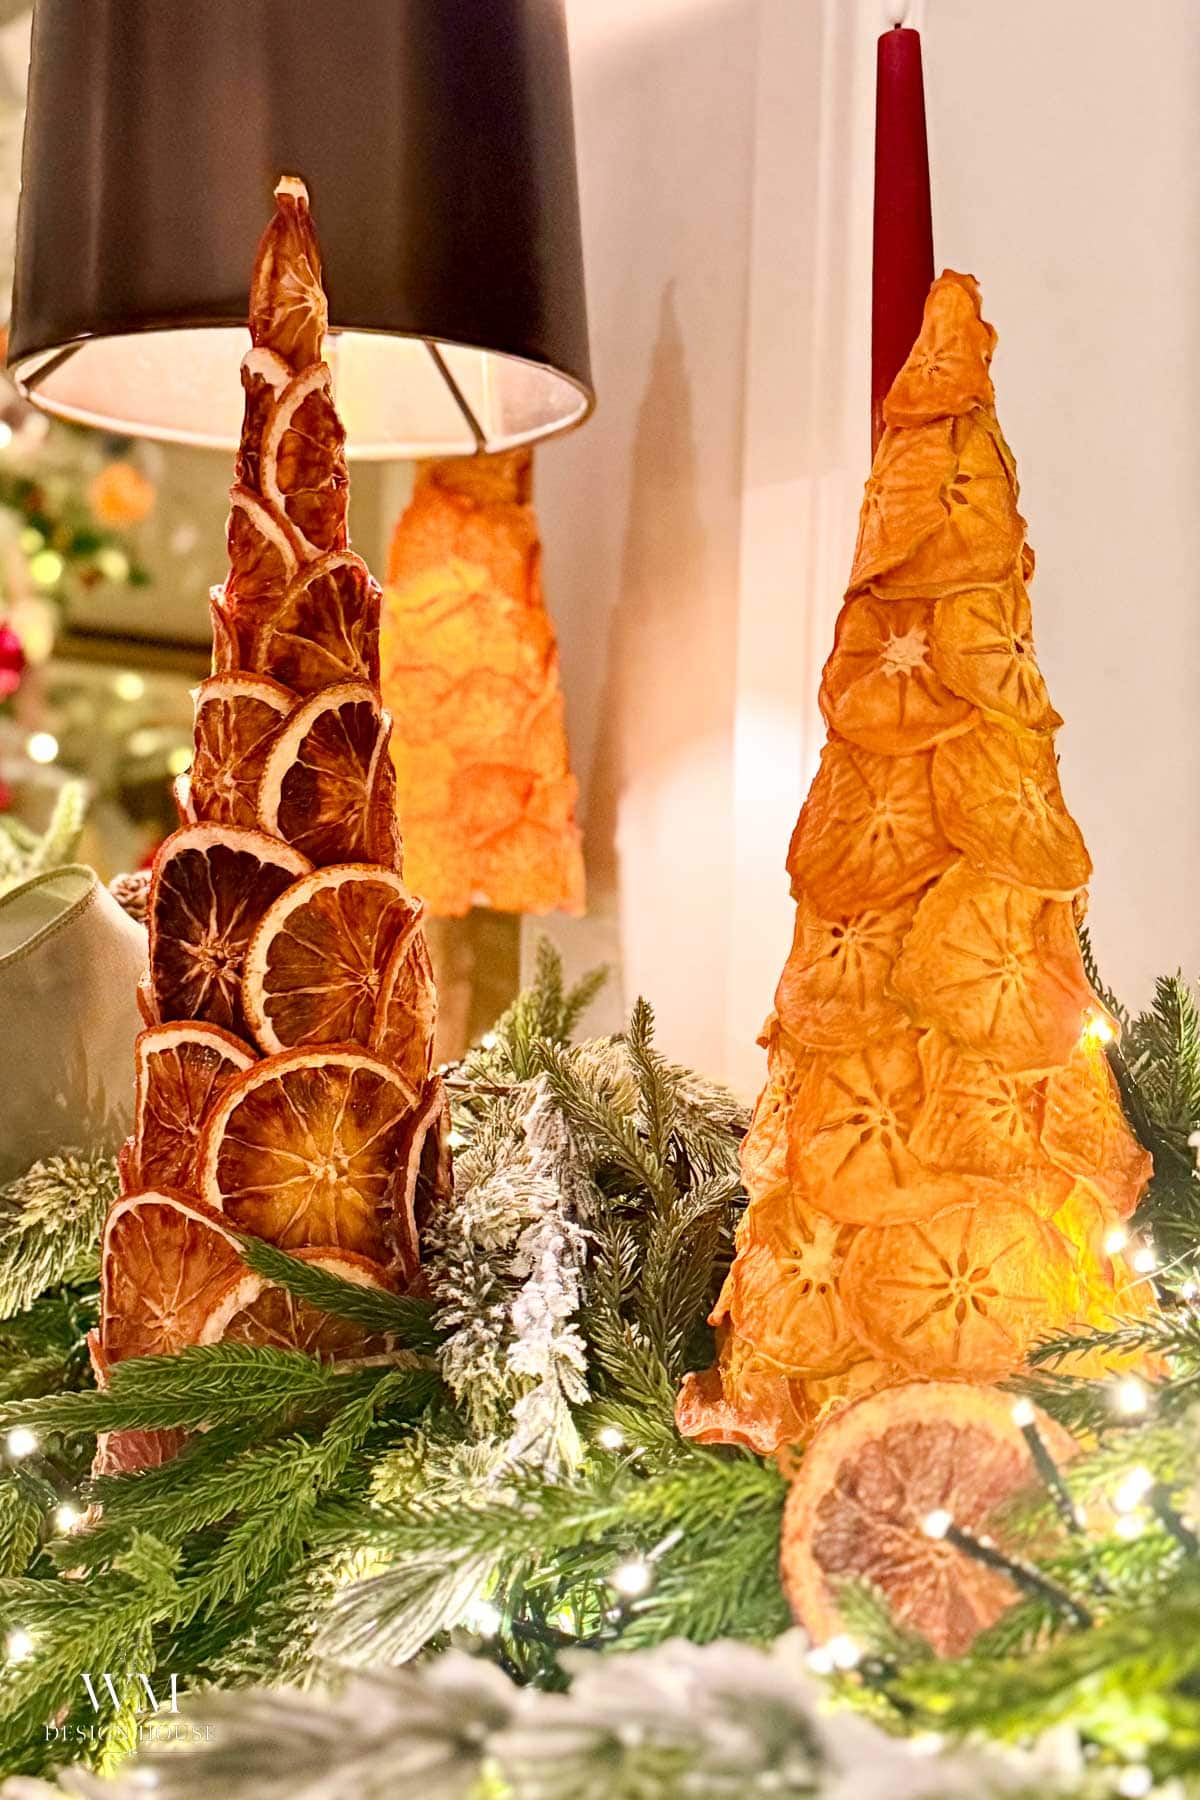
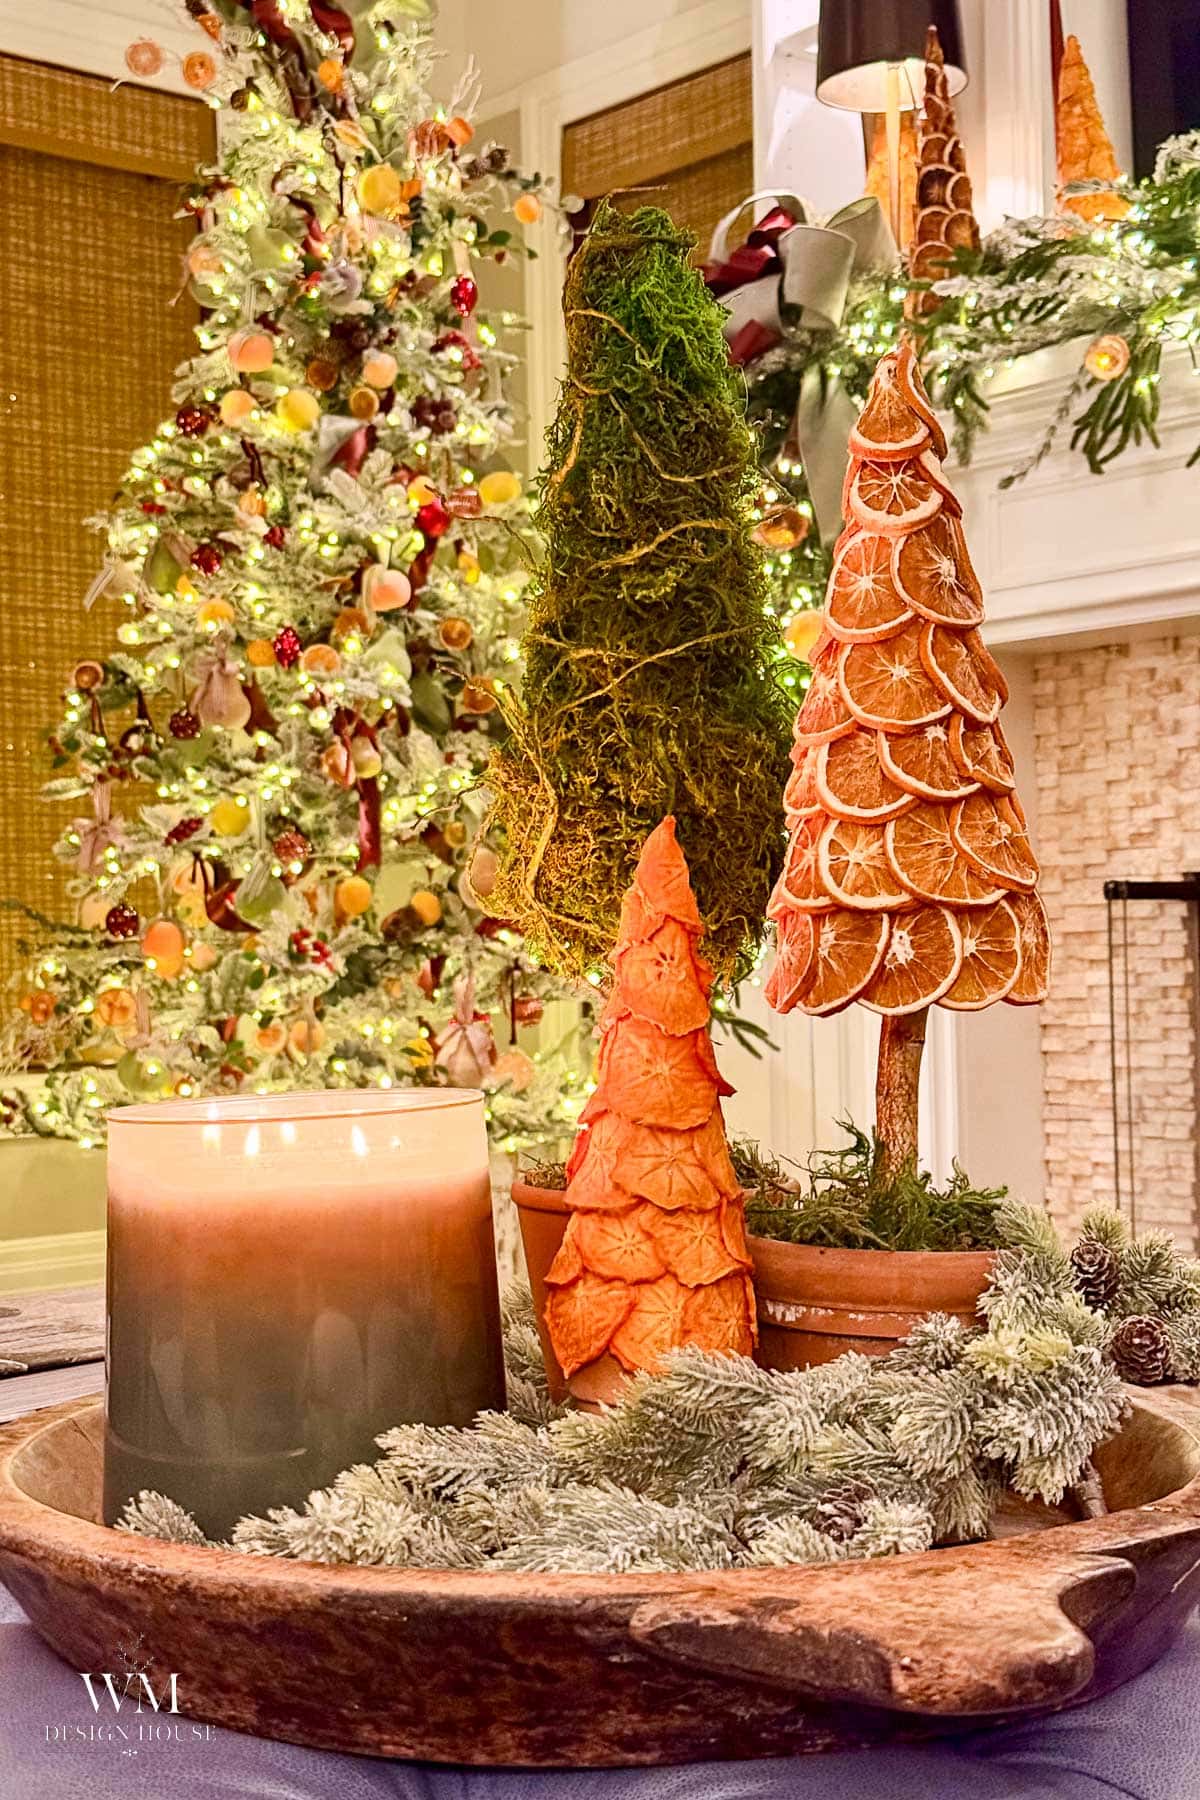
- They glow. Set either tree near a candle or a string of lights and the slices light up like stained glass.
- They are light. A foam cone covered in dried fruit weighs almost nothing, which is why the terracotta pot matters. It keeps the tree from tipping.
- They are delicate. Dried fruit chips if it gets knocked, so carry the tree by the pot, not by the cone.
- They are for looking, not eating. Once there is hot glue involved, these are decorations only. I also lihgt to give them a slight spray of clear matte acrylic to protect them for several years.
Troubleshooting
White foam is showing between slices
Cut a slice in half with scissors and tuck the half into the gap with a dot of glue. Nobody will ever see the patch.
Slices keep popping off
The glue cooled before the slice went on. Glue one slice at a time and hold each one in place for a slow count of ten.
The glue is melting the foam
Your glue gun is too hot for bare Styrofoam. Switch to a low temperature gun, be sure to put the glue on the slice instead of on the cone.
A slice feels soft or tacky
It is not fully dry, and a slice that is not dry can mold. Place the tree in front of a small fan for several days to dry.
How I Used My Orange Slice and Persimmon Trees
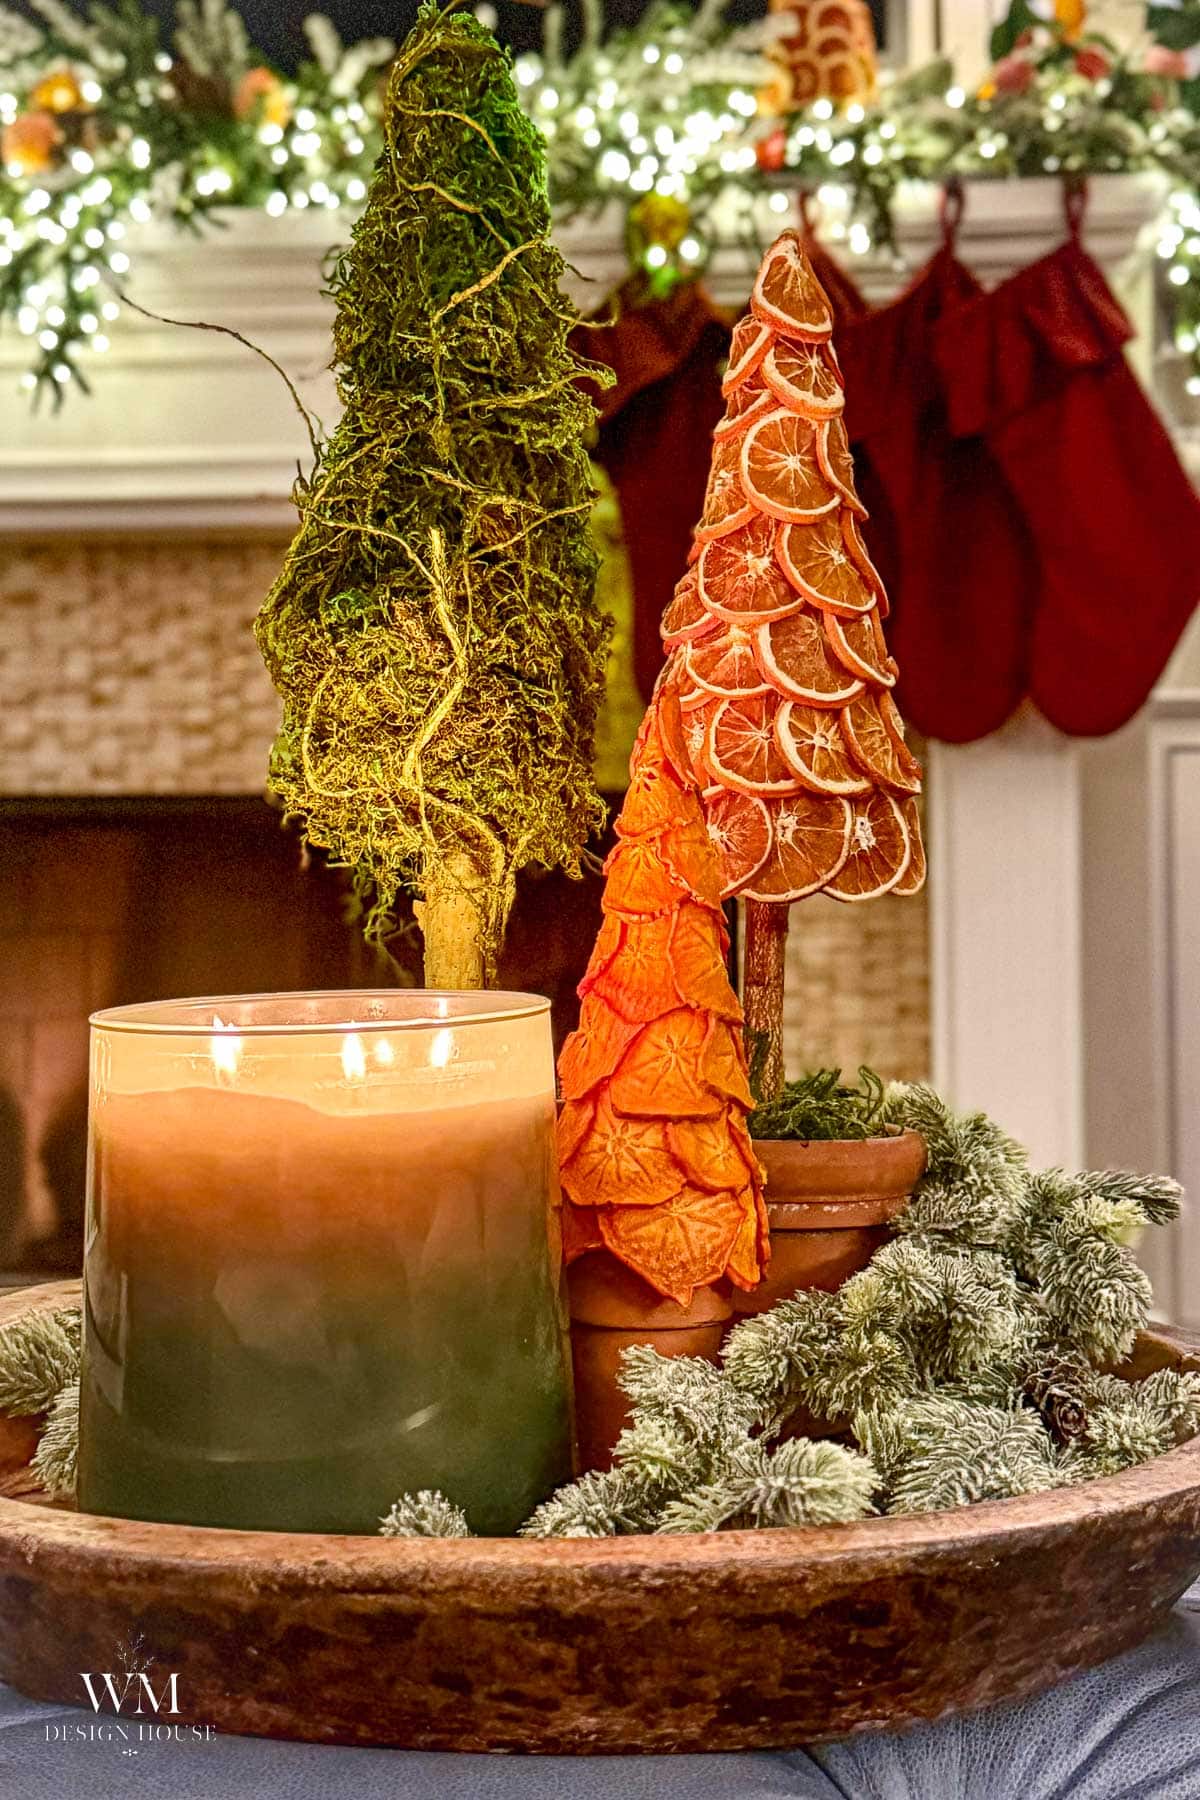
- On the coffee table. I grouped both trees in a wooden bowl with a candle, a few flocked branches and my moss cone Christmas tree.
- In the greenery. Tucked into lit greenery on the mantel, the slices pick up the glow from the lights.
- With the tree. They repeat the dried oranges and sugared fruit ornaments on my flocked Christmas tree.
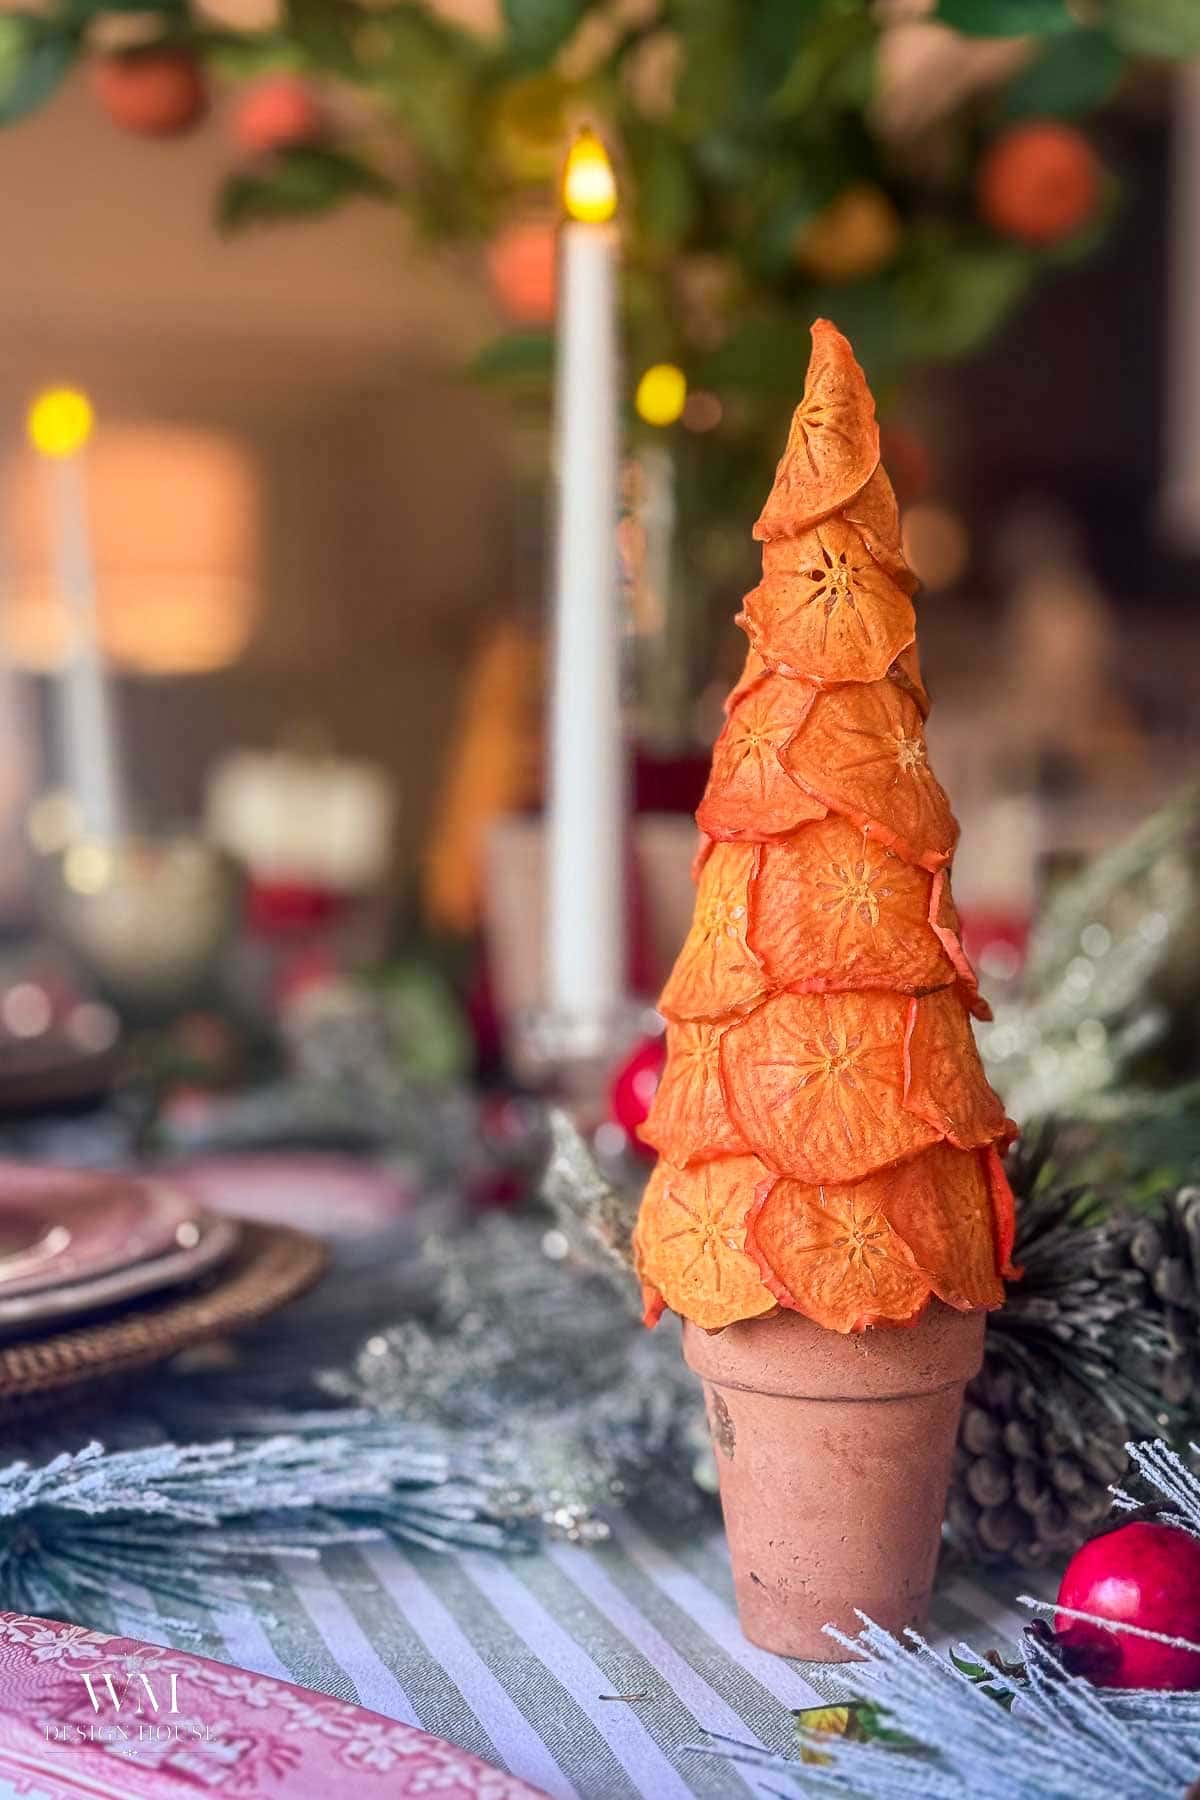
- On the table. A small tree at each end of the table looks sweet with my knotted rope napkin rings with dried orange slices.
More Cone Trees and Dried Fruit Projects
If you enjoyed this one, here are more projects that use the same supplies:
- My garden-inspired moss cone Christmas tree.
- A rustic pinecone Christmas tree.
- Sweet little marshmallow Christmas trees.
- 13 ideas for dried orange ornaments.
- Five ways to make sugared fruit ornaments.
Dried Orange Slice Christmas Tree
Equipment
- 1 Glue Gun
- 1 pair of scissors
- 1 Hairdryer optional
Ingredients
- 1 Styrofoam cone 6-10″ tall
- 45 dried orange slices or dried persimmon slices
- 1 small terracotta pot
- Glue sticks

Instructions
- Sort the slices. Group the dried slices by size: large, medium and small.
- Set the base. Stand the terracotta pot right side up and set the foam cone on top so it sits level.
- Glue the first slice. Run hot glue across the back of a large slice and press it to the bottom edge of the cone, letting it hang slightly over the rim of the pot.
- Finish the bottom row. Add slices around the cone, overlapping each one by about a third.
- Build the rows. Start each new row over the seams of the row below and overlap the row underneath. Use smaller slices as the cone narrows.
- Cap the top. Wrap two or three small slices around the tip and glue one slice upright on top.
- Fill the gaps. Cut a slice in half and tuck it into any spot where foam shows.
- Remove glue strings. Pull them off by hand or melt them with a hair dryer on low.
Notes
- For a persimmon tree, use dried Hachiya slices and overlap them a little more than orange slices.
- Slices must be fully dry before gluing. A soft slice can mold.
Frequently Asked Questions
Yes. Bagged dried orange slices from a craft store work the same way. Check that they are fully dry and close to the same thickness, and buy more than you think you need, since some will be broken in the bag.
Wrap it loosely in tissue paper, set it upright in a box with a lid, and keep the box in a cool, dry closet. A silica gel packet in the box helps keep moisture away. Stored dry, the tree can come back out for several seasons.
Fully dried slices rarely do, because there is no moisture left in them. Problems start when slices are still soft in the center or the tree is stored somewhere damp.
Yes. Paper mache and cardboard cones take hot glue well and will not melt, so a high temperature glue gun is fine. They are hollow and even lighter than foam, so glue the cone to its base.
Yes. Lemons stay bright, limes turn a deep olive, blood oranges go dark red, and grapefruit gives you large slices that are good for the bottom rows of a tall cone. Mixing two or three kinds on one tree looks beautiful.
Dried orange slices have only a faint scent. For more, glue a few whole cloves, star anise or short cinnamon stick pieces between the slices, or tuck a cotton ball with a drop of orange essential oil inside the pot.
Wrapping Up
A foam cone, a glue gun and a tray of dried fruit is all it takes to make an orange slice Christmas tree, and the persimmon version is just as easy. Make one of each and set them where the lights can shine through. If you try it, leave a comment and tell me which fruit you used. I would love to hear how yours turned out.



More about me!

Hello, I’m Wendy – a dedicated homemaker with a deep passion for decorating, gardening, cooking, and crafting. I find joy in harmonizing beautiful elements to fashion a space that is both comfortable and inspiring. I will help you create a beautiful home, one project at a time.