
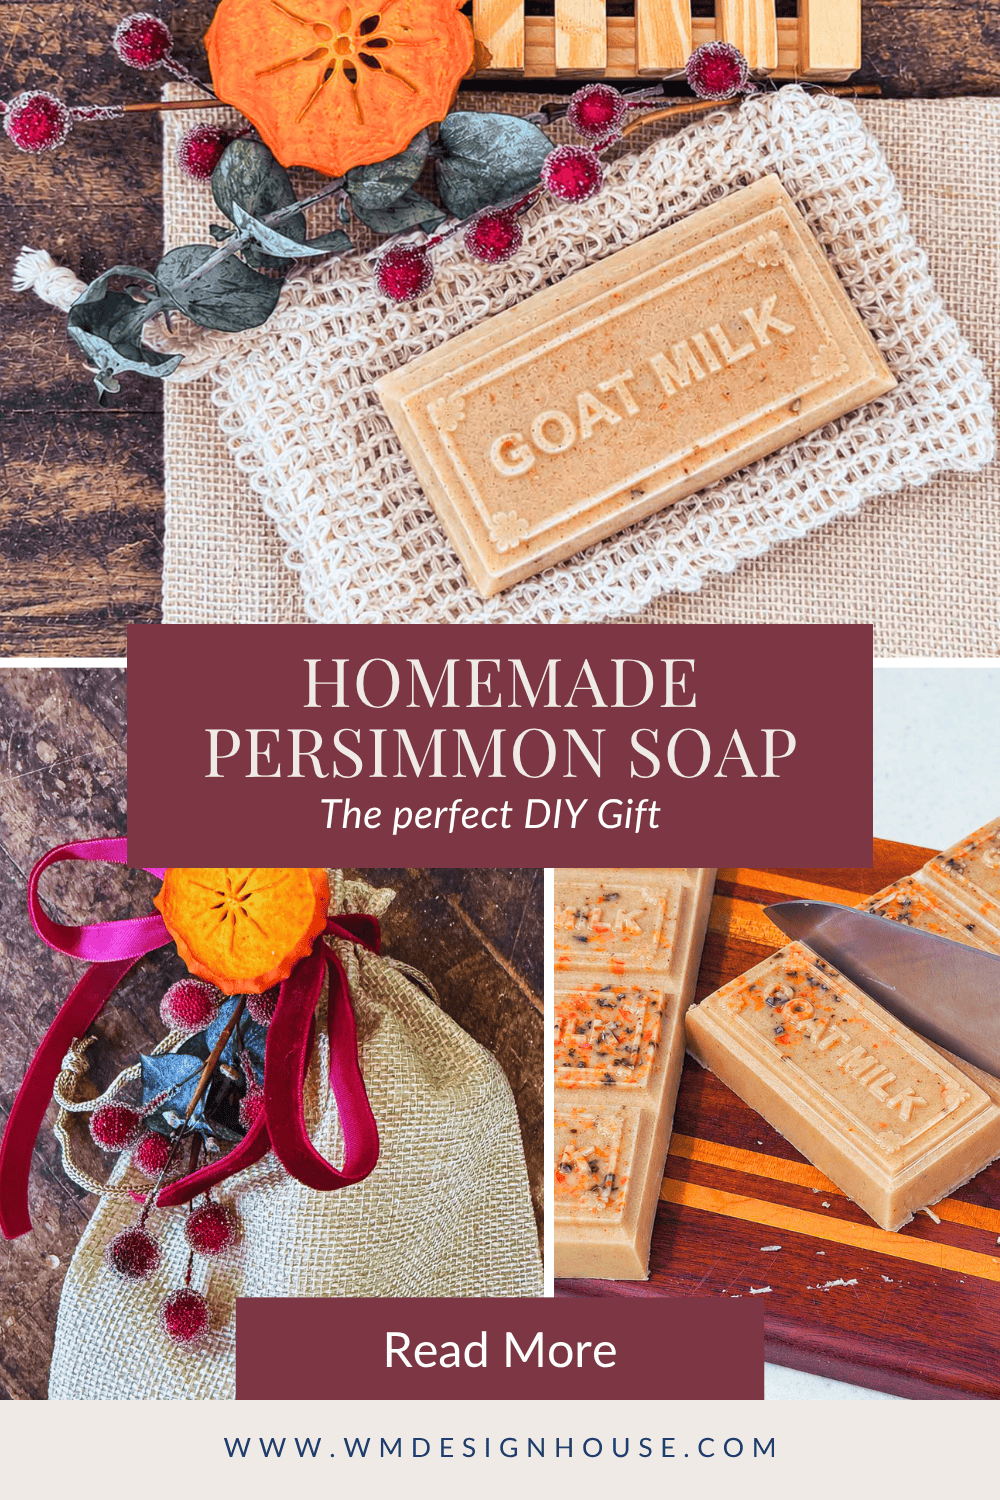
Persimmon soap does not get much easier than this. It is a goat milk melt and pour soap with fresh persimmon pulp stirred in and flecks of dried persimmon and clove, so there is no lye, no cure time, and a whole tray of bars comes together in about twenty minutes. Wrapped in brown paper and tucked into a linen bag with a loofah pouch and a little wooden soap dish, it is the handmade gift I am giving this Christmas.
Jump to How To Make Soap Directions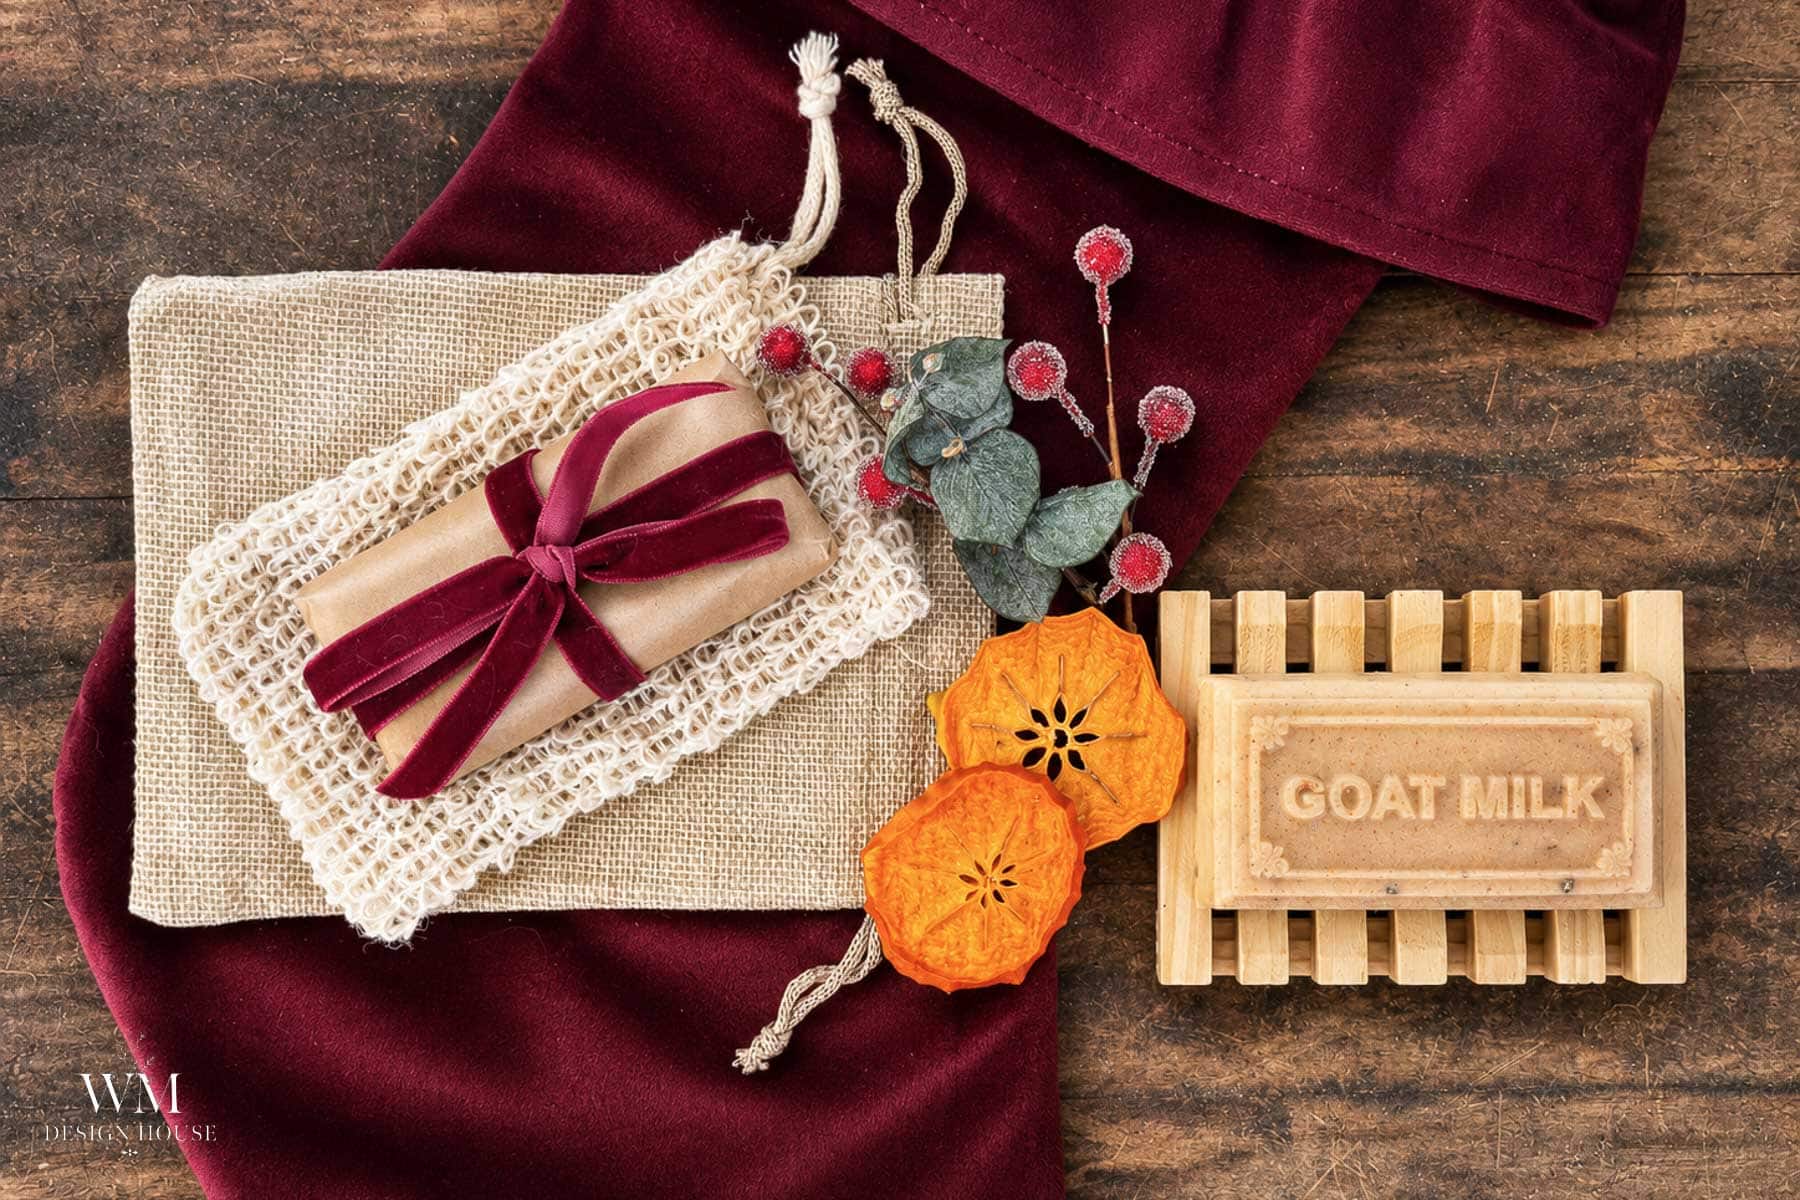
The persimmons are the star here. A friend’s tree sent a basket my way this fall, so after drying them, pulping them, and baking with them, this is the project that uses a little of everything. The pulp colors the bar, the dried slices go into the soap and onto the wrapping, and a sprig of rosemary or eucalyptus from the garden finishes it off.
On my blog WM Design House, I may sometimes use affiliate links, which means a small commission is earned if you purchase via the link. The price will be the same whether you use the affiliate link or go directly to the vendor’s website using a non-affiliate link. Read my full disclosure policy here.
Before we get into it, I am so glad you are here. It is time for the Hand Crafted Society gals to share our creations with you, and this month we are all making handmade gifts, which gave me the perfect excuse to finally try the soap everyone has been talking about. You will find links to everyone’s projects at the bottom of this post.
Why You Will Love This DIY Persimmon Soap
- No lye, no cure time. Melt and pour base means you melt, stir, pour, and unmold the same day.
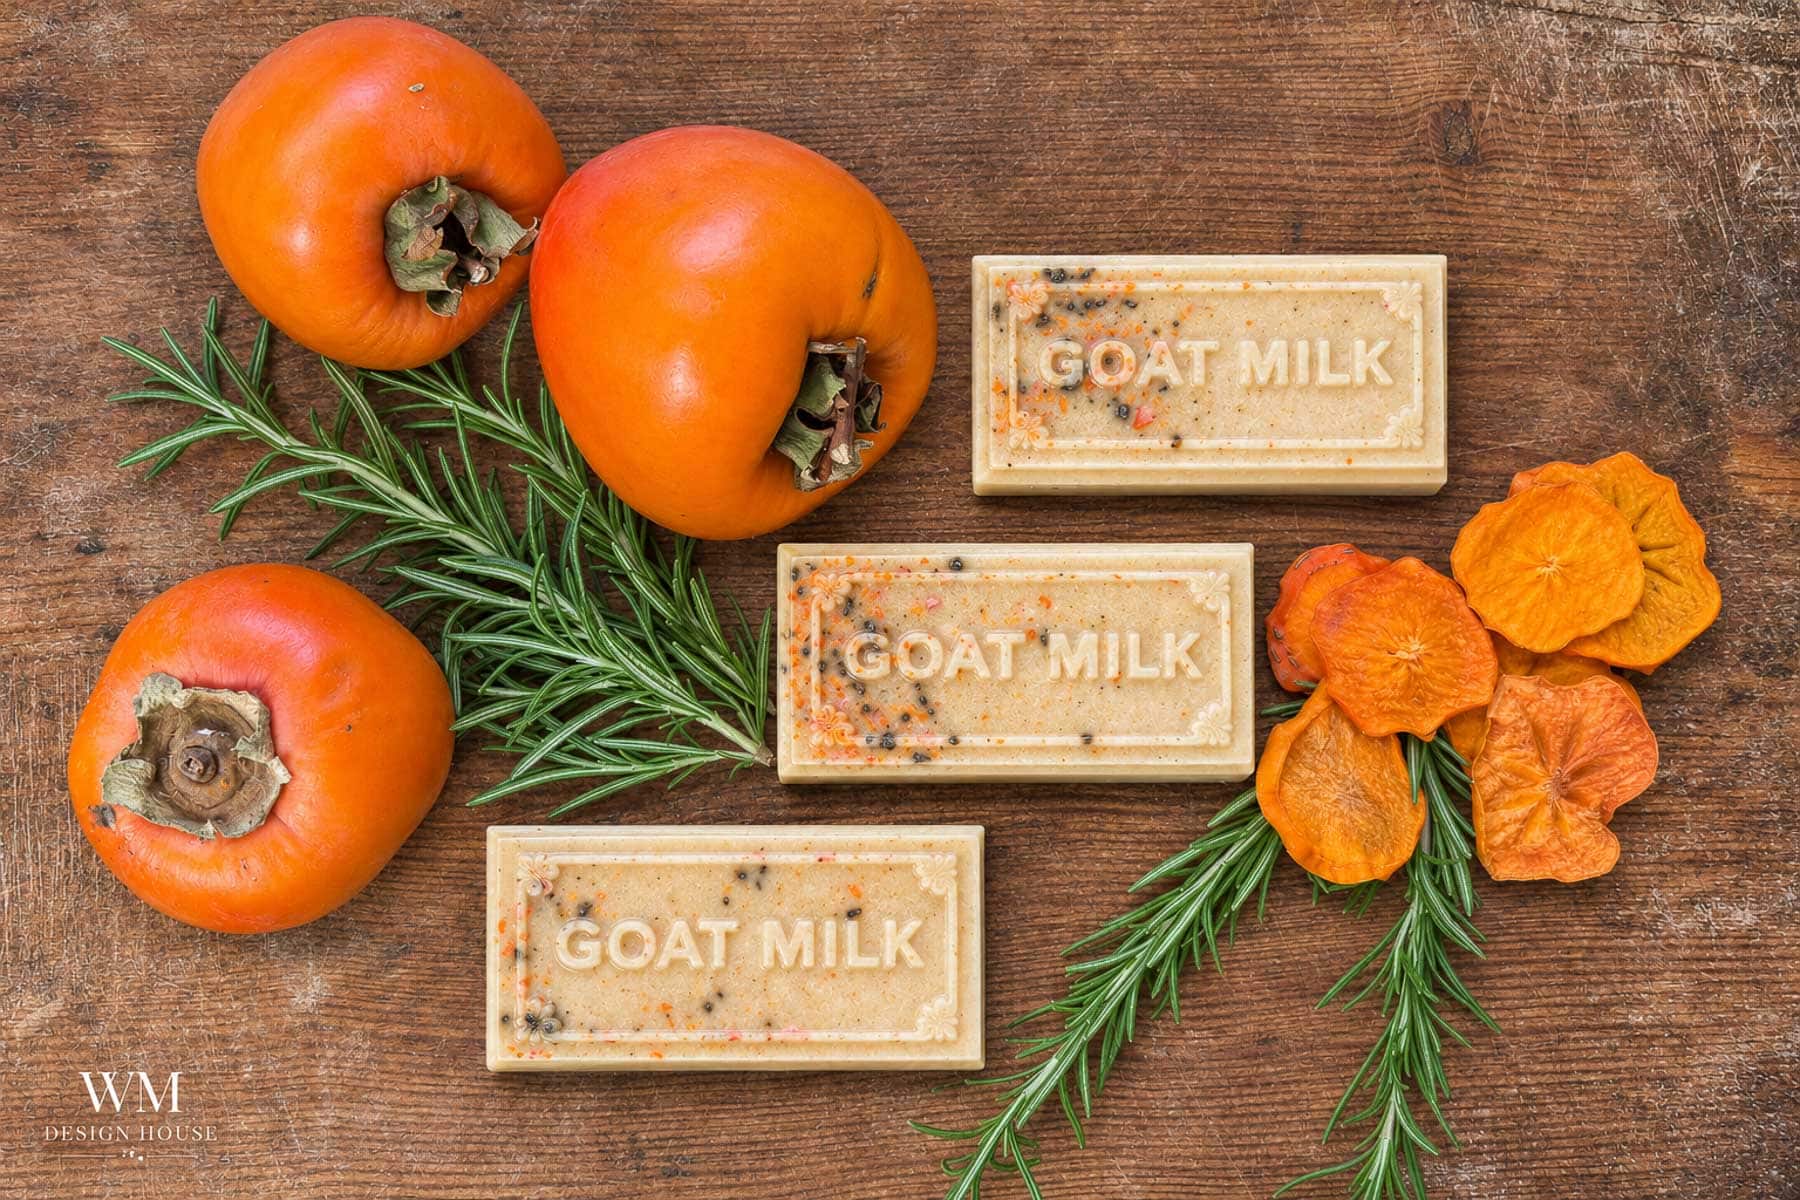
- The fruit is the color. The warm tan shade comes from the persimmon, and the orange and brown flecks are dried persimmon and cloves, not a dye.
- One tray covers your list. A single batch makes enough bars for the neighbors, the teachers, or the whole book club.
- It is a complete gift. Soap, a loofah bag to scrub with, and a wooden dish, all packed in one linen bag.
Supplies You Will Need
- 2 pounds goat milk melt and pour soap base
- 1 cup persimmon pulp (reduces to about 4 tablespoons)
- 2 teaspoons honey
- 2 teaspoons sweet orange essential oil
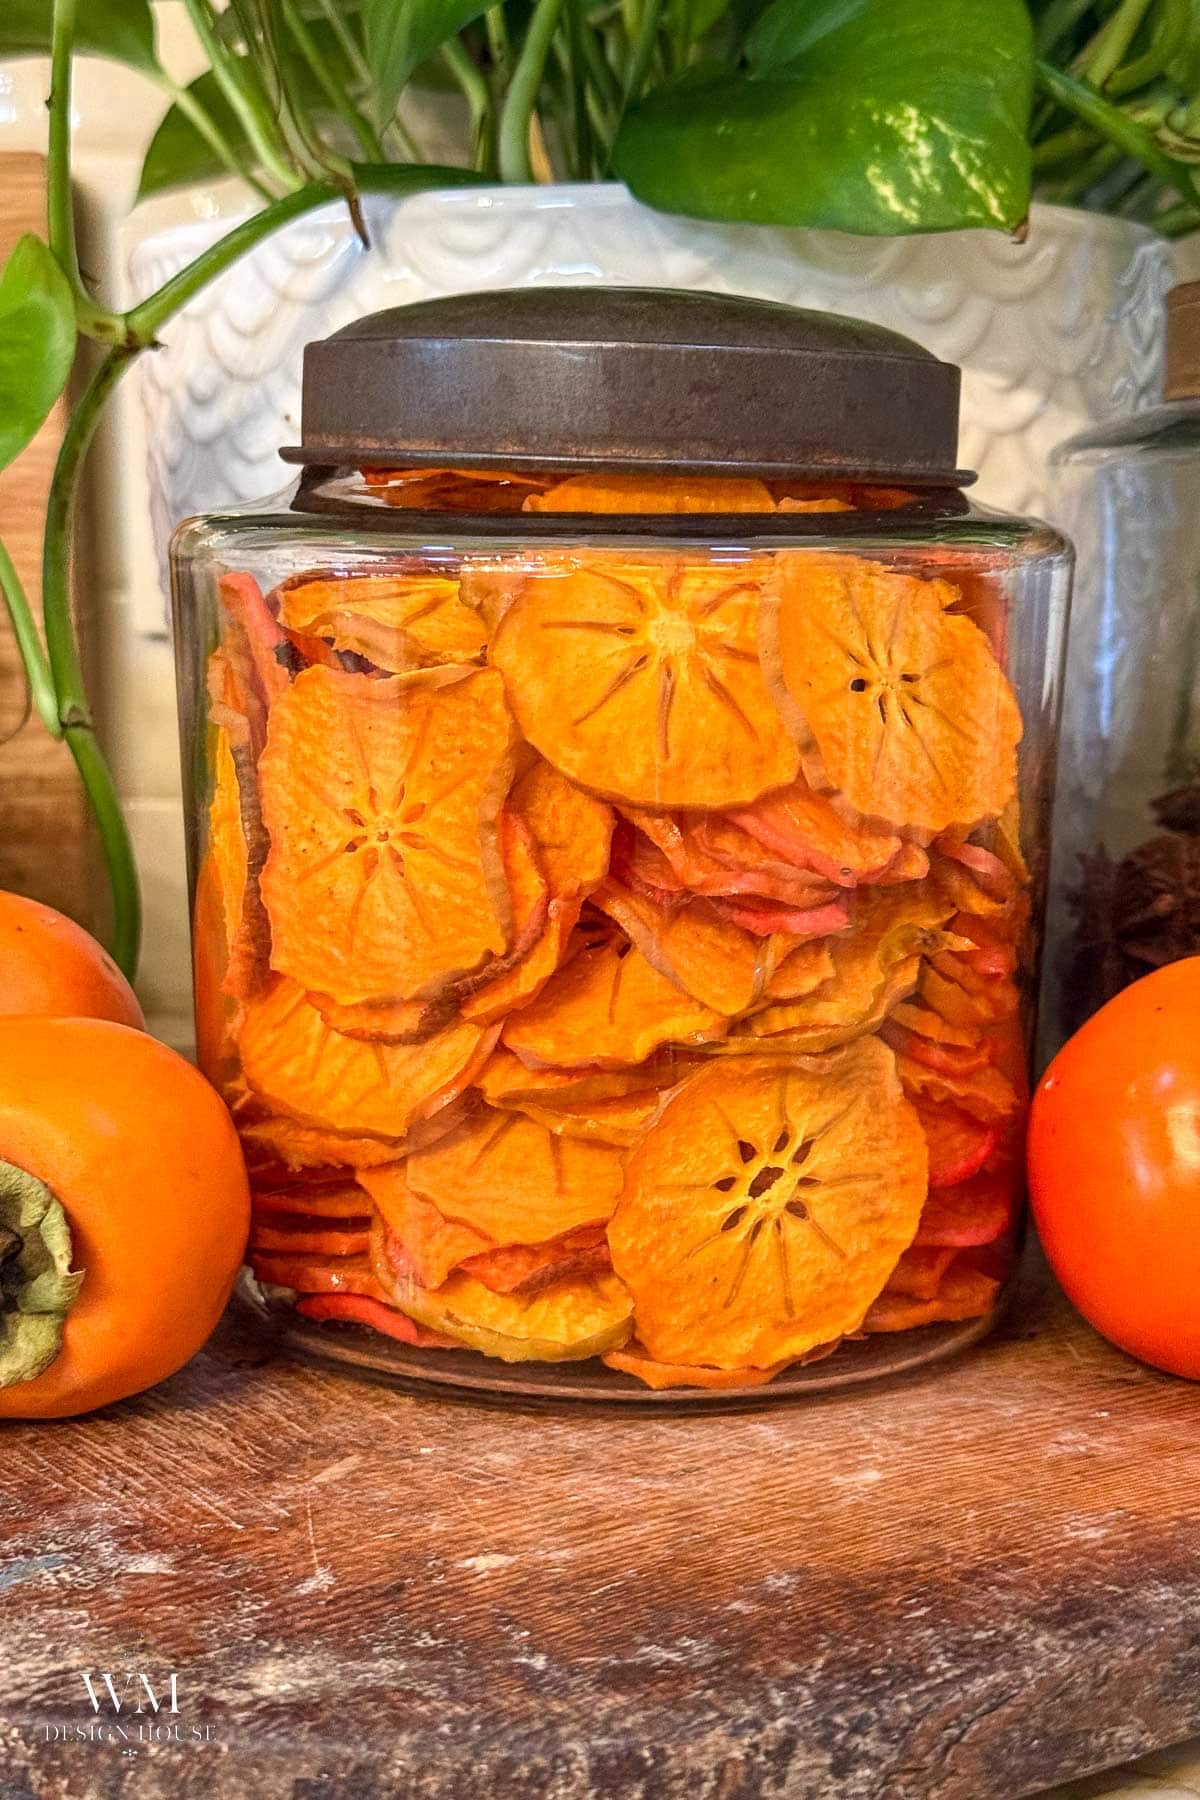
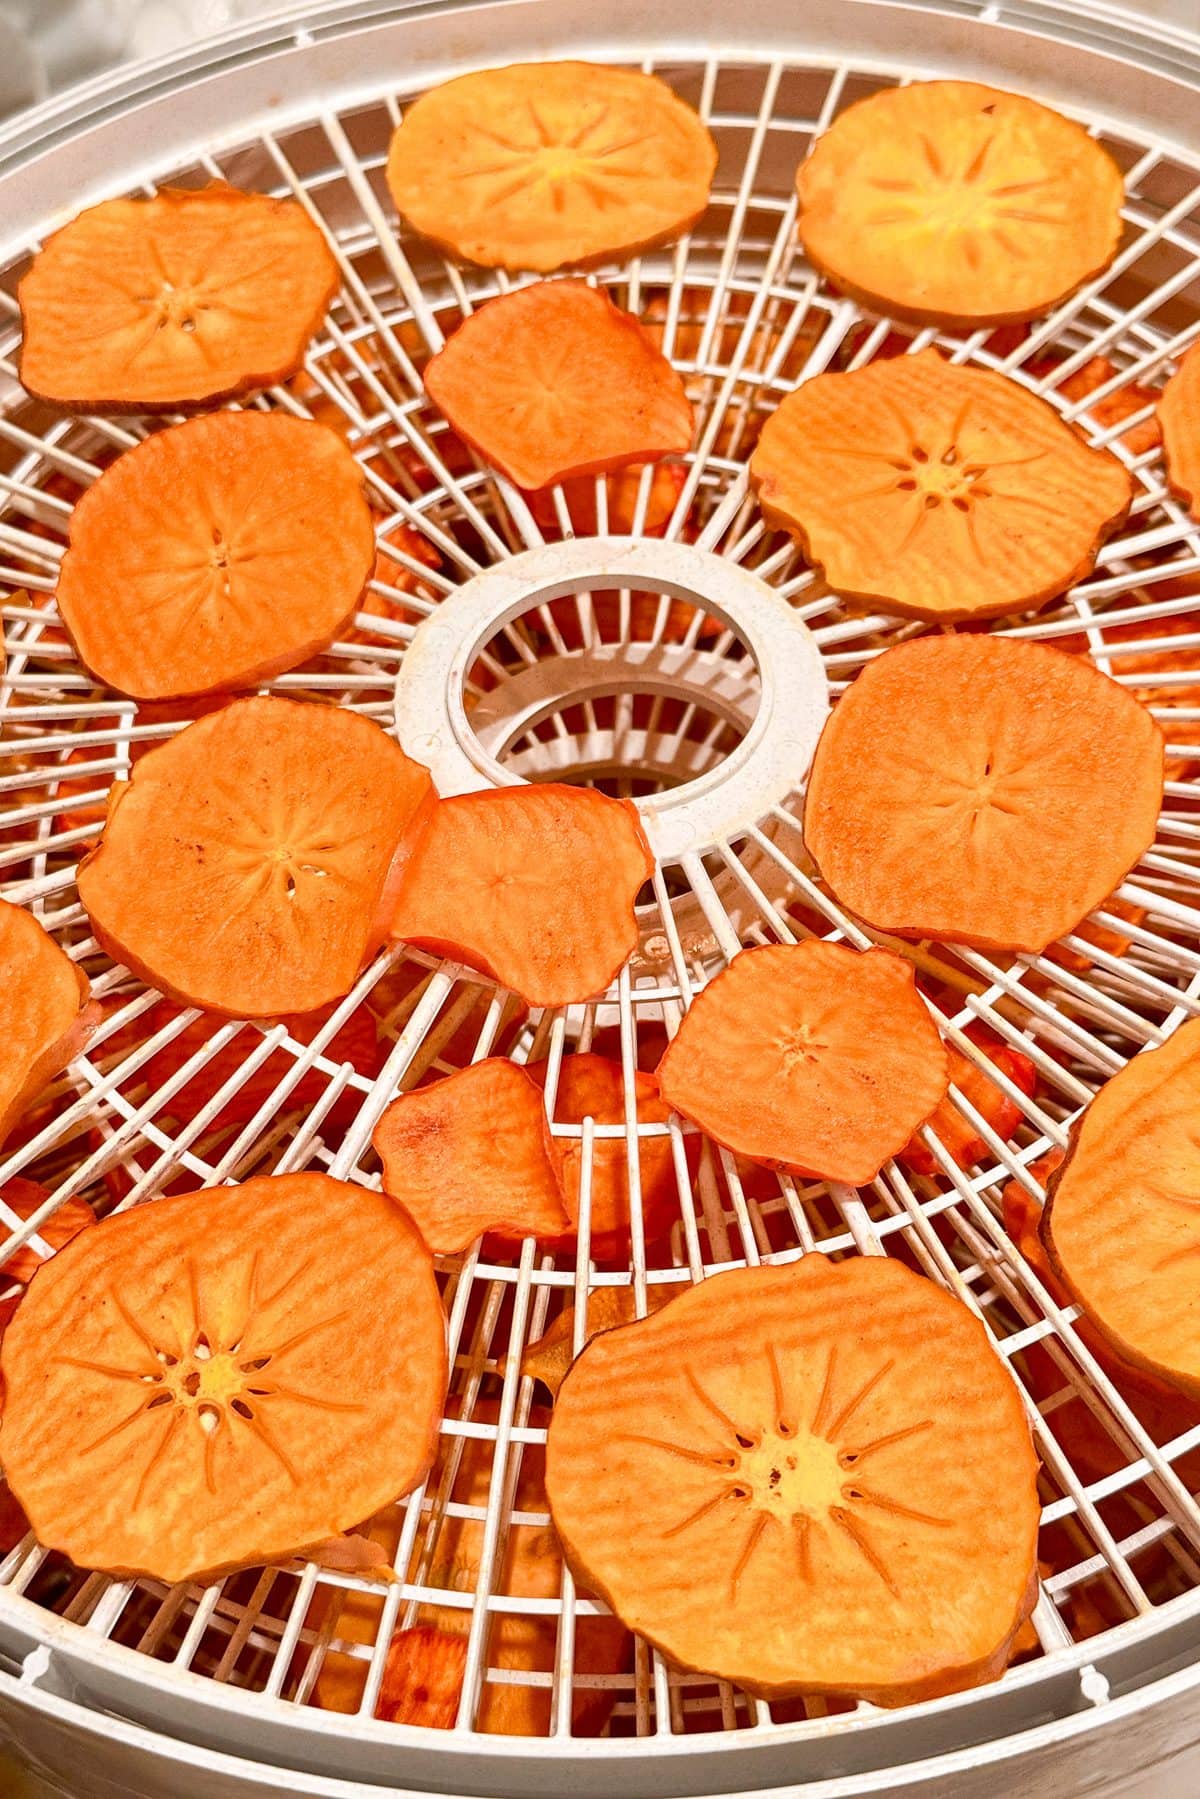
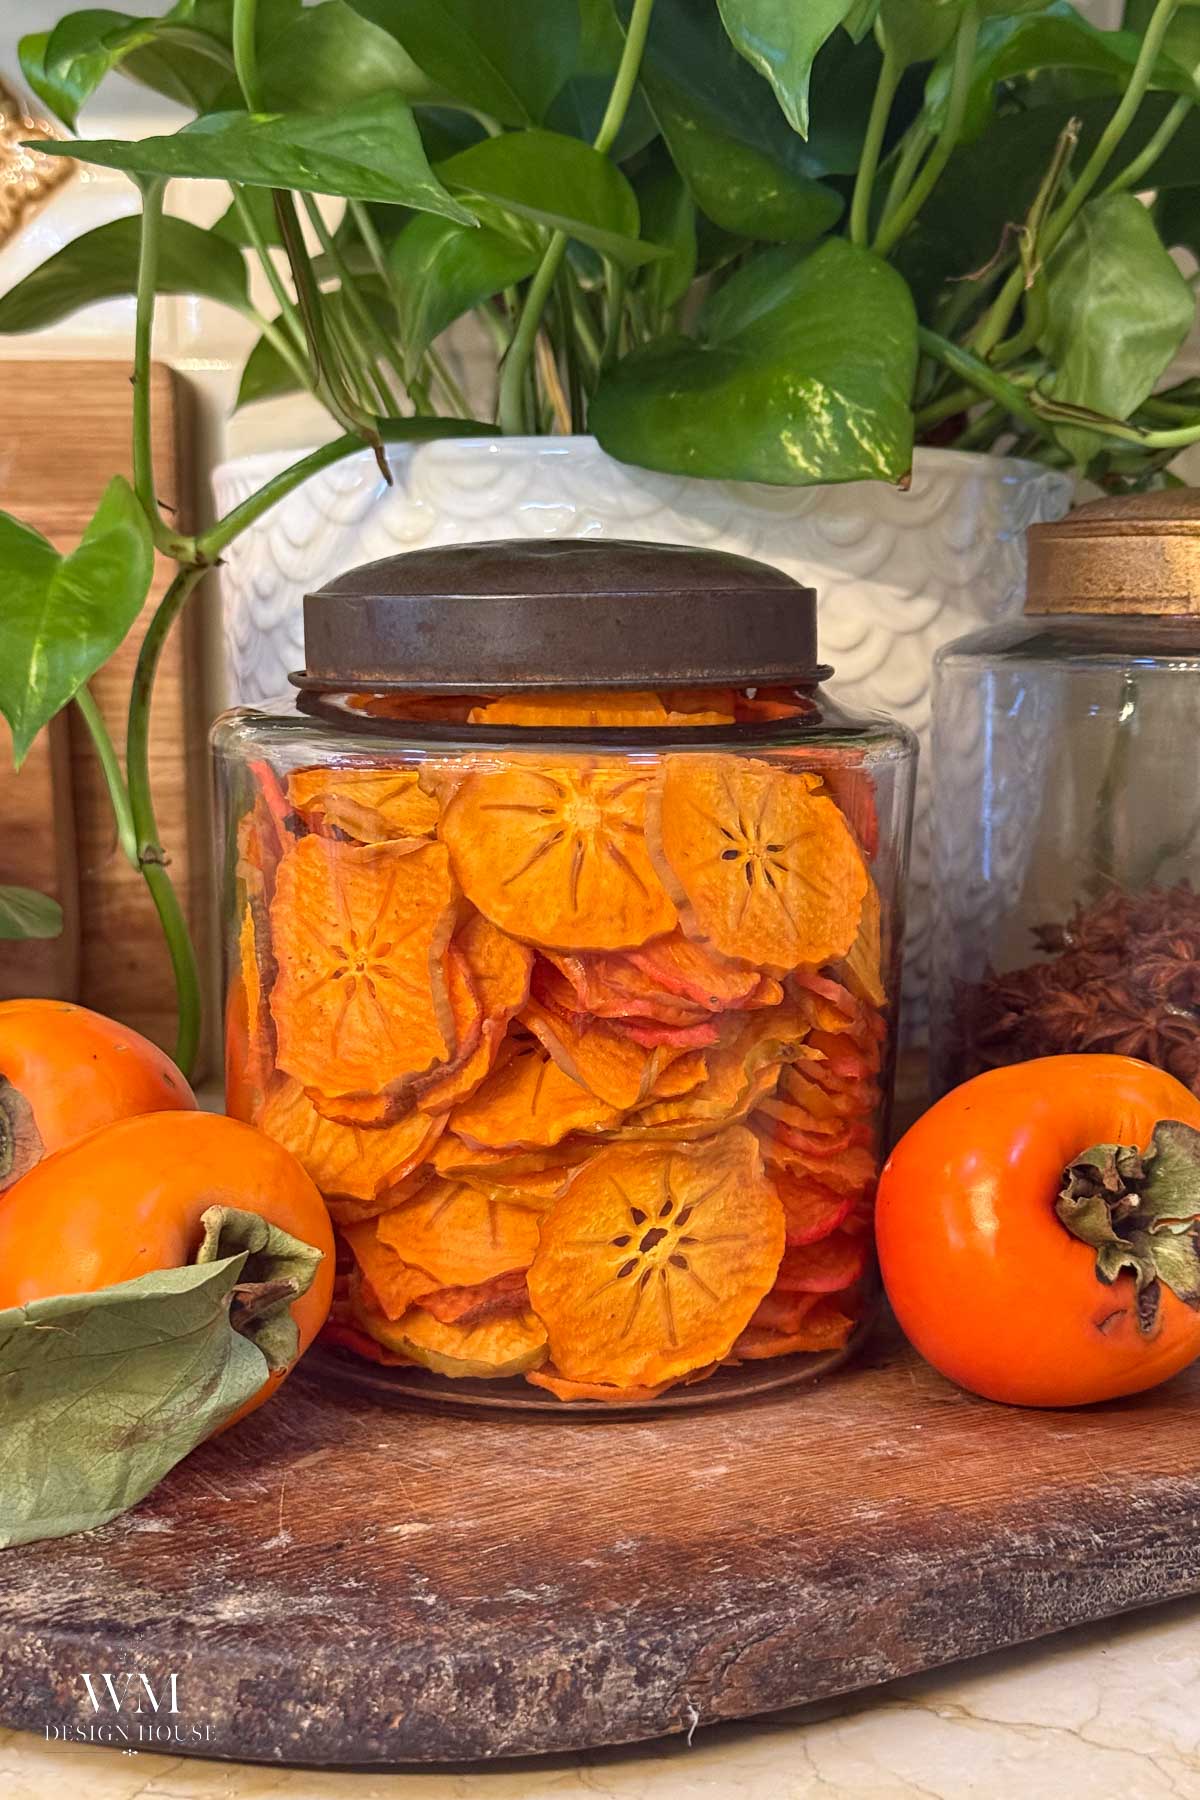
- 2 dried persimmon slices, finely chopped, plus whole slices for the wrapping
- 2 teaspoons whole cloves, chopped
- 8 cavity soap mold– I bought the one you see at bulkapothecary.com
- Microwave safe glass measuring pitcher
- Thermometer
- Small spray bottle of rubbing alcohol
- Silicone spatula, small saucepan, sharp knife, cutting board
- For gifting: brown kraft paper, jute twine or velvet ribbon, mini wooden clothespins, fresh rosemary or eucalyptus, faux berries, sisal soap saver bags, wooden slatted soap dishes [[CONFIRM: add the soap dish link]], linen drawstring bags, kraft tags
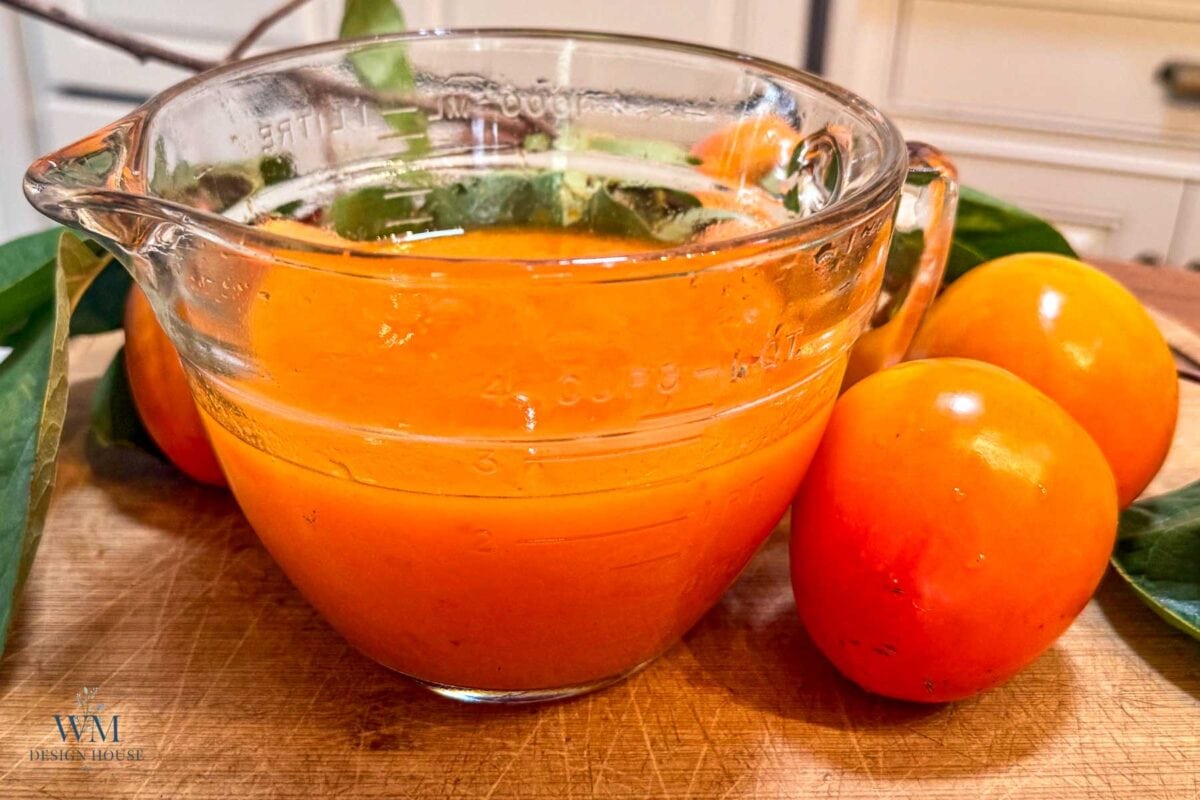
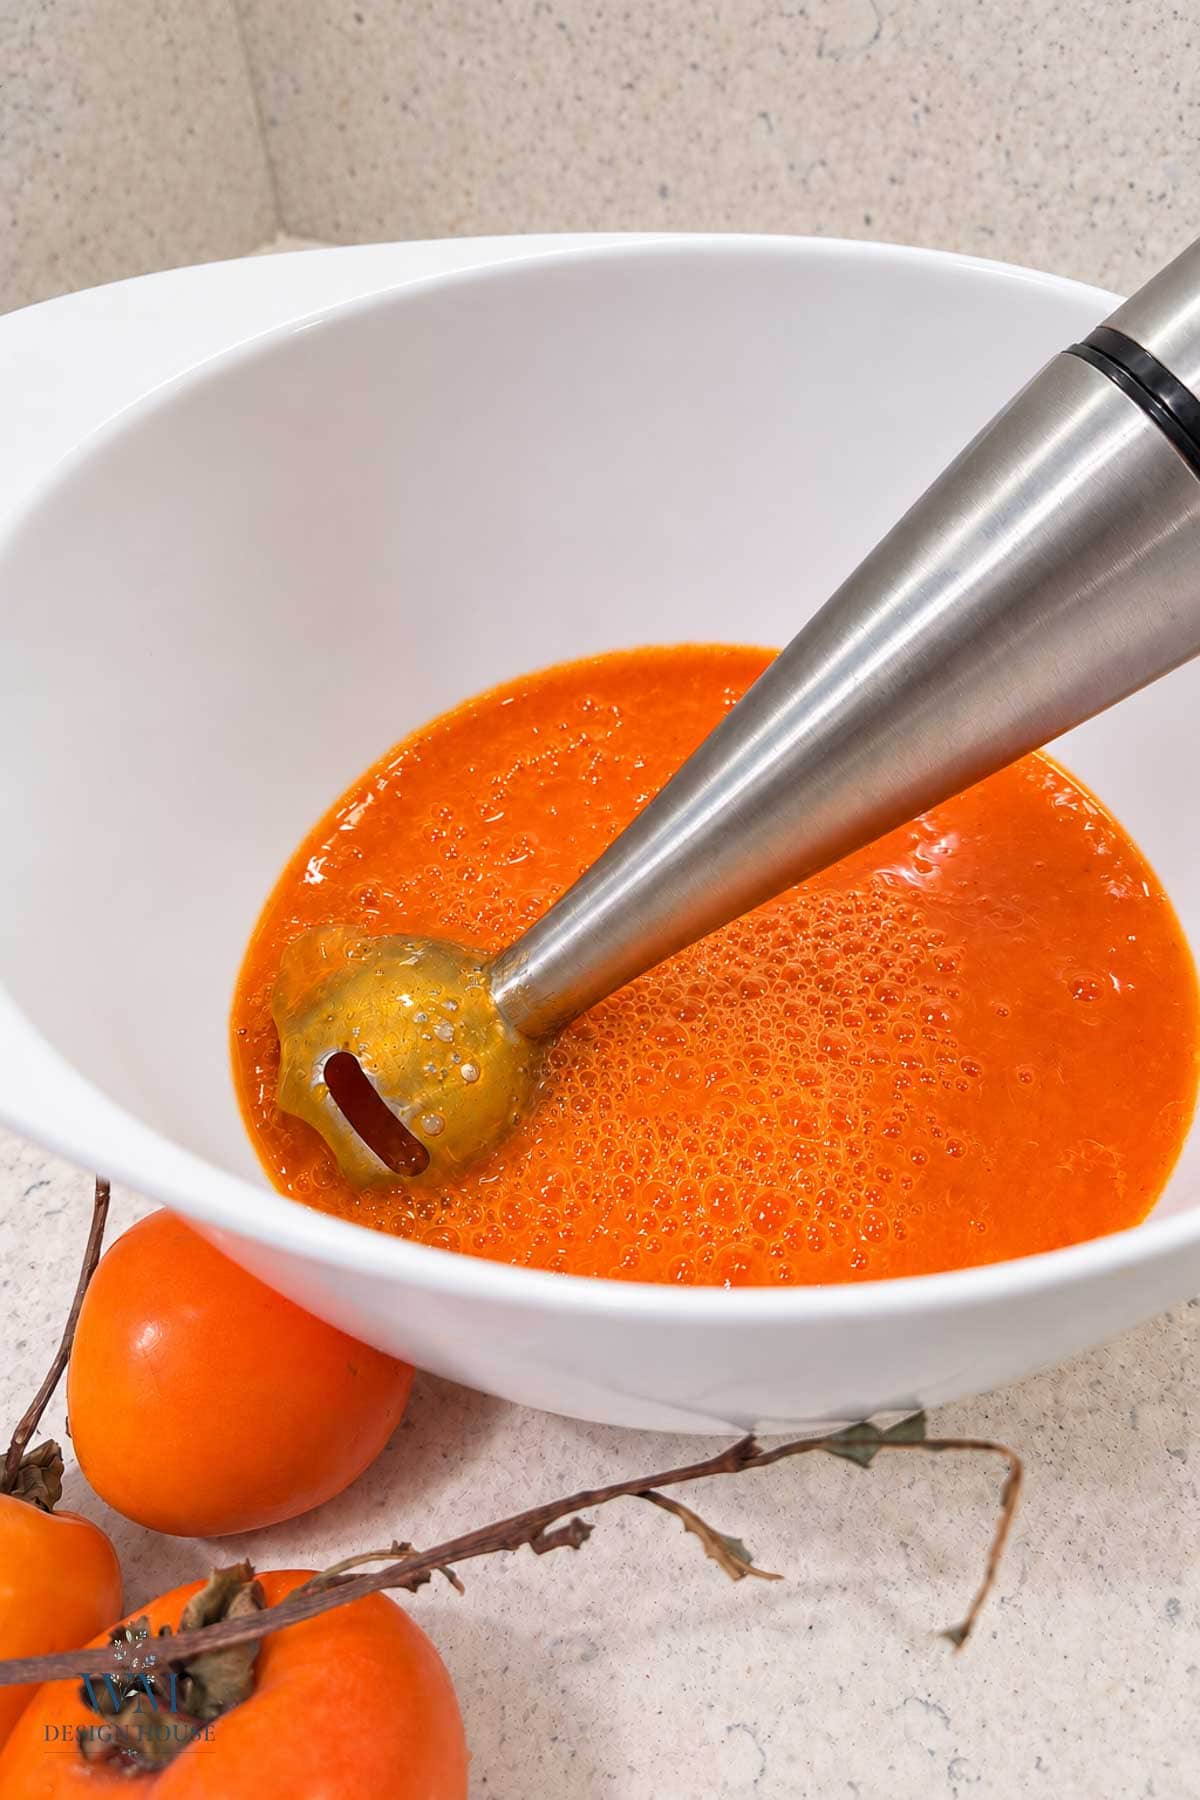
Need to make your pulp and dried slices first? My persimmon pulp post and my how to dry persimmons post walk you through both, so start there if you are working from fresh fruit.
Tip from wendy:
Firm Hachiyas that still make your mouth pucker give the most persimmon tannin, which is what the store bought persimmon soaps are known for. Ripe ones give the prettiest color. I used ripe Hachiyas that had already been pulped.

How to Make Persimmon Soap
Step 1: Reduce the Pulp
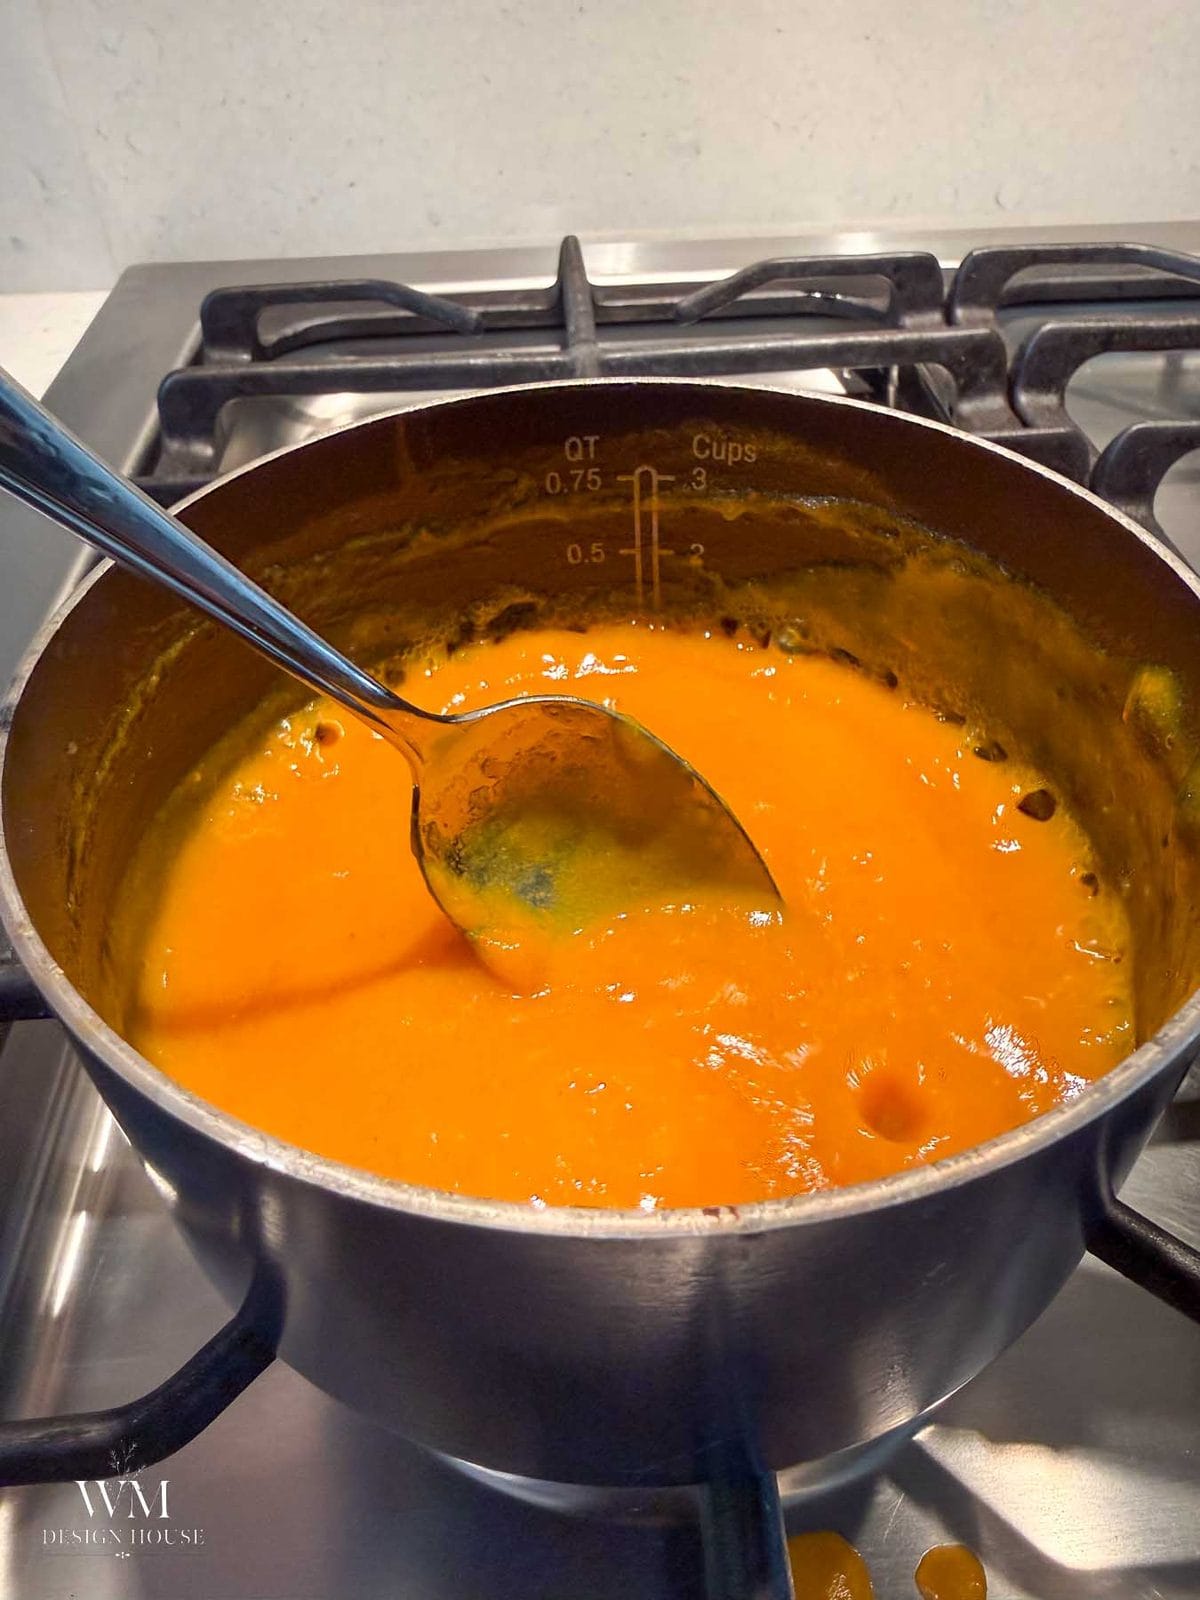
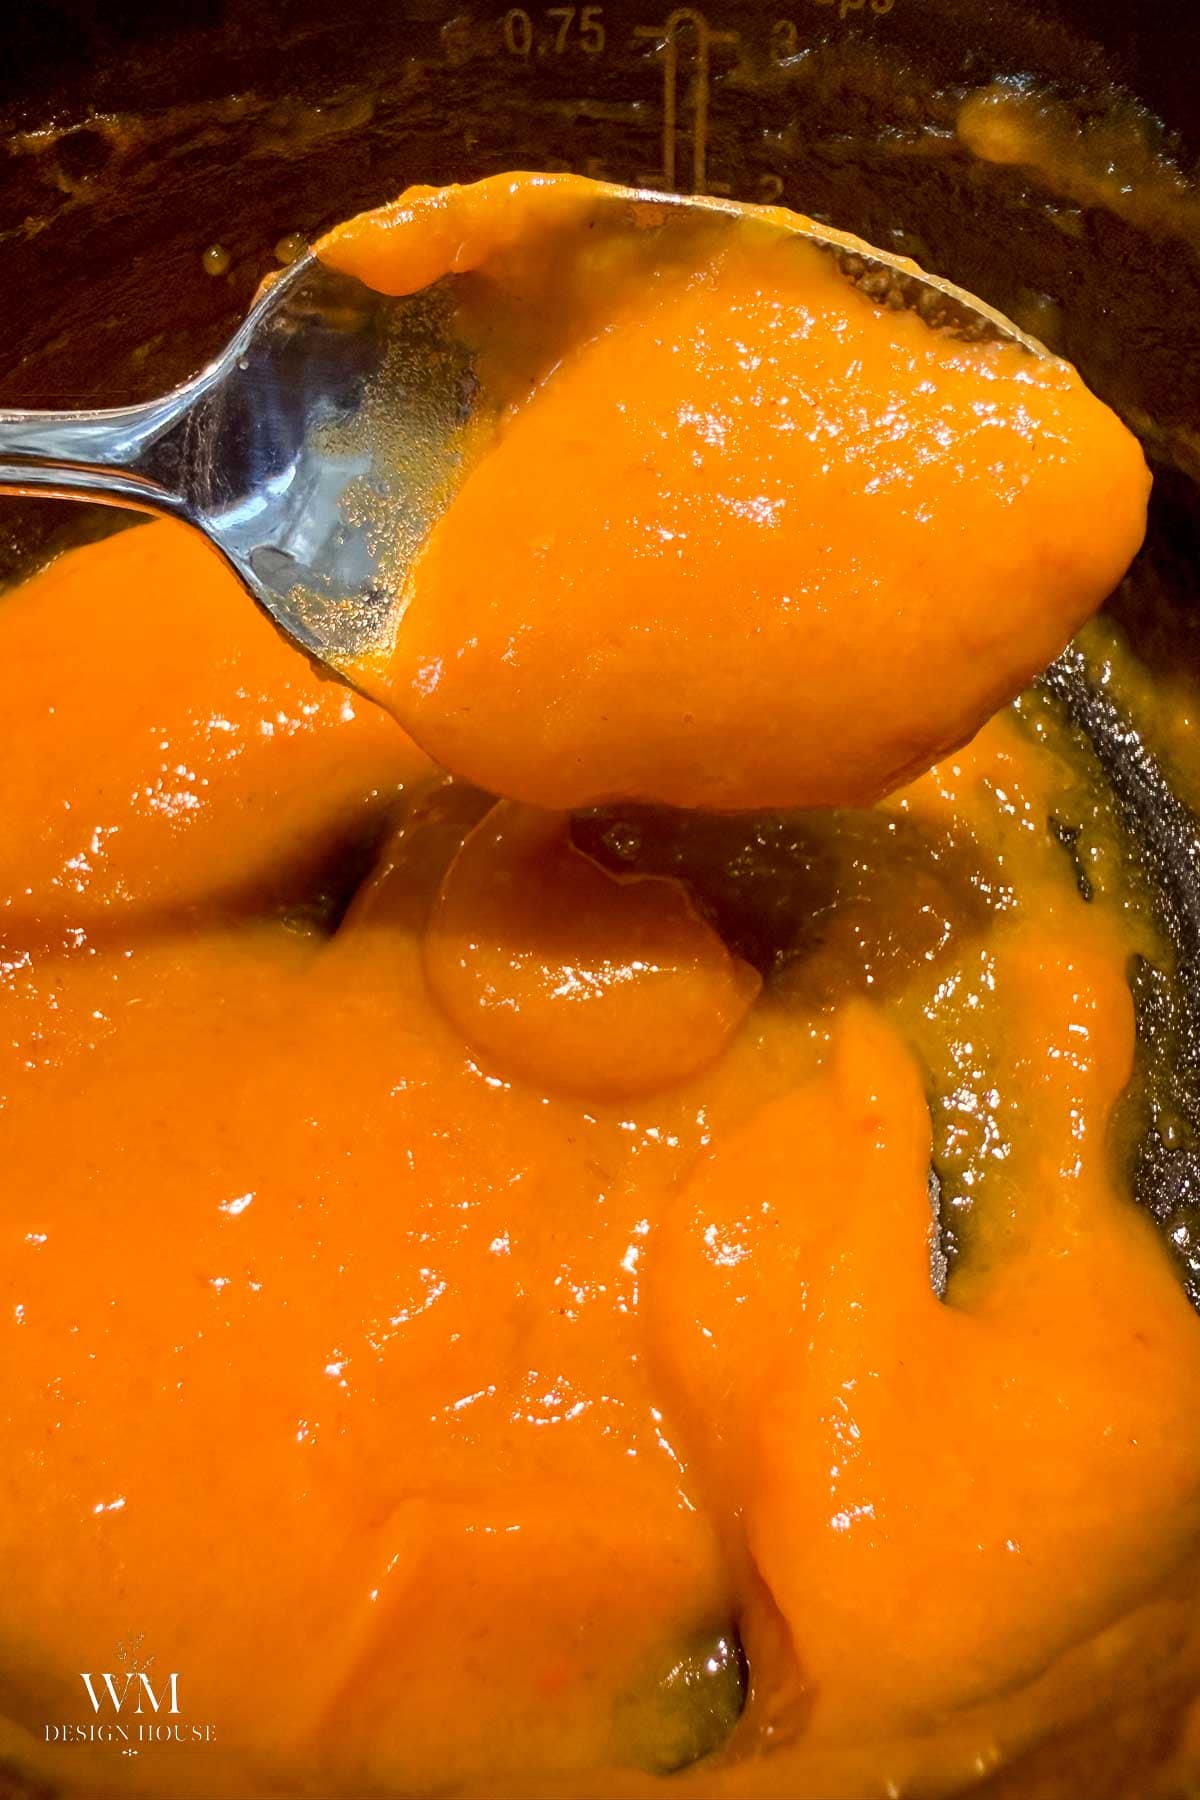
First, put 1 cup of pulp in a small saucepan over medium low heat and stir until it thickens to a paste, about 10 to 15 minutes. You should end up with about 4 tablespoons. Then let it cool completely. Water is what makes melt and pour soap sweat and go soft, and persimmon pulp is mostly water, so this step is the one that keeps your bars firm.
Step 2: Chop the Dried Persimmon and Cloves
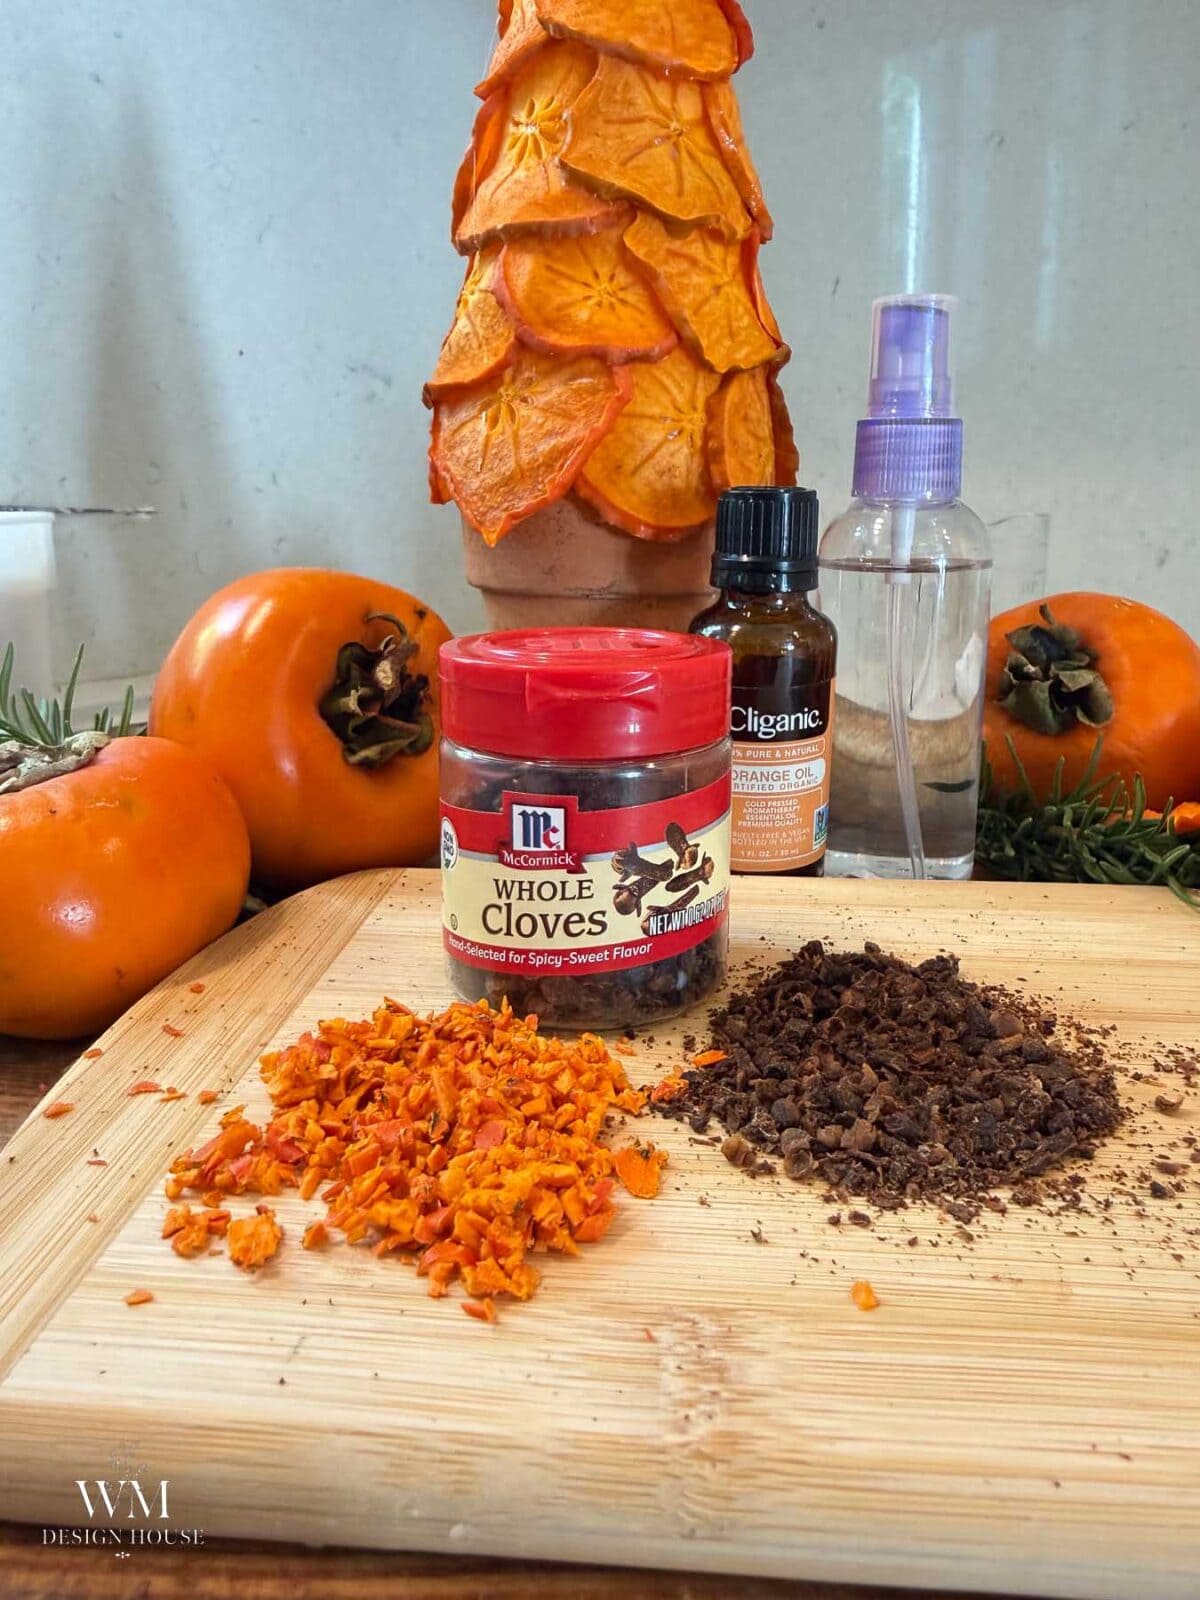
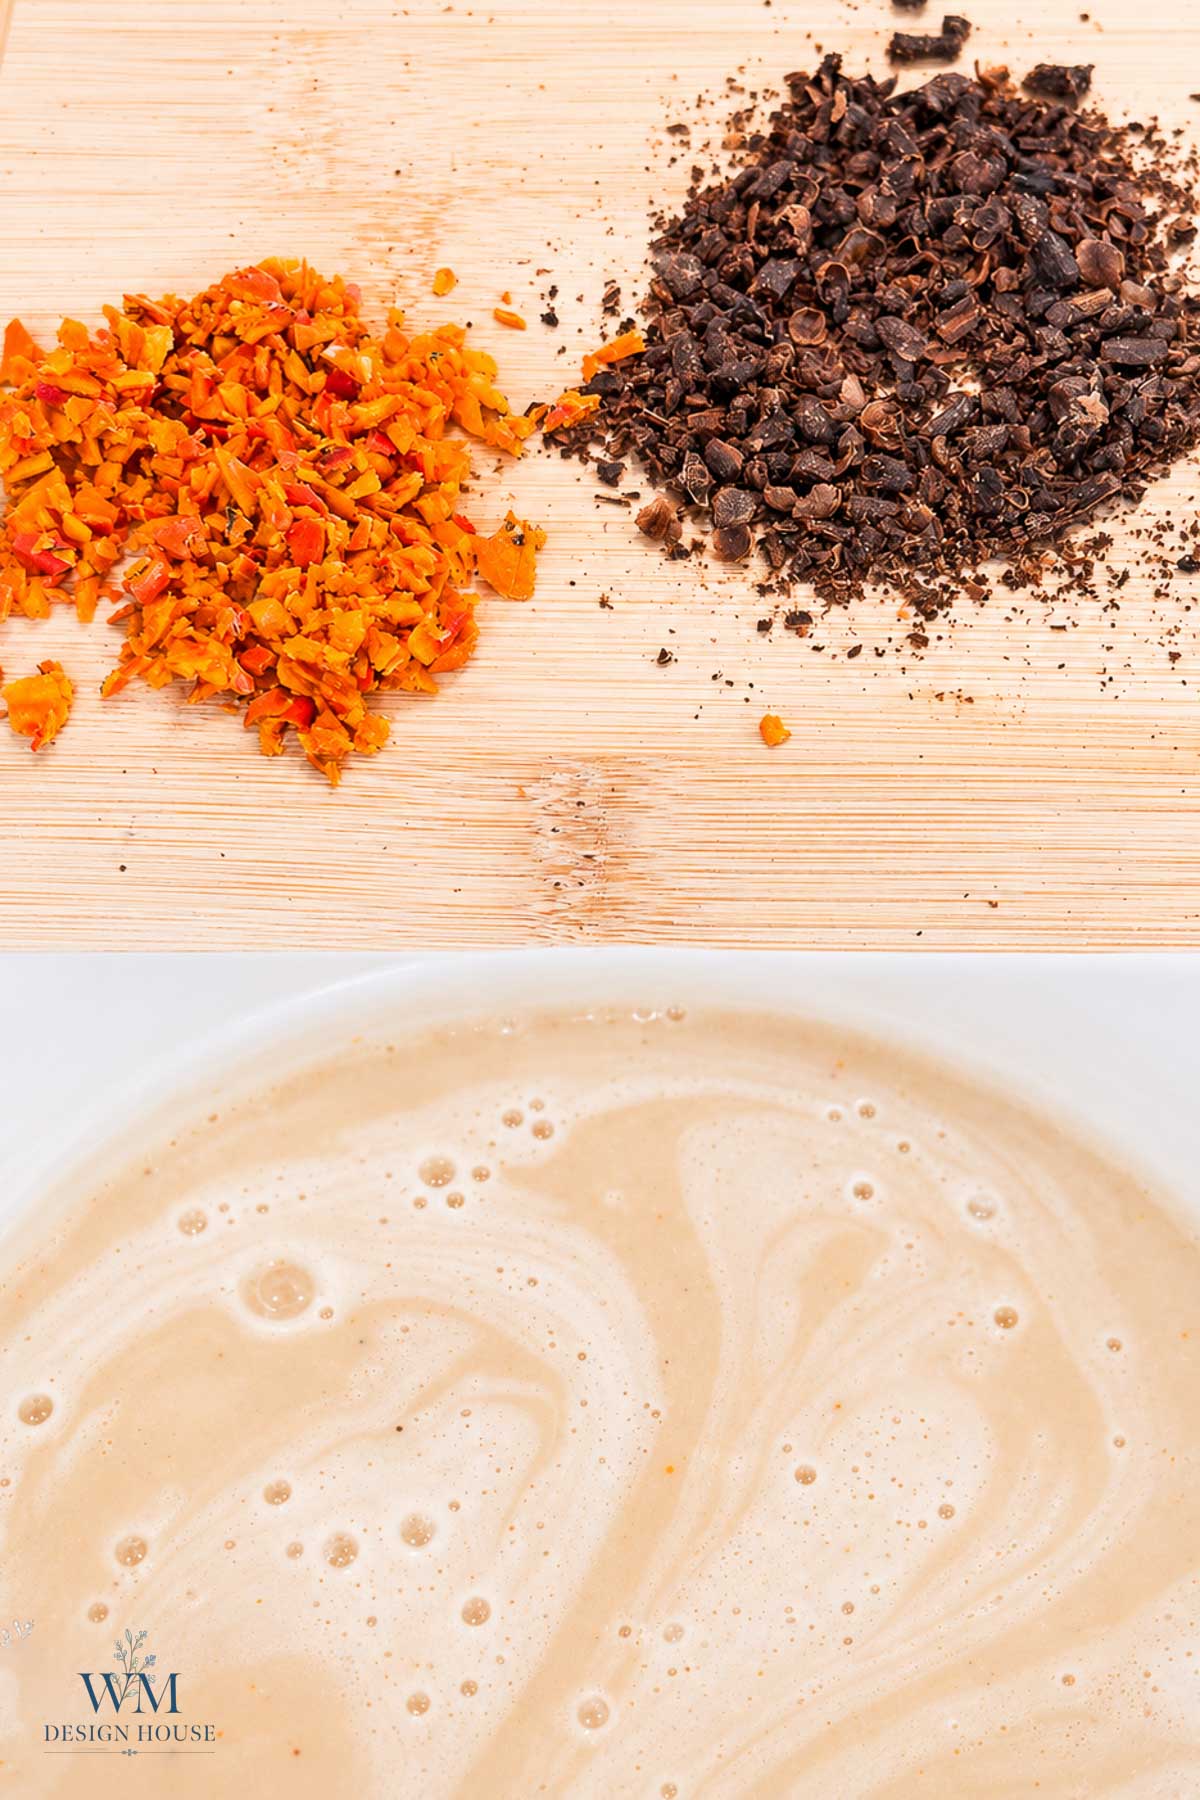
Next, finely chop two dried persimmon slices and two teaspoons of whole cloves. The persimmon gives you bright orange flecks, while the cloves give you dark specks and a faint spice scent. Keep the pieces small, about the size of a sesame seed, so they stay suspended in the bar instead of sinking and so they do not scratch.
Step 3: Melt the Base
Cut the goat milk base into one inch cubes and melt it in the pitcher in 30 second bursts, stirring between each. Stop as soon as it is liquid, because if it goes past 150 degrees it scorches and the goat milk turns.
Step 4: Stir in the Pulp and Honey
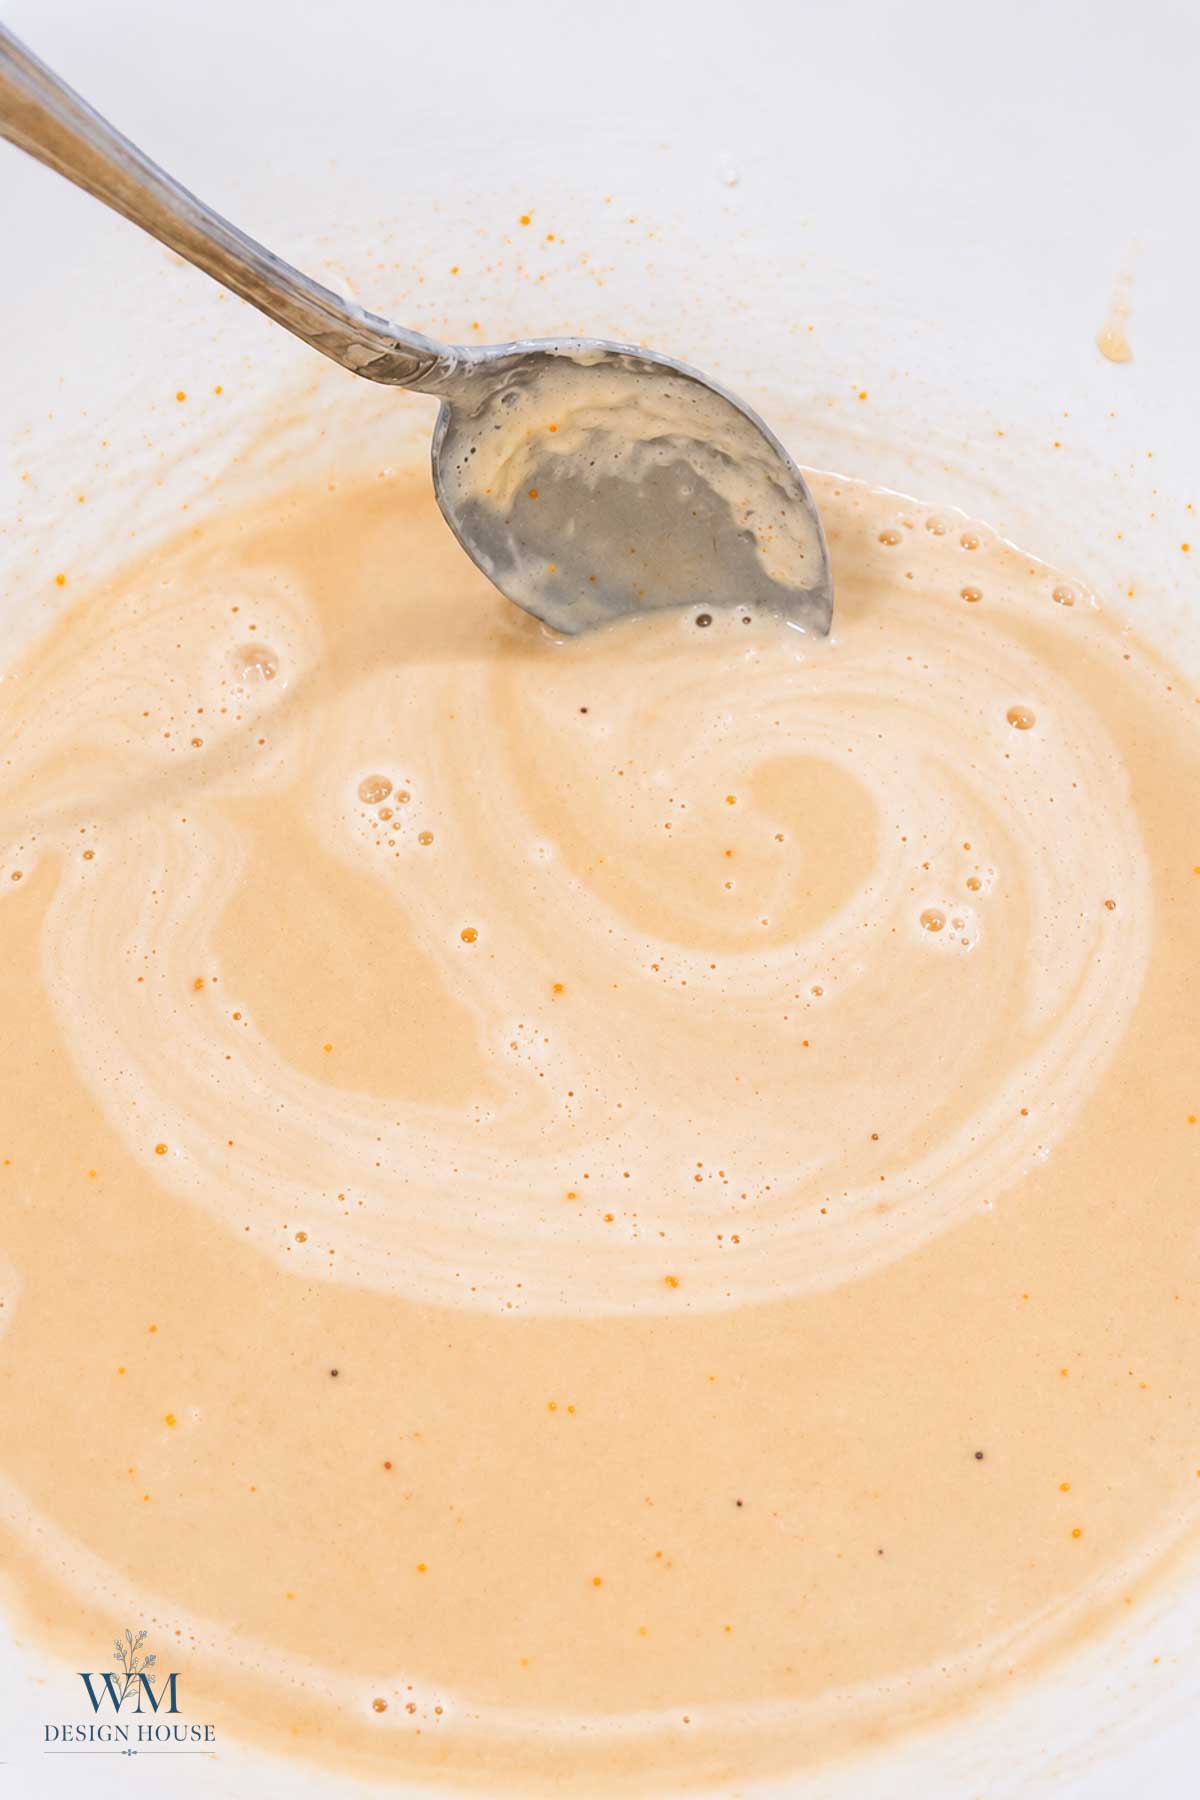
Once the base is around 140 degrees, add the cooled pulp and the honey and stir slowly until the color is even. Slow is the word here, because fast stirring makes bubbles you will be chasing later.
Tip from wendy:
Keep it to 2 tablespoons of reduced pulp and 1 teaspoon of honey per pound of base. Any more and the bar comes out soft and sweats in the wrapping.
Step 5: Add the Scent and the Flecks
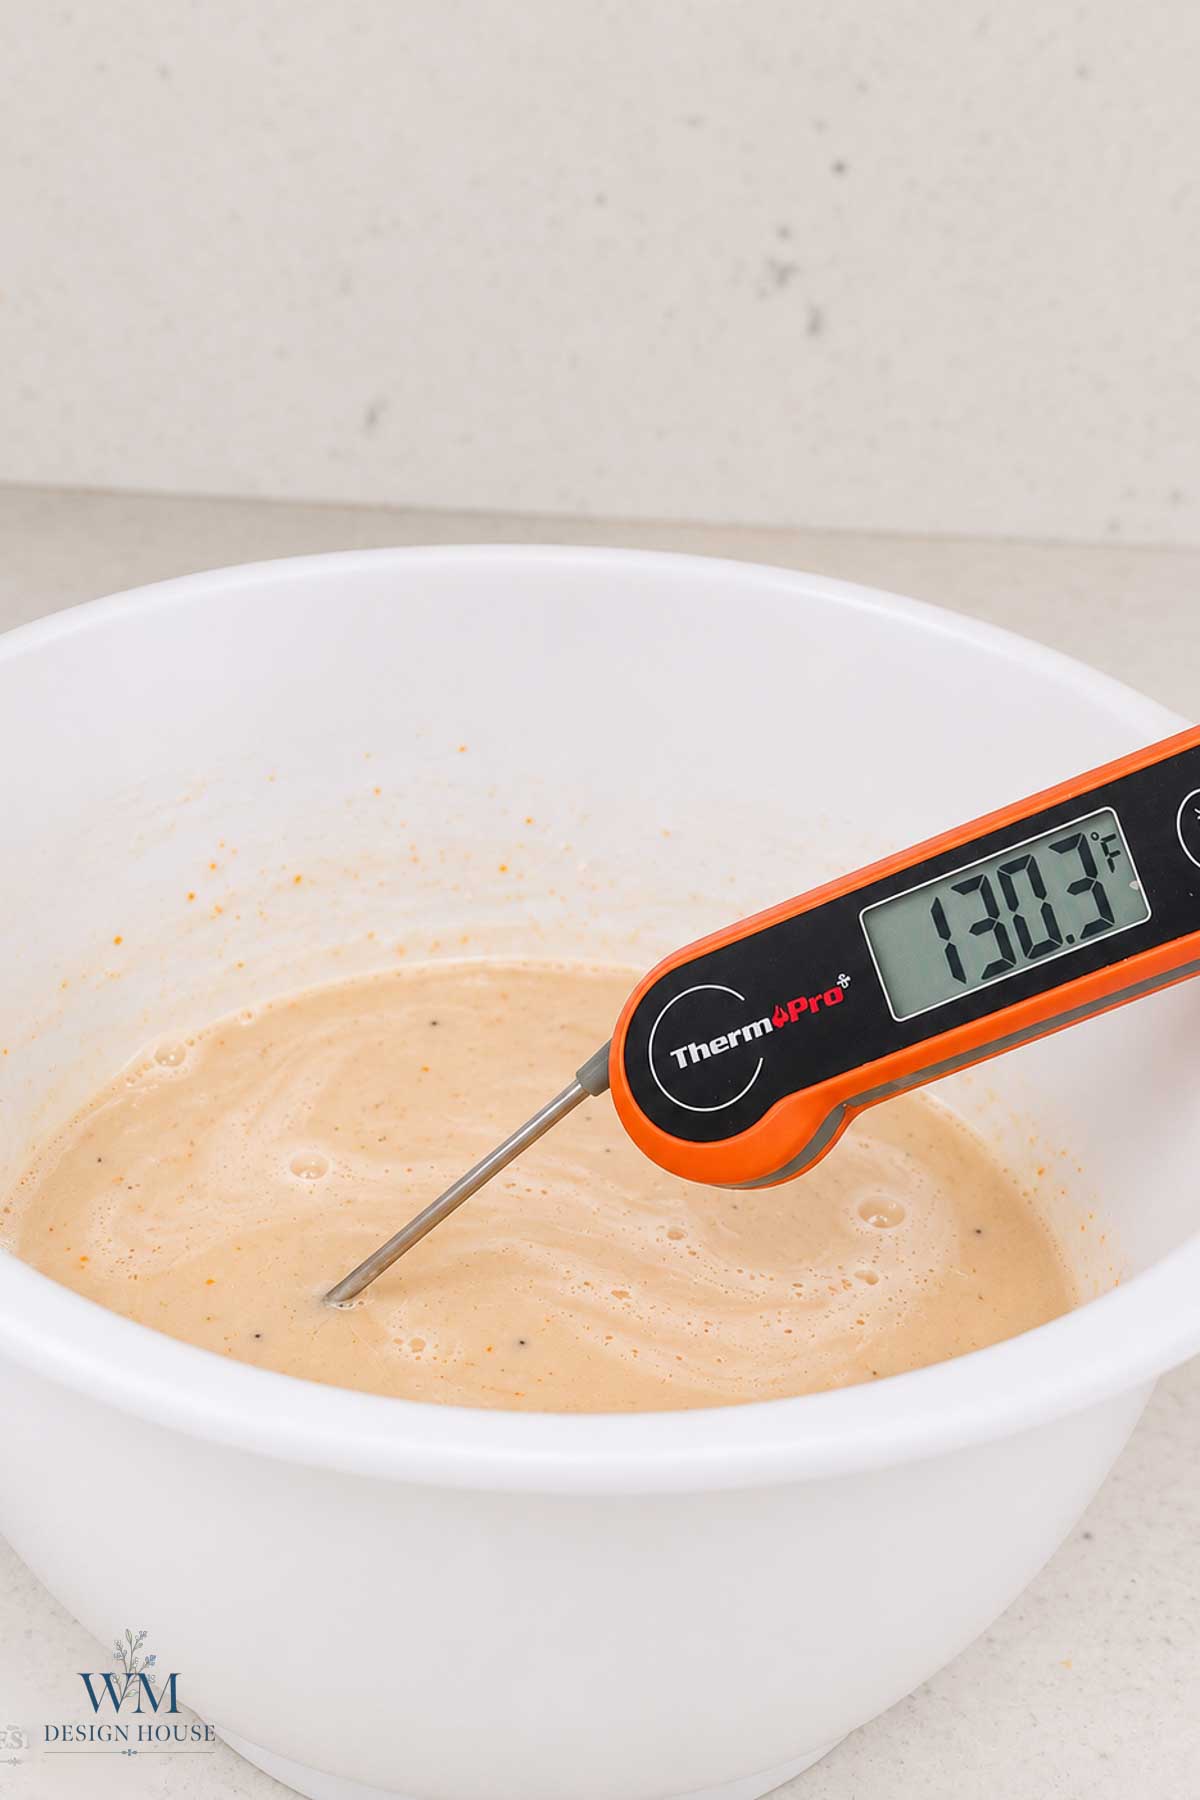
Let the base cool to about 125 degrees, then stir in the essential oil, the chopped dried persimmon, and the chopped cloves. A cooler, thicker base holds the flecks in place. However, if you add them while the soap is thin and hot, they all drift to the bottom of the mold.
Step 6: Pour and Spritz
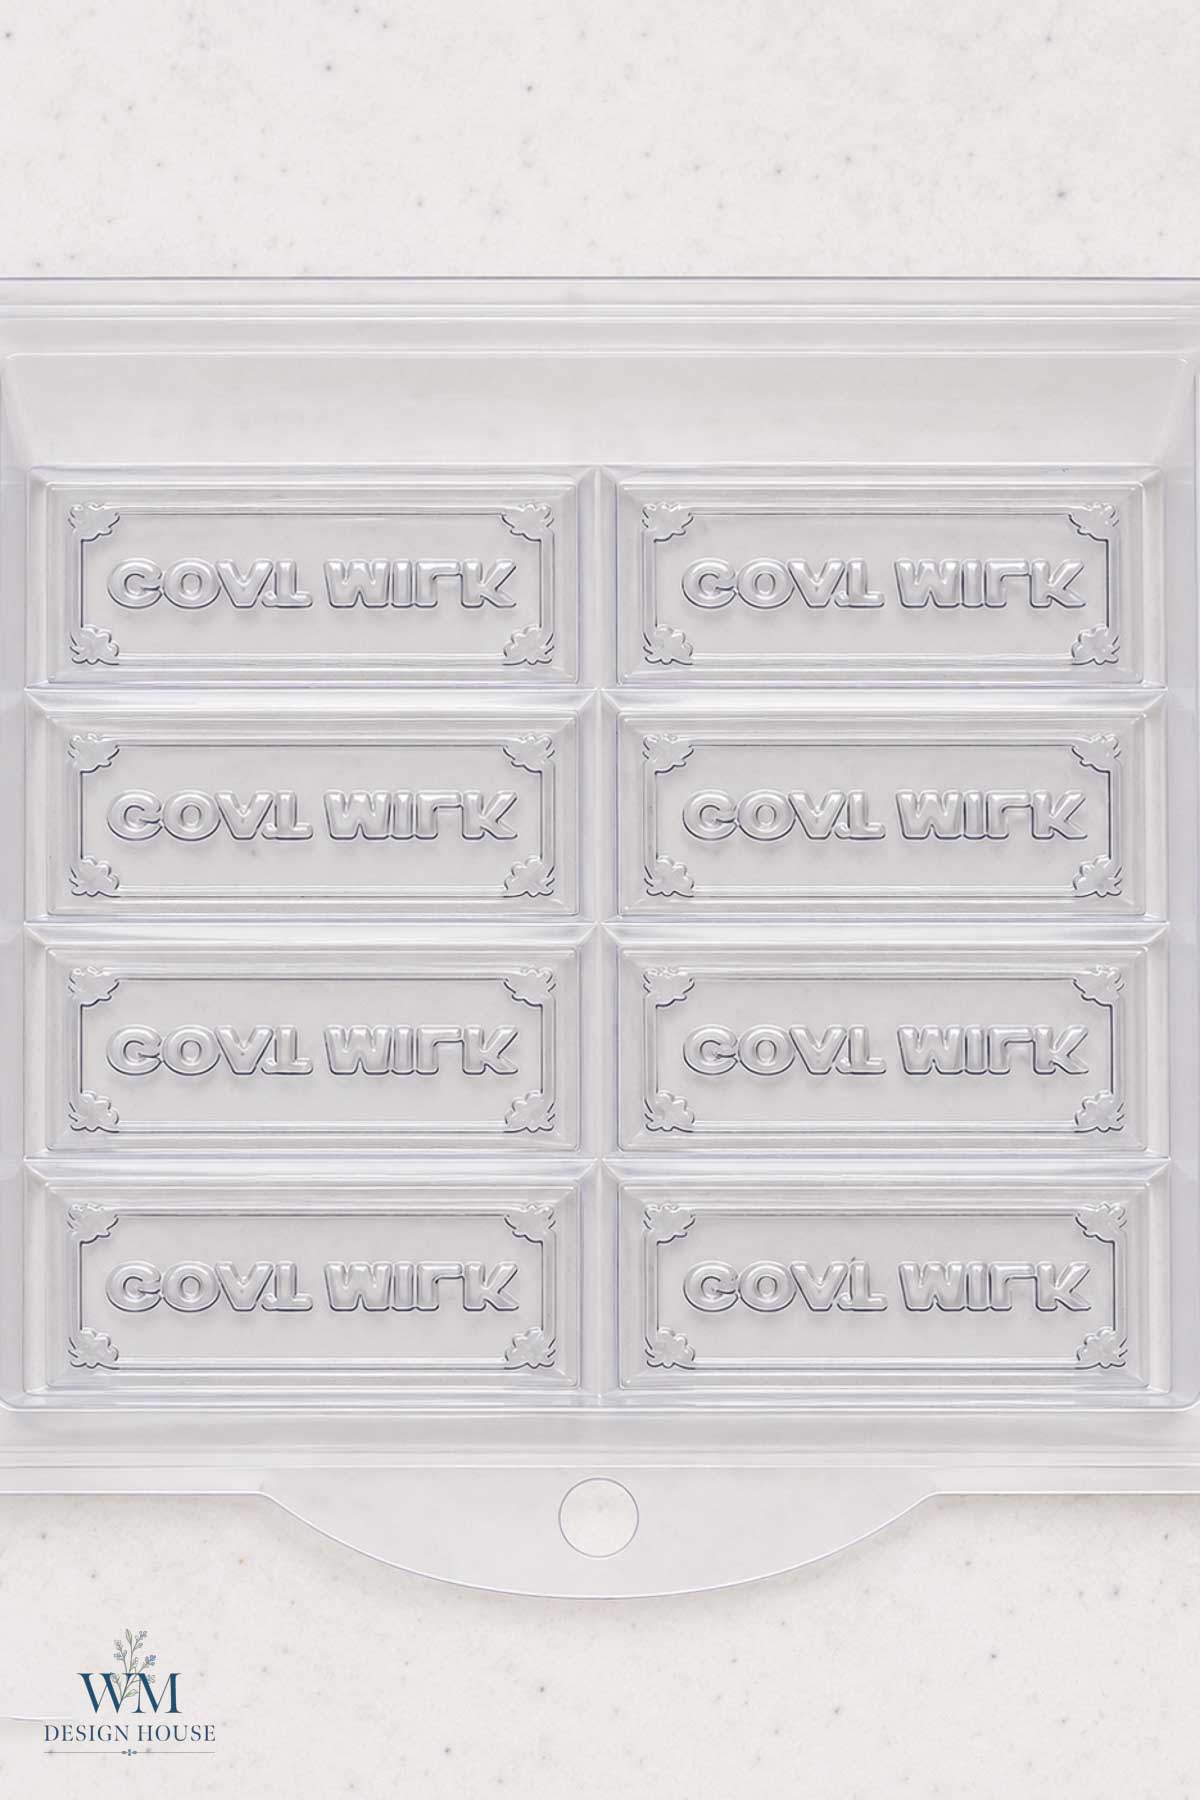
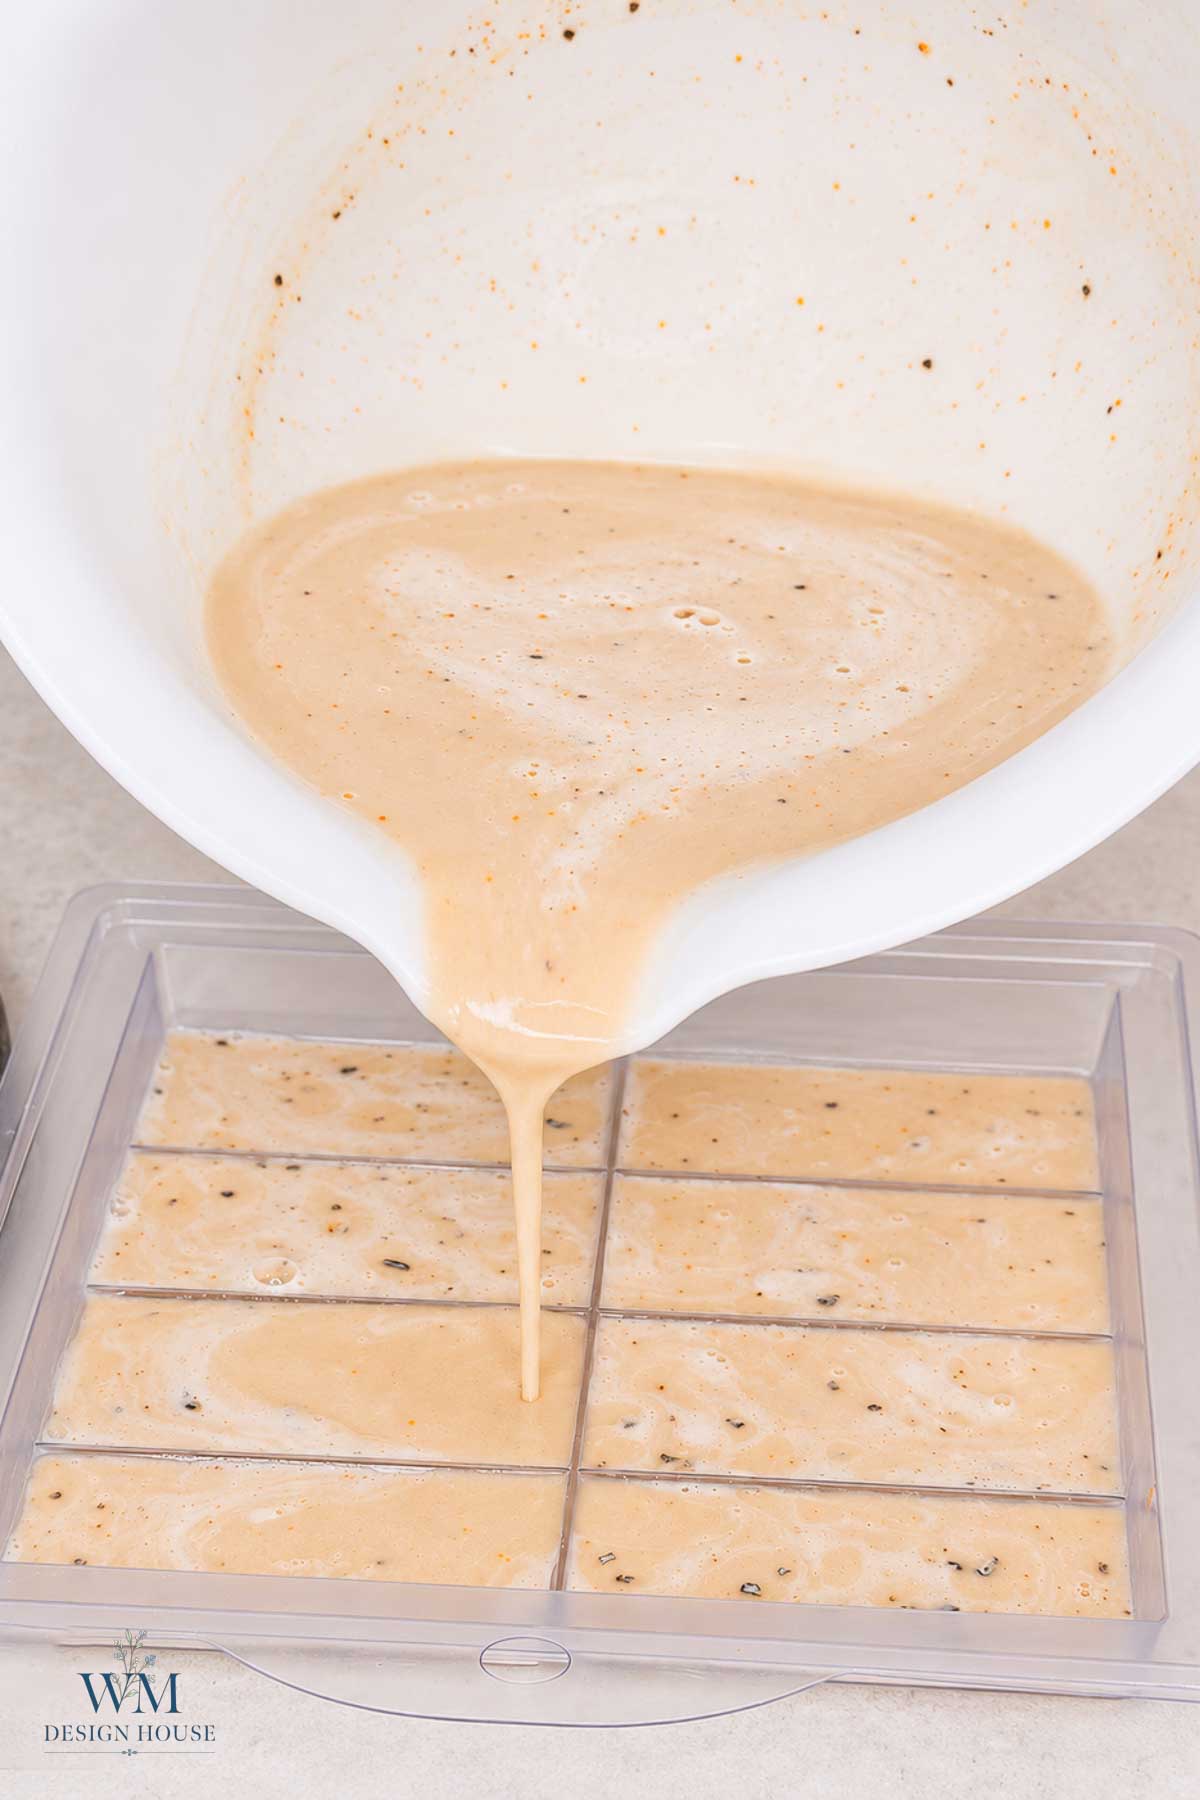
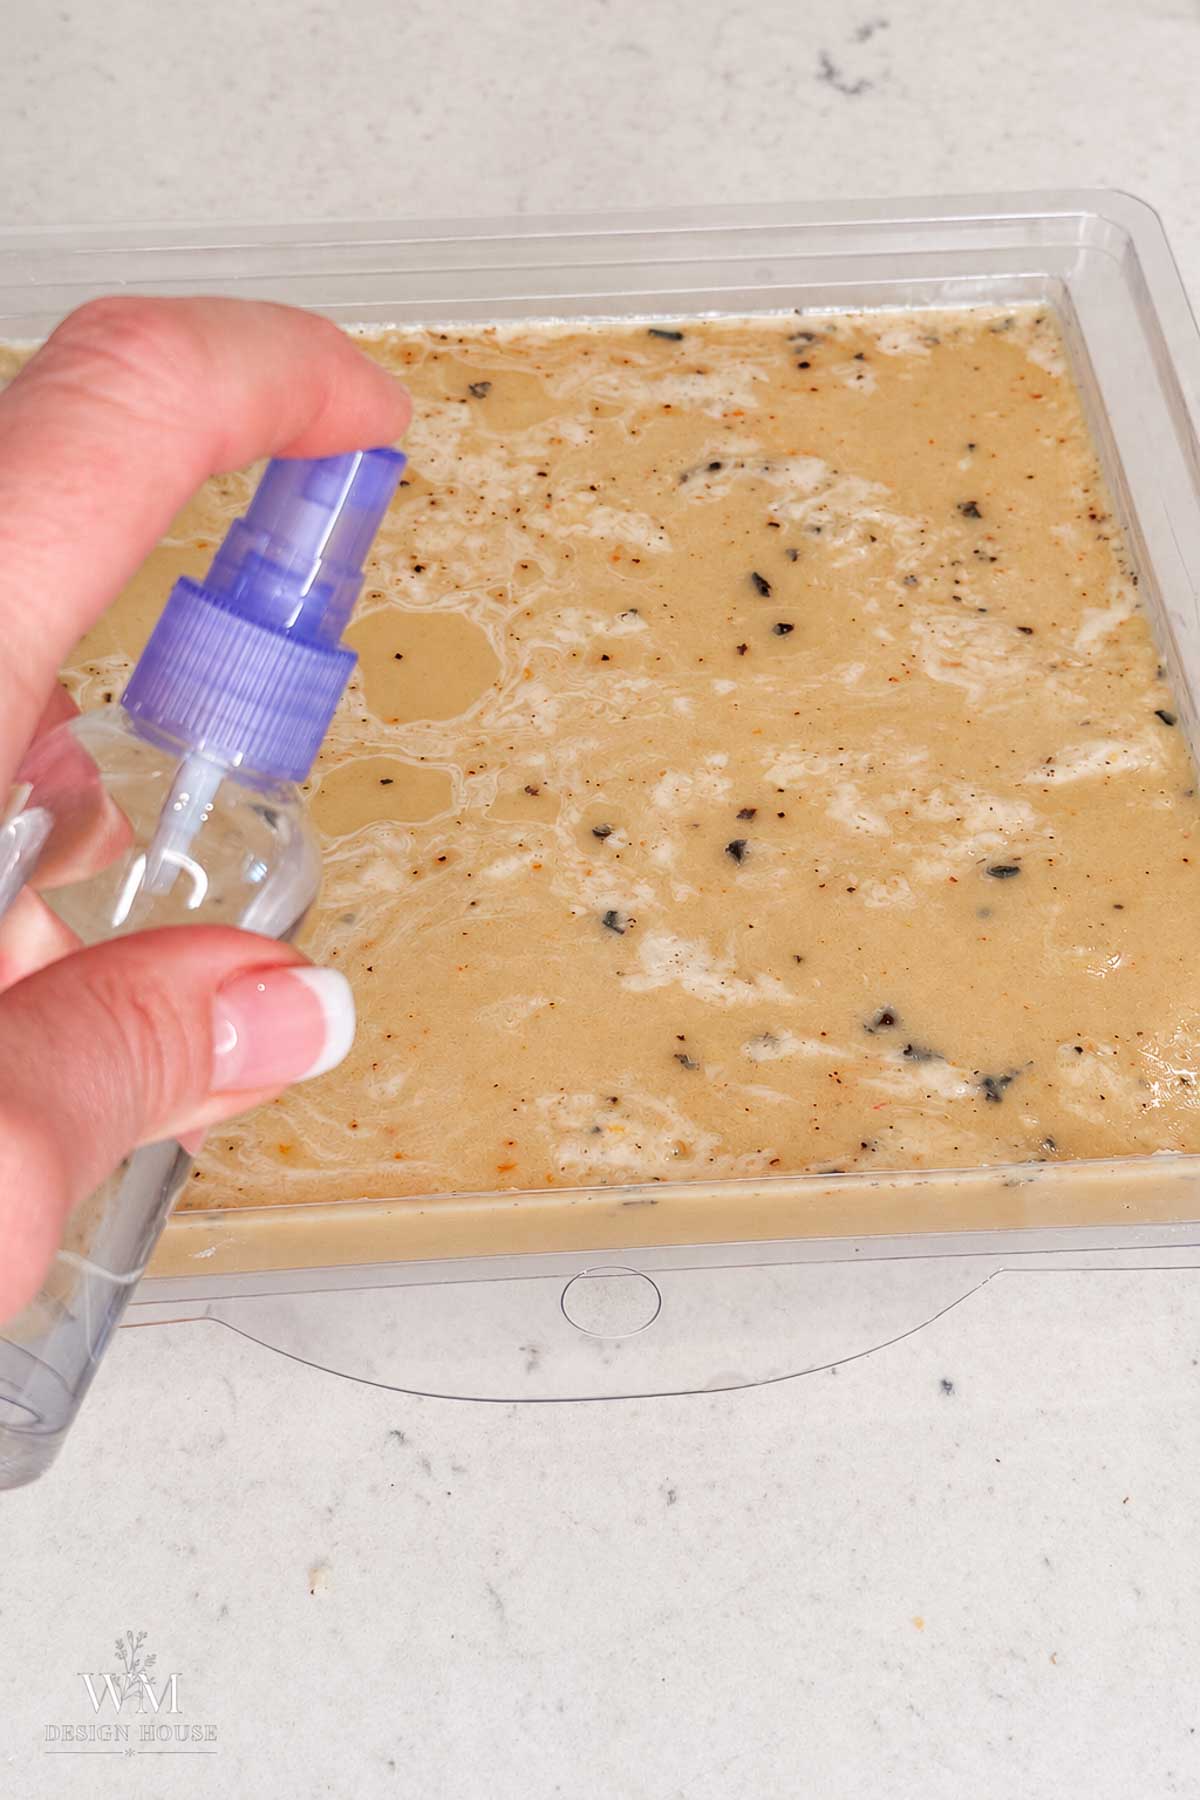
Pour into the mold and spritz the surface with rubbing alcohol right away to pop the bubbles. After that, spritz again a minute later if more rise.
Tip from wendy:
Give the pitcher one last slow stir right before you pour so the flecks are spread through every bar, not just the first two.
Step 7: Set, Unmold, and Cut Apart
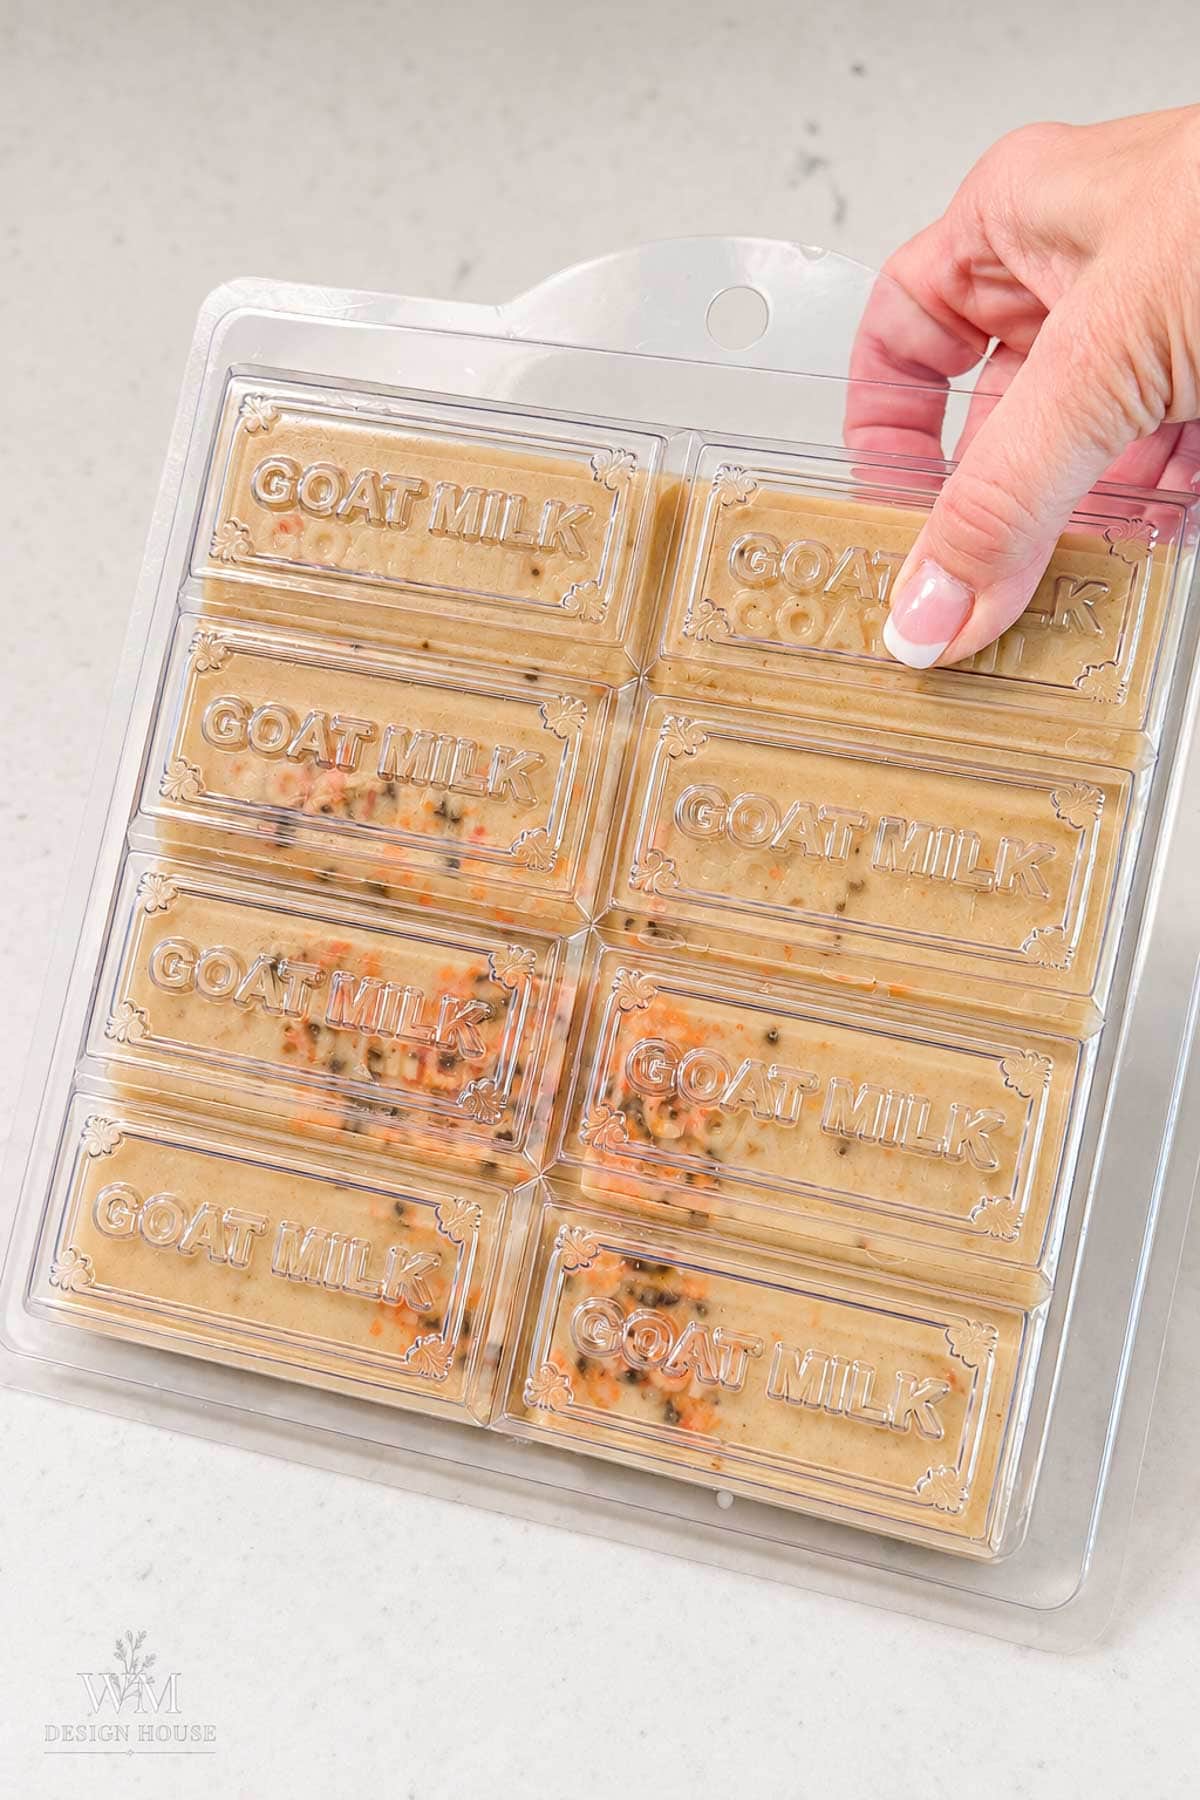
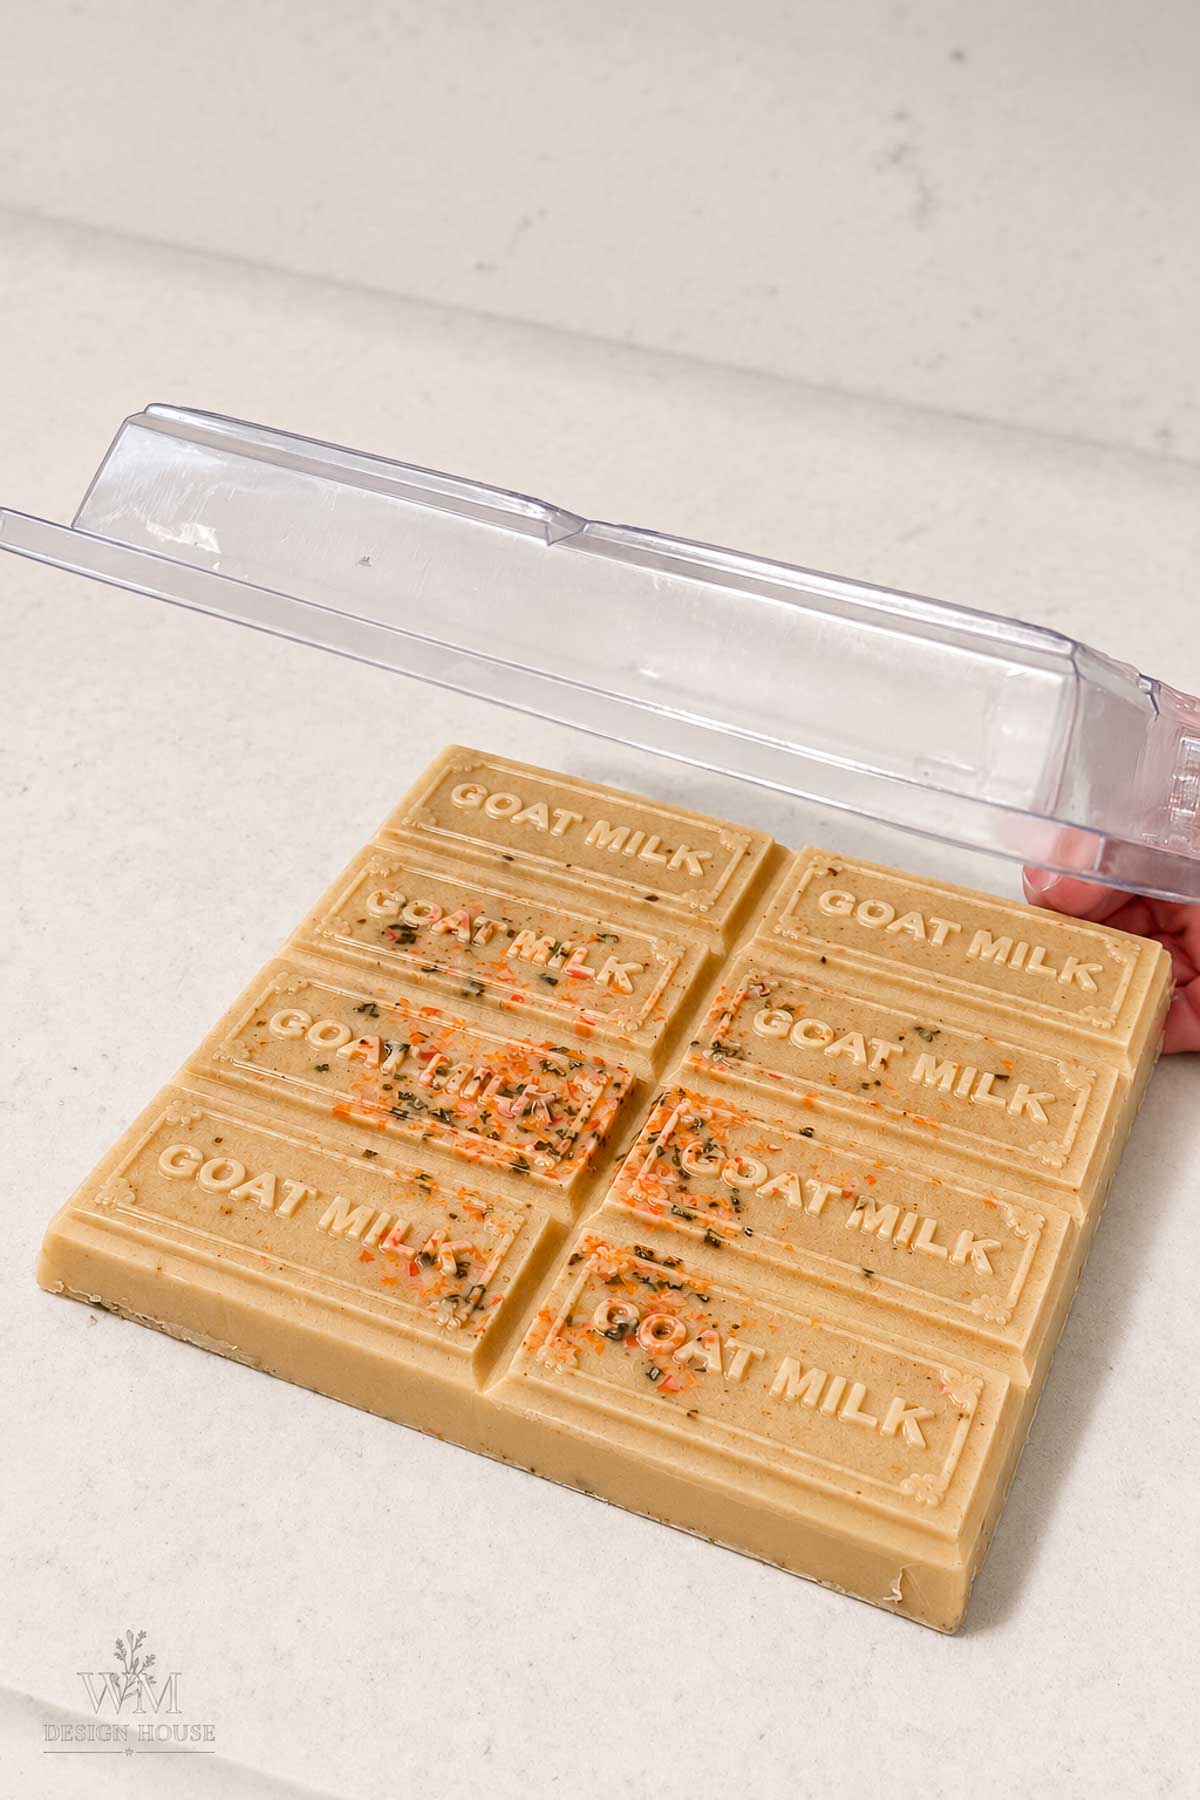
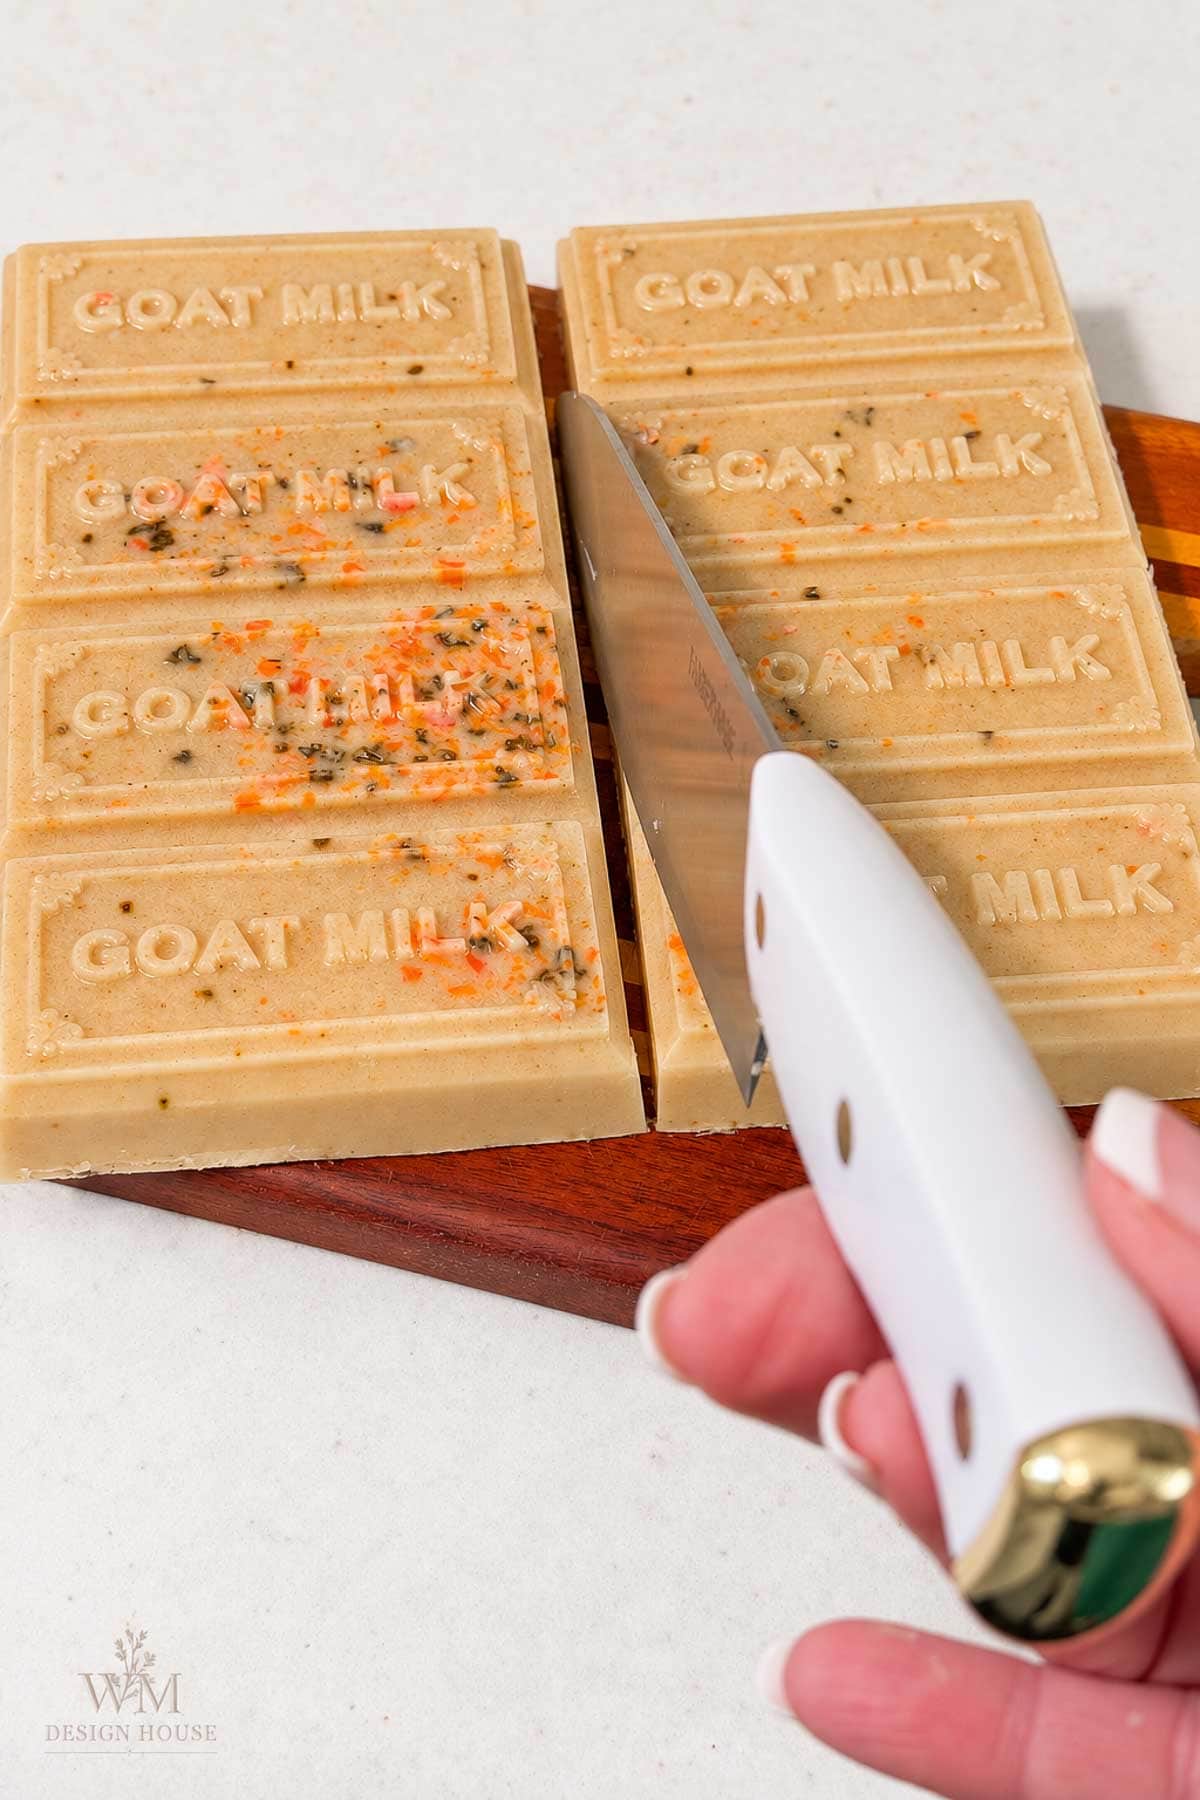
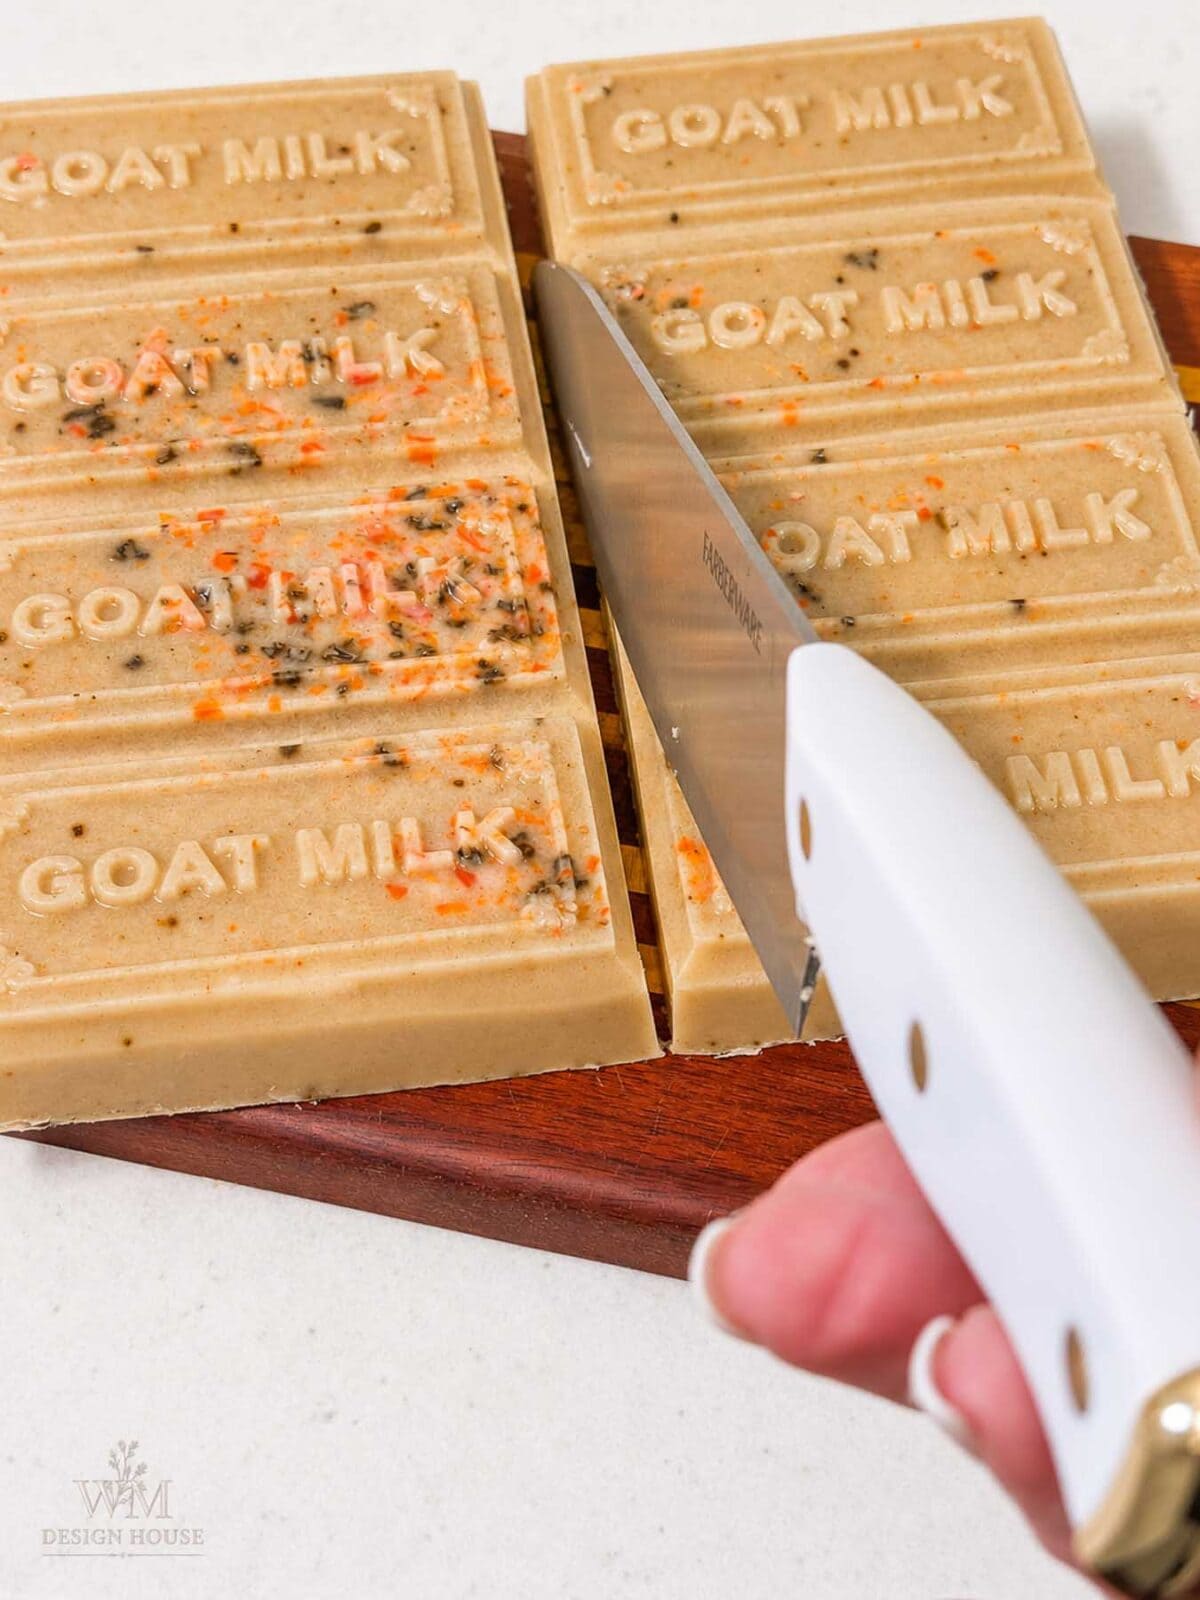
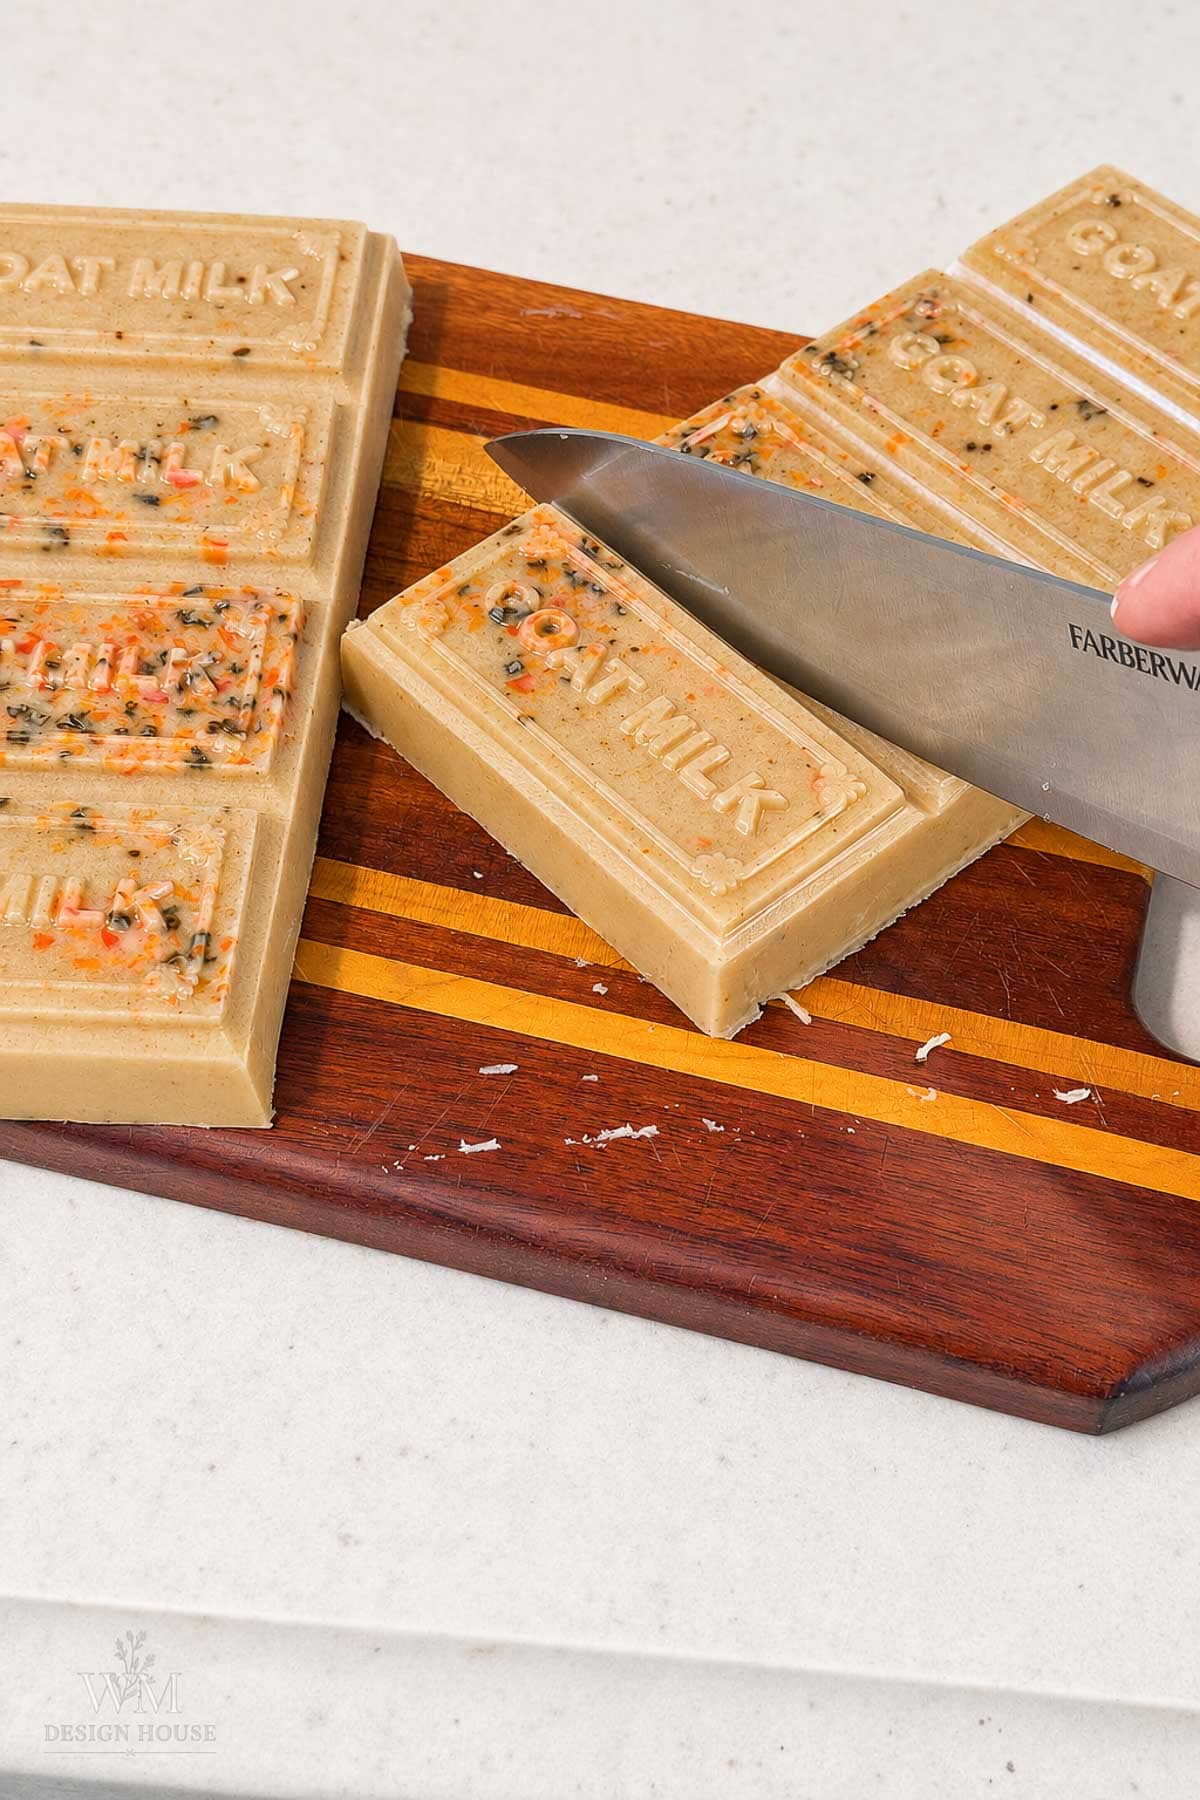
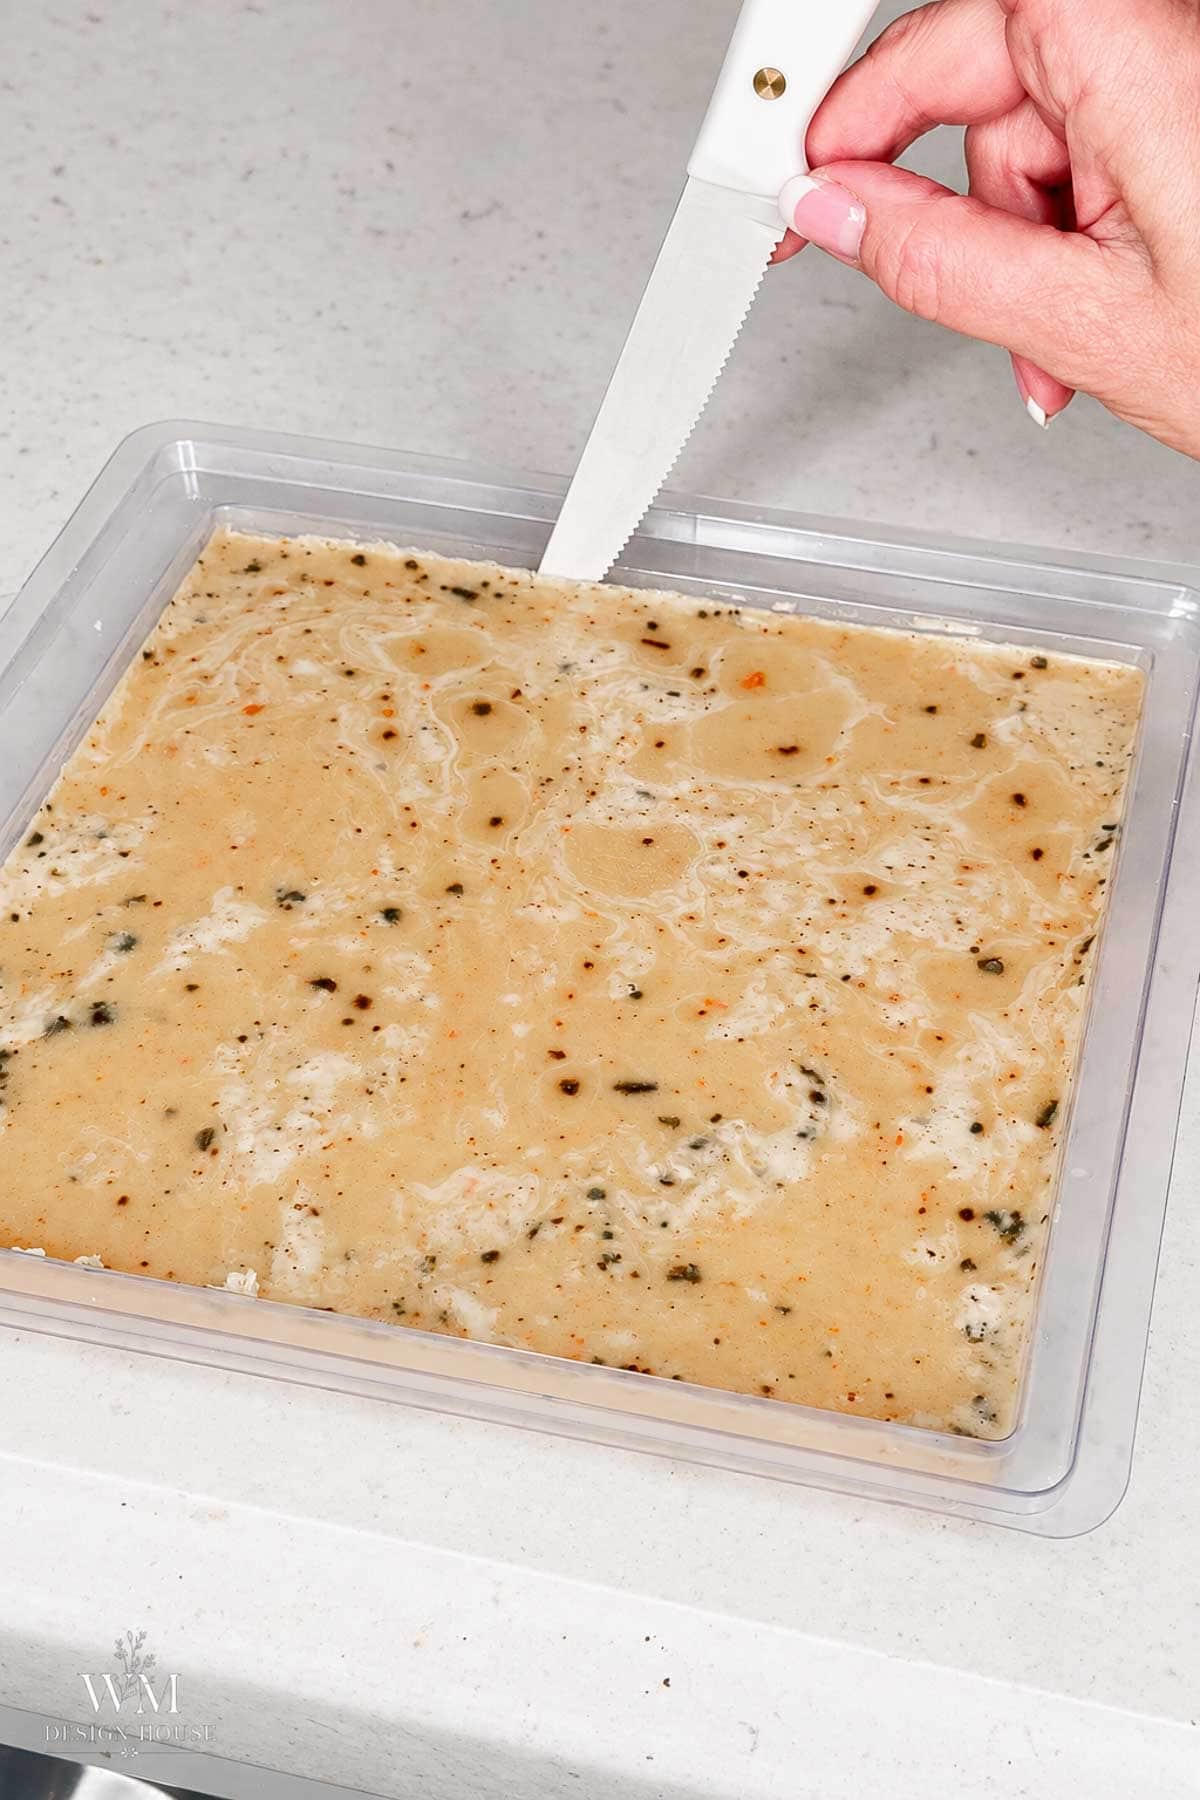
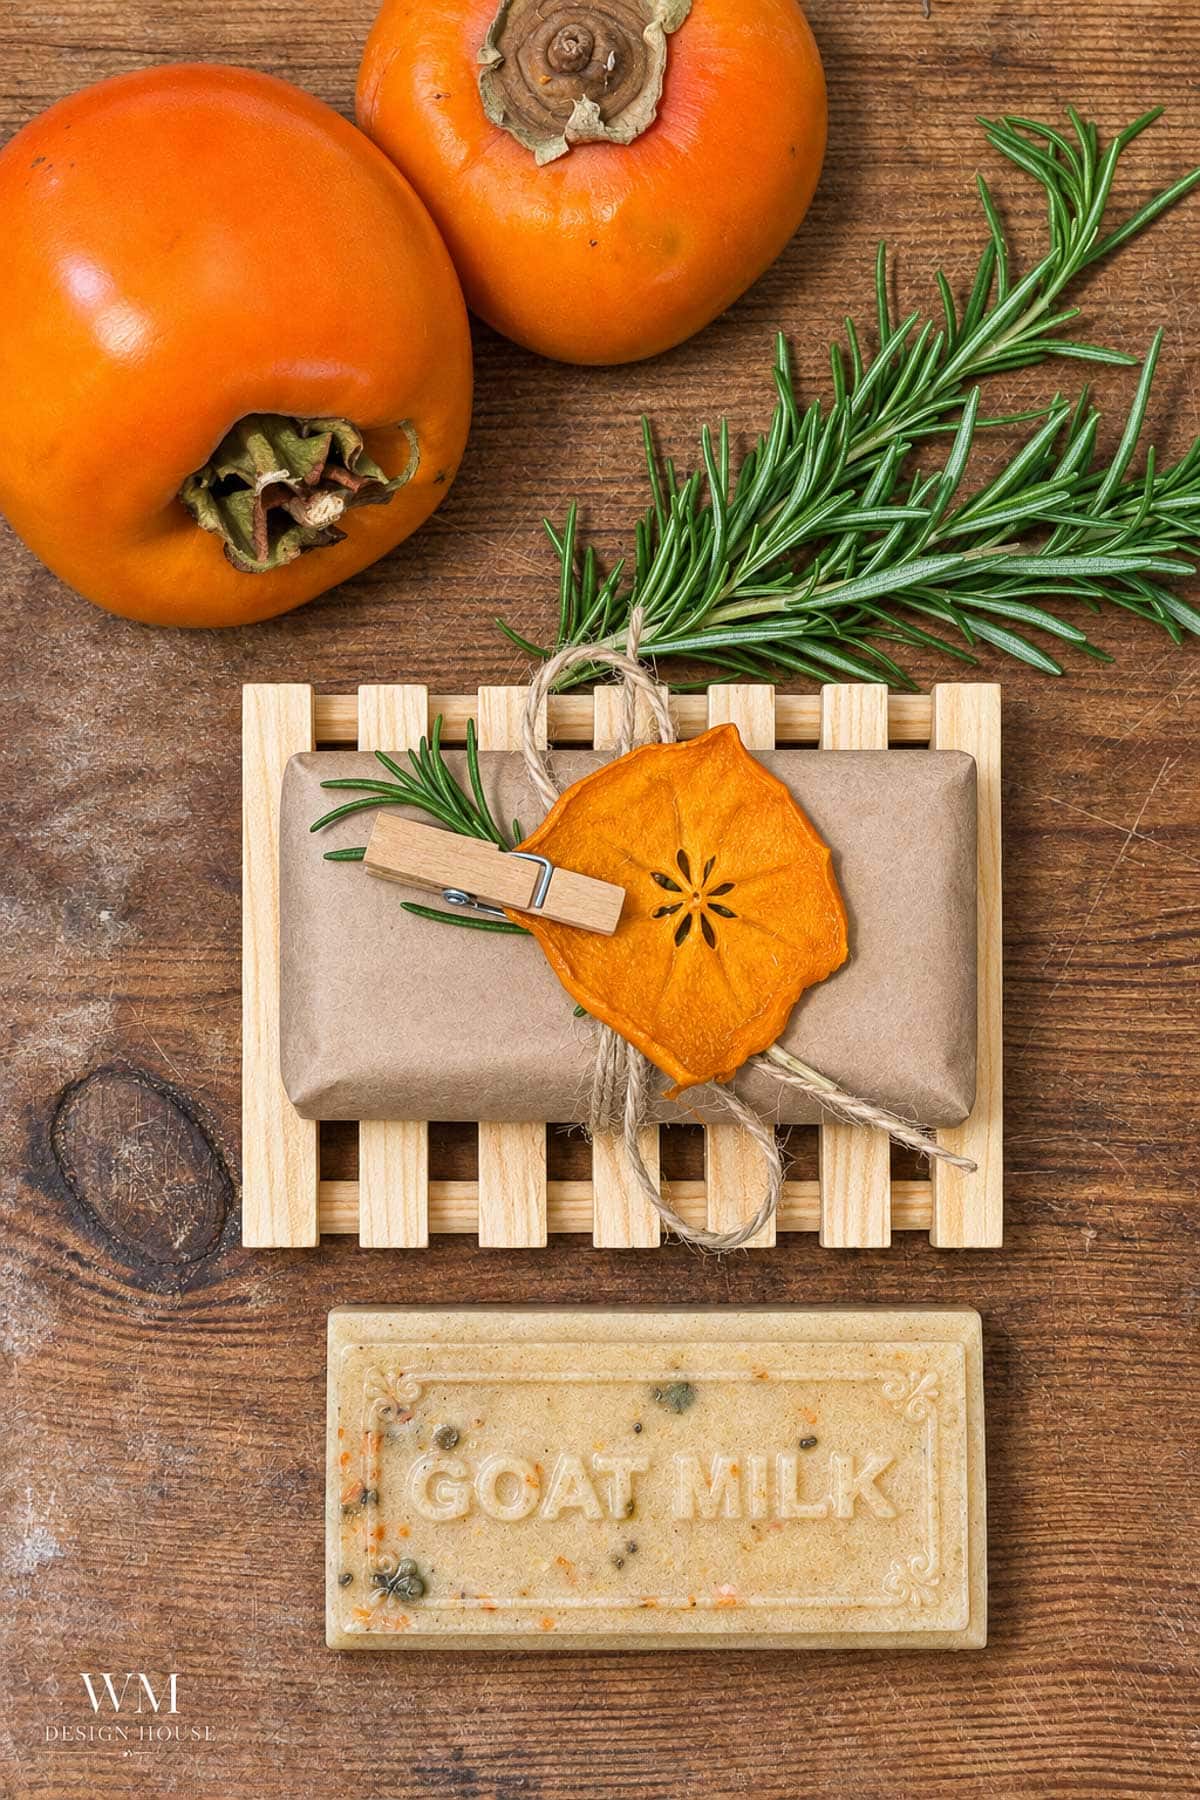
Leave the mold flat and undisturbed for four to six hours, then flex the tray and press the bars out from the bottom. If the bars come out joined by a thin skin of soap where the cavities meet, lay the slab on a cutting board and run a sharp knife along the lines to separate them. Finally, set the bars on a rack uncovered overnight so the surface firms up before you wrap. Expect a warm tan bar, not an orange one, with bright orange flecks from the persimmon and dark specks from the cloves.
The Finishing Touch: Brown Paper, Rosemary, and a Dried Persimmon Slice
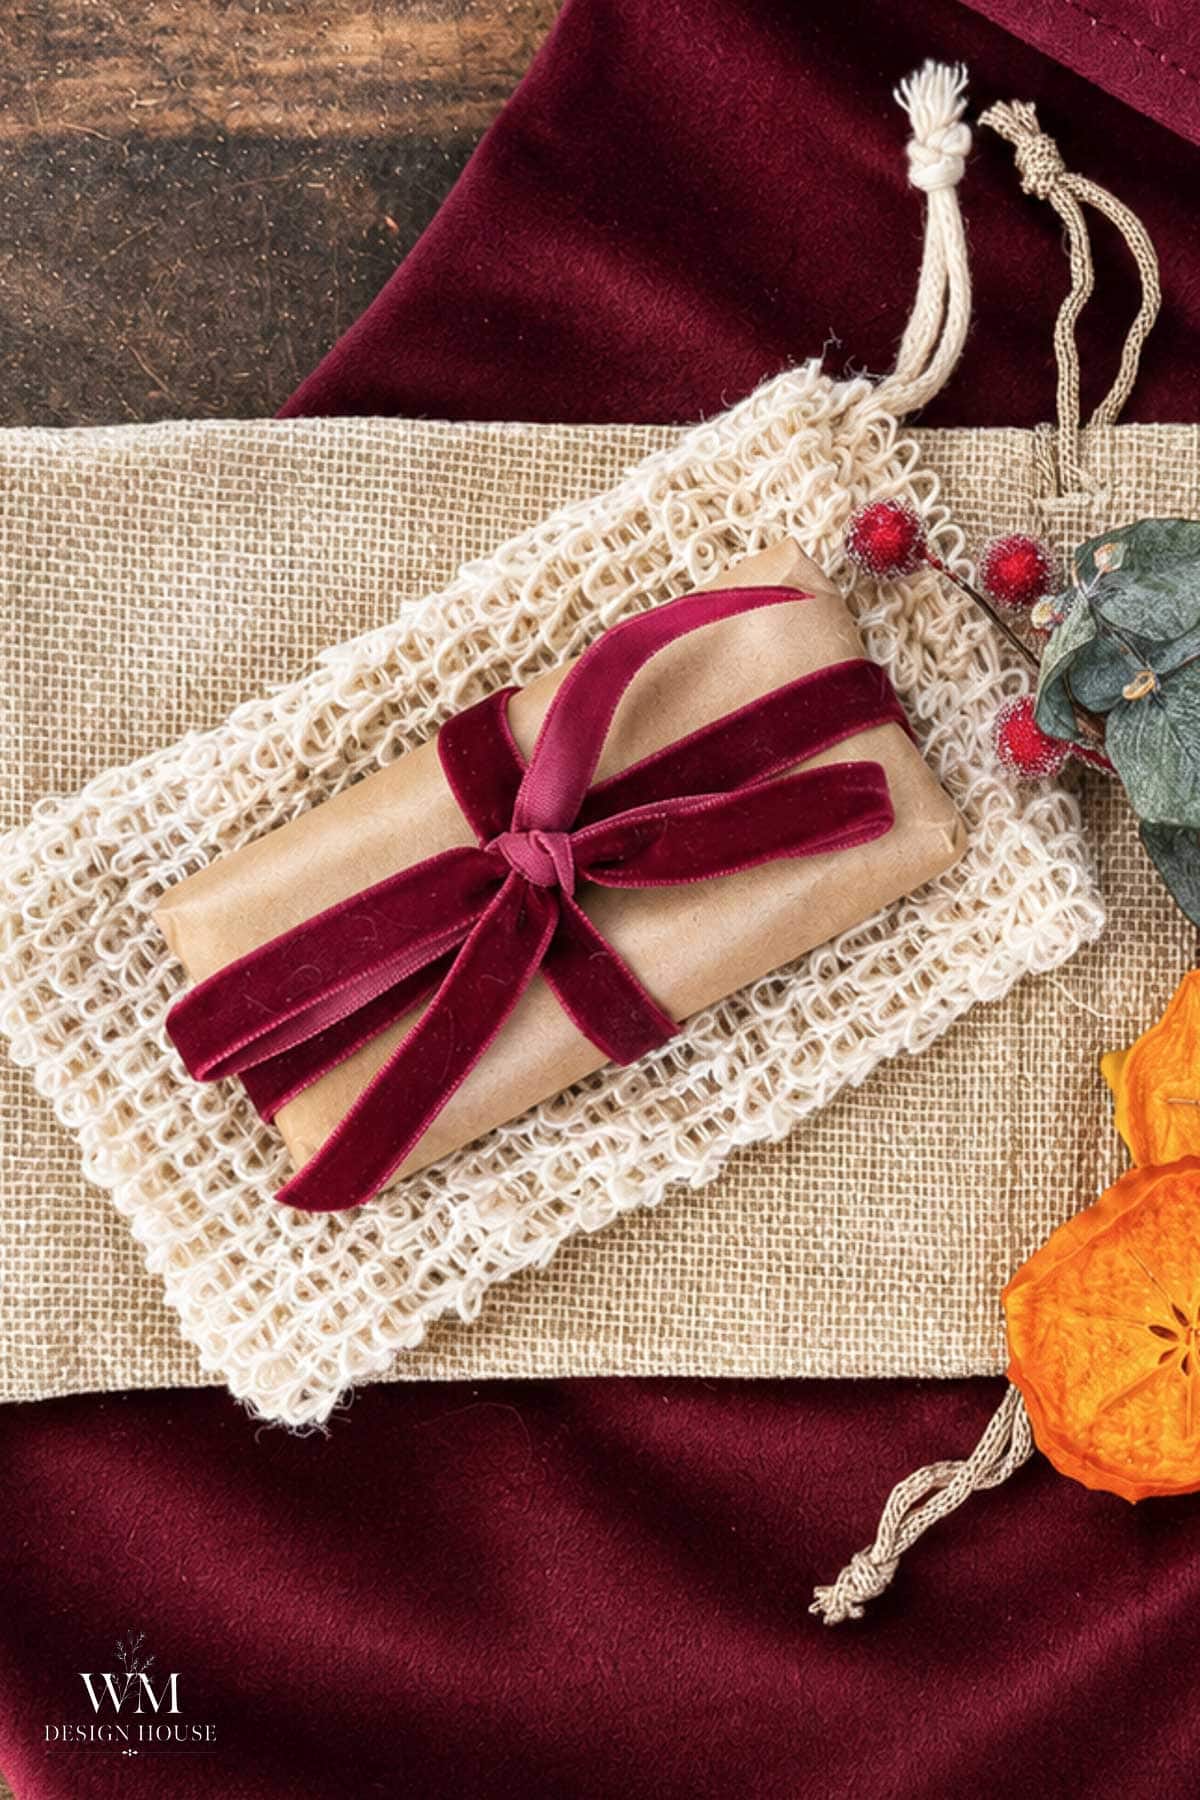
Once the bars have aired overnight, wrap each one in brown kraft paper like a little parcel and tie it with jute twine or a pretty velvet ribbon. Then slip a sprig of rosemary or eucalyptus, a few faux berries, and a dried persimmon slice under the ribbon. The slice tells the whole story before anyone reads the tag.
Keep the rosemary and persimmon on the outside of the paper, never against the bare soap. Melt and pour bars pull a little moisture from the air, and anything damp against dried fruit can mold. Also, if the gifts will sit under the tree for a few weeks, wrap the bar in a layer of plastic or shrink wrap under the paper first.
How to Package Them as a Gift Set
One bar on its own is a nice gift. However, a bar with the two things you need to actually use it is a gift people remember.
Add a Soap Dish and a Soap Saver Bag
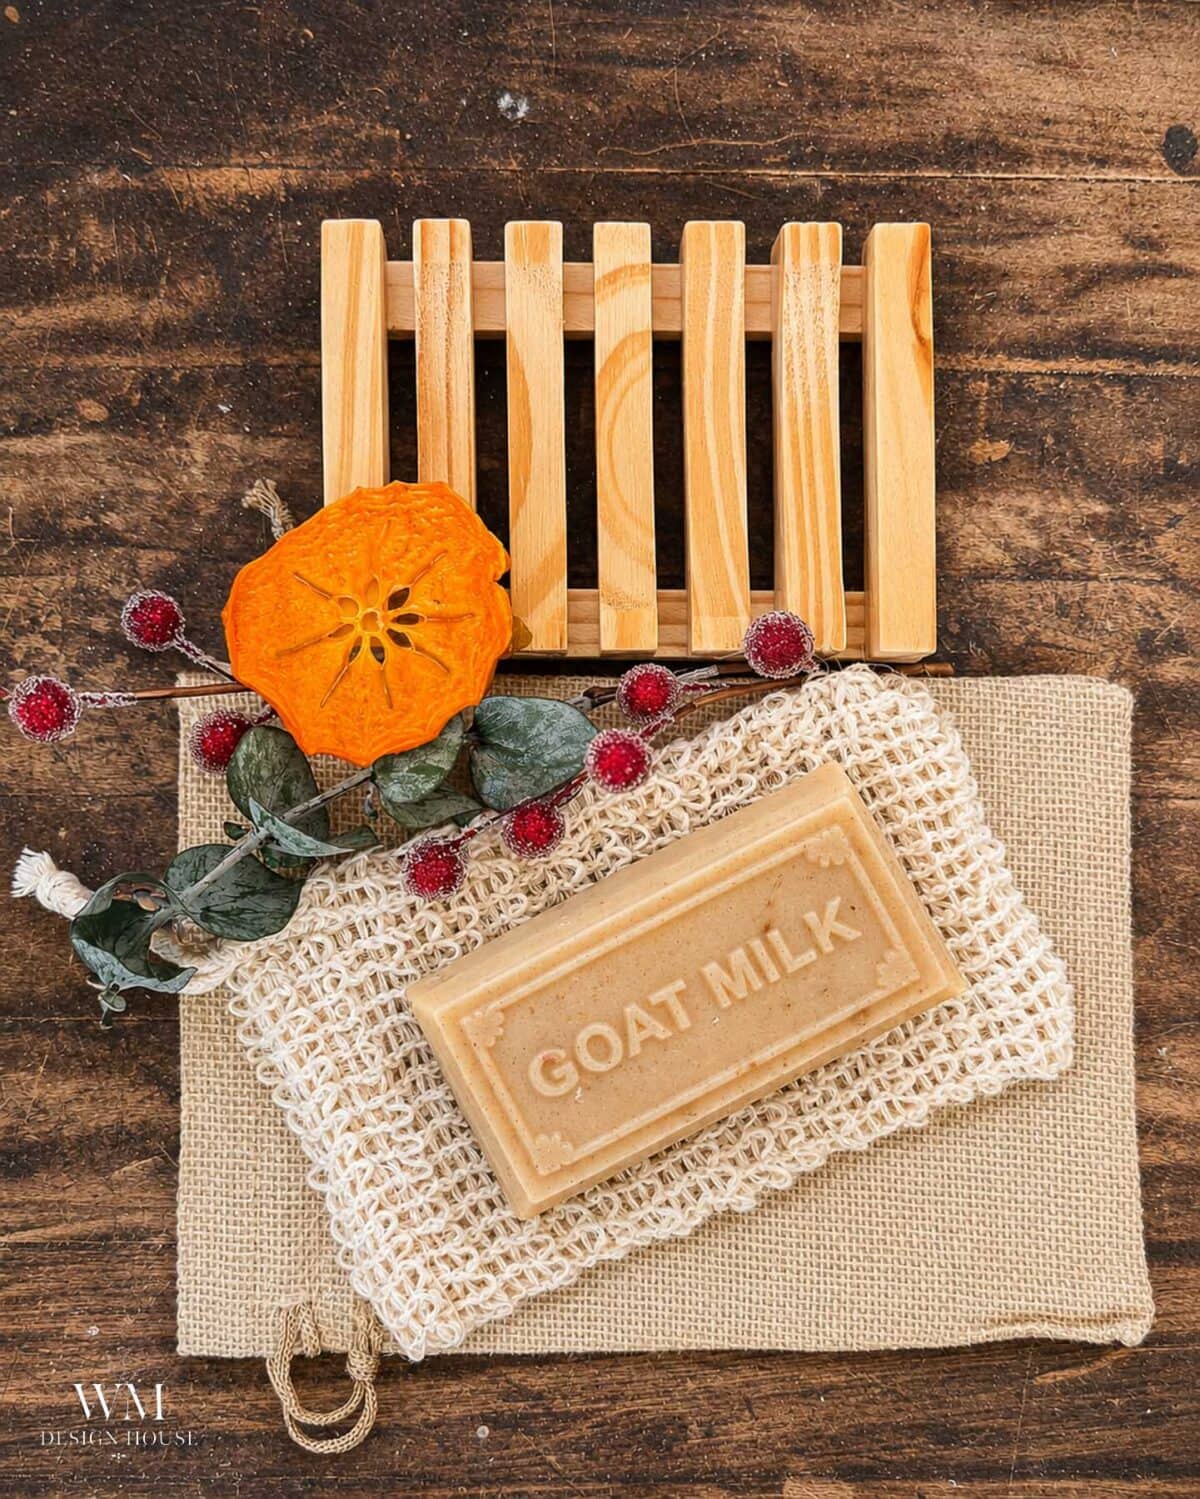
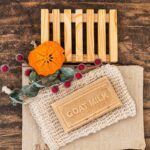
I set the wrapped soap on a slatted wooden soap dish, which keeps the bar dry between uses, and tucked in a sisal soap saver bag. The bar slides inside the sisal bag and the bag becomes the scrubber, so the soap lasts longer and never sits in a puddle.
Pack It All in a Linen Bag
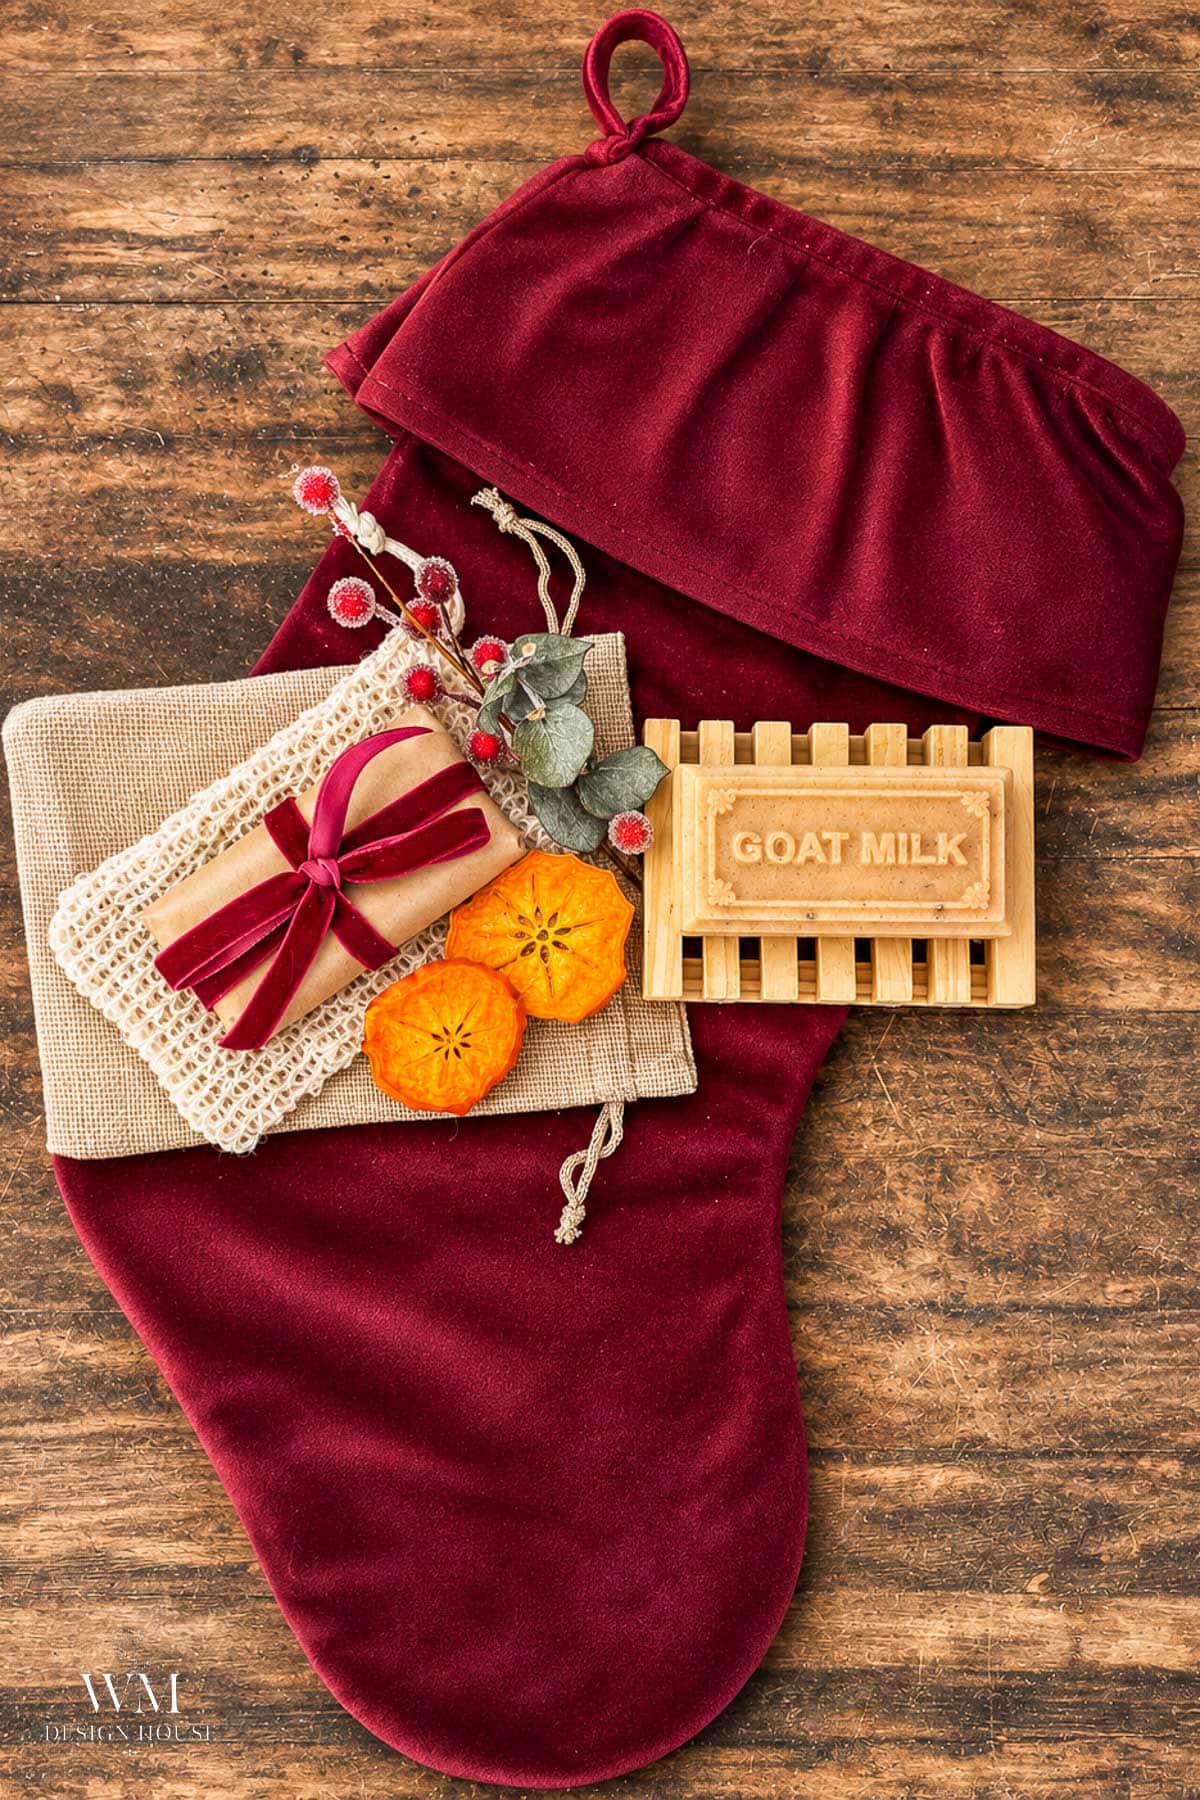
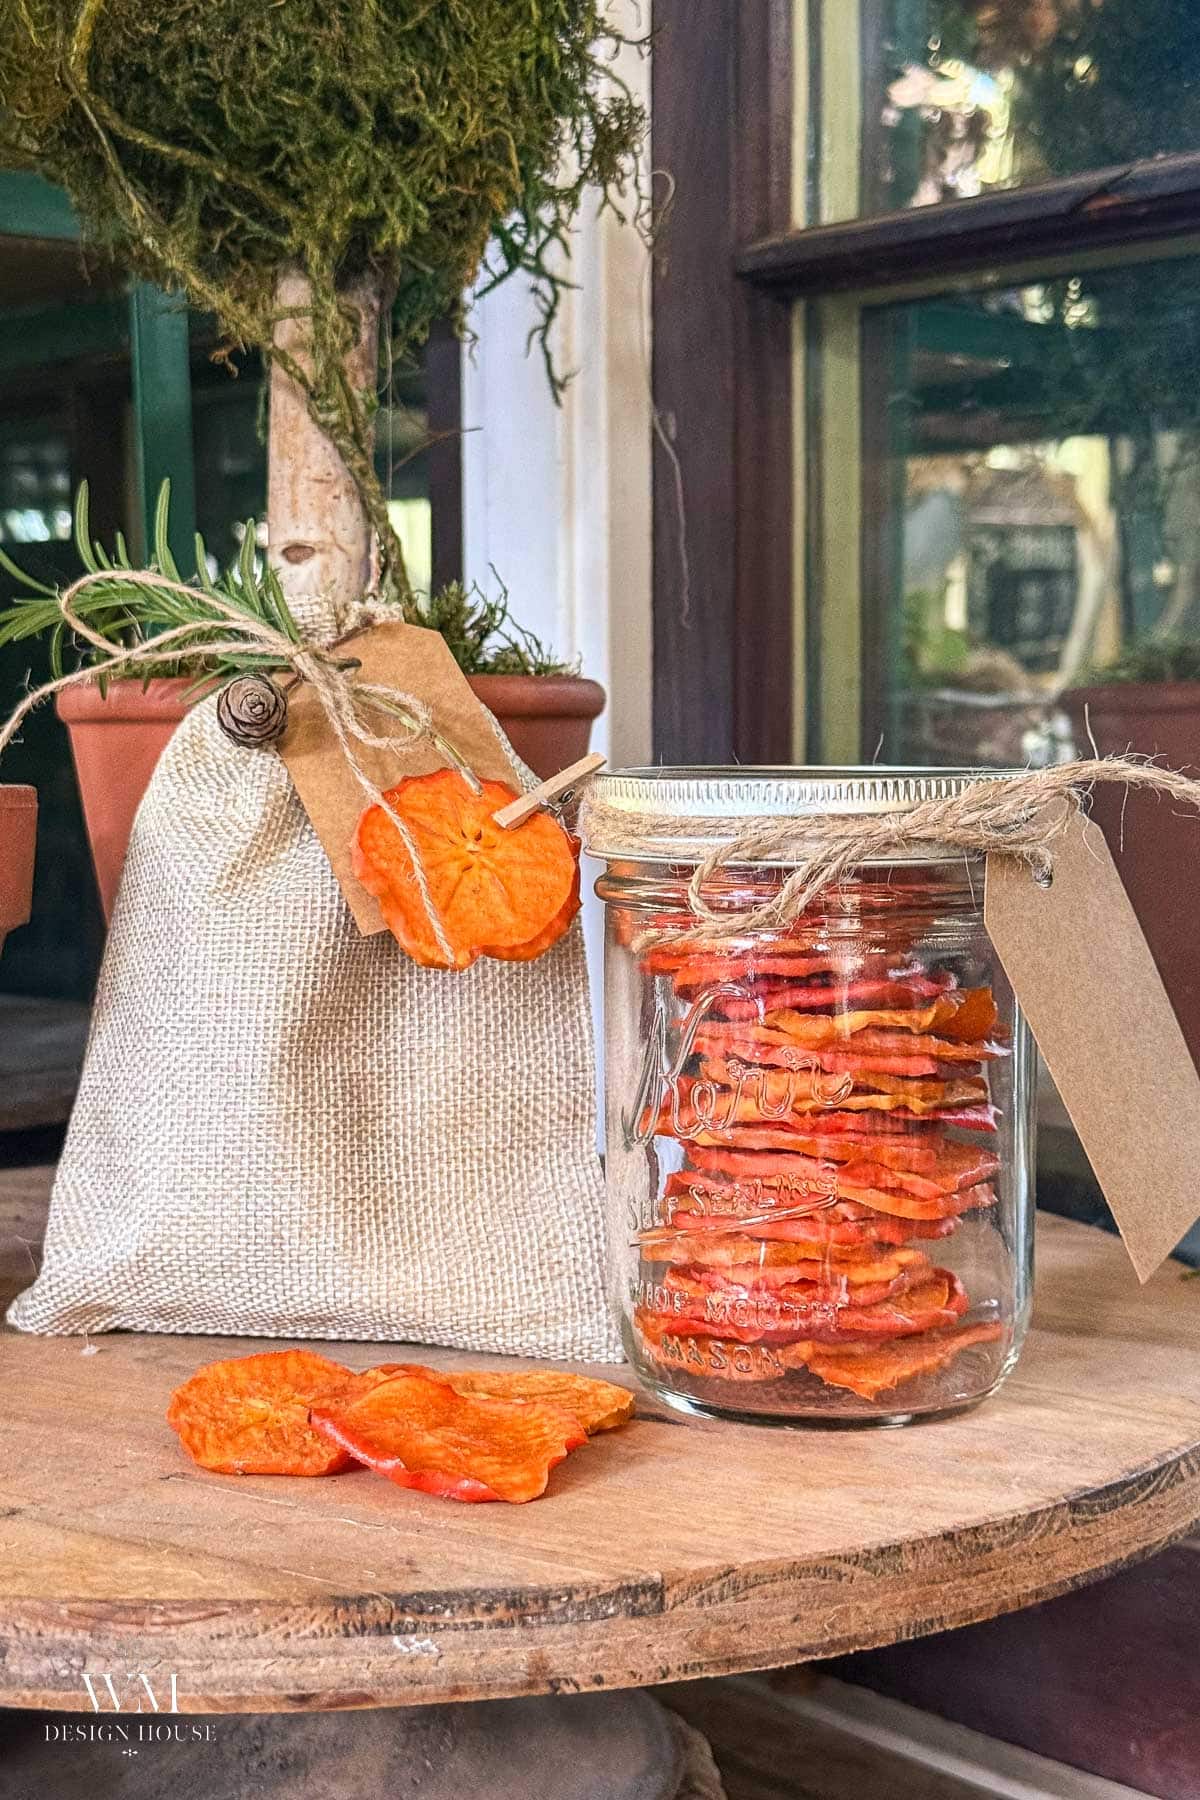
Finally, everything goes into a linen drawstring bag with a kraft tag, a few berries, and a small pinecone or two.
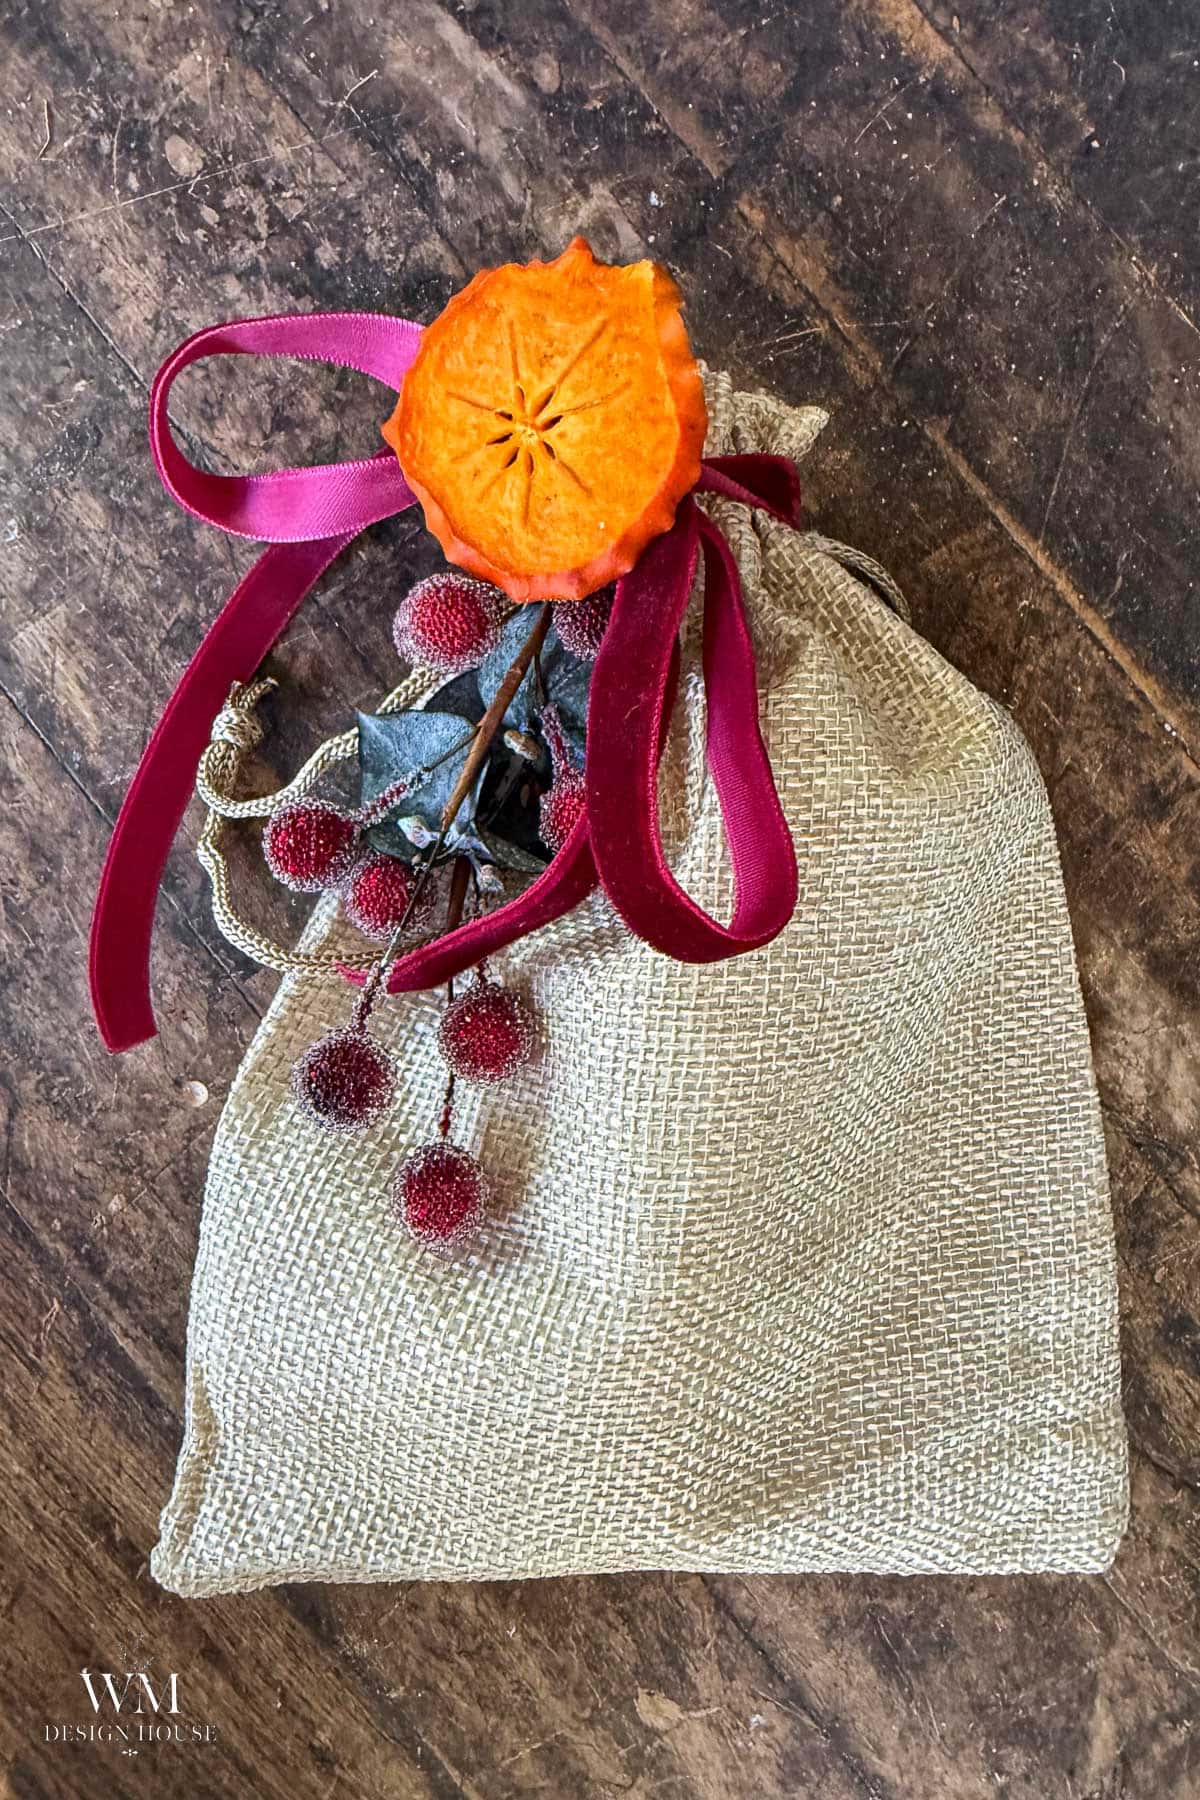
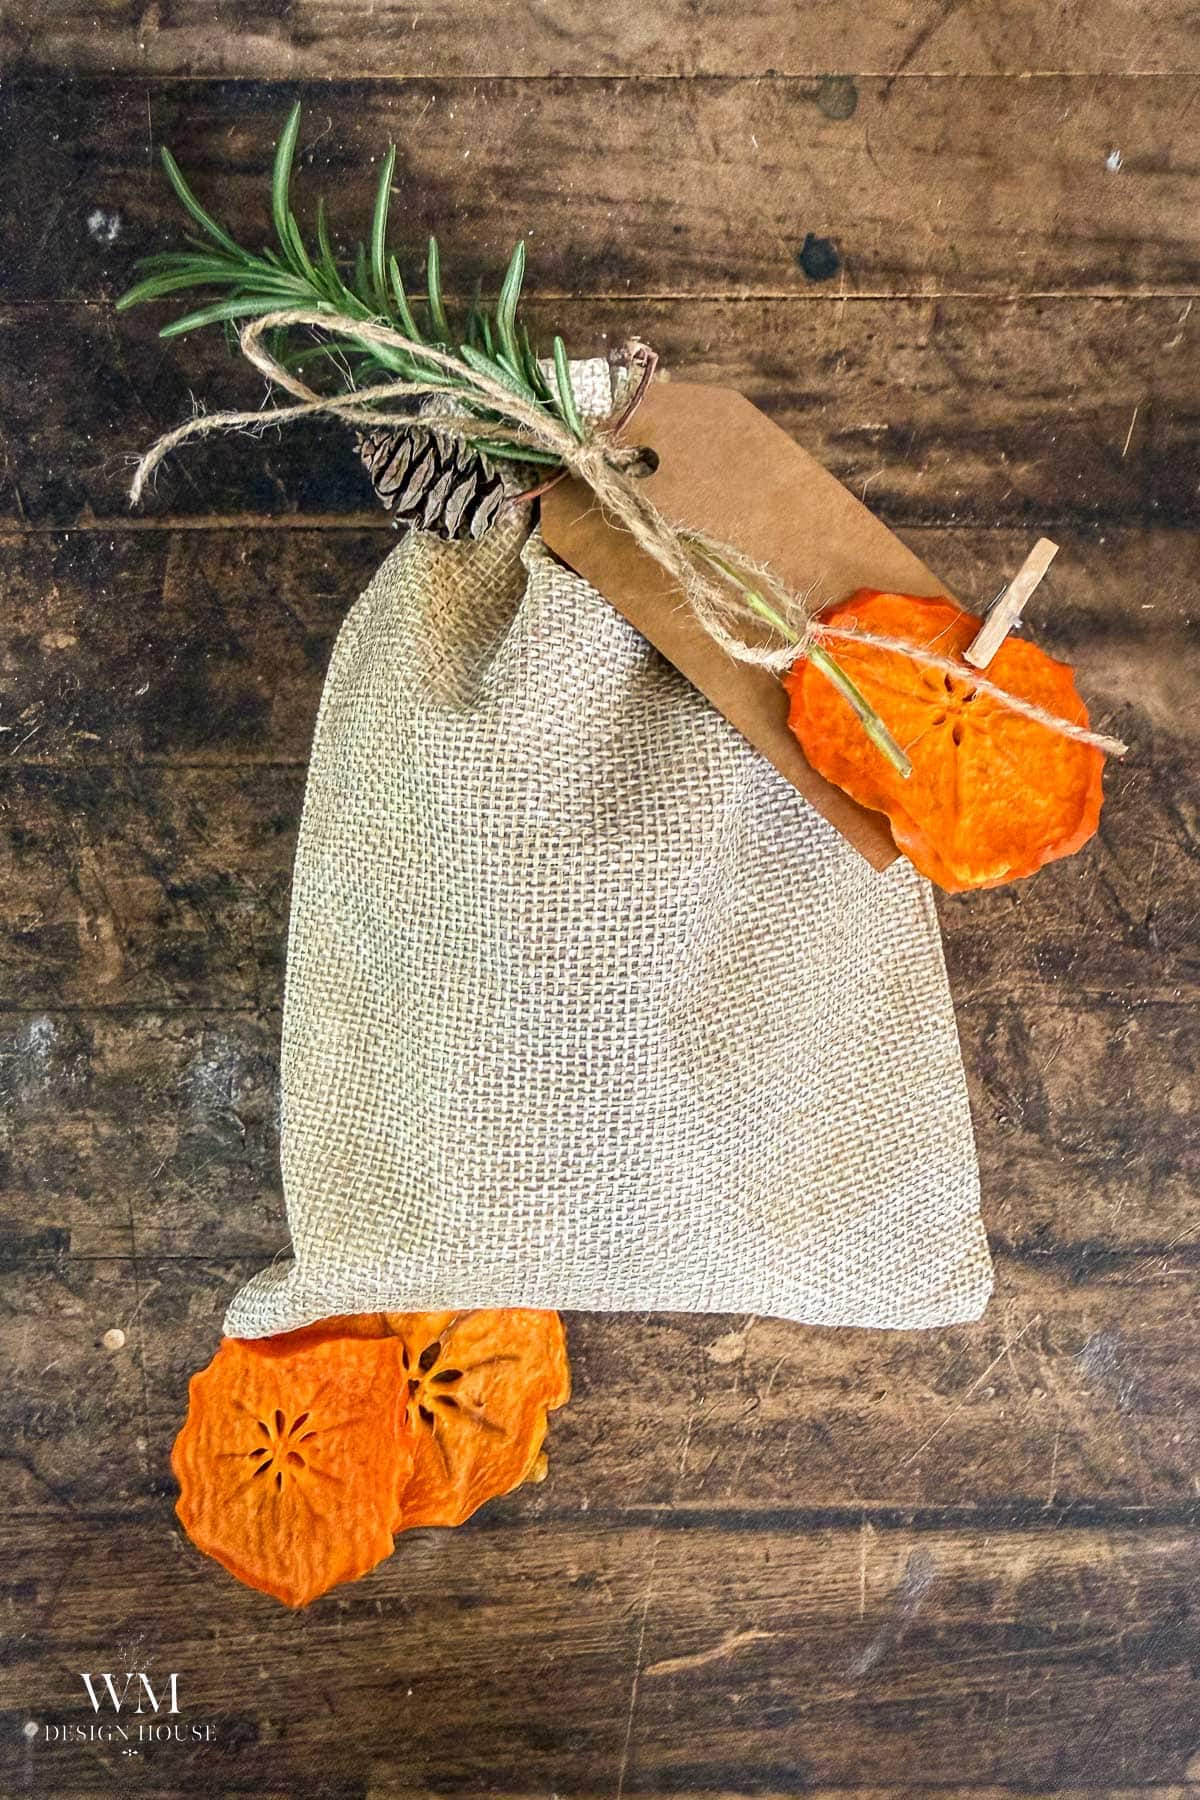
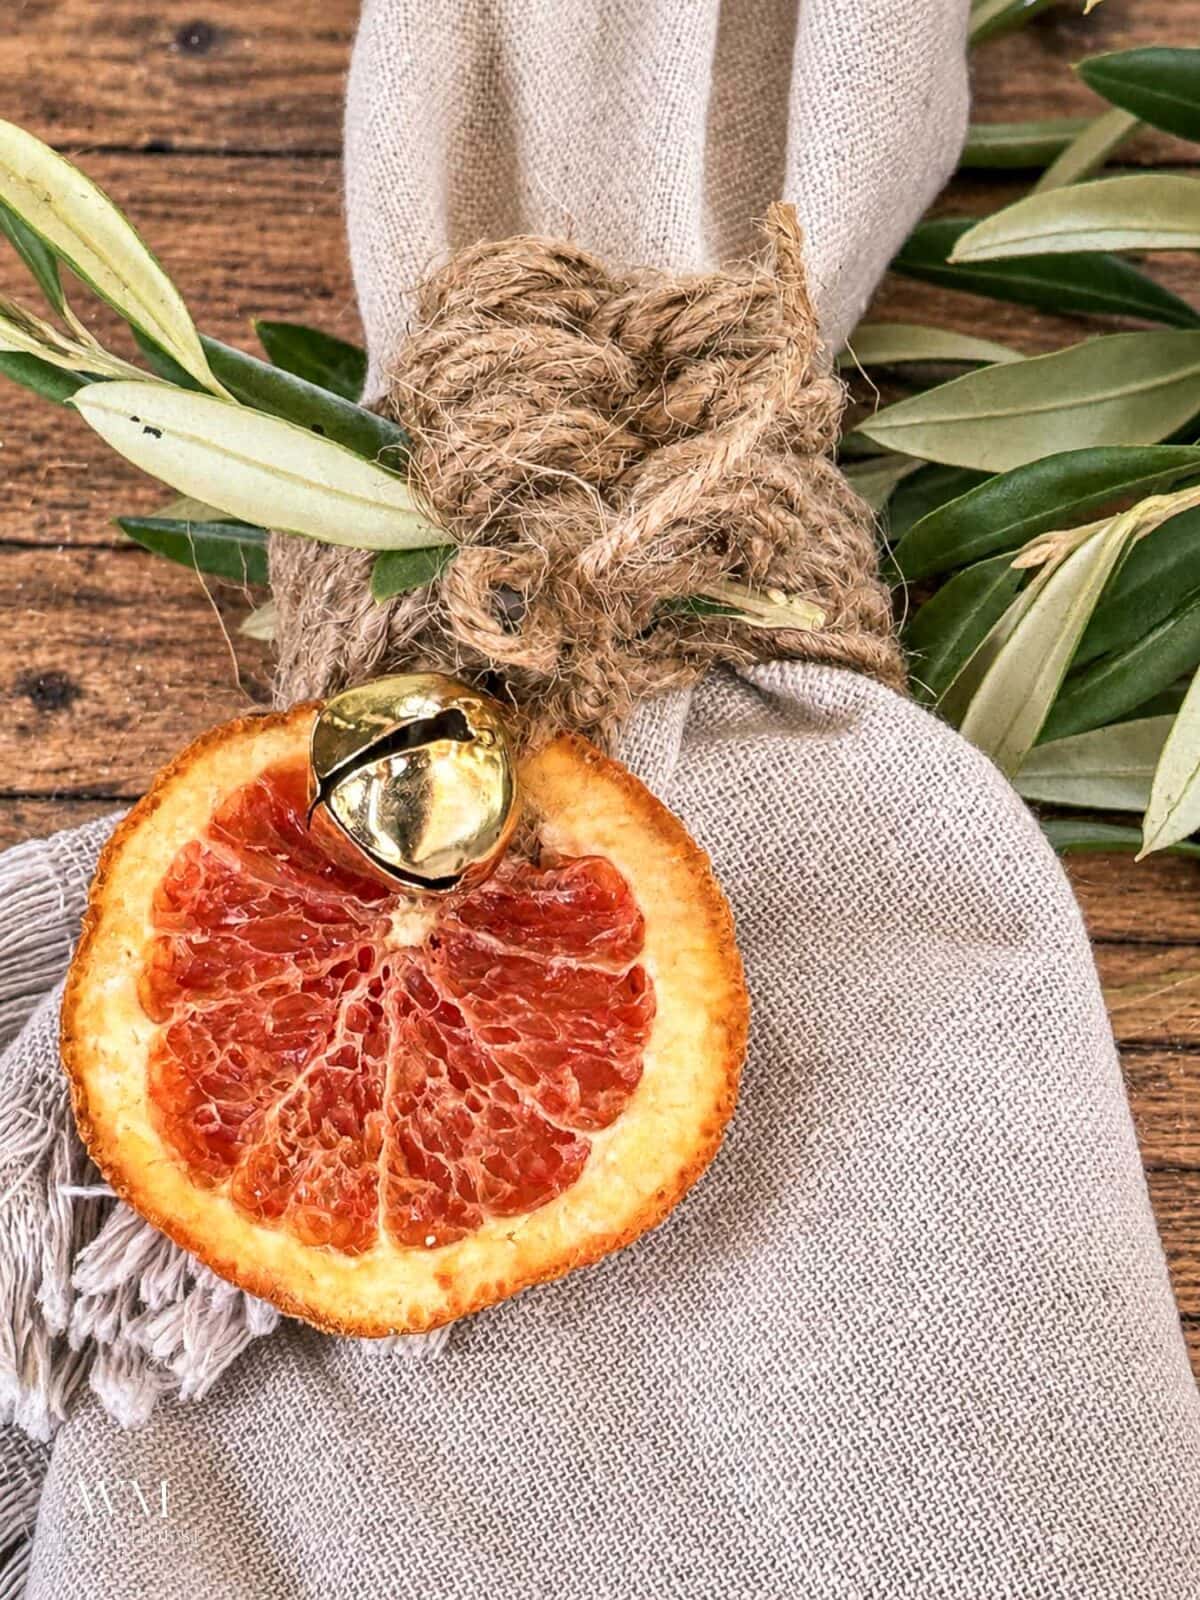
If you want to add a little extra to the gift, a bag of persimmon pulp or a little jar of dried persimmon slices fits right in. So does a pair of my knotted rope napkin rings, which use the same twine and dried fruit.
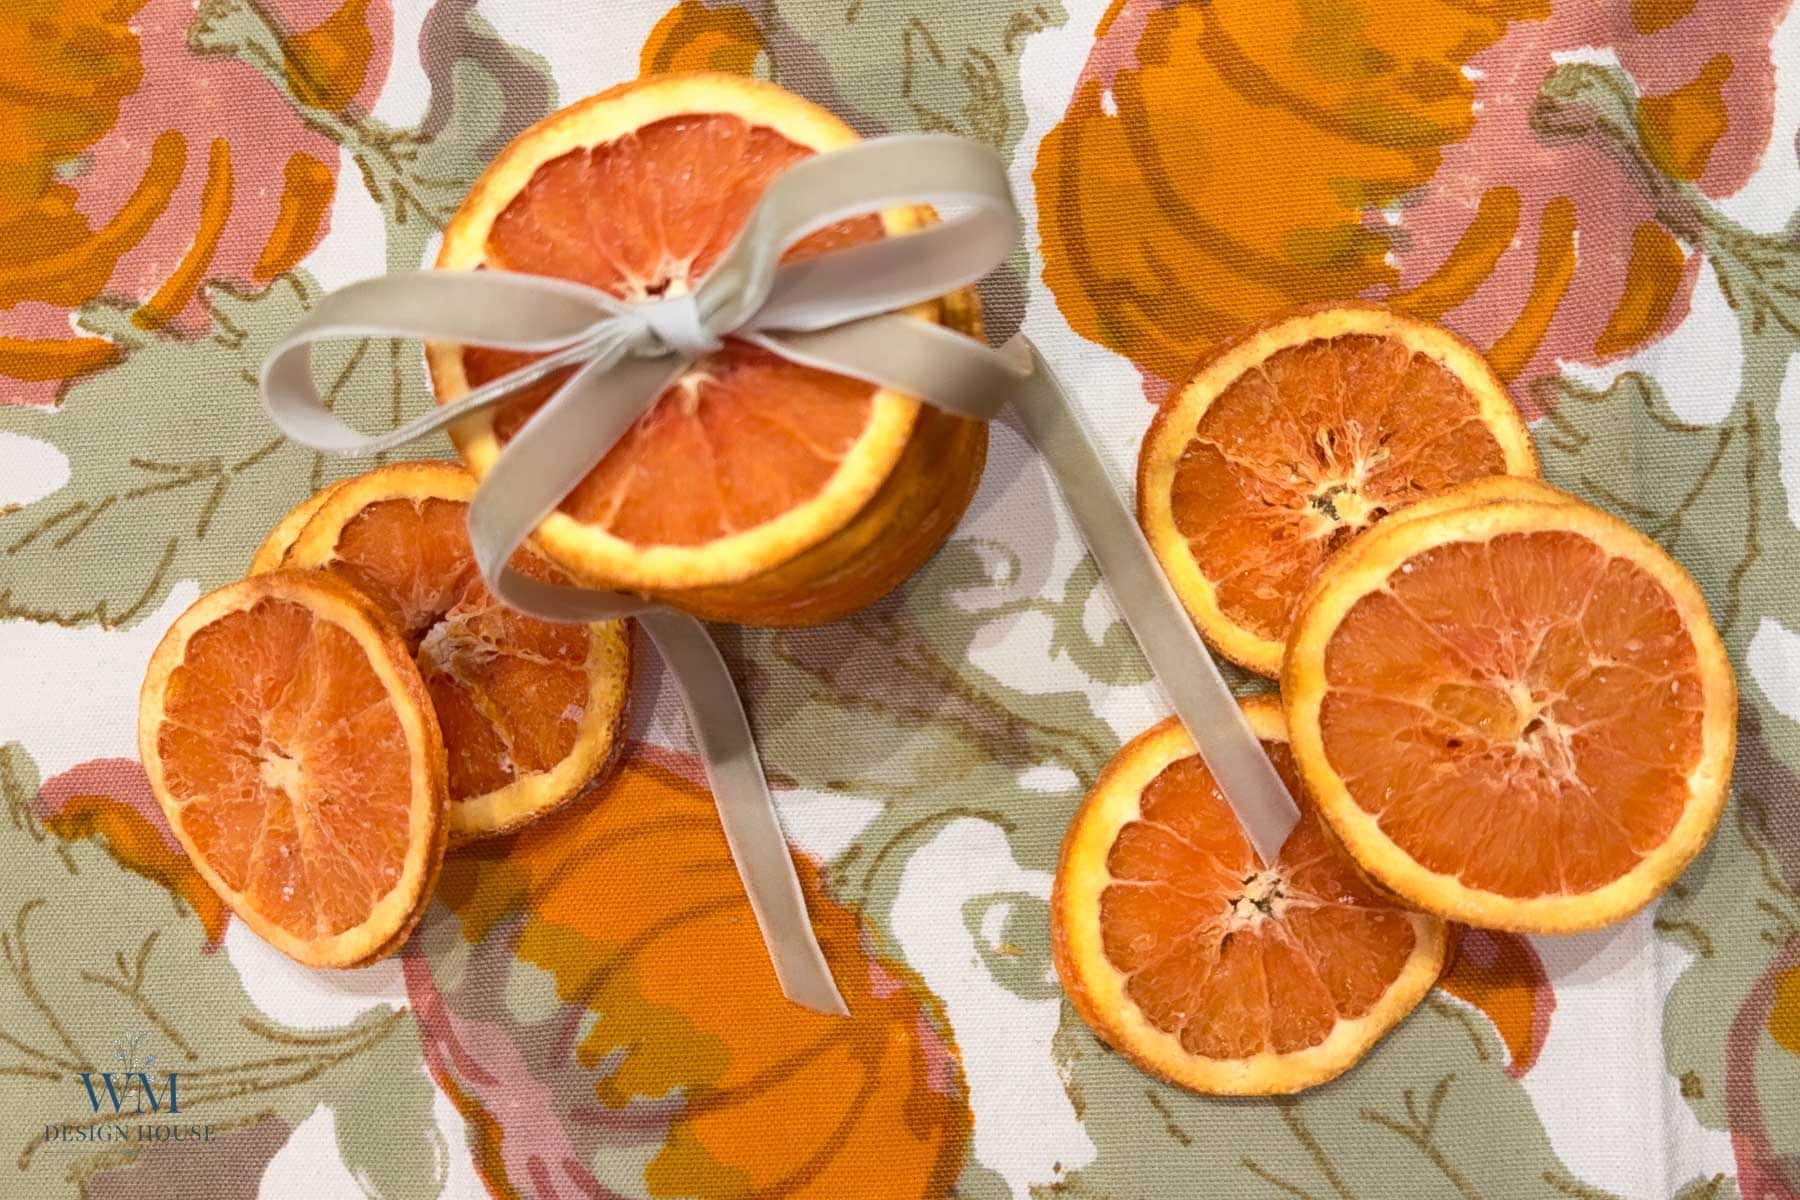
No Persimmons? Use Dried Orange Slices
If you dried orange slices for the holidays instead, they work on the wrap exactly the same way. For example, here are three ways to make dried orange slices.
More DIY Handmade Gifts to Try
- Knotted rope Christmas napkin rings with dried orange slices.
- Persimmon bread, coming soon.
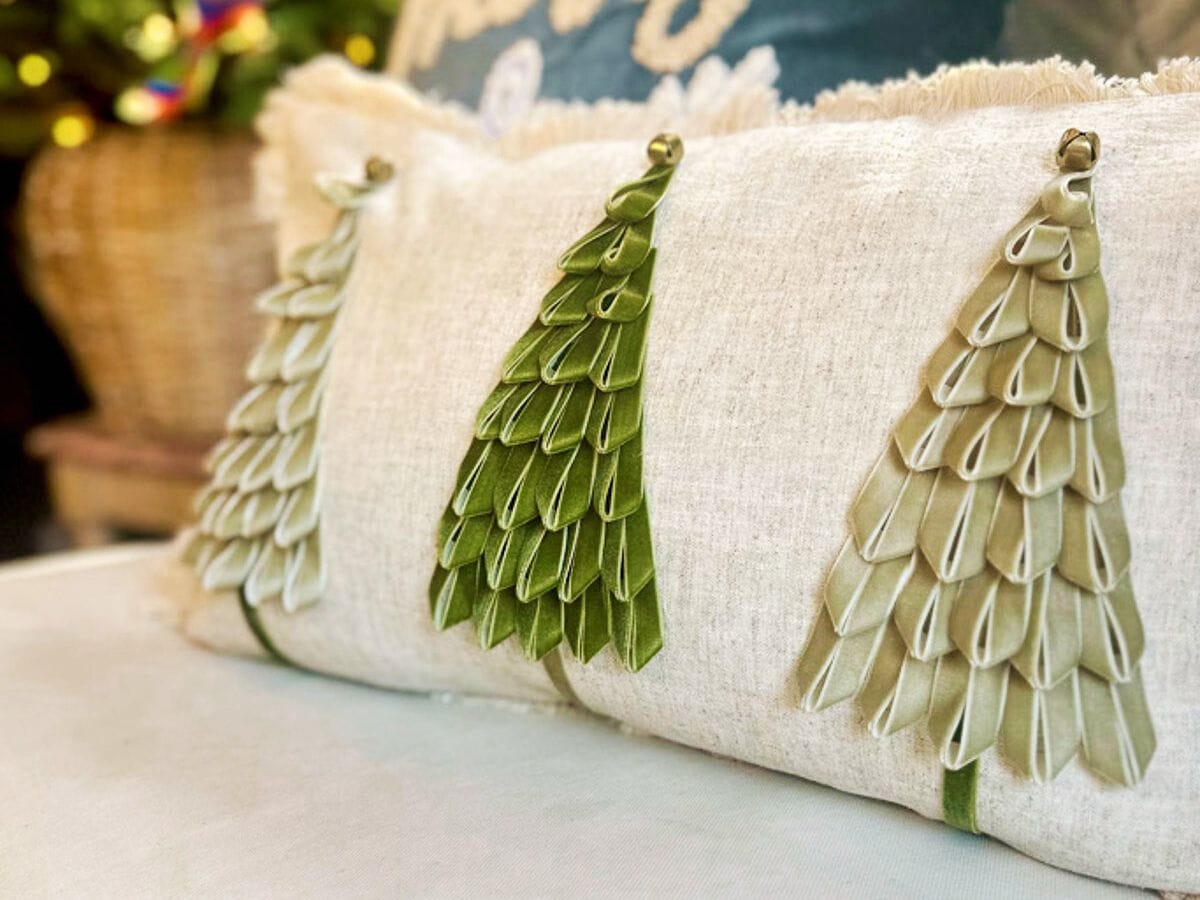
- Make this sweet ribbon tree pillow as a gift.
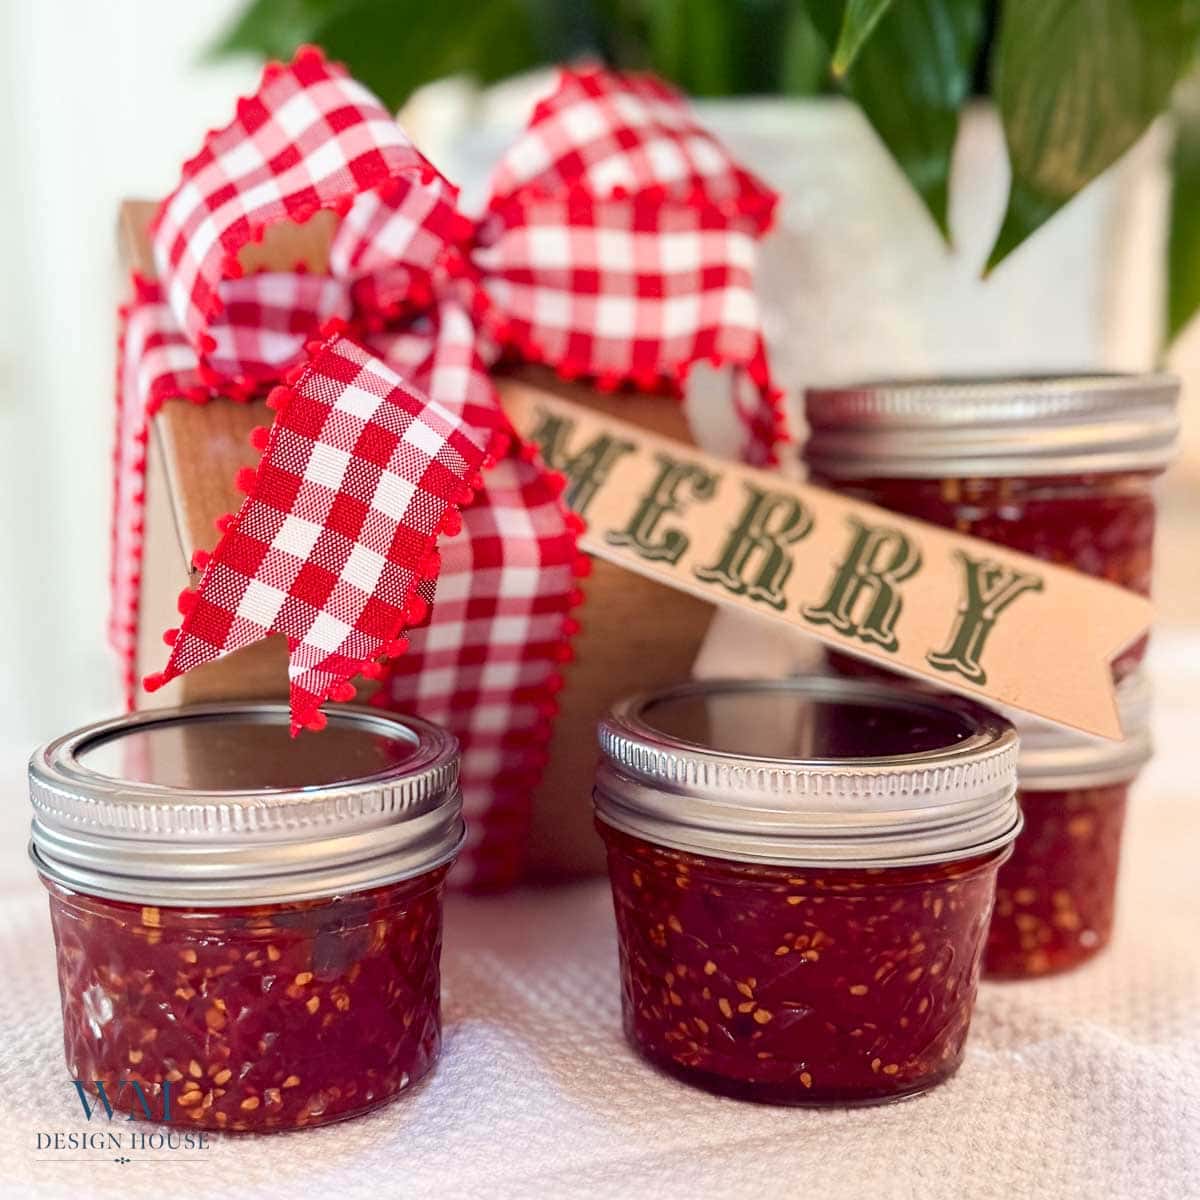
- Cherry tomato jam also makes a perfect holiday gift.
Frequently Asked Questions
Yes, but Fuyu is a non astringent variety, so it brings almost no tannin and a paler color. If you want the tannin that persimmon soap is known for, Hachiya picked firm is the one to use. Fuyu is fine if you only want the fruit and the story.
You can. Replace two to three ounces of the water in a basic olive, coconut, and shea recipe with strained, reduced pulp, run the recipe through a lye calculator, and expect the fruit sugars to speed up trace and heat the batch. The bar will keep for a year or more, which melt and pour will not.
Plan on using it within three months. The fruit and honey shorten the shelf life of a melt and pour bar, and the color darkens with age. Wrapped airtight and kept out of light it stays fresh for gifting through the holidays.
That is glycerin pulling moisture from the air, and it happens to every melt and pour soap left uncovered. Wipe the beads off and wrap the bars airtight. If it keeps happening, the pulp was not reduced enough before it went into the base.
The goat milk base and honey are gentle. The variables are the essential oil and the cloves, so for a child’s bar or anyone with sensitive skin, leave out the cloves and keep the oil to one teaspoon per pound or skip it entirely.
Not really. The Japanese and Korean bars everyone is buying use a concentrated fermented persimmon tannin extract. Fresh pulp has some tannin, most of it in firm Hachiyas, but nowhere near that amount. Think of this as a gentle fruit and goat milk gift soap with a persimmon story, not a replacement for the commercial bar.
DIY Persimmon Soap (Goat Milk Melt and Pour)
Equipment
- 1 Silicone spatula
- 1 Glass mixing bowl
- 1 8 cavity goat milk soap mold
- 1 Thermometer
- 1 Small spray bottle
- 1 Small saucepan
- 1 Sharp knife and cutting board
Materials
- 2 pounds goat milk melt and pour soap base
- 1 cup persimmon pulp reduces to about 4 tablespoons
- 2 teaspoons honey
- 2 teaspoons sweet orange essential oil
- 2 dried persimmon slices finely chopped
- 2 teaspoons whole cloves chopped
- Rubbing alcohol

Instructions
- Reduce the pulp. Put 1 cup of persimmon pulp in a small saucepan over medium low heat and stir until it thickens to a paste, 10 to 15 minutes. You should have about 4 tablespoons. Cool completely.
- Chop the add ins. Finely chop the dried persimmon slices and the cloves, about the size of a sesame seed.
- Melt the base. Cut the base into one inch cubes and melt in the pitcher in 30 second bursts, stirring between each. Stop as soon as it is liquid and do not go past 150°F.
- Stir in the pulp and honey. At about 140°F, add the cooled pulp and honey and stir slowly until the color is even.
- Add the scent and flecks. Cool to about 125°F, then stir in the essential oil, chopped dried persimmon, and chopped cloves.
- Pour and spritz. Give the pitcher one last slow stir, pour into the mold, and spritz the surface with rubbing alcohol to pop bubbles. Spritz again a minute later if more rise.
- Set, unmold, and cut apart. Leave the mold flat for 4 to 6 hours, then flex the tray and press the bars out. If they come out joined, cut them apart with a sharp knife on a cutting board. Air the bars uncovered overnight before wrapping.
Notes
- Use within 3 months. Fruit and honey shorten the shelf life of melt and pour soap and the color darkens with age.
- Keep it to 2 tablespoons of reduced pulp and 1 teaspoon of honey per pound of base or the bars come out soft.
- Firm Hachiyas give the most tannin, ripe ones give the warmest color. Fuyu works but brings little tannin.
- Keep dried fruit and greenery on the outside of the wrap, never against the bare soap.
A Handmade Gift from the Garden
The beauty of this persimmon soap is that the method works for any fruit you have too much of. Keep the goat milk base and the honey and swap the pulp: for example, a spoonful of reduced Meyer lemon zest and juice in spring, pureed strawberries in June, or pumpkin puree with a pinch of cinnamon for Thanksgiving. Reduce it the same way, keep it to two tablespoons per pound, and as a result you have a gift for every season from the same mold.
I hope you enjoyed today’s Hand Crafted Society post. It is always such a joy to see everyone’s projects, especially as we get ready for the holidays. Be sure to visit the other talented makers below, and above all, get your gift making done early this year so you can relax and enjoy the season.

More Hand Crafted Society Handmade Gift Projects
This month, my friends and I each made a handmade gift. I love this group’s creativity and always look forward to seeing what everyone makes. Be sure to click the links below to explore their beautiful projects!
DIY Refrigerator Magnets
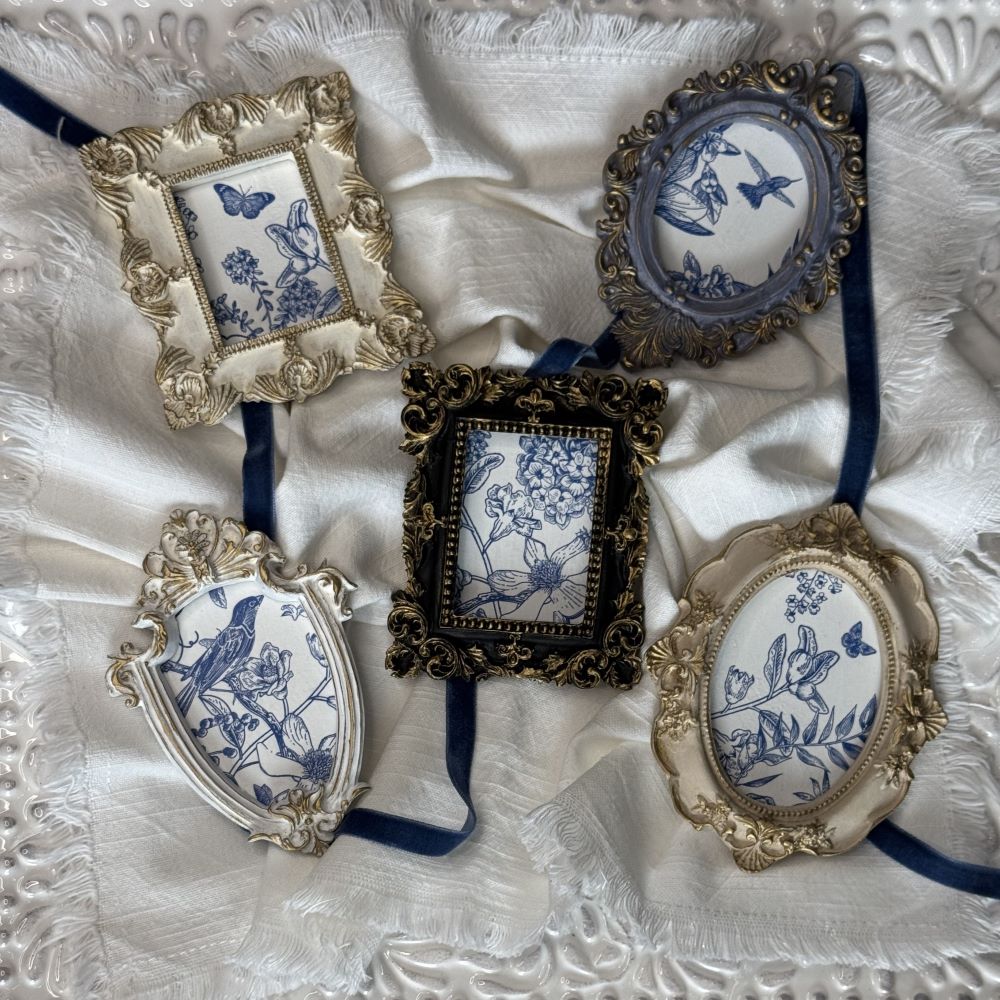
Donna from An Organized Season shows us how to turn miniature picture frames into beautiful DIY refrigerator magnets! These charming magnets have a vintage-inspired look and make a thoughtful hostess gift.
Fall Inspired Hostess Gift
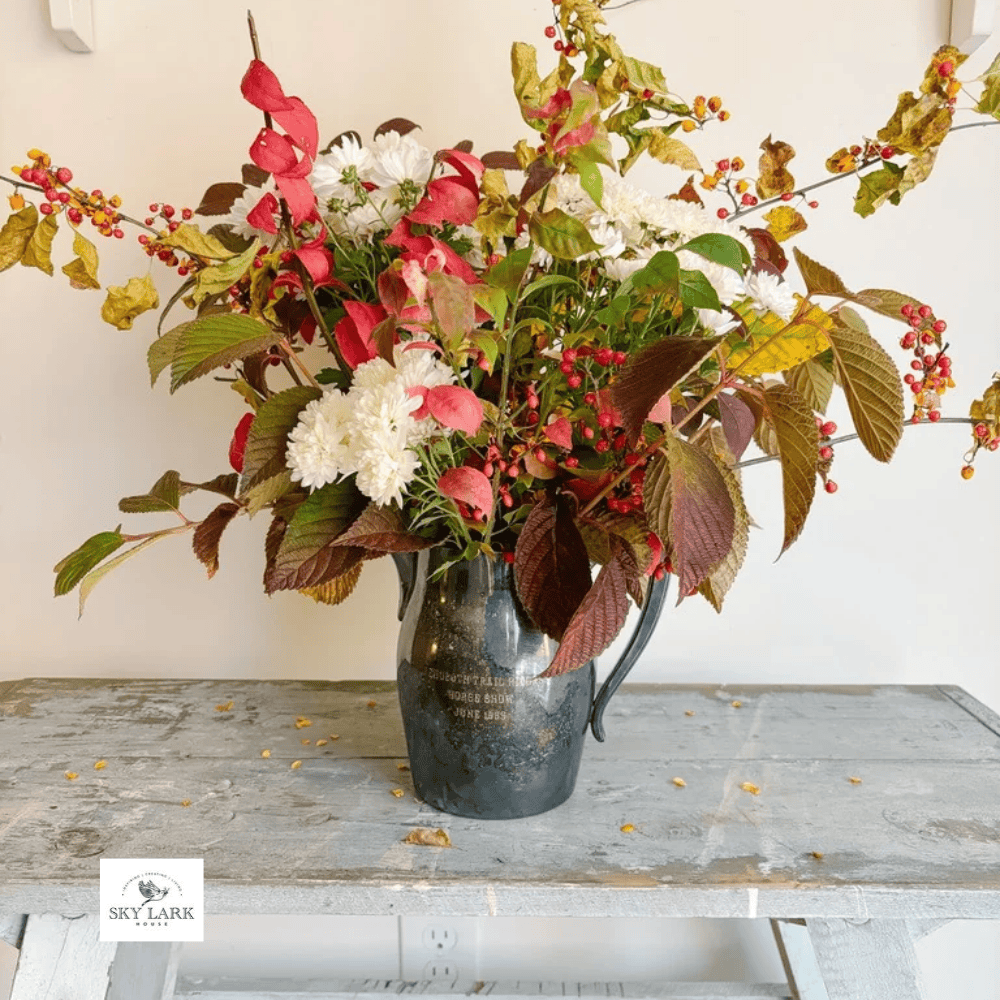
Anna from Skylark House shows us how to easily create a fall inspired hostess gift that is meaningful and affordable using foliage and natural elements.
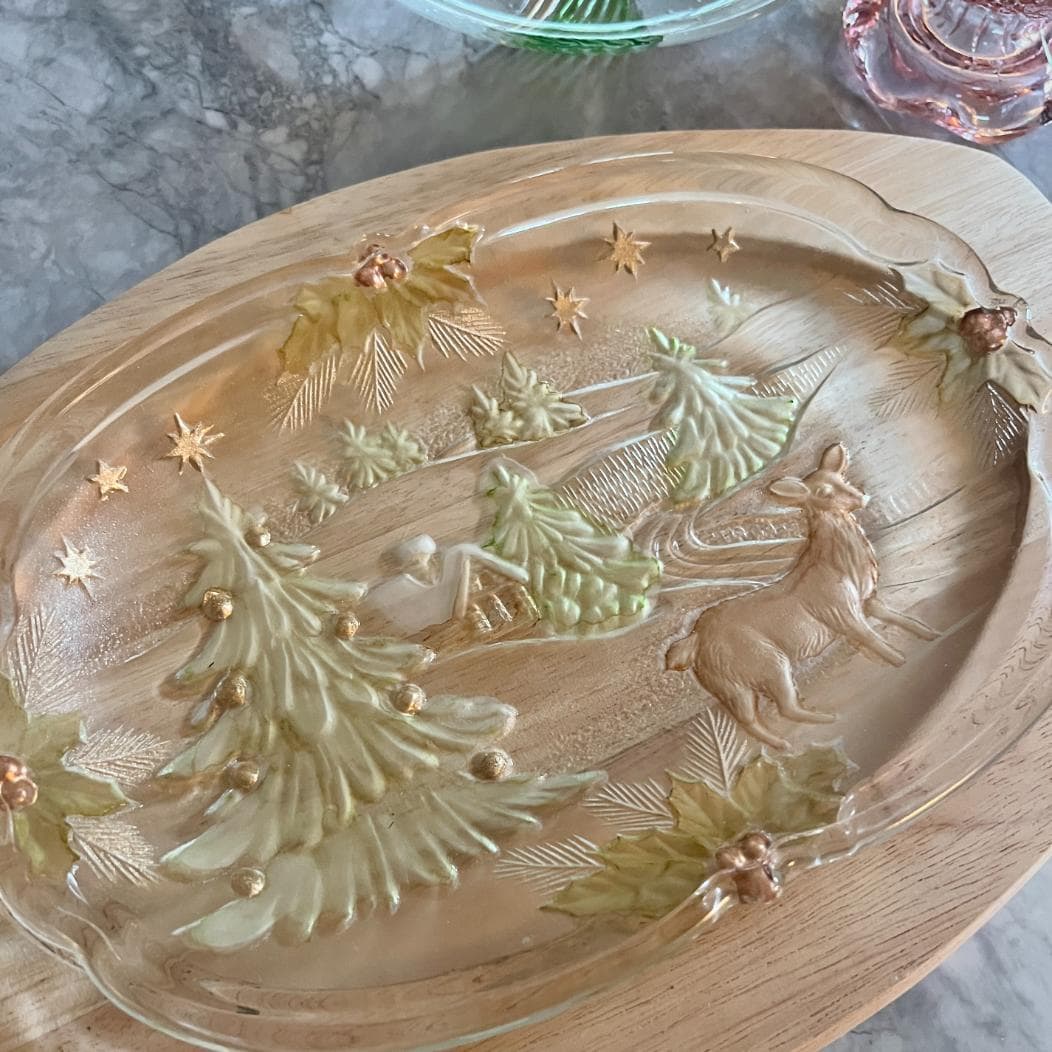
Alcohol Ink Tricks That Turns Vintage Pressed Glass Into Christmas Magic
You know those stacks of clear pressed glass in every thrift store? Actually they make the loveliest gifts when you introduce a bit of color. Diane shares several easy ways to add alcohol ink to vintage pressed glass, and yes you can serve food on them. What hostess wouldn’t love a beautiful gift custom made for them even though it looks like it came from an expensive boutique.

Shop the Post

More about me!
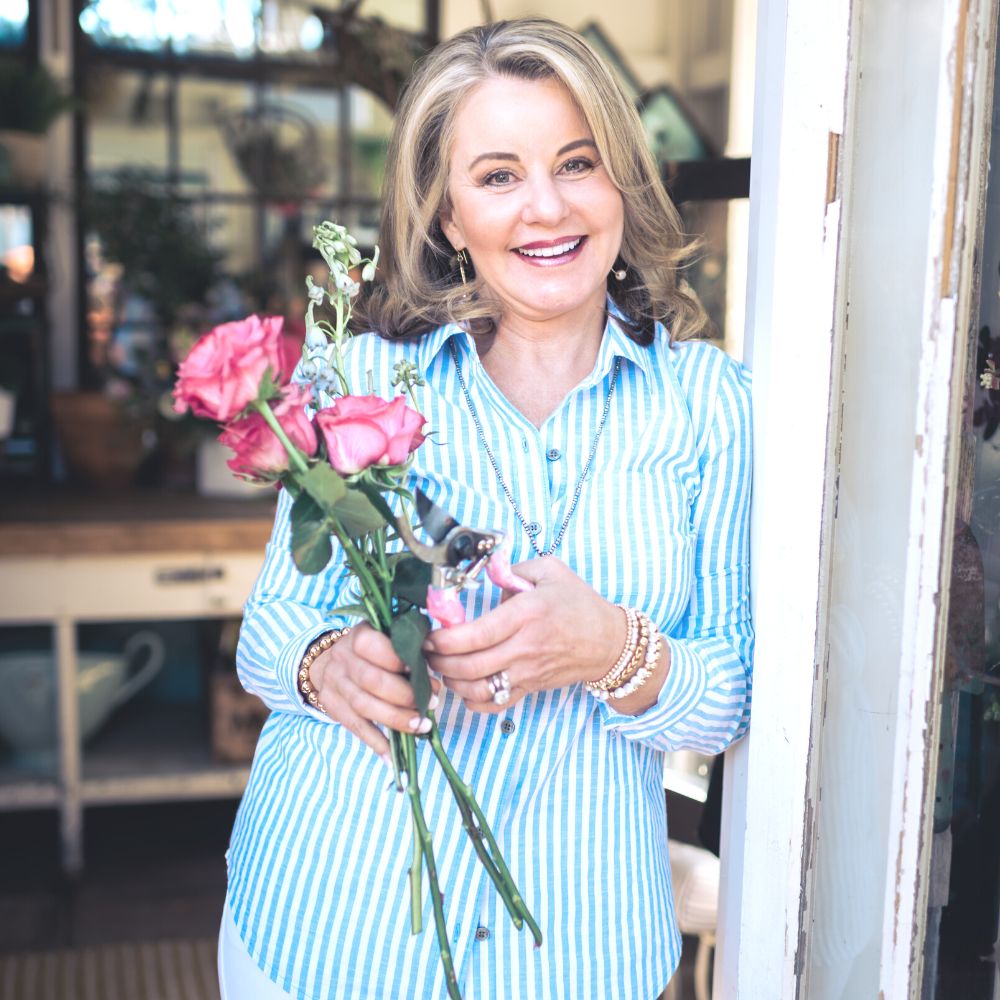
Hello, I’m Wendy – a dedicated homemaker with a deep passion for decorating, gardening, cooking, and crafting. I find joy in harmonizing beautiful elements to fashion a space that is both comfortable and inspiring. I will help you create a beautiful home, one project at a time.
Wow Wendy! This whole gift set is so beautiful!!! I need to host you — can you grab a flight?