How to Create a Garden Clock Out of Vintage Garden Tools
Just in case you have a pile of vintage garden tools lying around, I have the perfect solution for you.
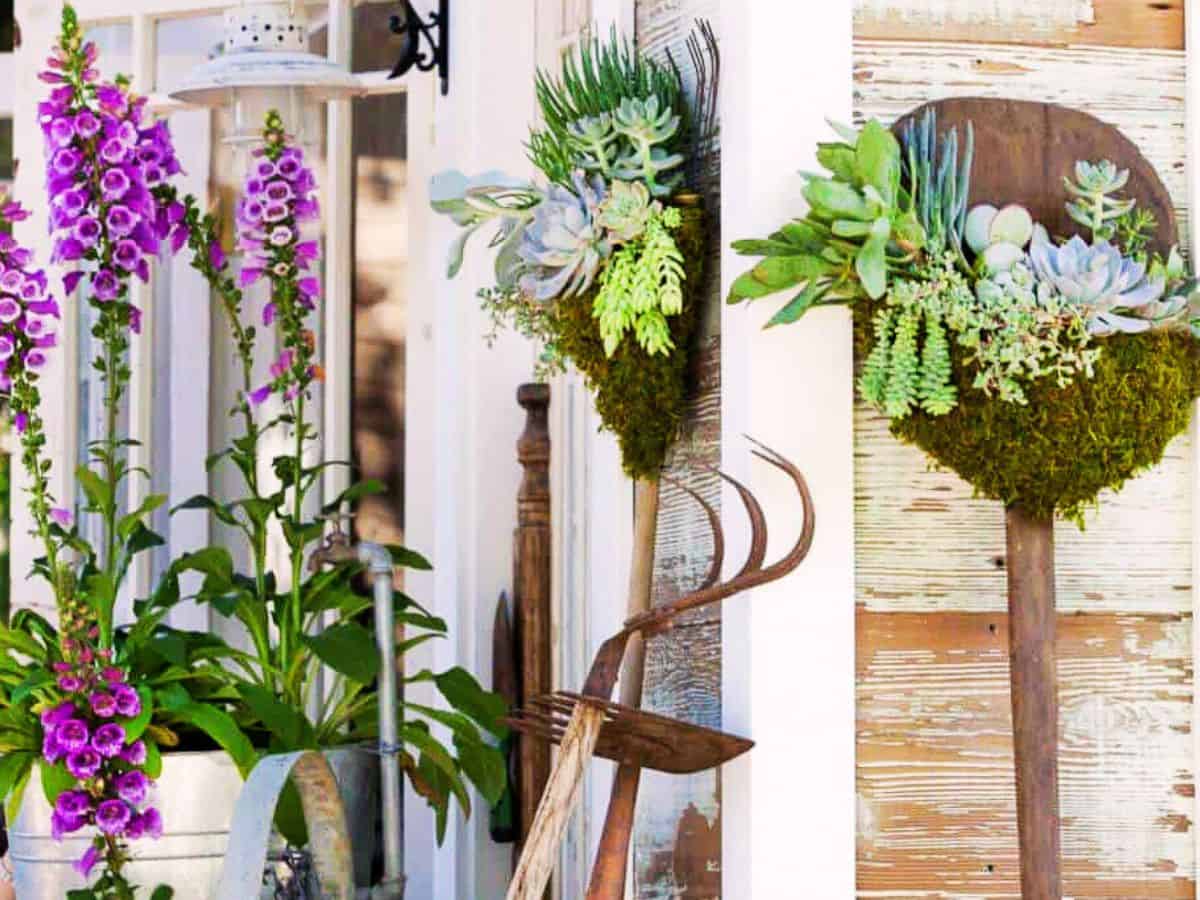
I adore the style and colors of vintage garden tools. They sure don’t make them like this anymore, but the good news is that you can still find them at yard sales and estate sales.
Today’s garden tools are much more practical and all about getting the job done.
Are you looking for unique garden decorations? Why not make a garden clock out of vintage garden tools and an oil drum can lid! This fun project is easy to complete and will add some personality to your outdoor space. This blog post will show you how to make your garden clock using simple supplies. So gather up your materials, and let’s get started!
Gather your materials to create your garden clock
- Wire Cutters
- 12 vintage gardening tools
- 1 24-30″ lid of an oil drum or any large round flat item
- Electric drill with a bit made to drill through metal
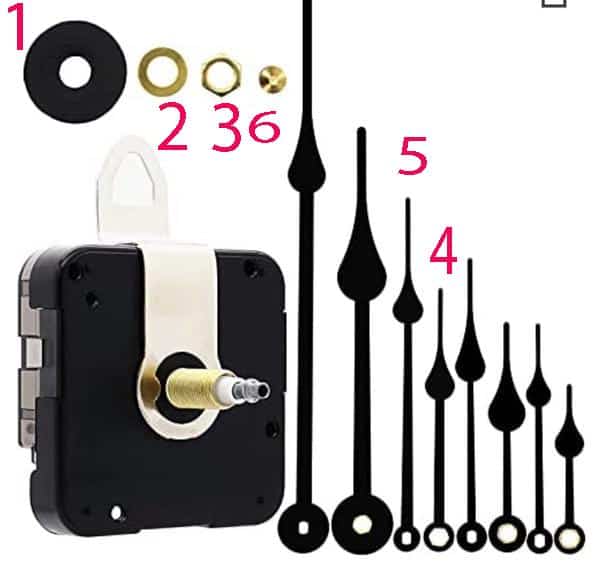
- One box of clock parts
- 22 gauge green wire
- 1 piece of white paper
- Pencil
- Scissors
- Black sharpie marker
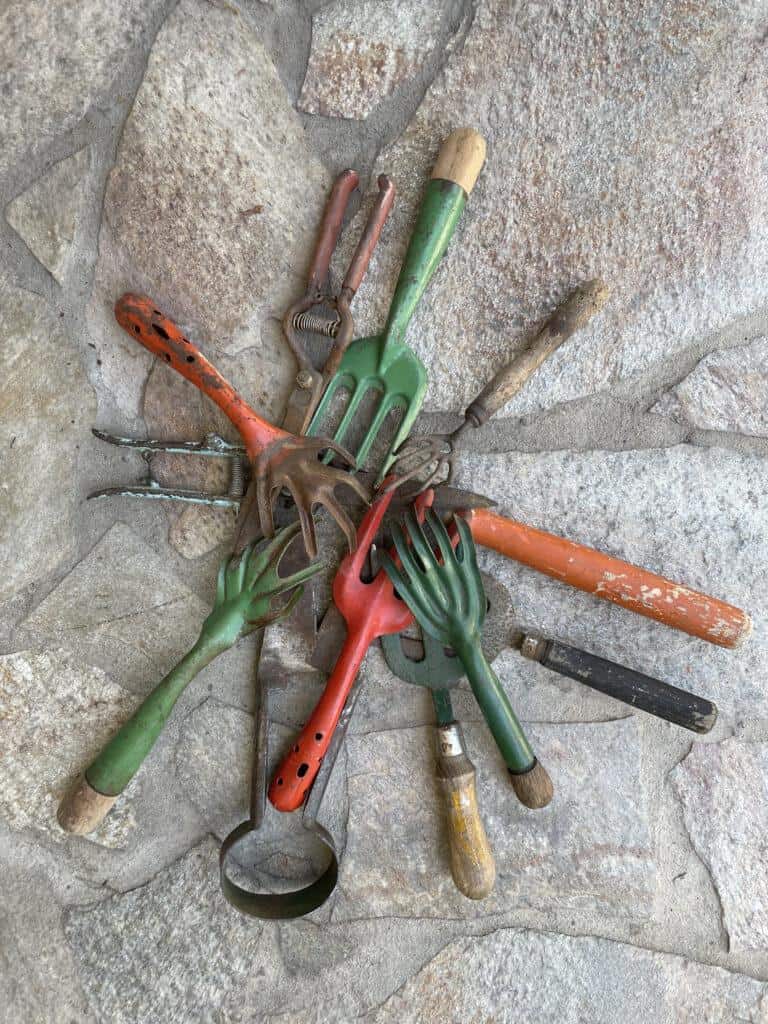
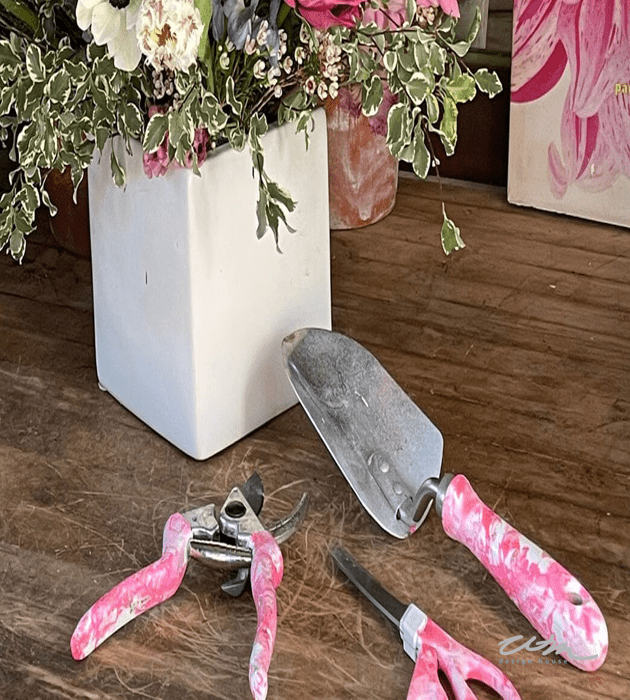
Selecting your vintage garden tools
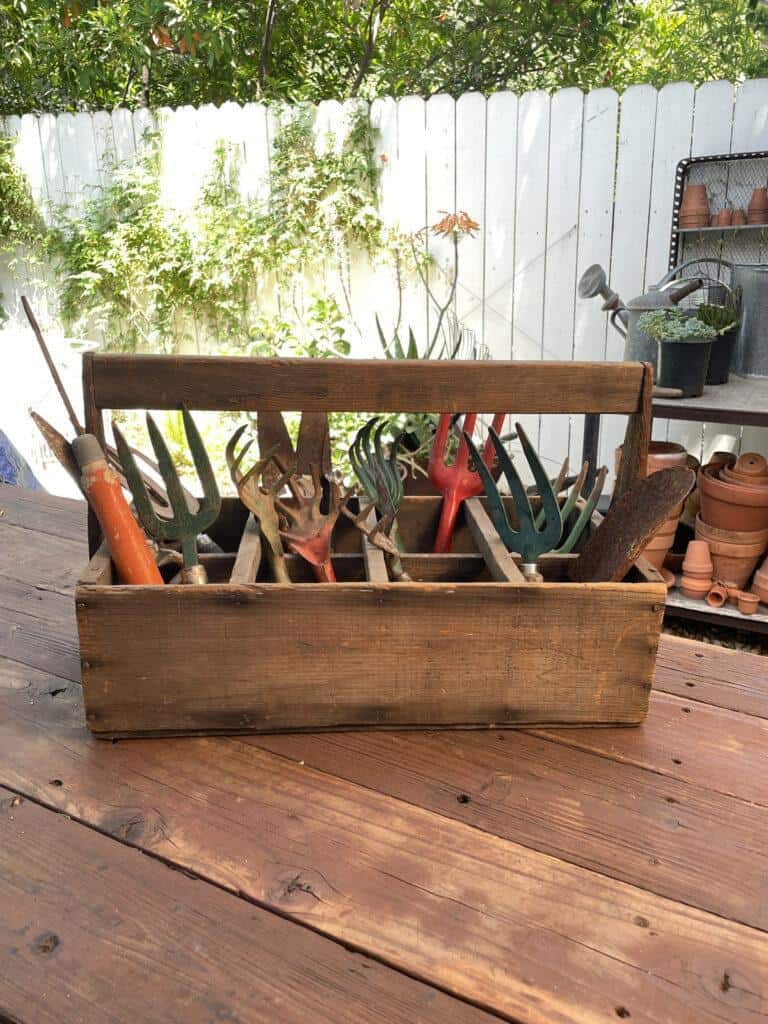
I love to collect old vintage garden tools. It’s essential to find the right tools. I mostly find them for good deals at estate sales and yard sales. I love the ones with color on the handles and always try to get a reasonable price. Typically am willing to pay $5.00 a tool. Start to look for them, and remember to check the backyard if you are at an estate sale. Sometimes you have to do a bit of digging. Some of these tools were used for moving soil, planting plants, weeding, and raking leaves. Try to find an assortment of essential tools, like a shovel, clippers, pruning shears, weeders, a hoe, etc. You need to be patient and wait for availability as it took me some time to gather enough to make the clock.
Where to find an old oil drum lid for the base of your garden clock
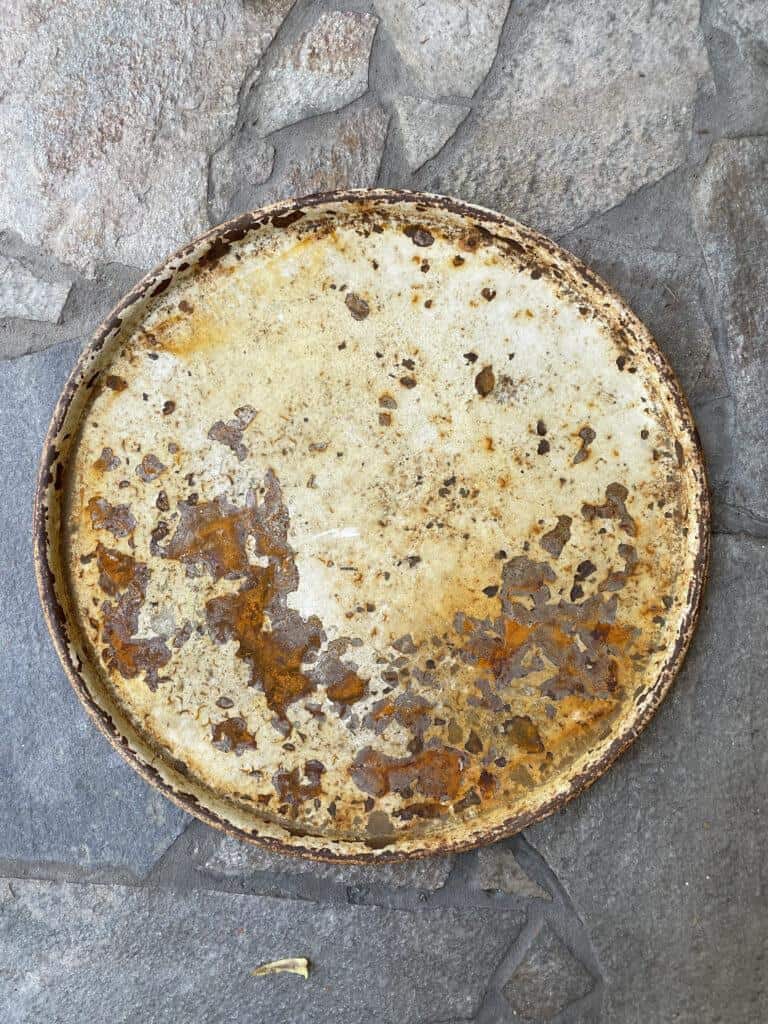
I found this drum lid at an antique shop for $10.00. You might even want to try a junkyard. You never know where you are going to see one.
Now, let’s get started.
Instructions to make the vintage garden tool clock
Hopefully, it will be a beautiful day. You have excellent weather and can work outside. Working outside will make the process easier.
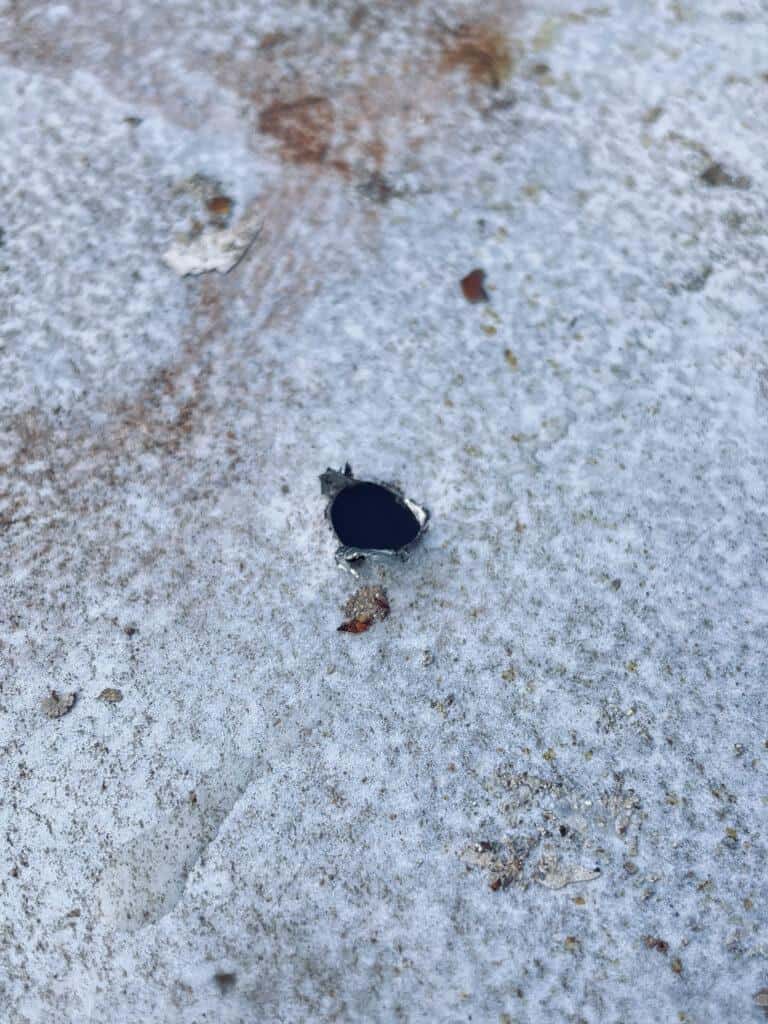
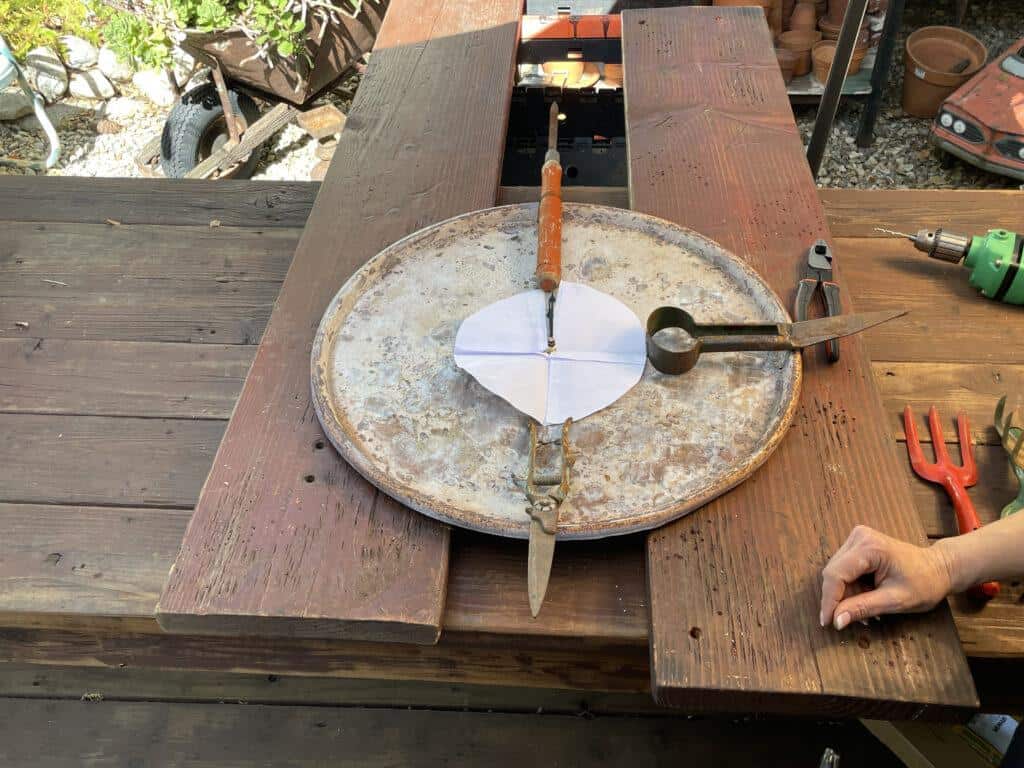
- Drill a hole in the middle of the drum lid. The hole needs to be large enough that the stem of the clock works will fit through. Again, it is essential to use the right tool. It must be a bit that is made to drill through metal. You can see the image of this square clock part.
- I used the arms marked on the image as items numbered four and five. Next, measure the length of the long hour hand and cut a circle out of paper that is the same circumference. It should be around 5-6 inches. Next, cut a slit in the paper on one side to the center. Finally, put the paper around the base of the clock part on the front of the clock. This circle will show you where your tools need to go.
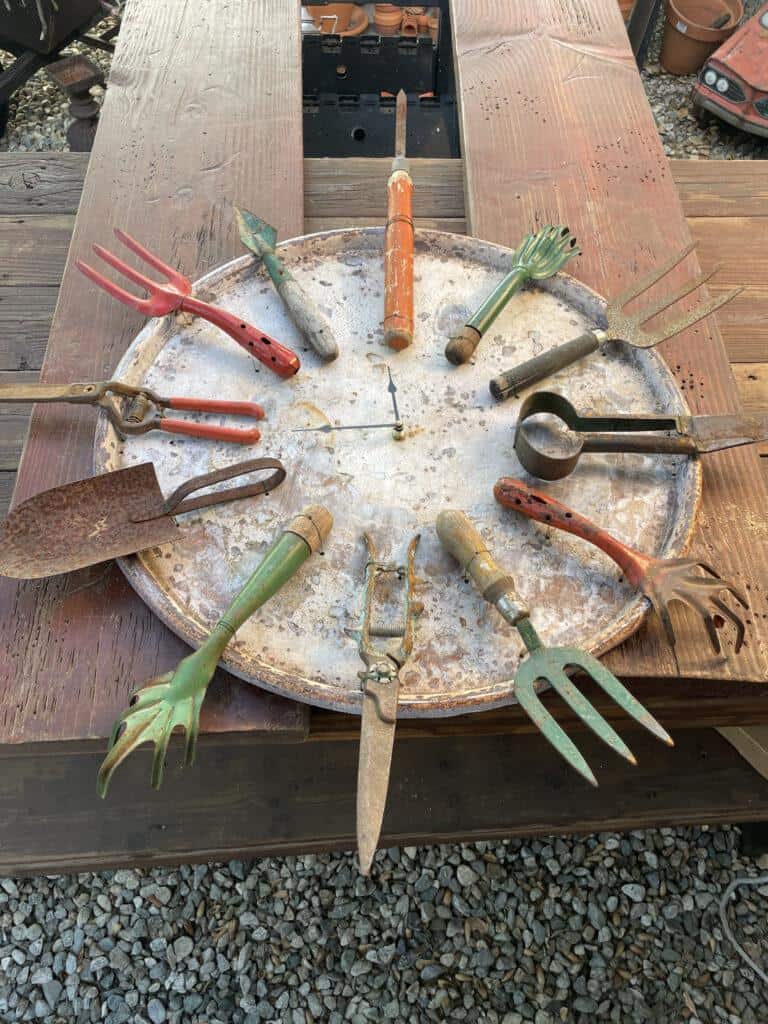
Place your tools where you want them to go to see their placement.
You can order the clock parts here.
I attached the number twelve first, then the 6, then the 3, and the 9.
Place the tool where you want them to be, and put a dot on either side near the edge of the lid. Next, place two dots towards the end of the handle, one on either side. And one drop in the middle of the handle if it is wood.
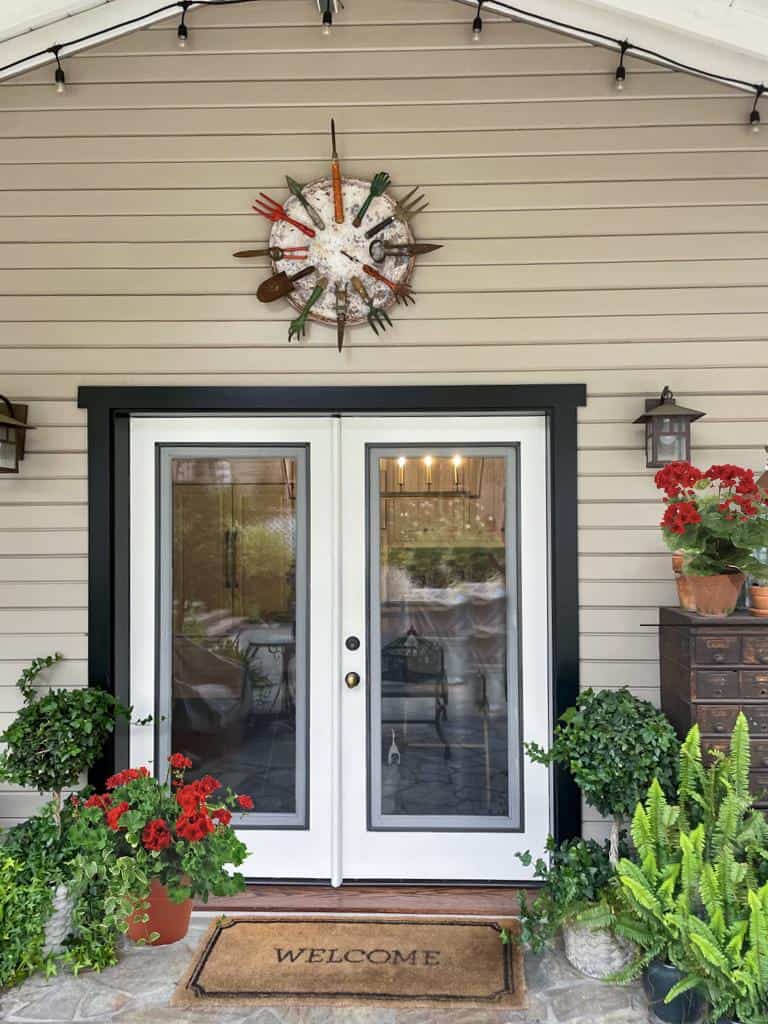
5. Hang your new garden clock and enjoy!
Now that our gardening clock is complete, it’s time to hang it up in the garden. We chose a beautiful spot above our back door, so everyone can see it when they come in the house. I love how the clock looks here, and it adds some extra color to our patio.
Have you made any DIY projects for your garden this year? I would love to see what you have created.
Garden art can be anything that you make and put in your garden. It can be functional, like a birdbath or garden clock, or it can be purely decorative, like a statue or piece of metal art. There are no rules when it comes to garden art, so let your creativity run wild!
If you’re looking for some inspiration, check out these garden art ideas:
– Wind chimes made from vintage garden tools
– A birdbath made from an upcycled sink or bowl
or a planter made out of shovels and rakes
And check out this fountain we made out of a tractor disk
And just in case you need some gardening inspiration, I have you covered.
SHOP THE GARDEN


Wendy,
I decided to share this clever idea on DRA instead of including it in the DIY Wreath post. It’s one of my favorites of all you creative ideas.
Thank you so much, Rachel. You are so sweet and always so supportive.
This garden clock is amazing! great job, it came out perfect.
Thank you, Maegan, it was an enjoyable project, and I am loving it hanging on my back patio. Have a wonderful long weekend.
This is so awesome, Wendy! Love it!
Thank you so much, Lora, it was a fairly easy project once I got everything together.
This is the cutest idea EVER Wendy! I love how creative you are. I am sharing this on my Saltwater Sounds post on Sunday.
Thank you so much Kim, I sure appreciate you and your kindness. Your garden is certainly looking amazing. We have had to really cut back on the water this year, so I don’t know what is going to happen to my poor garden. Thank you again for sharing my not so little clock :)))
Wendy, I just love this idea. How fun!
Thank you so much Tammy, the clock was sure a fun project to create.
This is so amazing!! You have the best ideas and projects! I’m sharing it in my Sunday round up post, “From My Neck of the Woods”. My readers will love it and your blog!
Thank you so much Kristin! I apppreciate your support. I just started to do a Saturday share, so I will look forward to sharing your beautiful blog as well. You always have such inspiring blog posts.
Wendy this is the cutest idea ever! I love it so much!