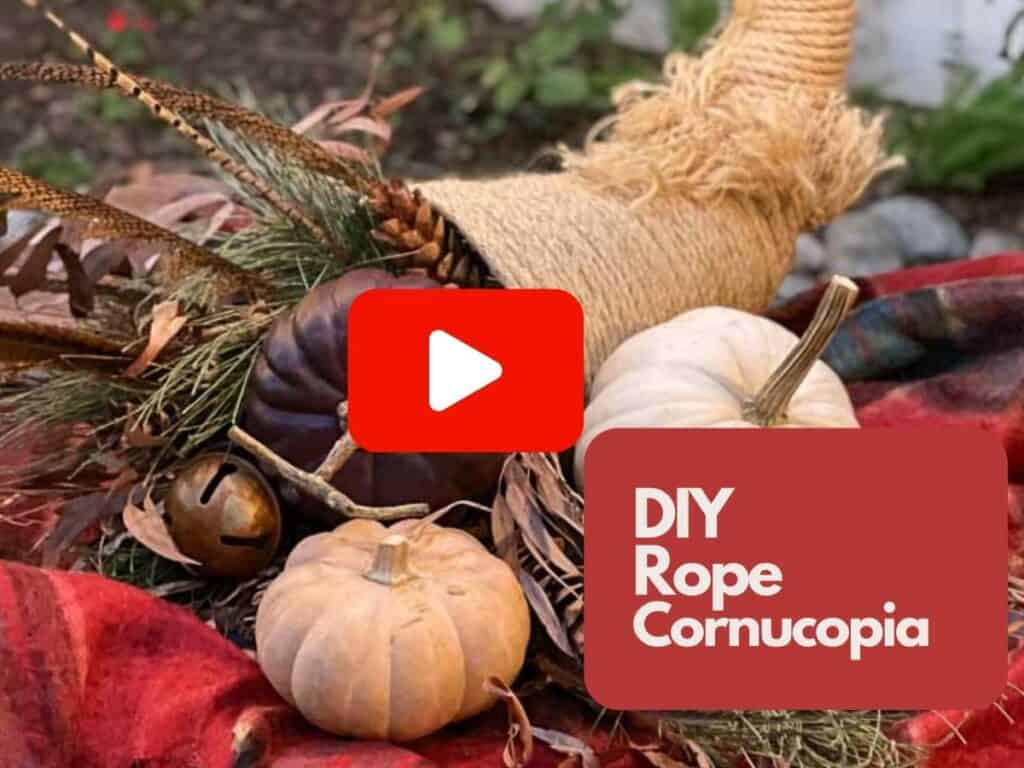
How to Make a DIY Cornucopia with Rope for Thanksgiving
Thanksgiving is a time to gather and give thanks. Make this DIY cornucopia with rope, a symbol of a bountiful harvest for your table.
You can find link to all of the beautiful fall inspiration at the bottom of this post. Now, let’s dive into how to make a cornucopia that will be the perfect addition to your Thanksgiving decor.
Create a Rustic DIY Cornucopia with Rope
If you’re looking for a quick and easy way to add some fall decor to your Thanksgiving table, making a cornucopia is the way to go!
This DIY cornucopia with rope will be the perfect addition. With just a few materials and a little bit of time, you can make your version of this traditional autumn harvest symbol for the holiday season. Let’s get started!
A Brief History of the Cornucopia Basket
When did the Pilgrims’ Thanksgiving cornucopia become a symbol of abundance?
A popular story in Greek mythology attributes its origins to Zeus and Amalthea. As the story goes, these two were nursing at her goat’s milk when he broke one horn off. He filled it with fruit from their harvest, which then became known as the “Horn of Plenty.”
Today, we continue the tradition by making cornucopia crafts to symbolize abundance.
There is also a myth that suggests that Heracles wore this same design while nursing his animals during battle – an act for which humans have always admired strength, even if they do not know why!
But no matter what you believe about the origins of the cornucopia basket (or if they even exist), we now know what this beautiful object means: plenty!
Supply List to Make a DIY Cornucopia with Rope
Here’s what you’ll need to get started on your homemade cornucopia. You can simply click on the links to shop for the supplies.
Directions to Make a DIY Cornucopia with Rope
Step One: Form the Cornucopia
I love making things with rope. (Have you seen my cute rope pumpkins or this gorgeous fall rope wreath?) So, of course I was incredibly excited to create this handmade cornucopia.
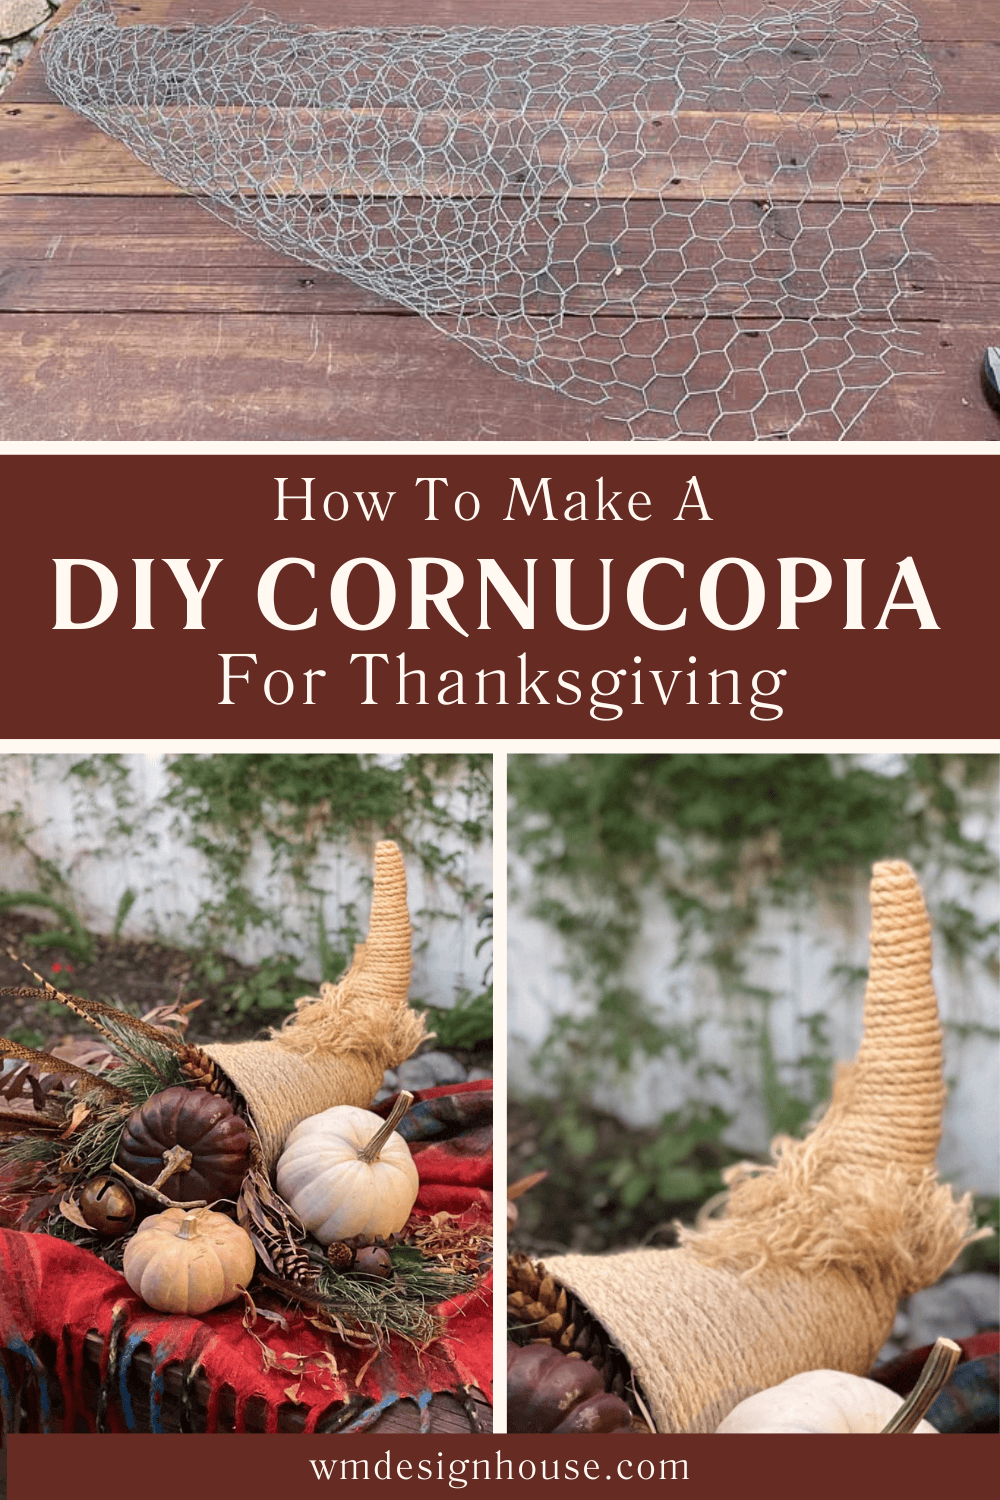
To begin, cut a piece of chicken wire large enough to form a cone. Once you have it, roll the chicken wire into a cone shape and secure the ends together so it holds. This creates the base for your large cornucopia basket.
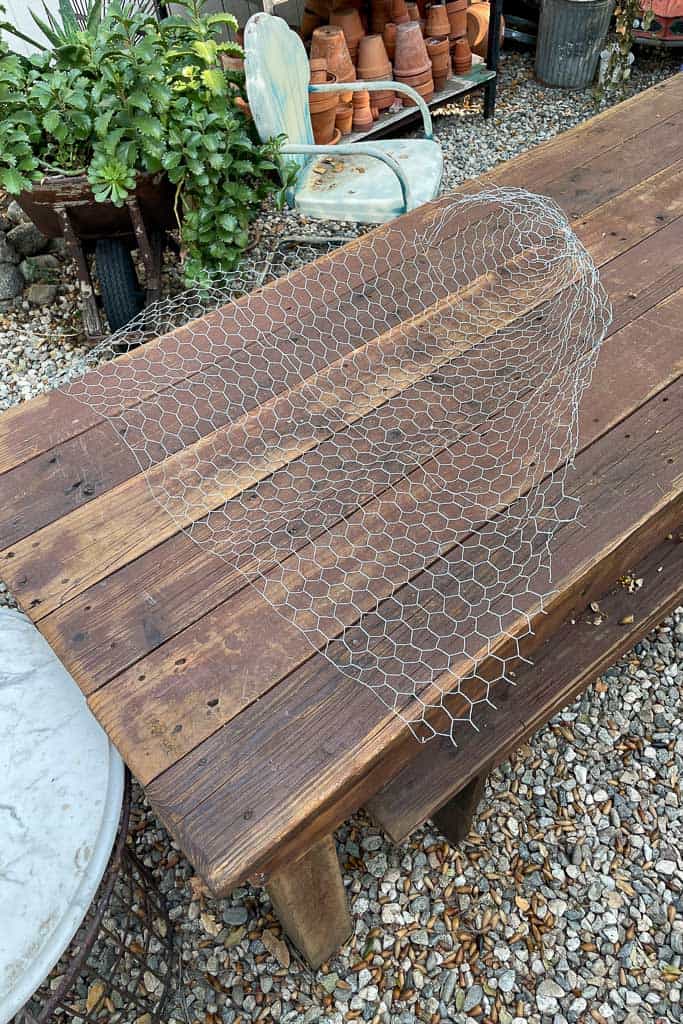

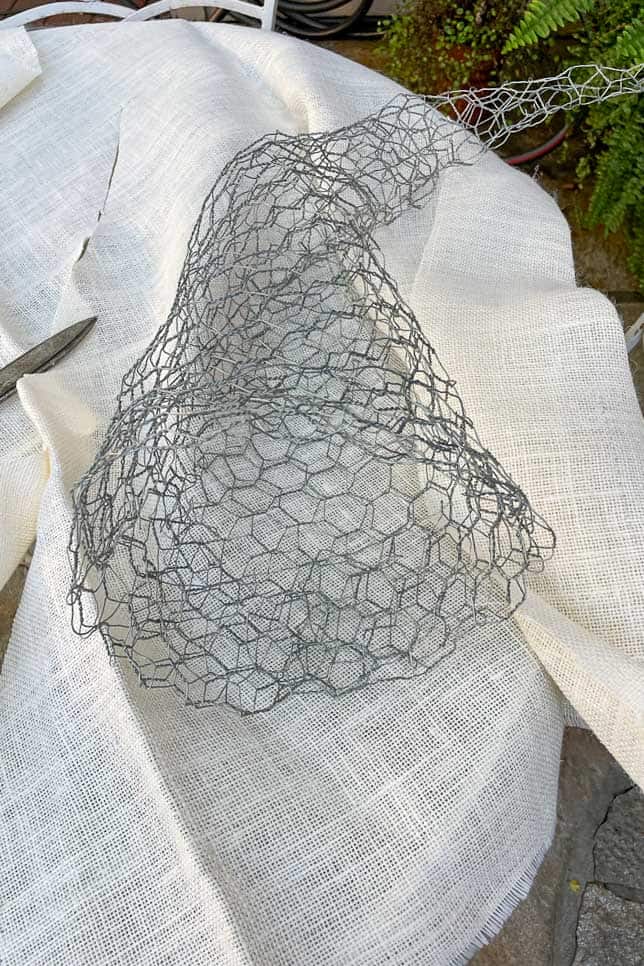
Next, trim the open end of the cone to your desired size. I trimmed off about 8 inches, but you can adjust it to whatever feels right for you.
To give it that classic cornucopia look, just bend the tip of the cone upward. This quick step turns it into the familiar horn shape, perfect for filling with fruit and fall decorations!
Step Two: Wrap the Cornucopia in Burlap
Once you have shaped your chicken wire, wrap the entire frame of the cornucopia with burlap fabric, securing it in place using a glue gun.
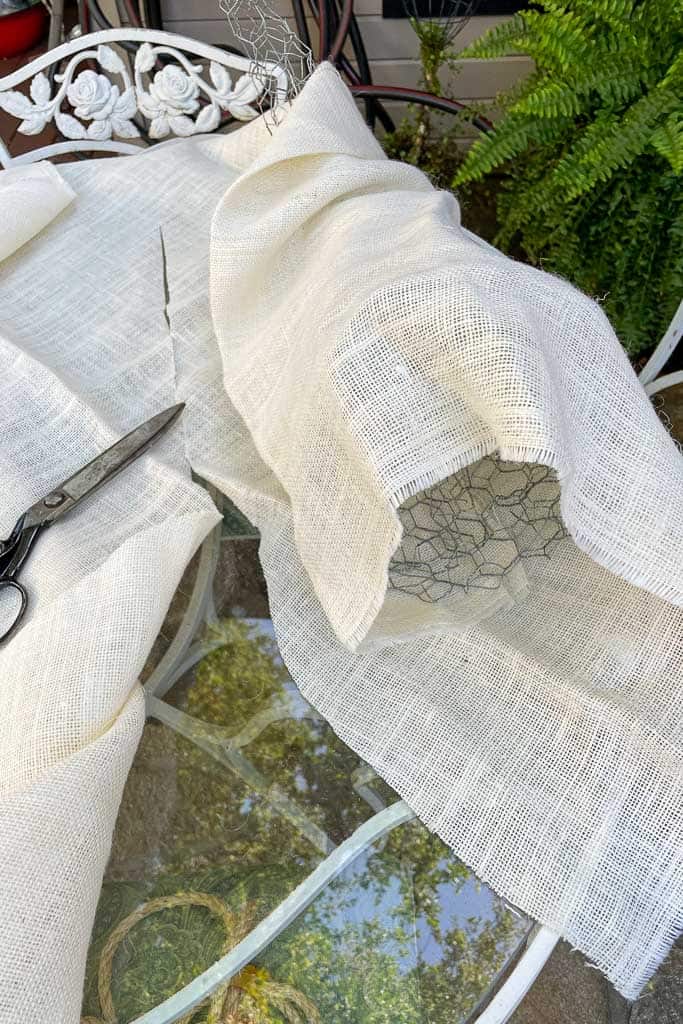
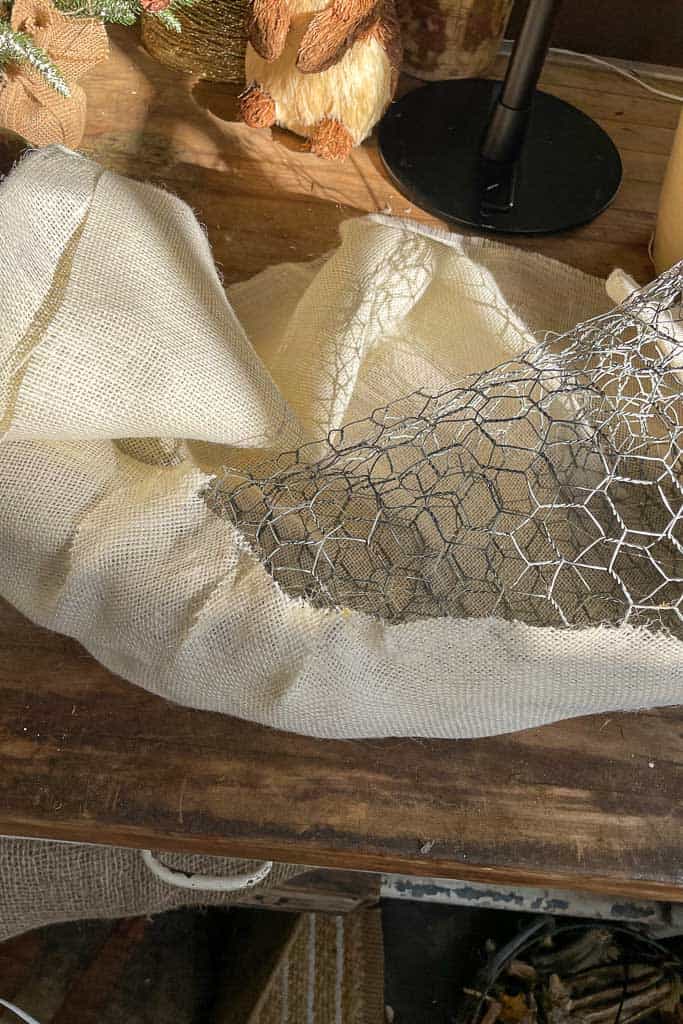
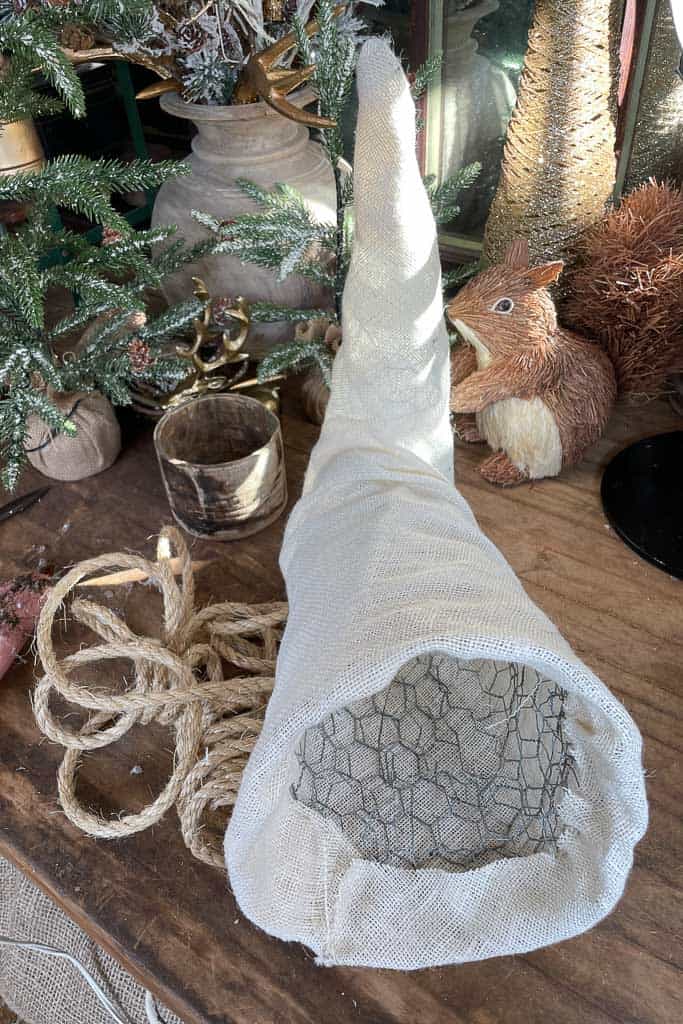
As you attach the fabric, make sure to leave approximately 3 inches of material on the edge, allowing for a clean fold into the mouth of the cornucopia.
Step Three: Wrap the DIY Cornucopia with Rope
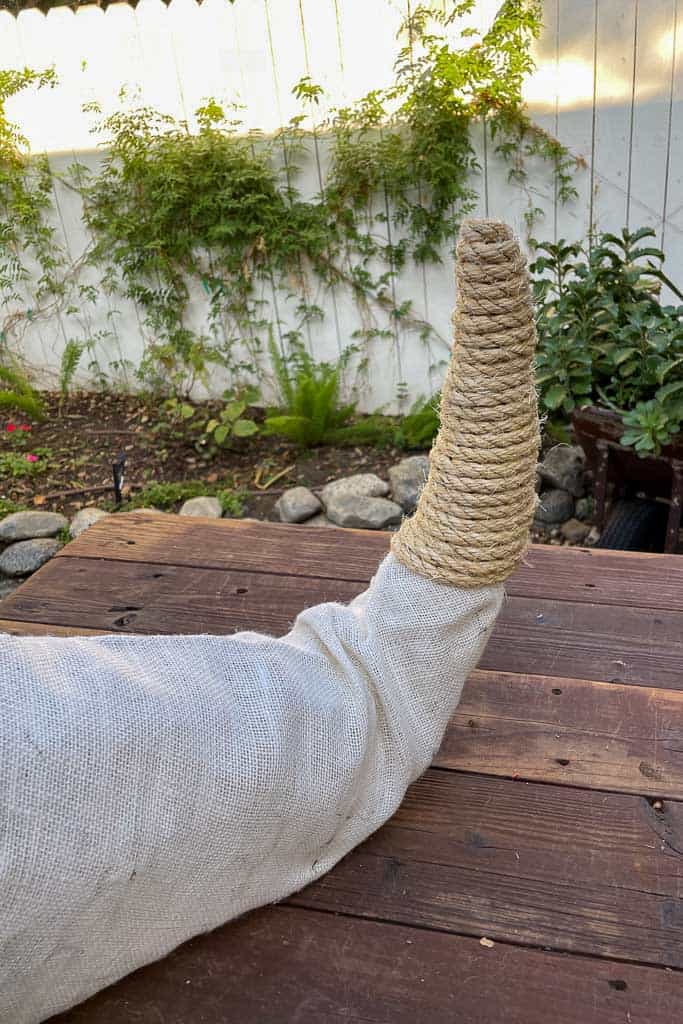
Next, you want to cover the entire horn of your DIY cornucopia in sisal rope. I used a 1/4″ rope and started at the tip of the horn, working my way down the frame.
In the photo above, you’ll notice I stopped wrapping the rope once I reached the bend in the cornucopia and left part of the middle near the bend unwrapped for now. I’ll explain why I did that in just a moment!
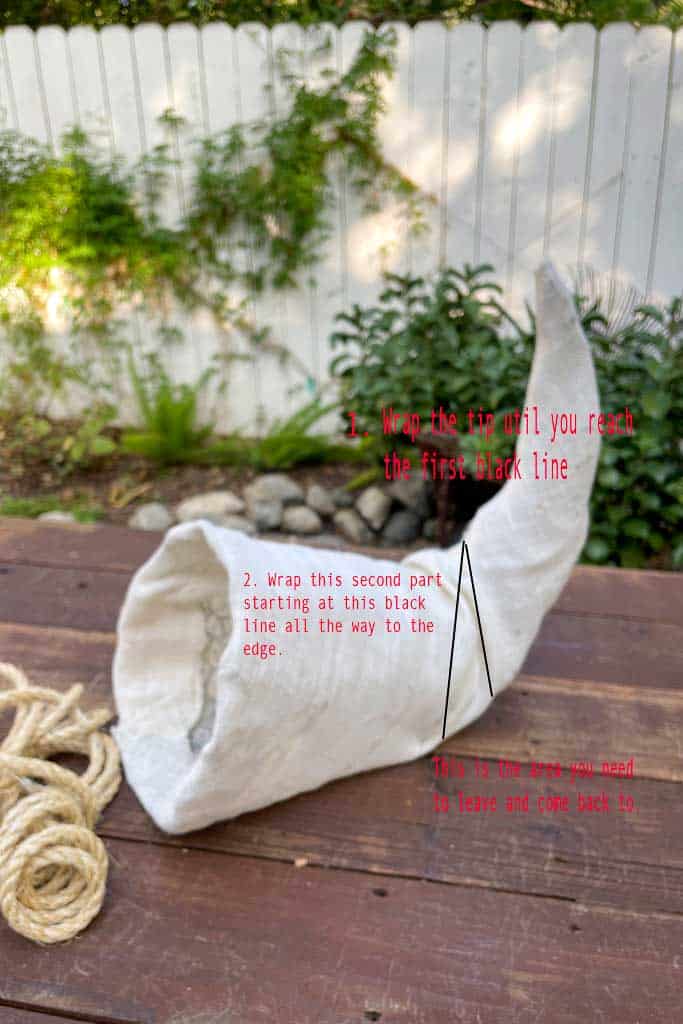
After leaving the middle section unwrapped for a bit, I continued wrapping the rope around the rest of the cornucopia. I made sure to cover it completely, working from the bend all the way to the opening, until the entire wire frame was wrapped in rope.
Remember that middle section I left unwrapped? Well, now I’m going to show you why!
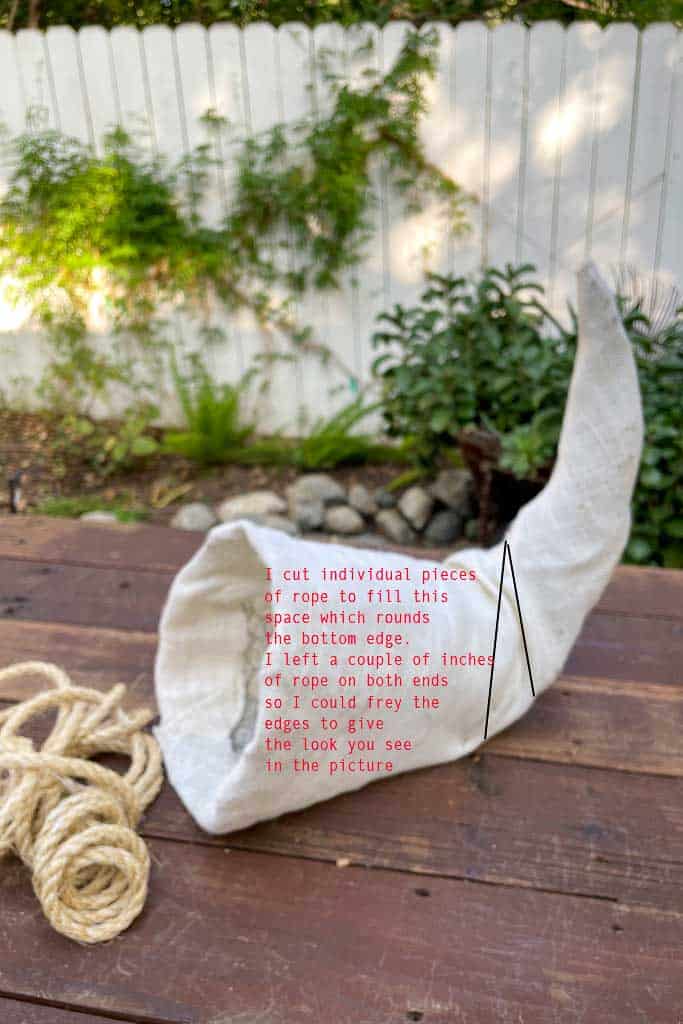
After wrapping the rest of the cornucopia, I cut individual pieces of rope and glued them into the space between the two wrapped sections, leaving about 3 inches of rope on each end.
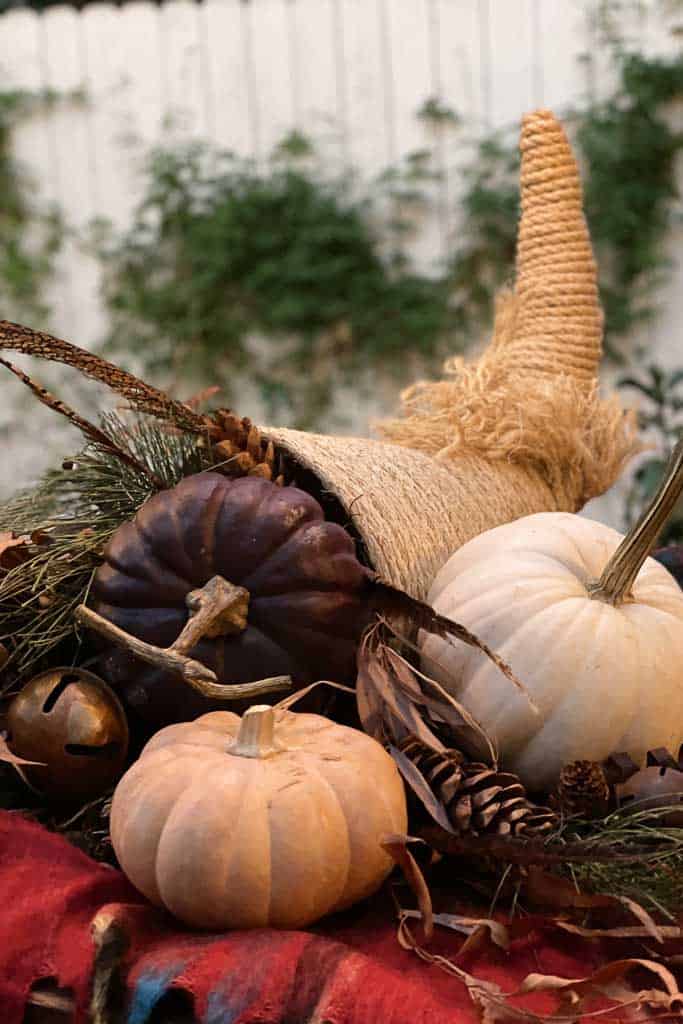
Once I had filled in that center section with all the pieces, I frayed the ends to give the top of the cornucopia a fun and textured look!
I found this to be the best way to wrap the rounded edge. You may be able to use one continuous rope; however, my cornucopia was very large, so this was the best method I found, and I love the look of the frayed edge trim on the top of the basket.
You can watch my quick YouTube video to see this step in more detail.
Styling Your DIY Cornucopia
The final step is to style your cornucopia basket. One of my favorite things about this fall craft is that it’s so versatile—you can style it in so many different ways!
The variety of cornucopia decorating ideas are truly endless.
You can display it on your coffee table, filled with mini pumpkins, or fall foliage. Or, welcome guests into your home by placing it on a console table in the front entryway, instantly adding a festive touch.
Or, if you’re hosting for the holidays, try placing it on your kitchen island as part of a beautiful Thanksgiving buffet, filled with your favorite appetizers and snacks.
However you choose to style it, your DIY rope cornucopia will be the perfect seasonal addition to your home!
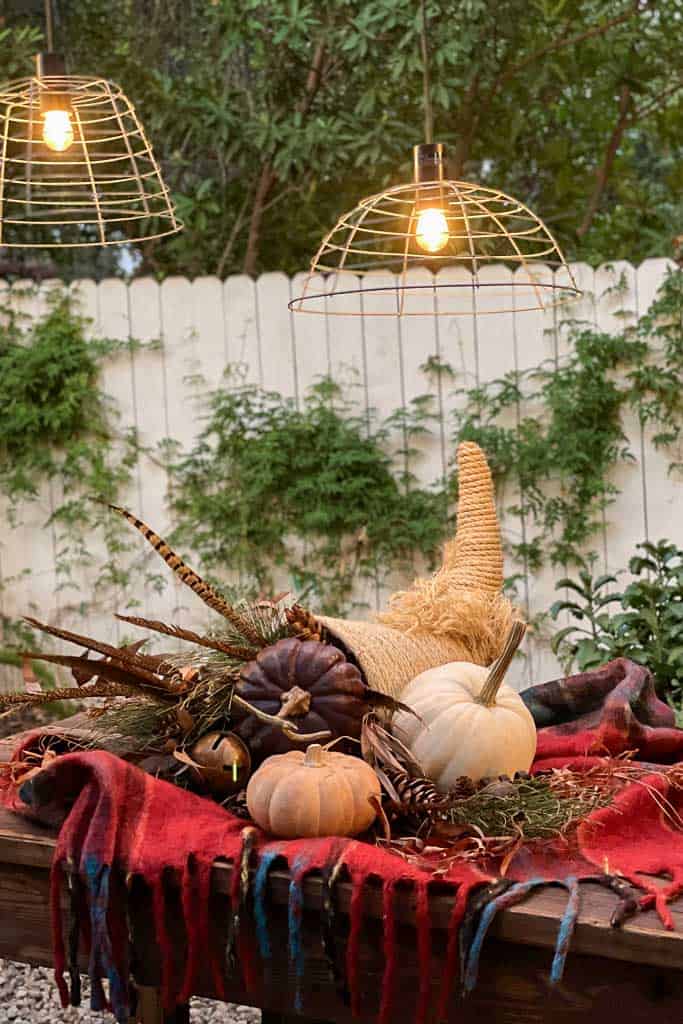
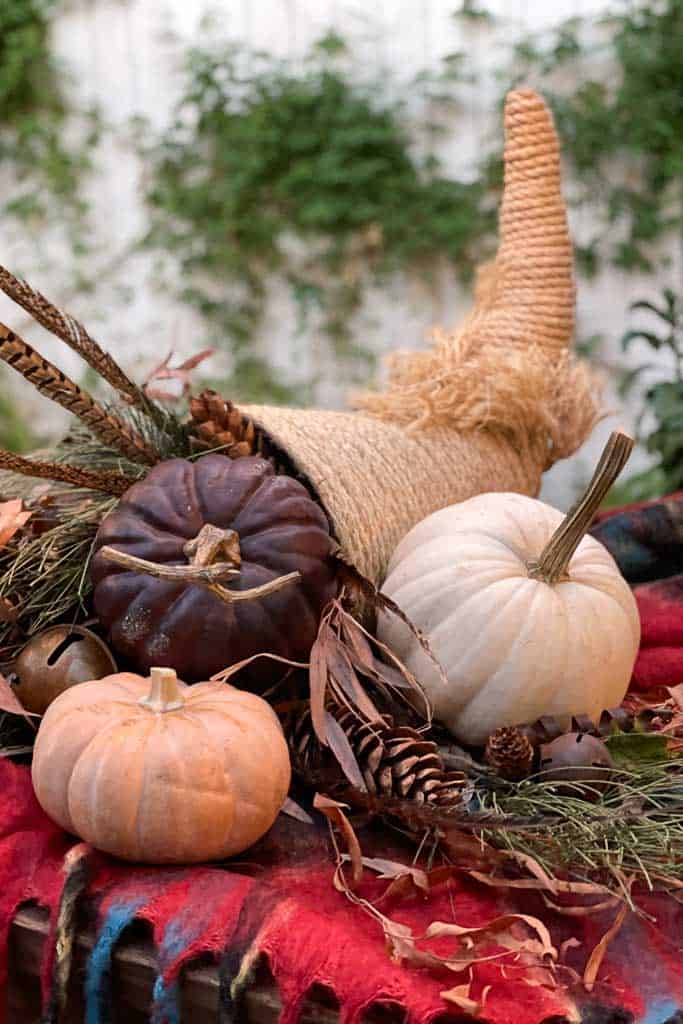
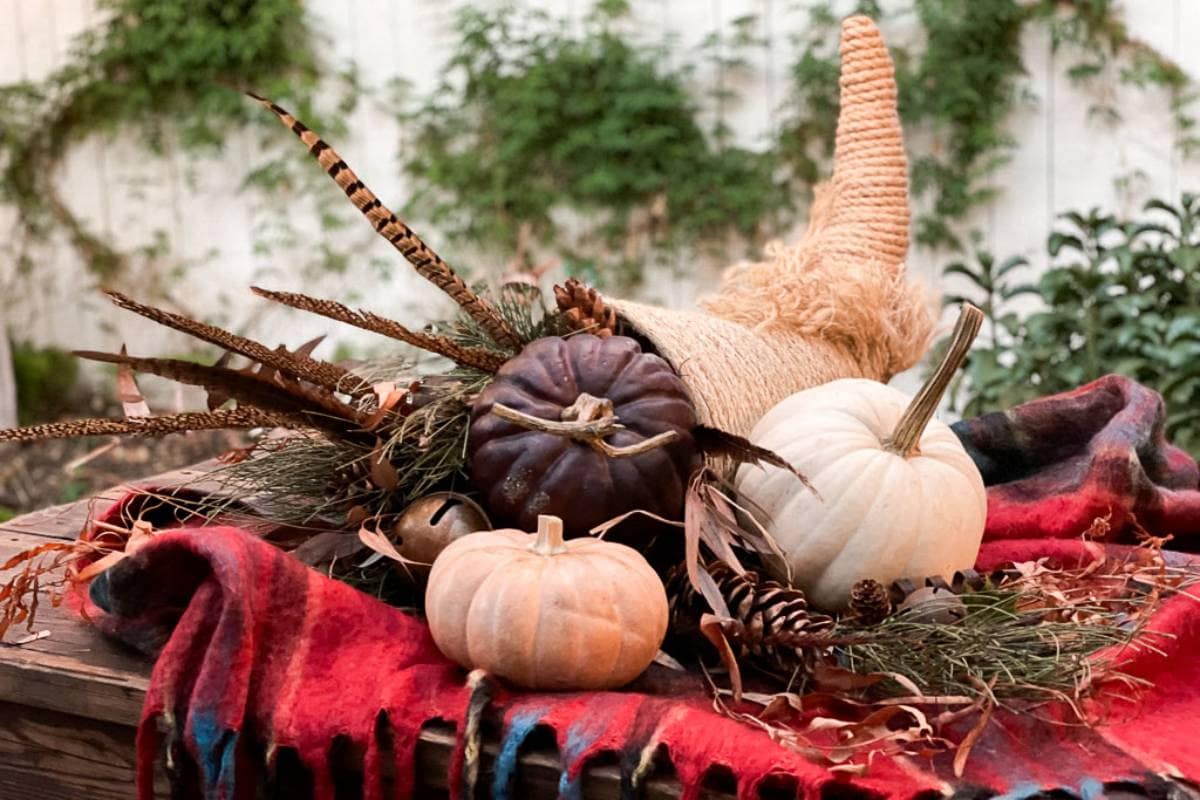
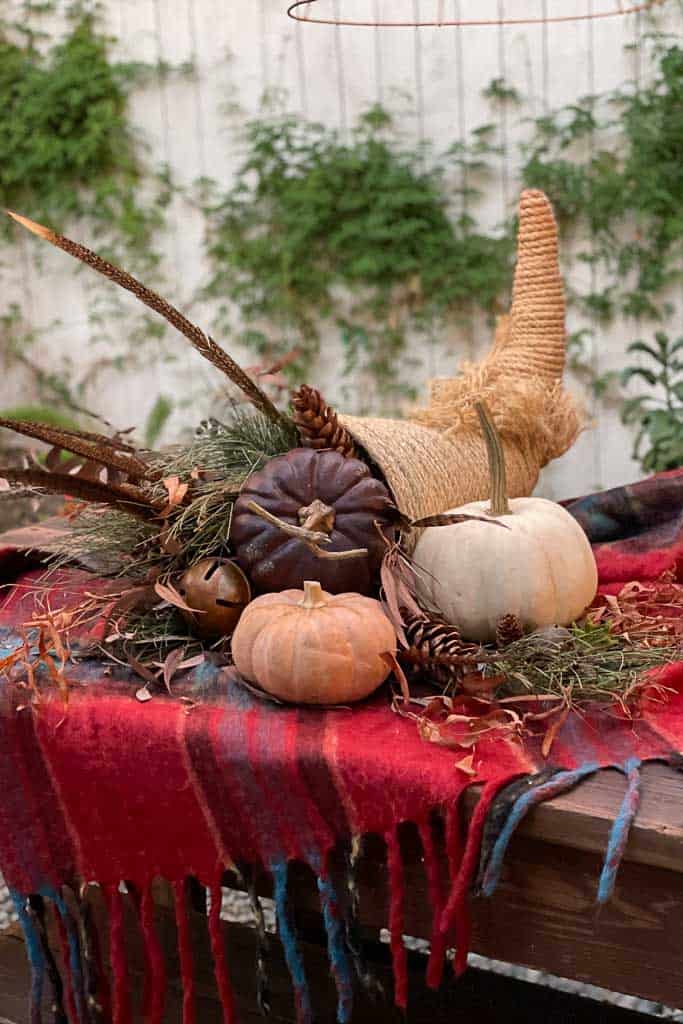
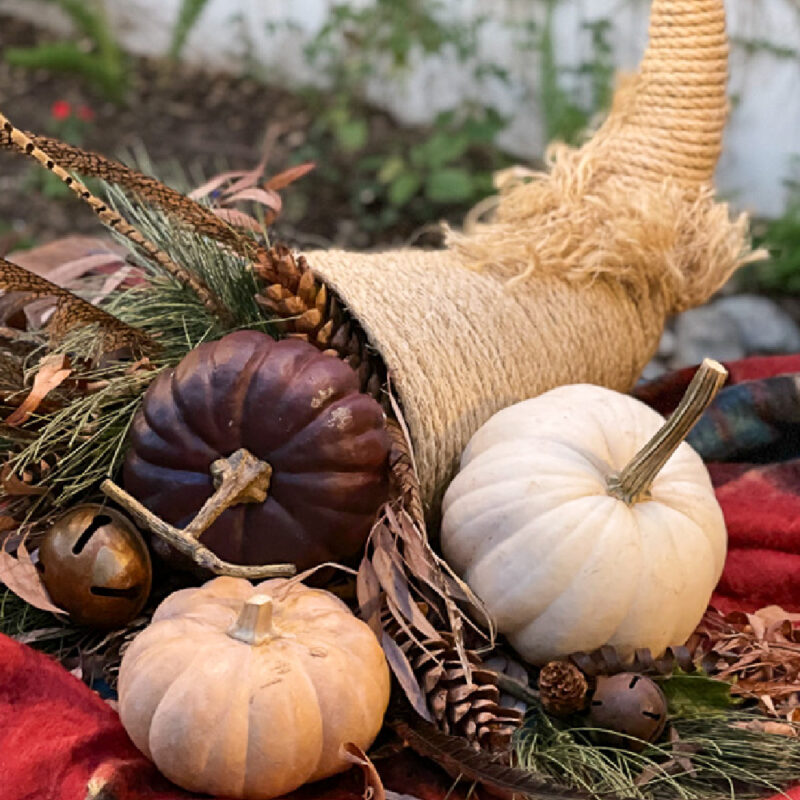
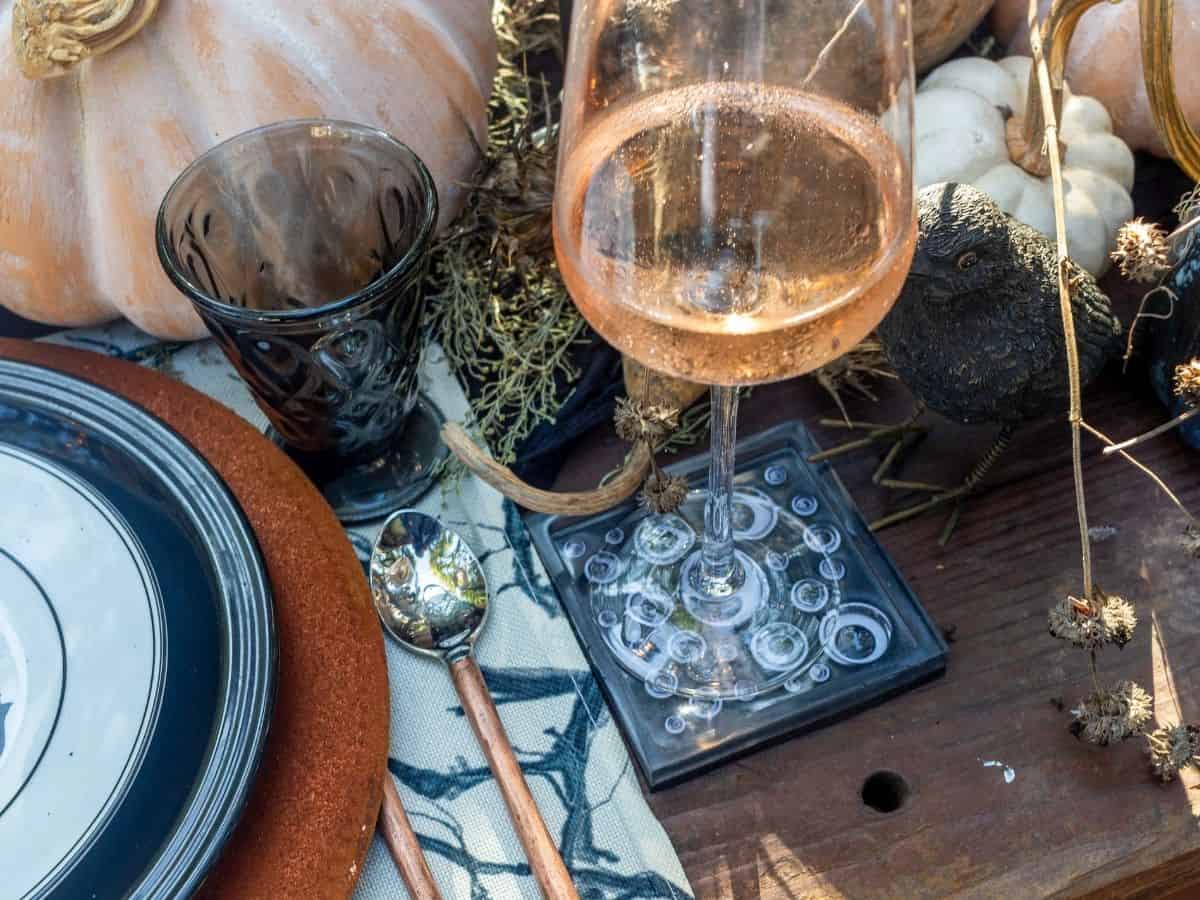
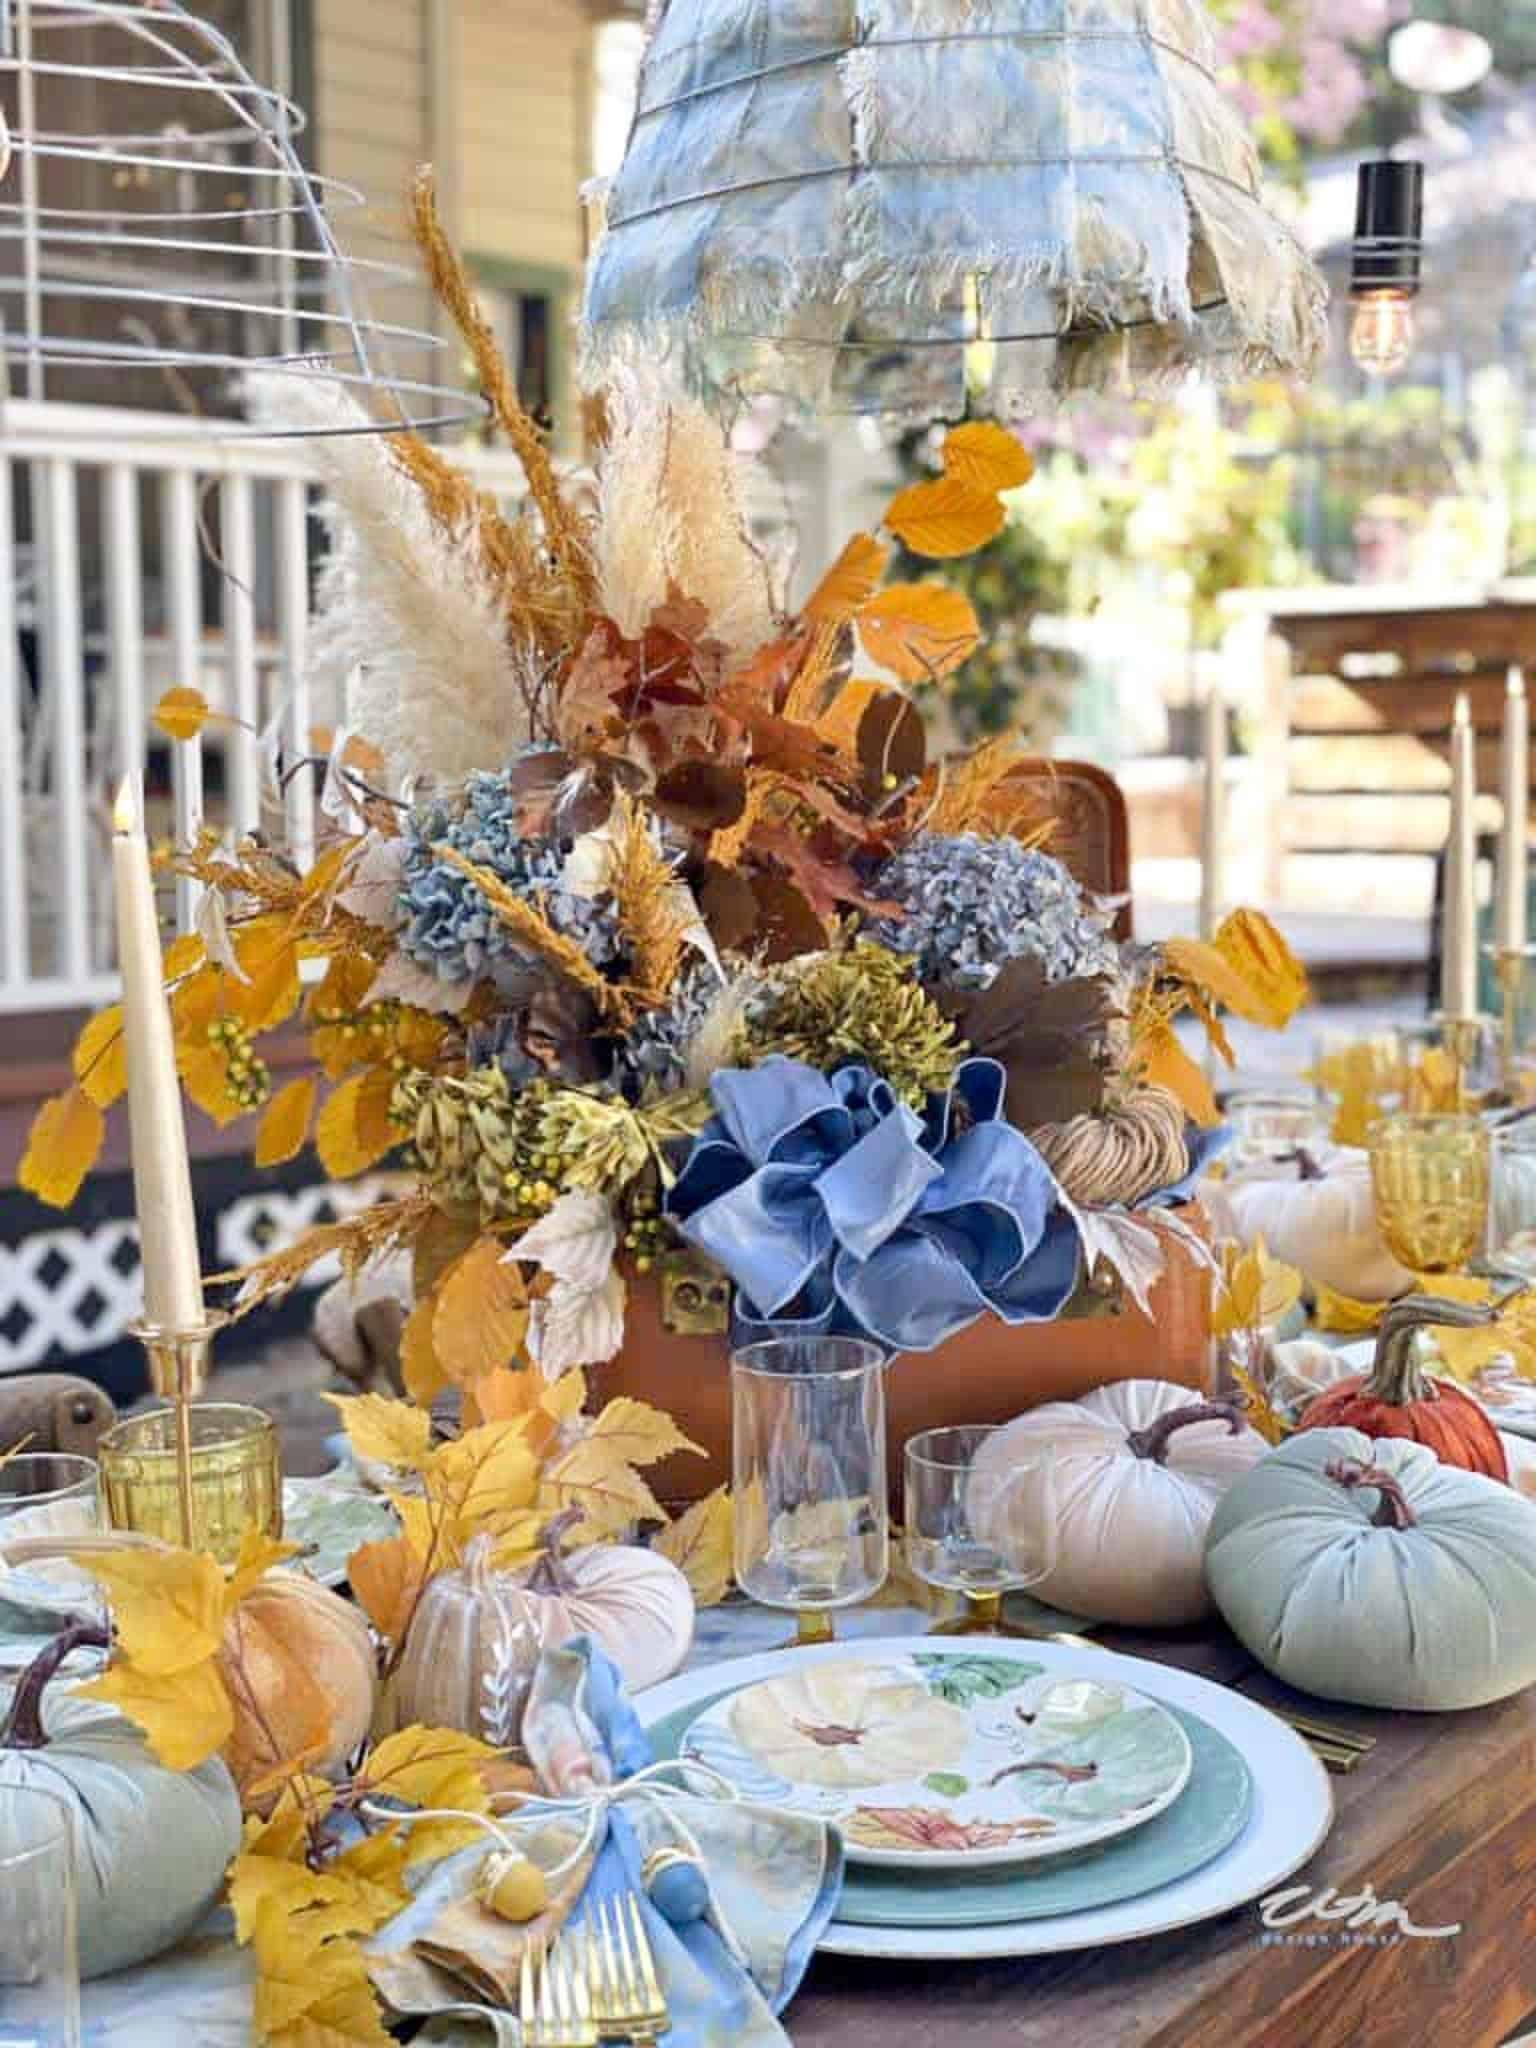
I decided to use my cornucopia as a centerpiece for our Thanksgiving table. As you may know, I love entertaining outdoors, and our rustic farmhouse table is the perfect spot for hosting a cozy Thanksgiving dinner. And this cornucopia adds just the right touch as a centerpiece.
To set the table, I started by using a blanket instead of a traditional tablecloth. The texture and fringe of the blanket bring warmth and character to the setup, making it feel extra inviting for the season.
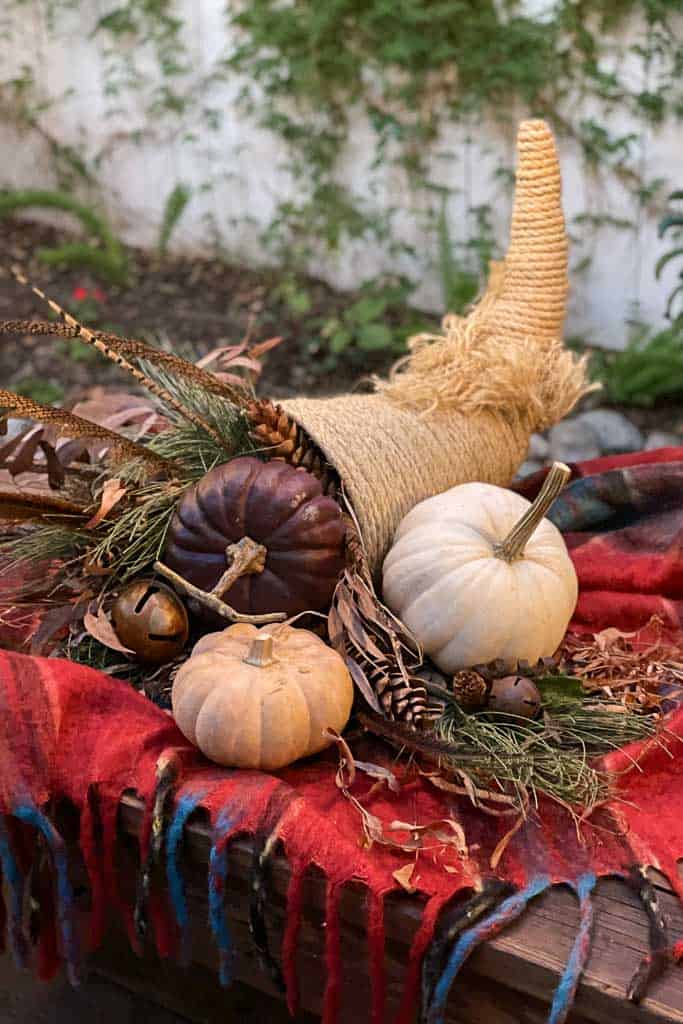
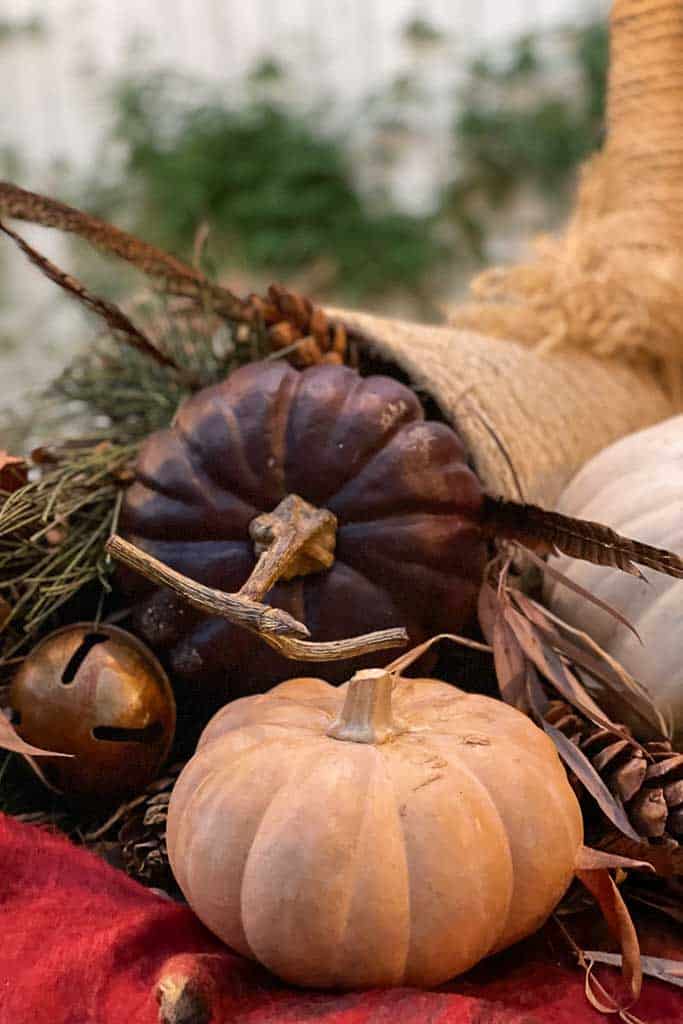
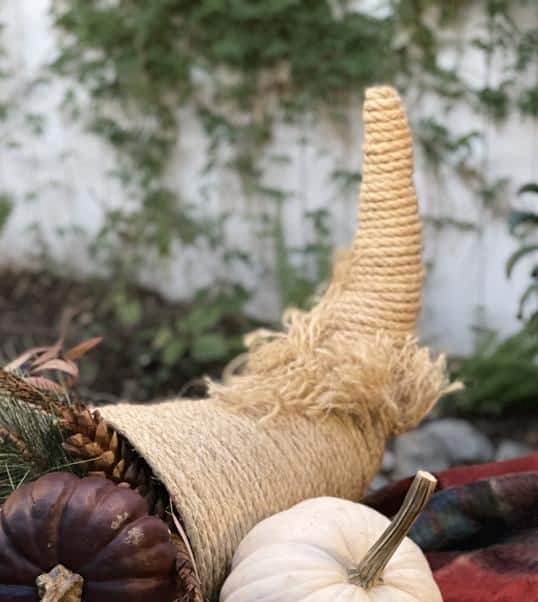
To fill my DIY rope cornucopia, I added some fresh pine greens around the opening of the cone that I picked off a tree in my yard.
Then, I added some dried leaves, pumpkins, pinecones, feathers, and a few rusty bells for character to complete the look!
More Cornucopia Craft Ideas
If you’re feeling adventurous, you could try learning how to dye sisal rope in different colors to match your decor!
Or, for more creative ideas, try experimenting with different material. You can learn how to make a cornucopia out of paper or even how to weave a cornucopia basket. The beauty of this craft is its flexibility!

Other Thanksgiving DIYS and Decor from WM Design House
If you loved this DIY sisal rope cornucopia, you might also enjoy some of these other Thanksgiving-inspired centerpieces.

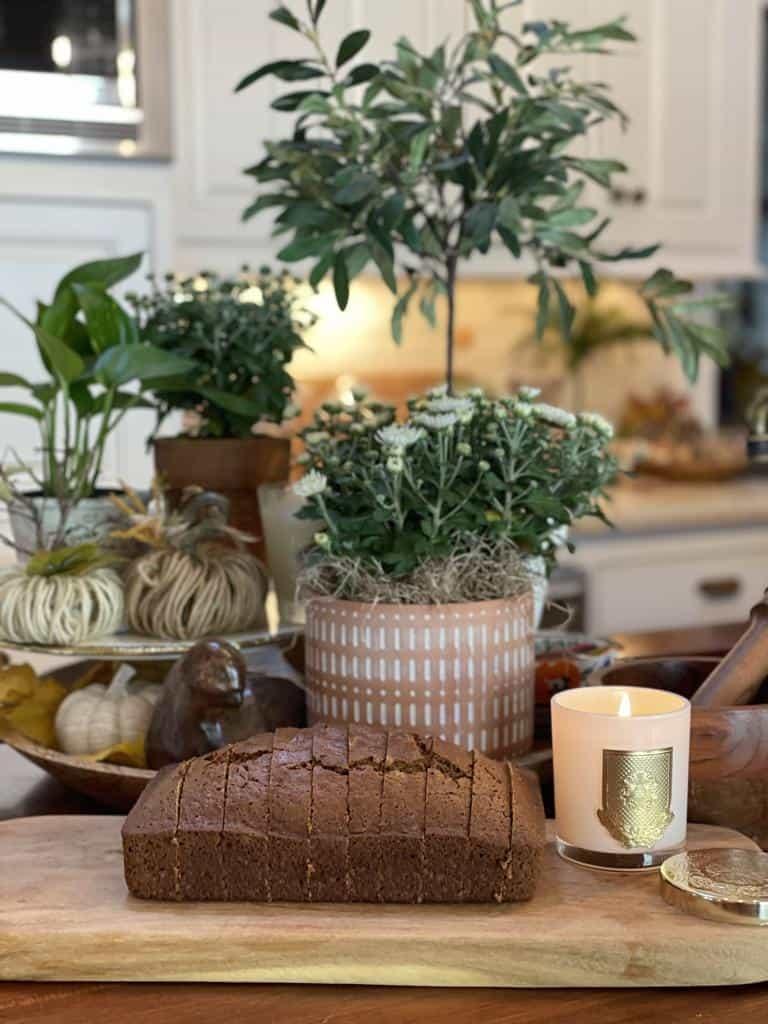
DIY Succulent Pumpkin Centerpiece
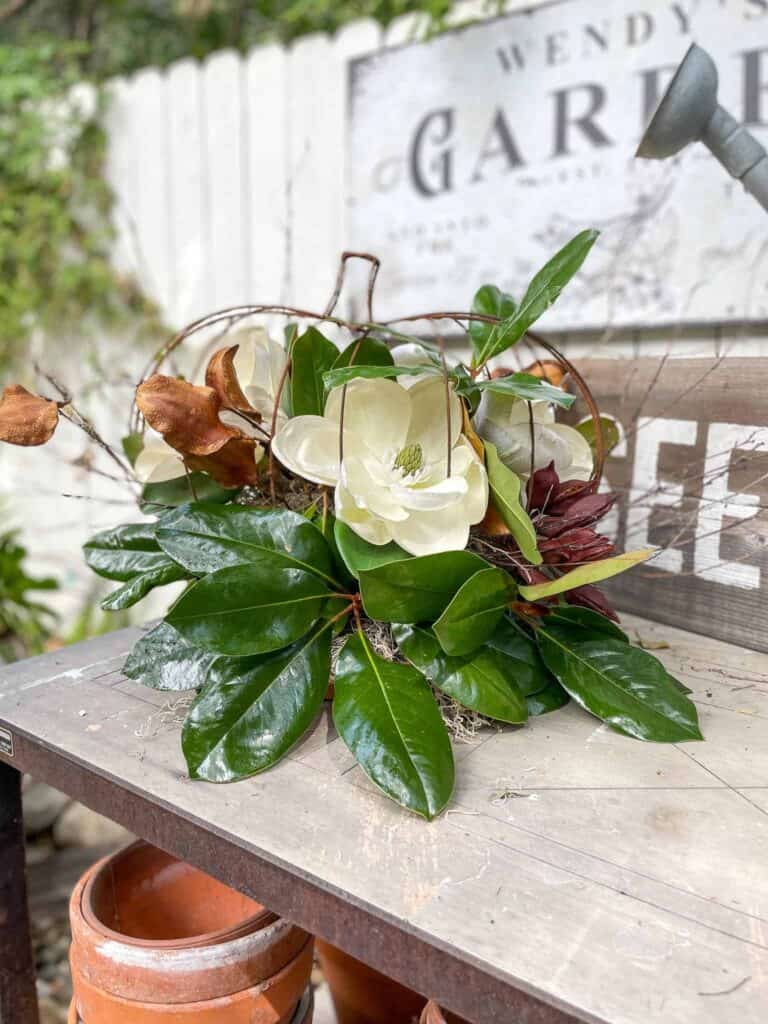
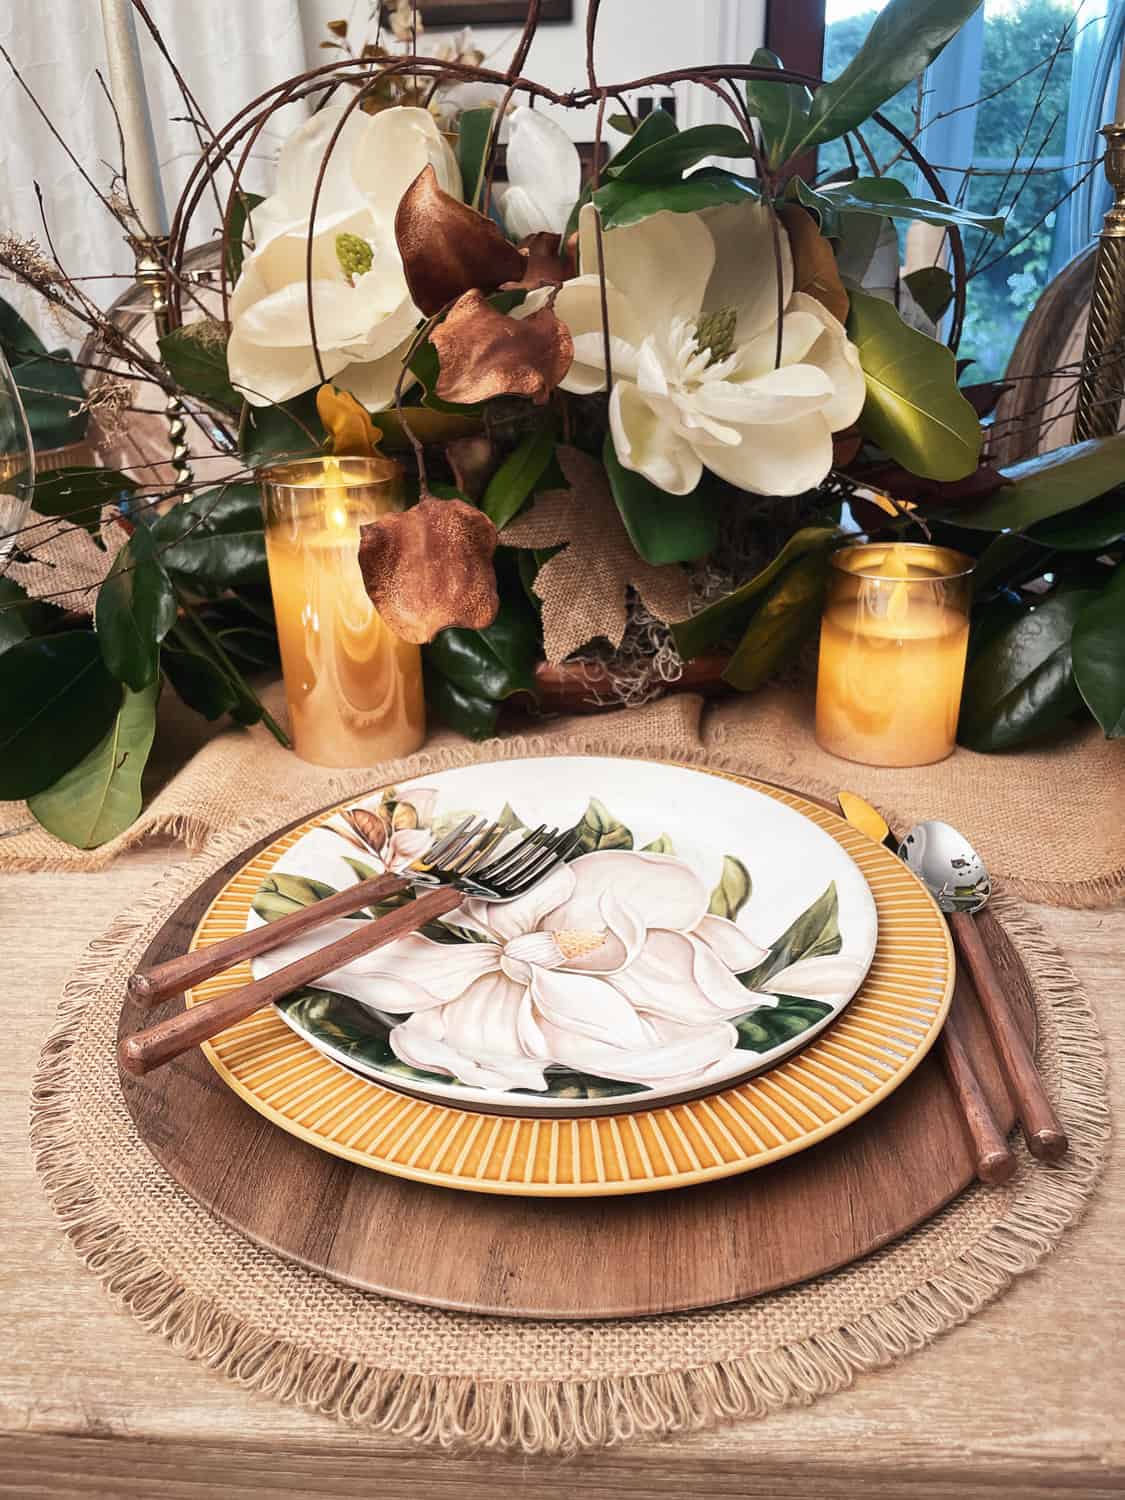
DIY Pumpkin and Magnolia Centerpiece
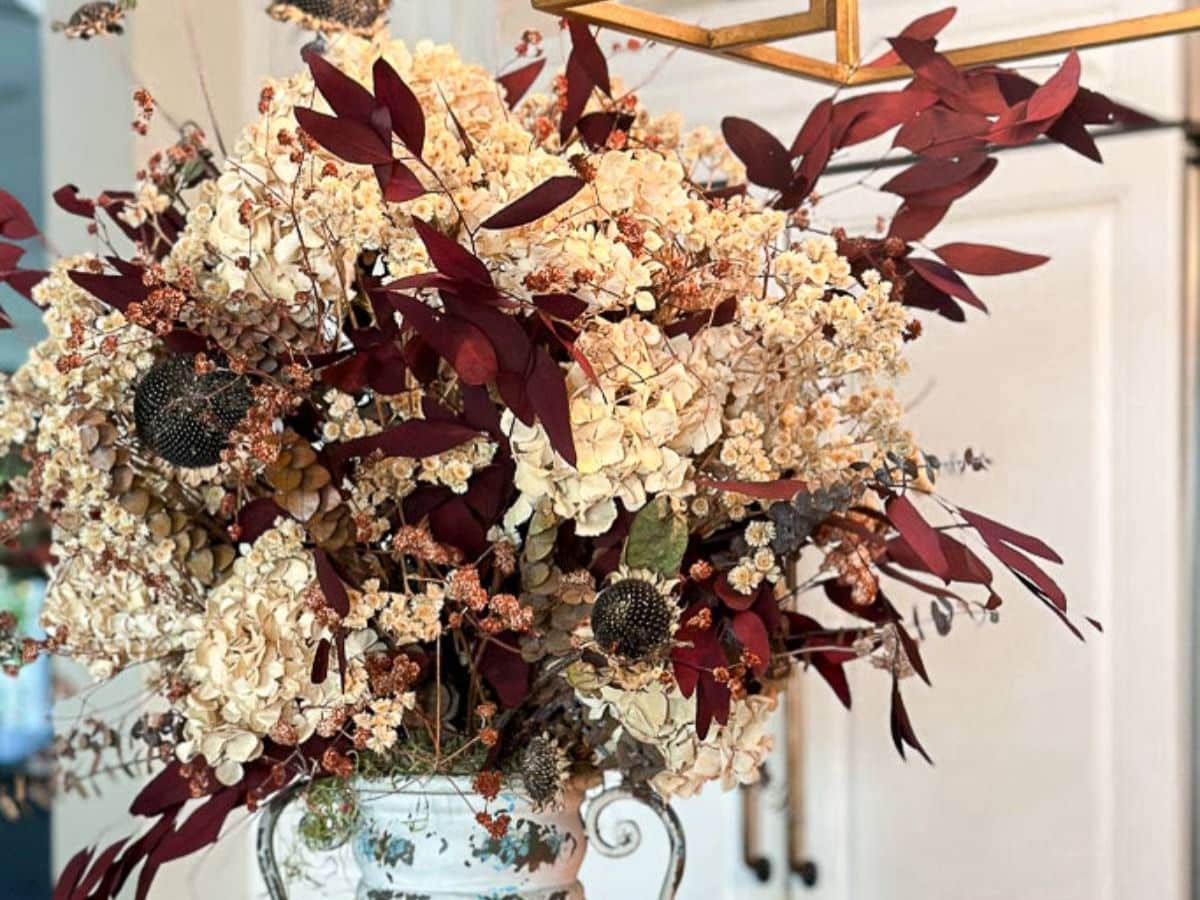
Simple Floral Arrangement with Dried and Foraged Fall Flowers
Wrapping Up
What materials will you use to style your DIY cornucopia with rope? Yours may be filled with fruit, nuts, or fall foliage. You could even make mini cornucopias as a fun cornucopia art project for kids or use them as place cards for your holiday table.
I hope you enjoyed this fun tutorial. Give it a try to add a beautiful centerpiece to your Thanksgiving table. Please be sure to send me a picture; I would love to see what you have created.
Happy Thanksgiving!


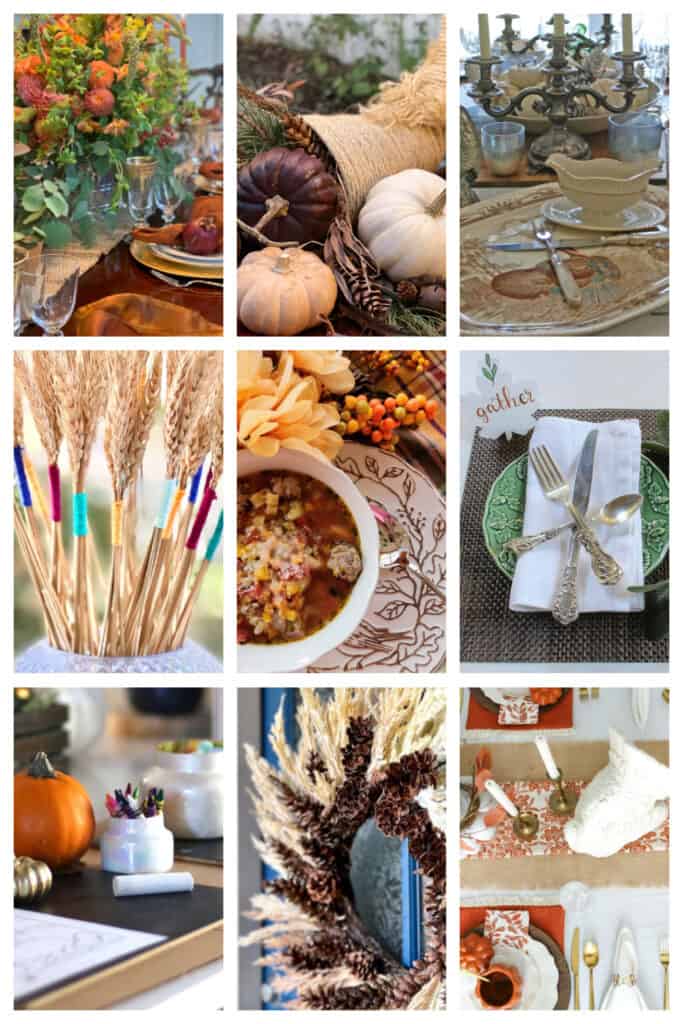
More Thanksgiving Ideas and Inspiration
If you see something you love, click on the image to visit my friend’s blogs.
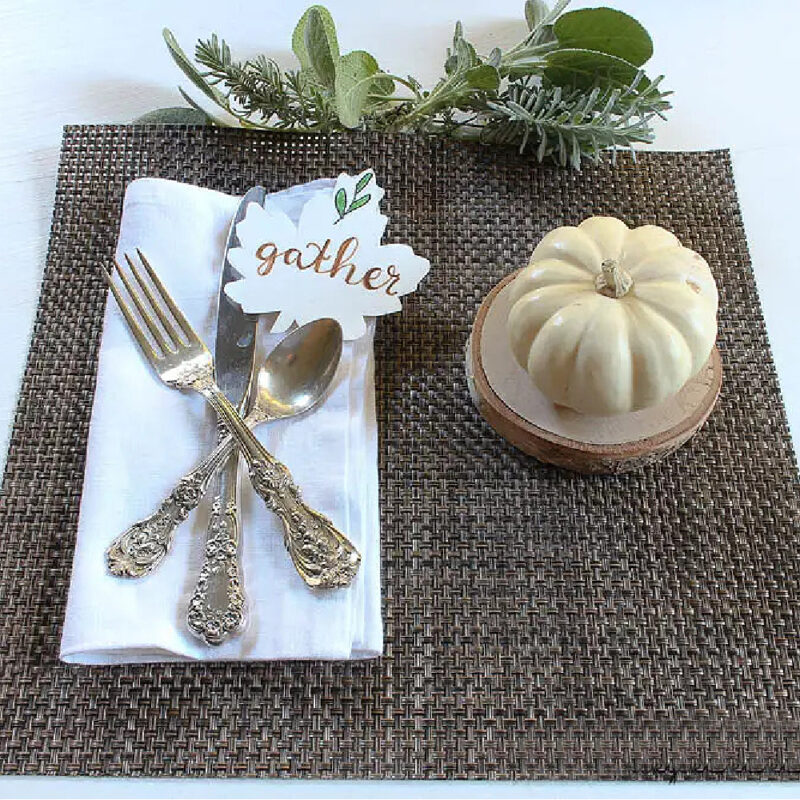
Bluesky at Home – 11 Thanksgiving Place Setting Ideas
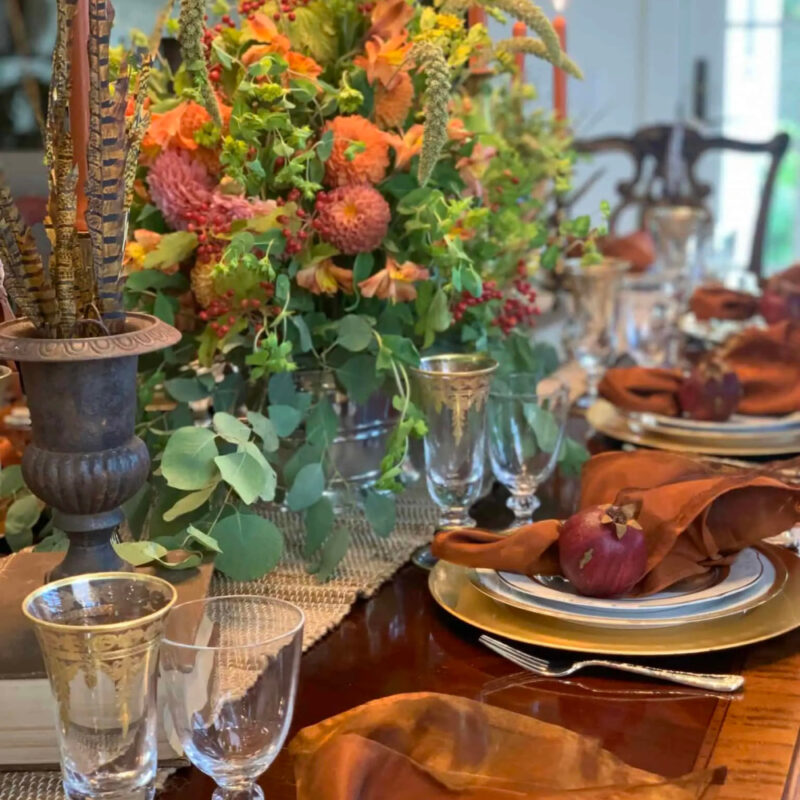
Peacock Ridge Farm – Thanksgiving Tablescape for a Feast
Midwest Life and Style – Thanksgiving Table on a Budget
Everyday Edits – Tips for a Kids’ Thanksgiving Table
Hen and Horse Design – Thanksgiving Holiday Hash
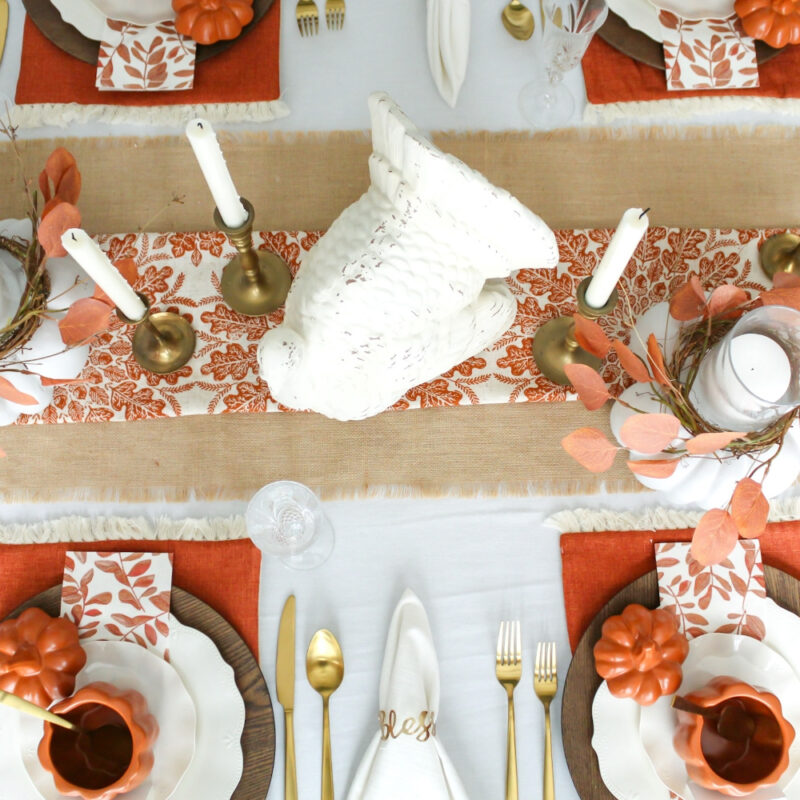
Sonata Home Design – Easy and Colorful Thanksgiving Decor Idea
WM Design House – Thanksgiving Cornucopia
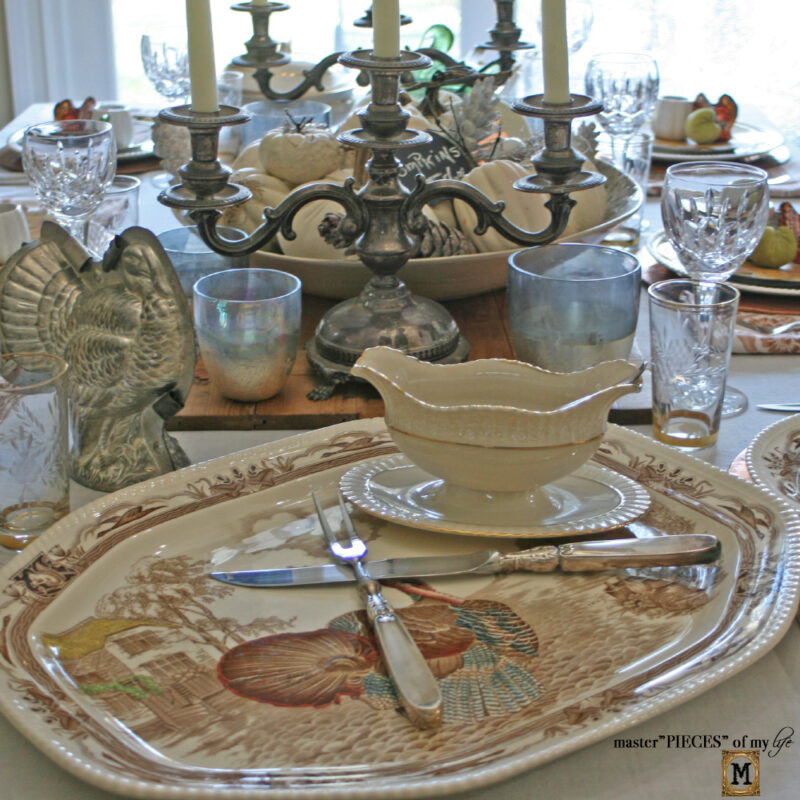
Masterpieces of My Life – Guide to the Thanksgiving Table
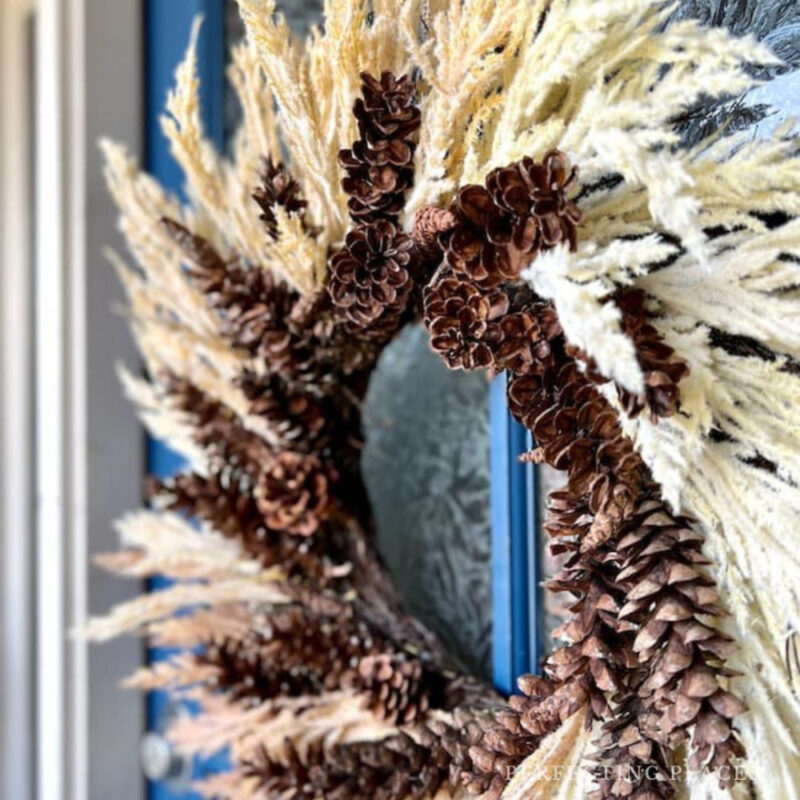
Perfecting Places – Easy DIY Thanksgiving Pinecone Wreath
More about me!

Hello, I’m Wendy – a dedicated homemaker with a deep passion for decorating, gardening, cooking, and crafting. I find joy in harmonizing beautiful elements to fashion a space that is both comfortable and inspiring. I will help you create a beautiful home, one project at a time.


I absolutely adore this project! You did a great job, Wendy! You will be featured this week on Whimsy Home Wednesday No. 107! Stay tuned! Thanks for sharing your talent at the party!
LOVE this DIY, Wendy and that it can be scaled up or down to fit into any home decor! Thank you for sharing, we will be featuring you this week! Creatively, Beth
This is brilliant, and I love how it turned out! Visiting from the Senior Salon Pit Stop linkup.
This is such an amazing project. Gorgeous! Your Thanksgiving table is so beautiful and welcoming!
Such a creative and cute idea!
Wendy, great idea for a Thanksgiving decoration. I have a woven cornecopia but I’ve never thought to make one. Believe it or not, I have all the ingredients to make your lovely project. Such a nice Thanksgiving tradition. Thank you so much for sharing at Celebrate the Holiday.
Thank you, Carol. It was pretty easy to make, however, I may have made it sightly smaller next time.
I love your cornucopia Wendy! It’s the quintessential piece for a Thanksgiving feast. You did us an amazing job and I love how you used your materials. And the styling is stunning. Happy Thanksgiving to you & yours. XO- MaryJo
This is all so pretty Wendy. I love the colors you’ve used and the textures. You’ve inspired me to take out my cornucopia and get creating!
Thank you, Susan, I wish you and your family a happy Thanksgiving.
Wendy
This is such a great project.
Thank you Rachel.
Wendy, this is such a beautiful Thanksgiving project! You’re so creative, my friend!
Thank you, Kim. Your words mean the world to me.
This is STUNNING, Wendy. I absolutely love it. I want to make a cornucopia for my Thanksgiving table this year and I’m going to use yours as inspiration. Pinned!
Thank you, Jen. It is fairly easy to make. However, I would suggest making yours a bit smaller than I did. Only because it became heavy from all of the rope.
Such a beautiful DIY! And I love learning the mythology behind the cornucopia!
Thank you, Missy. I hope you are enjoying the fall season and getting ready for the Thanksgiving holiday.
This is so inspiring! I love how you personalized your cornucopia! Thank you for sharing your beautiful decor ideas!
Thank you, Robyn. I always enjoy sharing with you.
Wendy, your cornucopia is amazing! I need to make one. Hugs to you.
Thank you so much Renae!
OK, this is really clever!! Definitely have to remember this one!
Thank you so much Jennifer!
Wendy, I think this is my favorite fall DIY, it’s so creative and classic. Thanks so much for sharing it!
Thank you so much Ann, I agree that the cornucopia is so classic and will always be in style. I hope you are enjoying that beautiful fall weather you are having.
The cutest ideas! I love your DIY cornucopia so much! So much fun to party with you!
Happy day!
KariAnne
Thank you KariAnne, It is always a treat to share with you too!
Wendy what a gorgeous centerpiece! It looks so beautiful! I want to make this one.
Thank you STacy, my advice would be to make it smaller than mine was as it was rather heavy, lol!
This is such a pretty DIY project! Perfect for Thanksgiving. Can’t wait to share it tomorrow. Pinned
Wendy,
This is such a clever idea and I’m so excited to share it tomorrow on the roundup
Thank you Rachel. The round-up was so fun and full of amazing inspiration for Thanksgiving.
Wendy this is stunning! Saving this for Thanksgiving! And I hope you will consider linking up on a link party I just started cohosting for a chance to be featured because I love this idea my friend!
https://www.ourtinynest.com/2022/10/05/wednesday-link-party/
Hi Nicole, I am so excited you love my idea and for sure I will be linking up. Thank you for letting me know and sending me the link. I hope you re having a great weekend.
Just popping in to say I love this DIY and will be featuring it this week on Farmhouse Friday! It’s seriously gorgeous and so clever! Thank you so much for linking up. Please link up again soon. Happy Fall! Pinned
Thank you so much Cindy, I am very honored. I appreciate you hosting the link party so much.
Wendy, your cornucopia turned out great!! I’ve thought of making one but haven’t got around to it. Maybe this year! 🙂 Enjoy yours decorated for fall and I’m happy that I was able to feature your post at Share Your Style #361 this week for you. 🙂
Enjoy your weekend and happy fall,
Hugs,
Barb 🙂
Hi Barbara, thank you so much and I apologize for getting back to you so late. I have been traveling. I was at the interest conference, and now I am at the Achieve conference with no internet. UGH!
Thank you for the feature, I so appreciate you sharing my blog post. Hugs rights back to you.
Wendy this is so clever! Love the cinnamon rust and your beautiful pumpkins.
Thank you so much, I am so honored. Have a great weekend.
Amazing project, Wendy!! So creative with your materials!!
Thank you, Rachel. I have just discovered this fun way to make things look rusty, now I want to put cinnamon on everything, LOL.
Wendy, this turned out amazing! I love this idea! Please share at our Home Imagined Party (ends today, Thursday at 5pm). Great job! Hope to see you there.
Oh Man, I missed it, I will get there next week I promise. What day and time does your party start?
Great project! Your Thanksgiving table will be amazing!
Thank you Missy, I am looking forward to hosting Thanskgiving.
I love how pretty this turned out! I’ve always loved cornucopias! Great job Wendy!
Thank you Susan, It was a very fun project to work on, kept my brain going for sure.
Came out great Wendy! I like how the sisel is frayed. Nice decorative touch.
Thank you Kathy! I had to come up with an interesting way to cover that rounded bottom and the loose ends helped. It does add a nice touch.