DIY Cement Planter: Pottery Barn dupe, fluted Concrete Pots
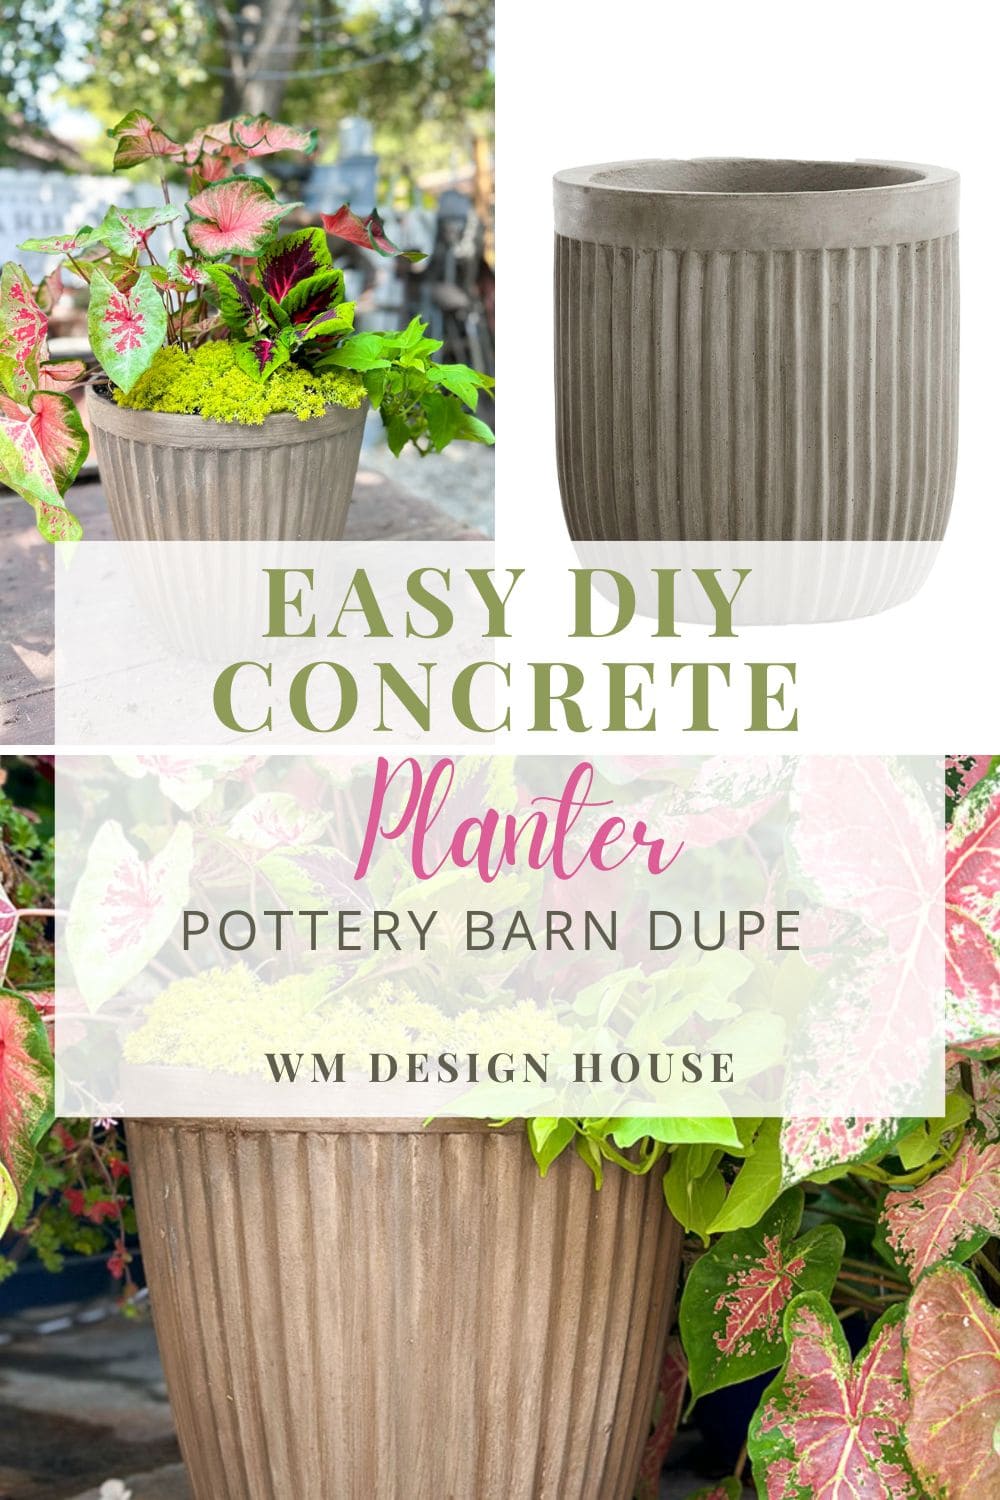
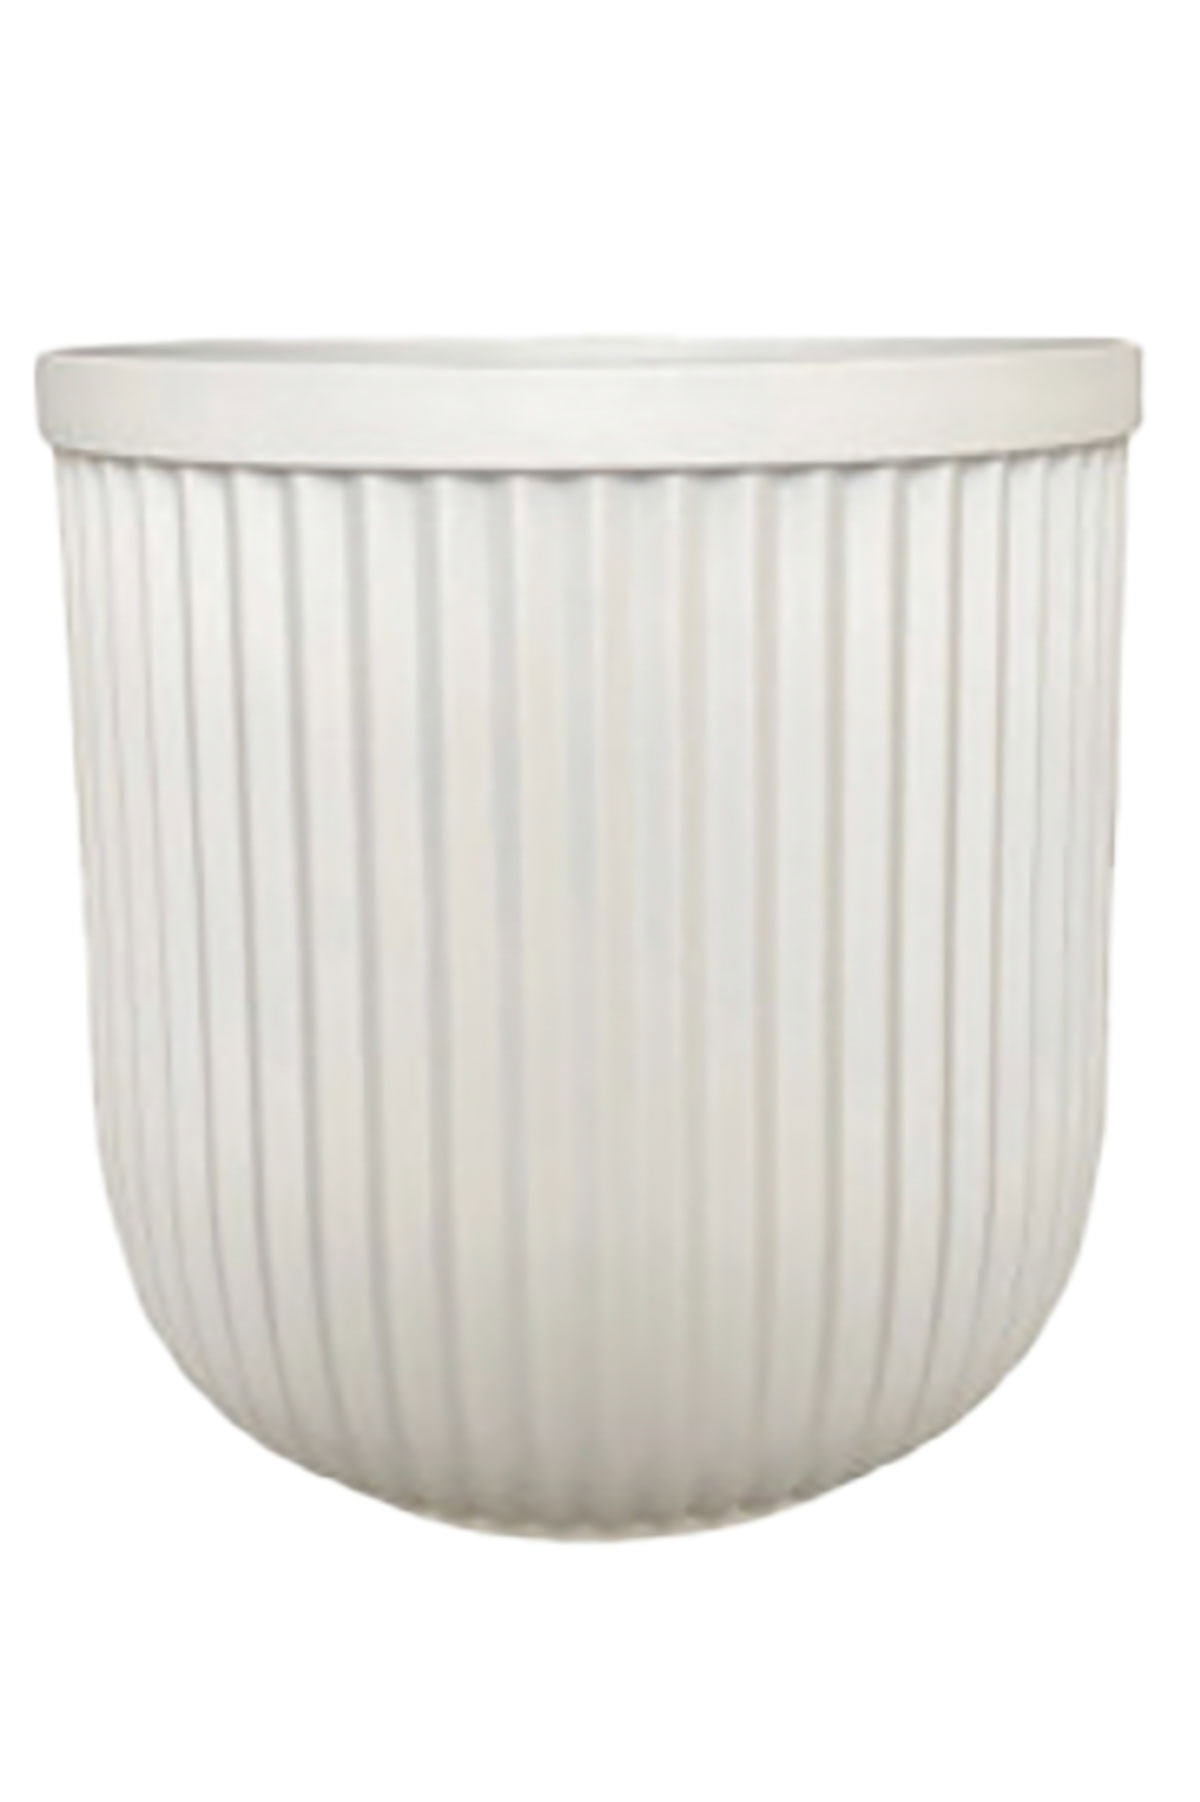
If you’ve ever admired the chic concrete planters from Pottery Barn but balked at the price, these DIY Cement Planters project is the perfect solution to create your own fluted concrete pots at a fraction of the cost.
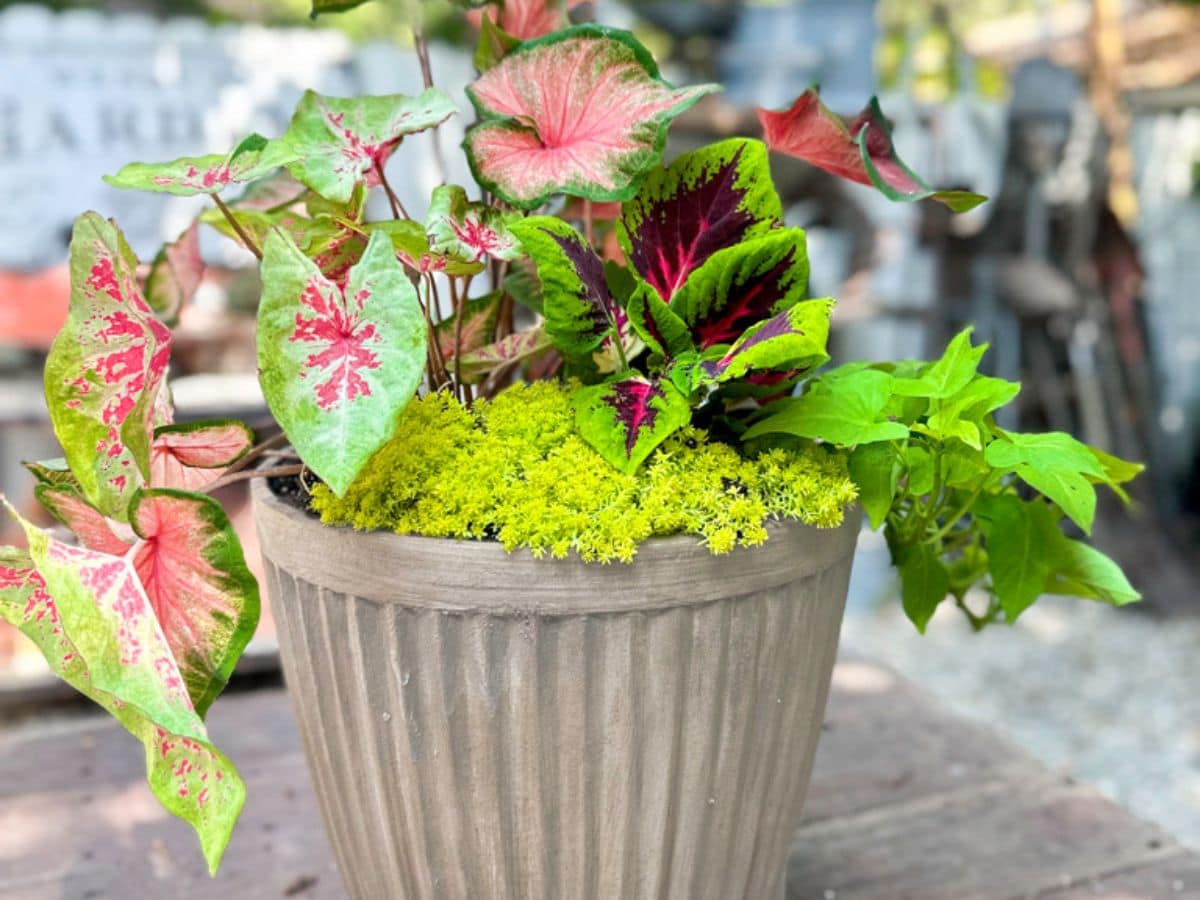
DIY Cement Planter- Pottery Barn Dupe
Today, our Handcrafted Society post features an exciting challenge: using concrete in our projects! Inspired by the stunning yet pricey concrete planters from Pottery Barn, I decided to create my own affordable version.
Explore the incredible projects by all the talented ladies at the end of this post. You will want to experience the fantastic creations they’ve come up with!
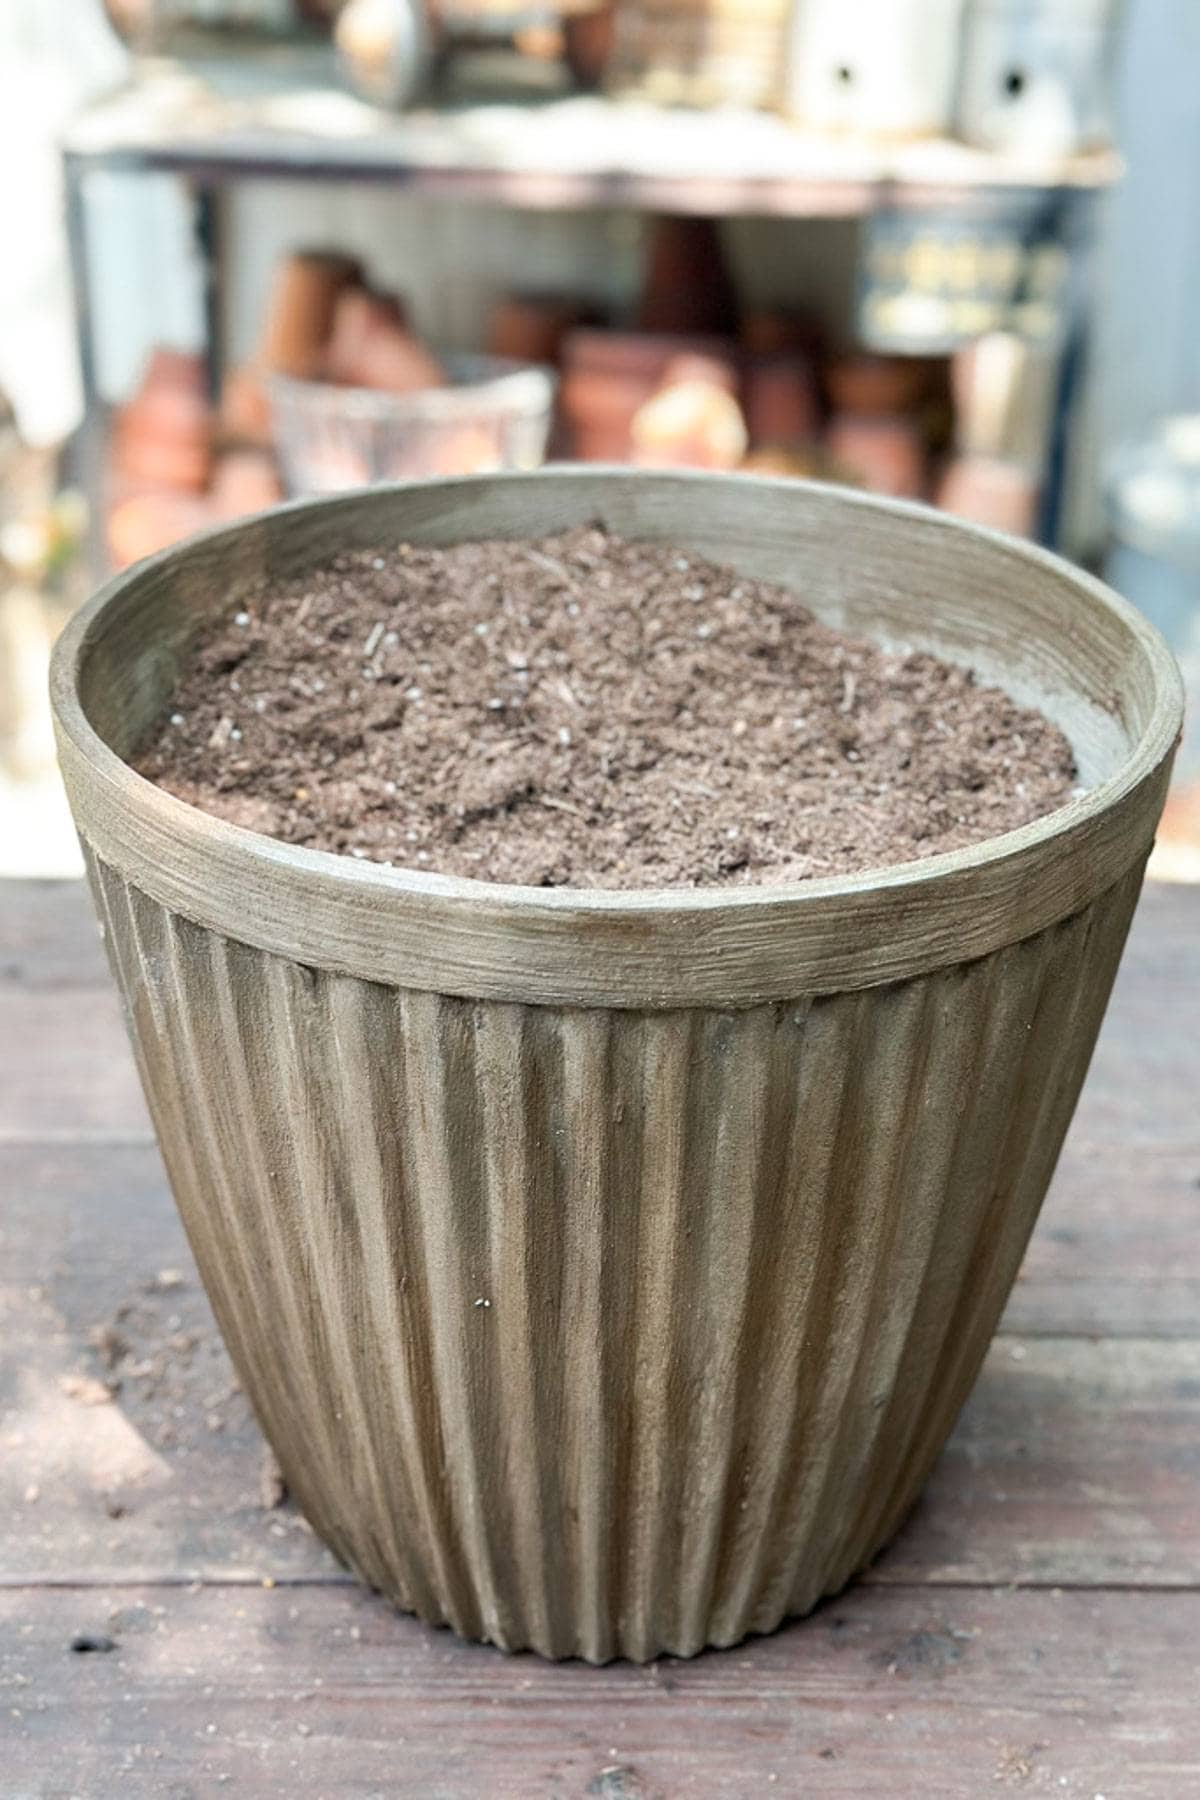
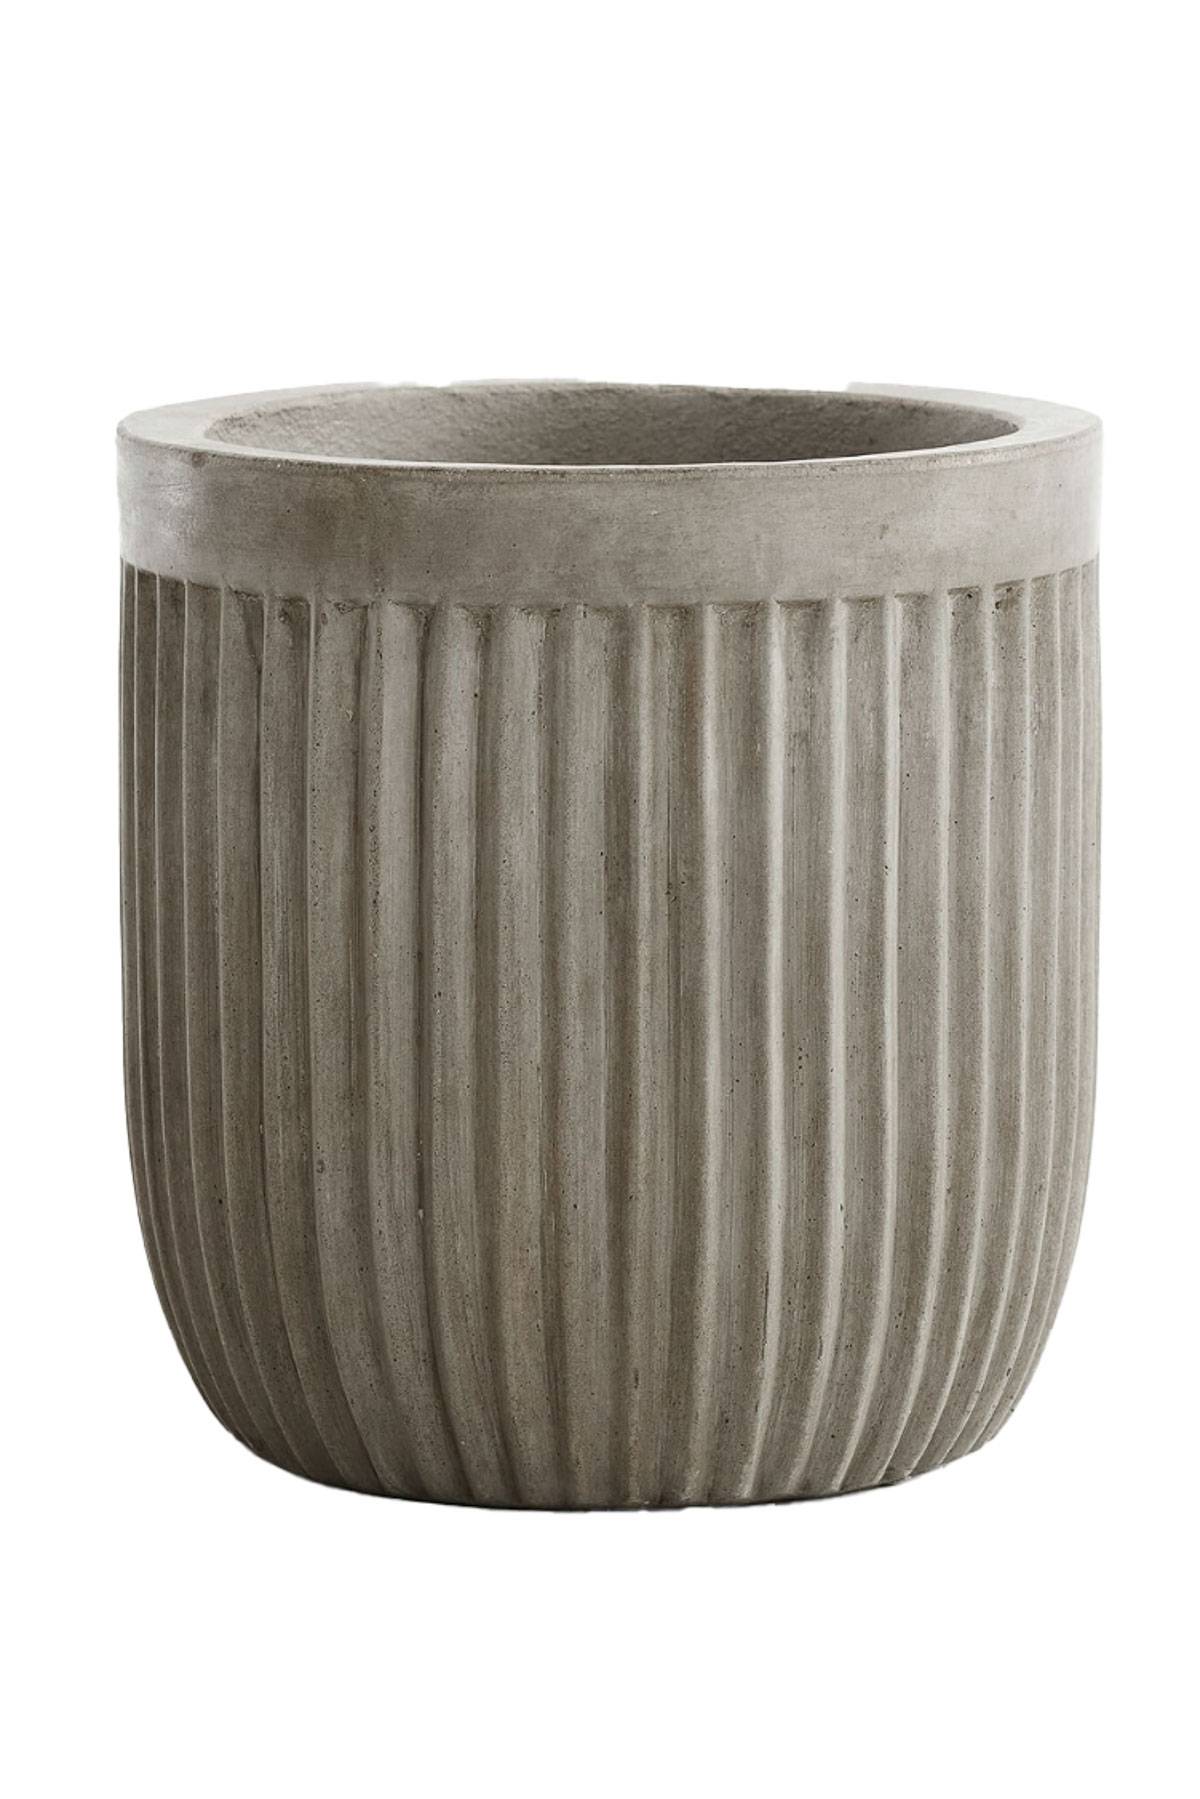
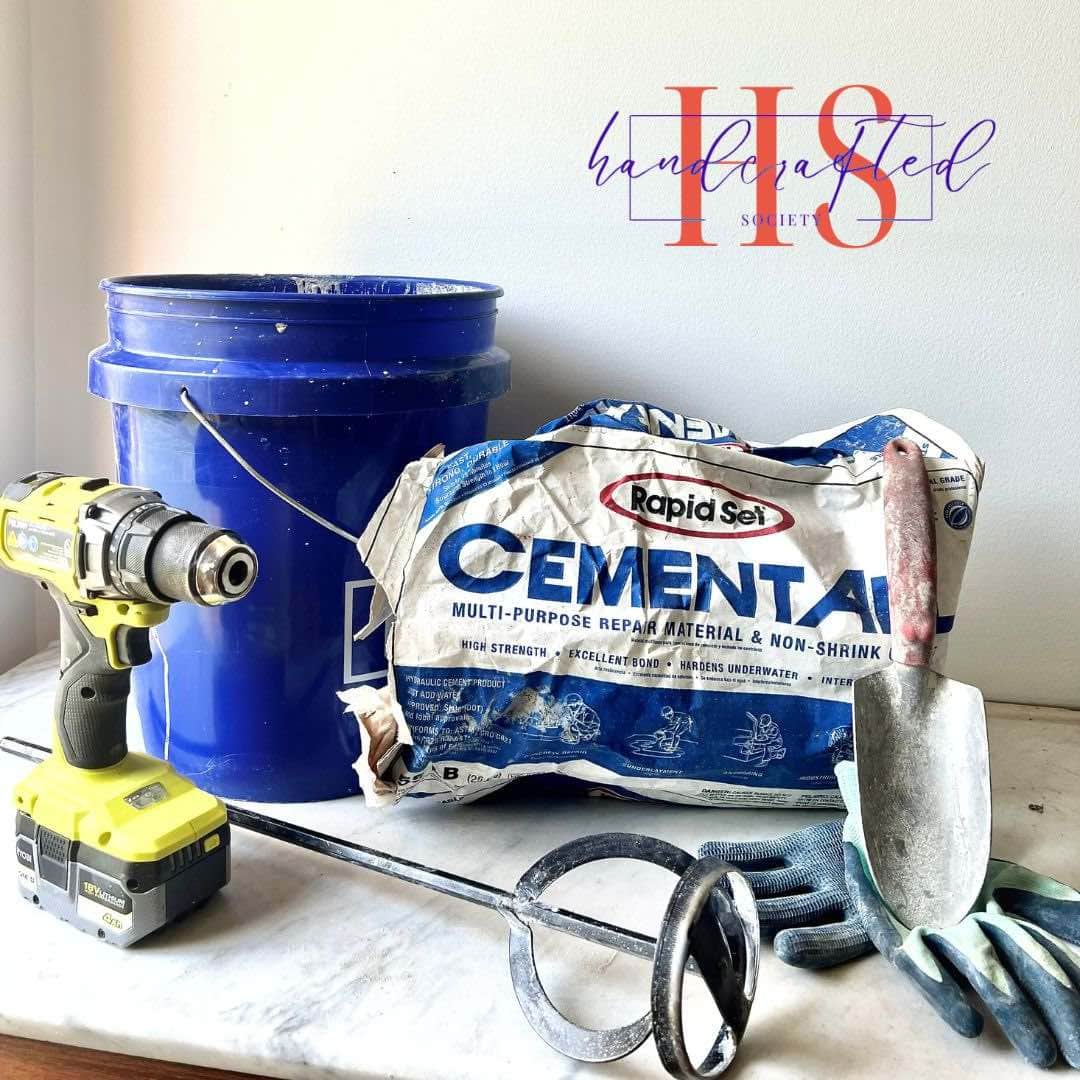
Materials You’ll Need to Make A DIY Concrete Planter
Additional Tools You’ll Need
How to Make A DIY Concrete Fluted Planter
Creating a DIY fluted cement flower pot inspired by Pottery Barn is a fun and rewarding project. This dupe allows you to craft a stylish and sturdy planter at a fraction of the cost. Using simple materials like cement, a fluted plastic pot, and a bit of patience, you can achieve a high-end look that adds a touch of elegance to your garden or home decor. The process involves mixing the cement, coating the flower pot, and allowing it to set, resulting in a beautiful and unique piece.
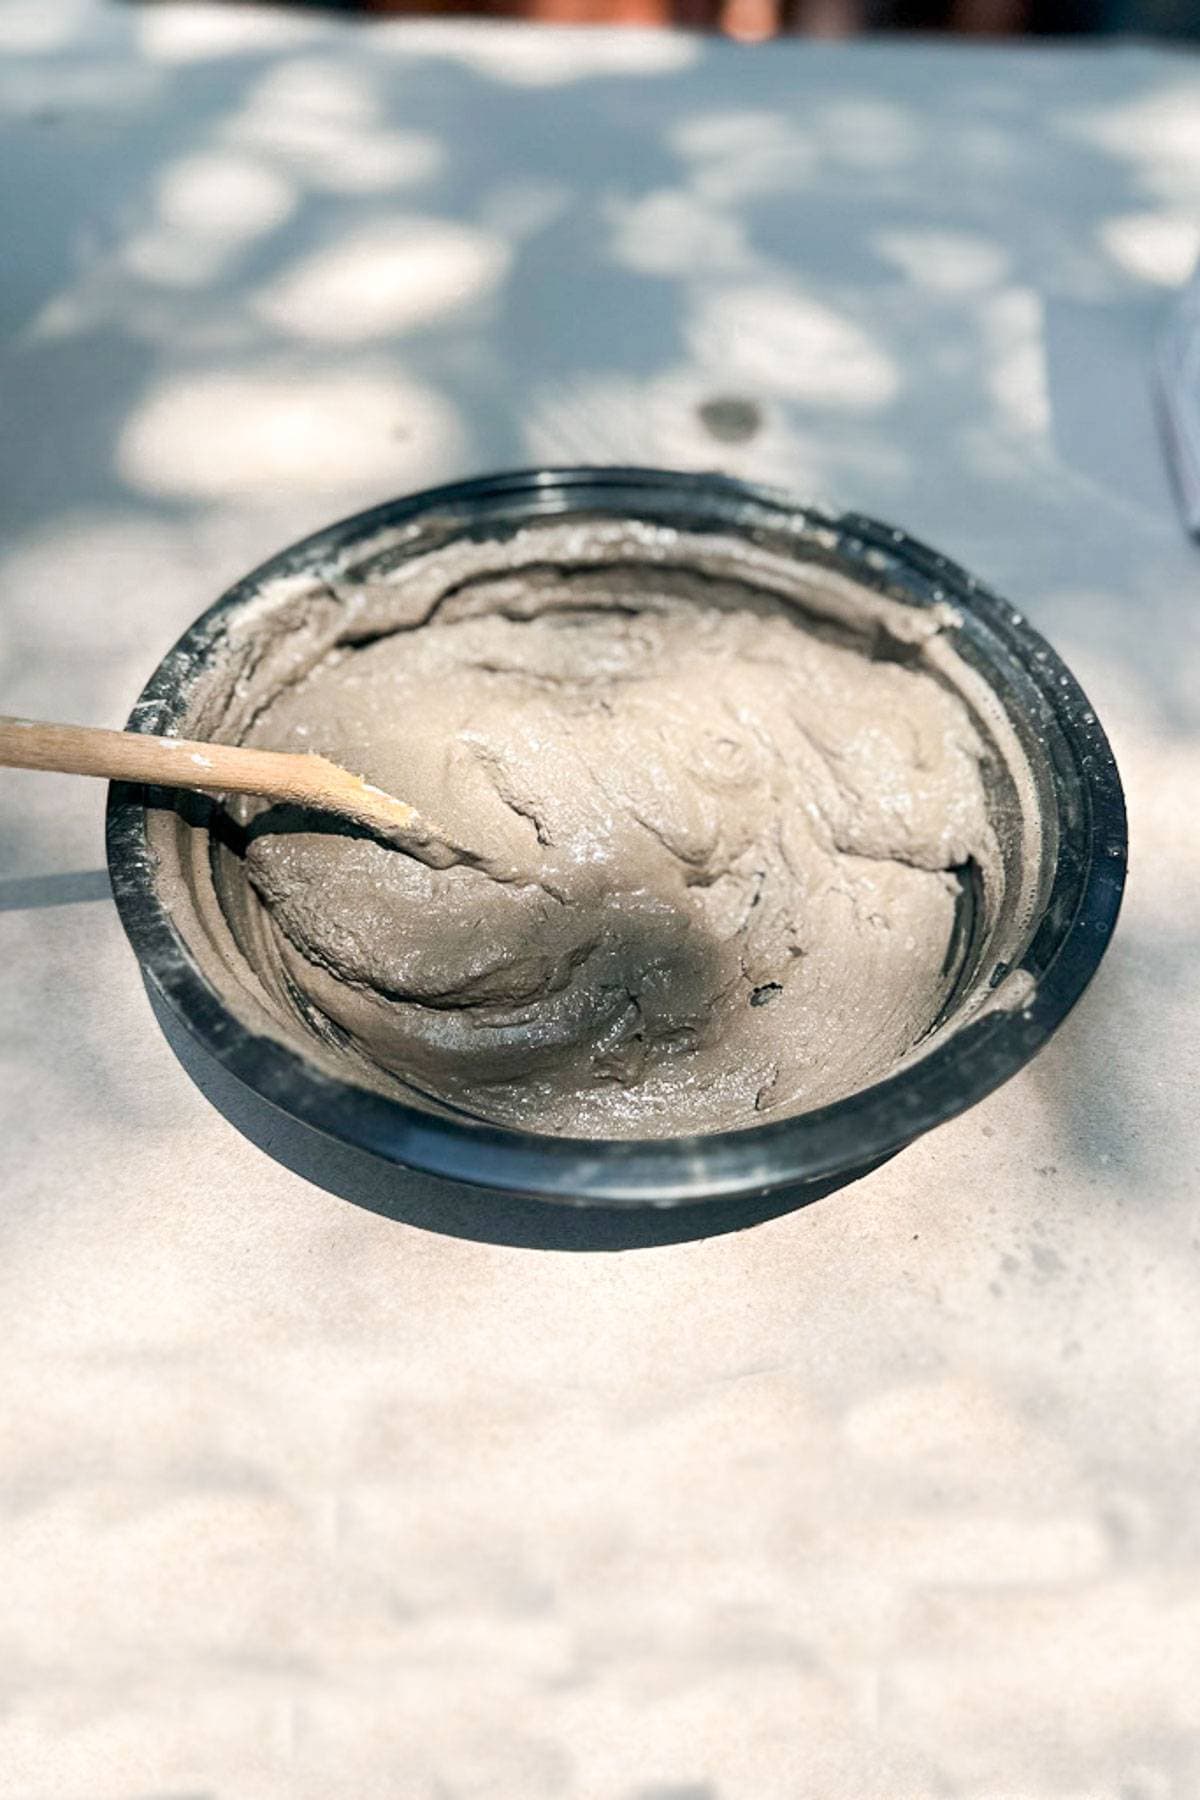
1. Mixing the Cement Mixture
- Use two parts of concrete mixture to one part water in a smaller container.
- The consistency should be like thick mud, so you want to be careful not to add to much water. You can always add more if you want the consistency to be a bit thinner.
Tip from wendy’s garden:
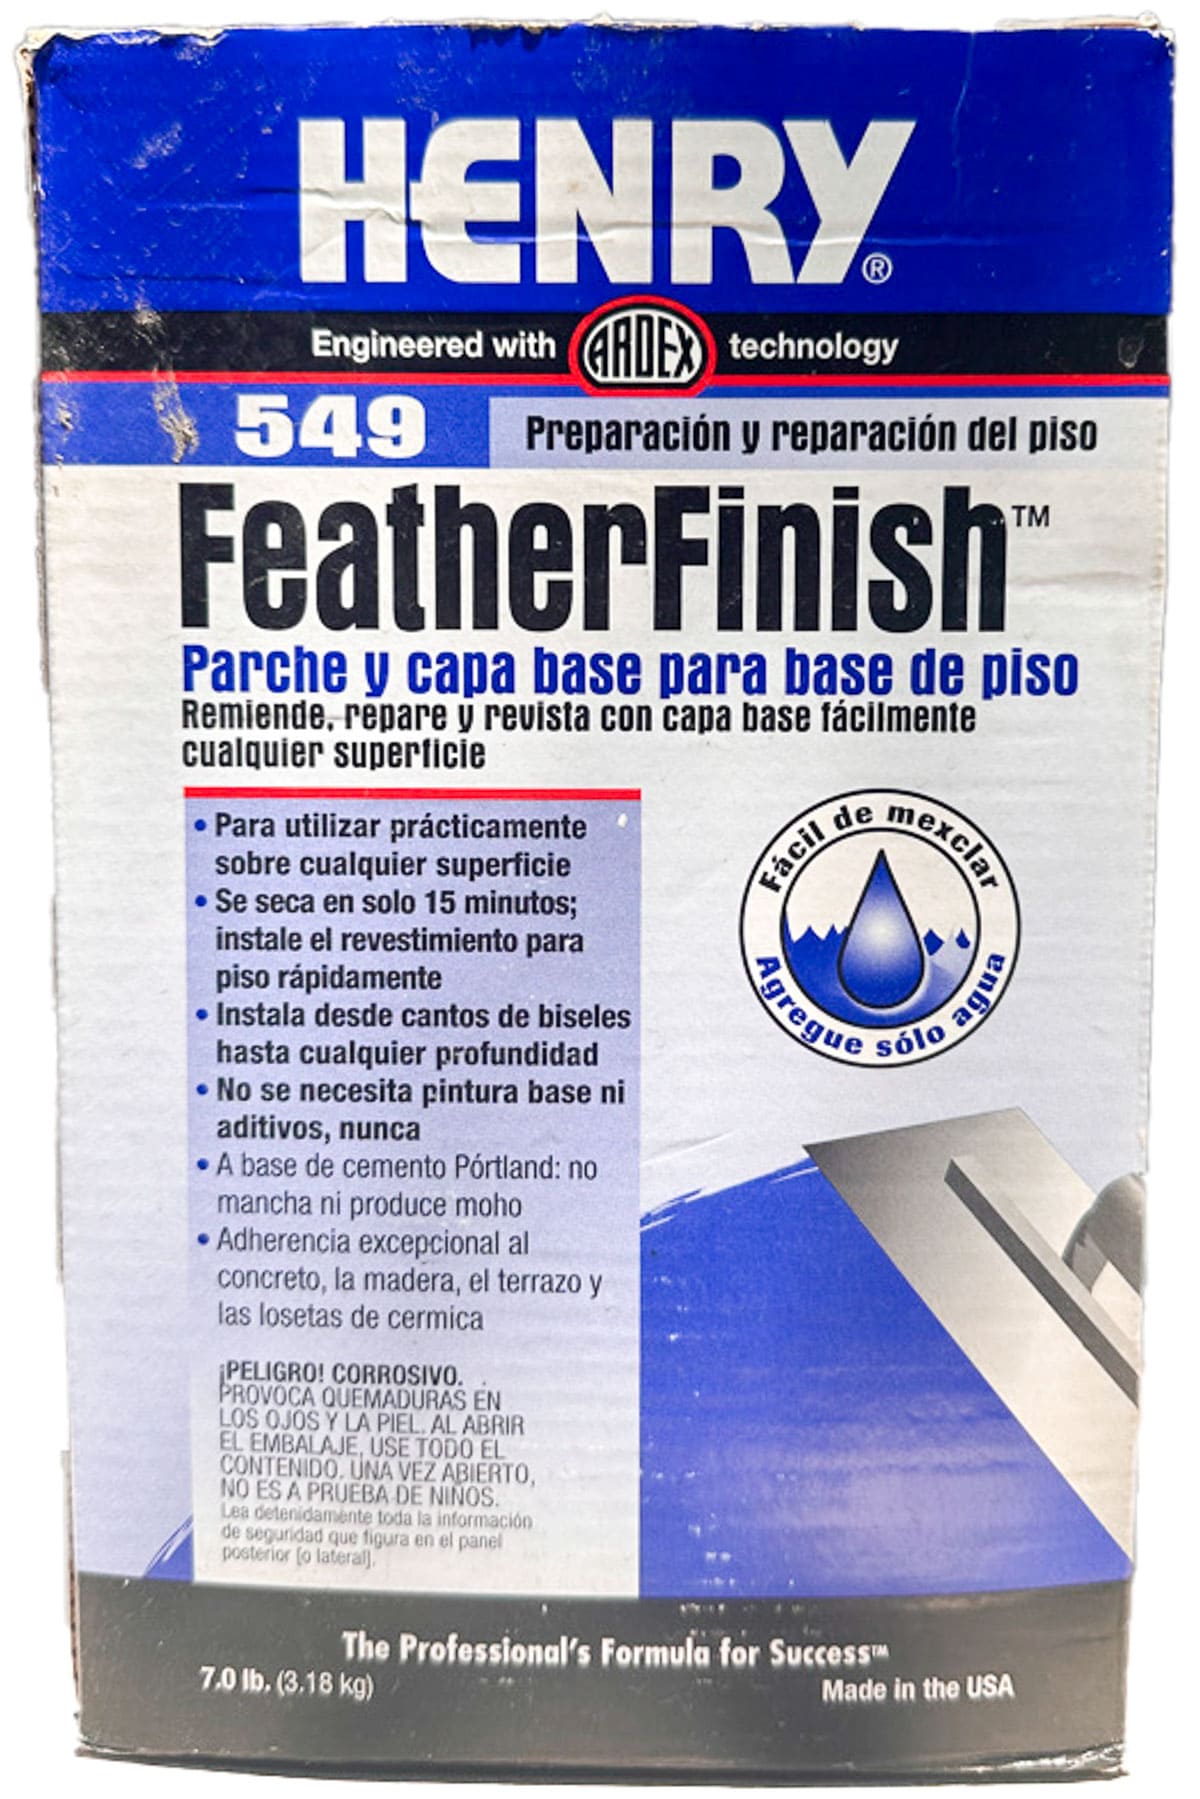
By using this Henry’s FeatherFinish product you will cut down on the drying time by half.
2 Painting the Faux Concrete Planters
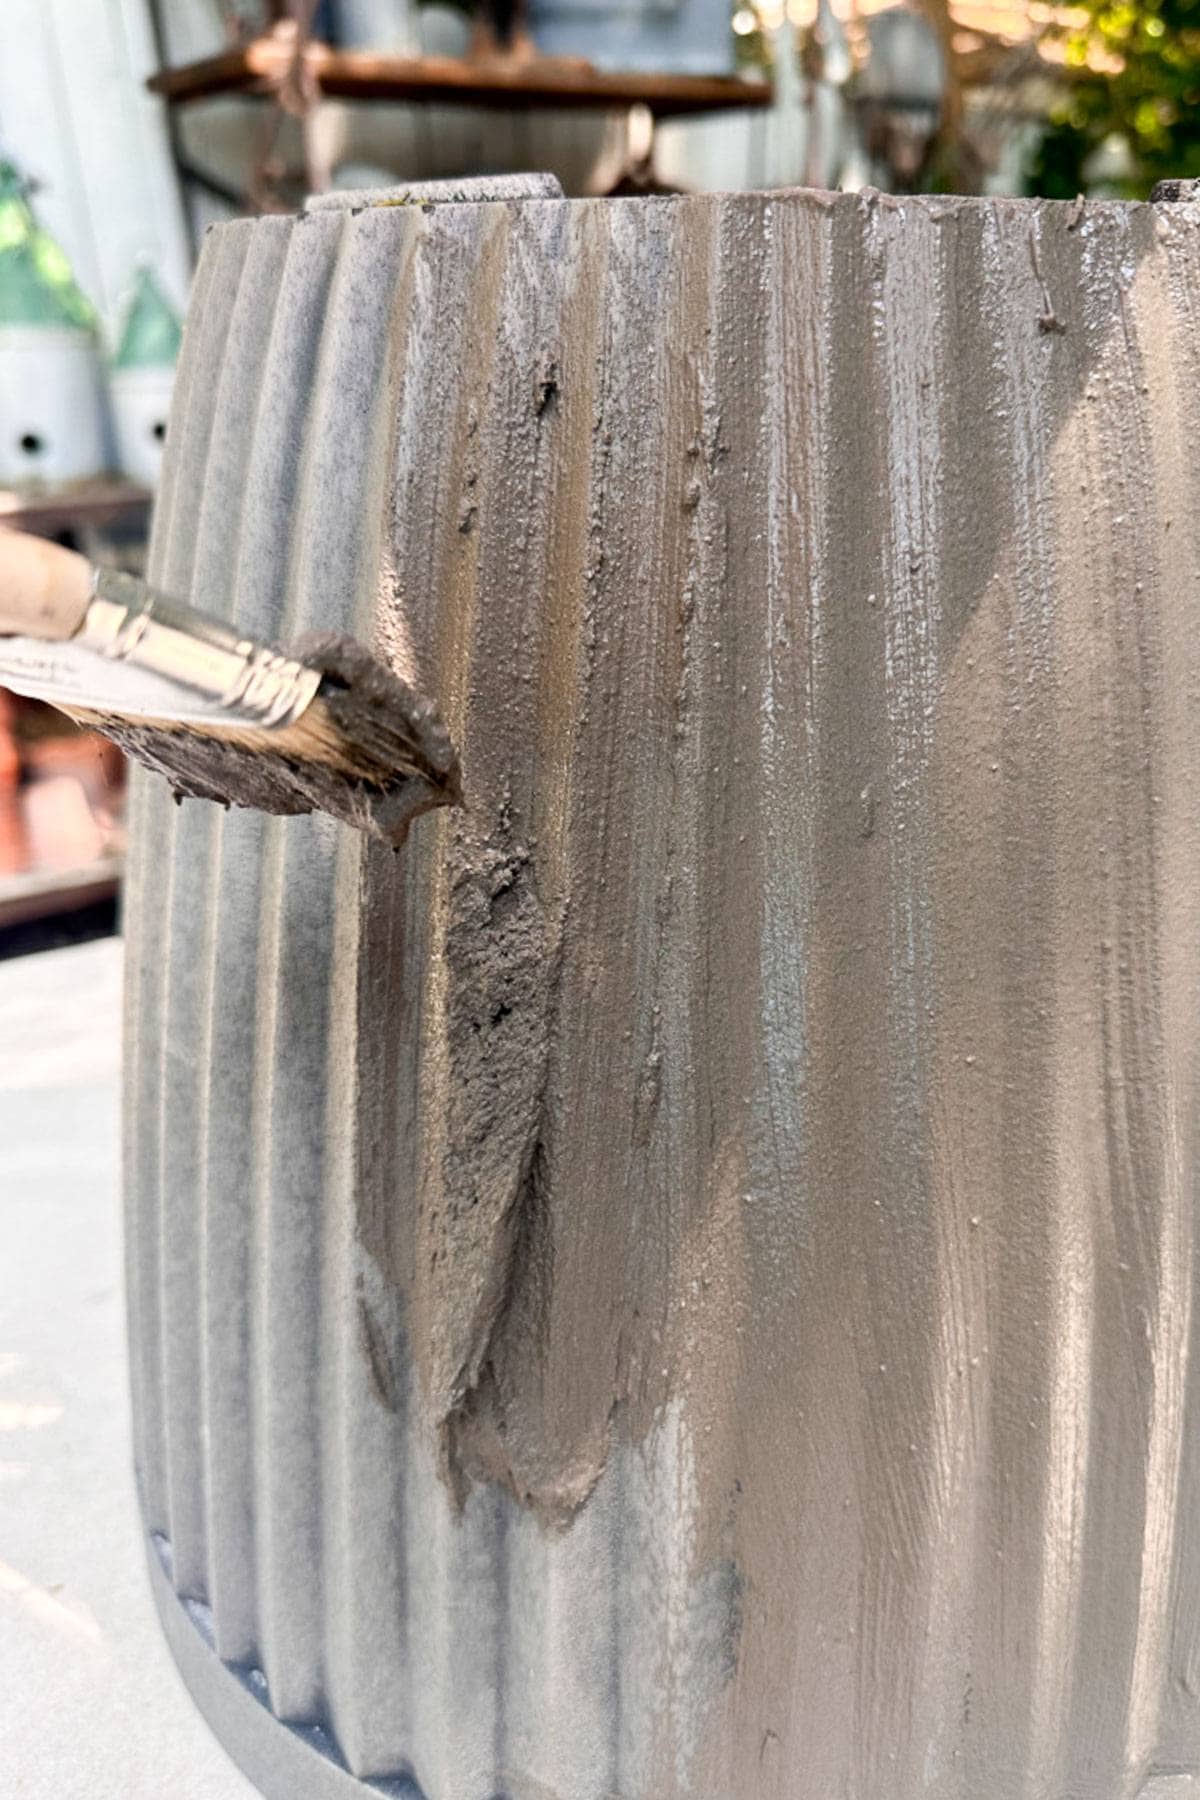
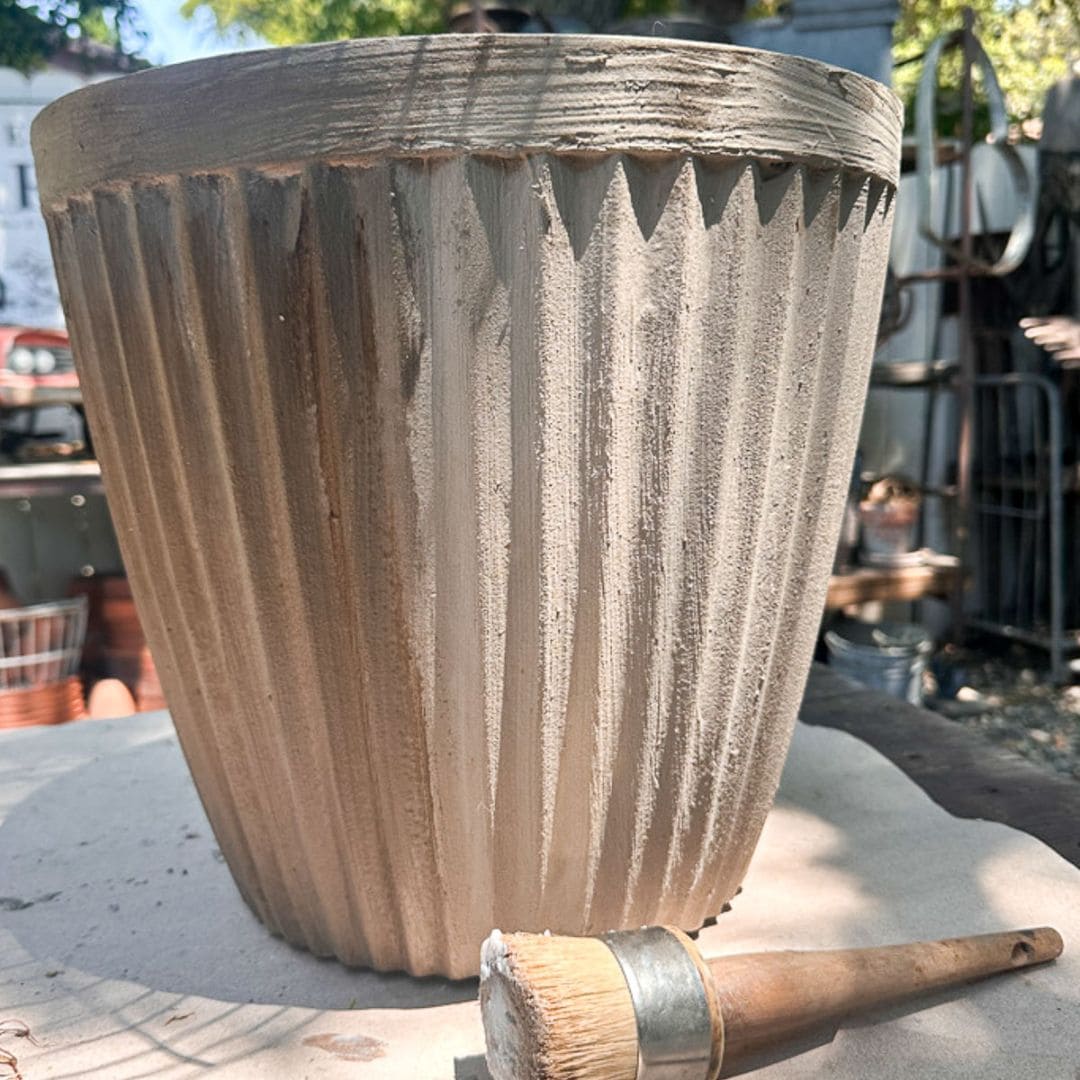
- Apply a small amount of the concrete mixture onto a chip brush and brush it onto the flower pot.
- You can add a small amount of peat moss if you want more texture.
- Continue until you have finished an entire first coat.
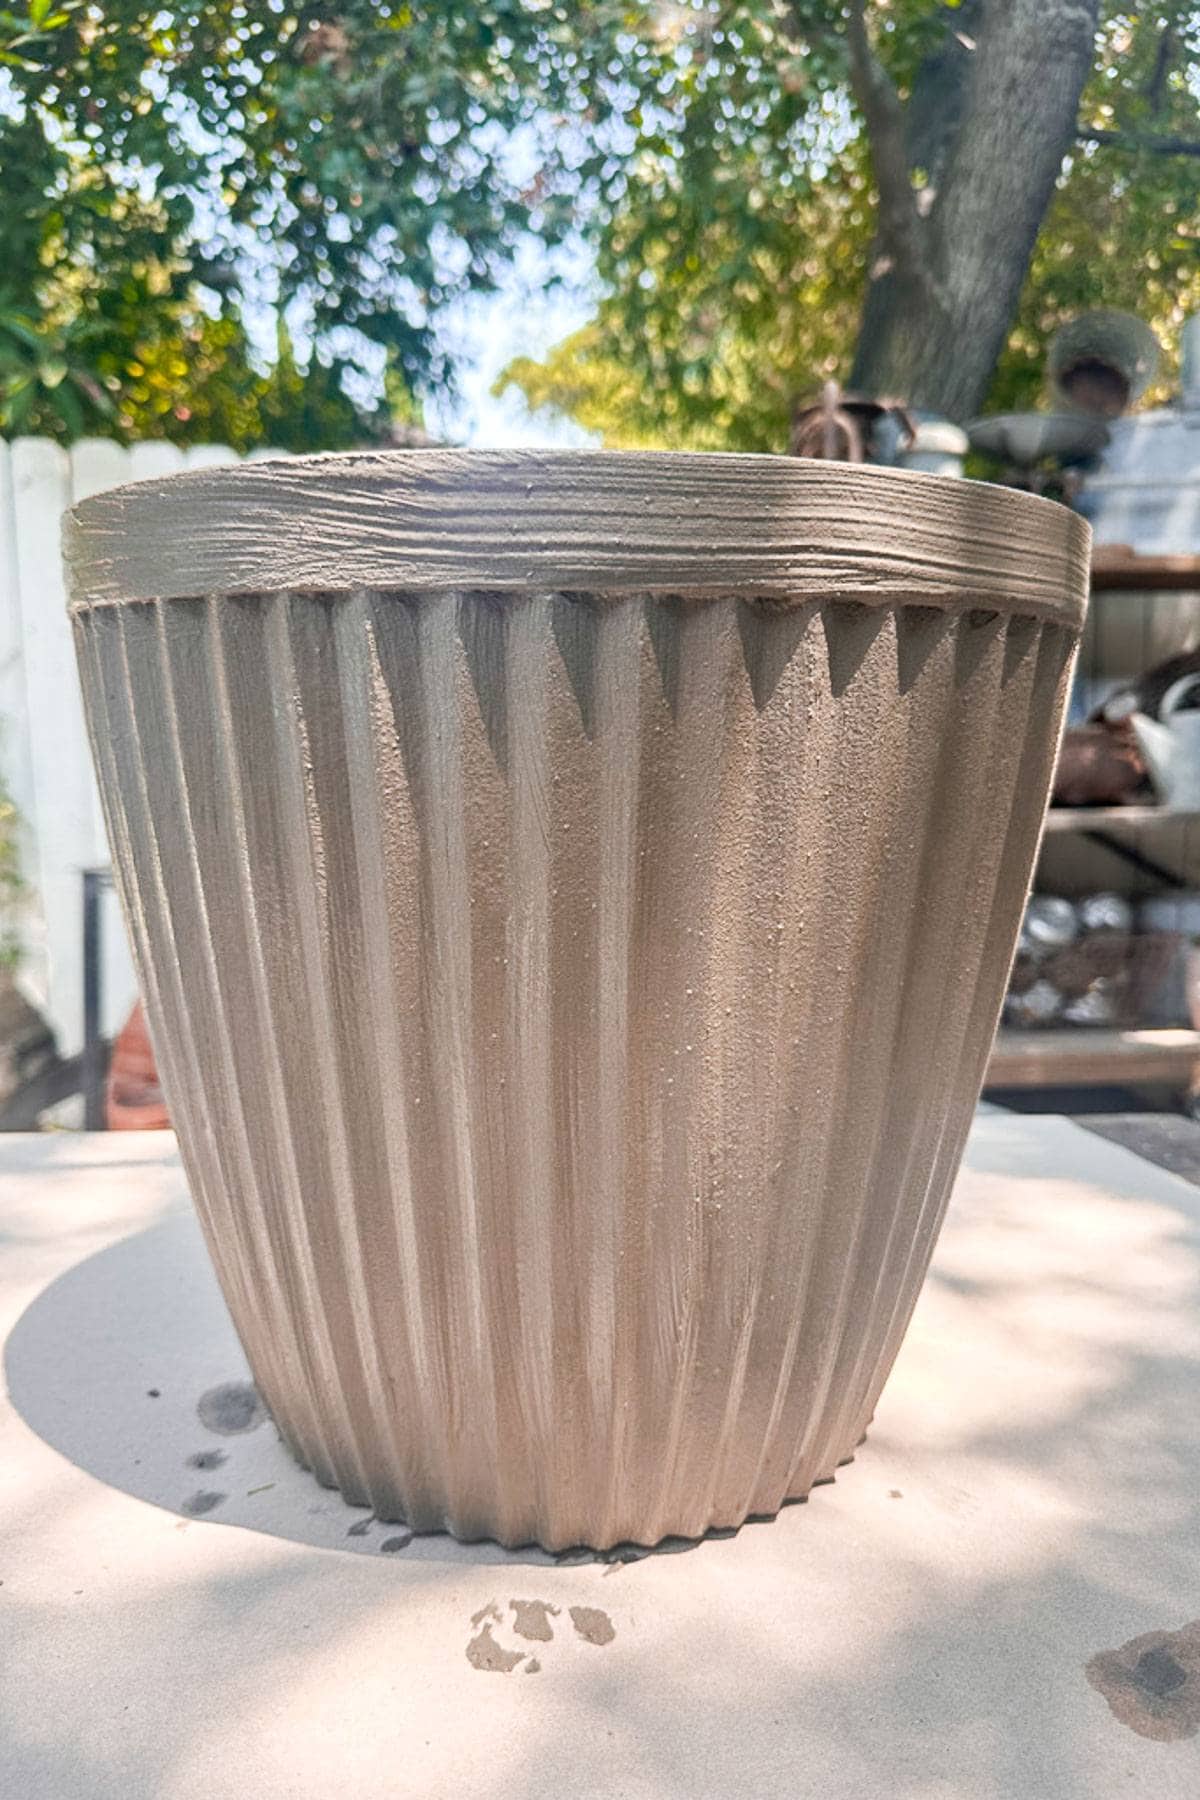
- Follow the concrete cure time directions and allow it to dry.
- Apply a second coat and allow it to dry for a full day.
- For a smoother finish, you can use an electric sander to smooth the concrete.
3. Apply a Sealant Coating with Furniture Wax
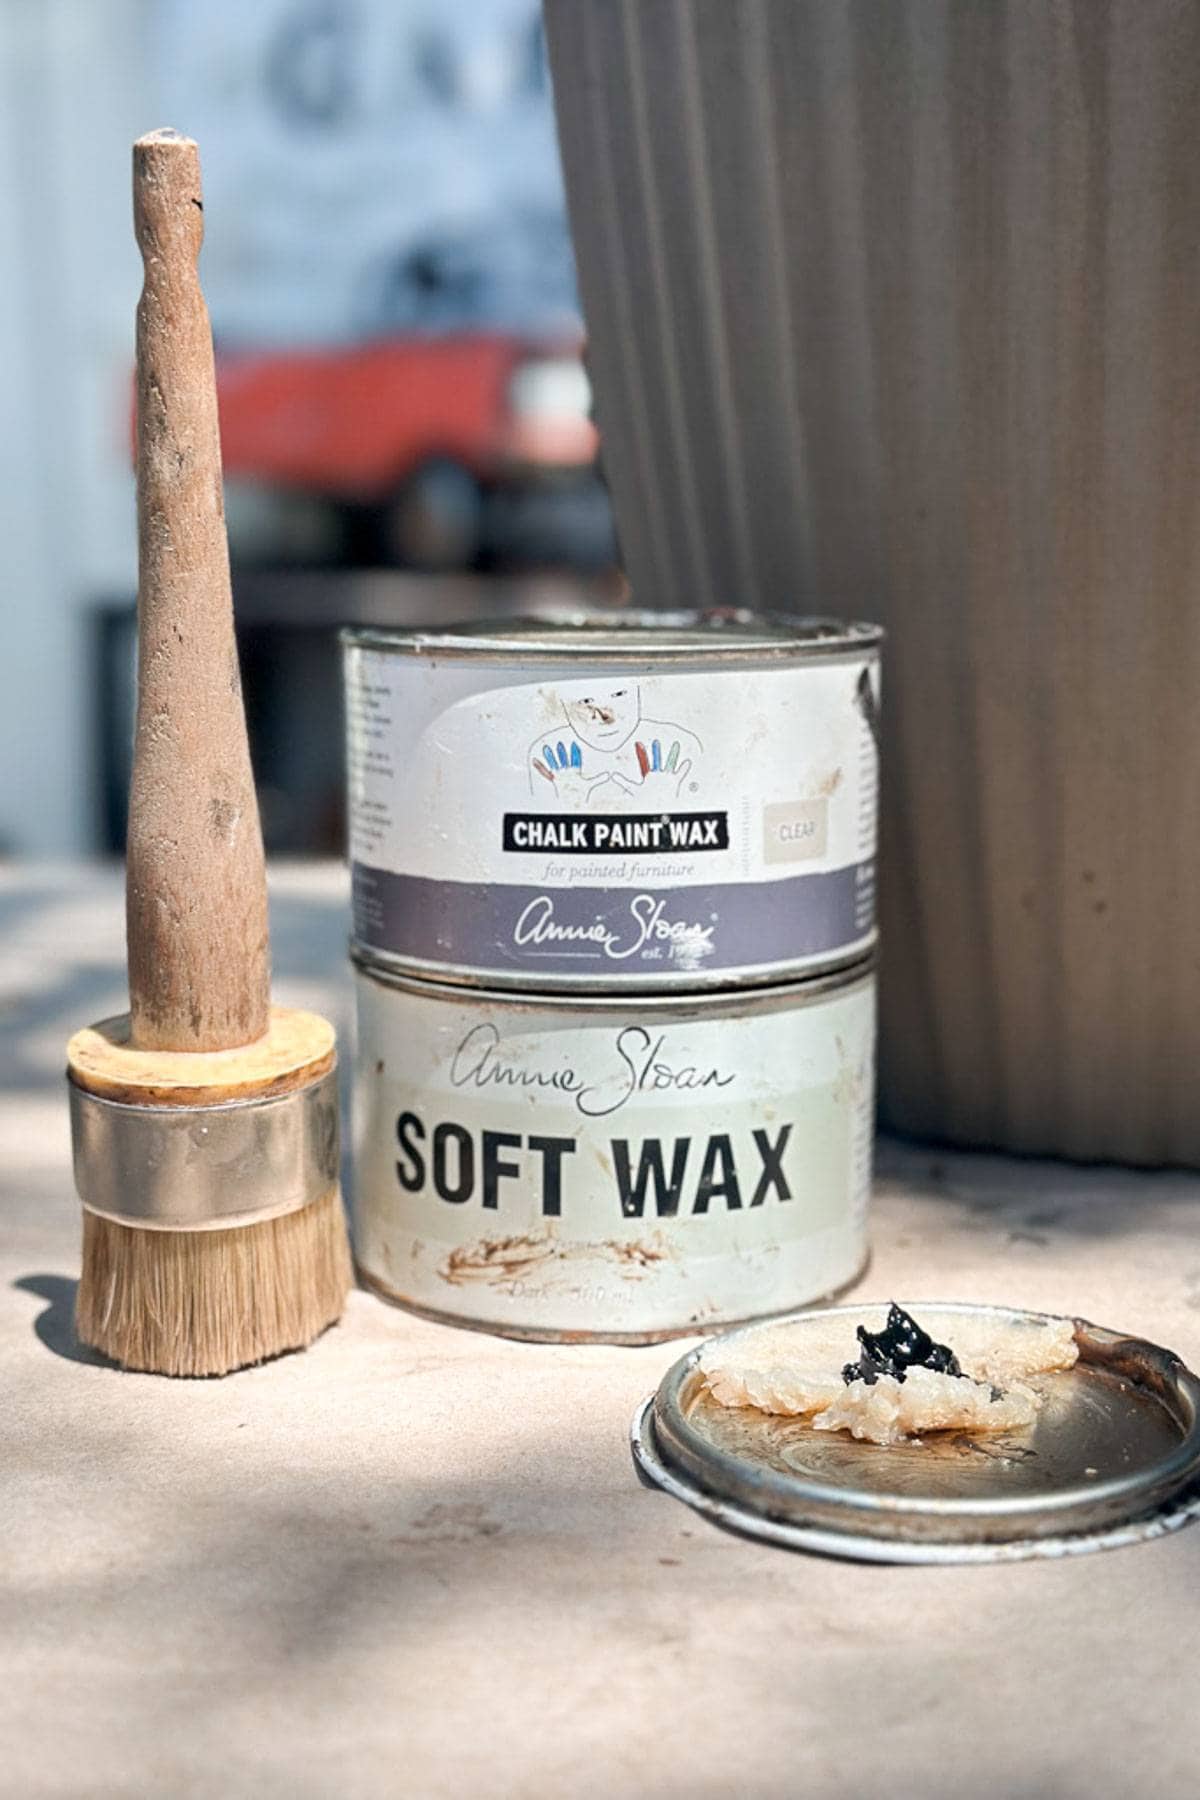
Adding a coat of furniture wax protects the flower pot and adds a layer of texture.
- Start by applying a layer of clear wax.
- Slowly add some dark wax with the clear wax to contour and define your concrete projects.
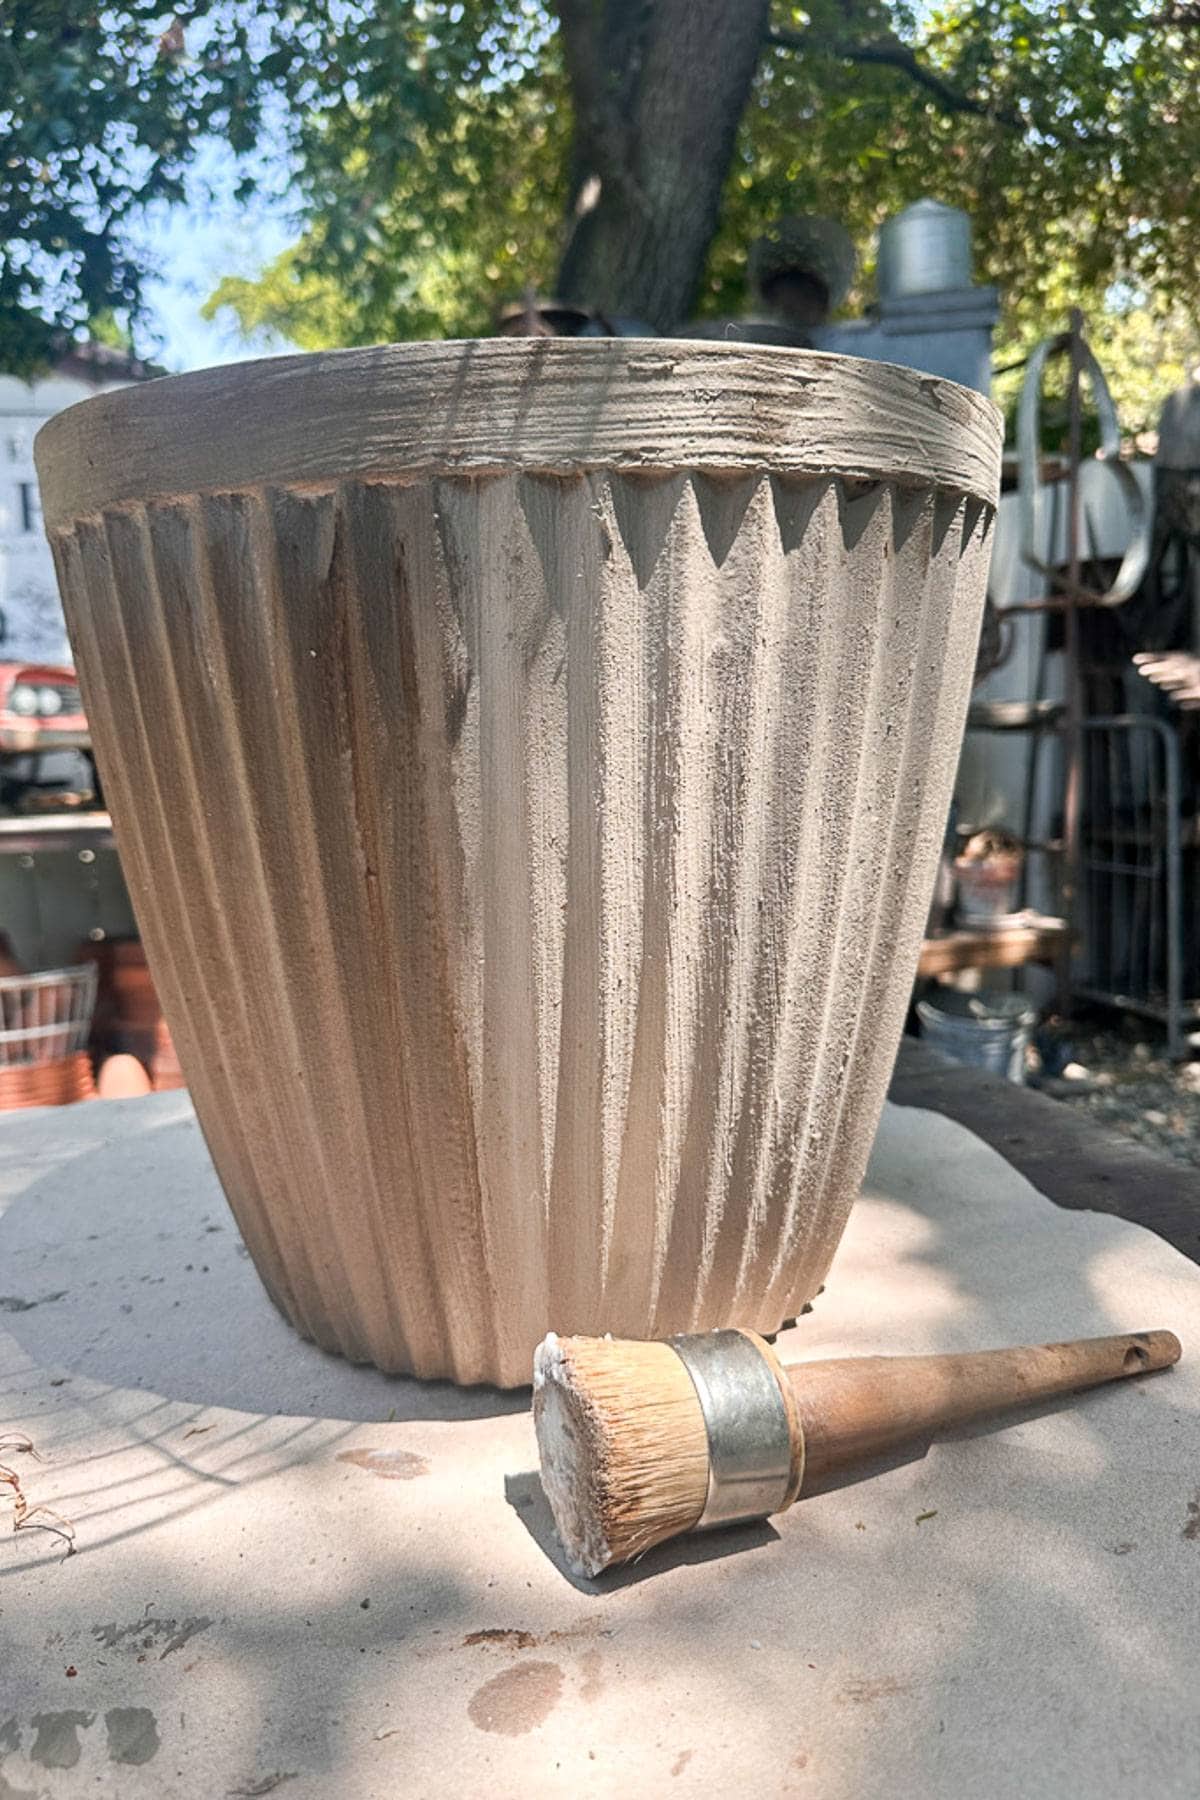
- Use paper towel to wipe off any access wax or to spread some of the wax.
- Allow the wax to dry in a cool place.
Preparing your Fluted Concrete Planter for Planting
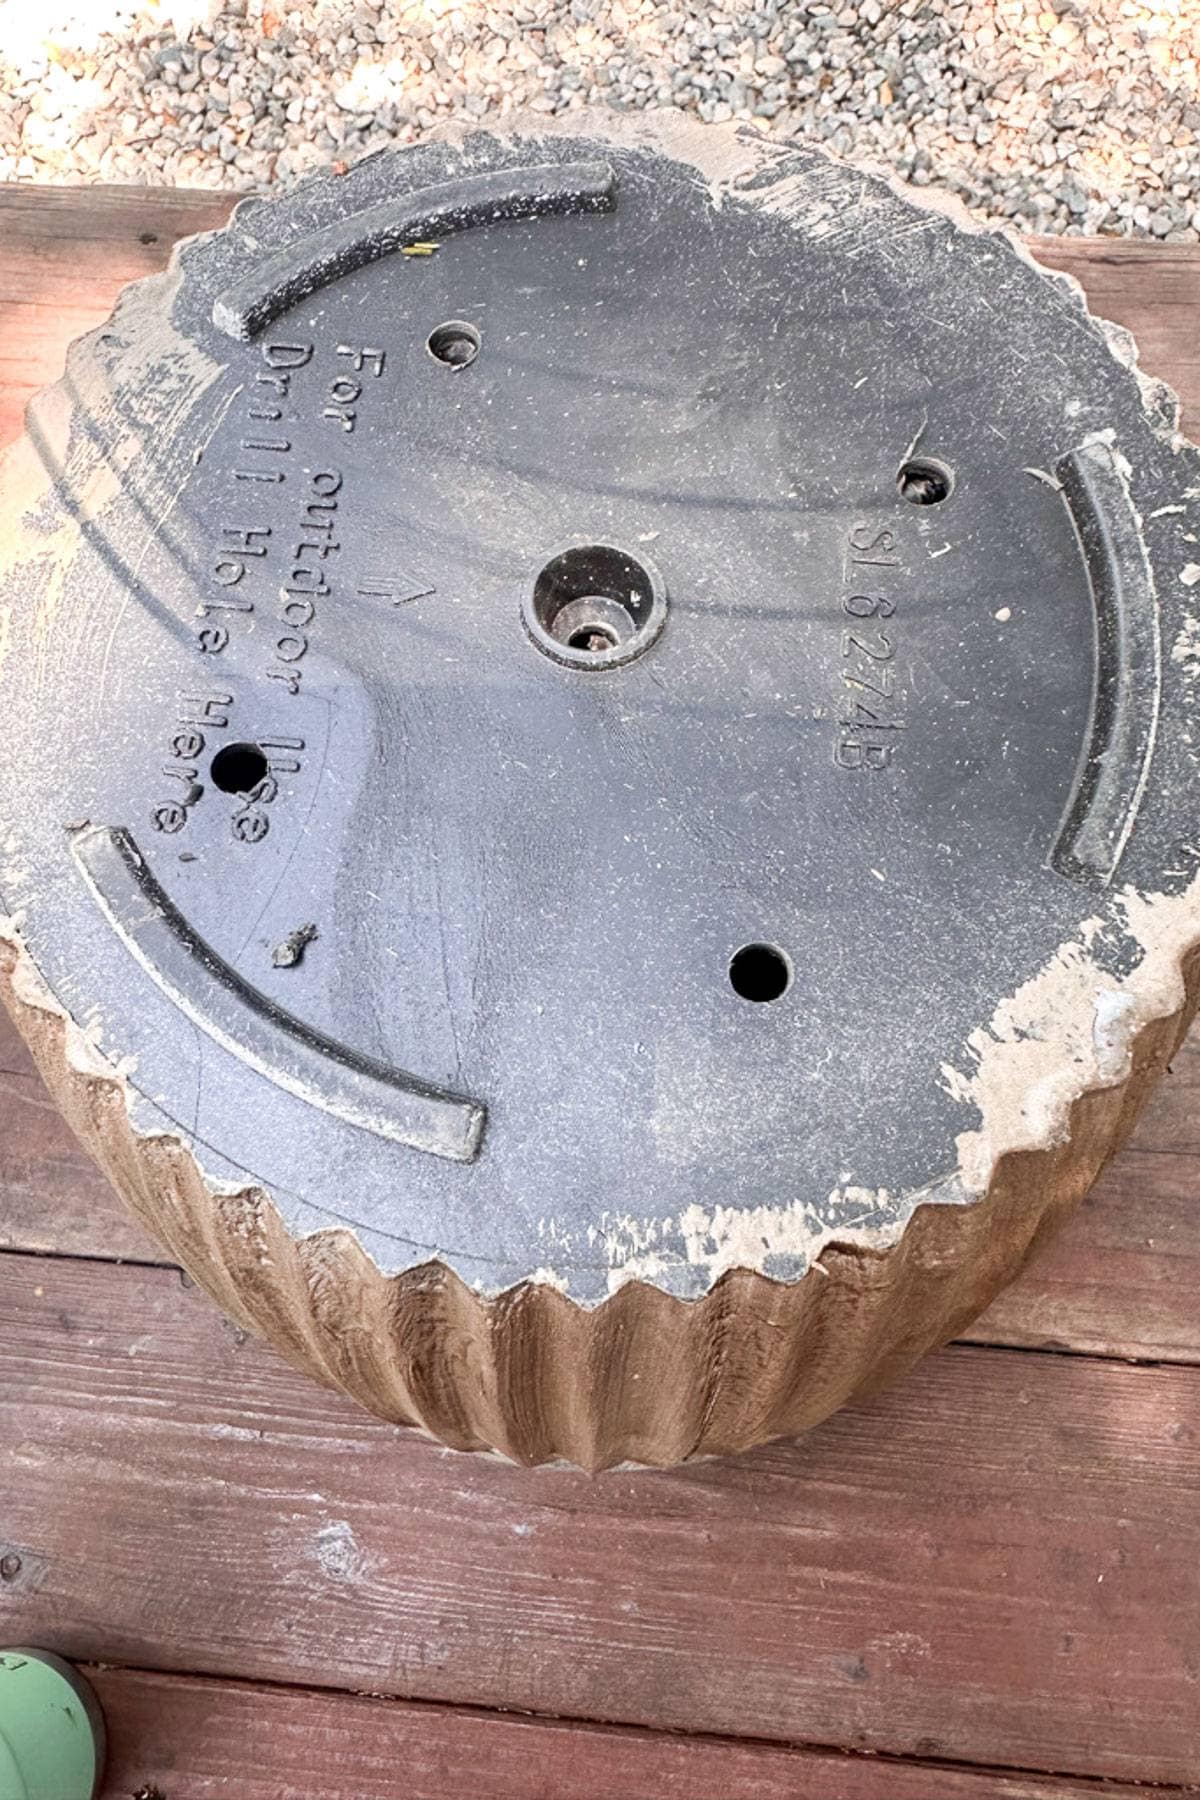
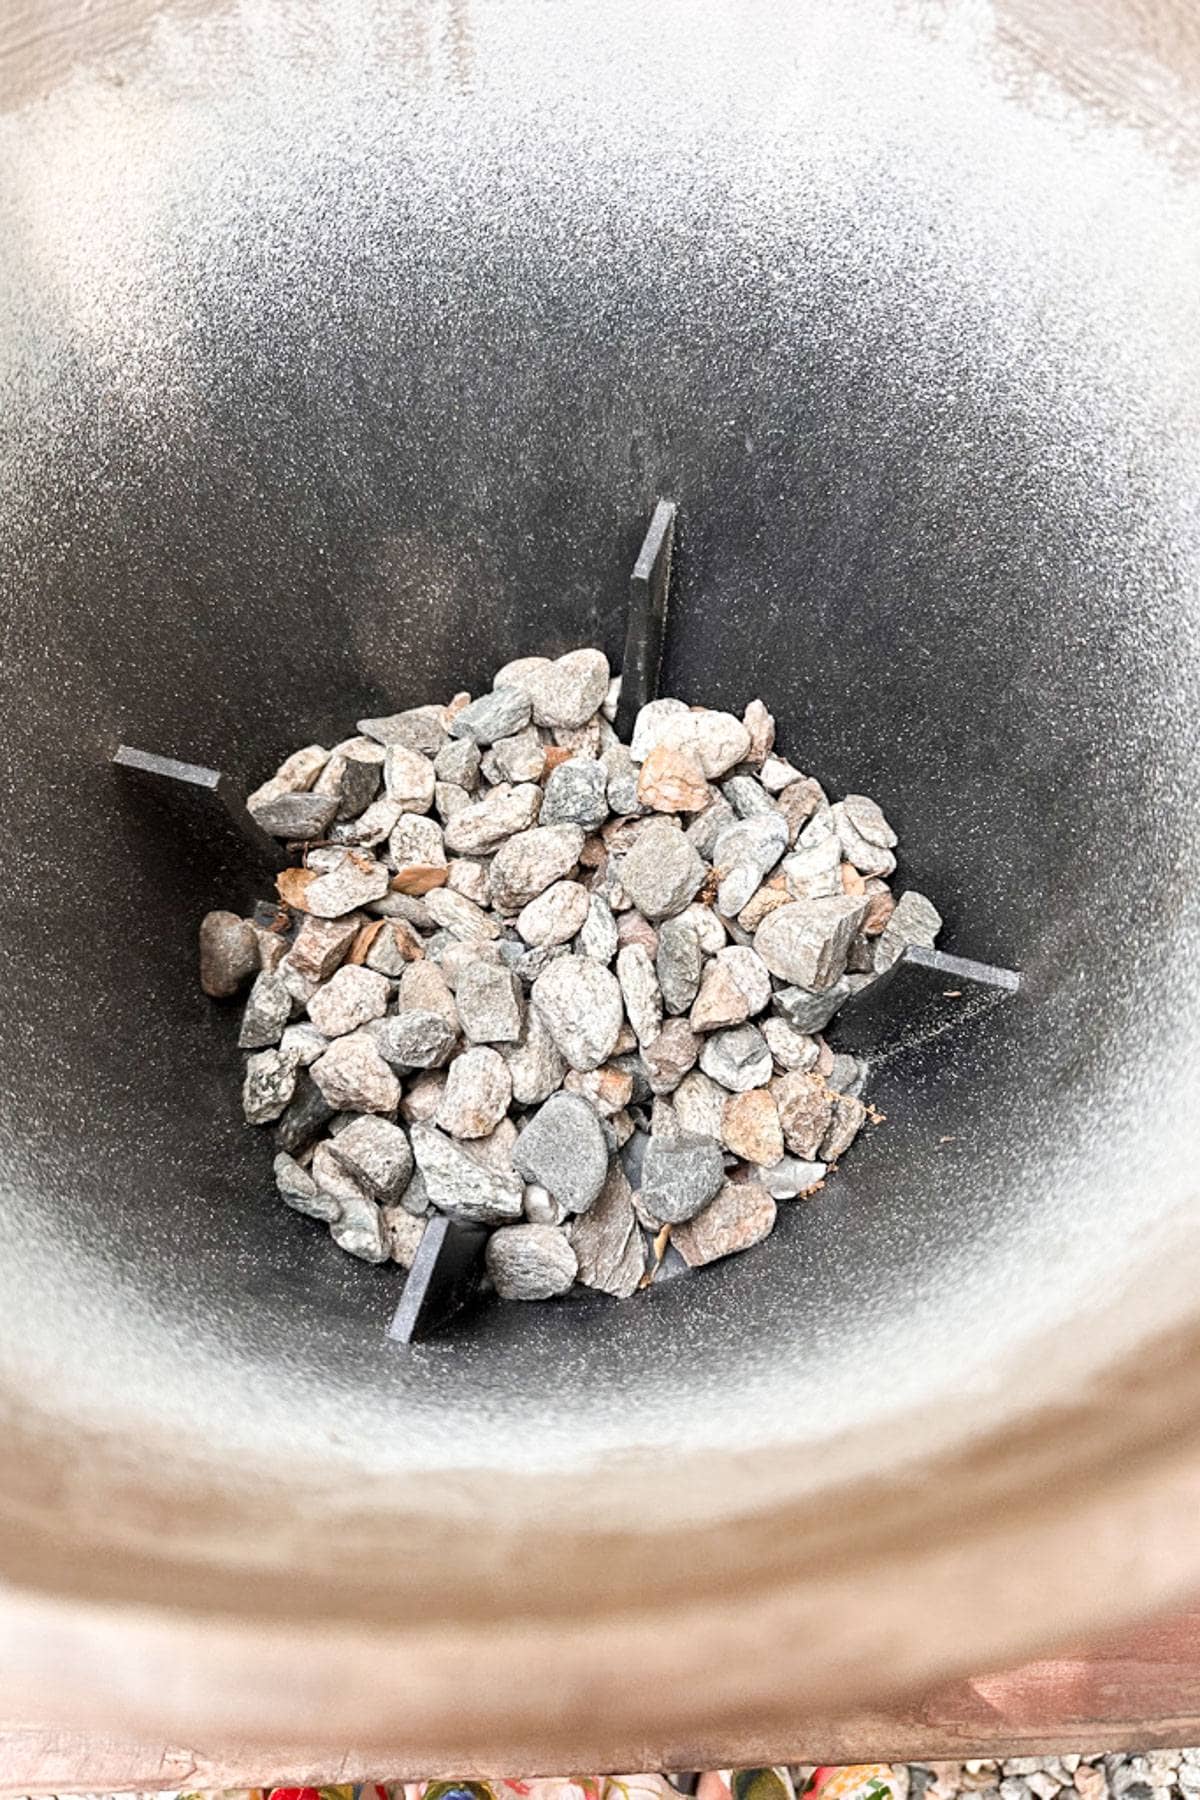
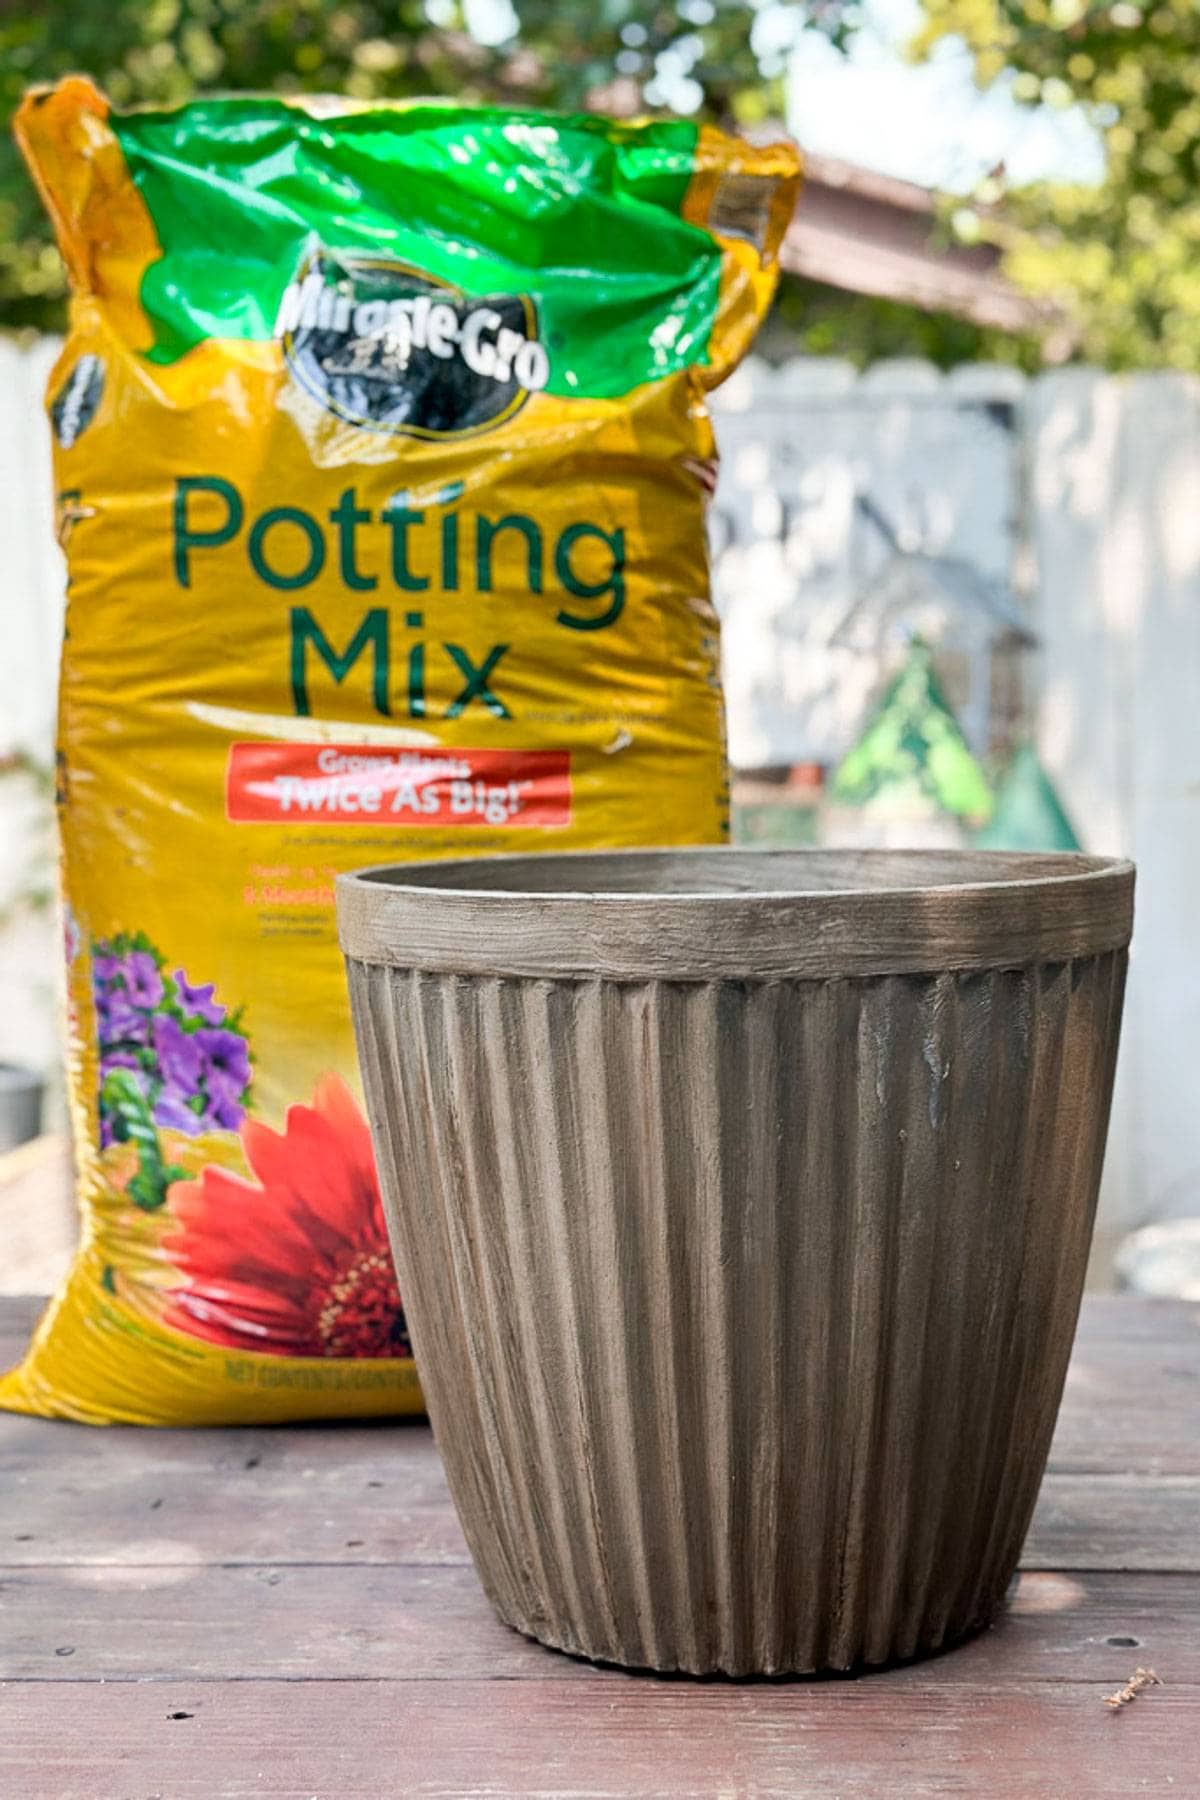
- Prepare the modern concrete planter by adding a drainage hole. You can do this by using a drill bit suitablefor plastic and drilling a few holes in the bottom of the planter.
- It’s a good idea to add a layer of rock for drainage.
- Add potting soil to prepare for planting.
Tip from wendy’s craft room:
Be sure to use plants that vary in height, color, and texture for the best results.
Planting your DIY Cement Planter

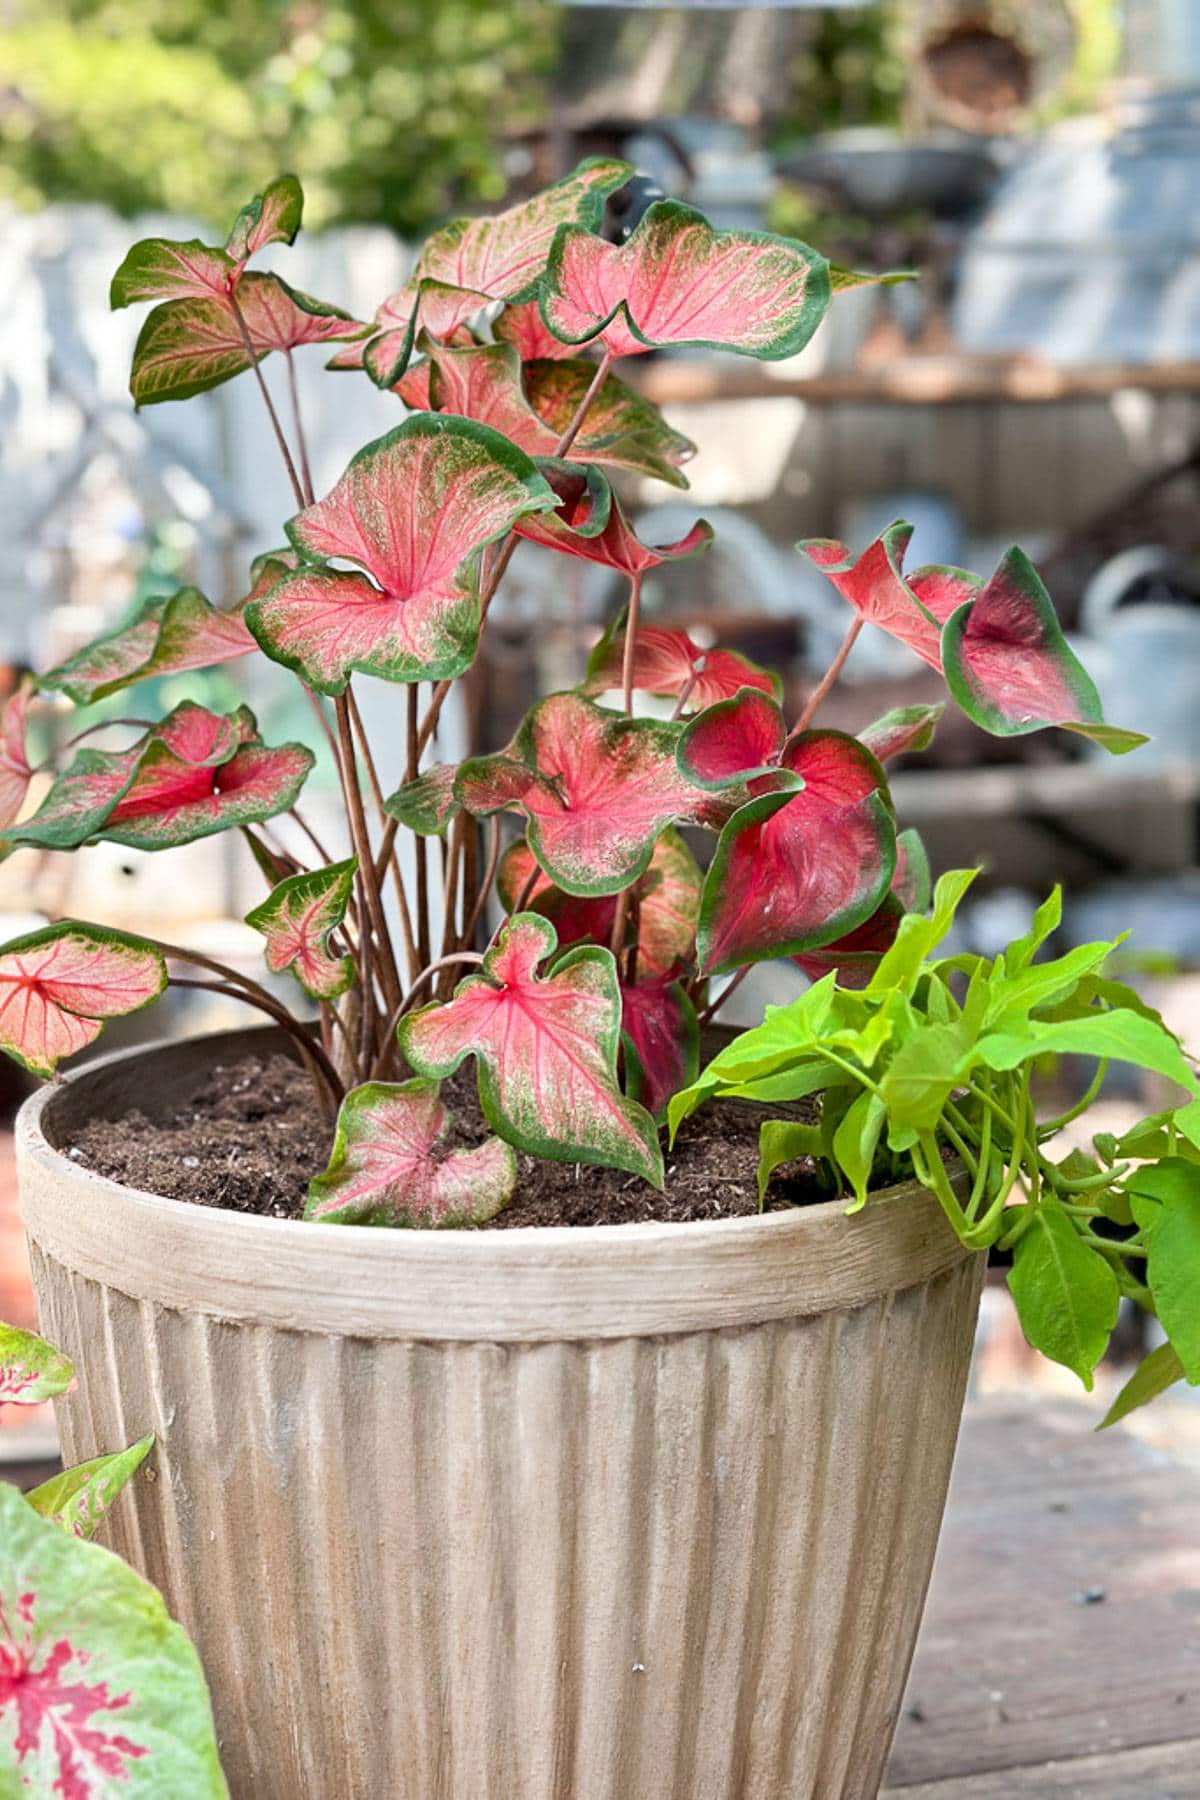
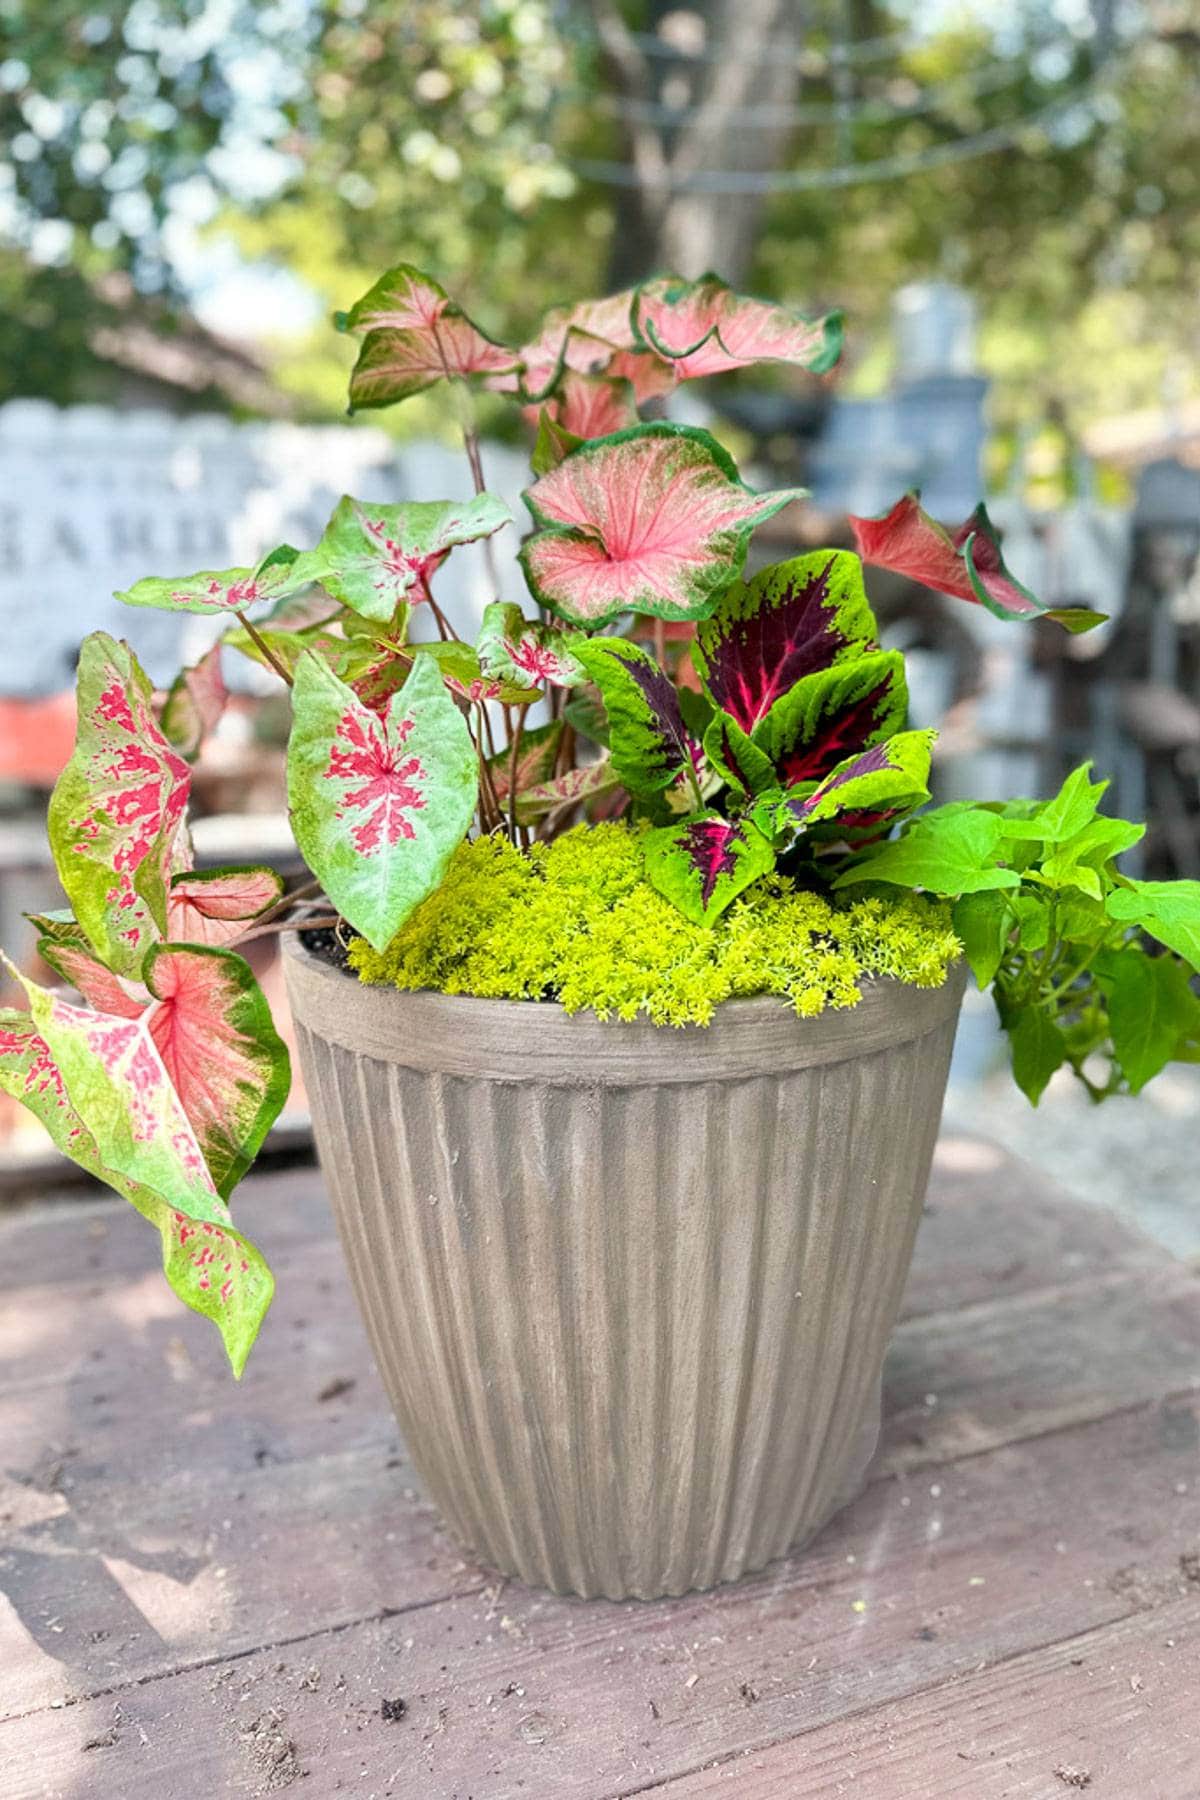
- Choose plants with a variety of colors and heights.
- Plant the taller plants in the back and the shorter plants in the front.
- Be sure to think about texture, height and color as you plant.
Tip from wendy’s garden:
Be sure to loosen the roots of the plants when planting and water directly after planting.
Creating a Self-Watering Planter
- Fill an empty wine bottle with water and insert the neck of the bottle into the soil.
- The water will slowly seep into the planter and create a self-watering planter.
- Be sure to check the bottle every few days and refill with water.

Cost Comparison
If you were to purchase one of the largest pots directly from Pottery Barn, you would pay approximately $200 for the flower pot alone.
By doing this myself, I spent under $100 for the entire pot and plants.
DIY Cement Planter
DIY Cement Planter: Pottery Barn Fluted Flower Pot Dupe
Materials
- Chip brushes
- One plastic large planter fluted flower pot
- Henry’s featherweight concrete
- Clear wax
- Dark wax
- Potting soil
- Plants
- Small container to mix your cement in
- Paper towels
- Garden trowel
Instructions
Gather your materials
- Gather all your materials from the list above and prepare a workspace.
- Be sure to use heavy paper to cover your work surface.
Mixing the cement mixture
- Use two parts of concrete mixture to one part water in a smaller container.
- The consistency should be like thick mud, so you want to be careful not to add to much water. You can always add more if you want the consistency to be a bit thinner.
Adding Cement to your Fluted Plastic Pot
- Apply a small amount of the concrete mixture onto a chip brush and brush it onto the flower pot.
- You can add a small amount of peat moss if you want more texture.
- Follow the concrete cure time directions and allow it to dry.
- Continue until you have finished an entire first coat.
- Apply a second coat and allow it to dry for a full day.
- For a smoother finish, you can use an electric sander to lightly smooth the concrete.
Apply a sealant coating with furniture wax
- Adding a coat of furniture wax protects the flower pot and adds a layer of texture.
- Start by applying a layer of clear wax.
- Slowly add dark wax with the clear wax to contour and define your concrete projects.
- Use paper towel to wipe off any access wax or to spread some of the wax
- Allow the wax to dry in a cool place.
- Planting your Fluted Concrete Planter
Prepare the Planter and Planting
- Prepare the modern concrete planter by adding a drainage hole. You can do this using a particular drill bit for plastic and drilling a few holes in the bottom of the planter.
- It's a good idea to add a layer of rock for drainage.
- Add potting soil to prepare for planting.
- Choose plants with a variety of colors and heights.
- Plant the taller plants in the back and the shorter plants in the front.
How to Style/Decorate your Newly Planted Cement Planter
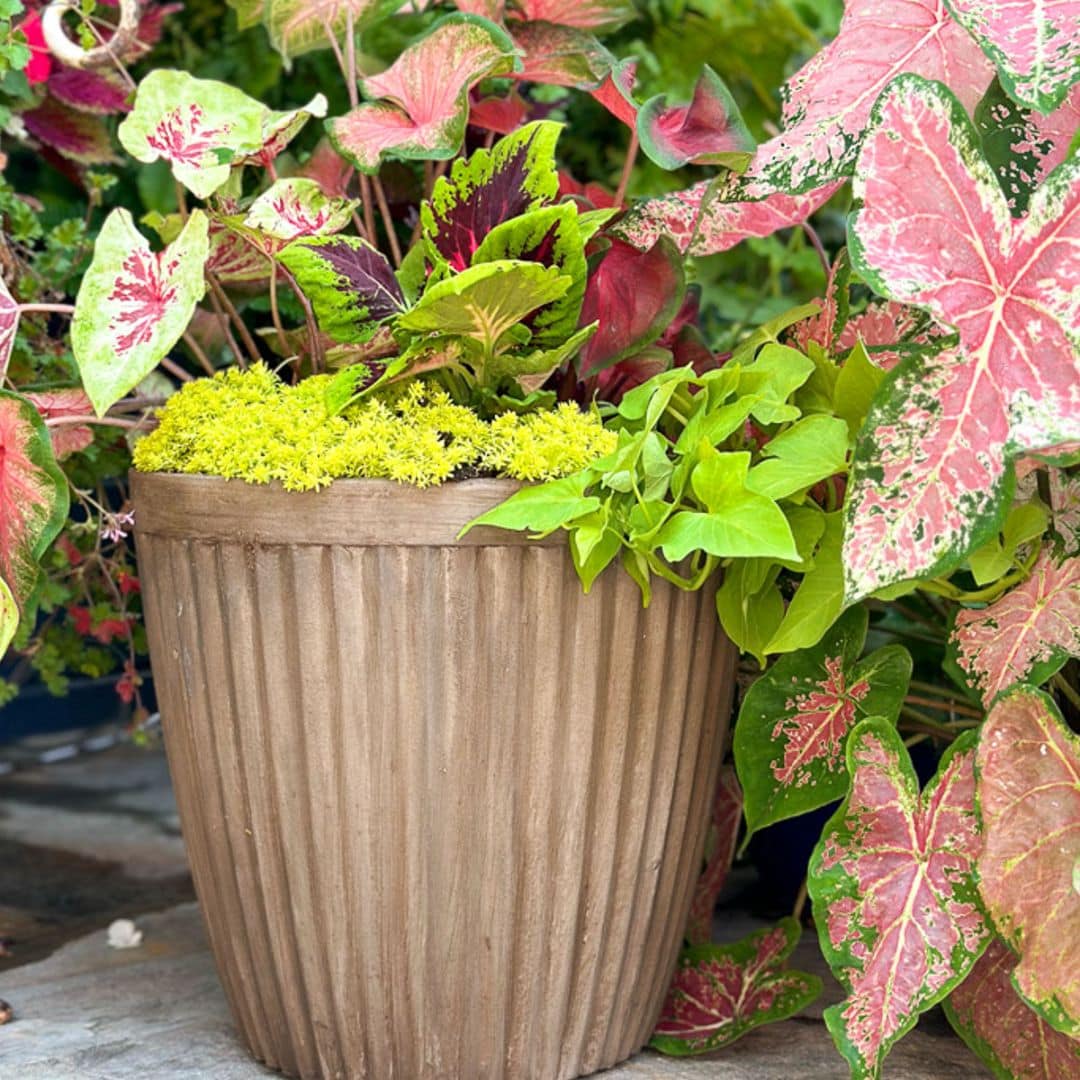
There are so many creative ways to display these large planters. Please place this pot alongside other pots in the garden, using plants suitable for the specific conditions of your garden space.
You can put a few of these pots together for a grouping and create a visual statement on your front porch.
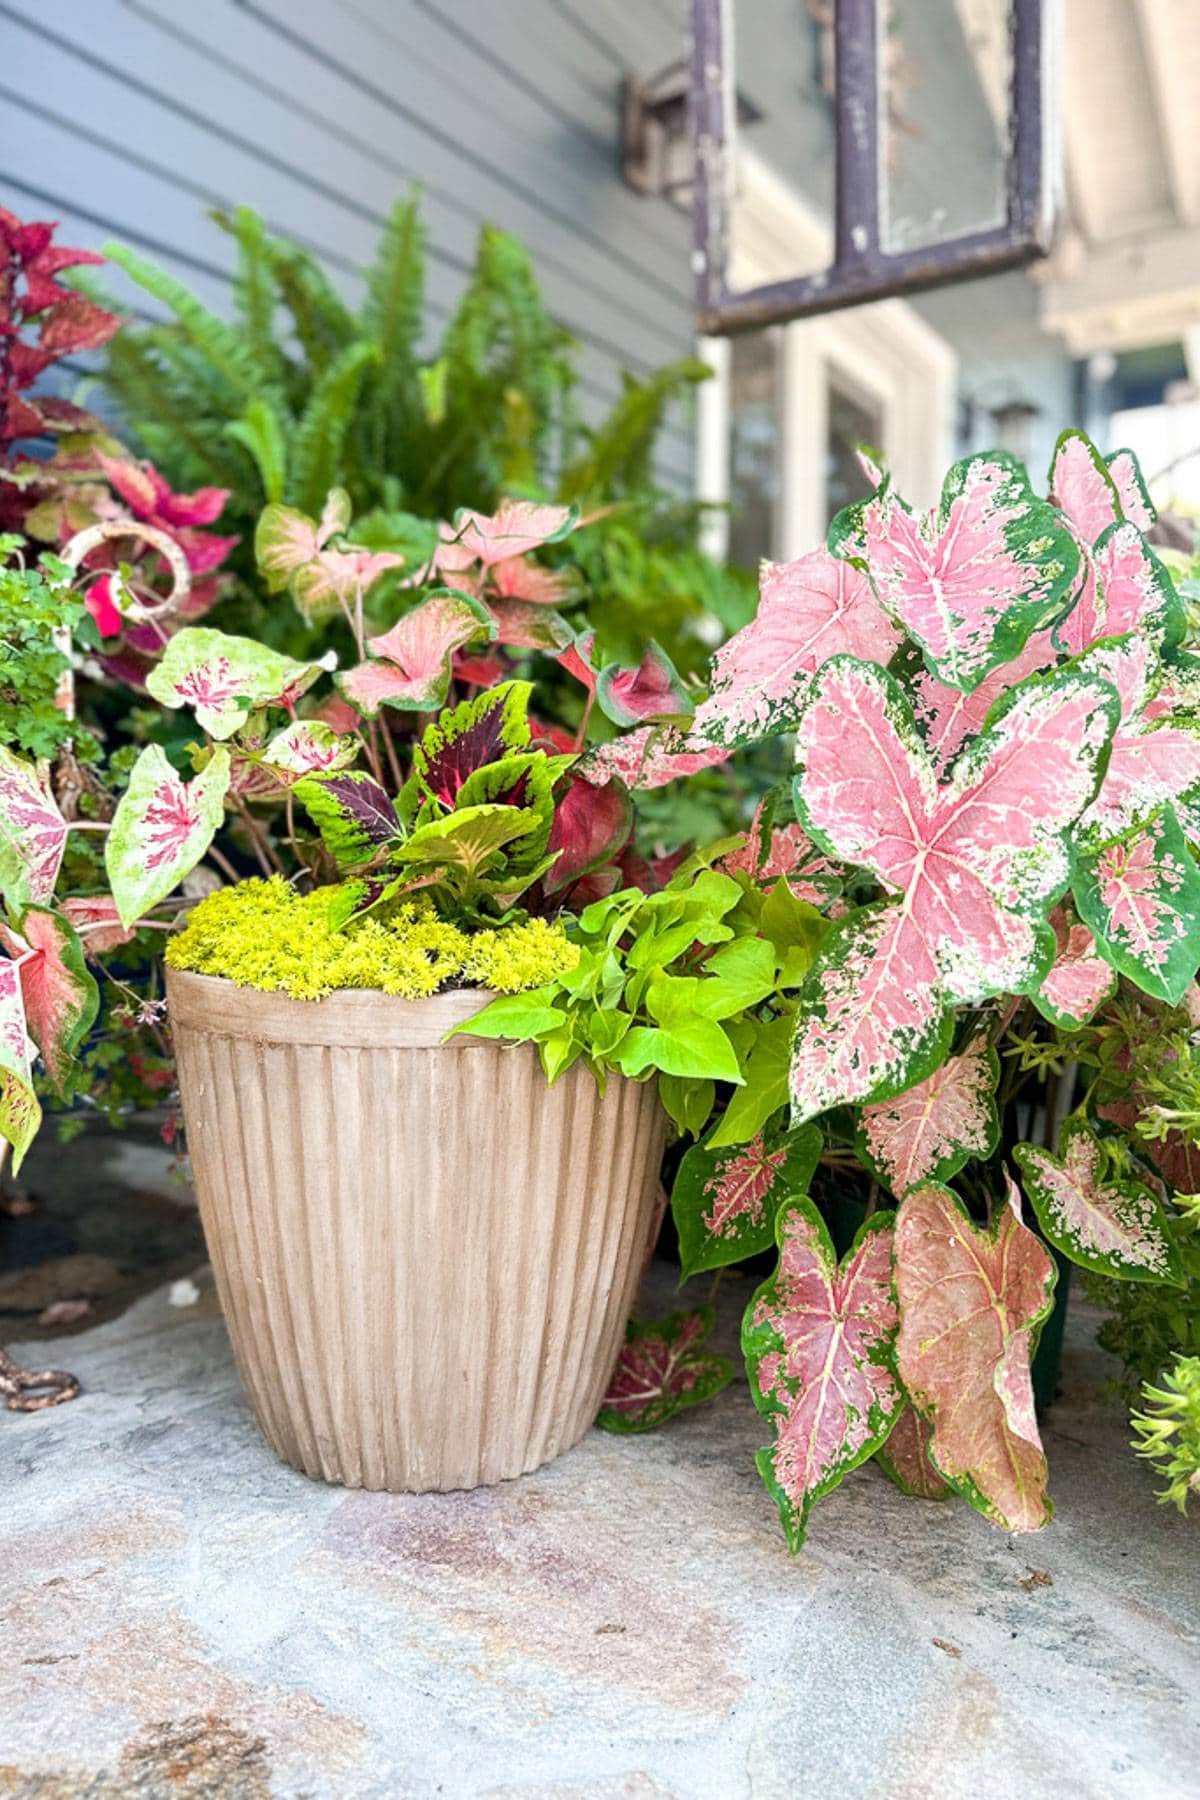
Tip from wendy’s garden:
Ensure you choose plants that match the conditions where the pot will be placed. Use full sun plants for pots that will be exposed to direct sunlight, and select shade plants for pots that will be in shaded areas.

Other Tutorials from WM Design House
If you love this DIY cement planter, you might also enjoy some of my other favorite [projects]:
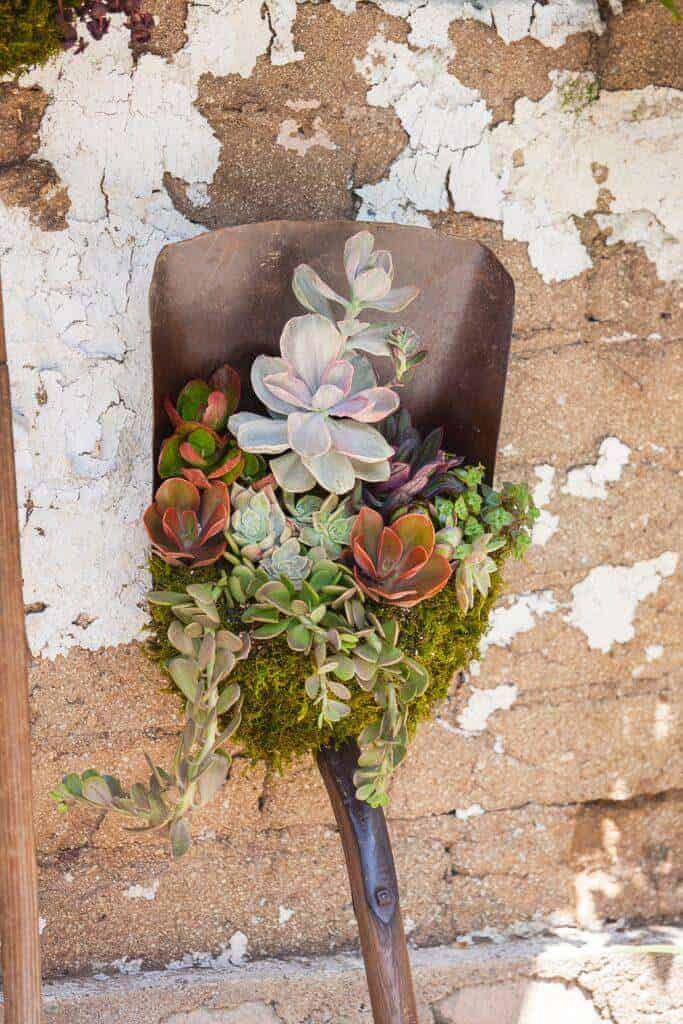
How to Repurpose Old Tools into Succulent Planters
Learn how to turn old garden tools into the most beautiful planters
Write an closing paragraph here with a summary or your project.


Did you make this craft?
We would love to see what you have created, so mention us @wmdesignhouse or tag us using #wmdesignhouse so we can see your creations!
More about me!

Hello, I’m Wendy – a dedicated homemaker with a deep passion for decorating, gardening, cooking, and crafting. I find joy in harmonizing beautiful elements to fashion a space that is both comfortable and inspiring. I will help you create a beautiful home, one project at a time.


You always amaze me! Beautiful job!
Impressive Wendy! Large planters can be so pricey; thanks for sharing your PB dupe. from Silverado party #99
They definitely can be, Linda. I love a good dupe and saving money whenever I can. Why pay more for something I can make myself?
This came out great Wendy. It’s so much more practical as a container moving it around easily since it’s plastic internally! Genius my friend. Have a greater day. XO- MaryJo
I love a great dupe, Wendy, and this one turned out beautiful. Thanks so much for the inspiration. I’m pinning it!
Wow, Wendy! Your planter looks just like the Pottery Barn version! You did a fantastic job! What a great way to get the PB look on a budget!! Thanks for the great idea!
Your PB dupe planter turned out absolutely gorgeous Wendy! Brilliant project!
Amazing dupe! These are gorgeous! It looks just like the Pottery Barn version! Clever girl!
Hi Wendy – At first I was trying to figure out how you made such a larger planter out of cement. What a clever idea to COAT an existing pot with concrete! Plus, it is much lighter and easier to move than a solid concrete pot. Thanks for sharing info about Henry’s featherweight concrete. I had never heard of that product before. I always learn so much from your posts. Pinned!
WOW! That is a spot on dupe!!! I am so impressed! It is gorgeous — can I order three please, inverting sizes of course. ?
Even your coloration is perfect.
How cool, Wendy!! Your planter turned out SO well! What an amazing way to create something for a fraction of the cost!
Hi Wendy!
I love a great dupe and your planter turned out fabulous! It looks just like the one from Pottery Barn! I never thought of “painting” a cement product onto a planter! I can’t wait to try this sometime! Thanks for the inspiration!