
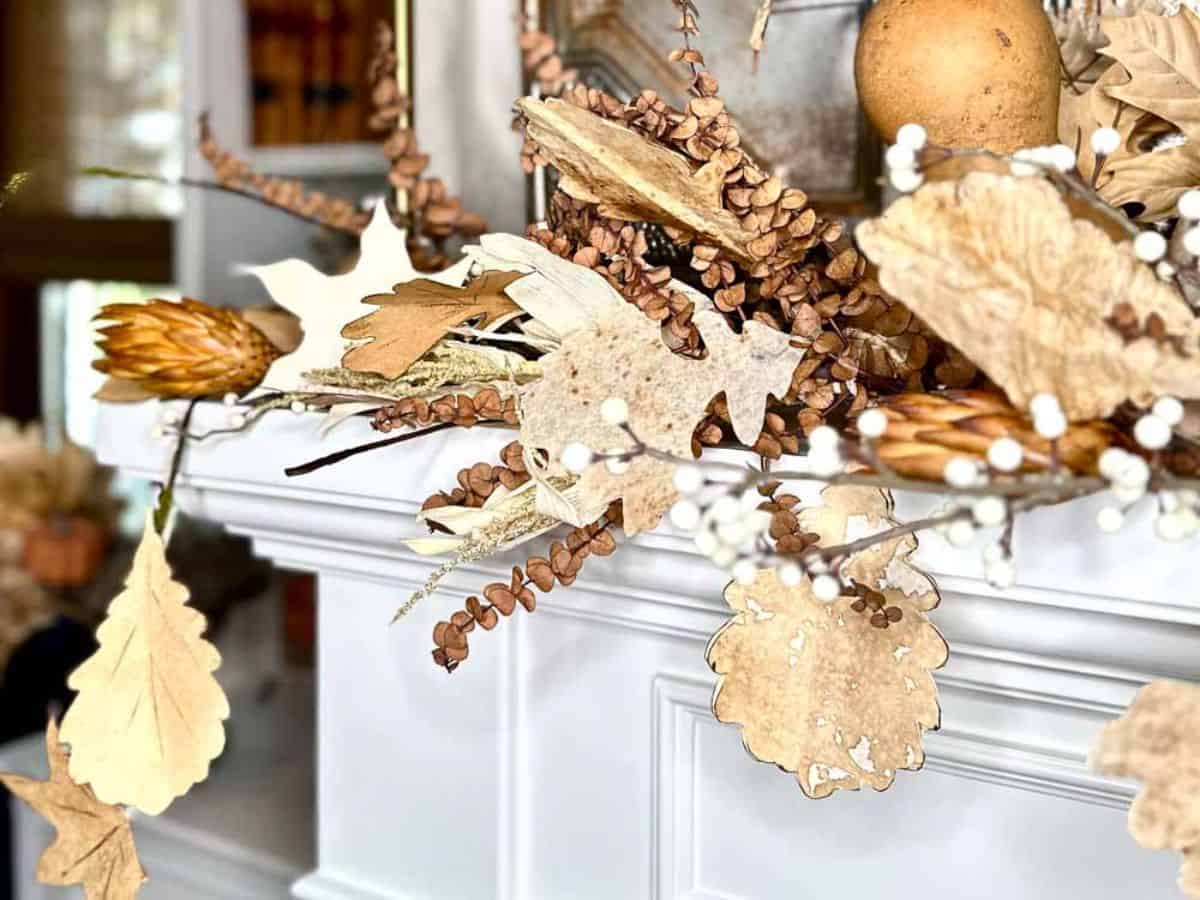
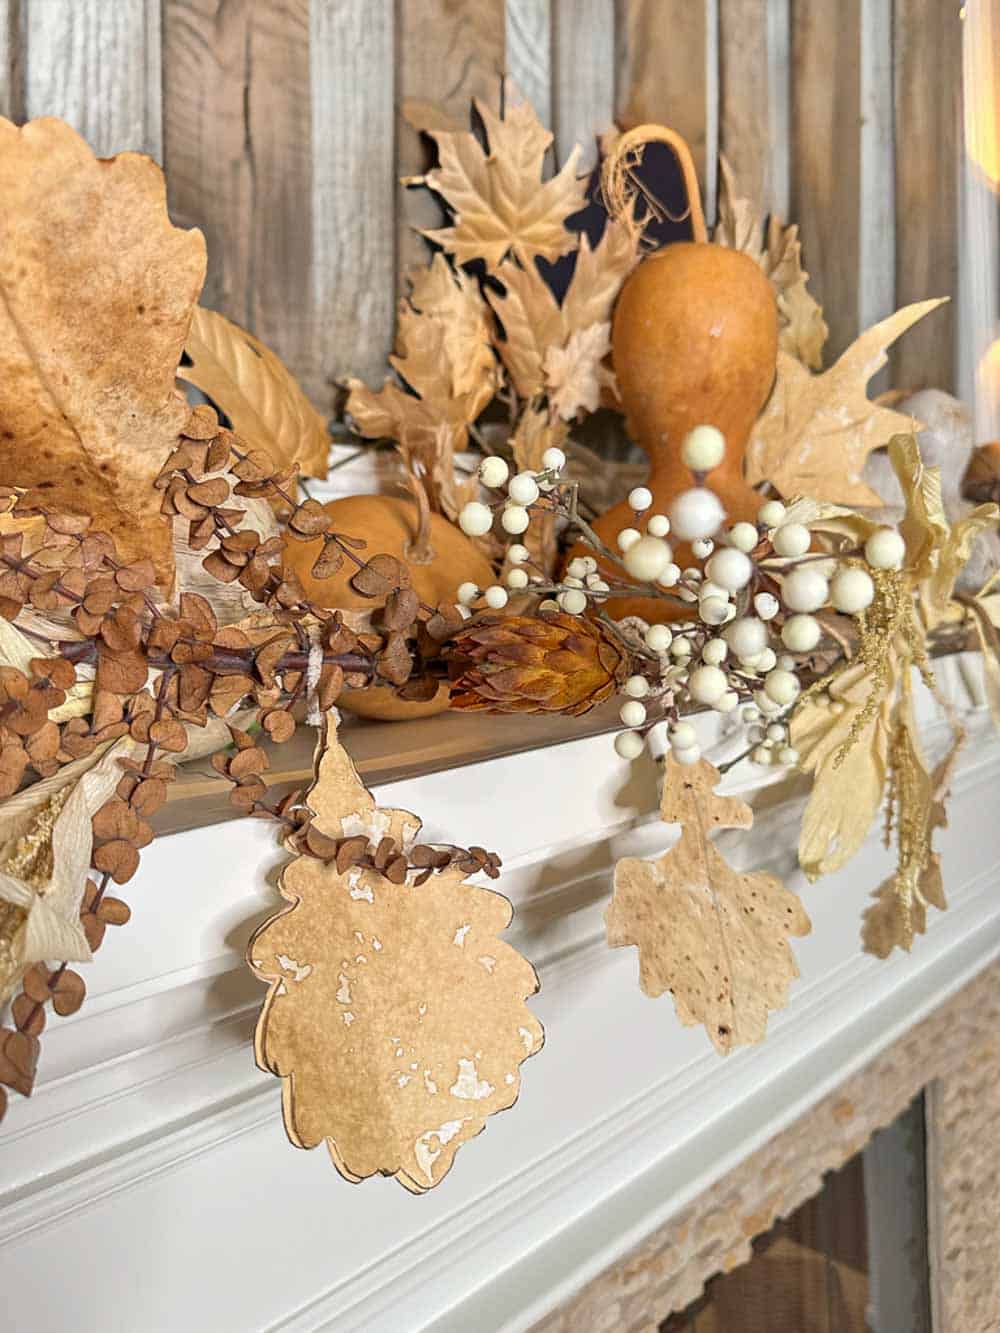
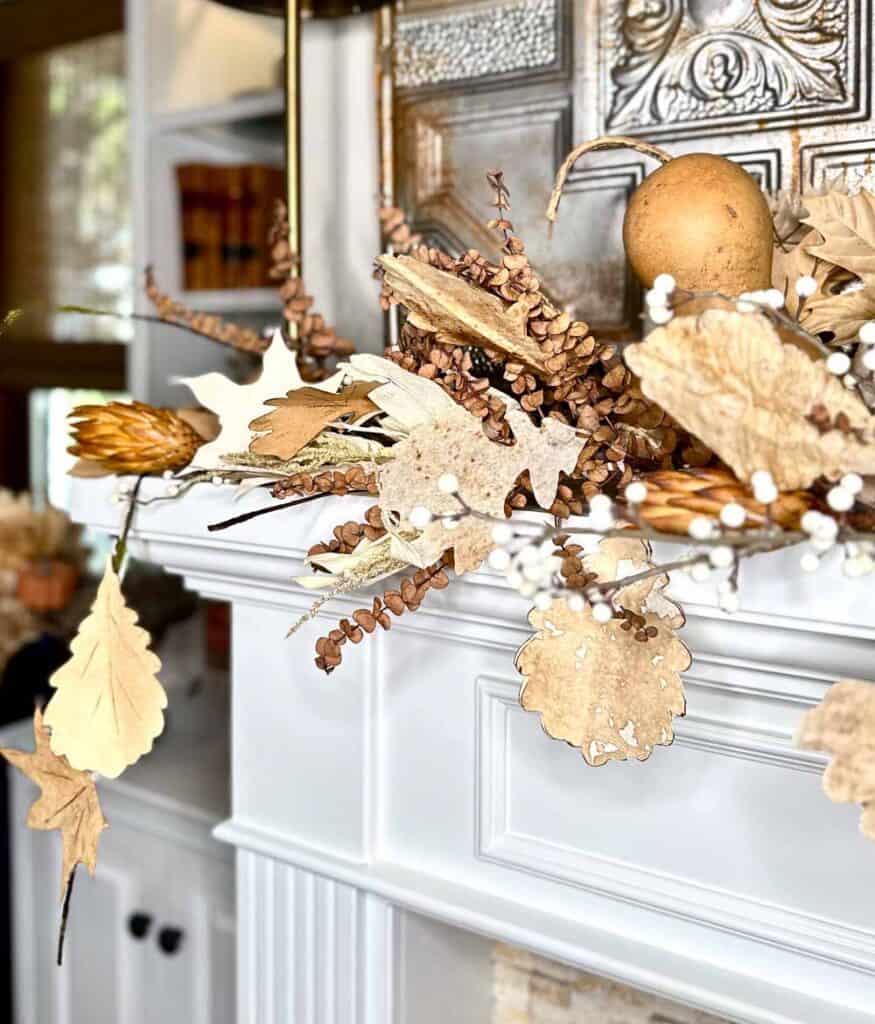
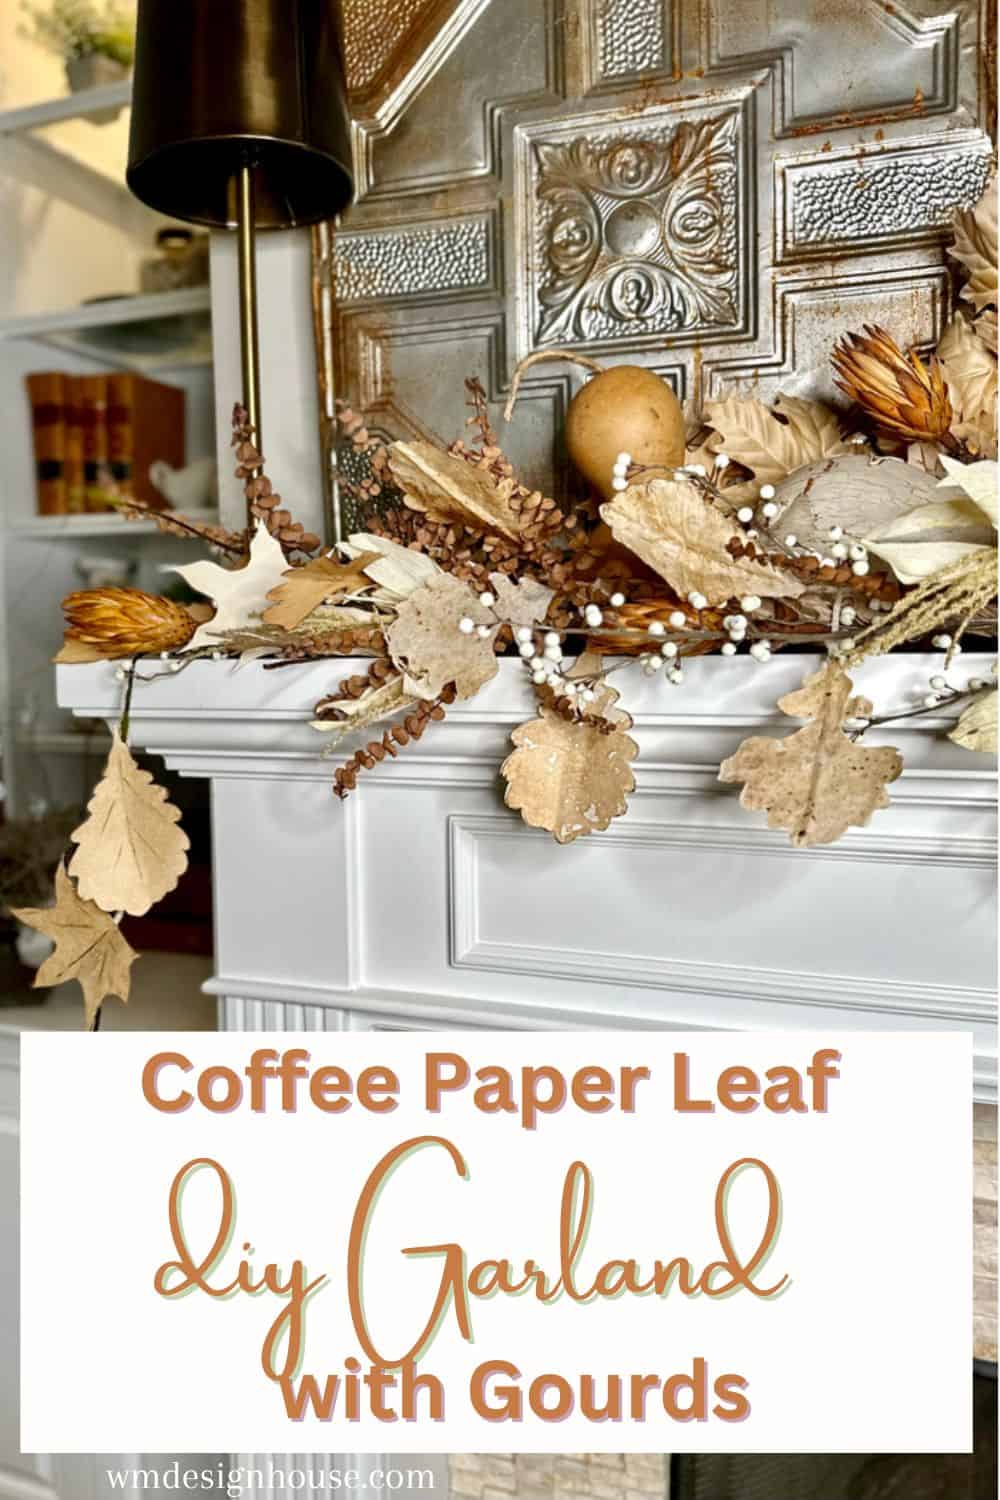
This DIY fall leaf garland is made from coffee filters and coffee-stained paper. The leaves look like real dried oak and maple leaves, and the whole garland costs only a few dollars to make. It is one of my favorite fall crafts, and I can’t wait for you to try it.
Here is the short version: stain coffee filters and paper with coffee, cut out leaf shapes, glue each leaf to a pipe cleaner, then wire the leaves onto a twisted brown paper branch with berries and corn husks. The rest of this post walks you through every step.
On my blog WM Design House, I may sometimes use affiliate links, which means a small commission is earned if you purchase via the link. The price will be the same whether you use the affiliate link or go directly to the vendor’s website using a non-affiliate link.
Fall Leaf Garland at a Glance
- Time: 2 hours
- Cost: Under $15 if you already own a glue gun
- Skill level: Beginner. If you can trace and cut, you can make this.
- Length: Mine is about 5 feet long, but you can customize the length to your liking
- Leaves needed: Approximately 15 to 20
What Are Coffee Filter Crafts?
Coffee filter crafts are projects made with plain paper coffee filters, or with coffee paper, which is regular paper stained with coffee to give it an aged look.
The stained paper makes a perfect base for faux fall leaves. It is thin, it takes ink well, and the coffee gives it those uneven brown tones you see in real dried leaves.
These crafts are great for kids of all ages, too. Tracing and cutting leaves is wonderful for fine motor skills, and the mess wipes right up.
Other Coffee Filter Projects to Try
Once you have a stack of stained filters, you can make more than a garland. A few ideas:

First, Make Your Coffee Paper
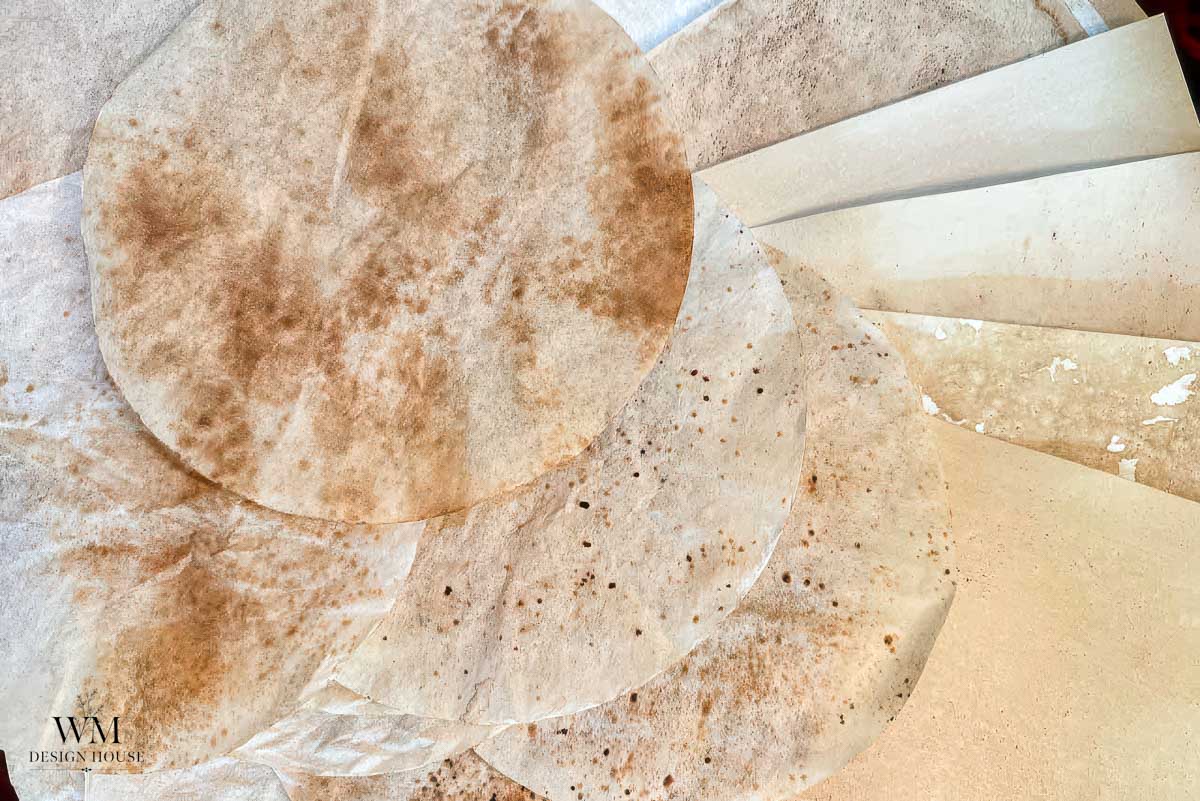
This garland starts with coffee-stained filters and paper. The full supply list and step-by-step method are in my post on how to make coffee stained paper. Make a batch of filters and a few sheets of watercolor paper before you start the garland.
Materials to Make the Fall Leaf Garland
You can find most of these at your local craft store. I have linked everything to Amazon to make ordering easy.
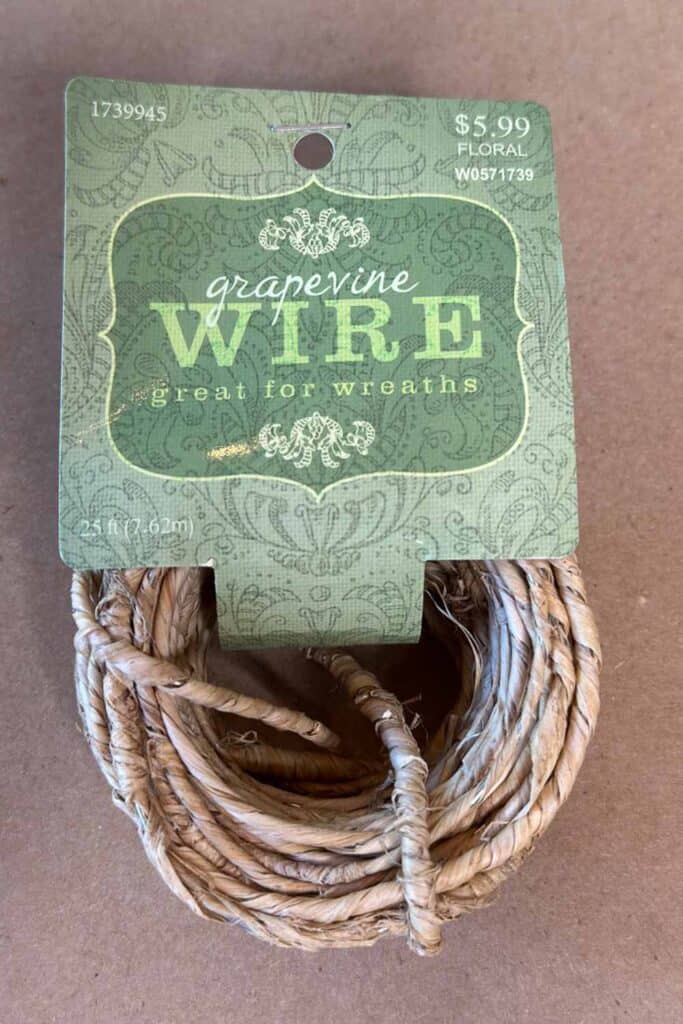
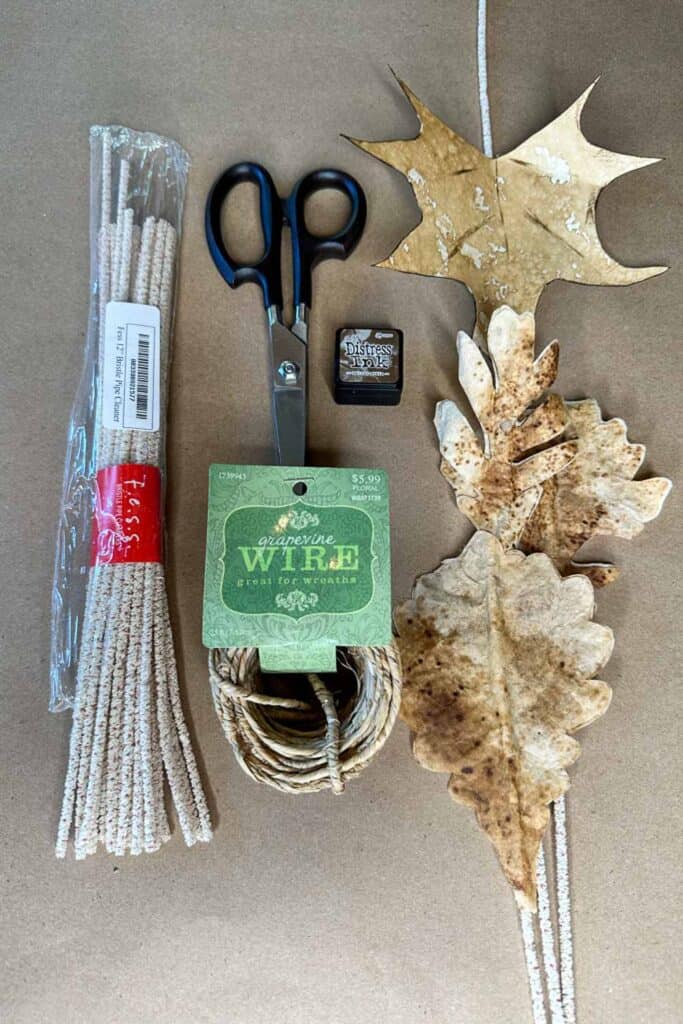
- Grapevine floral wire
- Brown craft wrapping paper
- Hole punch
- Pipe cleaners
- Glue gun
- Hot glue sticks
- Free leaf template
- Leaves from the garden for leaf pattern if you don’t want to use the template
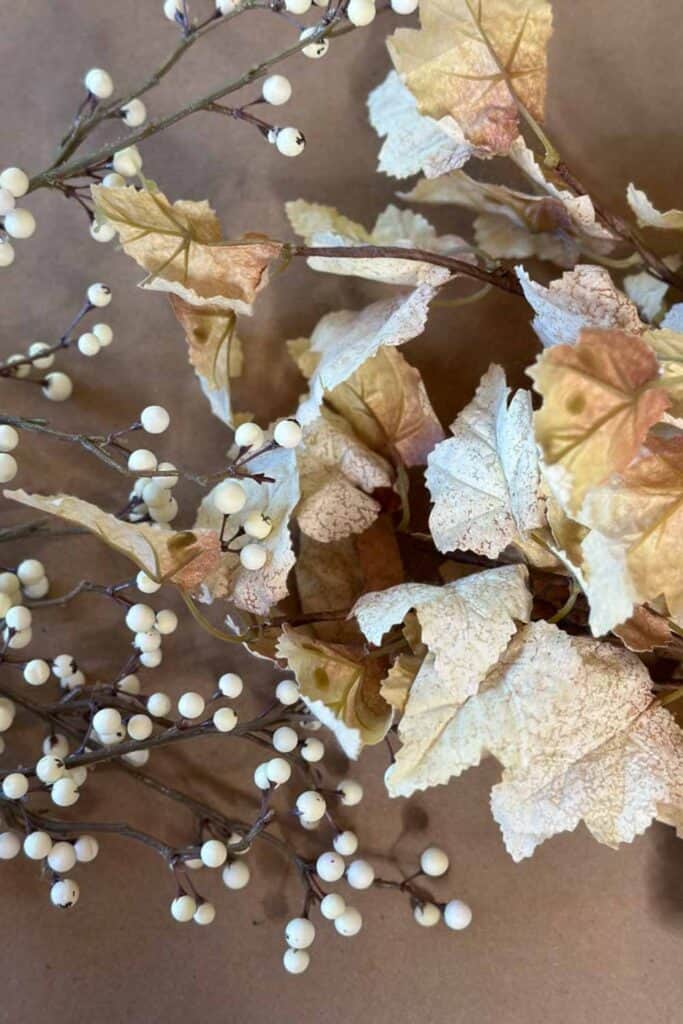
- Berries
- If you want to add some color, other silk autumn leaves or colorful leaves (you can find these at the dollar store).
- Distress ink
- Scissors
- Corn husks
- Mod Podge
- Small paint brush
How to Make a Fall Leaf Garland with Coffee Filters
Step One: Stain the Coffee Filters and Paper
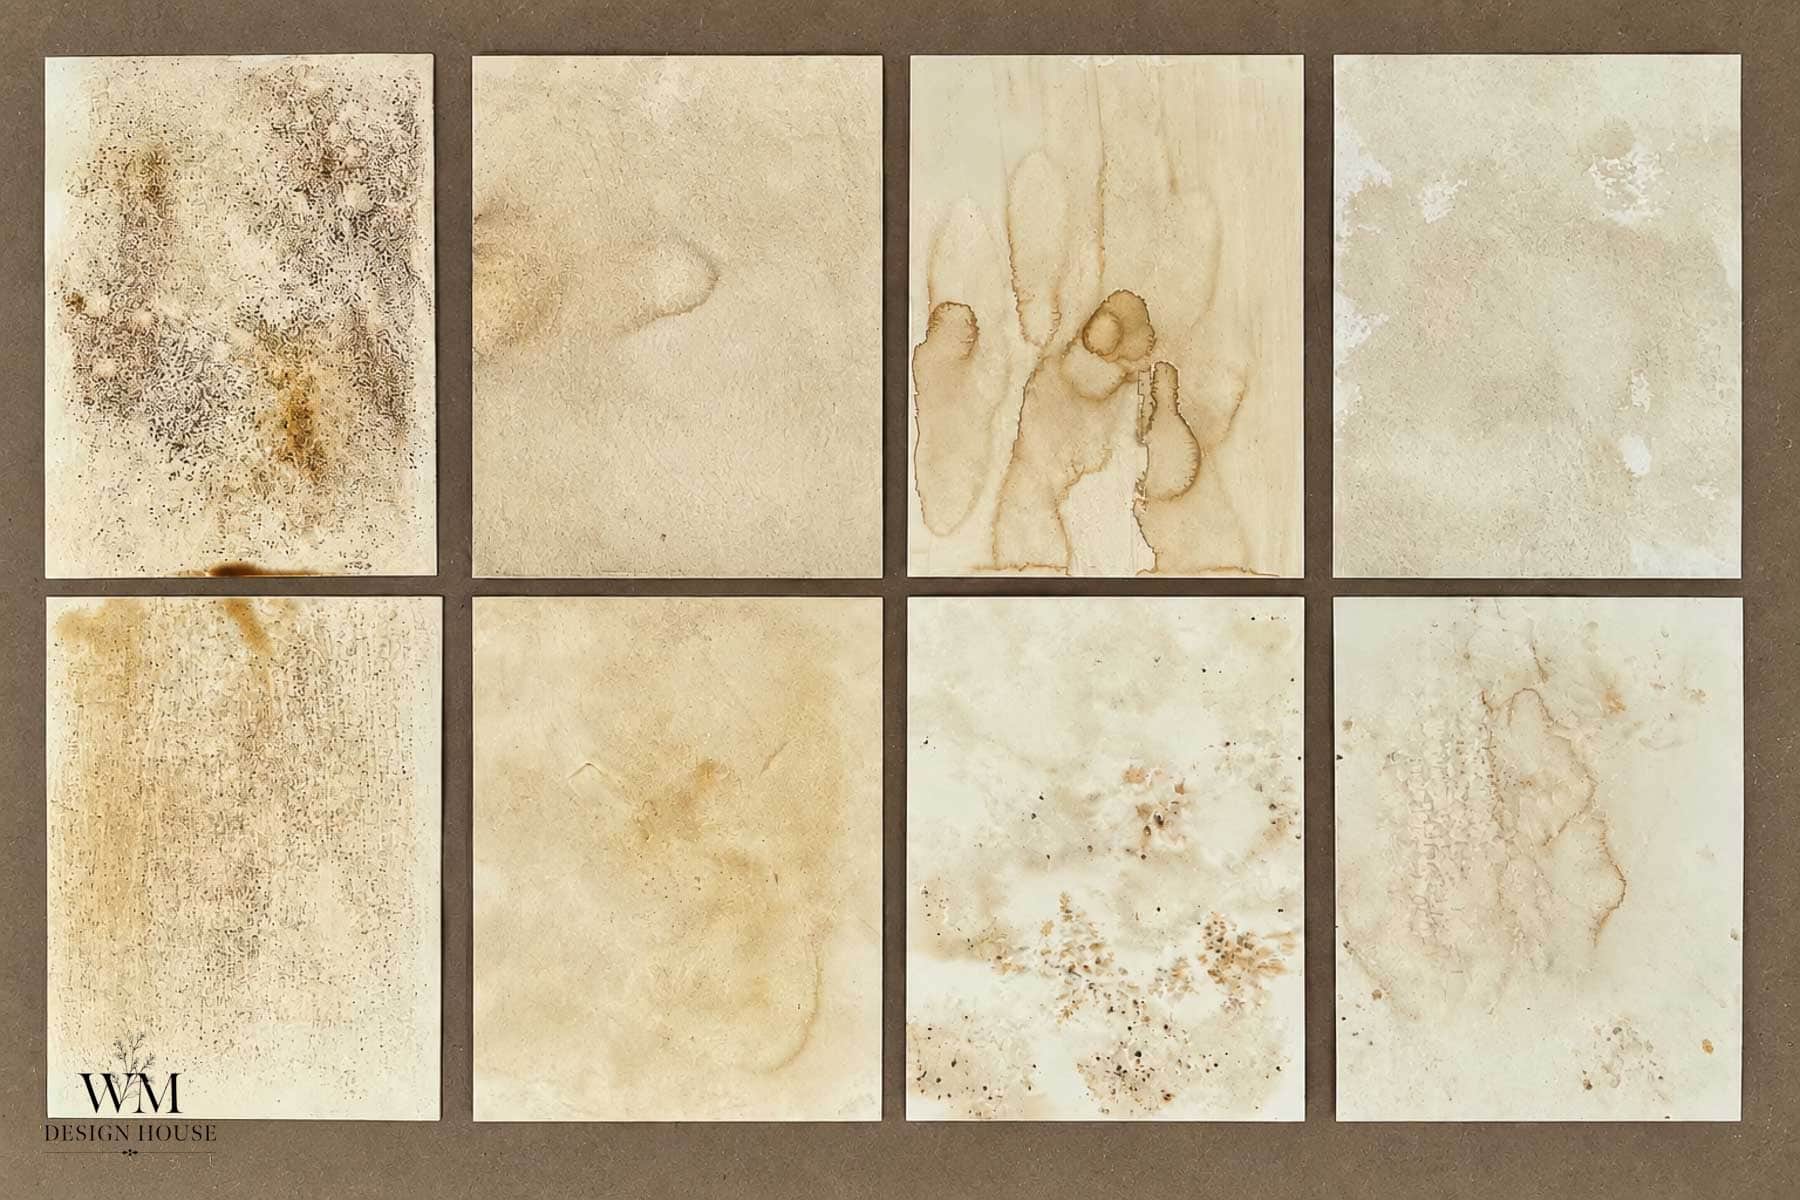
Start by staining your filters and paper with coffee. This is what gives the leaves their color, and it needs to be done a day ahead so everything is dry.
I do not cover the staining here. My coffee stained paper tutorial has all five methods, the exact steps, and the tricks for getting real-leaf color. Make your paper there, then come back to this post for the garland.
Step Two: Make Your Leaf Templates
Grab my free leaf template, or trace real leaves from your yard.
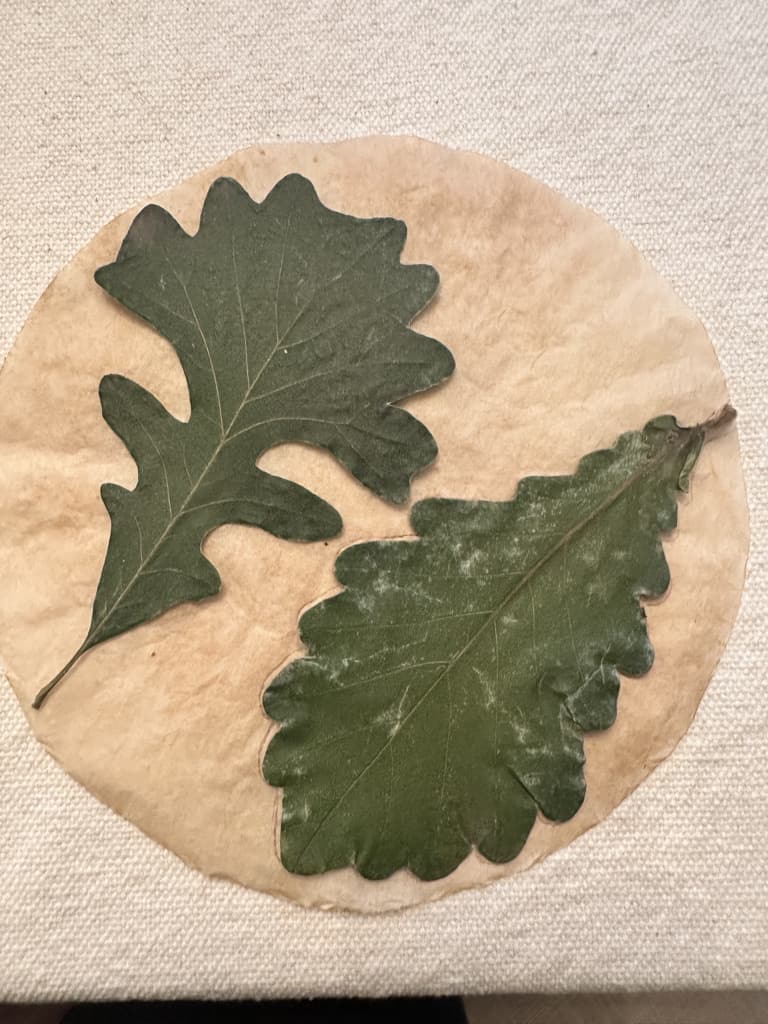
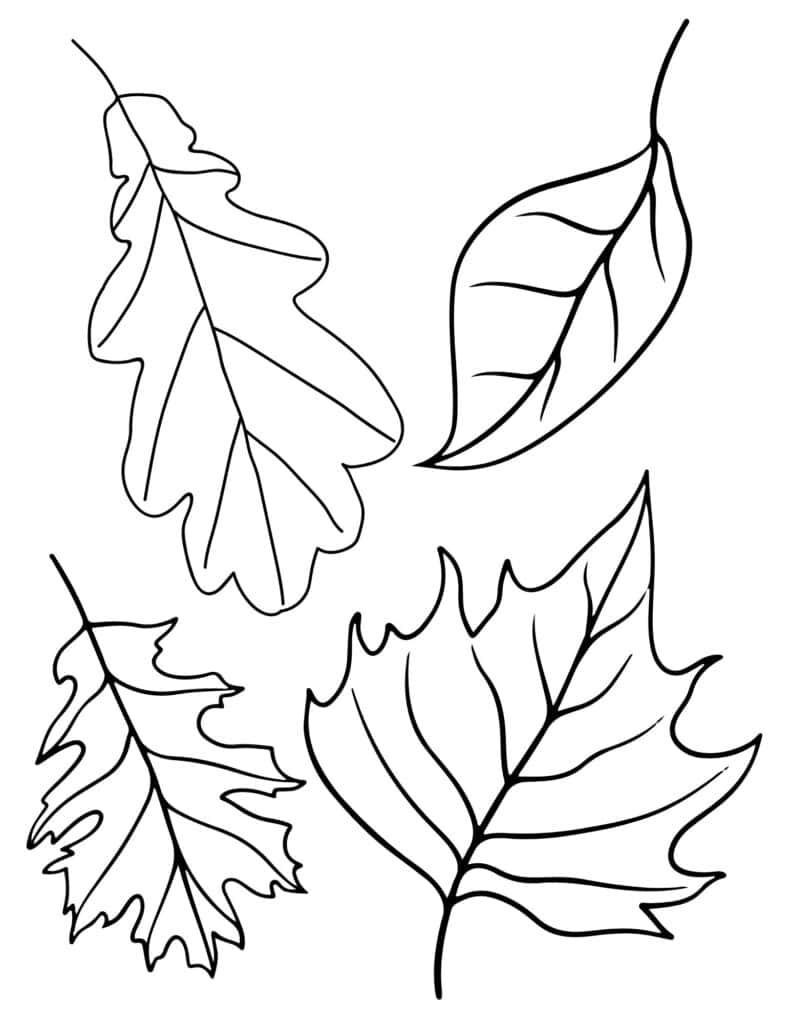
Real leaves give the garland an authentic touch. Mix a few shapes so the finished garland does not look too uniform.
Step Three: Trace and Cut the Leaves
Trace each leaf pattern onto the coffee filters and coffee paper. Add a few curves and notches so the edges look like real maple leaves.
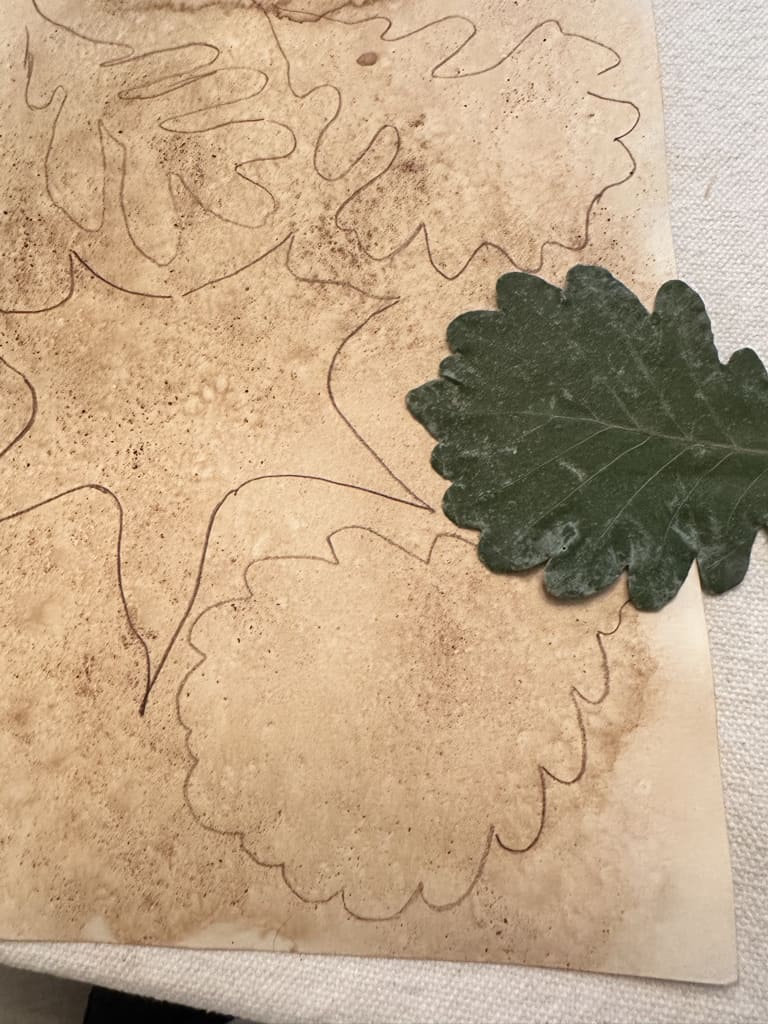
Cut all the leaves out at once. It goes faster in a batch, and you will need more than you think.
Step Four: Make the Two-Layer Coffee Filter Leaves
Coffee filters are thin, so each filter leaf is made from two layers with a pipe cleaner stem in between.
Hot glue one filter leaf onto a pipe cleaner. Brush the back of a second leaf with Mod Podge and press it over the pipe cleaner side of the first leaf.
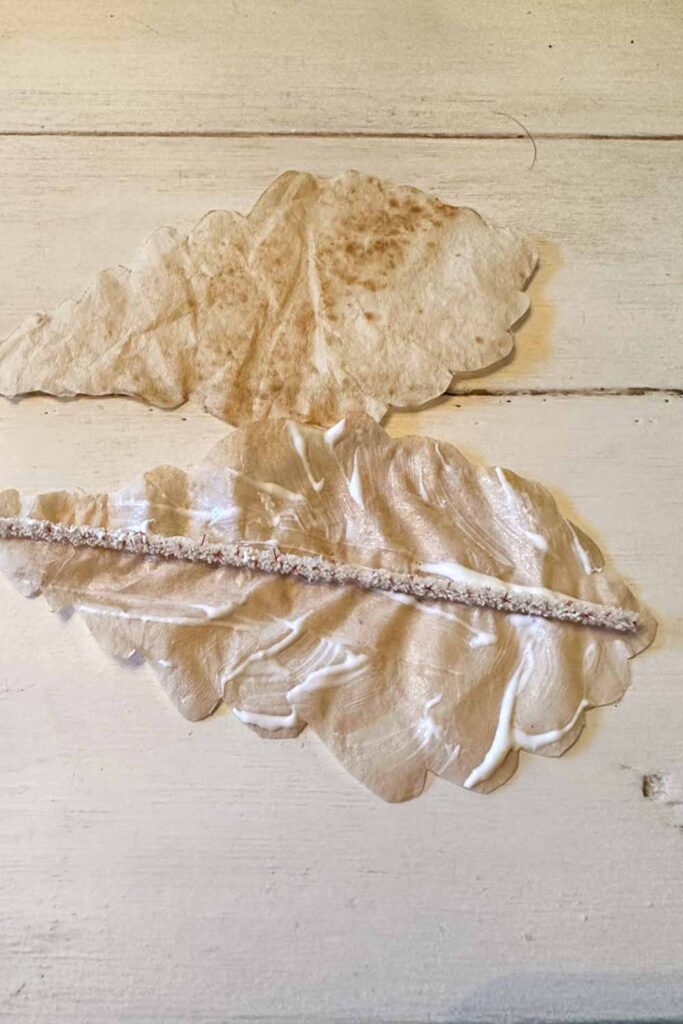
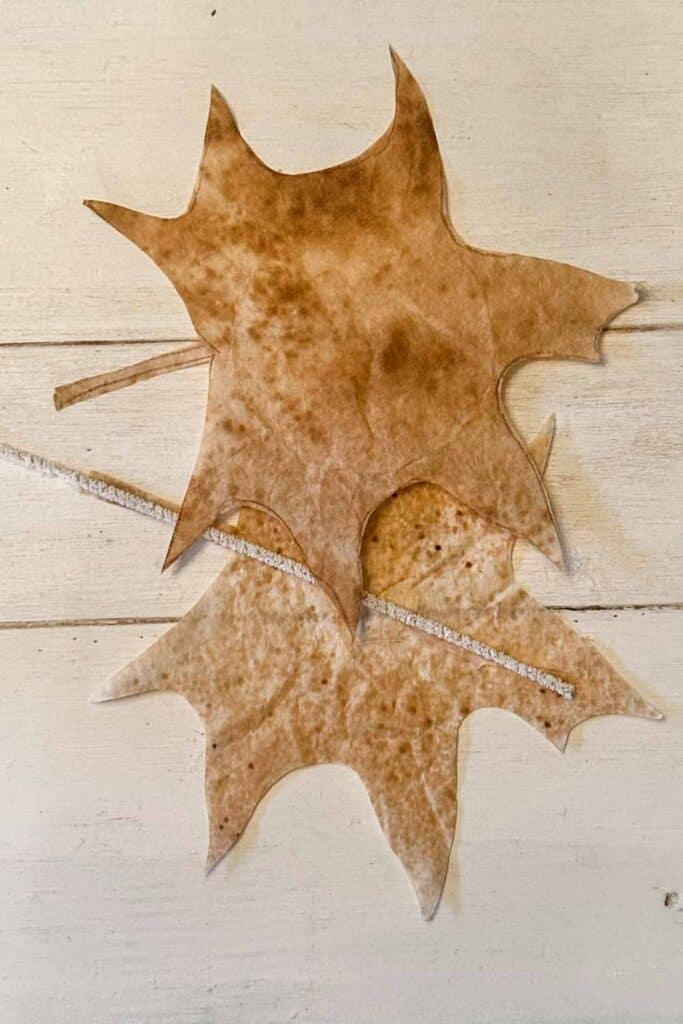
Let each pair dry completely before you add any ink.
Step Five: Make the Single-Layer Coffee Paper Leaves
Coffee-stained watercolor paper is heavier, so these leaves do not need a second layer. Hot glue one paper leaf onto a pipe cleaner and you are done.
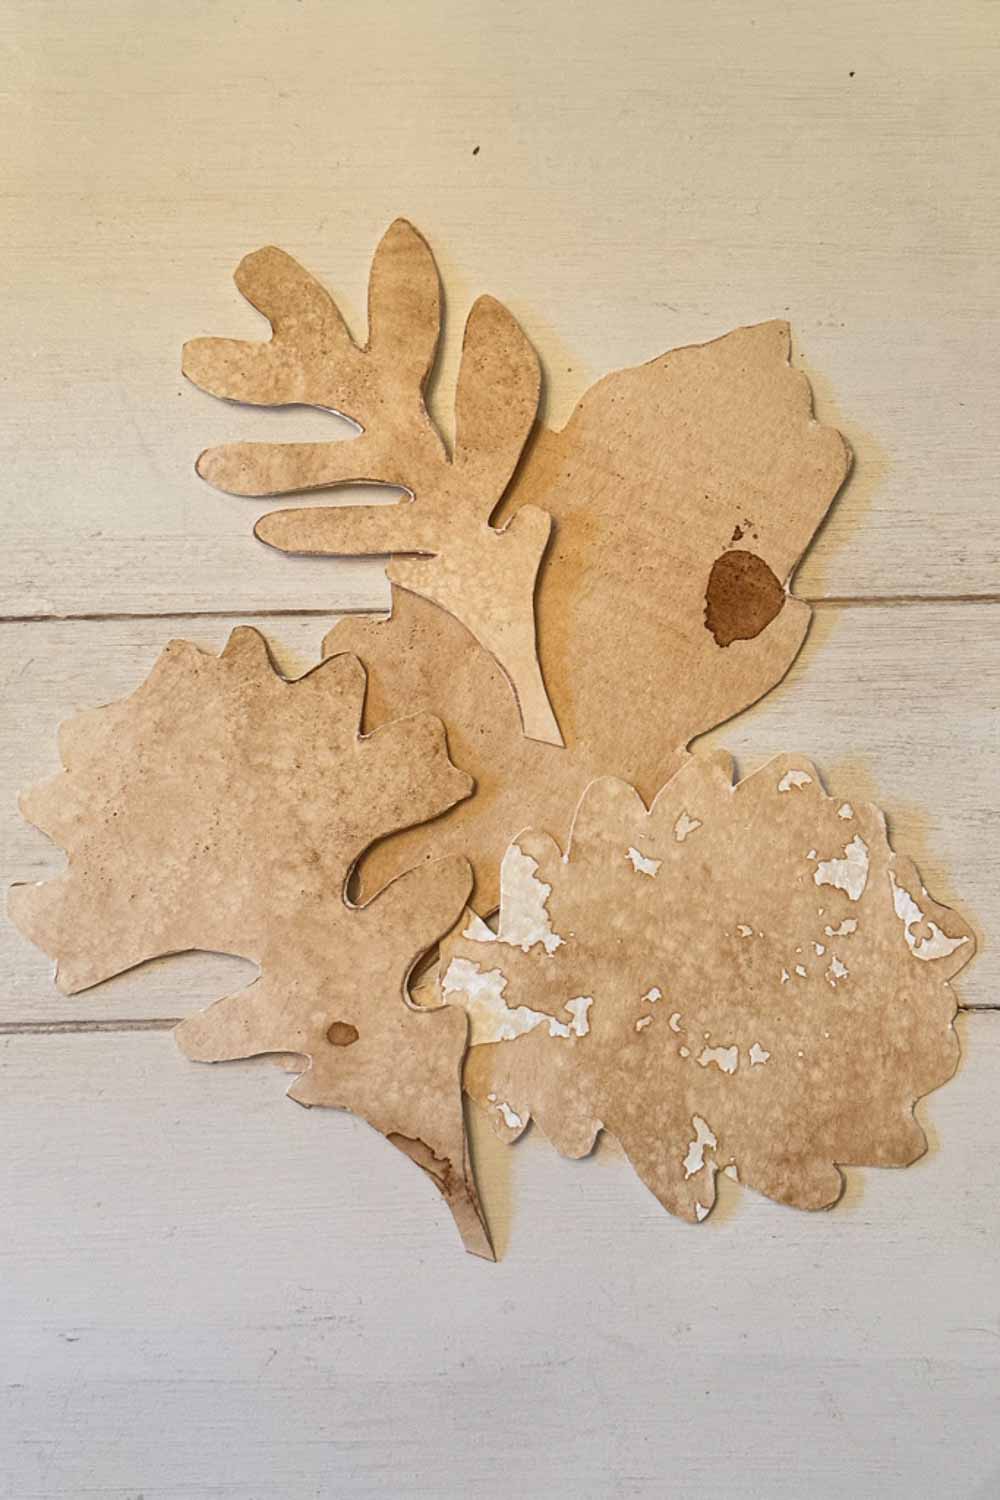
The paper leaves hold their shape better than the filter leaves. I like a mix of both, but if you want the garland to last for years, lean on the paper.
Step Six: Add Color and Texture with Distress Ink
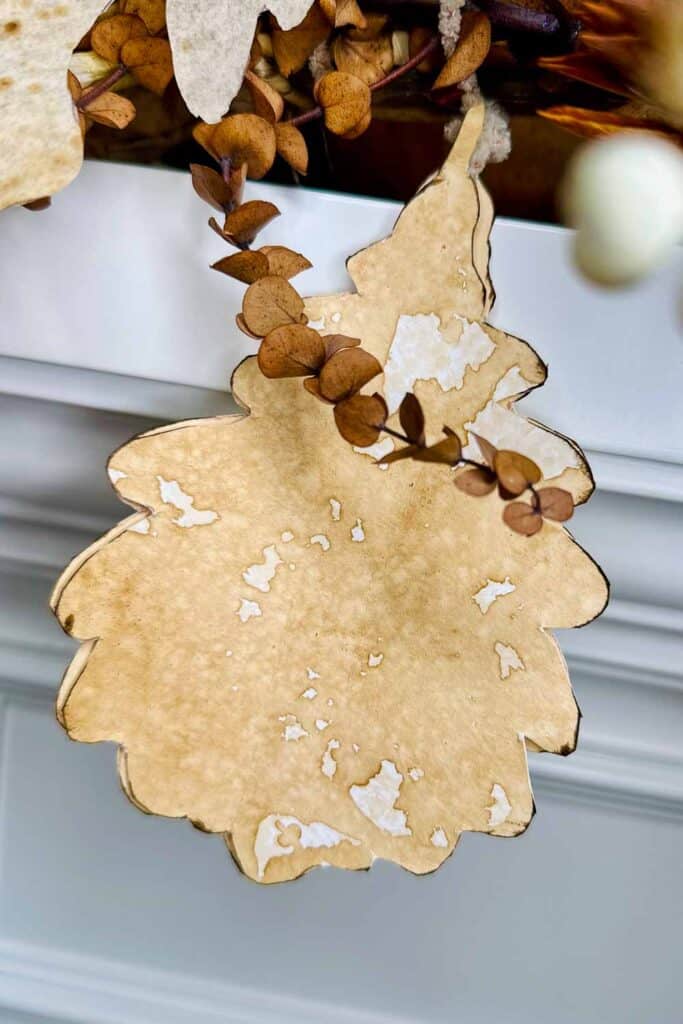
Distress ink is what turns a flat paper cutout into a leaf. Rub the small ink pad around the edges of each leaf to darken them.
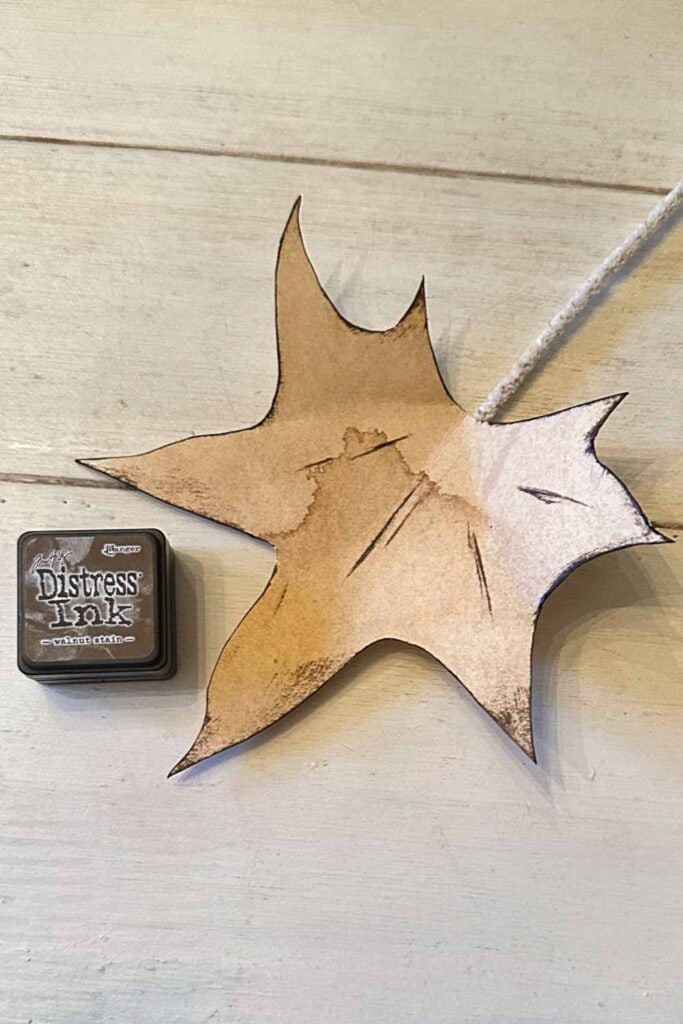
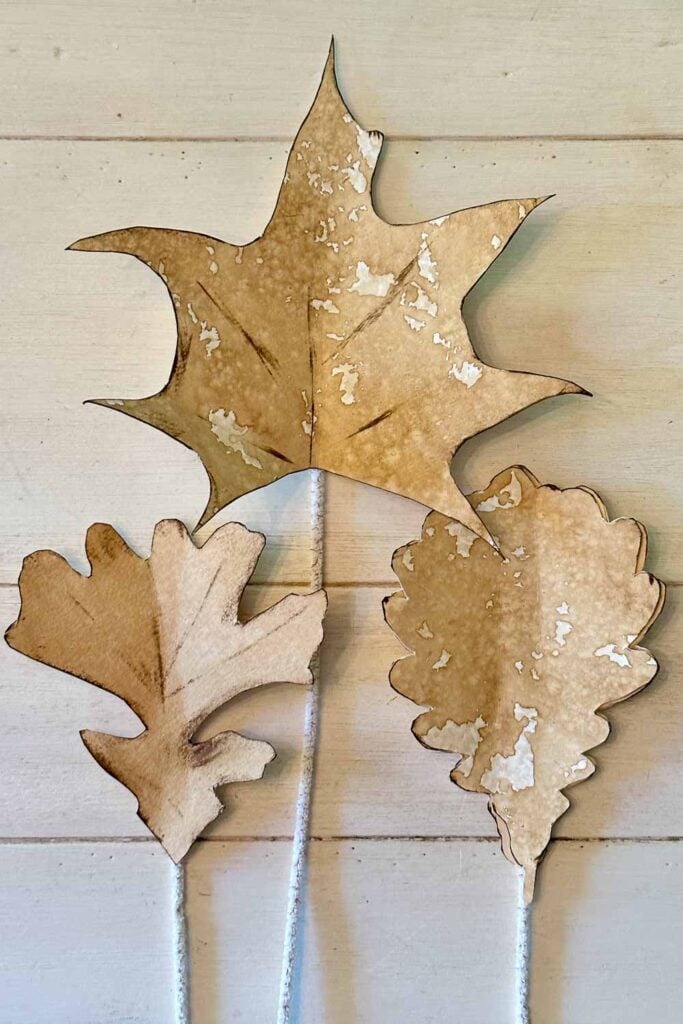
Draw in veins and a few spots with the corner of the pad. Blend a little ink toward the center for shading. No two leaves should match.
Step Seven: Assemble the Garland
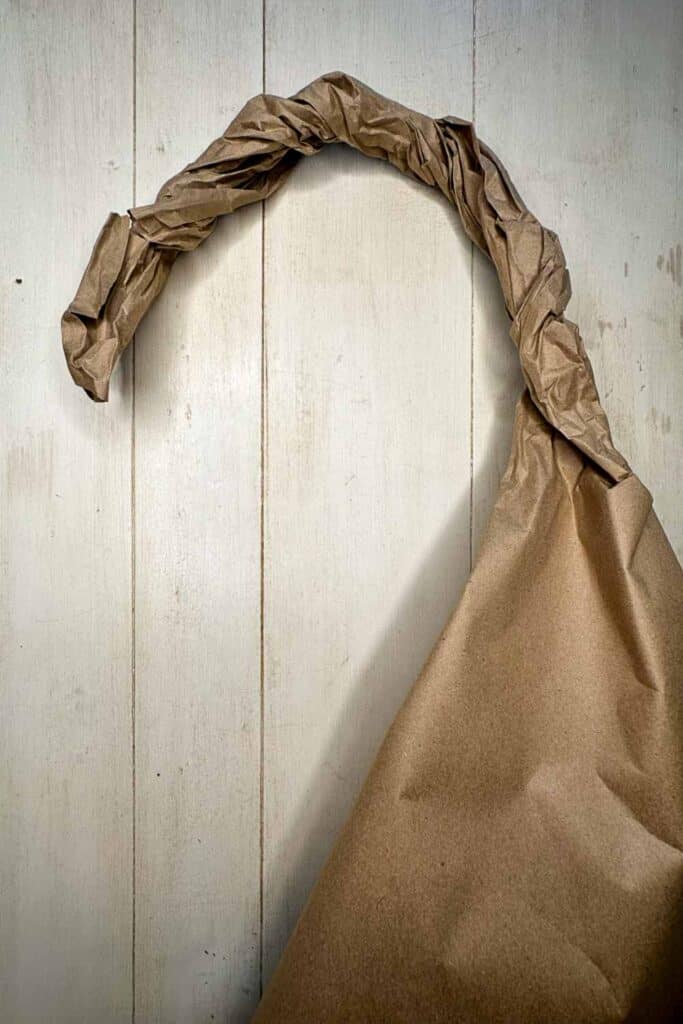
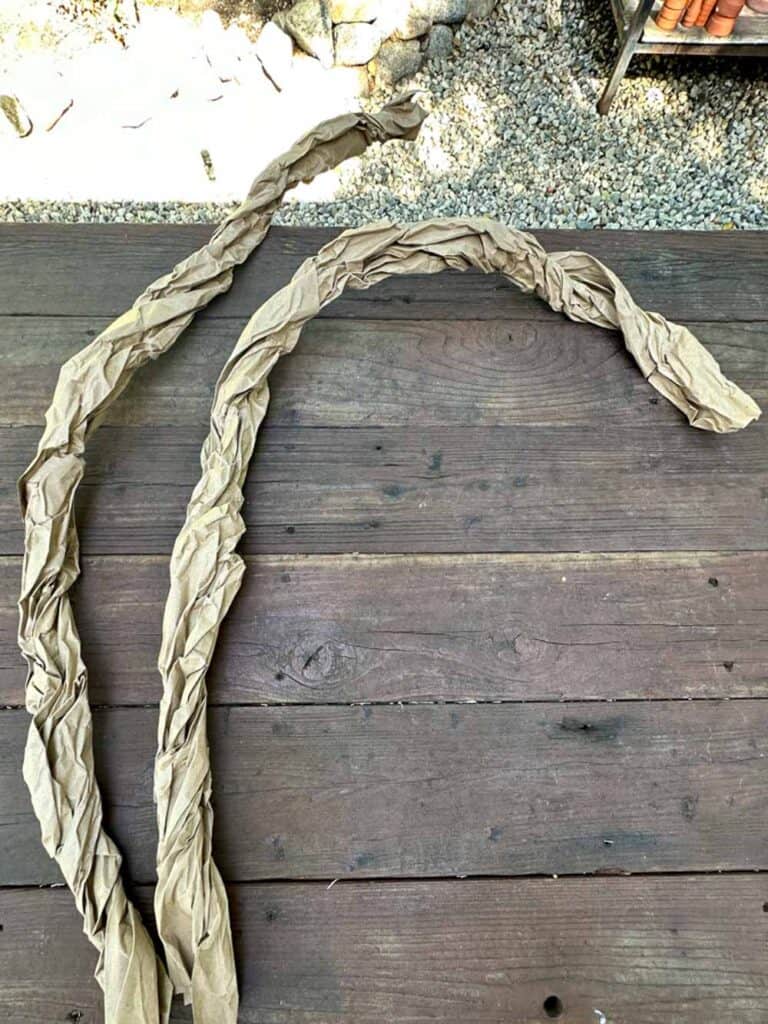
Take a long piece of brown wrapping paper. Crumple it, then twist it into a branch. Wire two pieces together if you need a longer garland.
Starting at one end, wrap grapevine wire around the tip of the branch and make a loop. This loop hangs the garland on your mantel. Do not cut the wire.
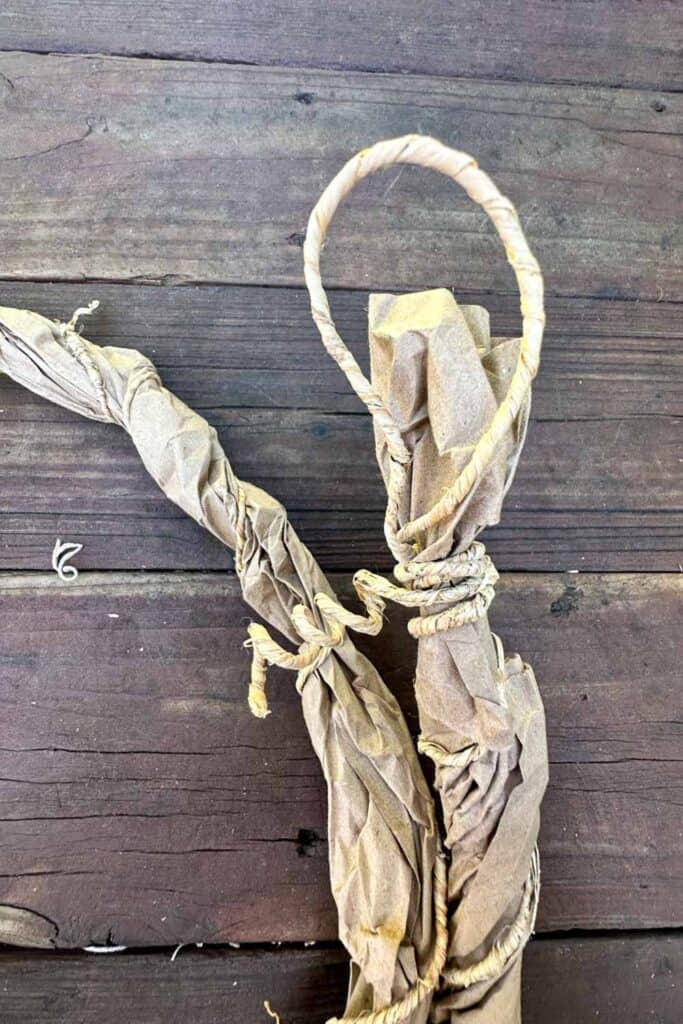
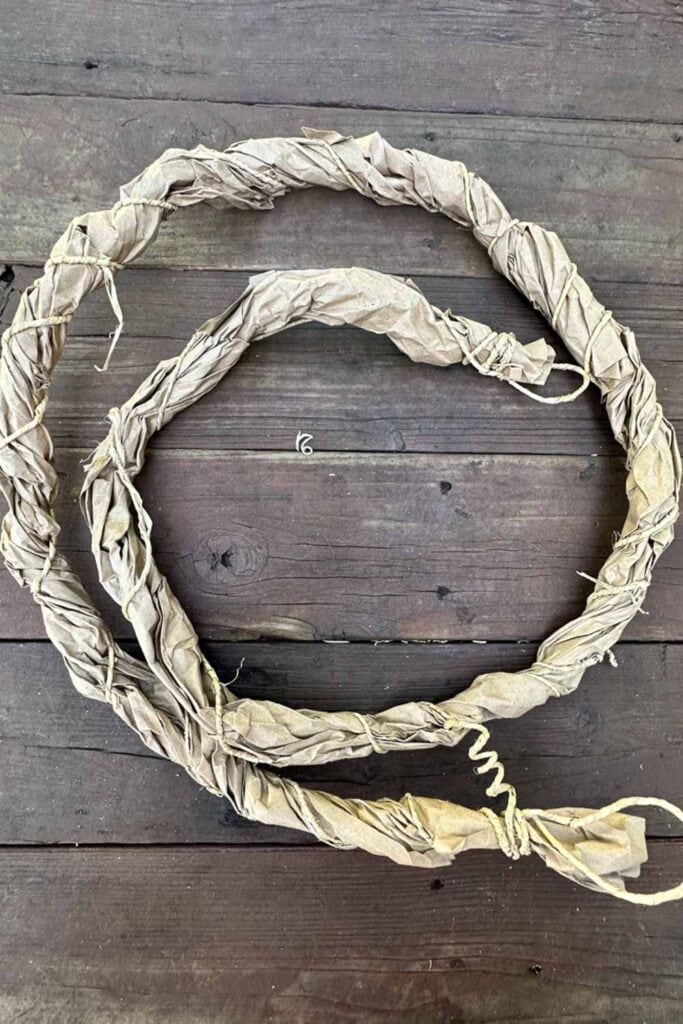
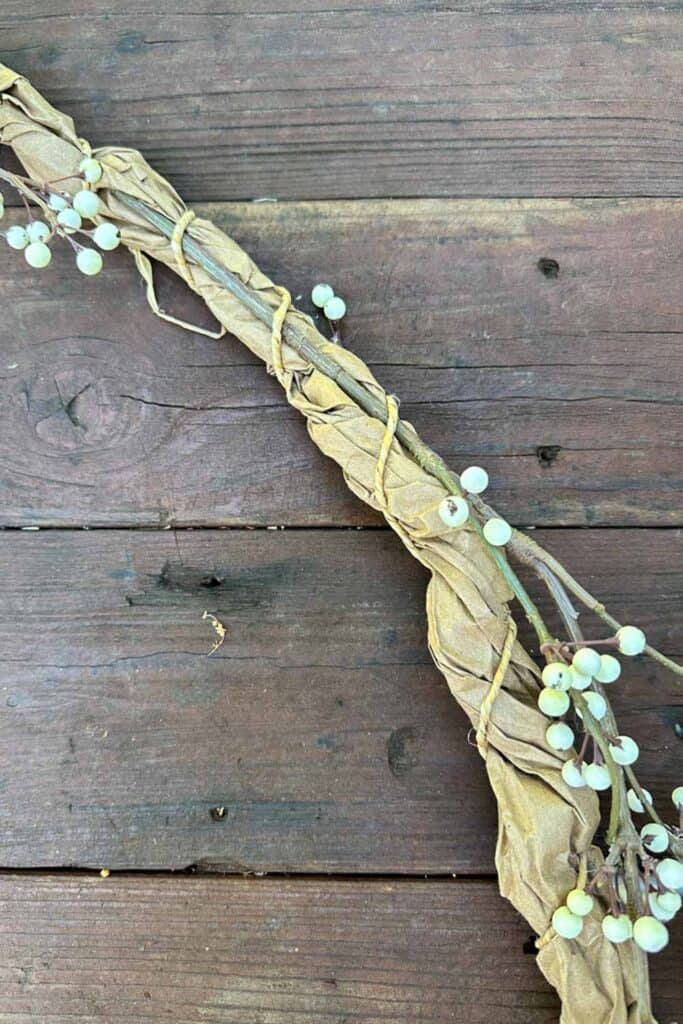
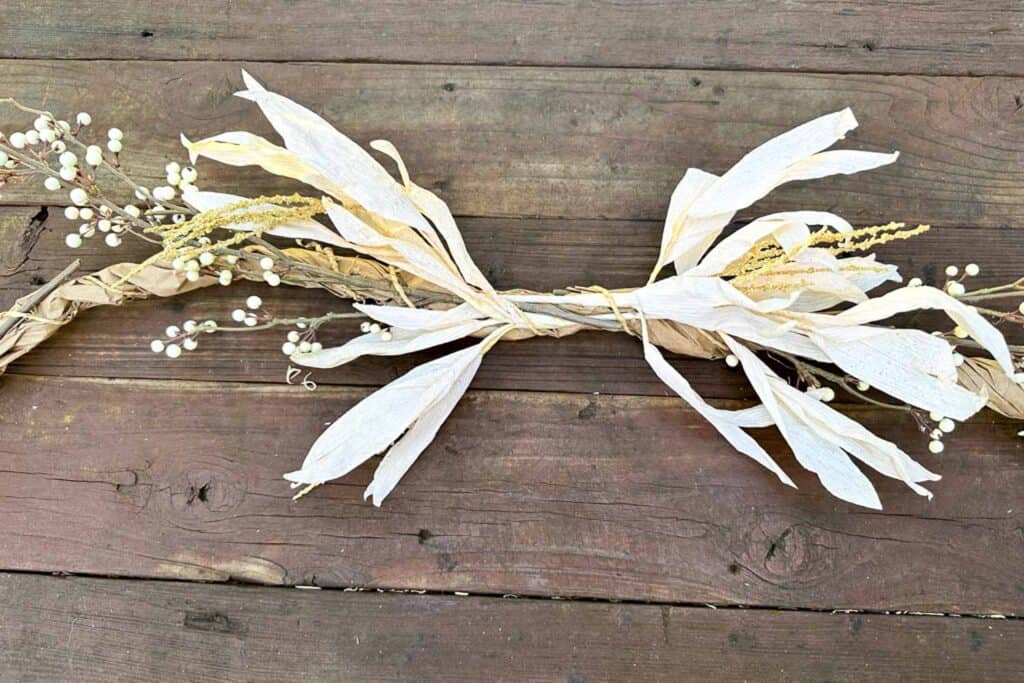
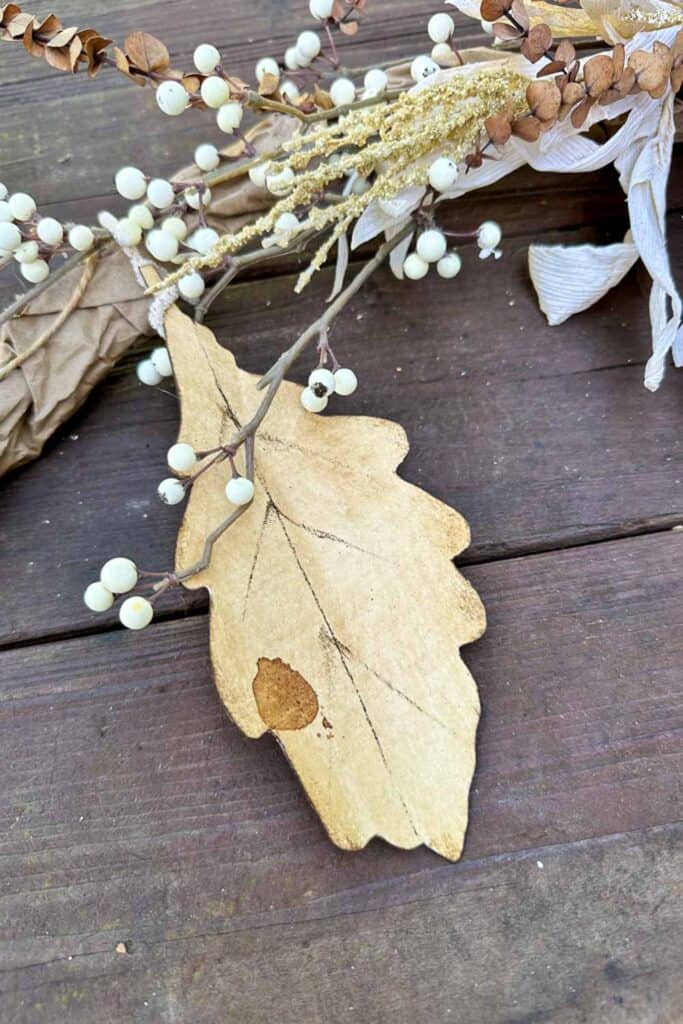
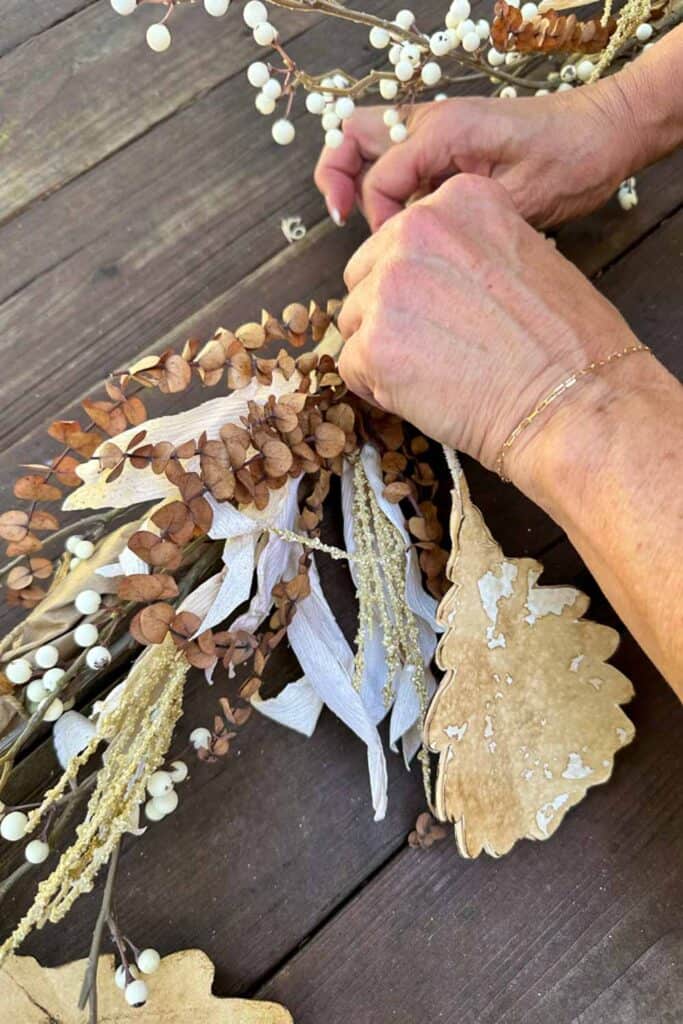
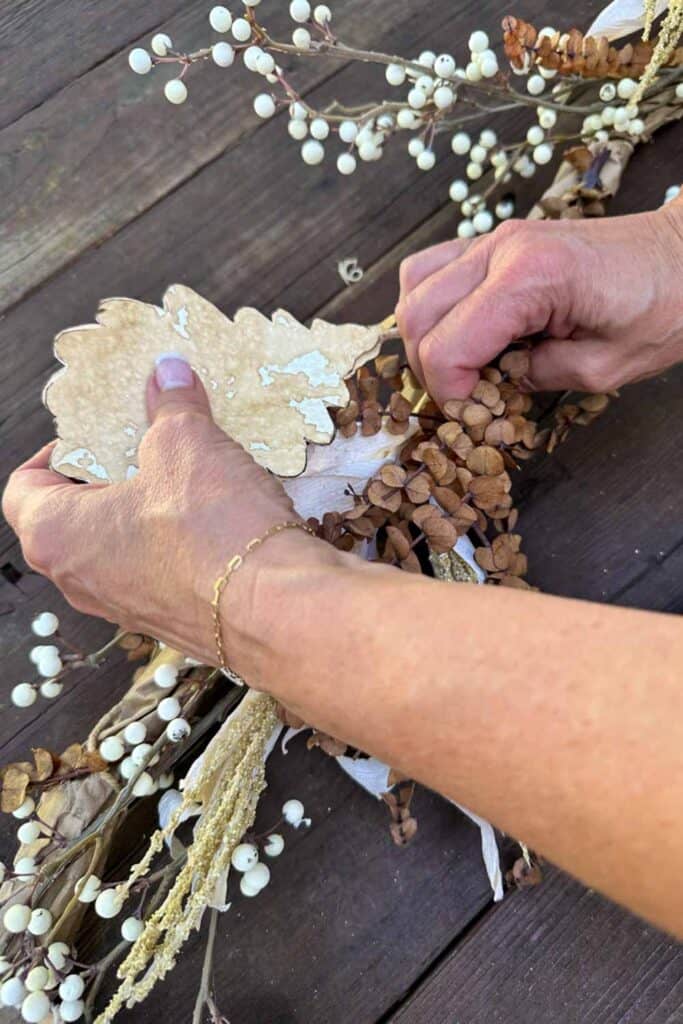
Keep wrapping the wire down the branch. Tuck in berries, leaves, and corn husks as you go, catching each stem under the wire.
Hot glue any extra leaves straight onto the branch to fill gaps. Step back often. Even spacing is what makes a garland look full instead of lumpy.
Ways to Customize Your Fall Leaf Garland / Match the garland to your home with a few easy changes:
Pumpkins. Cut small pumpkin shapes from the coffee paper and wire them in.
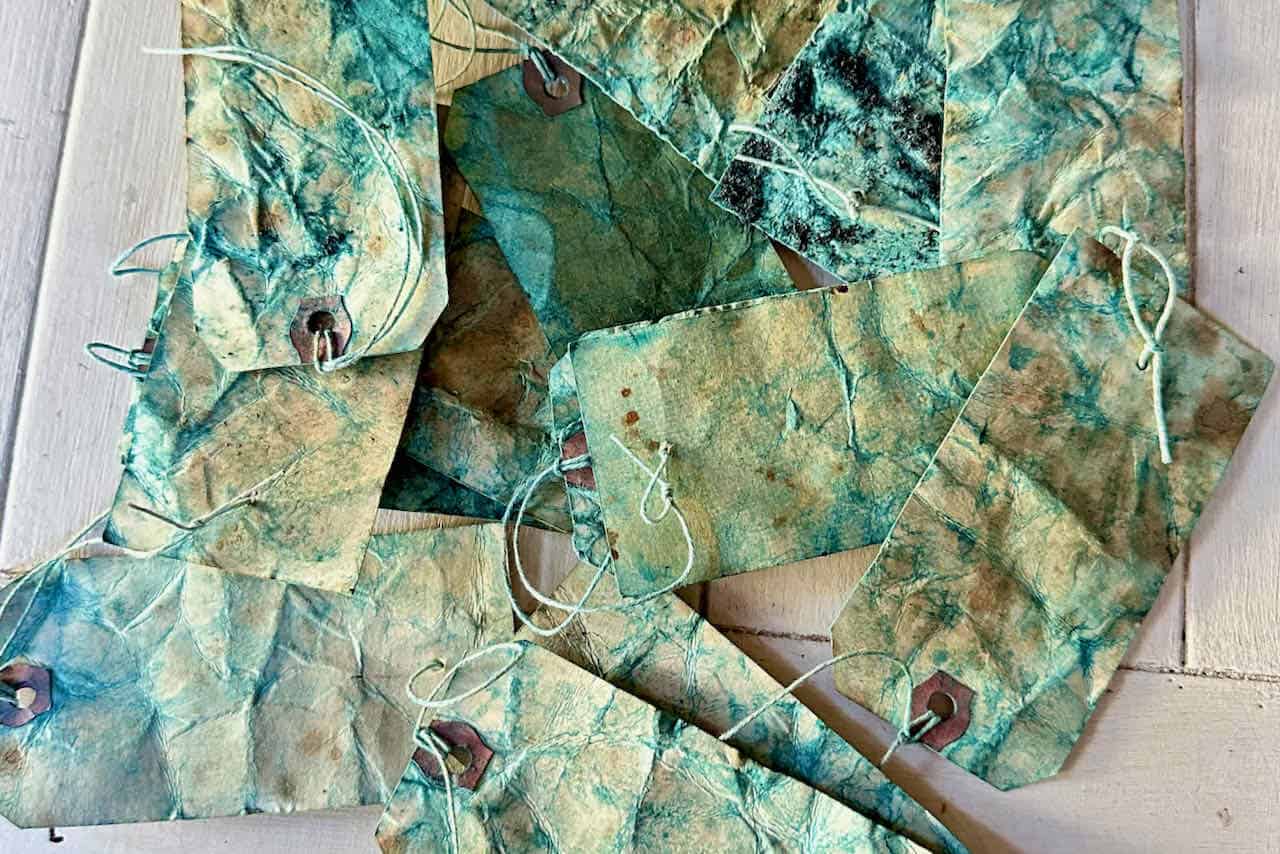
A wash of color. Dip leaves in a jar of 1/4 cup paint and 3/4 cup water, like the tags in the photo below, or brush on watercolor.
A little sparkle. Brush on Mod Podge or spray adhesive and dust with glitter.
Mixed textures. Add a few felt leaves between the paper ones.
How to Style a Paper Leaf Garland
Once the garland is finished, hang it up and enjoy it. Mine lives on the mantel in the family room, but it works almost anywhere.

- Mantel: Drape it across the mantel and tuck in small gourds and candles.
- Table runner: Lay it down the center of the dining table with a few pumpkins.
- Staircase: Wrap it around the banister for a cozy autumn welcome.
- Shelves: Weave it along open shelves or the top of a bookcase.
- Window swag: Hang it above a window with the loop on each end.
- Front door: Swag it over the door frame, out of the weather.
Fall Leaf Garland FAQs
Stored flat and kept dry, it lasts for several fall seasons. The coffee paper leaves hold up longest. Filter leaves may soften over time, so make a few extra to swap in.
Only in a covered spot such as a porch ceiling or a door under an overhang. Rain and heavy dew will wilt the paper. For a true outdoor garland, use faux leaves instead.
A glue stick or plain white school glue both work for layering the filter leaves. Spread it thin so the paper does not wrinkle.
No. The distress ink is permanent once dry. If you want a slight sheen or extra stiffness, a light coat of matte Mod Podge over the finished leaf is optional.
Faintly, for the first few days. The scent fades once the paper is fully dry. Adding cinnamon to the stain leaves a soft, pleasant smell that lingers a bit longer.
Lay it flat in a long, shallow box or wrap it loosely around a cardboard tube. Add a sheet of tissue between layers so the ink does not rub off, and keep it somewhere dry.
A Few Last Thoughts
I hope you enjoyed this autumn leaf craft made with my favorite morning drink. It still surprises me how much you can do with a cup of coffee. If you try the garland, leave a comment and tell me where you hung it. I love seeing your versions.

More Fall Projects from WM Design House
If you love this coffee leaf garland, try a few more of my fall favorites:
- A Foraged Greenery Table Runner for a Moody Fall Table
- DIY terra cotta pumpkins (Pottery Barn dupe)
- DIY Halloween Lanterns from Old Trick or Treat Buckets
Fall Outdoor Tablescape DIY : Simple and Beautiful Ideas
How to Make a DIY Rope Wreath For the Fall Season
Fall Vignette with Old Books and Vintage finds
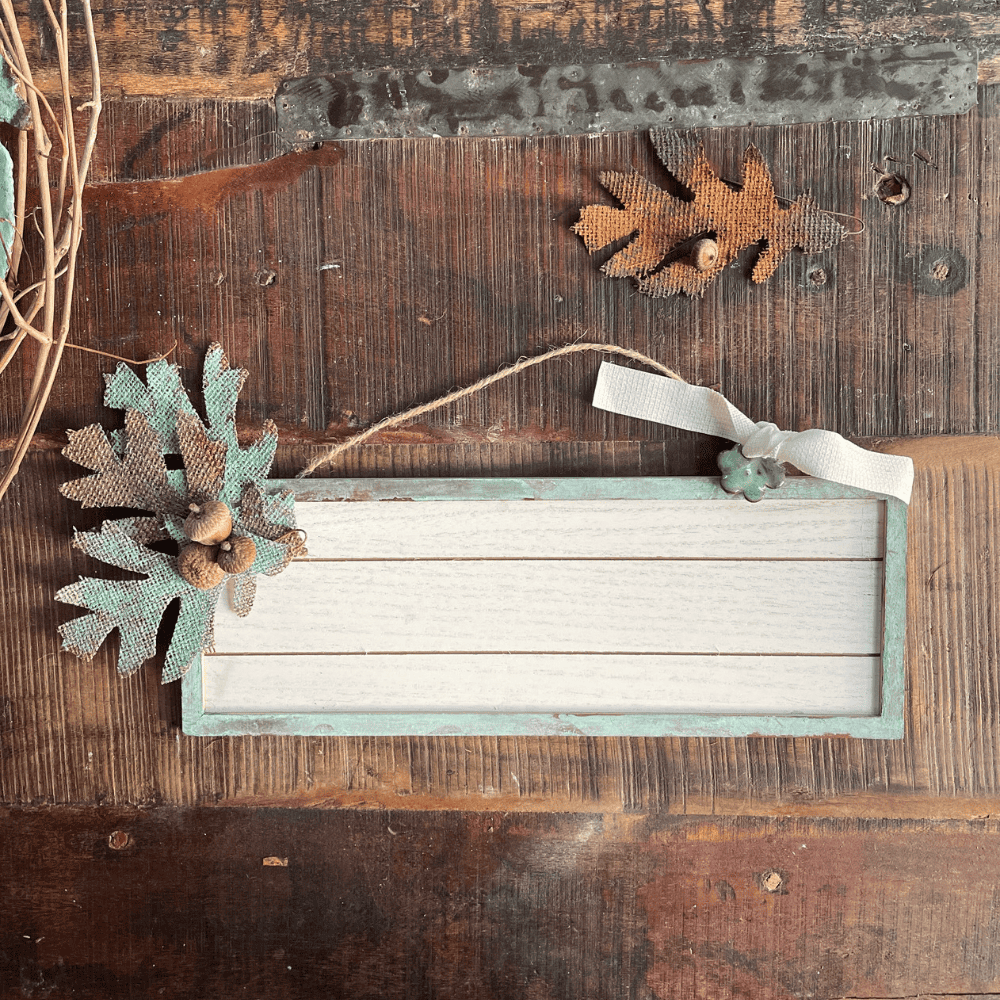
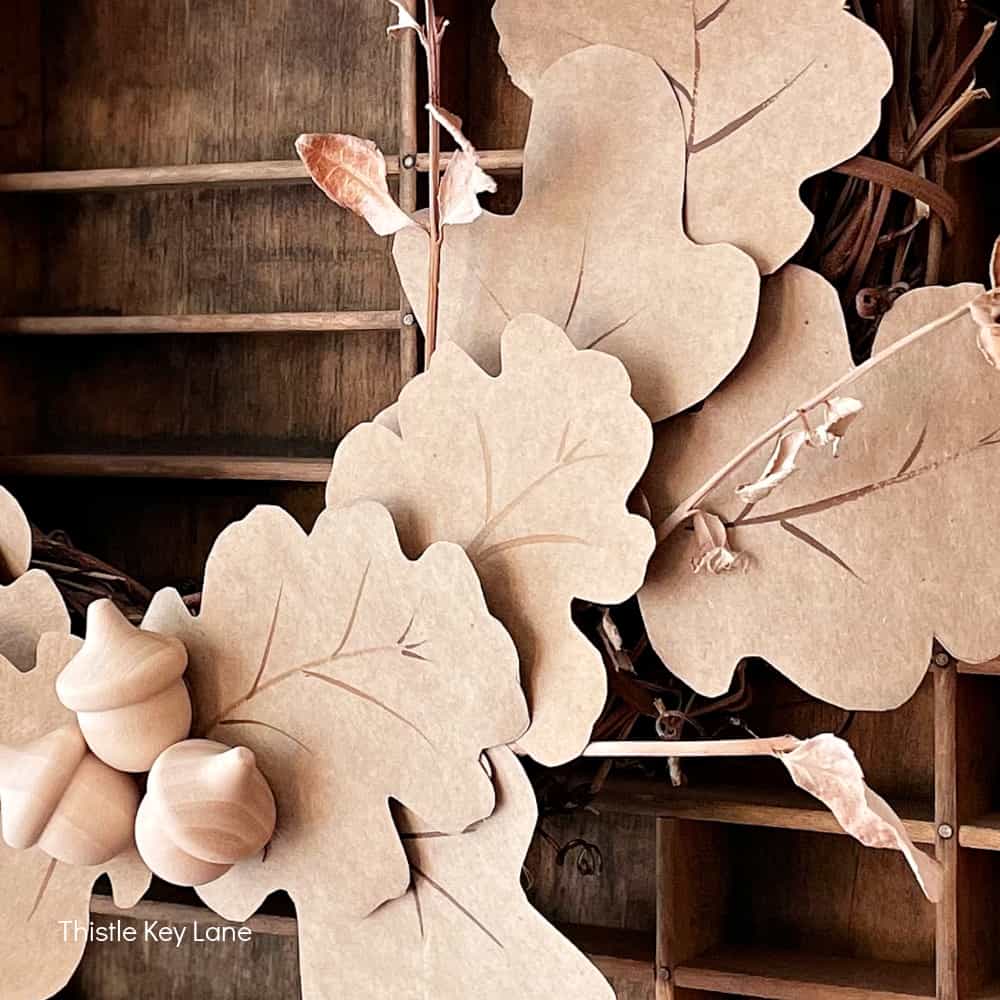
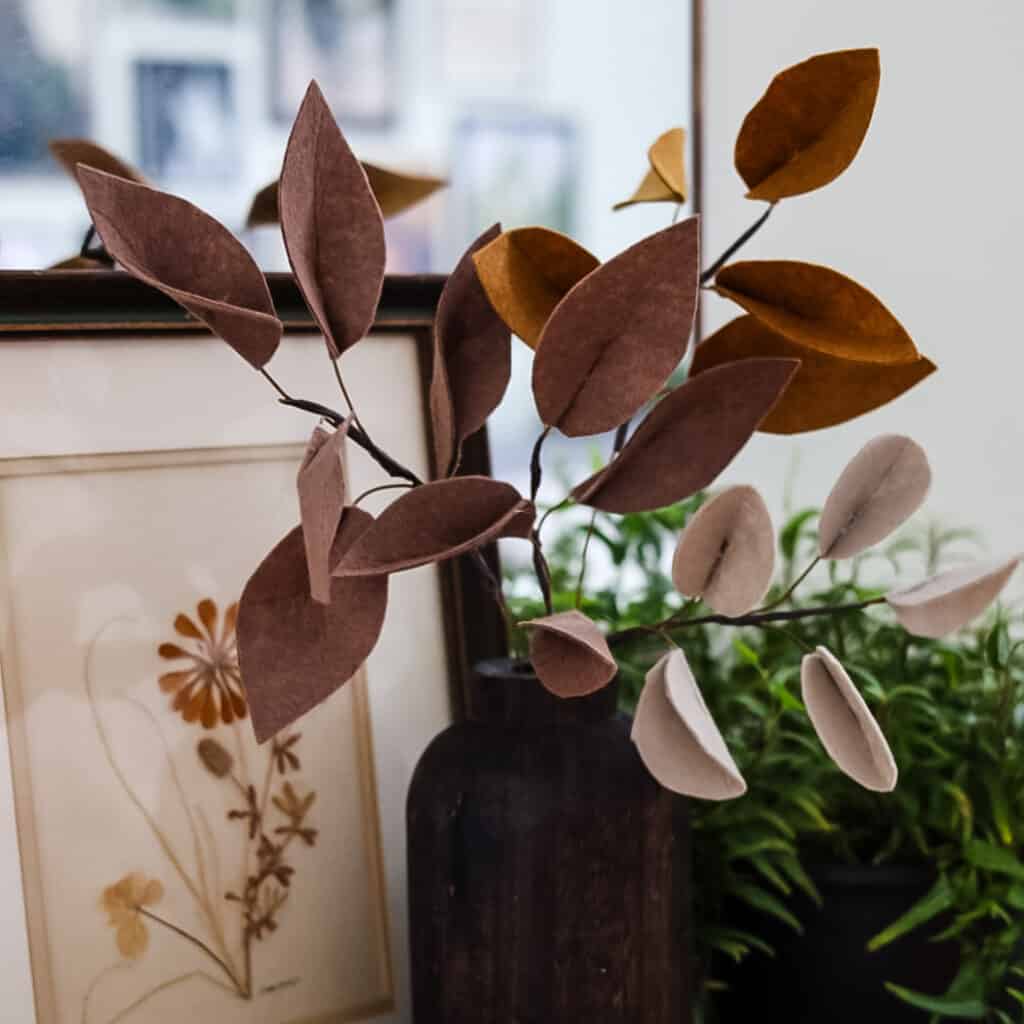
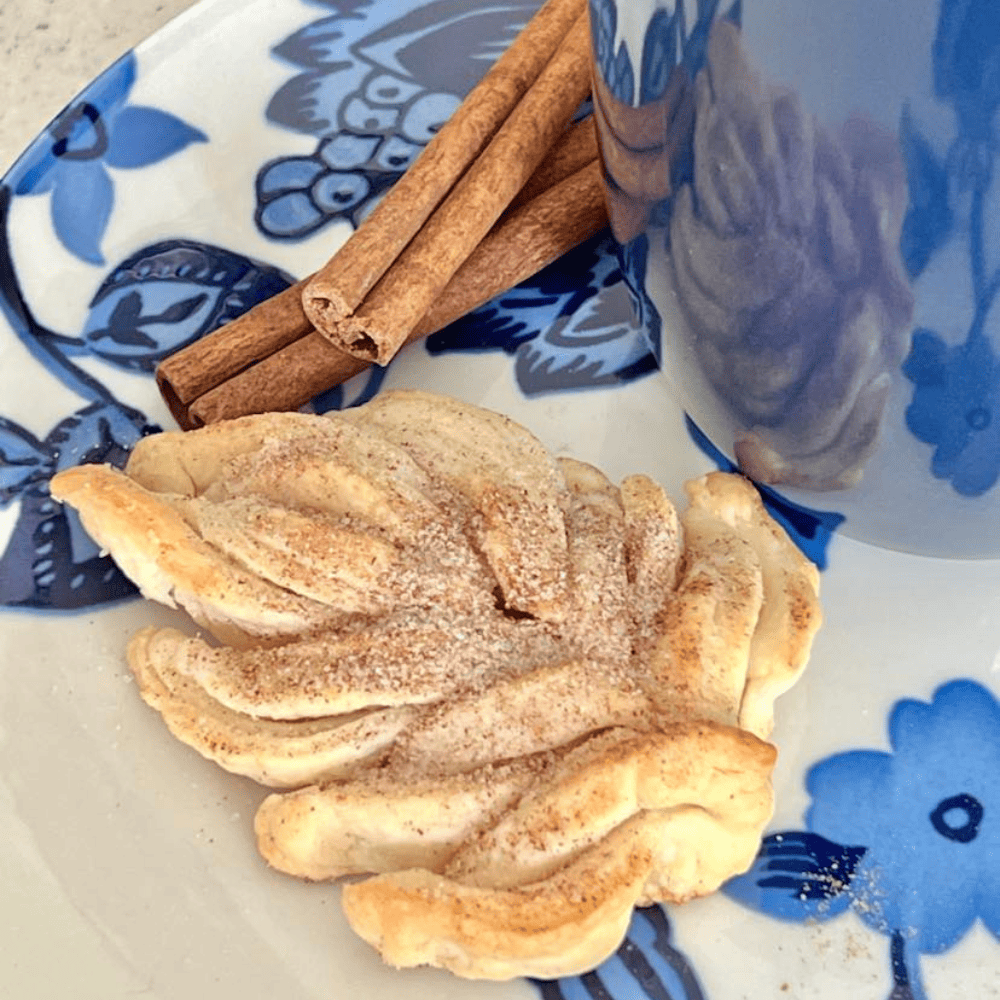
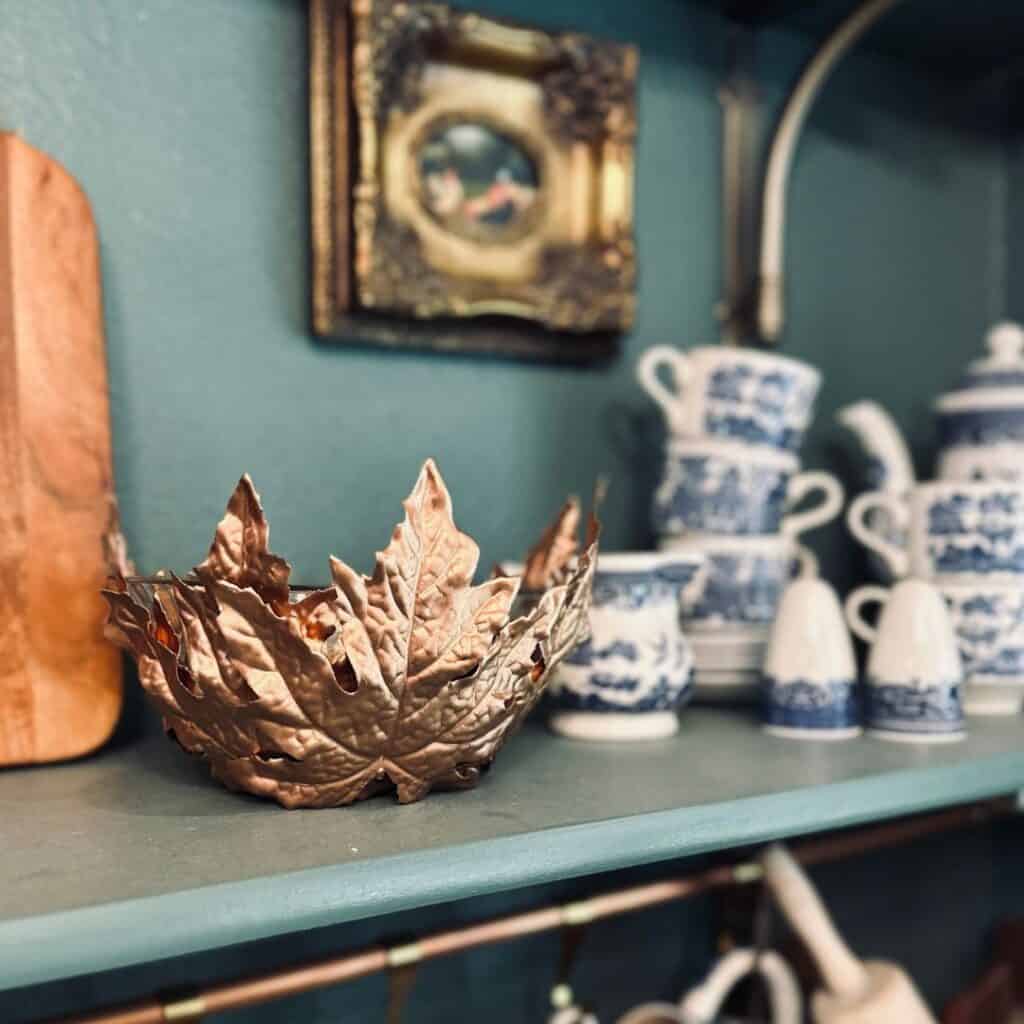
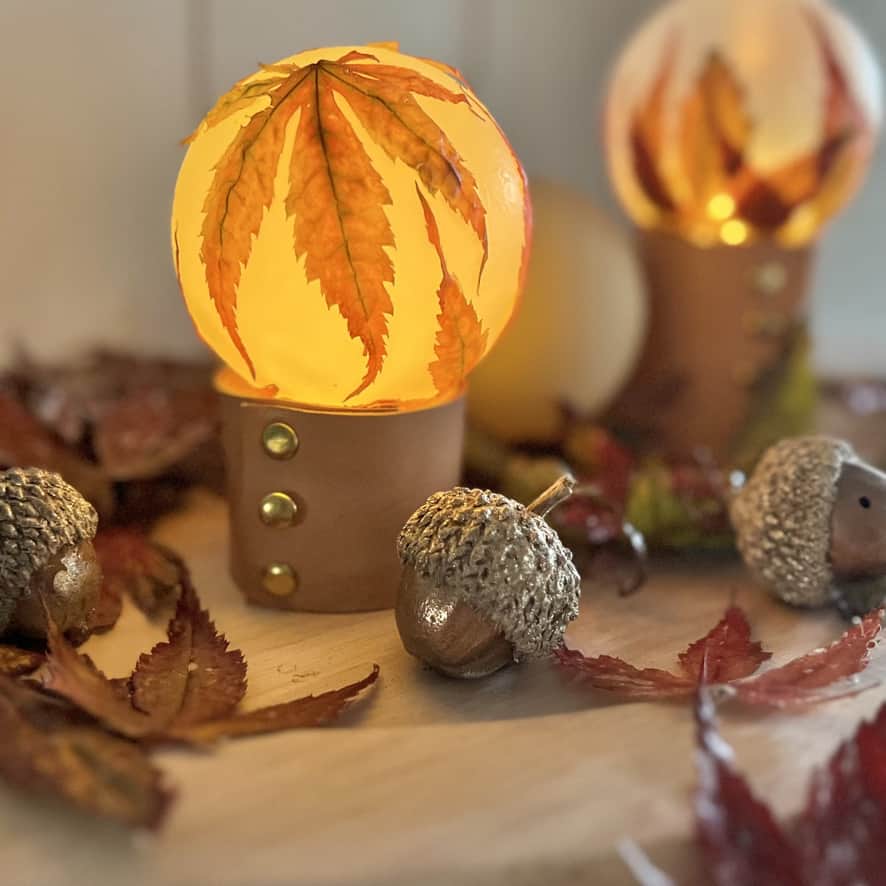
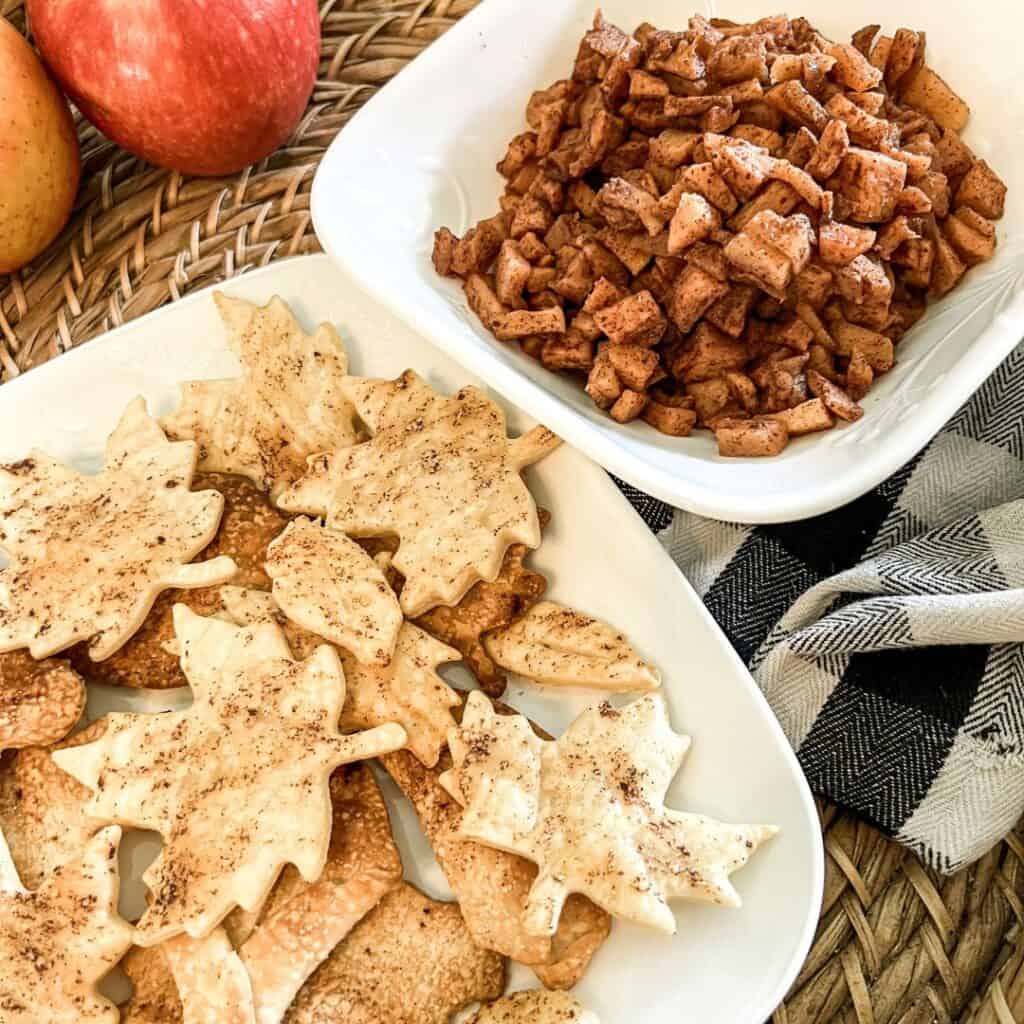
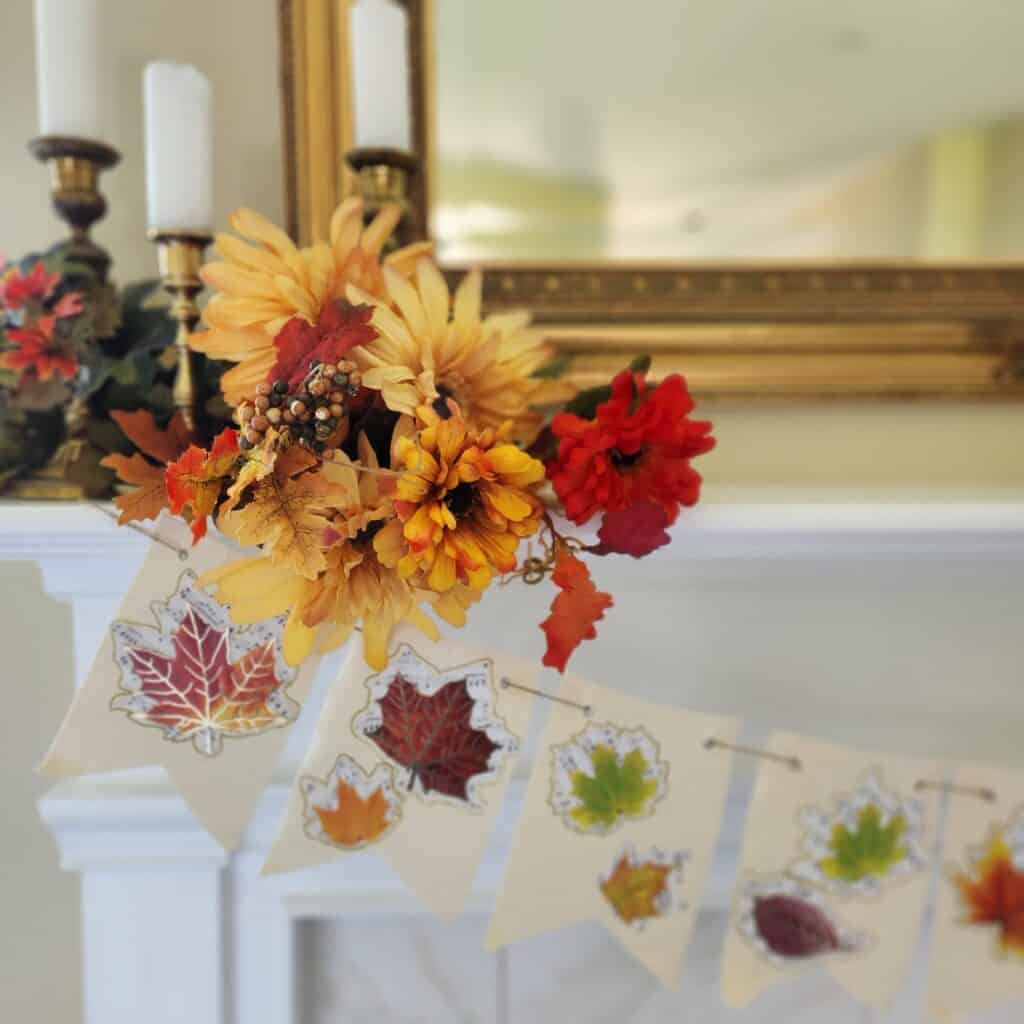
This project was part of the Hand Crafted Society, where a group of blogger friends each made a leaf-themed project for fall. Scroll down to see all of them, and click through for the full tutorials.


More about me!

Hello, I’m Wendy – a dedicated homemaker with a deep passion for decorating, gardening, cooking, and crafting. I find joy in harmonizing beautiful elements to fashion a space that is both comfortable and inspiring. I will help you create a beautiful home, one project at a time.
Wendy you need a tv show! You are so talented and inventive. Not to mention that you make things that diy and craft challenged people like me can make.
LOVE what elegant decor can be made with such humble supplies, Wendy!
Don’t forget to join us over at the Creatively Crafty Linky Party every Wednesday through Sunday
https://creativelybeth.com/creative-crafts-linky-party/
Followed and Pinned!
Creatively, Beth
I love this garland, and your coffee filter leaves are so pretty, and clever! I’m happy to be featuring your post at Tuesday Turn About this week!
You are so creative! This is a really cute project.
Thanks so much for sharing this fabulous diy garland on Farmhouse Friday! Featuring it this weekend. Pinned
Wendy, I’ve seen coffee filter crafts but never coffee paper, love how you distressed it and made each leaf unique. The garland looks beautiful on your mantel – you are set for fall!
Thank you, Regina. I love the paper, as it holds up much better than the filters.
Such a fun handcrafted project Wendy. I love the neutral colors and how lovely it looks on your mantel. Gorgeous details that would look beautiful in any home! xo
Thank you so much Susan. I hope you enjoyed your first Handcrafted Sociery with us!
I love ideas where I can use packing paper, thank you for this idea so I can add it to my crafting arsenal Wendy. I love the additions you made to the garland, with the berries and leaves. I do not know about you, but I am looking forward to some cooler weather, hopefully heading our way soon. I cannot wait to work on some fall crafts soon.
This certainly was a budget-friendly garland. I am always so anxious for fall to arrive that I seem to jump the gun.
I am so anxious for cooler days. I recently went to Washington for a few days, and the weather was glorious with a high of 74 degrees.
It felt so good.
This is seriously gorgeous!! I can’t stop thinking about it!!
You are too kind! Thanks, Jennifer.
Wendy
I love this idea. Your garland turned out great.
Thank you, Rachel! I appreciate that so much.
Wendy you are so creative I never would have thought to use coffee filters! These look so real l love how it came out! I hope you are enjoying your vacation!
Thank you, Nicolle. I am back to reality as of this afternoon! Darn, why can’t we be on vacation all the time.
Your fall mantel is absolutely gorgeous! The coffee leaves are so realistic looking, and I love that you mixed in gourds! Excellent tutorial Wendy!
Thank you so much, Michelle. You are so sweet. I love that we both made something so similar. I will have to try dipping paper bags in coffee to see what look I get. I’ll keep you posted.
Gorge as always Wendy! Loving all the textures you’ve added. Thanks bunches for organizing this group!!!
Thank you Diane, you are so sweet!
Wendy, oh the things you can make with coffee filters! Very creative and I like the brown paper rolled up for the base of the garland! Very clever.
Thank you, Mary! It sure makes for a budget-friendly garland and the effect you get from the coffee is so nice.
The patina you achieve with the coffee filters is so beautiful! These leaves look fantastic on your beautifully styled mantel! Another great handcrafted project!
This garland is wonderfully magnificent, Wendy!! It is so pretty for Fall with those amazing leaves that are so rustic. What a beautiful piece of decor to place in any area of your home for this season!
Thank you, Rachel. It sure was a fun project. Have you ever dyed fabric or paper with coffee? I love that you get something different every time.