

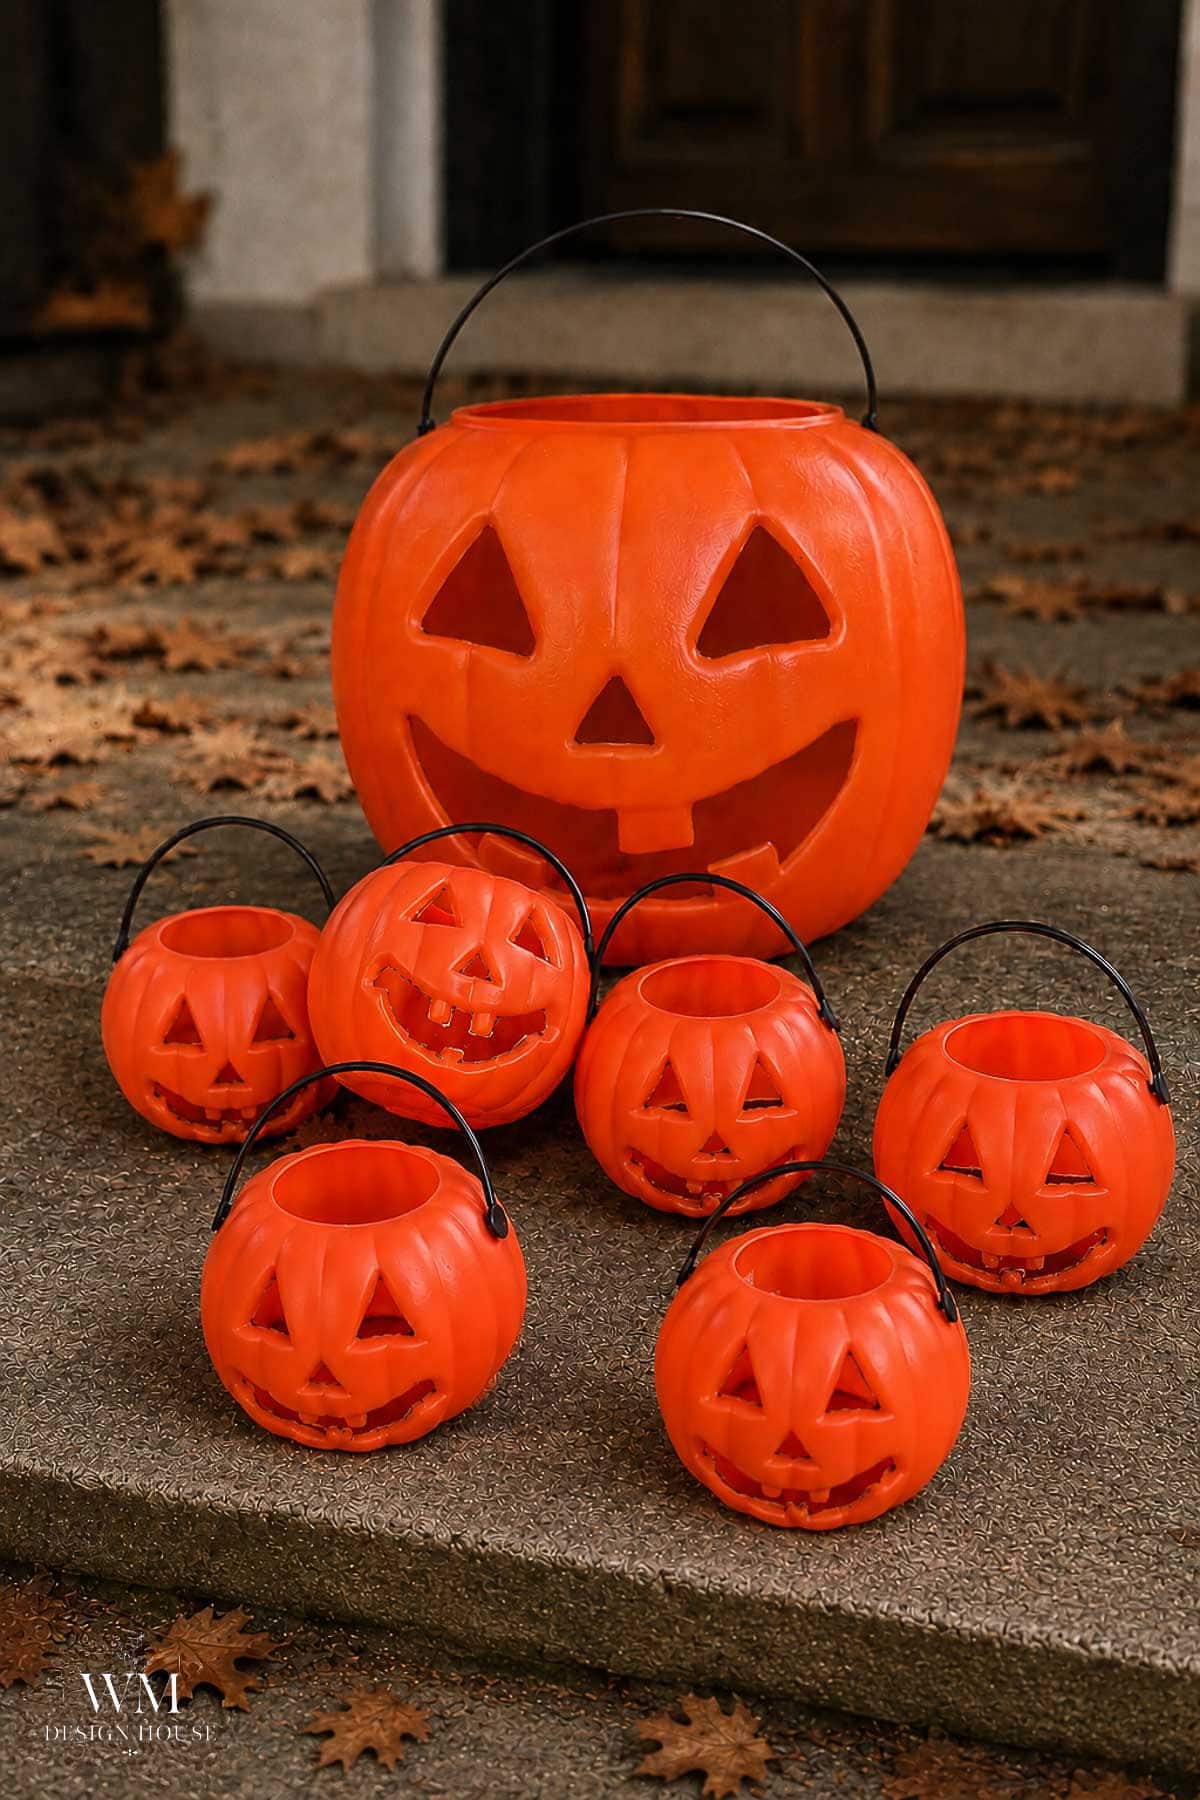
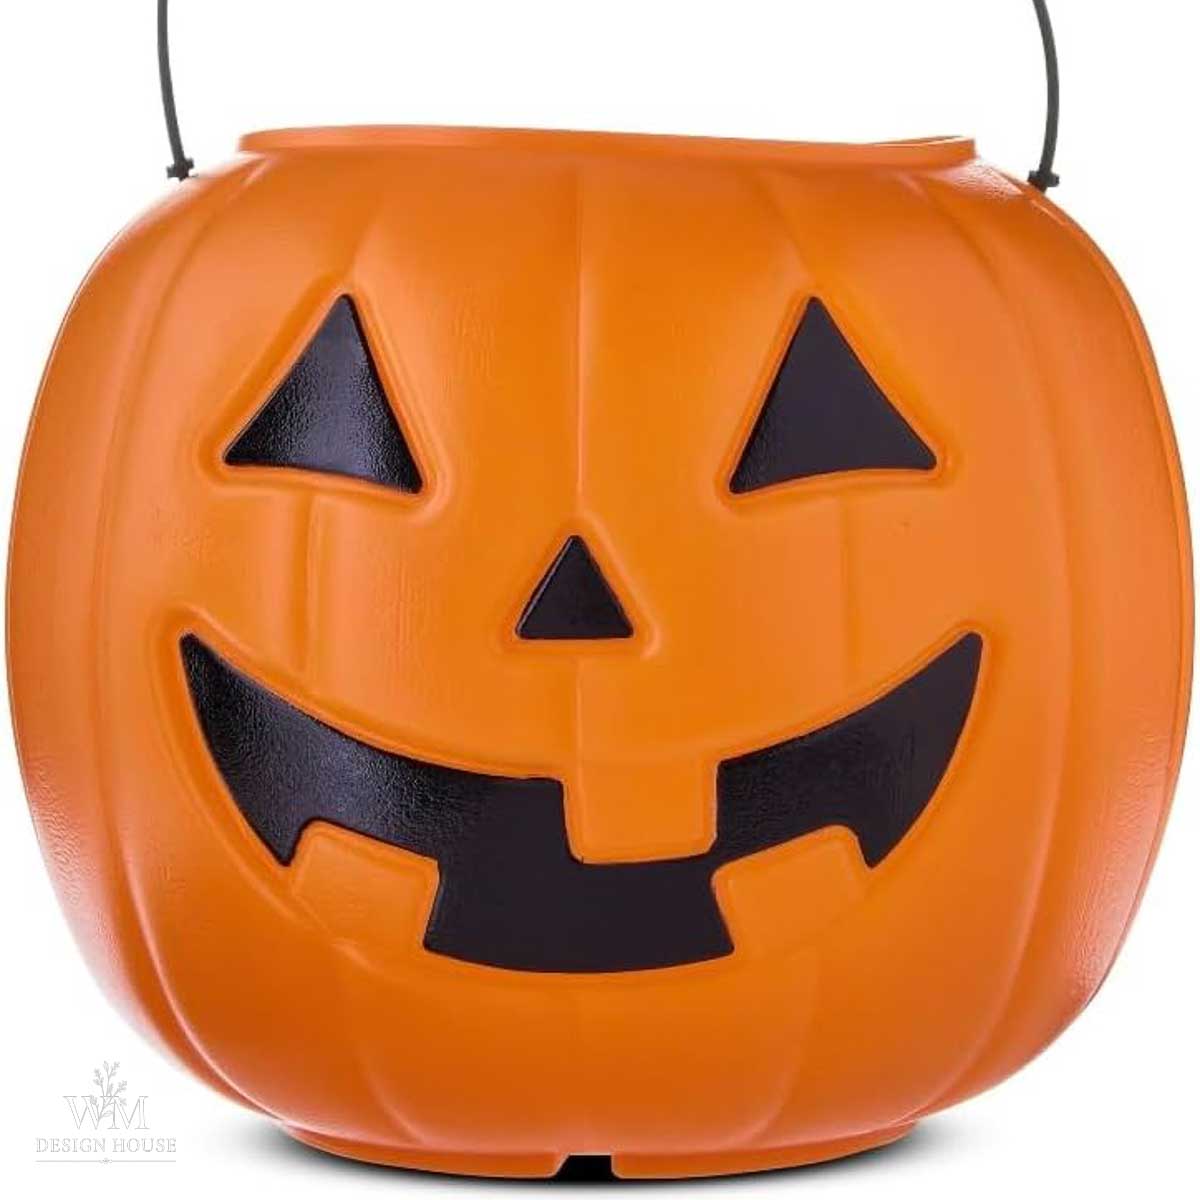
This Halloween lanterns DIY started as a way to use up a stack of plastic trick or treat buckets I had been collecting at thrift stores for years. A few at a time, whenever I spotted them, until there was a whole shelf of orange plastic pumpkins in the garage with the handles still attached.
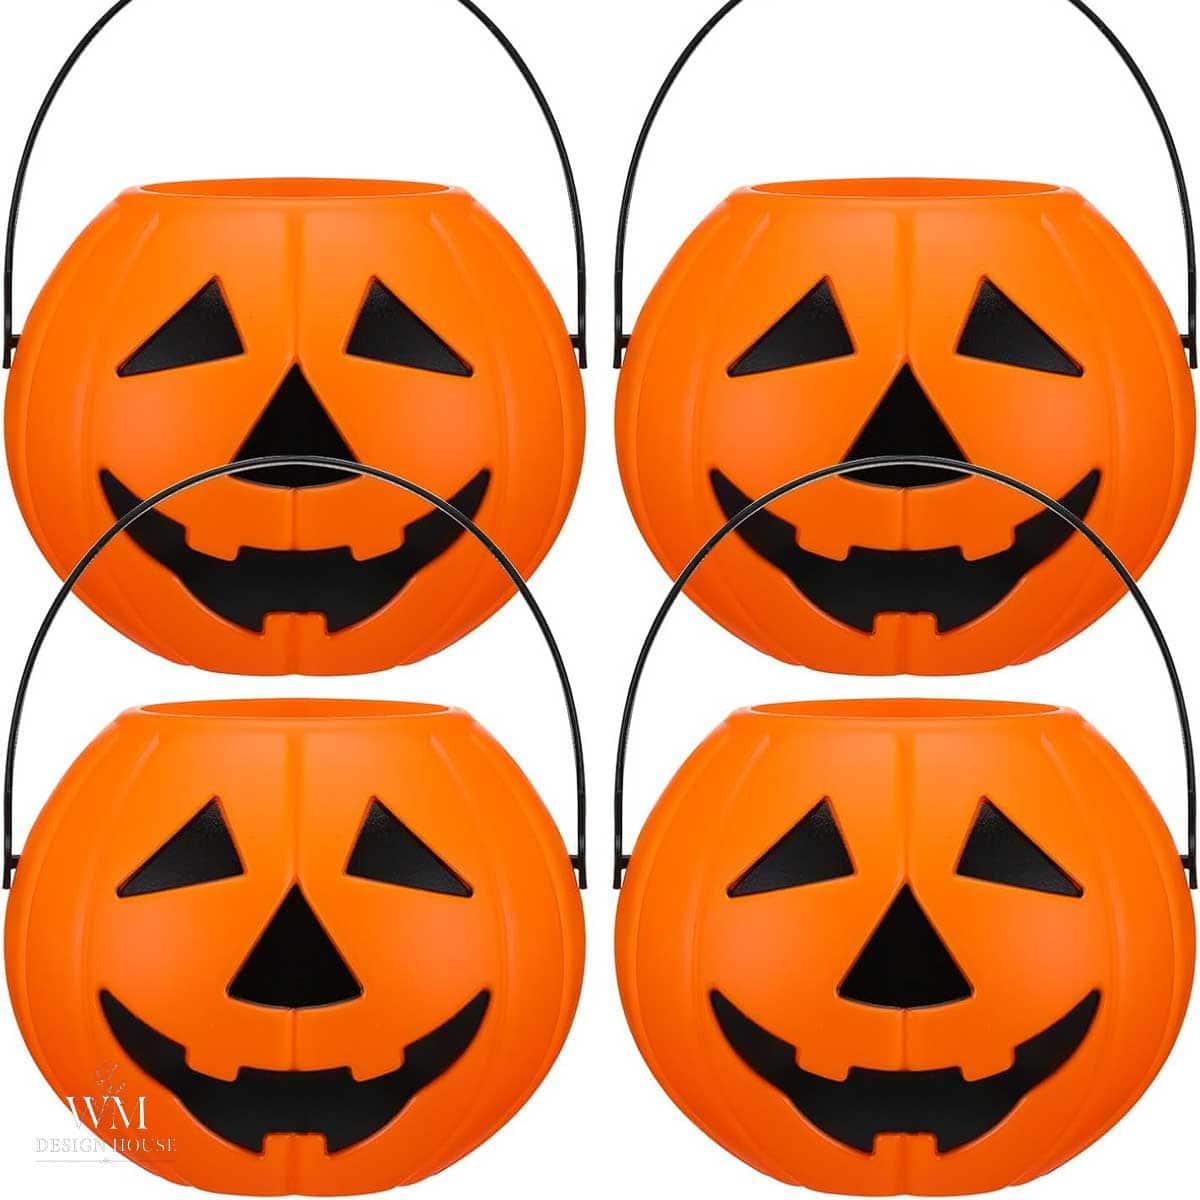
Then I came across the miniature version on Amazon, and that was it. Big ones and little ones together, all of them turned into true jack o’ lanterns.

On my blog WM Design House, I may sometimes use affiliate links, which means a small commission is earned if you purchase via the link. The price will be the same whether you use the affiliate link or go directly to the vendor’s website. Read my full disclosure policy here.
| Quick Look | |
| What you are making? | Painted plastic jack o’ lantern lanterns lit with battery candles. |
| Time: | About 30 minutes of work, plus paint drying time |
| Cost: | Under $10 if you already have the buckets |
| Difficulty: | Easy, though the cutting takes patience |
| Best for: | Front porch, entry table, mantel, Halloween tablescape |
Why Plastic Buckets Make the Best DIY Halloween Lanterns
Real pumpkins rot. Mason jars break. These plastic buckets have been coming out of the same bin for years now, and they still look wonderful and they glow all month long.
- They already have the pumpkin shape with the face molded right in. No stencil or tracing needed.
- No saw, no scooping, and no mess to clean up afterward.
- They weigh nothing. A gust of wind will roll them across the porch instead of shattering them.
- They store easily. The little ones tuck inside the big ones, so the whole set fits in one bin.
- Rain does not hurt them. Ours sit out through the entire month of October without a single problem.
I grew up in Pennsylvania, where Halloween was a big deal and I had to start planning my costume in August and a mischief night the evening before that was nothing but trouble. I still love the look of a lit face glowing on a dark porch. I picked these buckets up at thrift stores over the years, a few at a time, until I finally had enough to do something with them.
Supplies for This Halloween Lanterns DIY
- Plastic pumpkin trick or treat buckets, large and small
- Painter’s tape
- A sharp craft knife with fresh blades
- Metallic gold spray paint
- Matte or gloss black spray paint or acrylic craft paint
- Battery operated tea lights and pillar candles
- A cutting mat or a scrap of cardboard
Tip from wendy’s craft room:
Mixing large and small buckets is what makes the finished grouping look intentional rather than like a craft project. If you only have large ones, the small plastic pumpkins sold in bags around September are inexpensive and worth adding.

How to Make DIY Halloween Lanterns
None of this is difficult. The cutting takes the most time and a little patience, and after that it is just spray paint.
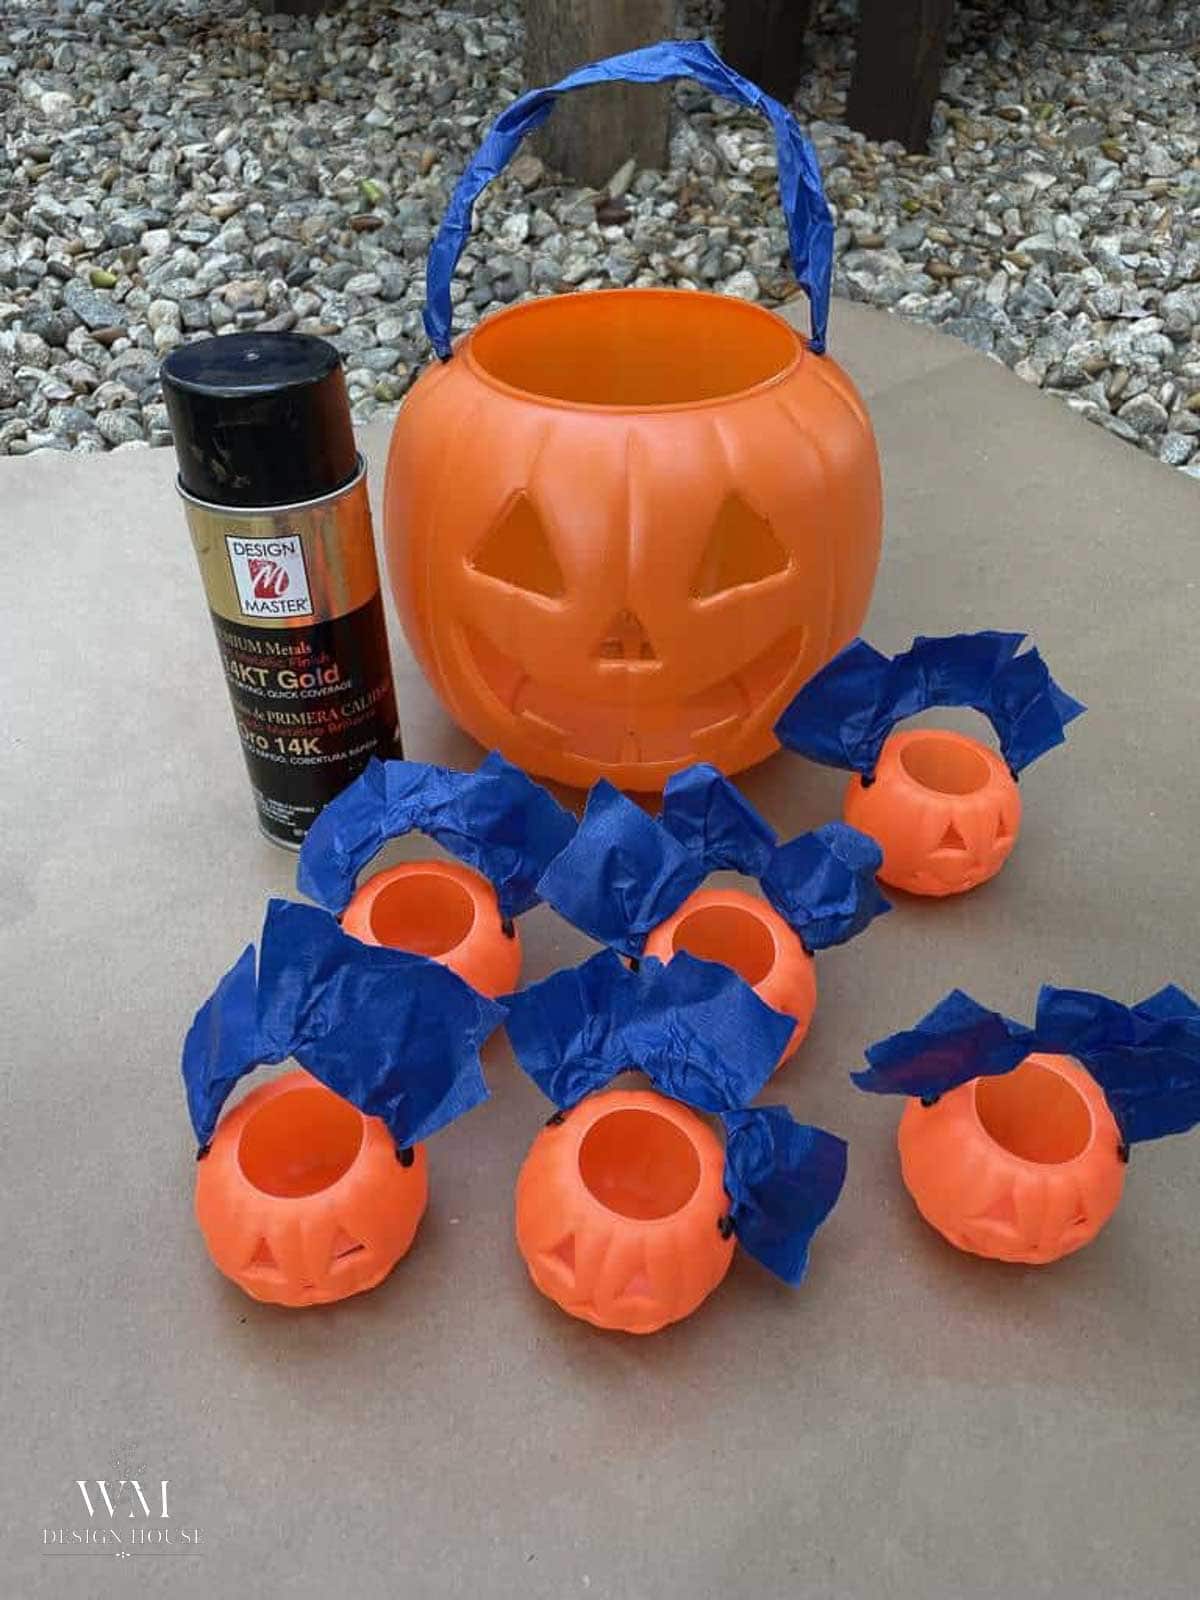
Step 1: Tape off the handles
Wrap the handles in painter’s tape if you want them to stay their original color. I left mine unpainted since they were already black.
Step 2: Cut out the face
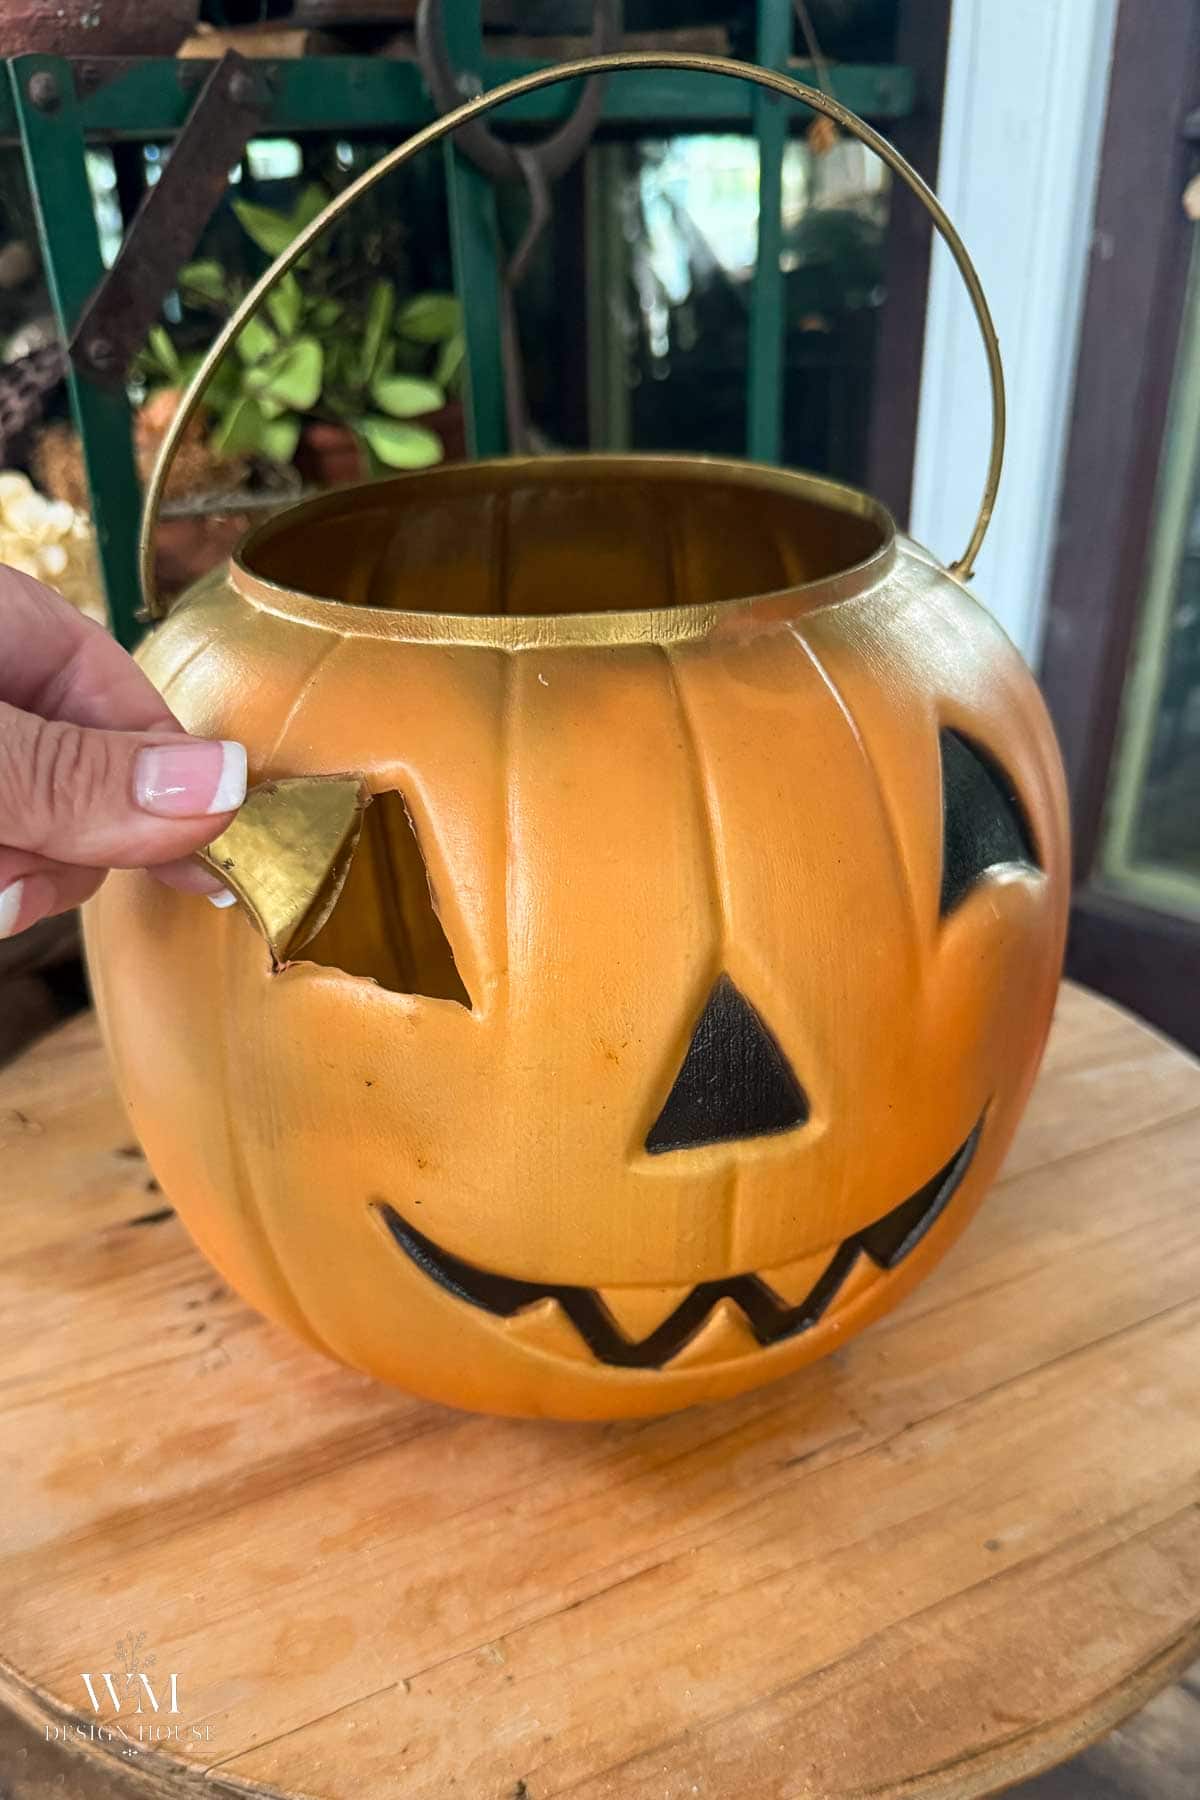
The face is already there, which is the whole reason these work so well. You are just cutting along the lines that are molded into the plastic.
Use a sharp craft knife and work slowly, keeping your other hand well clear of the blade. Start with the eyes, then the nose, then the mouth. The plastic is thin, but it grabs a dull blade, so change blades the moment cutting starts to feel like sawing instead of slicing.
Push the cut pieces out from the inside. If an edge comes out ragged, run the blade back along it at a shallow angle to clean it up.
Step 3: Spray the inside gold
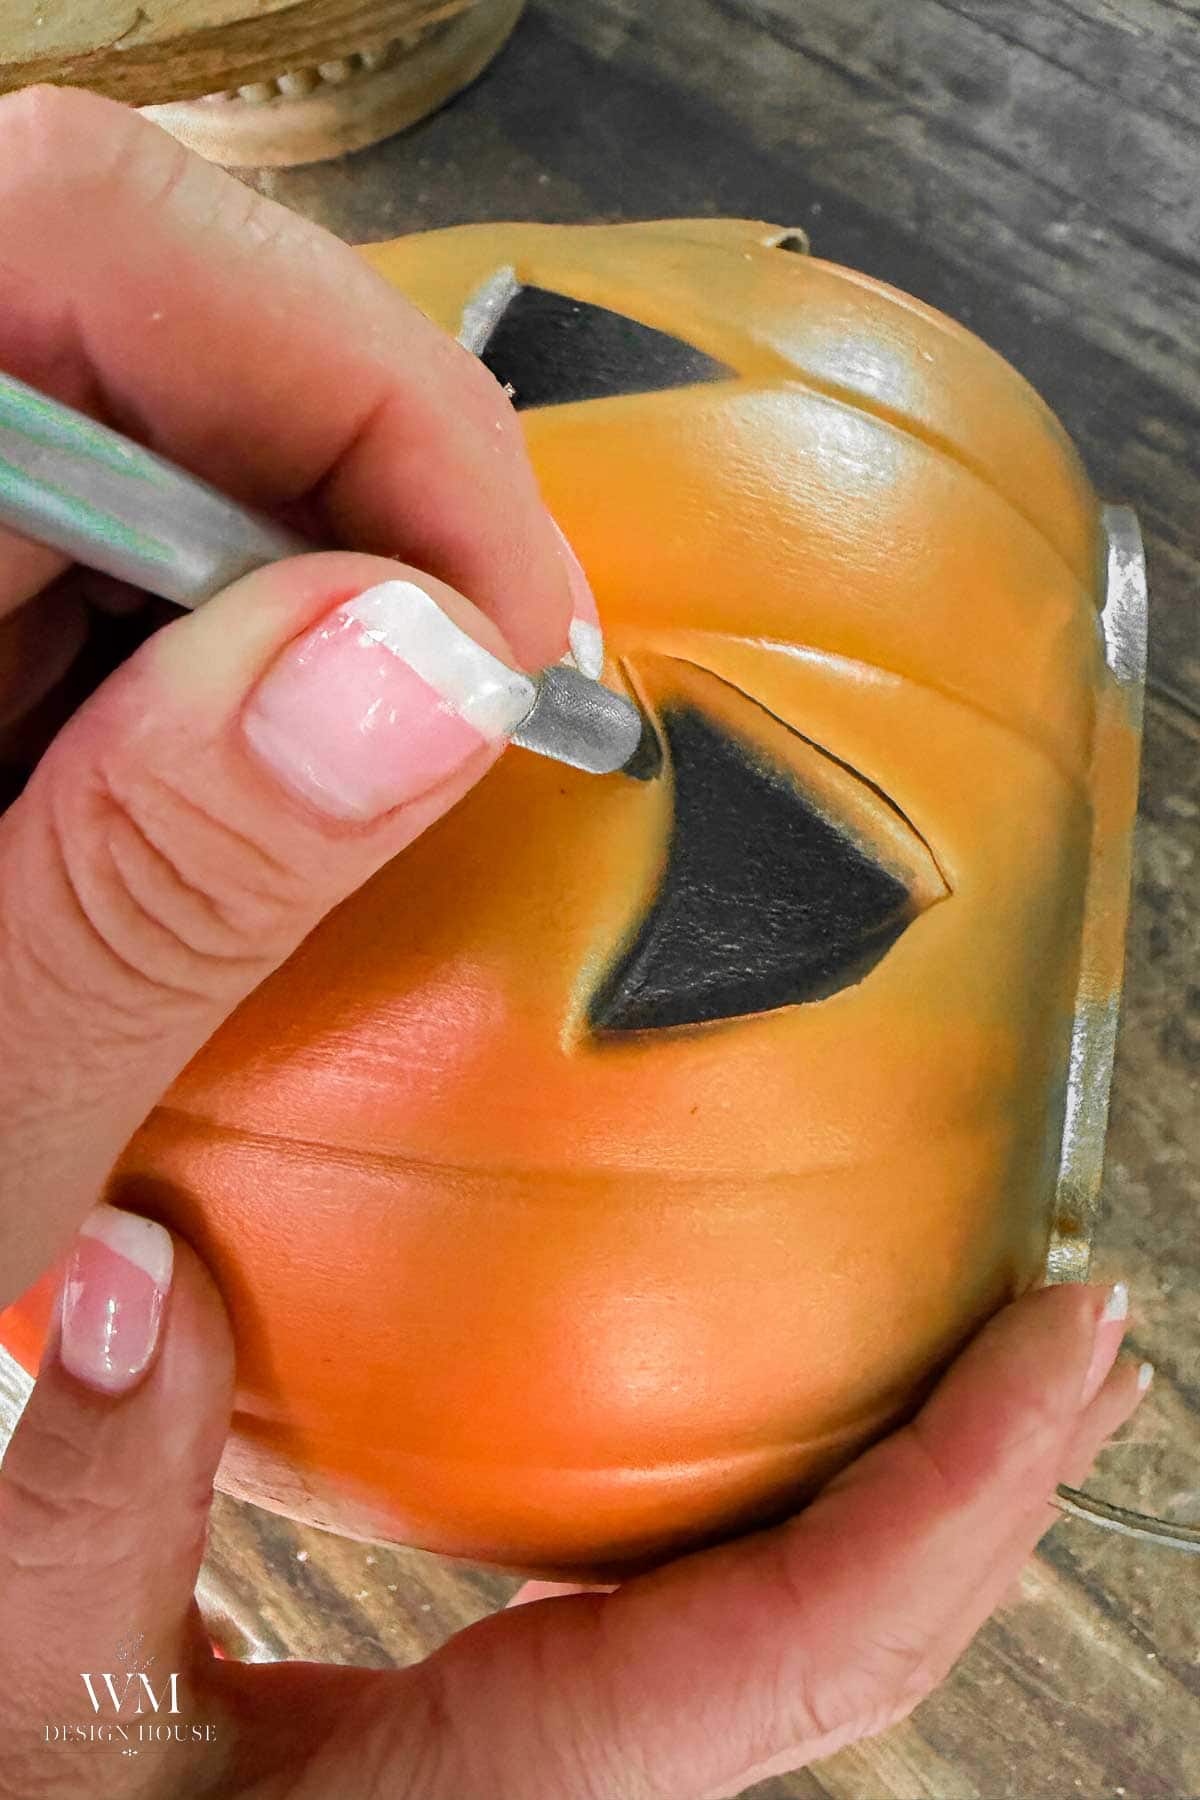
Spray the interior with metallic gold. This is the step people skip and it is the one that matters most. The gold bounces the candlelight back out through the face, so it glows warm instead of looking like a dark hole.
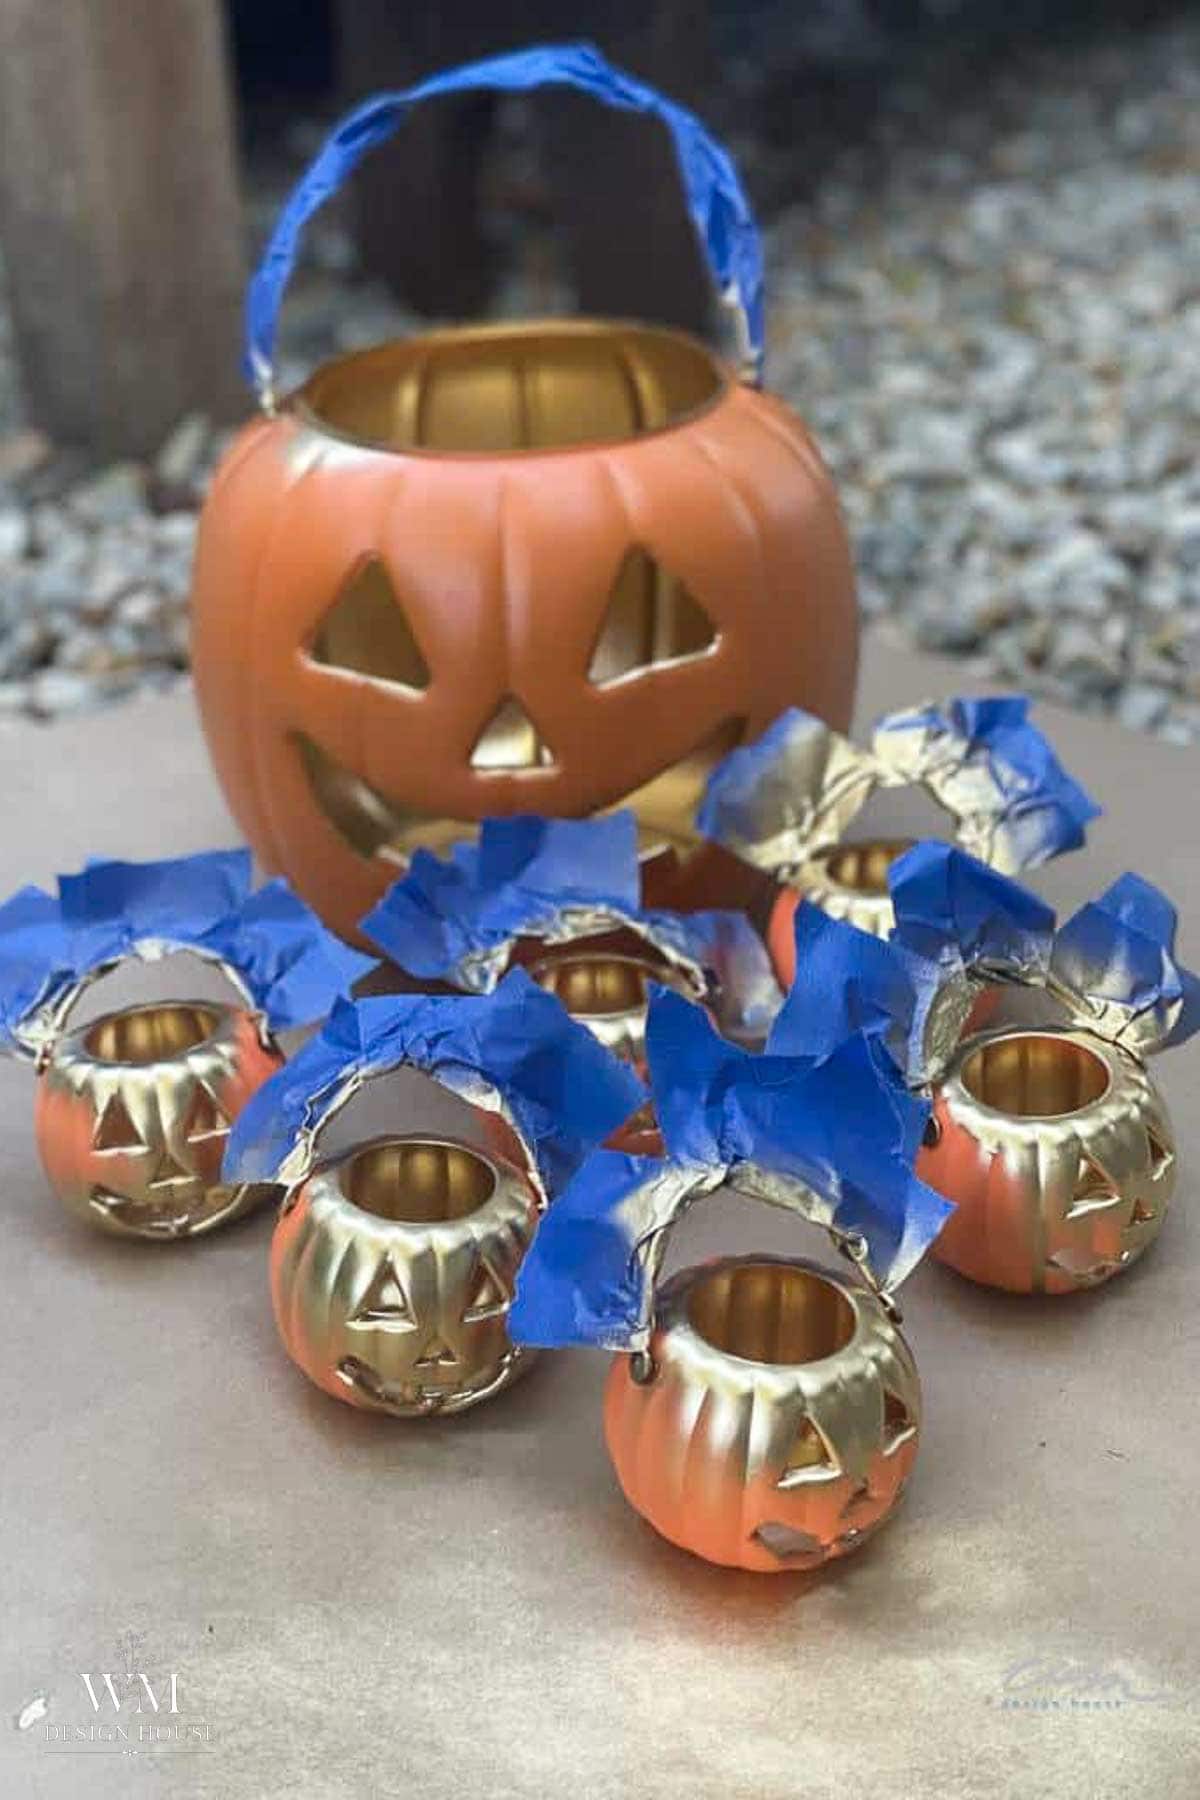
Step 4: Paint the outside black
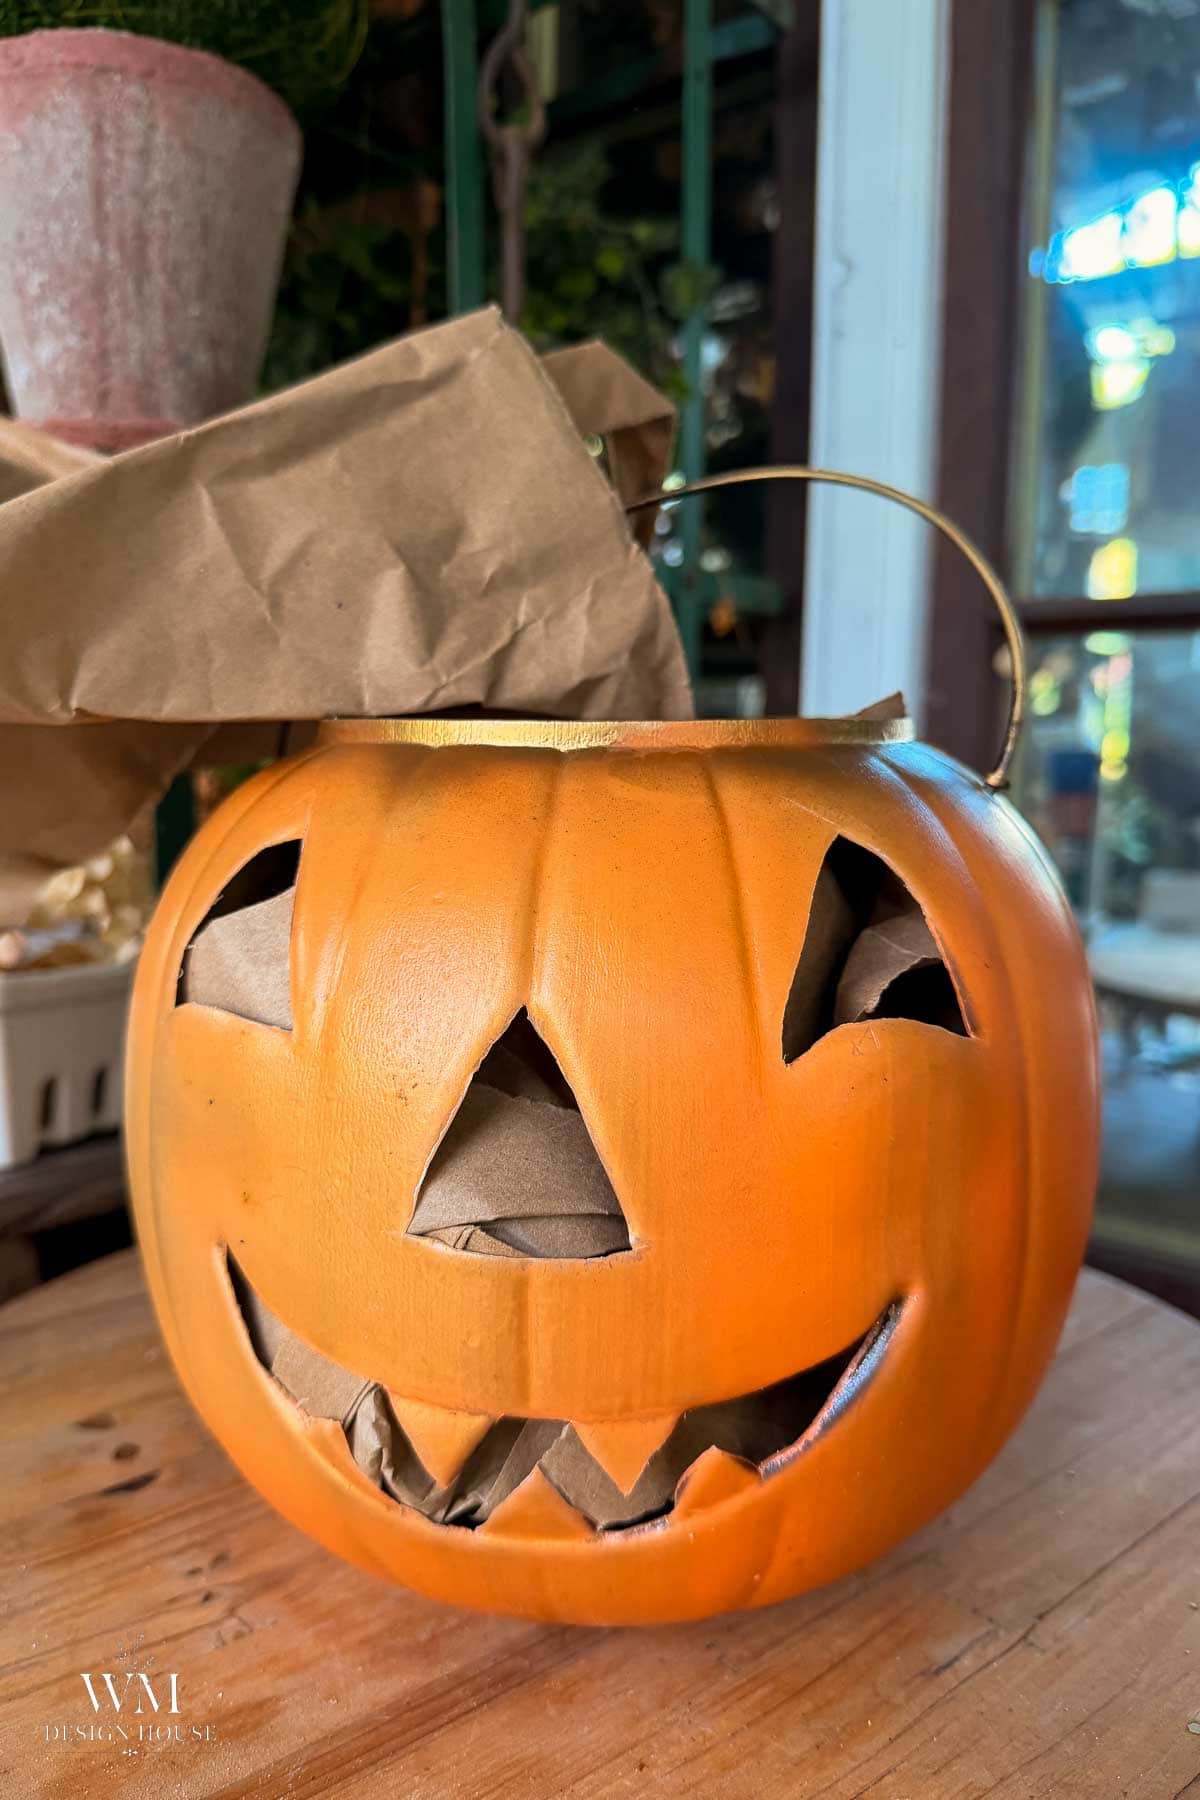
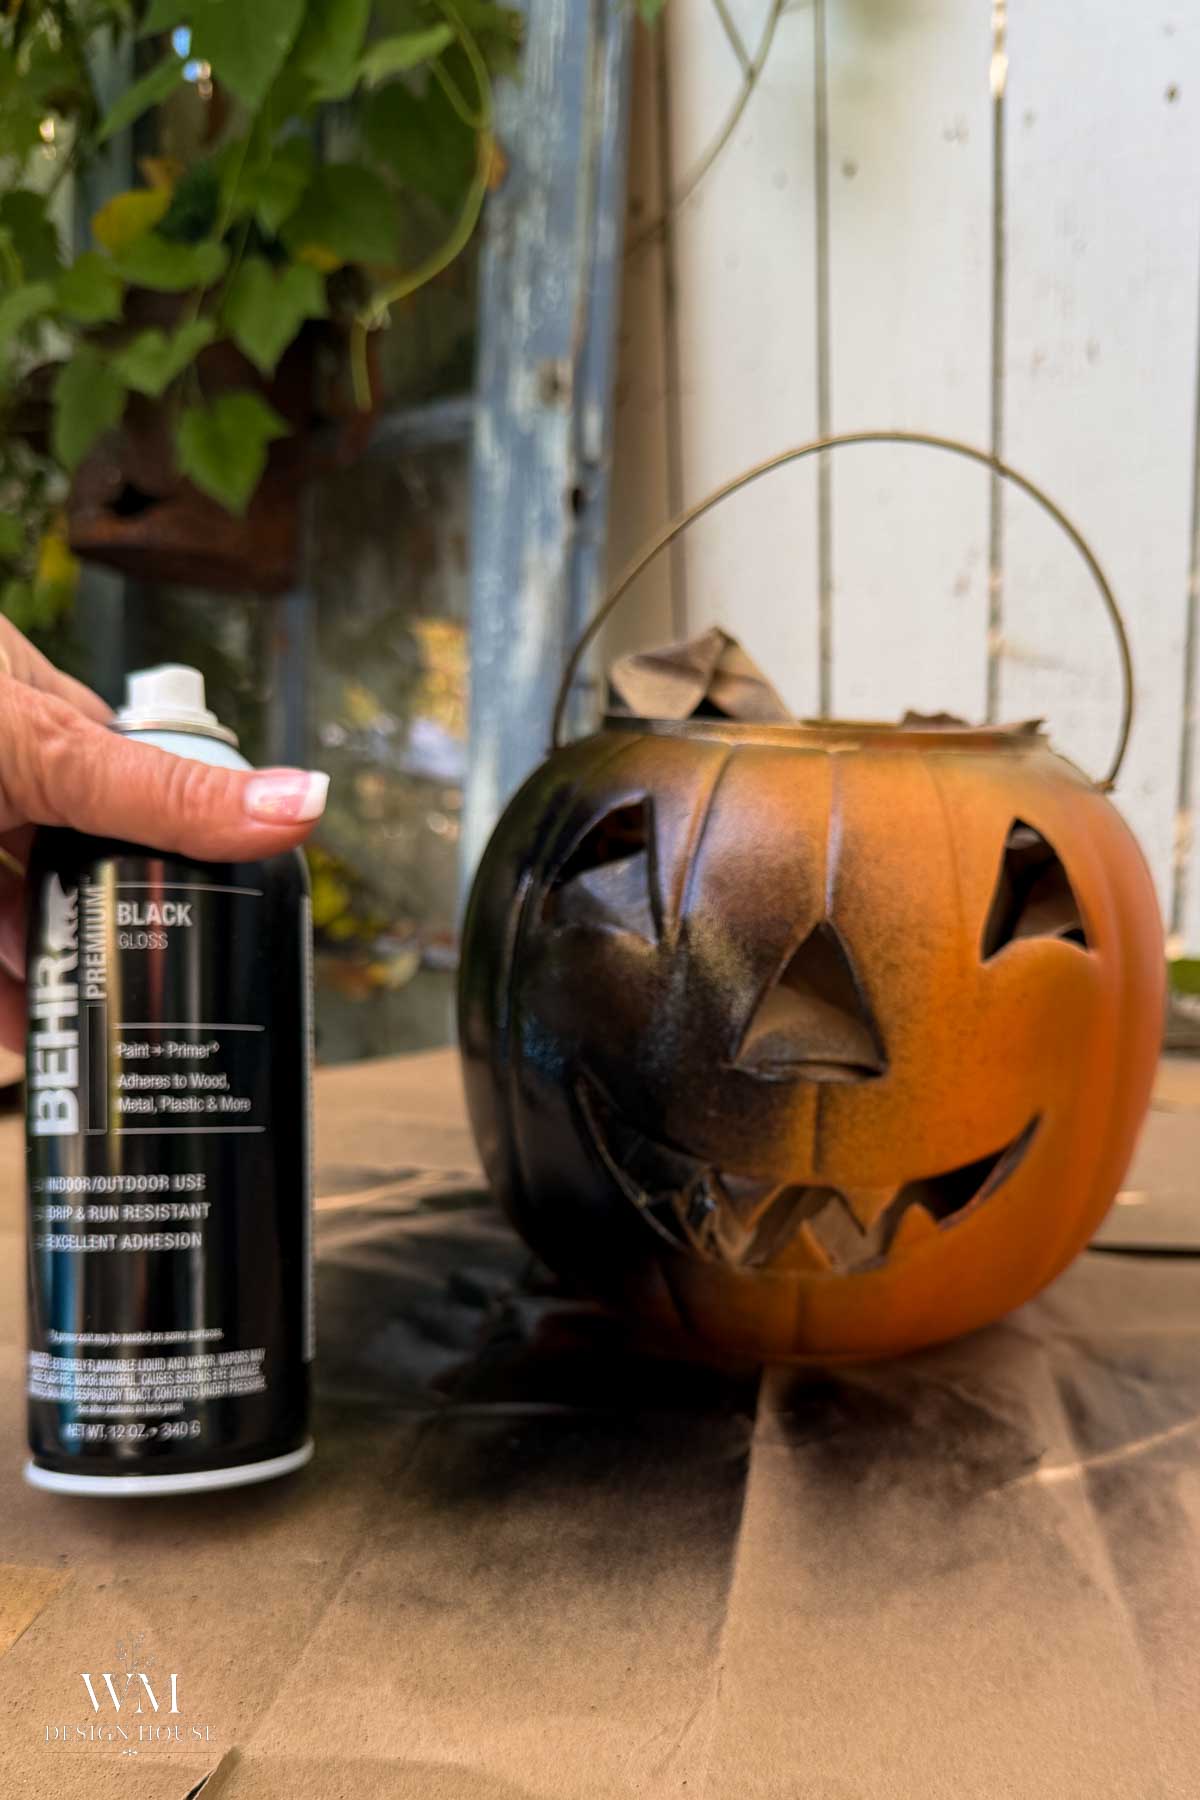
The gold is already dry, so stuff the inside with crumpled paper bags. It keeps the black from drifting onto the gold and from coming through the openings you just cut.
Two light coats of matte or gloss black on the exterior, letting the first dry fully before the second. Light coats matter here. A heavy coat will run down the curved sides and pool at the base. Matte reads more like aged metal than gloss does, which suits my old house better than shiny orange plastic ever did.
Step 5: Light them
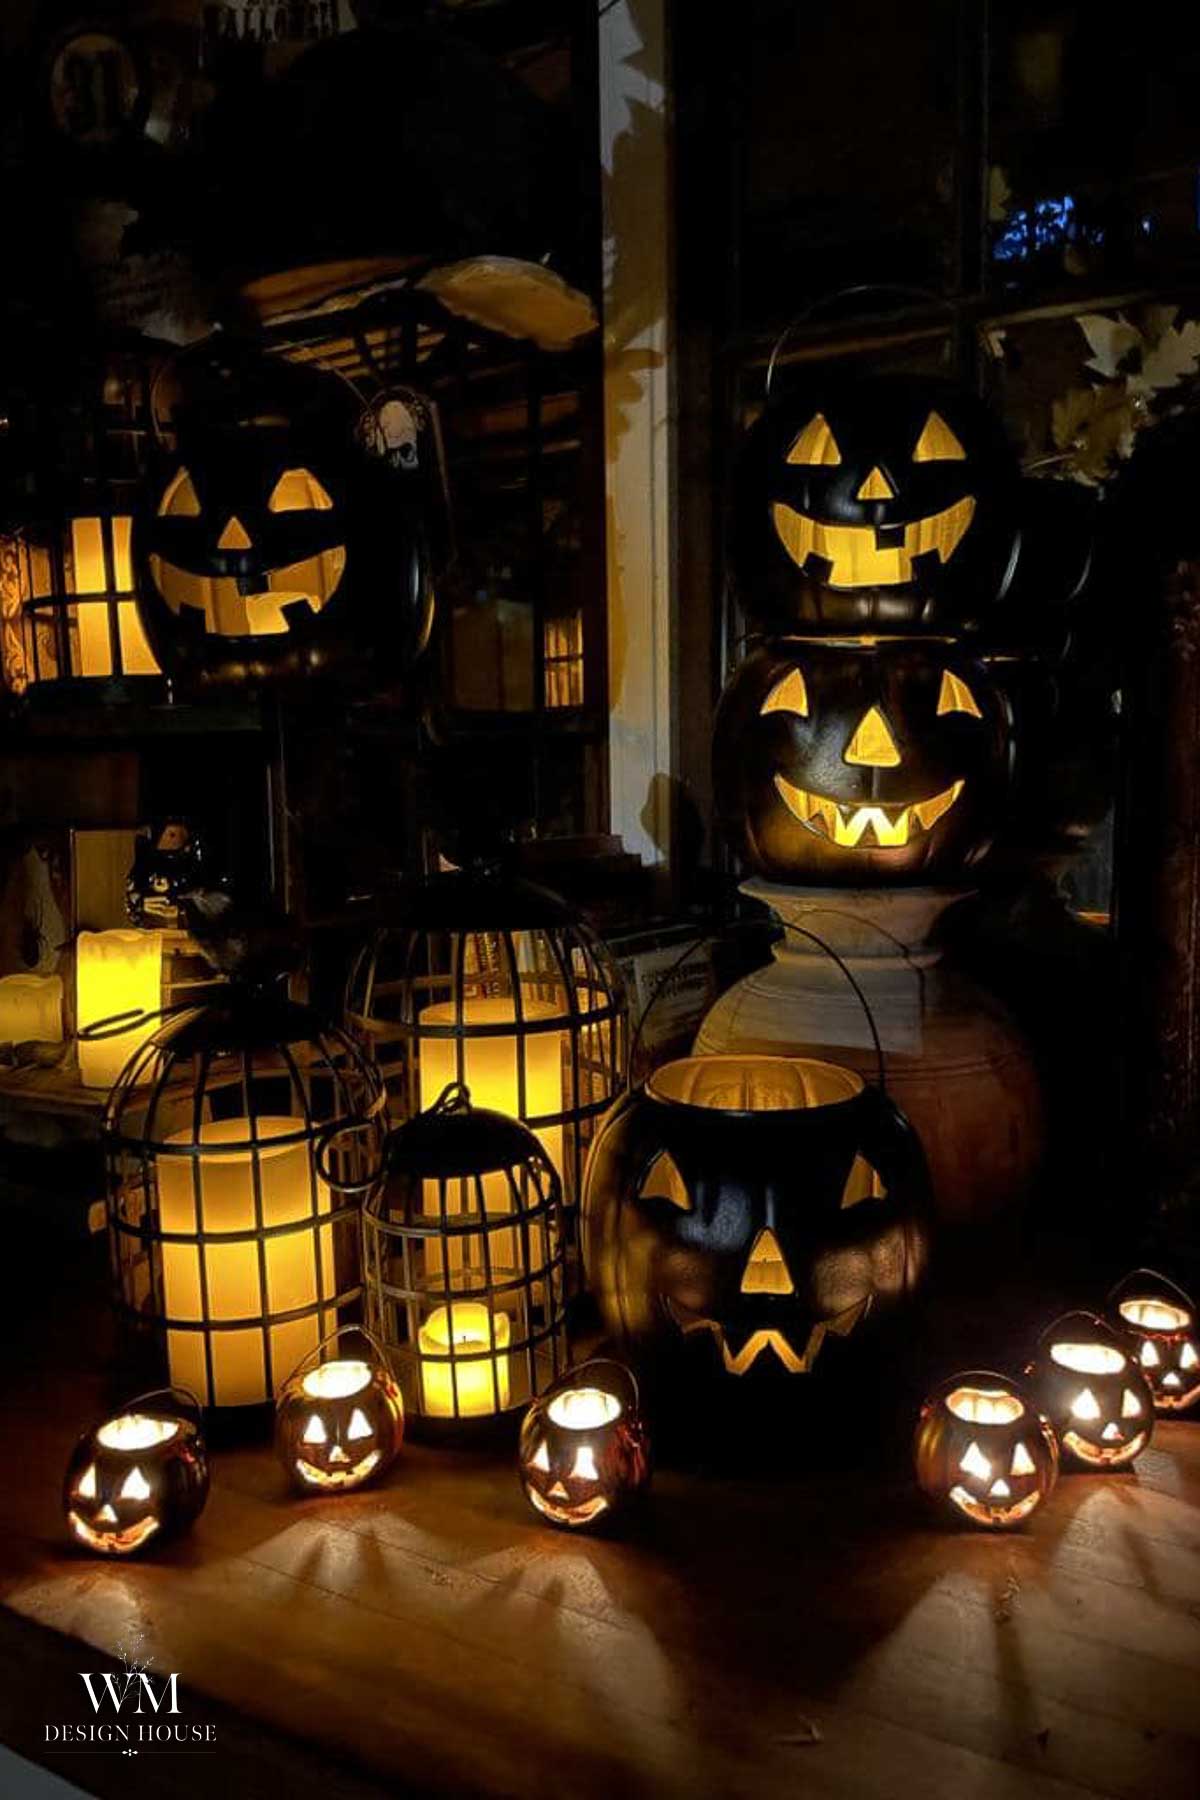
Drop a battery tea light into each small lantern and a battery pillar into each large one. Pillars sit higher and throw light through the eyes rather than pooling at the bottom, which makes a real difference on the big buckets.
Never Use a Real Candle in a Plastic Lantern
These are plastic. A real flame will soften the walls, warp the shape, and can melt through entirely. Battery candles only, without exception. This matters most on a porch where trick or treaters are walking past in costumes, and it matters again indoors around curious grandchildren.
Timer tea lights are worth the small extra cost. Mine come on at dusk and shut themselves off, so I am not walking the porch every night in October.

How to Style Your Halloween Lanterns
Once your lanterns are lit, the grouping matters as much as the lanterns do. Odd numbers and mixed heights.
On the front porch, set the large ones on the upper step and let the small ones tumble down toward the walkway. A few fallen leaves around the bases do more for the photo than anything you could buy.

Inside the She Shed, I placed the small lanterns in front of the gold mirror with tall black tapers in brass and black candlesticks behind them. The lanterns sit low and glow warm while the tapers draw the eye up. That height difference is the whole trick.

Not every one of these has to be black. I left one large bucket gold inside and out and filled it with orange and copper mesh instead of a candle. On the Halloween table it works as a centerpiece rather than a light, and against the black lanterns and a real pumpkin, it keeps the whole grouping from reading too dark.

If you already have a large lantern, set three small jack o’ lanterns in front of it. The bigger light behind them turns the little faces into the sweetest silhouettes.

They mix well with the black glass pumpkins and battery candles I already use on my Halloween tablescape, and they sit nicely alongside a jack o’ lantern pumpkin topiary by the front door.
More Halloween Projects
If you are decorating this month, these are the other projects I come back to every year:
- Halloween tablescape with black glass pumpkins and candlelight
- DIY Halloween place card holders with a free printable
- Rusty patina apothecary bottles made from mini liquor bottles
- The easiest outdoor pumpkin topiary
- DIY spooky Halloween tree
- How To Make a Pumpkin Wine Holder for a Fall Party

DIY Halloween Lanterns from Trick or Treat Buckets
Equipment
- 1 Exacto knife
Materials
- Plastic pumpkin trick or treat buckets large and small
- Metallic gold spray paint
- Matte black spray paint
- Painter’s tape
- Battery operated tea lights
- Battery operated pillar candles

Instructions
- Wrap the handles in painter’s tape to keep them their original color.
- Cut along the face that is already molded into the plastic. Eyes first, then nose, then mouth. Push the pieces out from the inside and clean up ragged edges with the blade held at a shallow angle.
- Turn the bucket upside down and spray the interior metallic gold. Spray from directly underneath. The gold reflects the candlelight back out through the face.
- Spray two light coats of matte black on the outside, letting the first dry fully before the second. Skip this step on one or two buckets if you want gold lanterns in the mix.
- Cut a short vertical slit down the back seam of the small buckets so a tea light will fit through.
- Drop a battery tea light into each small lantern and a battery pillar into each large one.
Notes
Final Thoughts
These lanterns cost almost nothing and come back out every October like old friends. Not bad for a pile of thrift store buckets. If you make a set, mention @wmdesignhouse or tag #wmdesignhouse so I can see them glowing.
DIY Halloween Lanterns FAQs
Not for indoor use. For lanterns that live outside all month, a light coat of plastic-bonding primer makes the black far more chip resistant, especially around the handles and the cut edges where fingers grip them. Spray paints labeled for plastic skip this step on their own.
The buckets themselves are fine. The paint is what fails. A quick coat of clear matte outdoor sealer after the black has cured for twenty four hours will get you several seasons instead of one. Bring them under cover if a real storm is coming, mostly to protect the battery candles.
The small lanterns tuck inside the large ones, so the whole set goes into a single bin. Slip a sheet of tissue between the ones that touch so the painted surfaces do not rub. Store the bin somewhere nothing heavy sits on top, because the cut faces make the walls flex more than they did before.
Thrift stores carry them year round and usually for under a dollar, often in a bin with the other seasonal plastics. Estate sales and neighborhood buy-nothing groups turn them up too, and people are generally glad to see them go somewhere useful.
Shop the Post

Happy crafting!



More about me!

Hello, I’m Wendy – a dedicated homemaker with a deep passion for decorating, gardening, cooking, and crafting. I find joy in harmonizing beautiful elements to fashion a space that is both comfortable and inspiring. I will help you create a beautiful home, one project at a time.