How to make Twine Pumpkins
Twine has been one of my favorites lately. I have made so many fun things out of twine recently, and today we will make twine pumpkins! I have created vases, a candle holder, and a wreath this past week. You all know that fall is my favorite time of the year, and I am obsessed with pumpkins, so this is the first pumpkin post of the season, but it won’t be the last, haha!
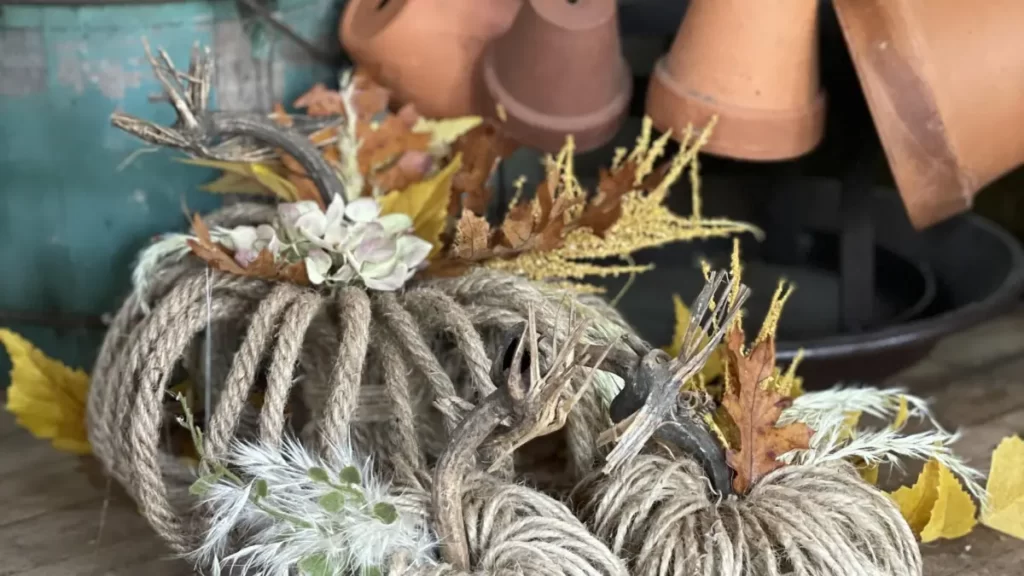
I have pumpkins dancing in my head and cannot wait to share them with you.
Yes, you heard me right, twine pumpkins! They are adorable and will make the perfect decoration for the fall season.
By the end of this post, you will be making both.
The simplicity of twine is impressive, yet you can do so much with it.
We use twine in the garden to tie up plants, in the kitchen to tie up poultry, and to wrap up packages.
There are many types of twine, such as cotton, sisal, jute, hemp, and linen.
It all depends on the project you are working on and the requirements.
Each type of twine also comes in different diameters and can be used for various projects.
I will show you two sizes for today’s twine pumpkin.
This small twine pumpkin is created out of your essential gardening twine comparable to the twine you would use to wrap a package. I used jute twine.
Supplies needed to make a twine pumpkin
- Scissors
- Twine
- Twigs
- Hot Glue
- Wire
- Decorations for your pumpkins
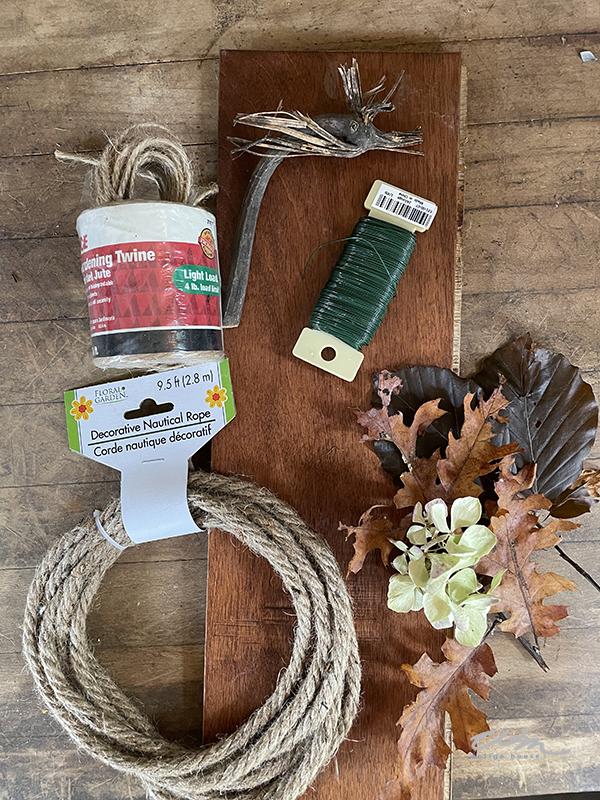
Directions on How to make a Twine Pumpkin
- You first want to create six twine rounds, like in the image below.
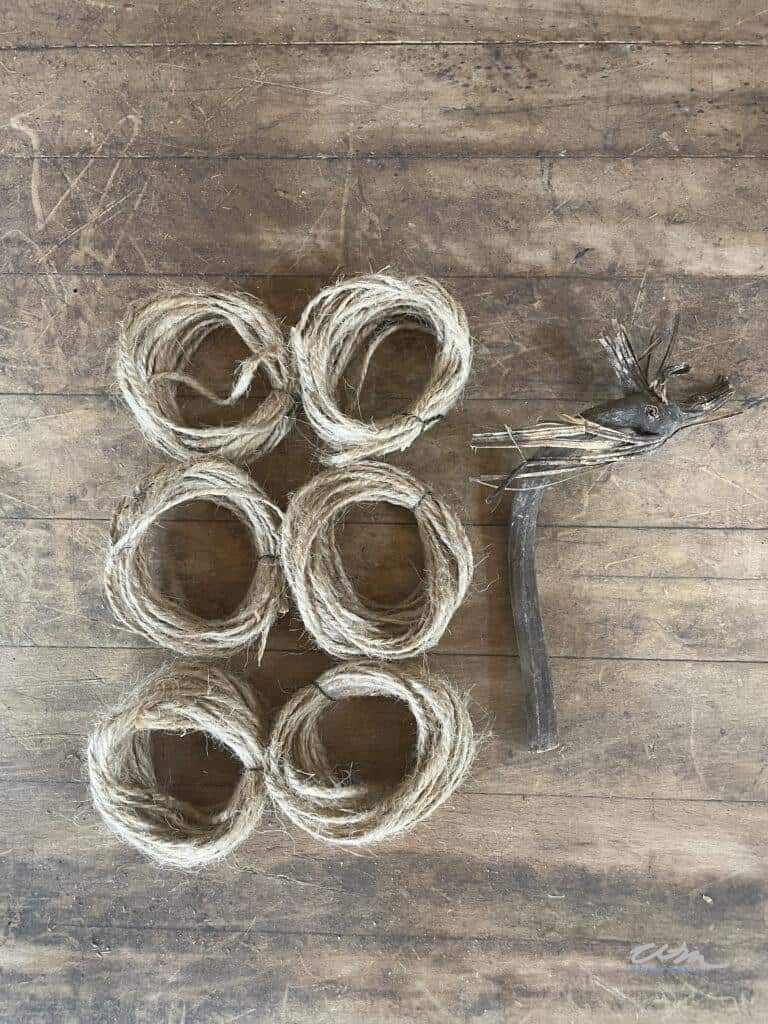
You can use three fingers, wrap the twine around your fingers about fifteen to twenty times, and wire the twine together in the center.
Repeat this process so you have six bundles.
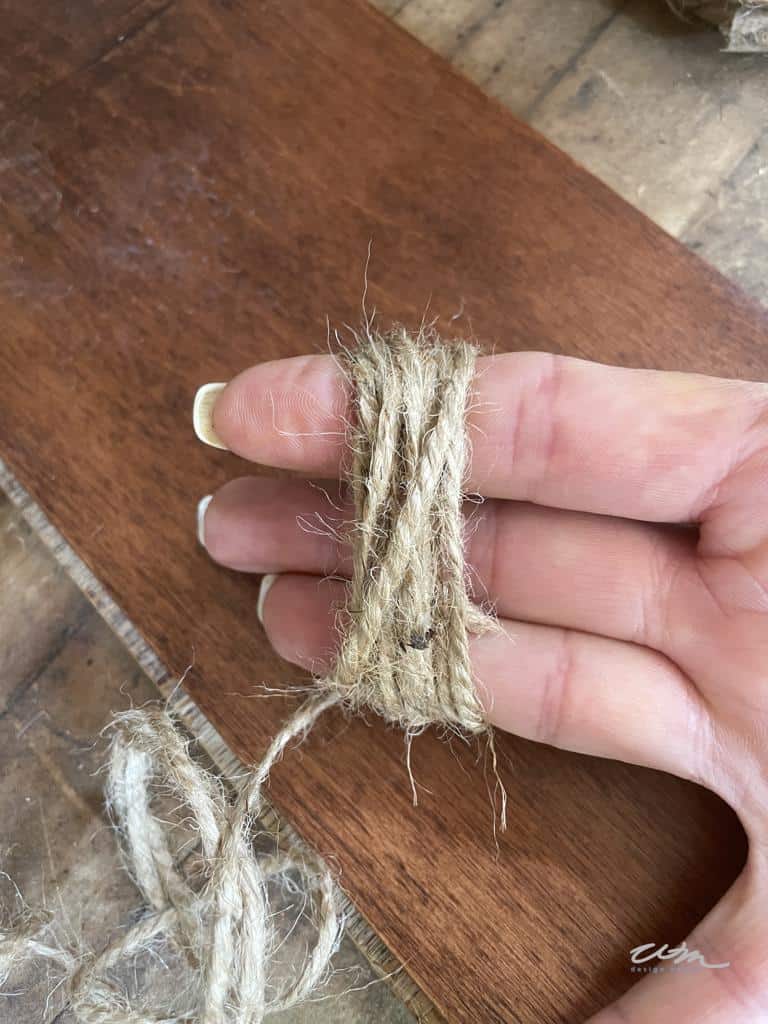
Choose a stem for your pumpkin. There are so many things you can use. Here is a list of a few of my favorites.
- Cinnamon Sticks
- Twigs from the yard
- A piece of driftwood
- A natural gourd or pumpkin stem
We visit the gourd farm every fall, and these stems are all over the ground for my picking, lol.
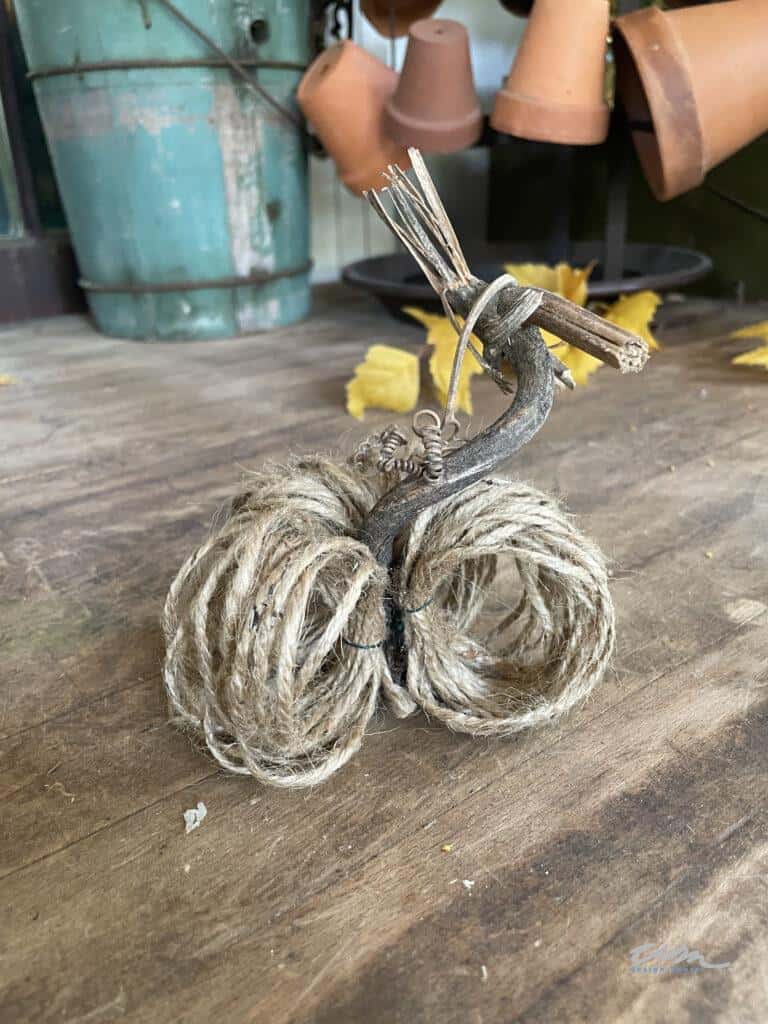
Now you want to hot glue your rings of twine onto your stem using a glue gun with glue sticks.
Glue one bundle at a time and allow the glue to dry. Be careful not to burn yourself.
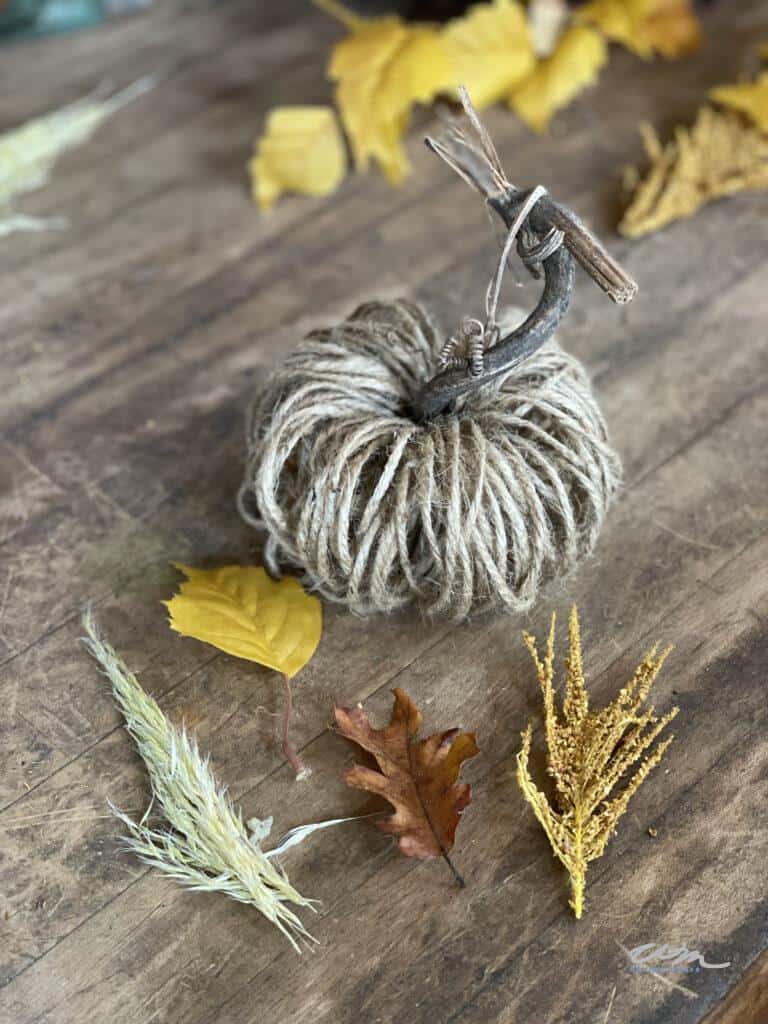
Decorating your Twine Pumpkin
Once you have glued all six of your rope bundles onto your stem, you are ready to decorate, and this is the fun part.
You can use your imagination here.
I used some preserved fall leaves with some pampas grass. You can use faux flowers, dried flowers, ribbon, pompoms, or glitter; the choices are endless.
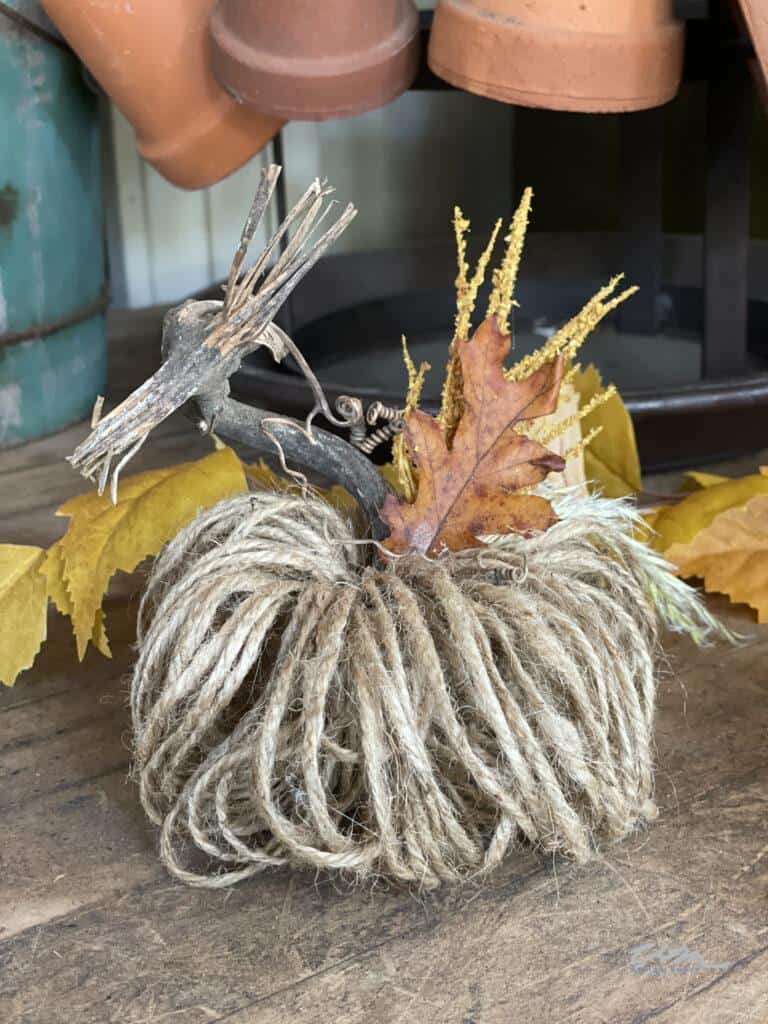
Let’s Make a Heavy Twine Pumpkin.
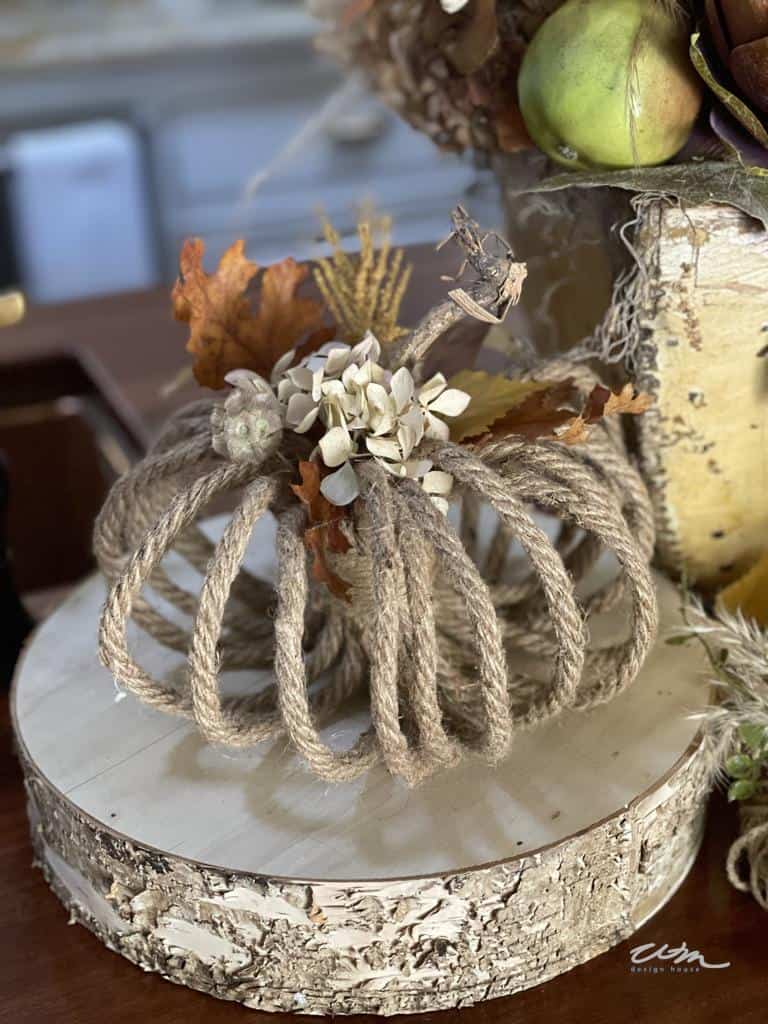
I created the second twine pumpkin in a larger size, around 9″ wide x 4″ tall.
I used a heavier jute rope for this pumpkin. It is approximately 3/8″ in diameter.
The other supplies are similar to the miniature twine pumpkin listed above.

First, you need a board approximately 5″ wide to create the loops for this pumpkin.
I used a scrap of wood flooring we had in the garage.
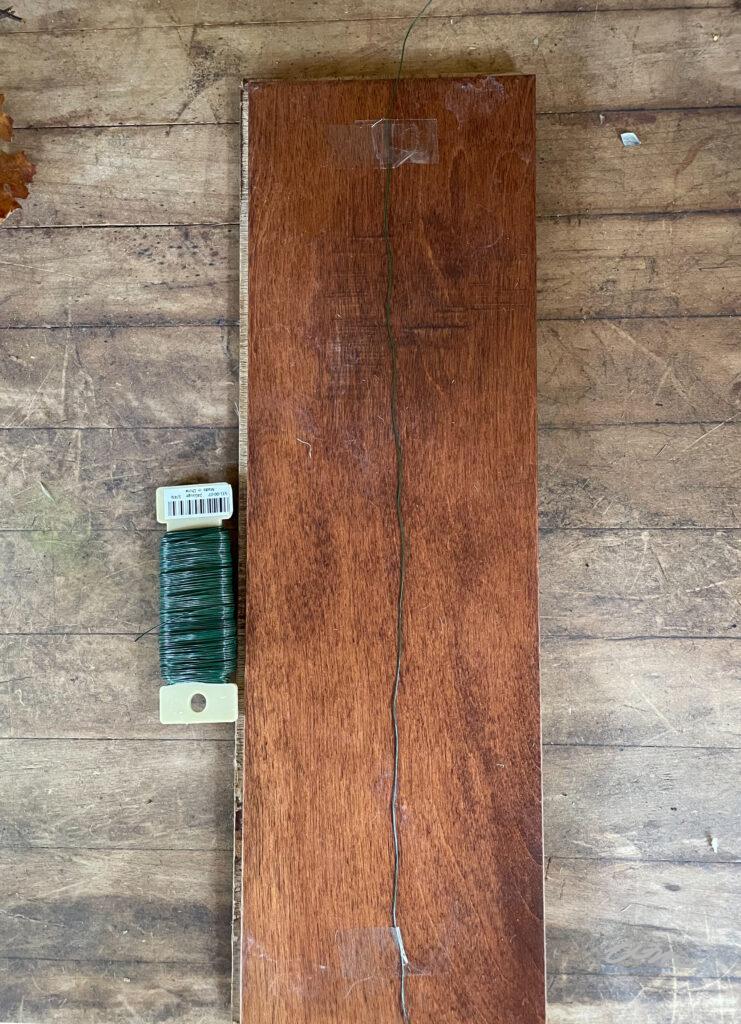
Secondly, I taped a piece of wire to the board, approximately 12″ long. (your board does not need to be this long, I just used what I had in the garage). You want to make sure whatever you use is rigid and sturdy so it will not bend.
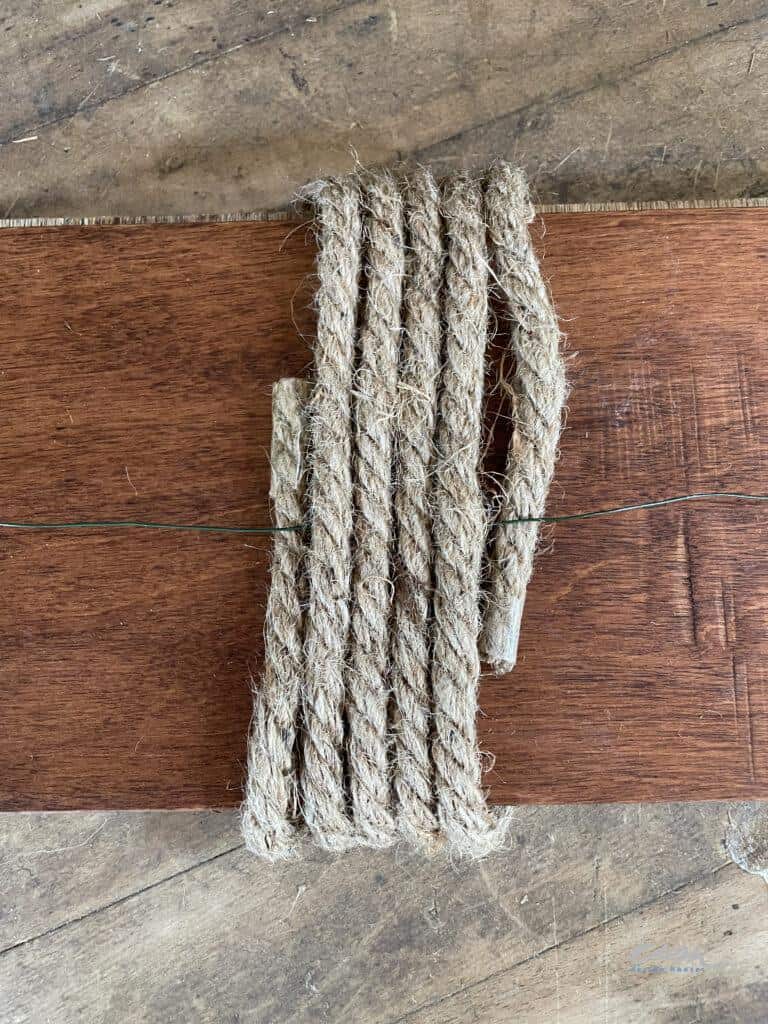
Wrap the rope around the board five times, then take the wire and wrap the two ends together. The wire will hold your loops together. Trim the wire after you have twisted it together well.
Lastly, repeat this process until you have five rounds of rope.
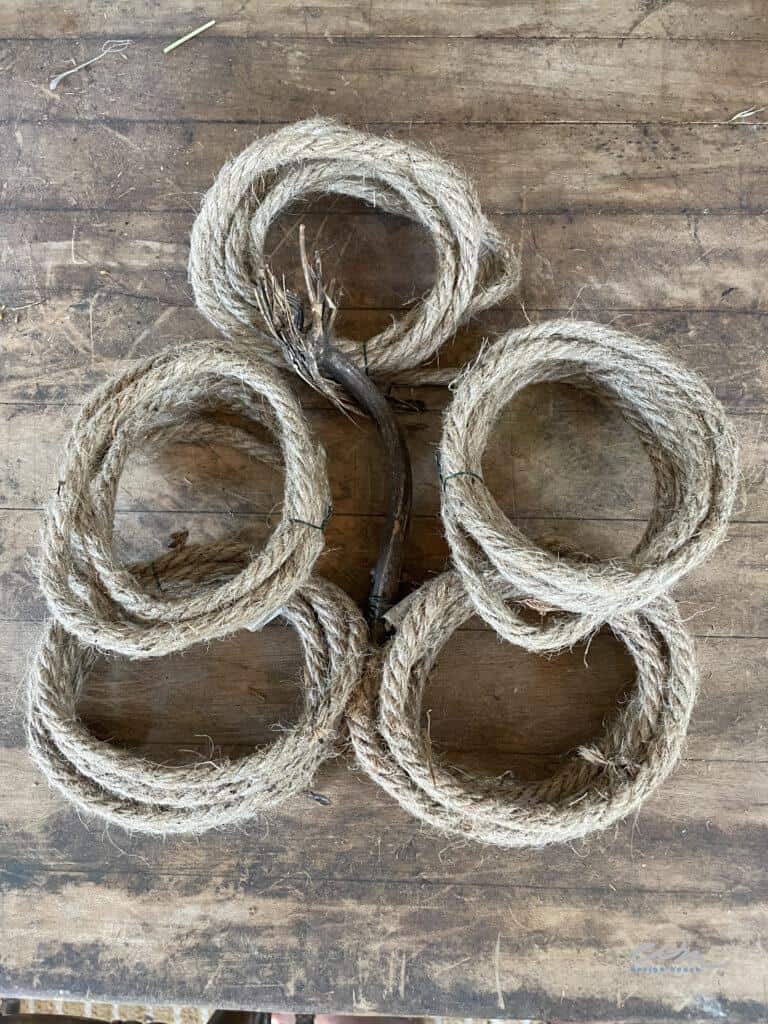
Attaching your Rope to your Stem
First, you need to use the hold glue and attach one round of rope at a time. Continue this process until you have three rounds of rope on the stem.
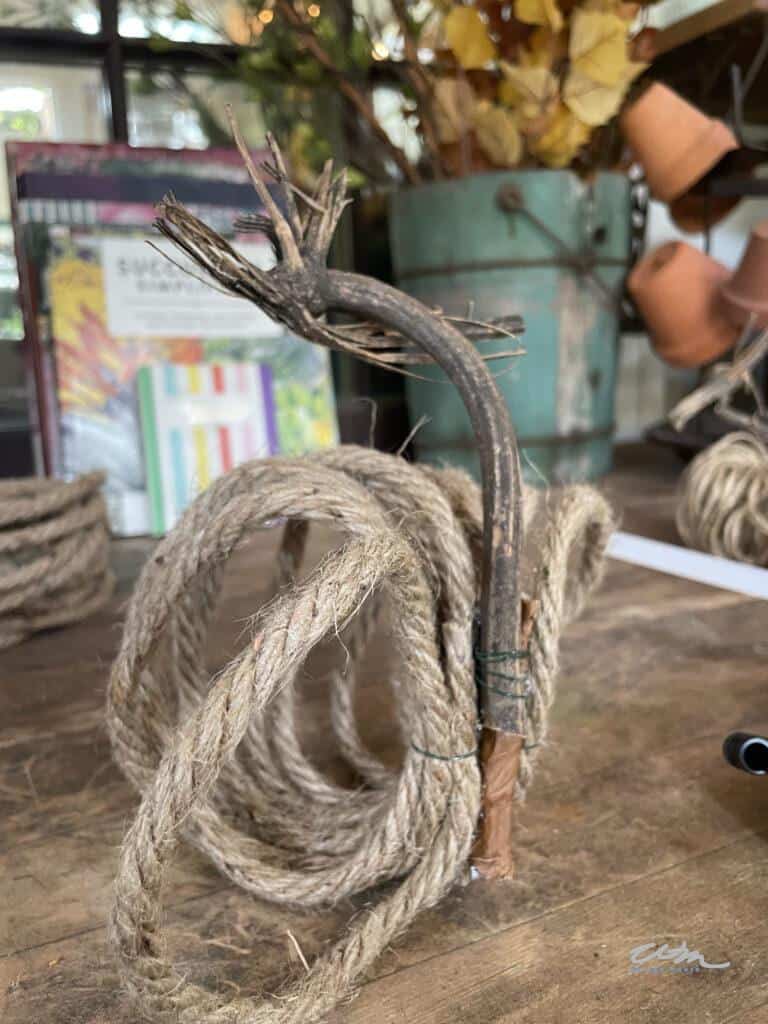
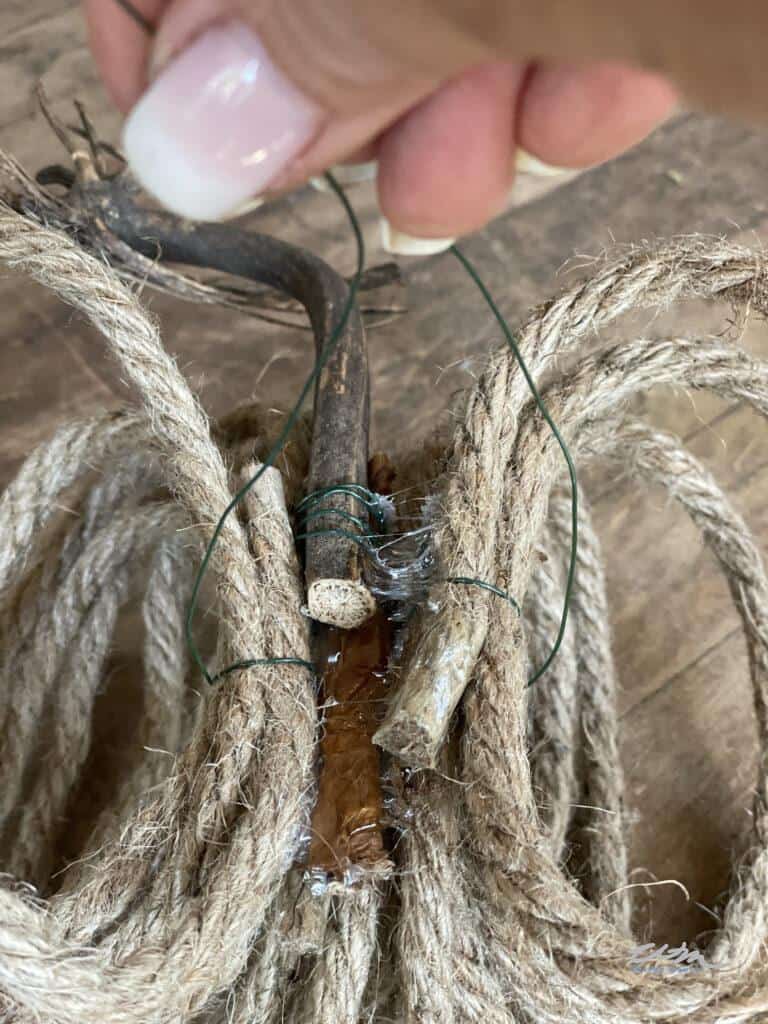
Secondly, add a piece of wire around the center for added stability.
Now glue the remaining two sets of loops onto the stem.
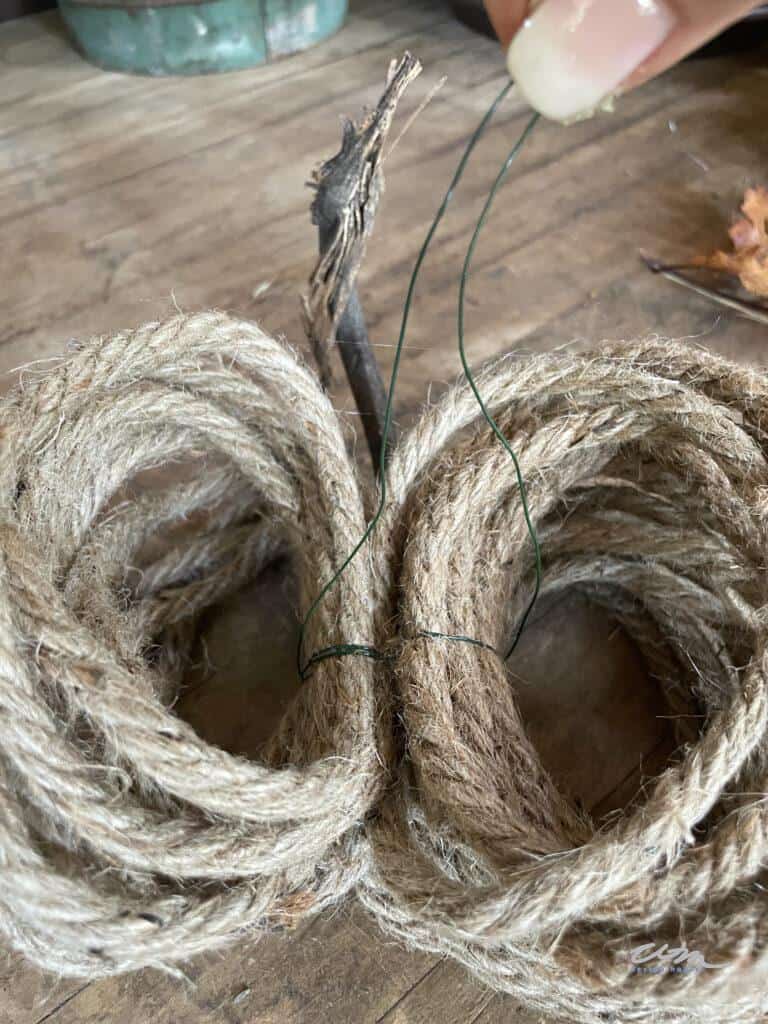
Thirdly, add another piece of wire around the center to add stability.
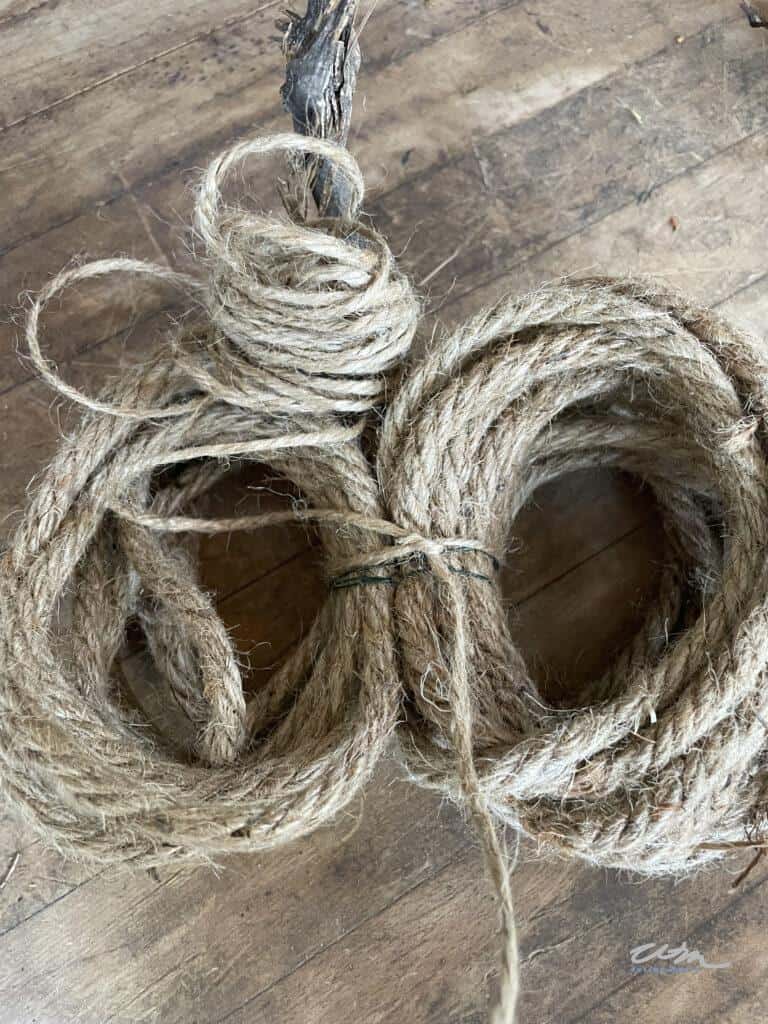
Lastly, use the thin twine that you used for the small twine pumpkin to cover the wire in the center of the pumpkin.
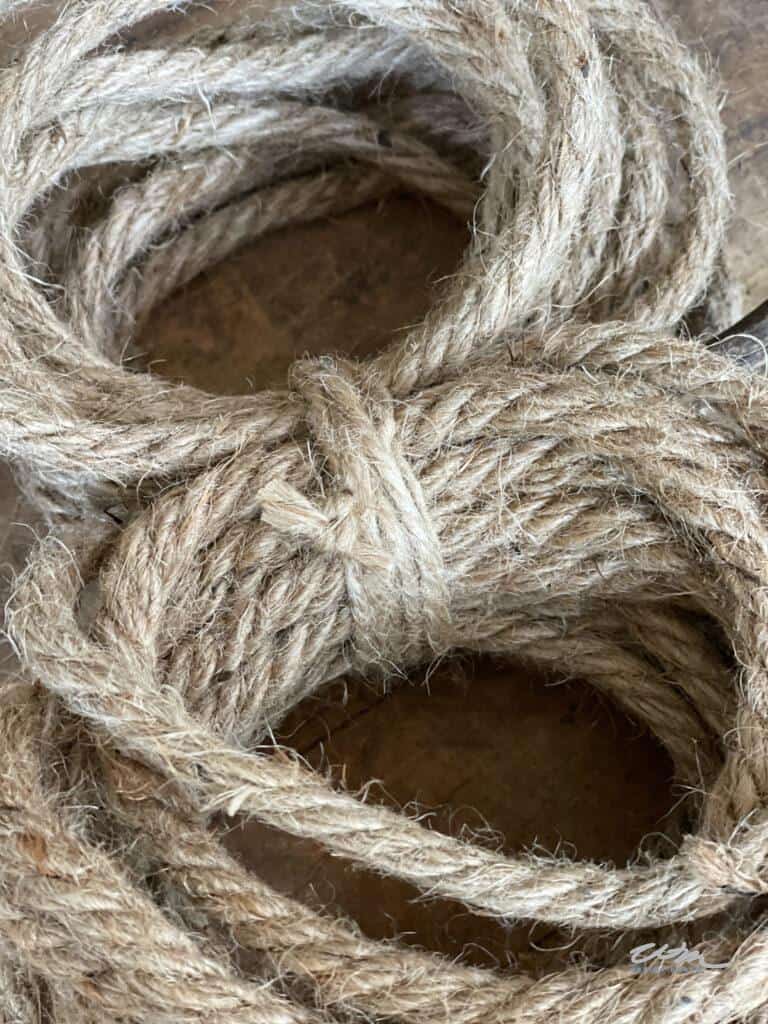
Once you have wrapped the twine around and covered all the wire, tie the two ends in a knot and trim.
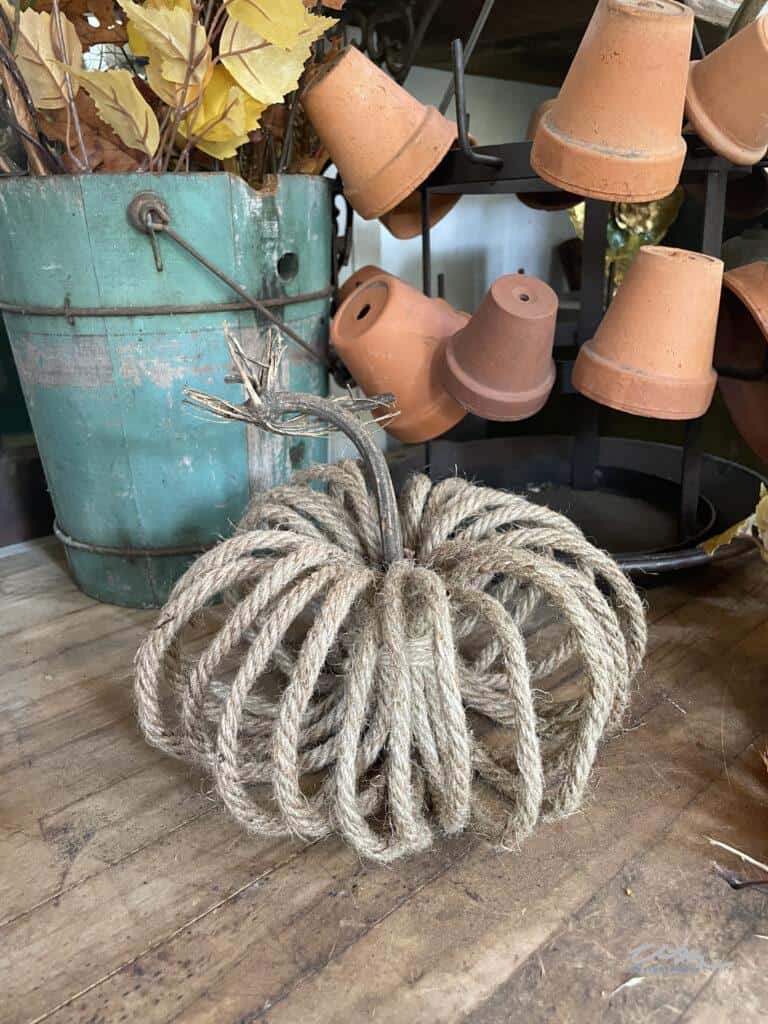
Decorating your Large Twine Pumpkin
like a natural look, I used dried and preserved leaves, some pampas grass, a few dried scabiosa pods, and a small piece of dried hydrangea.
You can use whatever you want to decorate your pumpkin to suit your décor.
These are so easy to make and add so much to your décor.
Styling your pumpkins in your home
These sweet little pumpkins fit in just about any corner of your house. I used a wood riser to display the large pumpkin in my kitchen. It looked so pretty and was the perfect addition to my fall decorations. You could also make several small pumpkins and place them in a dough bowl.
In addition, I made a few more and grouped a large pumpkin with two small pumpkins for the perfect touch in my she shed.

Making twine pumpkins is a fun and easy way to add fall decorations to your home. You can make them as big or small as you want, and they look great displayed on a mantle or shelf. If you’re looking for more inspiration, follow my blog!


If you enjoyed this post, you would also like the following:
How To Make A Topiary
DIY Foraged Heart Pine Cone Wreath
Fresh Lemon Wreath DIY
Pink Floral Arrangement with Lemon Slices

These are the BEST, Wendy!
Thank you, friend. These are super easy, just like the copper pumpkins you did:))))
I love these, and your tutorial is very instructive — thanks!
Thank you Debbee, I really appreciate your kind comment. I hope you enjoy making the pumpkins.